We have a very tiny backyard, but we've tried to make the best of what we have to work with. Last year we expanded our deck and this year we've been focusing on making it an inviting space.
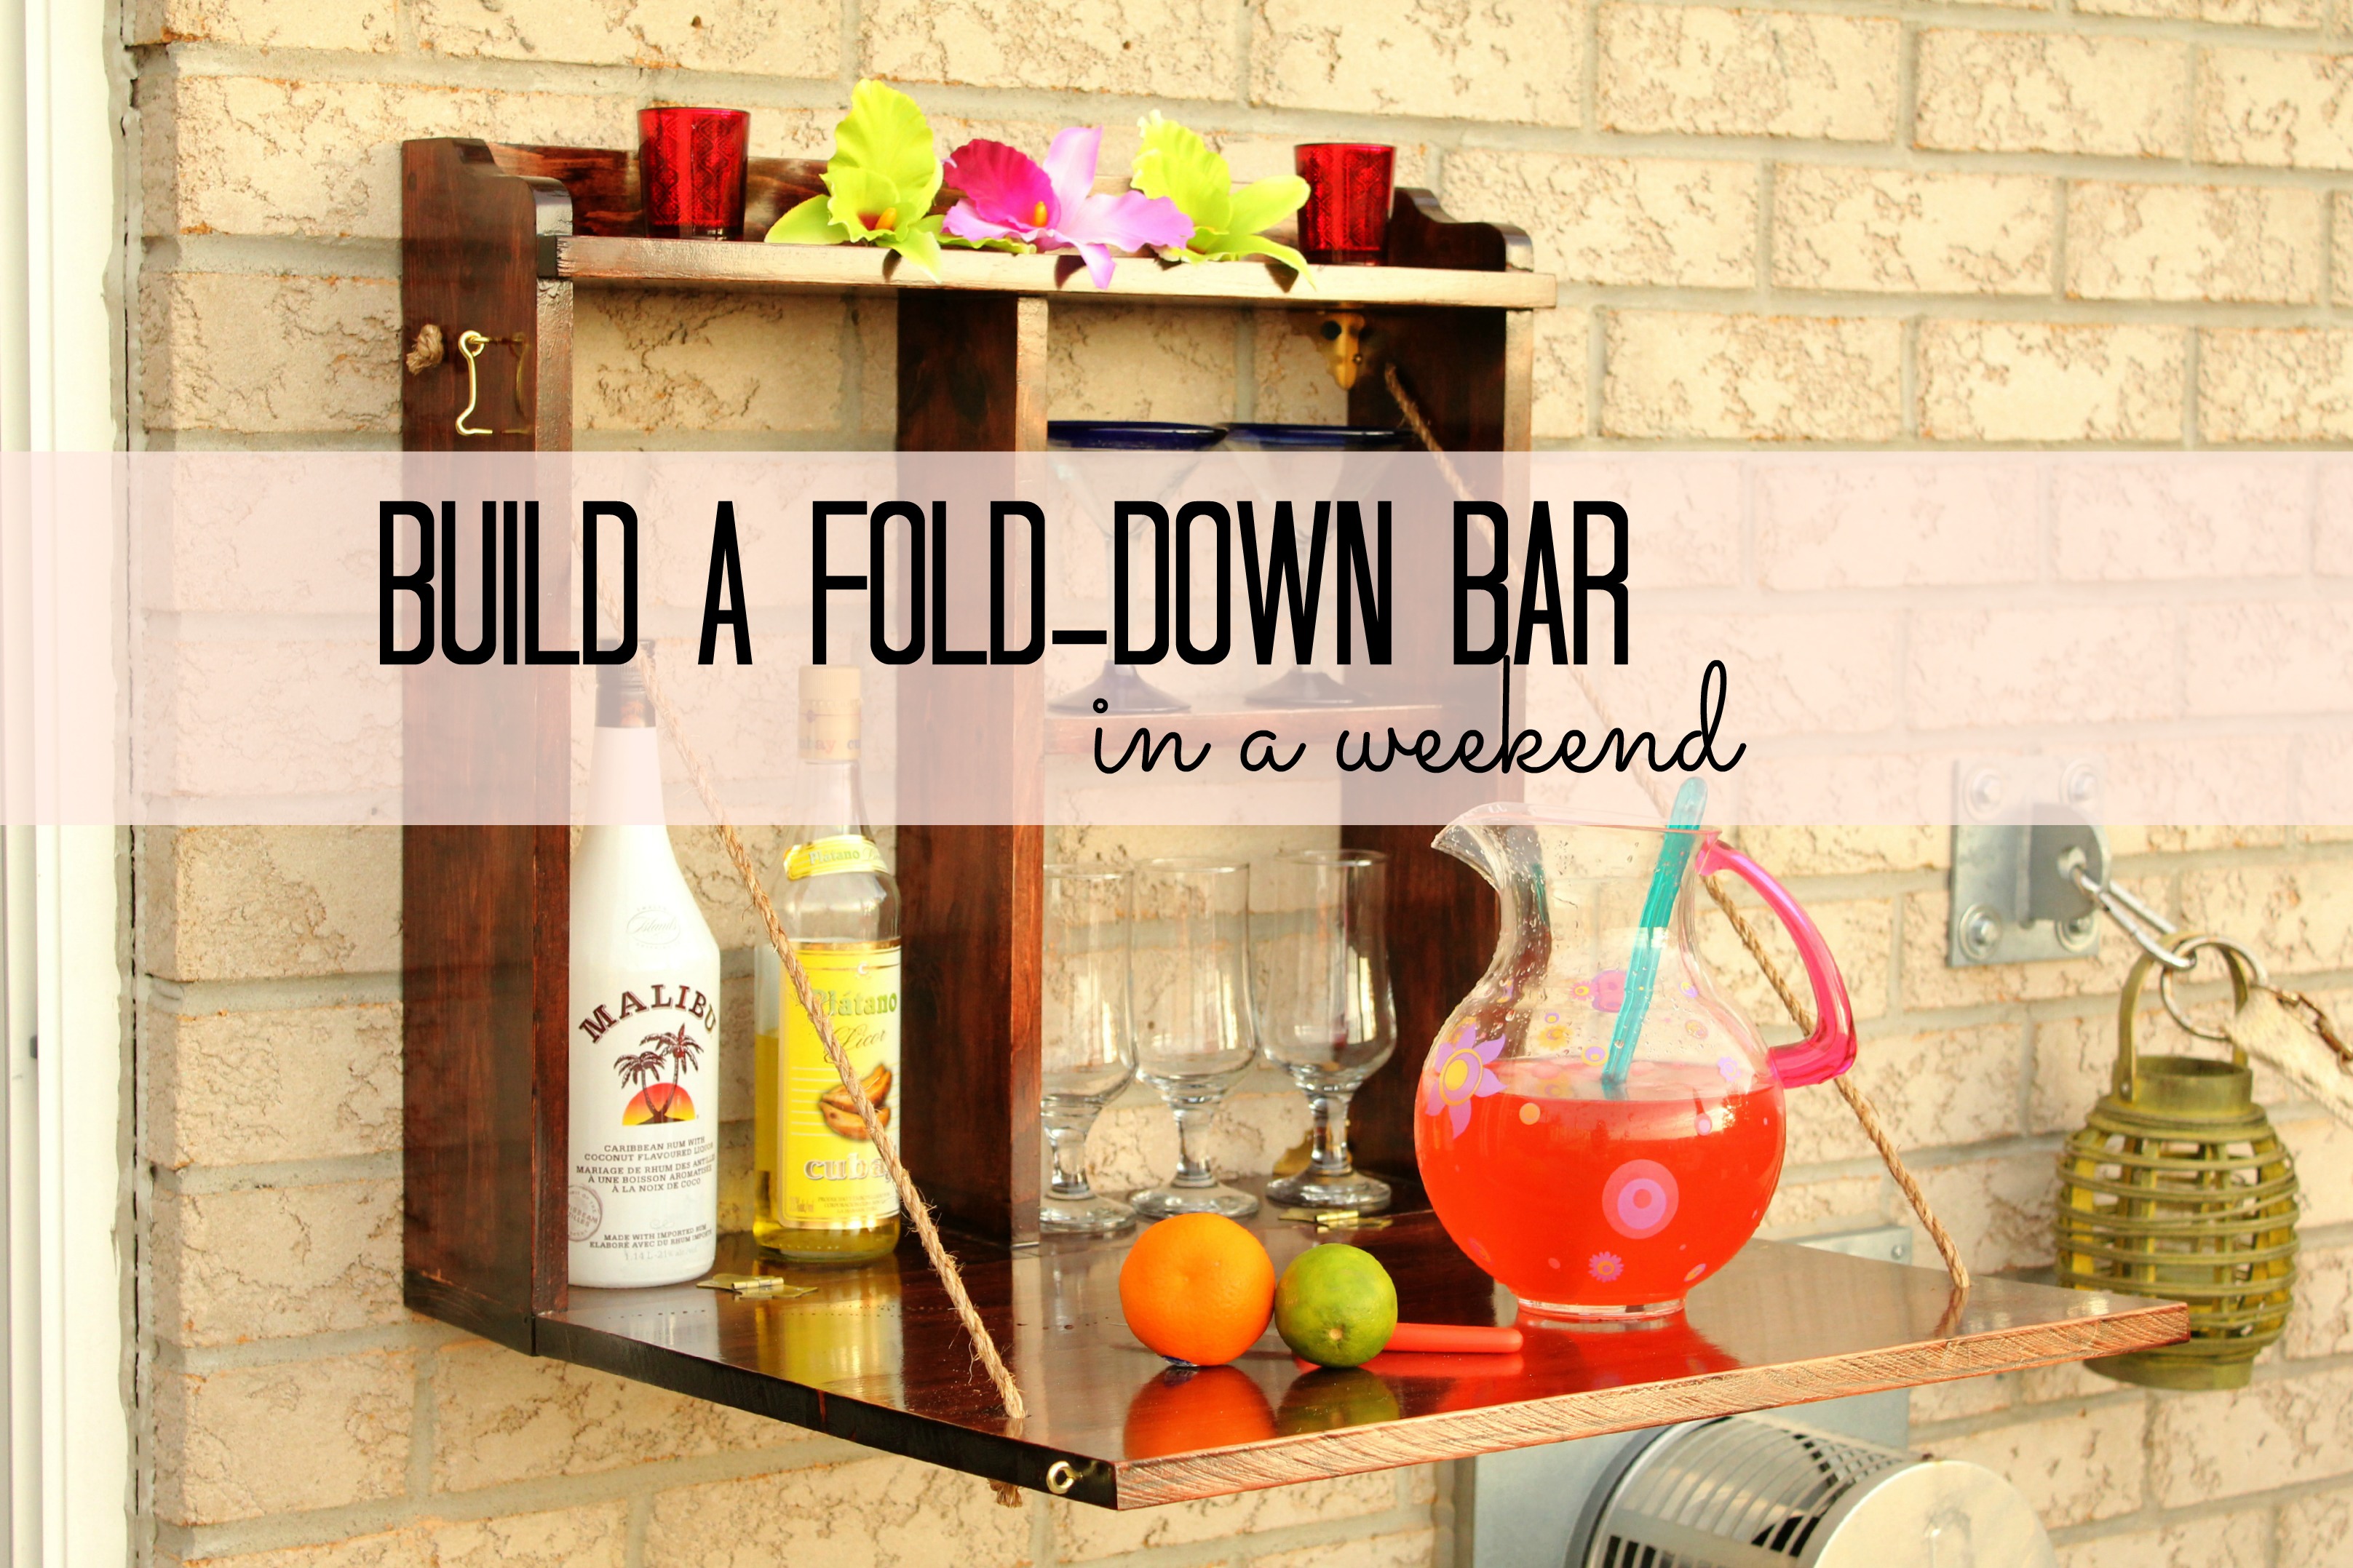
The last couple of weekends have been spent building a compact, fold-down bar. One weekend to build and stain it, the second to give it a few coats of poly. This weekend we finally were able to hang it up and put it to use.
Just in time for summer, Sherry from
Young House Love and Katie from
Bower Power are challenging all of us in blogland to get going on some of the projects we've pinned on Pinterest. I thought our outdoor bar would be the perfect thing since we've been wanting to make it for so long.
This edition is also being hosted by Kate at
Centsational Girl and Michelle at
Ten June. Head on over to all four sites to see what everyone has come up with and to add your own project.
Now back to our backyard bar........
I first saw
this bar on
Pinterest last winter, and saved it as a "must do". We substituted rustic rope for the chain - it seemed more our style. And w
e have limited wall space so ours is a little narrower than the original.
The construction was very simple. There weren't any instructions with the original picture so we just had to make it up as we went along. I didn't take many pictures while we were building it, but I'll try to explain it as best I can.
Ours is built of pine, stained
Minwax red mahogany, and I gave it three coats of polyurethane to protect it from the Canadian weather (Update: it's already been rained on several times and is holding up great!)
Here is a simplified picture of the pieces you'll need. The frame is made of 1" x 6" pine select and the fold-down shelf is a cut down 20" pine shelf.
The side pieces are 22 inches long at the back. Tom routered a curve into the top so it is slightly shorter at the front. He cut a slot (dado joint) into each side board about two inches down so that the top shelf could slide into it and have more strength.
The top shelf is 24 inches wide at the front. The shelf has a cut out on each side so that it fits into the slot, but there is an overhang at the front so that the edge of the shelf is flush with the sides. The board ends up being a wide, upside-down T-shape.
The upright board at the back of the top shelf is 3 inches deep by 22 inches long and drops in behind the shelf.
The interior vertical piece and shelf are slightly shallower than the outer boards so that the rope can hang freely inside and not get caught up when we close the door. The vertical board is 19 inches long, and the shelf is 10 inches long. The bottom board is 24 inches long. All of the boards are joined together with counter-sunk screws, and the holes were then puttied.
The corners were reinforced with
brass corner brackets and then Tom mounted the frame to the brick wall with tapcon screws.
We also used
brass hinges to attach the fold-down shelf to the base.
The fold-down shelf is 19" x 24". When folded up, this board ends an inch before the bottom shelf because, when it's folded out, it has to meet that bottom shelf in a way that keeps it flush.
We used sisal rope to suspend the shelf when it's open instead of chain as in the original. The side ropes keep the shelf from dropping below horizontal and puts less stress on the hinges. We drilled holes in the fold-out shelf and in the bar sides near the top, fed the rope through the holes, and tied each end in a knot to keep it in place. A tip: if you tape off the end of the rope first, it's easier to feed through the hole.
To keep it closed when it's folded up we attached a hook and eye on each side. It's very secure yet easy to open. And when it's folded away it barely takes up any room. You'd hardly even notice it was there!
Update: Our bar has a name! Go
here to see what we painted on the outside.
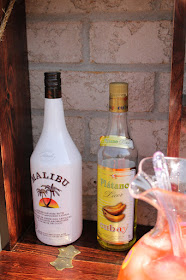
There's space on one side for bottles (alcoholic or otherwise) and shelves on the other side for glasses. We're a little partial to coconut rum and banana liquor. That bottle came home with us from our last
trip to Cuba.
Update 2: Ana White has added these plans to her building website, so go on over there to see other versions as well.
Meanwhile, over on the other side of the deck...
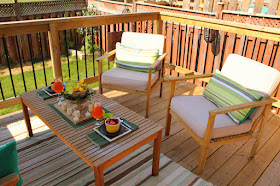
Last year we sold our patio table and chairs and replaced them with a more casual seating area.
What do you think of the tea towel
pillows? I started out with just two for the love seat, but they're perfect for the chairs as well.
Our deck has a lower level also. We created a second seating area with an Adirondack chair, pillows and a blanket. That's the hammock folded up and hanging beside. The area is always in the shade so it's the perfect cool spot for reading a book.
When the chair is not in use we also use this area for hanging out in the hammock. Perfect for reading or just taking a nap. It's nice to be able to step down from the upper deck right into the hammock. (Notice
another tea towel pillow? Yep, it got out of hand.)
And we're not the only ones who like to spend time there.
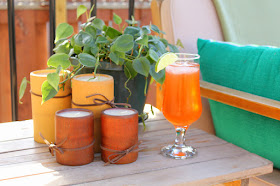
Yesterday was hot and sunny so we poured cold drinks and enjoyed some fresh strawberries. The stacked pots in the middle are leftovers from our wedding reception centerpieces with dollar store flowers and leaves filling in the spaces.
Bring on summer!


