Pages

Feb 27, 2014

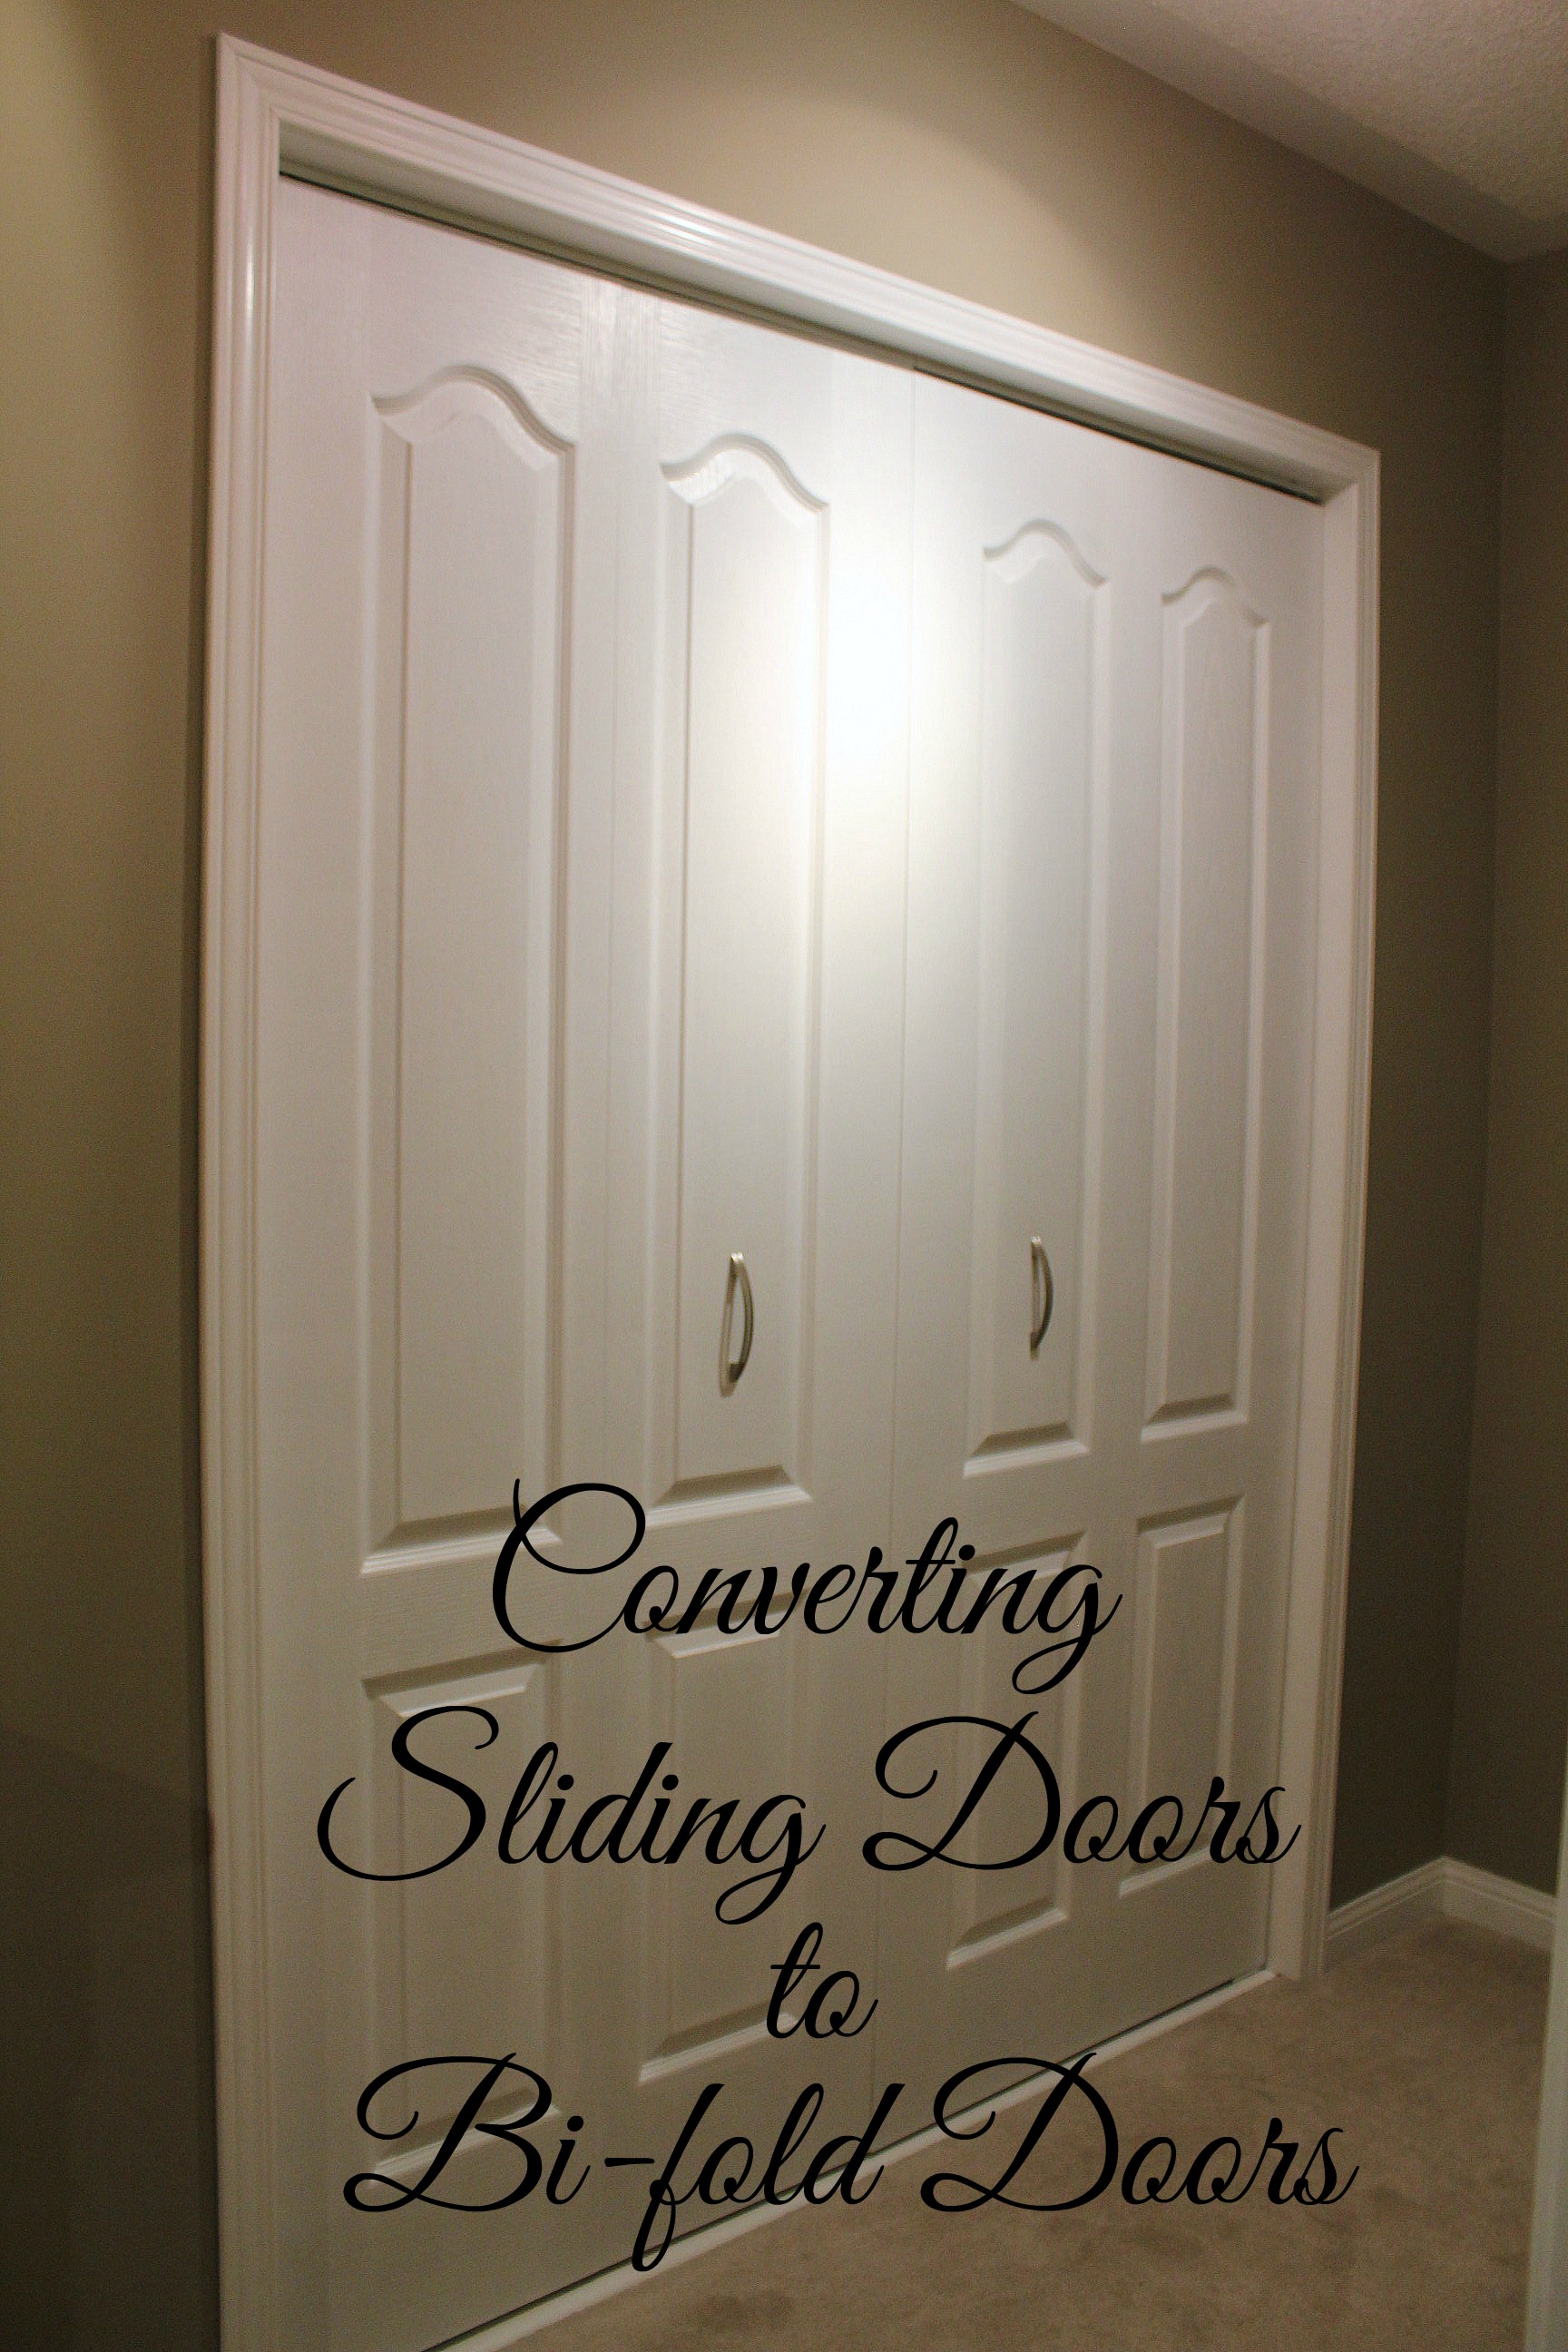
Converting Sliding Doors to Bi-fold Doors

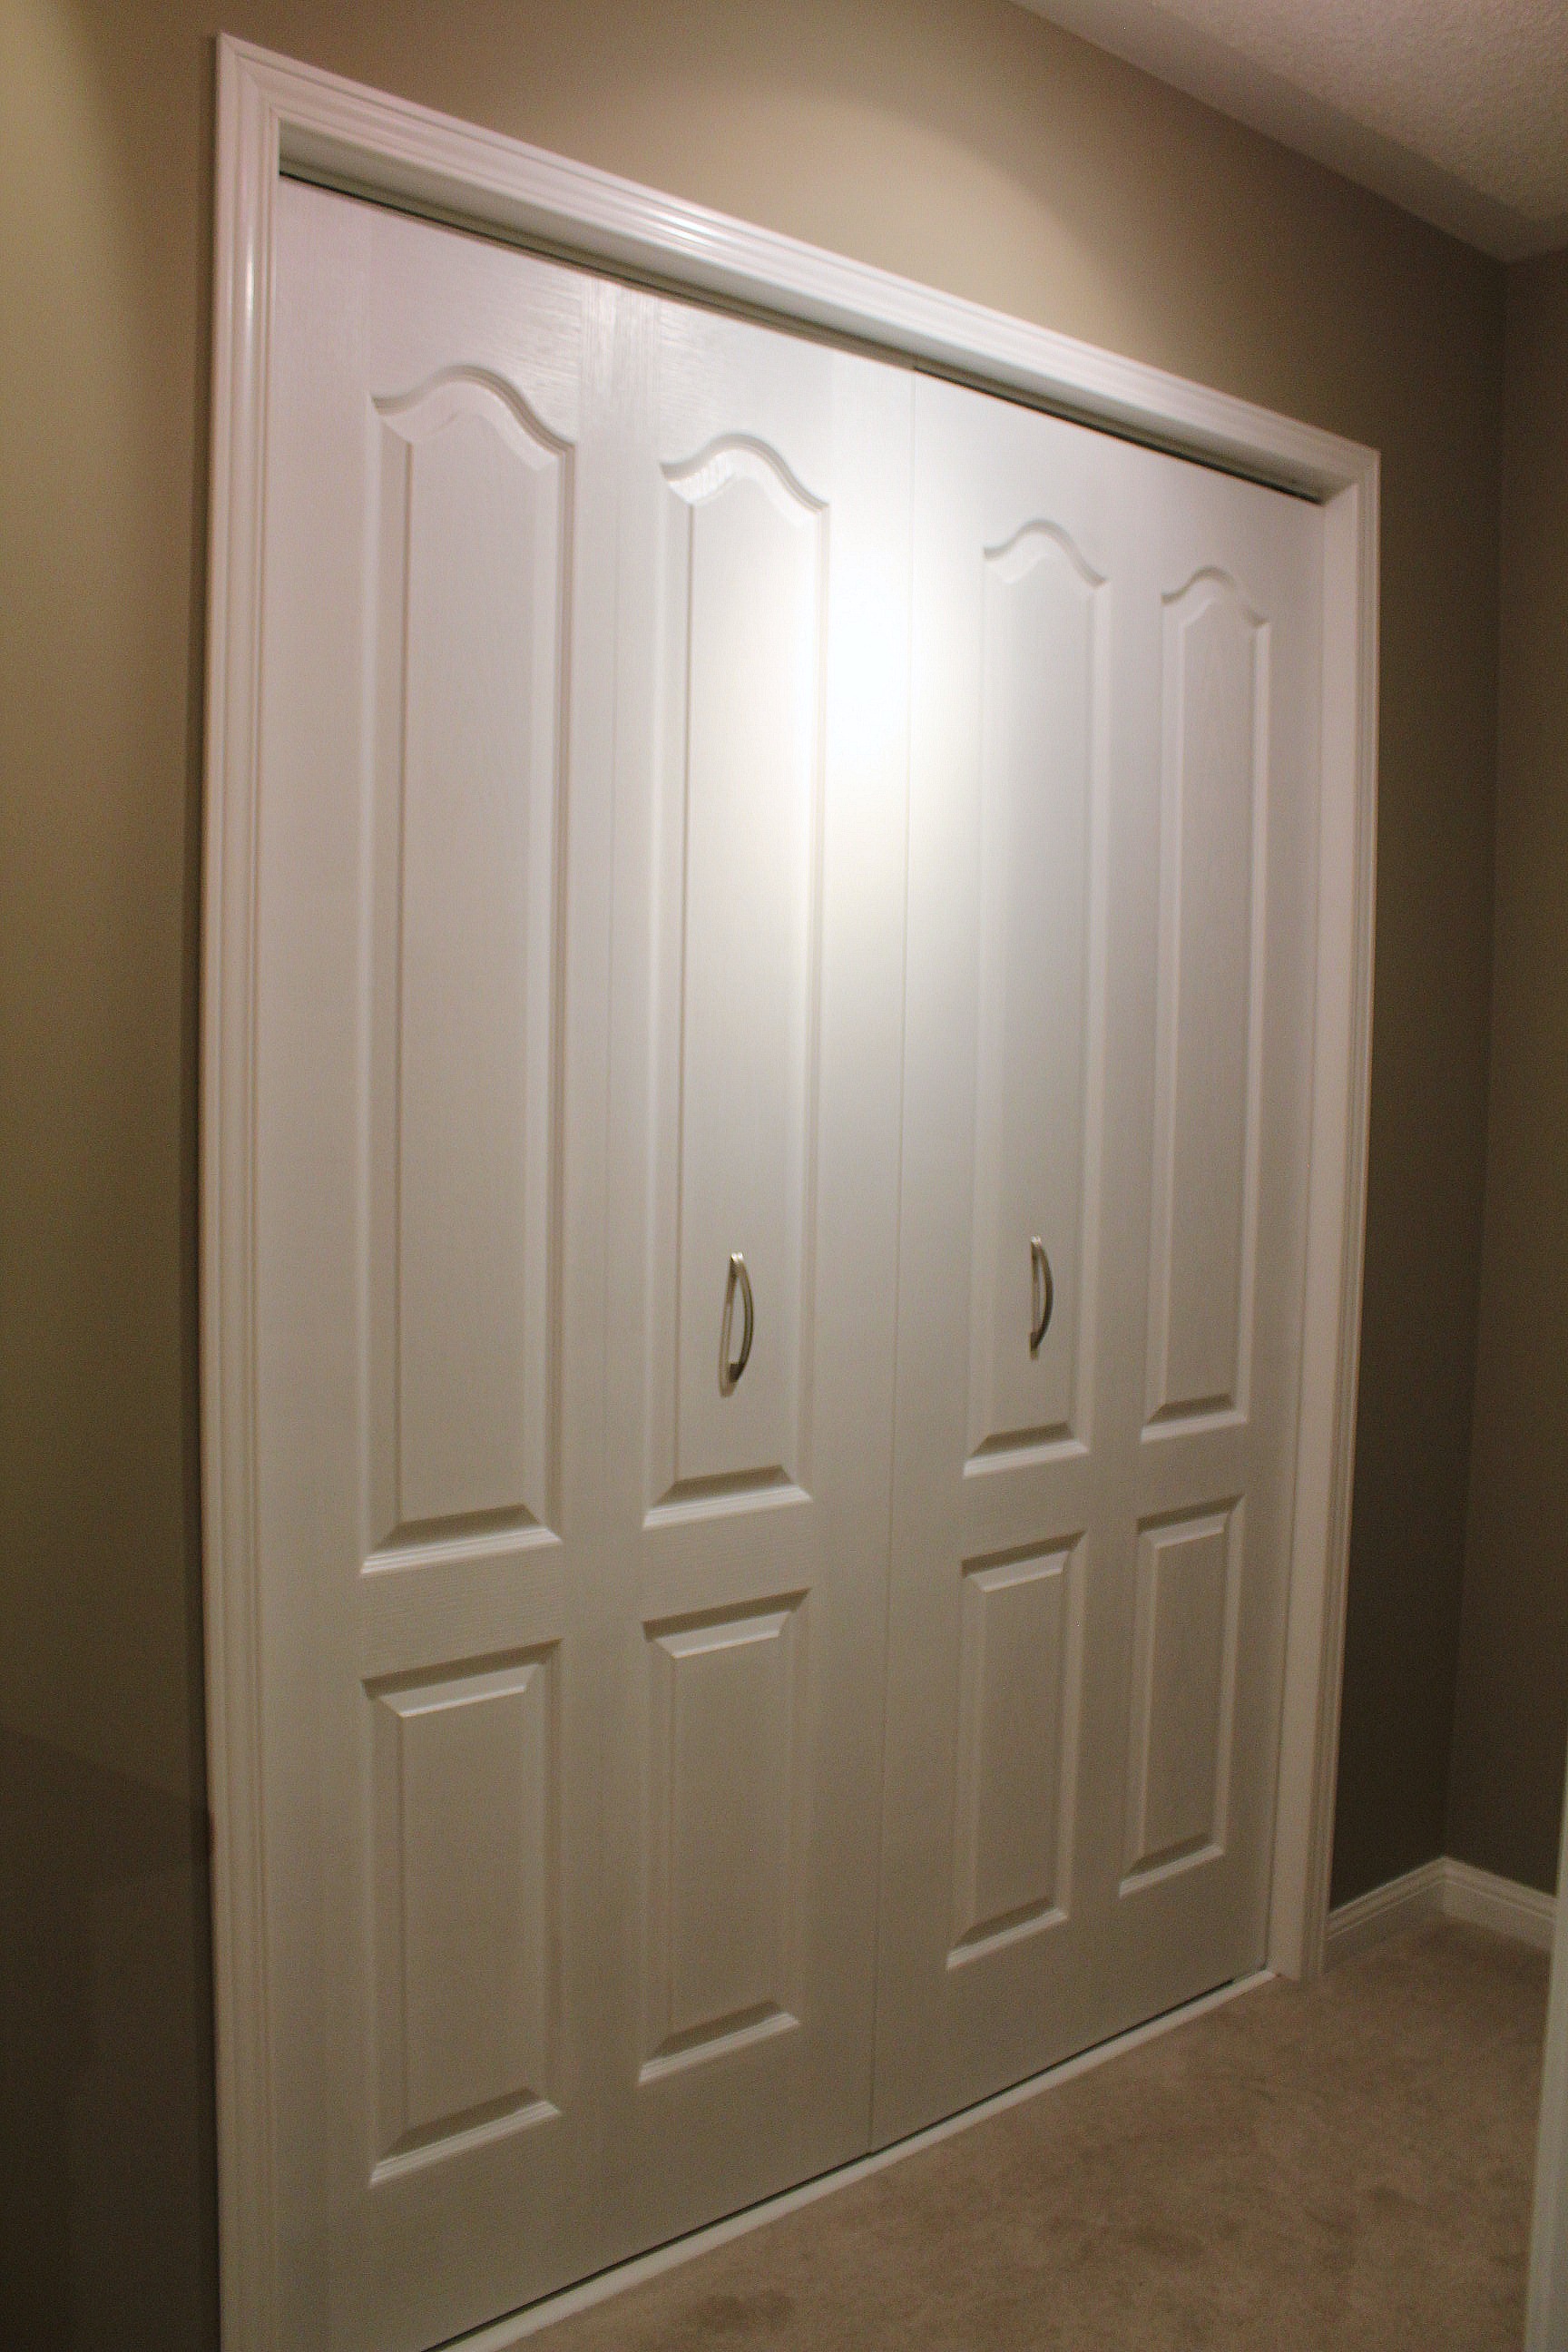
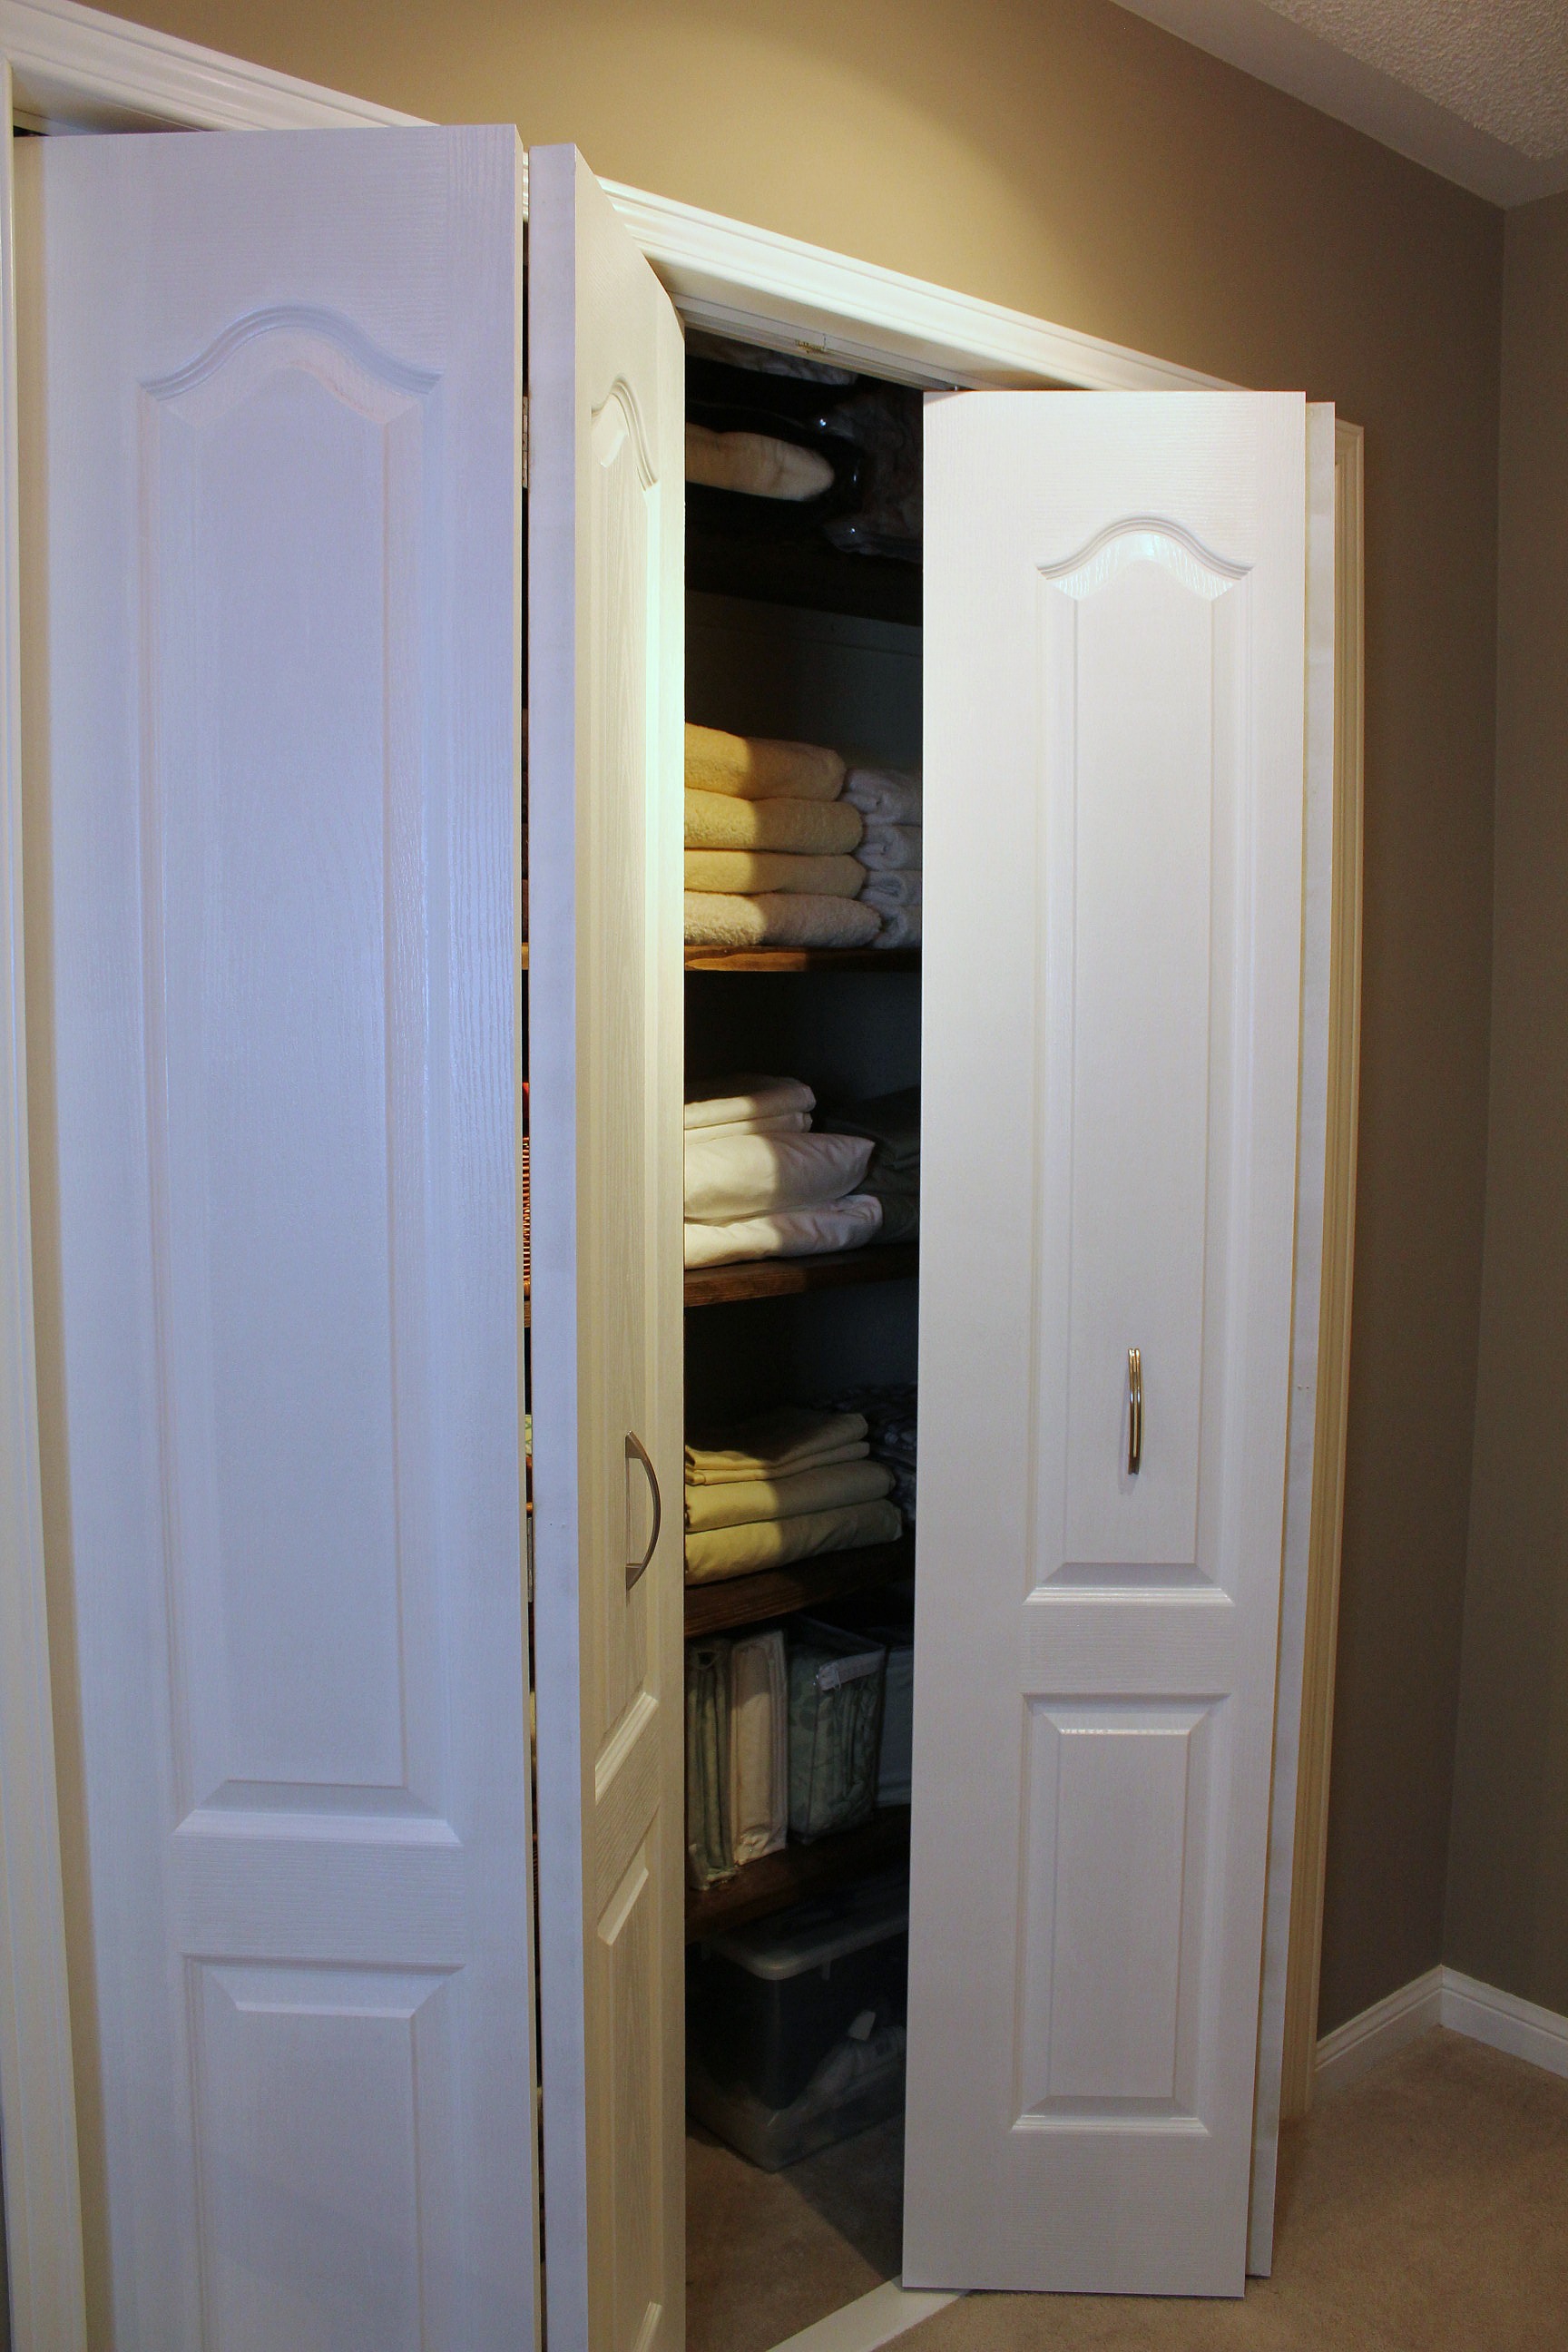
In the last two weeks I've shown you how we rebuilt the laundry chute and then rebuilt the shelves in our linen closet. The final step in our linen closet makeover (wow, I thought this was going to be an easy weekend project) was to change the doors from sliders to bi-folds.


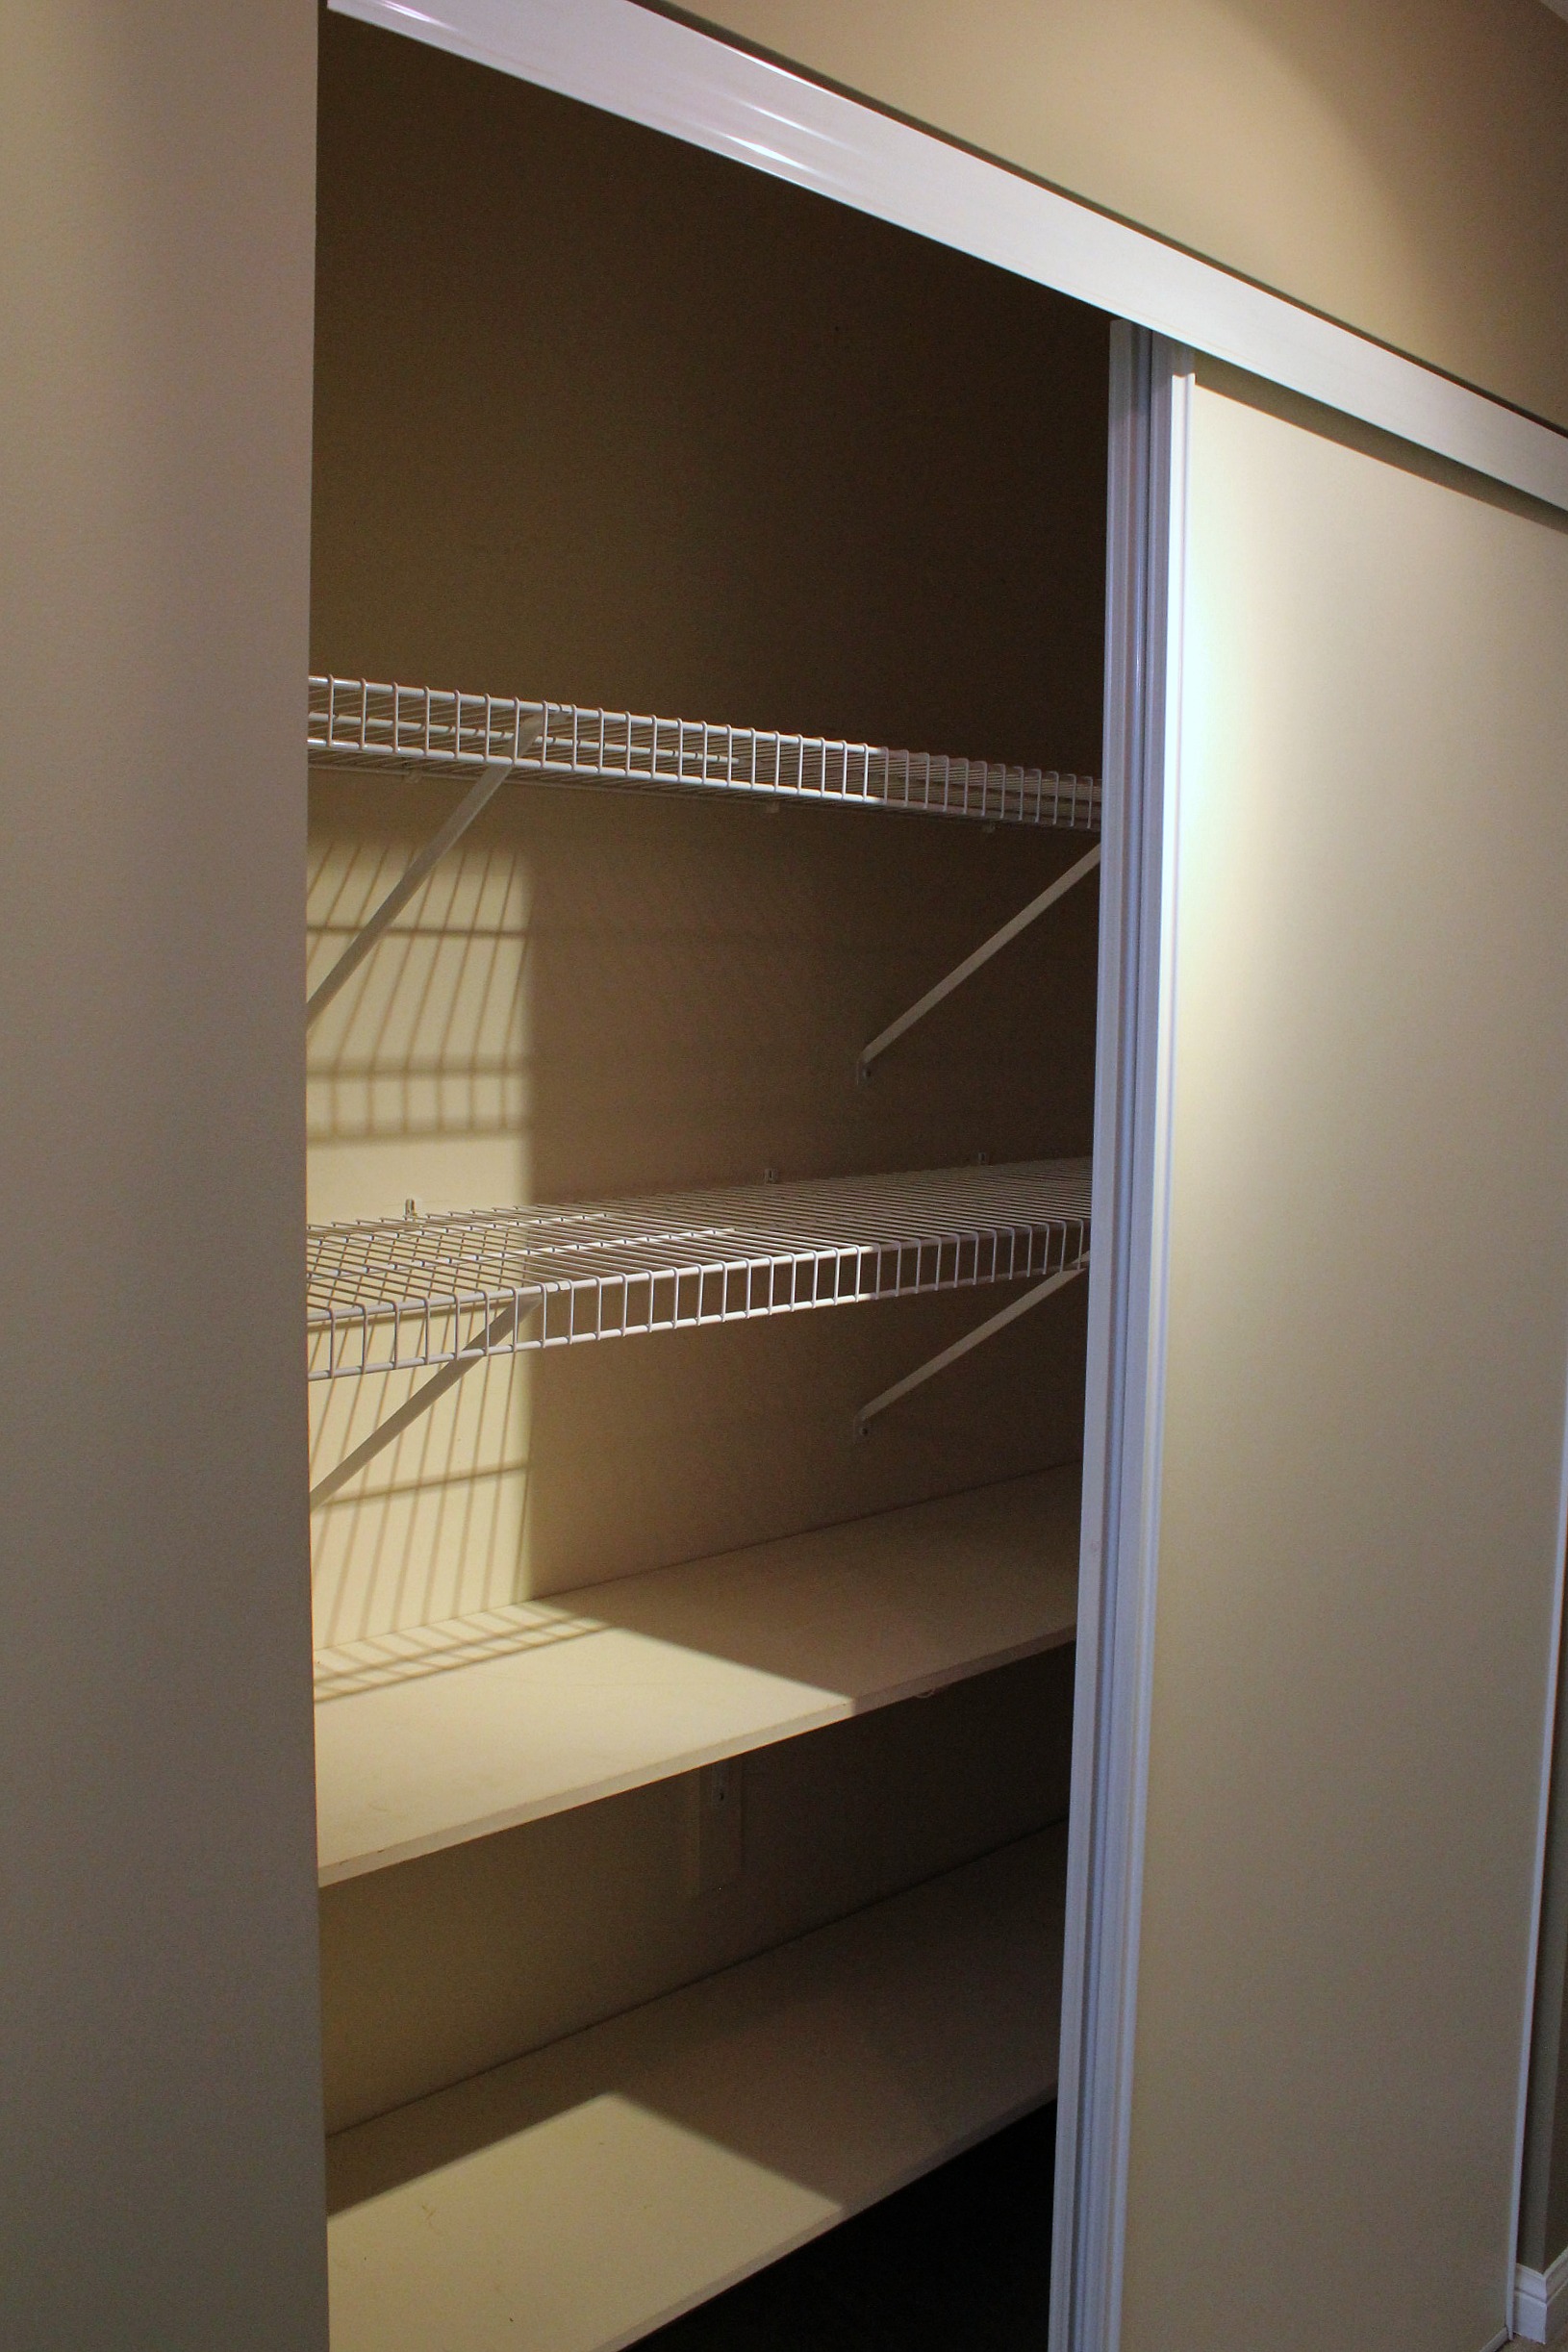
In our area most houses have closets with sliding doors. They're quick to install and they don't encroach on the room space. But they're not that pretty, are they? And ask anyone who has them how annoying it is to have to constantly slide them back and forth because you don't know which side something is on.


Last year we replaced the sliding closet doors in the front hall. This time we had to deal with carpeting and a deeper-set frame, though we didn't have to re-build the wall, thank goodness. In case anyone else is thinking they'd like to change over their doors, let me show you what we did and offer tips that we've learned along the way. By no means would we consider ourselves experts, but we are starting to get the hang of it.

Tools/supplies you'll need:
- power drill, with drill and screwdriver bits
- a level
- wood screws
- finishing nails
- shims
- prybar/screwdriver
- mitre box or mitre saw
- nail gun
- paintable caulk
- wood putty
- sandpaper
- paint

Nice to have but not necessary:
- table saw
- planer
- oscillating cutter (like a Dremel Multi-Max)

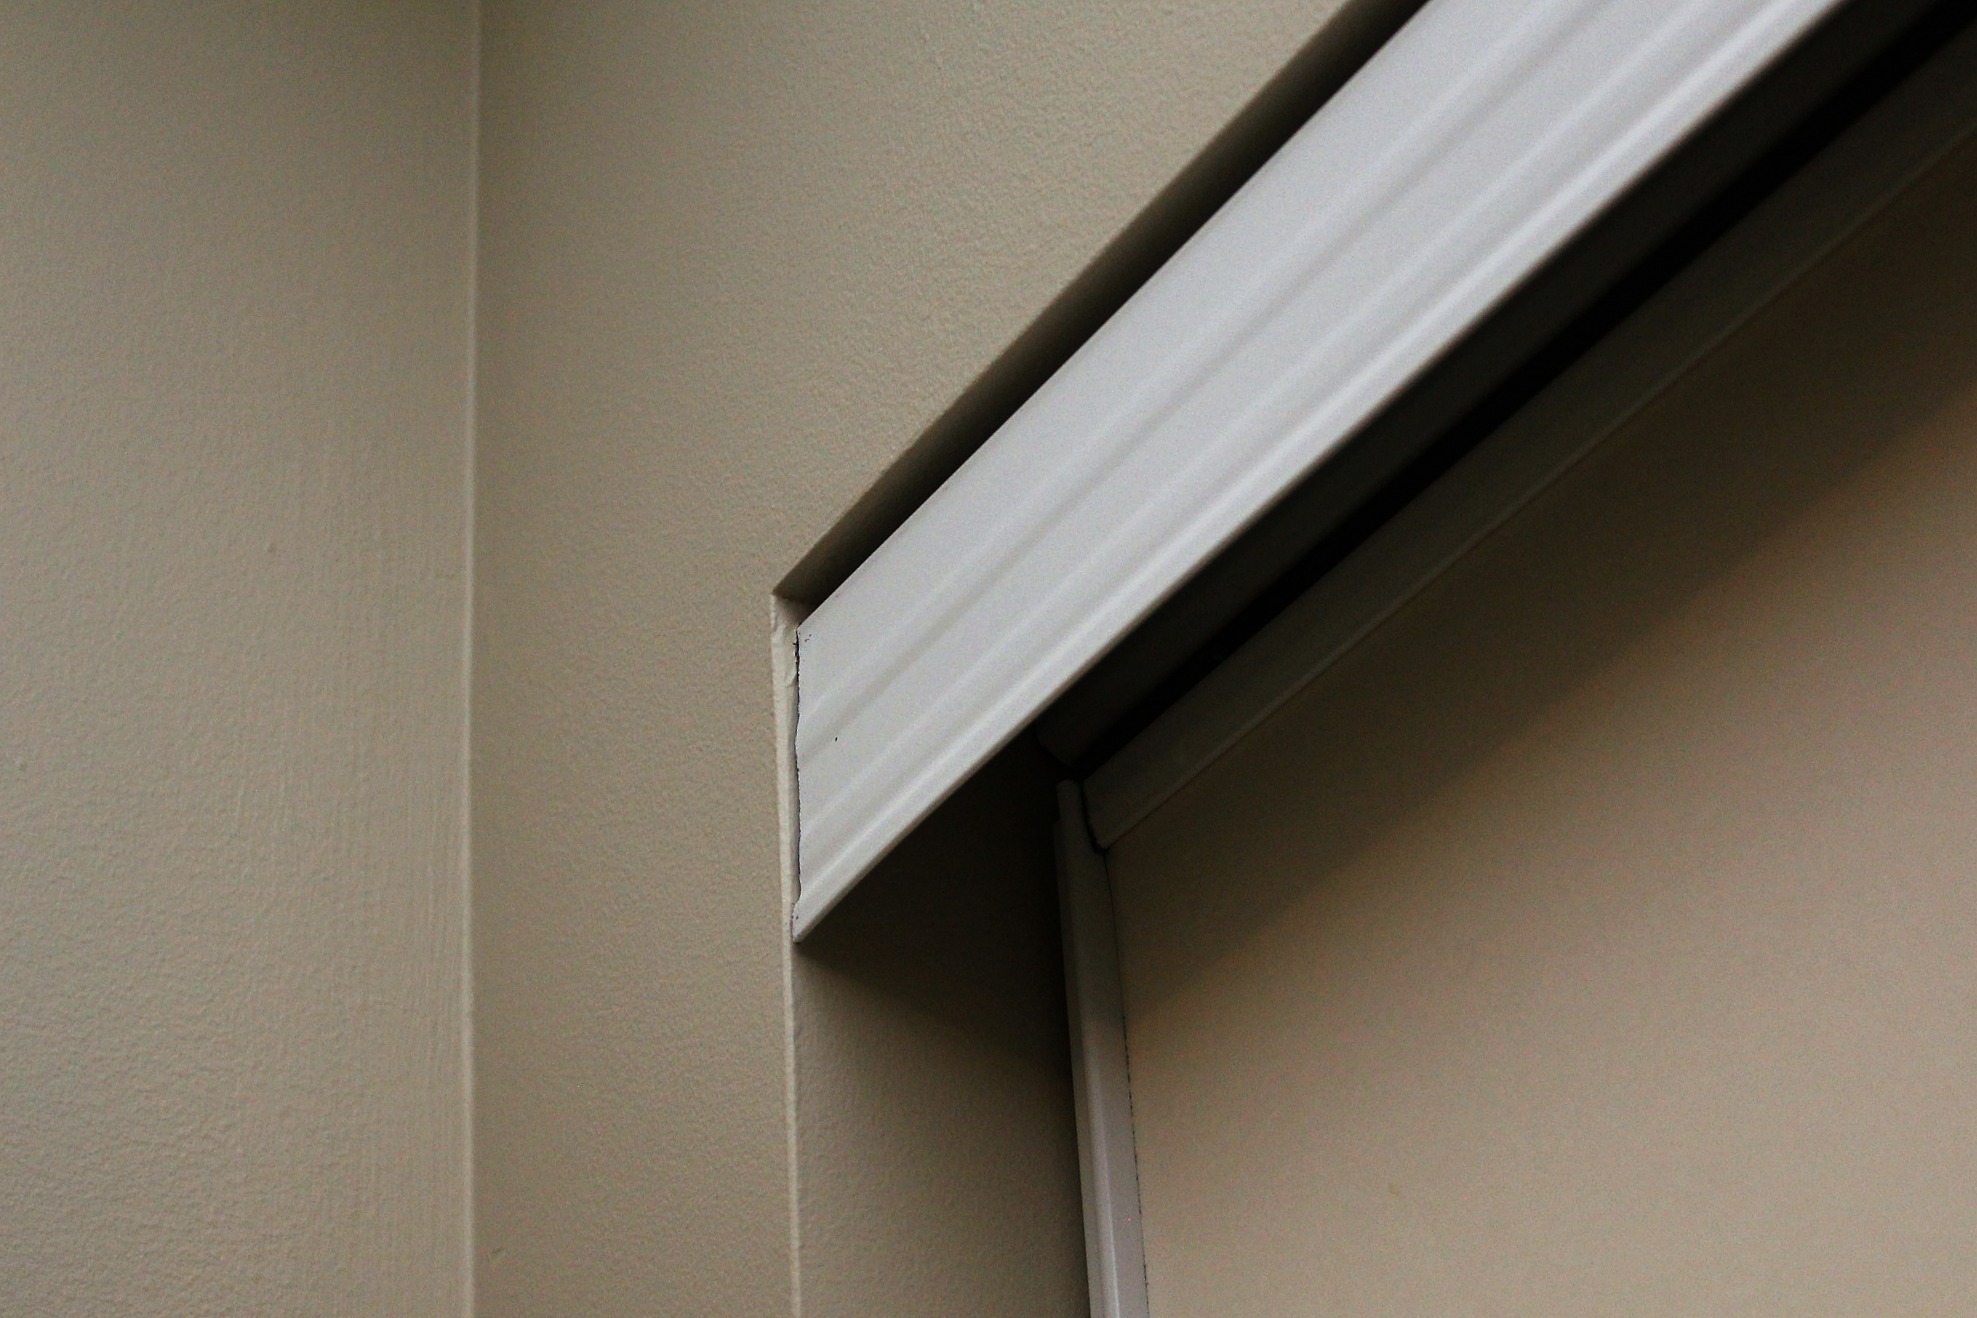
First you'll want to remove the sliding doors and the top and bottom tracks. The doors should just pop out of the tracks - you might have to use a screwdriver to push the bottom clips out of the way. The tracks are usually just screwed into the upper doorway and the floor with a few screws.


Assuming your doorway is like ours, you'll want to frame it in and add trim. Measure the width and the height of the opening. The bi-fold doors available at our local Home Depot were 24", 30", and 36" wide, by 80" high. Our closet opening was about 61"x 81", so we needed 2-30 inch doors and 1 inch boards to frame in the doorway. The doorway "wall" is 5 inches thick so we bought 3-1x6x8 ft pine select boards for the sides and top, and a 1x4x8 ft board for the floor (more on that later). We also bought pre-painted trim so that the closet would match the rest of the hall doorways. I took a picture of the existing bedroom doorway trim with my phone so that I could match it in the store. If you have a spare piece you can take with you, that's even better.

Framing the doorway

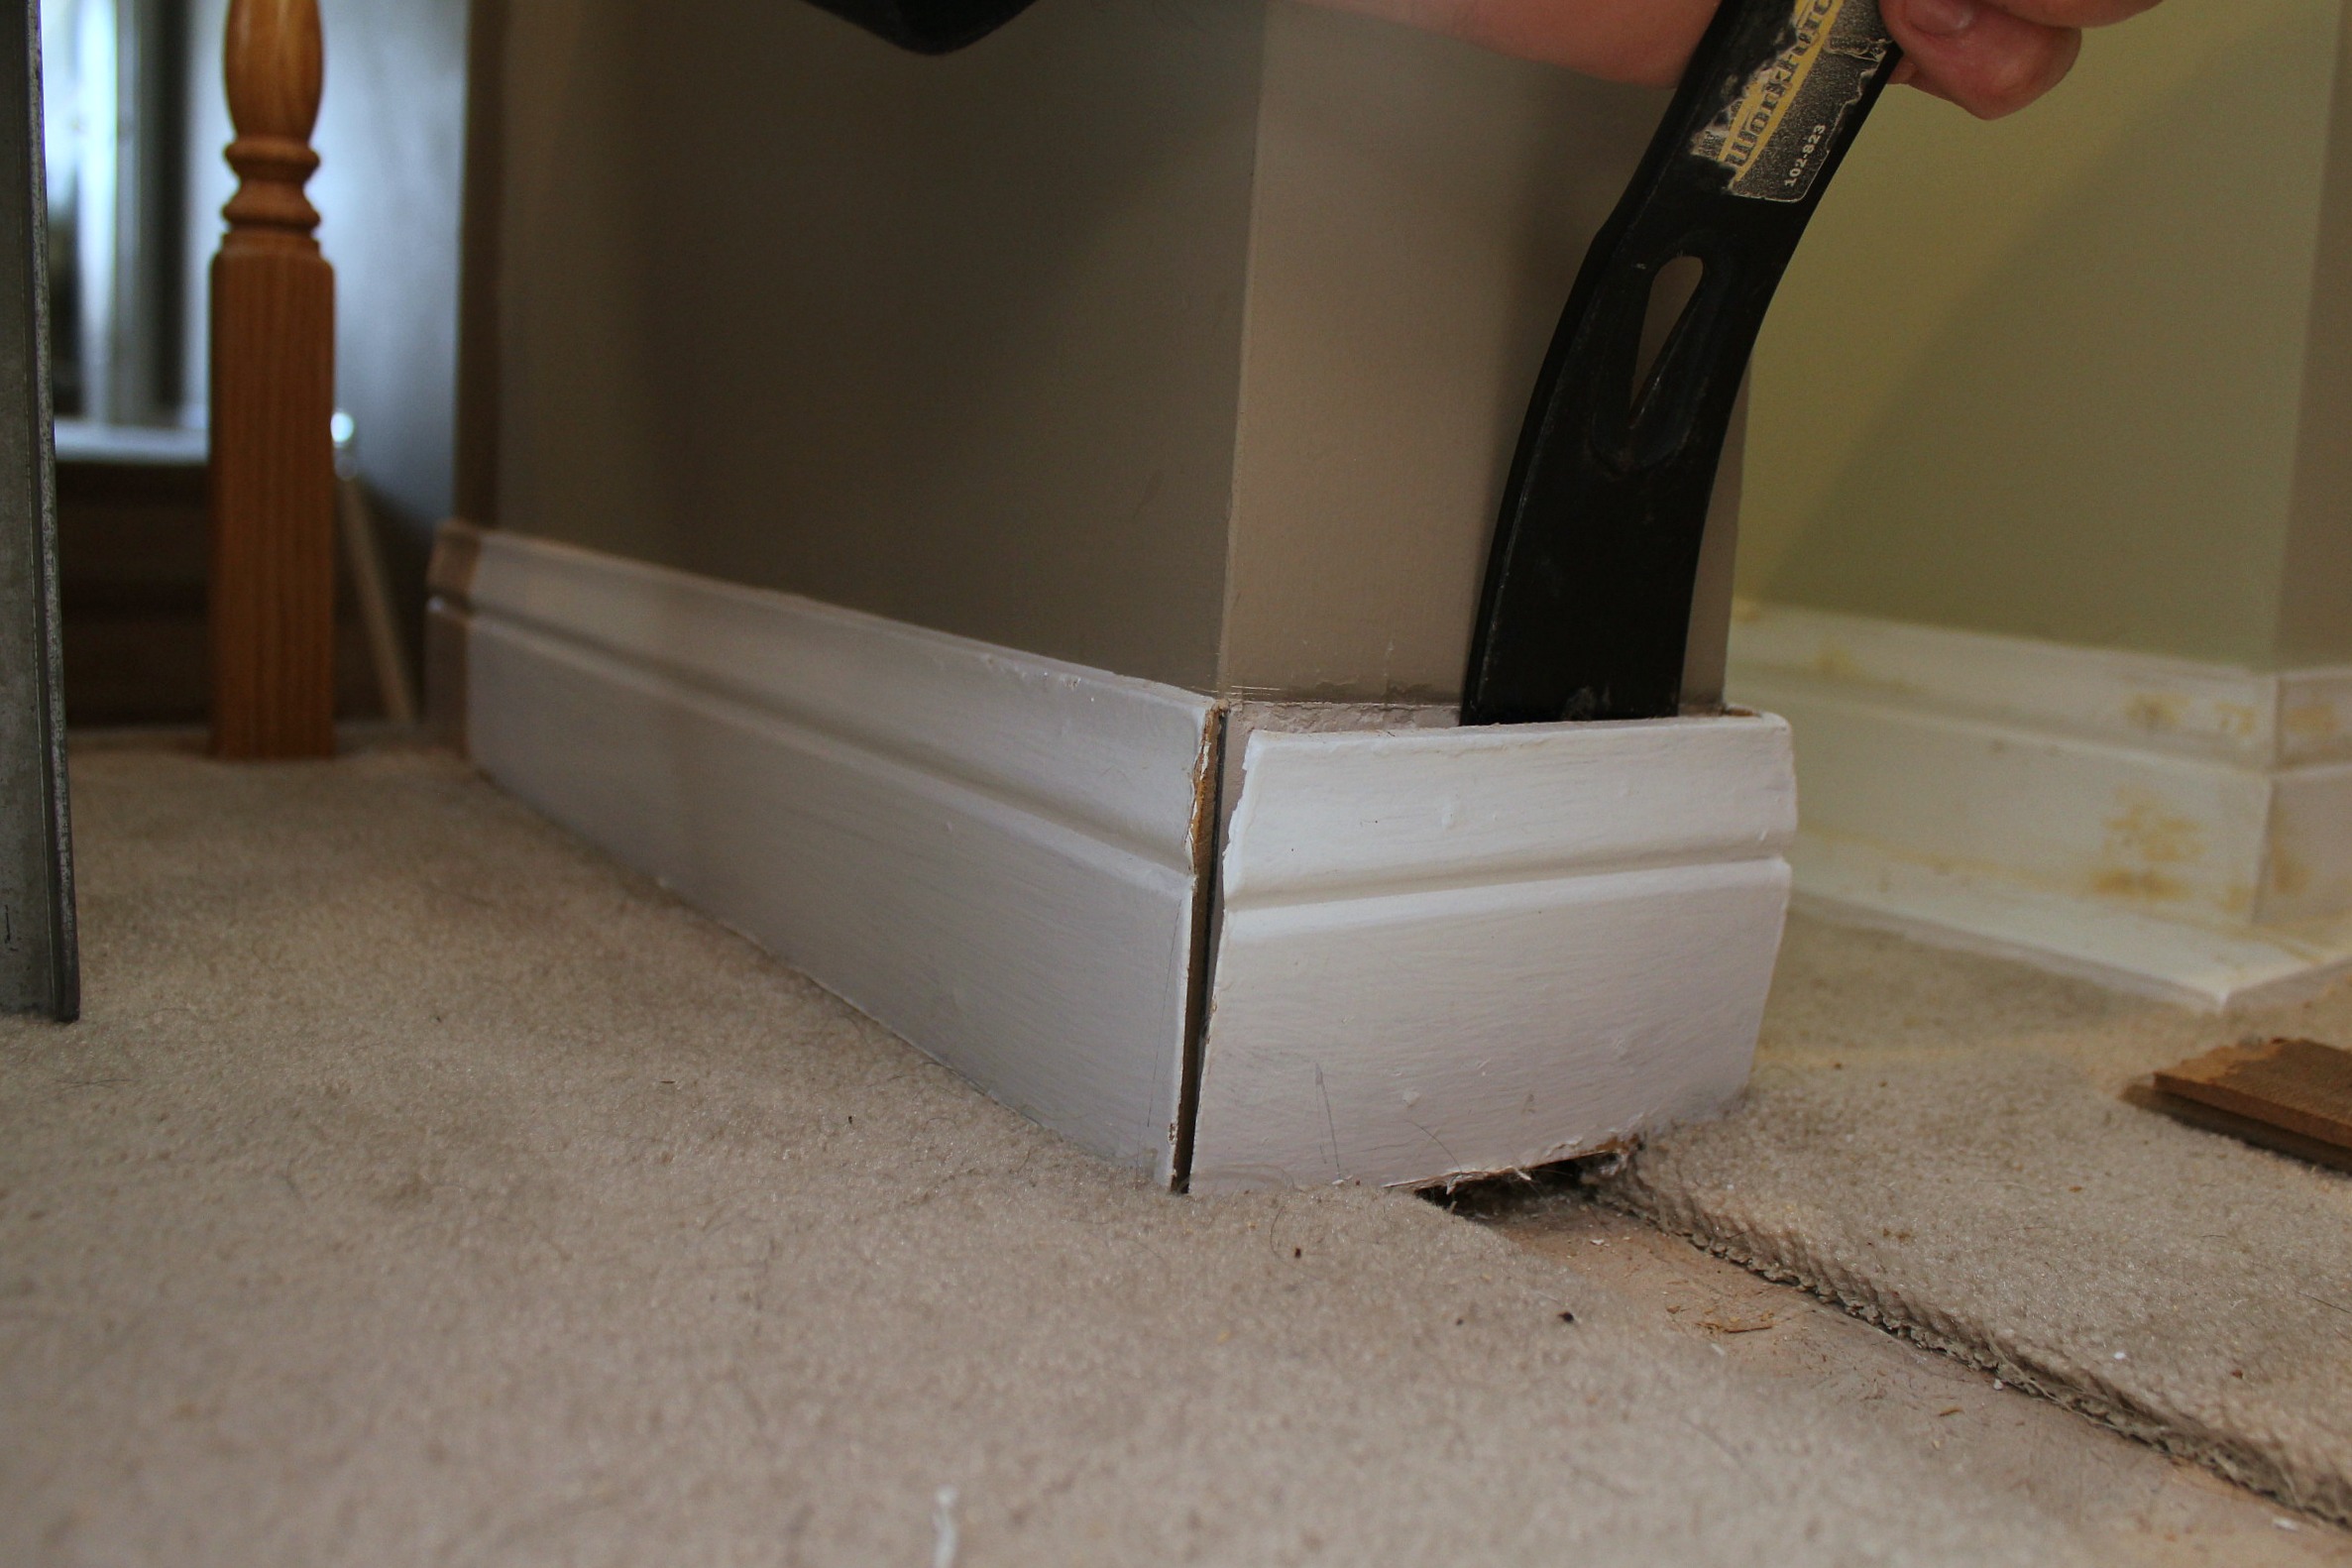
If your baseboards wrap around the doorway you'll need to remove the side pieces. Carefully run a utility knife along the corner seams of the baseboard trim to separate the side pieces from the hall/room pieces and along the top edge of the baseboard to separate it from the wall. If previous paint jobs have glued them to each other you can end up damaging the drywall if you just tear the baseboard off. Once the edges are scored, wedge a prybar or flathead screwdriver between the wall and the baseboard and pull the trim out a bit. Work the prybar back and forth along the piece of trim until you can pull it free from the wall.


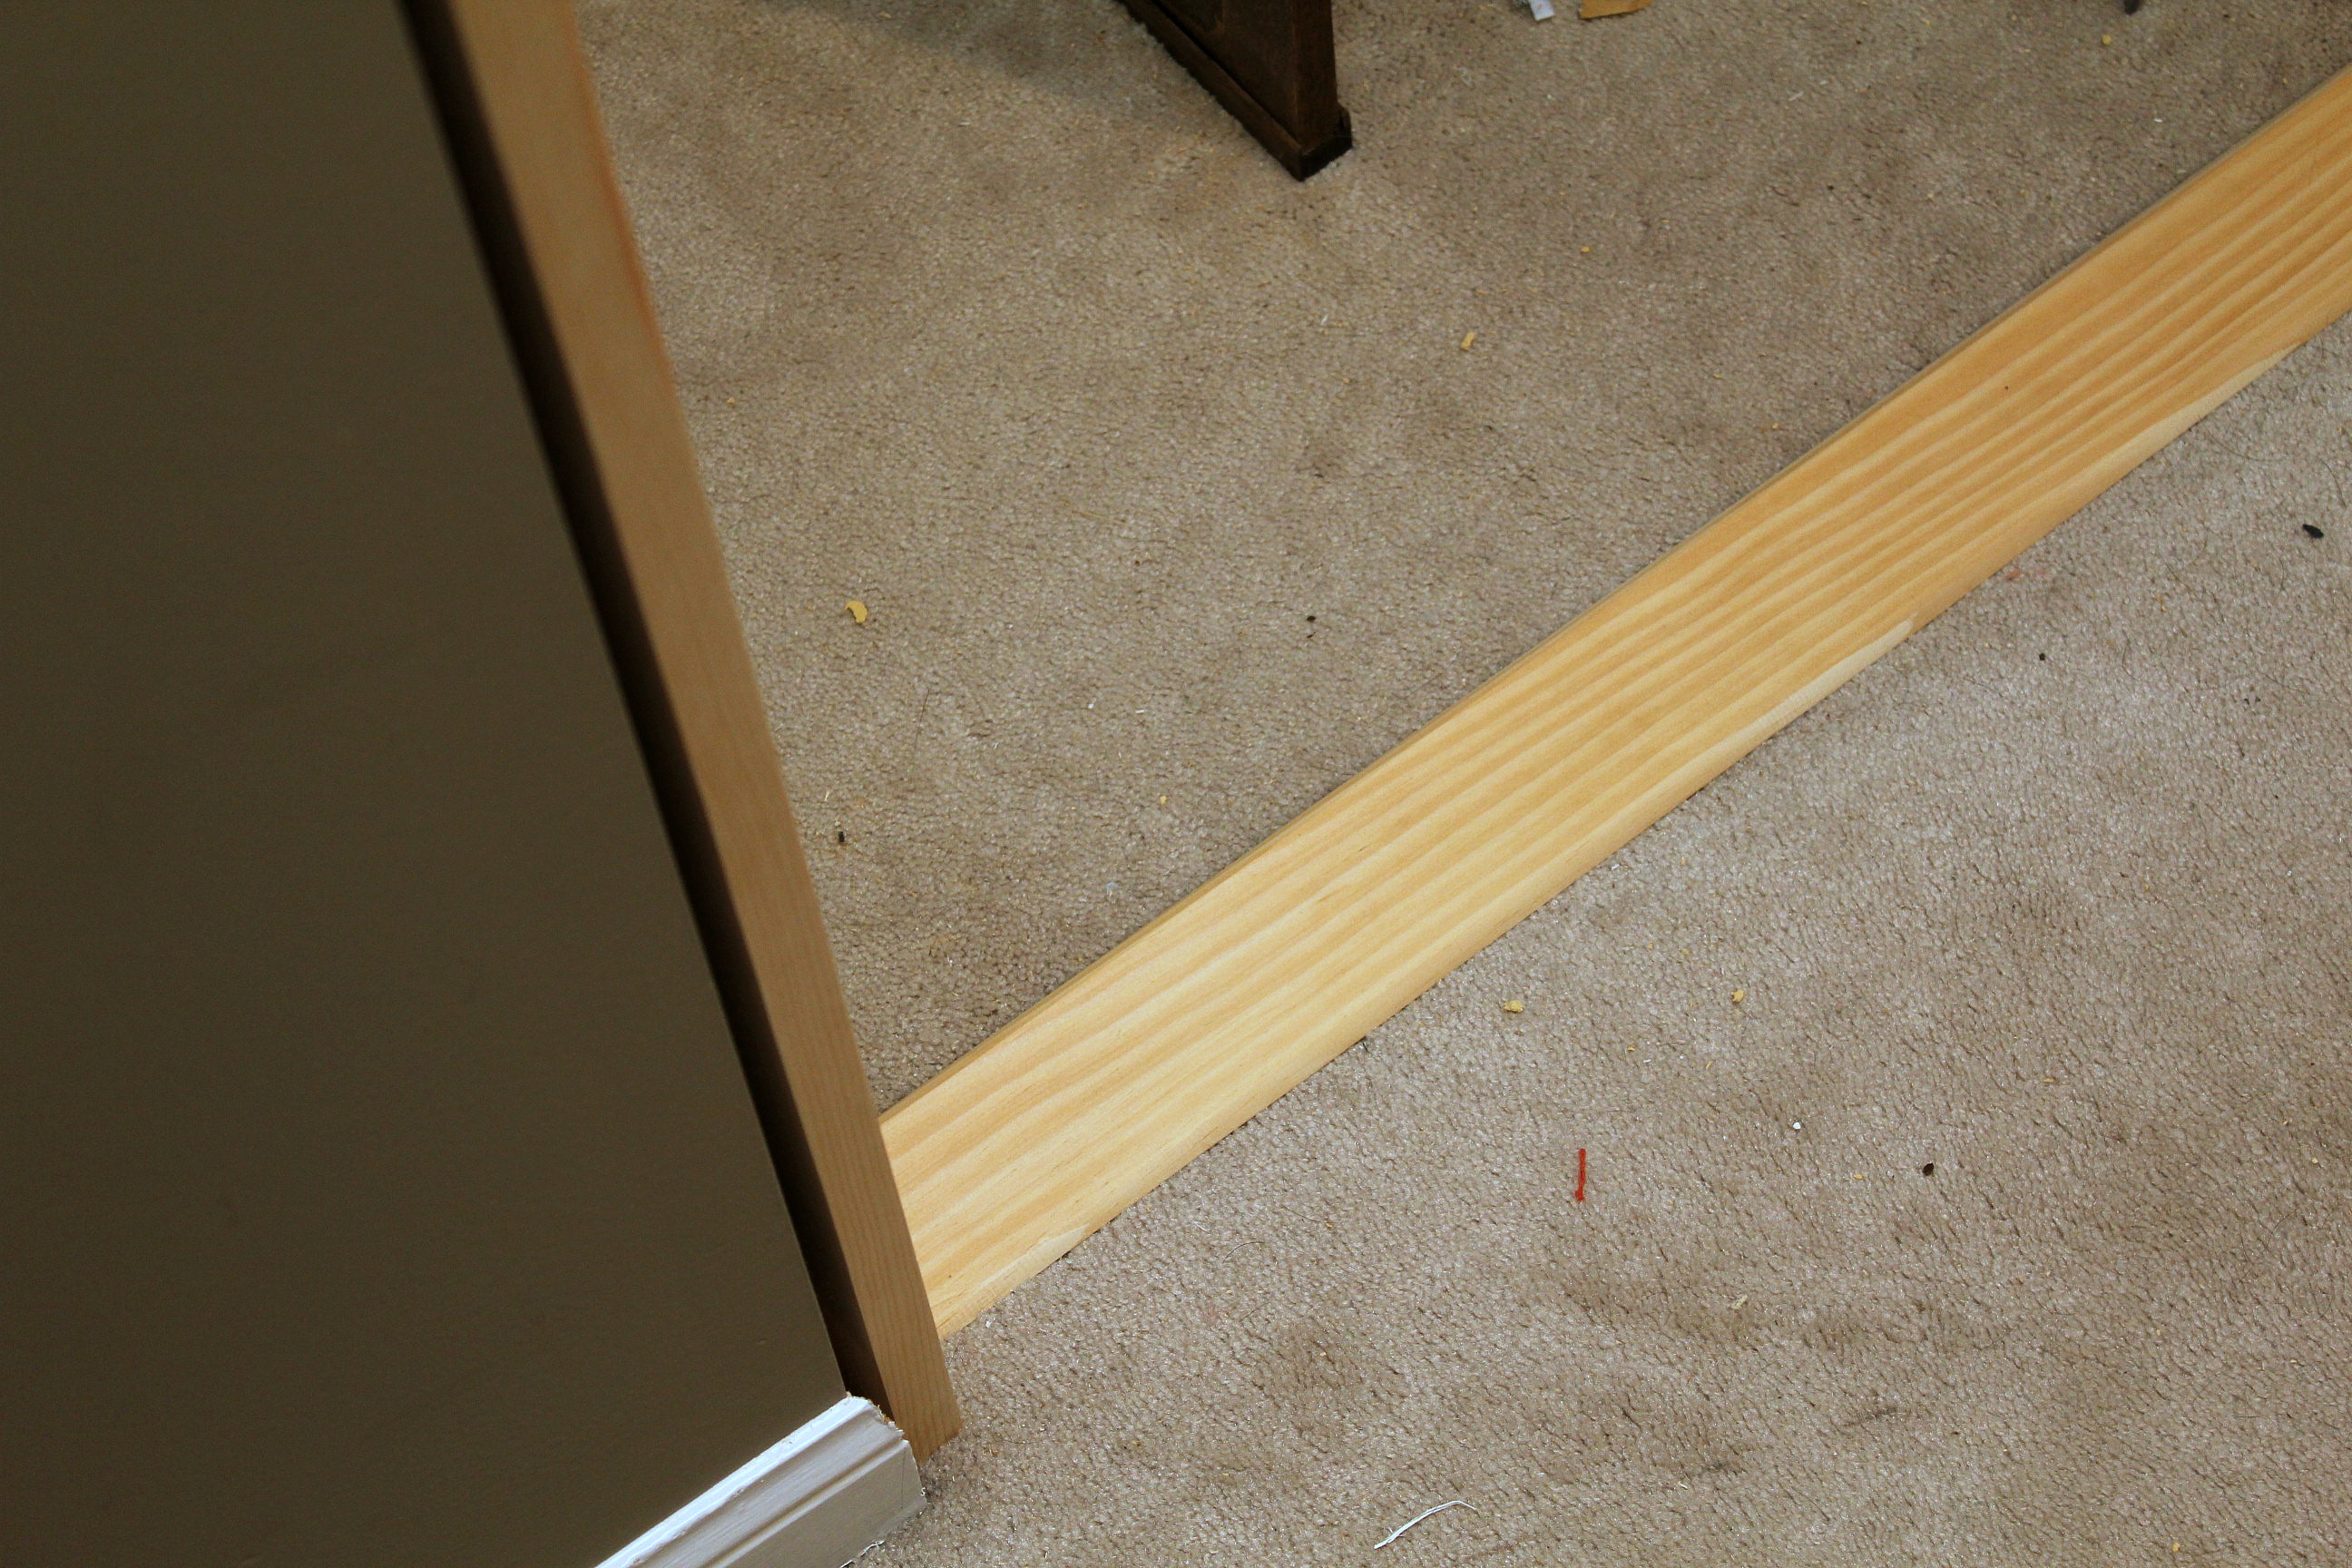
Our linen closet and upstairs hallway are carpeted - separately from each other - so we needed to hide the gap between carpet edges that was previously under the door track. This would also provide a hard surface for the bottom door brackets to attach to. This bottom piece needed to be as flush as possible with the floor while still overhanging the carpet on each side so that the carpet edges were hidden. Tom took a piece of 1x4 inch board and routered along each side to form a  long T-shaped board. The bottom of the T sits in the gap between the carpet edges, flush to the subfloor, while the arms of the T sit on top of the carpet and hold the edges down. This trim piece was screwed right down into the subfloor.


Note that any time I mention attaching screws, you'll want to drill pilot holes first and counter-sink the screws so that you can putty over them later.

Now to frame in the doorway. As mentioned above, our doorway is 5 inches thick, so two of the 1x6 boards had to be trimmed down a bit with the table saw and cut to 81 inch lengths. To keep the opening wide enough for the doors, Tom had to plane the boards a little, finally getting to use the Dewalt planer I bought for him for his birthday - last August. You don't want the doors rubbing on the frame, but you don't want big gaps either. Don't worry about getting it perfect here - the hardware that comes with the doors is adjustable. Screw these upright boards into the wall loosely. Take your level and make sure the boards are square. If you need to, insert shims between the wall and the board to get it level and keep the board straight. Tighten down the screws, making sure they are flush with your board surface.


Once your two side boards are installed, you can install the top board. Repeat the previous steps by cutting the board to length, planing it if need be. You could also trim the wood with a table saw and then sand it smooth if you don't have a planer. That's what we've done in the past. Then you screw in the board and shim it out if necessary.


You're frame is built! At this point we took it all apart, gave the boards a couple of coats of paint, and then put it back together. It's much easier to paint when you don't have to worry about getting paint on surrounding areas.

Installing the trim

Now it's time to trim in the doorway. If you remember back to when you removed the baseboard, you'll see that the baseboard you left behind is probably sticking out at a 45 degree angle. You'll need to cut it back to leave room for the trim you're going to install around the doorway. If you have a trim tool like a Dremel Multi-Max, you can cut the baseboard right in place. Or you can remove the piece from the wall, cut it, and reinstall it. Measure the width of your new trim, then measure that same distance in from the outer edge of your framing board and mark that spot on the baseboard. That's where you'll want to make your cut. Repeat on the other side of the doorway.


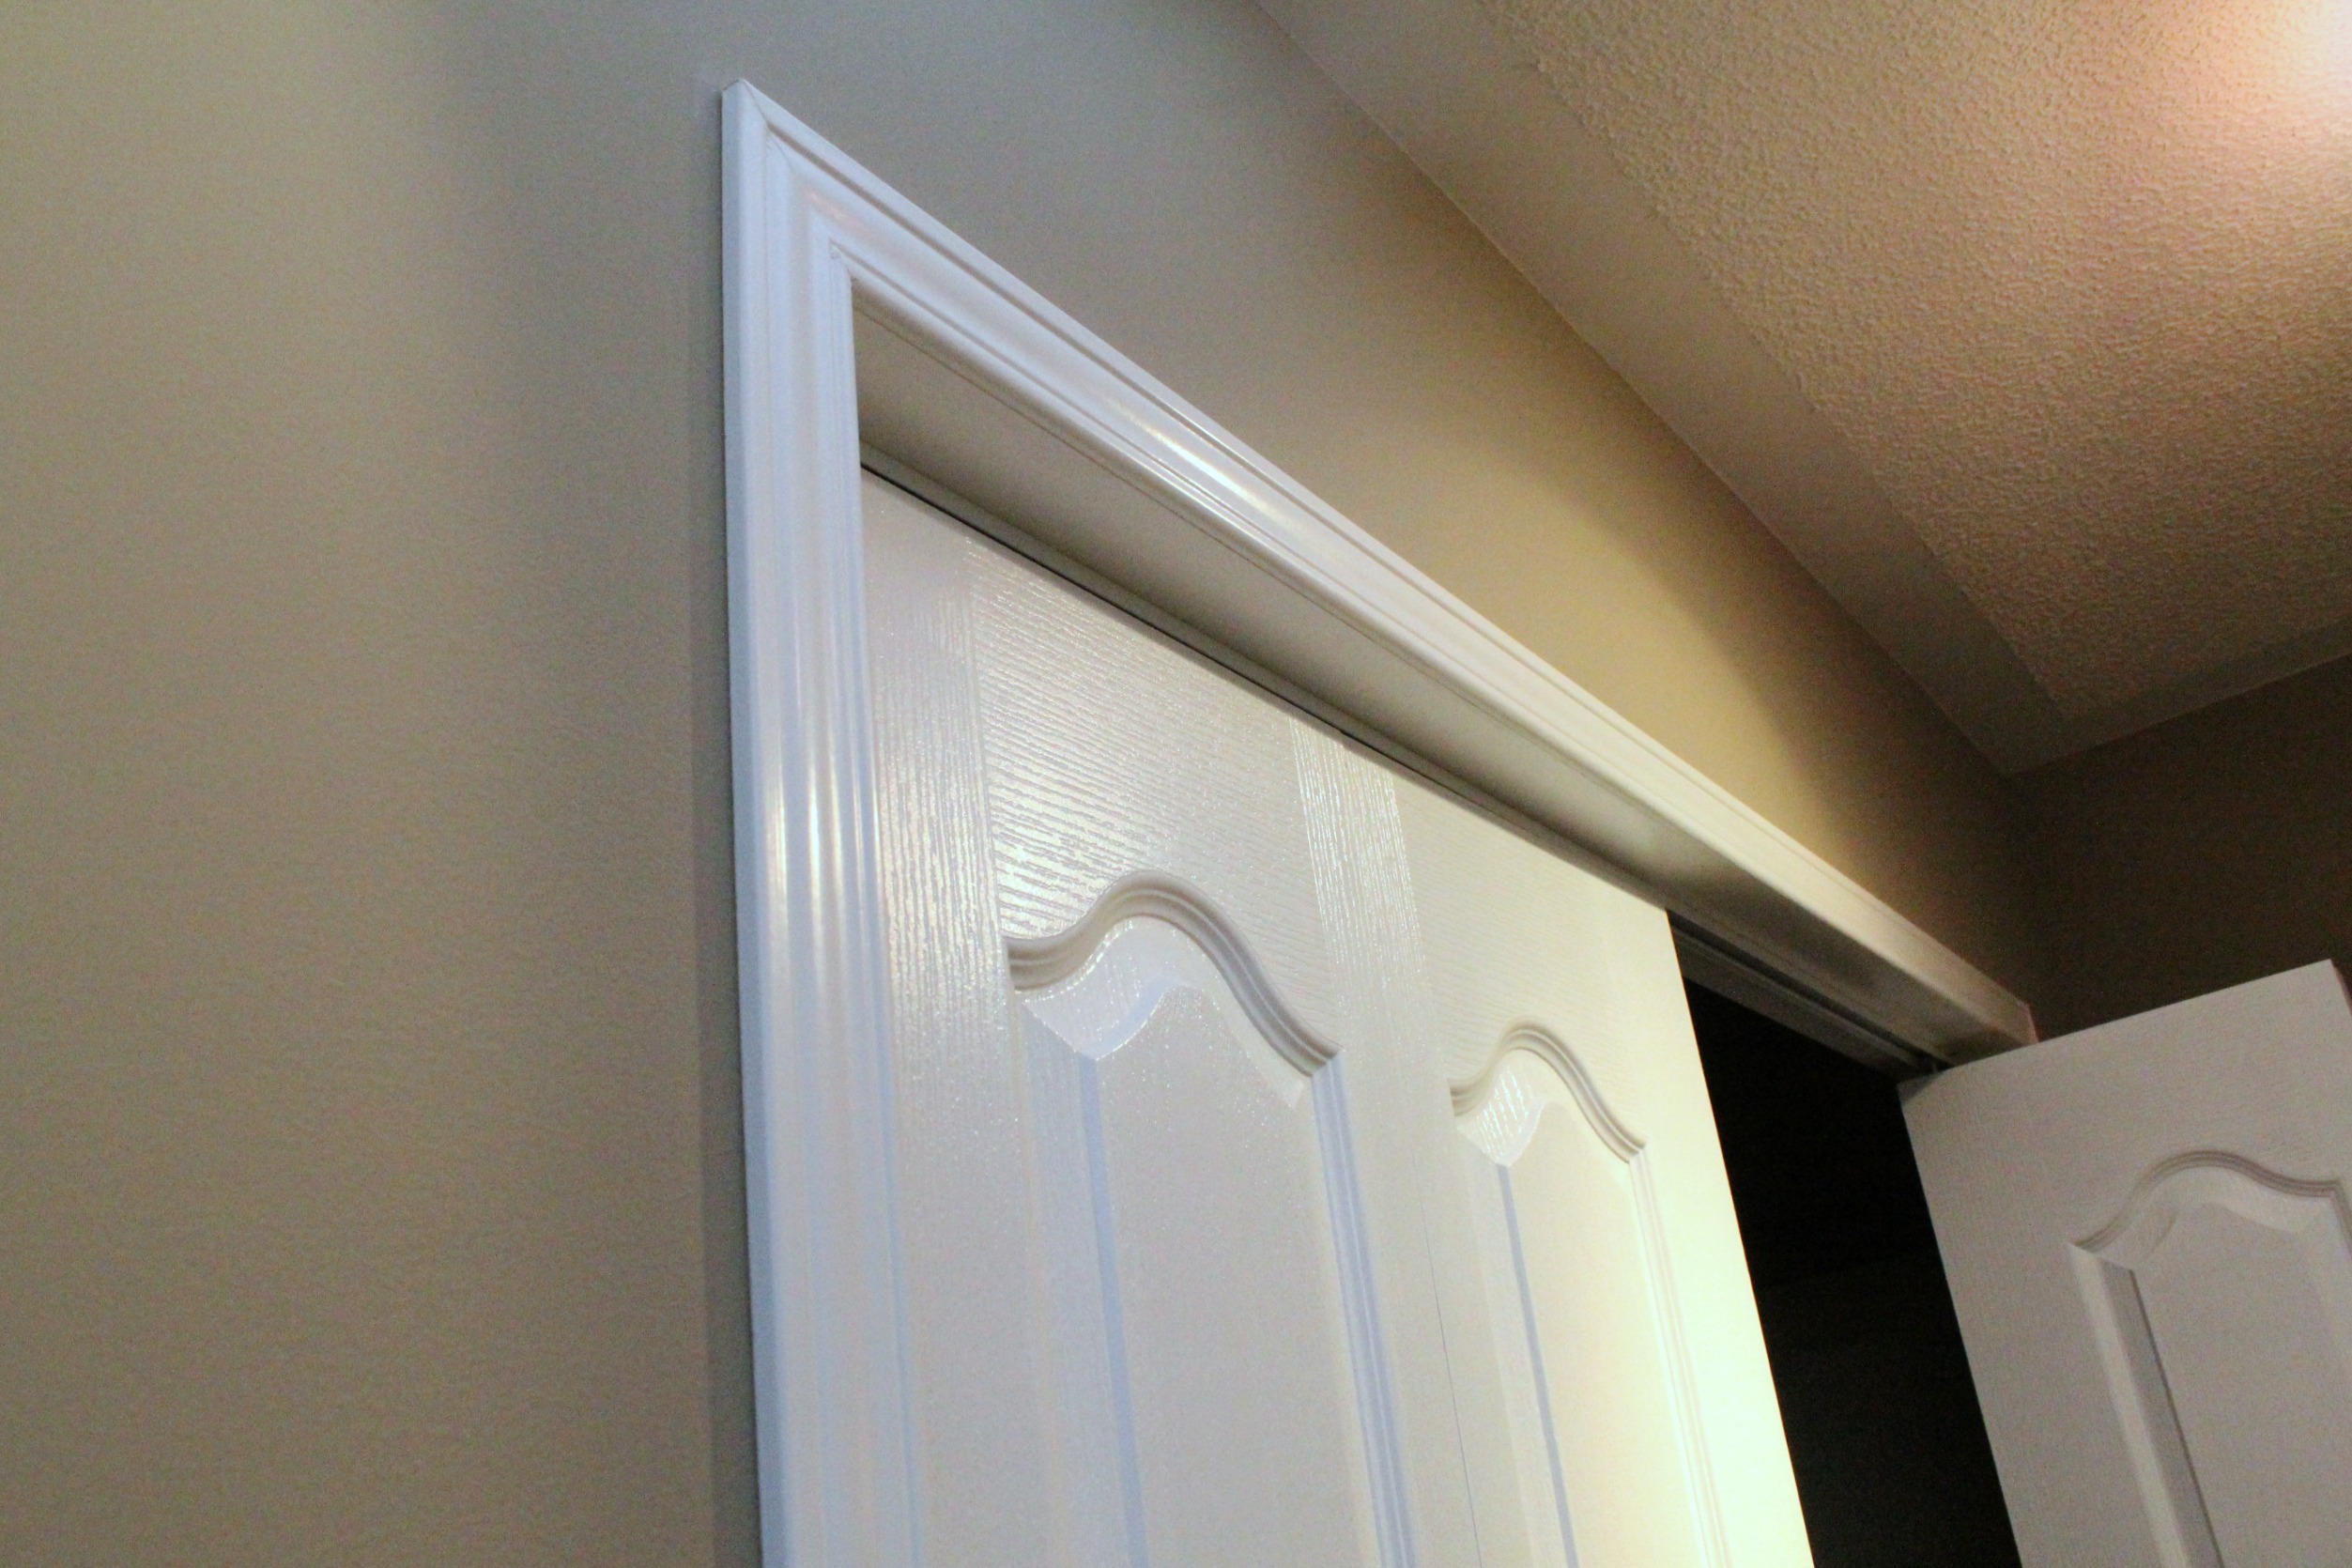
The upper corners of the trim are mitred and then the joints are caulked. Your vertical trim pieces should be the height of your doorway + the width of the trim piece that will sit horizontally. Set your mitre saw at a 45 degree angle and cut the trim. Repeat for the other side of the doorway, making sure you reverse the angle. Secure the trim with just a single nail at the top of each piece for now, so that you're still able to make adjustments.

Measure the inside width between the vertical pieces, mark this length on your top trim piece and cut the trim at 45 degrees on each side, angling outwards like a V. Set your top piece in place. If you need to adjust the angle, you can now make small cuts to the top piece until you get the corners to line up. You might only have to wiggle the side pieces around a bit to get them to match. Once you have them where you want them, nail them in place. If any of your nails are slightly raised, use a hammer and nailset to countersink them.


Time to caulk and putty! Putty all of the screw and nail holes and leave to dry. Cut a tiny, angled hole in the tip of your caulk tube, and apply a thin line of caulk along the seams between your frame boards and your trim and along the mitred trim edges. Wet your finger and run it along the caulk line to remove the excess and get a smooth line. You can also caulk along the seam between the trim and the wall if there is a gap. Leave to dry.


Once the putty is dry, sand  the surface smooth and apply a second coat. That second coat will make all the difference in having the holes disappear. Sand again once dry. Paint your frame and trim. I like to use Behr white semi-gloss paint and primer in one. Even though we bought painted trim, I still needed to give it a coat to hide the nail holes. The frame needed two coats. At this time I also gave the front of the doors two coats of white semi-gloss to match. When we did the front hall doors I painted the backs of them, but really, who's going to see them? Even when the doors are open the backs are completely hidden. But don't forget to do the sides!

When all of your paint is dry you can start installing the doors.

Installing the bi-fold doors

The doors should come with installation instructions, but I'll also show you what we did. Align the guide track along the top frame of your doorway. You can decide how far forward in the frame you want your doors to sit, but make sure the track is far enough back that your doors aren't sitting in front of the frame when they're closed. If you're installing where there's carpet you also need to make sure you have a hard surface for the bottom bracket to sit on. Since we were using the strip of wood we installed to join the carpet sections, our doors sit about halfway back.

(You can see that the track comes in two pieces and they don't fit together perfectly. You could caulk this seam or, if your track is closer to the front, you could drop the trim down to hid it.)


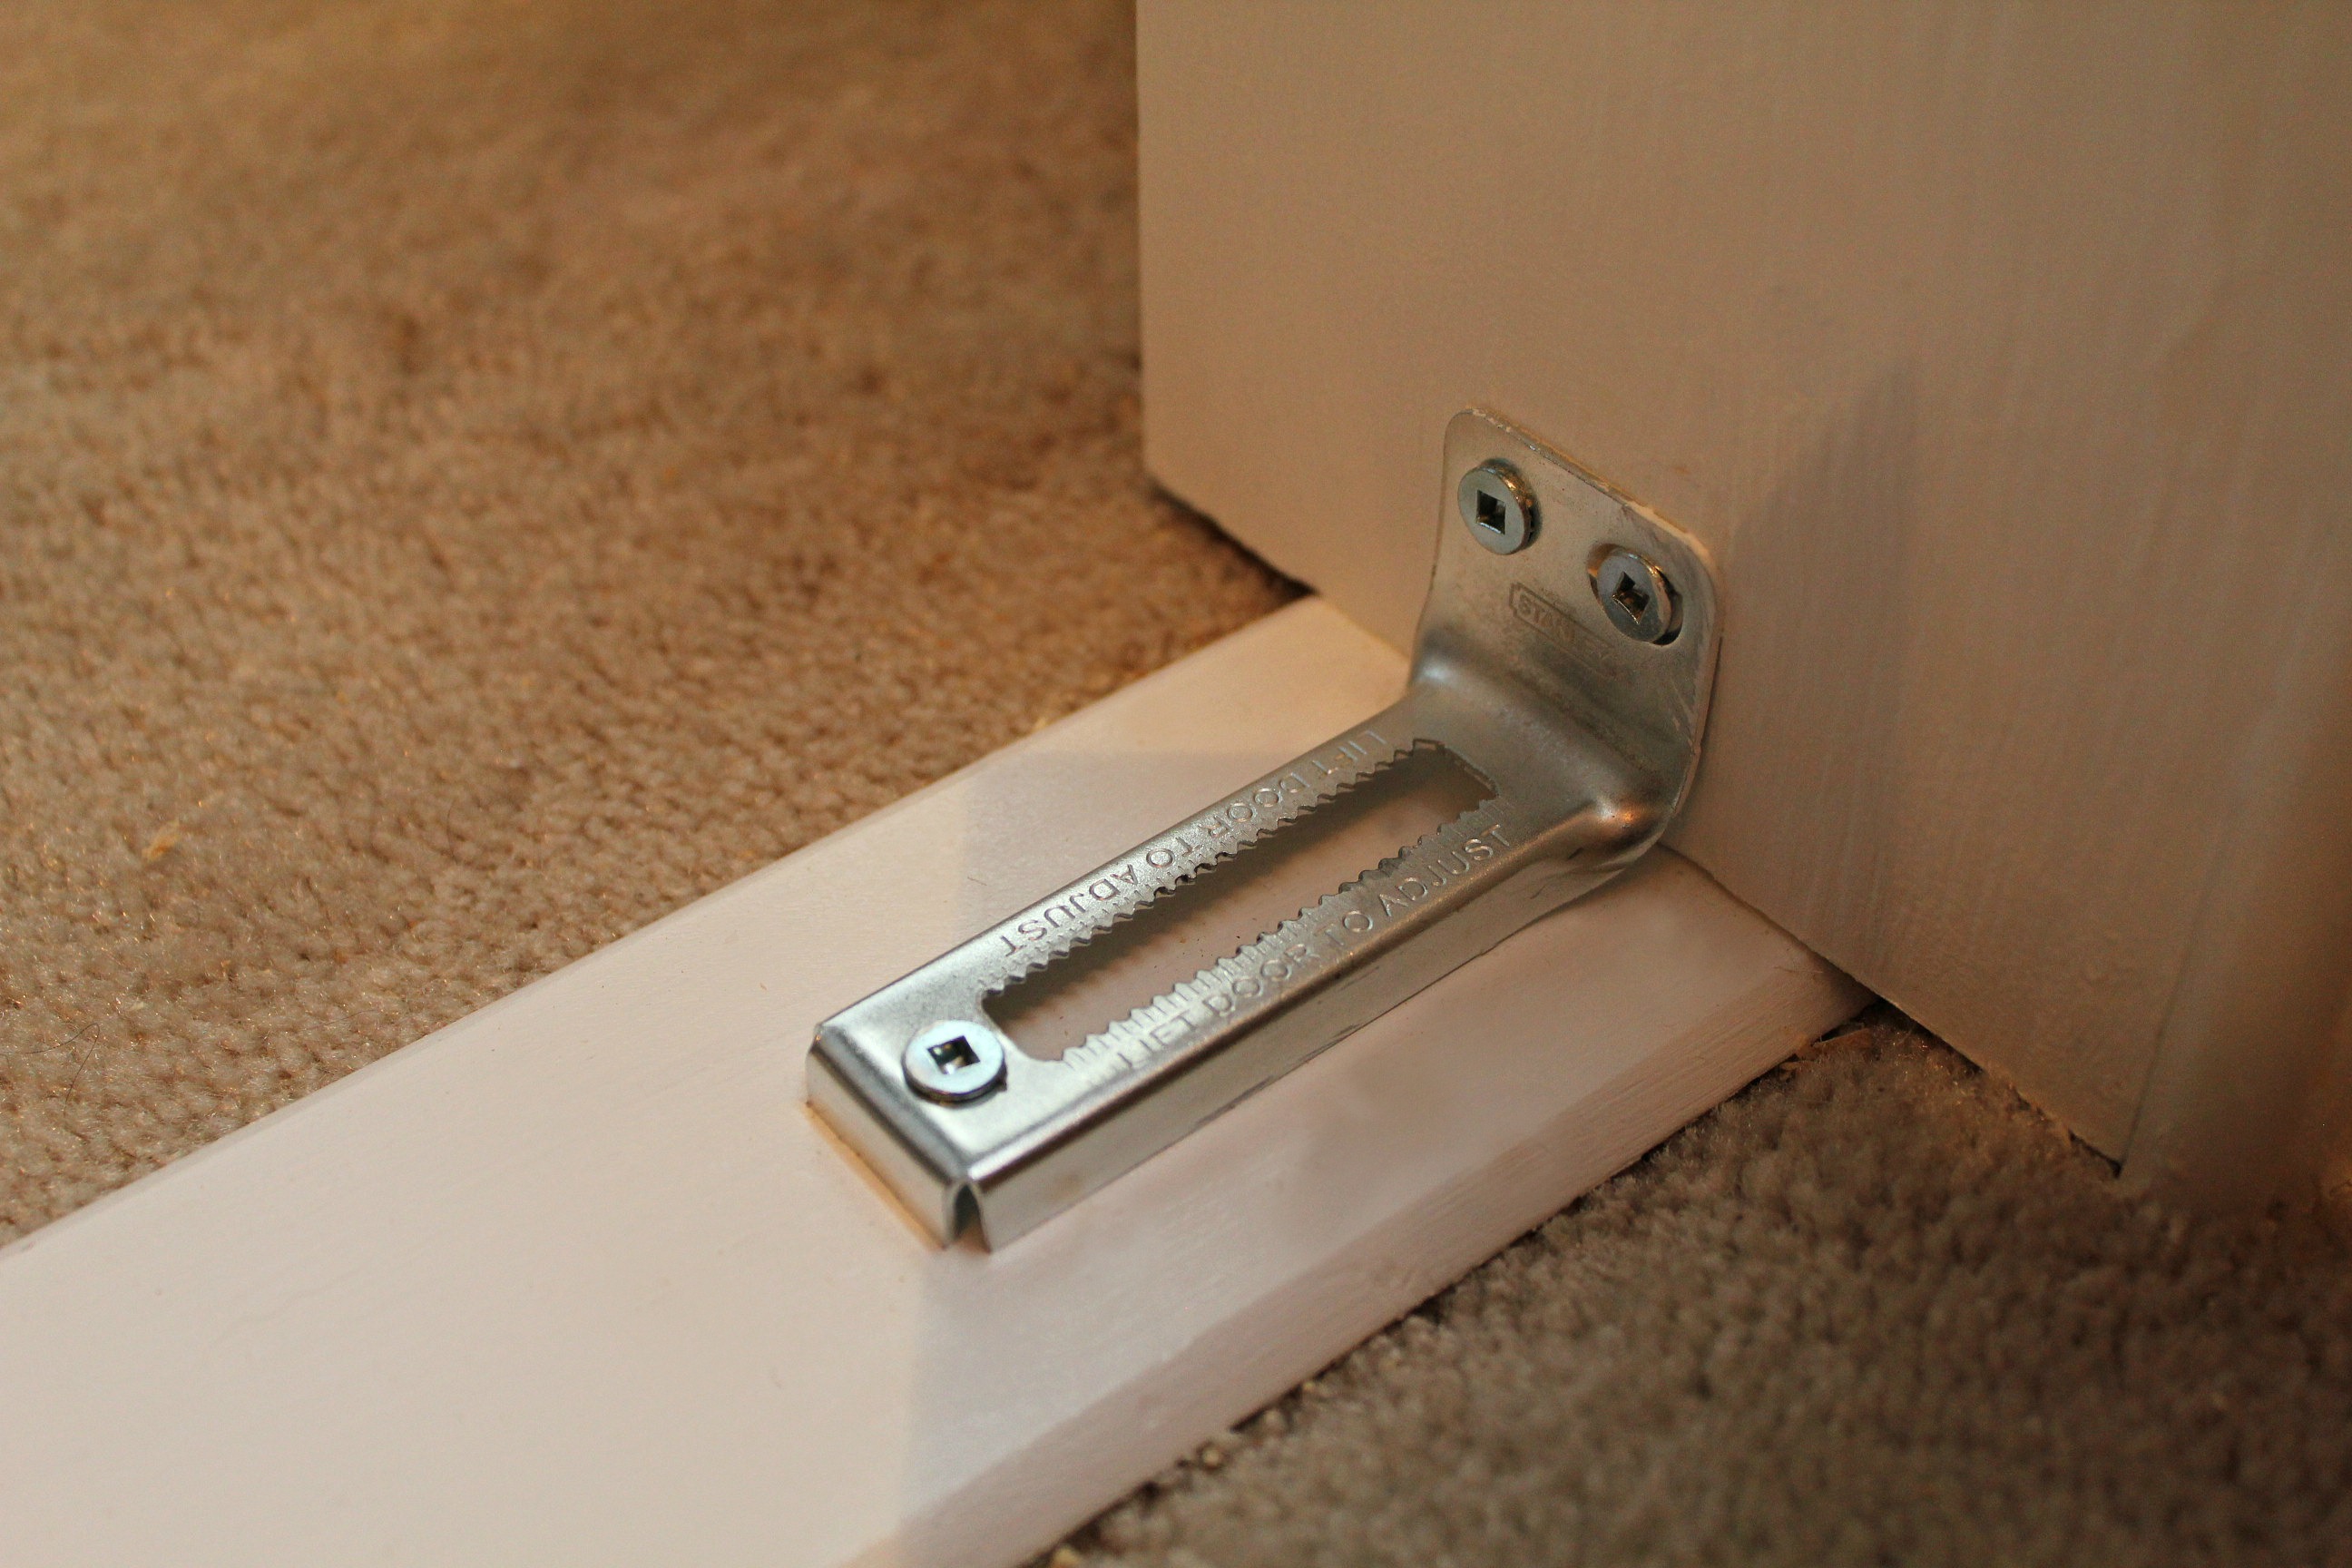
Once you have the track where you want it, screw it into the frame (there'll be pre-drilled holes in the track). Take the lower bracket (they are L-shaped and have a jagged opening in the center) and position them on the floor against the side frame, making sure they are aligned with the top track. Fasten the bracket to the floor and to the frame with screws.


The holes for the mounting hardware should already be drilled into the doors by the manufacturer. Use a hammer to tap the pins into position. There should be a pivot pin and a guide wheel-type pin for the top, and a pivot pin for the bottom.


Lift your door and put the upper pivot pin into the bracket in the upper track, and then slide the guide pin into the track as well. You should be able to lift the door slightly and put the lower pin into the bottom bracket slot on the floor. The teeth in the slot hold the pin in place and keep it from sliding. Carefully open and close the door to test for clearance. If the door is too close to the wall, you may need to make adjustments at the top, bottom, or both. Remove the door and set it aside.

Loosen the screw in the top bracket of the track and slide the bracket out from the wall slightly to provide more clearance, then retighten the screw. Put the door back in place, but move the bottom pivot pin out further in the slot. Place the other door in position the same way. The pivot pins also act like screws in that they can be twisted to raise or lower the doors. It can take some fiddling around to get the doors even but it can be done!


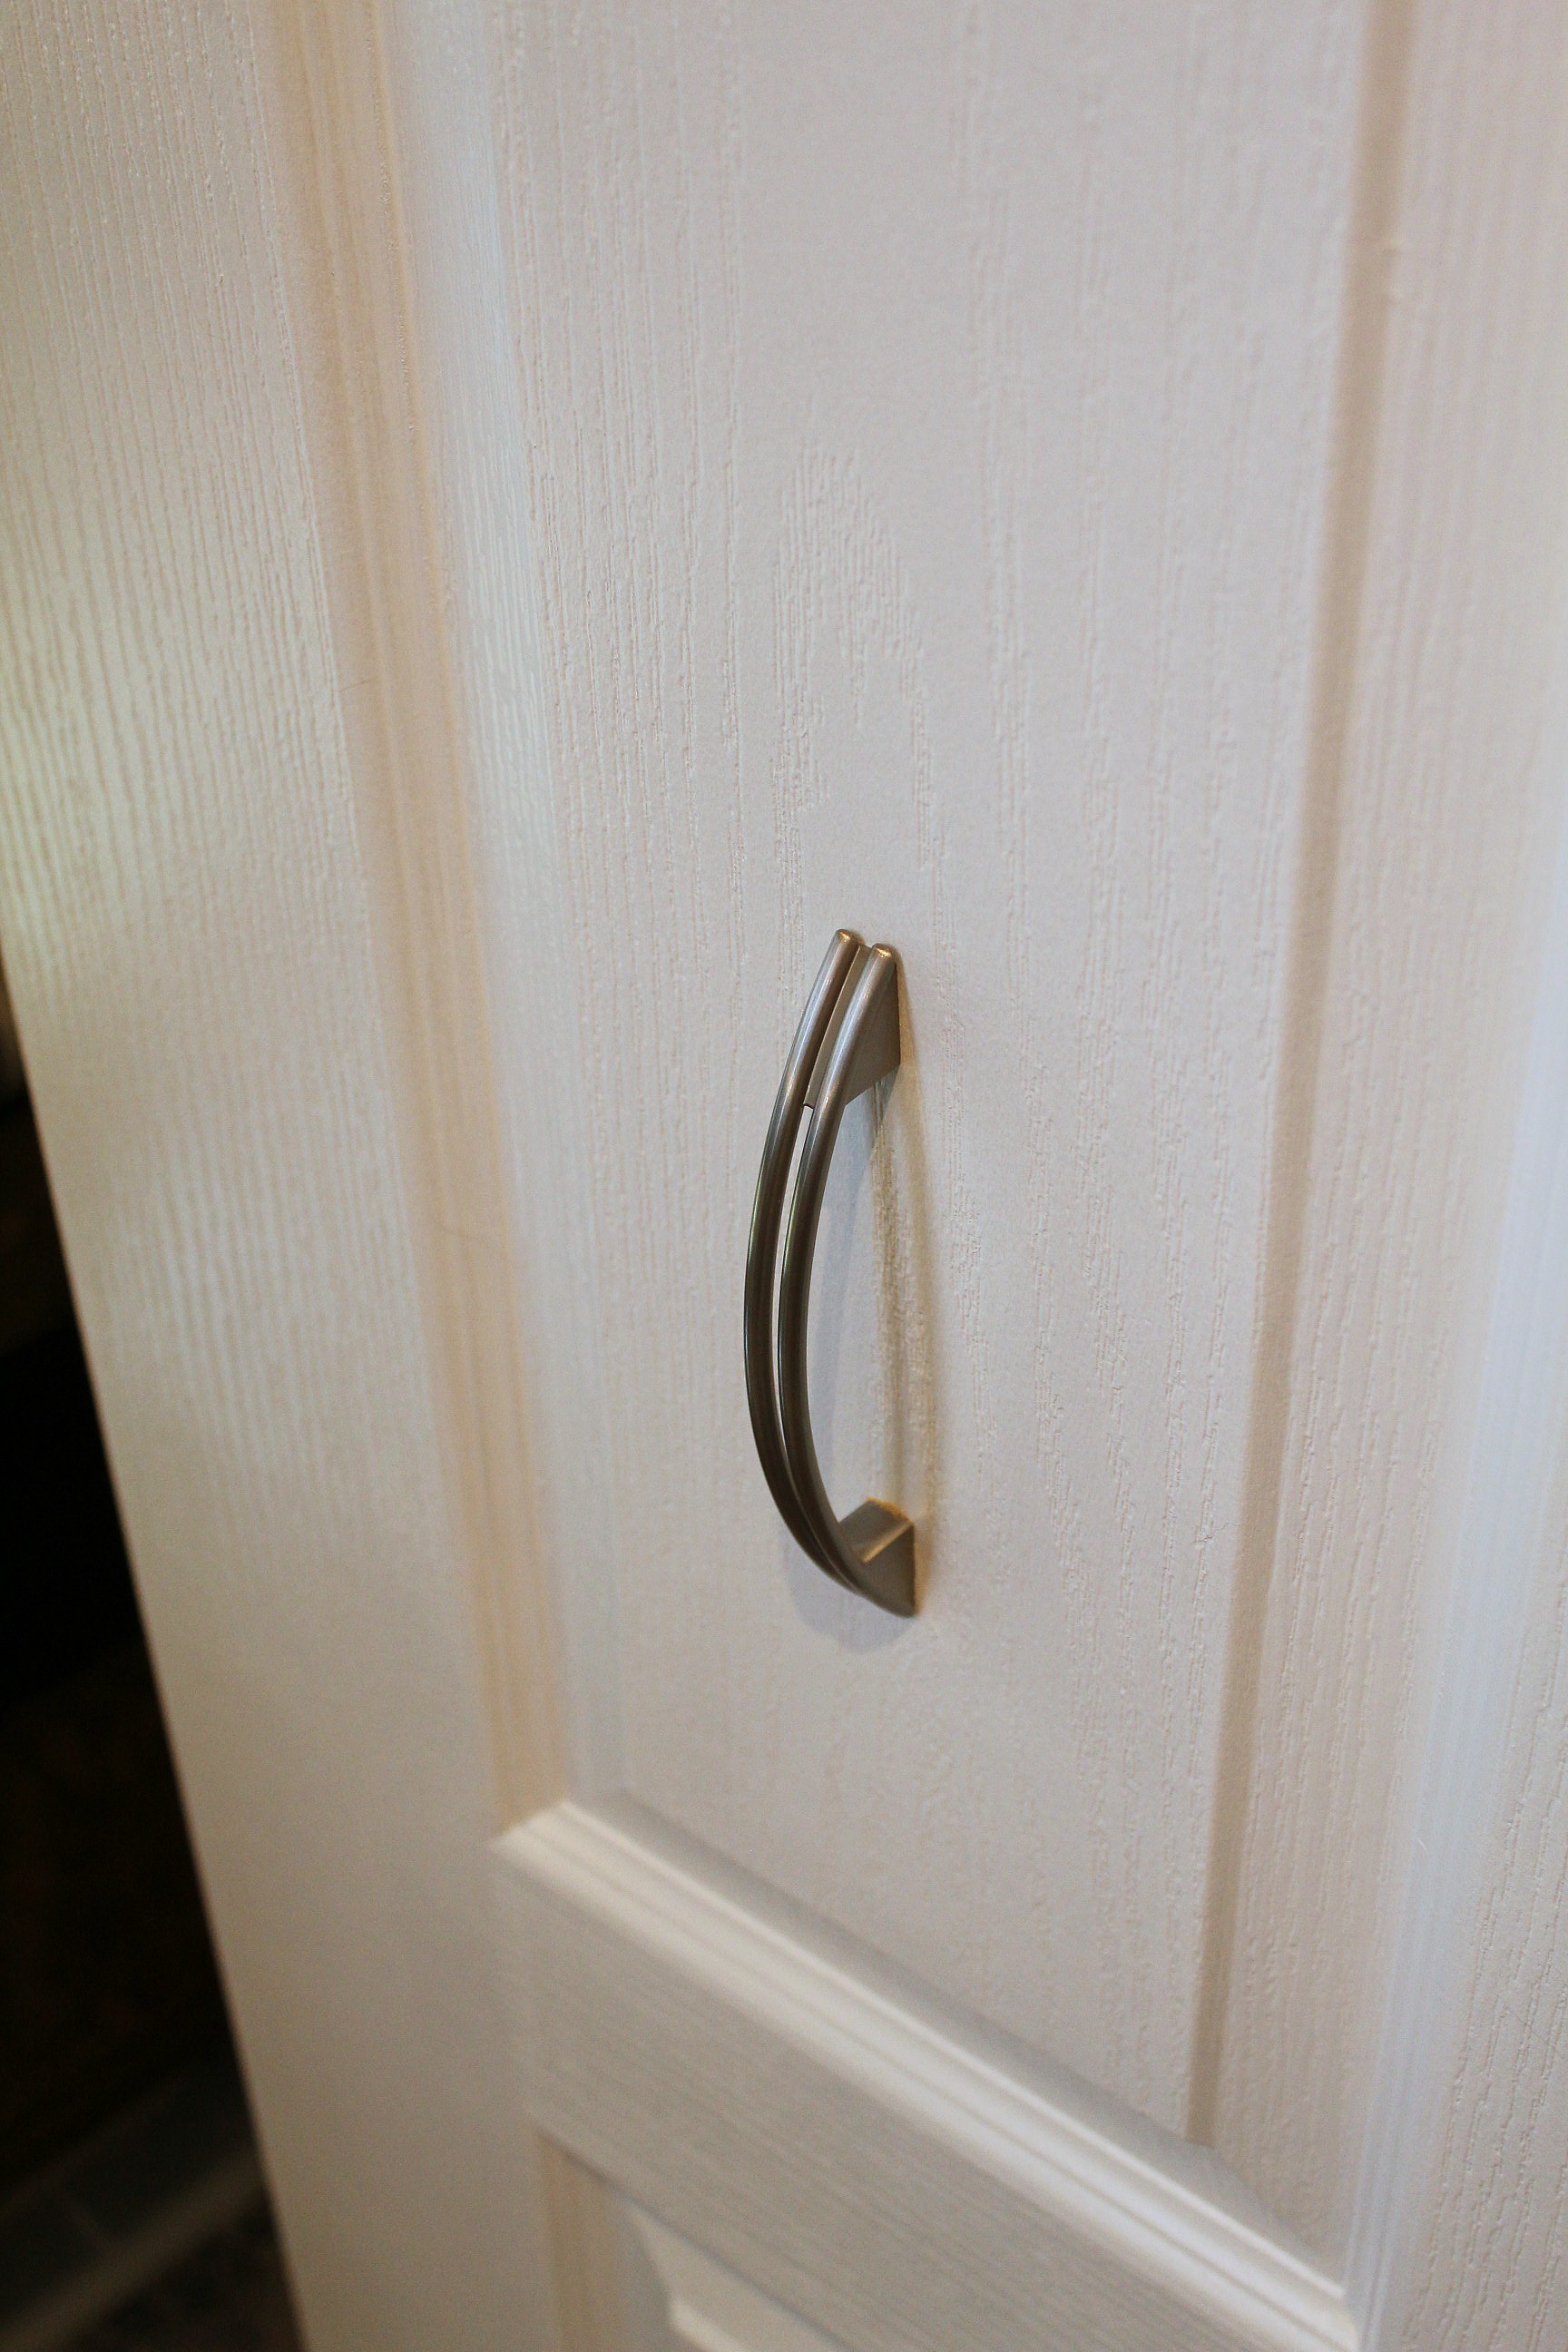
On to the door handles. We replaced the wooden knobs that came with the doors with brushed nickel handles. Decide where your handles would look best. Keep in mind that you want the doors to pivot and fold, so the handle needs to be closer to the centre of the door than a regular door handle would be. If you're using handles other than the ones that come with the door, you'll need to buy screws that are long enough to go all the way through the door and into the handle.


You did it - you installed bi-fold doors. Give yourself a pat on the back - you deserve it!





Feb 19, 2014

Linen Closet Rebuild

Thank goodness for 3-day weekends. It gave us time to get the linen closet finished, while still sleeping in a bit and even going out to eat a couple of times (long weekends were made for diner breakfasts).


Last week I showed you the rebuilt laundry chute, and now I can show you the rest. Our closet started out with wire upper shelves, particle board lower shelves, and sliding doors. We lived with it for 5 years. And we could have probably lived with it for another 5 years. But I really liked what we did with the closet doors downstairs and wanted to do the same upstairs. And since there was going to be a big mess made anyway, I figured why not get it all done at once?

Do you remember the before? Flimsy shelves, bad workmanship, and doors that only let you see one side at a time.


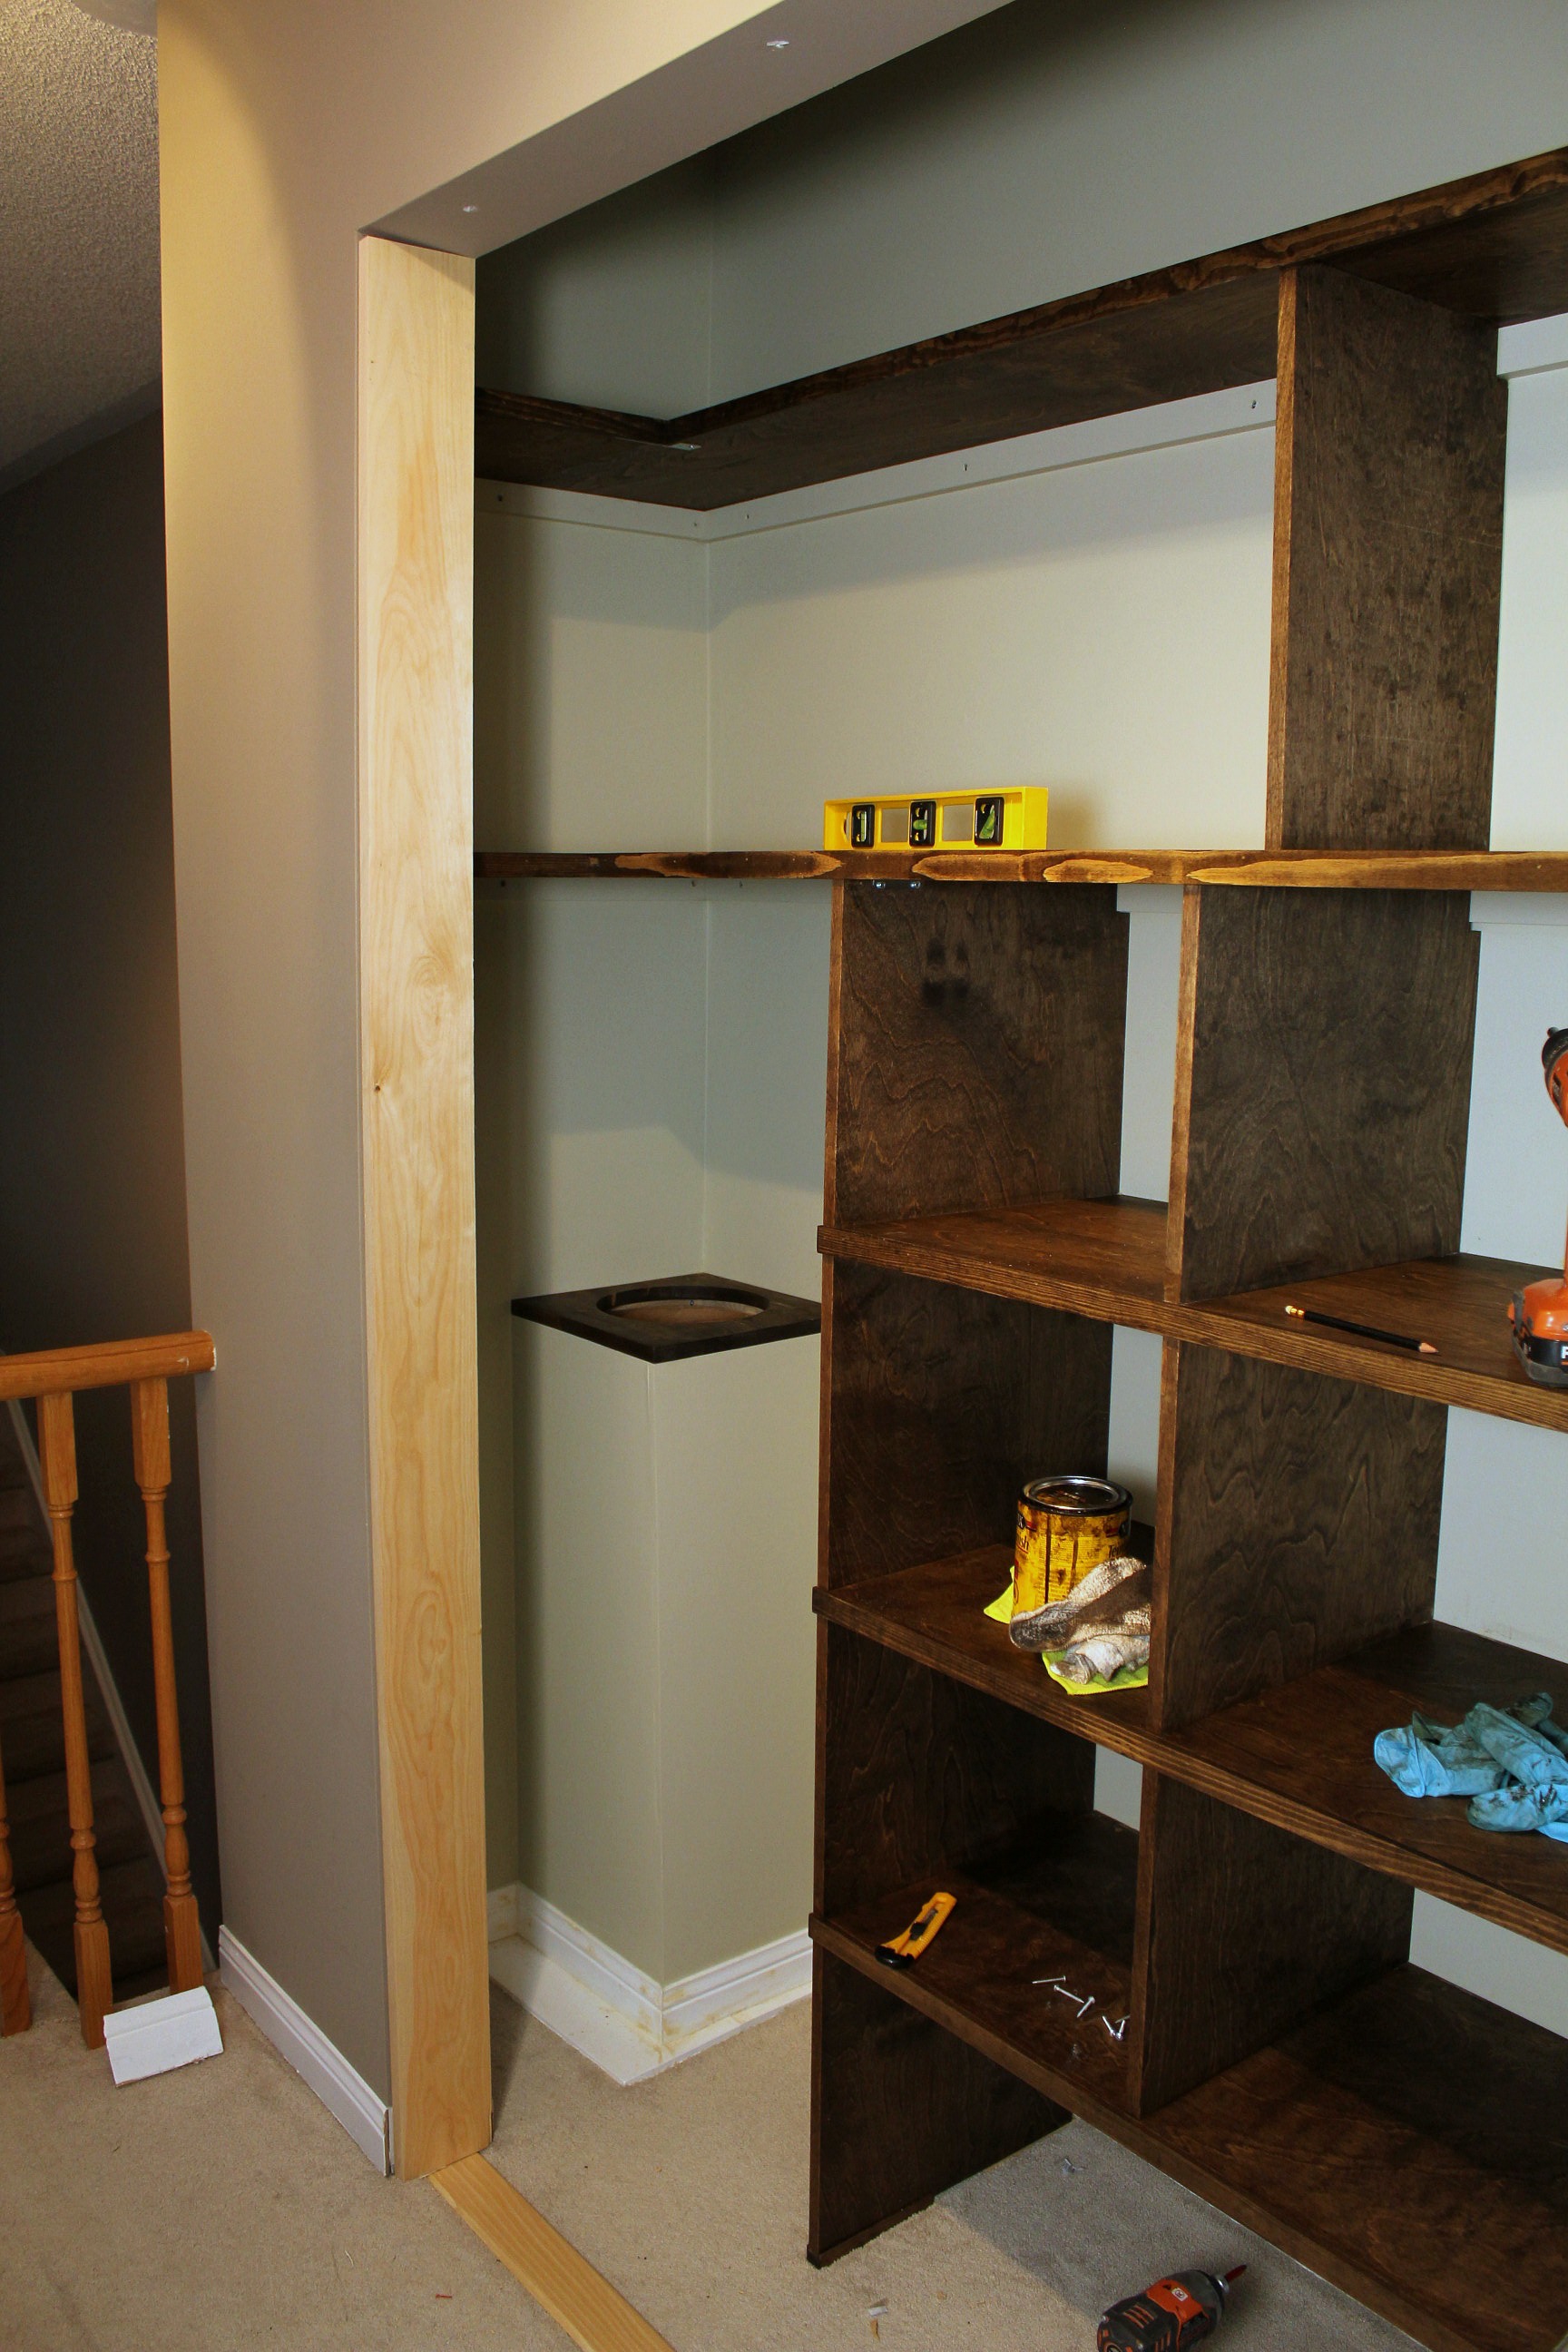
Once everything was torn out and the laundry chute was rebuilt, we went to work on the shelves. I scrolled around Google images, and sketched on a piece of paper until I found the configuration I wanted. Online there seemed to only be two choices - a wall of cubbies or a wall of long shelves. So I chose the middle ground. Some shelves with dividers at the bottom, and two long wall-to-wall shelves at the top.


We have a Rubbermaid tub that stores all of our vacation items - reef shoes, travel-sized toiletries, snorkels, etc. It's kept on the floor of the closet, so the height of the tub plus a few inches clearance determined our bottom shelf height (15 inches). We then took a normal stack of towels and measured the height. Again allowing for some clearance, we decided on 14 inches for the next three shelves. That left 38 inches for the long shelves.  We decided to split the space into two so that we could put larger, taller items up higher - like blankets or boxes of things we don't use very often.

As mentioned in the laundry chute post, we wanted to leave more room around the chute to make it easier to feed the clothes in. Up until now we've been keeping our vacuum cleaner in the downstairs closet, hidden behind the coats. It was always a bit of a pain in the butt to drag it out, but there was nowhere else to put it that it wasn't in the way. We decided to make a dedicated space in the linen closet for the vacuum, right beside the laundry chute. It fits right in there like a Tetris piece and is easy to access when you need it (which is all the time thanks to two big dogs who shed all year round).


The other design decision was making the shelves wrap around at the ends. There are about 8 inches of dead space in front of the shelves to each side of the doorway. Why have dead space when you can have usable space? By extending the shelves out we can put longer items on the ends (like bathmats and beach towels). One extension shelf is even great for holding the iron.


So once all of our measurements were done we headed off to Home Depot to buy the wood. Once there we found we had two choices if we wanted 16" boards - pine shelving or birch veneered plywood. The pine was about twice the price, but we've used it many times before and we knew how it handles stain. The veneer had me a little concerned - would the stain seep under the veneer and swell the core? Would the stain even stick? We debated it back and forth for a good 20 minutes before taking a chance on the birch veneer. Nothing ventured, nothing gained, right?

We started by installing braces along the back wall and around the sides at the heights we had decided before. The brace pieces were just made from 1x2 pieces of pine, screwed securely into the wall.


Once they were all installed, I painted the entire closet with some leftover paint. I had a choice between a greyish green or taupey brown. I chose green because the brown was too dark and not enough of a contrast with the shelves. I'll need to get the green colour-matched to have some touchup paint around though, as Tom threw out the can when I was finished because "it smelled funky".


Once the shelves were cut to length we put them in place to make sure the spacing was still good. When we were planning, we were pretty sure that the top shelf was going to be too deep to be able to put anything bulky up there - not enough clearance between the shelf and the upper part of the doorway - and we were right.


So we chose to shorten the shelf to a 12 inch depth. Tom also cut the end piece for the shorter shelves and the supporting pieces that stand vertically between the shelves and form the cubbies. The upright board on the long shelf is also cut back to 12 inches to match the top shelf. The end piece goes from the first longer shelf down to the floor and provides added support to that shelf.

Once all of the boards were cut it was time for staining. I applied two coats of Jacobean stain from Minwax with a cloth, and then once it was dry and wiped well, I applied a coat of furniture wax, buffing it to a shine. I will always choose wax over polyurethane if I have the option. I love how smooth it feels.

After the boards were completely dry we reinstalled them by screwing the horizontal boards directly into the wall braces, and using small angle brackets to attach the vertical boards to the shelves. The boards that formed the wraparound shelves were attached to the main shelves using flat plates.


Tom installed trim pieces on the front of each shelf to give it a little more substance, visually at least. The last item on the list was to putty all of the screw holes around the back edge of each shelf and the nail holes on the trim and then give them a light coat of stain to help them blend.


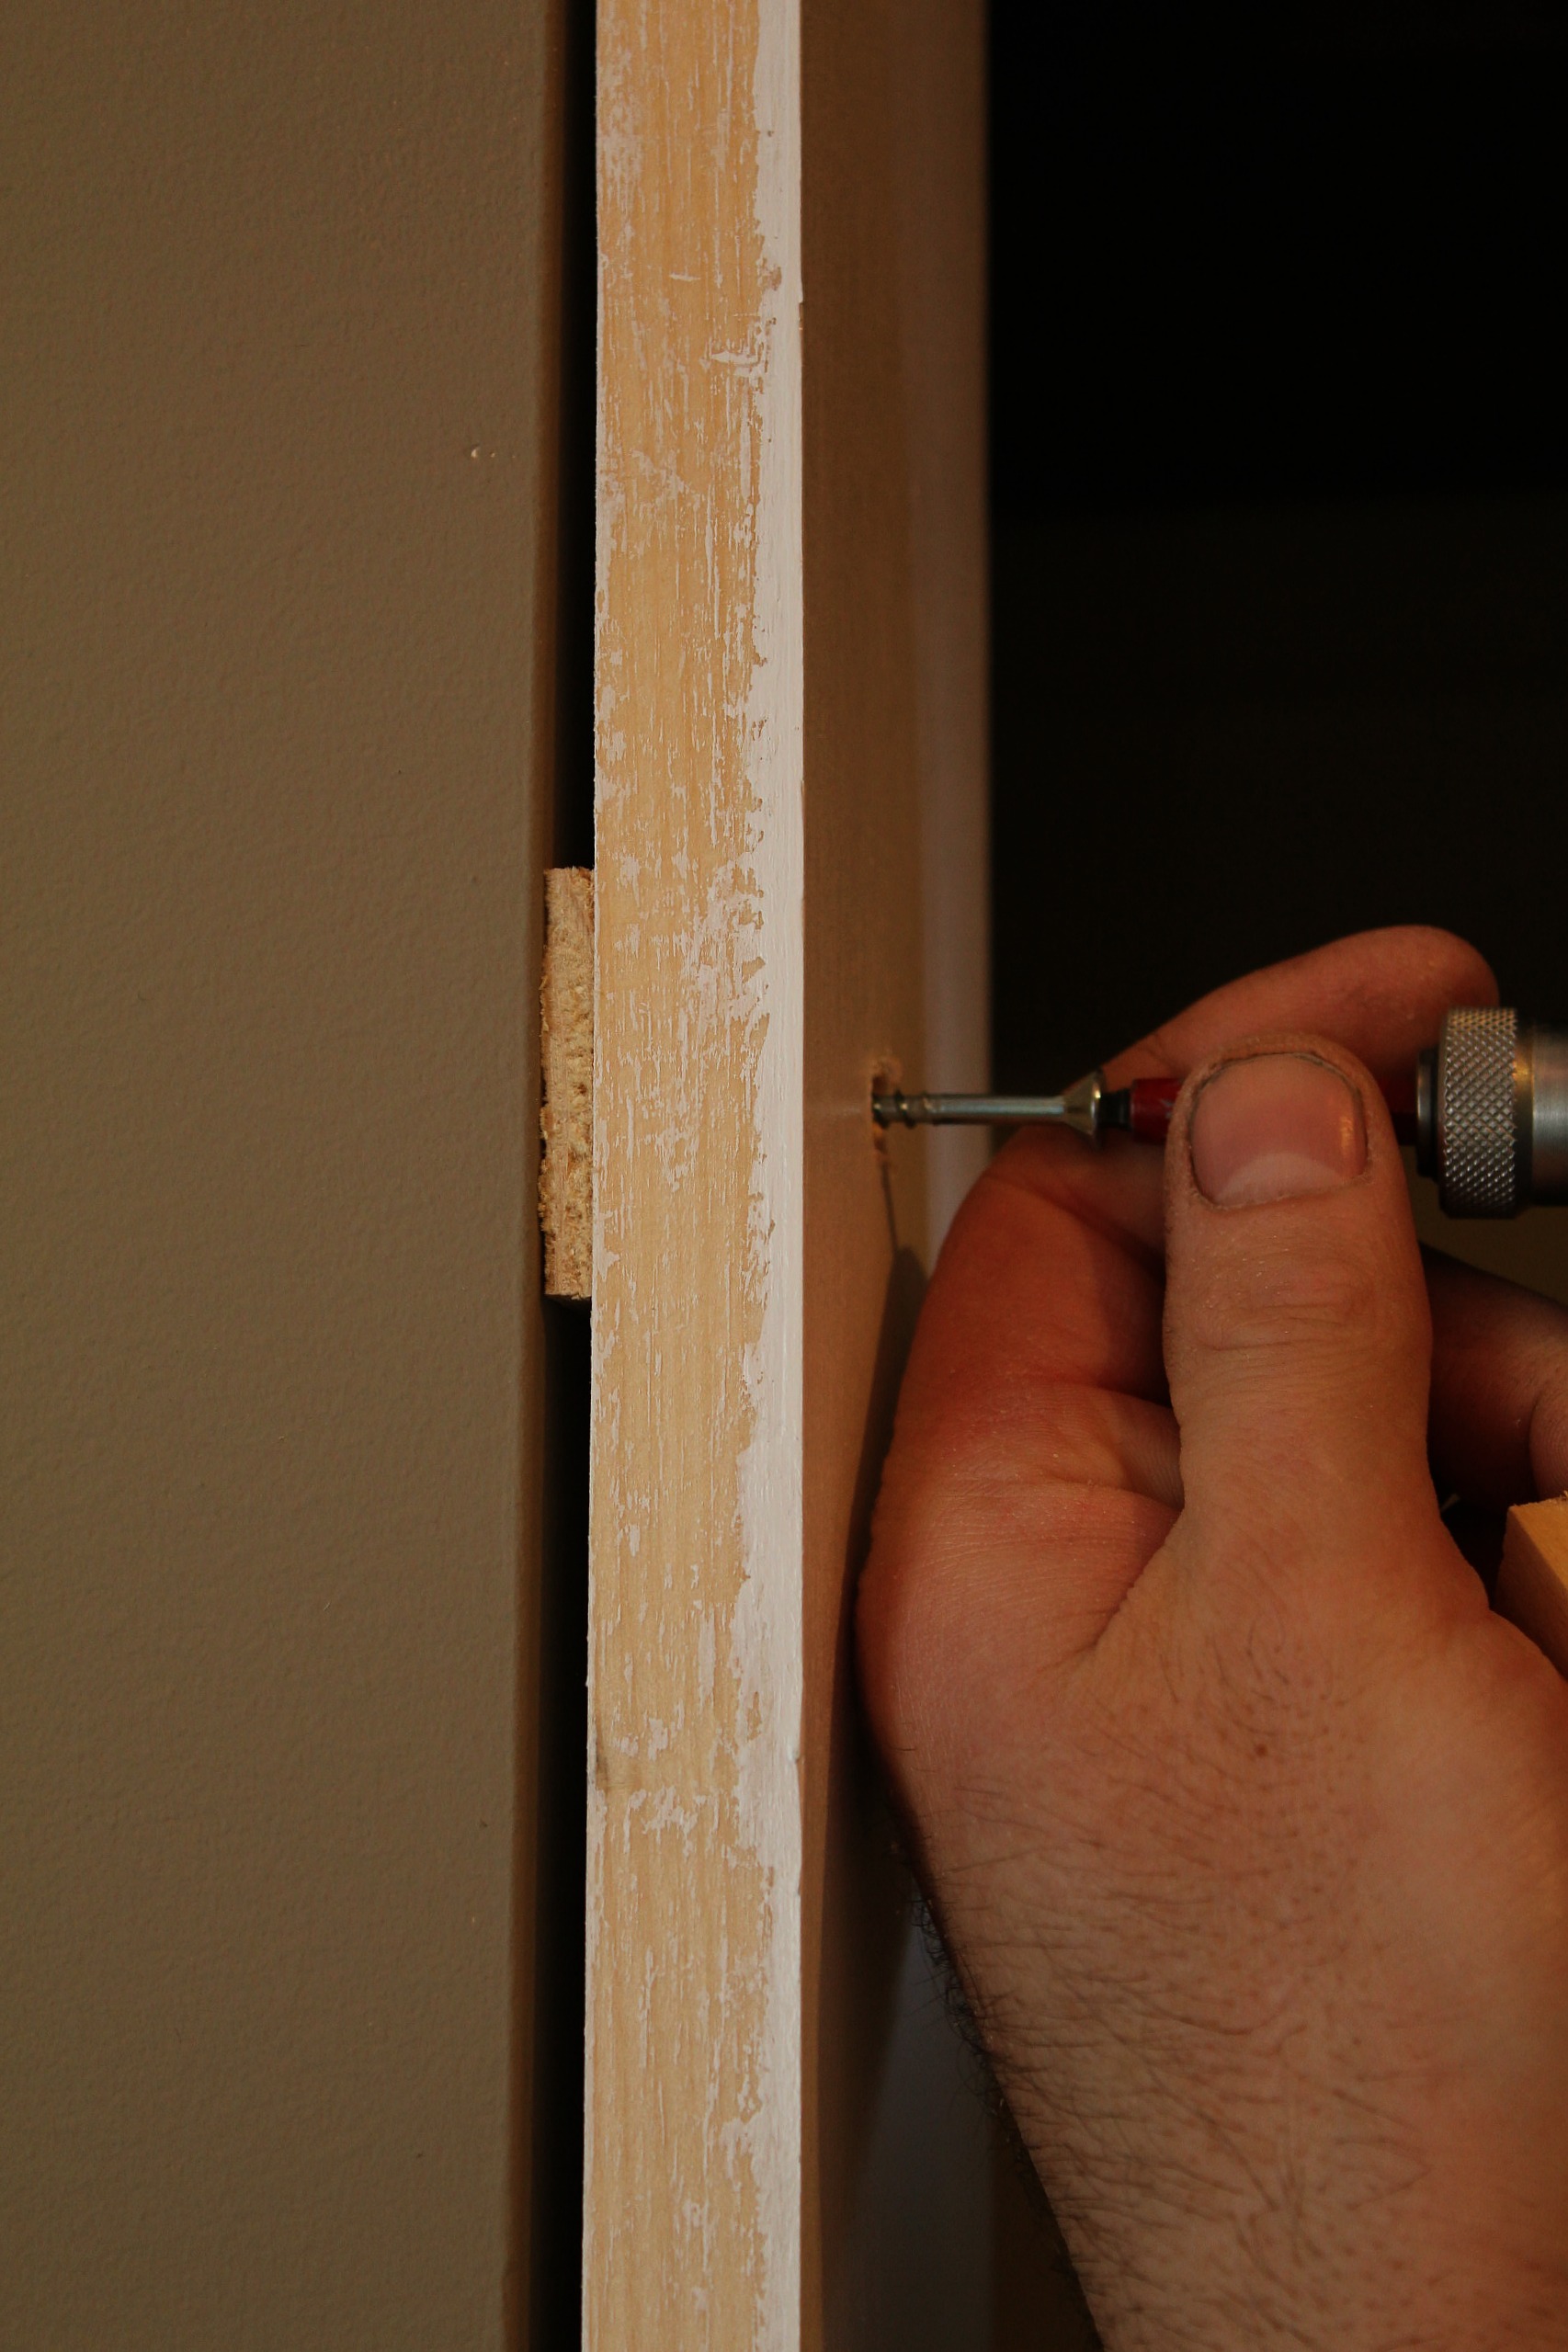
When Tom was putting in the vertical end board he wasn't able to get it level because of the carpet. He needed a shim but didn't think it would stay in place. So he carved out a little slotted piece of wood that curves up around the board to keep it in place and I stained it to match.


Then came the fun part for me - loading everything back in. I've tried to organize things in a logical way - queen-sized sheets on one shelf, king-sized on another. When we buy new comforters or sheets I always keep the zippered bags they come in to use later. I use them to store gift bags, fabric supplies, duvet covers; the ones that pillowcases come in are even good for keeping small items together when you're travelling. I put the blankets we don't use regularly into these zippered bags and store them standing upright at the top of the closet


The dog towels and beach towels went to the bottom shelf. The baskets hold smaller throws, dog blankets, and washcloths. I made little labels from paint chips in a shade that is close to the wall colour and tied them to the baskets with ribbon.


Tom thinks I should also put labels on each of the shelves - to reduce the chance of him getting in trouble for putting things in the wrong place. I'm not that rigid, am I?


Feb 15, 2014

Please Mr. Postman (Valentine's Gifts)

I had a little fun making up care packages for some of my favourite girls this Valentine's Day - those girls being my cousin, my aunt, & my sister.

The whole idea was built around this stuff - Speculoos Cookinotti Cookie Butter. Have you tried it? It has the consistency of peanut butter, but it's cookie butter. COOKIE BUTTER. Such beautiful words. I can't even describe it - it's like a gingerbread cookie, ground up and made spreadable. Just heaven.


You can put it on a bagel, on ice cream, even make a sandwich with it. Here is a cute article showing 12 ways to eat cookie butter. I like to spread it on crackers. So I bought each of my girls a jar of cookie butter, a box of crackers, and some chocolate hearts - because everyone needs chocolate on Valentine's Day.


I bought some mailing boxes from the post office - a little too big, but that's all they had. And who doesn't like receiving a huge ol' parcel in the mail? I filled in the empty spots with purple tissue paper, tossed some chocolate around, and added a card. I designed the card using Picmonkey and printed it out on cardstock.


And off they went in the mail. Here's hoping they got there on time!

What did you do for Valentine's Day? I had lunch with Tom (and his co-workers - very romantic!) It was nice to get out of the office if only for a short while. And the fries with my lunch were fantastic! 

Click here to see my "hot" gift to Tom in 2013, and my chocolate-dipped pretzels from 2012.


Feb 11, 2014

Laundry Chute Rebuild

Our linen closet is a bit of a Frankenstein story. There is wire shelving on the top half and particle board shelving on the bottom. We didn't particularly like either one. Add to that a poorly drywalled laundry chute with an opening just inches below one shelf. And sliding doors that only let you see one side of the closet at a time.

The more we talked about redoing the closet, the more things we found we wanted to change. So it turned into a complete gut job. And I'm proud to say that I did most of the gutting. I kindly let Tom remove the wire shelves (we'll be selling them), but I got to do the demo work.

I'm not ready to show off the the entire closet yet - some supports and trim still need to go on - but I will show you what we did to improve the laundry chute.


Do you have a laundry chute? Don't you just love it? Ours is hidden in the back corner of the linen closet, and it is a godsend as far as keeping the upstairs tidy. I have no idea where we would find room to store laundry baskets otherwise. But the construction of this one was a rushed job, you could tell. The mudding was lumpy and the top & cover were made of cheap plywood. We decided to take it apart and re-build it.


Once the cover was removed from the laundry chute, we saw that the frame built around it was more than generous - it was taking up several inches (at least 4 inches on each side) of usable space. I grabbed the hammer and crowbar and got to work. I knocked out the drywall and then removed the 2x4 framing around the chute tube.


The laundry chute is actually two sonotubes taped together (it goes from the second floor down into the basement) and the tape between them was letting go. We were worried that one of the tubes would eventually shift and clothes would get snagged on an edge. Tom pulled the top tube out and we considered how to get the two to fit together snugly. I did try to crawl down the chute to pull the tape off, but my hips said, "No." They don't lie.


We briefly considered cutting the edges of one tube and bending them inwards so that the upper tube fit inside the lower one, but then Tom had a better idea. First he cut 4 pieces of scrap 2x3 to about 6 inch lengths. He then cut one end of each piece on an angle. The square ends were screwed into the bottom of the upper tube, one on each side, about three inches up from the bottom. When he put the tube back in place, the angled pieces slipped right over the lower tube and hold the two tubes together.


To keep the tube in place vertically, Tom built a frame of 1x3s to go around the top of the tube. He screwed the frame into the wall on two sides, and then screwed the tube into the frame on all four sides. You can see here how much space we gained. We also had to install a narrow piece of drywall to fill that gap, and tape and mud it.


Because the old frame was larger, there was an area on the floor of the closet that wasn't carpeted. We could have just put down some trim to fill in the space, but Tom wanted the tube to be even more secure. Tom cut two pieces of 1x8 to the correct length and then cut one side of each board on a curve so that the boards wrapped around the chute. I think we could throw bowling balls down this chute and it wouldn't move.


Instead of drywall we used two pieces of high-grade plywood to box it in. I caulked the seams between the walls and the plywood and puttied all of the screw holes. The boards on the floor got two coats of white semi-gloss paint to go with the trim, and the walls of the chute were painted to match the walls of the closet.


The top of the chute is a piece of 12x12 1 inch pine with a circle cut in the center. We decided to stain it to match the shelves in the rest of the closet (Jacobean from Minwax). I like the contrast between the dark wood and the light green walls.


When we planned the layout of the closet, we intentionally left a larger space above the chute than was there before. It was always annoying to bang your hands on the shelf above when you were putting clothes down the chute. We don't have kids so we aren't worried about anyone falling down the chute, but you could very easily add a door with a latch if you had safety concerns.


Tonight we're finishing up the shelves, and then this coming weekend it's on to the doors. We're going to remove the sliding doors and add bi-folds like we did in the front hall. Can't wait!