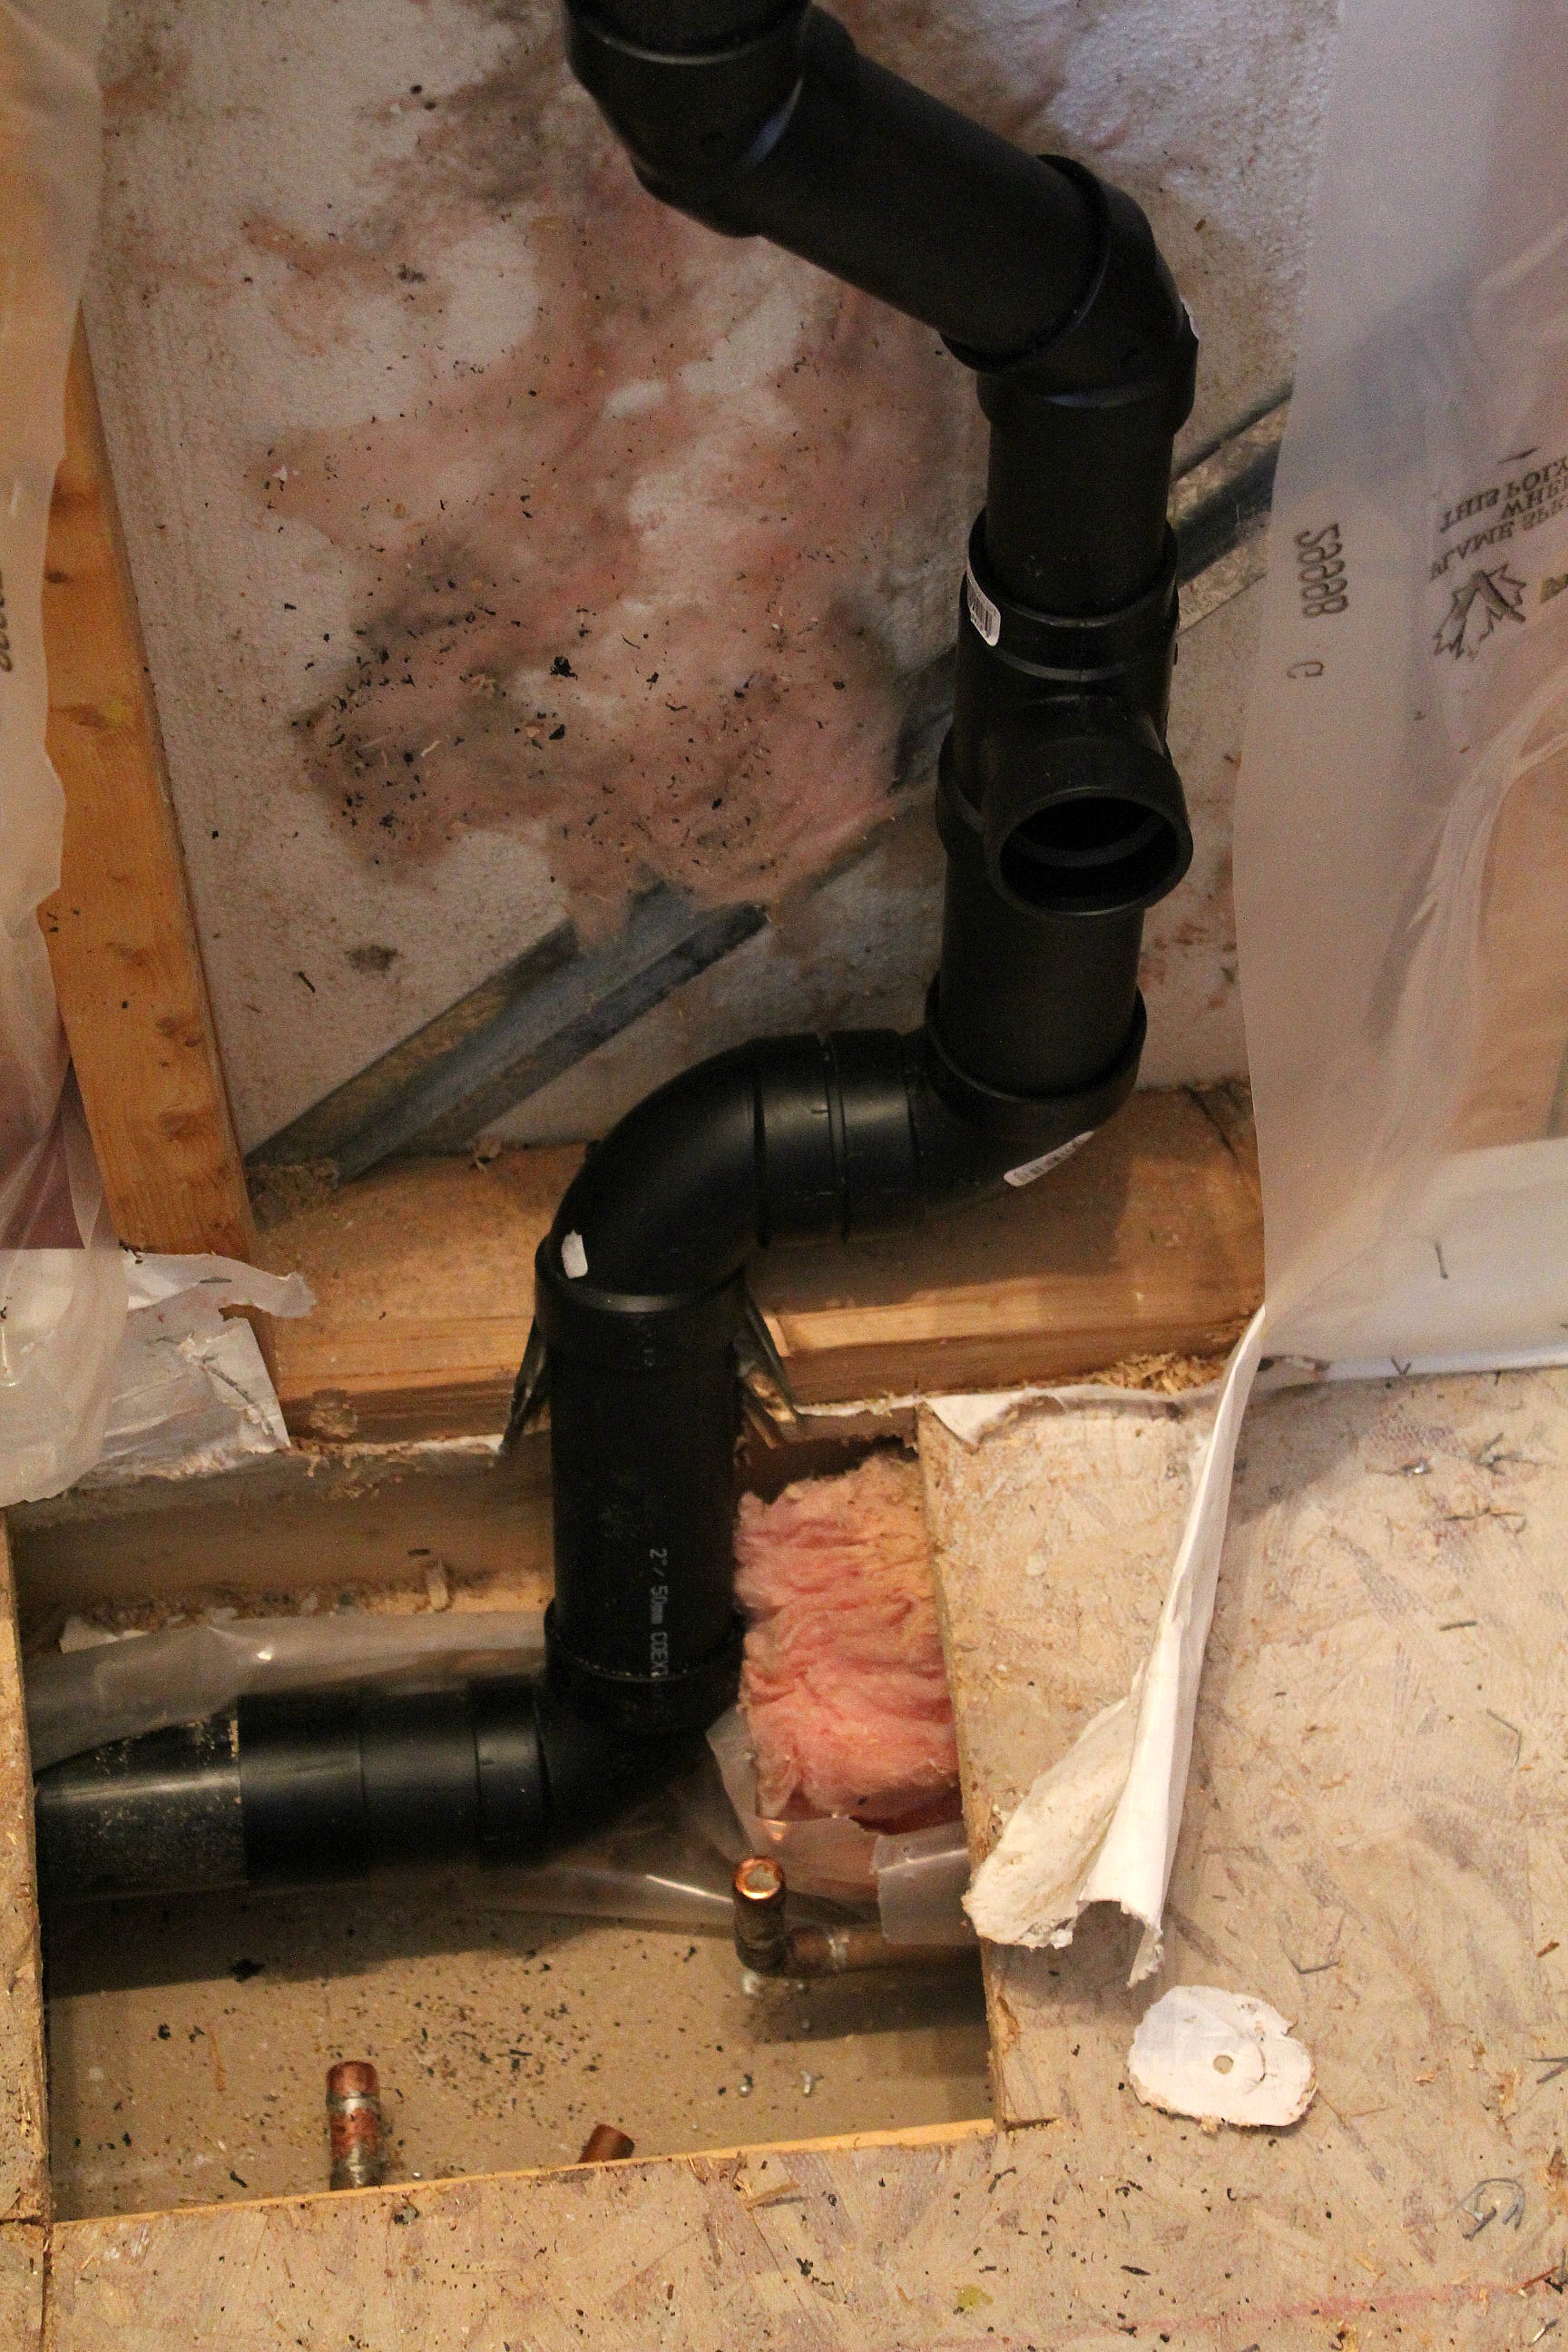
This weekend's bathroom progress is all about Tom. I hurt my back on Saturday morning and was out of commission for the rest of the weekend. After a run to the dump to get rid of the debris from last weekend's demolition, Tom went ahead and started on the plumbing for the bathroom without me. Not that I know anything about plumbing. To refresh your memory, we're going to install a floating vanity, so the existing pipes have to be rerouted from the floor up into the wall. Tom decided he'd like to move the toilet feed pipe up into the wall as well.
The first step was to cut away the drywall all the way across. We figured it was easier to replace one whole sheet than to cut out holes and have to patch them individually. Tom pulled out the insulation around the drain pipe and cut out the plywood around the water feed lines on the floor. After he turned the water off, he cut the feed lines back and capped them off until he's ready to run them up into the wall. Once the lines are capped the water can be turned back on.
To make room for the drain pipe, he cut a semi-circle into the footer running along the floor with a hole saw. The pipe can now curve up through the footer and then up the wall. He'll reinforce the backside of the footer to compensate for the missing piece and replace the insulation when he's finished.
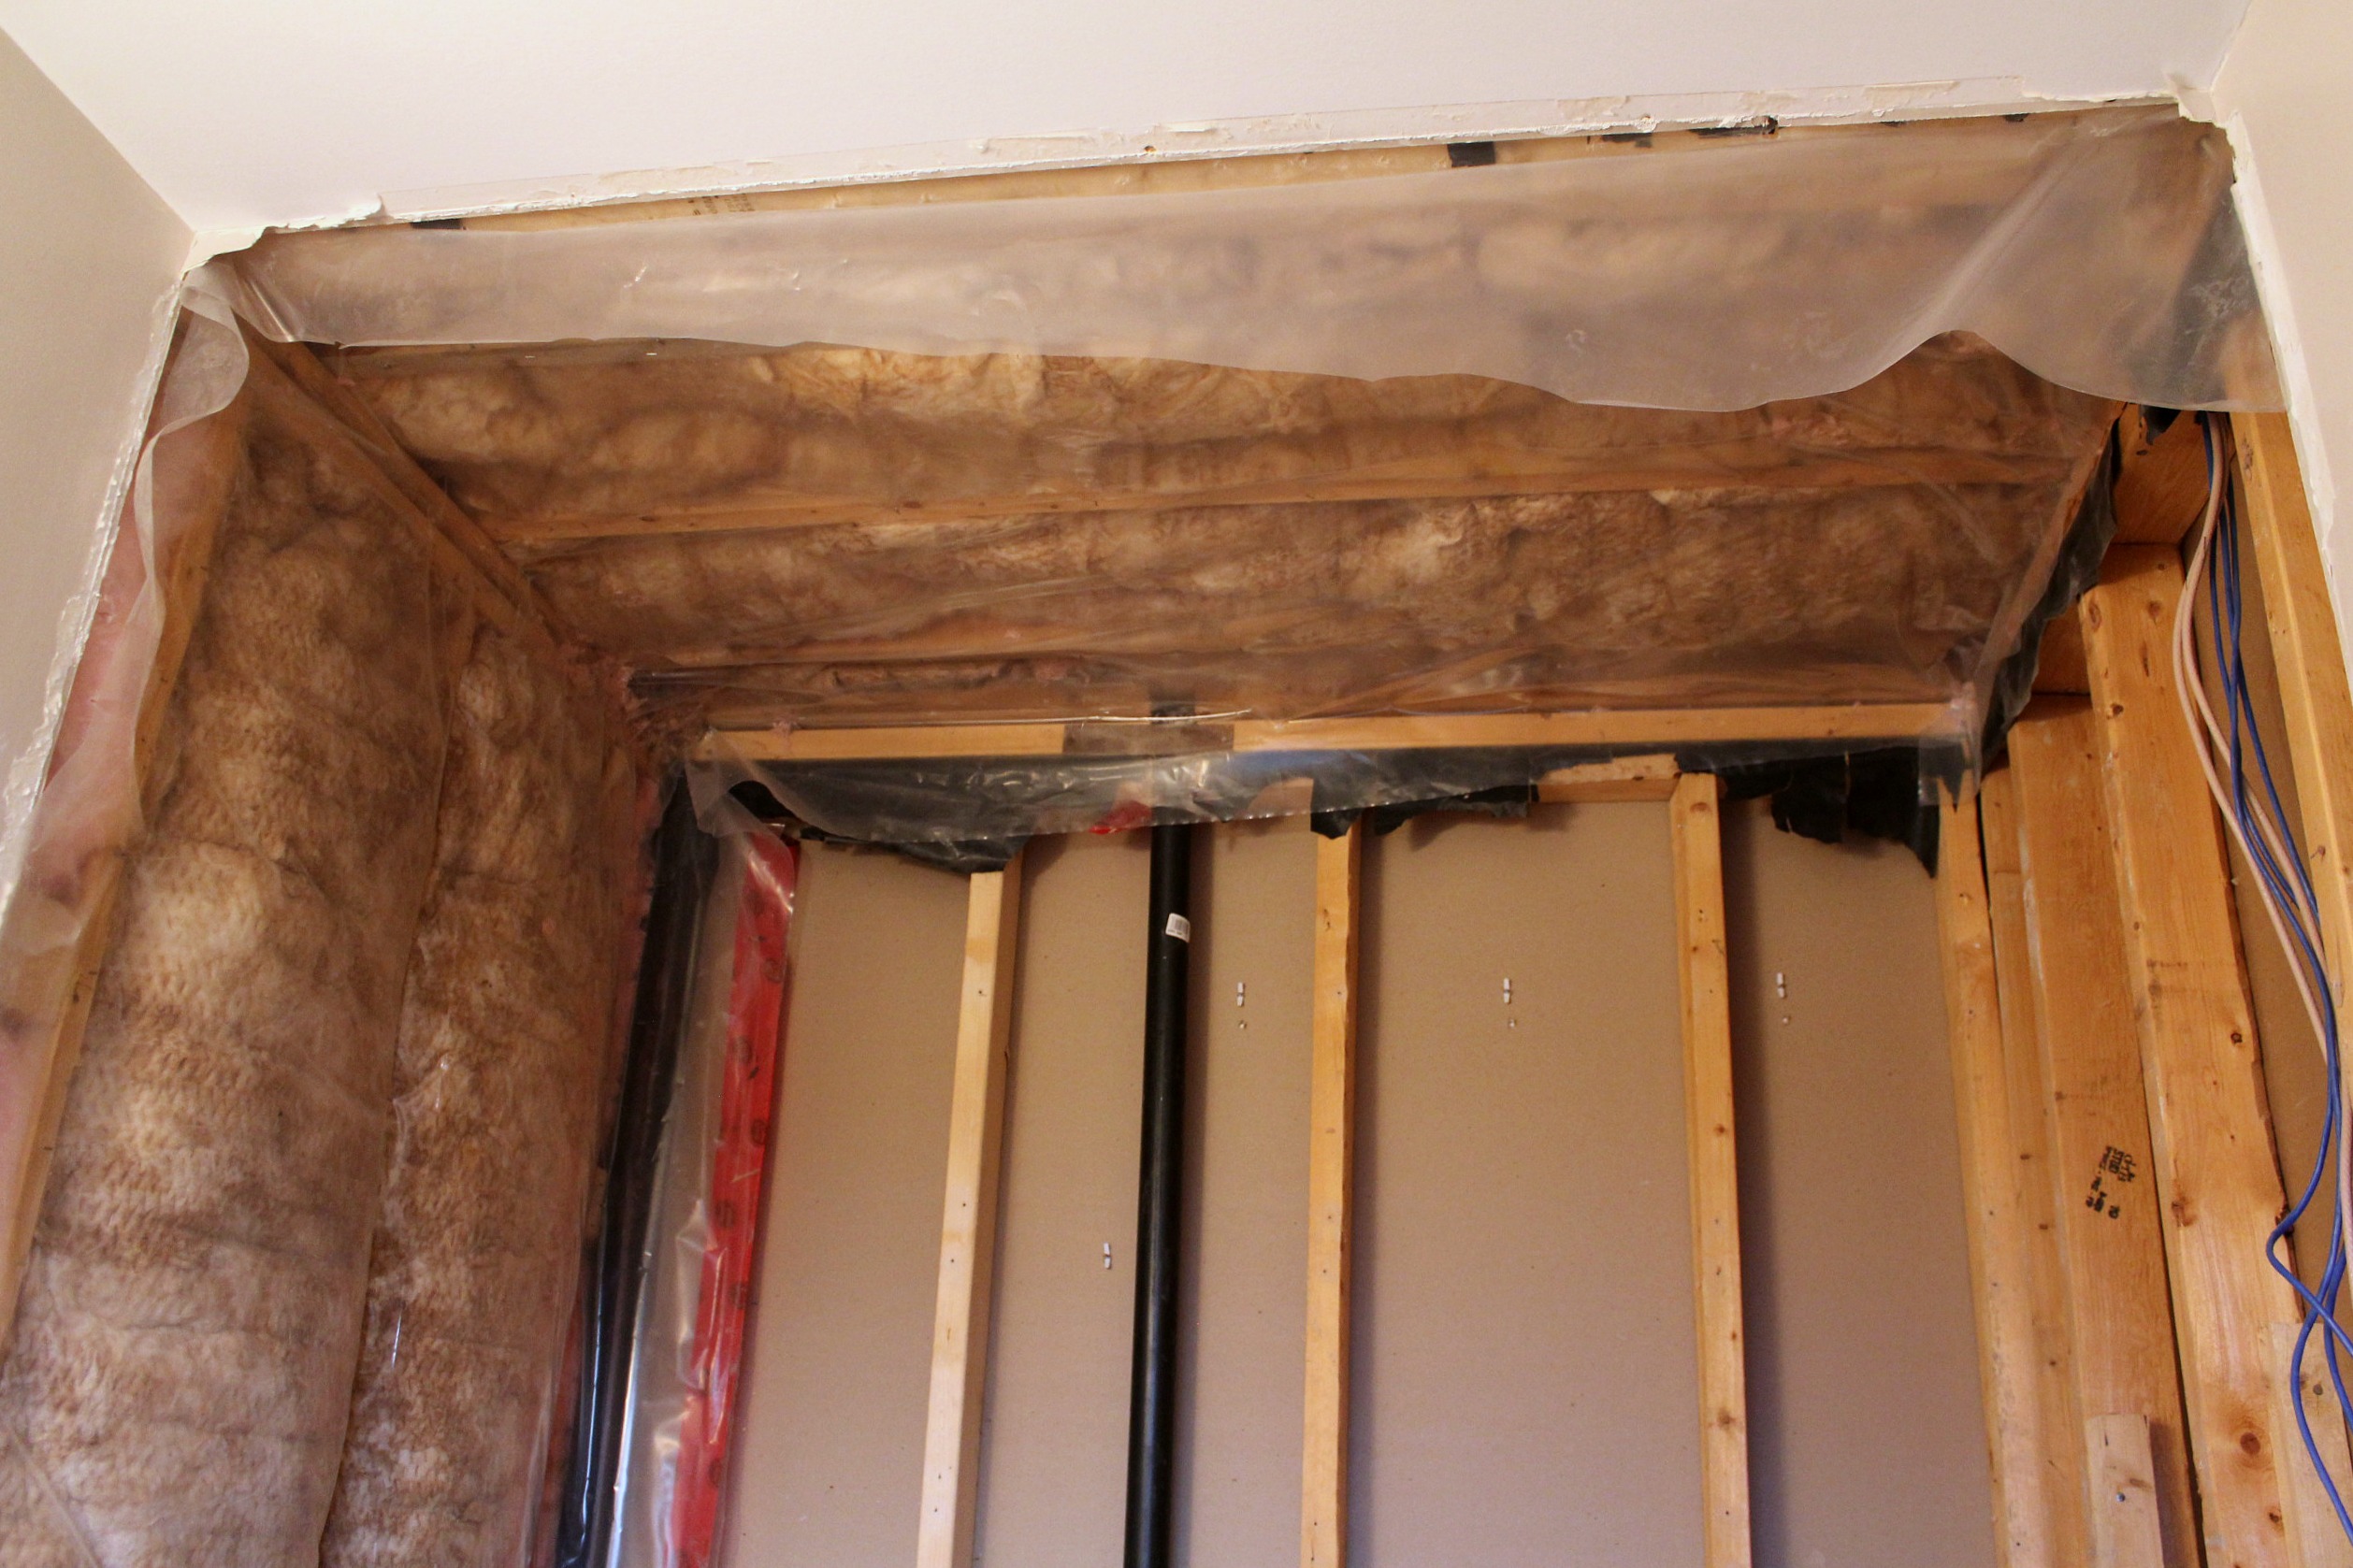
He also removed the last of the studs that made up the shower frame so that the new shower walls will be flush with the rest of the room. He removed the bulkhead frame above the shower and installed new insulation and vapour barrier in the ceiling and the outside wall. We want the shower ceiling to be as high as possible to allow for air flow and to make the space feel larger.
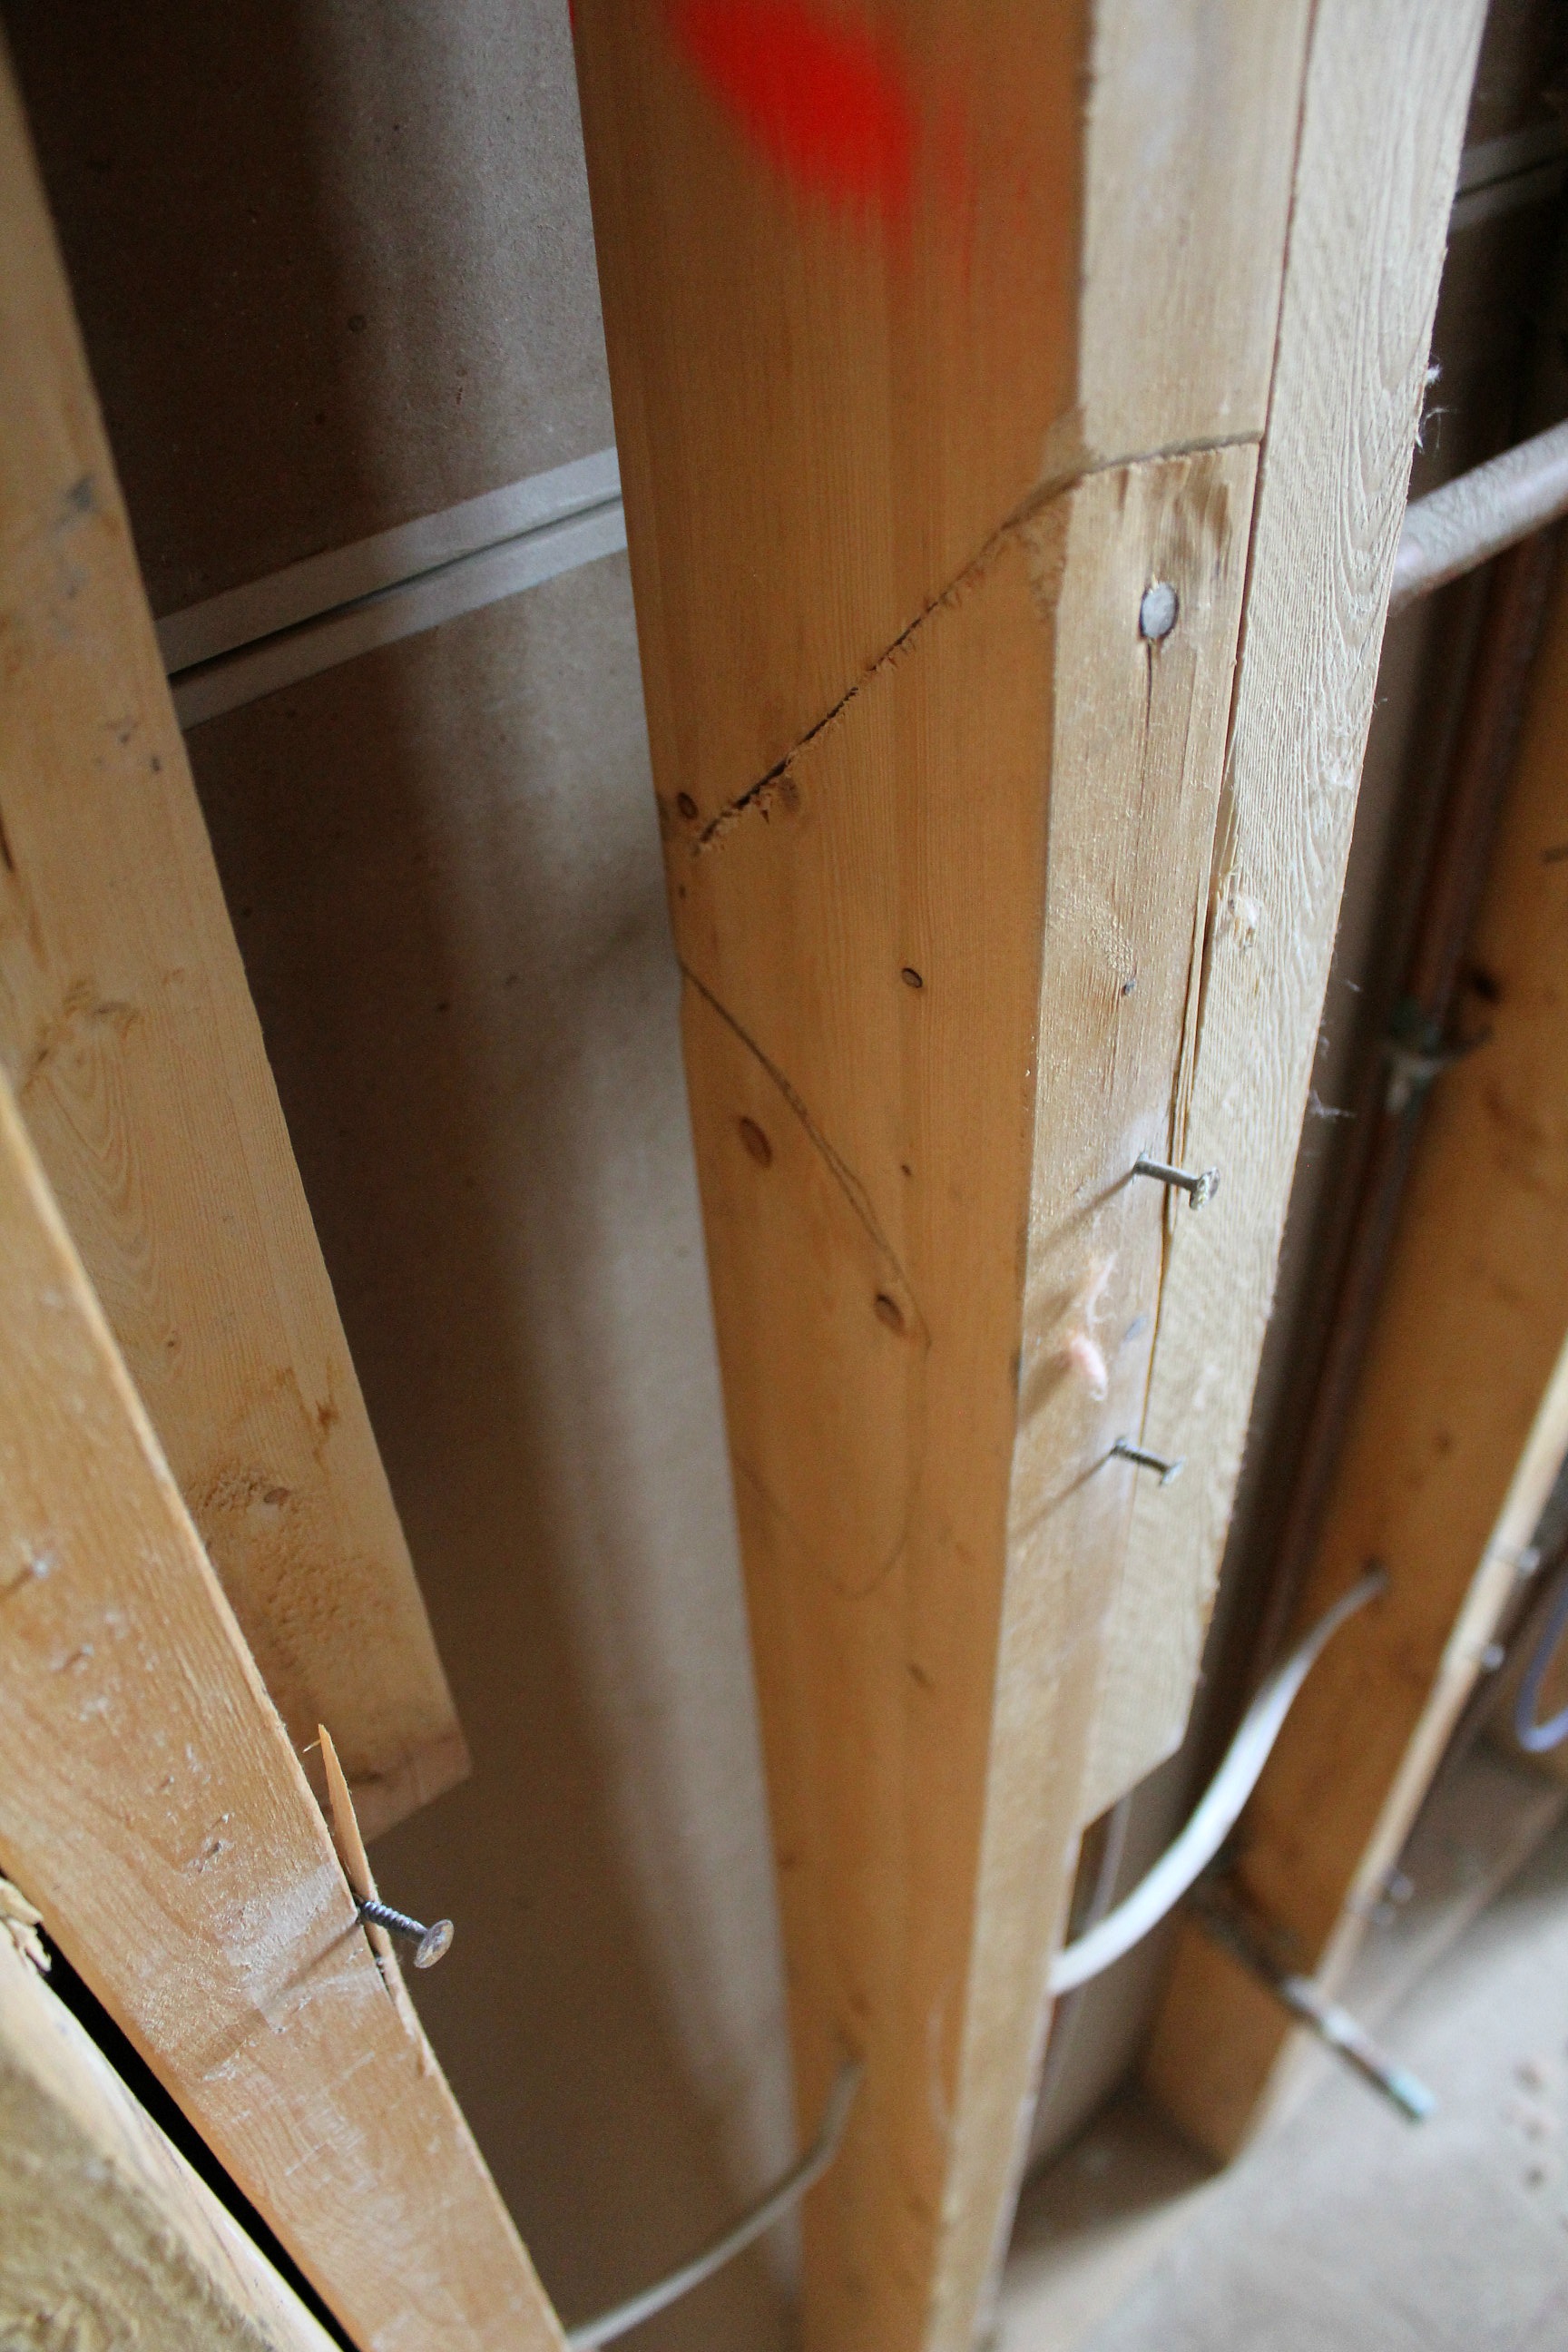
On the wall where the shower controls will be, he still needs to replace two studs that are so curved it's ridiculous. Can you see the light shining behind the stud? The drywall on the other side (i.e. the bedroom wall) is not even touching the stud for several feet in the middle. The shower wall always looked like it bowed out, and I guess now we know why!
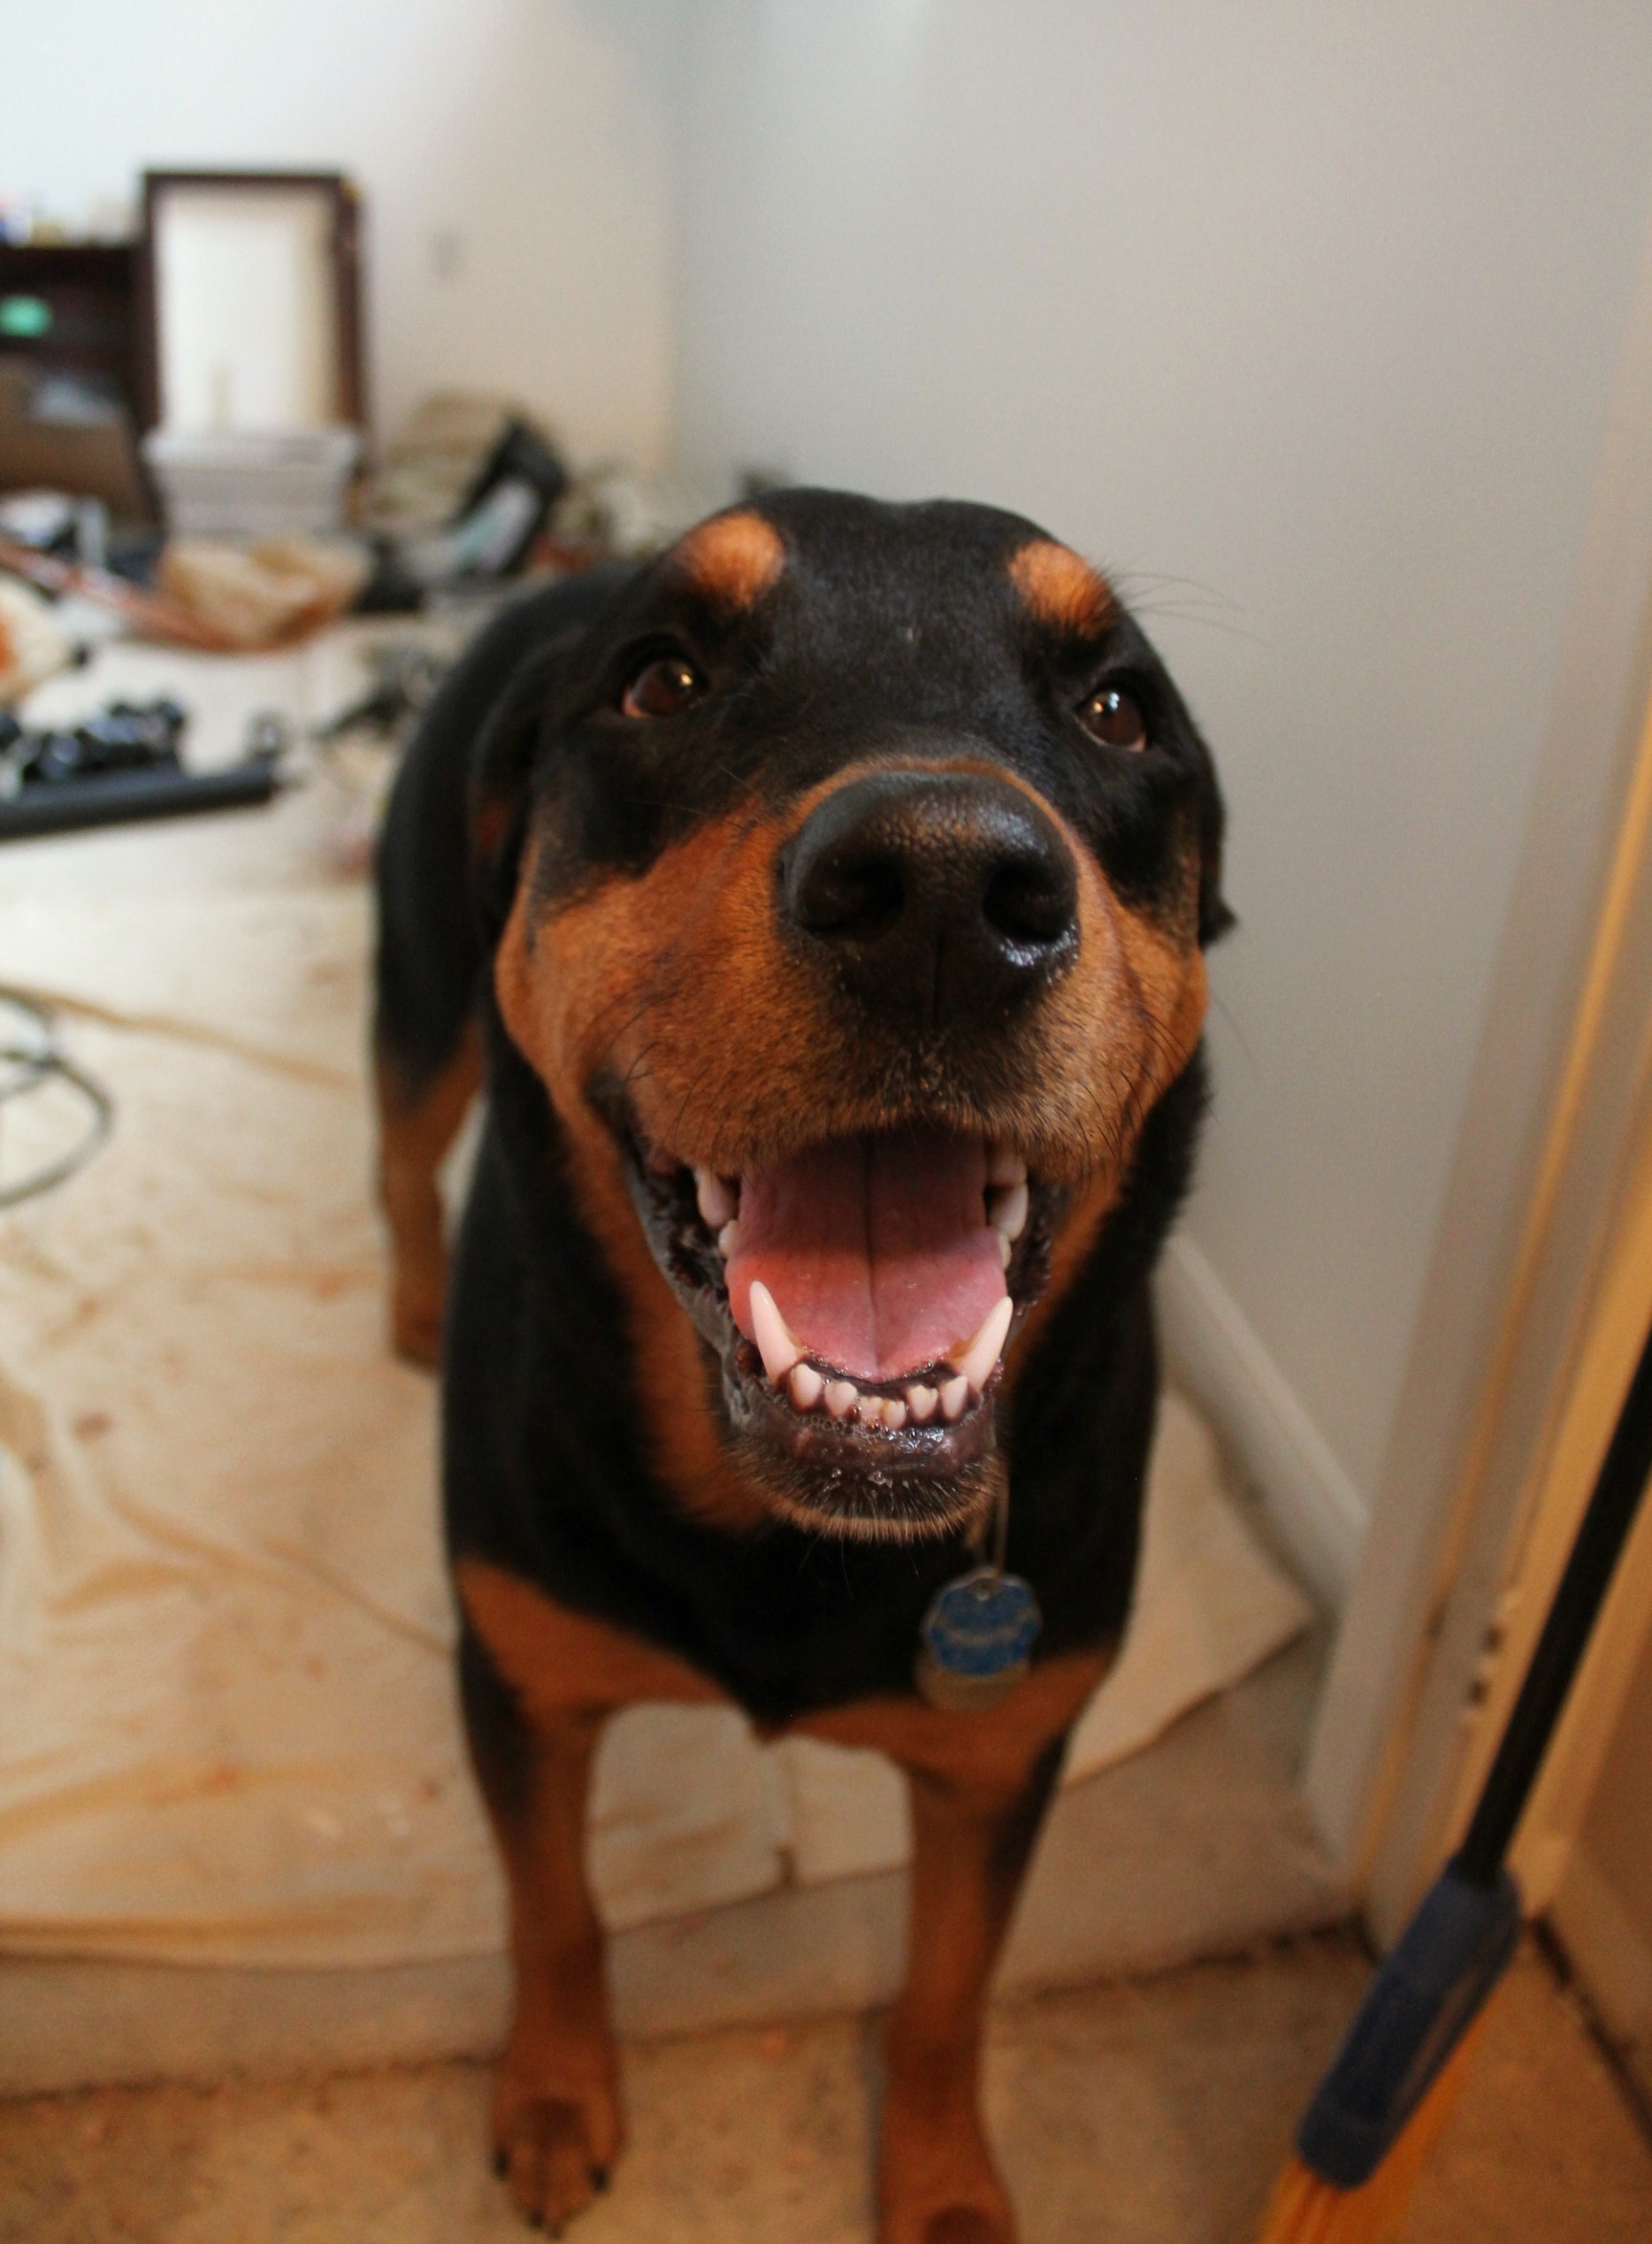
We also had a surprise inspection from the site foreman. She looks happy with our progress so far.
Even though I spent most of the weekend on the couch watching Leave It To Bryan and Brother vs. Brother (I'm a DIY and HGTV network junkie), I'm looking forward to the day when we can say, "What has to be done this weekend?" "Nothing!"
***************
Check out these links for the rest of the process -
Bathroom Reno - Demolition
Bathroom Reno - Shower Installation
Bathroom Reno - Tiling
Bathroom Reno - Reveal!


No comments:
Post a Comment