Pages

Feb 27, 2017

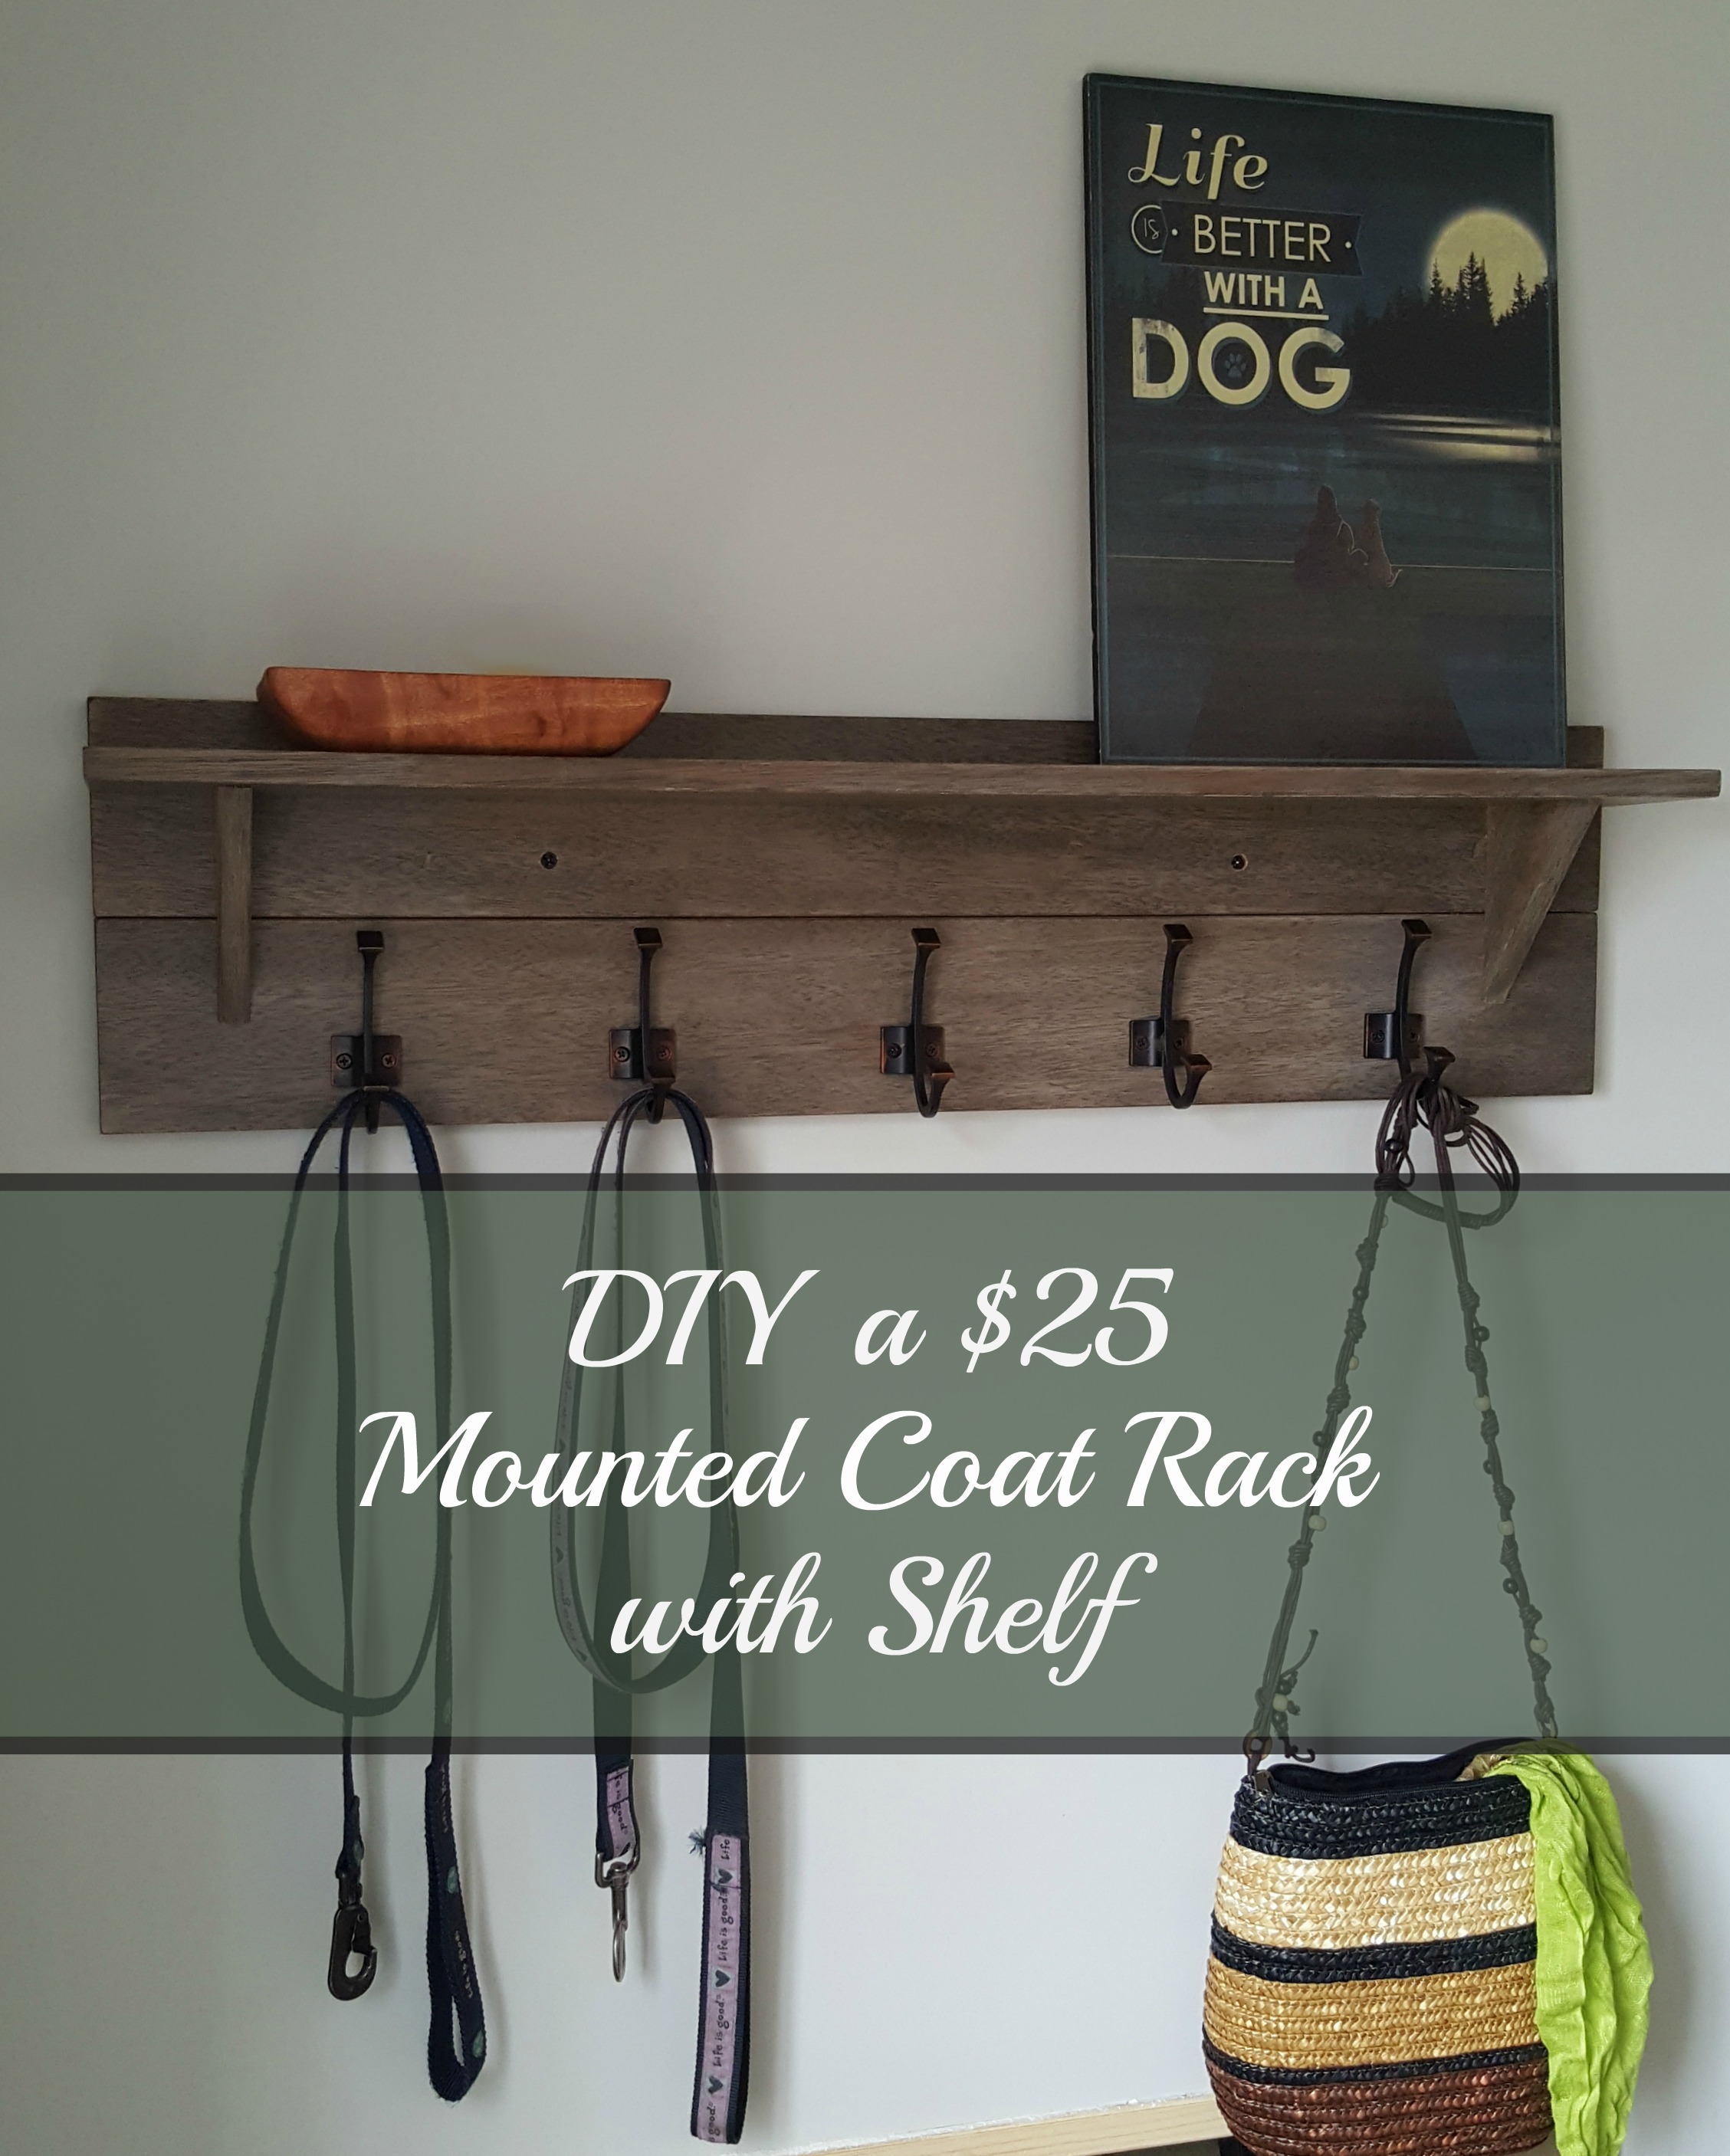
Wall-mounted Coatrack with Shelf (DIY for $25!)


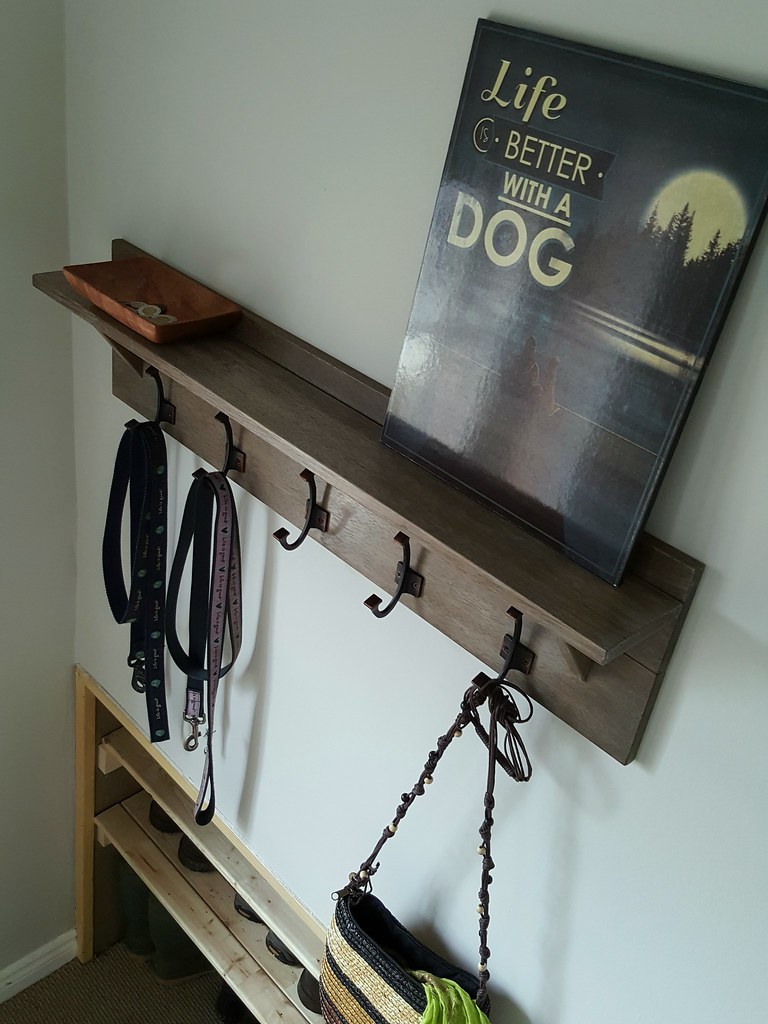
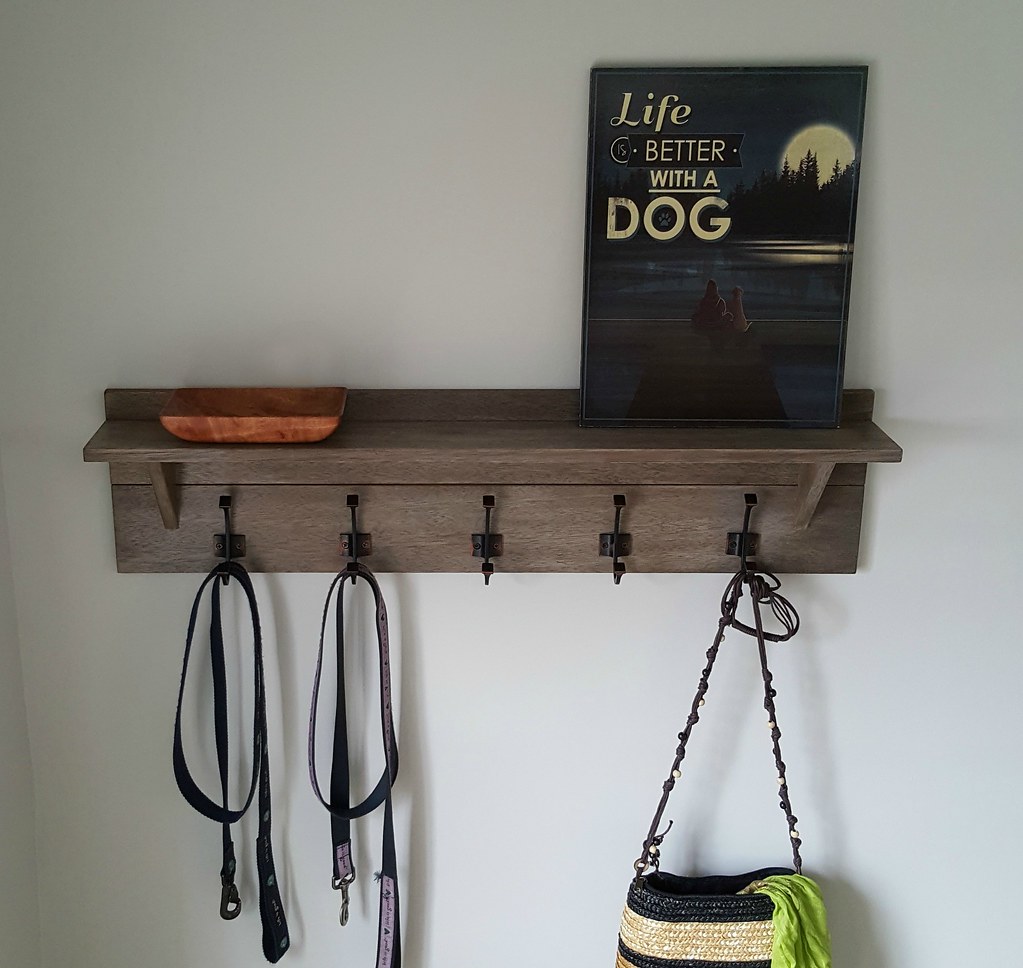
We used to have a row of coat hooks by the front door that I took down when I repainted the main floor. Tom loved that coatrack and kept talking about getting a new one - all.the.time. He missed having a place to hang the dog leashes, and a spot for the dish that holds the odds and ends that wind up in his pockets.

So while he was away one weekend I decided to build a new one for him. We have plenty of scrap boards in the workshop, so I was pretty sure that I wouldn't have to buy anything except the hooks. This project is really inexpensive - even if you do have to buy the wood, it won't cost you more than $25 all in (depending on the hooks you choose).

$25 Wall-mounted Coat Rack with Shelf

As soon as he left that Saturday morning, I hurried down to the basement to go through the wood and see what I could see. I was getting a little worried as the only boards I could find that were wide enough were 2 inches thick, and I'm not that handy with the planer yet. But then buried under some exterior siding that the previous owners had left behind, I found two pieces of leftover planking, 1" x 4.5" in size. I'm not sure what it was used for - flooring or door trim maybe - but it was soft, almost like cedar.

$25 Wall-mounted Coat Rack with Shelf

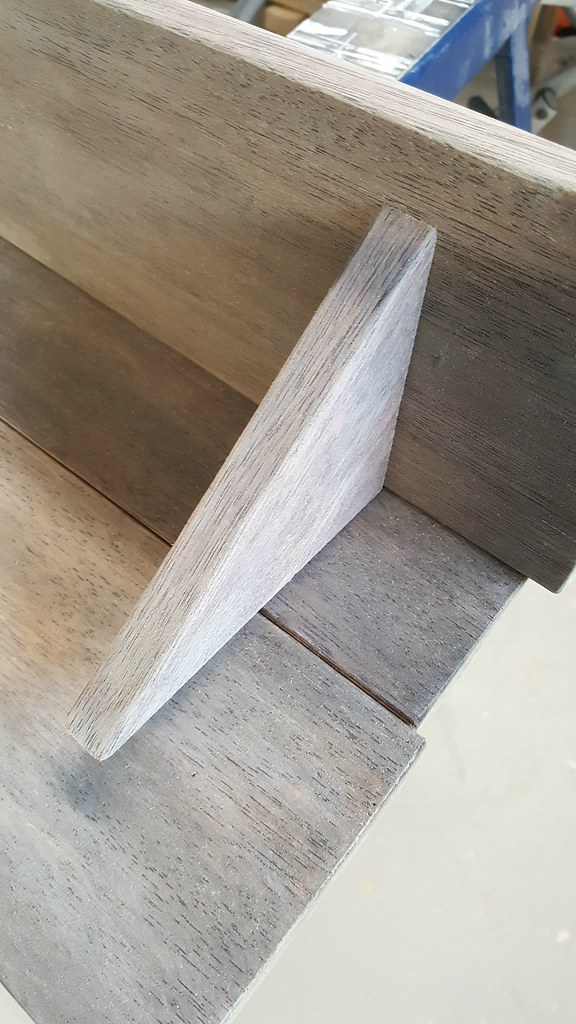
I cut 3 lengths of board at 36 inches each and sanded them smooth. Two boards would be the backing and the other would be the shelf. I went back and forth on how to attach the shelf to the back - ideally I would have liked to use metal brackets with some sort of scroll design, but a search online didn't show any available to buy in my area that were small enough. I settled on triangular supports made of the same wood.

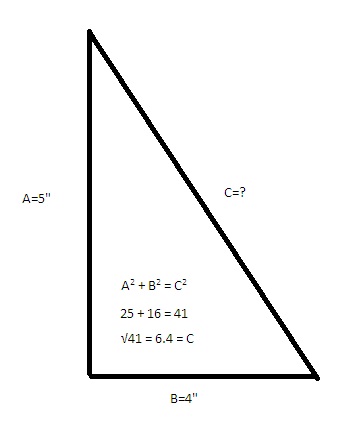
The supports are 4" and 5" on the right-angled sides. It would have been easy enough to just cut a triangle to size, but I wanted the finished edge to be on the outside, so a little algebra and help from Pythagoras was in order (a2 + b2 = c2). The long side ends up at 6.4 inches. Yay, math!

Pythagorean theorum woodworking


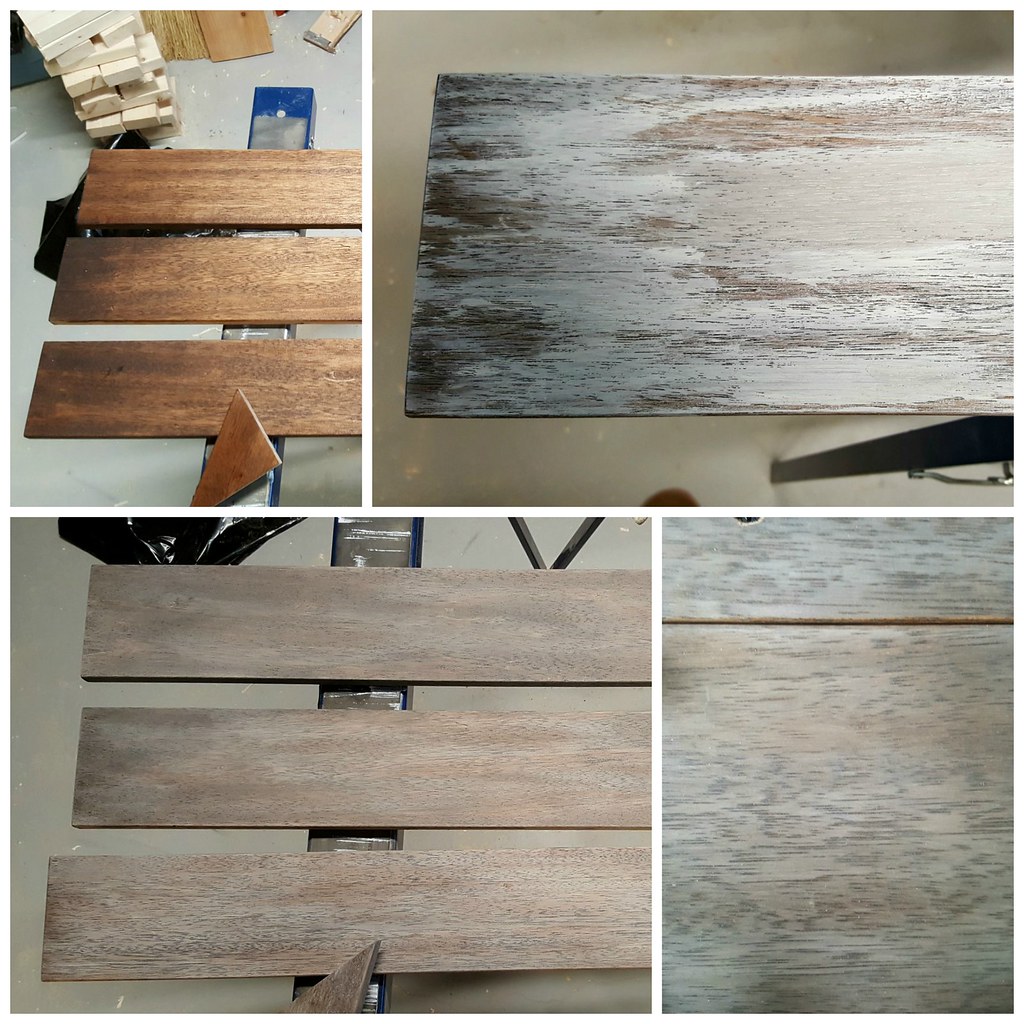
I stained each of the boards and the supports with Minwax water-based stain in Jacobean and then went over it with watered-down paint - a beigey-grey colour that gives a weathered look.

$25 Wall-mounted Coat Rack with Shelf - Cerusing

The stain and the paint are applied with a clean cloth so that you can control the amount of product that is transferred. You just work back and forth - stain, paint, wipe, stain, paint, etc. as needed. You can see above that I applied quite a bit of paint at first (top right photo), but since it's watered-down you have time to wipe it back until you get what you want. The bottom two photos show the finished product.
 
When I had the wood the shade that I wanted, I applied two coats of clear furniture wax (Minwax again) and buffed it, first with another clean cloth and then with extra fine steel wool. This process is called "cerusing" and I've talked about it several times before. It is my favourite way to finish wood. The colour can always be customized, and the buffed and scrubbed surface has a soft, smooth feel - much nicer than polyurethane. For more examples see the dresser, night stands, and sofa table that I've done previously.

I arranged all of the pieces to determine where the supports would go. I decided they looked best 2.5" in from the ends with the shorter side supporting the shelf and the longer side against the back.
 

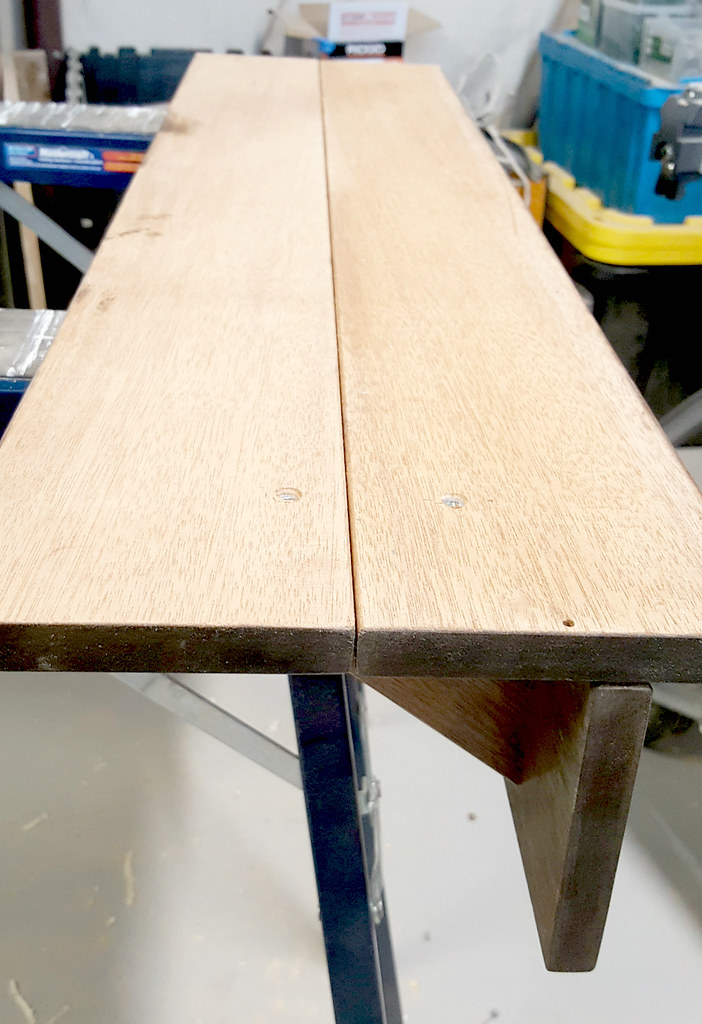
I wanted to make sure that a screw went through each board and into a support, so I chose two spots along the back boards - one on each board - and measured the distance in from the ends (to the center of the support), and then from the top/bottom to the same spot. I flipped the backing boards over, measured the same points on the backs, and drilled counter-sunk pilot holes for the screws. I repeated this with the shelf board - after determining which side would be the top and which would be the bottom (counter-sink on the top!) 

Since the supports are tapered, the two screws need to be different lengths - 1.5" and 2" each. You definitely don't want the tip of the screw poking out through the front of the support!

Attaching the back boards and the supports can be a little tricky as you have to hold everything in place while you're doing it. I clamped the two back boards together along their long edges to keep them tight and aligned, laid the boards flat with the support sitting on the top, and carefully drove the screws in from the underside, holding the support in place with my other hand. I went very slowly to make sure that the screw was straight and didn't pop out the side of the support. Repeat with the other screw and then the other support.

$25 Wall-mounted Coat Rack with Shelf

To attach the shelf board, I left everything where it was, put the shelf board in place (you can clamp it to the back board to keep it tight), and attached the screws as before, this time working horizontally. Remove the clamps and oh my goodness, you have a shelf! I was pretty proud of myself at this point. I used wood filler to hide the visible screws on the shelf and then blended them to match the wood with stain and paint.

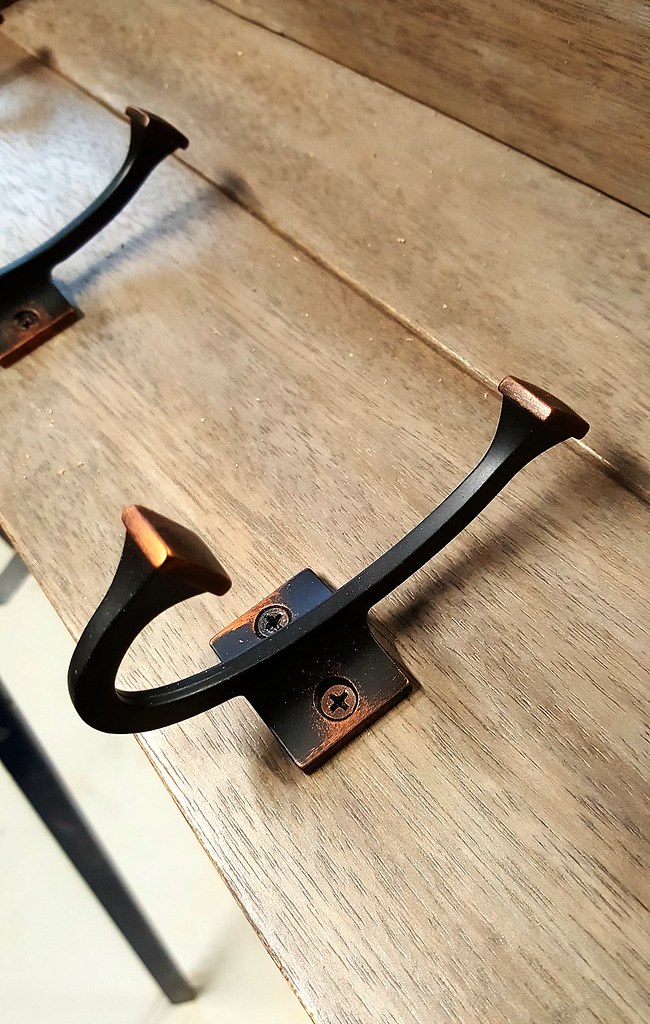
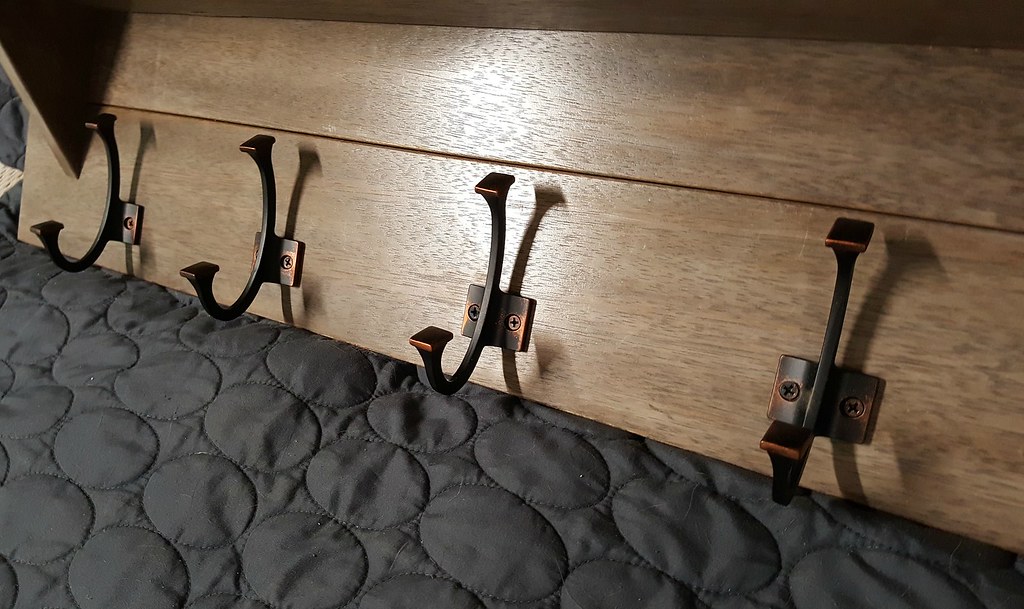
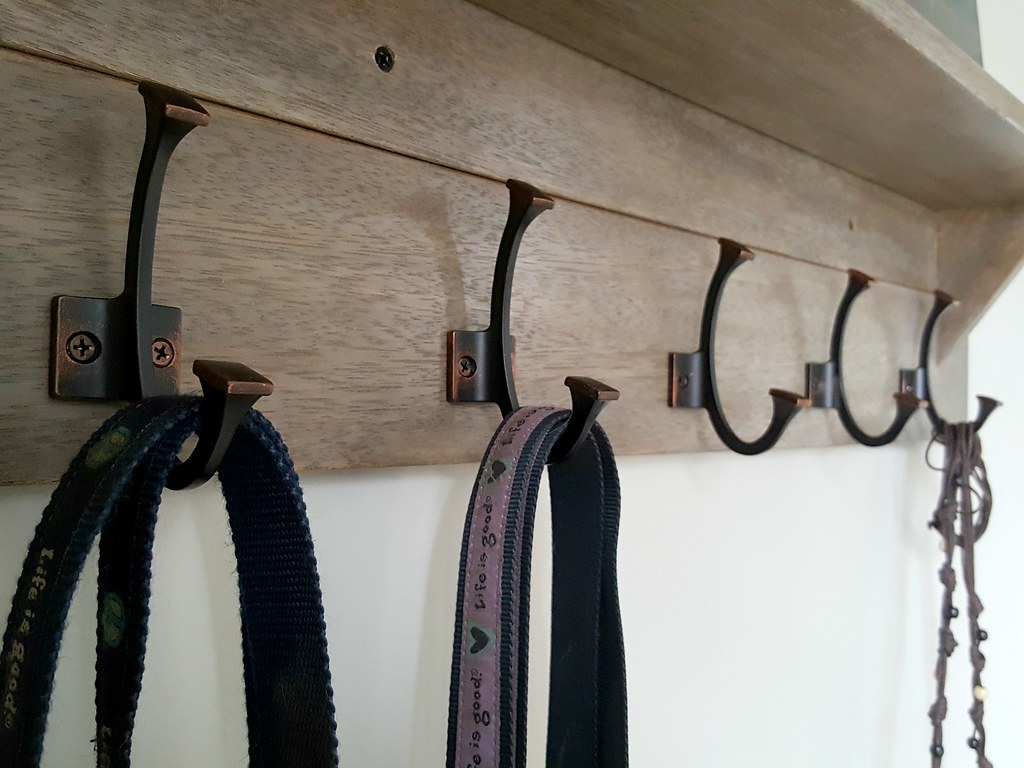
The final step was to add the hooks. These ones are from Canadian Tire, but you can find a similar style here. They are evenly spaced between the two end supports and are attached with two front-mounted screws each. The screws were a bit too long so I had to cut off the ends with diagonal pliers (sidecutters). I could have just used shorter screws but these ones have oil-rubbed bronze heads to match the finish on the hooks.


$25 Wall-mounted Coat Rack with Shelf

When Tom got home he was so surprised. He was also a little sad as he said, "You're not going to need me anymore - you know how to use all the tools." Aww, I'll still keep him around. After all, someone has to hang it on the wall for me. :-)


$25 Wall-mounted Coat Rack with Shelf


$25 Wall-mounted Coat Rack with Shelf

Feb 11, 2017

Peanut Butter Chocolate Cereal Treats

Looking for a Valentine's Day treat to make for that special someone or just for yourself (You're special, too!)? I have an easy, no bake recipe for you that will push all the right flavour buttons - butterscotch, peanut butter, sweet 'n' salty, and crunchy. What do you mean, "Crunchy isn't a flavour"? It should be.

You might call these clusters, or haystacks, or cookies, or balls - I can't decide so I'm going with "treats". No matter what, they still taste amazing. I'm thinking of making them in a pan next time and then cutting them into bars like brownies.

peanut butter chocolate cereal treats


Ingredients List

6 cups of cornflakes (or other favourite non-sweetened cereal)
1/2 cup of peanut butter
1 pkg of butterscotch chips
1/4 cup of chocolate chips

Optional:
sea salt
dried cranberries
mixed nuts (chopped)
red pepper flakes


Directions:

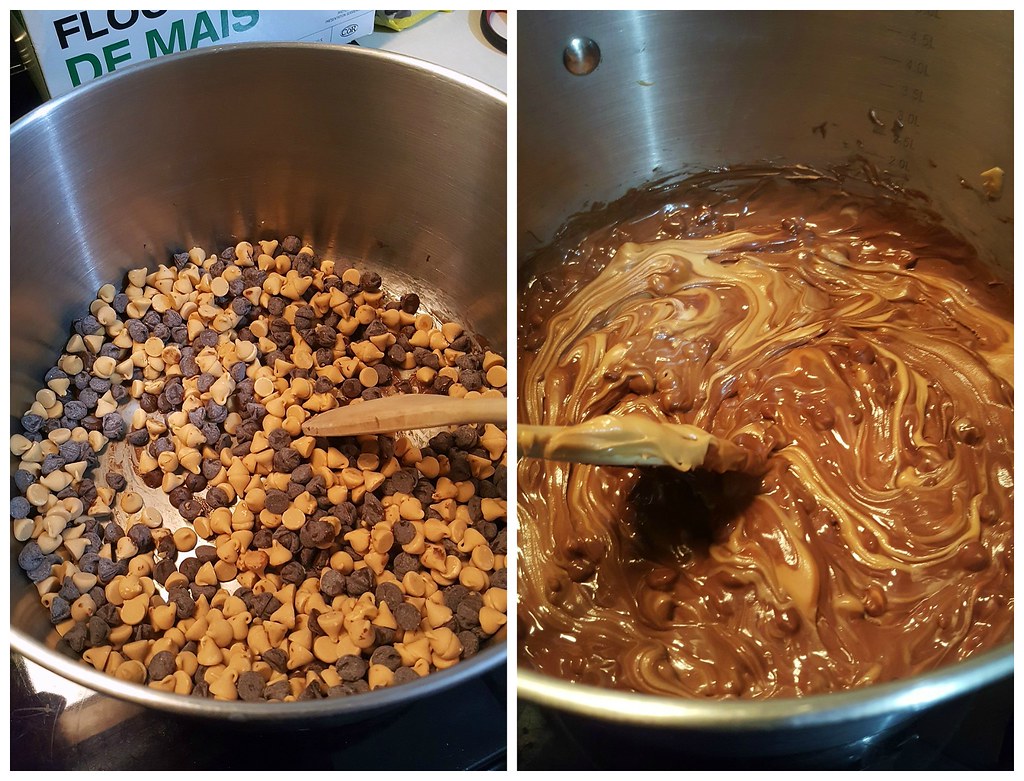
Start by melting your butterscotch chips and chocolate chips in a saucepan over very low heat. Once they are smooth and melted add your peanut butter and stir to combine. If you are also including dried cranberries or mixed nuts, add 'em now.
 

Slowly add your cornflakes a little at a time, stirring as you go. You can press down a bit with your spoon to break some of them up - the smaller pieces will help the treats stick together.

peanut butter chocolate cereal treats

Drop your mixture a teaspoonful at a time onto a wax paper-lined cookie sheet. The wax paper isn't crucial, but it sure does make for easy cleanup.

peanut butter chocolate cereal treats

Here comes the fun part. If you are adding sea salt or red pepper flakes, sprinkle them - just a few! - on top of each treat. Put your pans in the refrigerator to cool and then transfer your treats to an airtight container once they have set.

 peanut butter chocolate cereal treats
  peanut butter chocolate cereal treats

I'm afraid I don't have any pretty packaging to show you for this one as we ended up eating them all! But if I'd wrapped them it would look something like this (a treat that actually made it to the intended recipient). The dollar store is a fantastic place to find inexpensive gift packaging.

However, if you choose to keep them for yourself - and I don't blame you - Enjoy!


Feb 8, 2017

Basement Wall Framing & Insulating

 
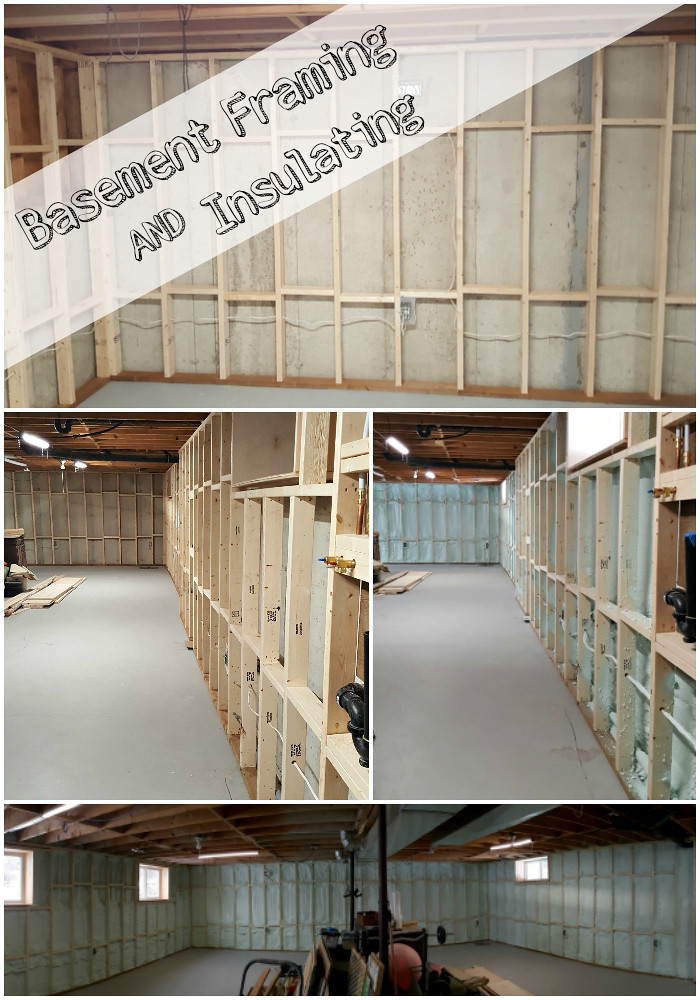
basement framing and spray foam insulation

When we moved into our house the basement was unfinished. Or maybe it was considered partially finished since there was insulation and drywall hung? If you recall the photos from our original house tour, the basement was a big open space just waiting to become a functional living area.


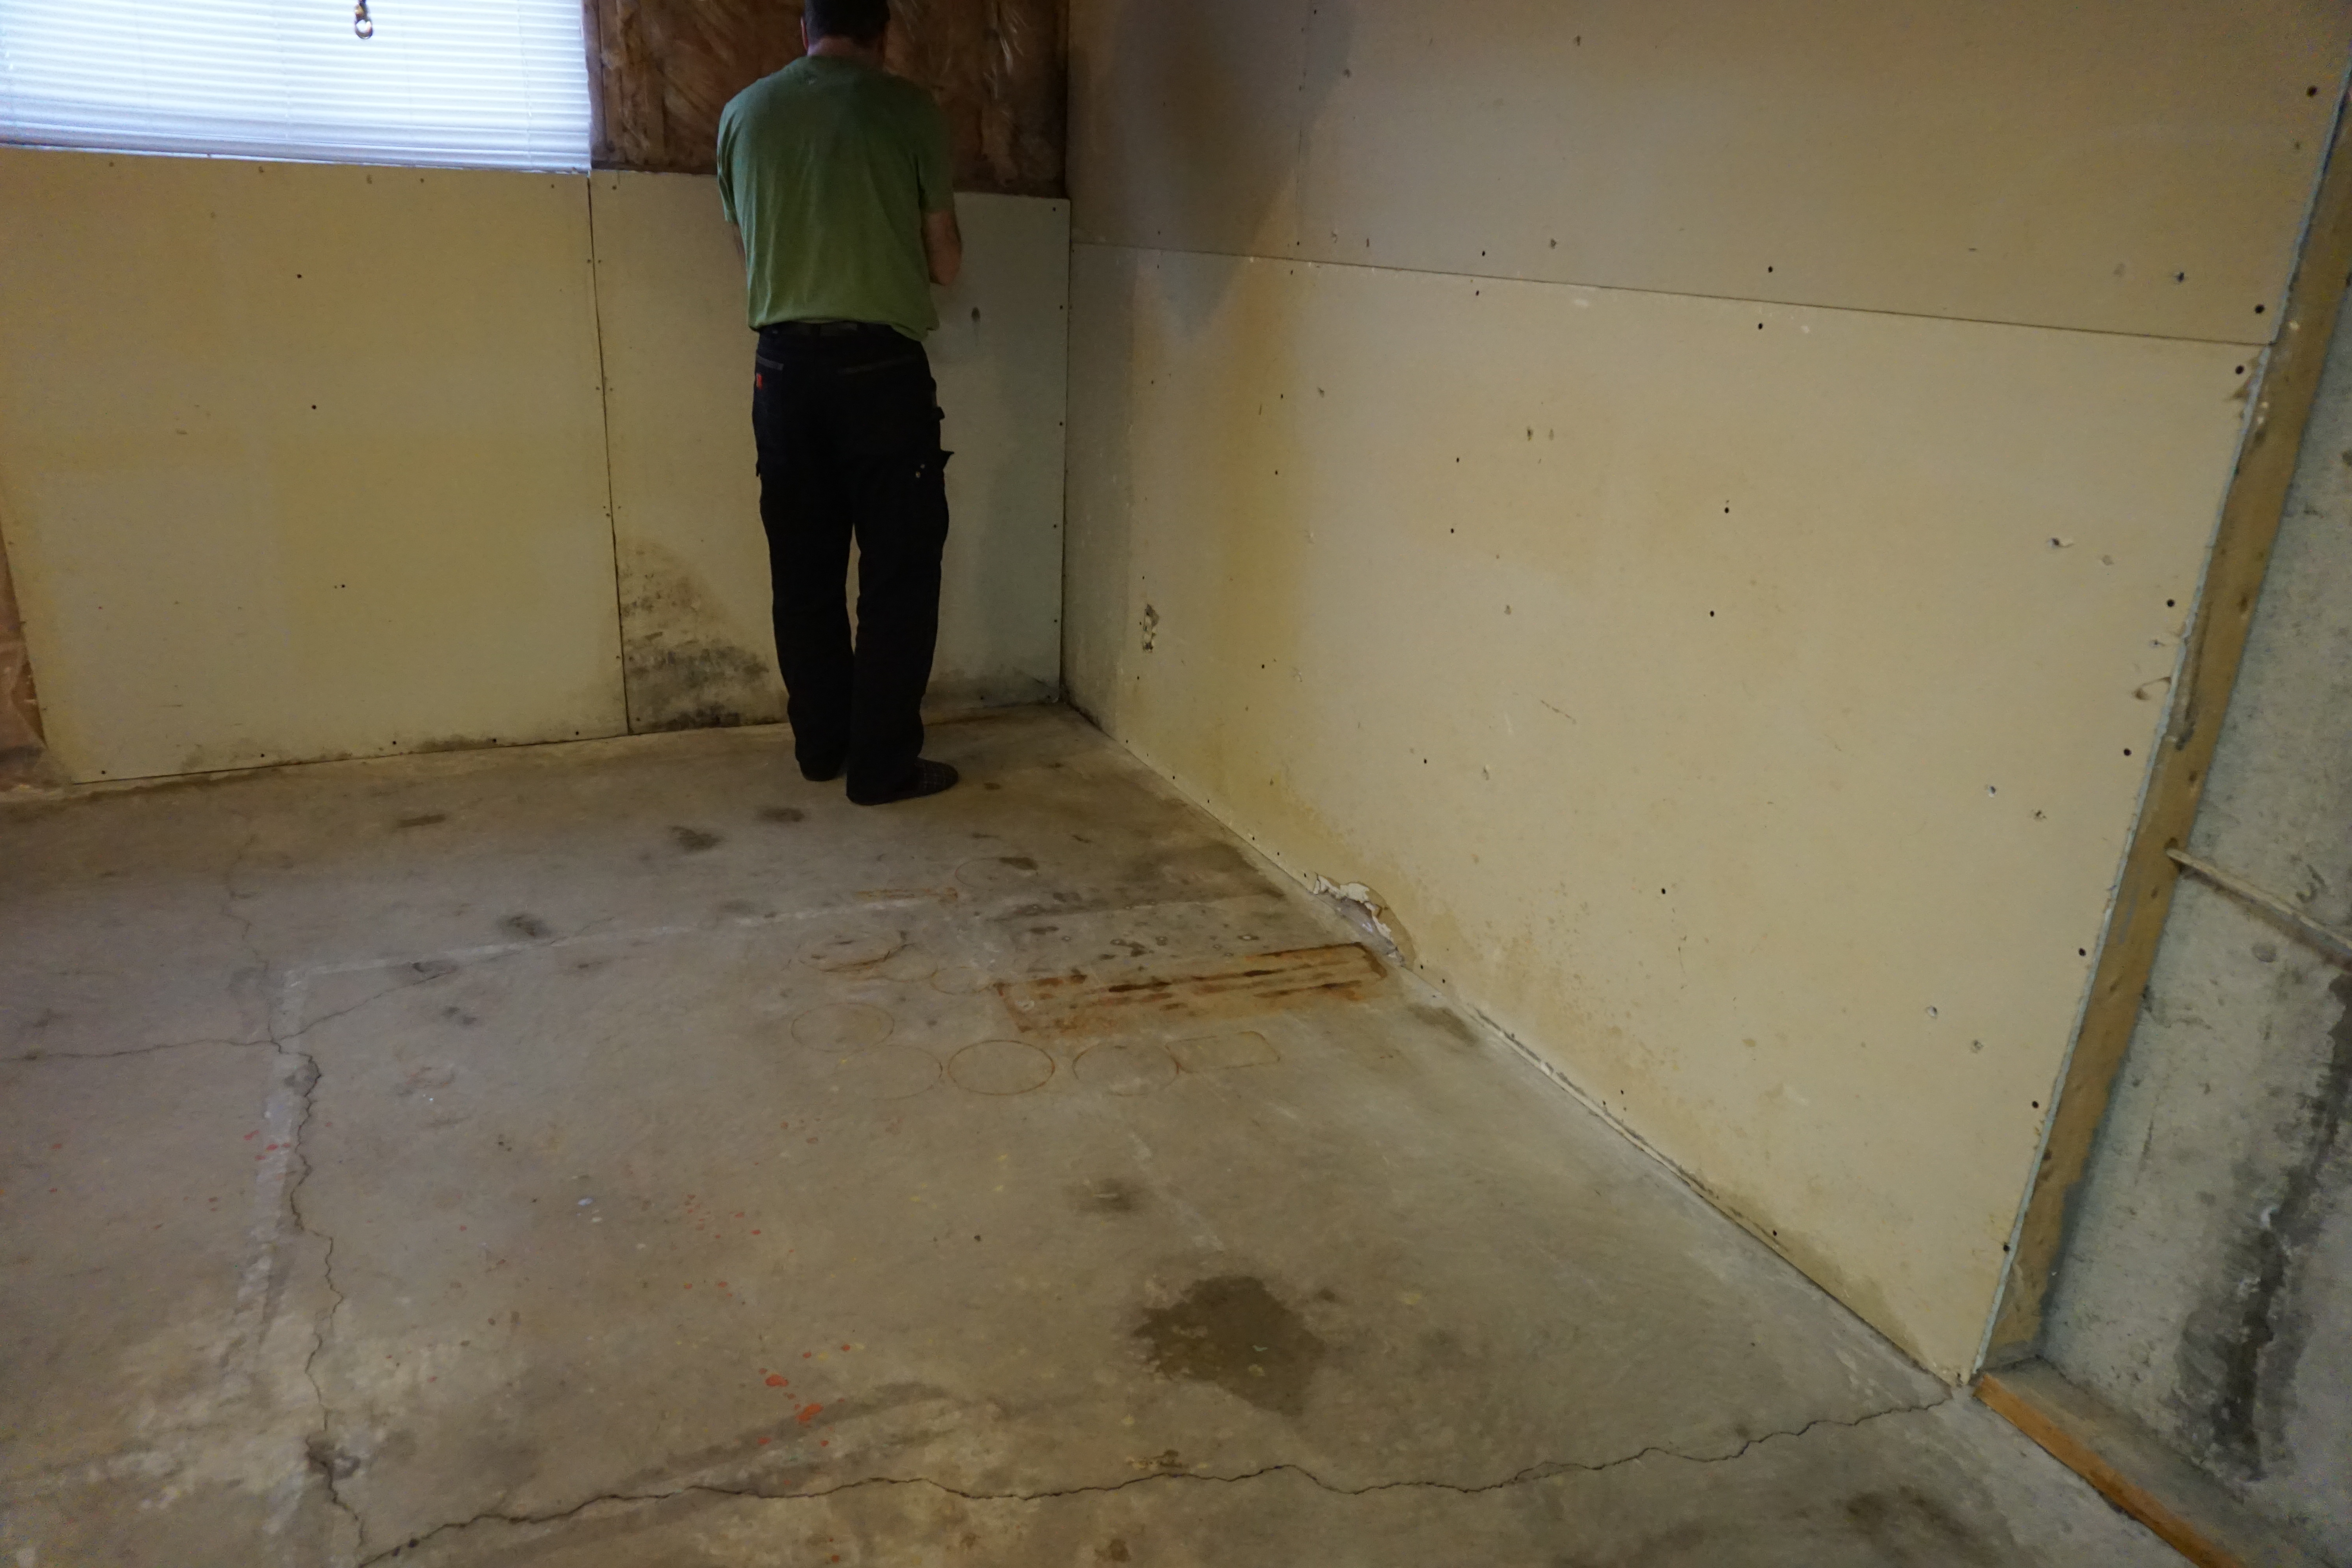
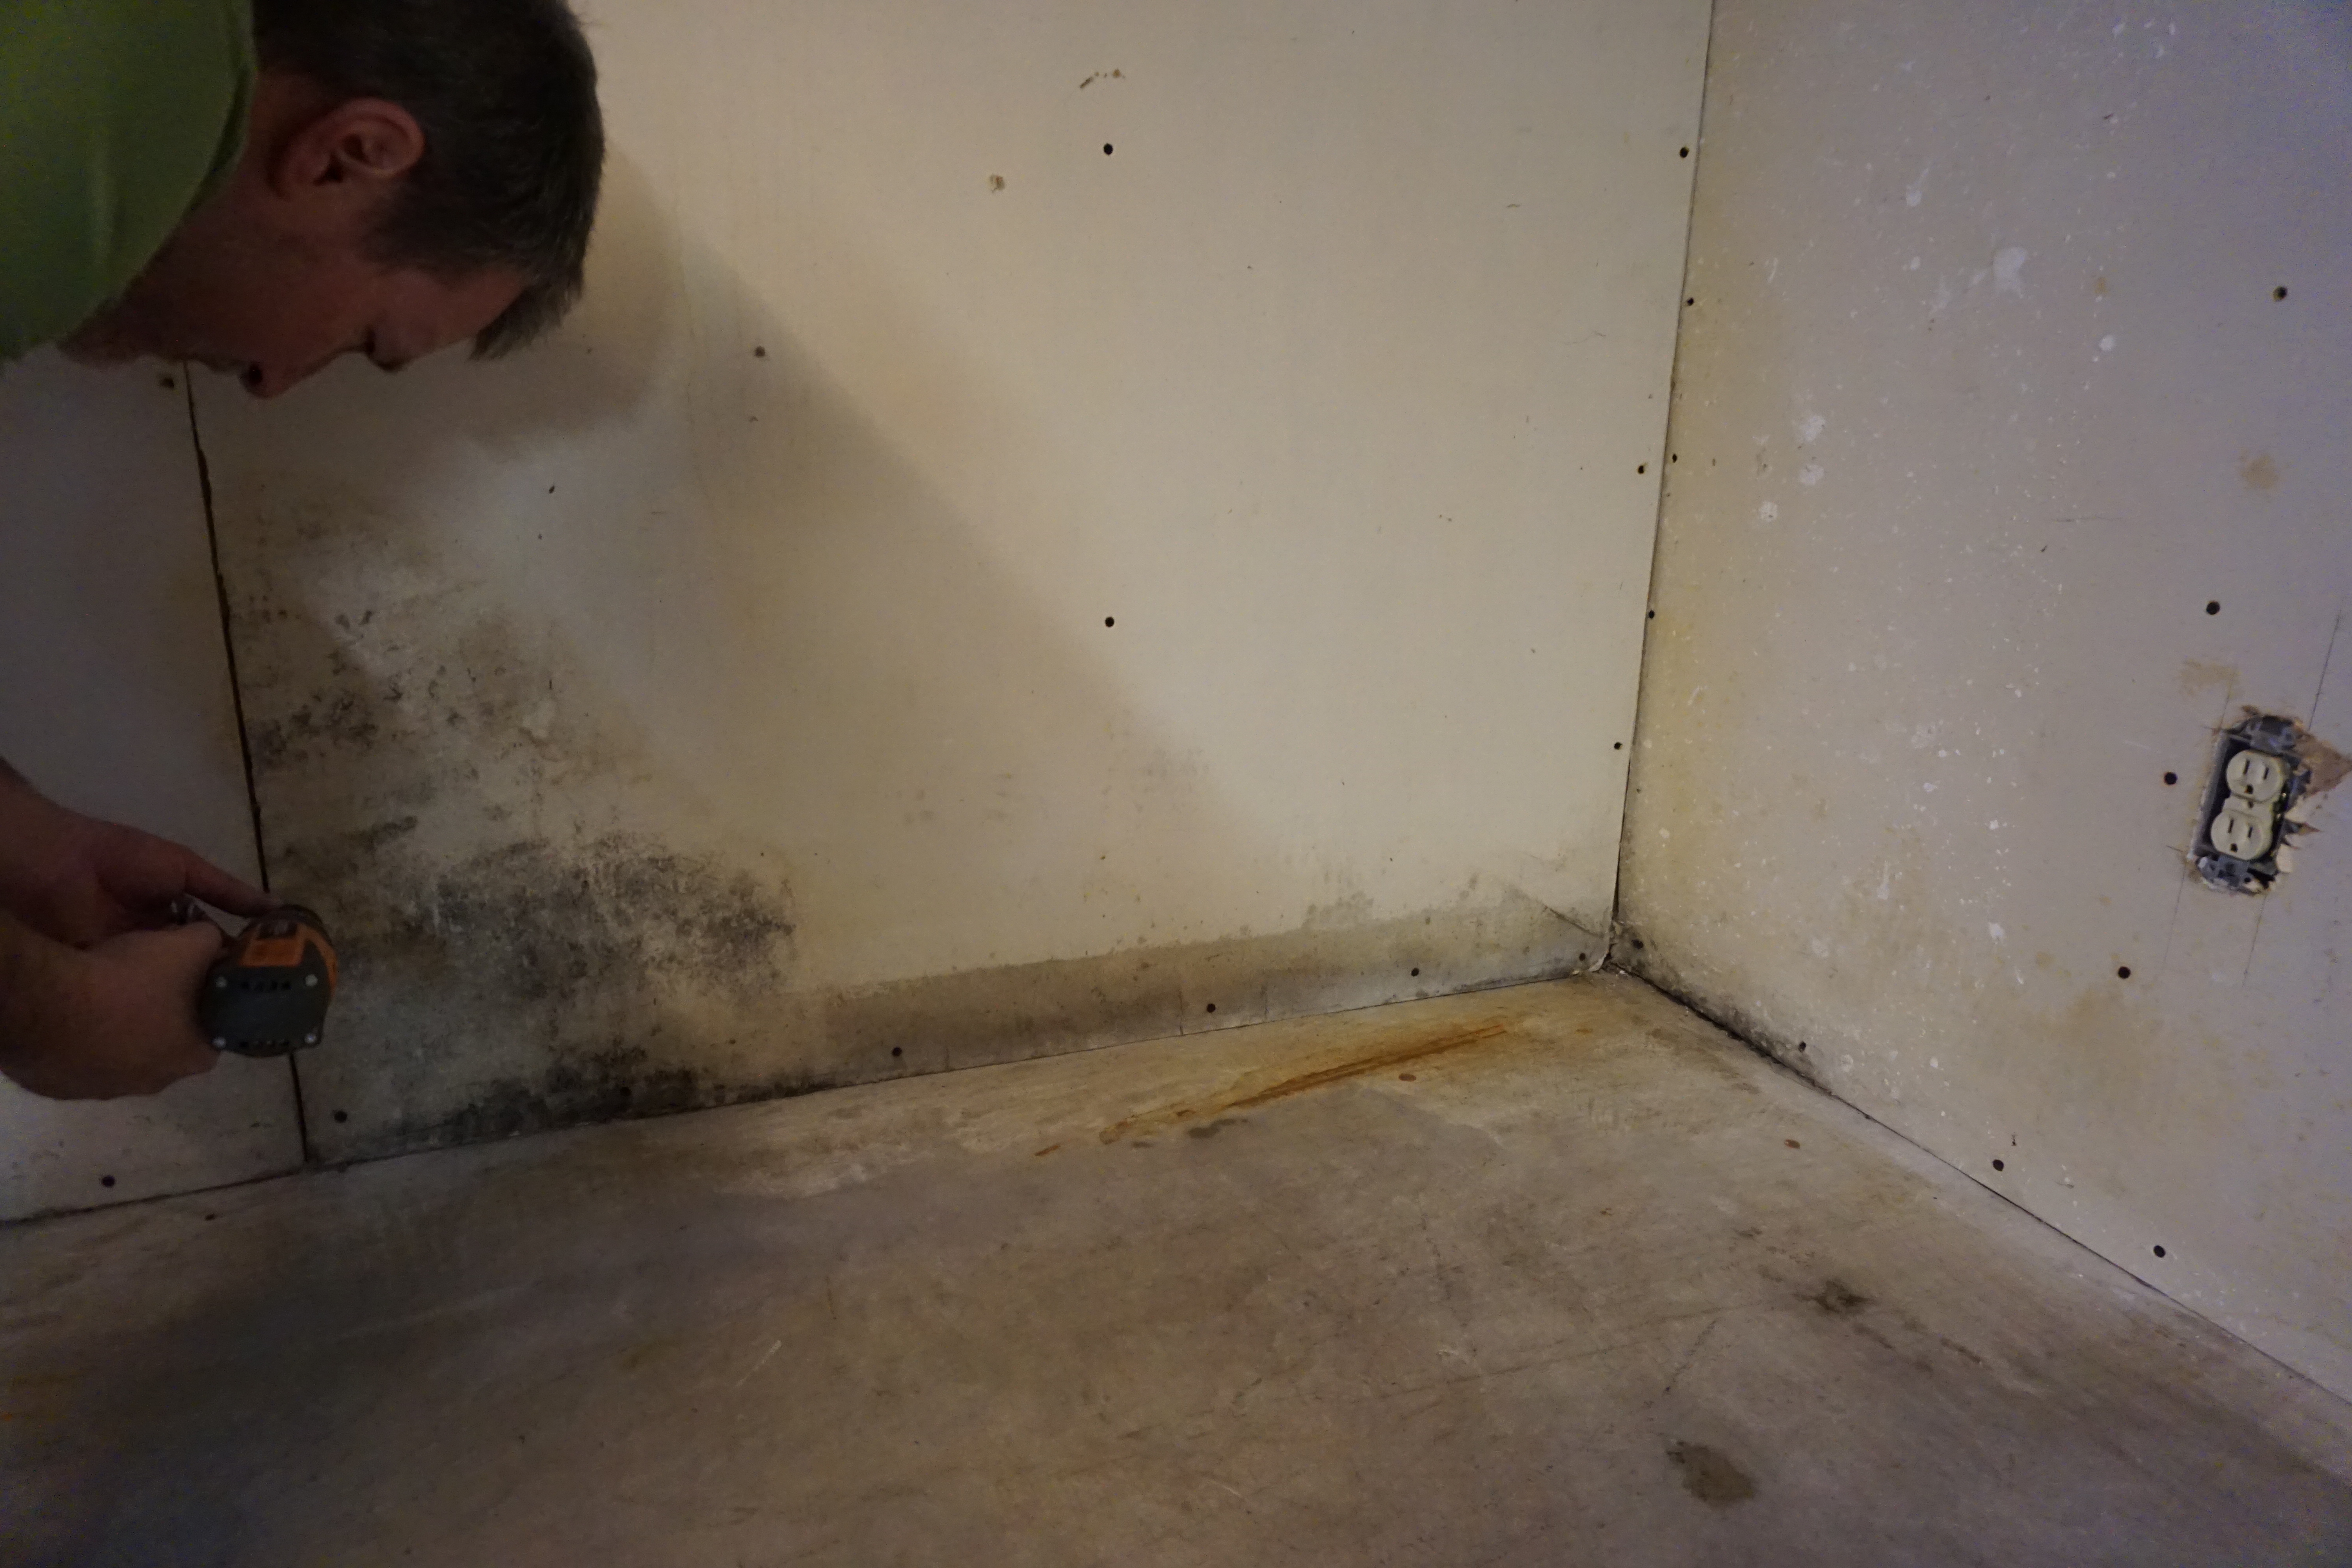
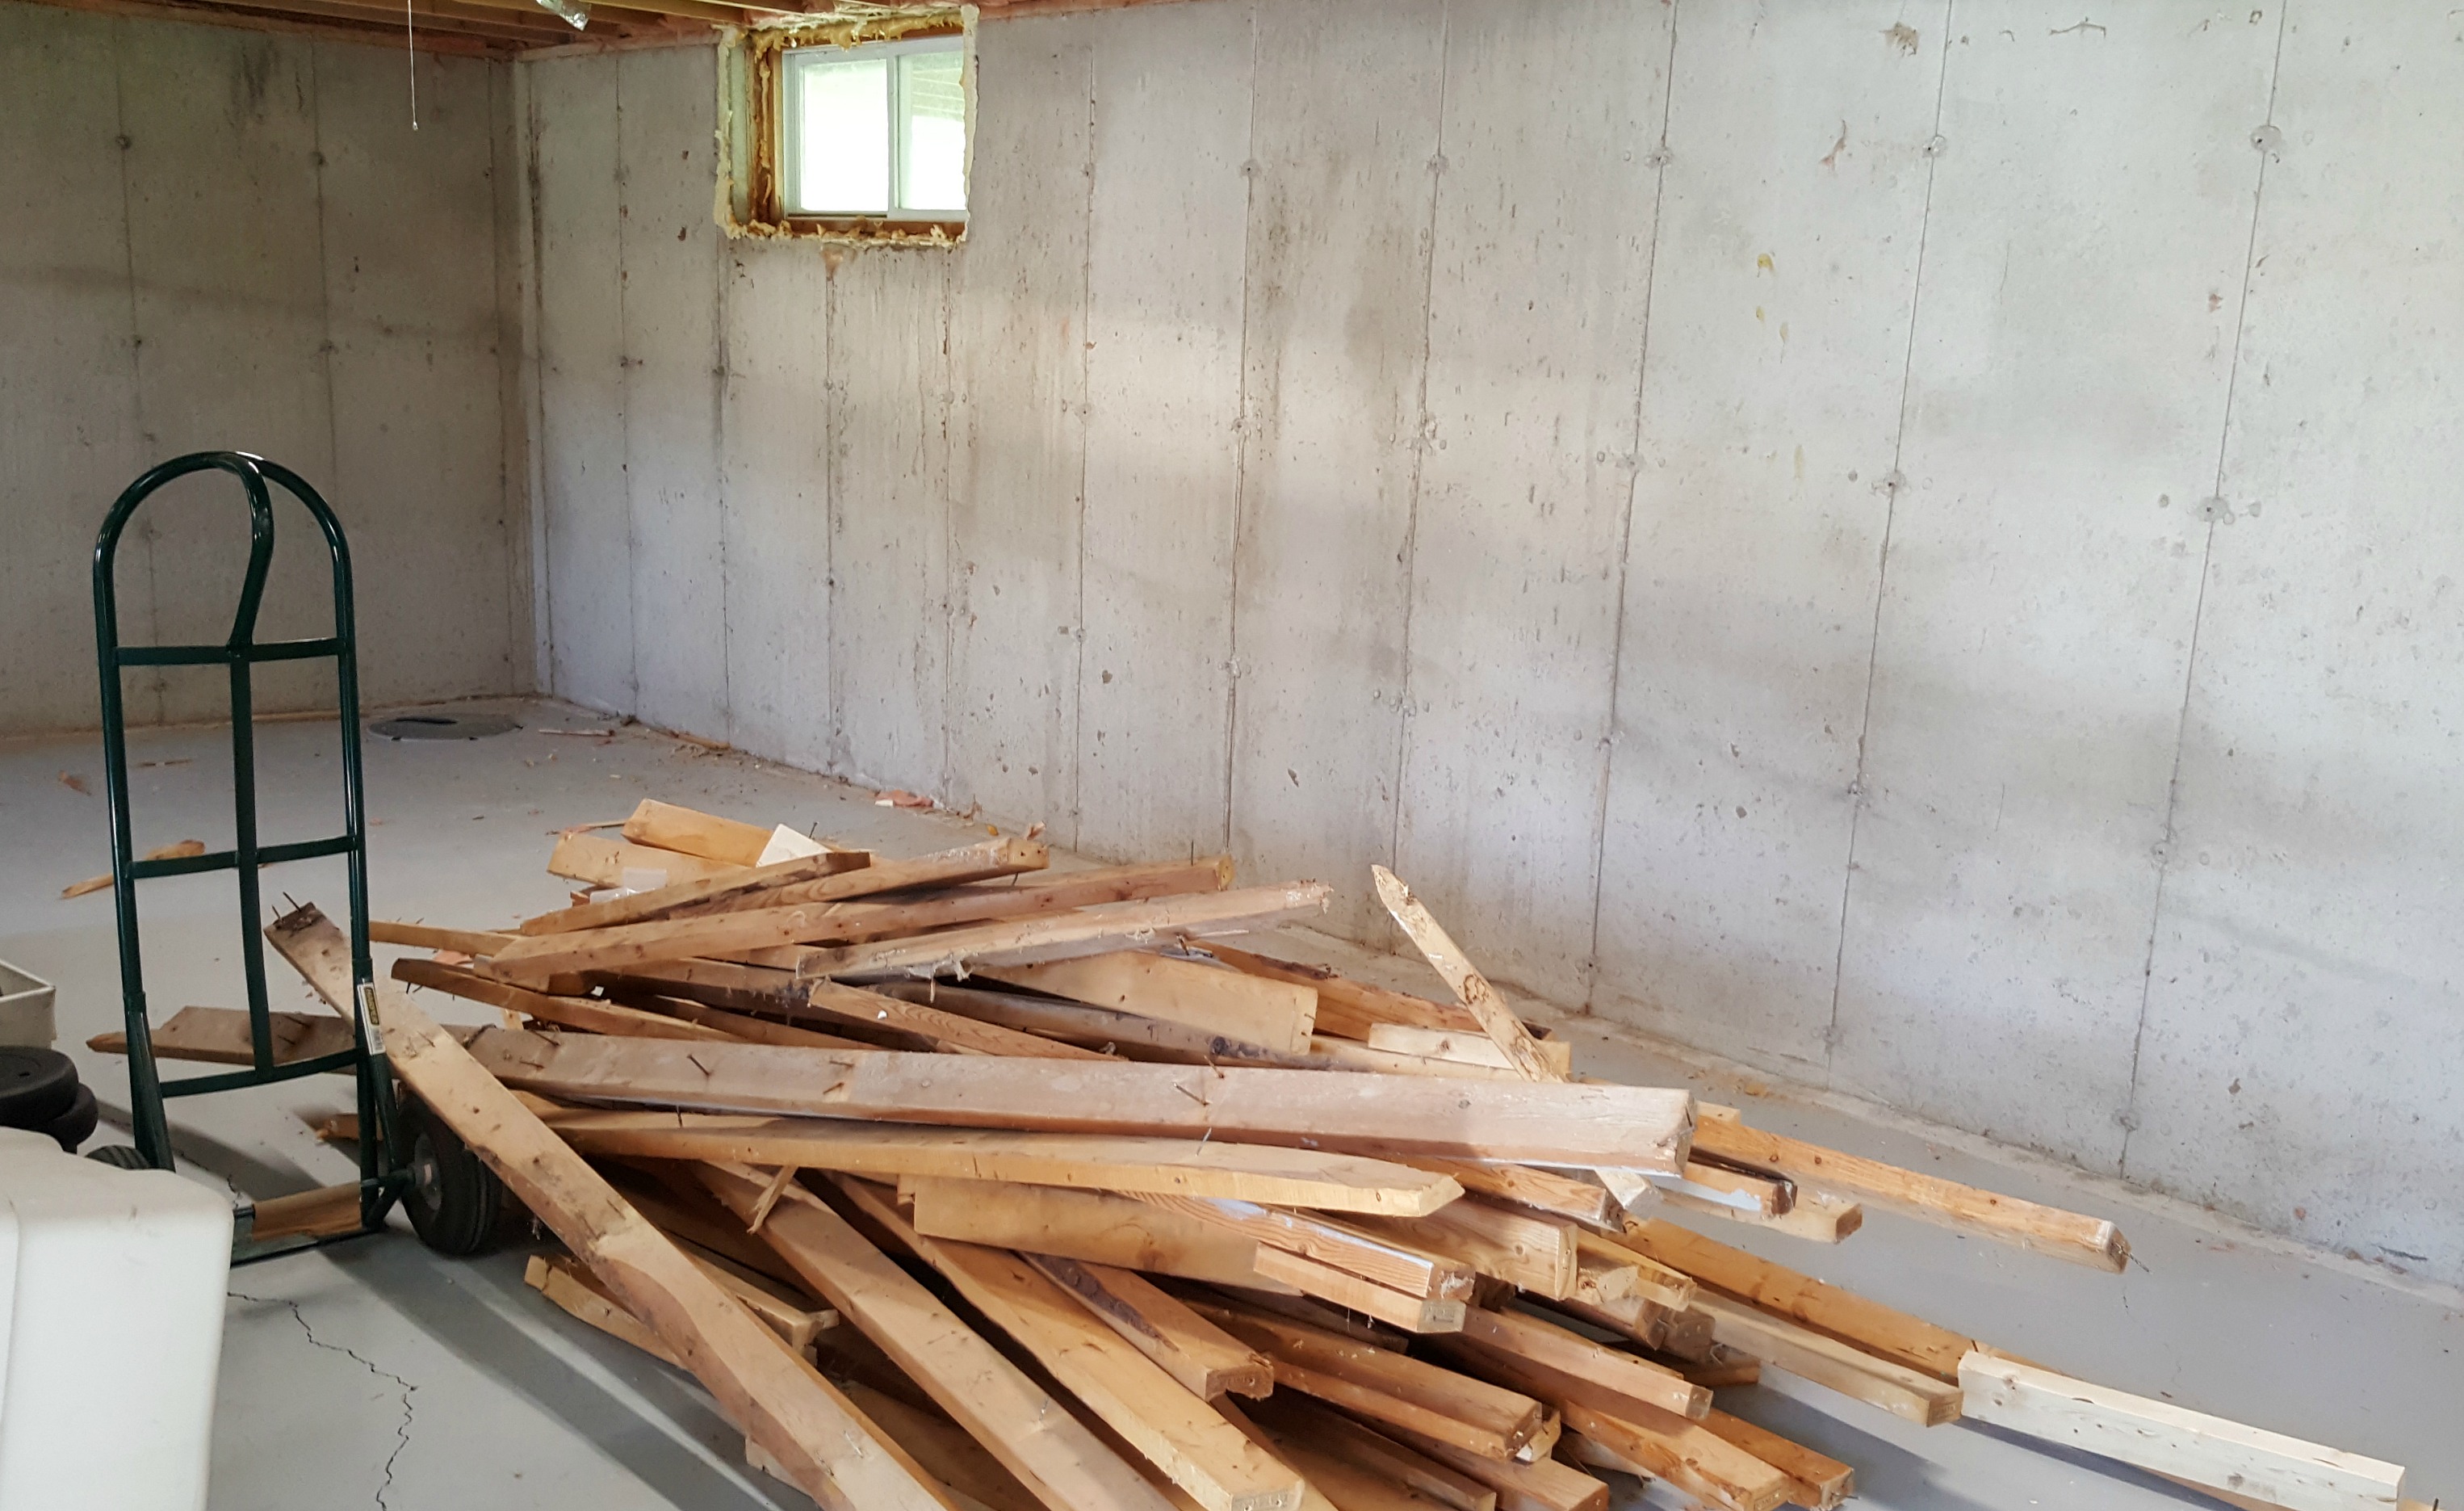
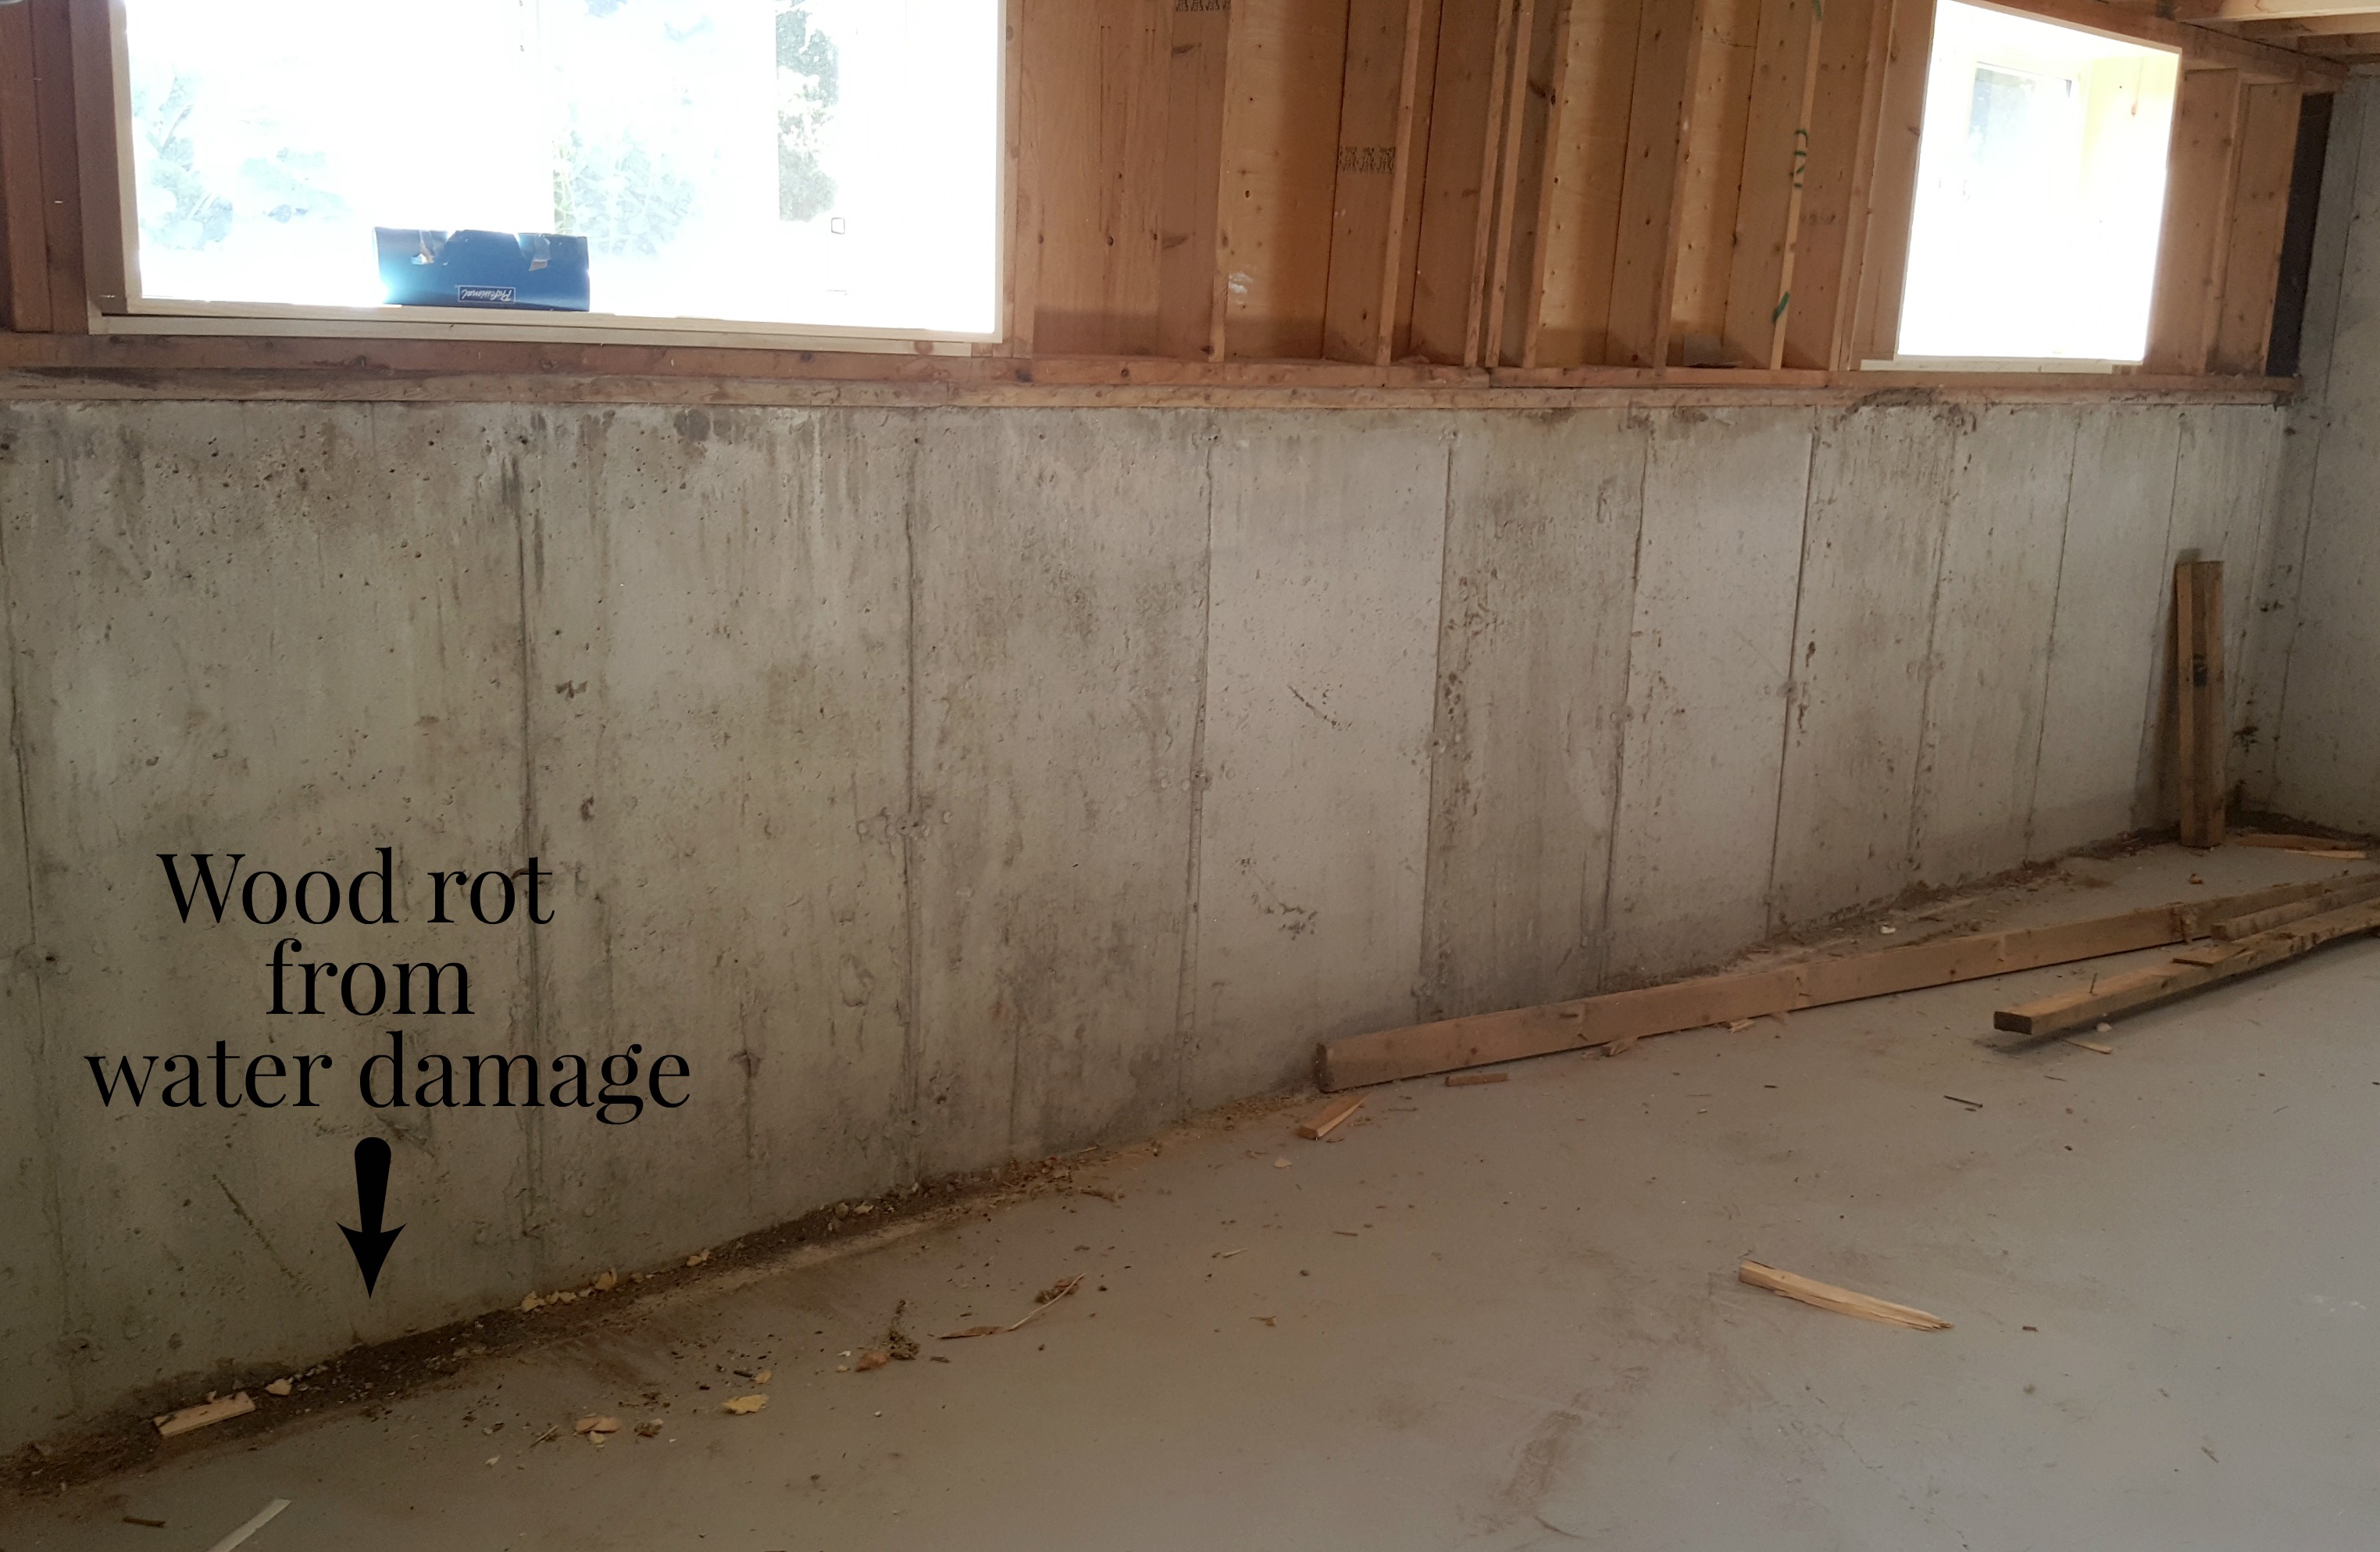
A lot of the drywall and insulation had been damaged by moisture so we tore it all down to start fresh. We also wanted to install additional electrical boxes, so it had to come down to run the wiring anyway. Once it was gone and the old insulation removed, Tom decided he would rather have spray foam insulation go back in instead of the usual pink fiberglass type.

We gathered a few quotes, and the one thing we were told by all of the installers was that the framing was too close to the wall for foam. Normally your framing is right up against the wall, the pink insulation is installed, and a vapour barrier goes up to keep out moisture. With spray foam insulation there is no separate vapour barrier - it acts as the barrier. If your framing is against the concrete, moisture will find its way through the wood and into your drywall. No good. Instead, there is a gap between the wall and the framing that is filled by the foam.

So before we could have the insulation installed, the framing had to come out and new framing had to go up. You know on the renovation shows when they say, "It's demo day! Yay!"? Demo is only fun for a hot minute - then it gets noisy, and dirty, you have a headache, and you still have to lug all of the boards and whatnot up out of the house. But we got it done in a day and moved on to the reinstall.


basement framing and spray foam insulation - demo day

Okay, that's a bit of a lie since we took a break from that job to install two new basement windows at the front of the house and box in the two at the back. Part of our moisture problem was caused by the large gaps around the front window frames, so large that you could see daylight through them.

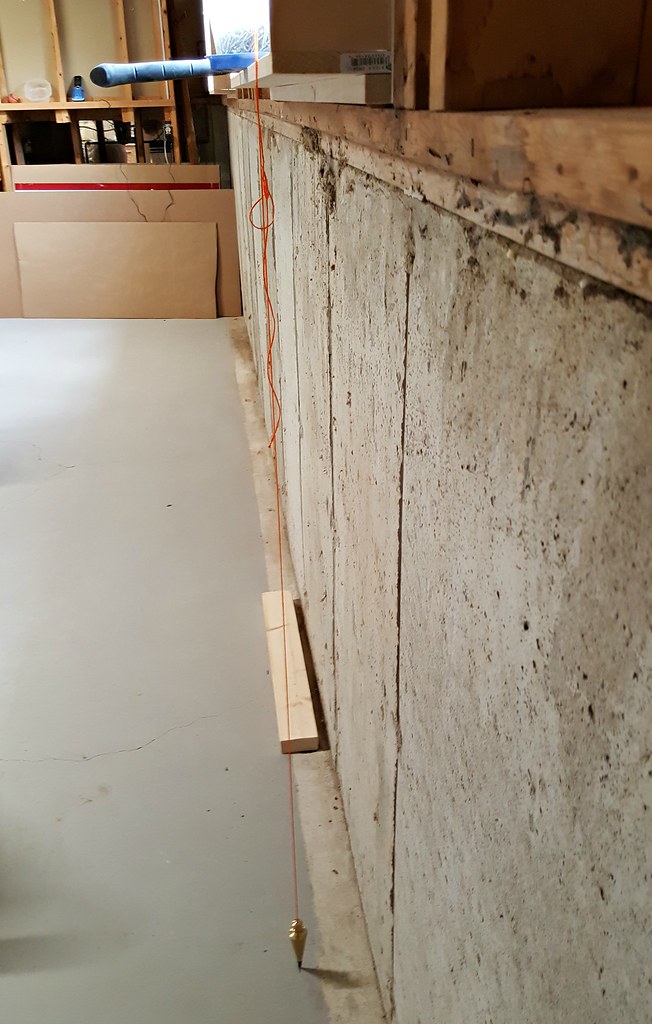
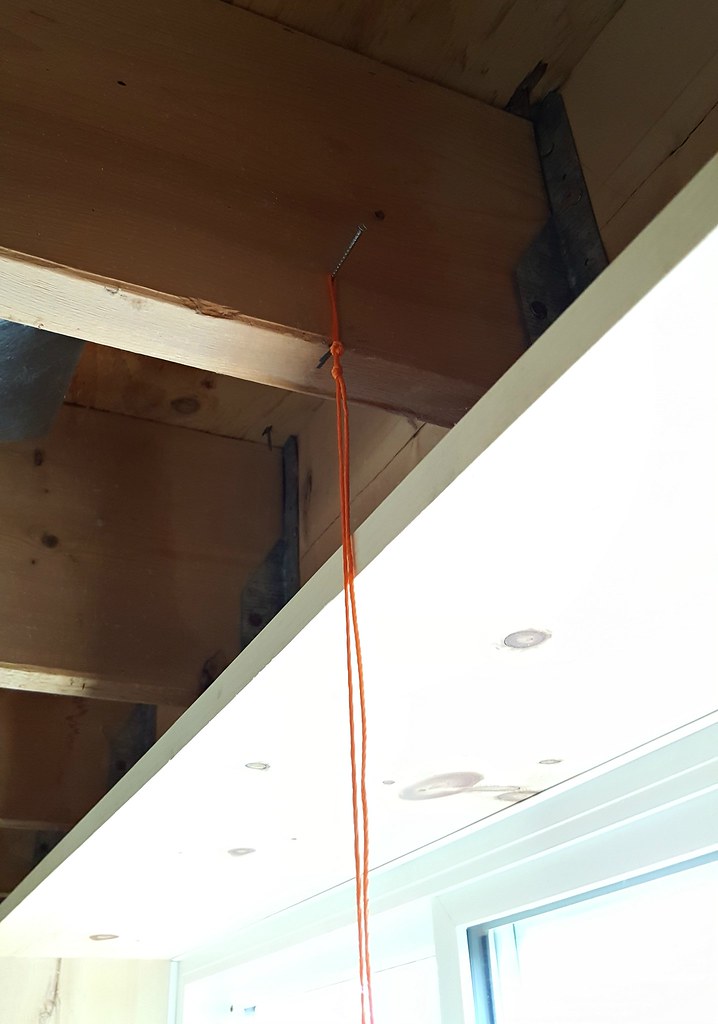
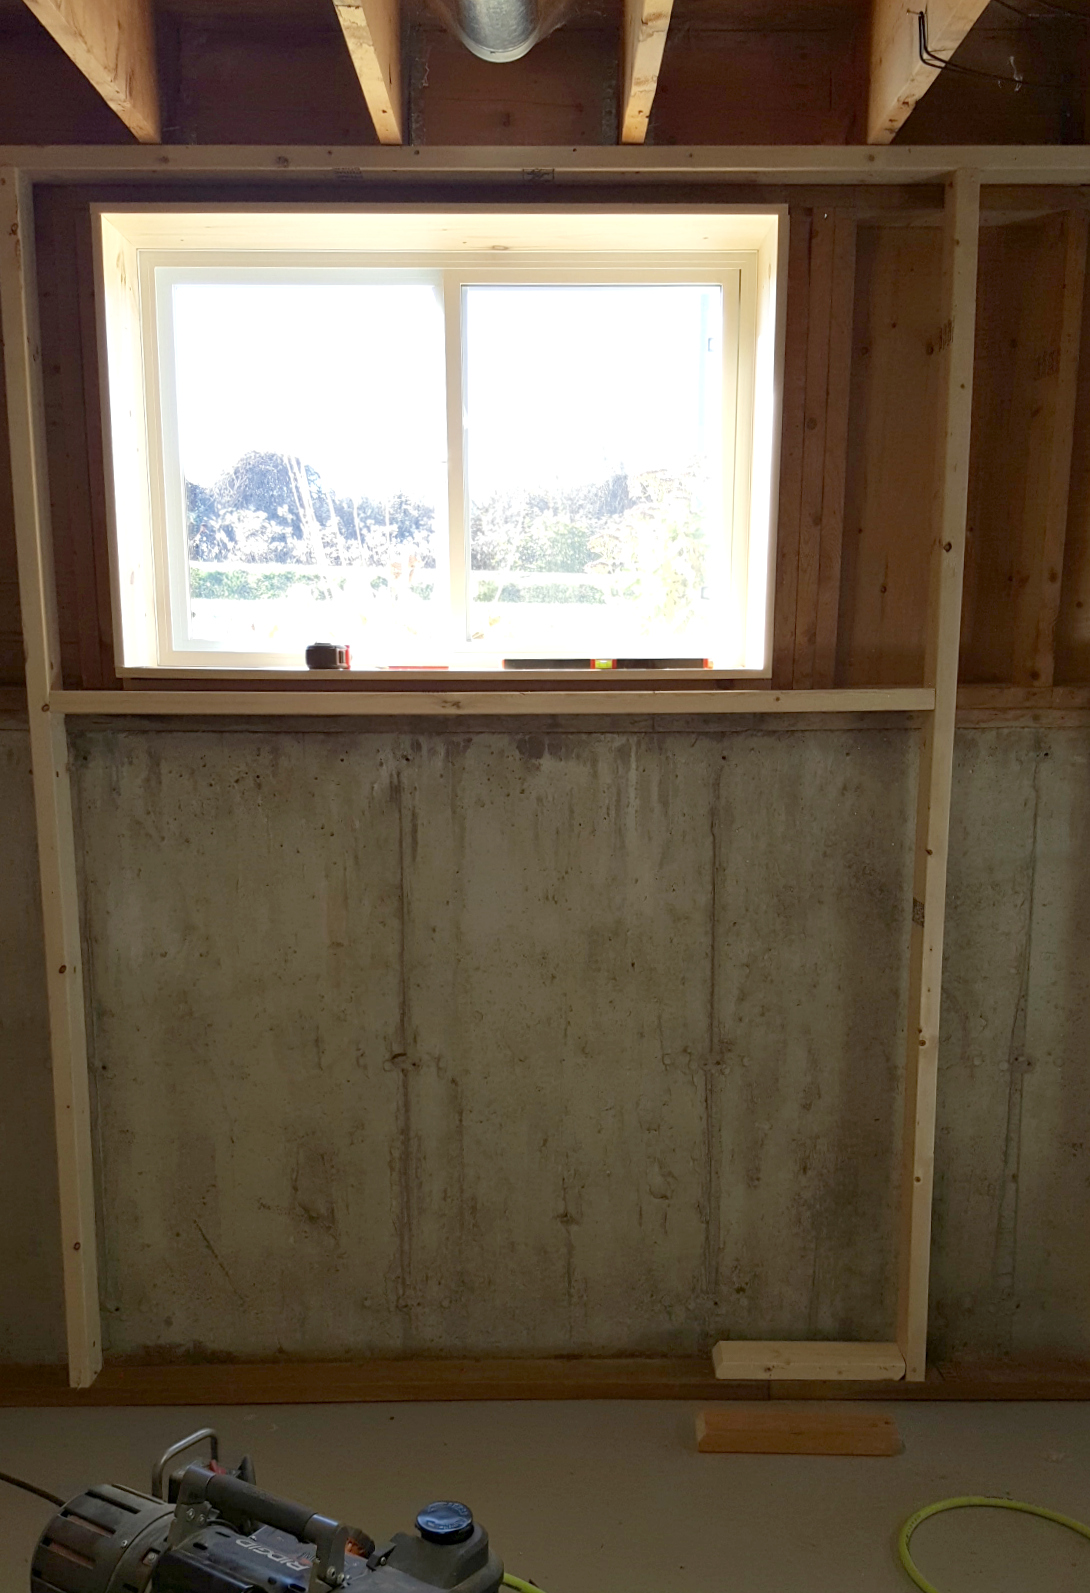
One of the benefits of replacing the windows and boxing them in was that we now knew where the framing and drywall would go. We dropped a plumb line past the front of the window "box" down to the floor and marked it. That's where the sole plate would sit. We also marked the spot on the joist for the ceiling plate. We did this in a few more places along the wall and then used a chalk line to draw a straight line between the marks.
basement framing and spray foam insulation plumb line

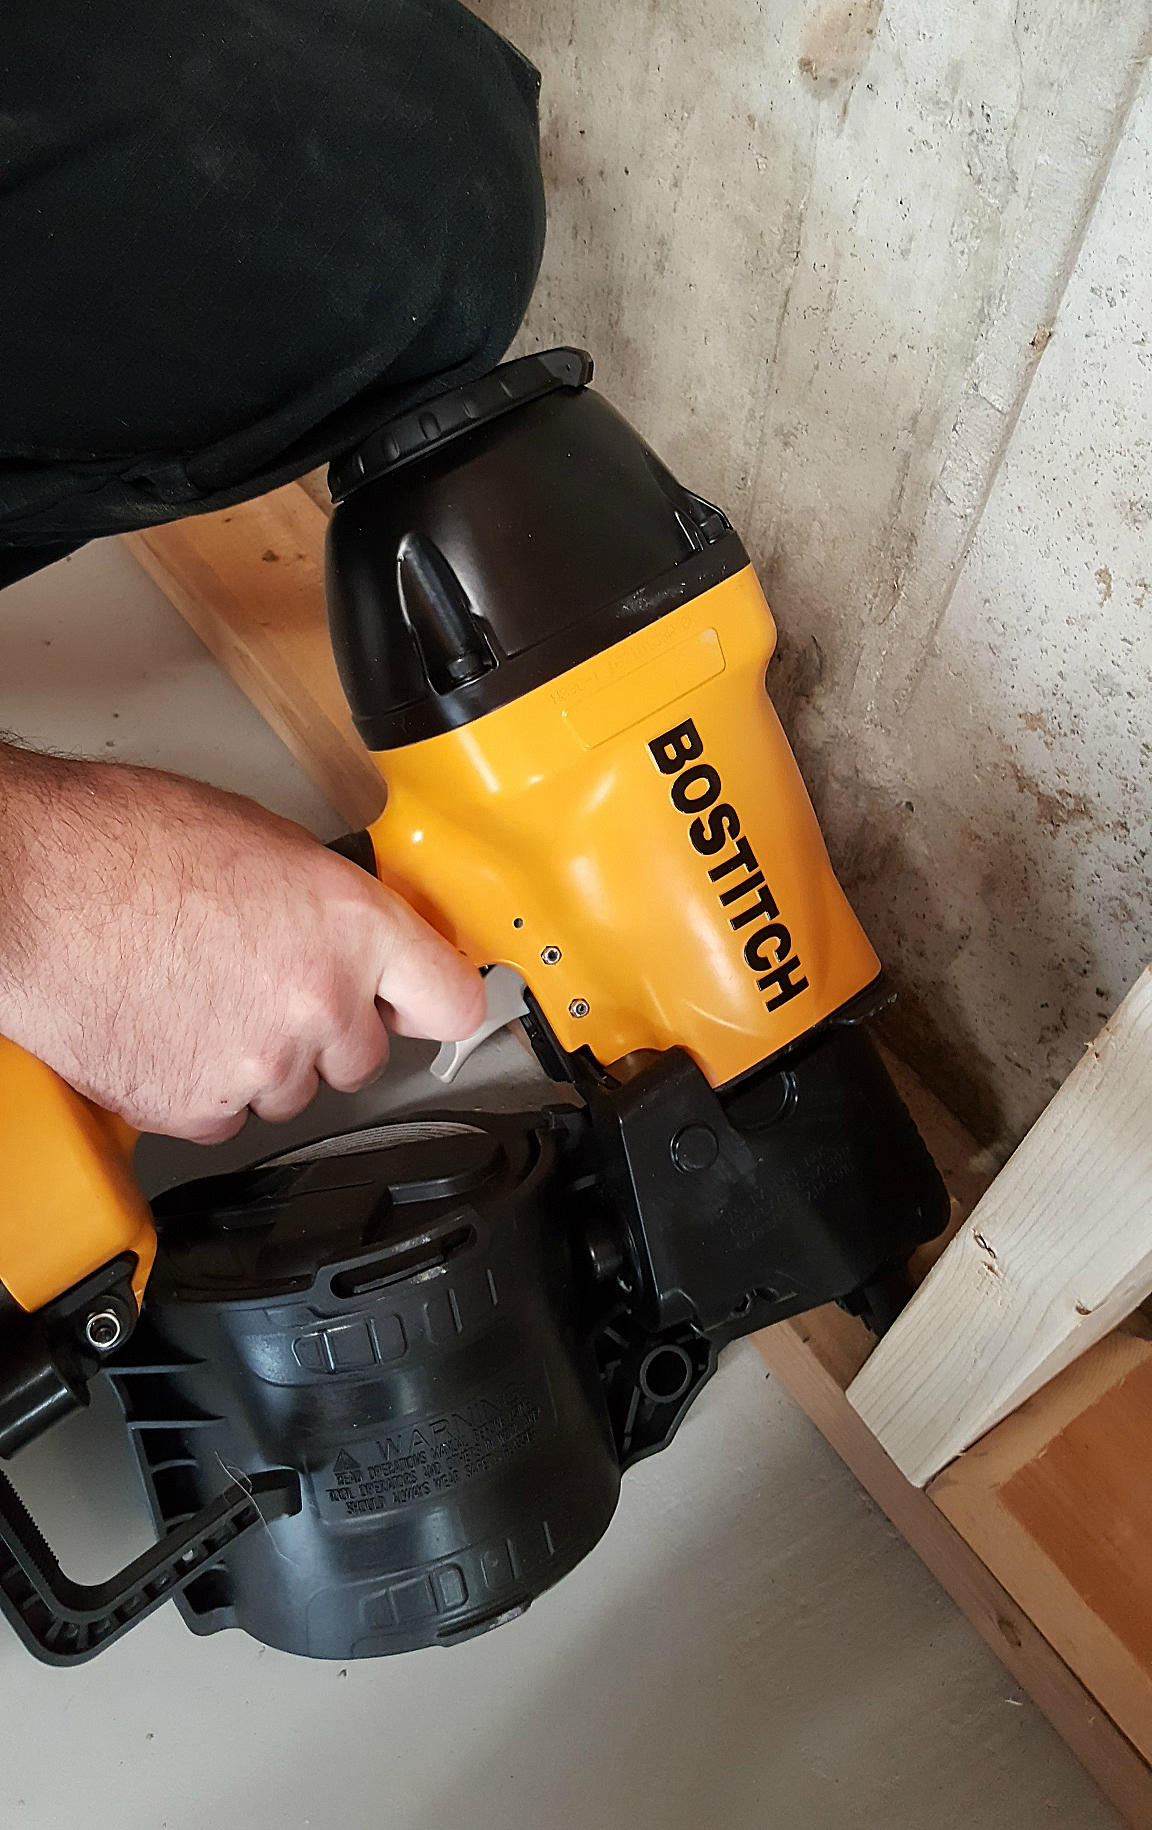
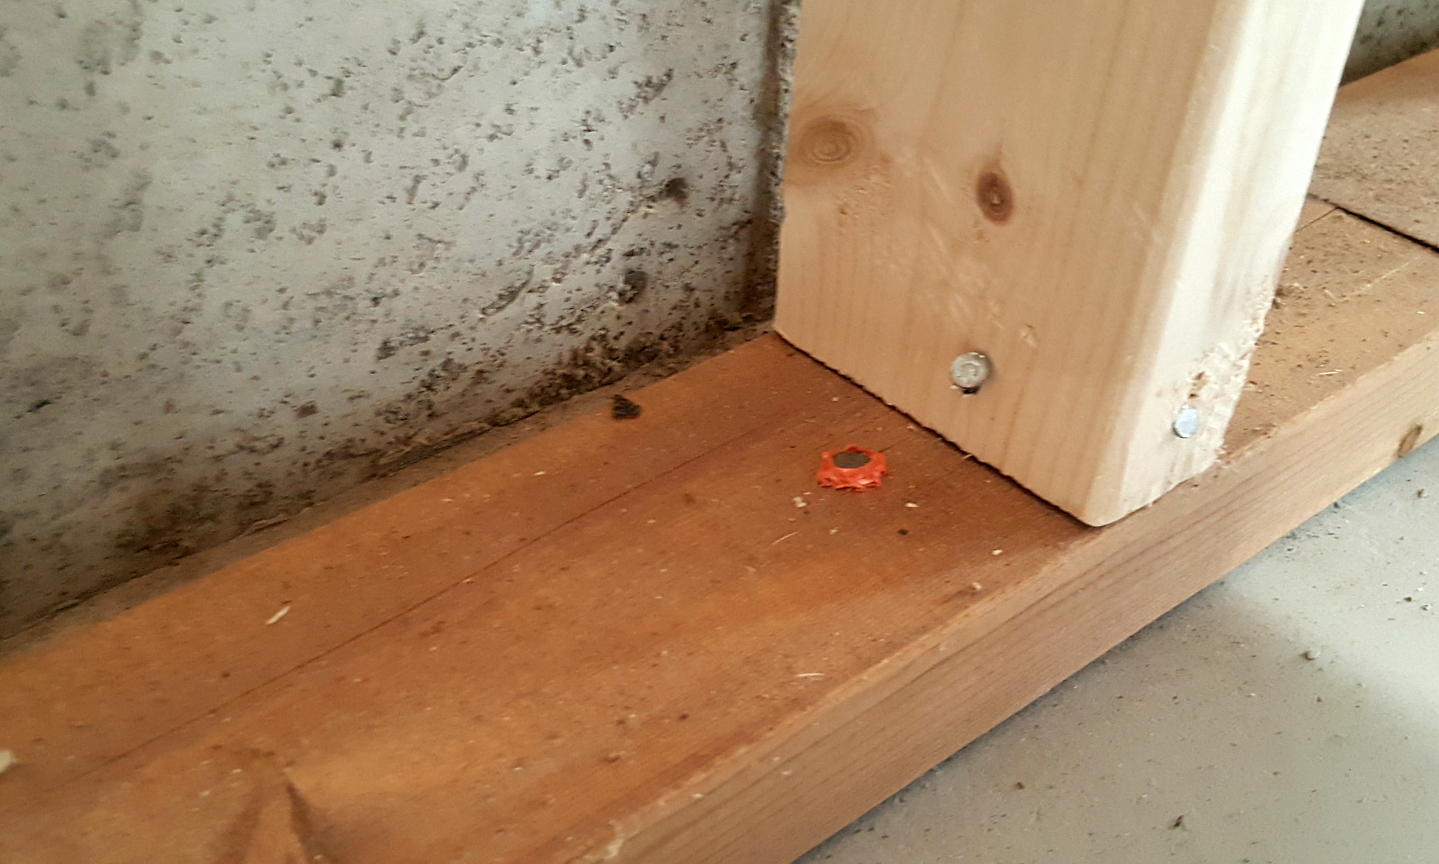
The sole plates were installed using a Ramset air tool. The nail, called a pin, is used with a cartridge and fires into the wood and the concrete like a .22 caliber bullet. One of our dogs is now terrified if anyone even heads towards the basement because of the noises from the compressor/ramset/air nailer. The poor thing is traumatized. We've started taking her down there for cookie breaks to try and help her get over it but it's slow going.

Rottweiler in a closet  :-)
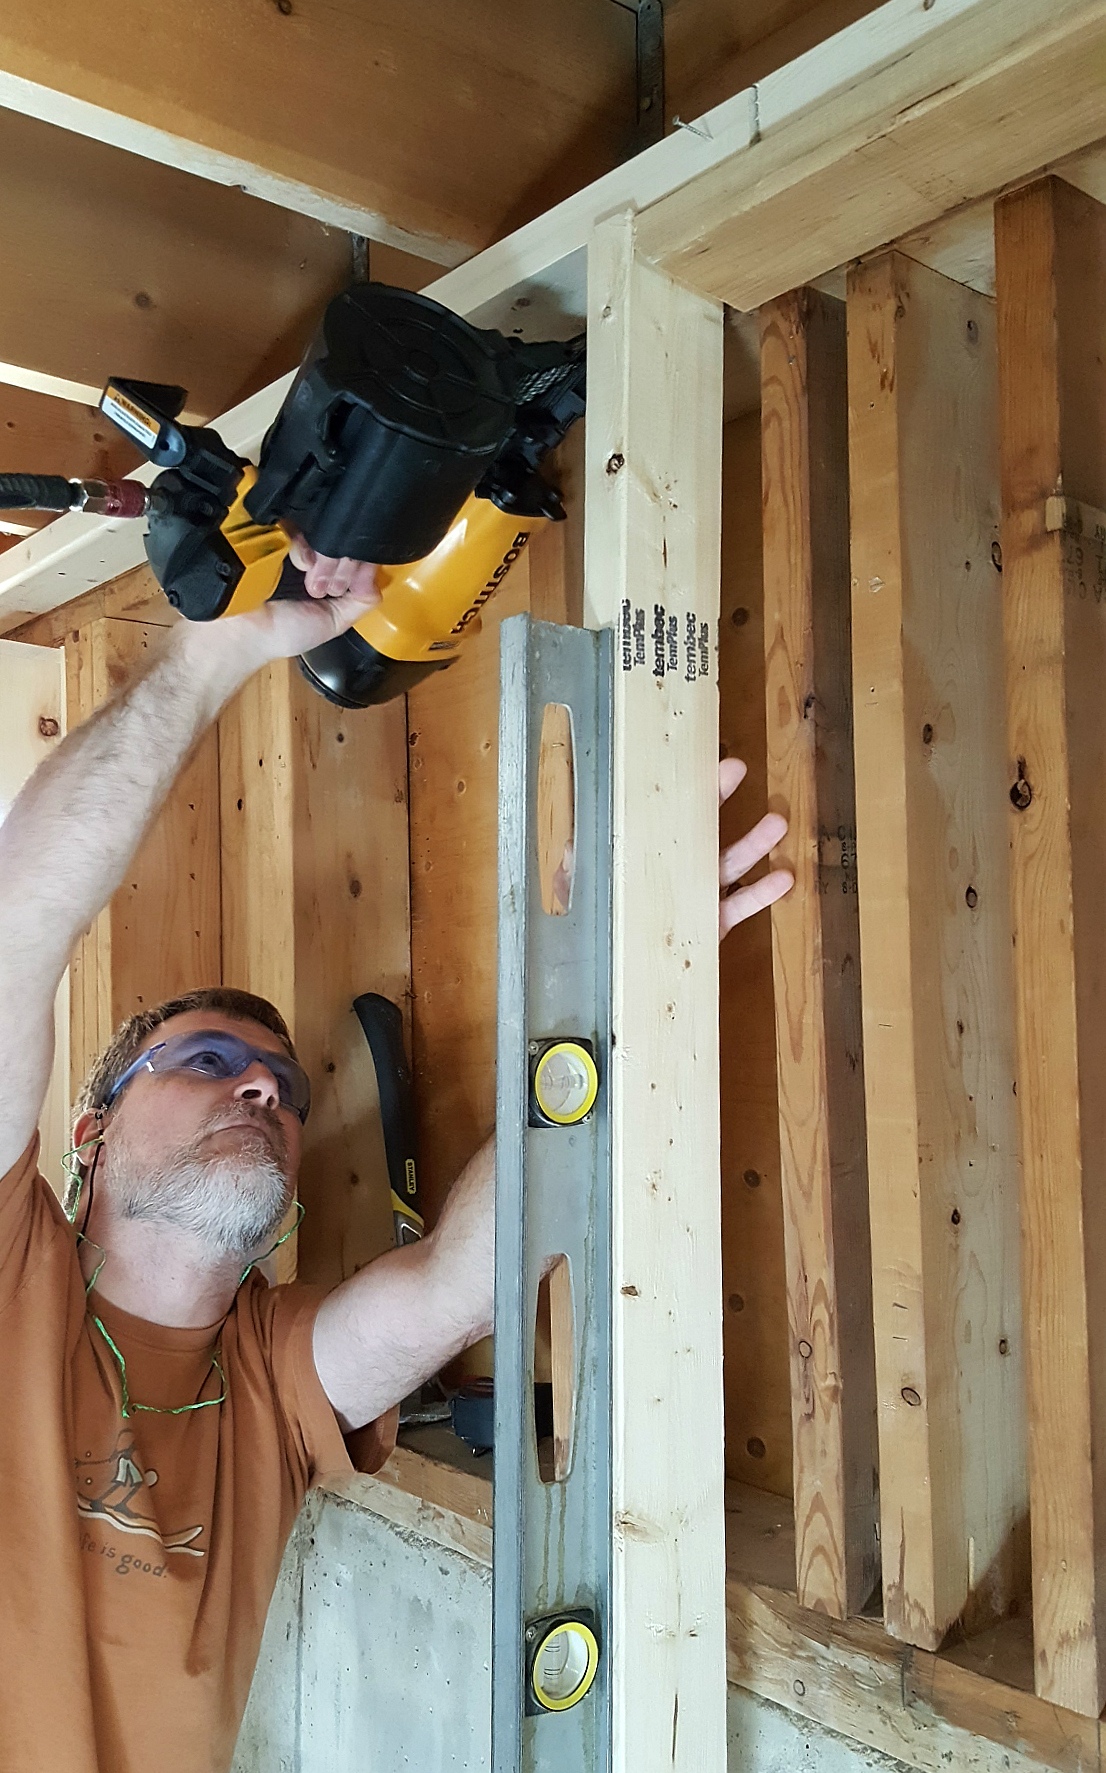
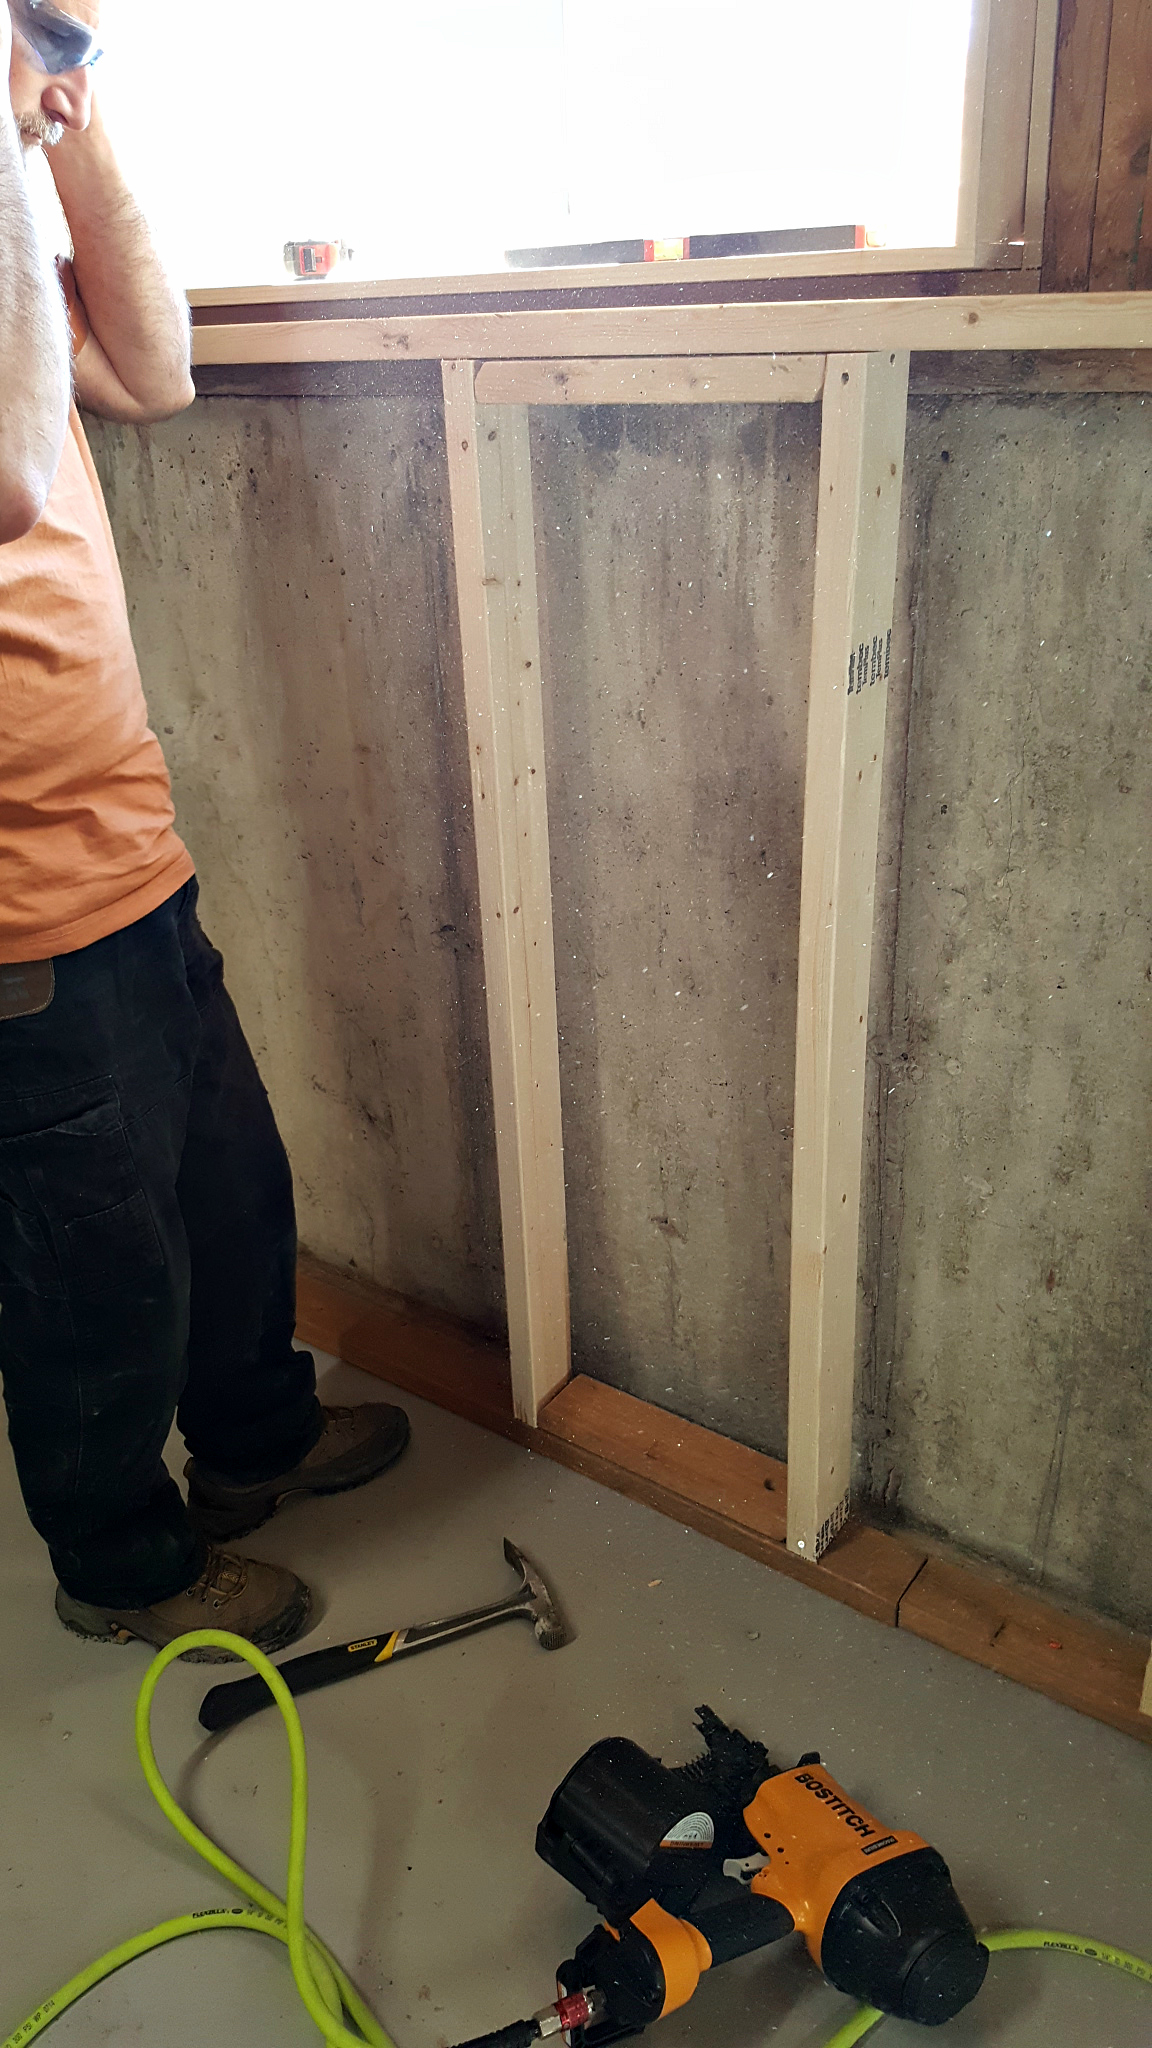
The ceiling plate and the studs are attached using an air nailer. The one we use is by Bostitch. To attach the studs a nail is driven diagonally (toenailed) through the stud and into the sole plate, one on each side and one at the front.
 
basement framing and spray foam insulation framing nailer Bostitch

Three nails go into the top as well. The bottom of the stud is flush with the front of the sole plate, but since you want it to be plumb top to bottom you need to line it up with a level before nailing it in at the top. This leveling means that it might not necessarily be flush with the ceiling plate.

basement framing and spray foam insulation
basement framing and spray foam insulation Bostitch framing nailer

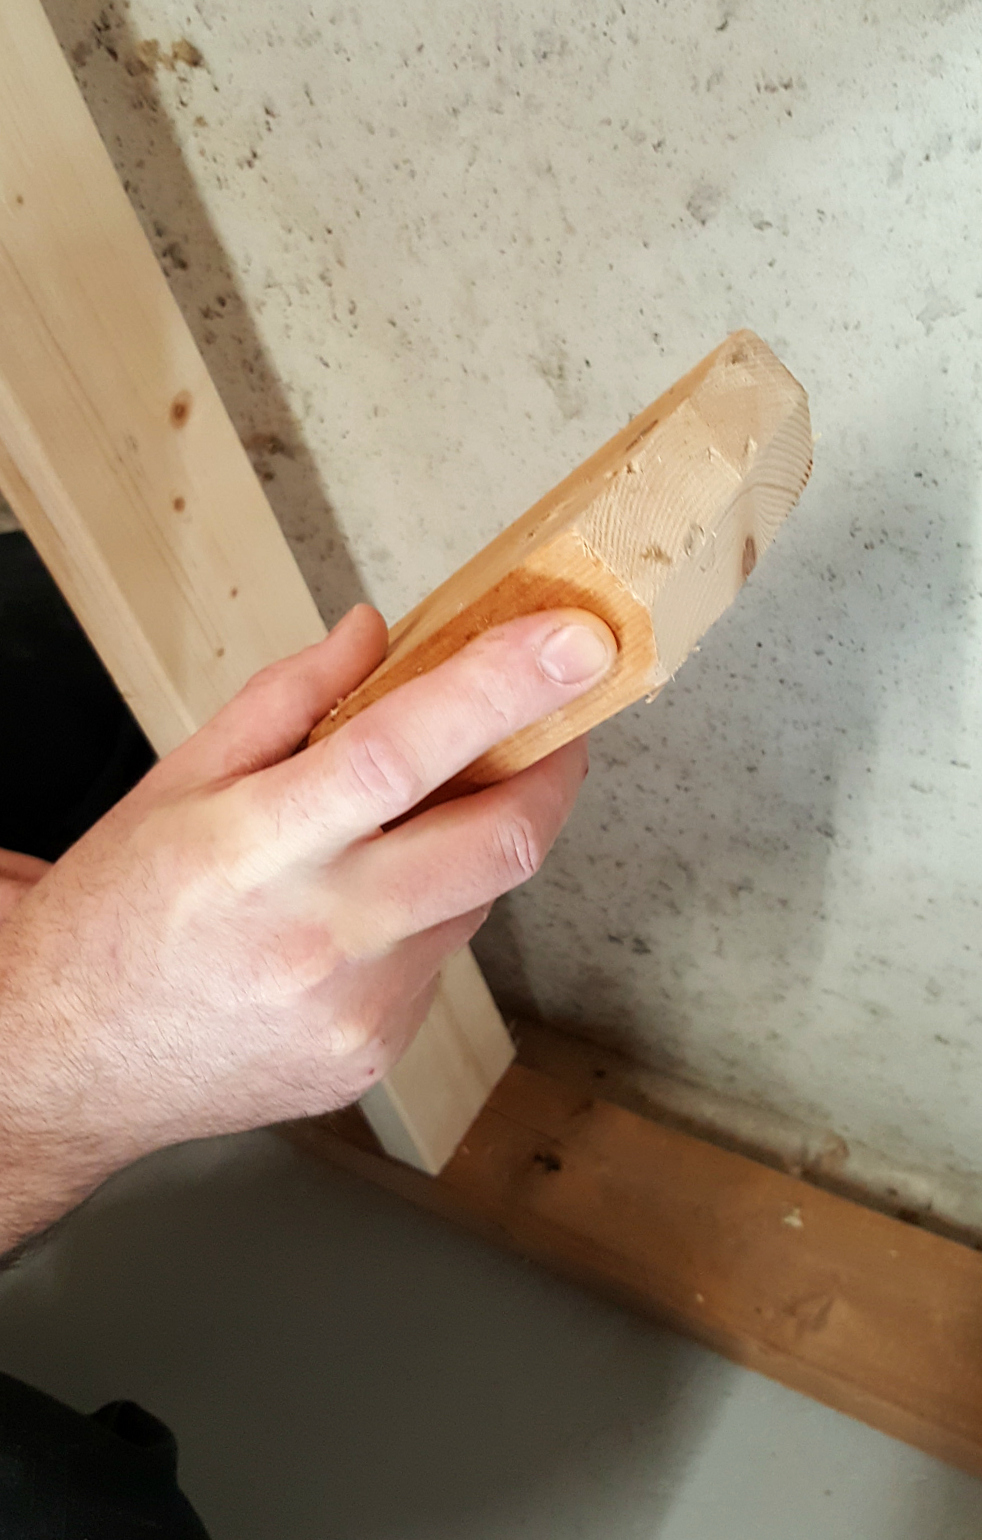
The studs are spaced 16" on center, i.e. from the center of one stud to the center of the next. The easiest way to maintain this spacing is to make a spacer jig from a spare piece of 2x4. If a stud is 1.5" thick (and it usually is), the jig will be 14.5" long (16 inches minus 1.5 inches). Here's a tip: to make it even easier to slide the spacer in and out of the space, cut off one of the edges on each end (opposite sides) at a 45 degree angle. This will also ensure it lays flat against the plate, in the off-chance that one of the angled nails didn't go all the way in.

basement framing and spray foam insulation - spacer jig

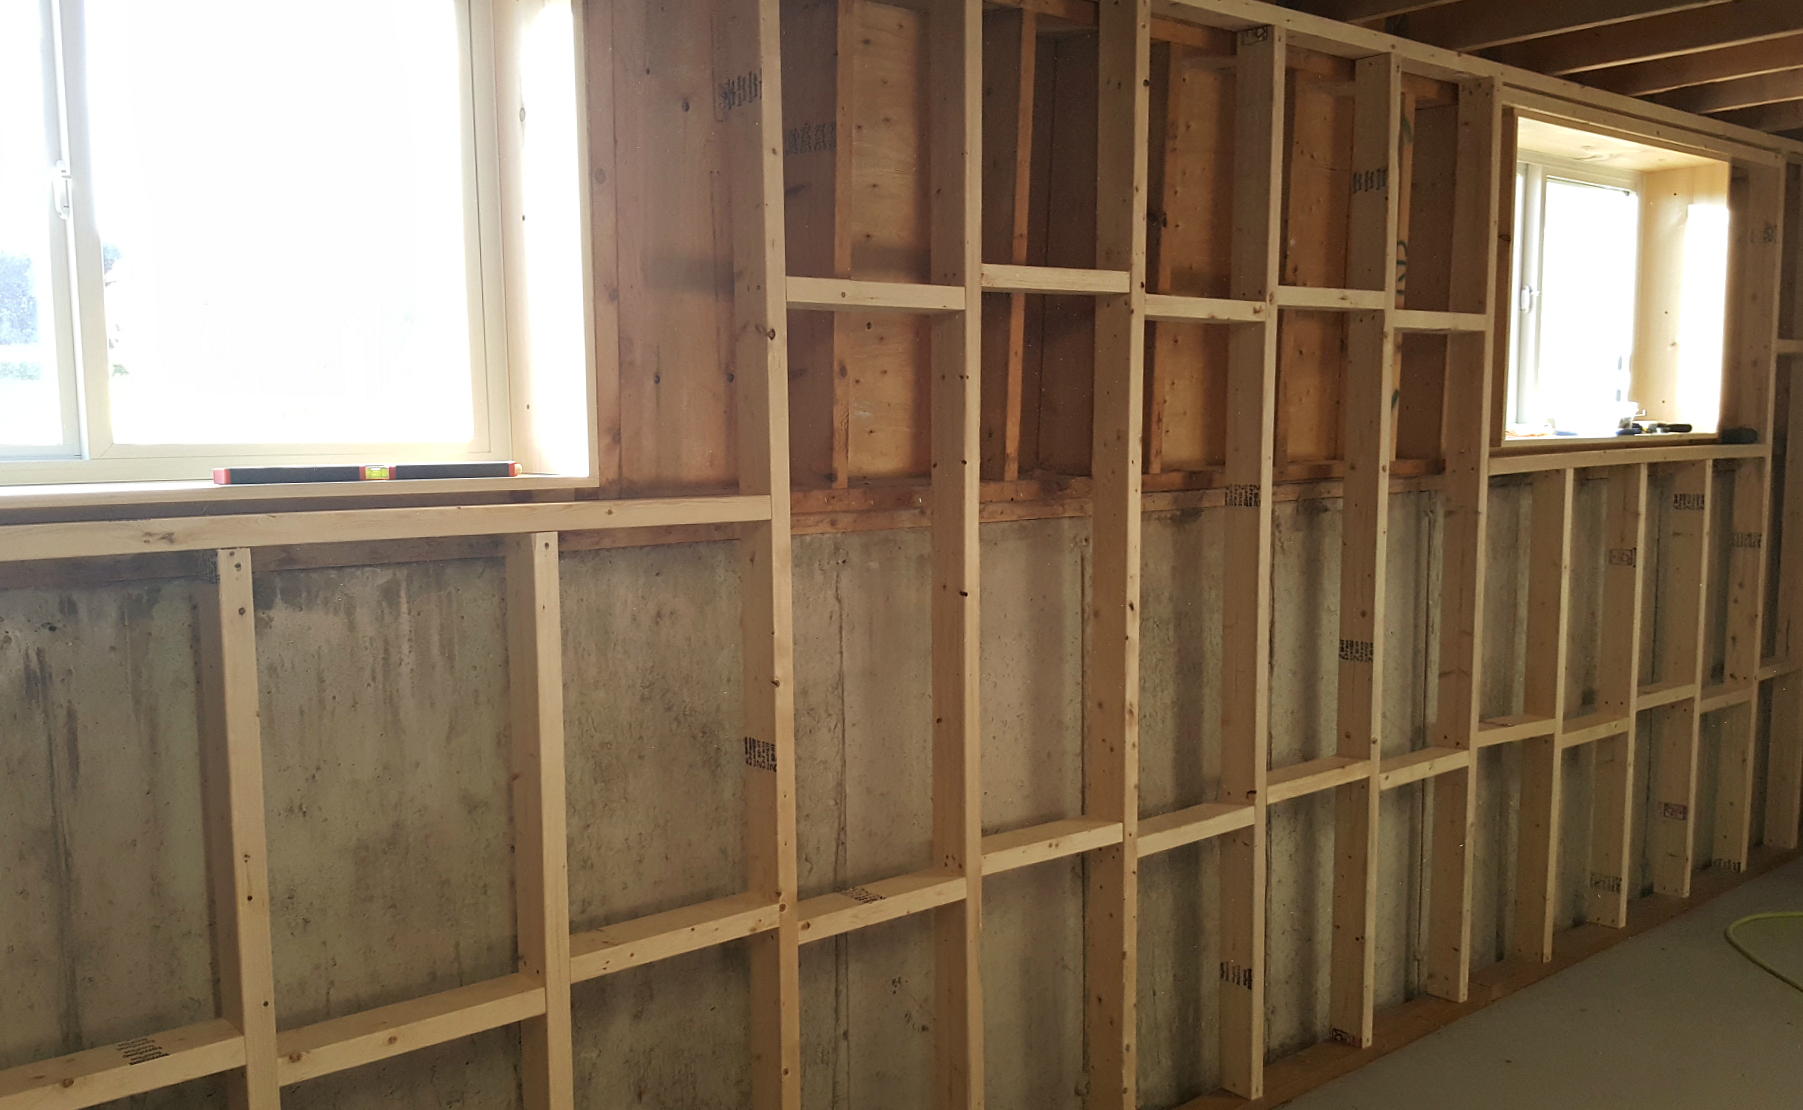
When framing around the windows, the stud on the far side needs to be installed before the ones in the middle. Measure across from the nearest stud in 16" increments until past the window and install the full stud. Then a crosspiece is installed horizontally below the window from stud to stud. The studs installed below the windows are still 16" apart (and are called cripples - dropping some knowledge on ya!)
basement framing and spray foam insulation - window framing

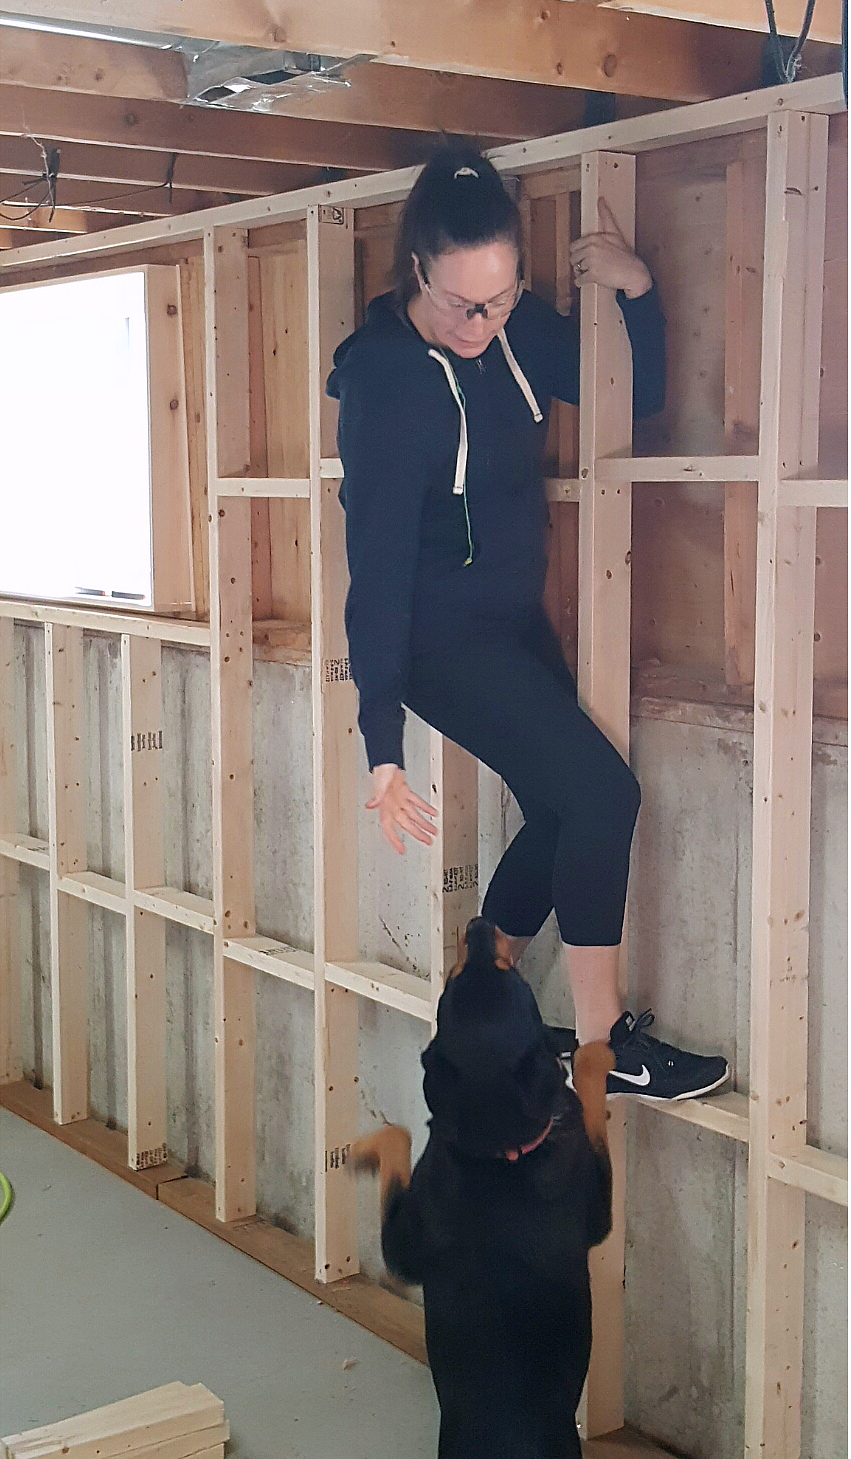
Between the studs we added blocks for stability. These blocks are just pieces of 2x4 cut to length (14.5 inches again). We put blocking at the top and bottom of the wall, about a third of the way from the ceiling and floor. They can be staggered or run straight across - staggering them just makes them easier to install as you can nail straight through from the opposite side instead of toenailing at an angle. You can climb on our framing, it's so strong now. I know because I did.😛

basement framing and spray foam insulation

This reinforcement blocking can also act as a fire block, i.e. it breaks up the air space between studs so that should a fire break out, the flames won't shoot up the wall like in a chimney to the next floor. Our framing is not tight against the wall so the reinforcing blocks aren't fire blocks, but the foam insulation does act as a block. (Although insulation itself is still flammable, of course.)

basement framing and spray foam insulation

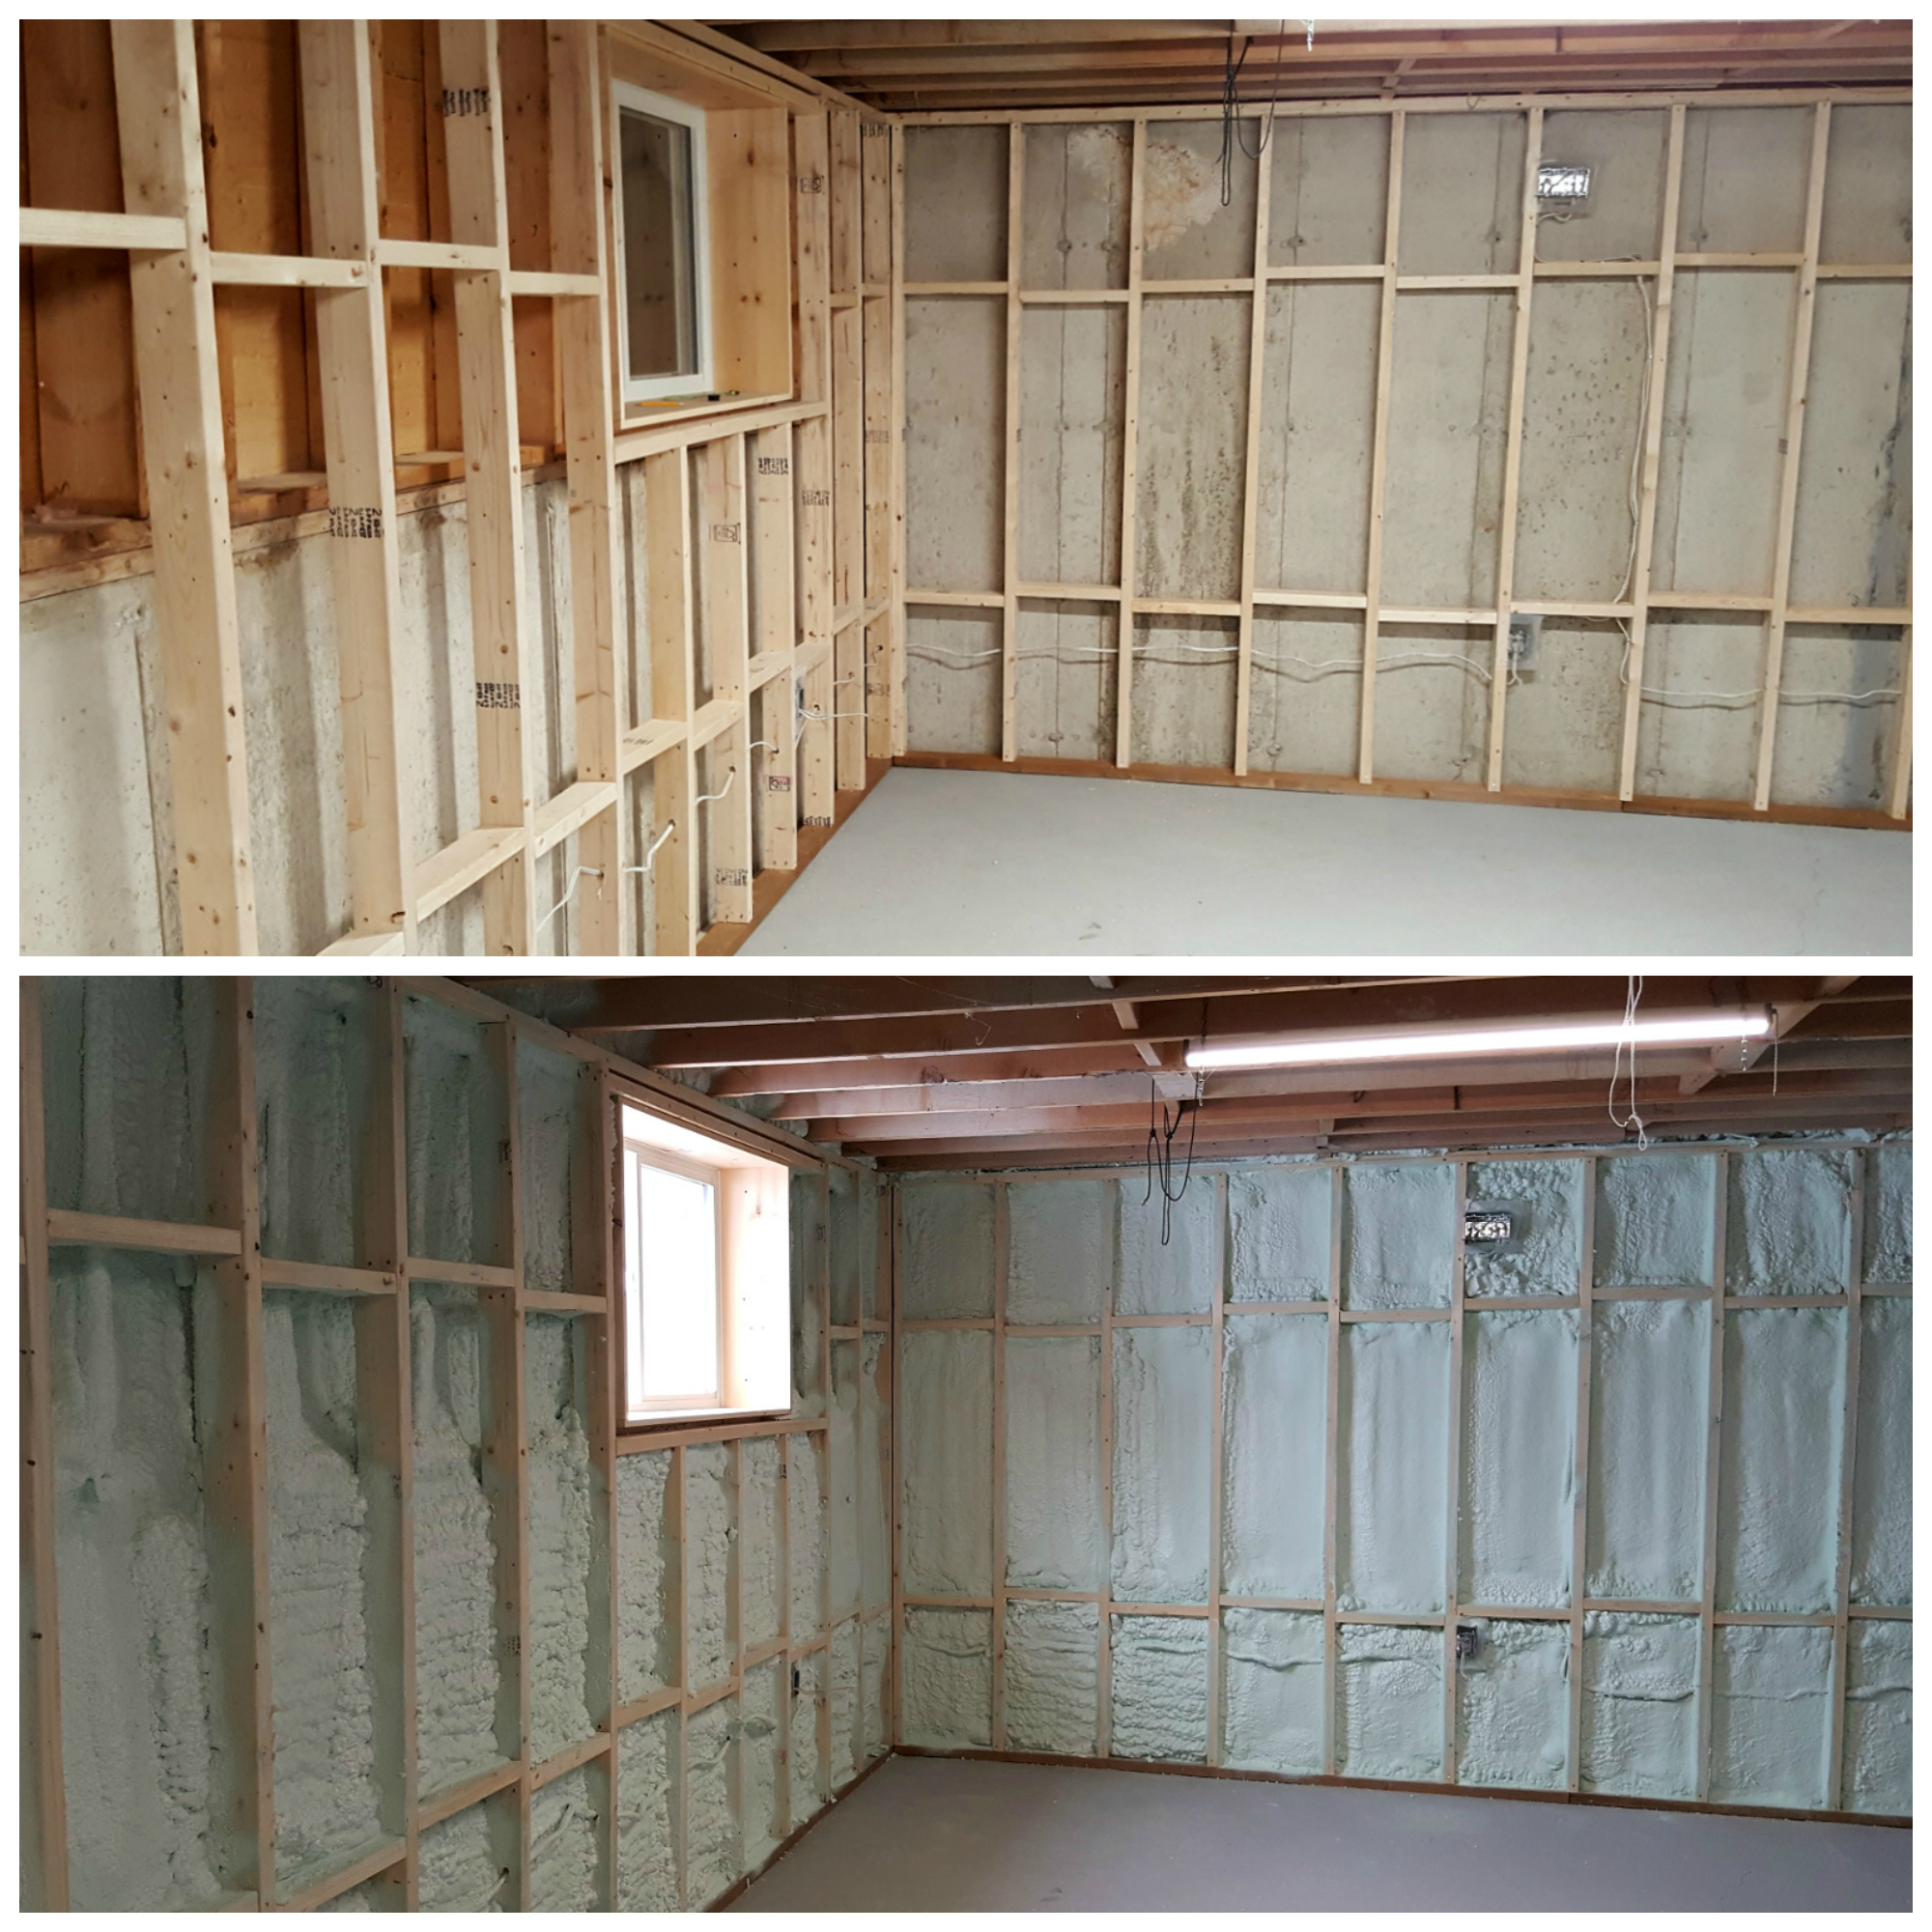
Once all of the framing was in place and the new electrical wiring had been run, it was time for the spray foam insulation. By this time it was winter and it was pretty darn cold in that basement. We took the dogs out of the house for the day (they got to go to work with Tom!), and the basement was sprayed in just a few hours. I went to look at it as soon as I got home and I couldn't believe how much warmer the space was. That soon.
  
basement framing and spray foam insulation
 
The walls are pretty freaky looking - almost like a horror movie, dripping green everywhere.


Here are some side-by-side before & after shots:

basement framing and spray foam insulation

basement framing and spray foam insulation

I'm sure people think we're crazy for being so excited for the insulation, but it was a really long time in coming. Next up is to put in the floor and then we can start framing in rooms and hanging drywall. Here's a link to our eventual floorplan. That's how we'll be spending the rest of our winter. How about you?