More holiday decorations today. After slacking off the last couple of years, I vowed that this year I would complete all of the crafty projects I have saved up.
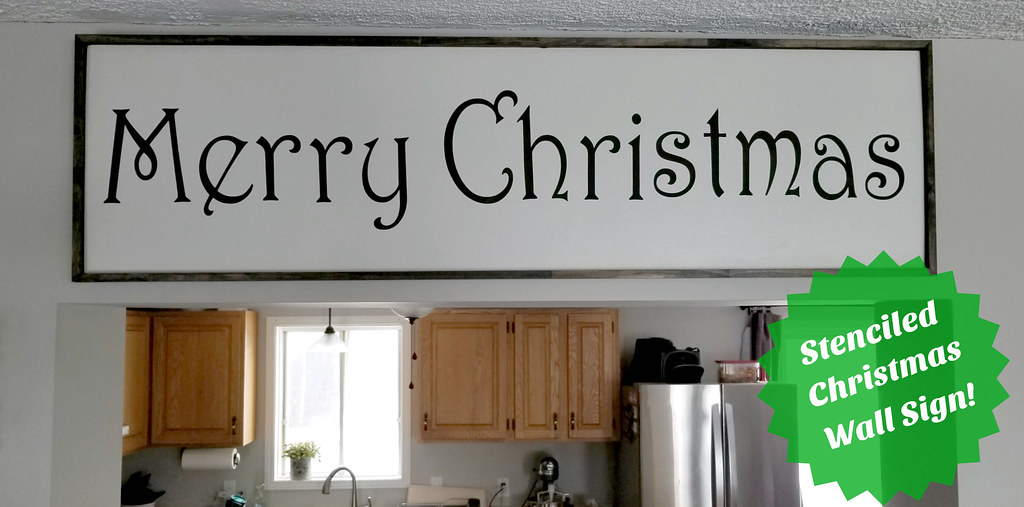
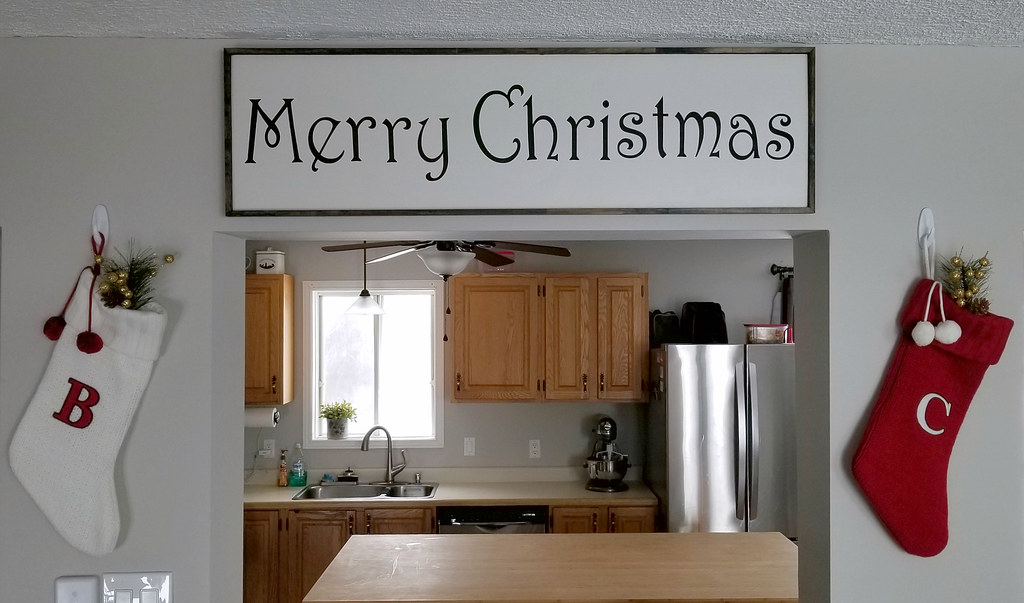
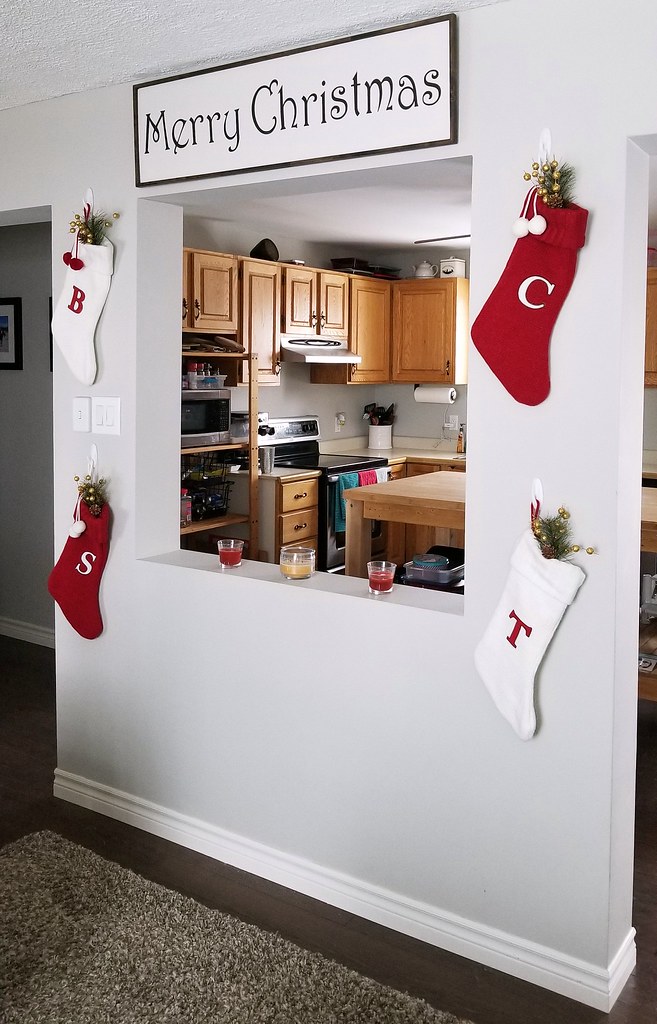
I made this sign for my house back in October and I've been waiting so impatiently to share it with you! The build is pretty easy - the most time-intensive part is placing the stencil.
You will need:
1 - 1x12 board - 42" long
2 - 1-1/4 x 3/8 trim pieces - cut at 45 degrees - 42.75" longest point to longest point
2 - 1-1/4 x 3/8 trim pieces - cut at 45 degrees - 12.75" longest point to longest point
Also:
Merry Christmas stencil (cut with Silhouette/Cricut/by hand)
Paint/stain
Brad nailer and brad nails or driver and screws
Miter saw
French cleat for hanging (optional)
Cut your sign board and sand it smooth on the face and edges. Cut your trim strips for the border at a 45 degree angle.
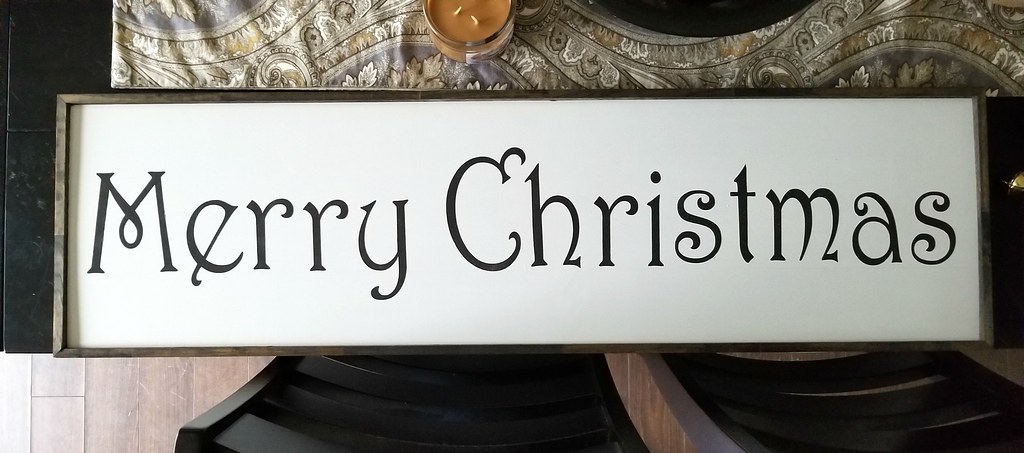
Paint one side of the board in your chosen colour. I mixed BM Edgecomb Gray with plain white paint to lighten it up. Stain your trim pieces in a contrasting colour. I chose Minwax Jacobean.
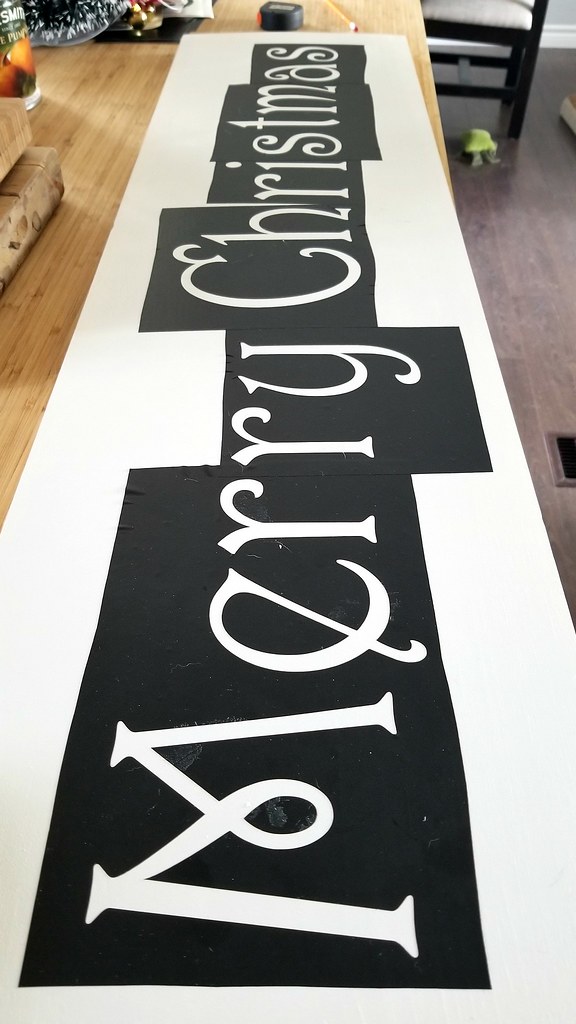
I used my Silhouette Cameo cutter to cut the words from vinyl. The font type is called Harrington. My vinyl is only 12" wide so I had to cut the words out in pieces, a few letters at a time.
Once you have your stencil cut, arrange it on your sign board so that the spacing is even. My vinyl is peel and stick, so the letters stay securely in place.
A trick to keep your letters sharp is to paint along the inside edges of the letters in your background colour first. This forms a seal to keep your top colour from bleeding around the edges.
I painted the letters with dark brown poster paint - several thin coats, letting it dry completely between coats.
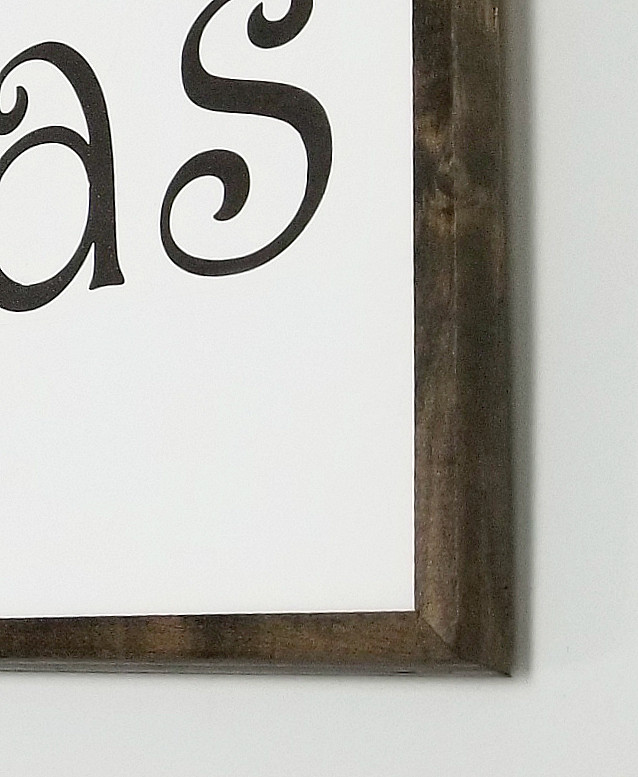
Once your letters are completely dry, peel off your stencil and do any touchups necessary. Nail your trim pieces onto the edges of the board, keeping them flush with the back and with a slight overhang at the front. Squeeze or clamp them tightly together when you nail the corners.




No comments:
Post a Comment