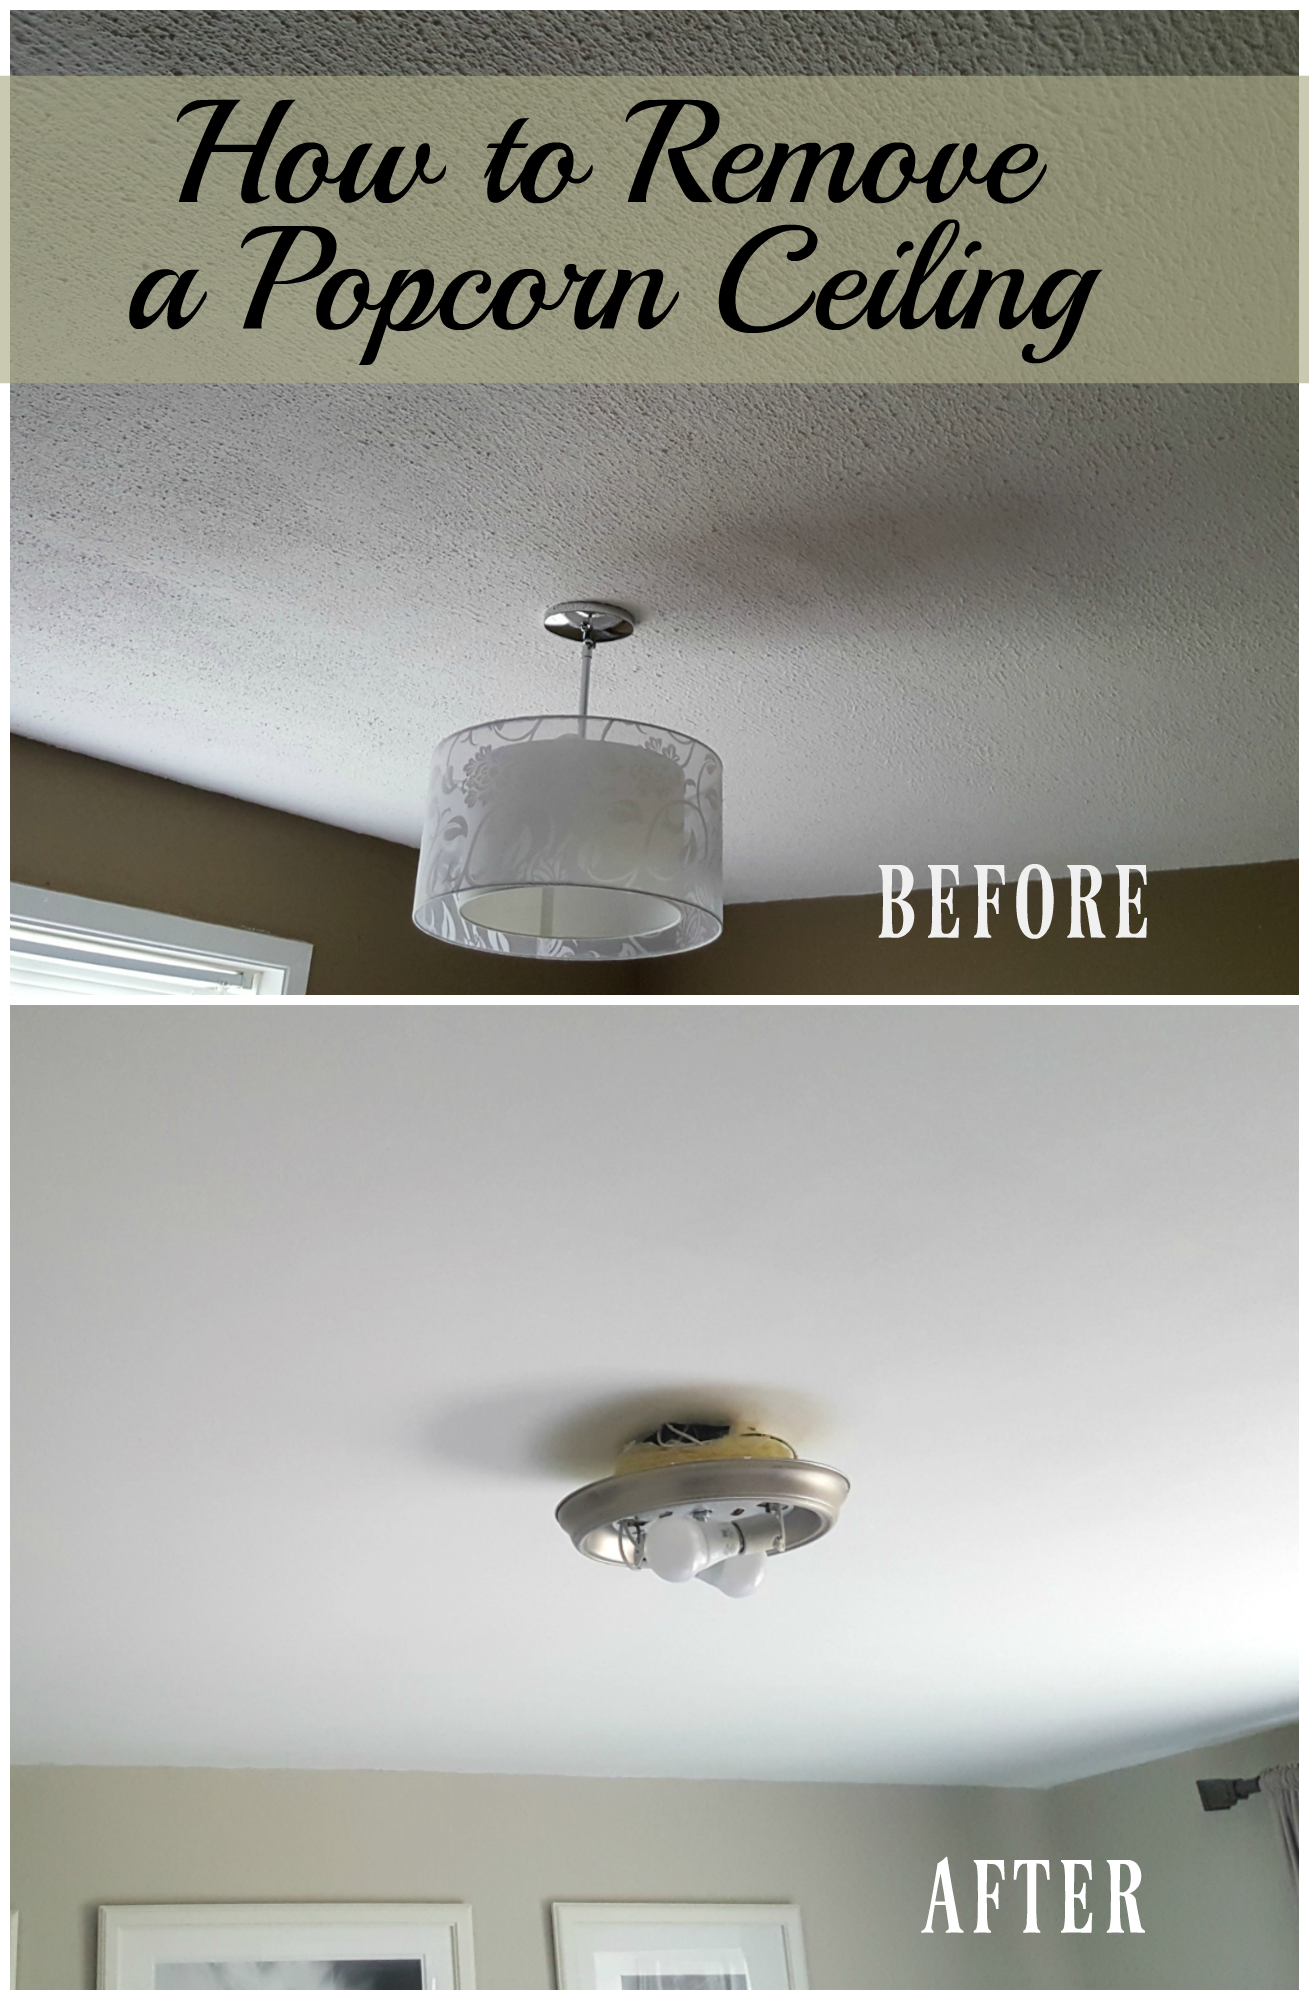
Each of the three bedrooms, along with the living room and entry, have a popcorn ceiling. When we originally viewed the house it was the first thing I mentioned would be going, if we bought the house.
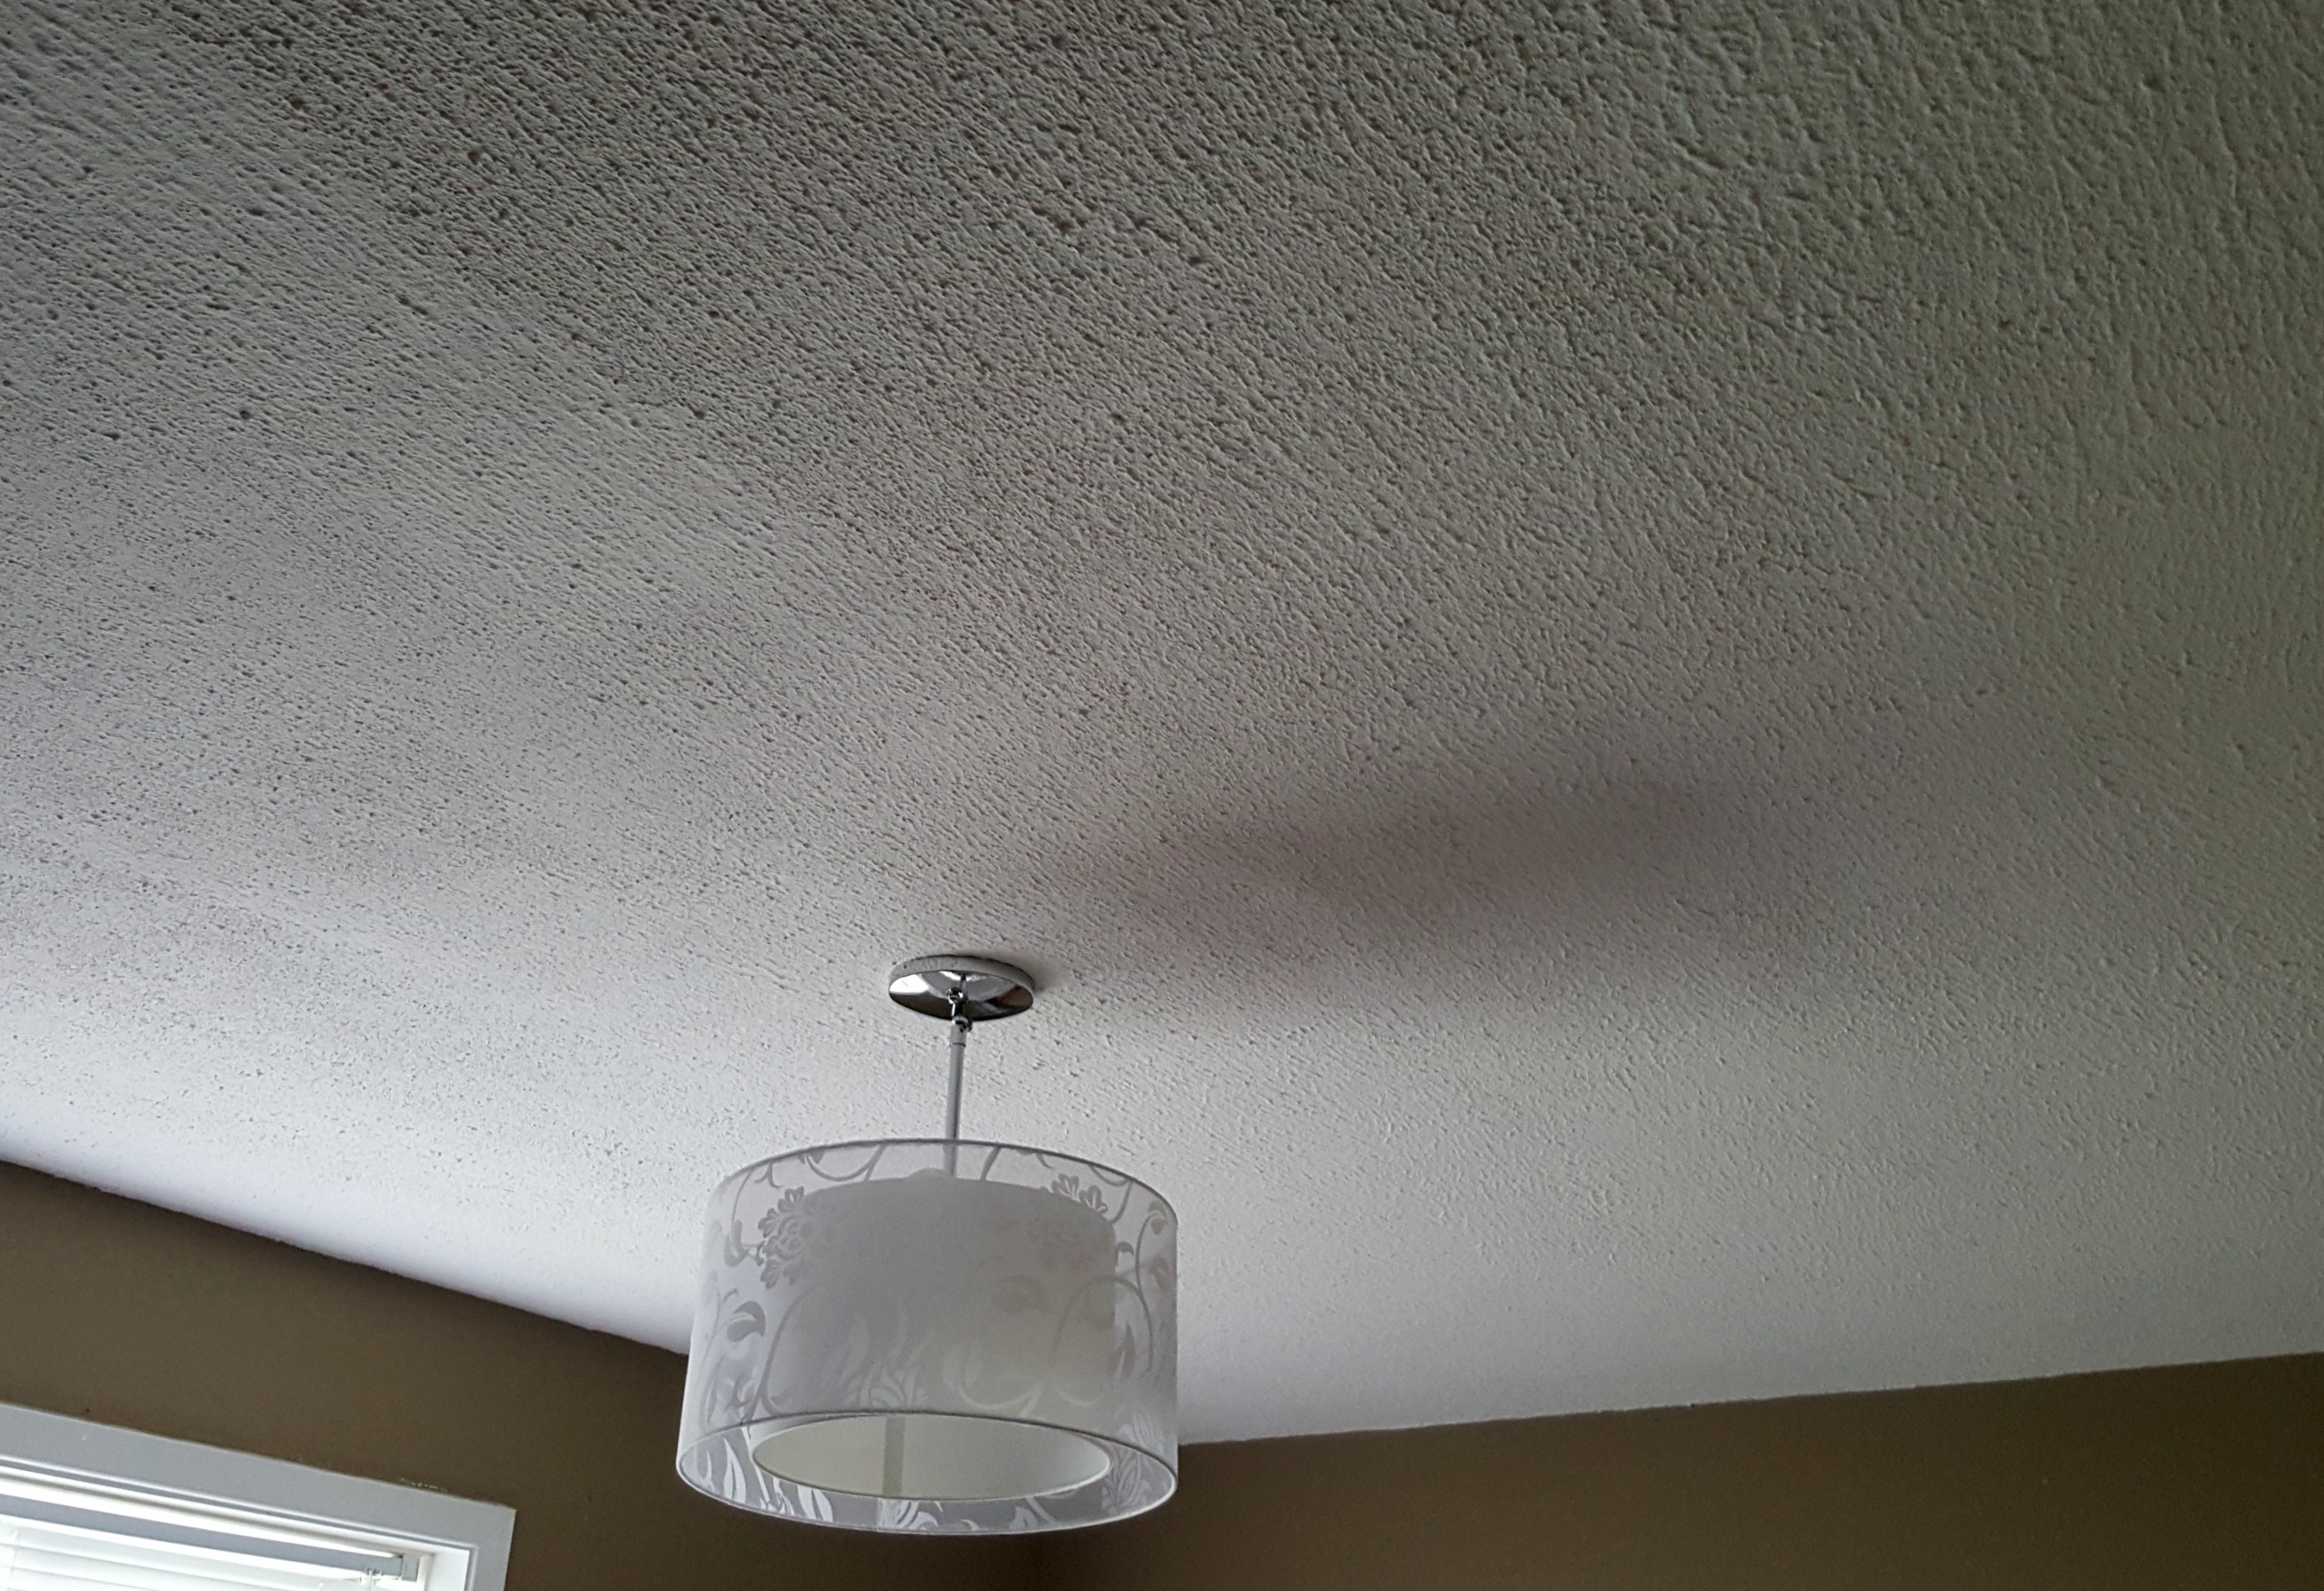
Now I've lived with a popcorn ceiling before - both of our previous houses had them - it wasn't my favourite feature, but at least they had been done professionally. I'm pretty sure these ones were done by the previous owner, or a friend "who's really good at that stuff". You know those friends - we all have them. This popcorn was heavy, uneven, and badly finished at the edges. Here is a prime example....
So I did my research, and the general consensus was that as long as you tarp everything, it's pretty easy to remove. You just wet the "popcorn" with a spray bottle full of water, wait a few minutes, and then scrape it with a wide putty knife or plastic scraper. Easy-peasy, right?
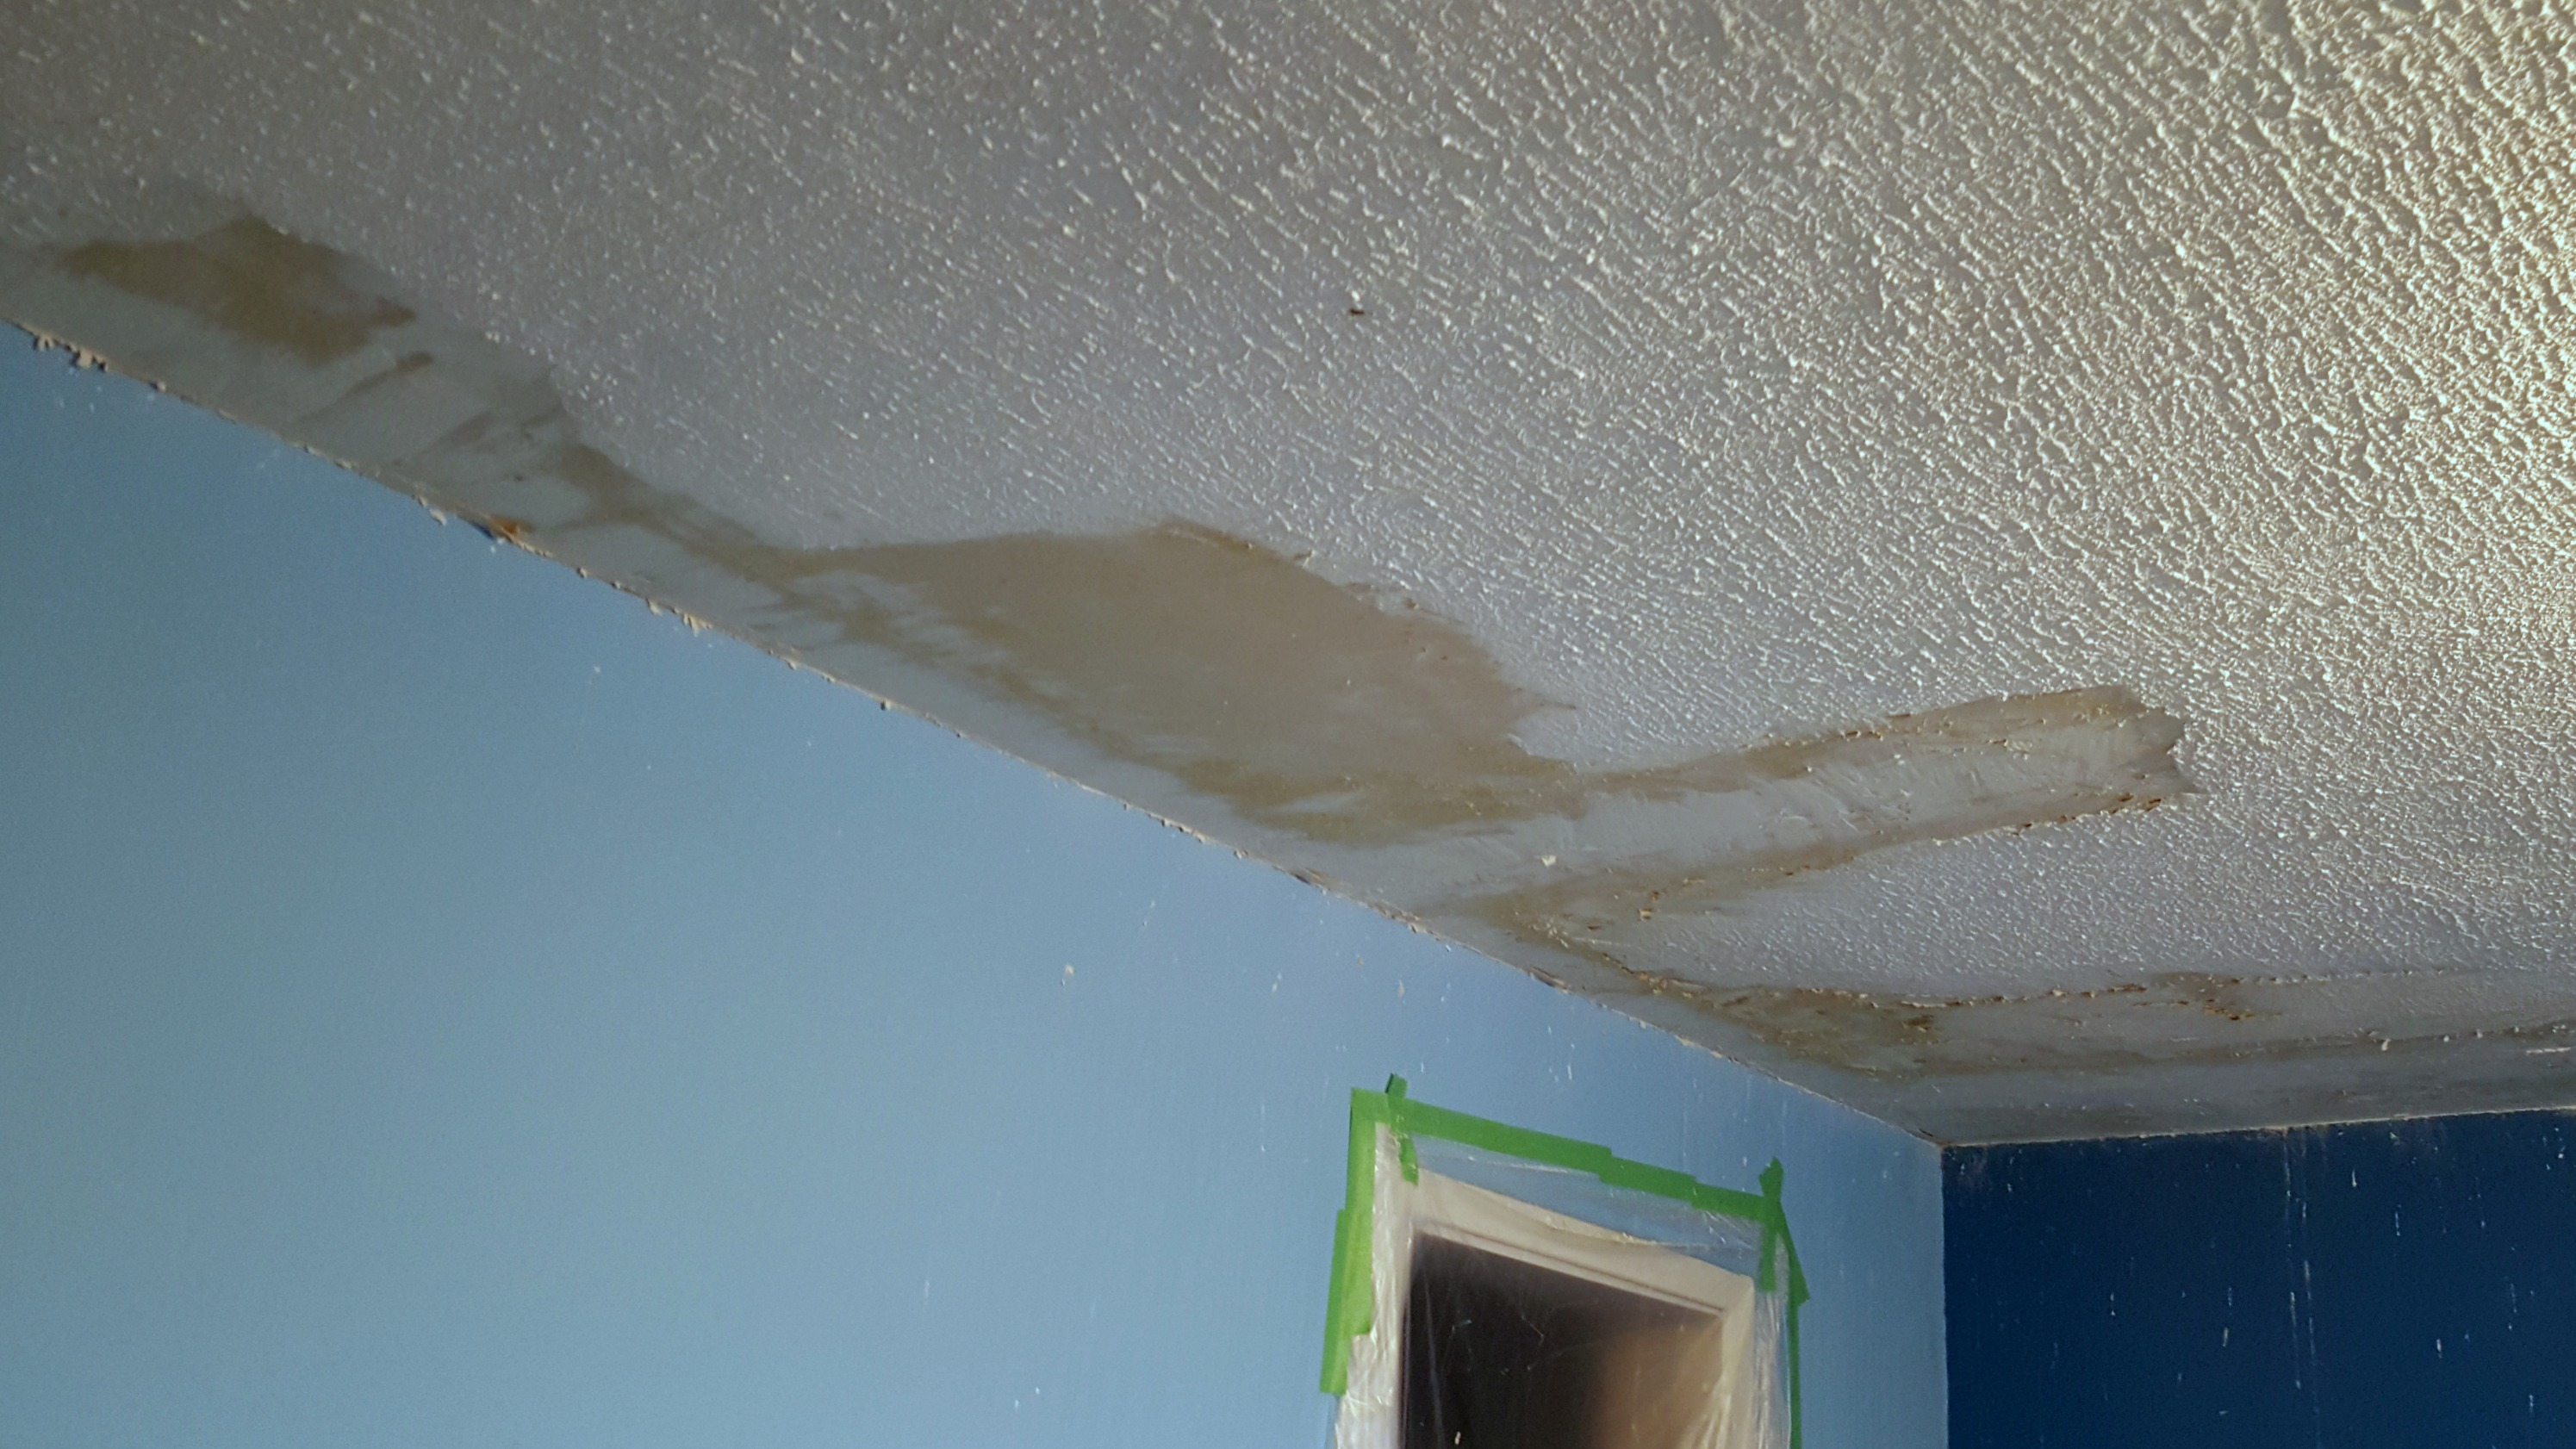
Hold up. Not so fast. The popcorn isn't melting. Why isn't the popcorn melting? Of course they painted over it. And now it's completely waterproof. Occasionally I could get some water in behind it and pry some off, but more often then not, that just softened the drywall underneath and damaged it.
So we spent a couple of days (by this time I'd enlisted Tom's help) chiseling away at dry popcorn. It wasn't until the third (fourth?) day that we discovered the magic of the U-shaped paint scraper.
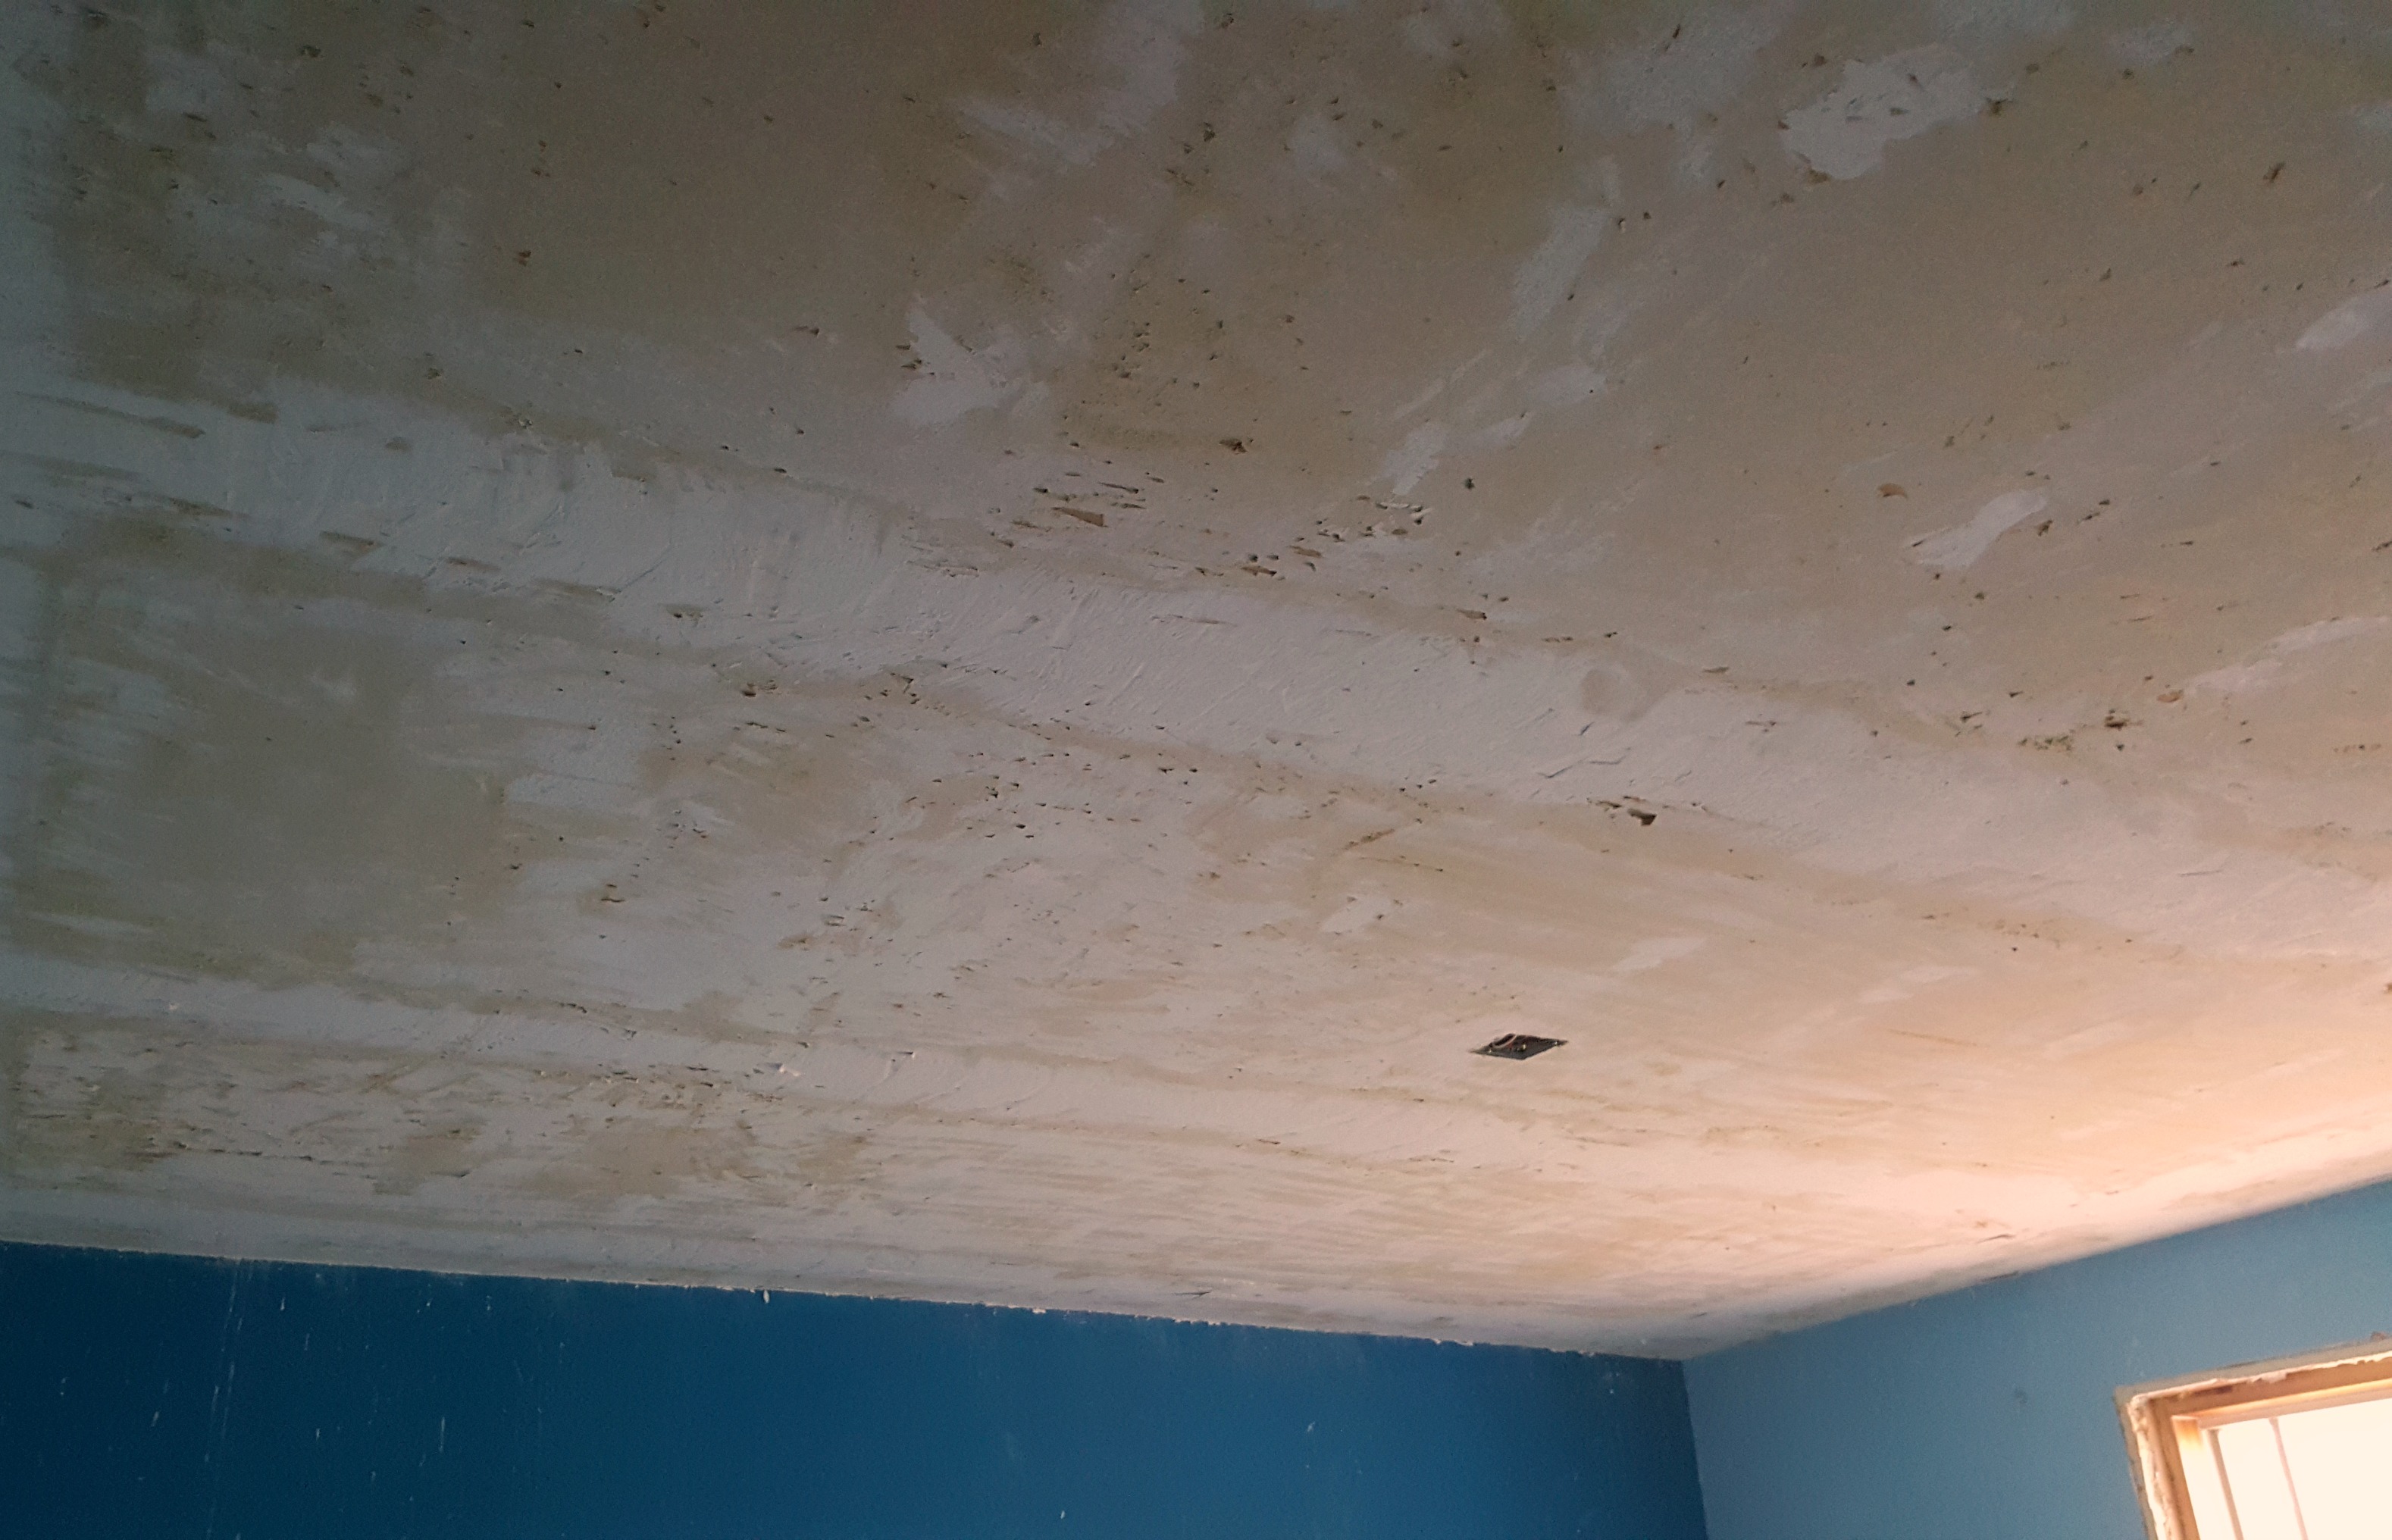
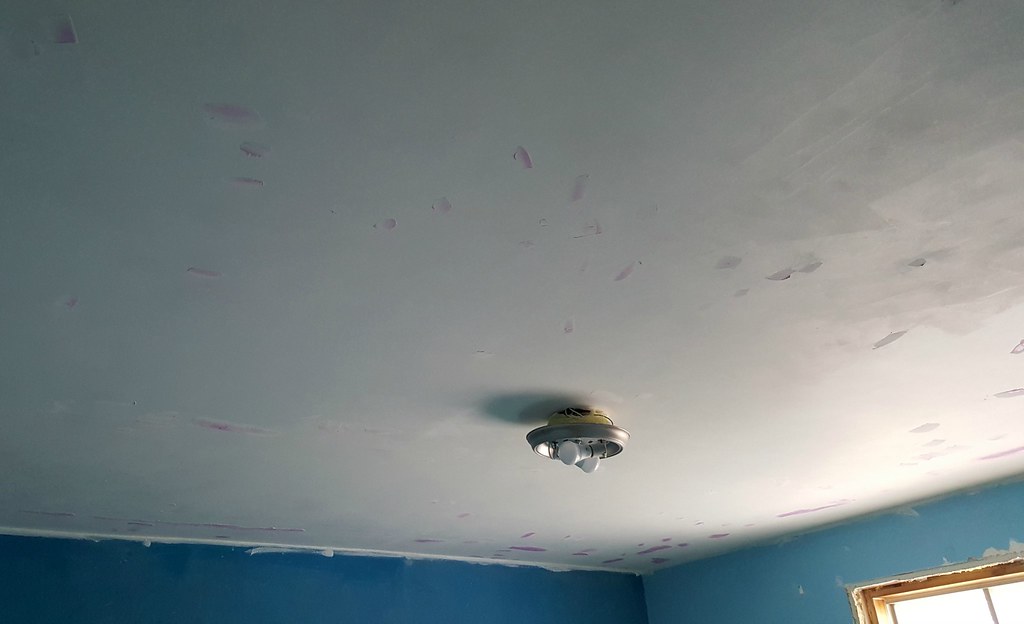
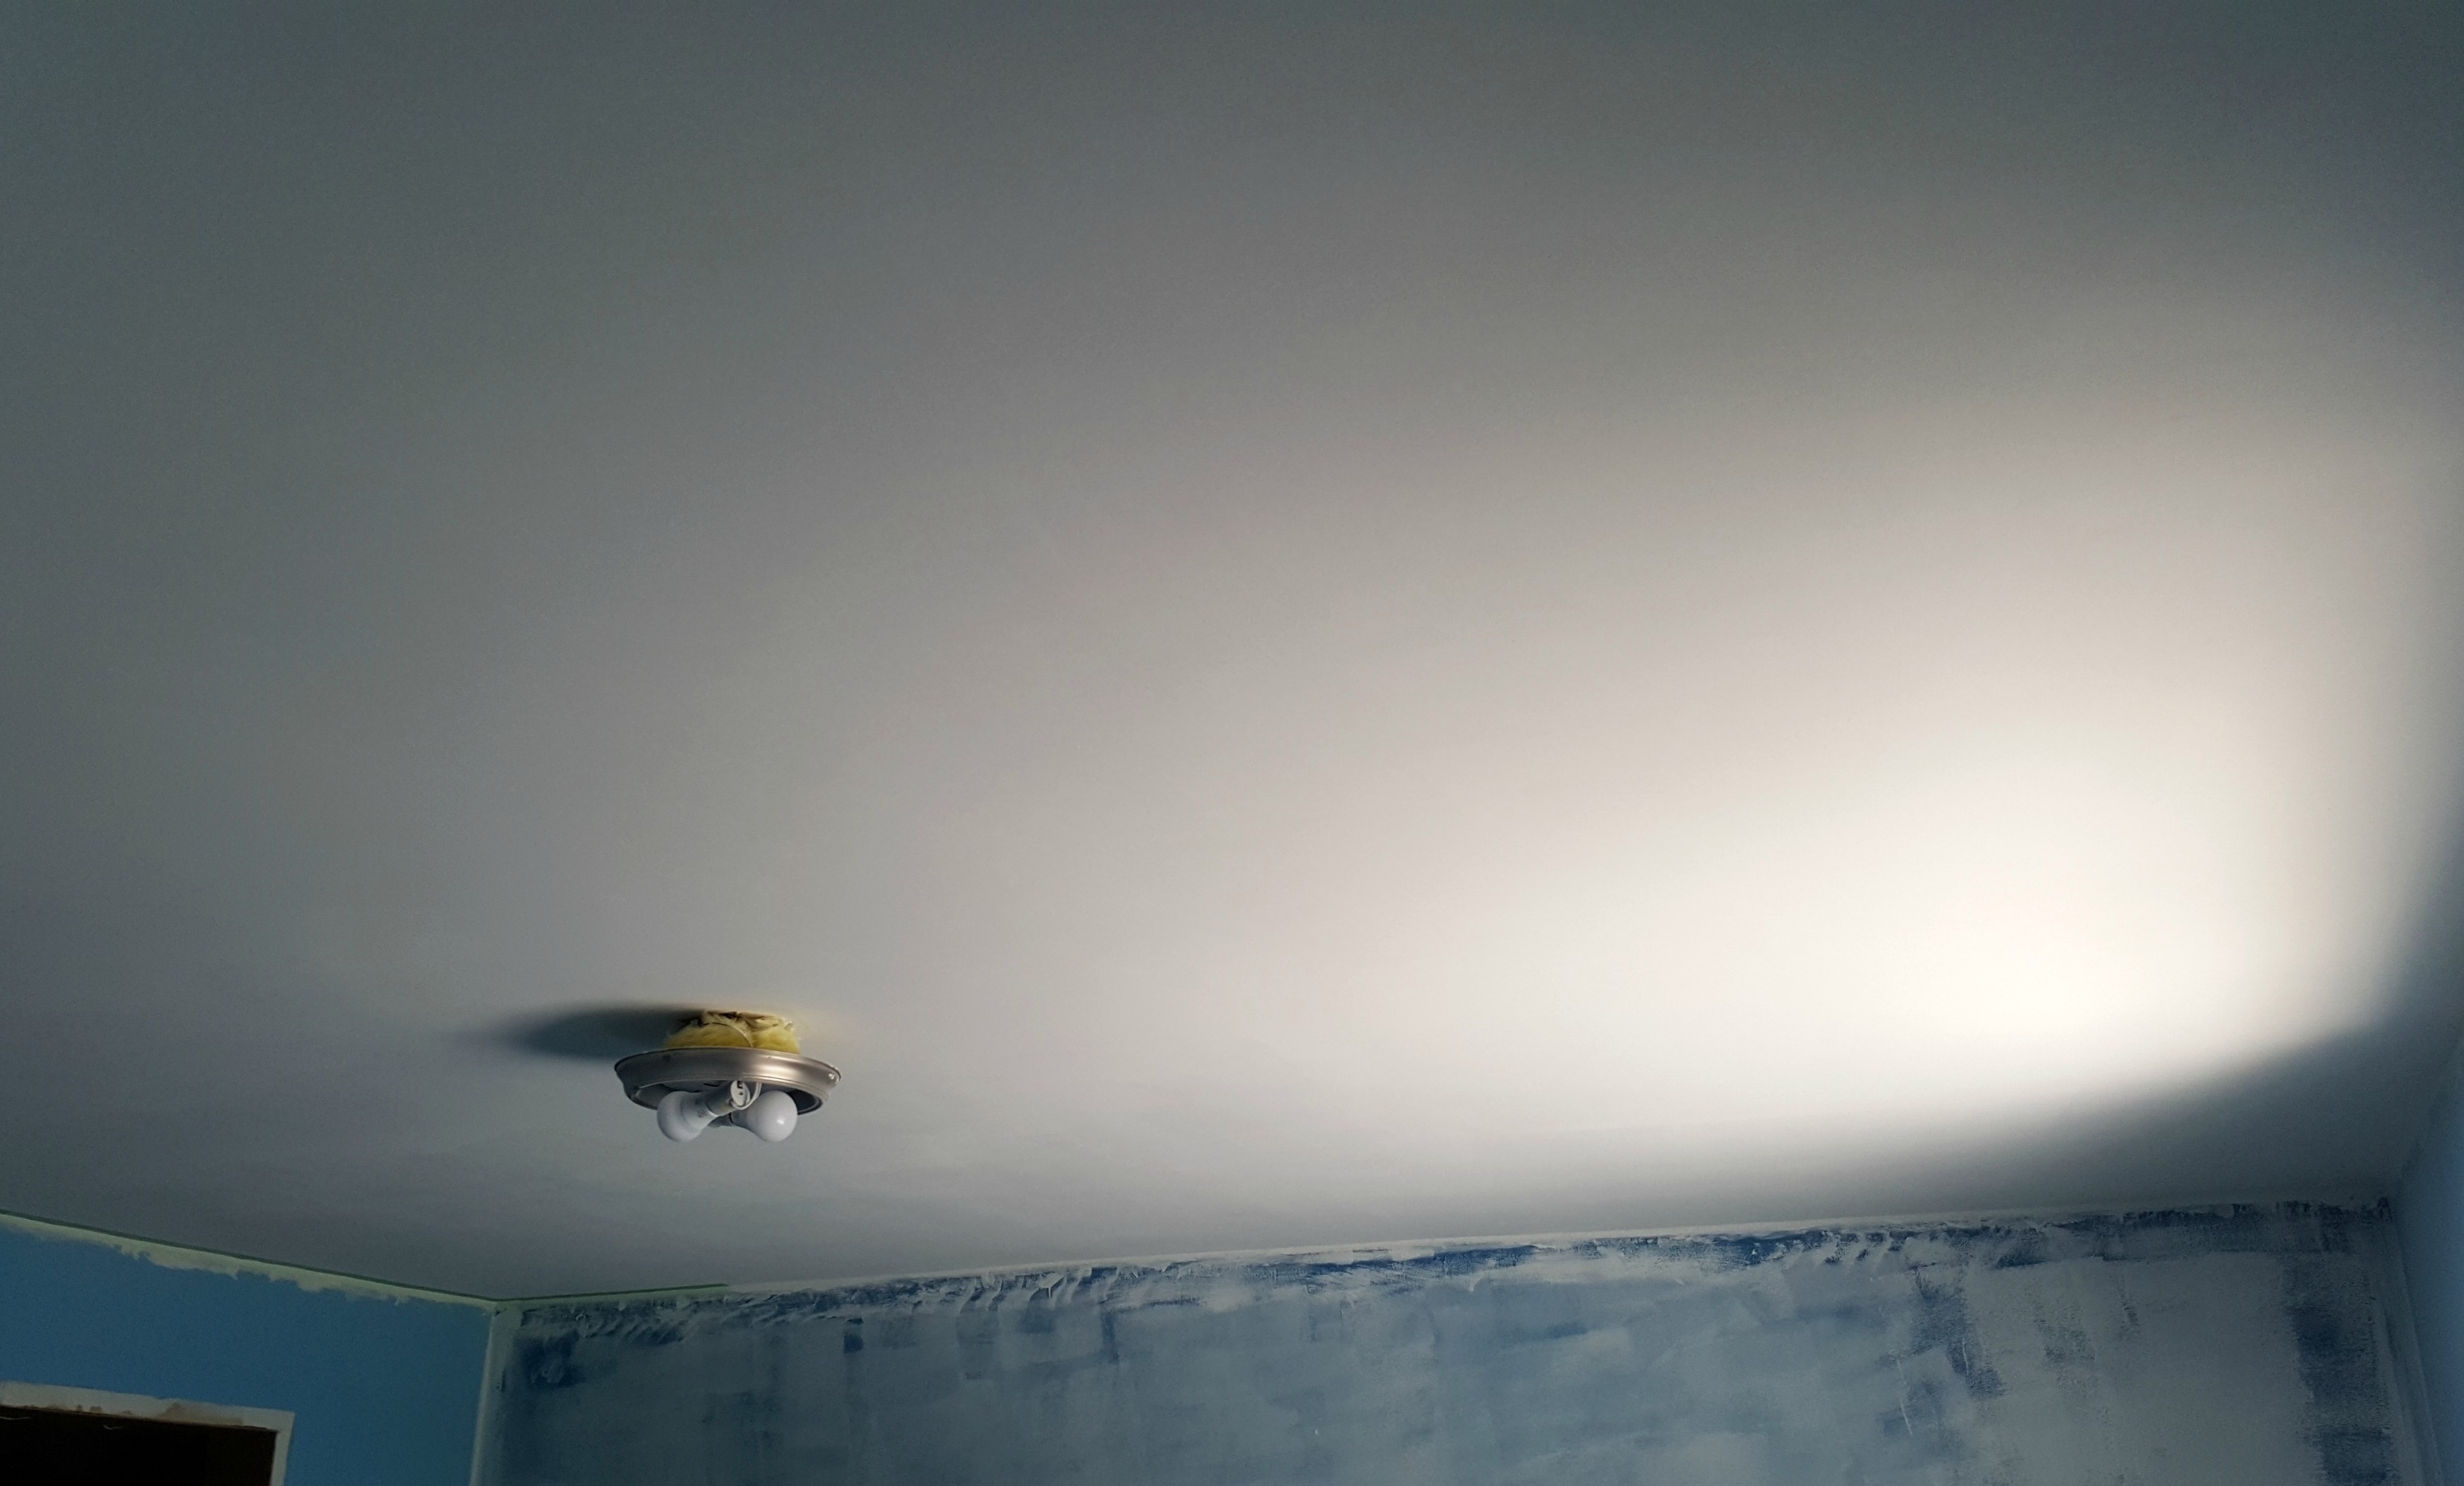
When Tom brought it out I threw myself in front of him, terrified that it would gouge the heck out of the ceiling. But surprise, surprise, it worked! A few passes and the popcorn was gone, leaving smooth, undamaged drywall behind. In the photo below, the back corner is the area that was scraped - you can see that there are almost no marks on the drywall.
The next step was skim-coating the ceiling with drywall mud. Initially I was stressing myself out, trying to get it perfectly smooth. But once I realized that sanding would take care of any uneven areas it became fun - sort of like icing a cake.
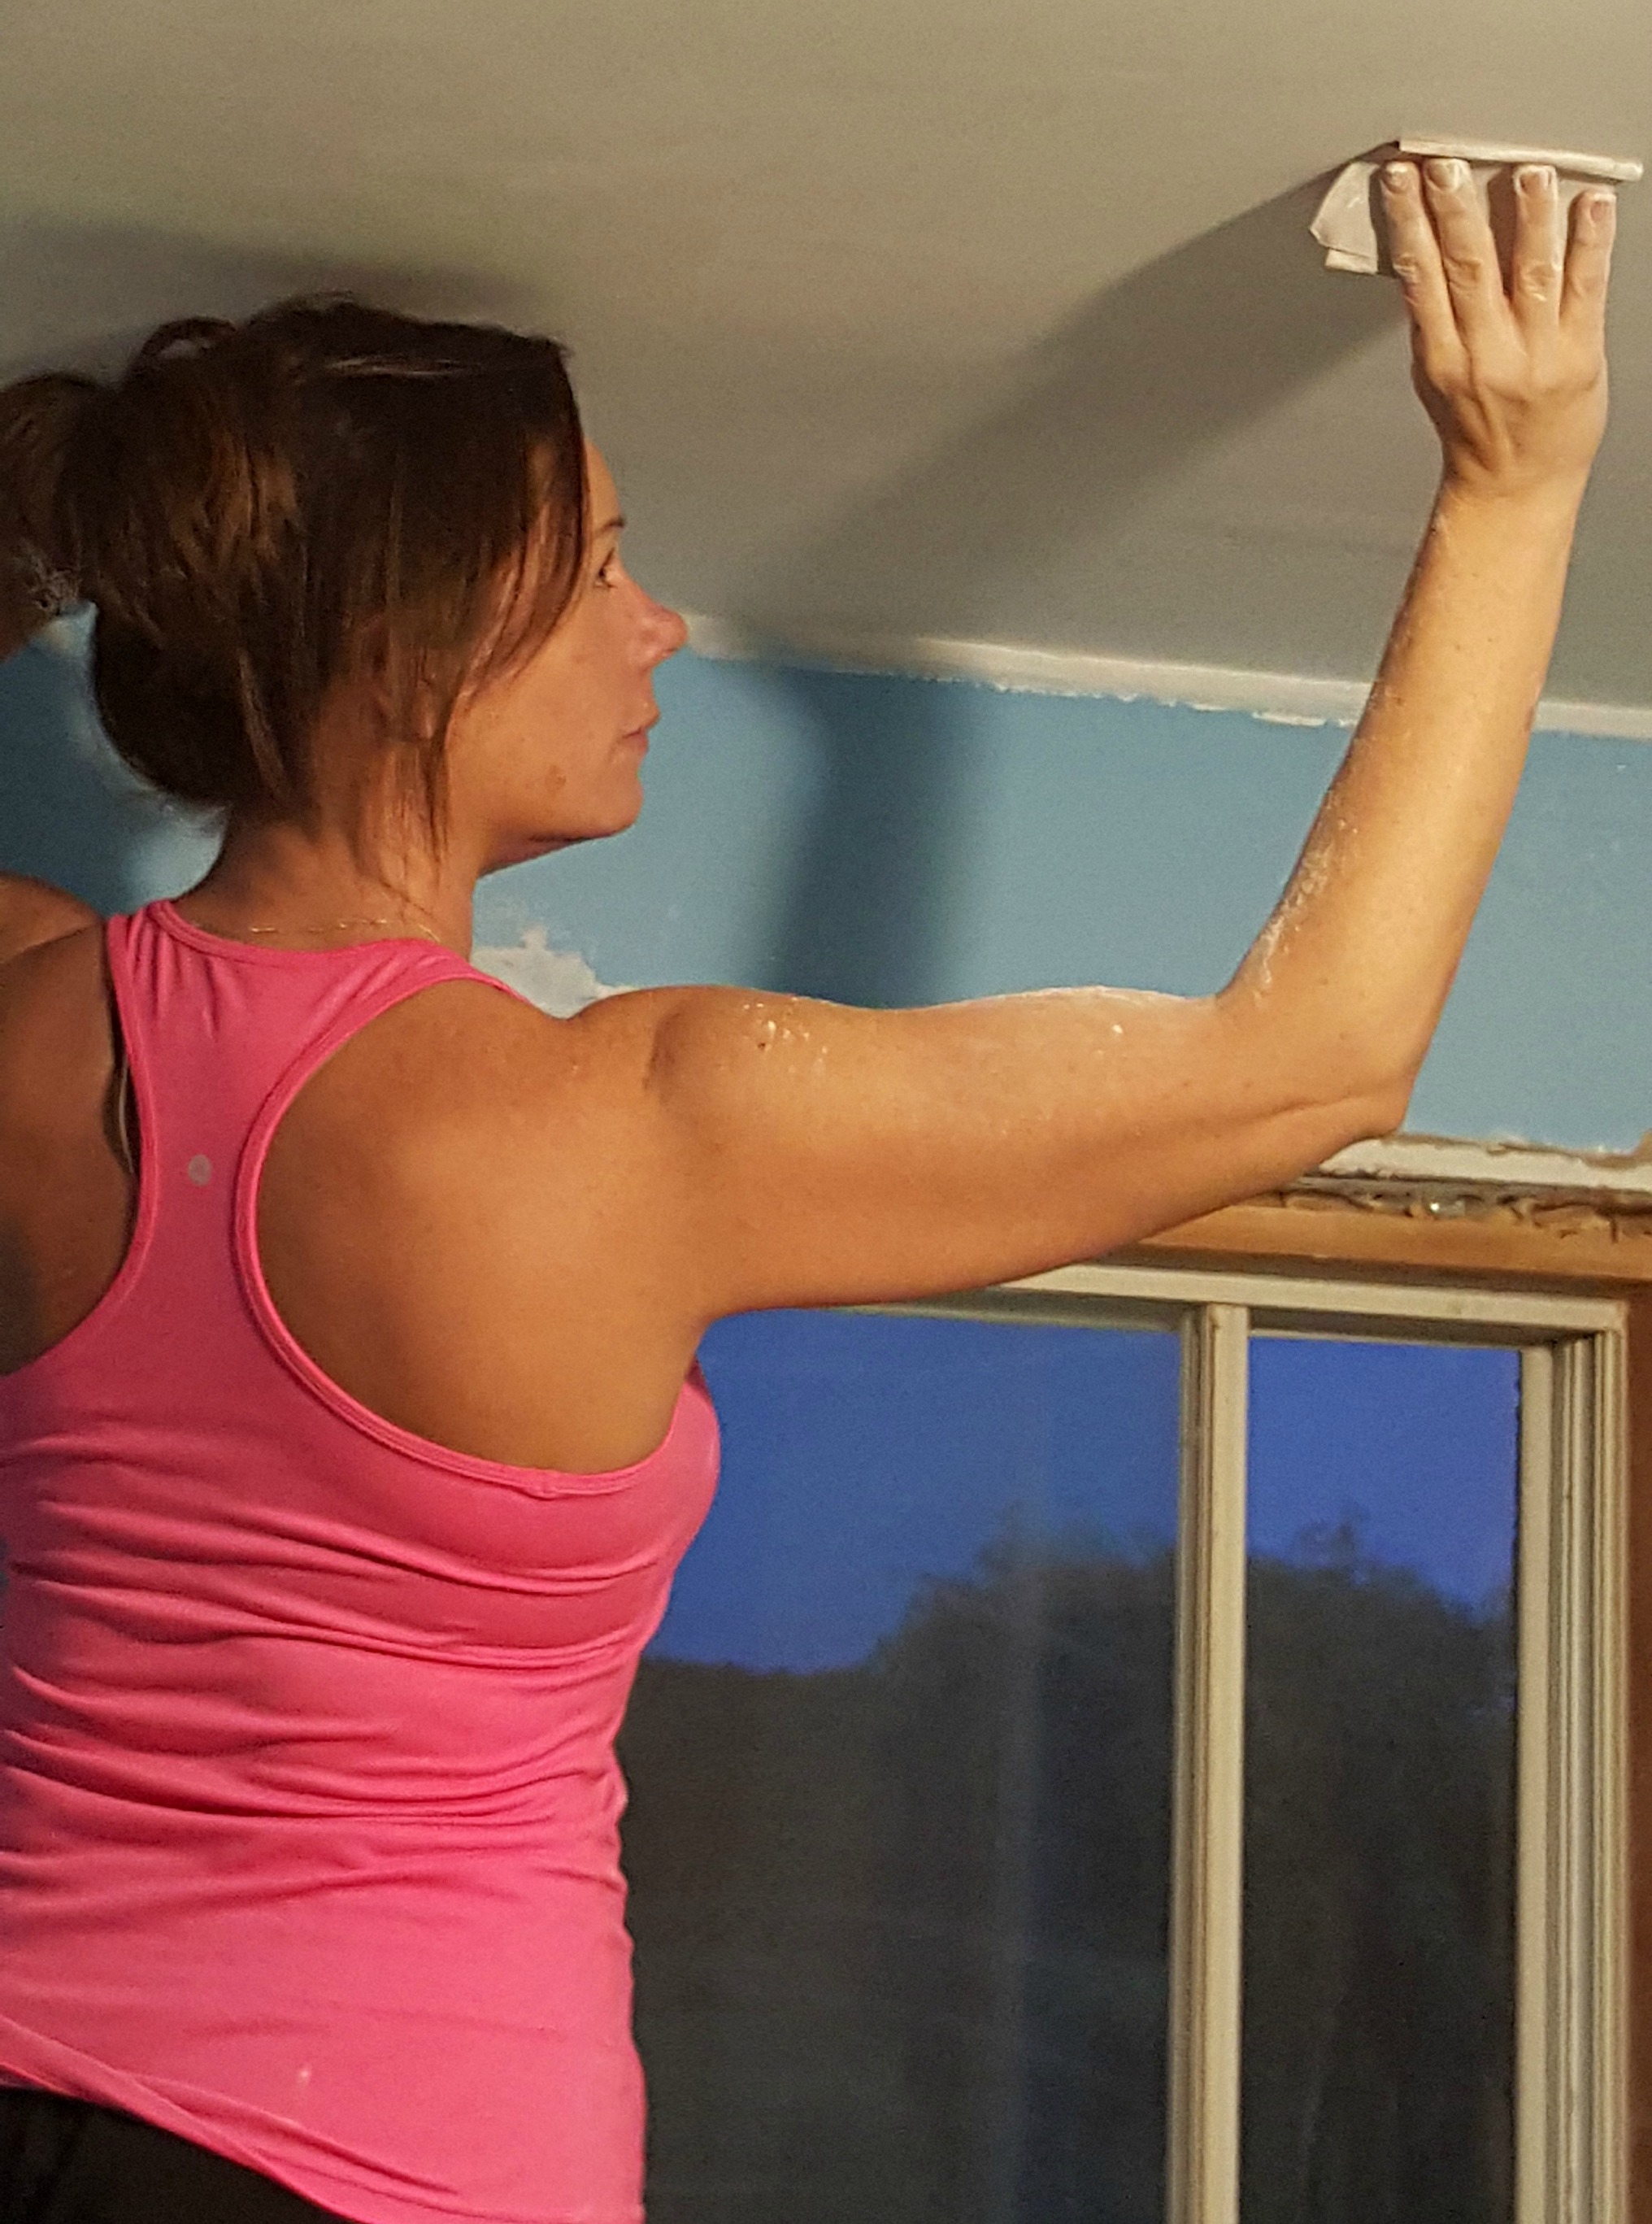
Less fun was the sanding part - holding an orbital sander over my head for extended periods of time. Sometimes I would switch to hand-sanding, just to give my arms and shoulders a break. On the plus side, check out those muscles I developed:
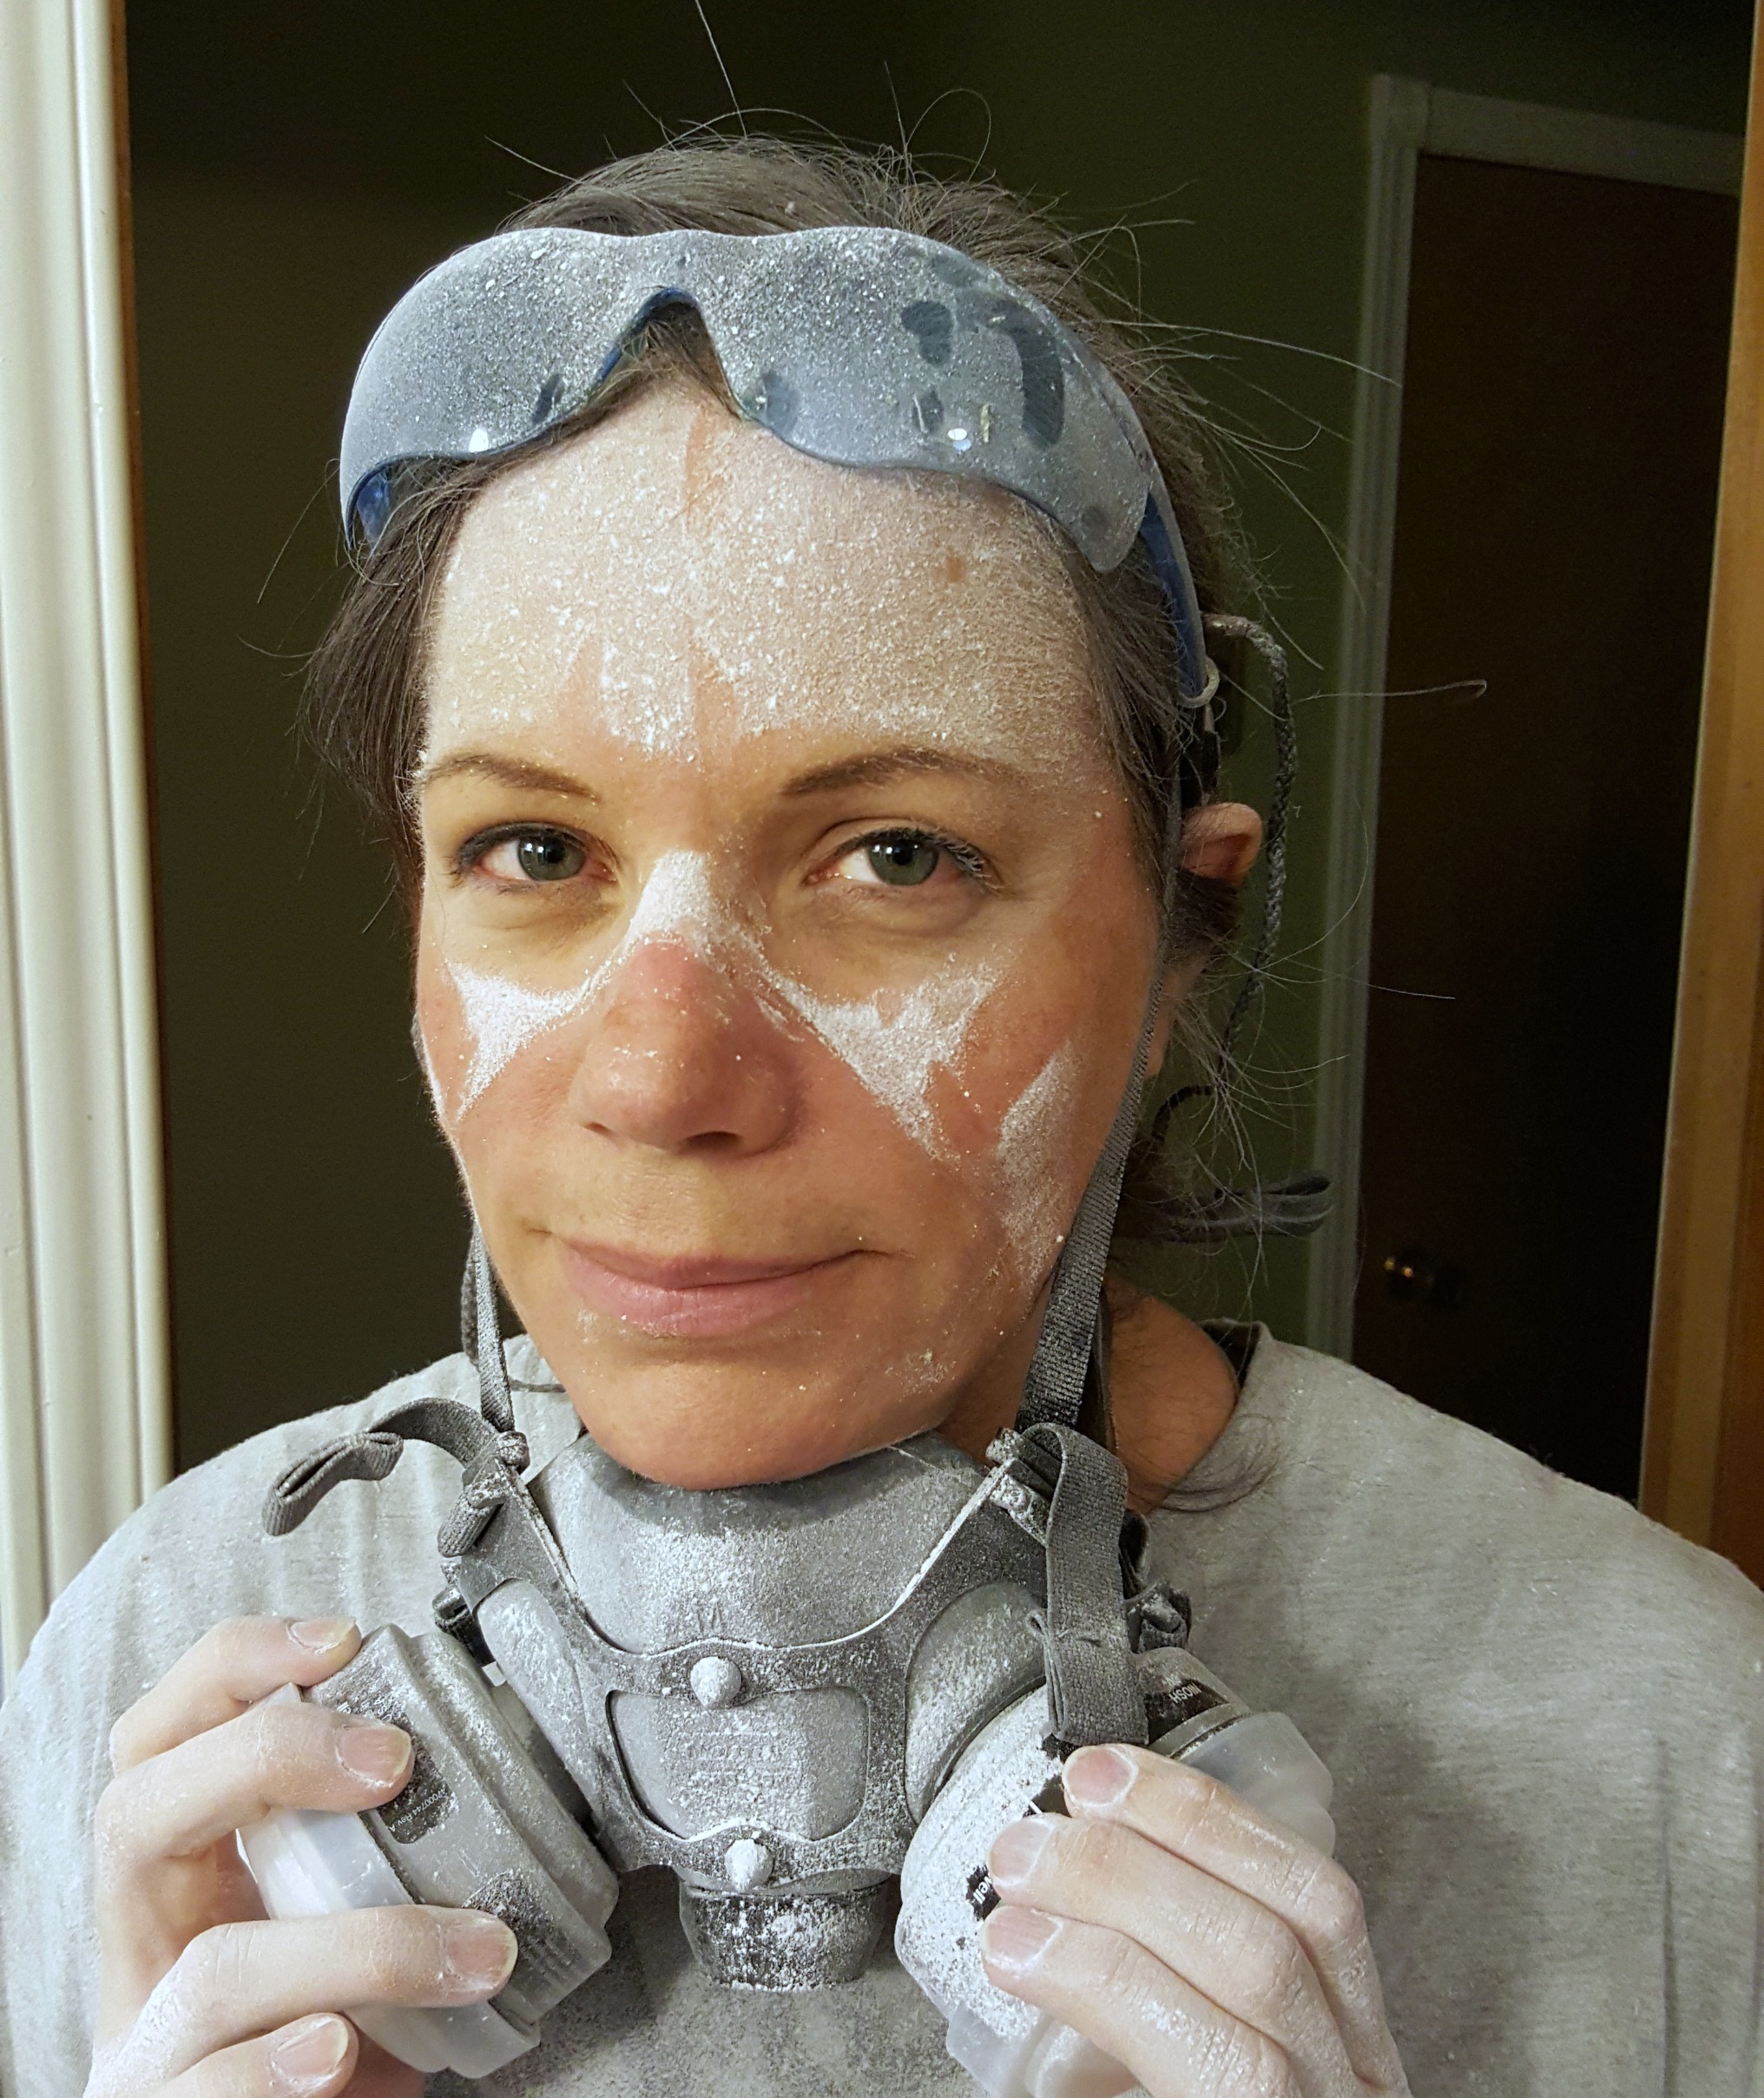
The ceiling needed to be skim-coated three times and sanded three times to get a nice smooth finish. I really hated the mess it made each time so I spread this job out over weeks. Eventually I'd had enough, was tired of the dust everywhere, and tired of sleeping in the guest room - I wanted my room back! I had spent days and days (and days) looking like this:
I applied 2 coats of drywall primer (Behr Premium Plus Drywall Primer & Sealer), and then 3 coats of white, untinted, ceiling paint (Behr Premium Plus Interior Ceiling). Most ceiling paints have a flat sheen to keep imperfections from showing.
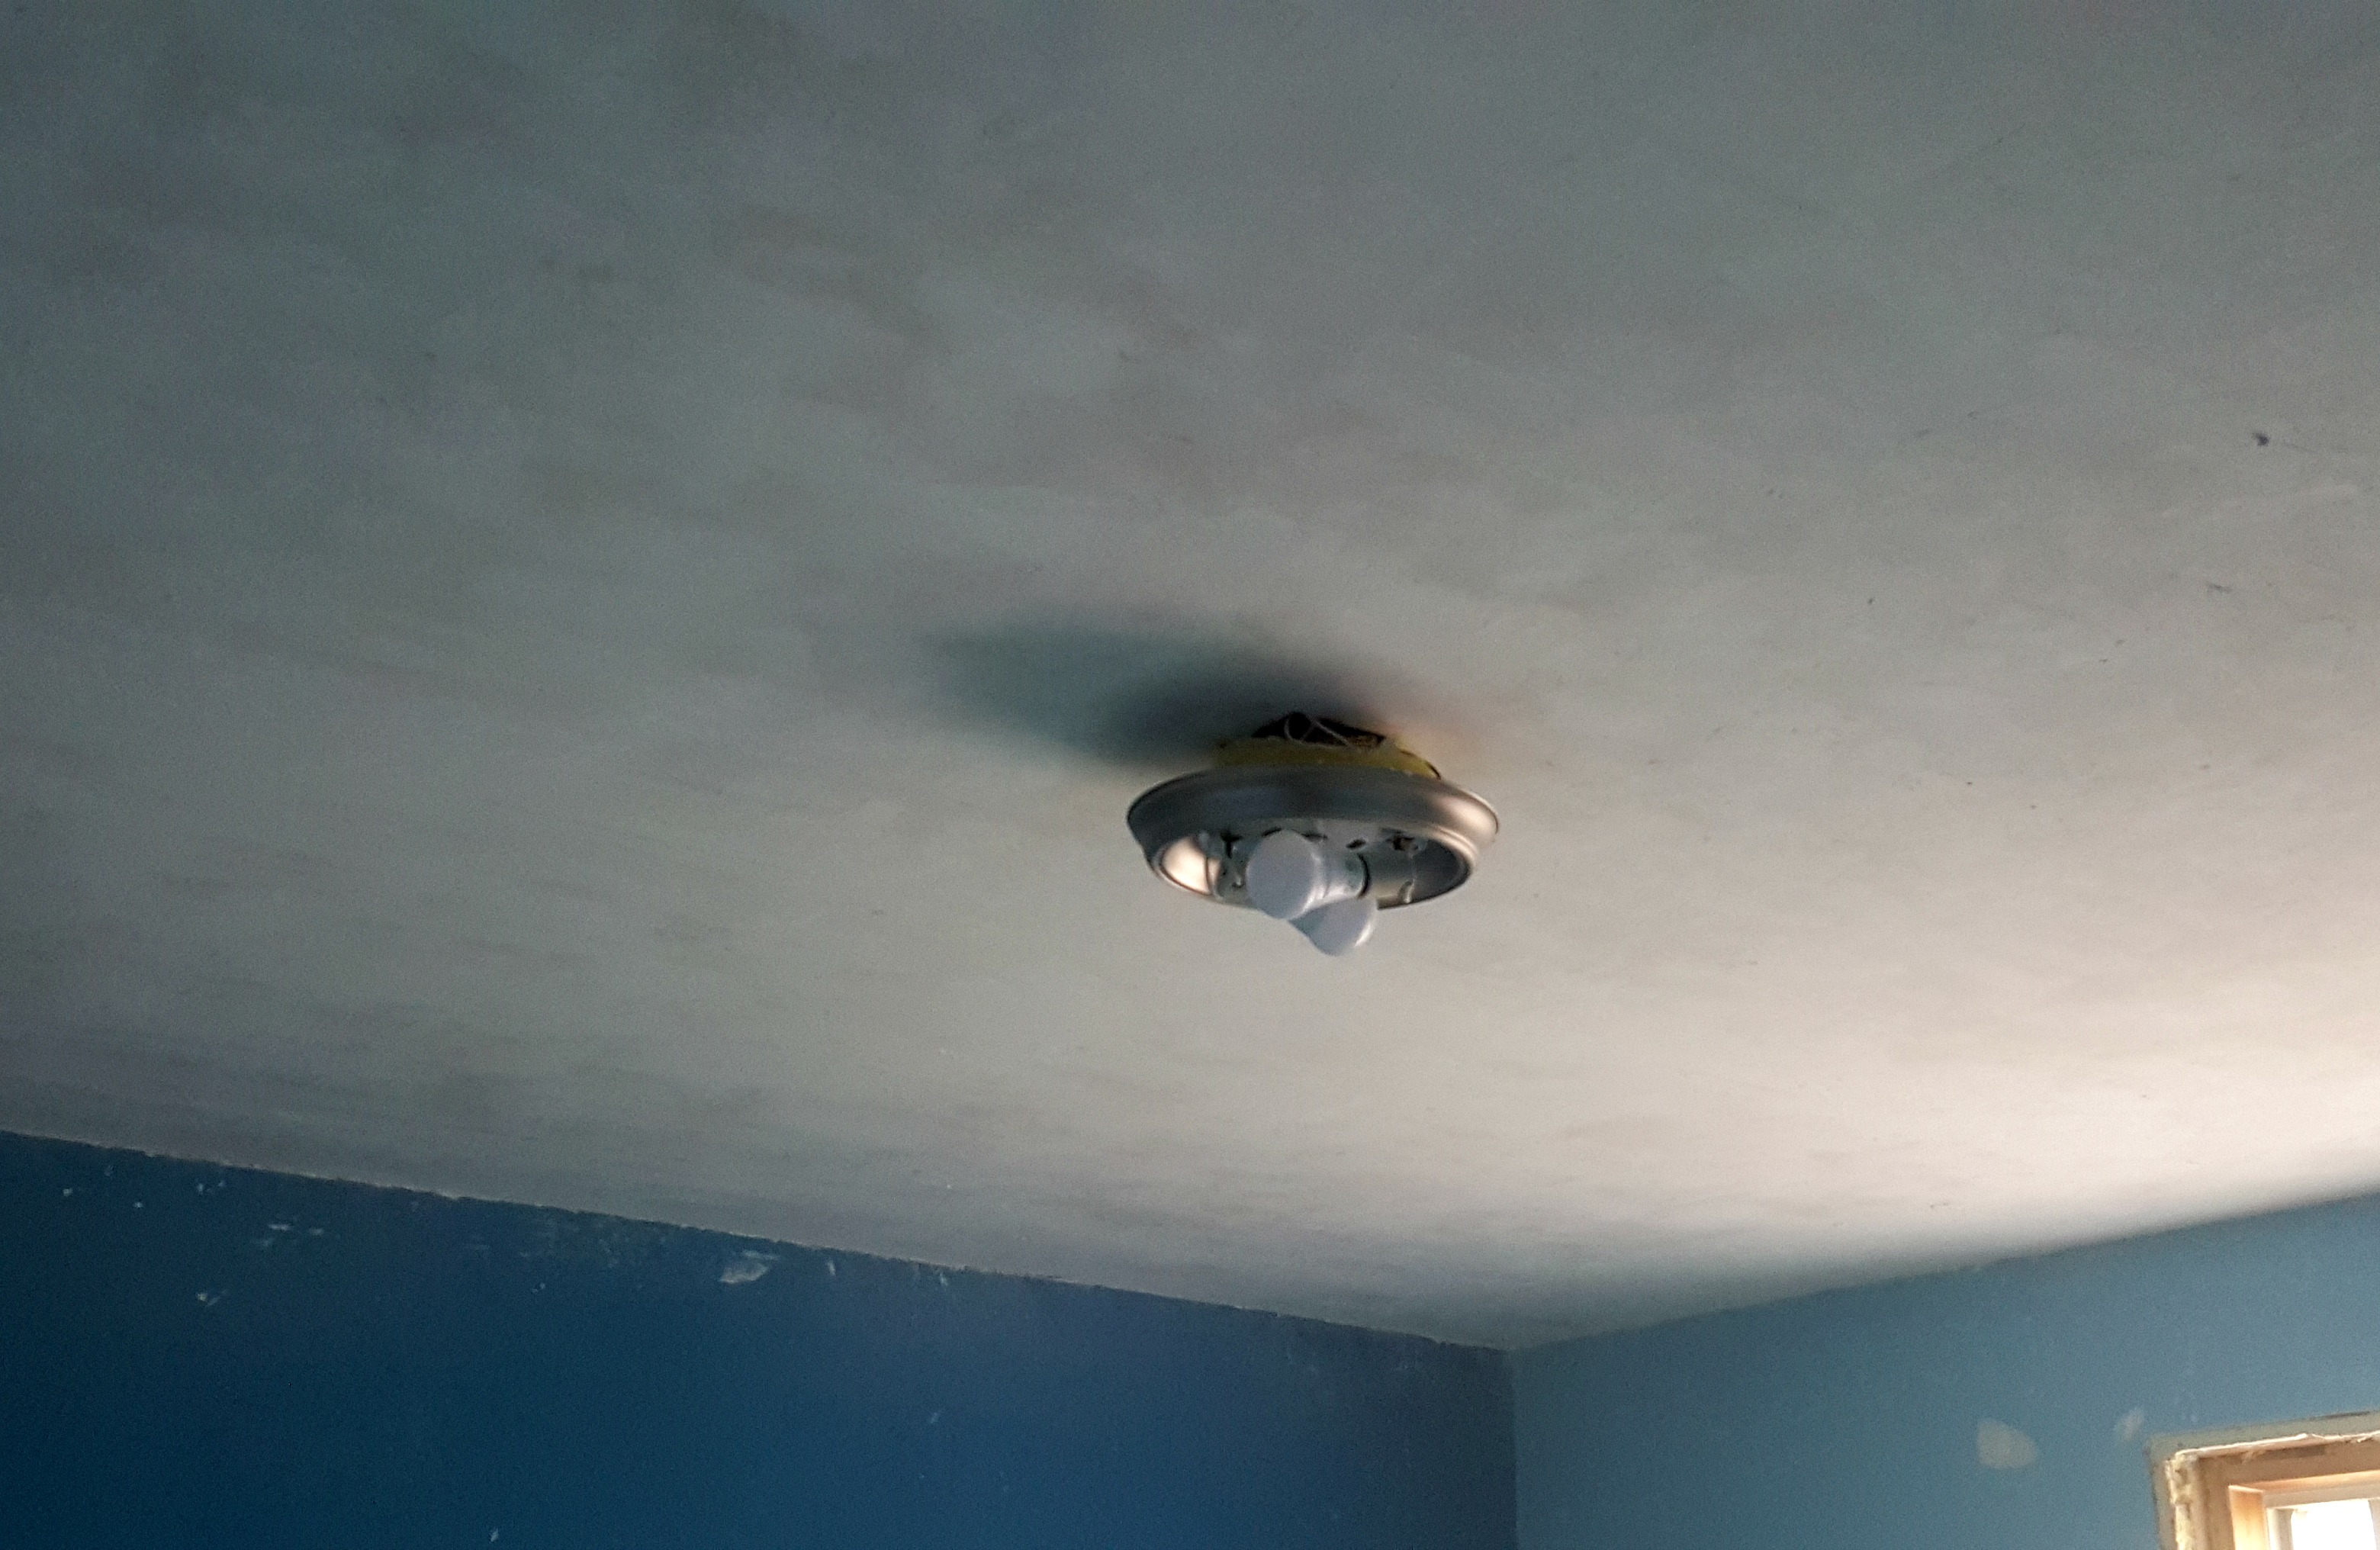
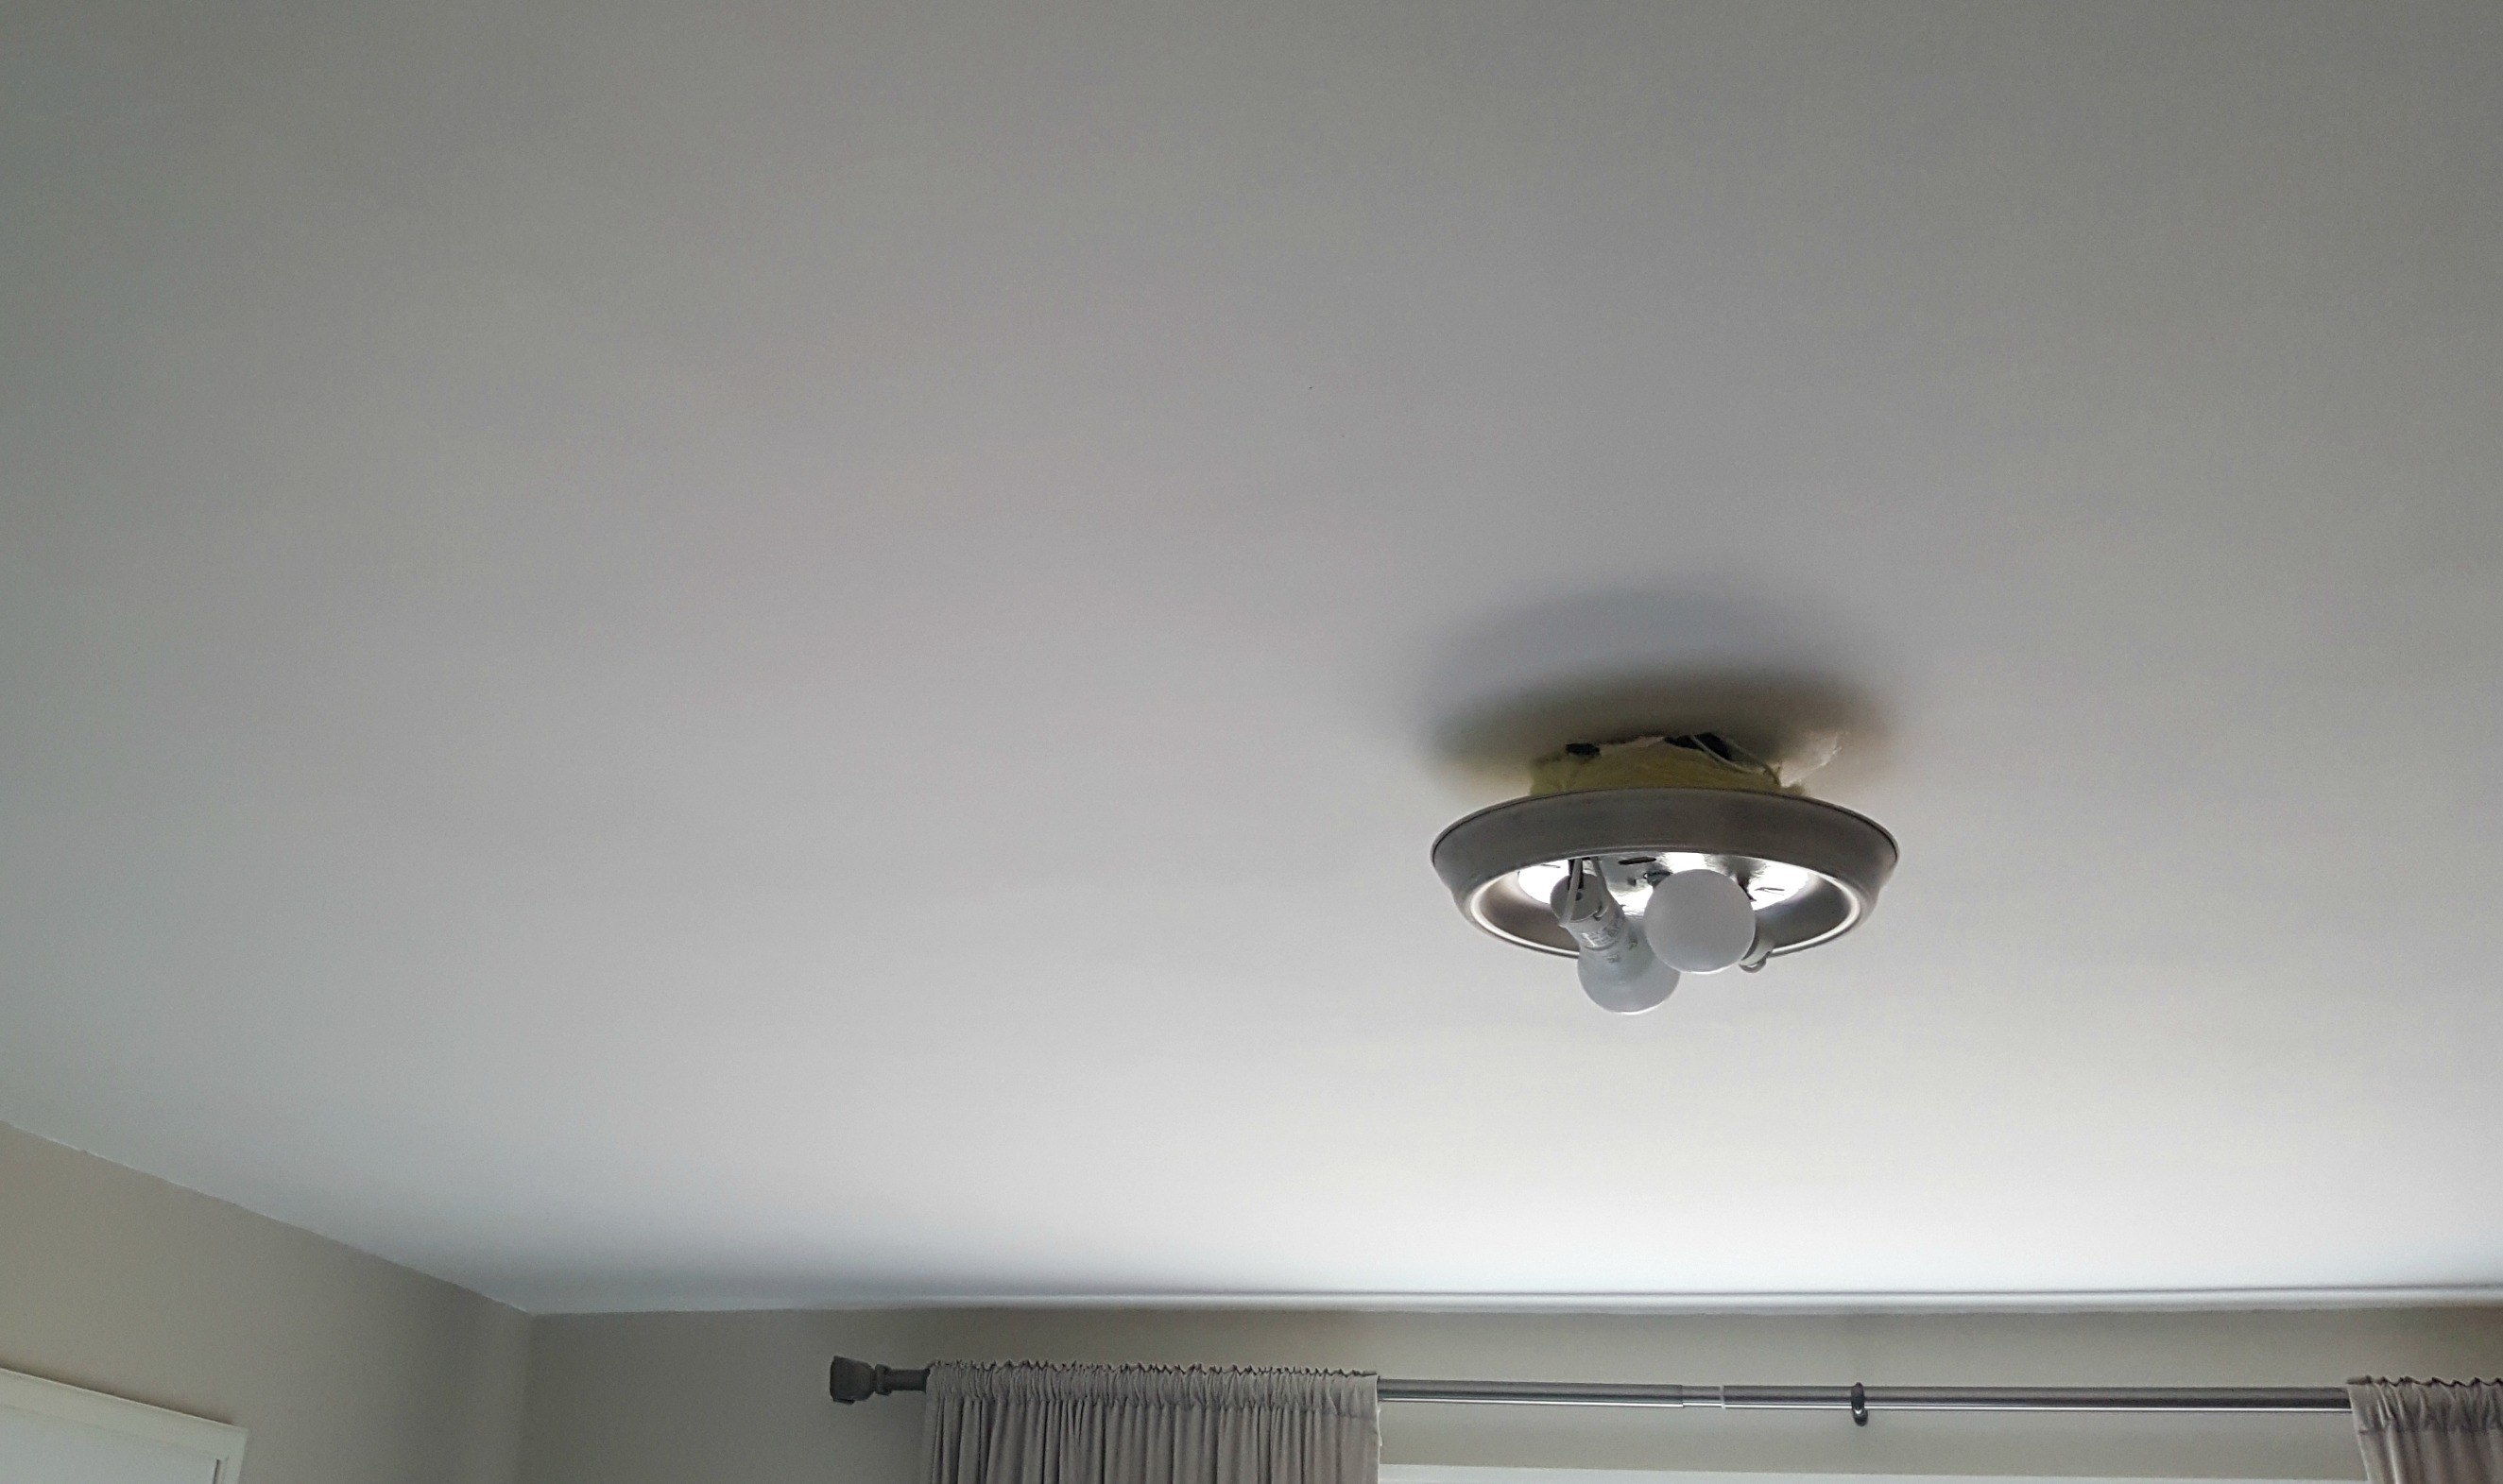
And finally it was finished! I also painted the walls before we moved back in - Edgecomb Grey by Benjamin Moore. Our last bedroom was painted in BM Stormy Monday, which I loved, but it felt a little too cold, so this time I went with a warmer, taupe-ier grey. I will probably always stick with neutrals when it comes to wall colours - I like being able to change out the accents without having to repaint the whole room.
The edges are still a little rough as there was quite a bit of damage to the paper corner tape when the popcorn was removed, but we are intending to add crown moulding, so that won't be a problem.
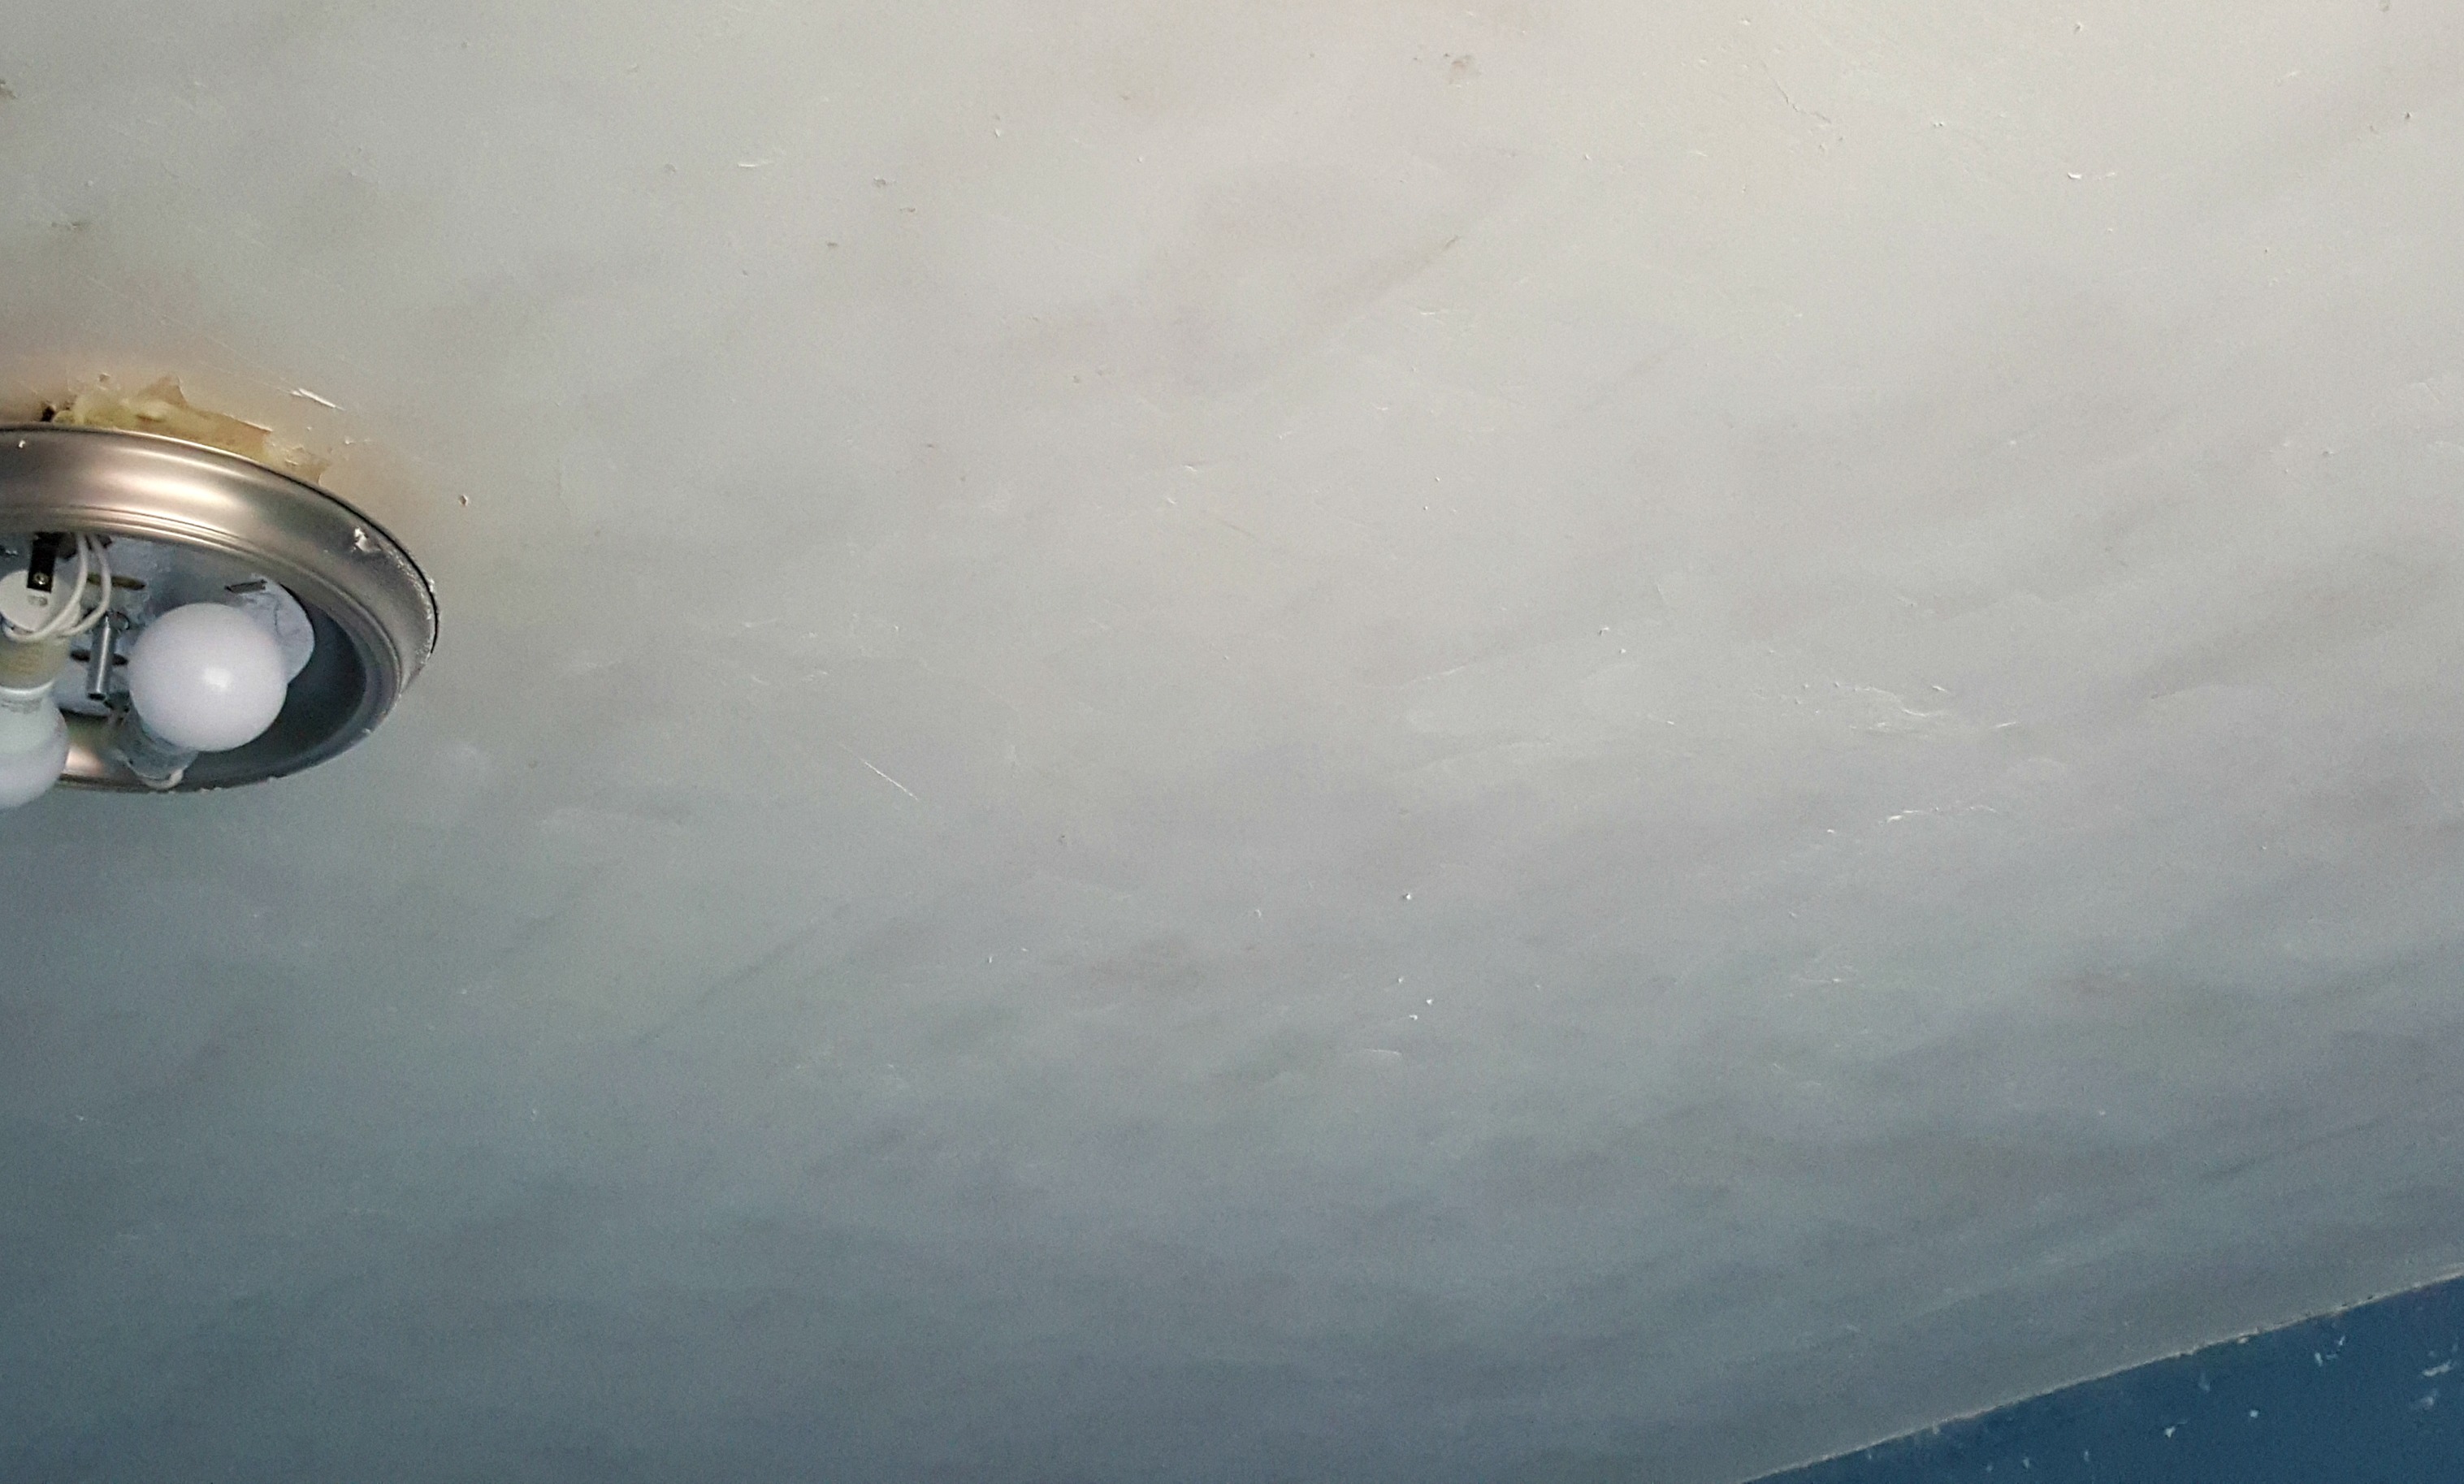
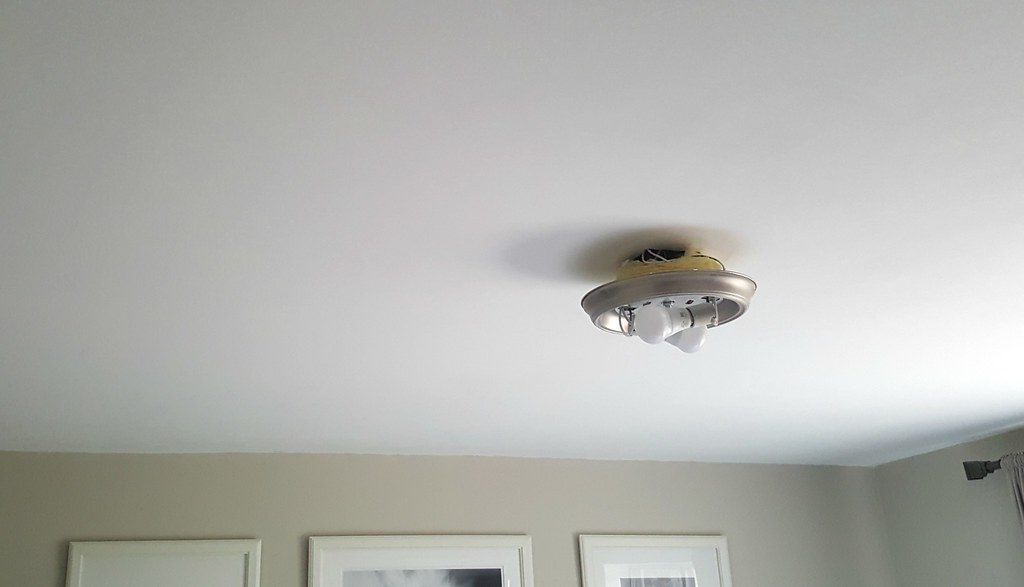
And we're still on the hunt for the perfect light fixture. For now we're just making do with this $10 cheapie from the hardware store. When we moved it there weren't any ceiling lights - so this is a step up!
My final evaluation of the process - I love the flat ceiling, but it so wasn't worth the amount of work necessary in this case. The whole house felt like a construction zone for weeks - even though we tarped the openings, there was still drywall dust everywhere. We have two more bedrooms and the living room/foyer remaining. For those areas, I'm either going to hire it out or just drywall over the popcorn and start fresh.
I did learn a lot though. I can tape and skim like a (semi)pro now. Some people made fun of me for putting in so much time and effort, but one of the biggest parts of DIY is honing your skills. To get all cliche on you - sometimes it is about the journey and not just the destination.


No comments:
Post a Comment