Now that the ceiling in the bedroom is fantastically smooth and the walls are painted, it's time to move on to the window and door trim. Like most of the other finishes in this house, the original trim was inexpensive, badly installed, and paint spattered. With the new paint on the walls (BM Edgecombe Grey), there was no way the trim could stay any longer. The strange window trim was the first to go.
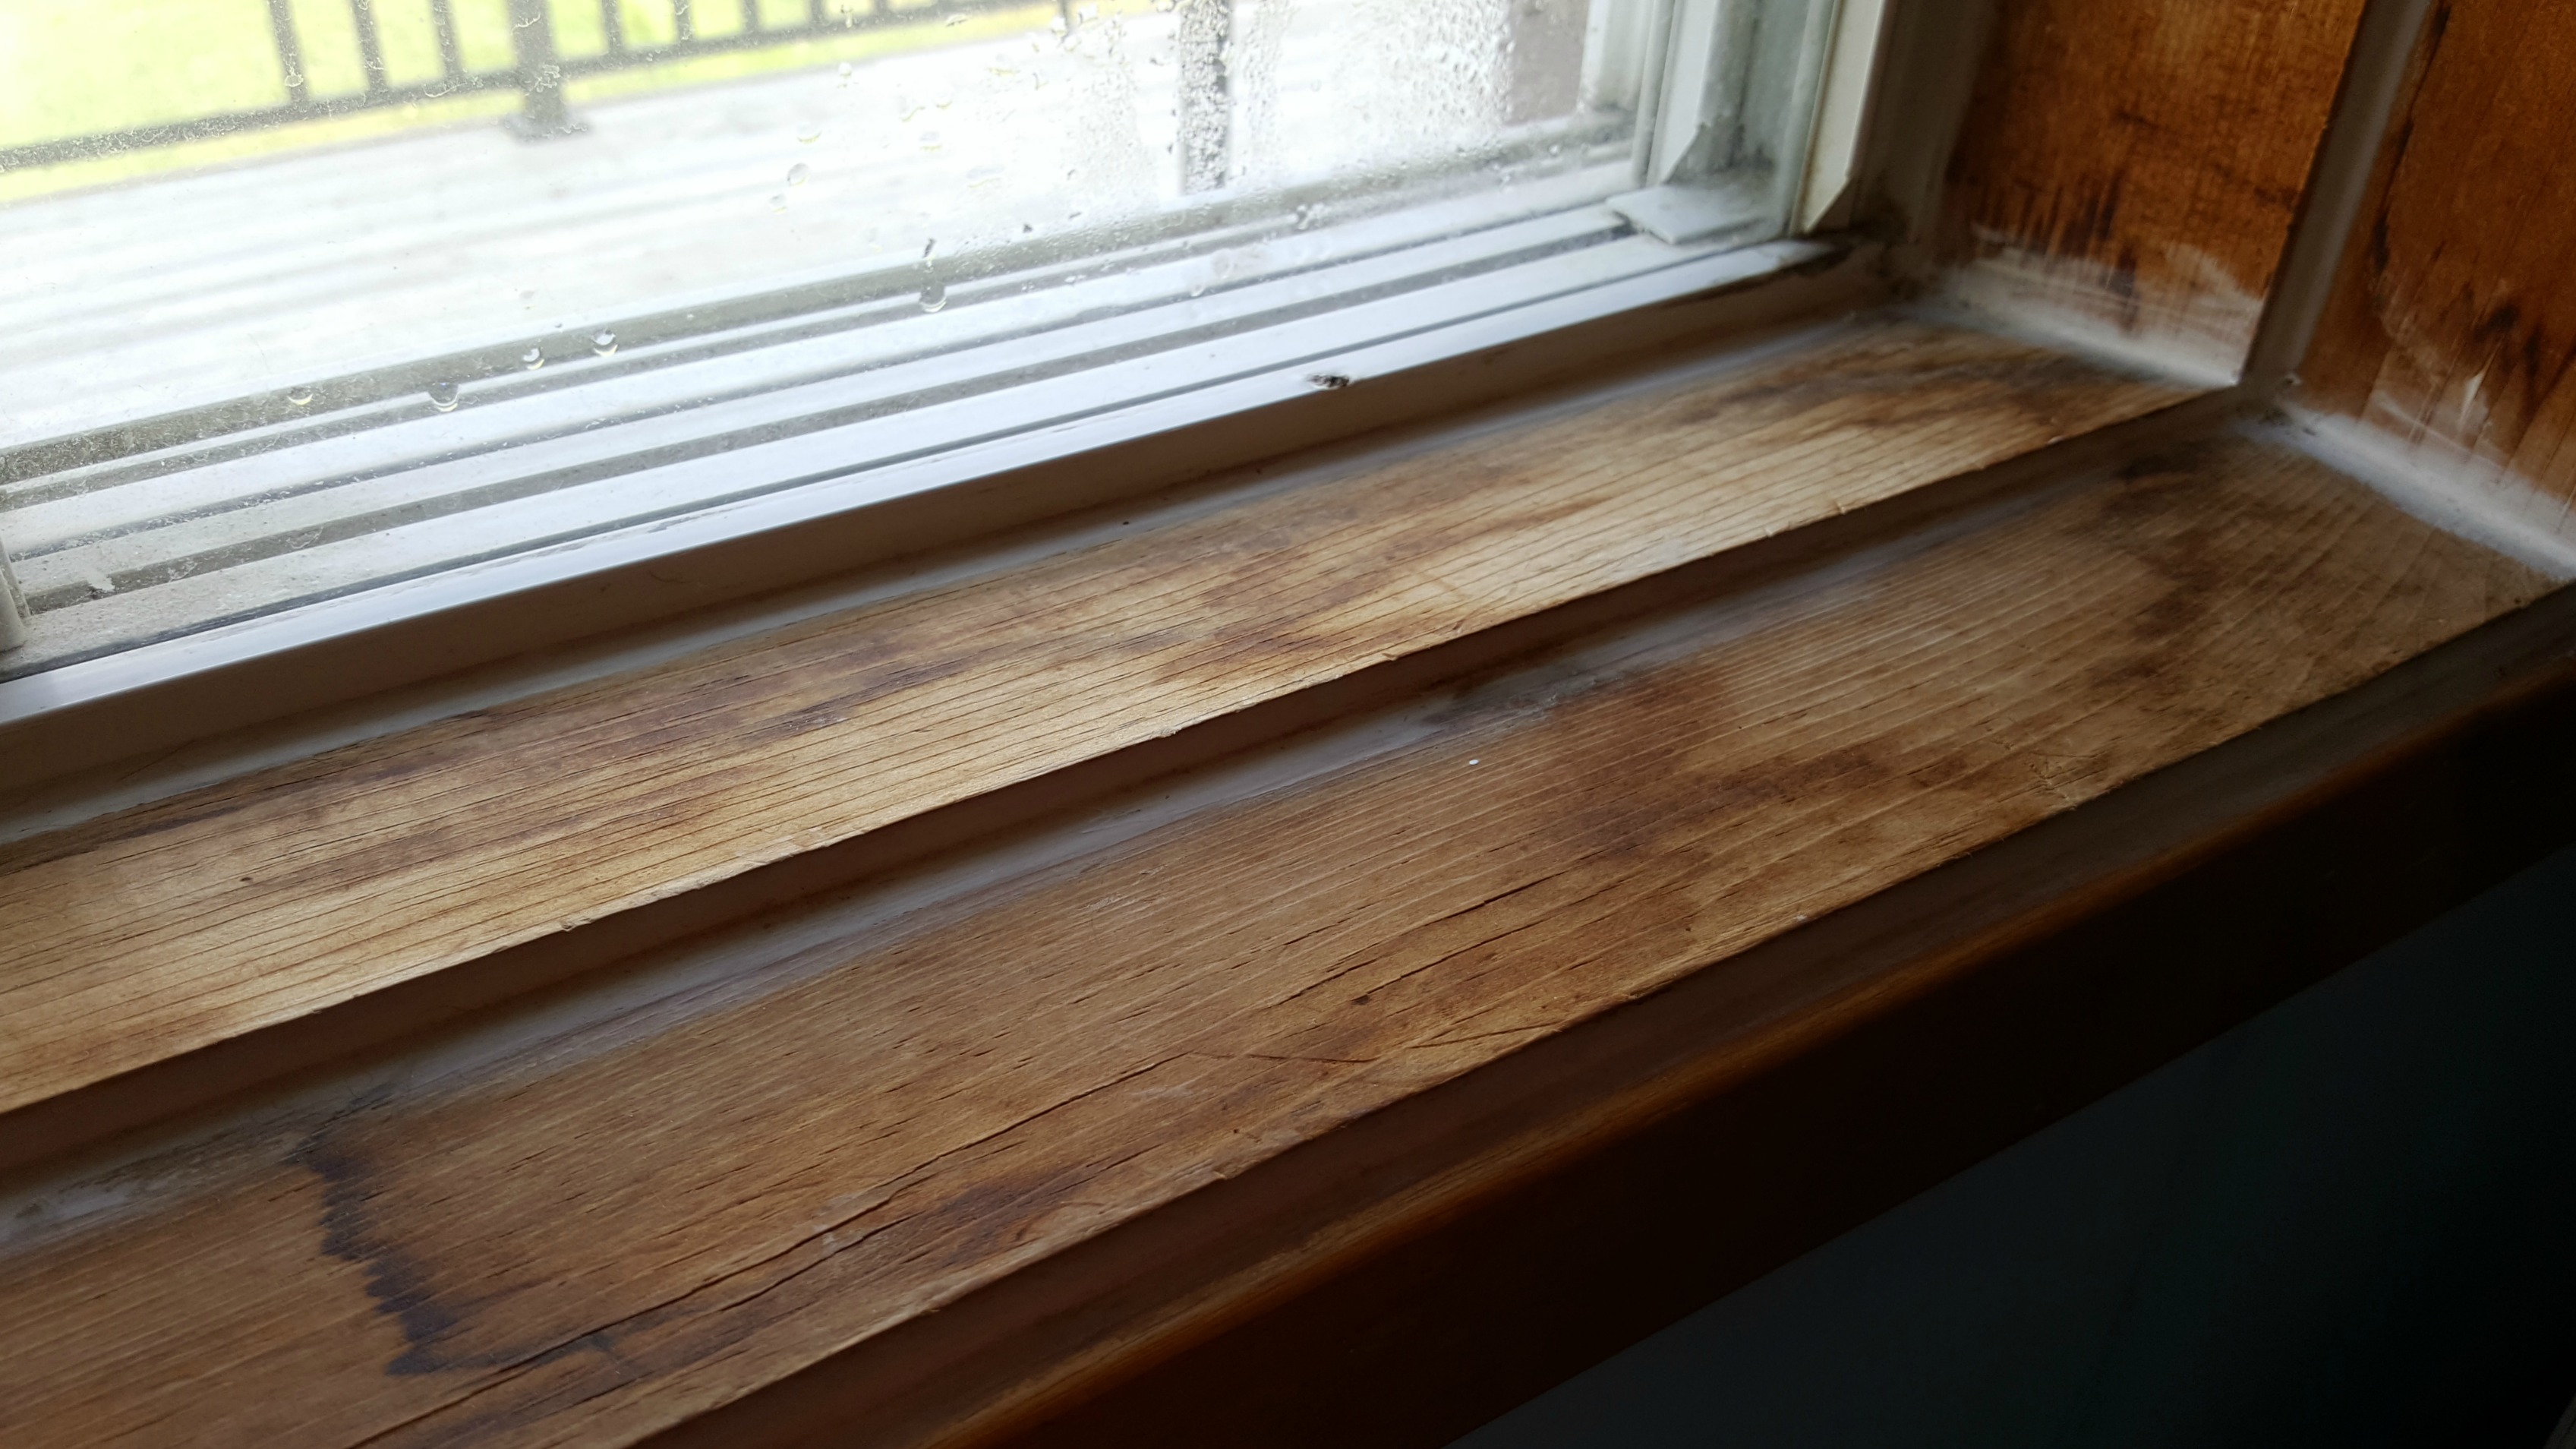
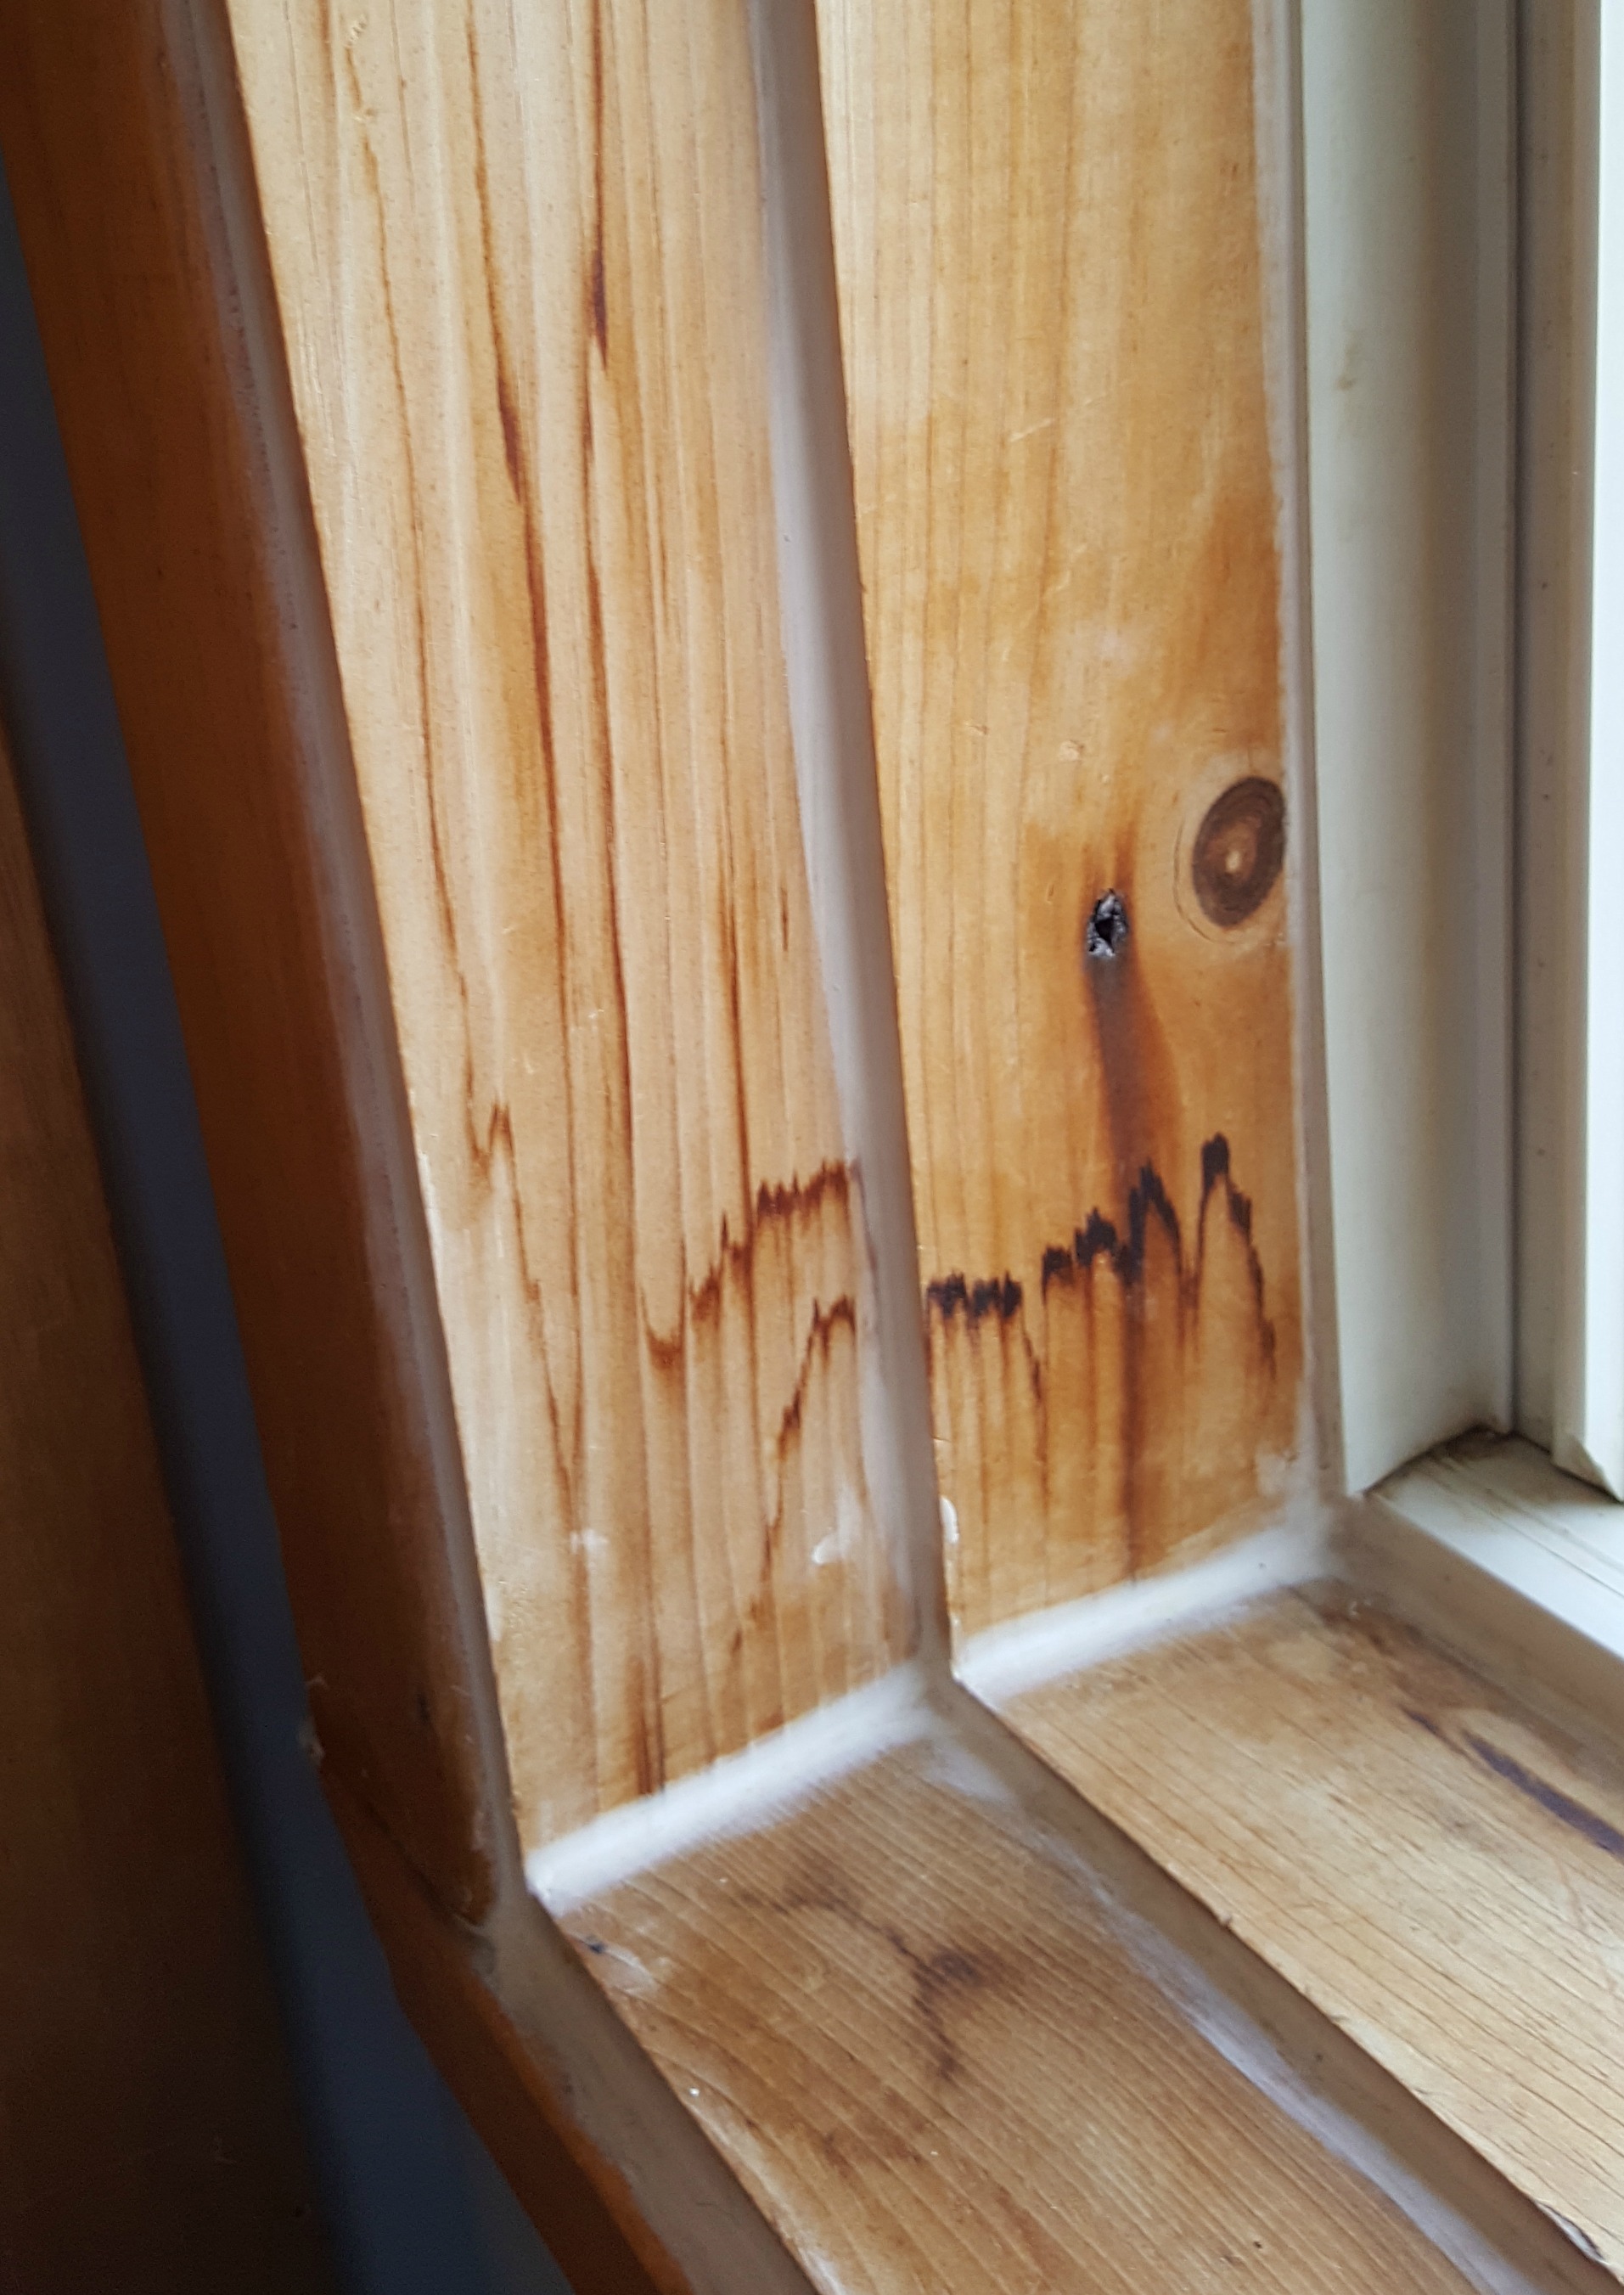
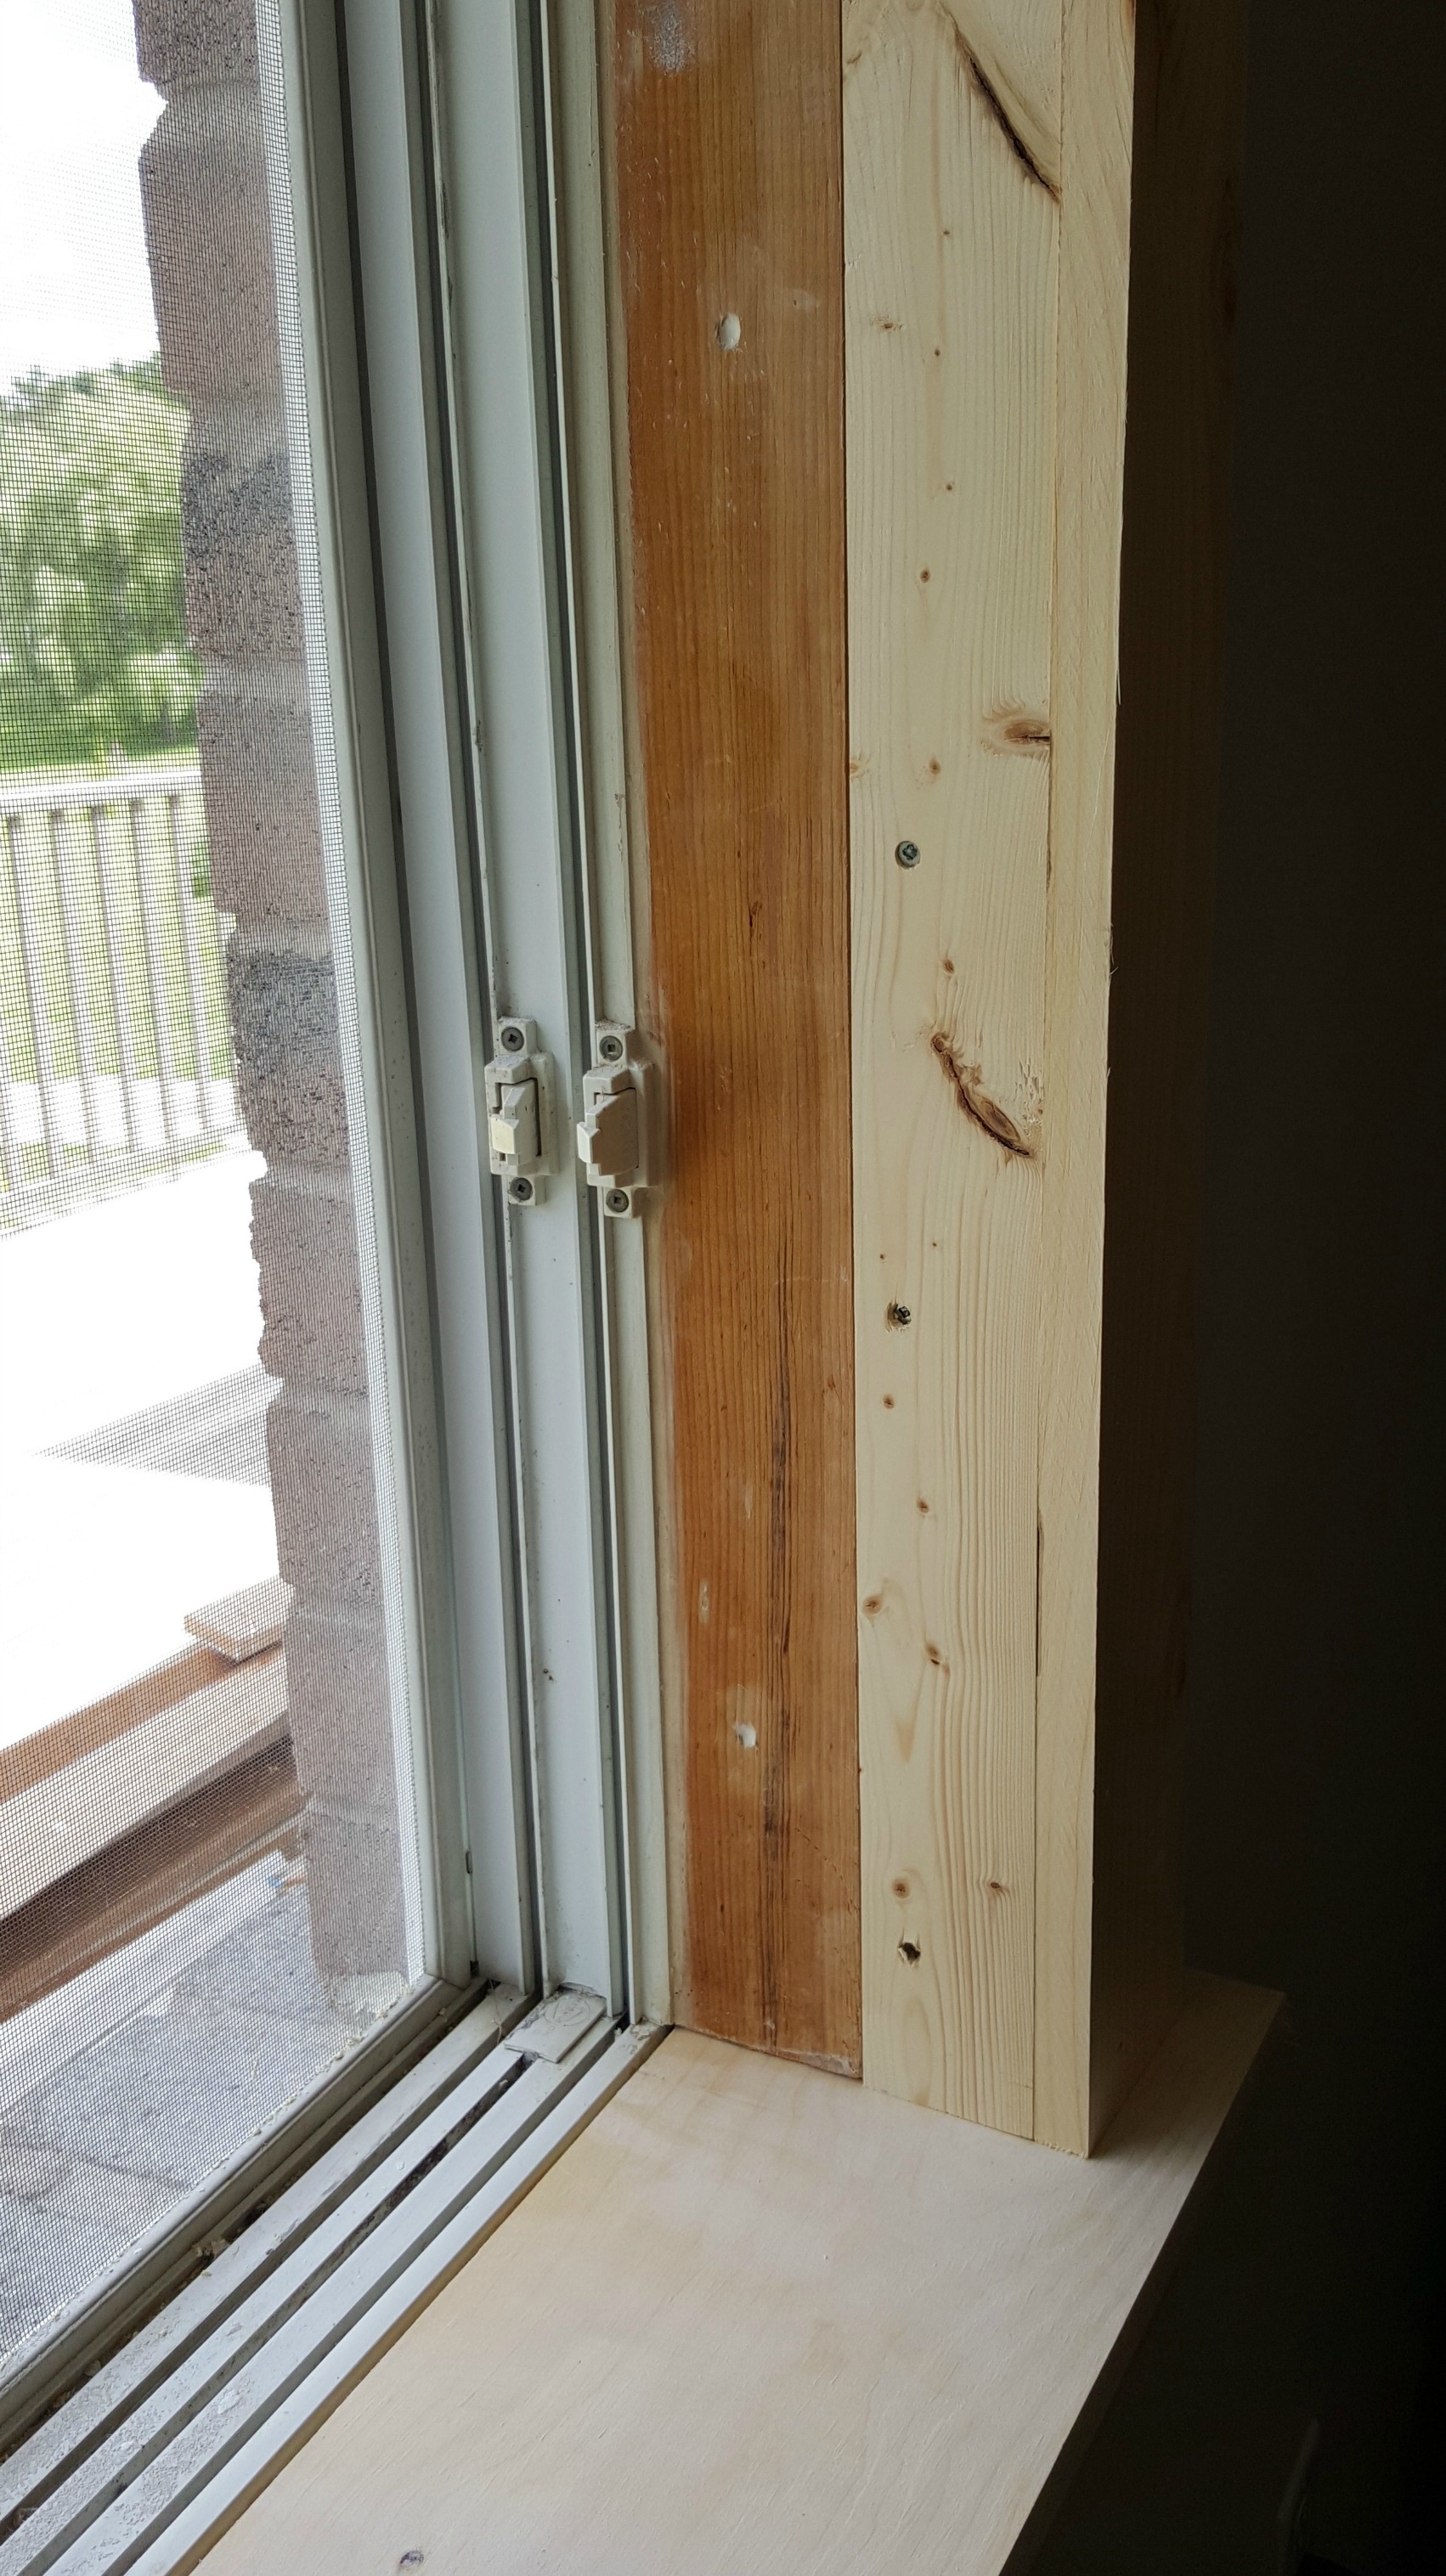
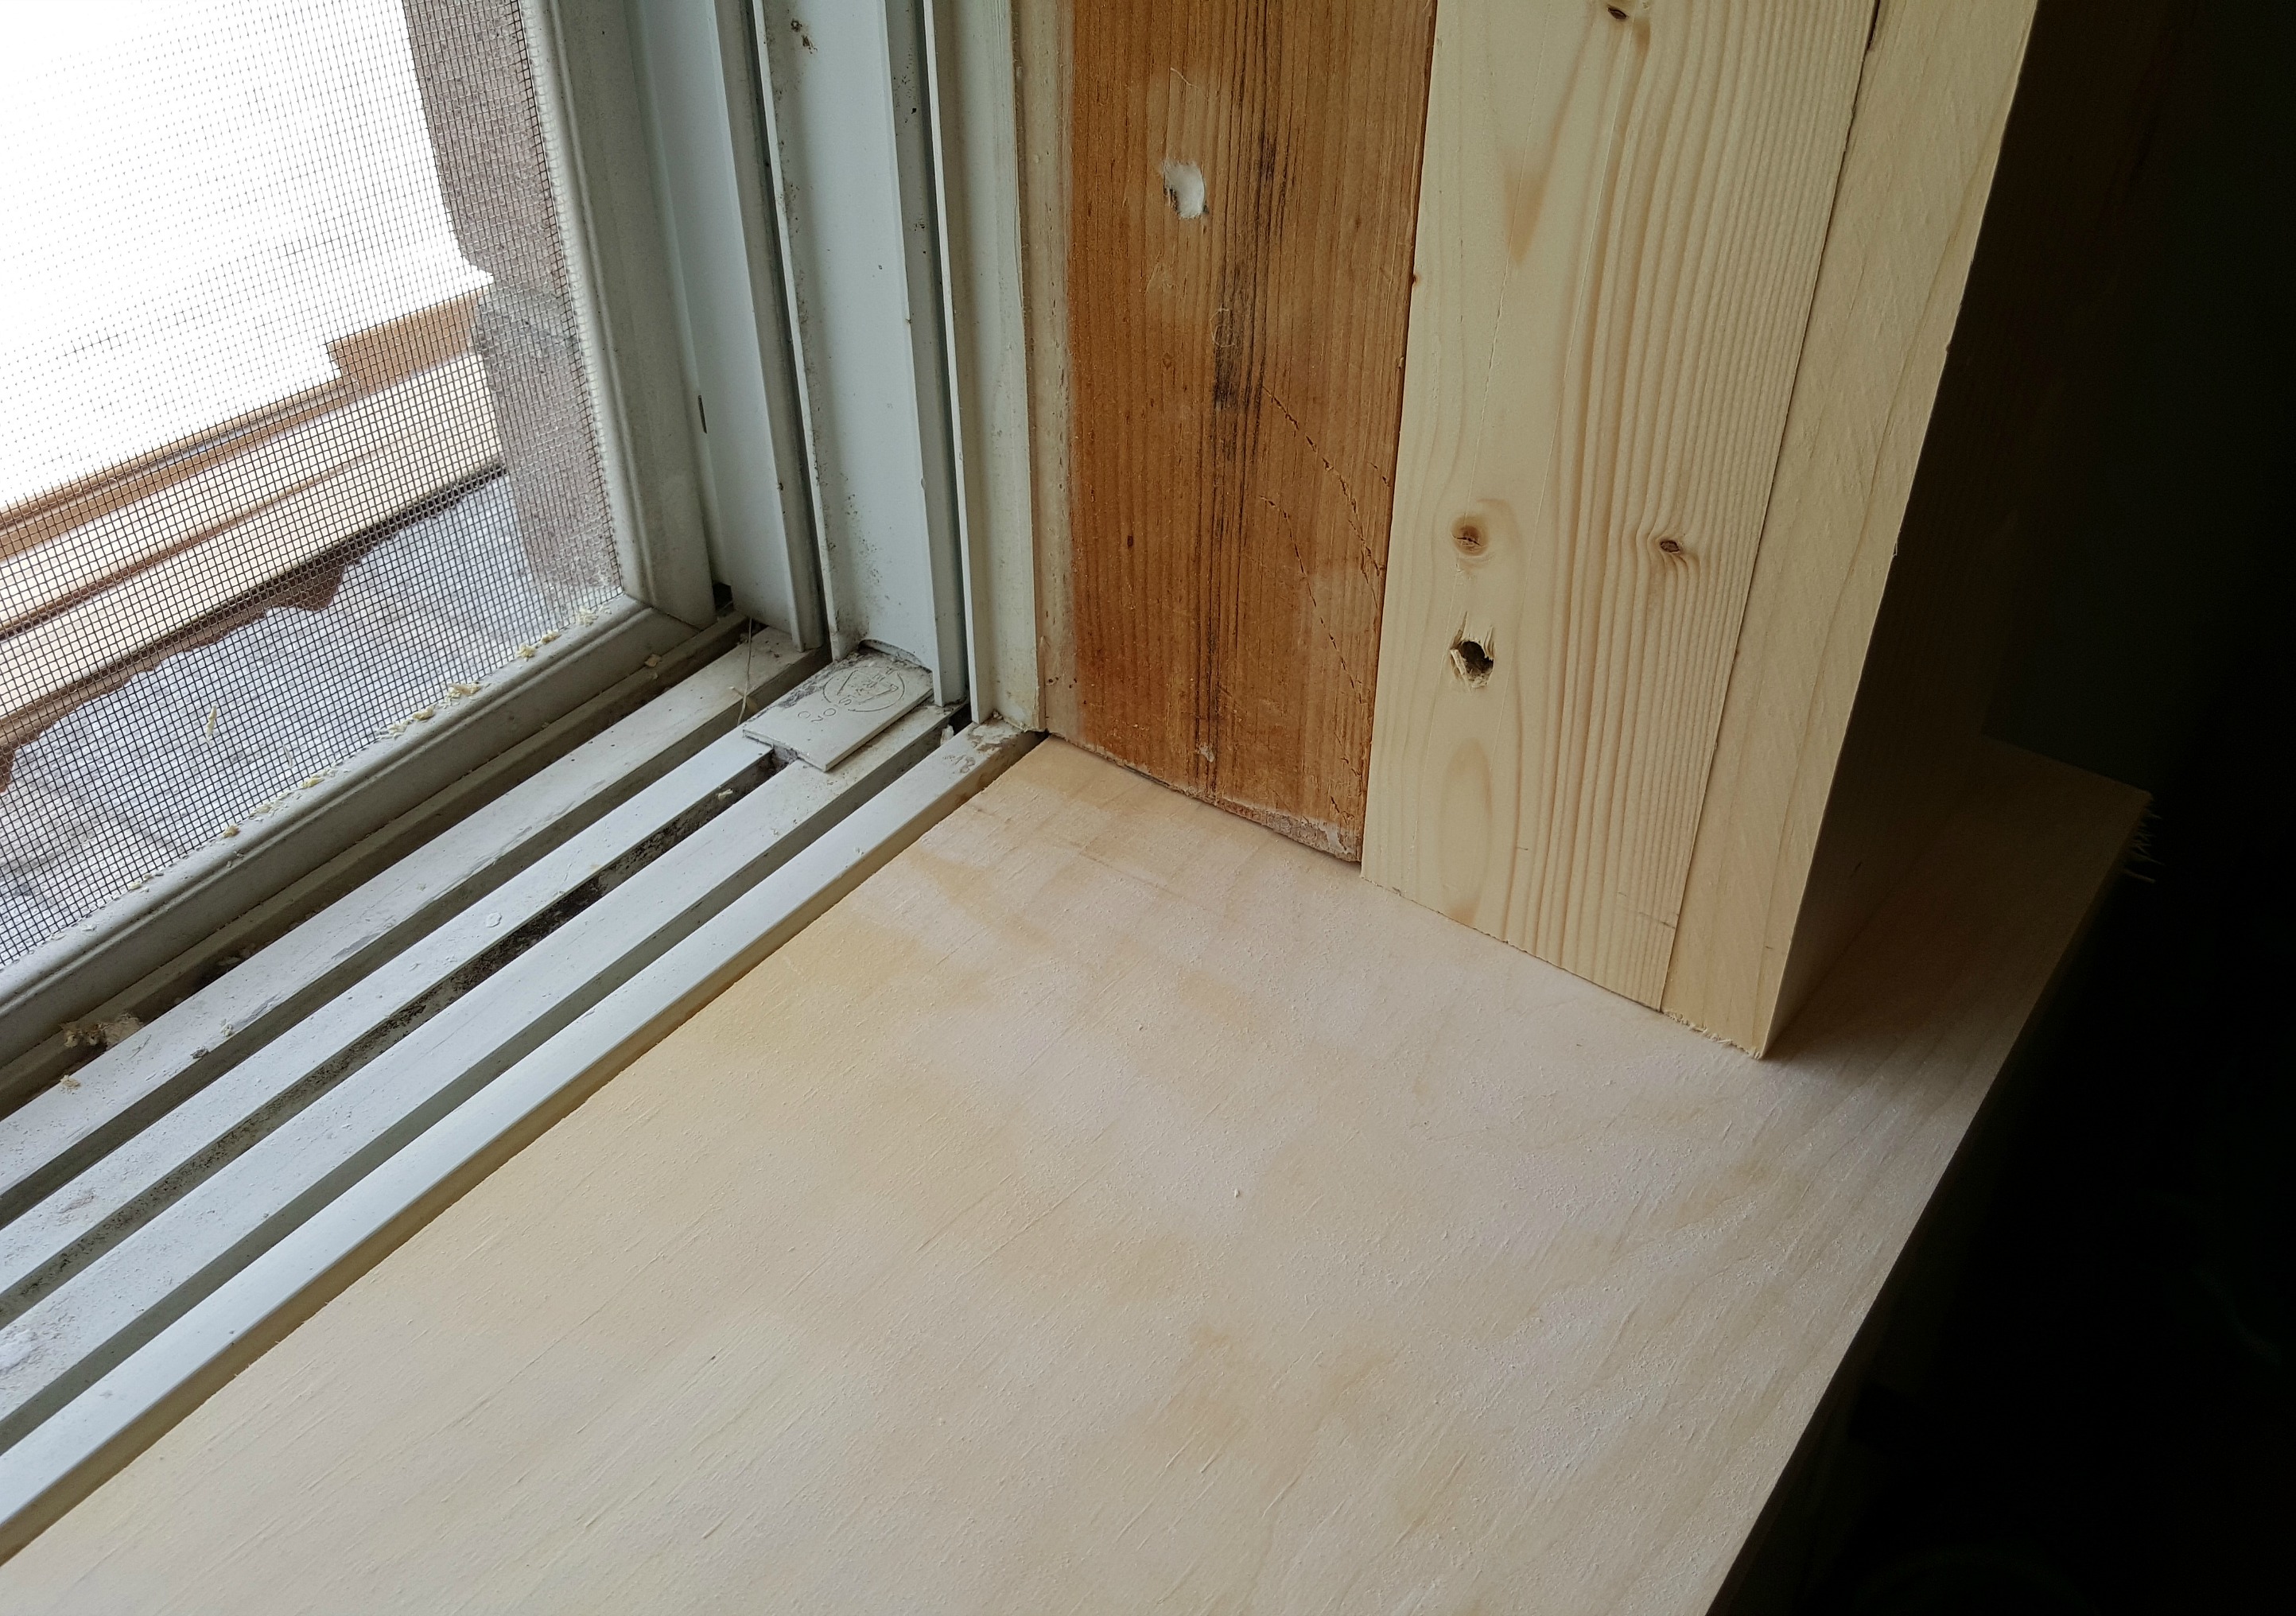
Each side of the casing was made up of two pieces of wood, offset from each other, and angled in towards the window. With that angle, any moisture would collect against the window instead of away from it. I'd love to know the reason - it was obviously intentional as all of the windows in the house are done this way.
It took some elbow grease and finally the Dremel Multi-Max to remove it. It was glued and screwed in place, as well as every seam being caulked. In fact, Tom worked away on it that entire first day that I attempted to scrape the popcorn ceiling.
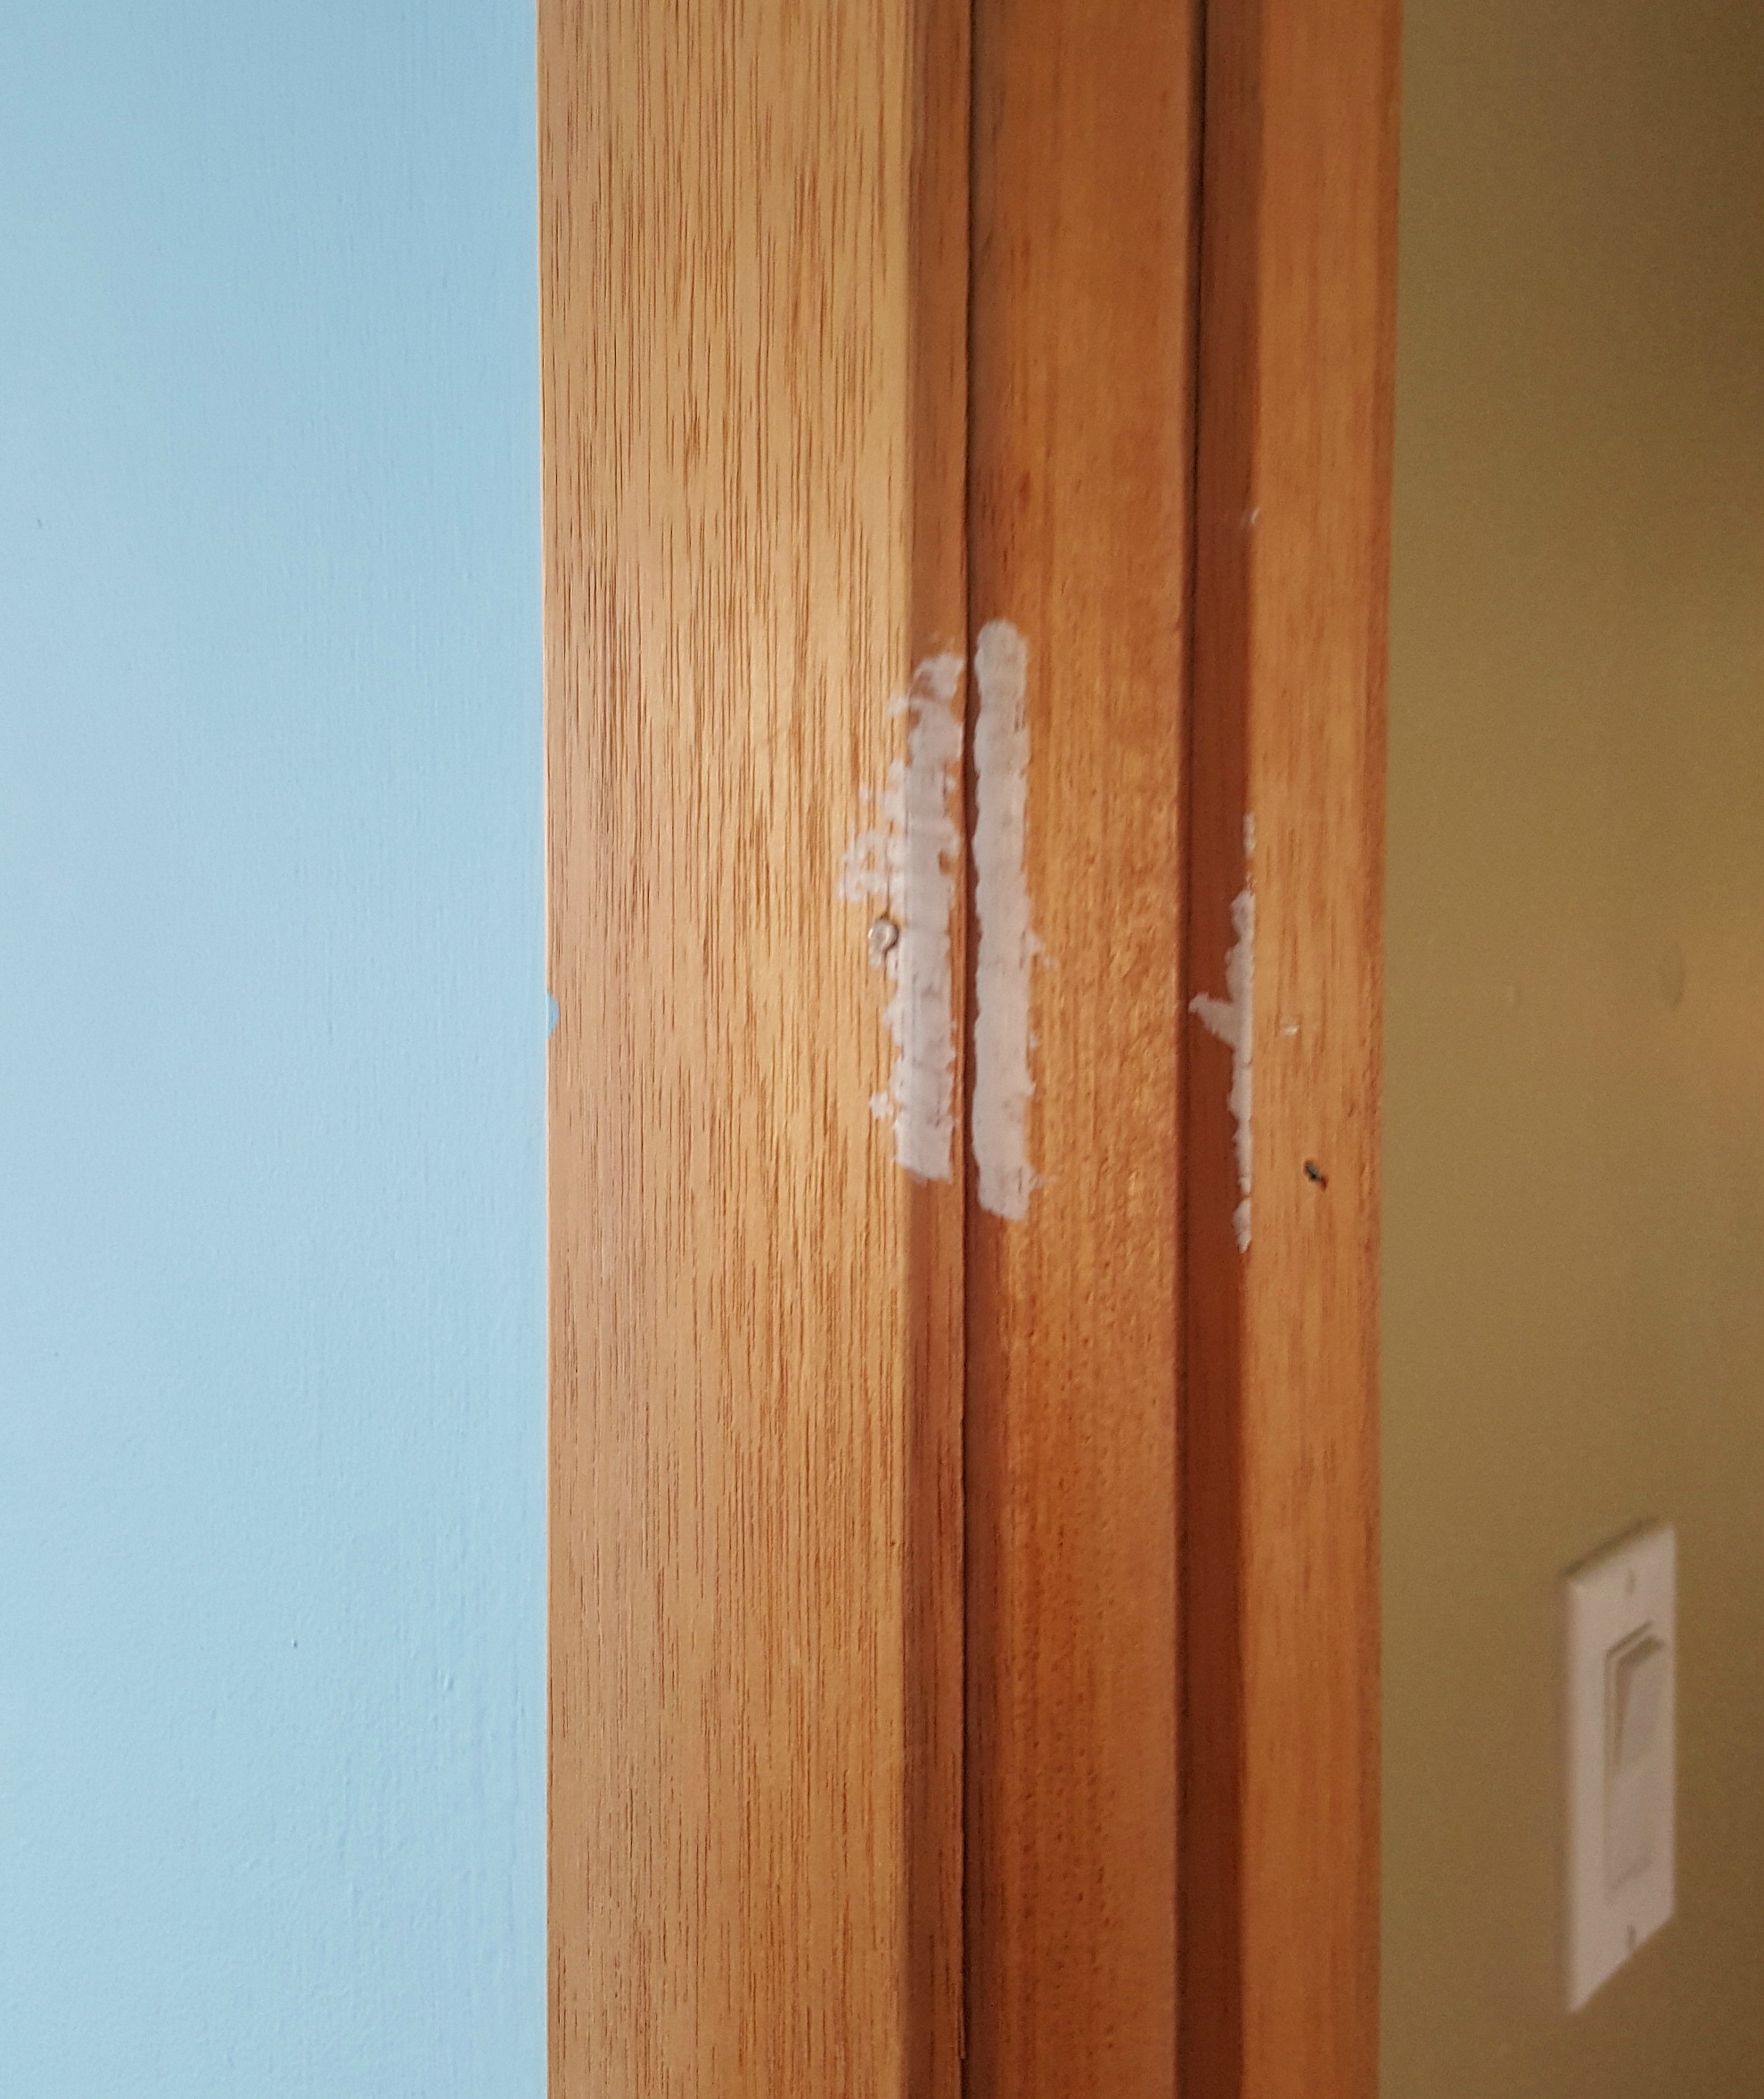
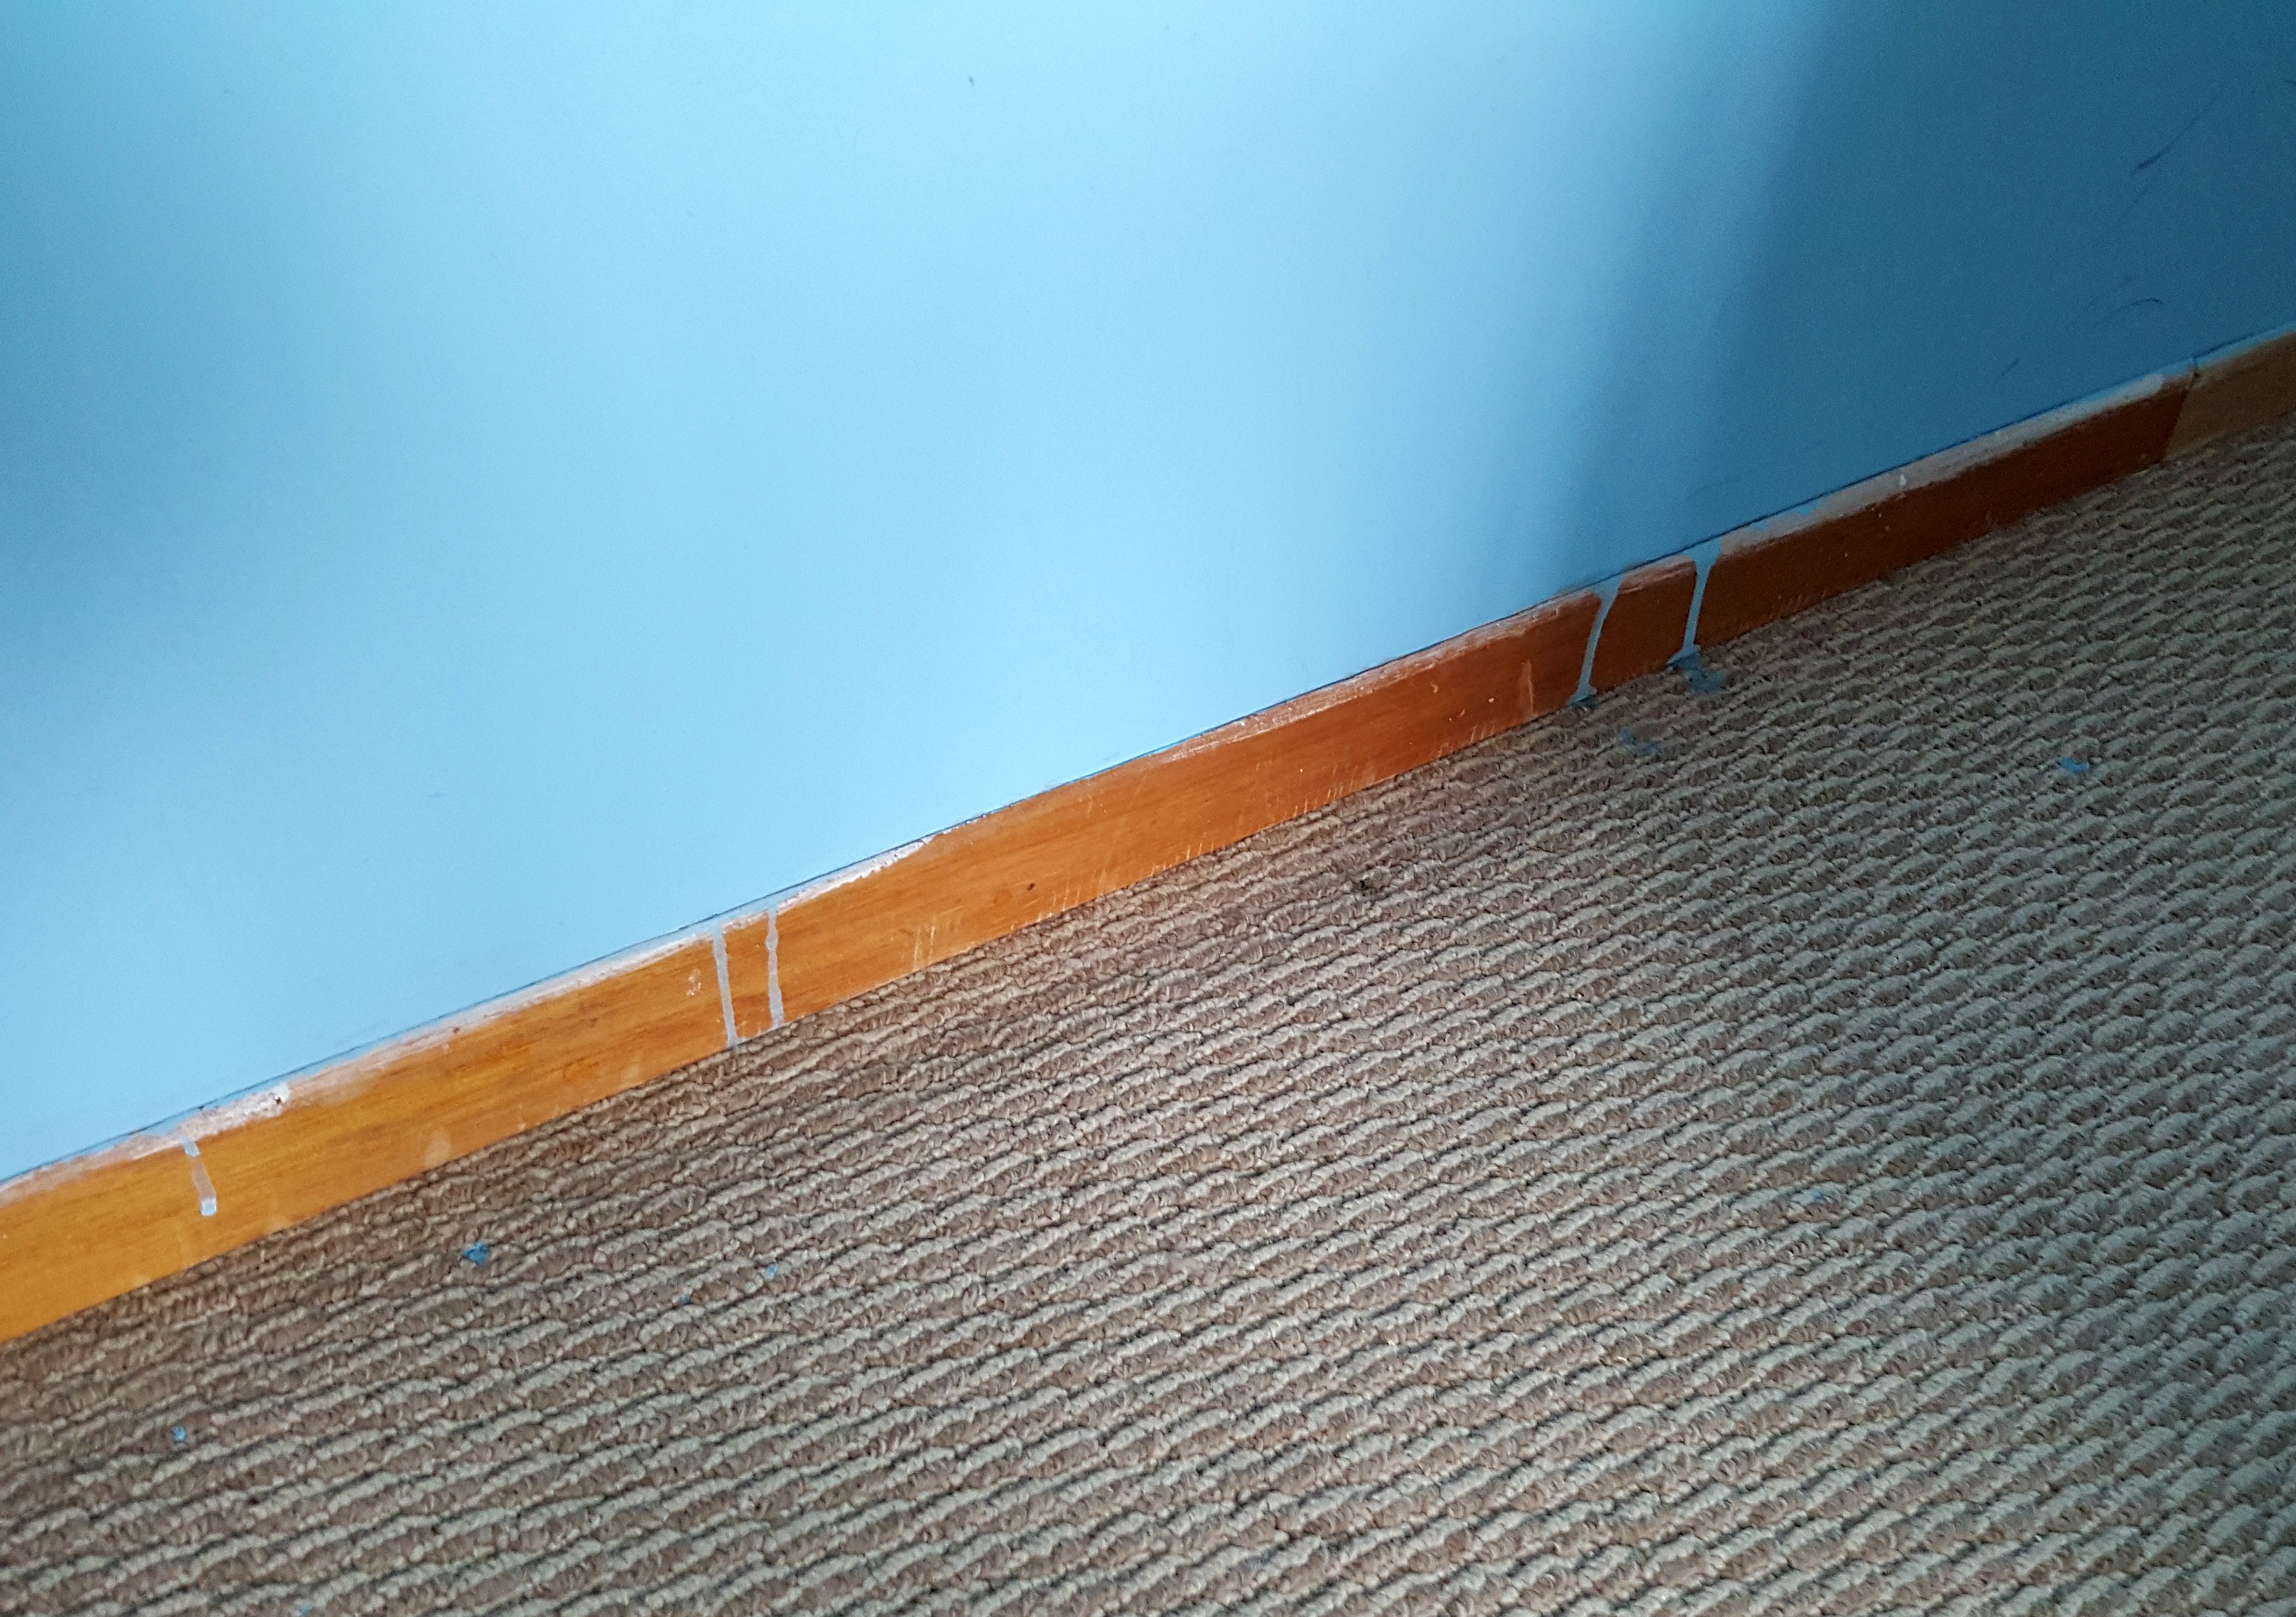
The door trim was easier to remove - the pieces were barely attached to the wall, so they came off with no damage. Look at those paint splatters! I can't tell how old the paint is - maybe they were in a hurry to get it done before listing? There are also paint drips on the baseboards and carpet.
When we started looking for door and window trim, I couldn't really find anything that spoke to me. and I looked, a lot. At one point I even picked out some ready-made trim and had it in my cart at the store, but something deep down was telling me I wouldn't be happy with it. I did some more searching on the internet (right there in the lumber aisle) and was drawn over and over again to a simple, stacked Craftsman look.
My favourite style of house/architecture, hands-down, is Craftsman. I love the wide, yet streamlined, door and window casings, built-in bookcases, natural wood tones...and I'd give just about anything to have a large front porch with stone and wood columns.
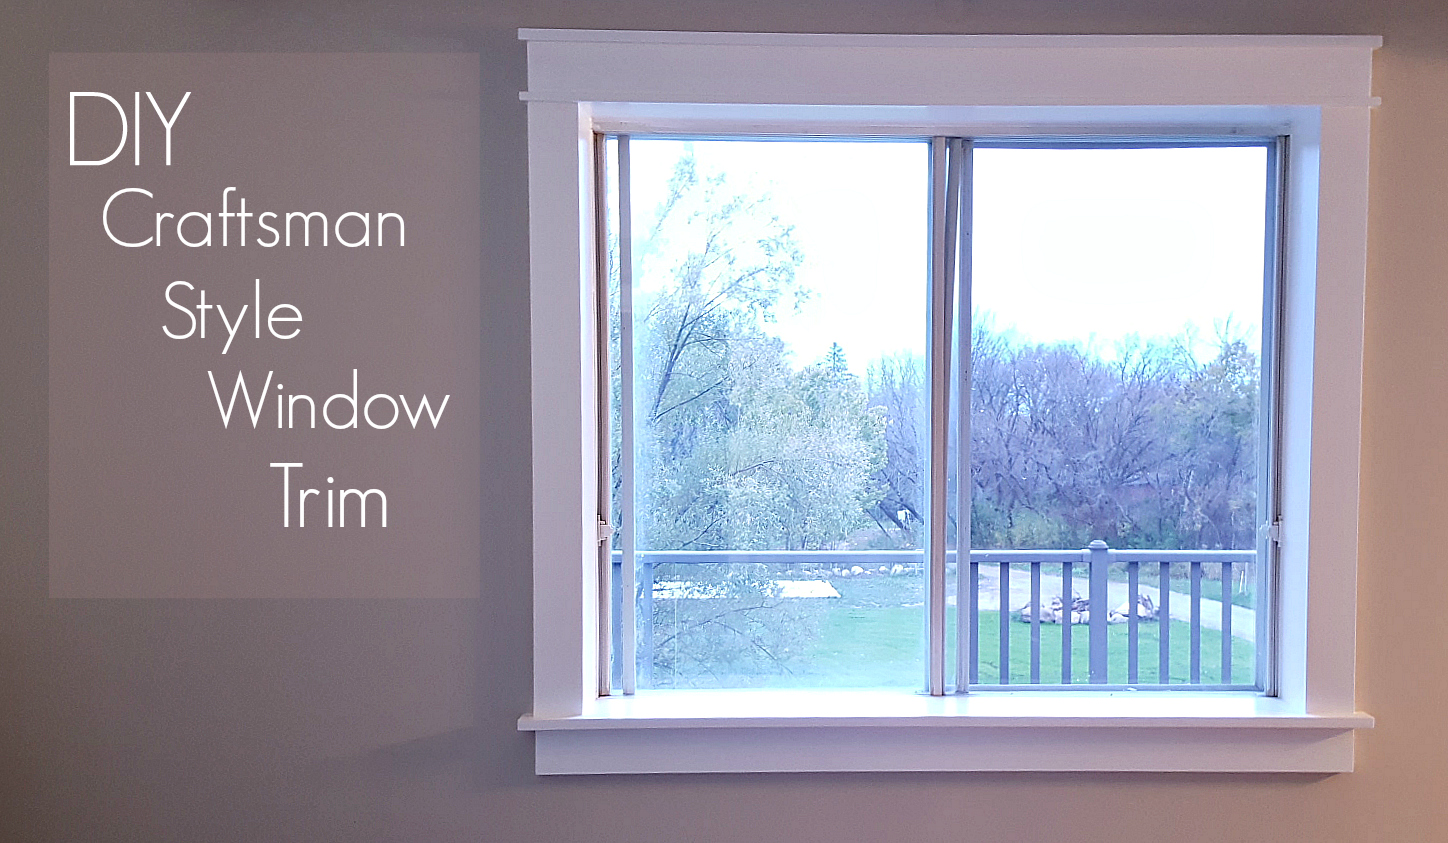
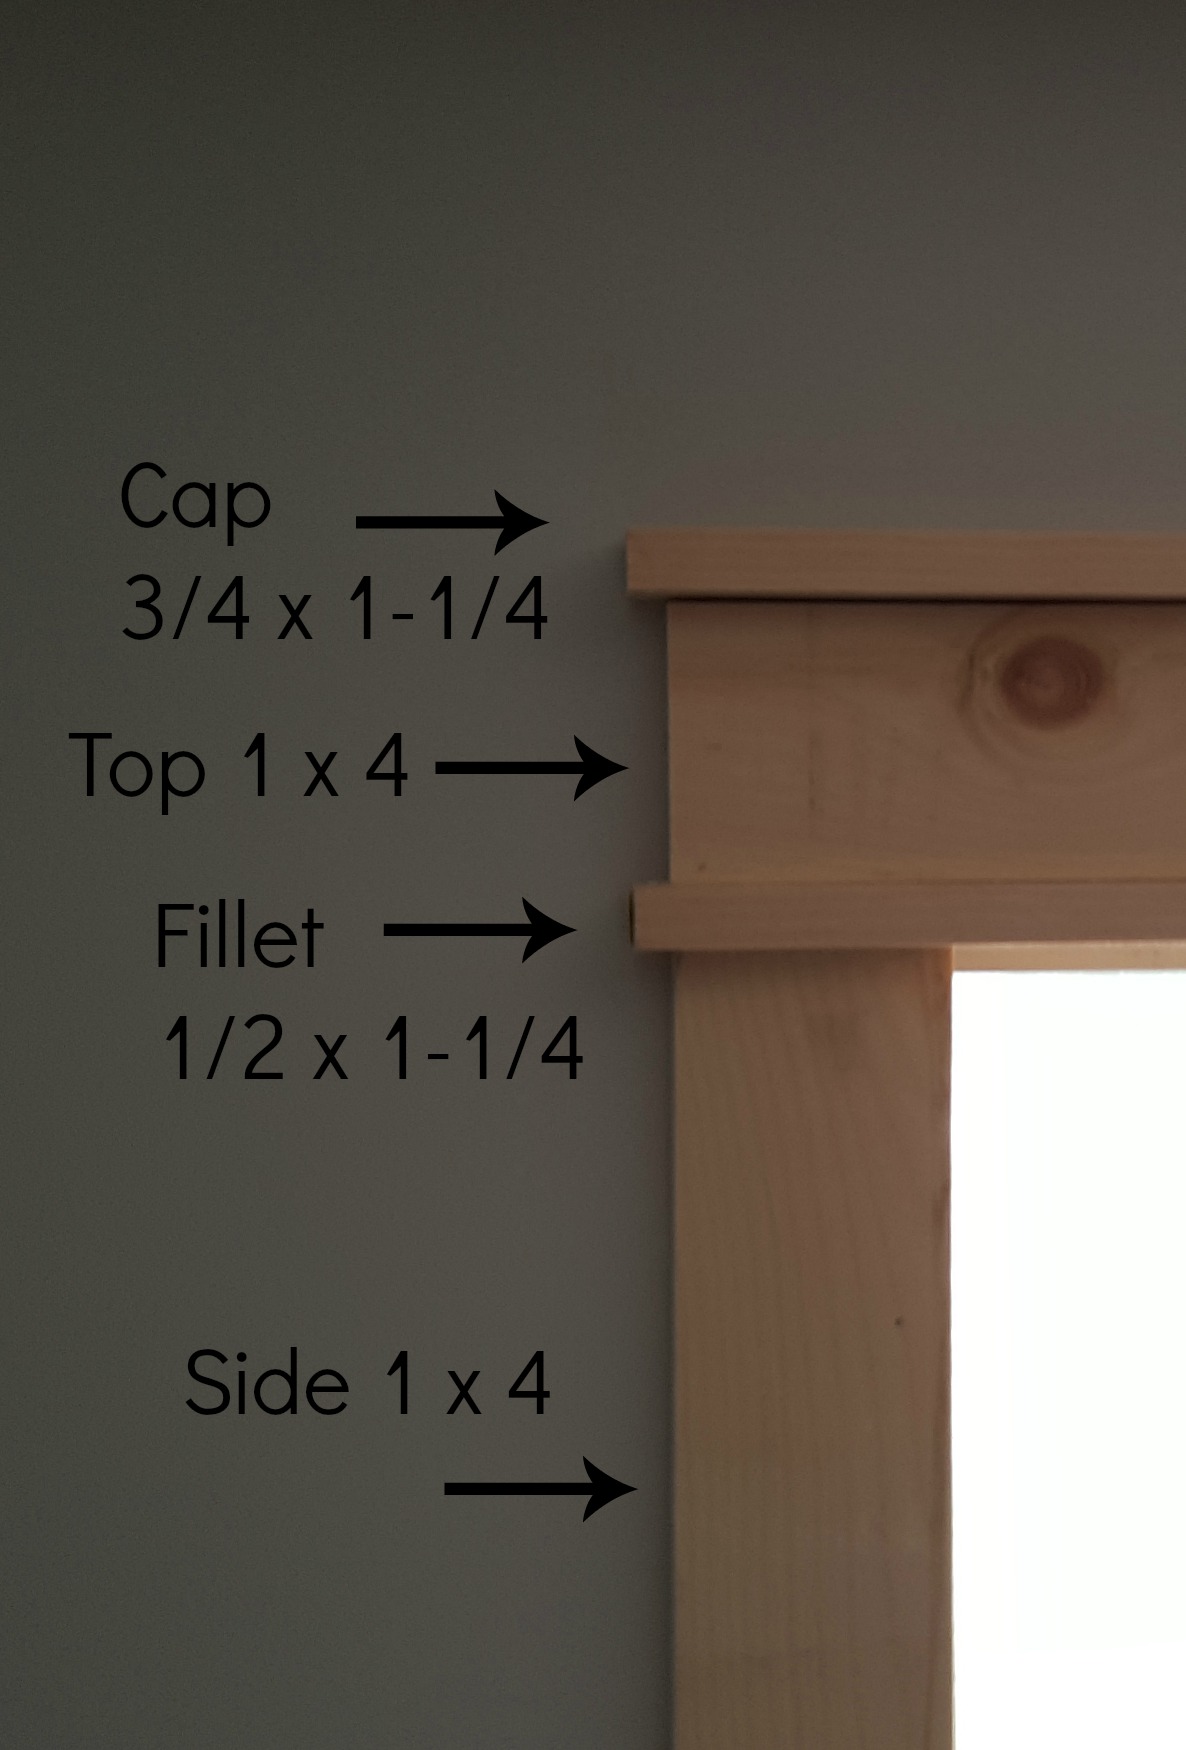
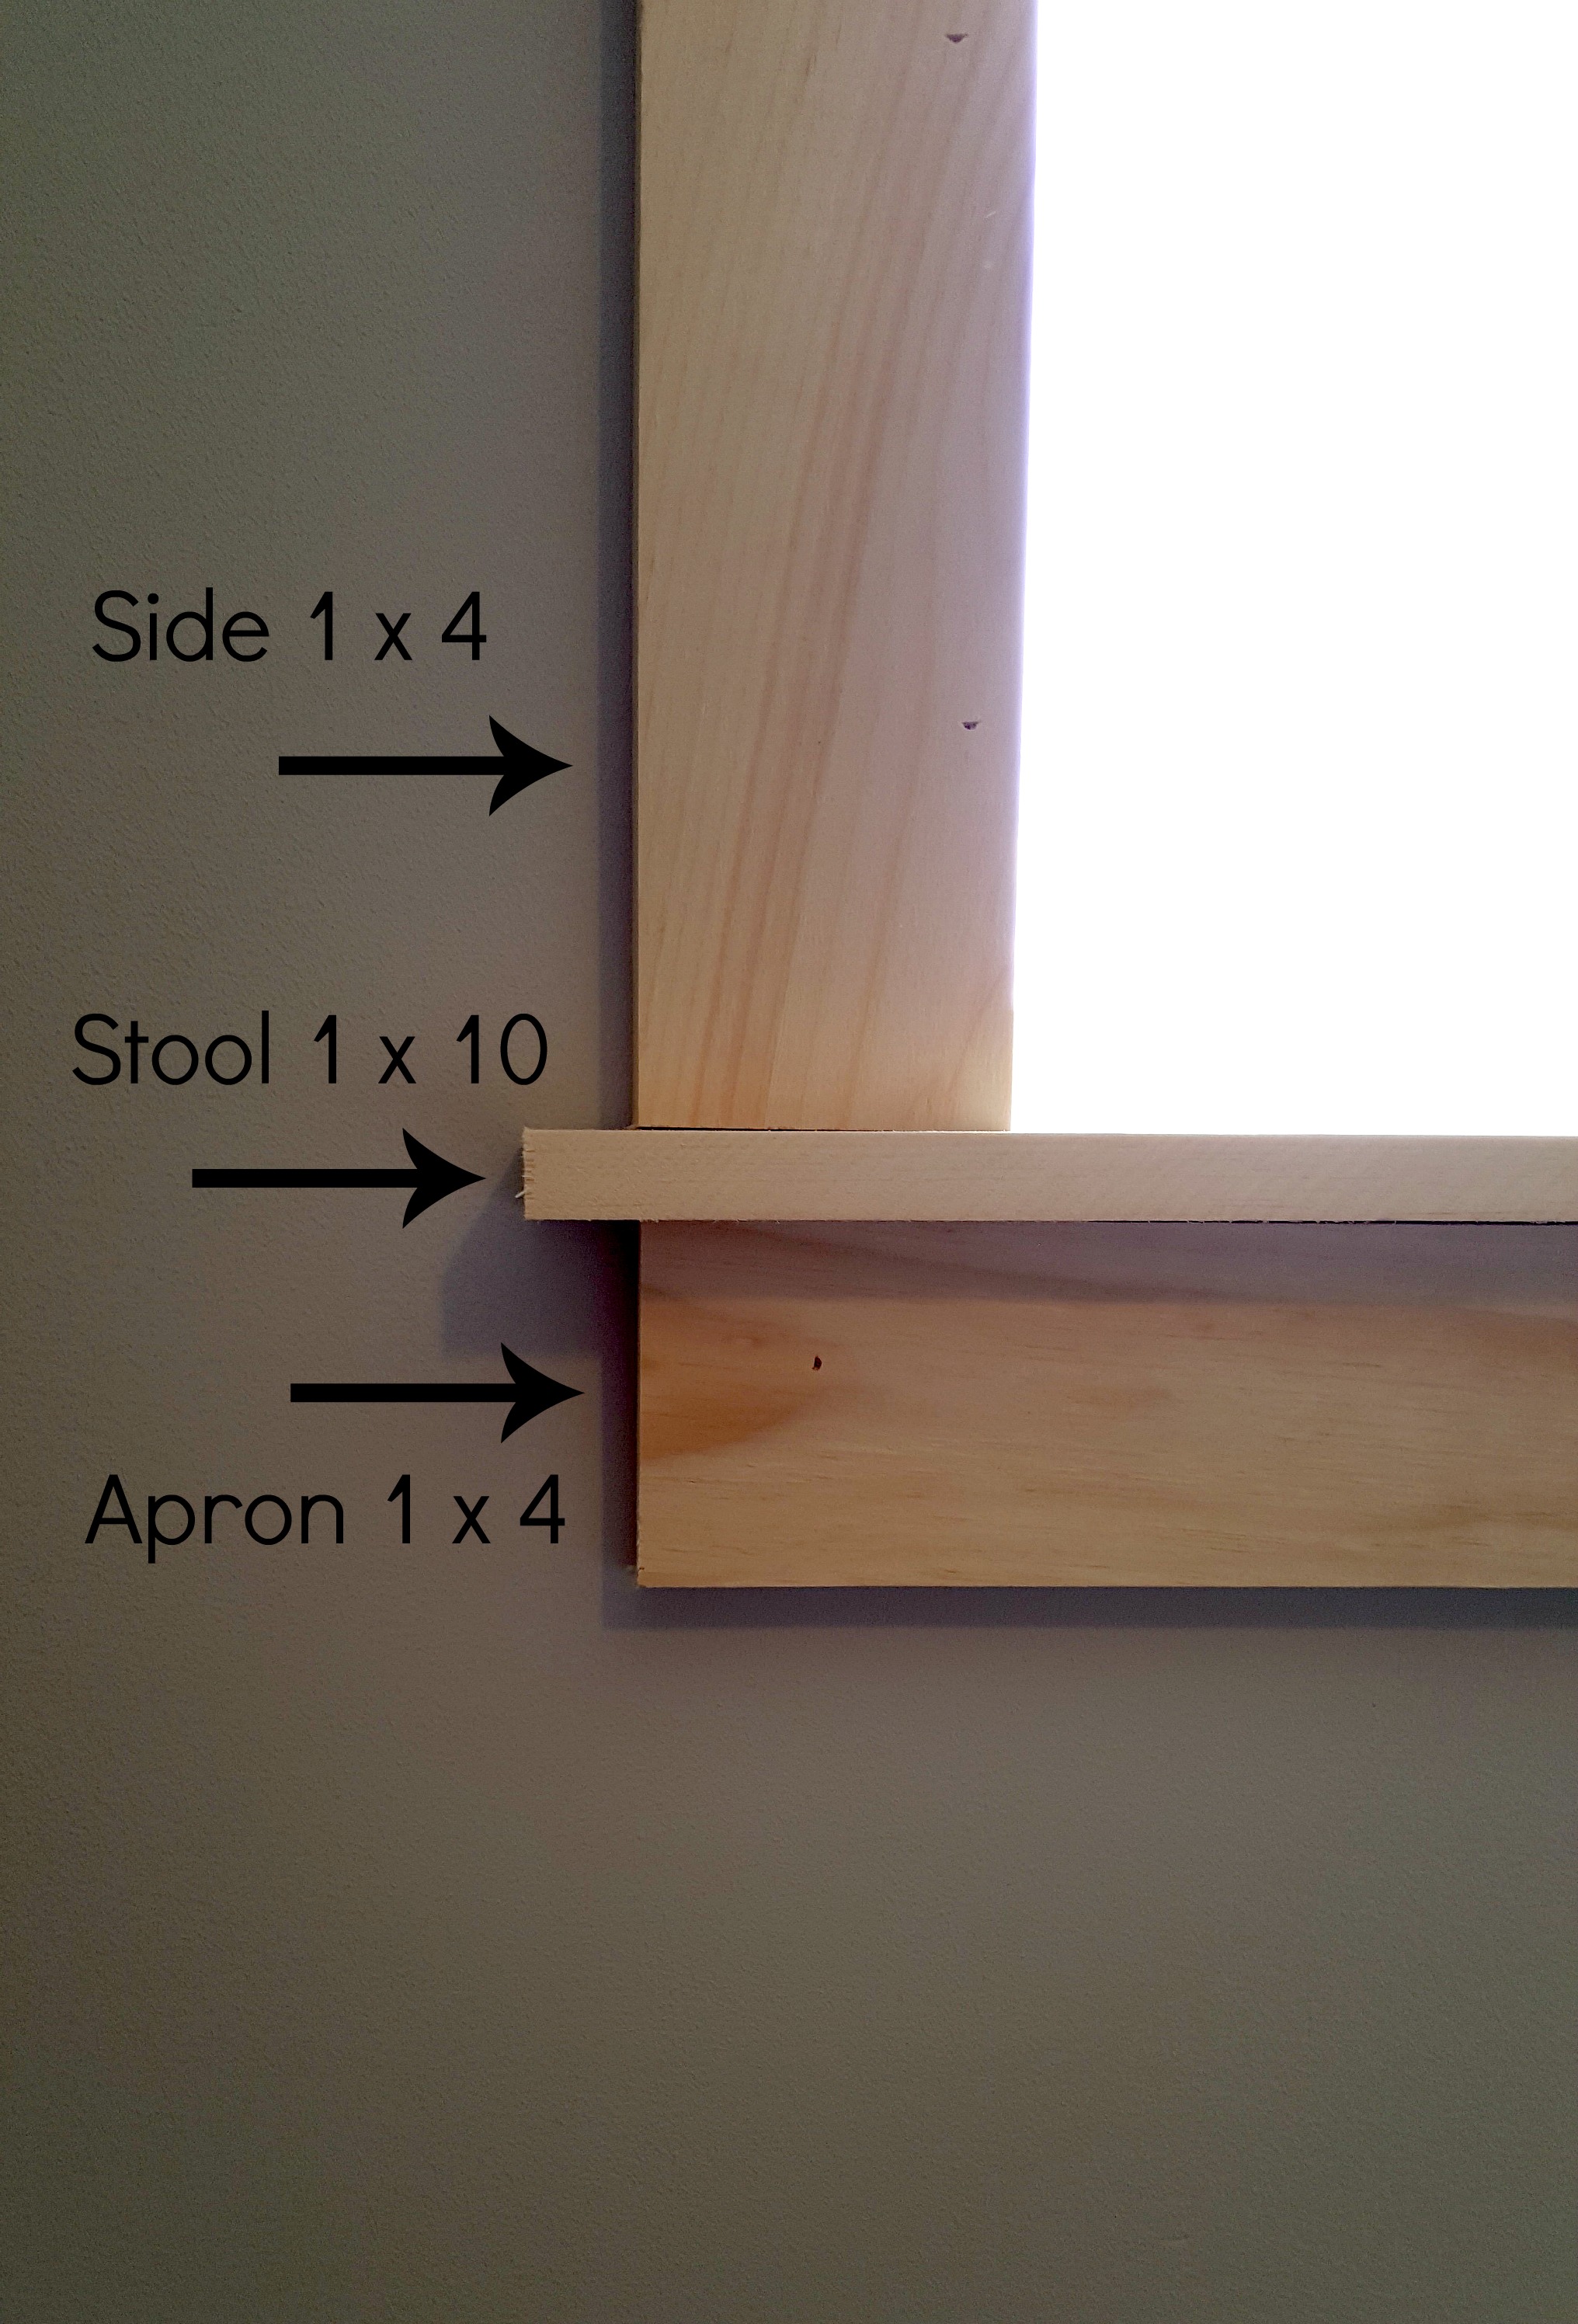
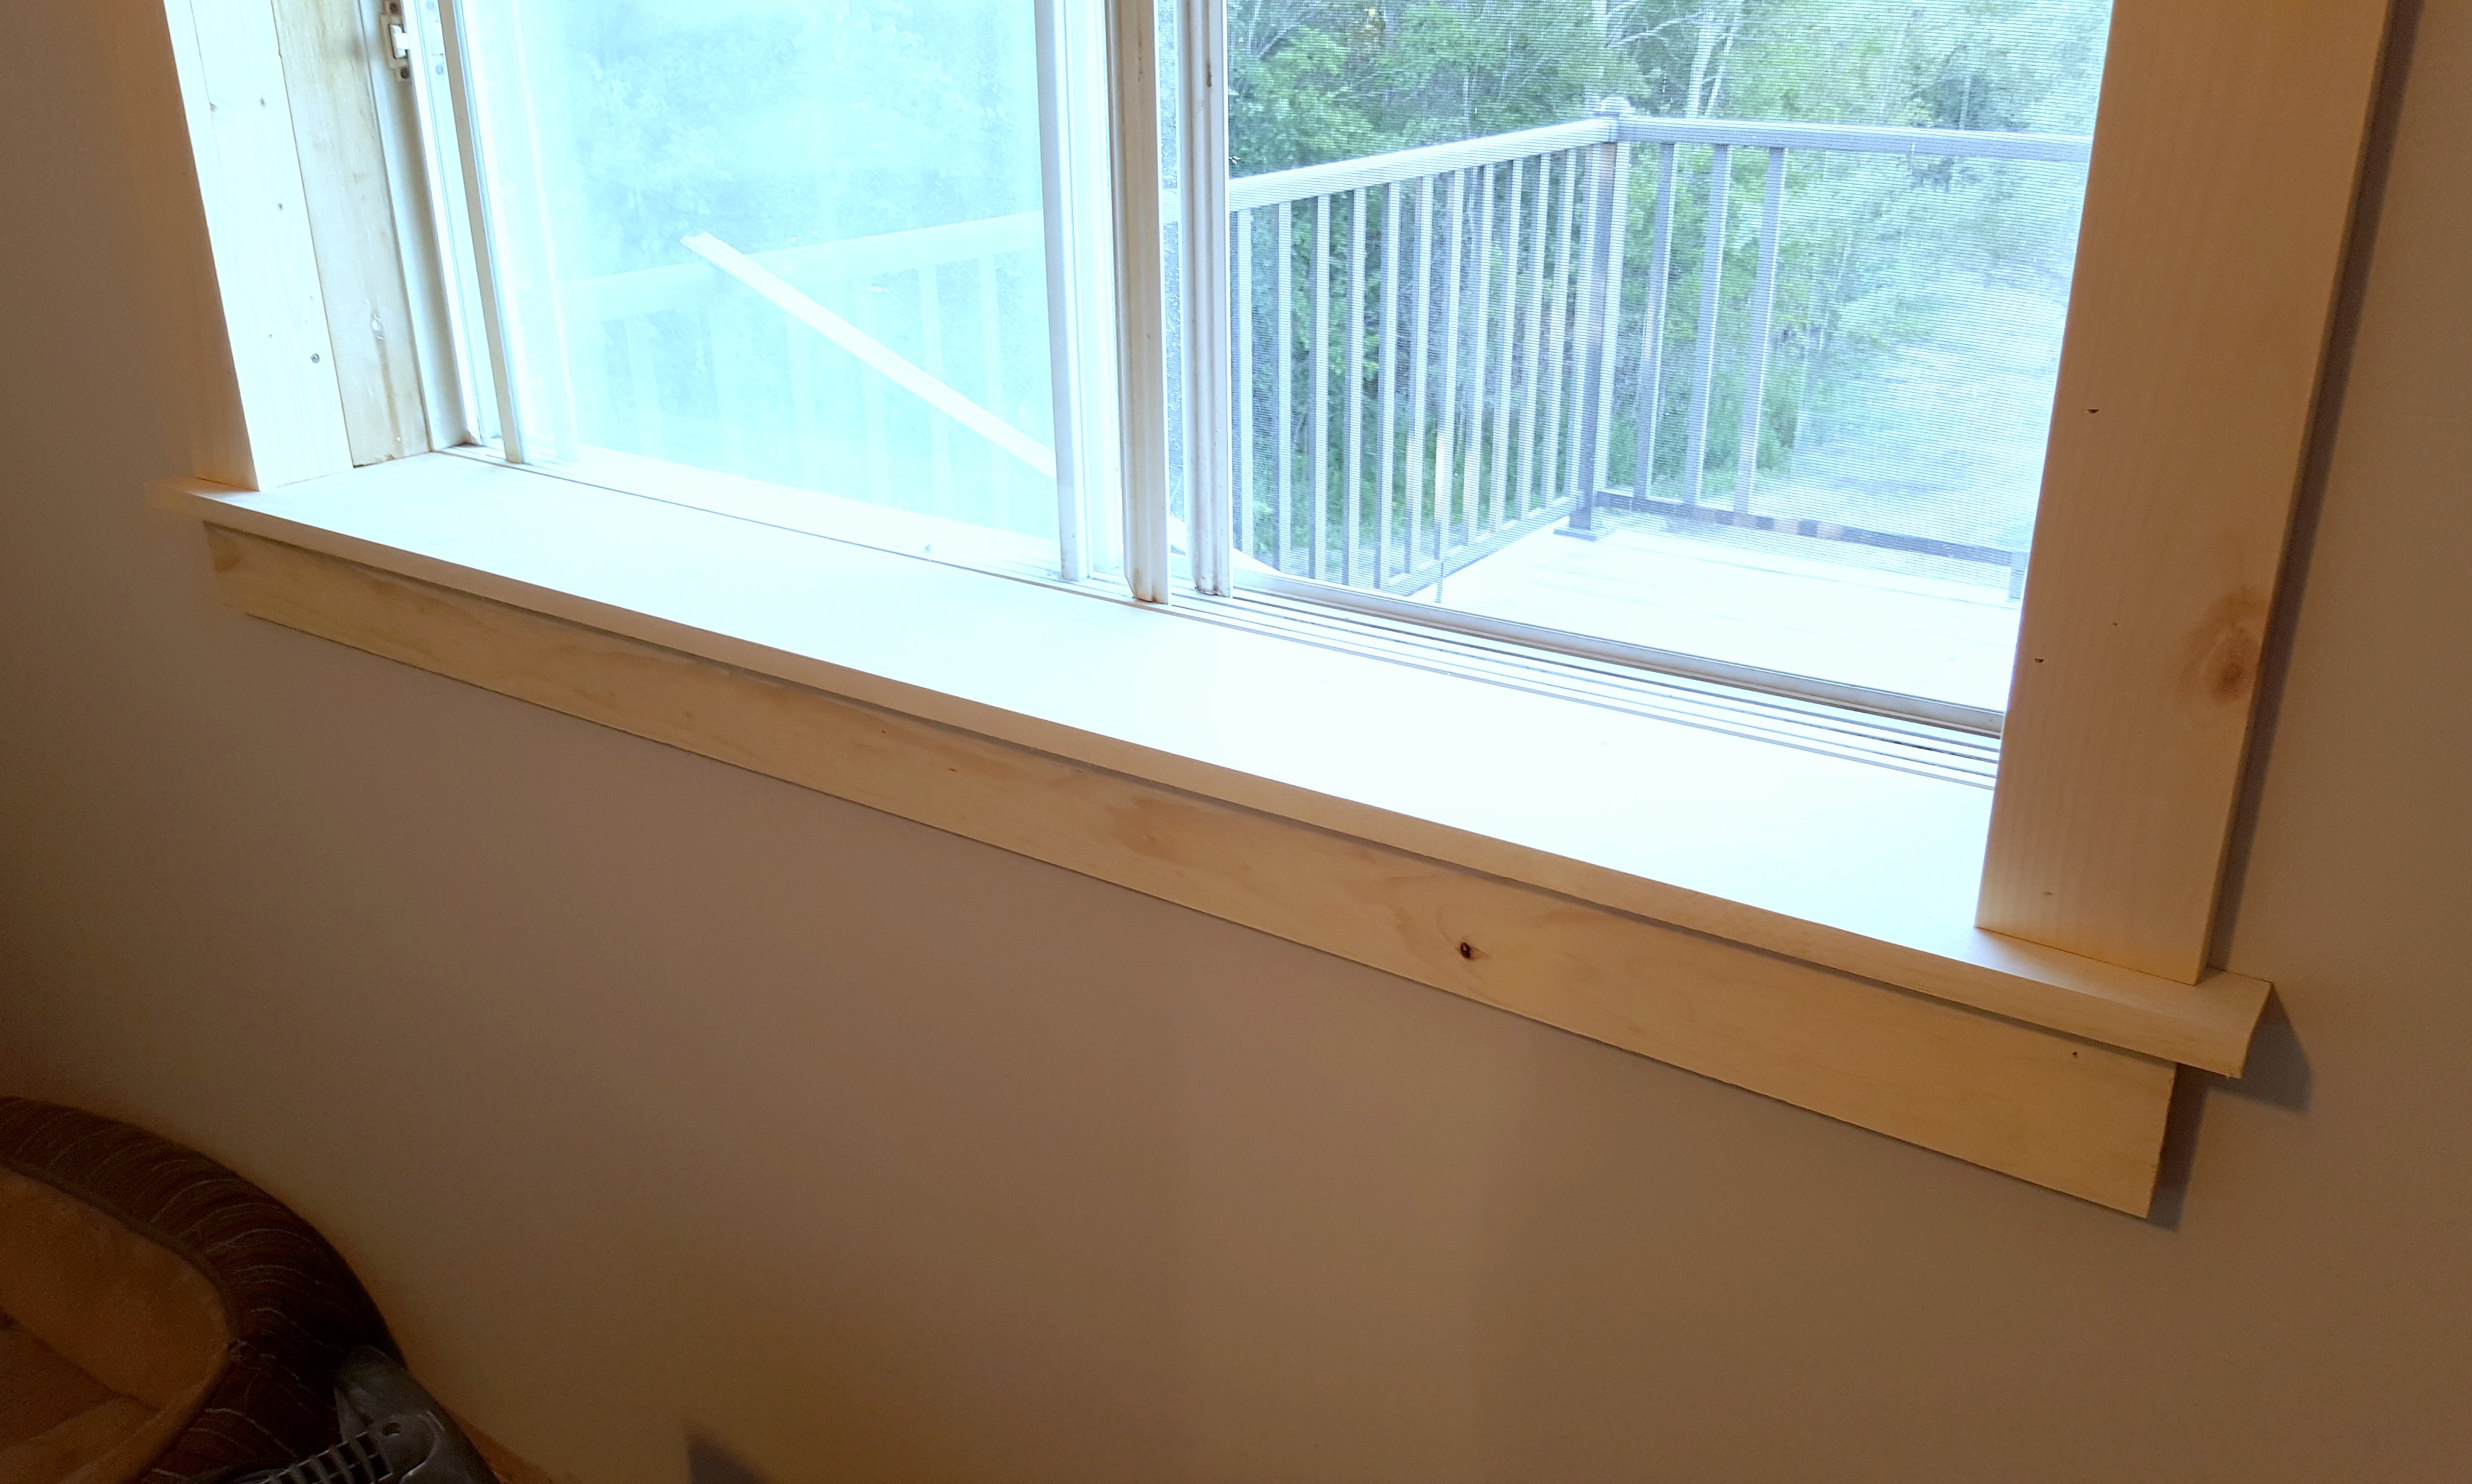
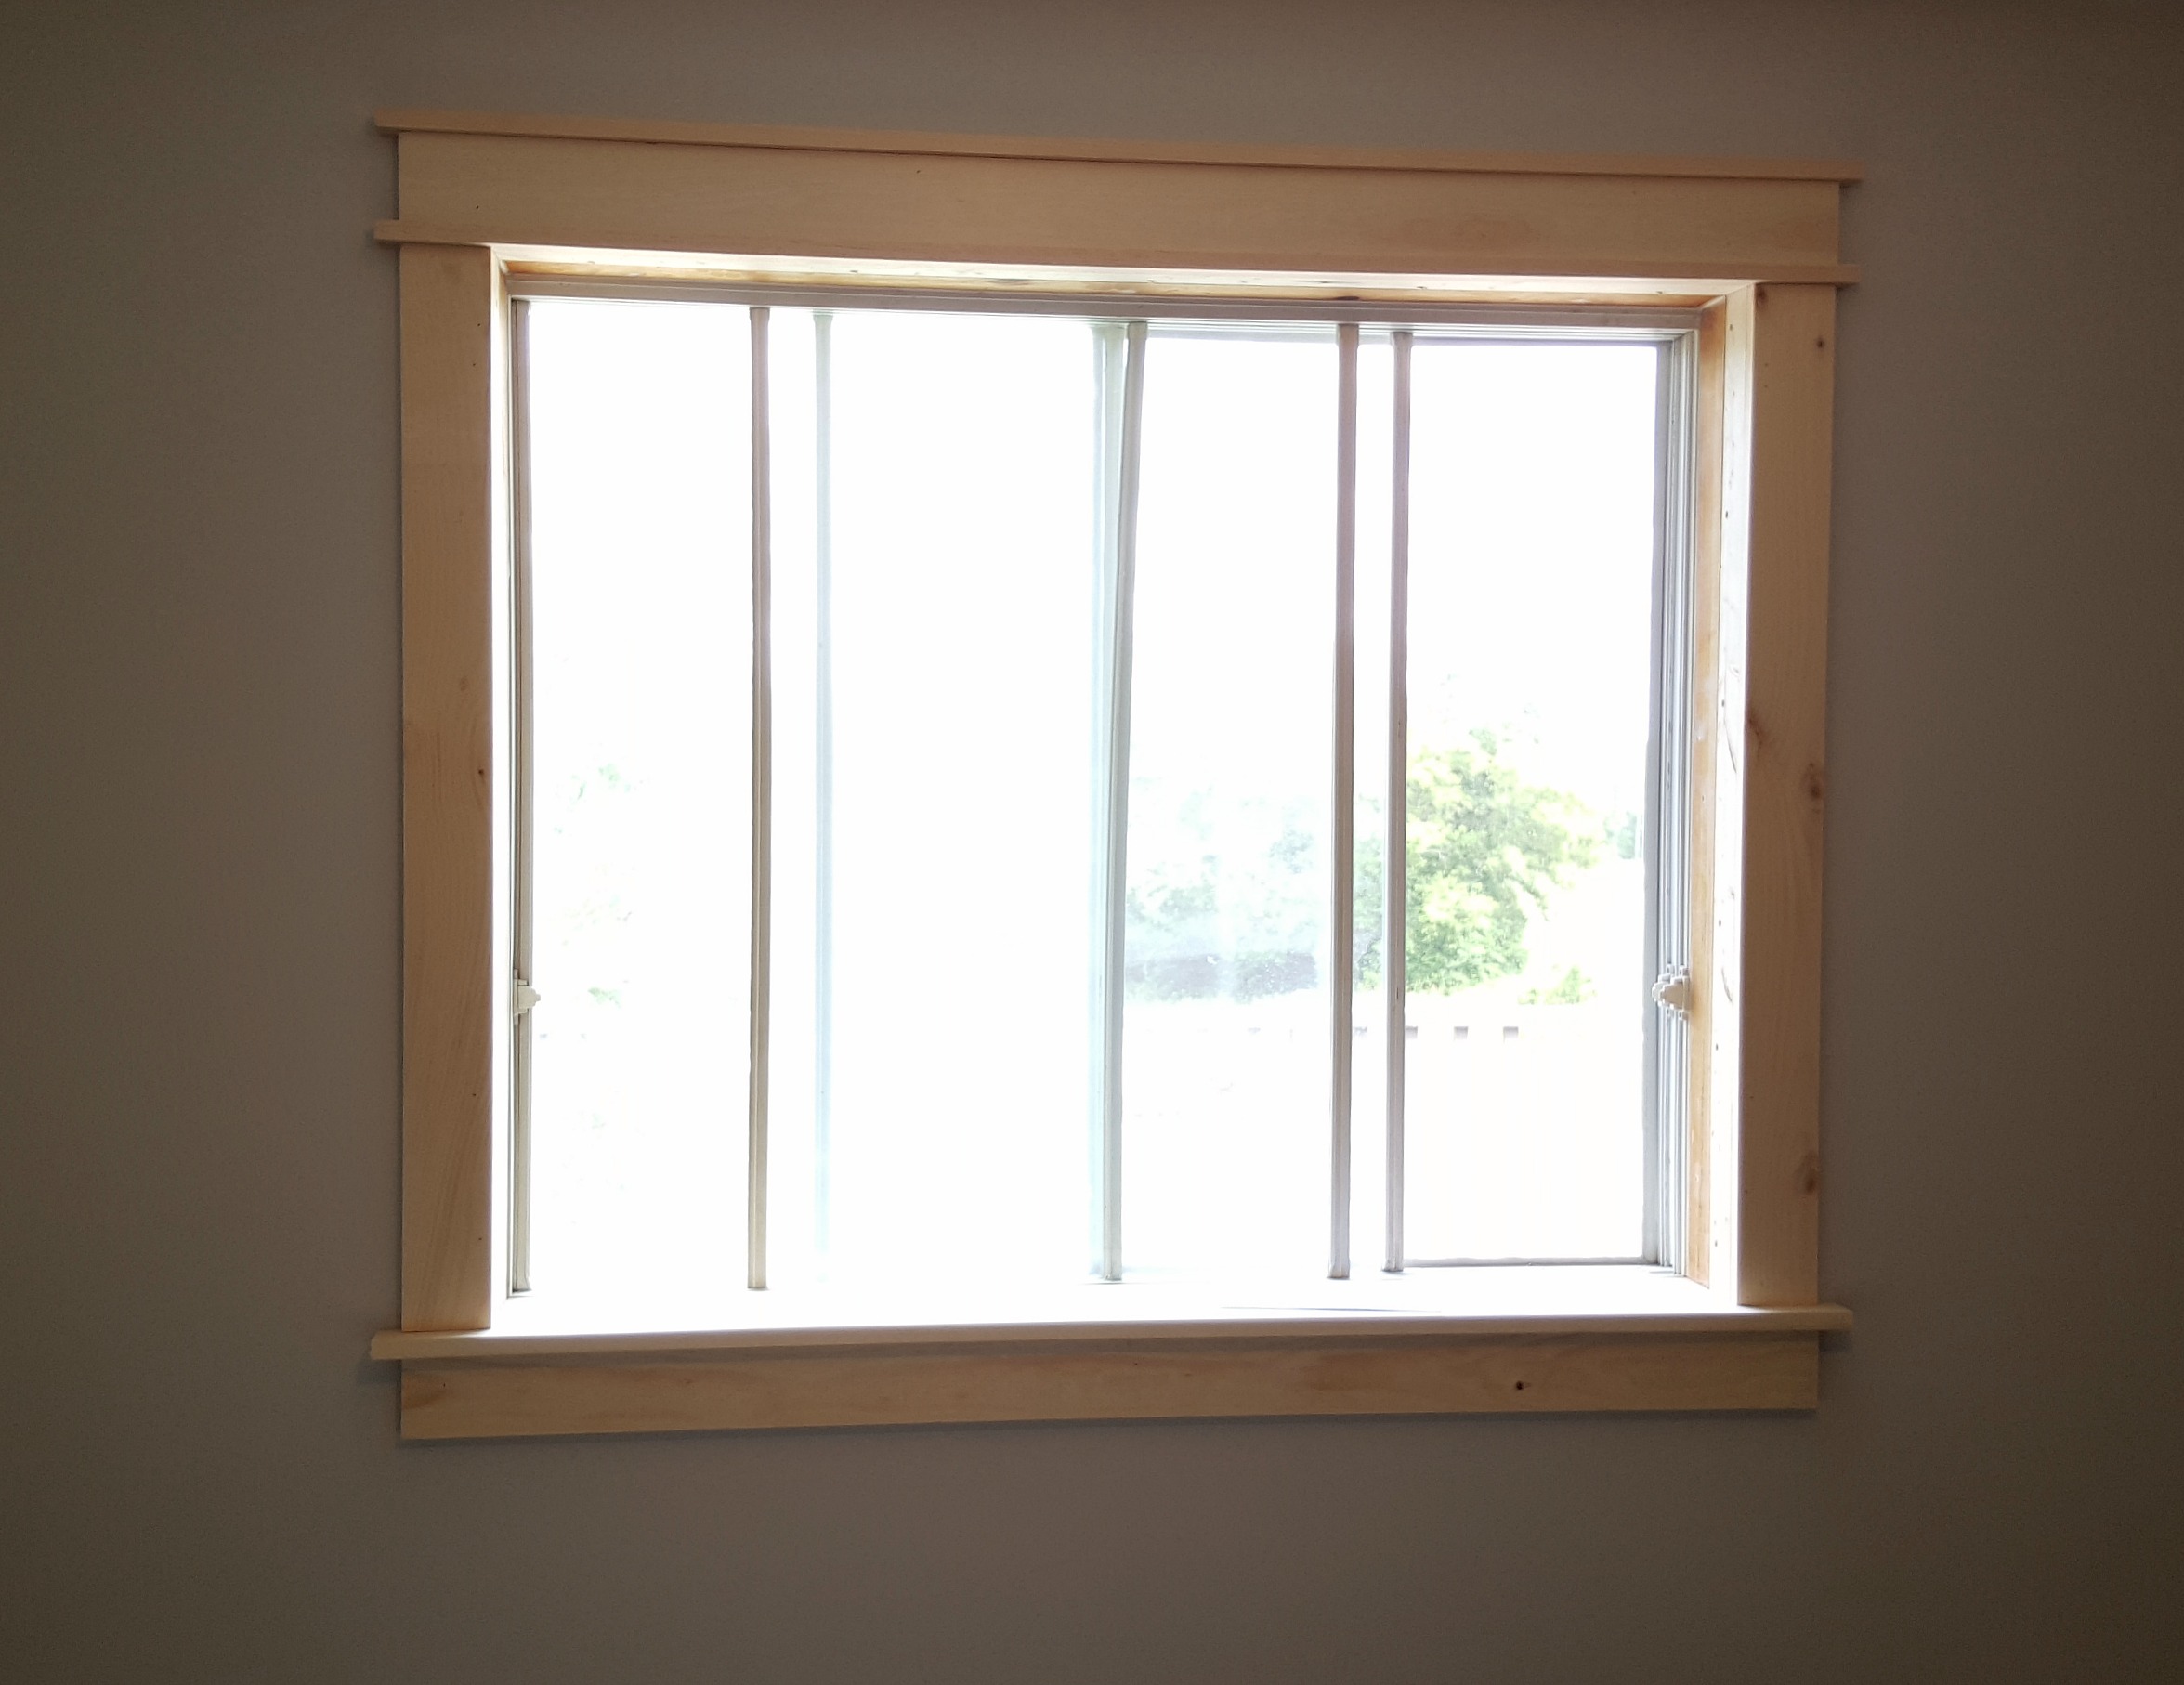
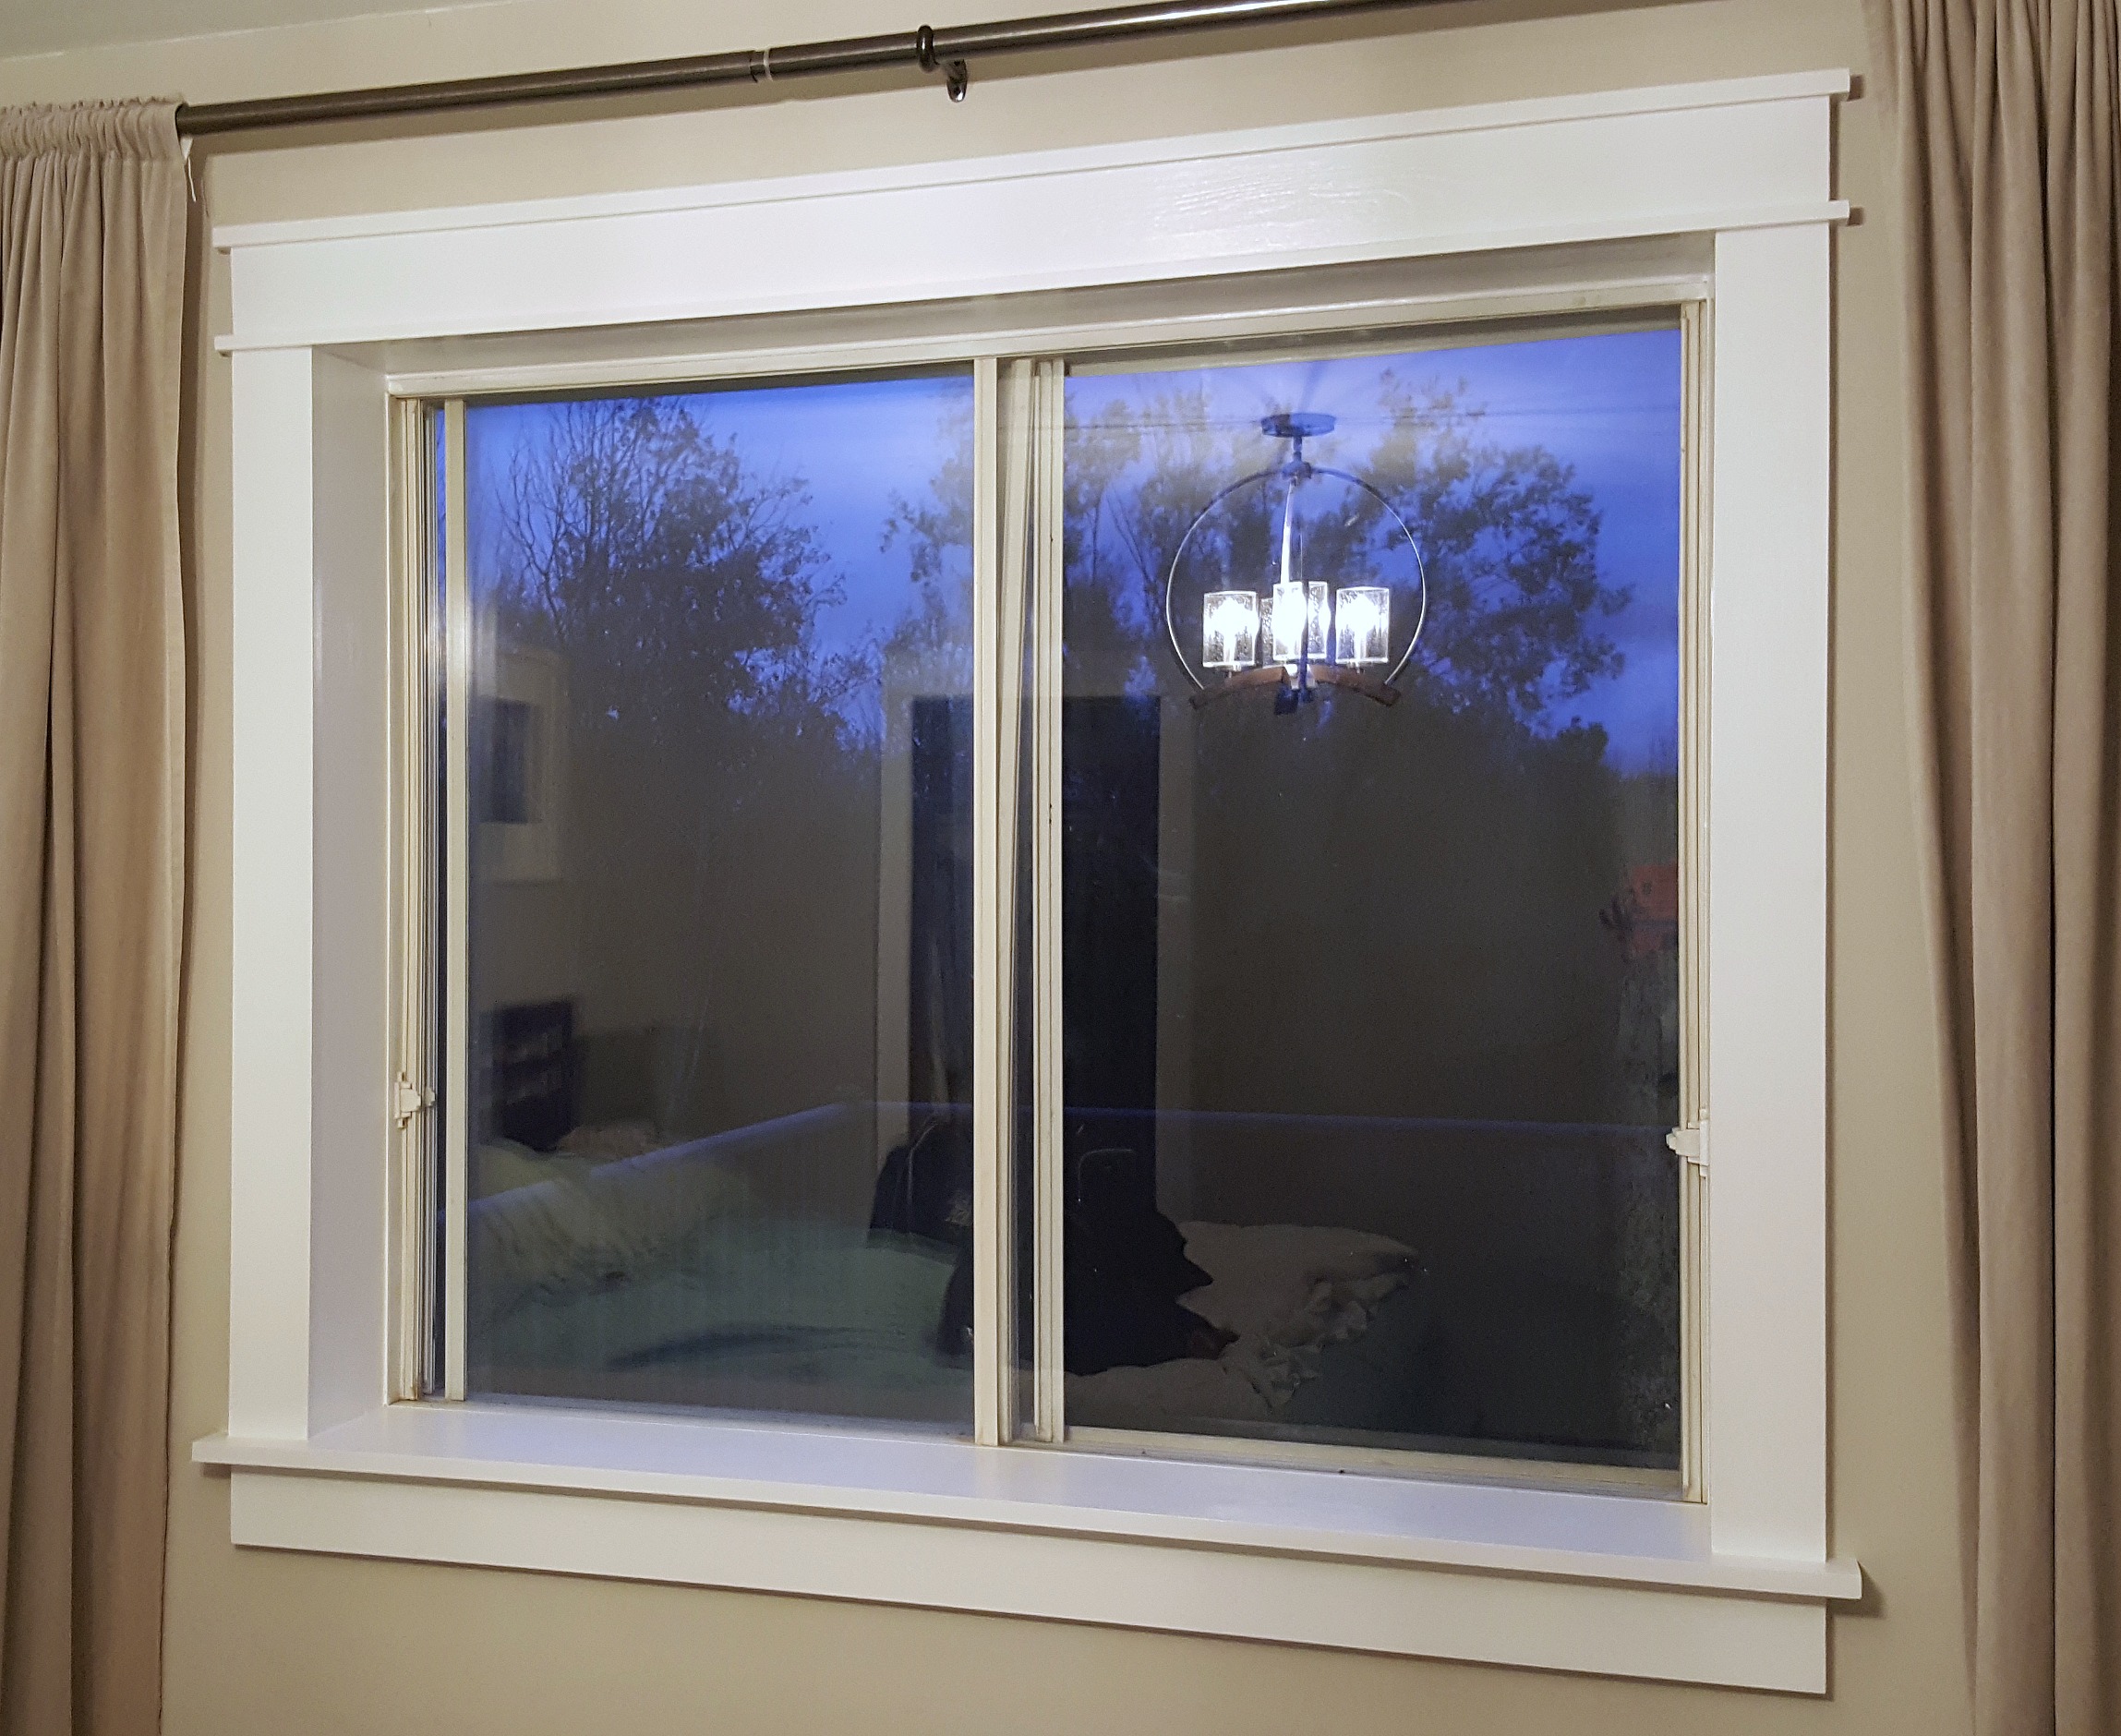
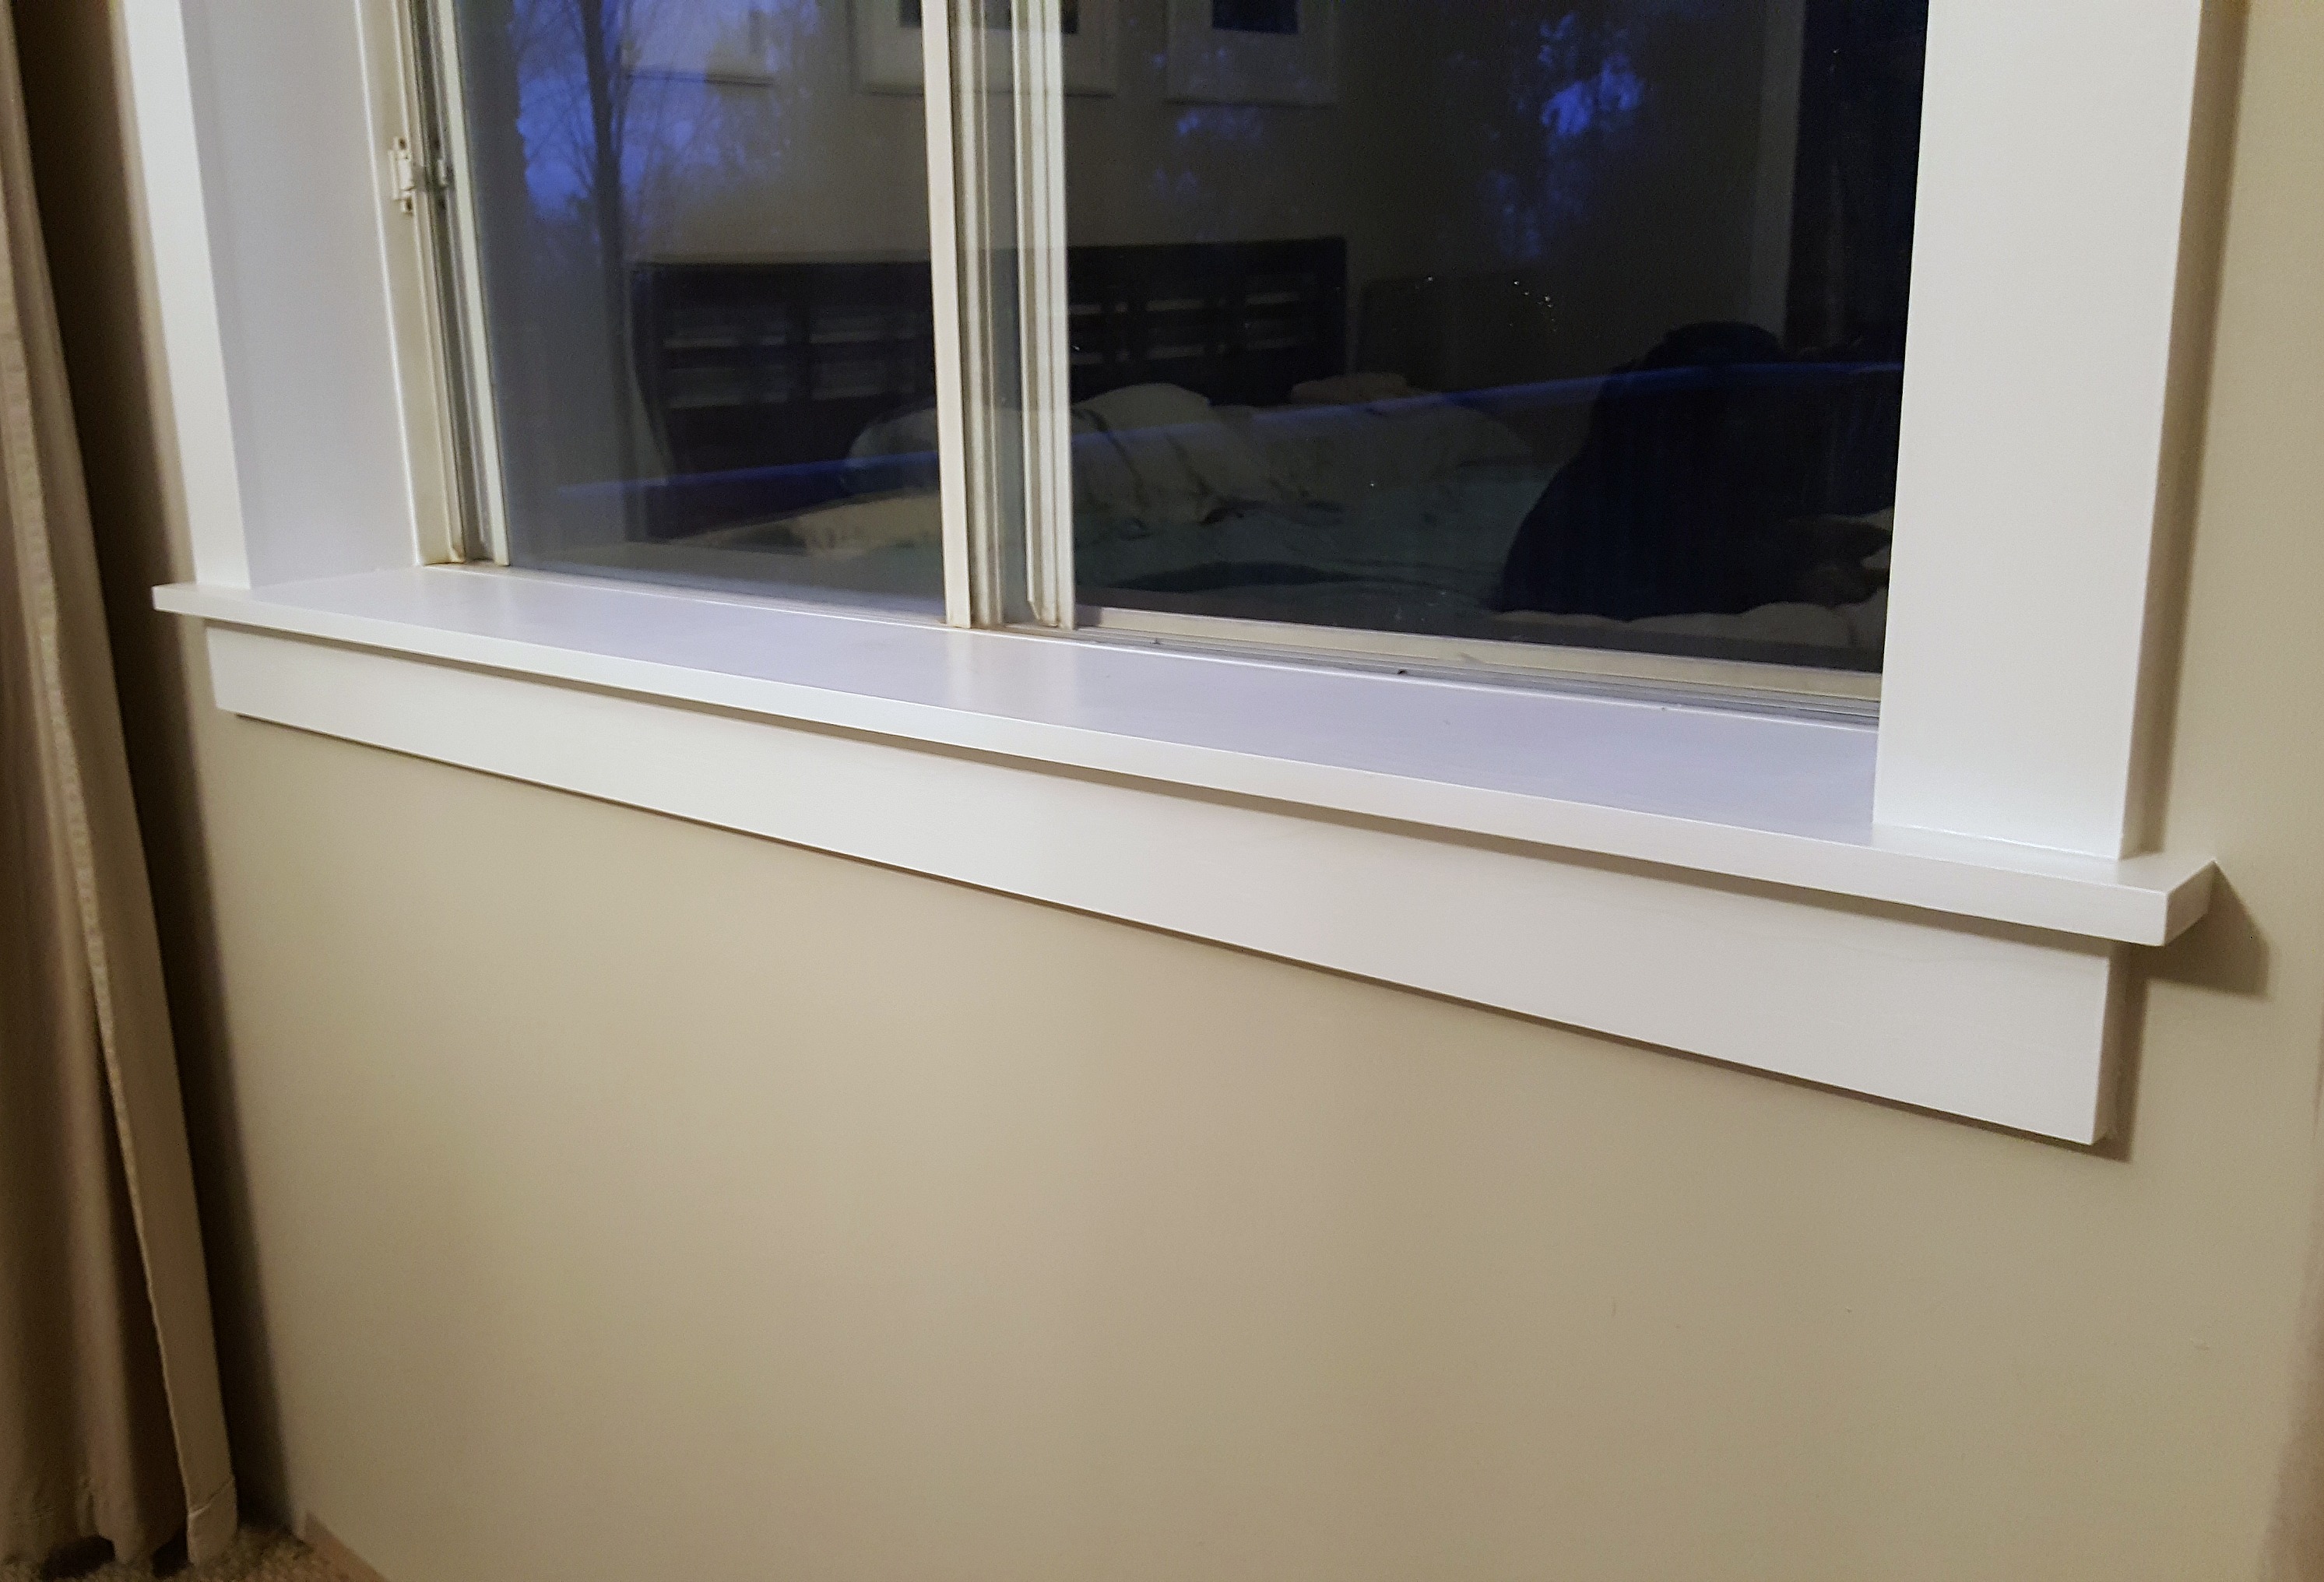
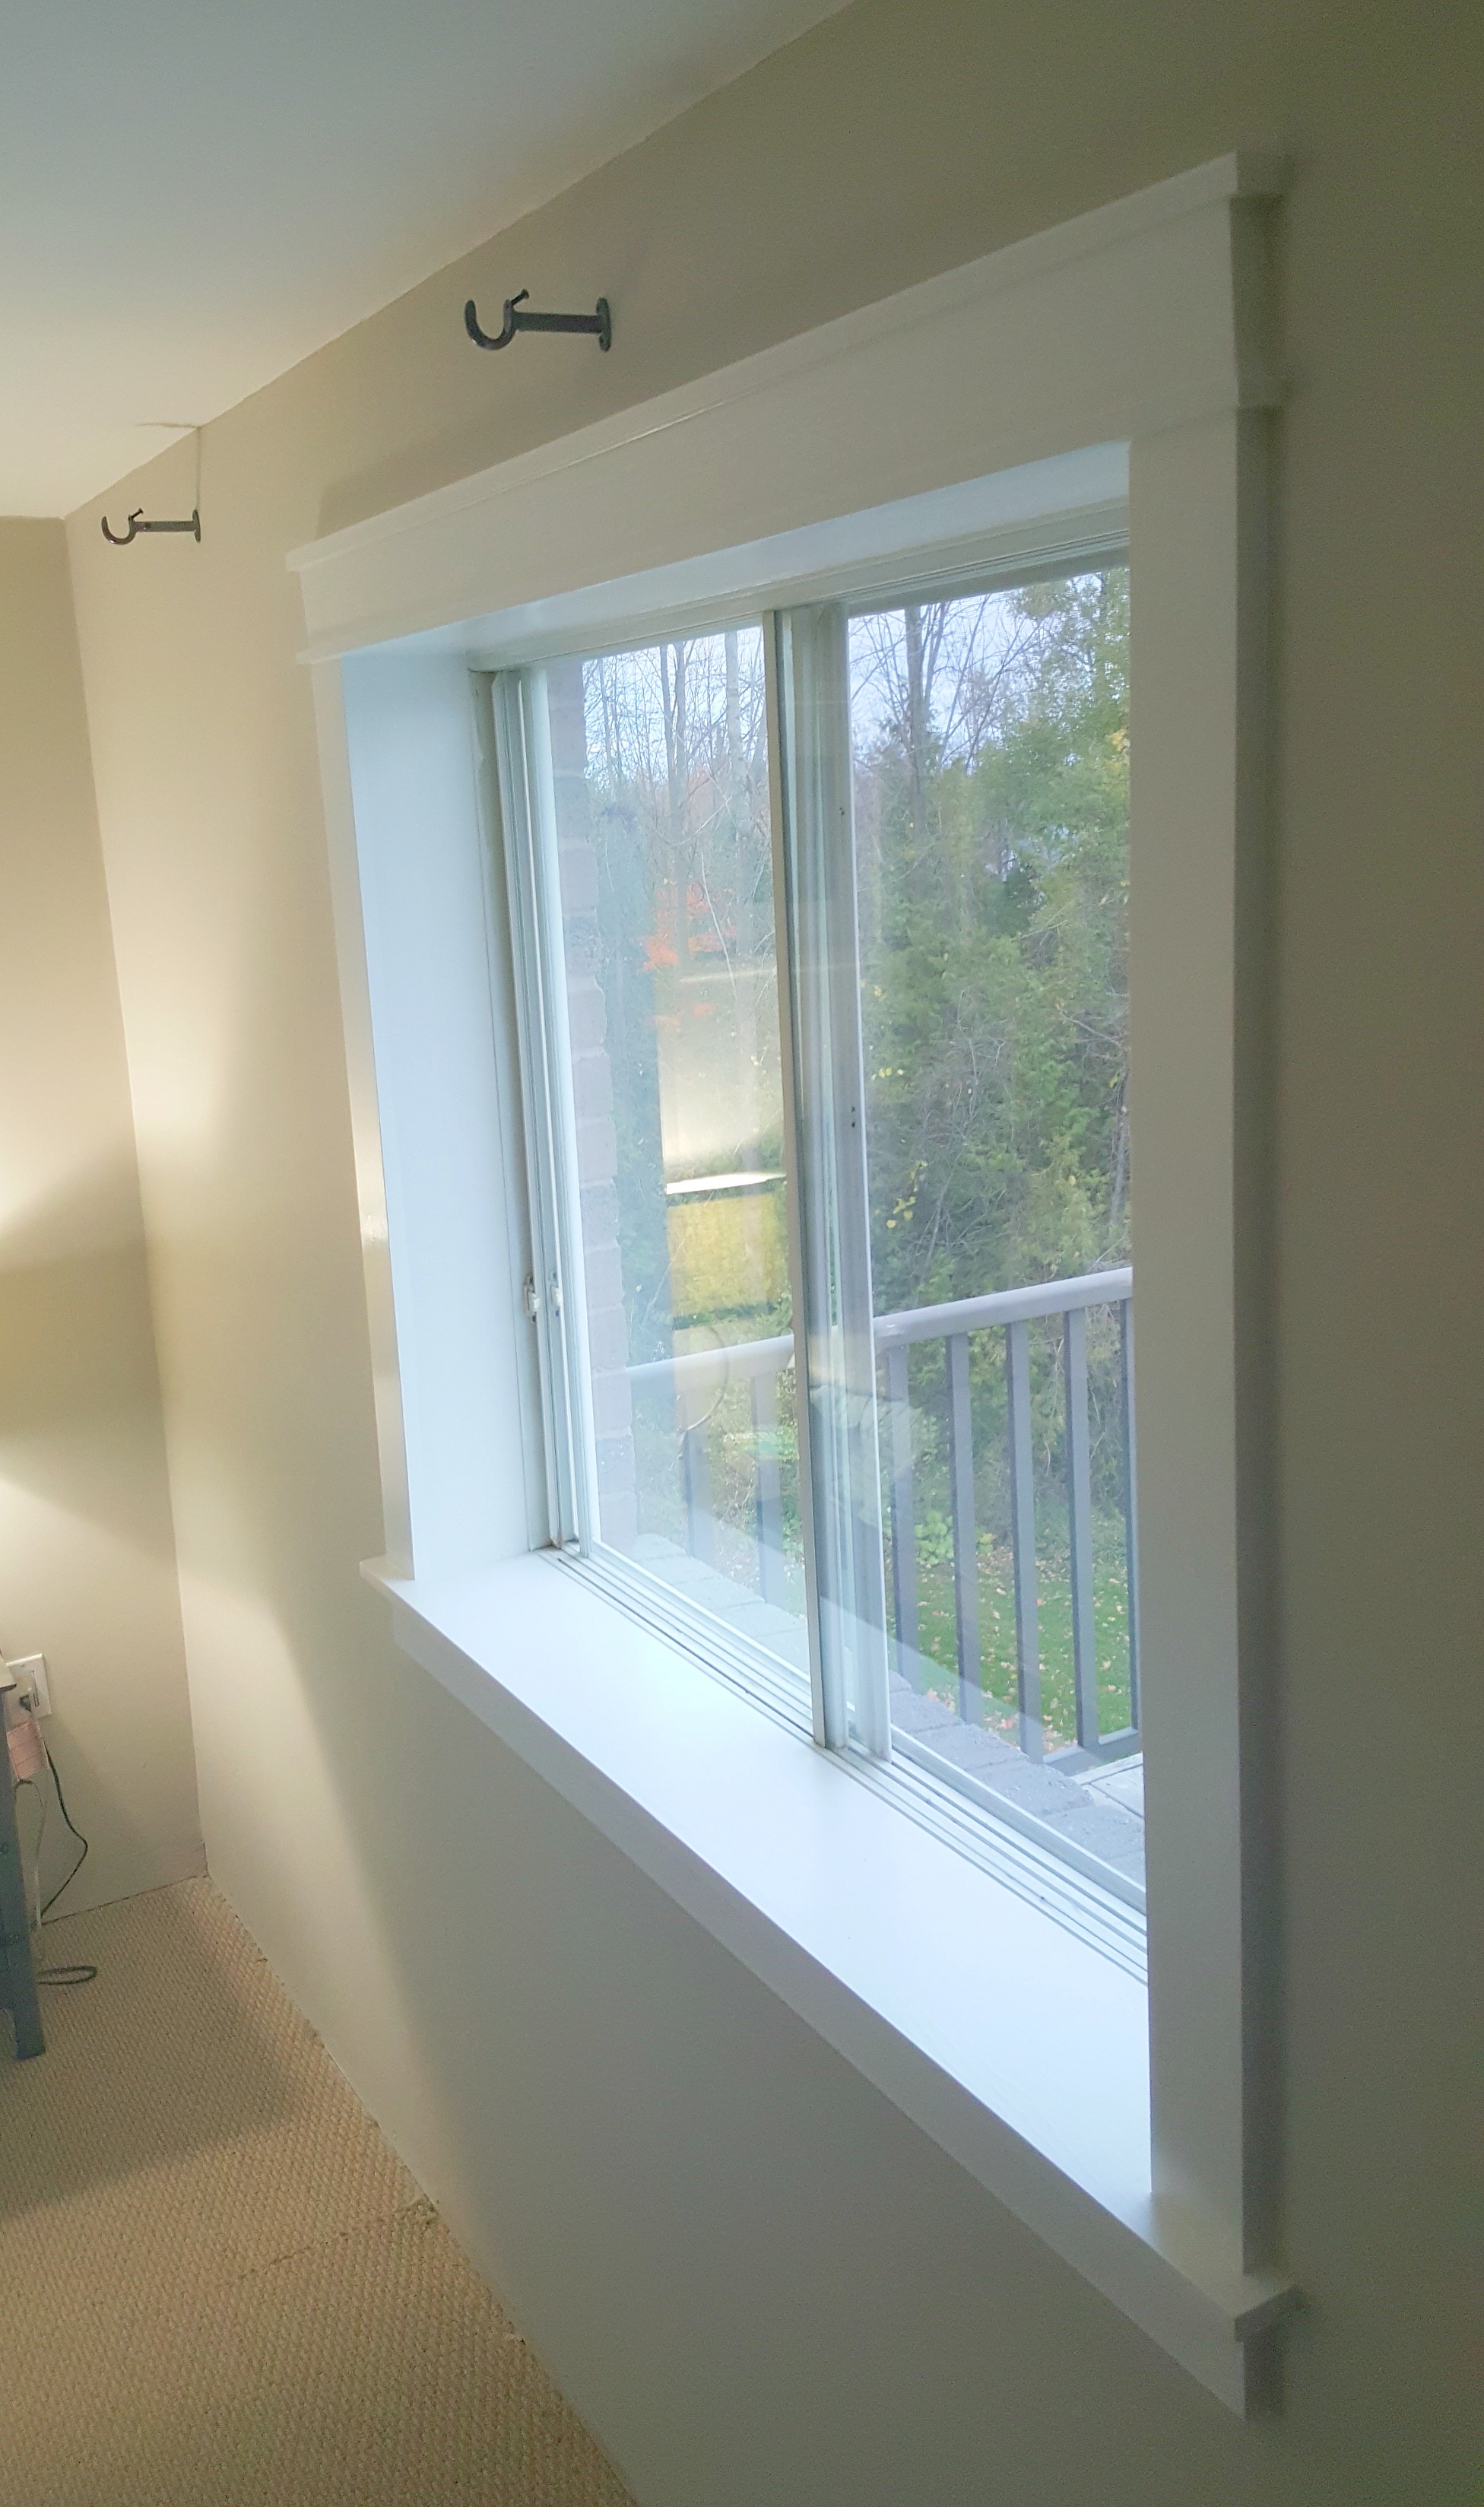
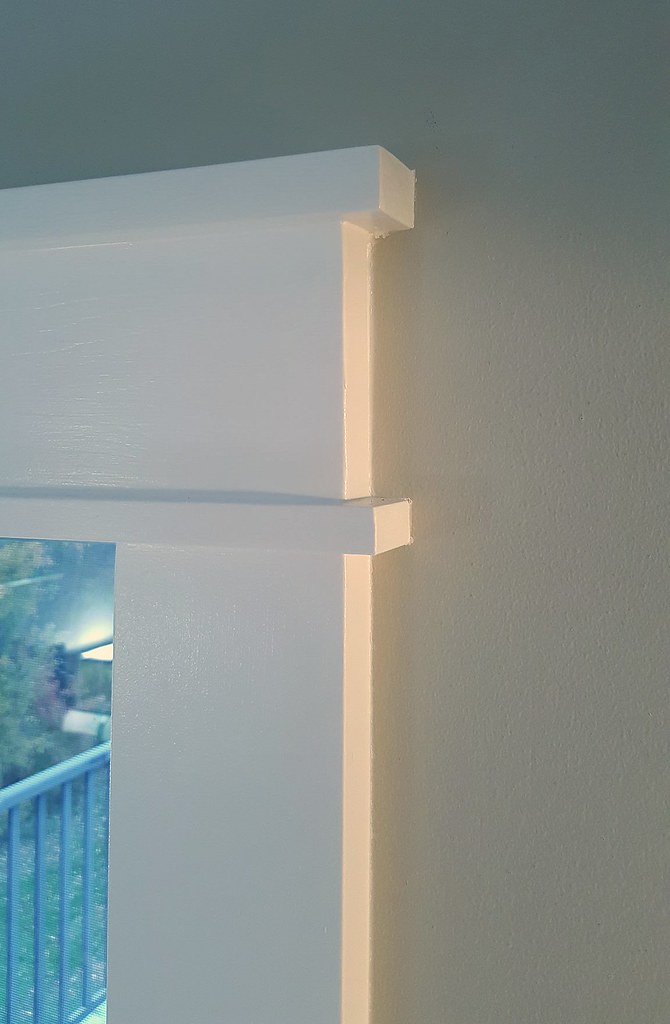
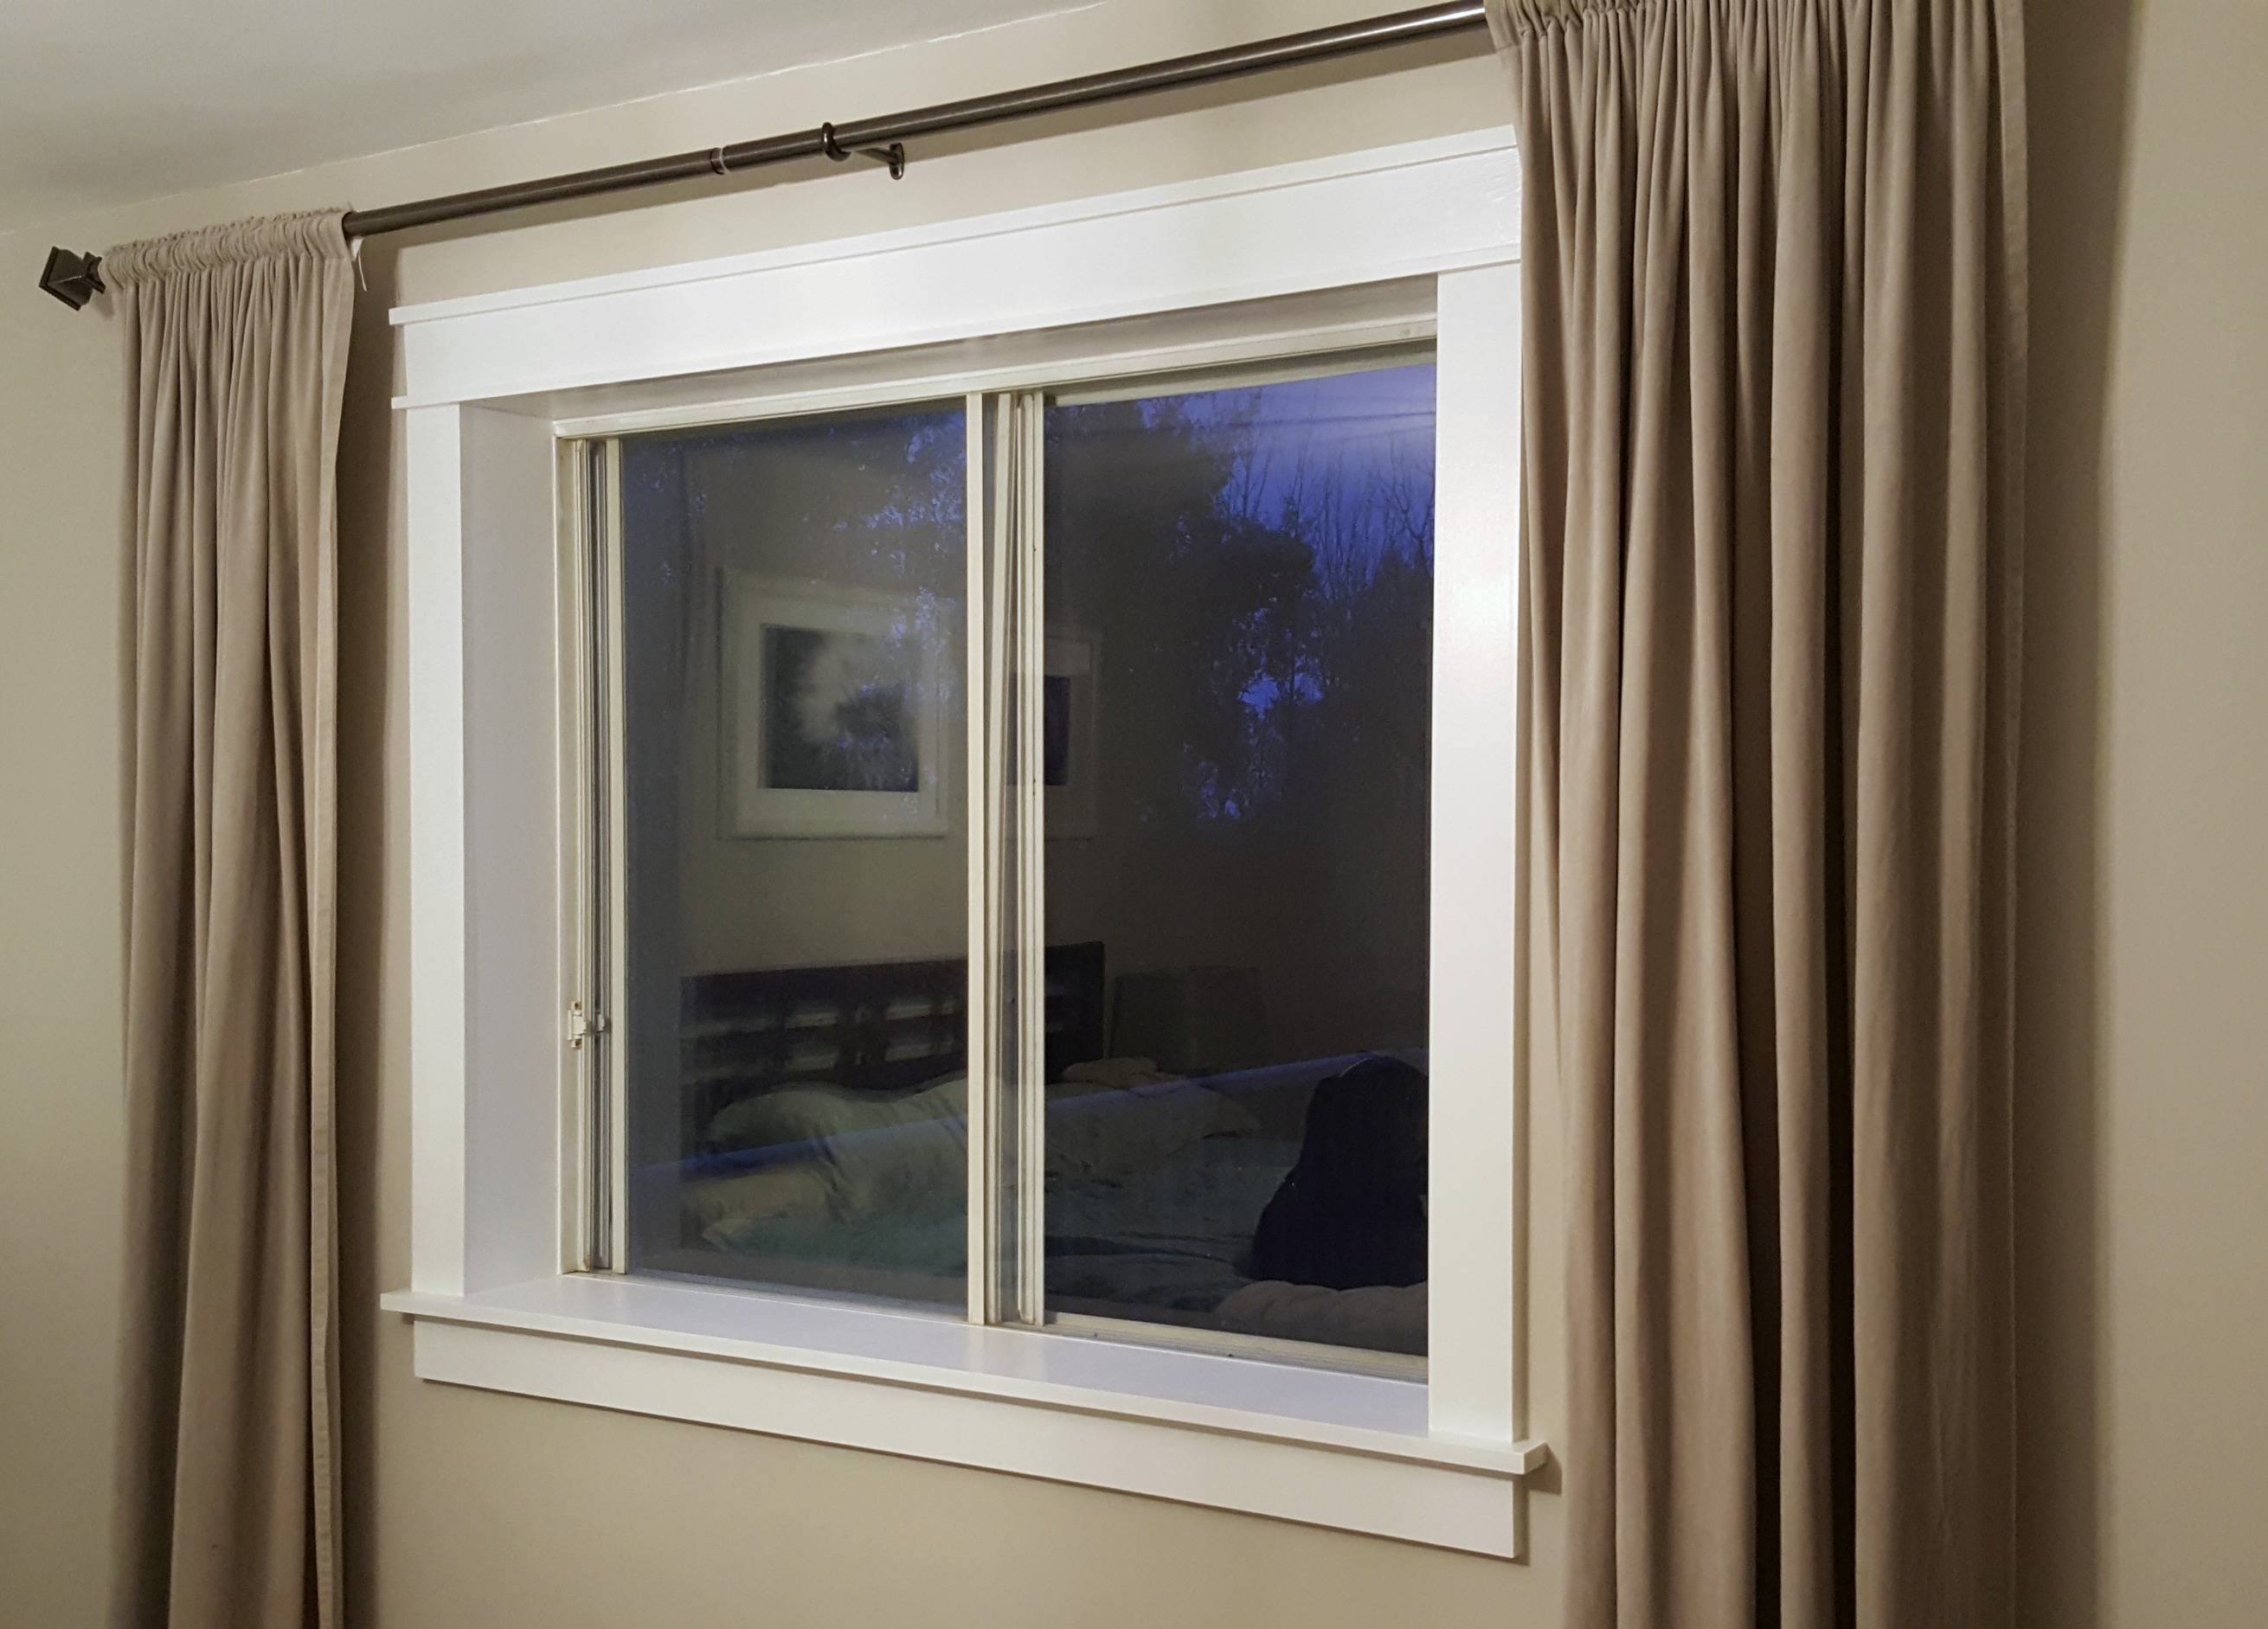
So everything in my cart went back on the shelf and I started again. We decided on a 1" x 4" top, side, and apron (below the window sill) casing, with a 3/4" x 1 1/4" casing cap and 1/2" x 1 1/4" fillet. The stool, i.e. the bottom sill, is 1" x 10". Yes, I even learned the terminology.
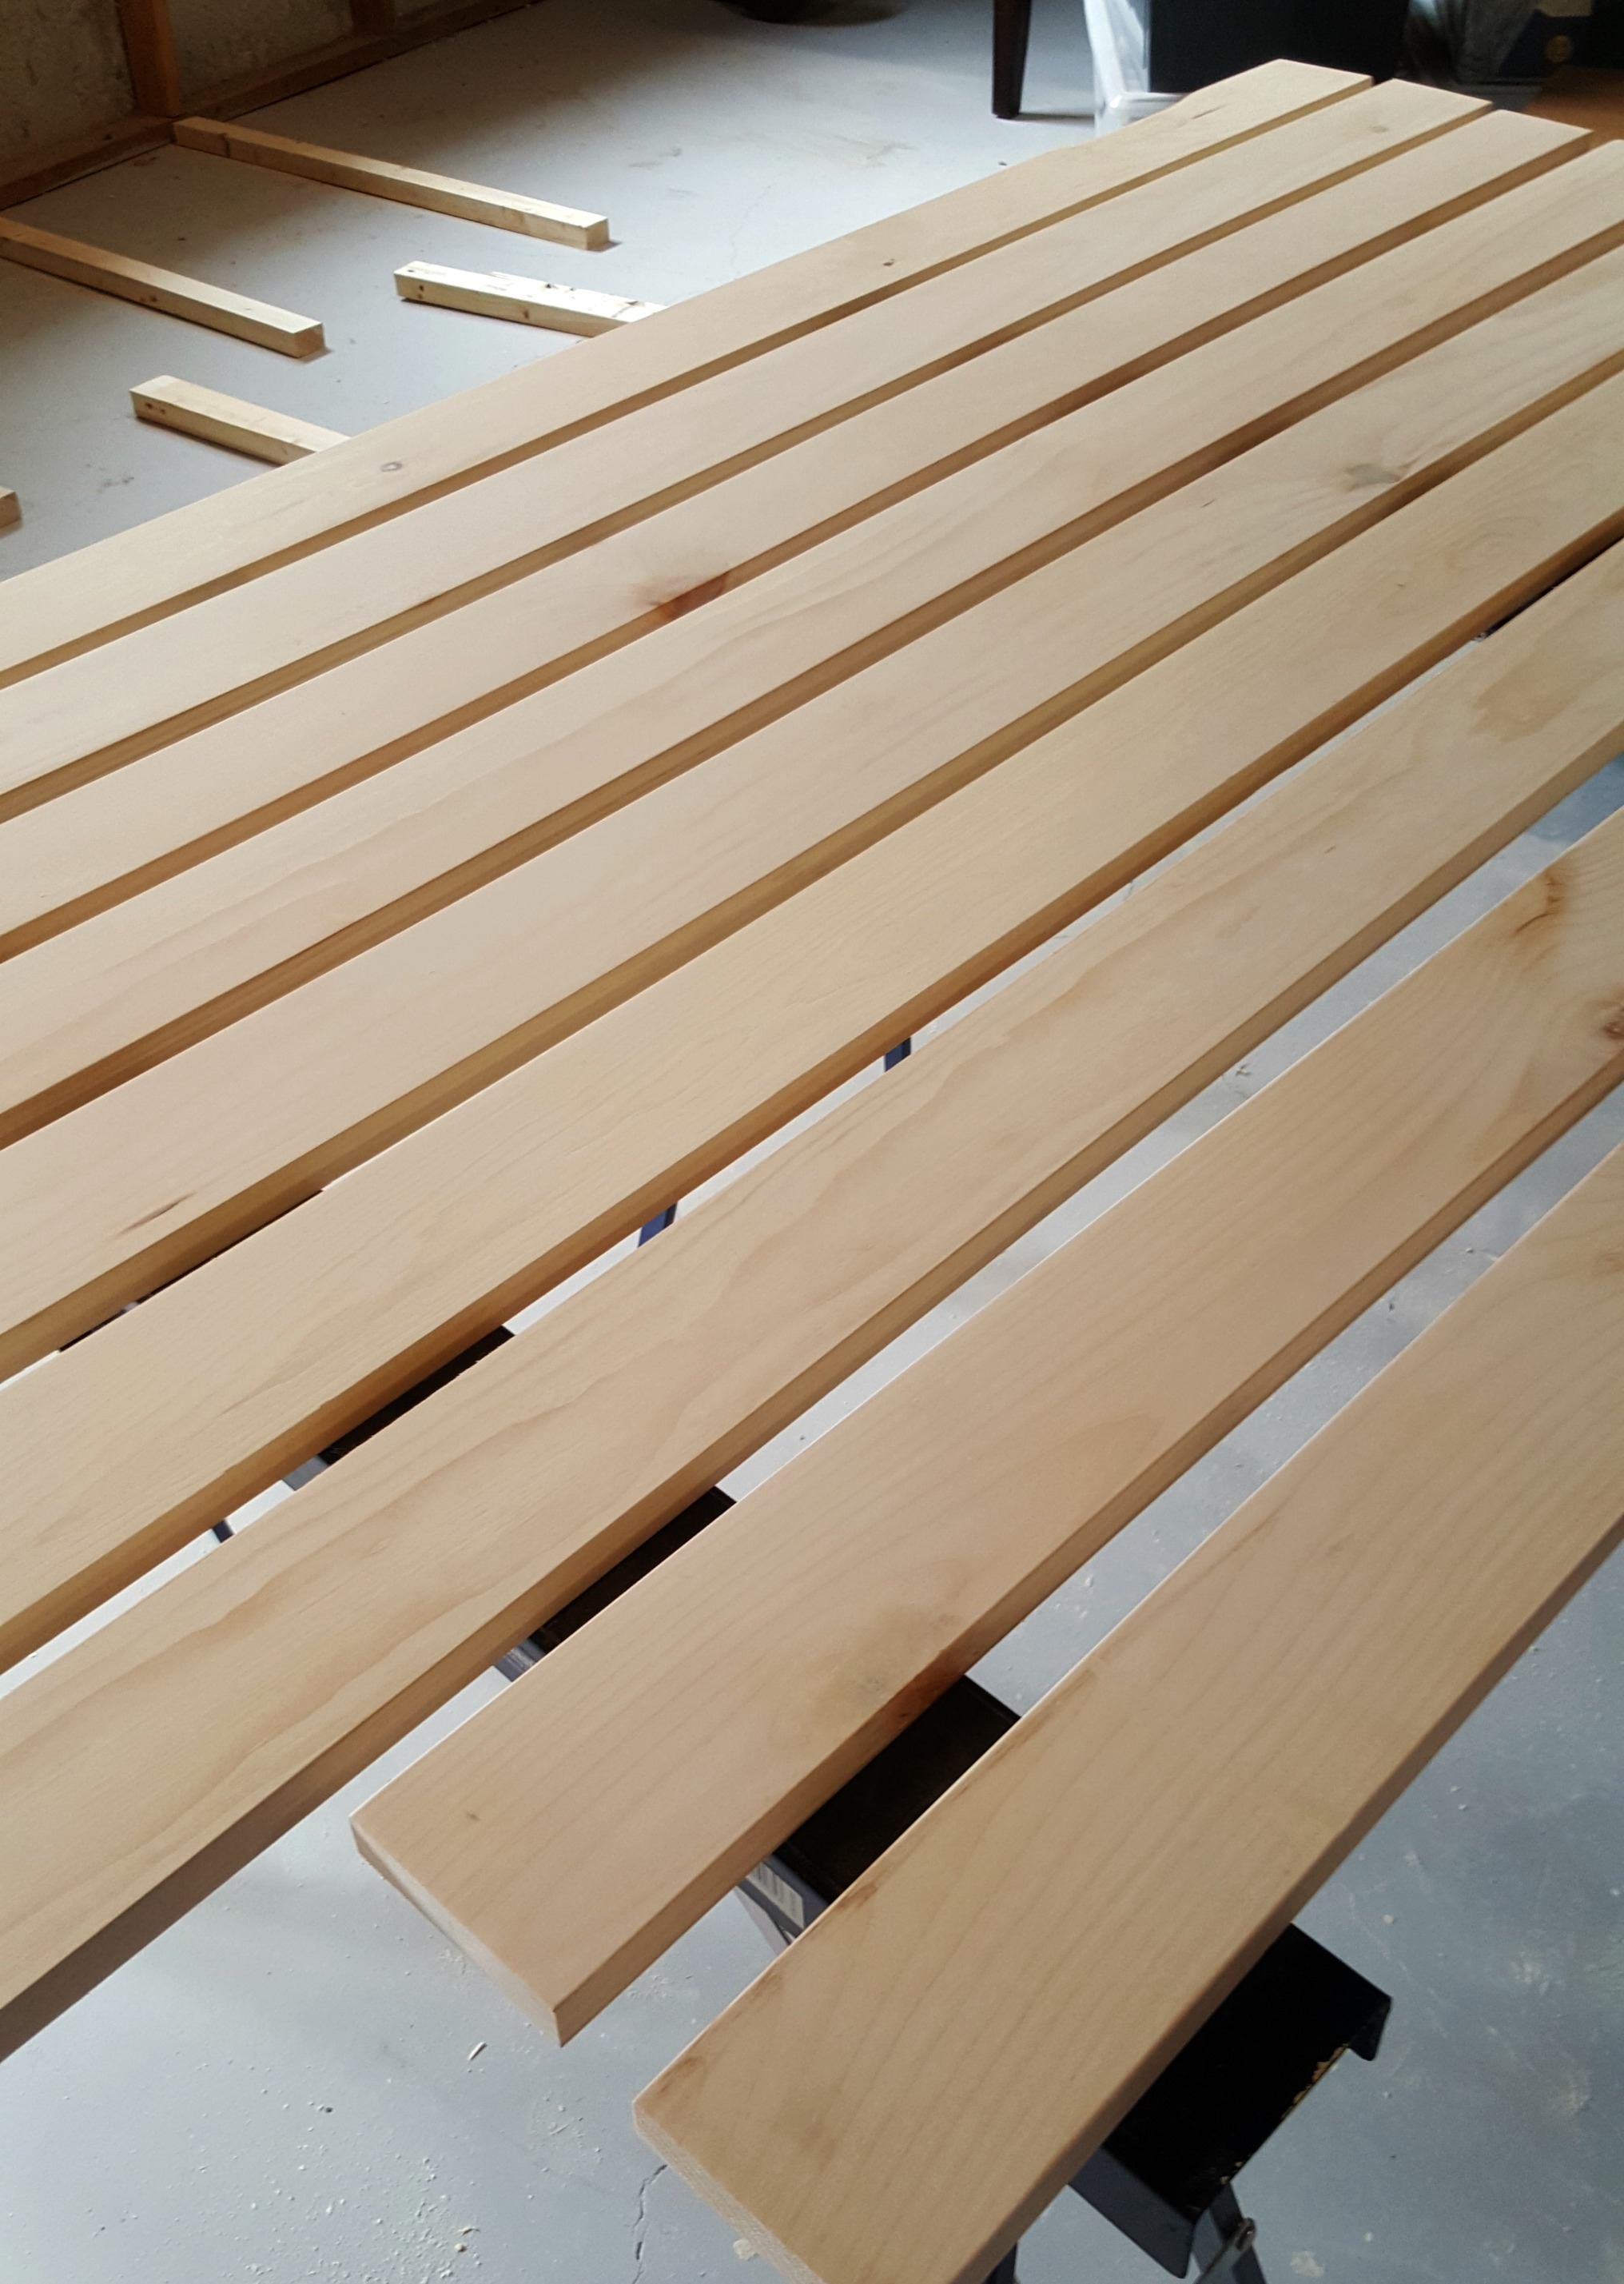
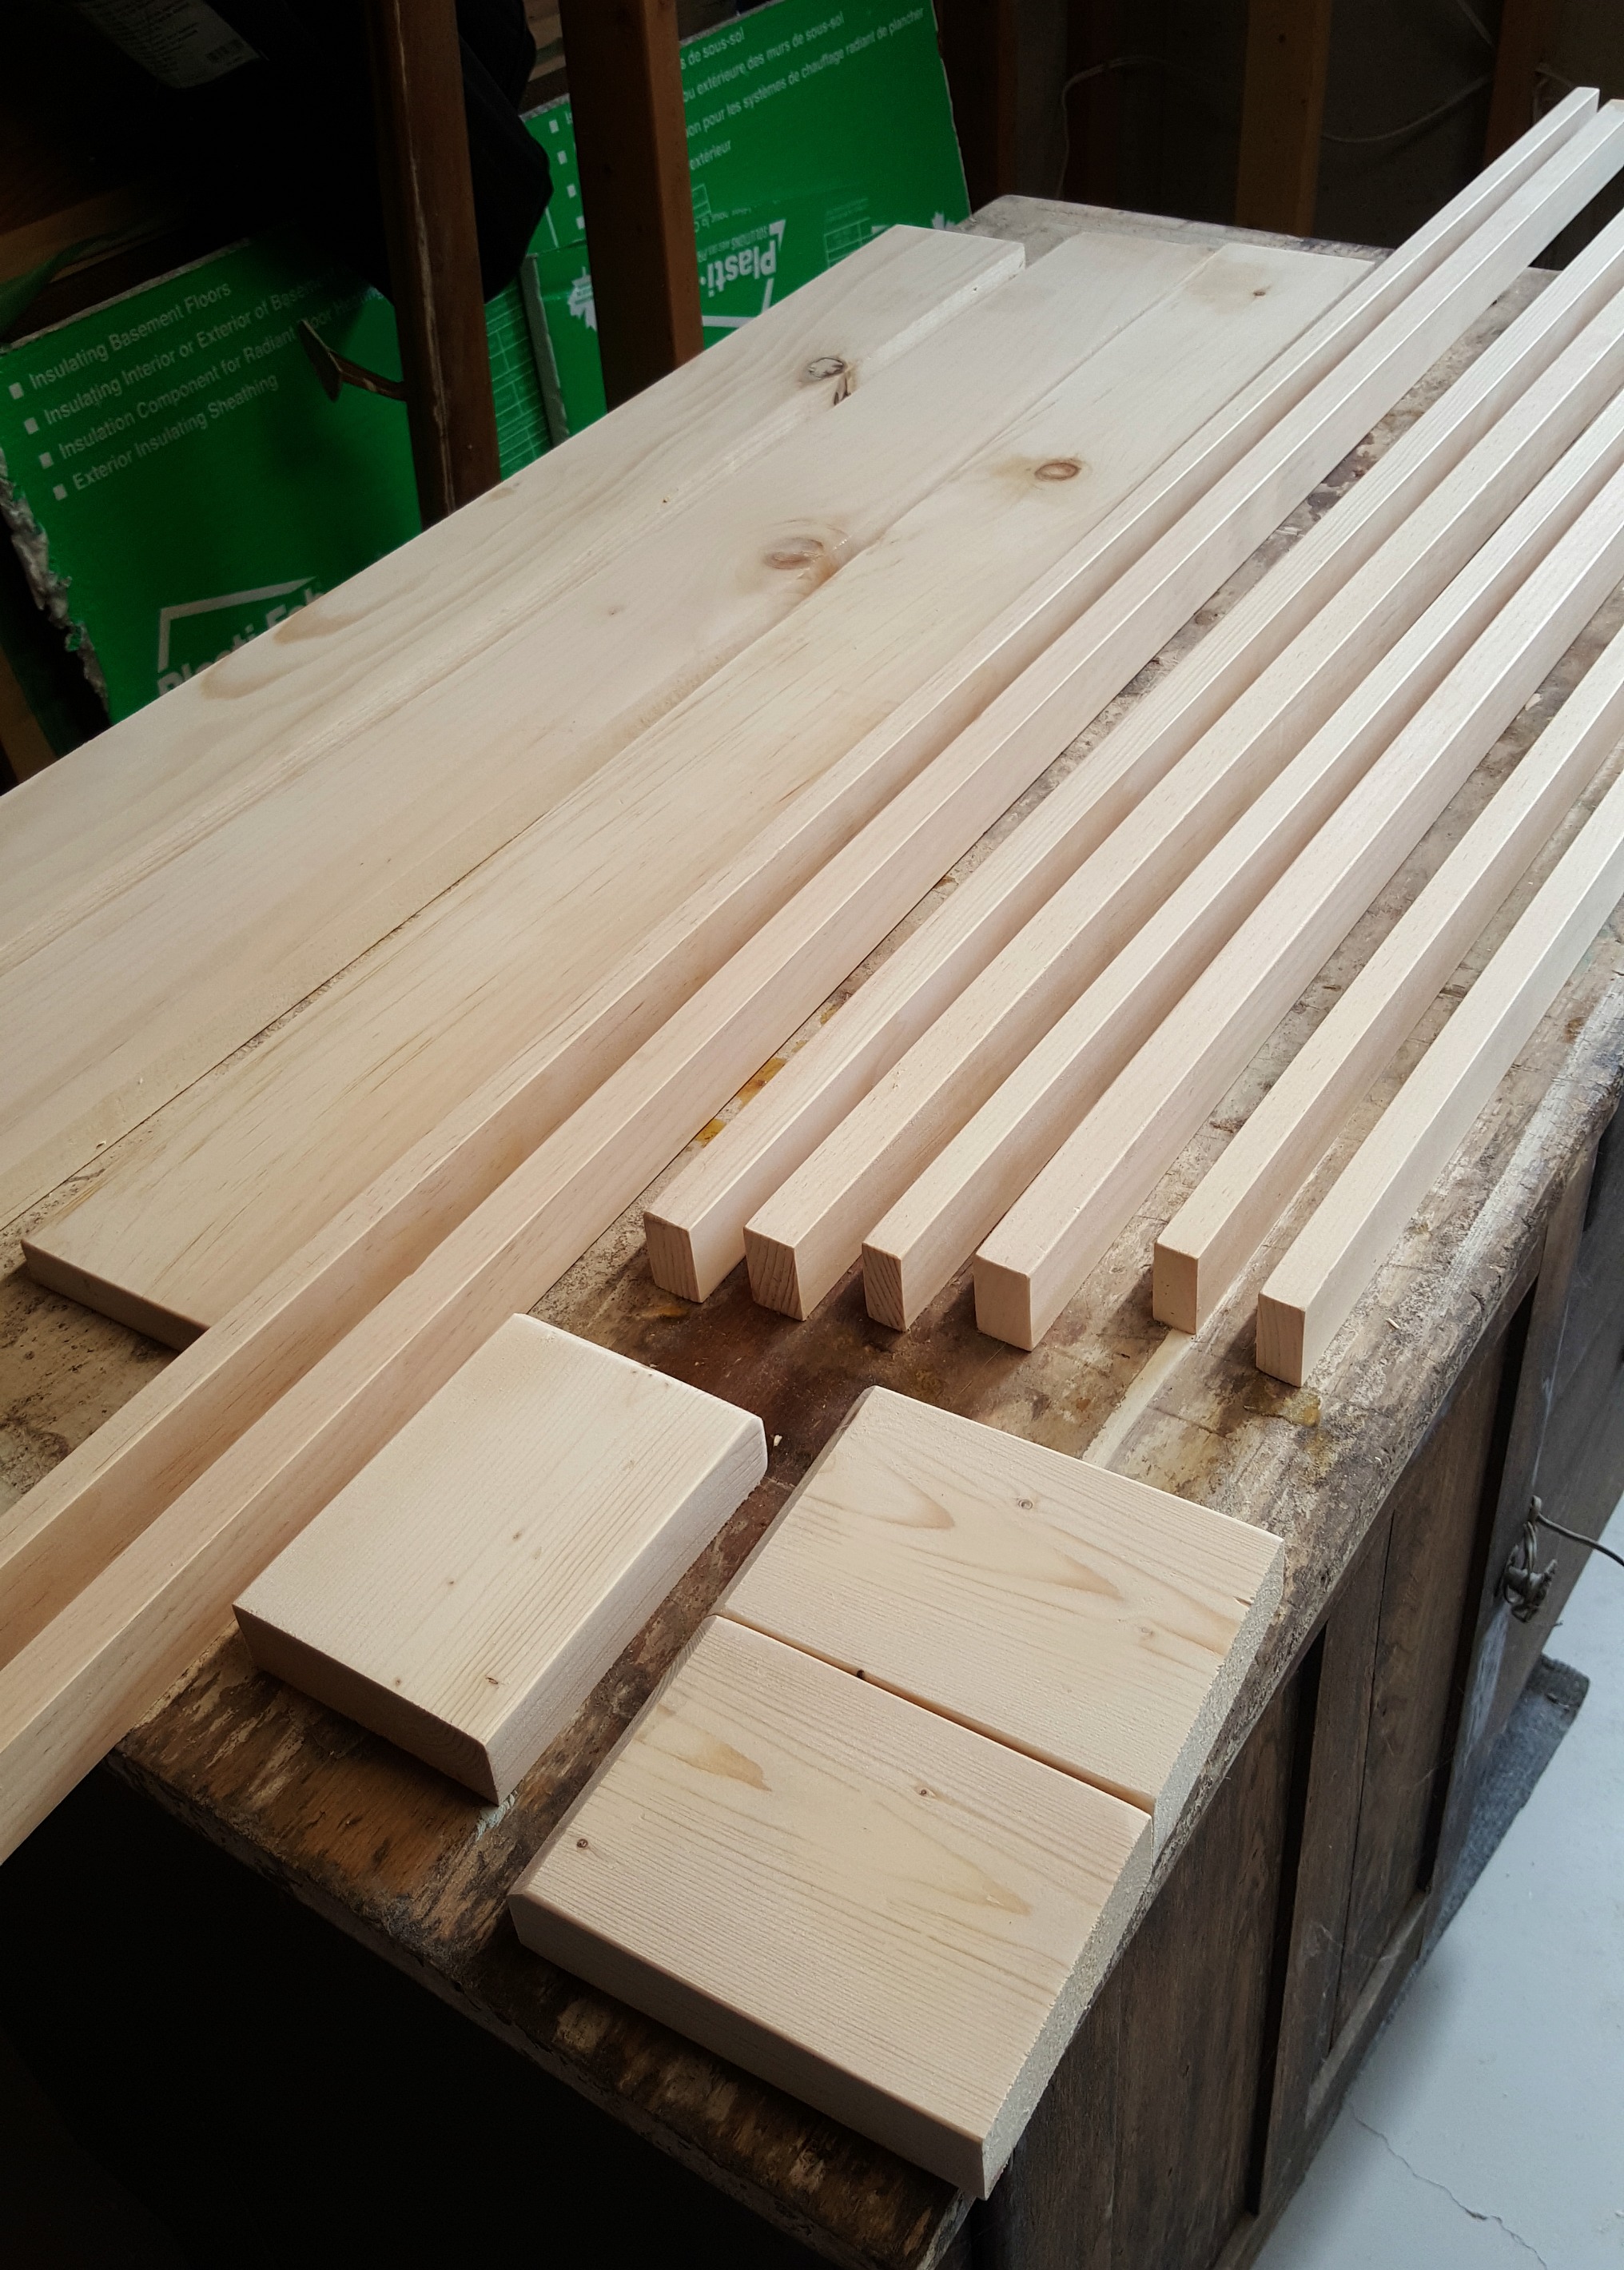
Those seem like some crazy measurements, but all we had to do was buy 1x4s and 1x2s, then plane them down as needed. (Keep in mind that 1 inch boards are really only 3/4 of an inch thick.)
Installing the trim was a simple matter of attaching each piece one at a time to build the pattern that we wanted.
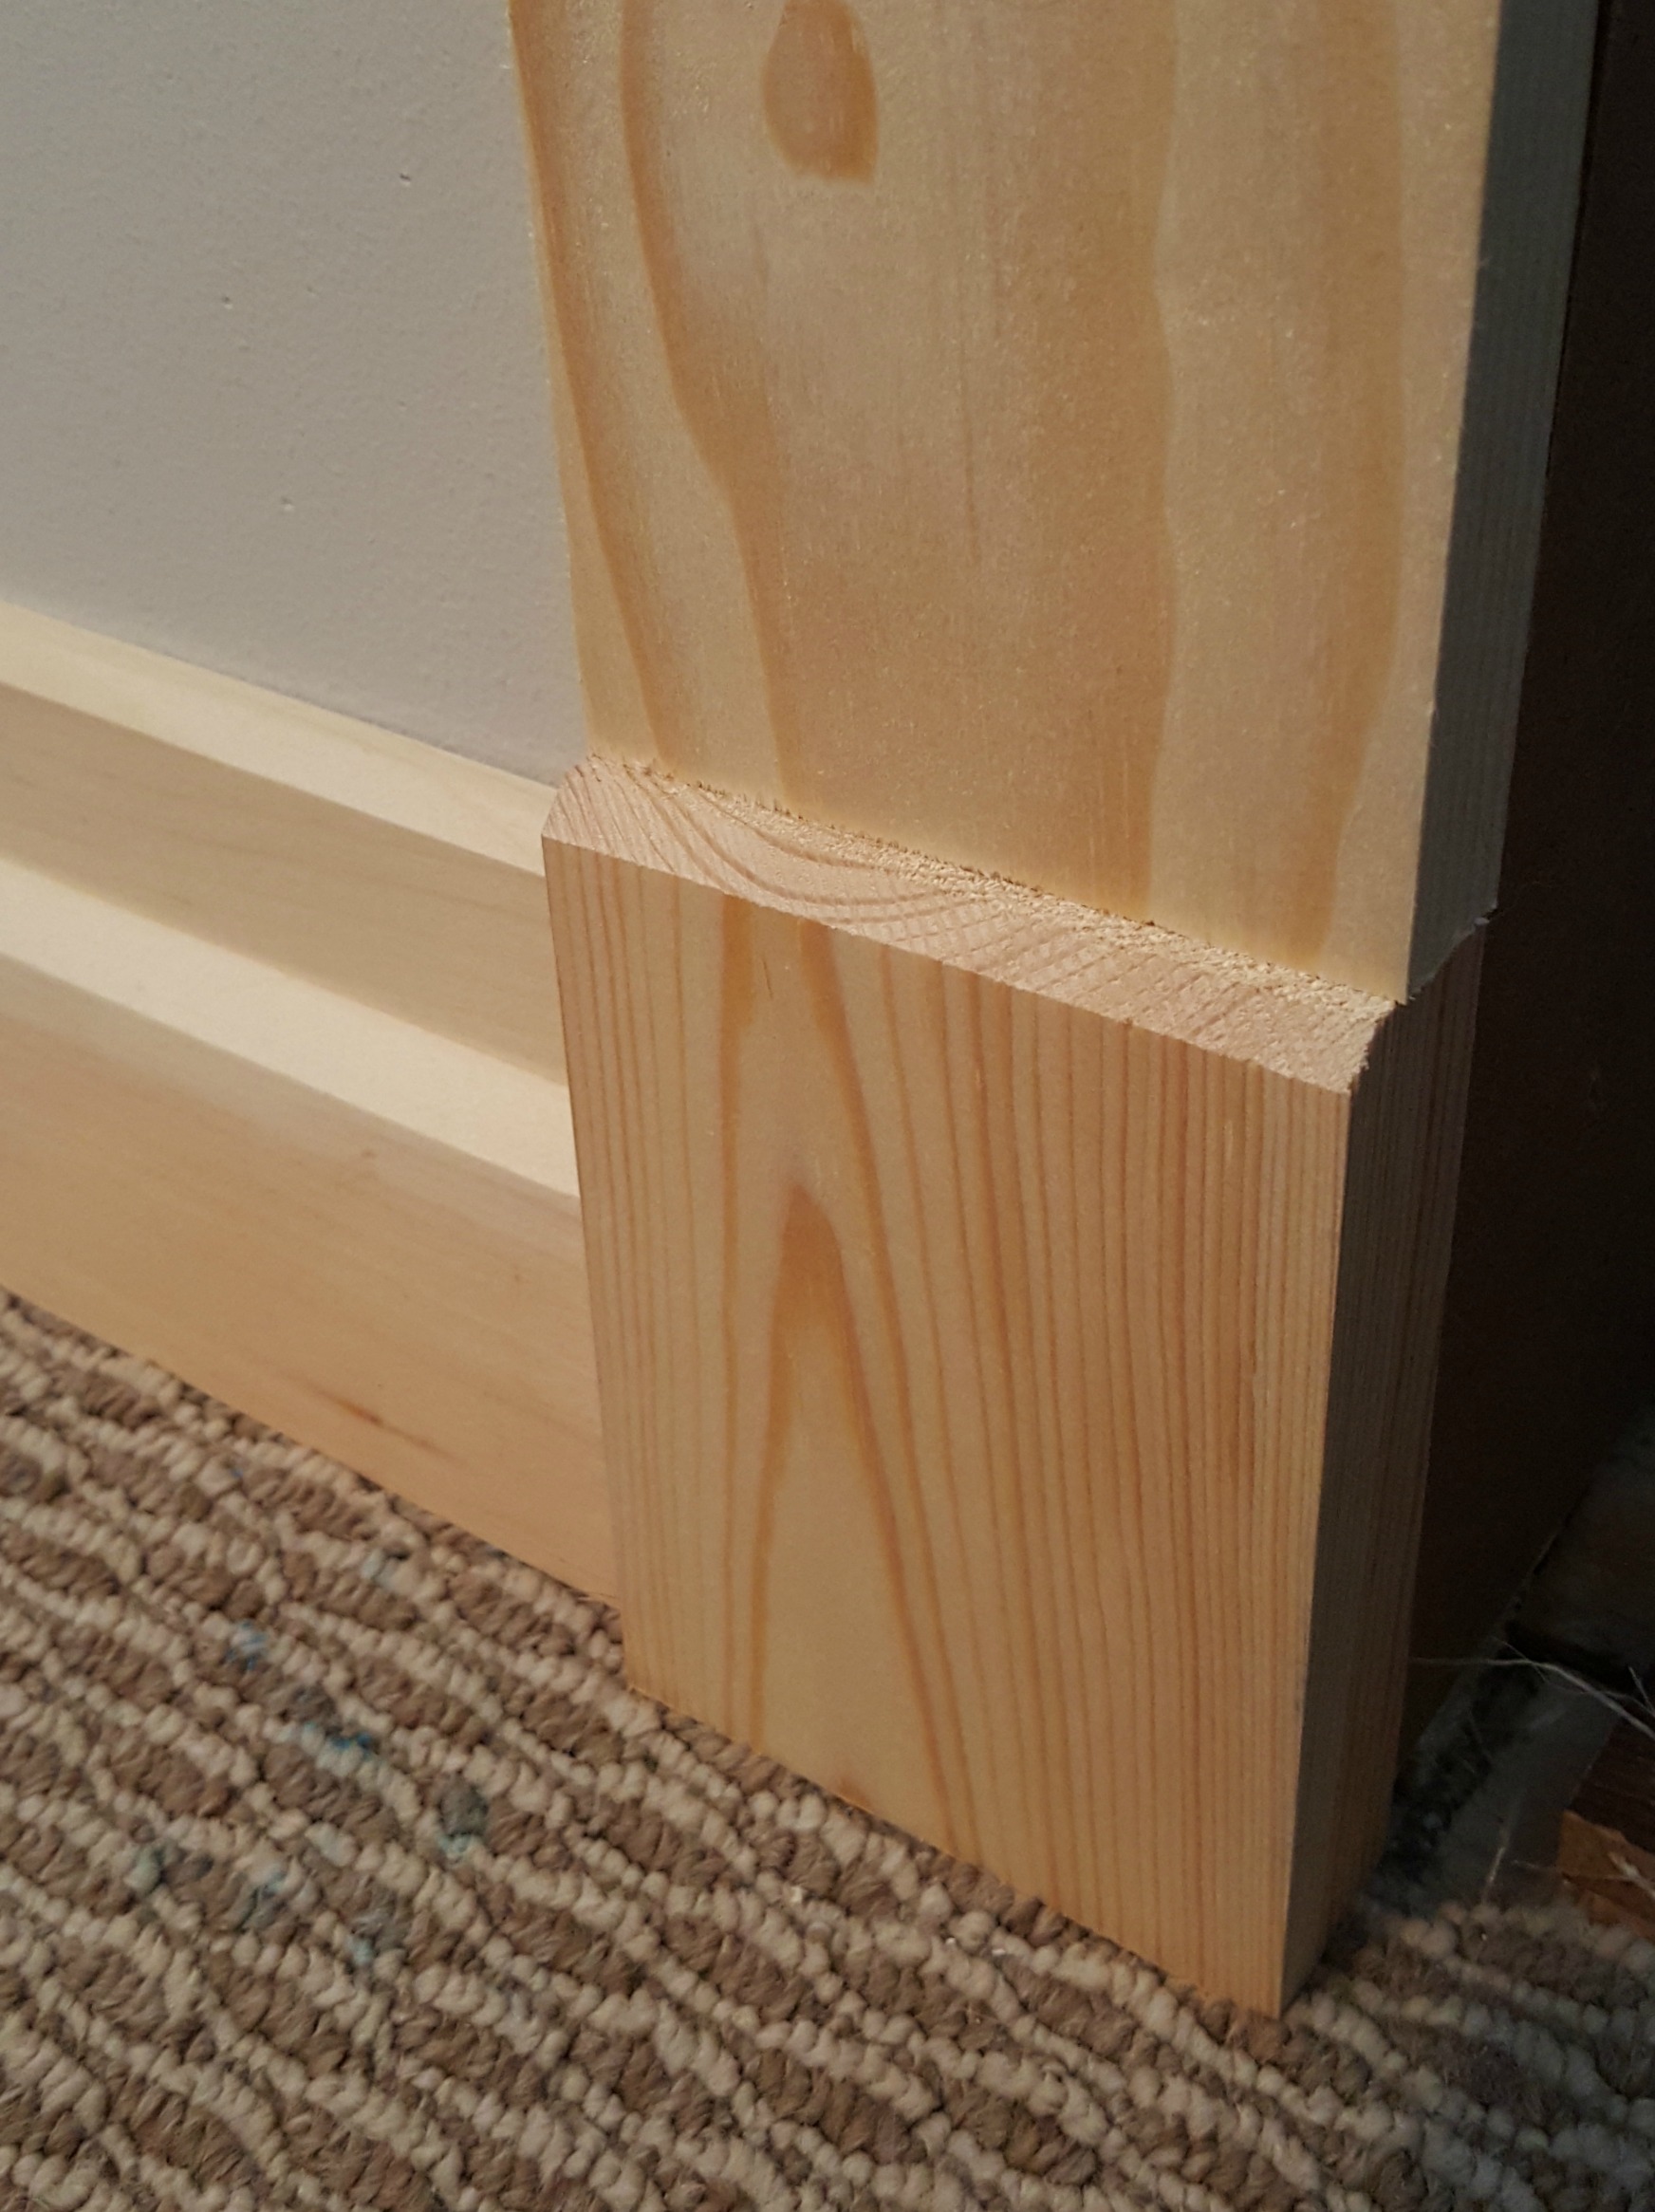
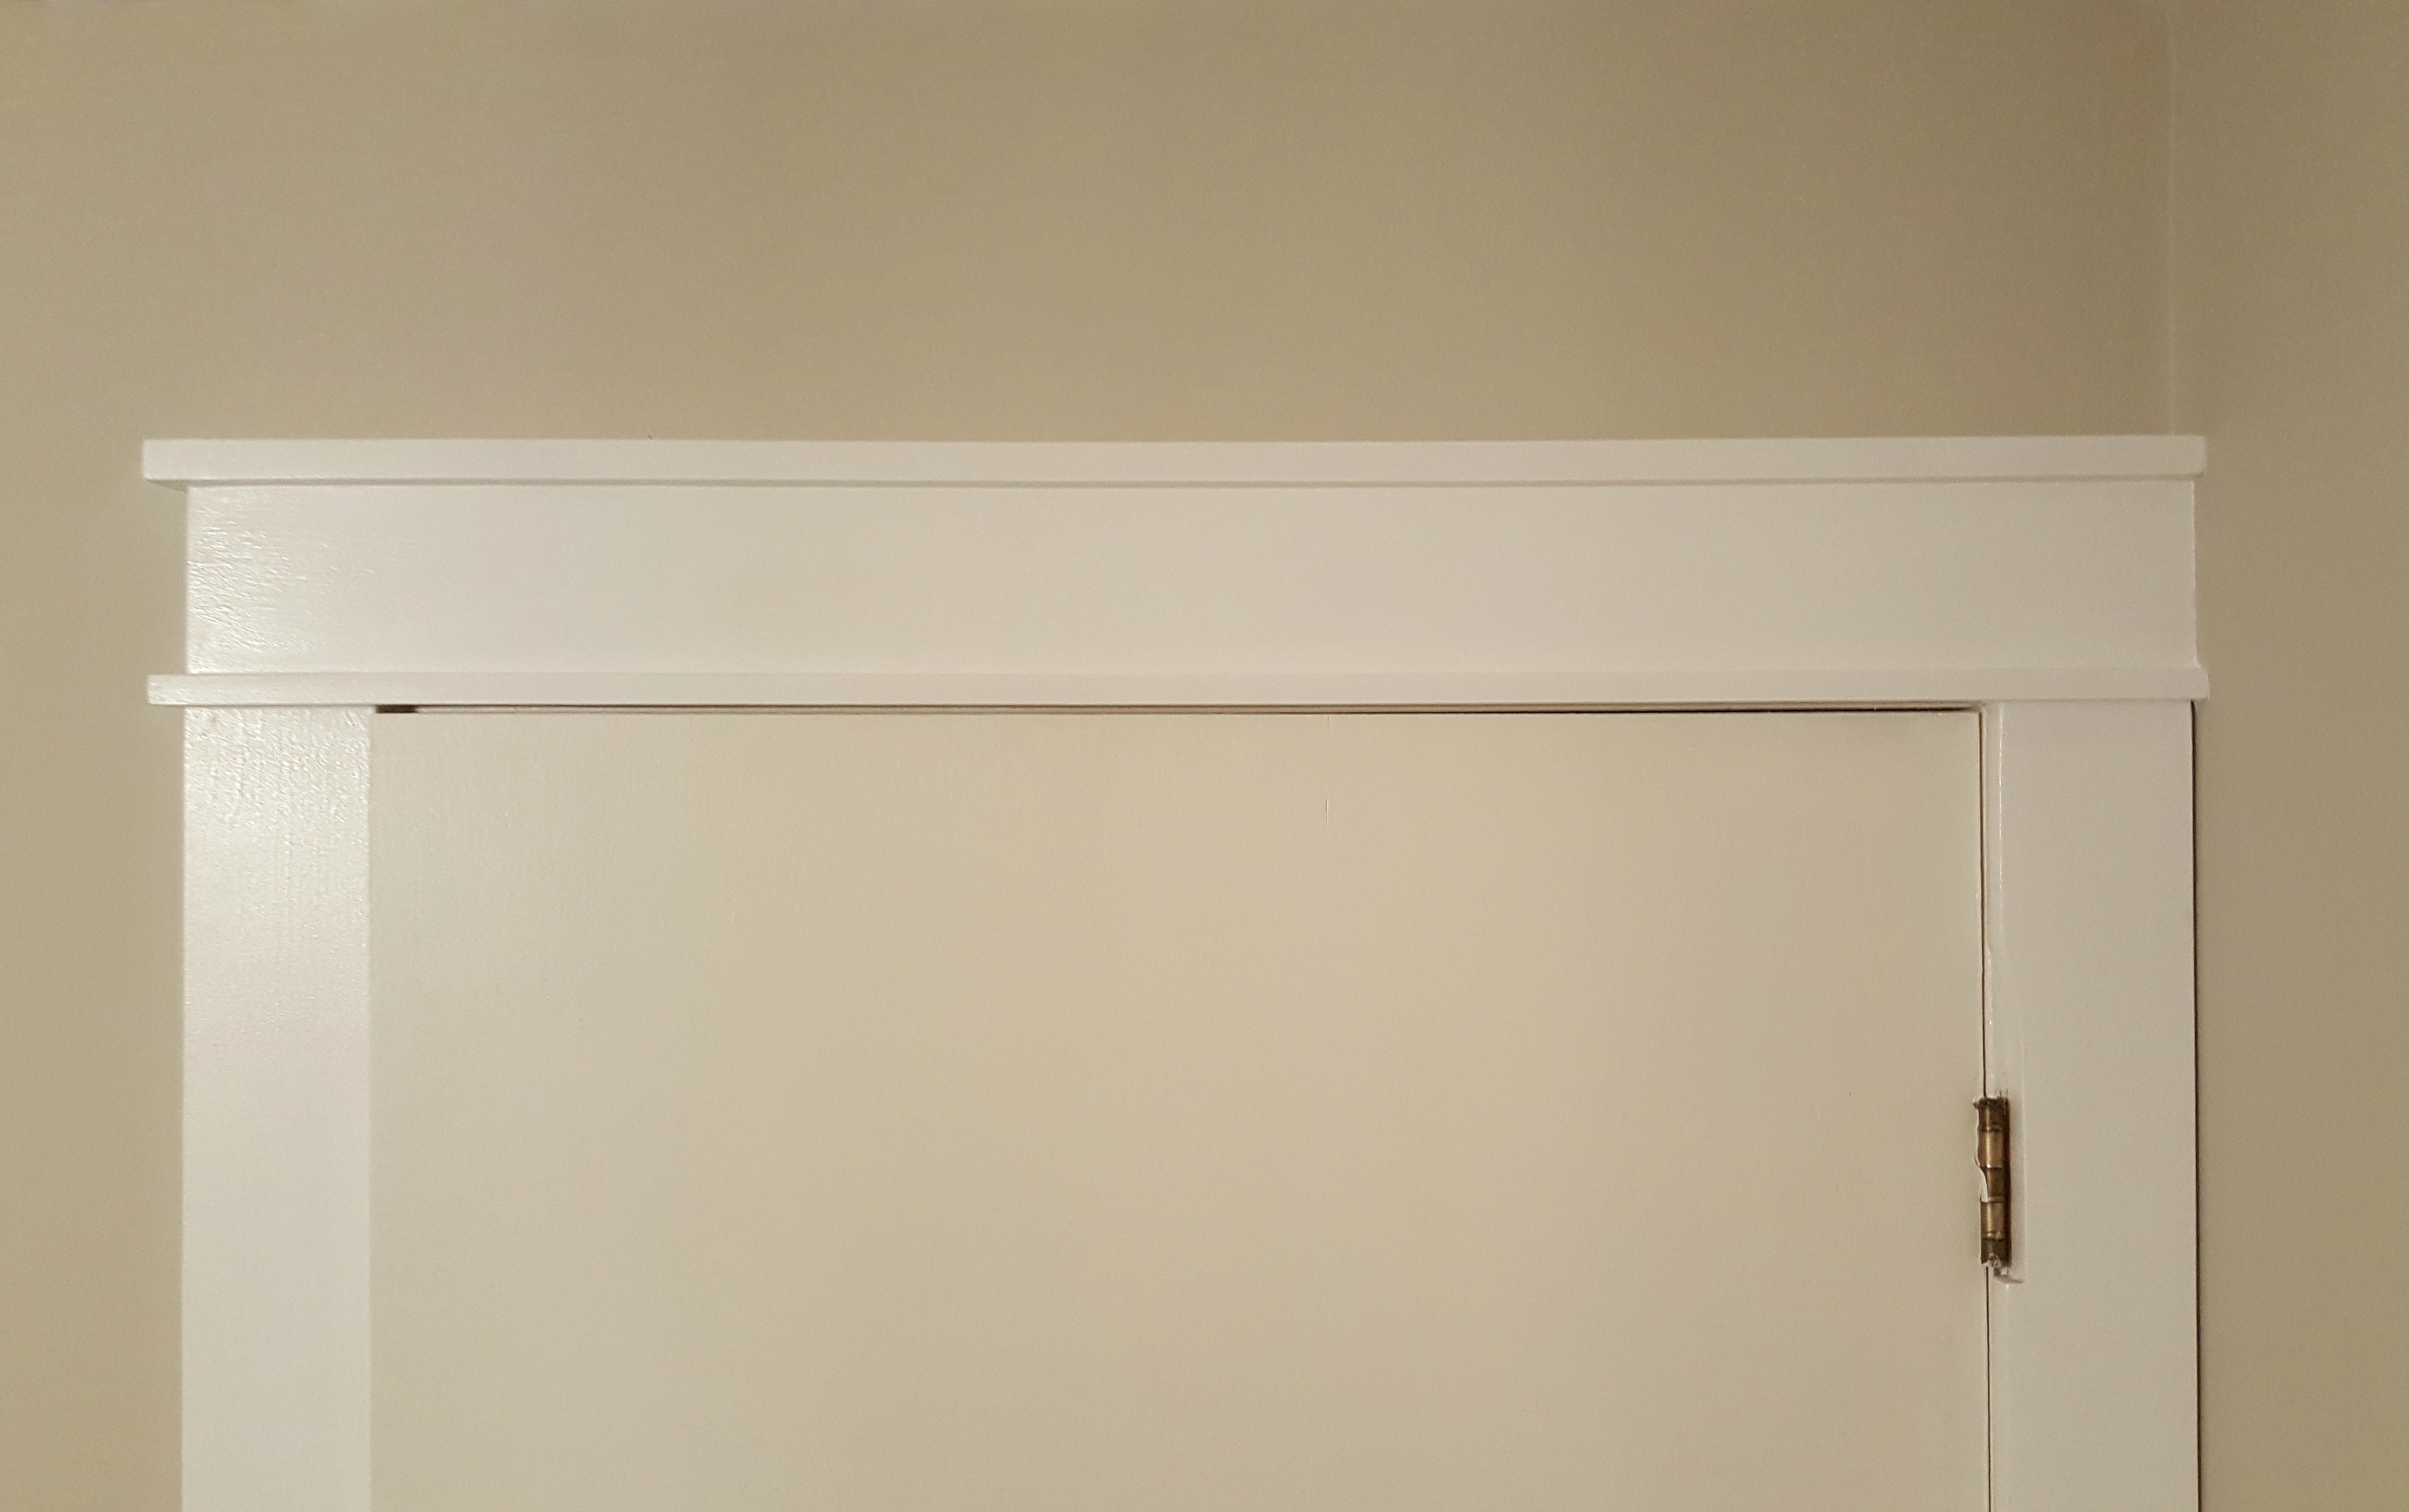
The door frames begin with a simple rectangular plinth block at the bottom, then the 1x4 side trim, followed by the stacked header trim.
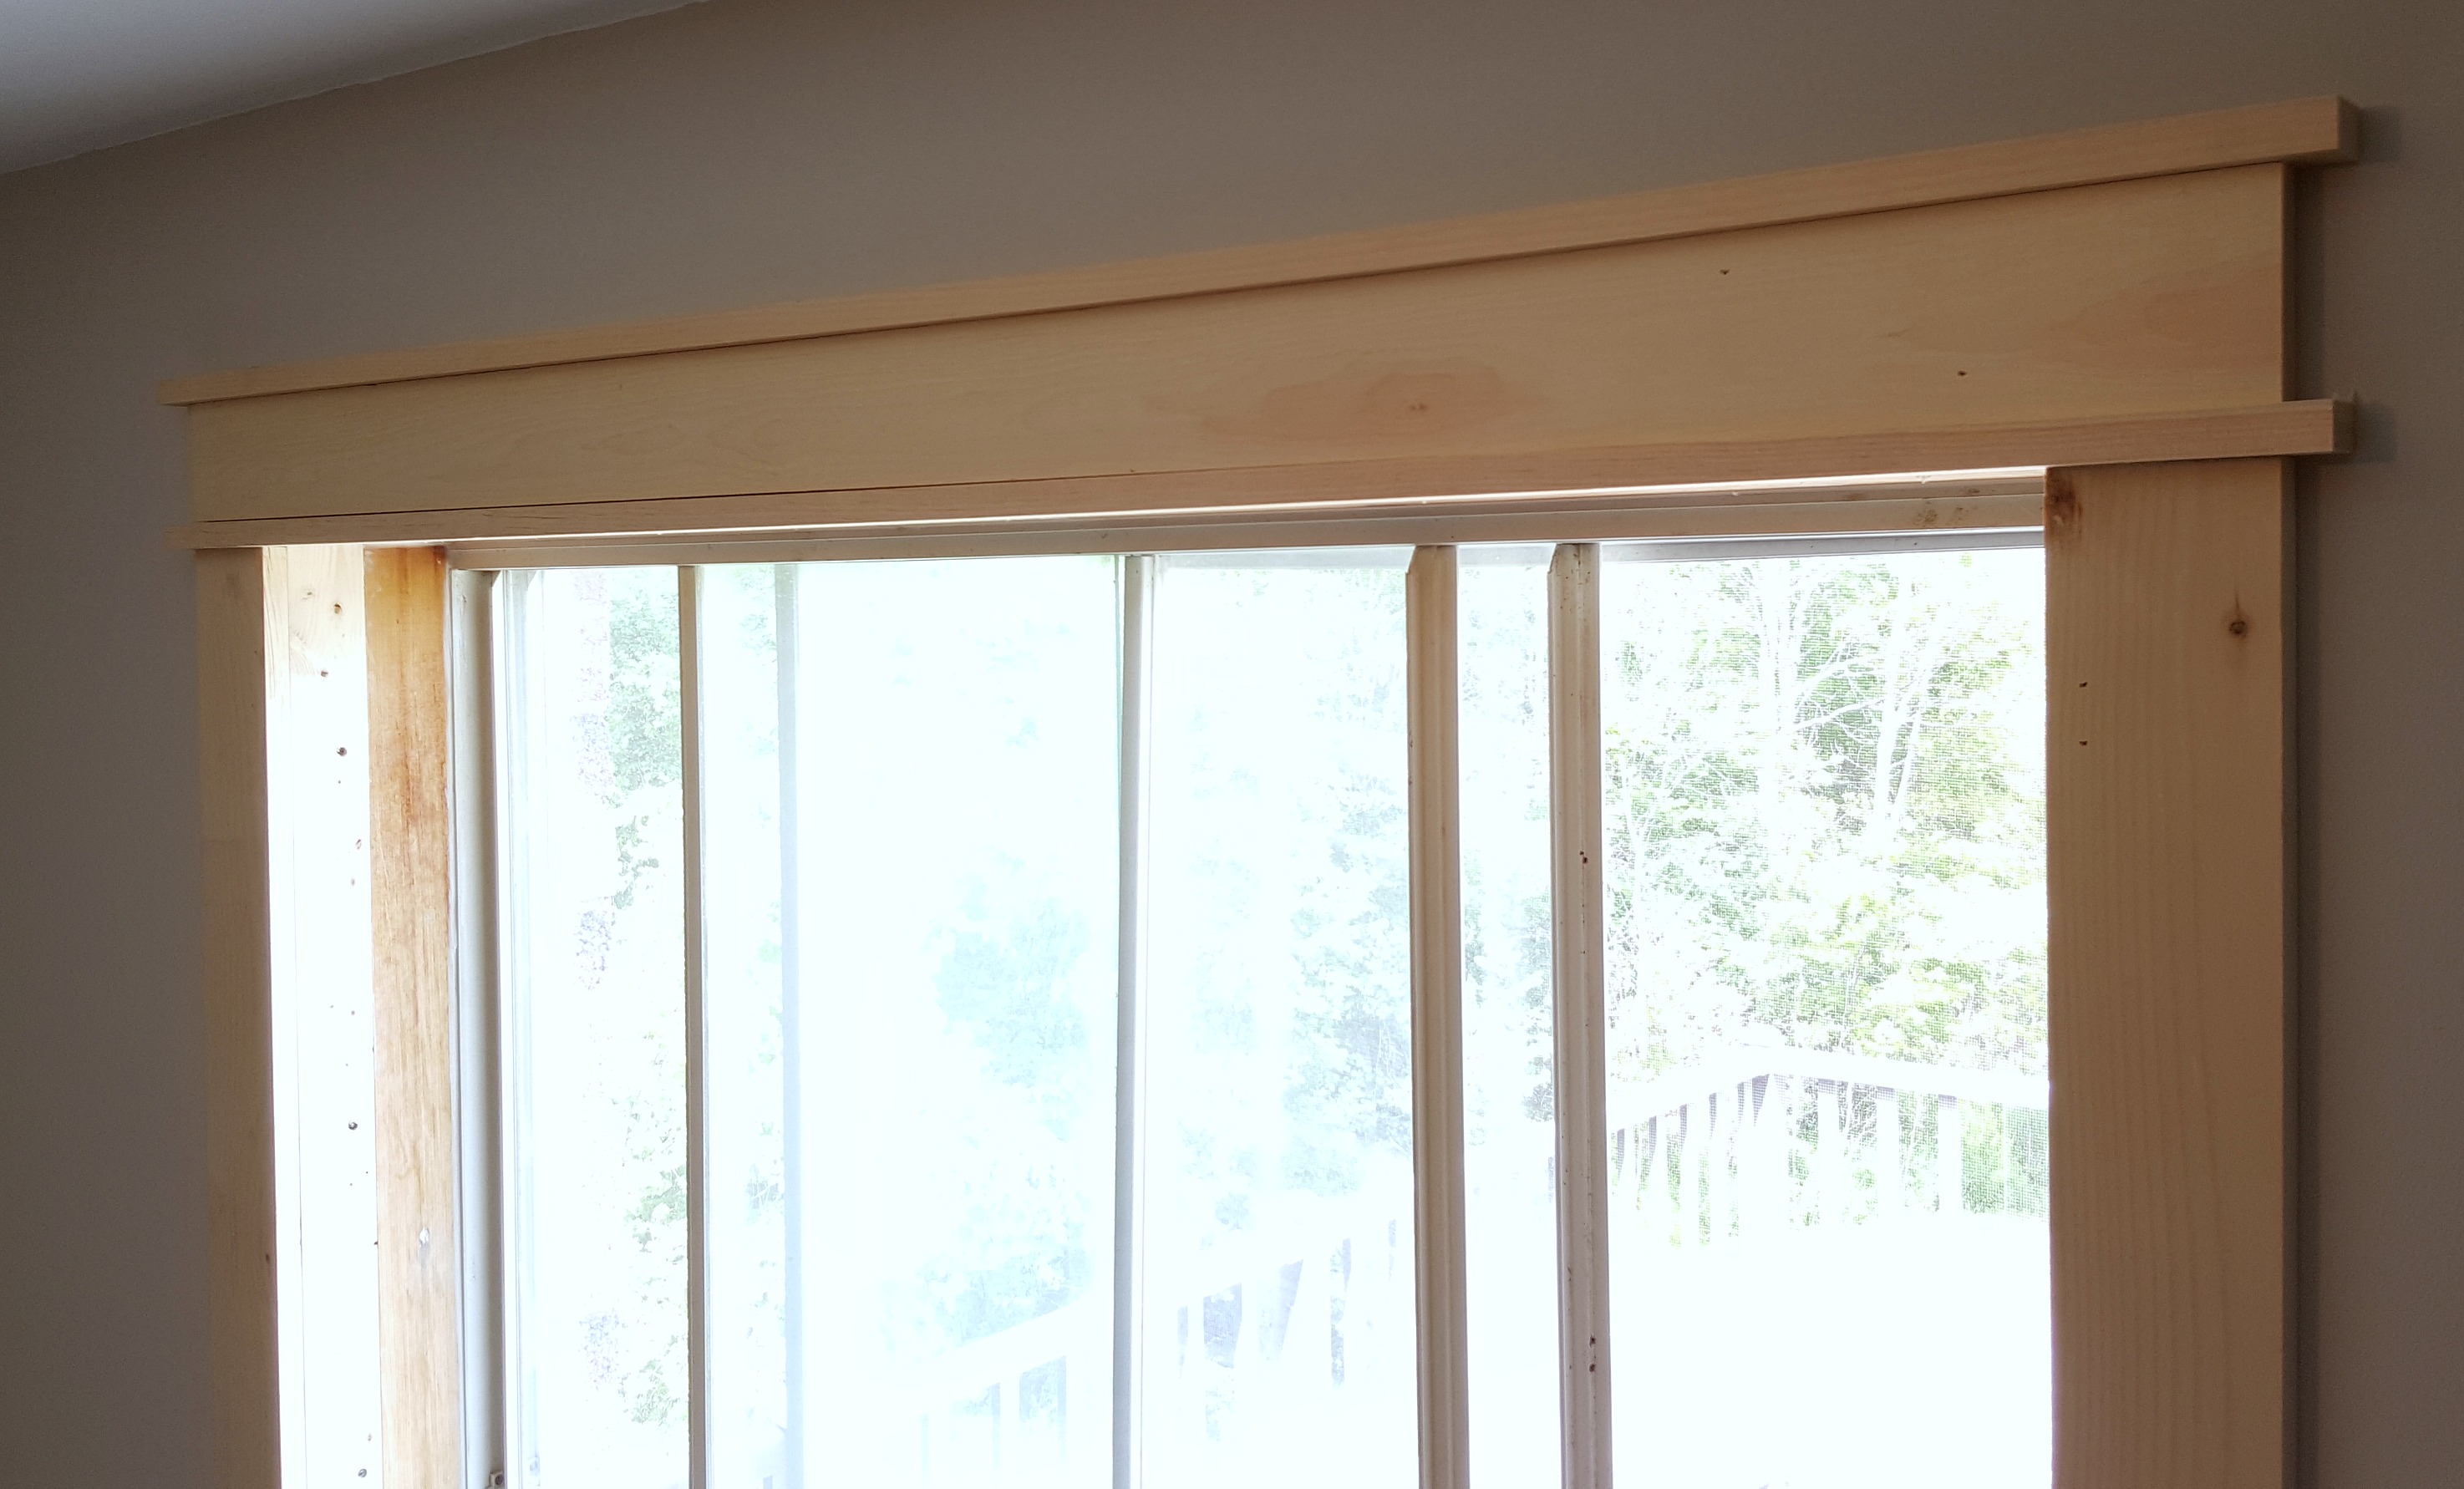
Each of the thin header pieces are nailed into the board below (or above) rather than into the wall. I'm still wavering on whether or not to build up the top with some decorative molding, but we're planning on adding crown molding at the ceiling so it might be overkill. It's always something that can be added in the future though.
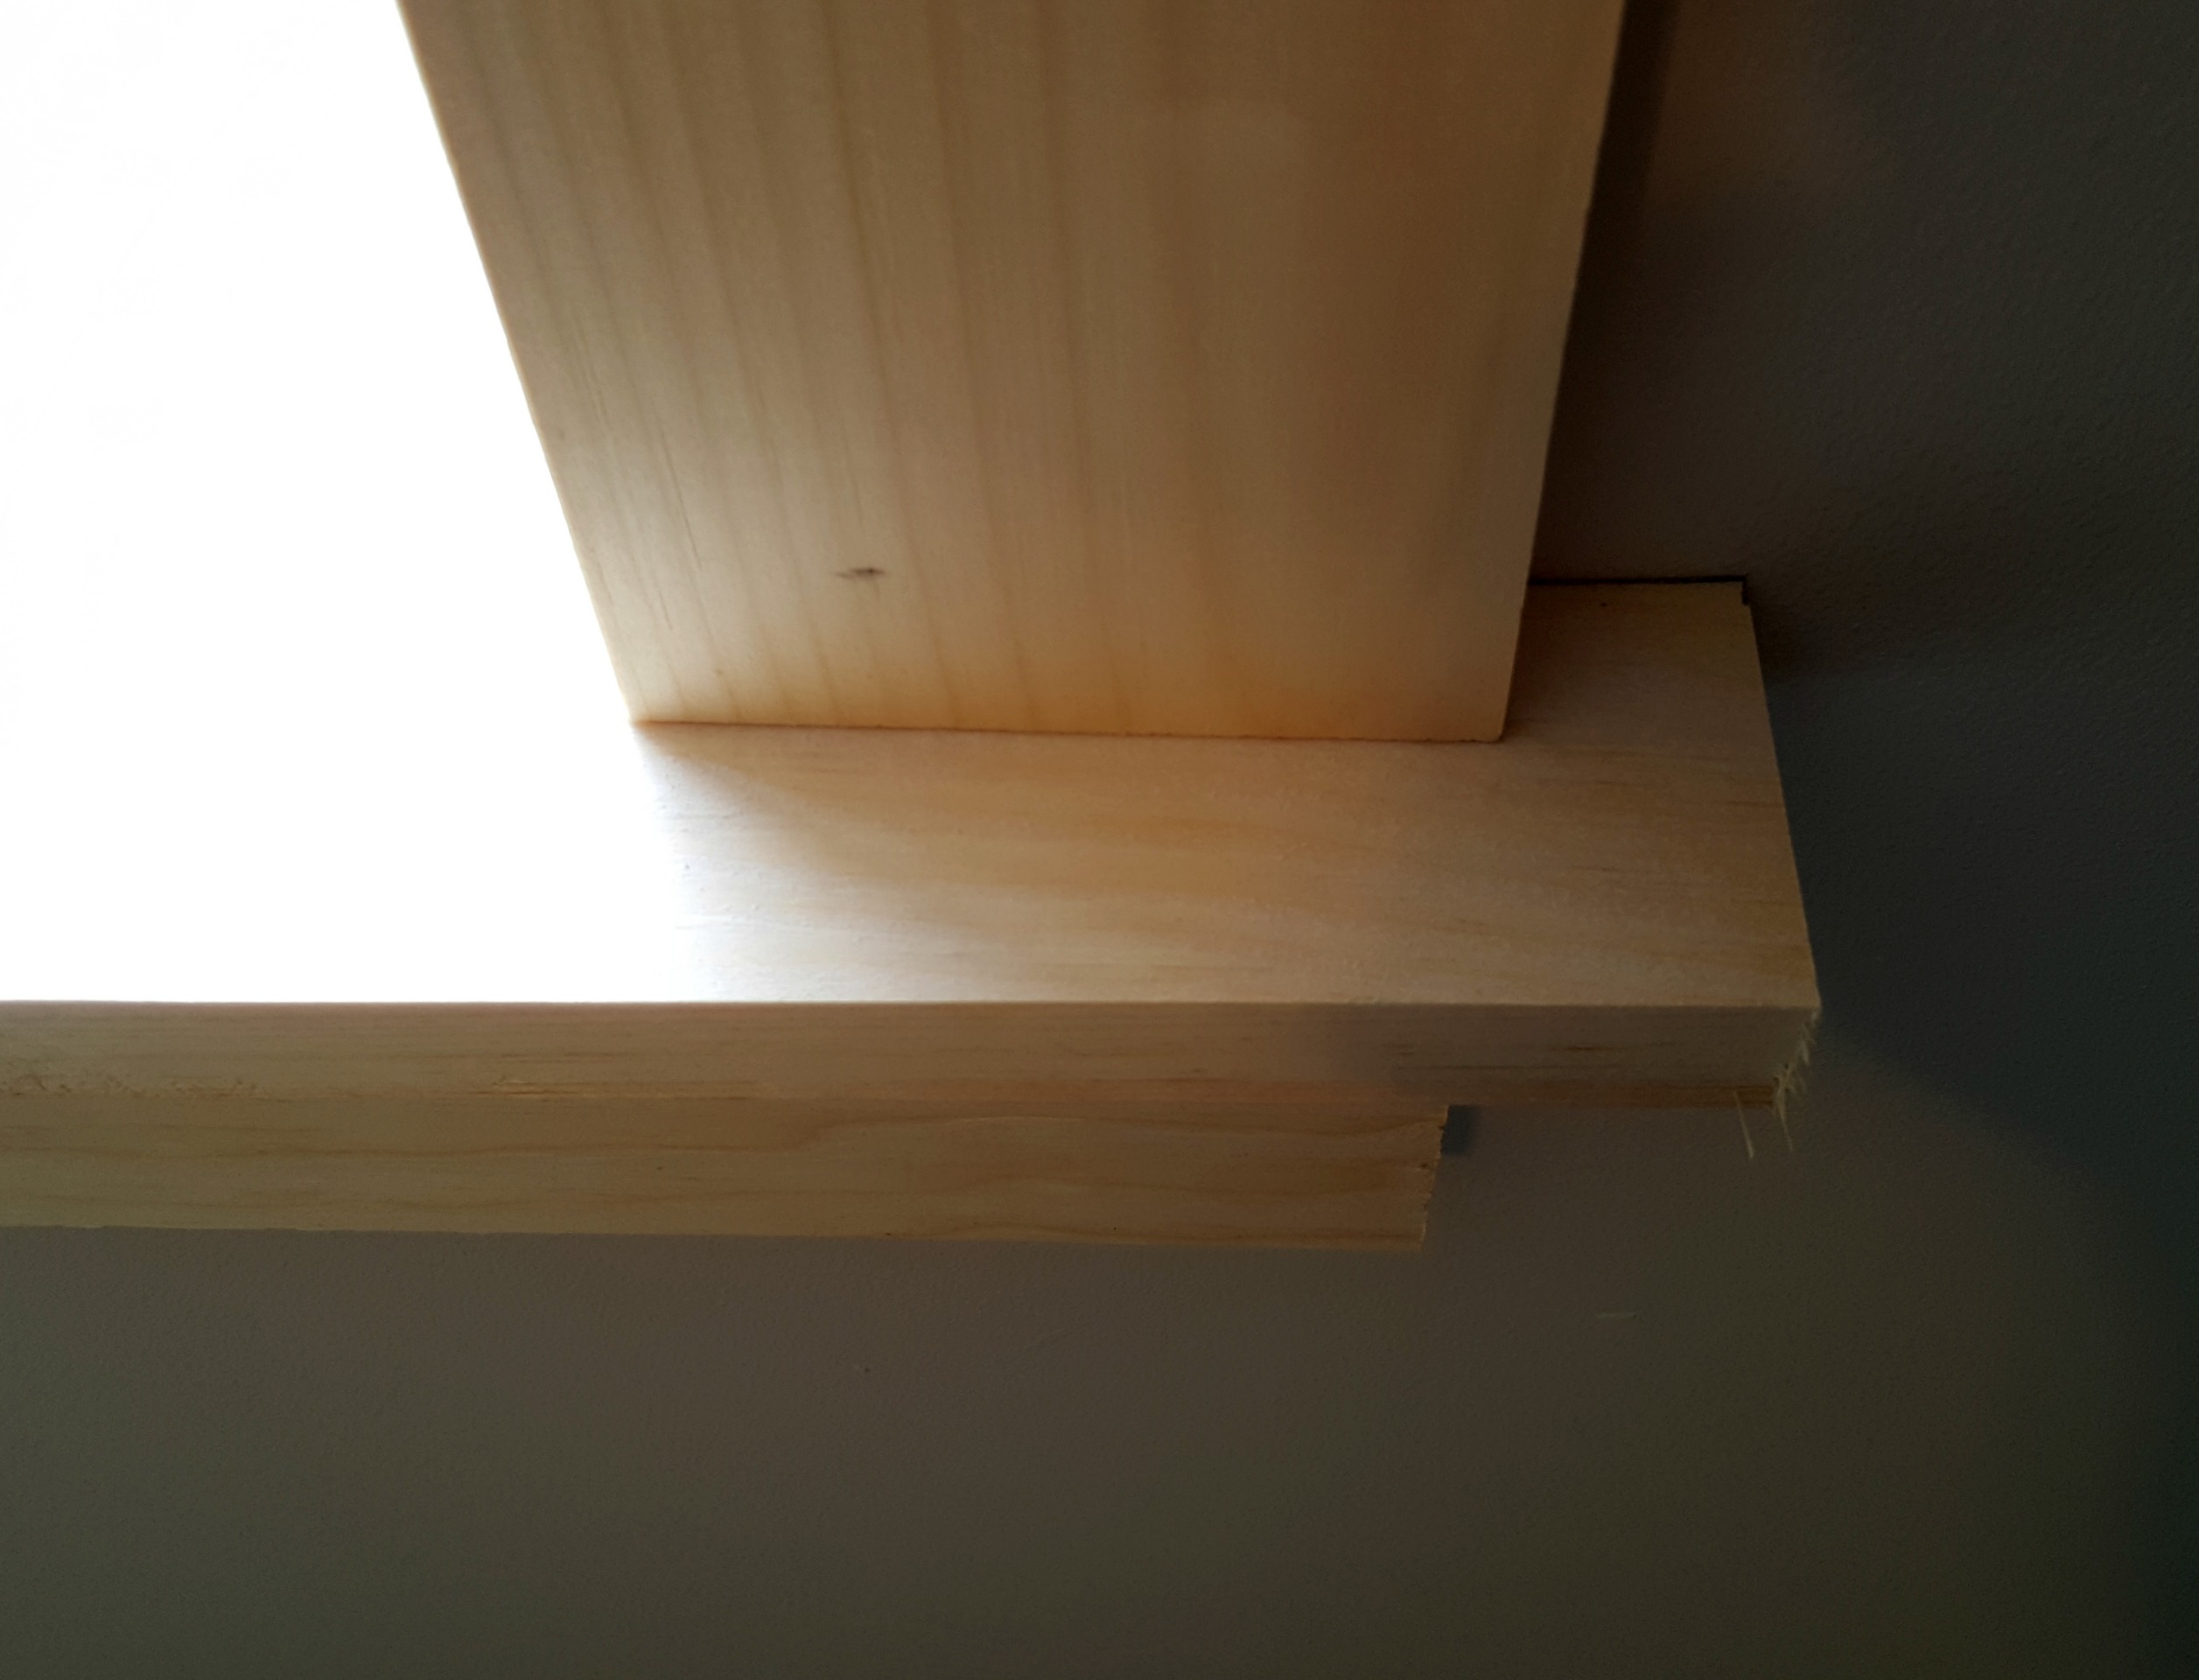
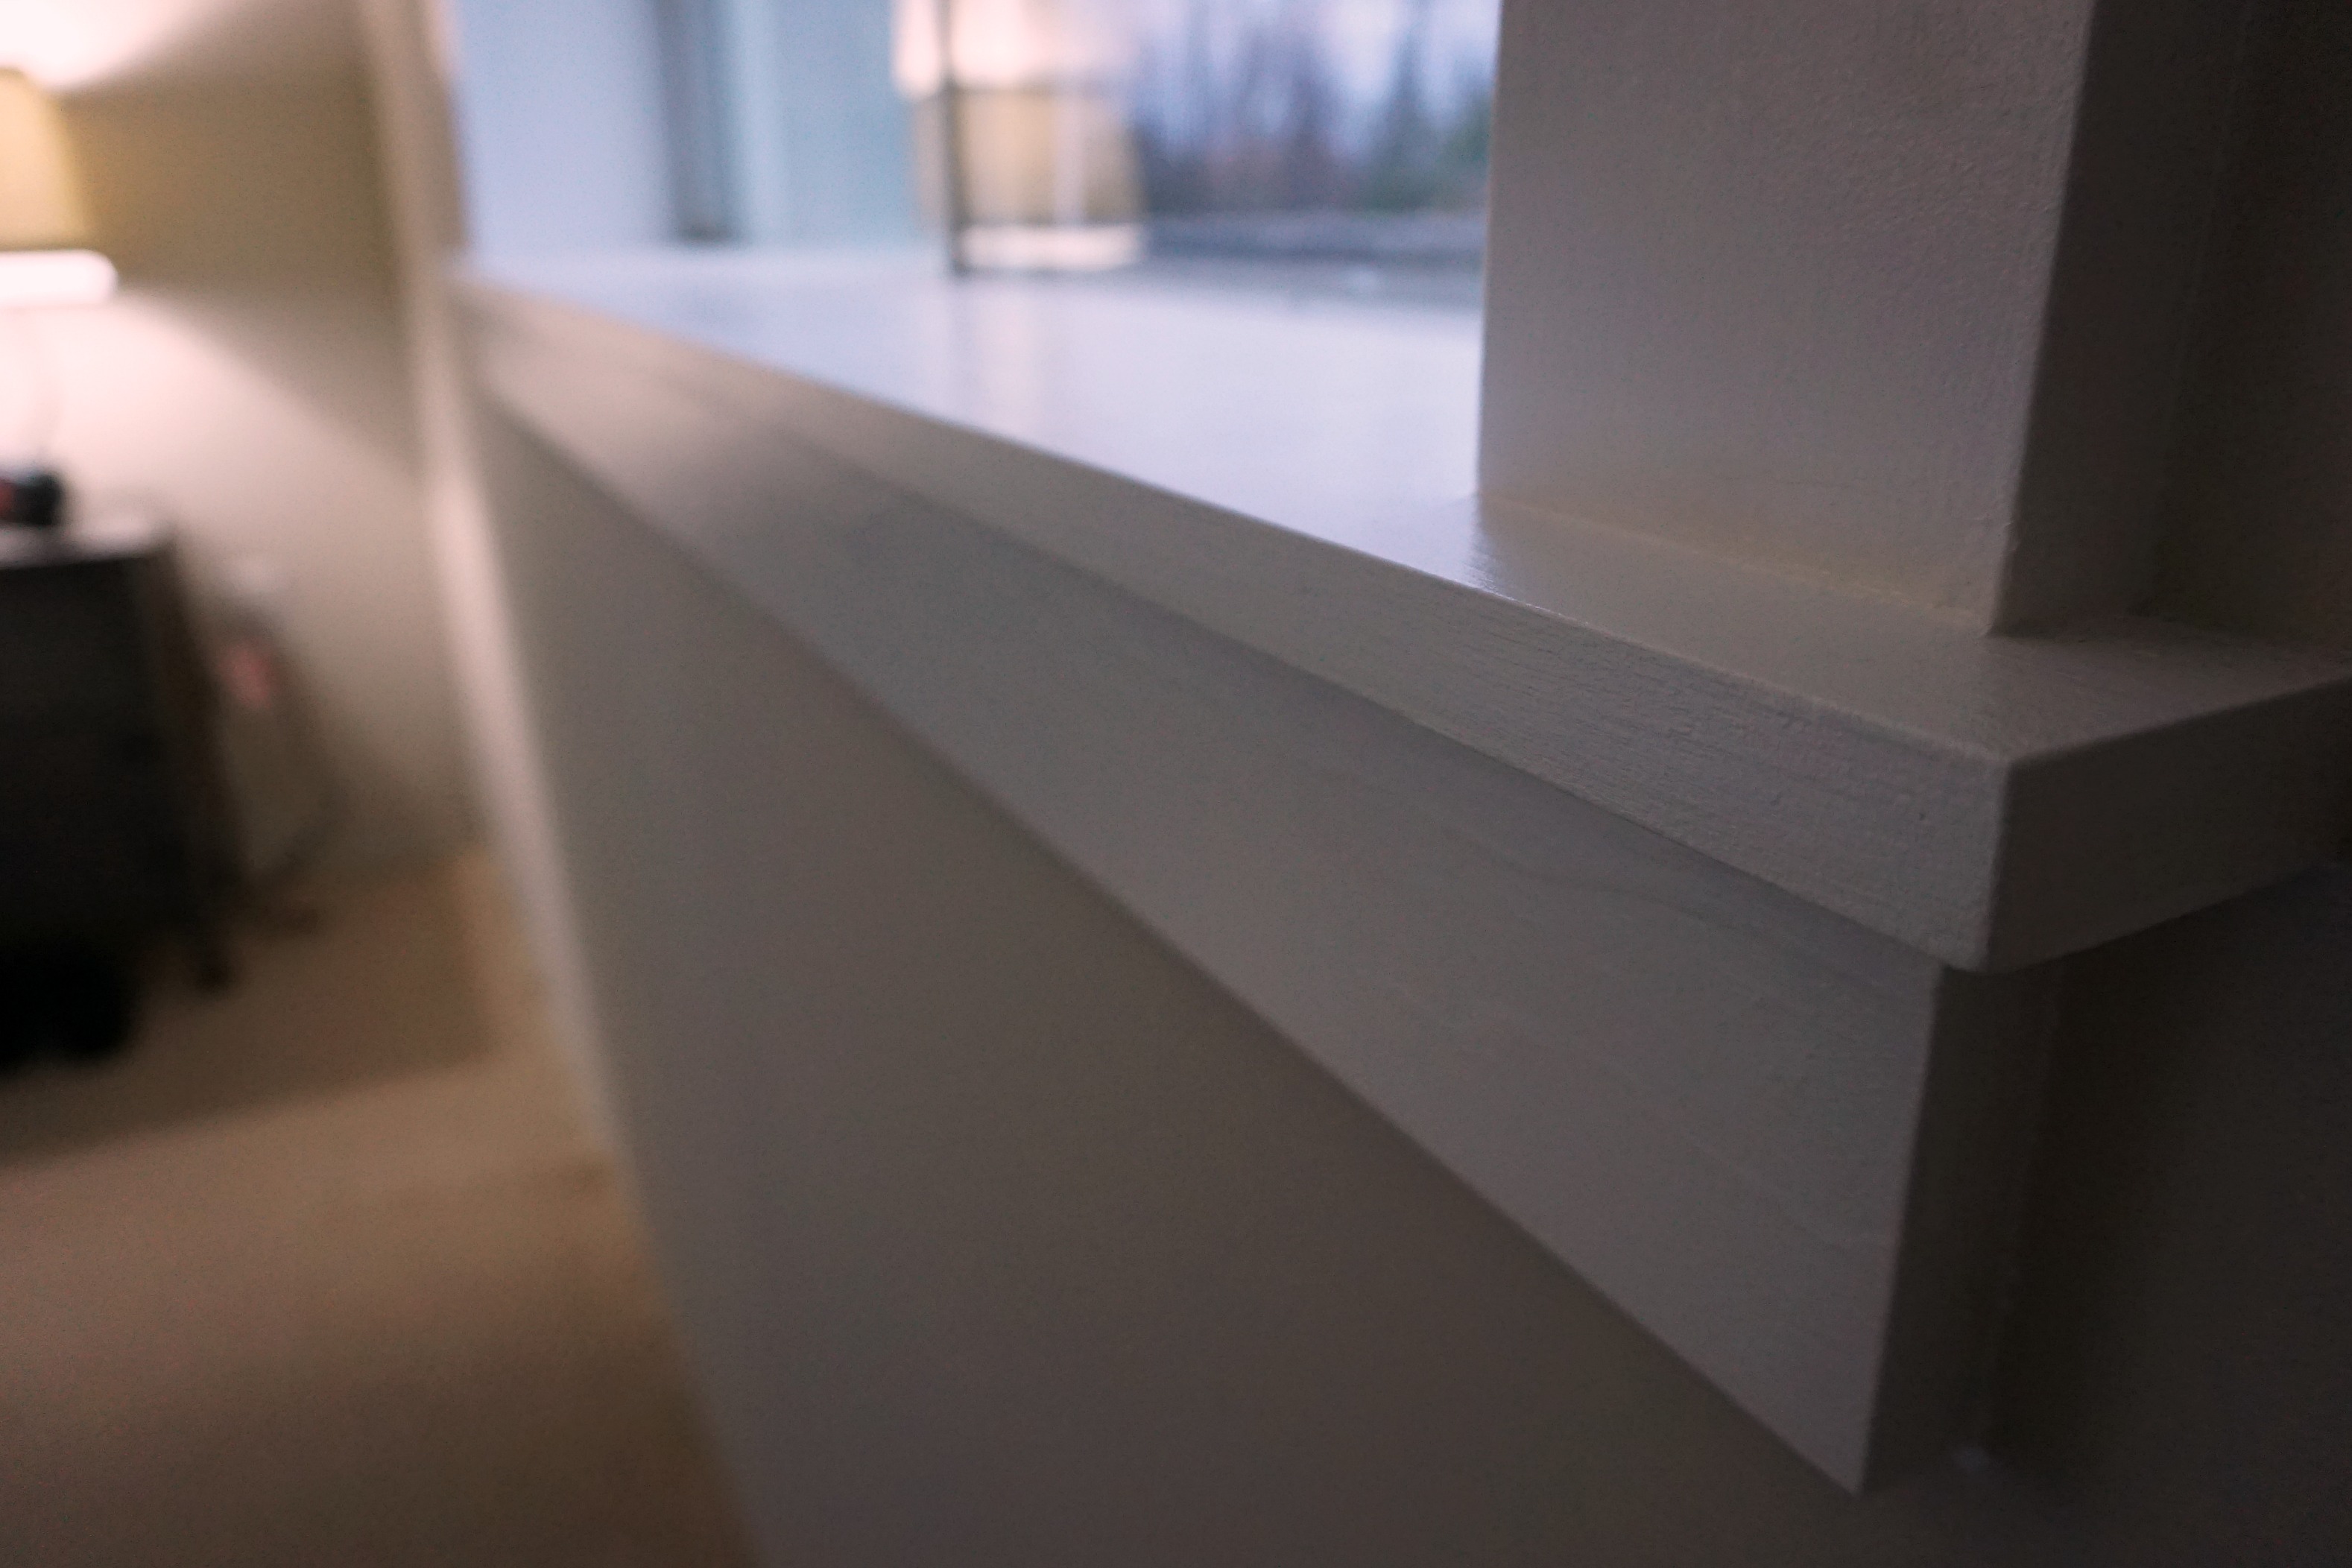
The window sill is all one piece, 10 inches deep, with a 2" overhang at the front and a 1" overhang on each side beyond the side trim. That piece went in first, and then we built up and down from there. The window header pattern matches the door headers exactly.
We put them in place with just a few finishing nails to make sure we liked the look. Once everything was in place and the proportions were right, we took it all down (mark your boards!) and gave them a couple of coats of primer. The trim is so much easier to paint when you can lay it all out like an assembly line.
Then it went back up on the walls. Once everything was in place, I caulked all of the seams - between boards and between the casing and the wall. I love a seamless look. I also puttied and sanded the nail holes to prepare for painting. All of the trim was painted in a bright untinted white, Behr's Premium Plus Paint & Primer, in semi-gloss.
We still need to put in the base trim - which we've already designed - but we want to wait until the carpet is replaced as it will all have to be removed anyway. I also didn't caulk the plinth blocks so that they could also be removed for carpet installation. But that can't be done until we finish the basement so that there's a place to put everything while the carpet is installed. One project always leads to another.
But for now we're really happy getting the trim up. It lightens up the room so much, and the Craftsman style fits us so well. We're planning on replacing all of the doors and door frames, as well as widening the closet entry, so this was kind of our practice run at custom trimwork. We know part or all of it will have to be removed but I couldn't bear to have the room look half-finished forever.
I'm really looking forward to new carpet and a renovated closet. We've sourced Craftsman-style interior doors as well, so as soon as we're ready we can get those in too. One step closer every day!

No comments:
Post a Comment