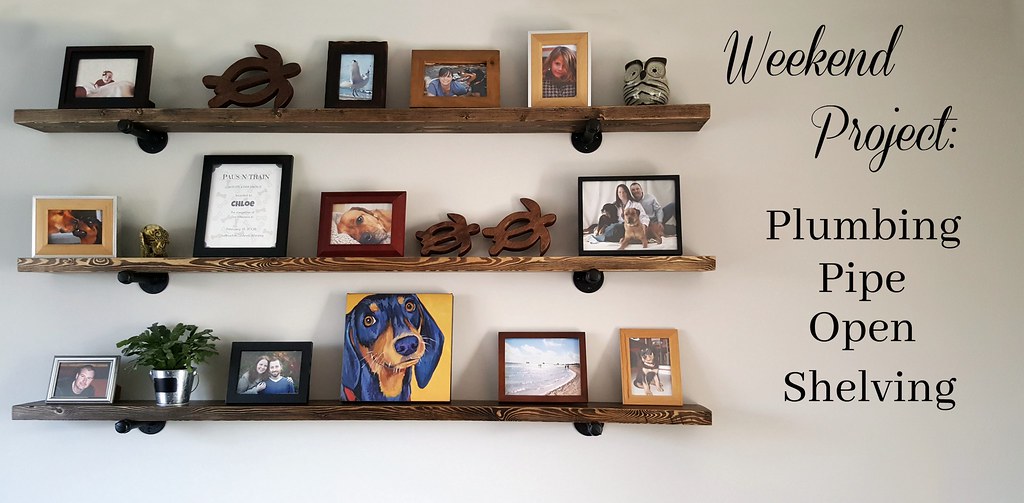
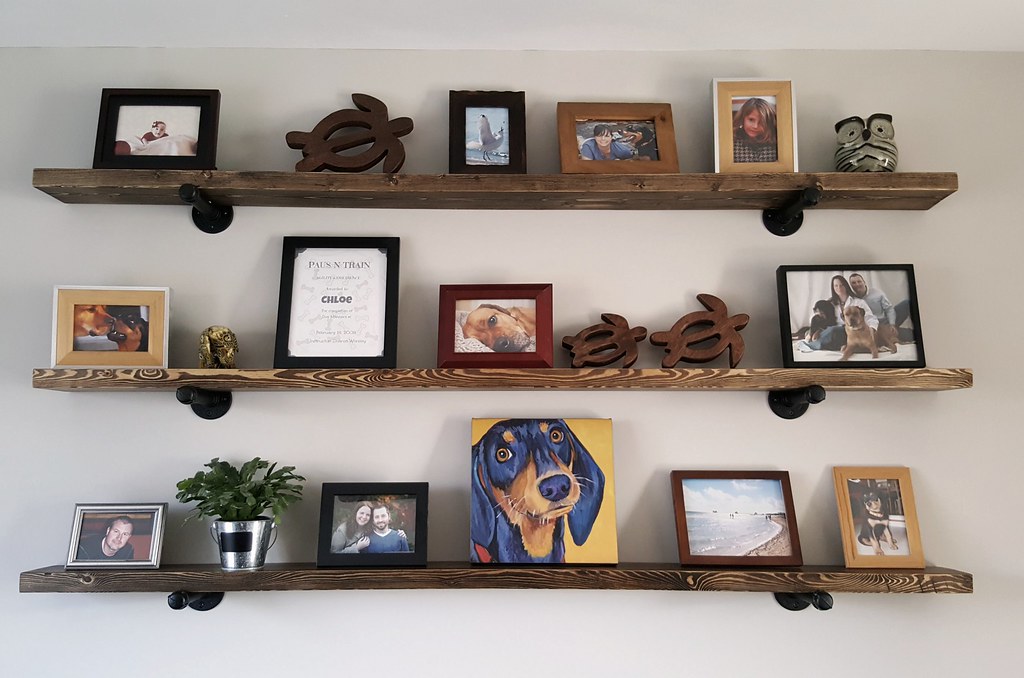
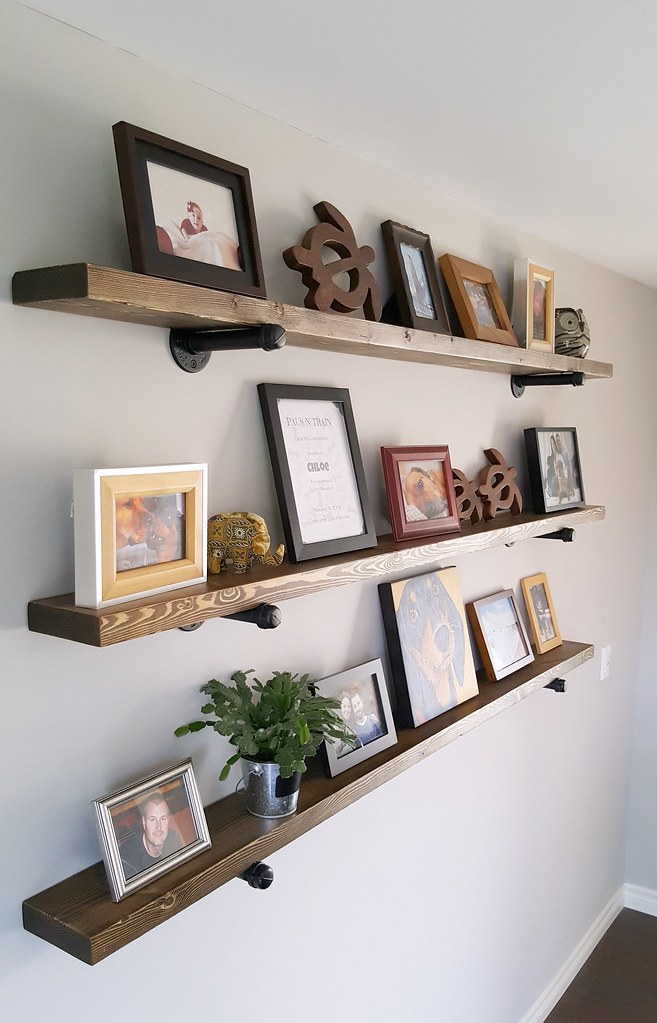
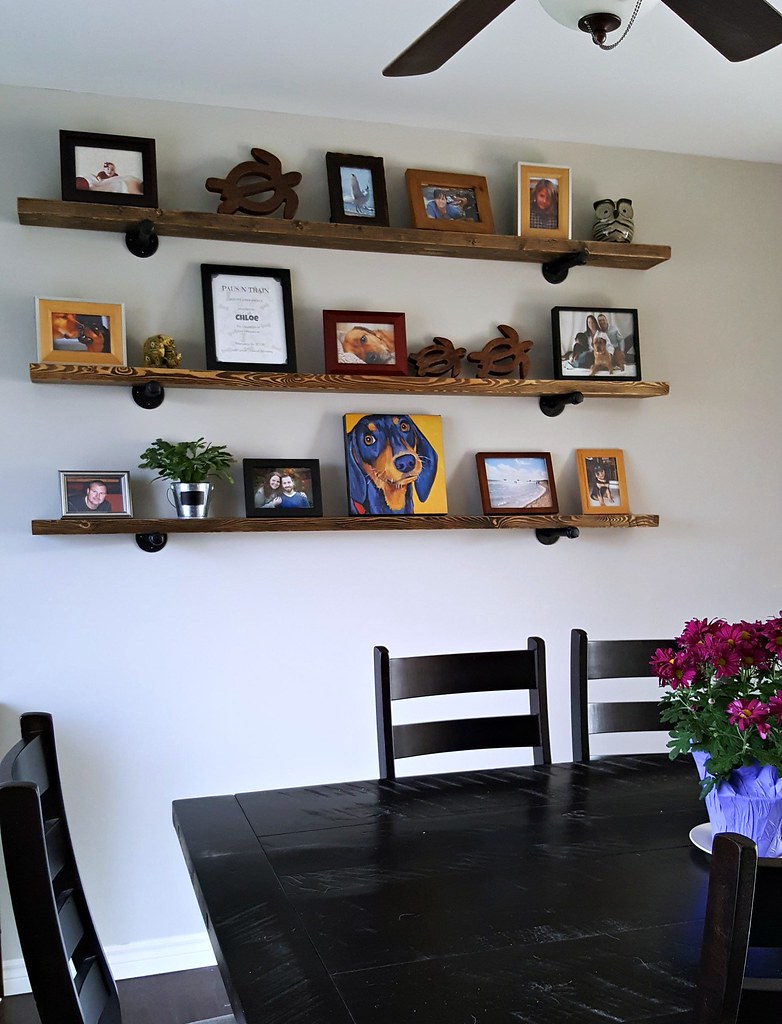
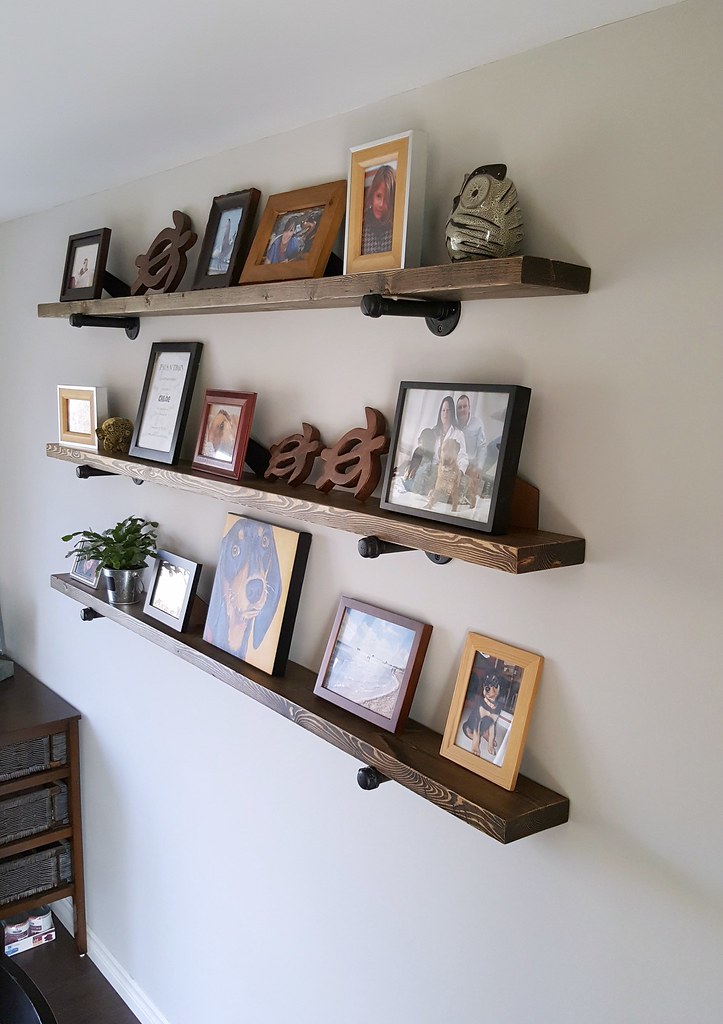
One Saturday morning I told Tom that we really needed to build shelves and that it shouldn't take very long. I loved the floating shelves we had in the living room in our last house. But this time I wanted them to be chunkier, and it didn't really matter if they were floating. I grabbed the iPad and Tom went to his computer so that we could both look for ideas. I walked into the room to show him one I'd found that I liked, and hand-to-heart, he had the same image on his screen and was about to show me. Fate, baby.
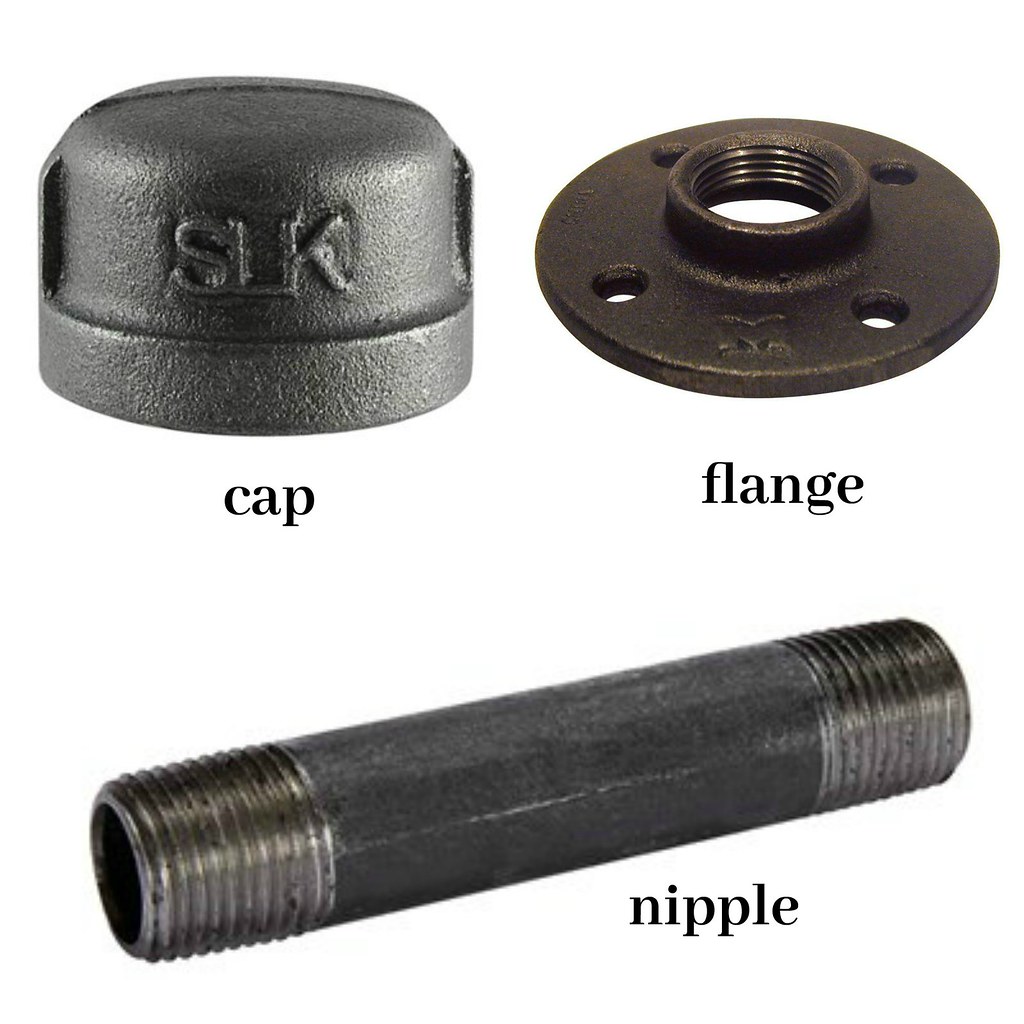
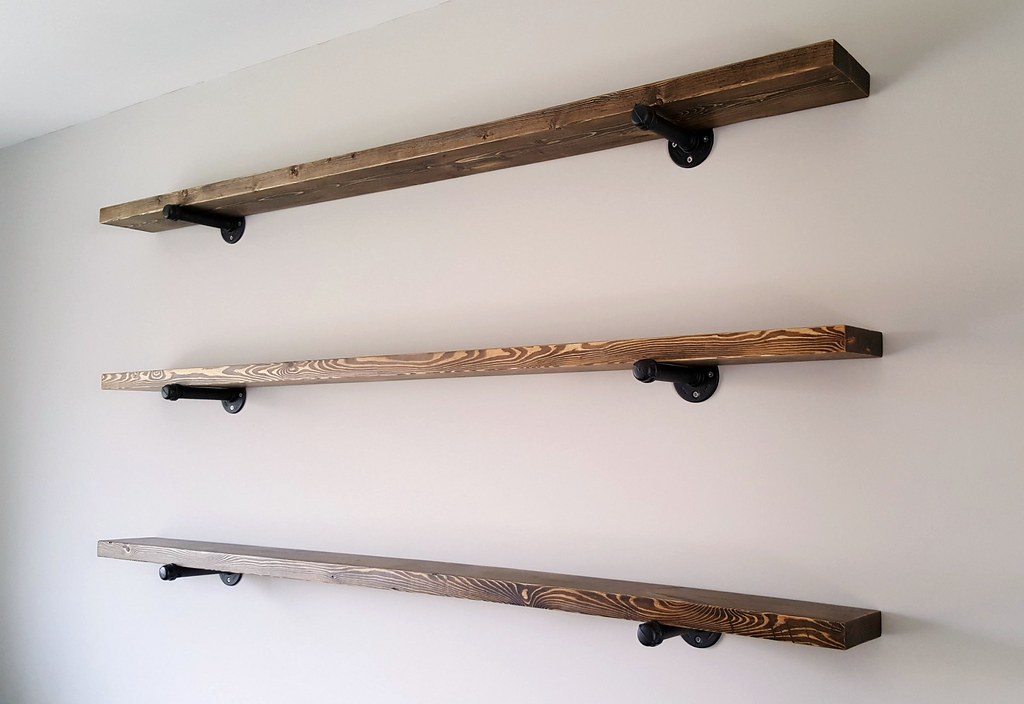
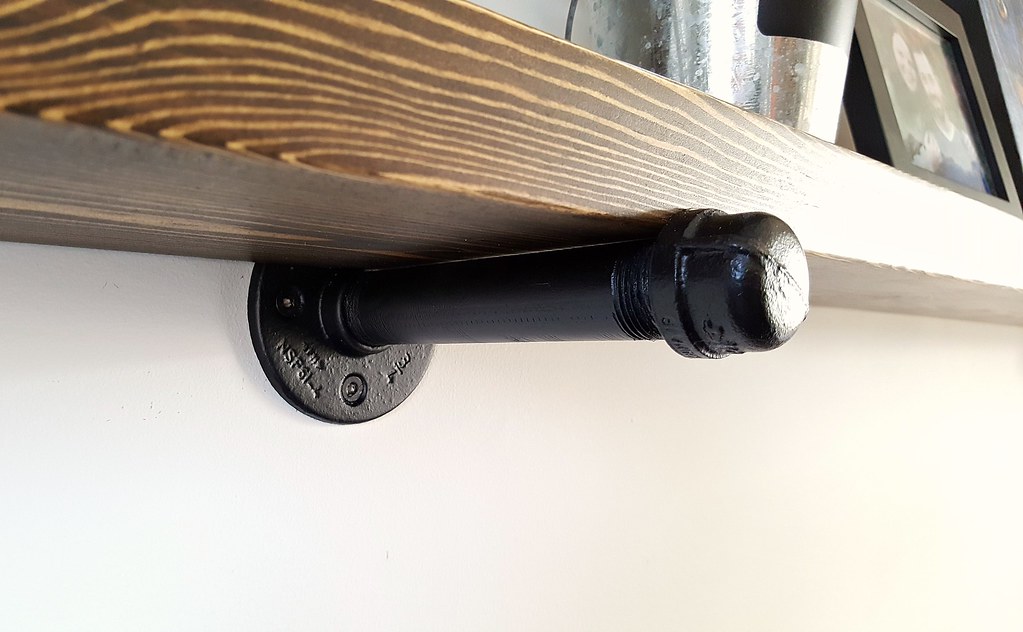
We headed into town for supplies - three 2x6x8 foot boards (shelves would be 6 ft long) and pipe fittings for 6 supports (2 per shelf). We were looking for 6 inch pipes (called nipples), but the shortest pipe we could find was 10 inches - that would make the shelves far too deep for our liking. Tom remembered that he had a length of 3/4" plumbing pipe at home that was left over from relocating the washer/dryer that he could cut up, so we only had to buy end caps and flanges.
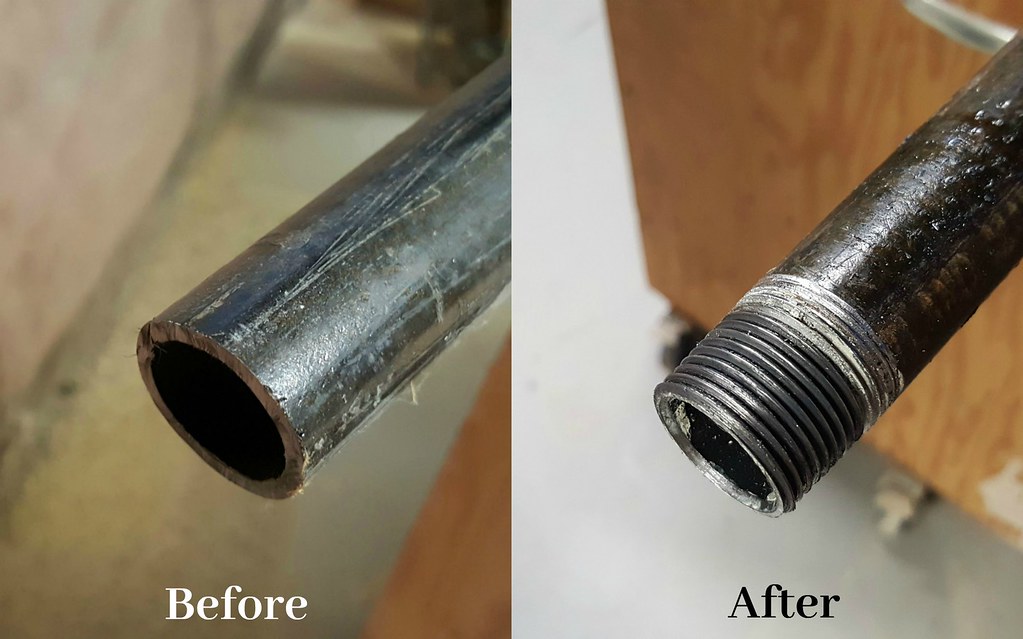
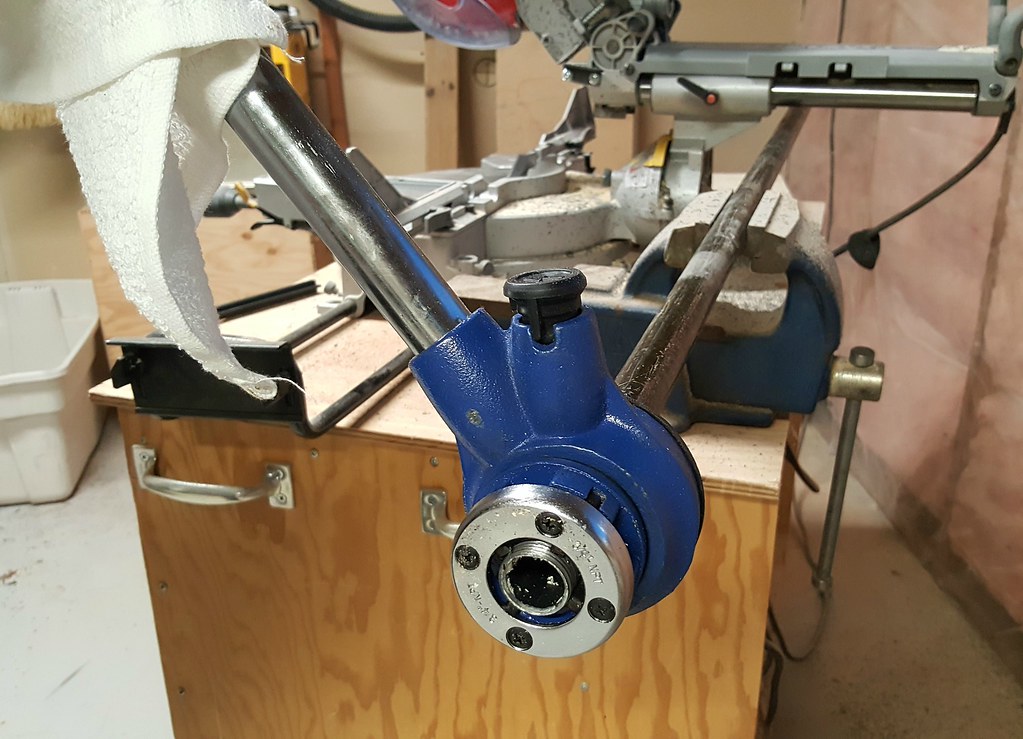
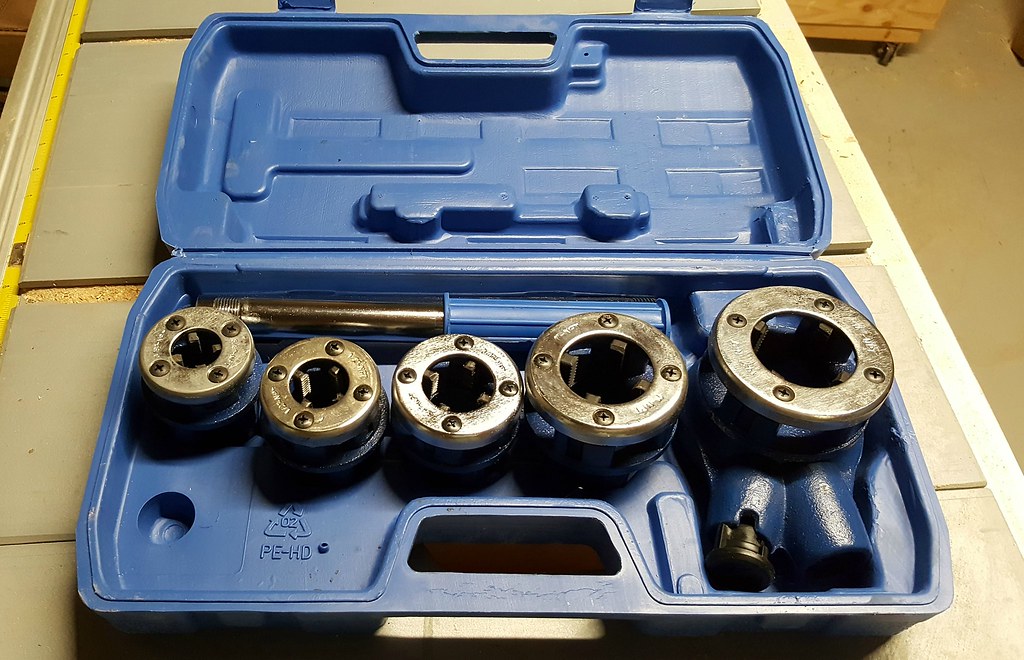
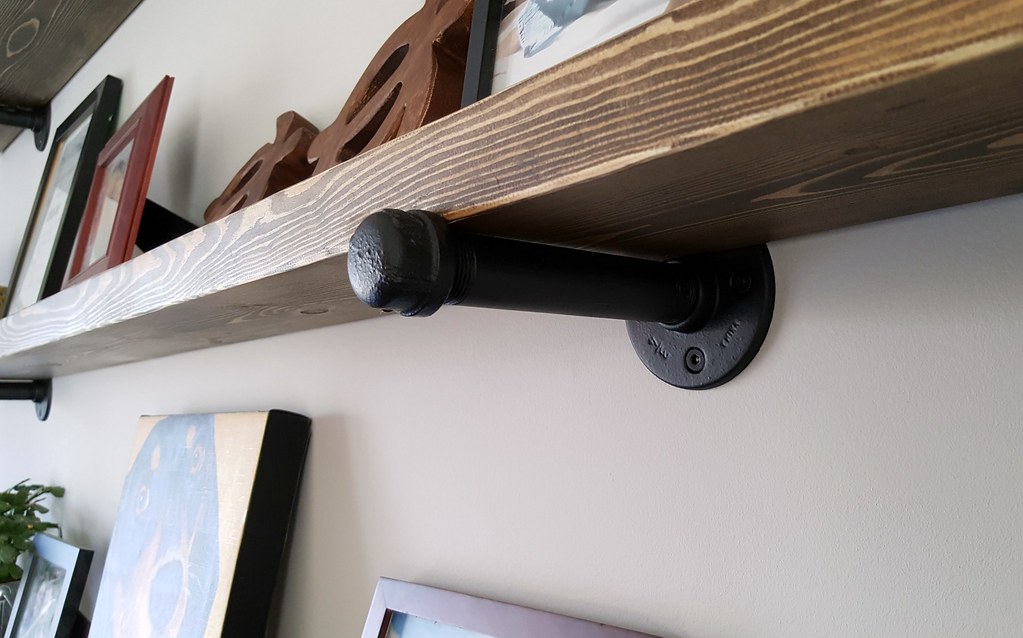
Back home, Tom went off to cut the pipe down to ~6 inch lengths and I sanded the boards. Now were you to buy the correct length of pipe it would already come threaded at each end. Our pipe pieces, having just been cut, were not. You need those threads to attach the end cap and flange. Luckily, we also have a pipe threader - a nifty little tool that carves threads into the pipe. It's a bit messy - metal dust will fly - but quick and efficient.
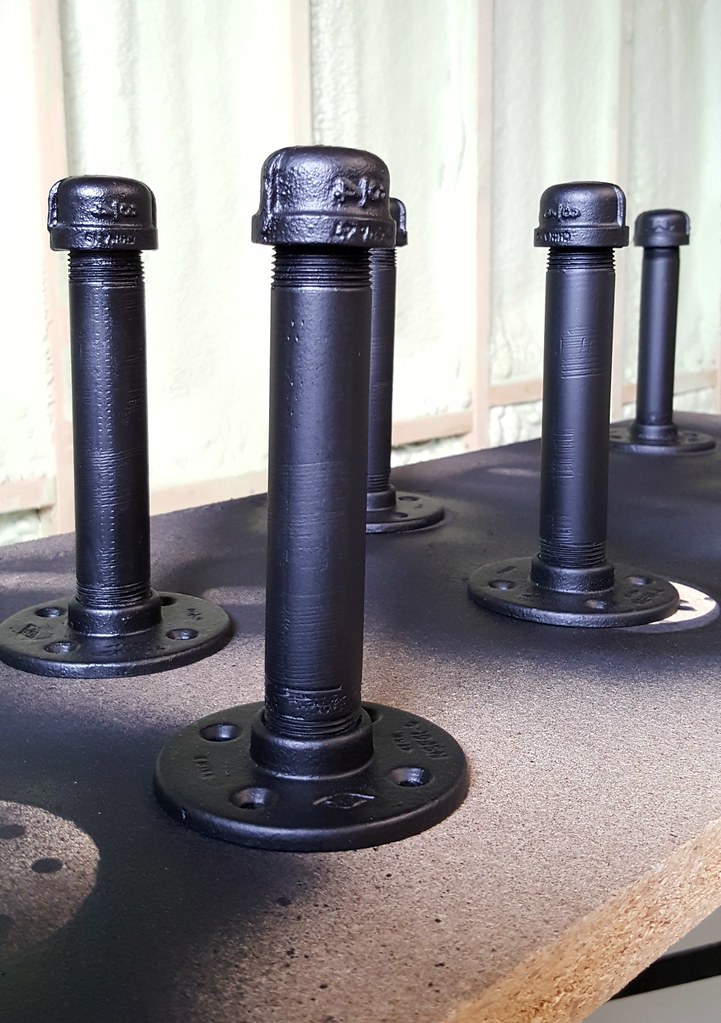
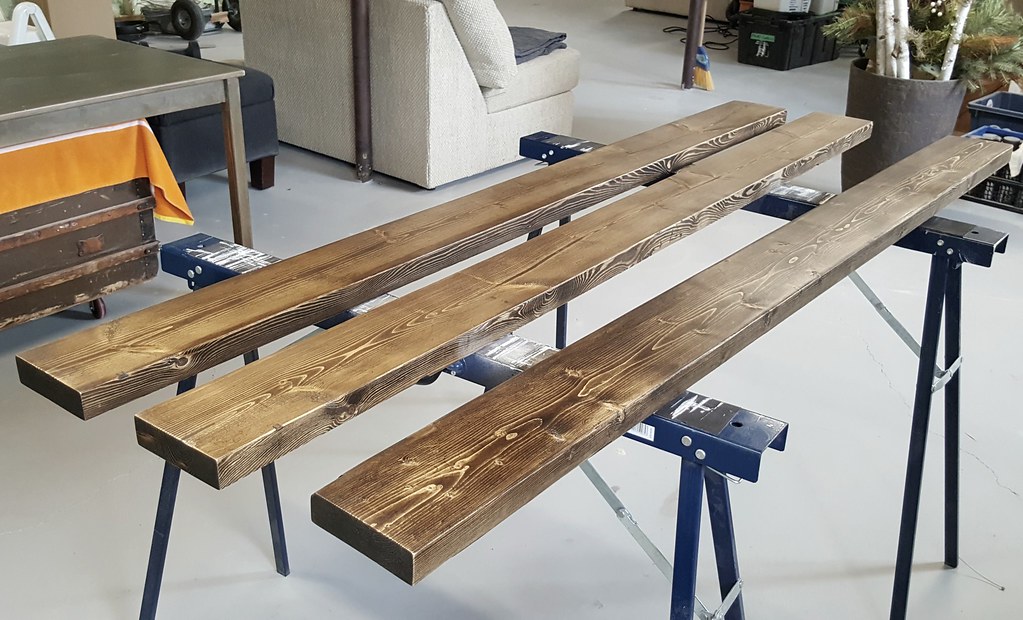
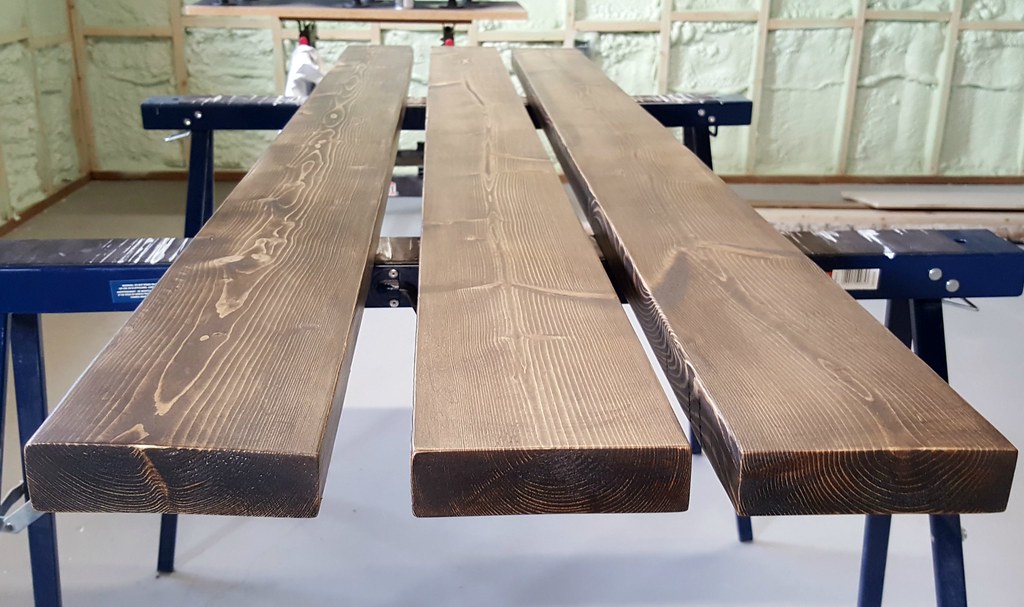
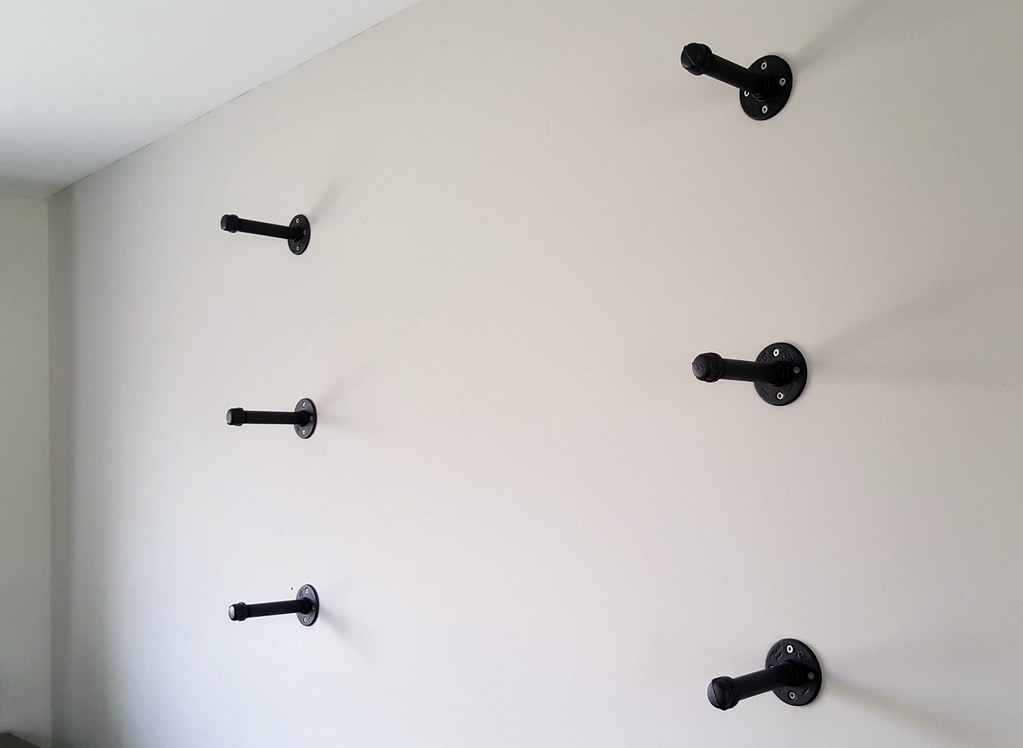
We took it all down and headed back to the basement where Tom set up the supports on some cardboard and spray painted them a matte black while I stained and waxed the shelf boards.
The next day we hung the supports back up and put the boards in place. Tom did make a couple of adjustments to the supports (tightening or loosening the end caps) so that the shelves were very secure. And any adult...toy joke you can think of has already been made. Trust me.
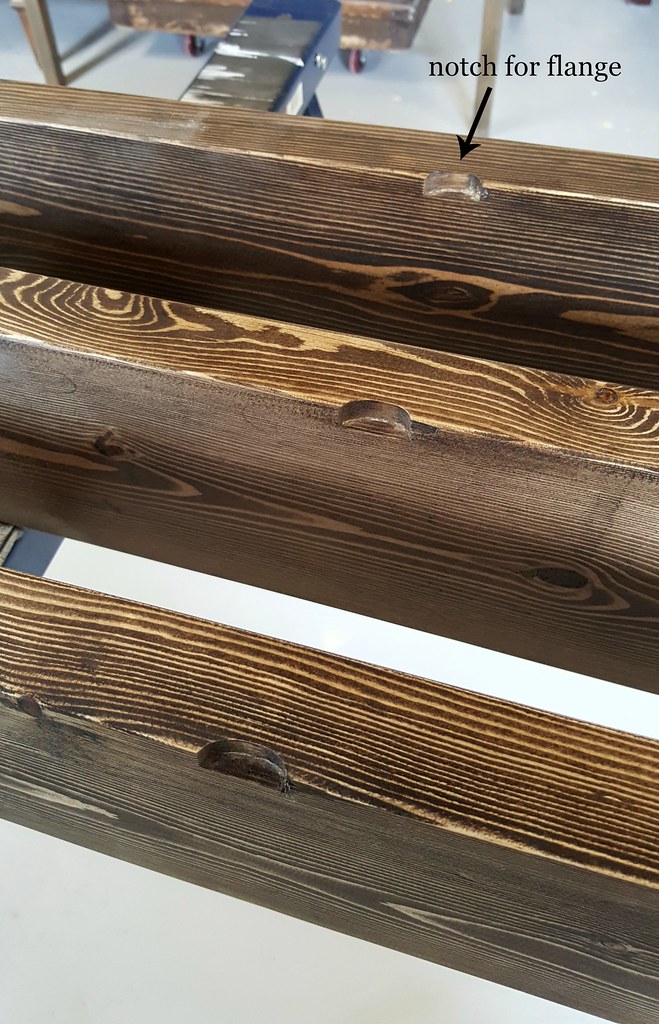
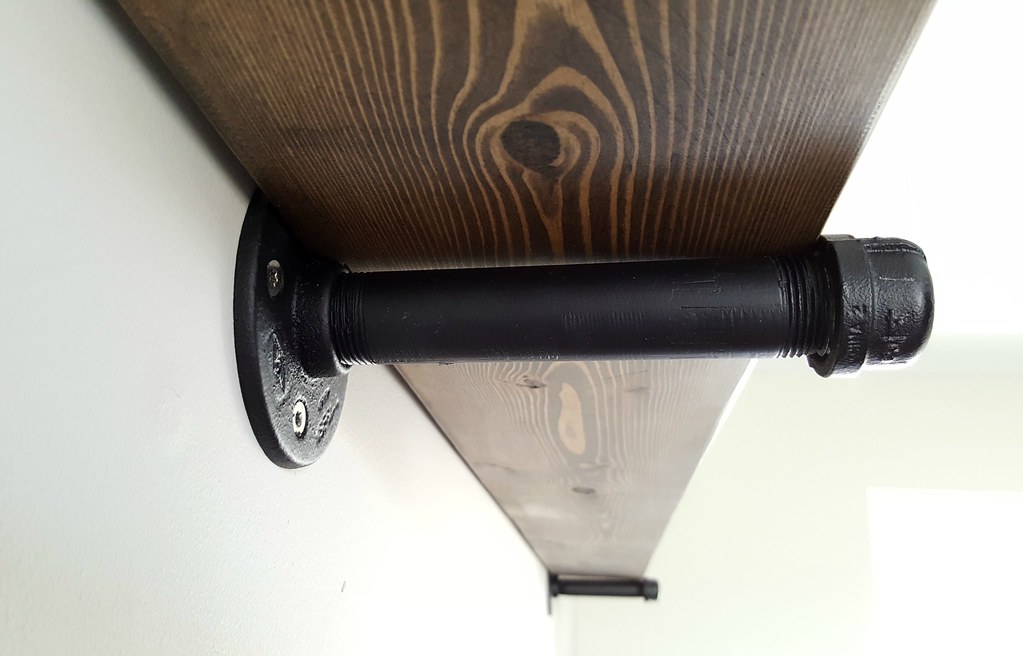
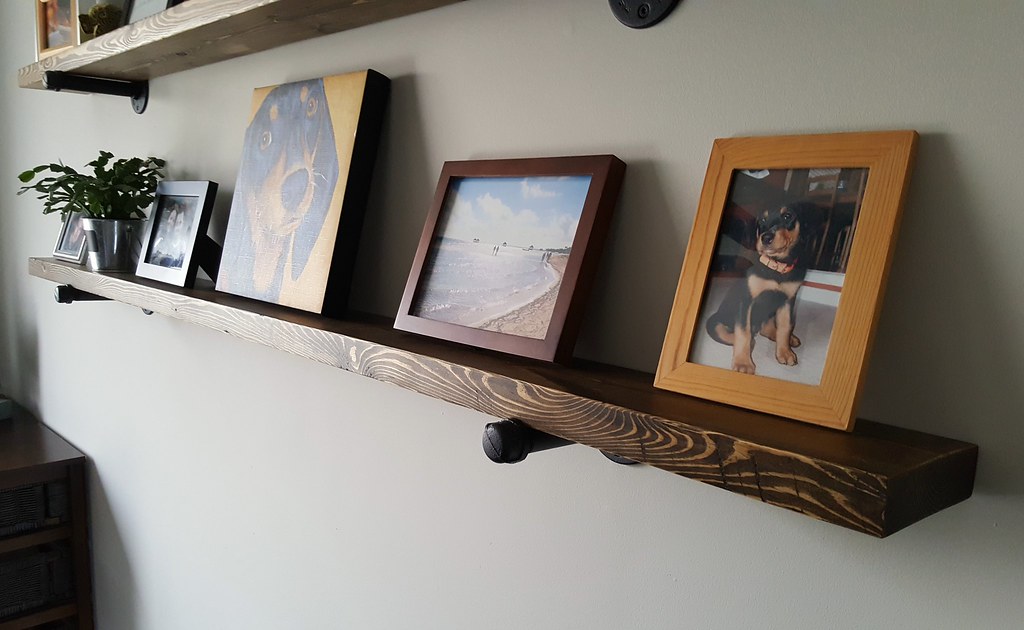
One other modification we made: since you want the shelves to be level, the boards will sit only on the pipe, not up on the flange. But the flange has a little neck that sticks out and that puts a pretty big gap between the shelf and the wall. To overcome this, Tom marked where each board rested on a support and cut a semicircular notch in the back of each shelf so that the neck of the flange drops into it.
That way the shelf sits as close to the wall as possible. You could make the notch even bigger so that the shelf is flush against the wall, but we've found in the past that walls (and boards) are rarely perfectly straight and you end up with gaps anyway. Better that they look intentional.
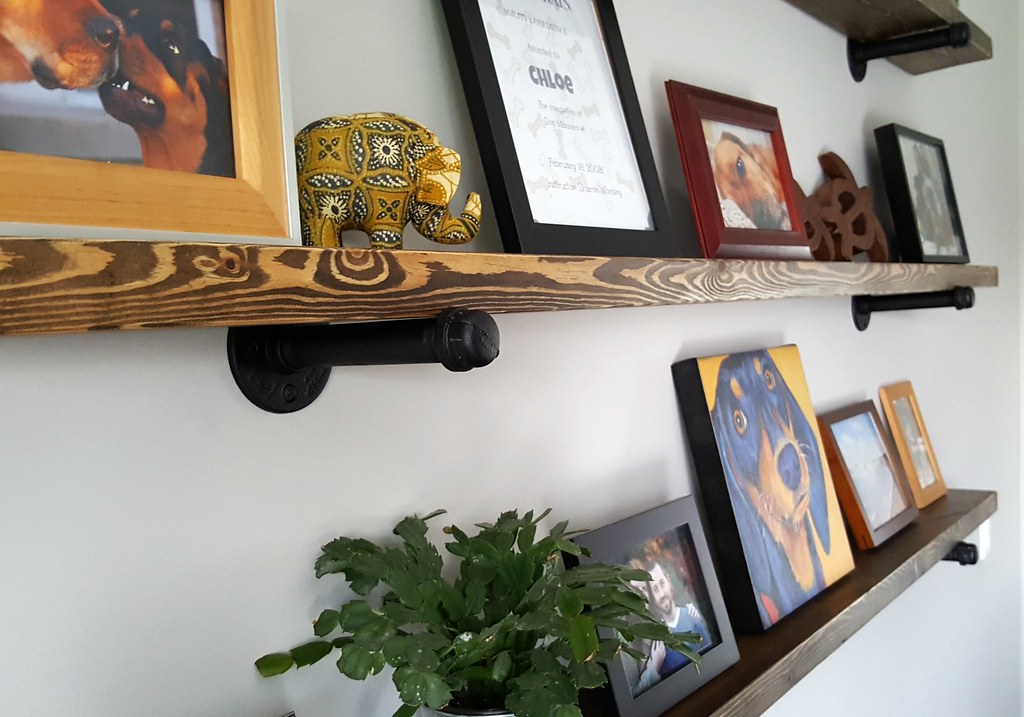
I love the wood. Some people have mentioned that we should have matched the stain to the dining room table, but I like being able to see the wood grain. And I don't think the supports would make as much of a statement if the wood was darker. The bench we built a few years ago looks very similar, so I think once it's available (it's currently being used as a TV stand) we'll place it nearby so they can complement each other. The picture frames are also so many different shades of wood that it's a perfect mishmash of colour.

