Pages

Mar 26, 2018

Stenciled Wooden Toy Box

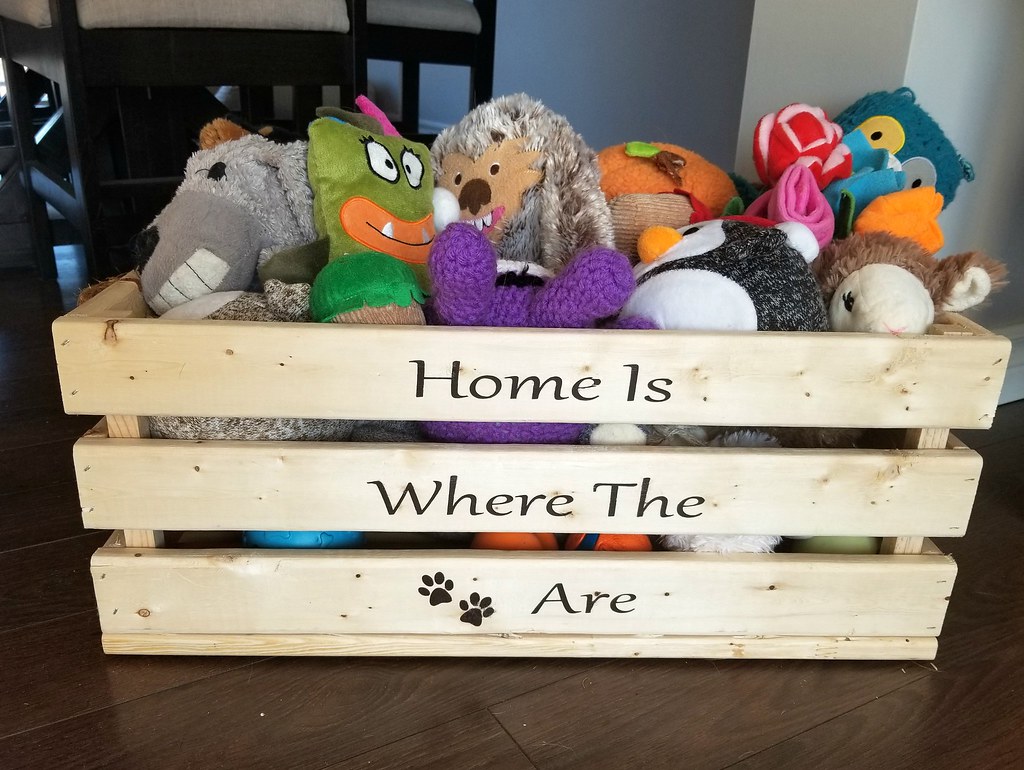
Our dogs are spoiled. They probably wouldn't agree, but you just have to look at their pile of toys to see it. We buy them new toys at Christmas, when we go on vacation, or any time we see something cute in a store that we think they might like. And then there are the toys they get from other relatives. I feel like I have a toddler with the way I'm constantly going around the house collecting toys and putting them back where they belong.

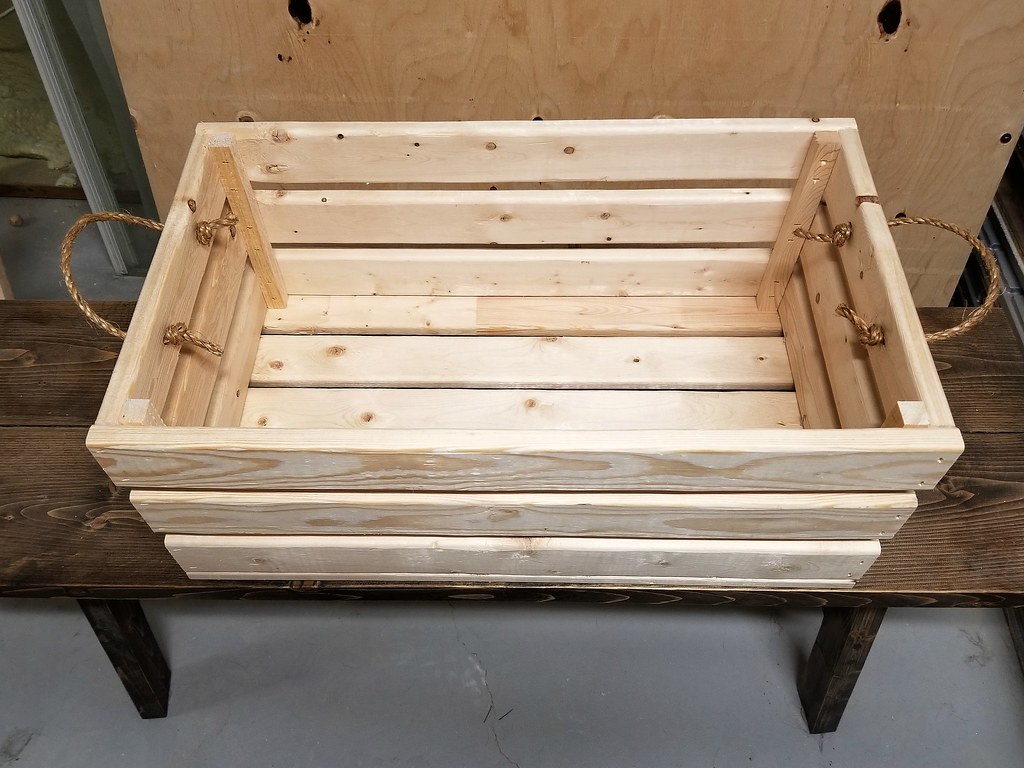
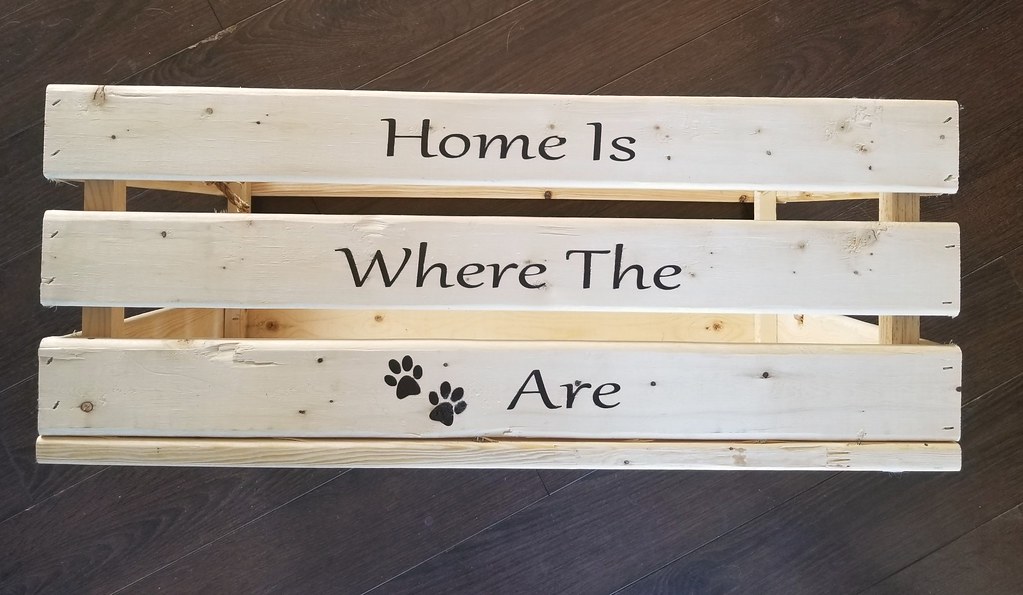
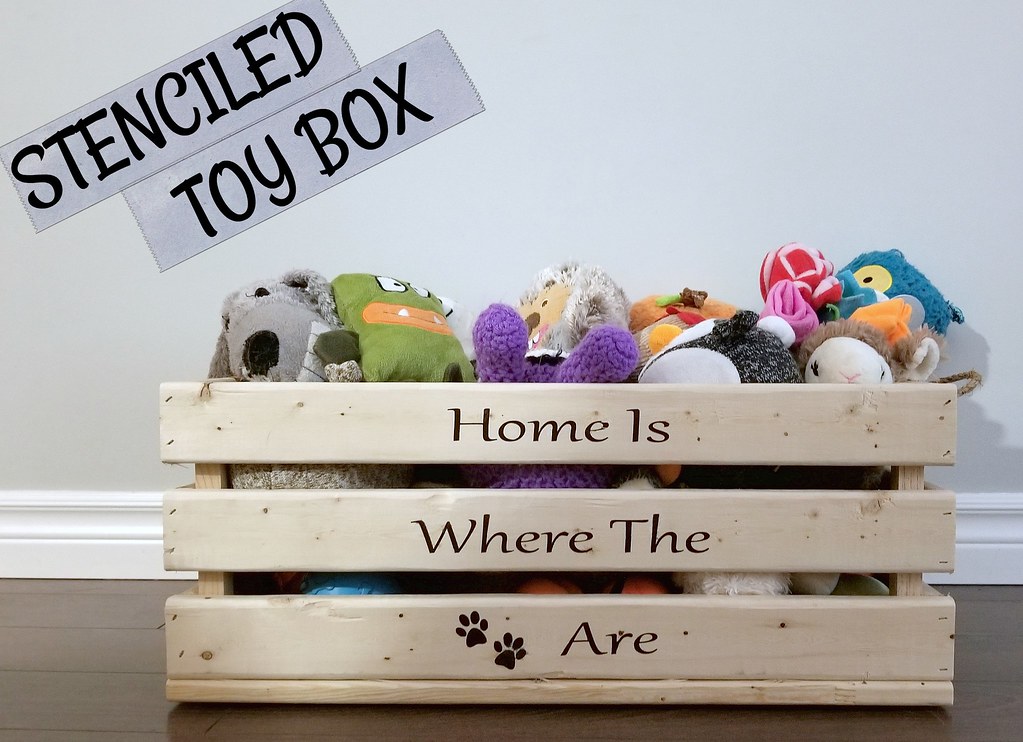
Their stash has grown so large that we've resorted to using one of the wooden storage crates that we built last month as a toy box. And to make the crate a little more fun and personalized, I stenciled it this weekend with a special message.

stenciled toy box dog toys home is where the paws are

For detailed instructions on how we built the crate - please refer to this post.

how to build a wooden storage crate

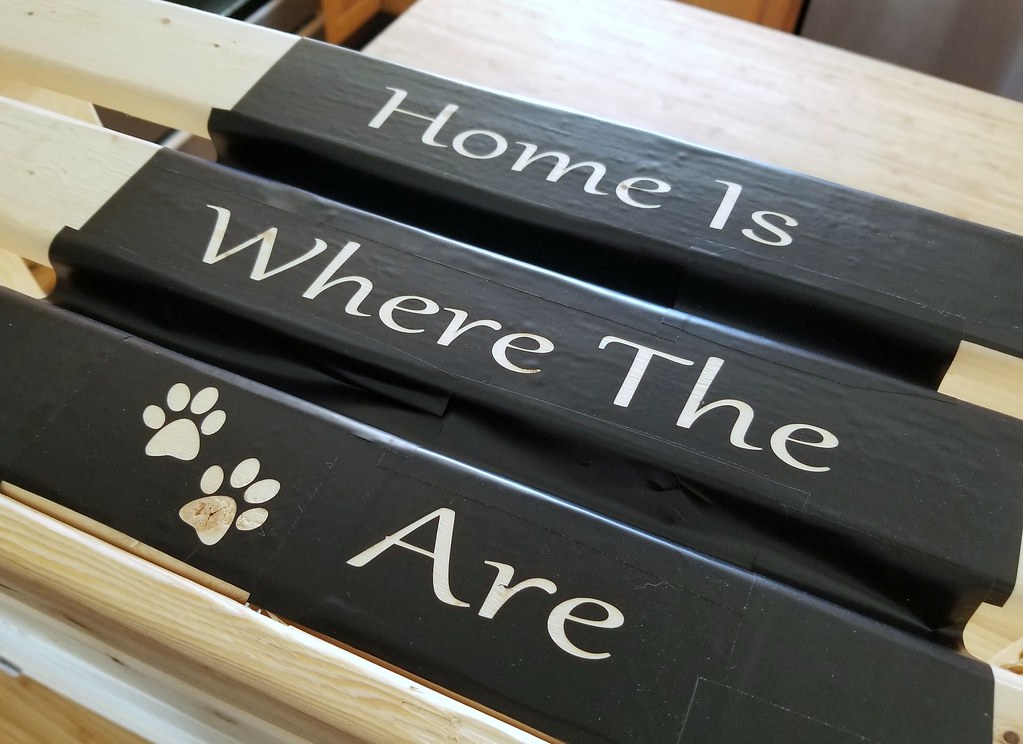
I cut the stencil out of self-adhesive vinyl using my Silhouette Cameo. The Silhouette machine comes with its own software - you plan out your design on your computer and then send it to the machine to cut. I cut it out all on one sheet and then cut out the individual words to lay out on the slats. You just need to peel off the backing paper and apply your words or images to the surface.

stenciled toy box dog toys home is where the paws are

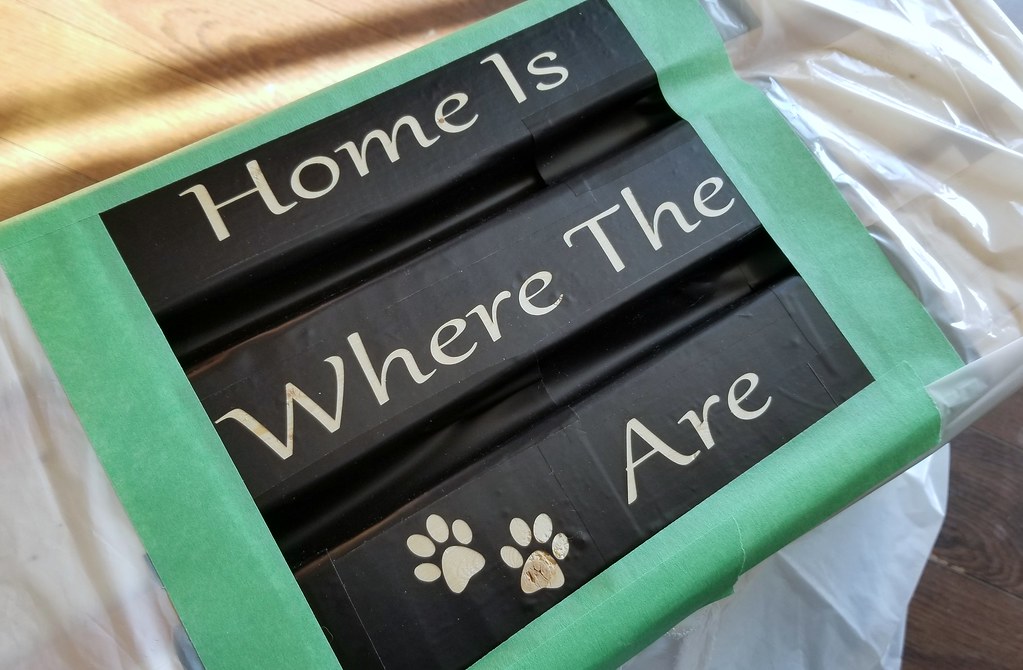
Once the words were in place, I masked off the rest of the crate as I was planning to use spray paint and didn't want any over-spray on the wood.

stenciled toy box dog toys home is where the paws are

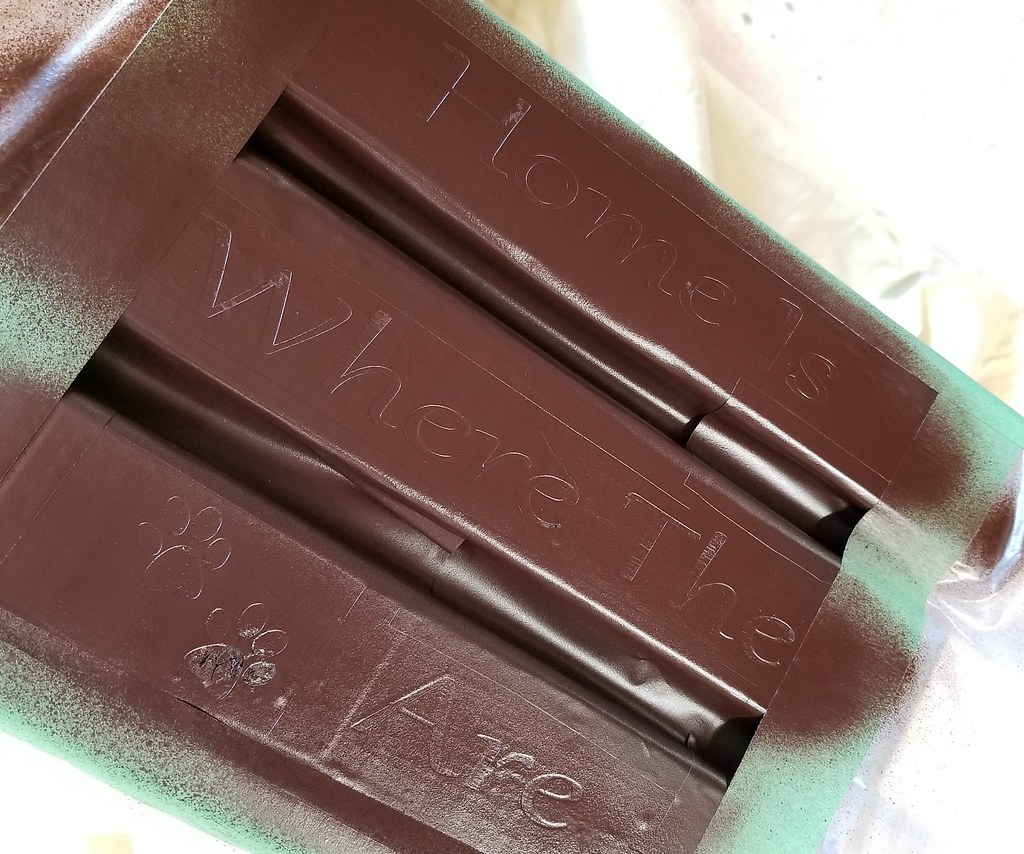
Several light coats and a few hours to dry completely, and I could peel off the stencil. (It kind of looks like a KitKat, doesn't it?) The paint I used was Rustoleum's American Accents Plus in Espresso.

stenciled toy box dog toys home is where the paws are


stenciled toy box dog toys home is where the paws are

How cute is that? And so very true - home IS where the paws are. Our dogs are such an important part of our lives. It's probably why they get spoiled so much. :-)

stenciled toy box dog toys home is where the paws are

Mar 16, 2018

Mobile Miter Saw Stand

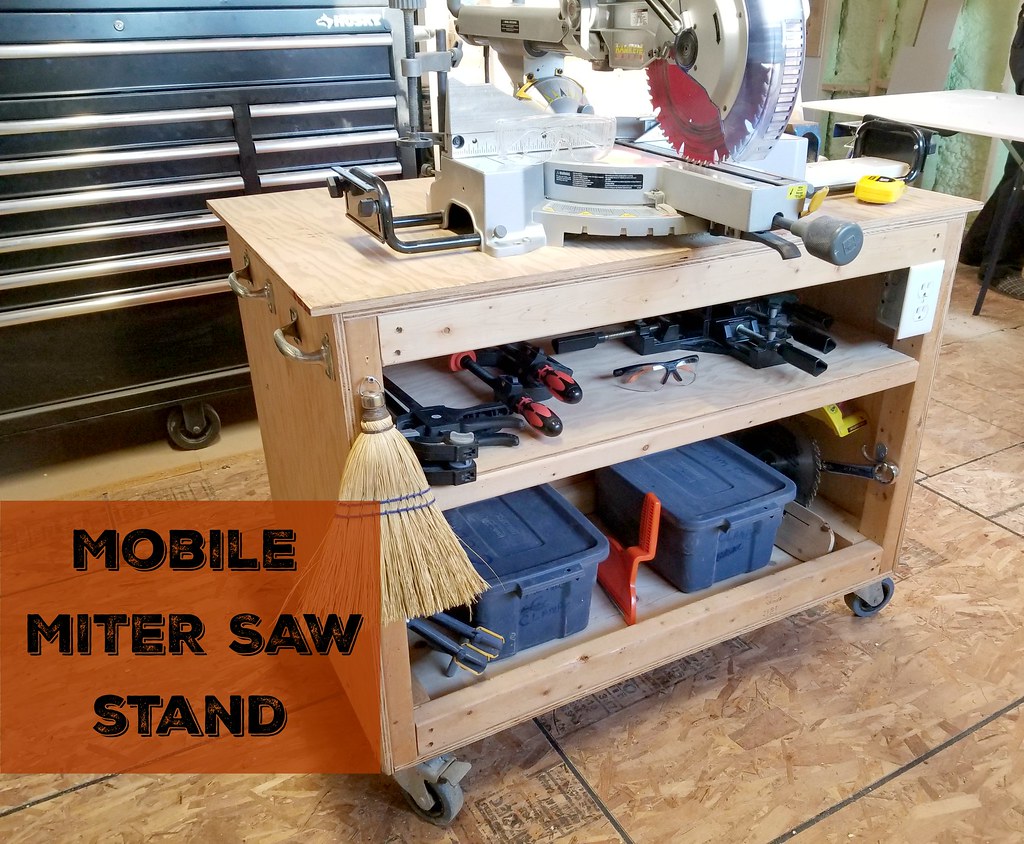
With our entire basement area under construction, the power tools are needed in every corner. Building a mobile stand for the miter saw was a must. And having it do double-duty as a storage cart was a bonus.

mobile miter saw stand cart

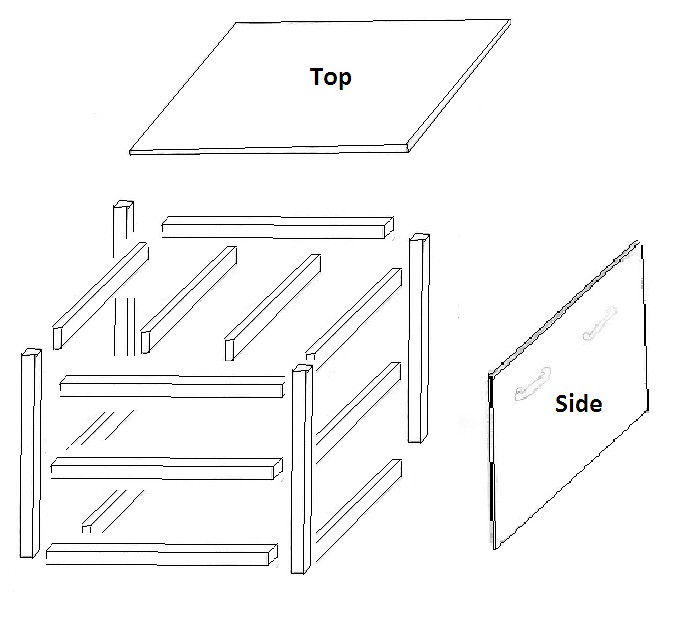
The stand is made from 2x3s for the framework, 3/4" plywood for the sides, and a 1" plywood top. Since it is a utility cart and not for show, we didn't worry too much about the quality of the wood, as long as it wasn't warped.

Here is a very simplified drawing of the 2x3 framework:

mobile miter saw stand cart


The wheels are heavy-duty locking casters that swivel in any direction.

mobile miter saw stand cart


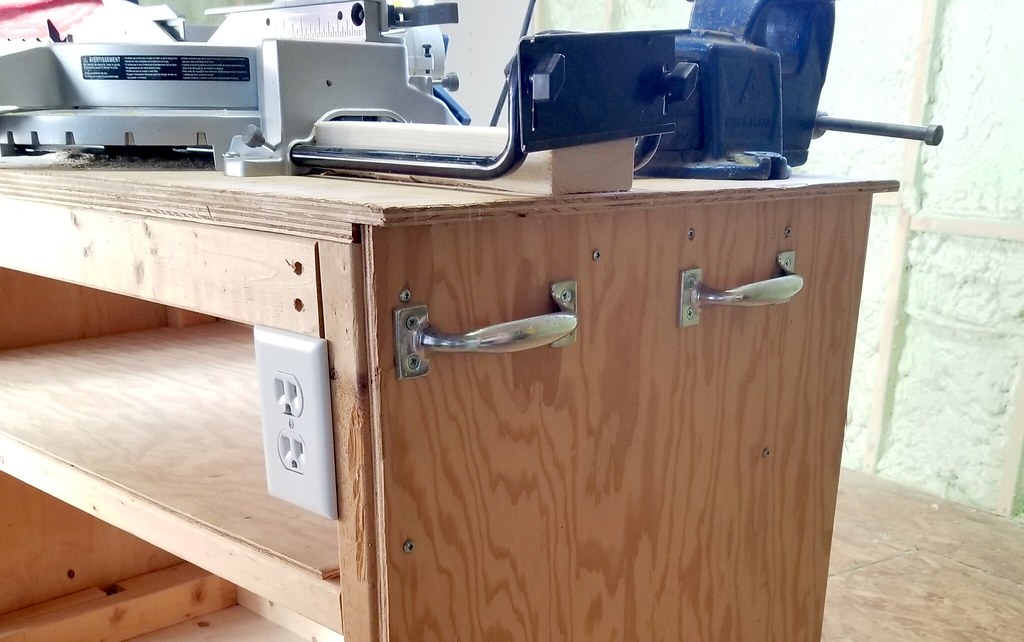
Each end has two large handles to make it easy to move around.

mobile miter saw stand cart

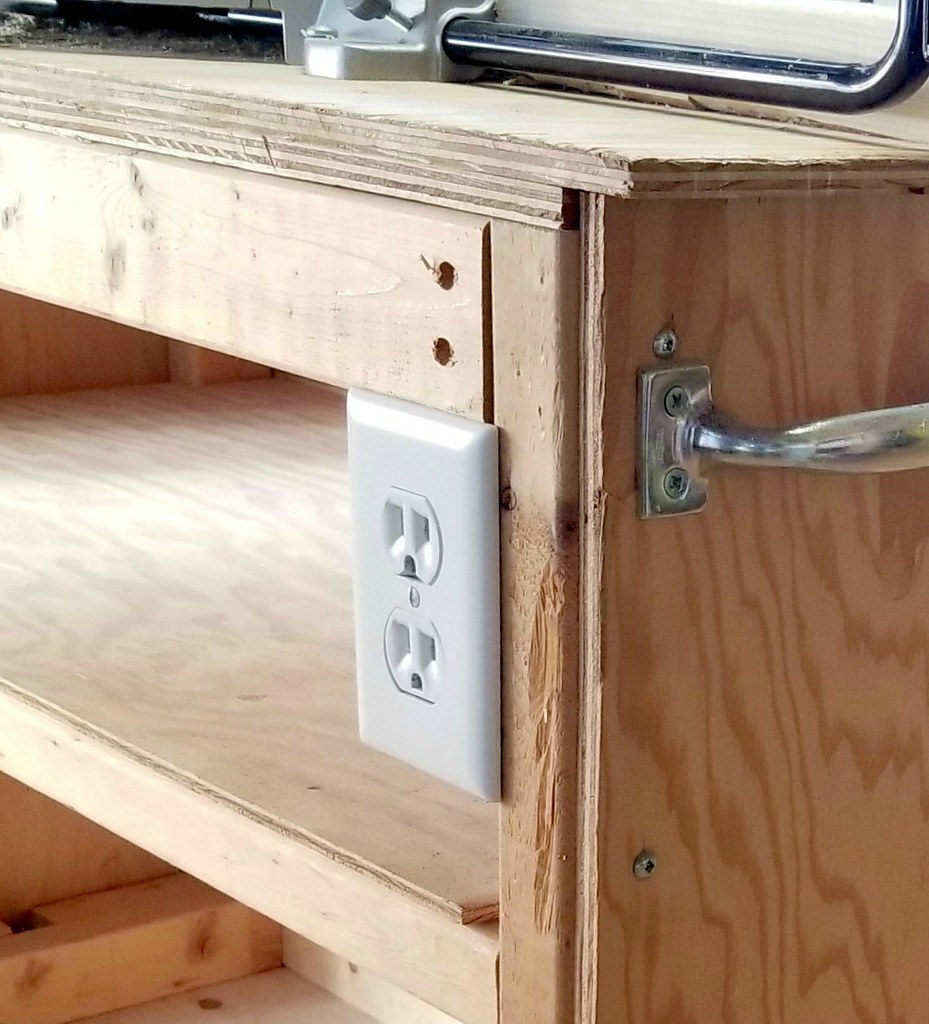
You can also see on the front that we installed an outlet for when you need to plug in another tool - for instance a palm sander to smooth the edges of the board you just cut. It really reduces the need to run extension cords all over the place - or to cut boards in one area and sand them in another.

mobile miter saw stand cart

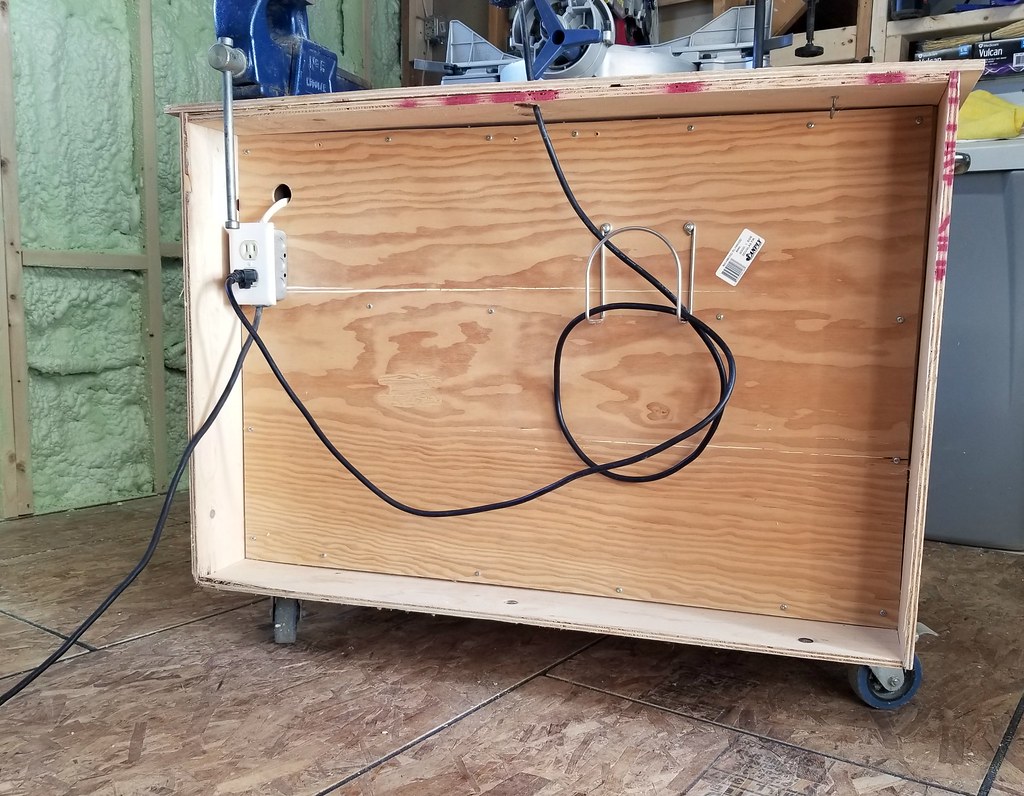
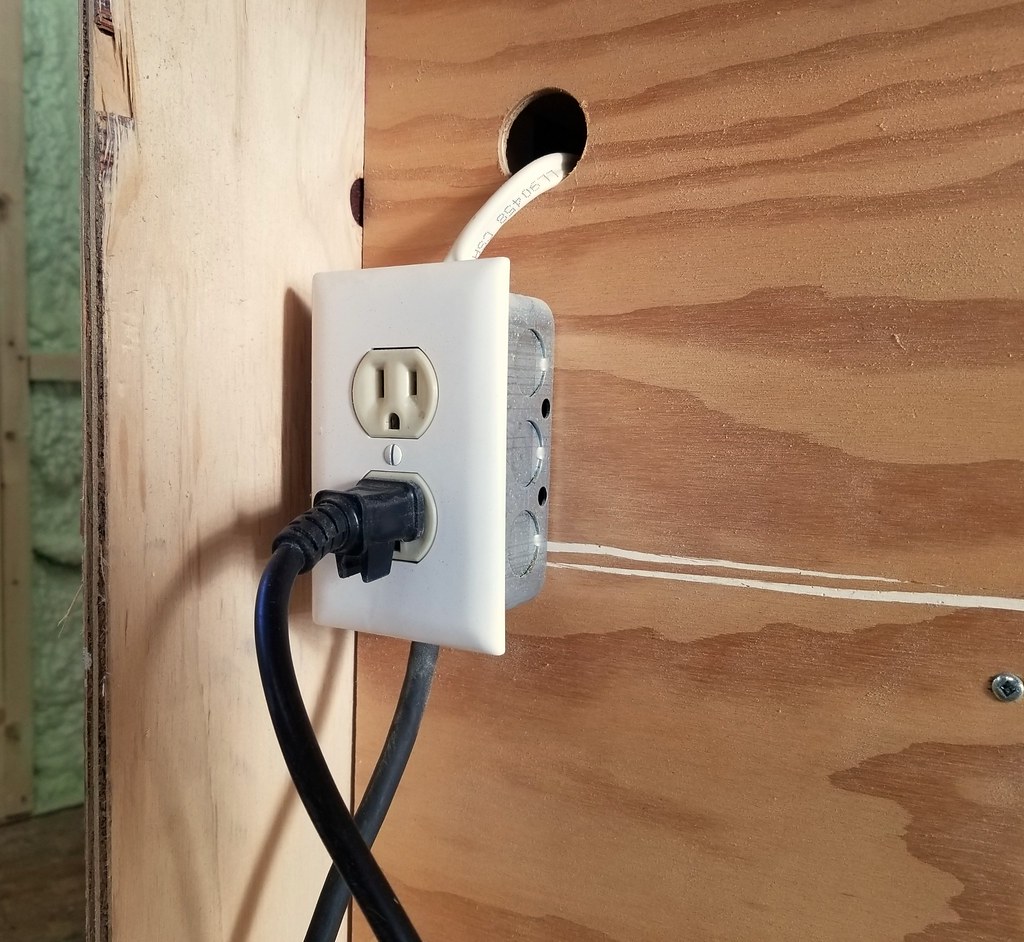
At the back of the cart is an outlet that runs to the outlet at the front and then out to the wall. The miter saw is plugged in here. 

mobile miter saw stand cart

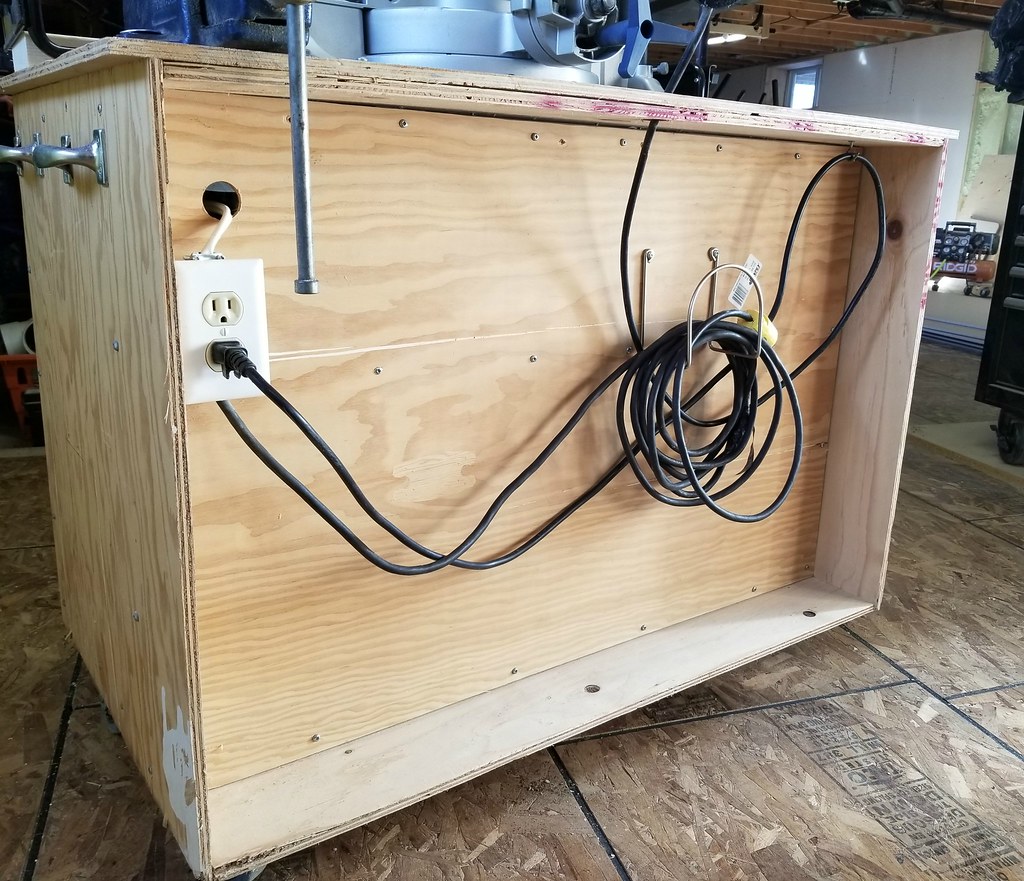
When the cart isn't in use, the power cords can be wrapped up and hung on the back of the cart. Everything is neat and tucked away.

mobile miter saw stand cart


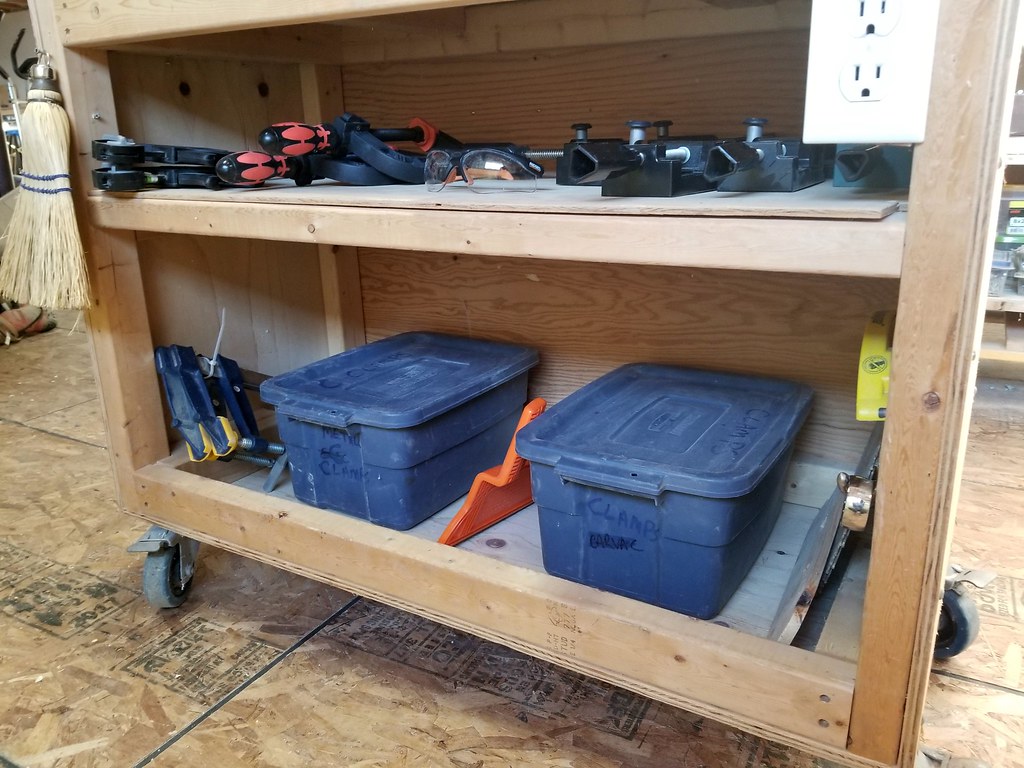
There is so much storage space inside - it's a good thing since we seem to have more tools than places to put them.

mobile miter saw stand cart

mobile miter saw stand cart

Right now it is holding all of our clamps and extra saw blades. Don't forget - you can never have enough clamps! I'll admit, it doesn't usually look this tidy.

mobile miter saw stand cart

mobile miter saw stand cart

mobile miter saw stand cart

mobile miter saw stand cart

Mar 2, 2018

The Best Chocolate Chip Cookies

We just experienced a warm spell this past week, but starting tonight we're in for another round of winter with up to 10 cm of snow falling in a 12 hour period. Seems like the perfect time to hunker down under a cozy blanket with cookies and milk and your favourite book. And I have just the recipe for you.

chewy chocolate chip cookies

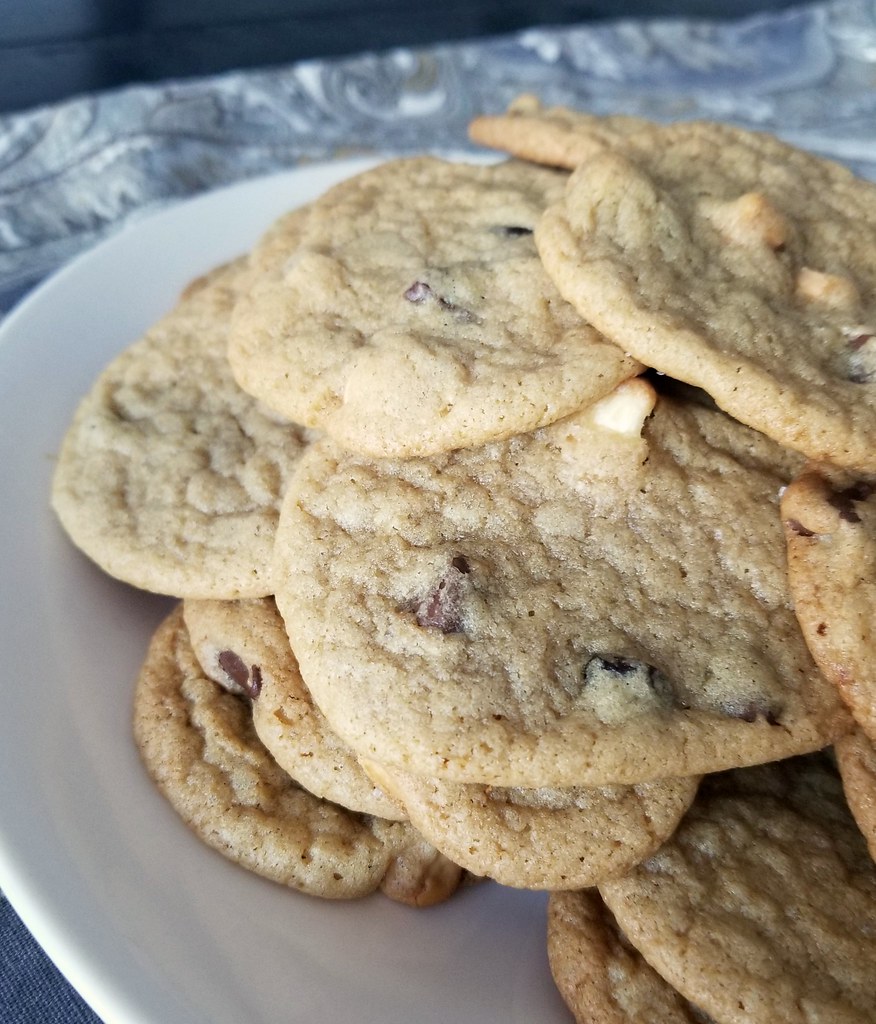
I've never been a great cookie baker.  They're usually "okay", but they always seem to be too bread-y and don't always stay soft and chewy after they've cooled. I think I've finally got the sugar/butter/flour ratios correct now though. I've made two batches of these new cookies on different days and they both turned out amazing.

Ingredients

2 cups flour
1/2 tsp baking soda
1/2 tsp salt
3/4 cup butter, melted
1 cup brown sugar
1/2 cup white sugar
1 tbs vanilla extract
1 egg
1/2 to 1 cup chocolate chips
Optional - butterscotch chips, trail mix, sea salt


Preheat oven to 325 degrees.

In a small bowl, mix together the flour, baking soda, and salt. I use a whisk to remove lumps as I don't have a sifter. Sifted or whisked flour combines more evenly into your mixture.

In a medium bowl, stir together the melted butter, brown sugar, white sugar until smooth and creamy. Mix in the vanilla and egg. Slowly add in the dry ingredients, taking care not to over-mix.

Stir in the chocolate chips. I don't like too much chocolate in my cookies (is there such a thing?) so I went light on the chocolate chips - maybe 1/4 cup - added 1/8 cup of butterscotch chips, and a handful or two of trail mix (fruit & nuts). This recipe has a lot of sugar in it and I think cutting back on the chips helps to balance it.

chewy chocolate chip cookies

Using a teaspoon, drop balls of cookie dough onto a greased or parchment-lined cookie sheet. Right before baking I sprinkled each cookie with a few flakes of sea salt. I also looked up why salt tastes so good on cookies. Apparently salt increases the body's ability to taste sweetness. Who knew?

Bake for 8 minutes or until just slightly underdone. Cookies will puff up a bit in the oven but will flatten out once they cool.

This recipe makes 5 dozen 2-1/2 inch diameter cookies.

chewy chocolate chip cookies