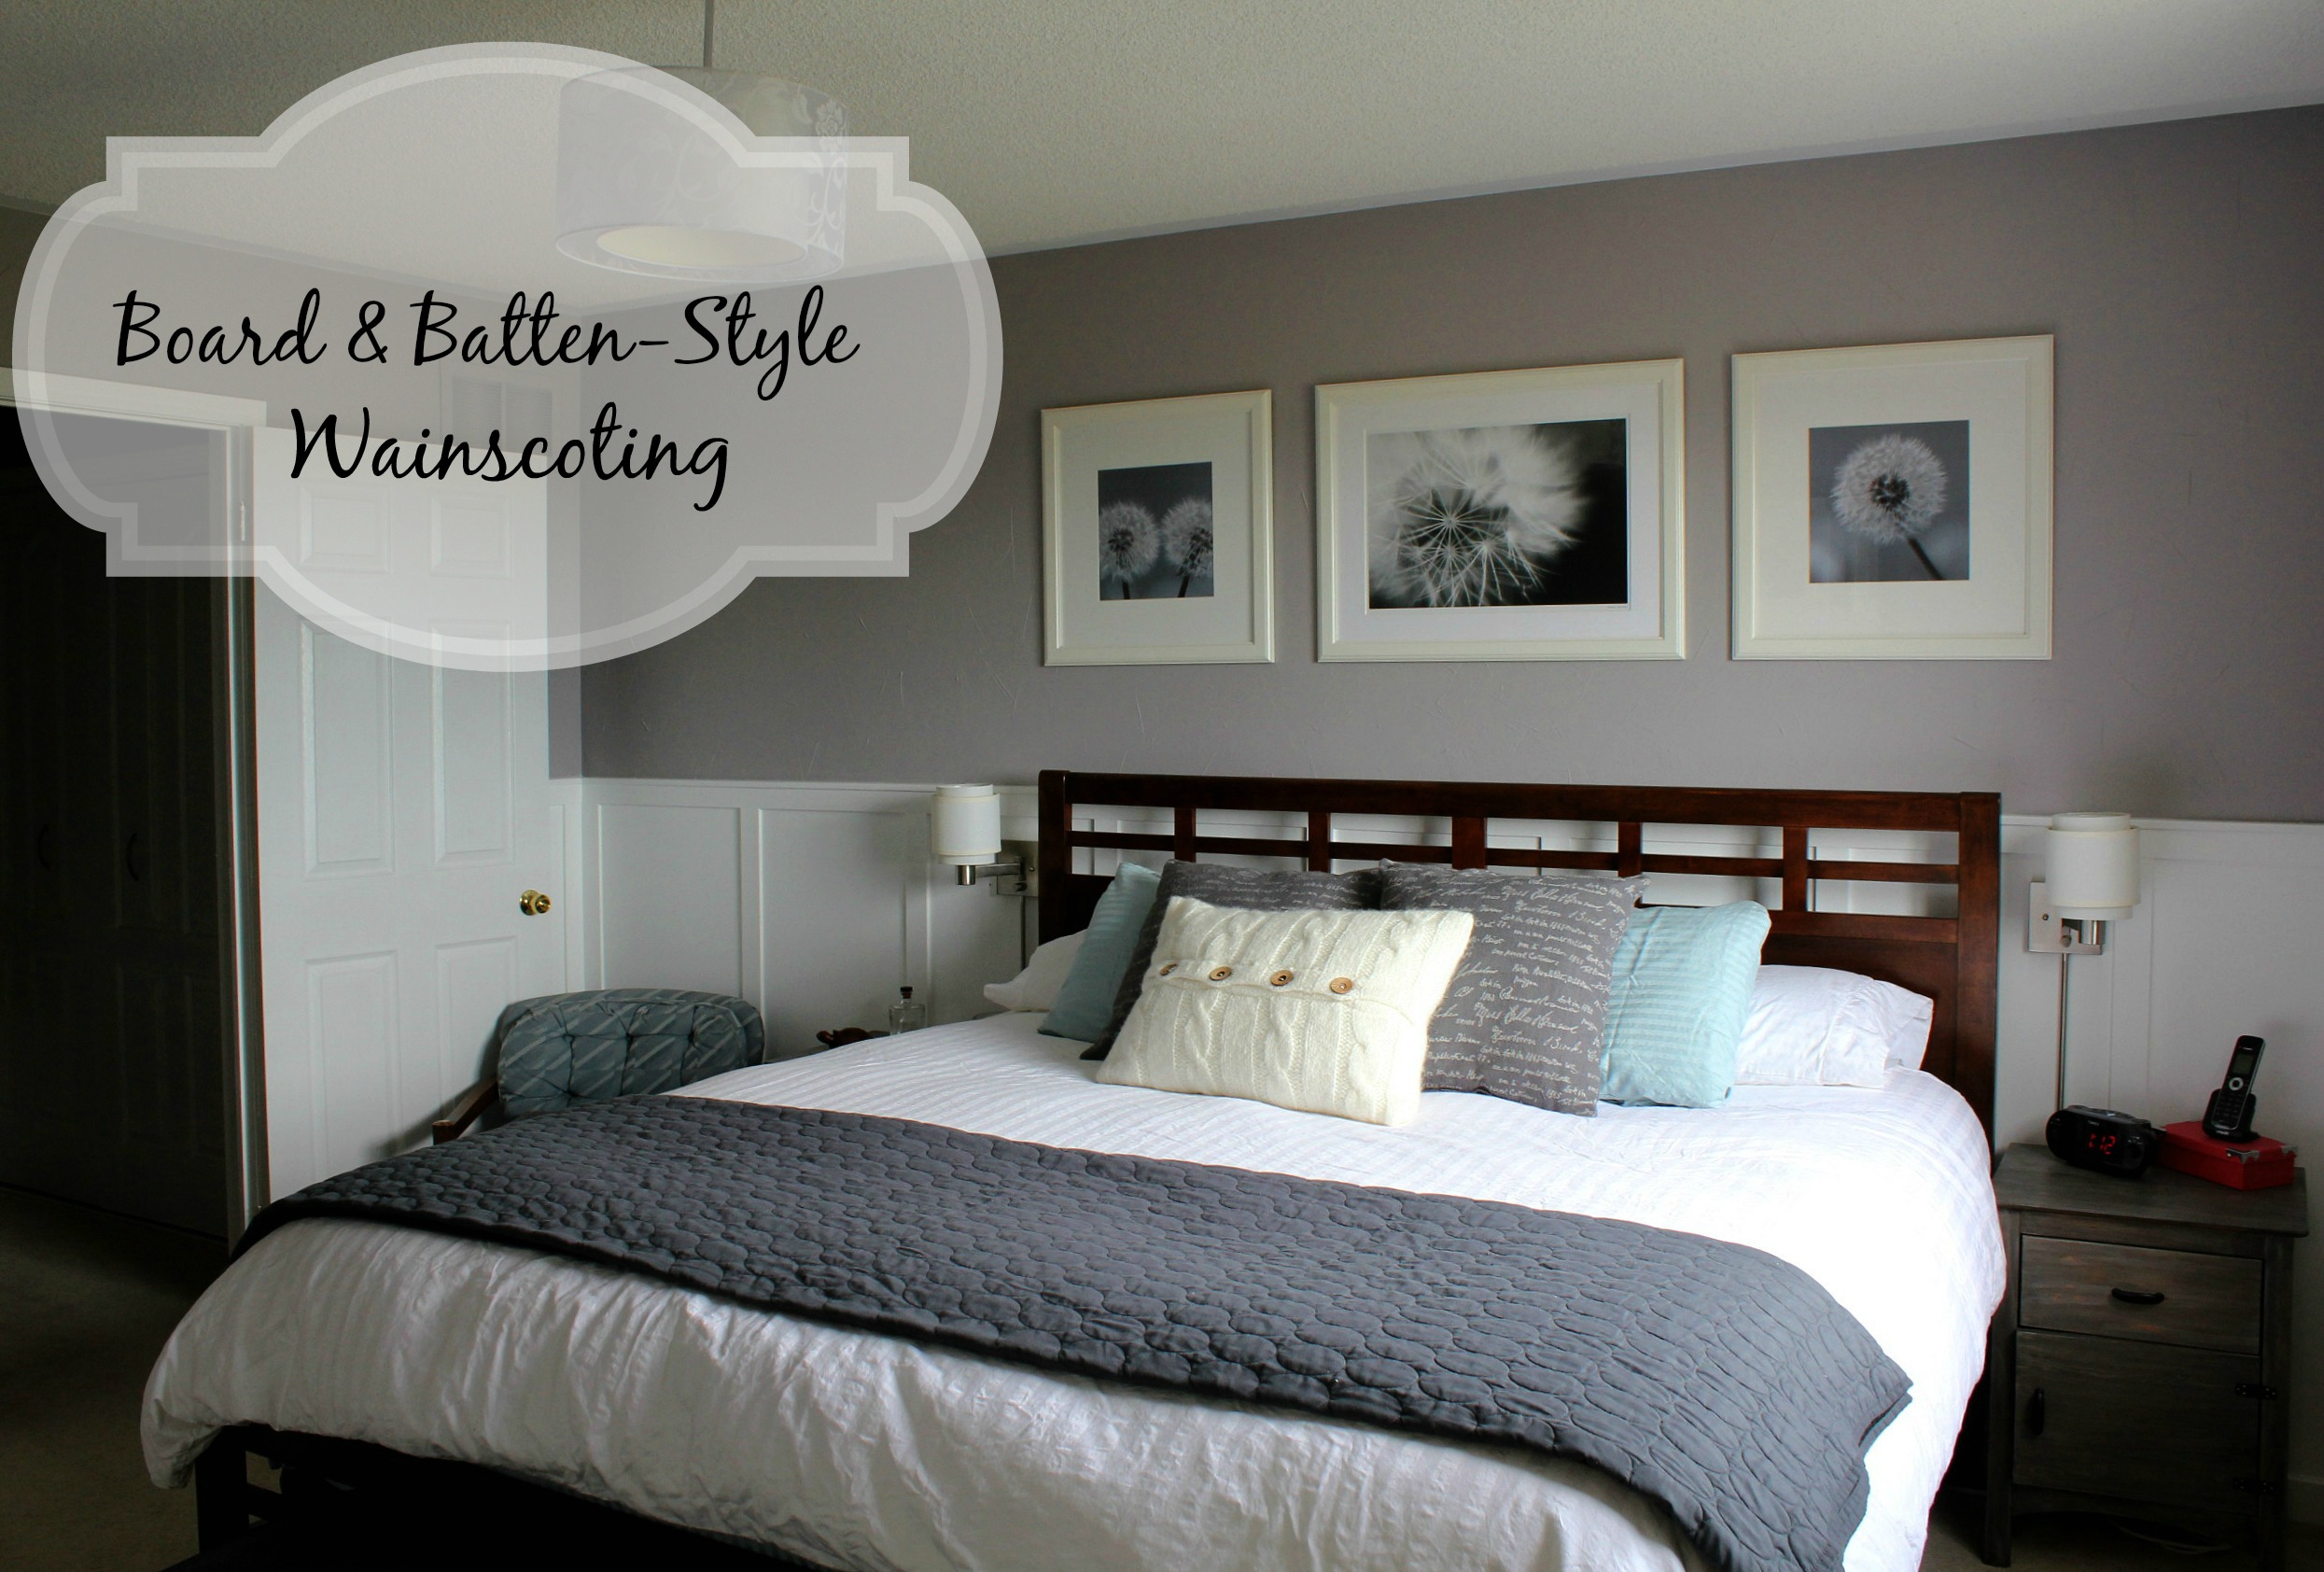
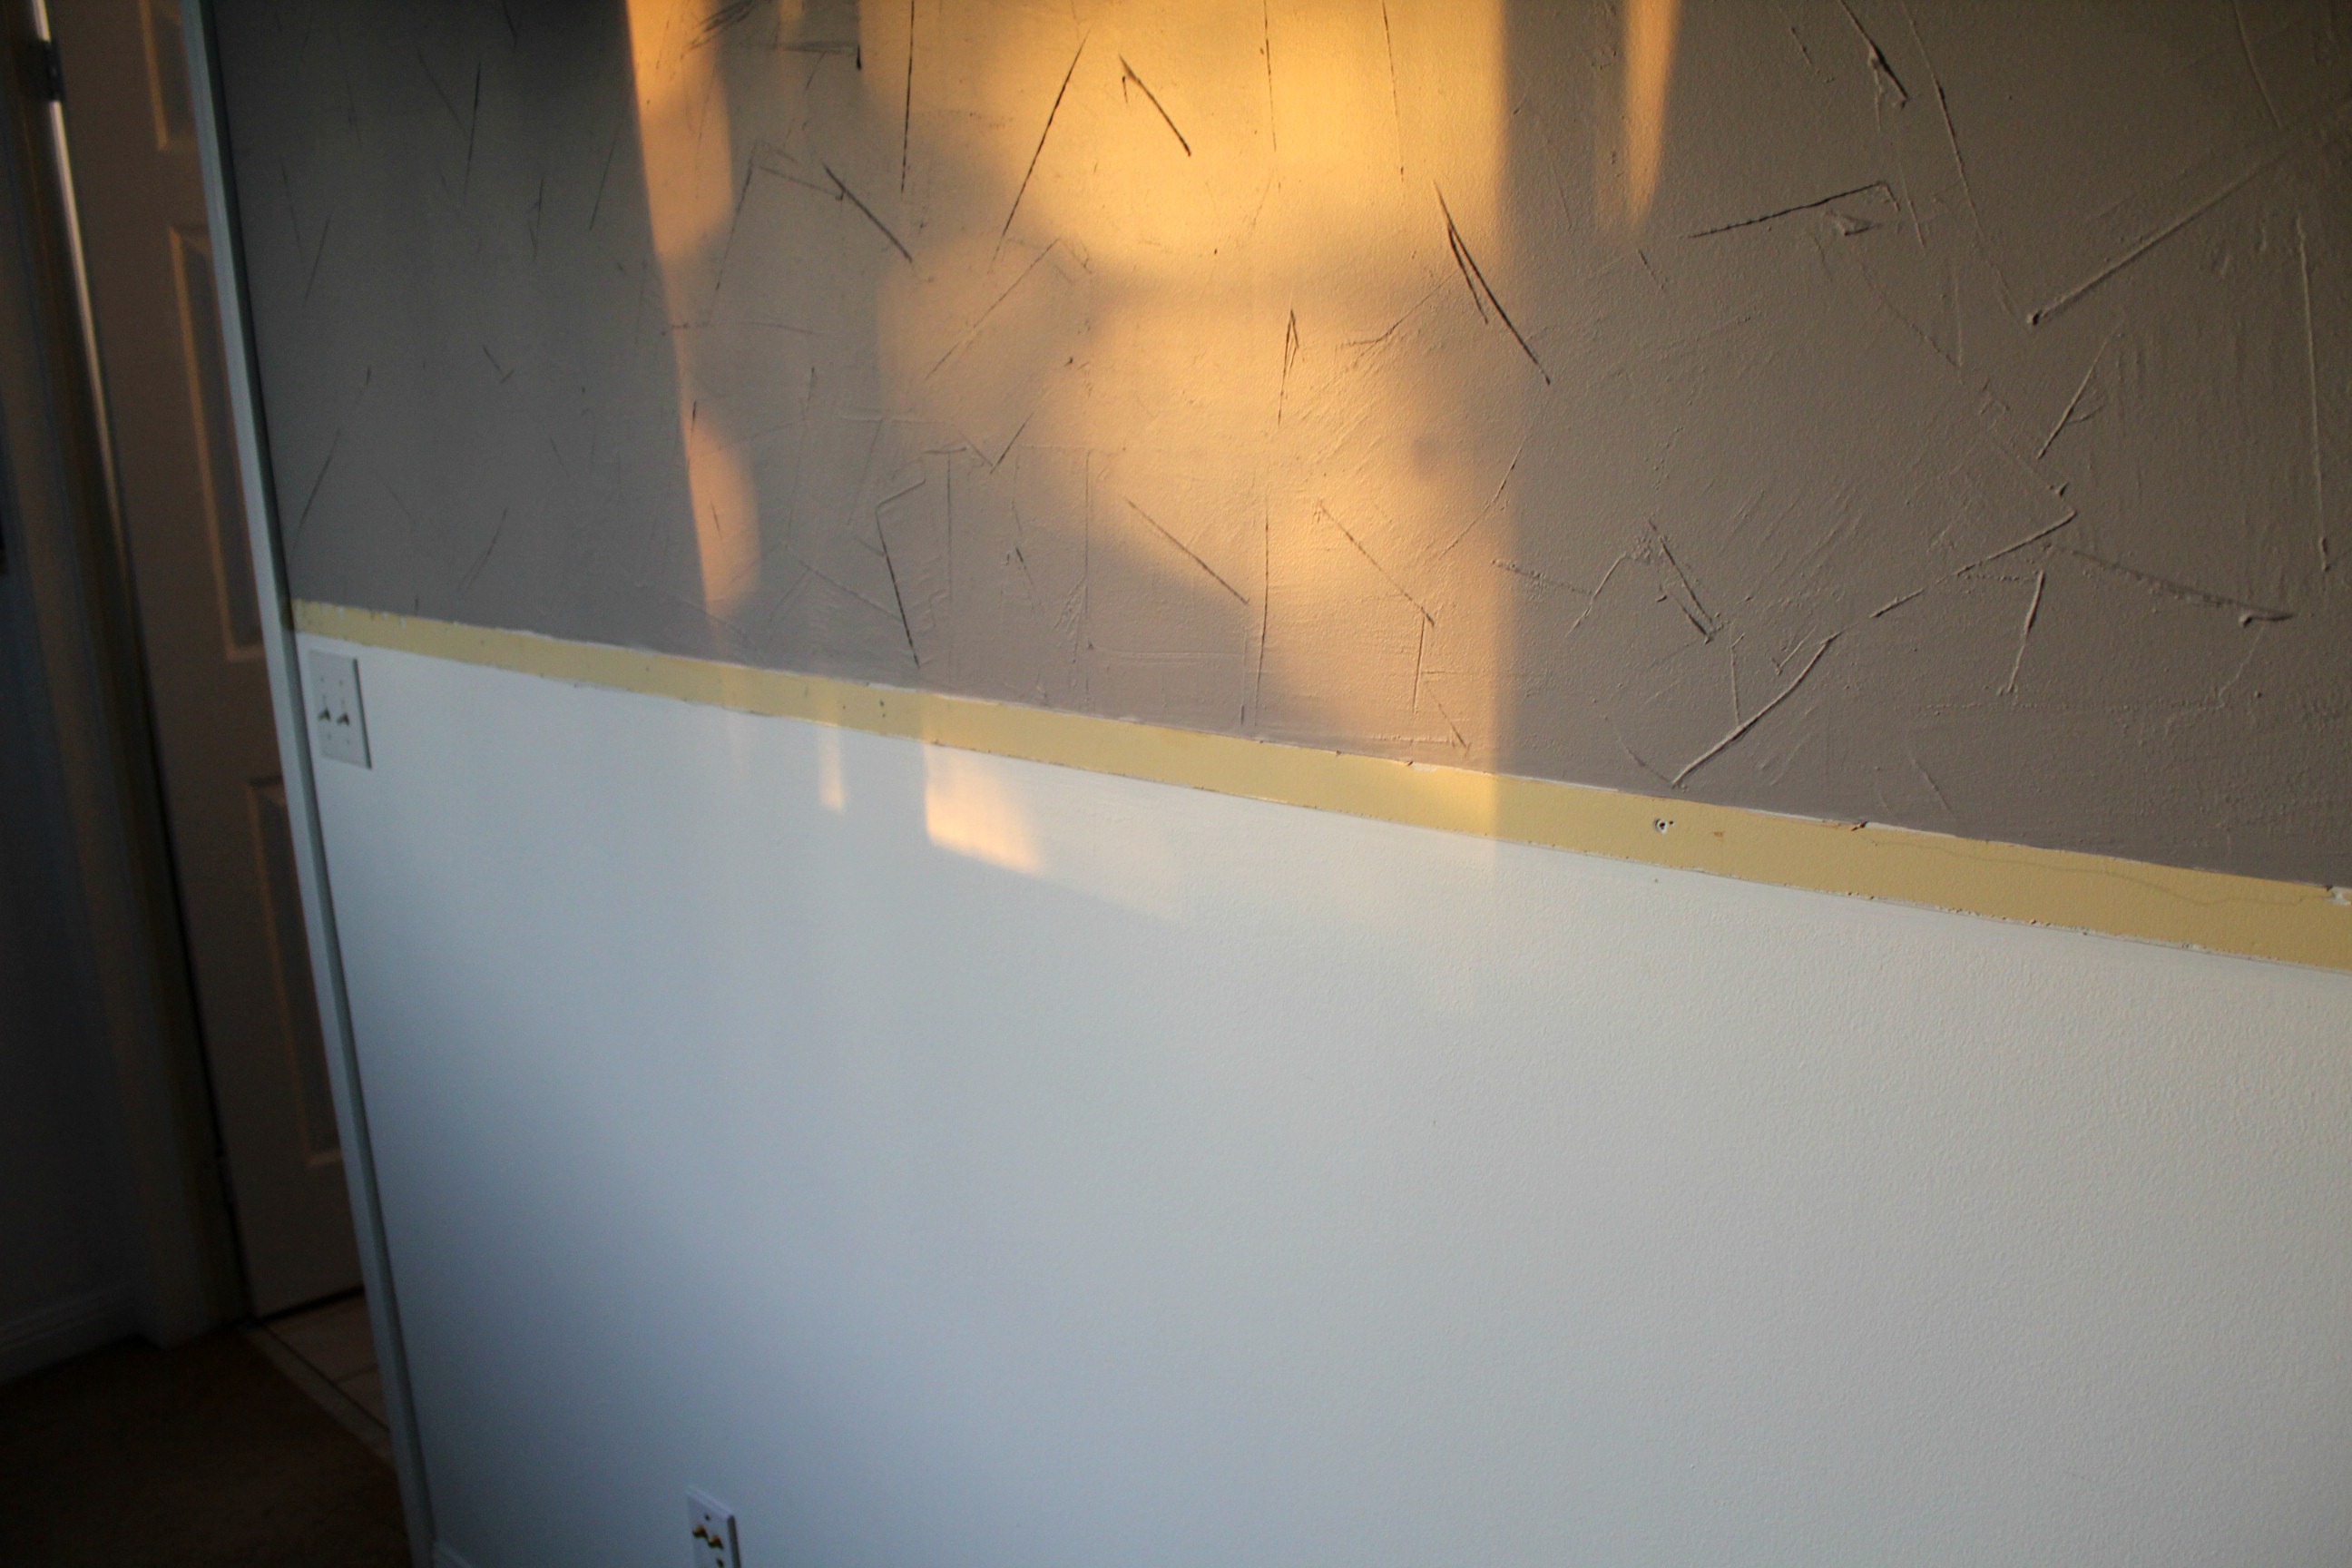
Way back when, before the tilers came in to do the bathroom, I painted the lower half of our bedroom wall in anticipation of installing board and batten-style wainscoting. Once the workers had cleared out, I took a week off from work and finished it.
I don't think I've ever been so proud of a project. I did the whole thing myself. The whole thing. I will give Tom credit for planing all of the boards for me, but other than that, this was my baby, start to finish.
The first thing I did was remove the existing chair rail and baseboards. The battens were going to be planed down to the thickness of the door trim, but the baseboards were too thin from the start. If we'd left it as is, the bottom edges of the battens would have ended up hanging over the trim.
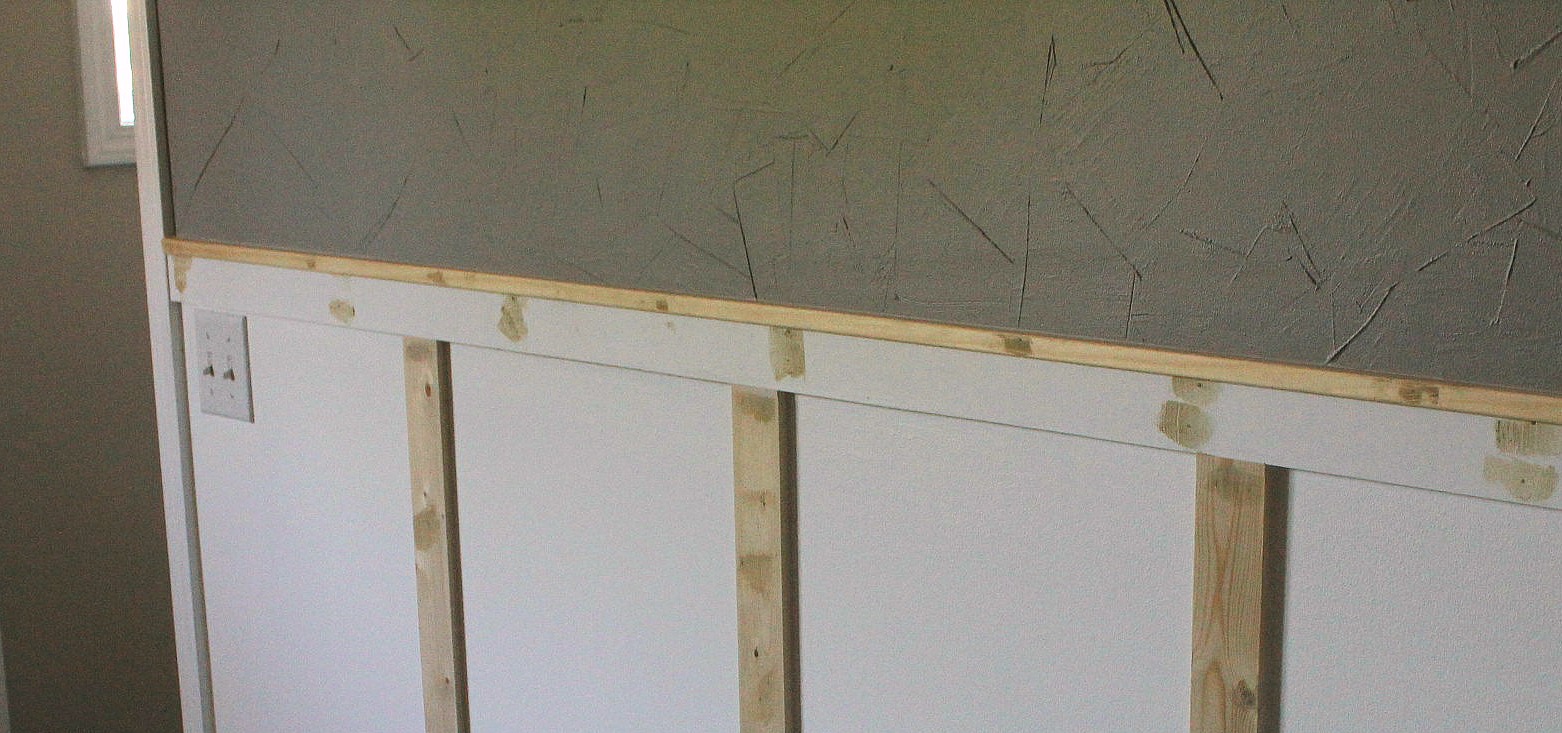
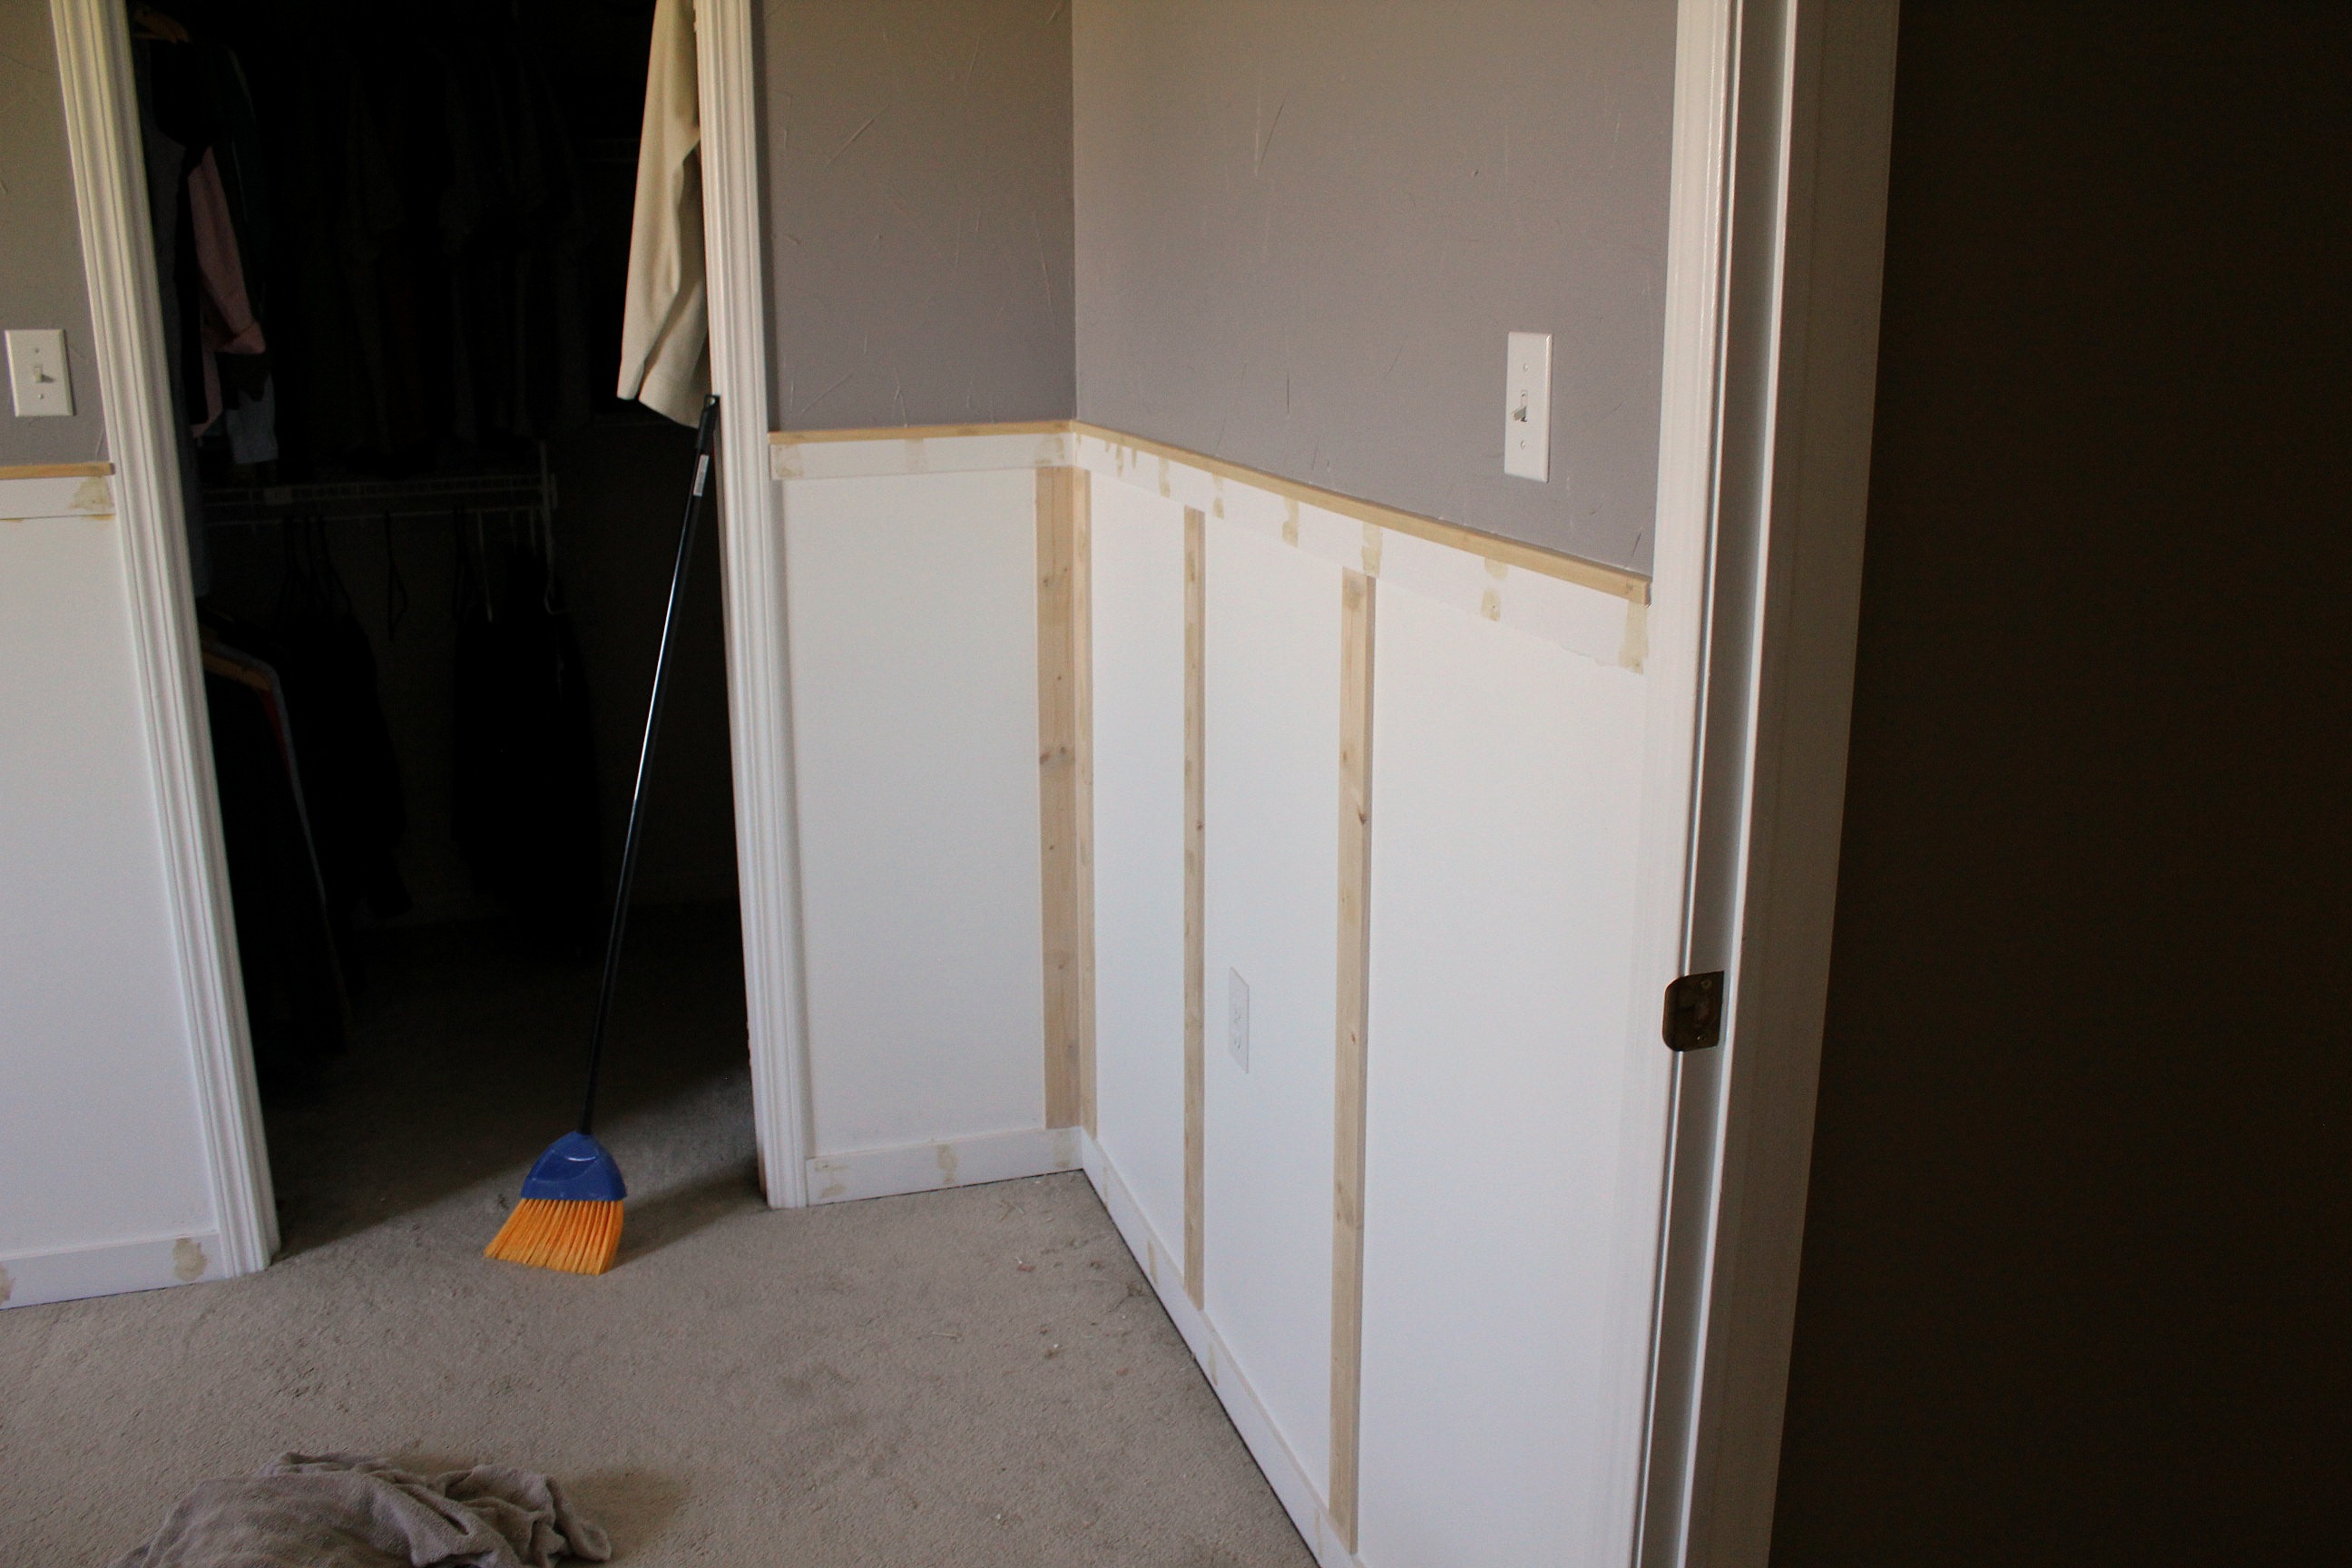
The new top rail went on the wall just slightly higher than the old chair rail. Since these boards were wider I wanted to make sure they cleared the bathroom light switch without having to do a cutout. This also covered up any marks I made in the wall when removing the old rail. If you don't have a previous line to follow, you'll want to use a level to keep your boards, well, level.
Since all of the old chair rail came off the wall without breaking, I had ready-made templates for the new boards. I just cut each board to approximately the same length and then made any necessary adjustments once I'd held them up in place. The new boards are thin so they had some give; to put them in place I was able to set each end in, and then press the middle flat to the wall, nailing them in place with the air nailer. The boards aren't glued to the wall just in case someone wants to remove them in the future.
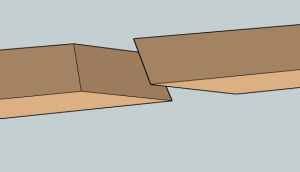
Only one wall was longer than the 8 foot boards - all of the rest were interrupted by doors or windows - so on that one I did a simple scarf joint between two boards to get a stronger hold and less-visible join line. For a scarf joint you cut your two boards at an angle so that the ends will overlap each other when put in position.
The baseboards were the same furring strips planed down, but we kept them as wide as possible, just trimming off a little bit to get a sharper edge. They were installed in the same manner as the chair rail.
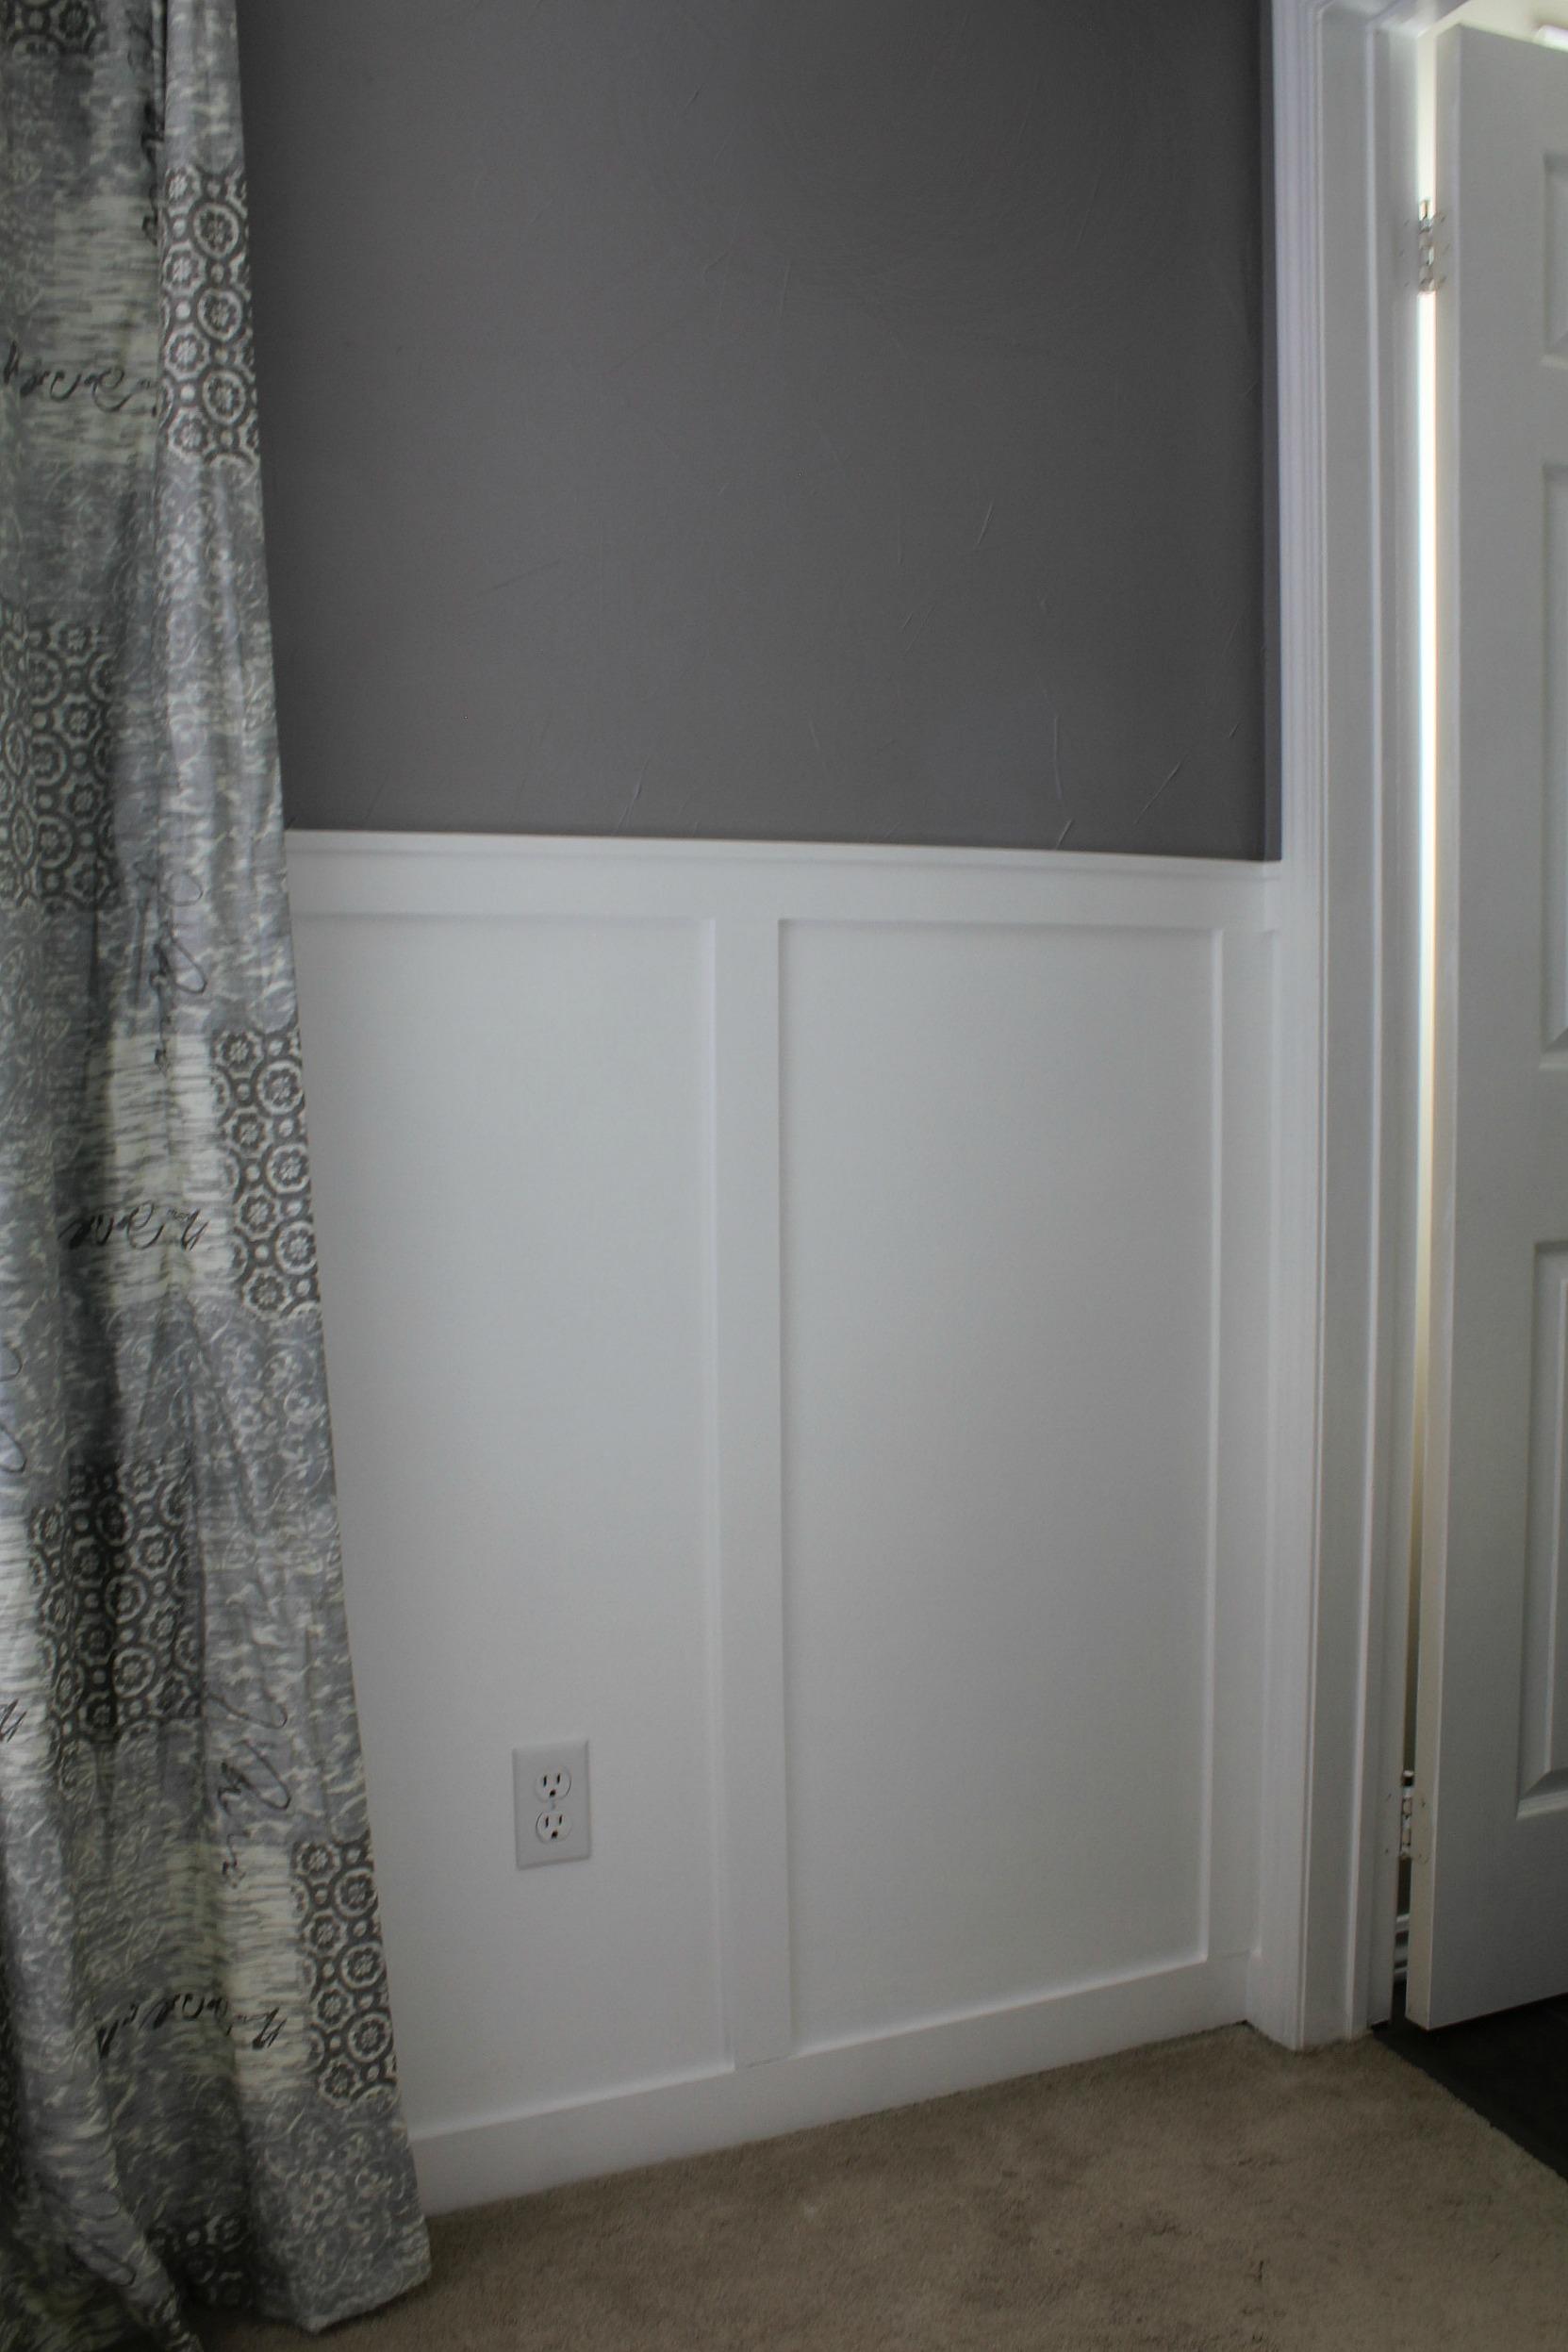
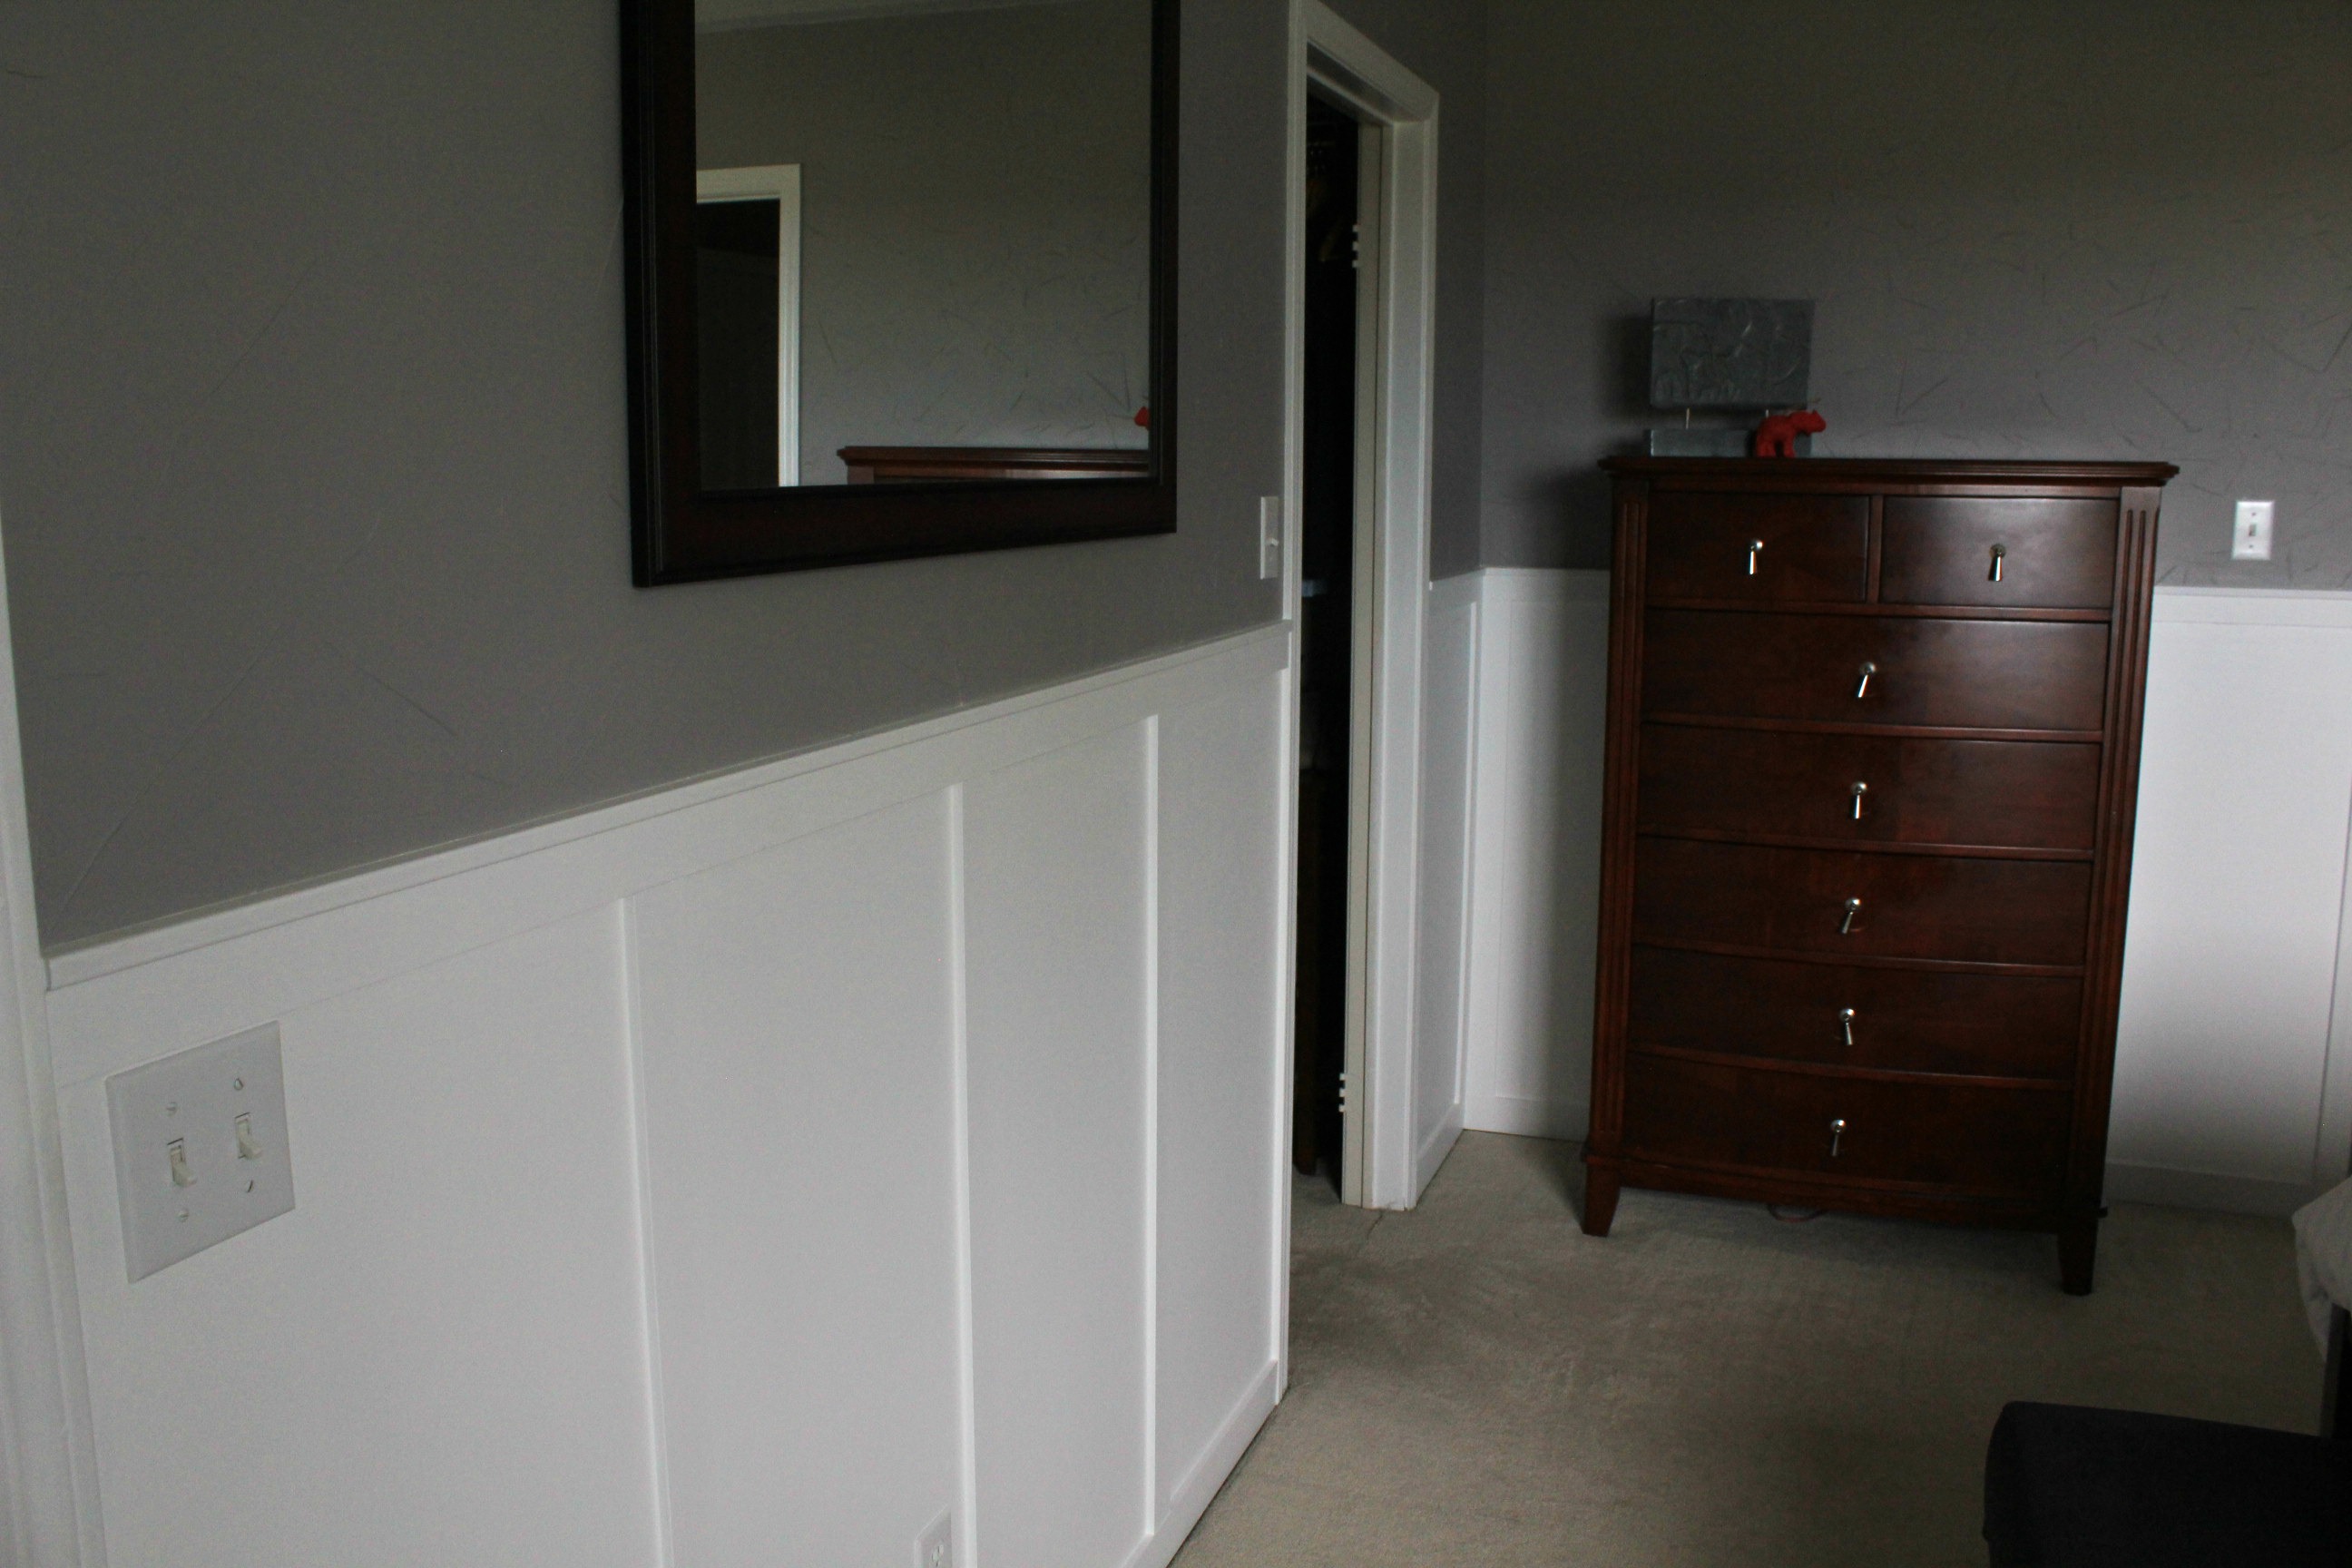
Once the top and bottom rails were in, I had to decide how far apart I wanted each batten. Normally you would use the wall studs to help you determine the spacing, but as we found out when we demo'ed the bathroom, half the time the studs weren't even touching the drywall. The other consideration was the wall outlets and light switches. I didn't want to have to do any cutouts in the battens - not because it's difficult, I just don't like that look.
I took some 4-foot pieces of board and moved them around until I got a spacing that I liked. They ended up being about 20" apart, depending on the width of that section of wall. I would measure the width, divide by 23 (space + board width), and then make small adjustments so that the space between each board in a section was the same. So there might be slight variations between sections, but it's so small that it isn't noticeable.
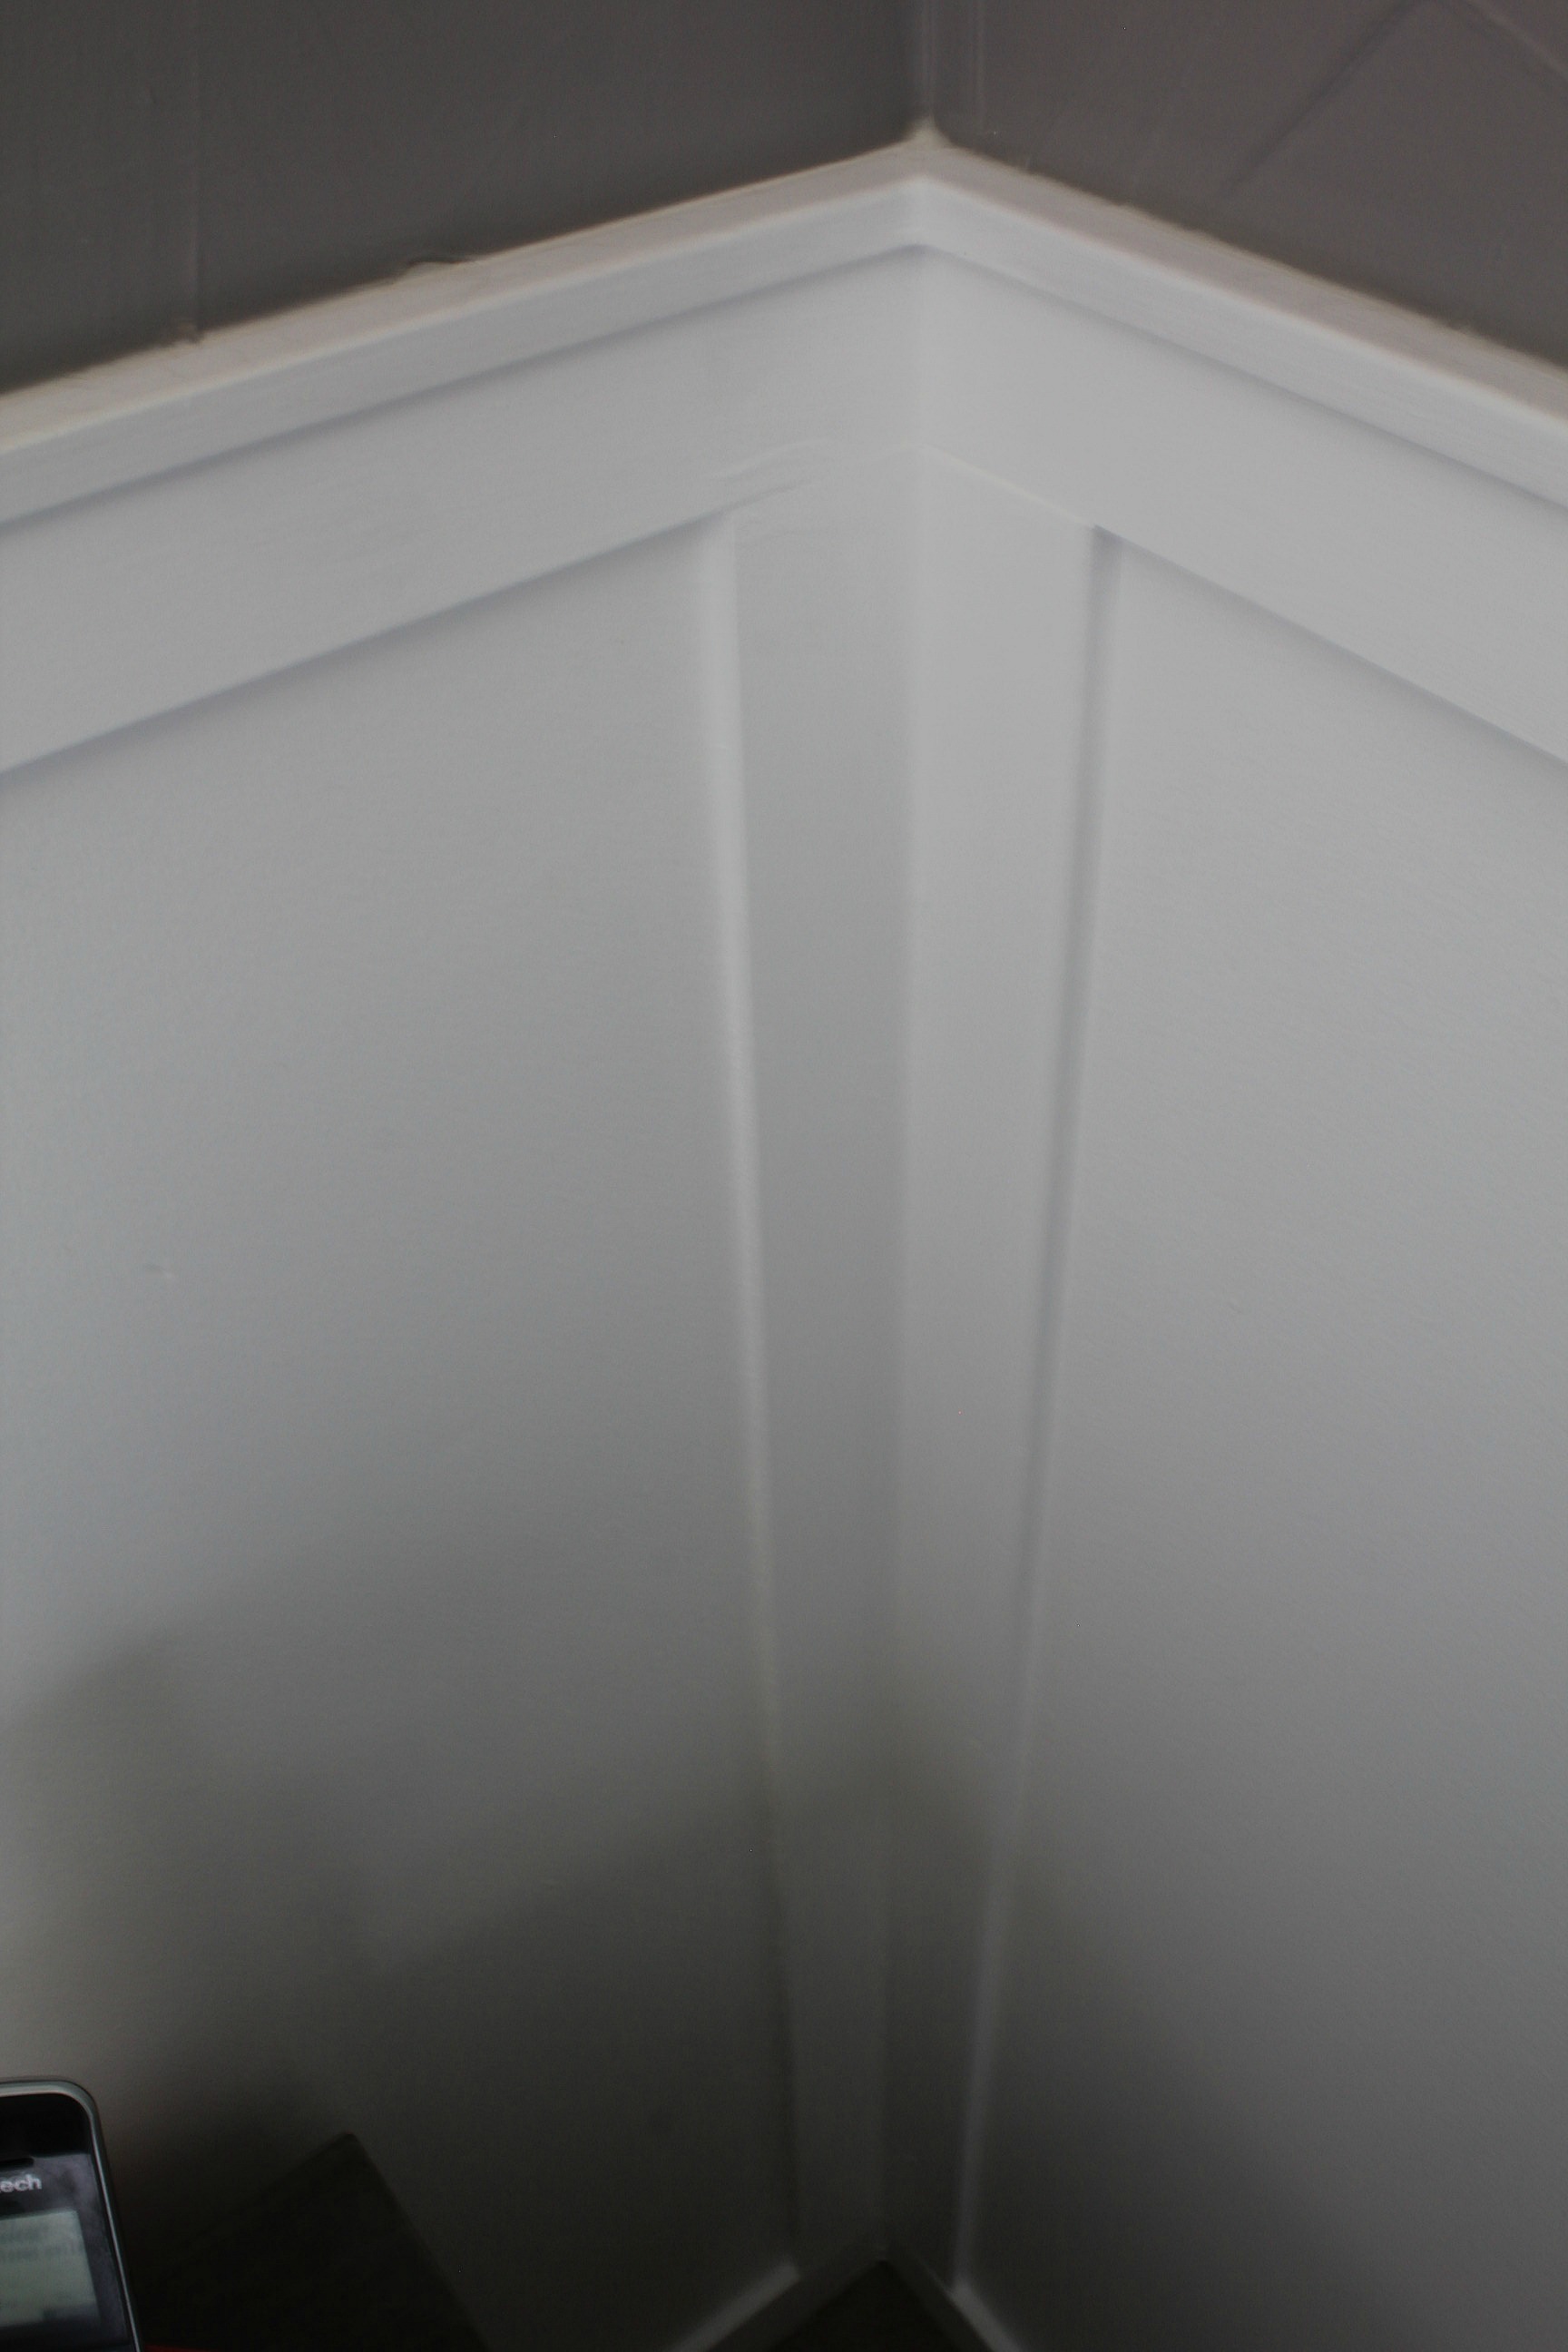
I wanted the walls to look completely balanced, so for any section that ended at a corner I added a batten there. That way each section is bookended with either two doorways or door trim on one side and a batten on the other.
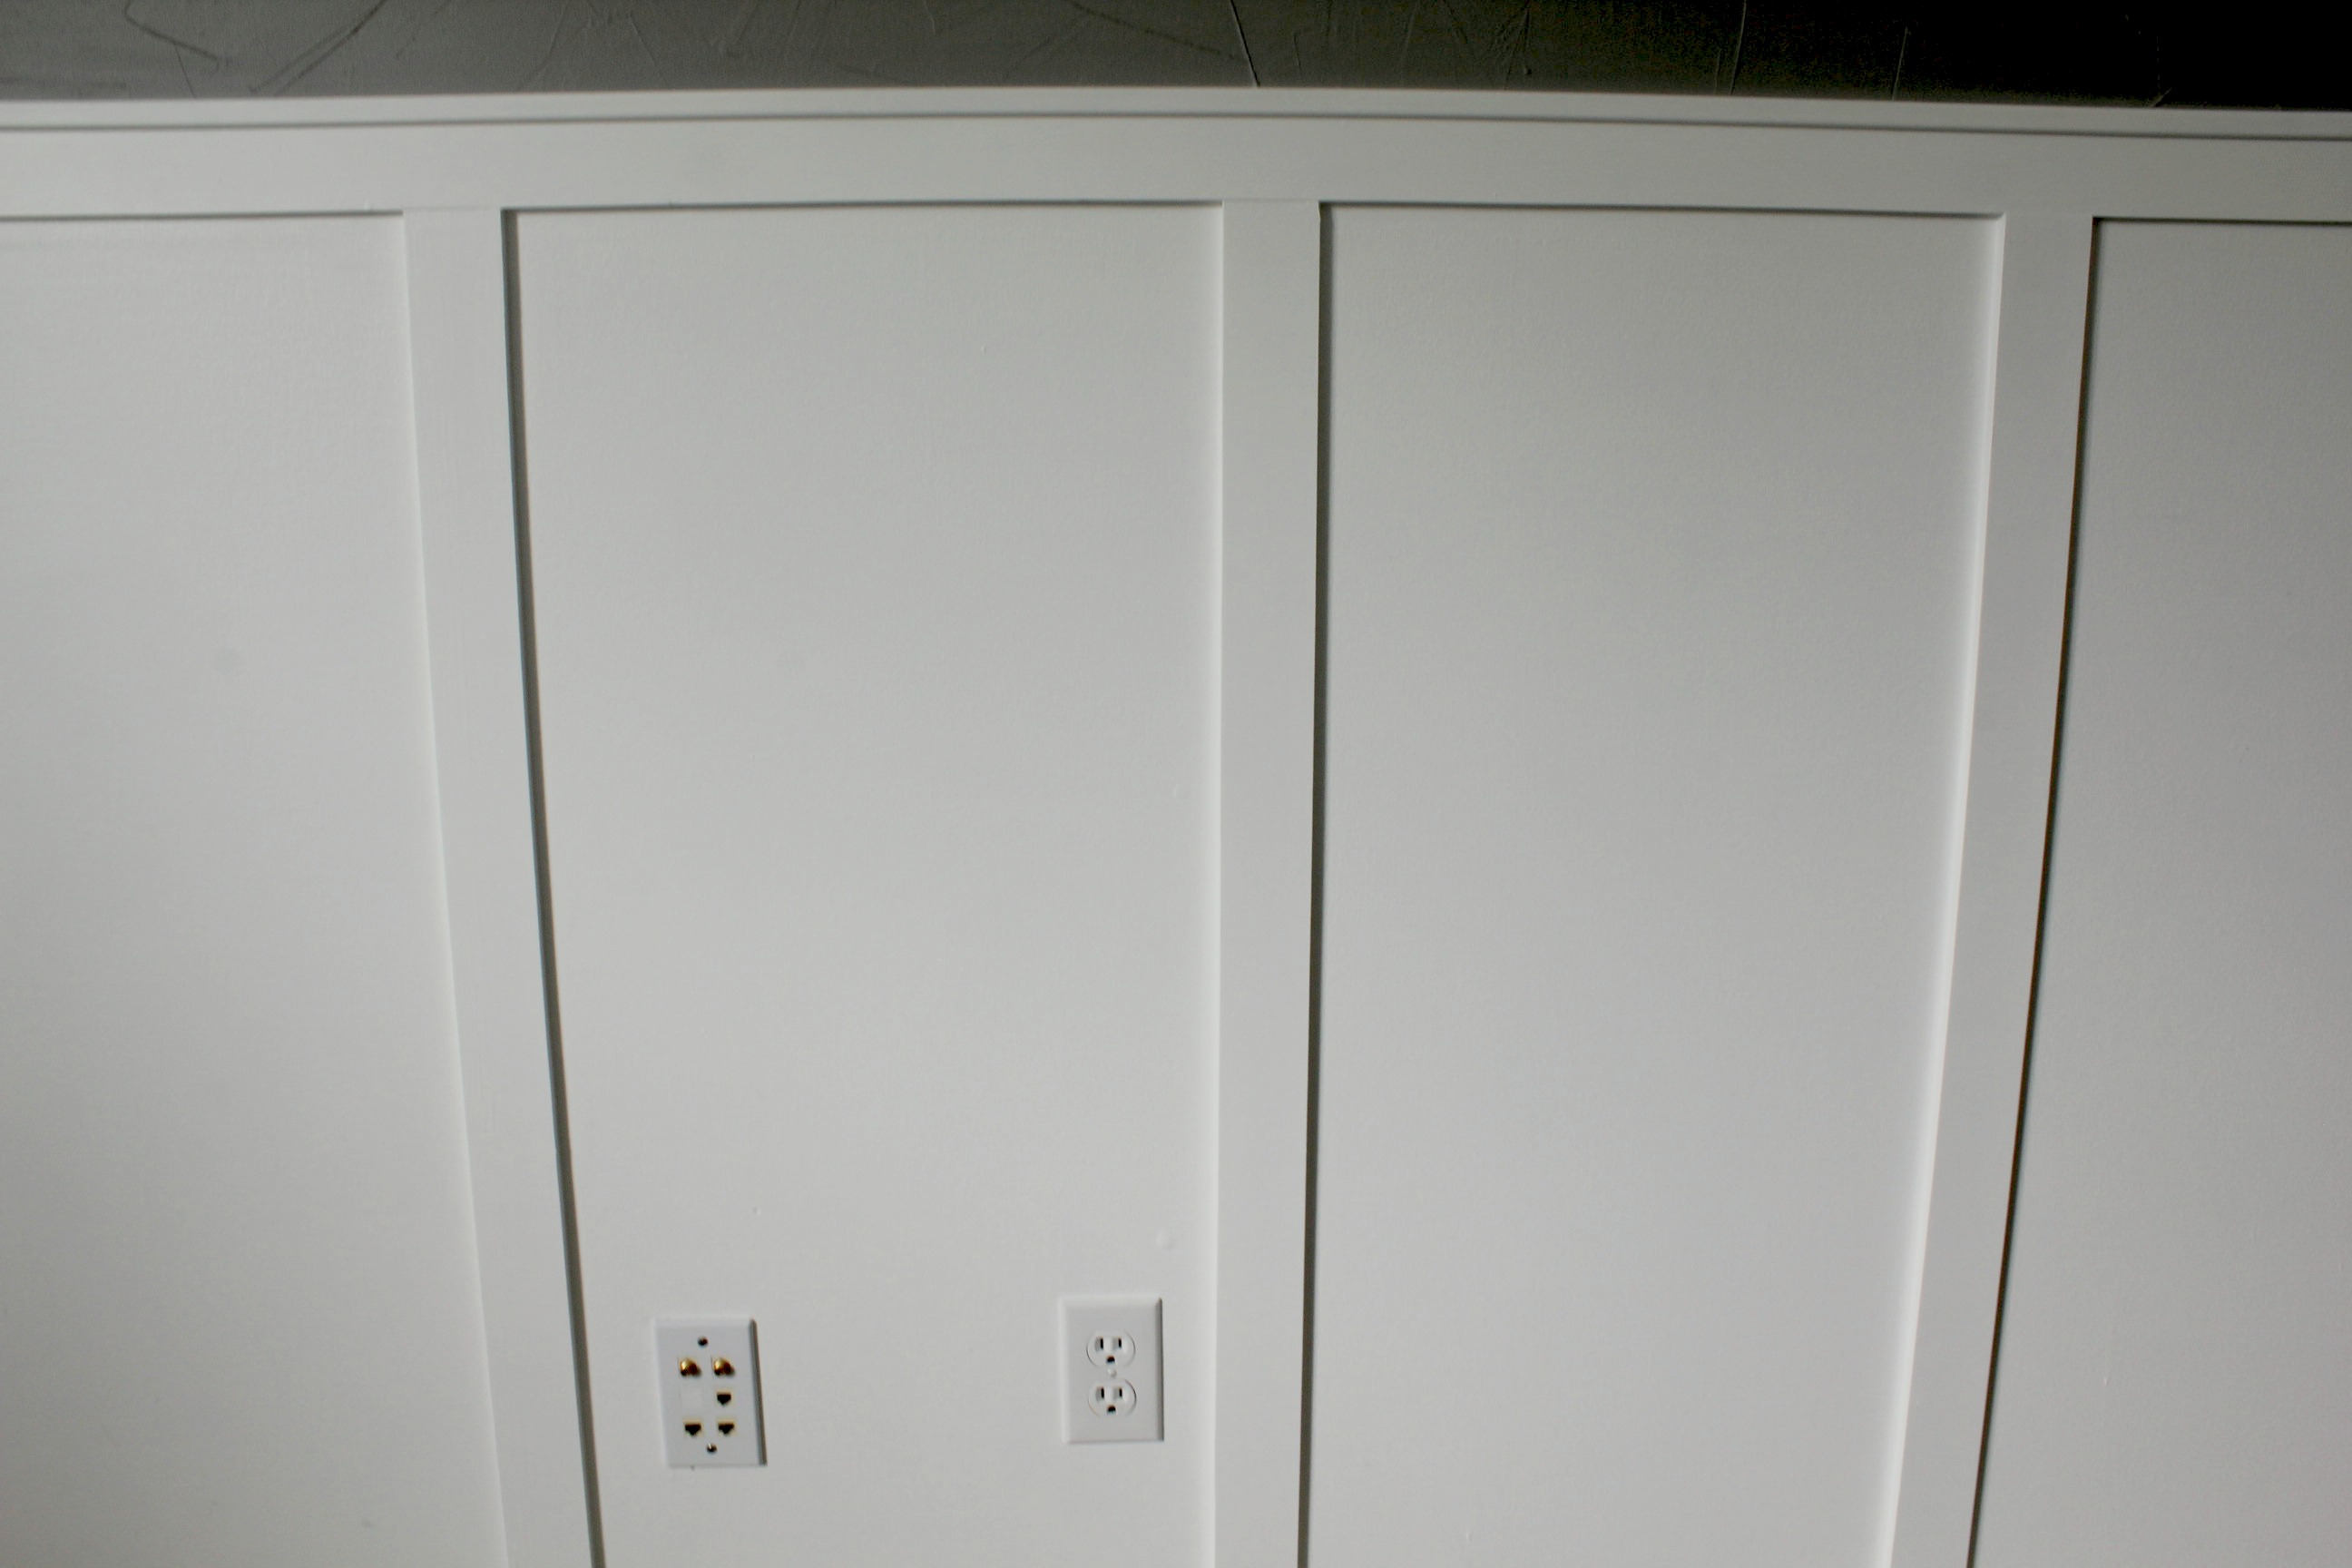
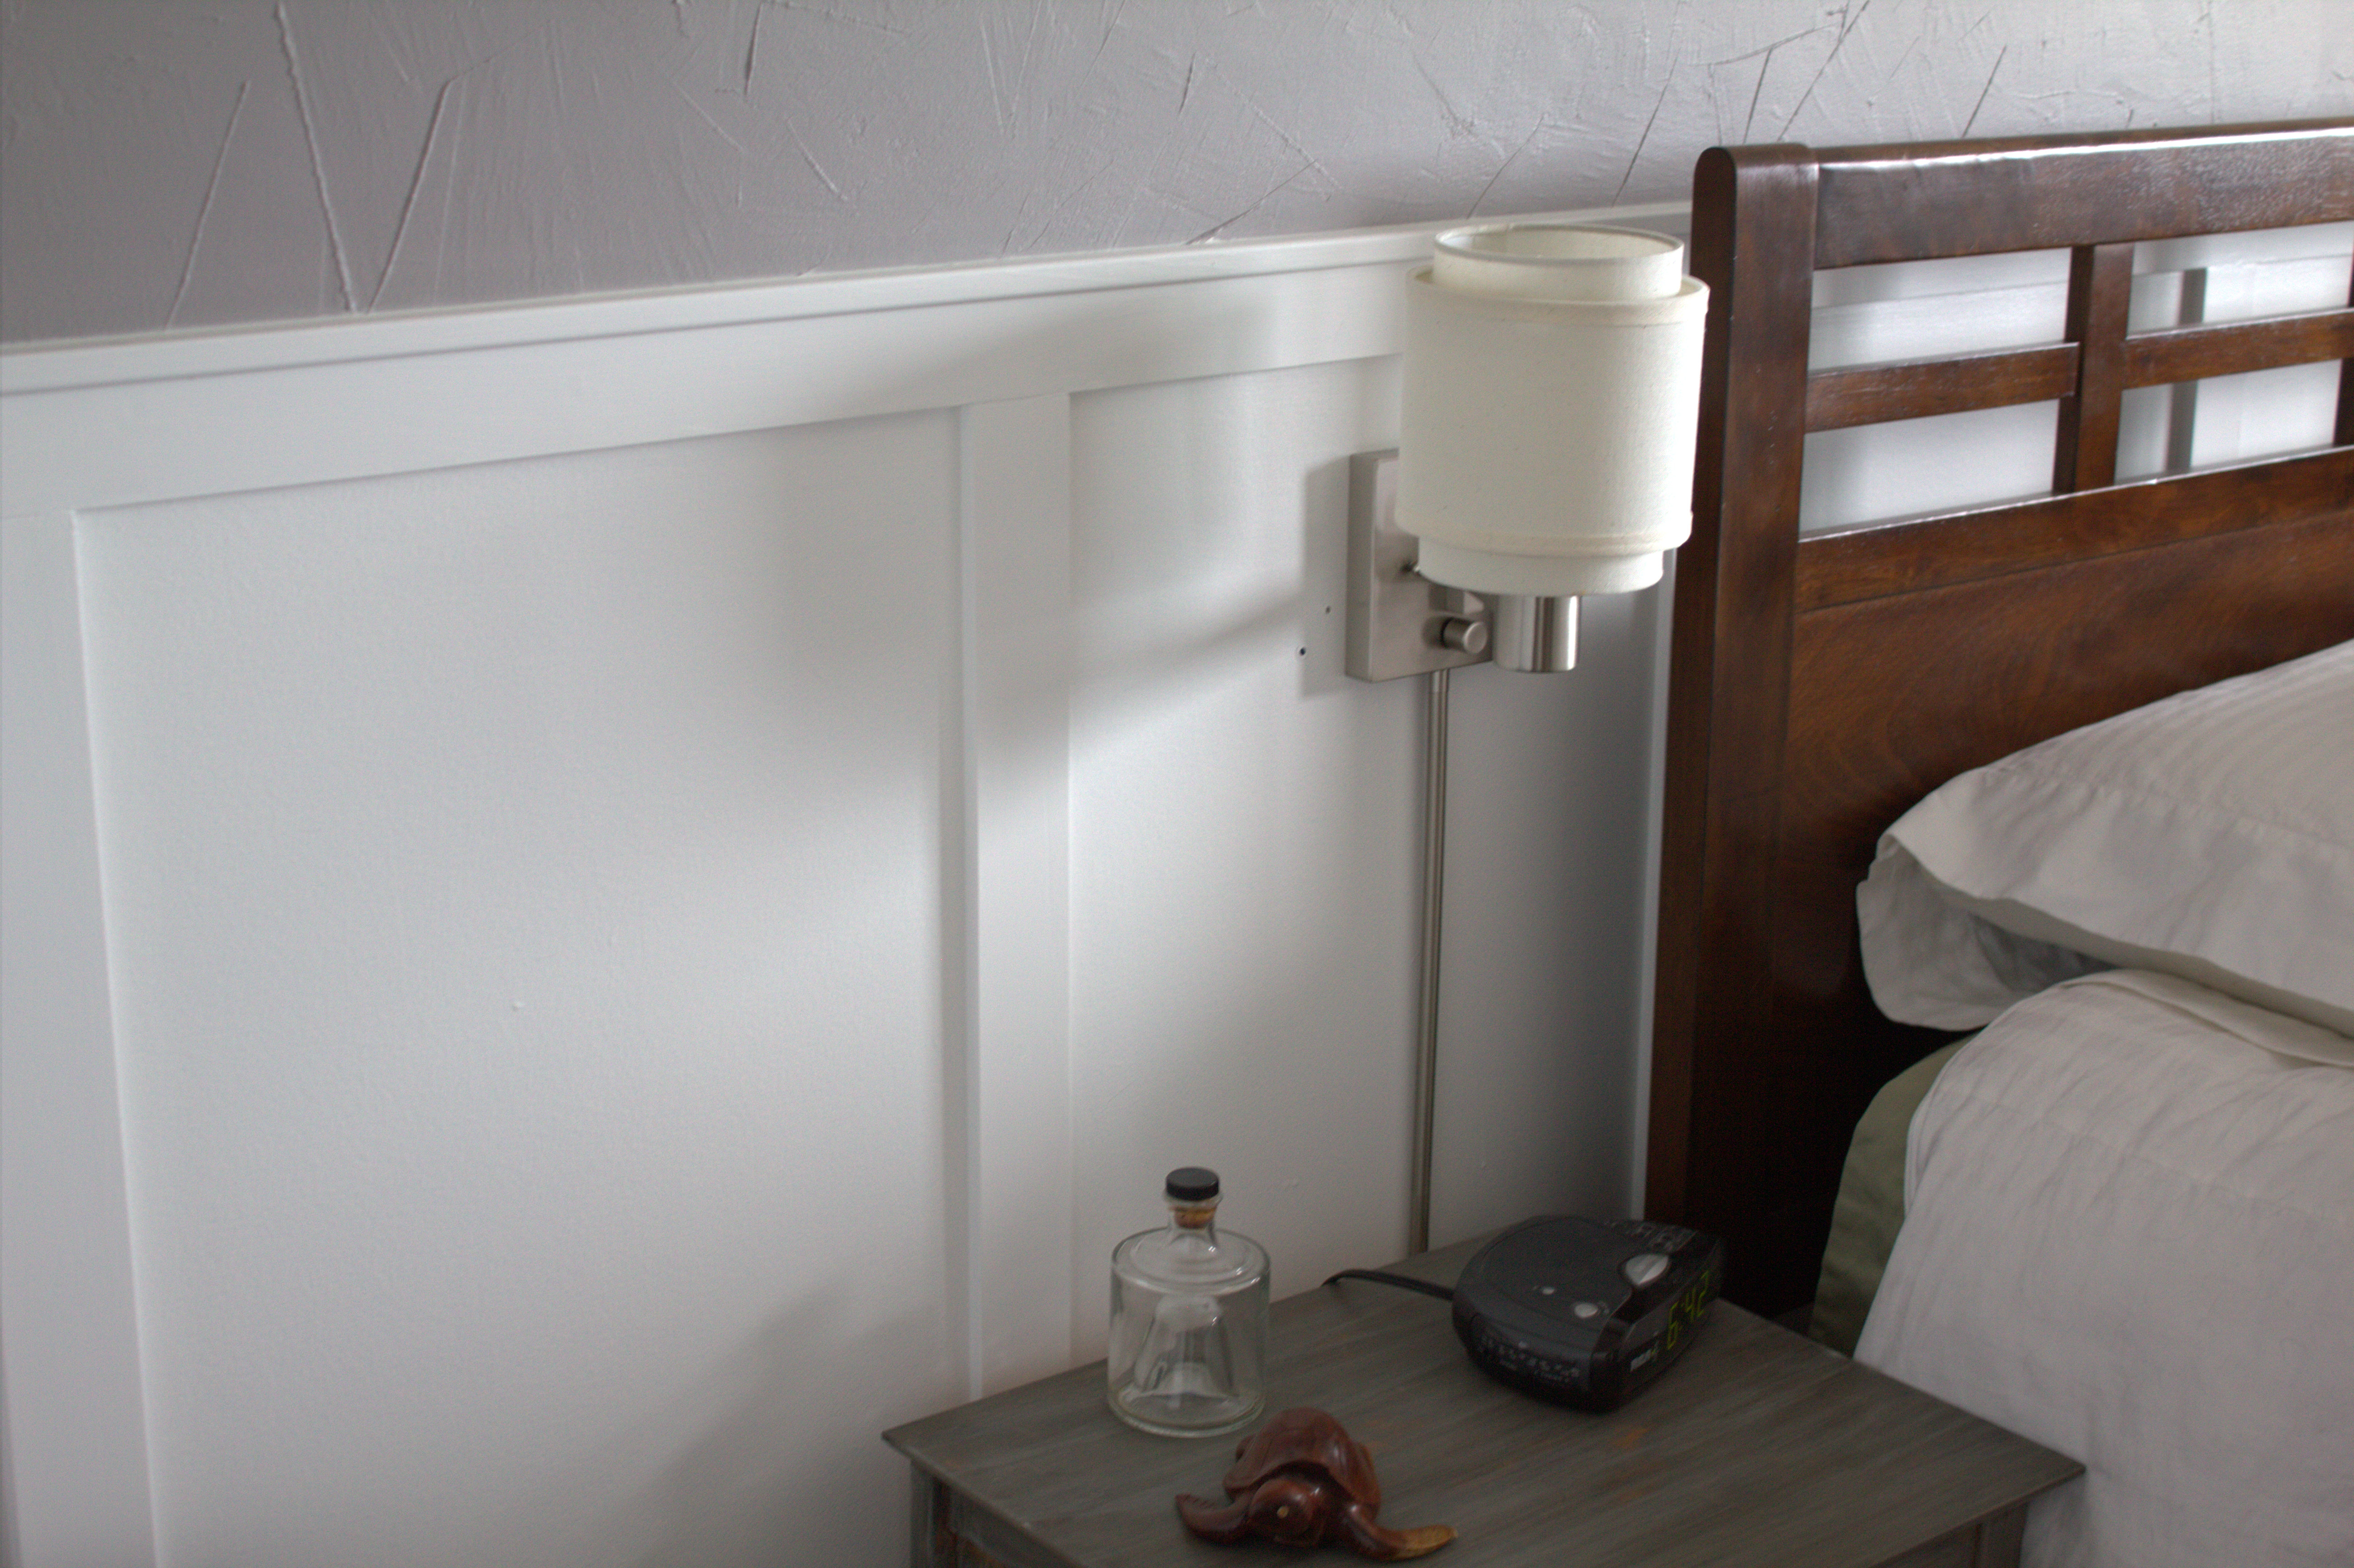
At this point I thought I was finished with the installation, but looking at it I realized, with just a plain top rail, it didn't look "finished". I wanted to keep it as simple as possible, but it still needed a little something. I headed back to the lumber store and picked out some outside corner moulding. It happened to be the exact same depth as the planed boards, so it slid right into place over the chair rail.
Once it was all installed, I puttied the nail holes and the seams between boards. Then I caulked the seams between each of the boards and the wall. My usual method is to apply a bead of caulk along the seam and then wipe a wet finger along the line to press it into the corner and remove the excess. I then wipe a damp cloth along the seam to remove more caulk, then one final swipe with my finger to smooth the line. That way you have a nice, even line without too much caulk being visible and detracting from the finished look.
I waited for that to dry and then gave all of the boards two coats of primer (except the top and bottom rails that were already done) and two coats of white paint. Whew! I was exhausted! I spent so many hours crawling on the floor, crouching down, sitting cross-legged - my knees were killing me. But it was worth it.
I cleaned everything up and moved the furniture back in on the Thursday. We had family staying over and I had to get the guest room back in order. We'd been sleeping on our own bed in the guest room, letting the tilers use our room to lay out all of their supplies. I'm glad no one was around to see me shoving a king-sized mattress up and out of the guest room, around a corner, and then into our room. Then I had to move the guest bed from where it had been against the wall in the office into its room. I think the dogs were hiding by then.
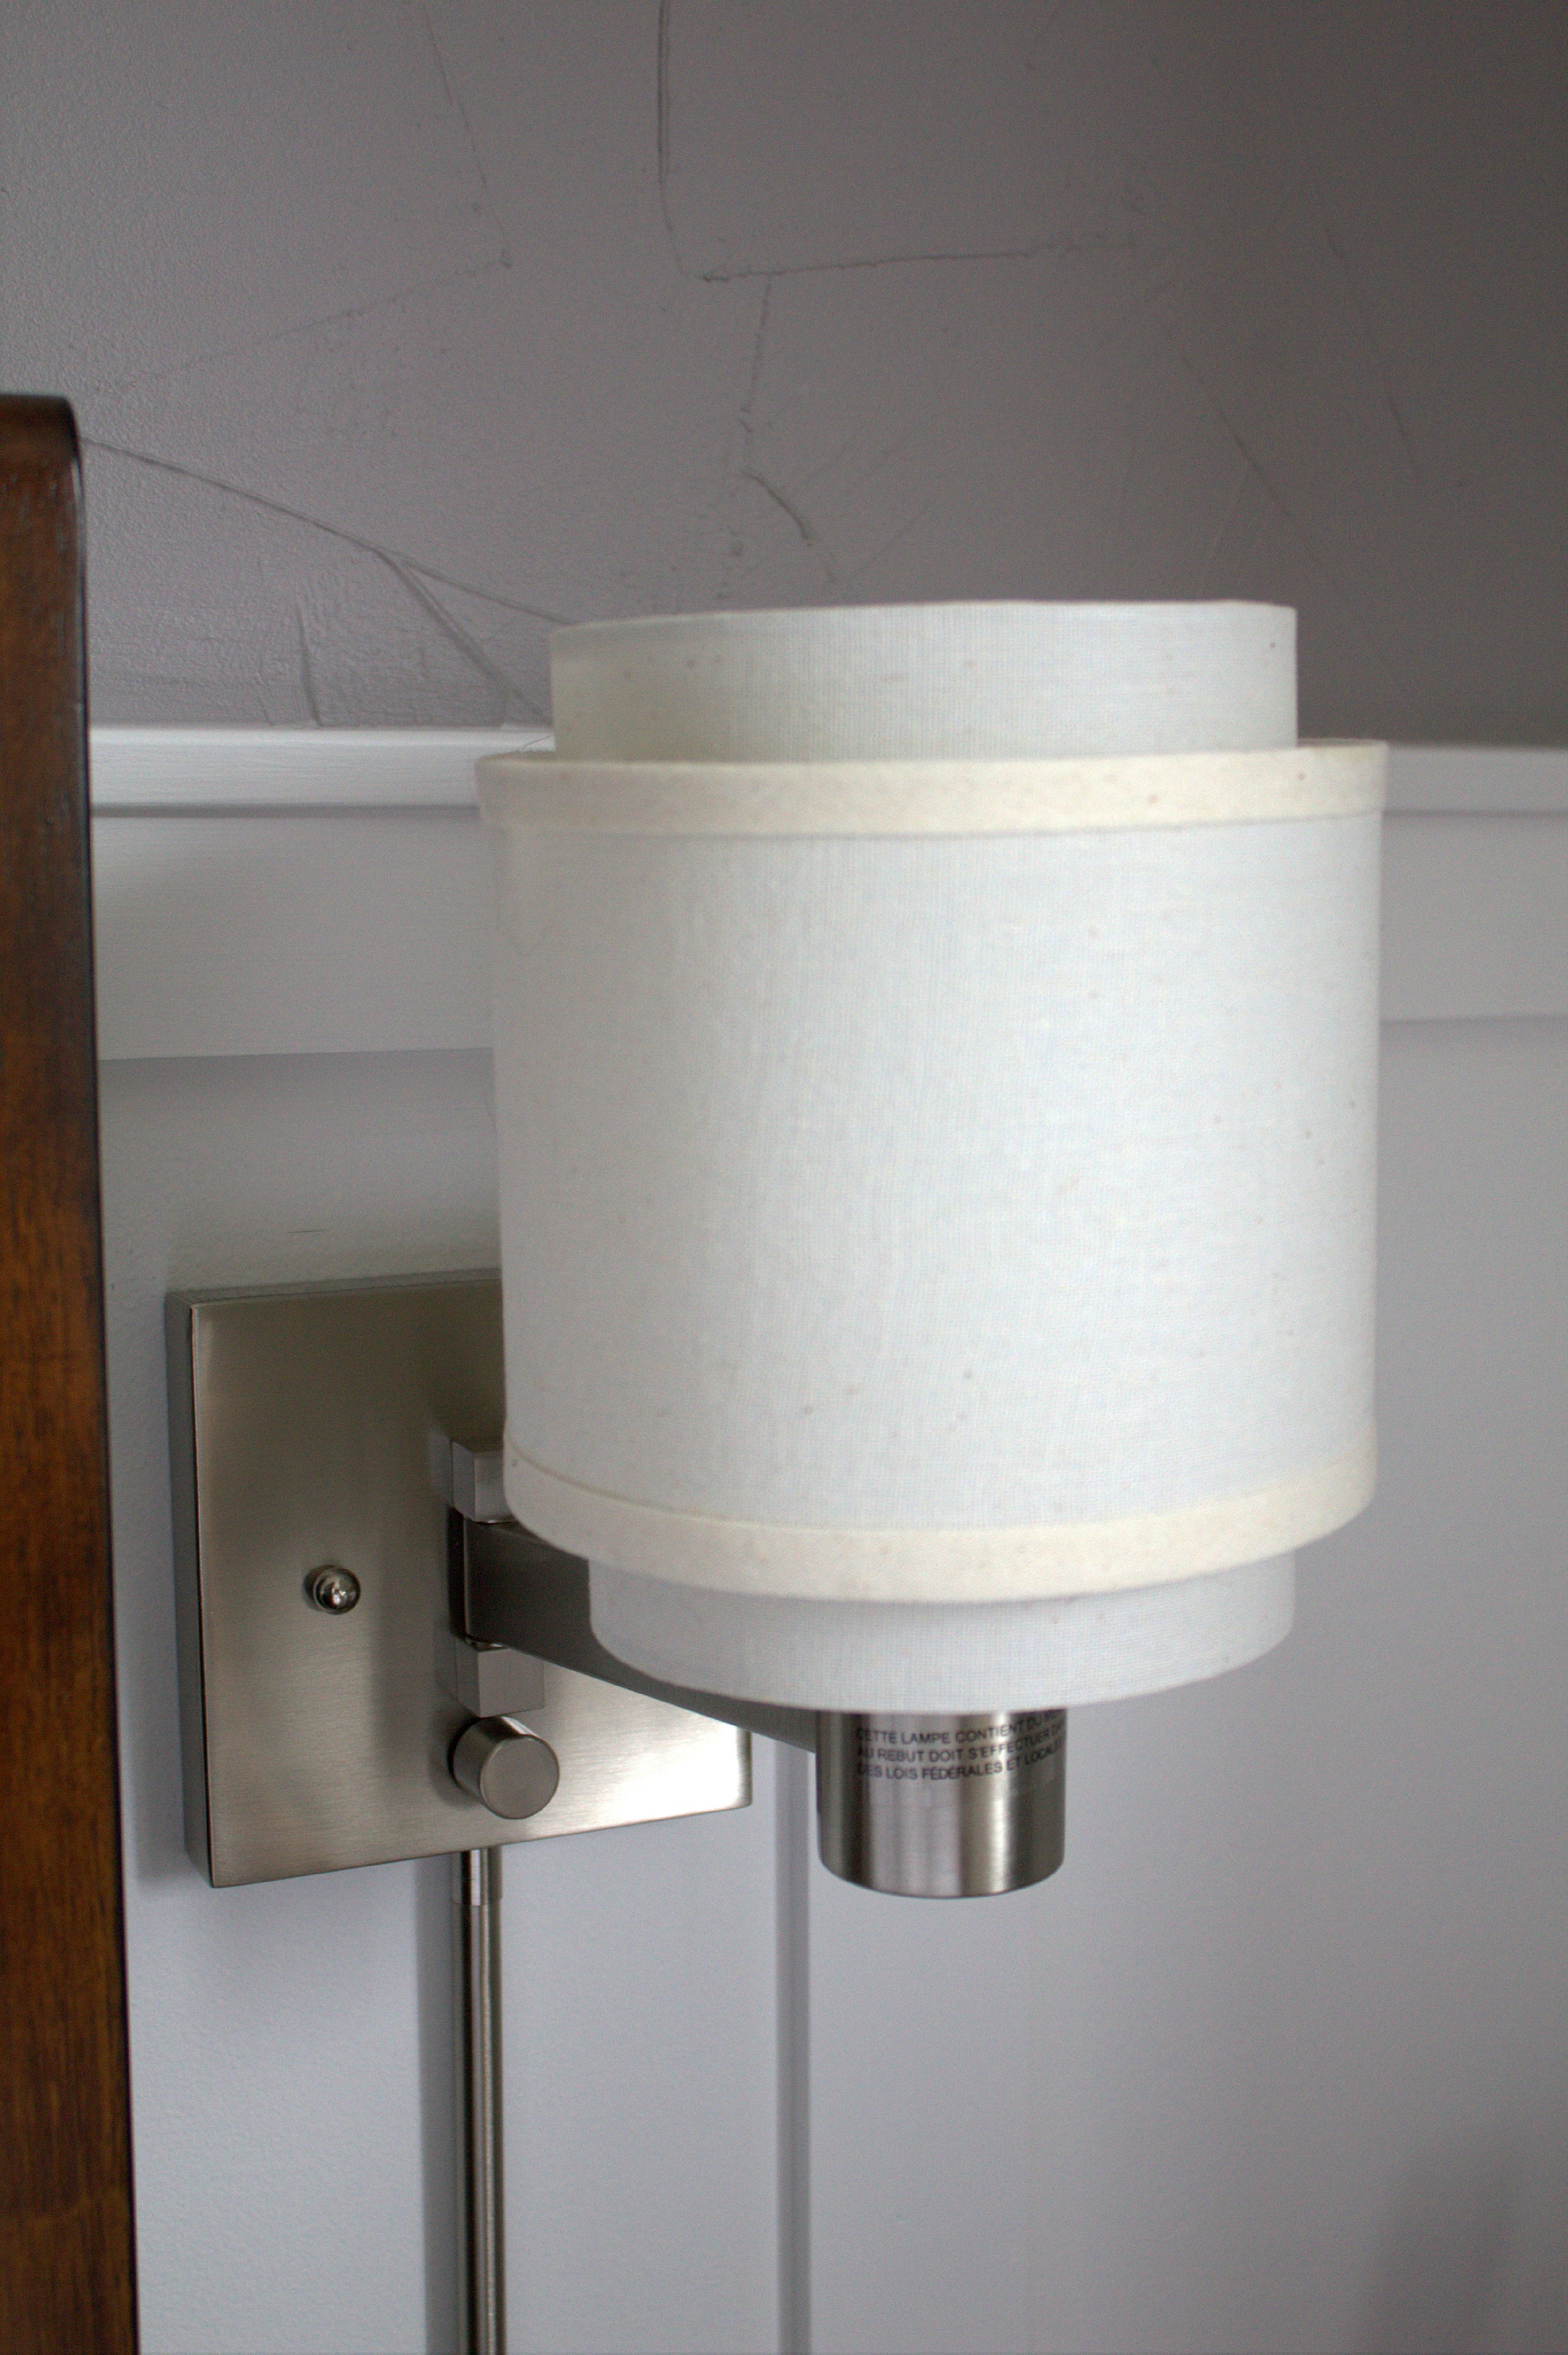
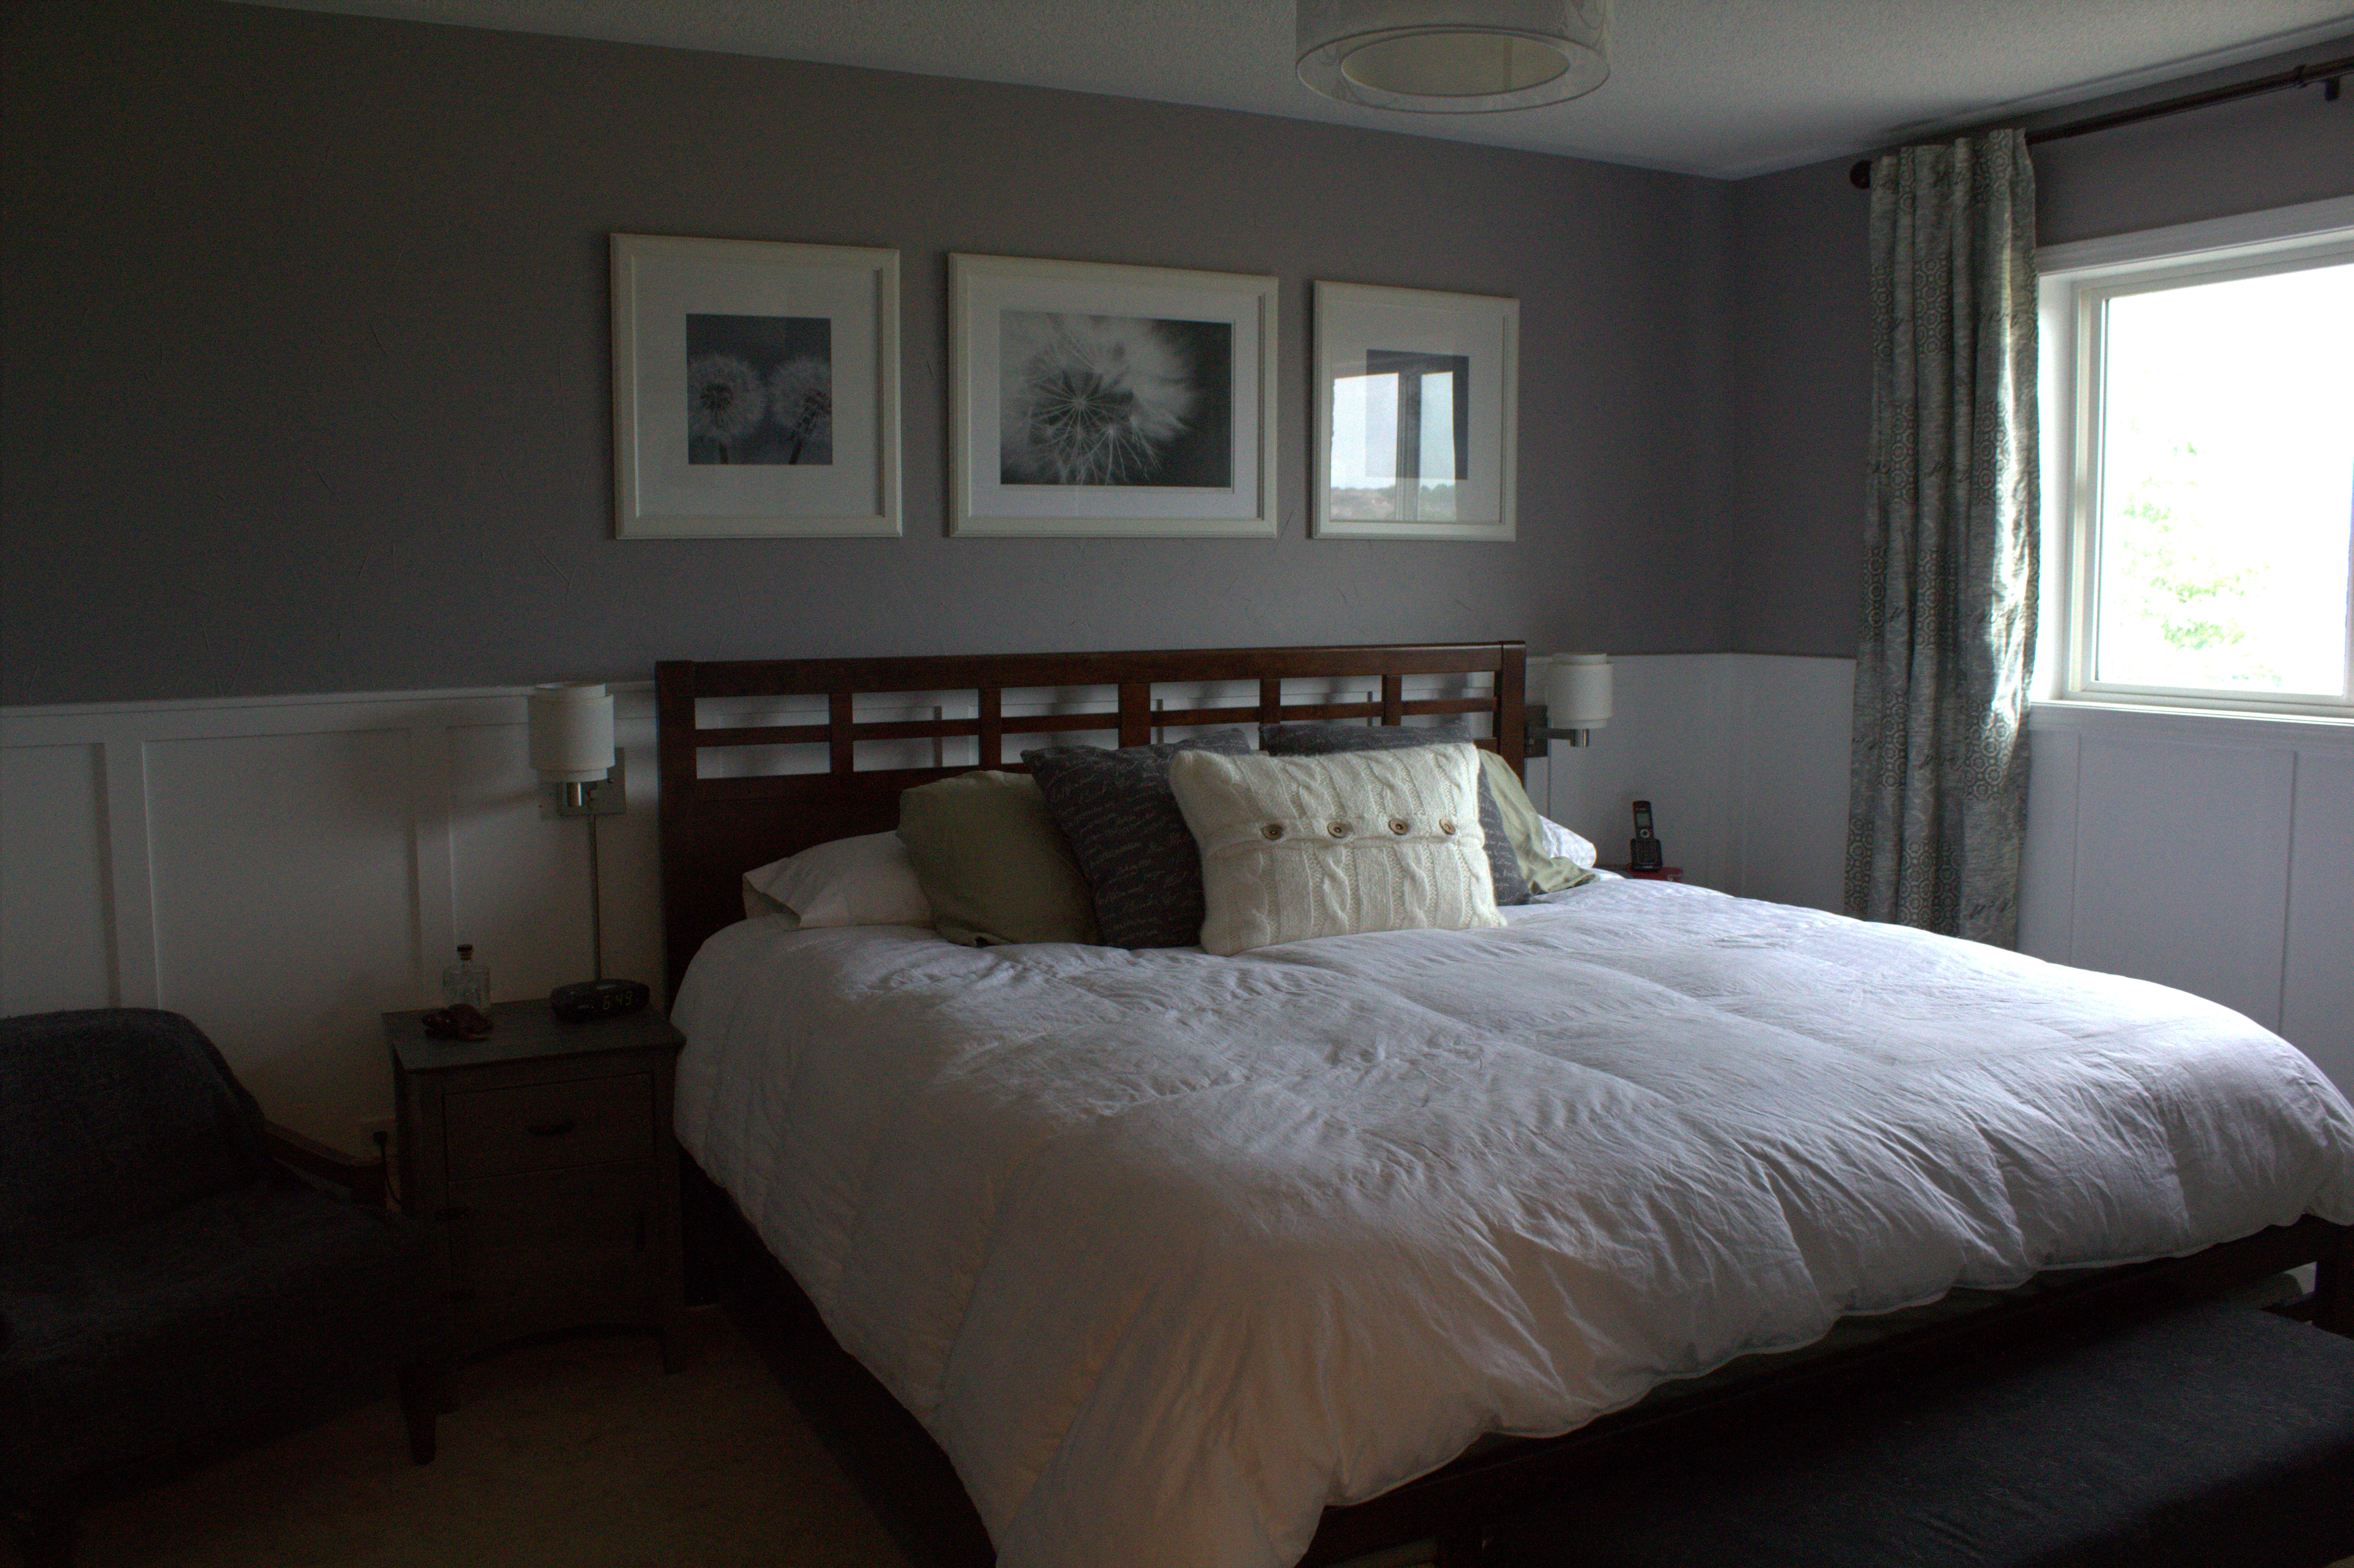
Instead of re-hanging the floating bedside shelves that we'd used before, we bought some swing-arm lights from Lowe's (Allen & Roth). They mount directly to the wall, but still plug into an outlet. These lights are a better fit with the style of the wainscoting then the old grey shelves were. The lights are brushed nickel with a white double shade that mimics the ceiling light above them.
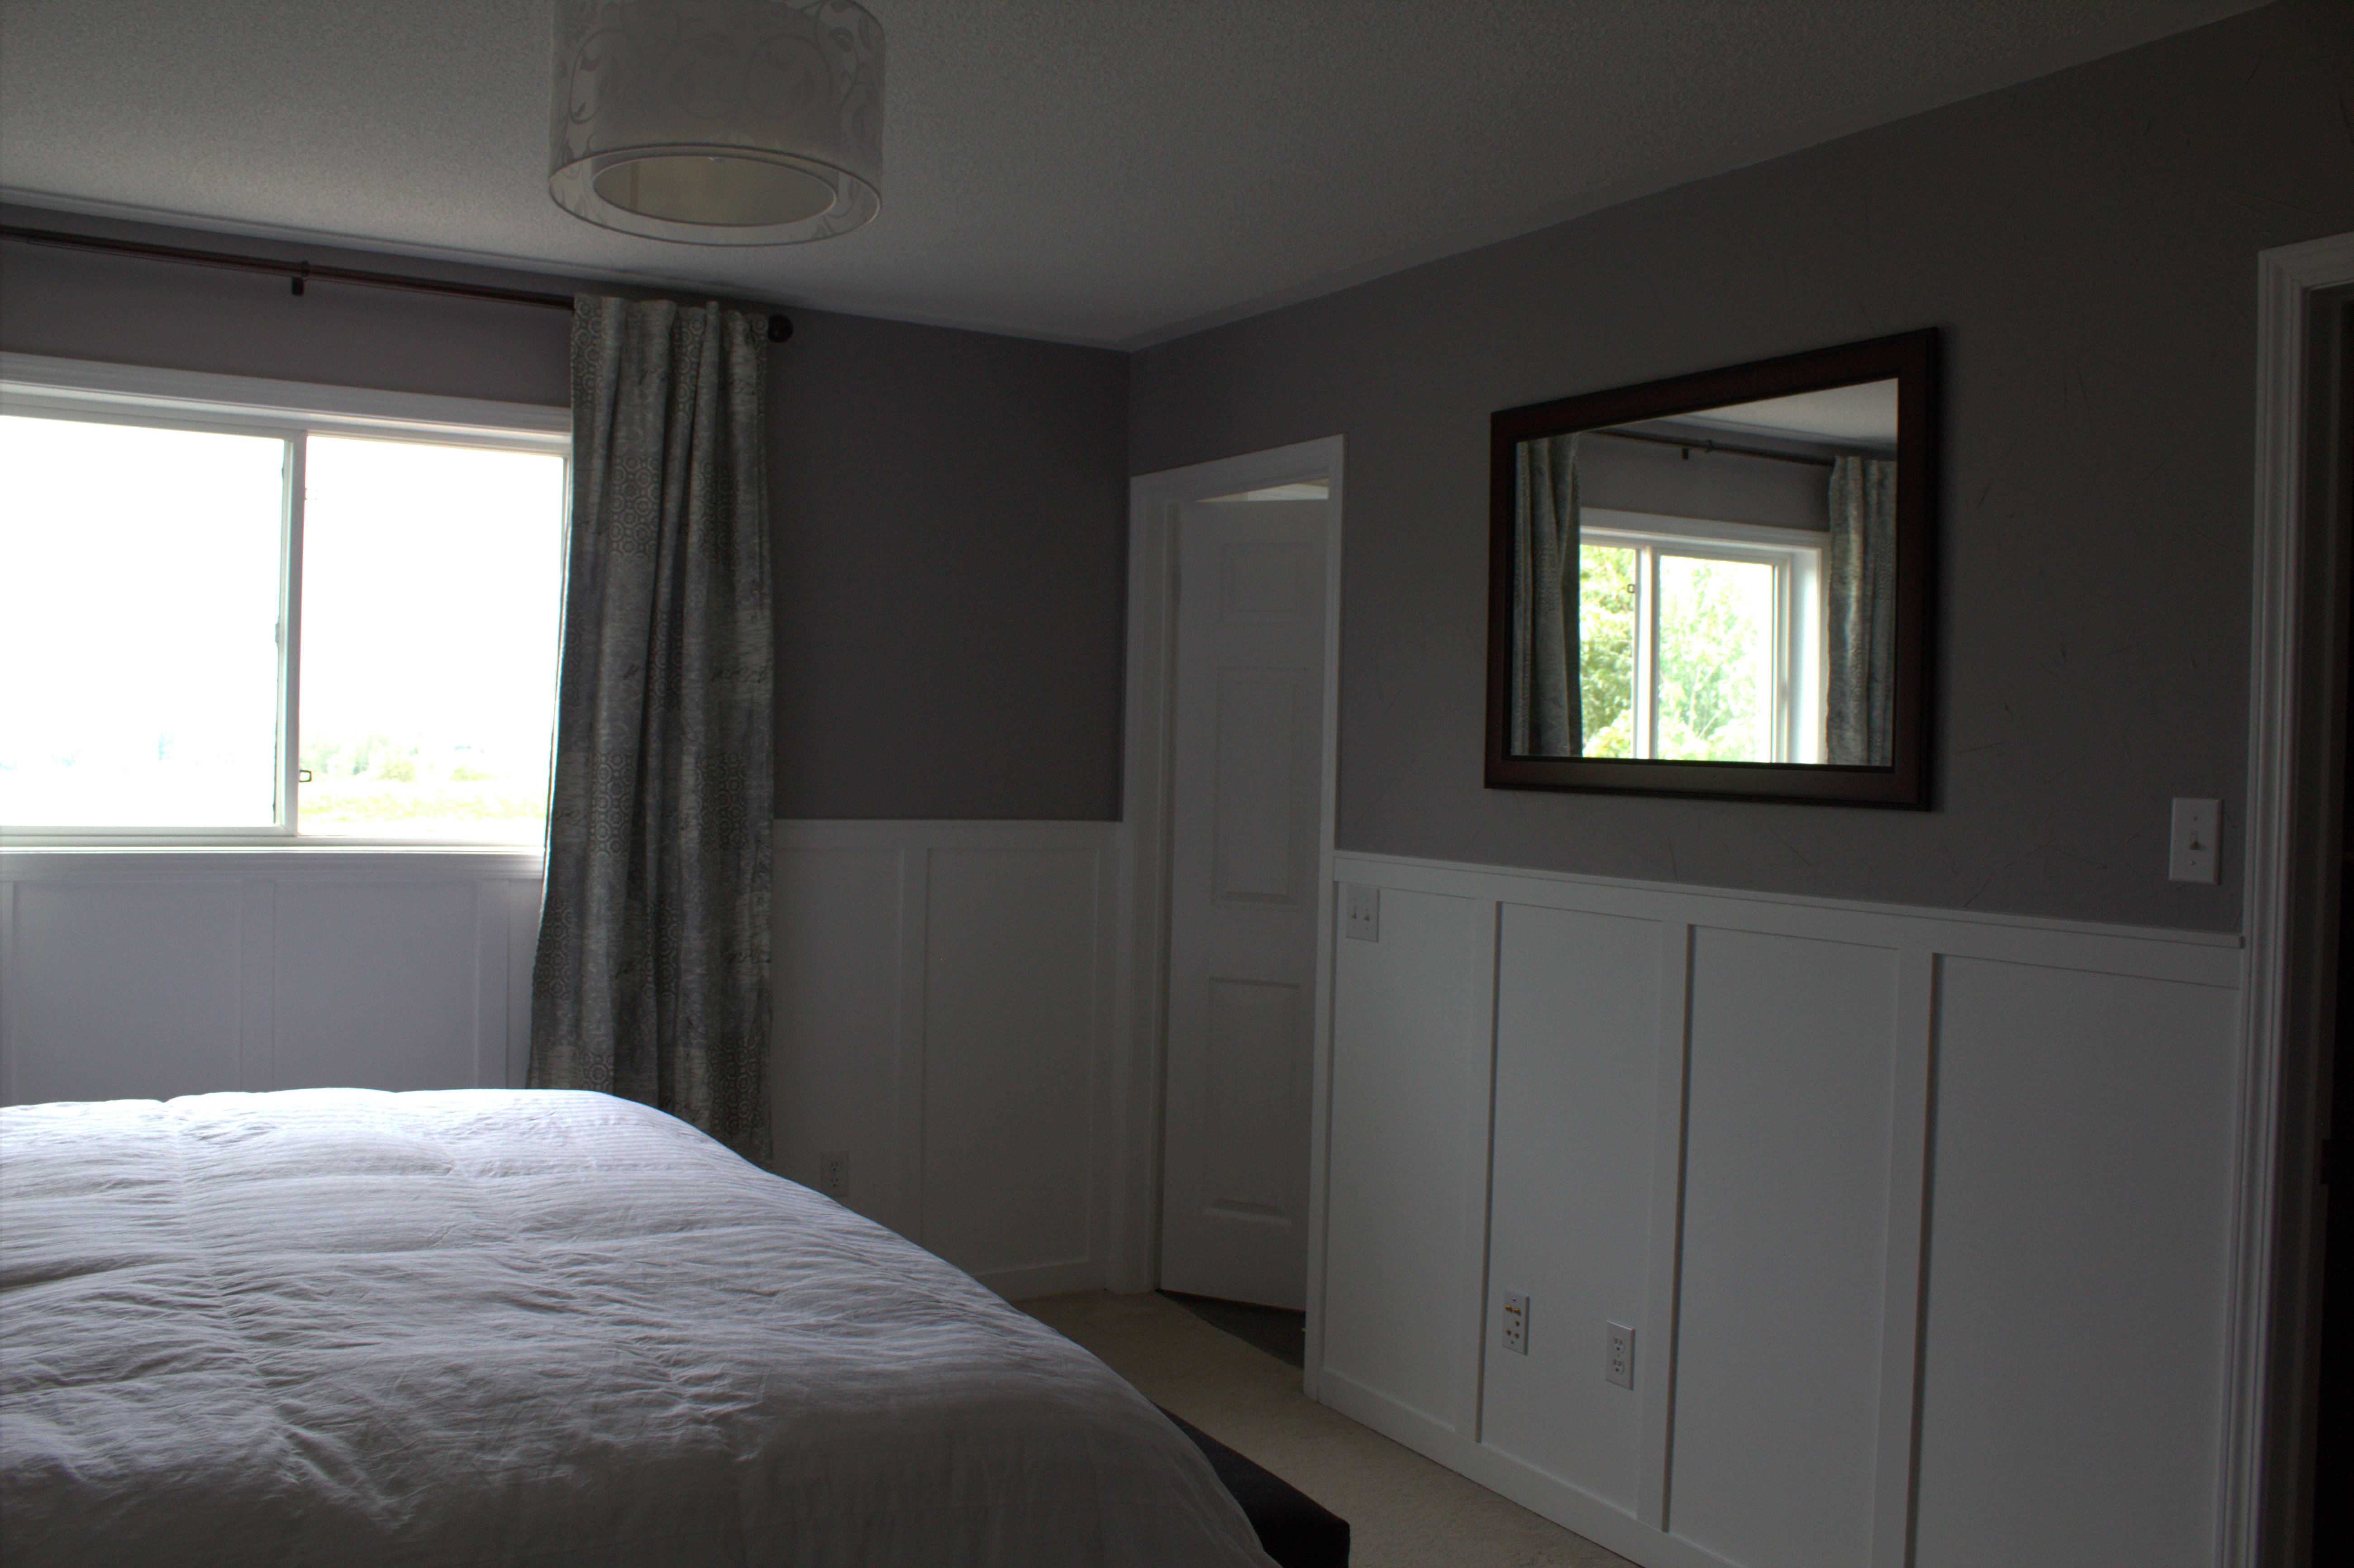
We hung a large mirror on the wall across from the bed - after spending a year trying to figure out what art we wanted there and coming up with nothing. The mirror reflects the light from the window and brightens up the (north-facing) room a lot. We've had that mirror stuck in a closet for years. I never realized how well the frame coordinated with the dresser and the bed frame.
And there you have it - board and batten wainscoting. It gives the room a more upscale look, yet only cost about $200 in materials. My body is complaining, but my heart is singing!





2 comments:
Thank you!
We're so glad you joined our party but we only accept Pinterest Pins.
Please link this up again as a pinterest pin so we can repin it for you. http://www.craftyallieblog.com/2014/09/our-favorite-things-pinterest-party.html
Post a Comment