SEARCH THE BLOG

Oct 30, 2016

Reversible Scarecrow/Snowman Sign


I think it's about time to take a break from house renovations and dive back into some arts and crafts. I've had this idea saved on my Pinterest board forever. Last fall we were in the midst of selling our house/packing everything up, so there wasn't an opportunity to make it, or to decorate at all for that matter. But this year I am bound and determined to make the house look festive through the fall and winter seasons.

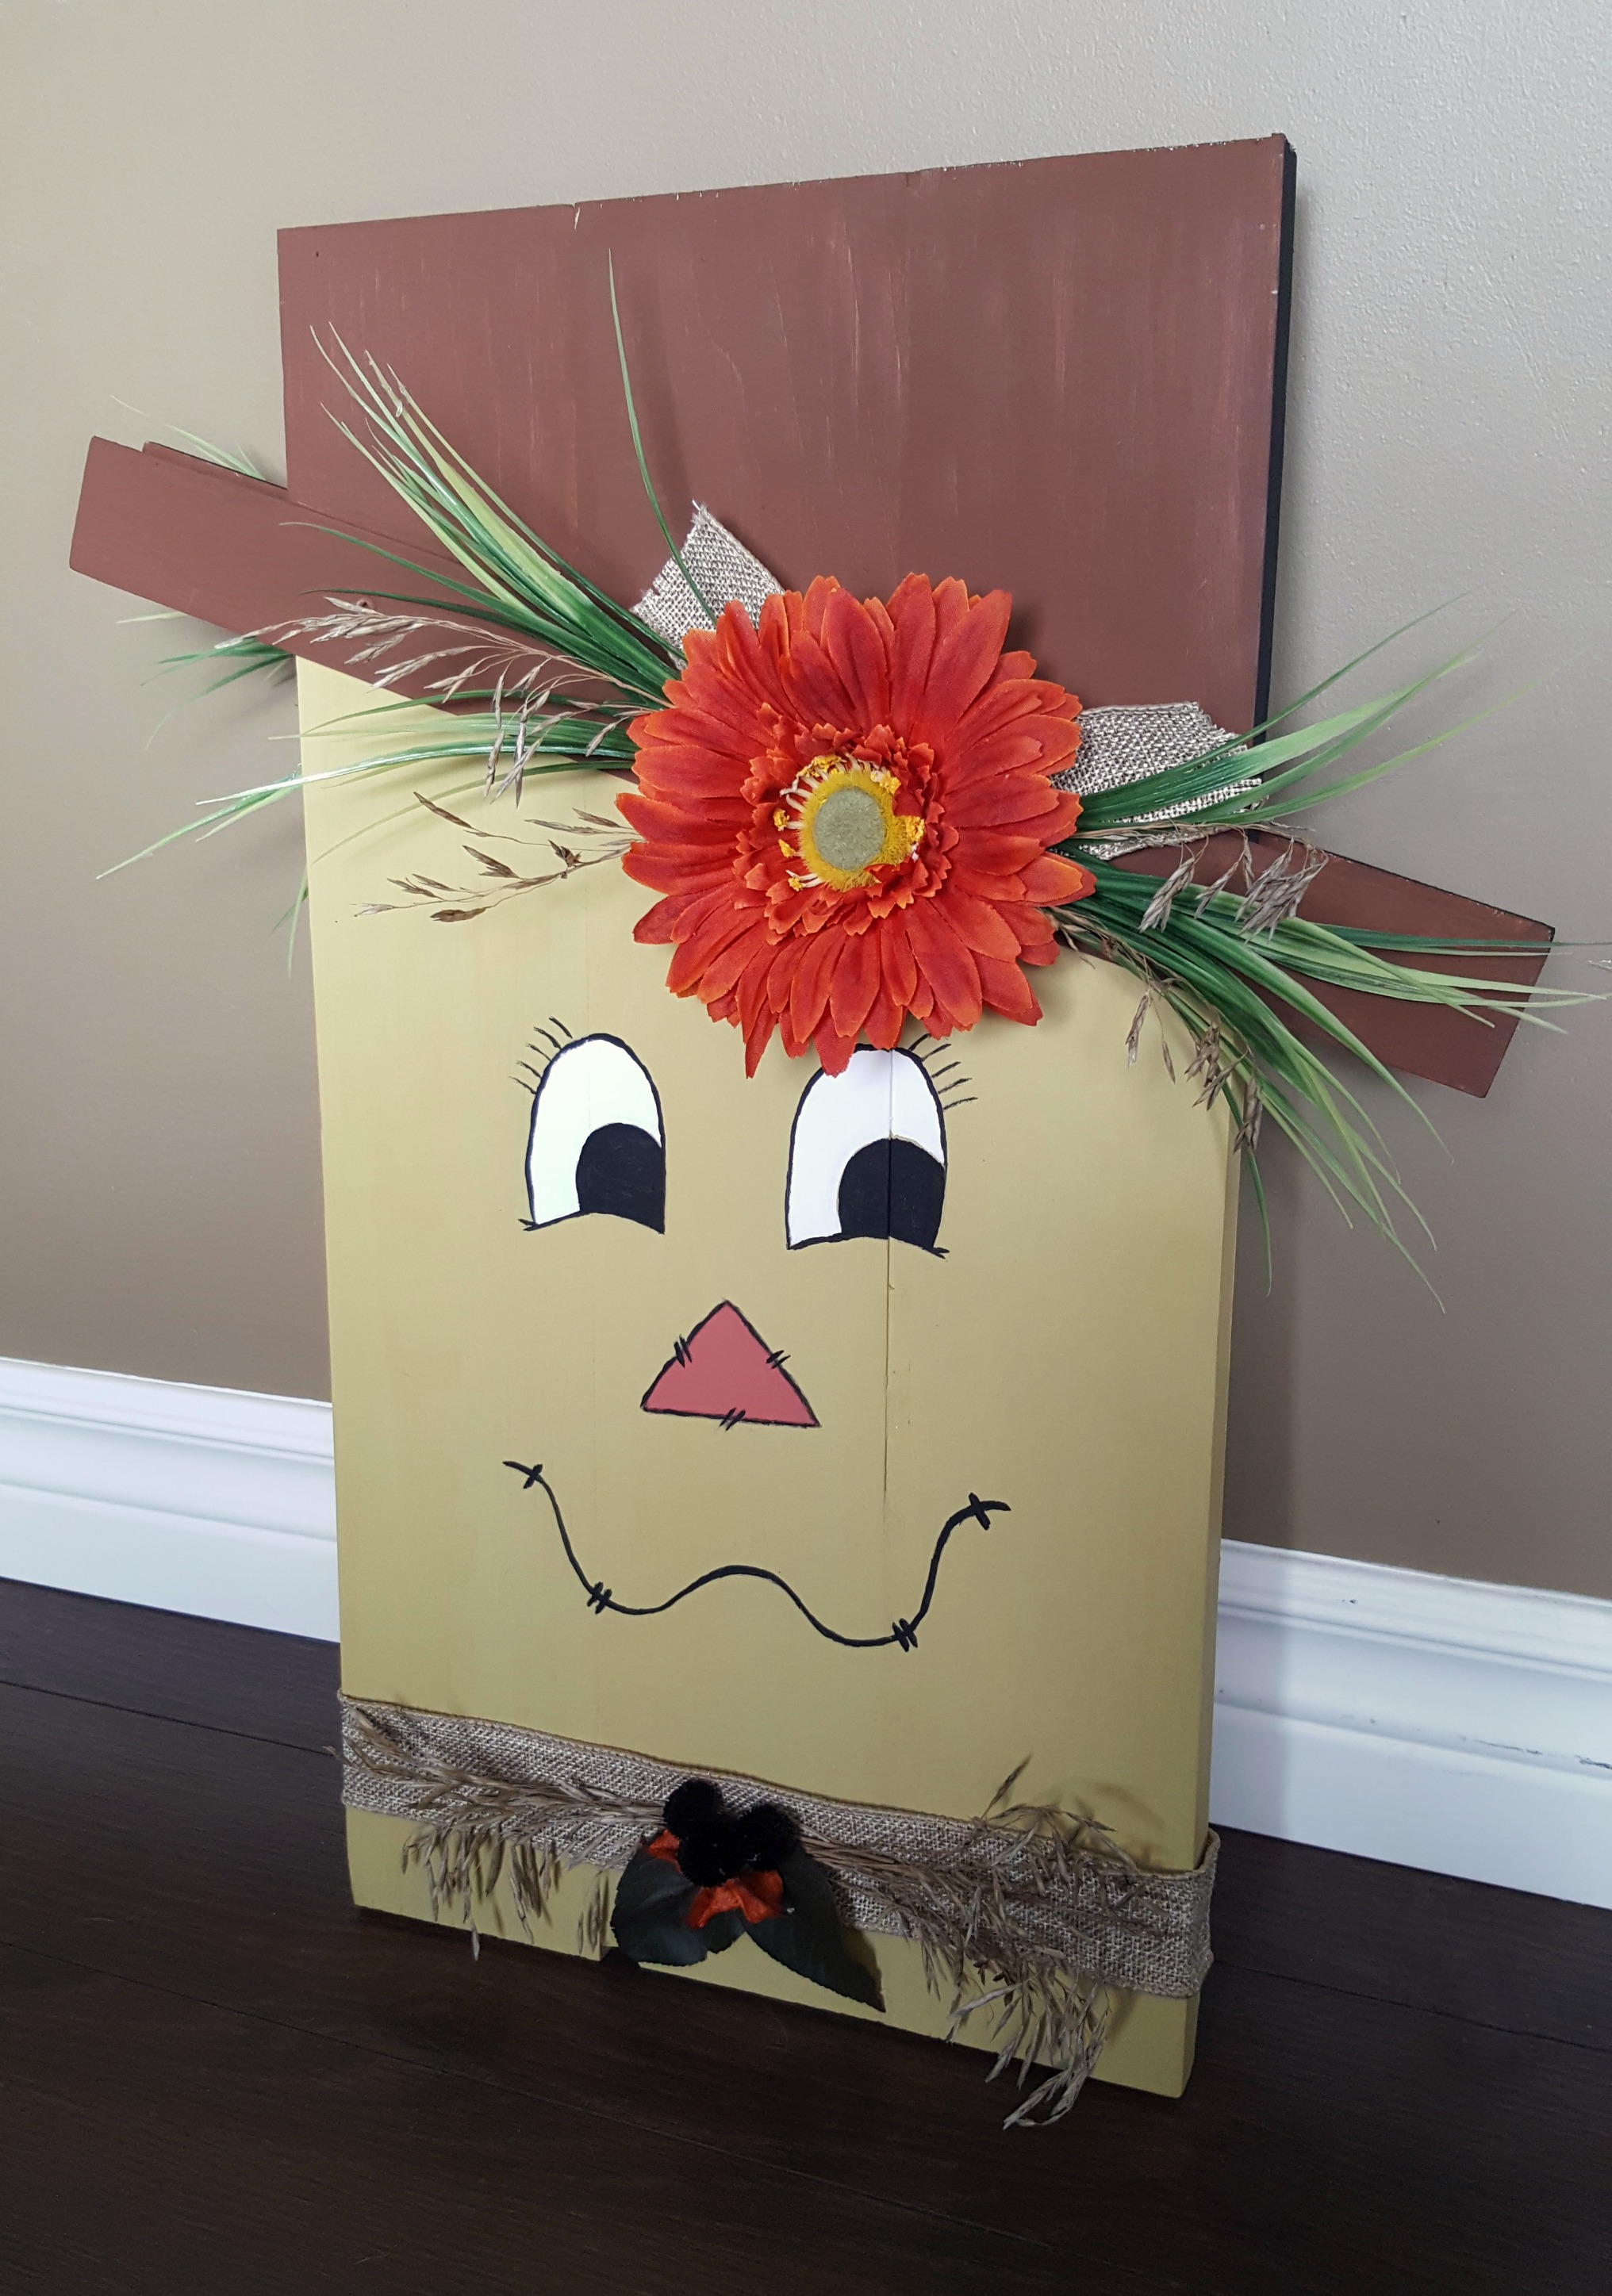
Enter the double-sided (i.e. reversible) scarecrow & snowman sign. You have a sweet fall scarecrow sign, and then also have a jumpstart on winter decorations with the other side.

reversible scarecrow snowman sign

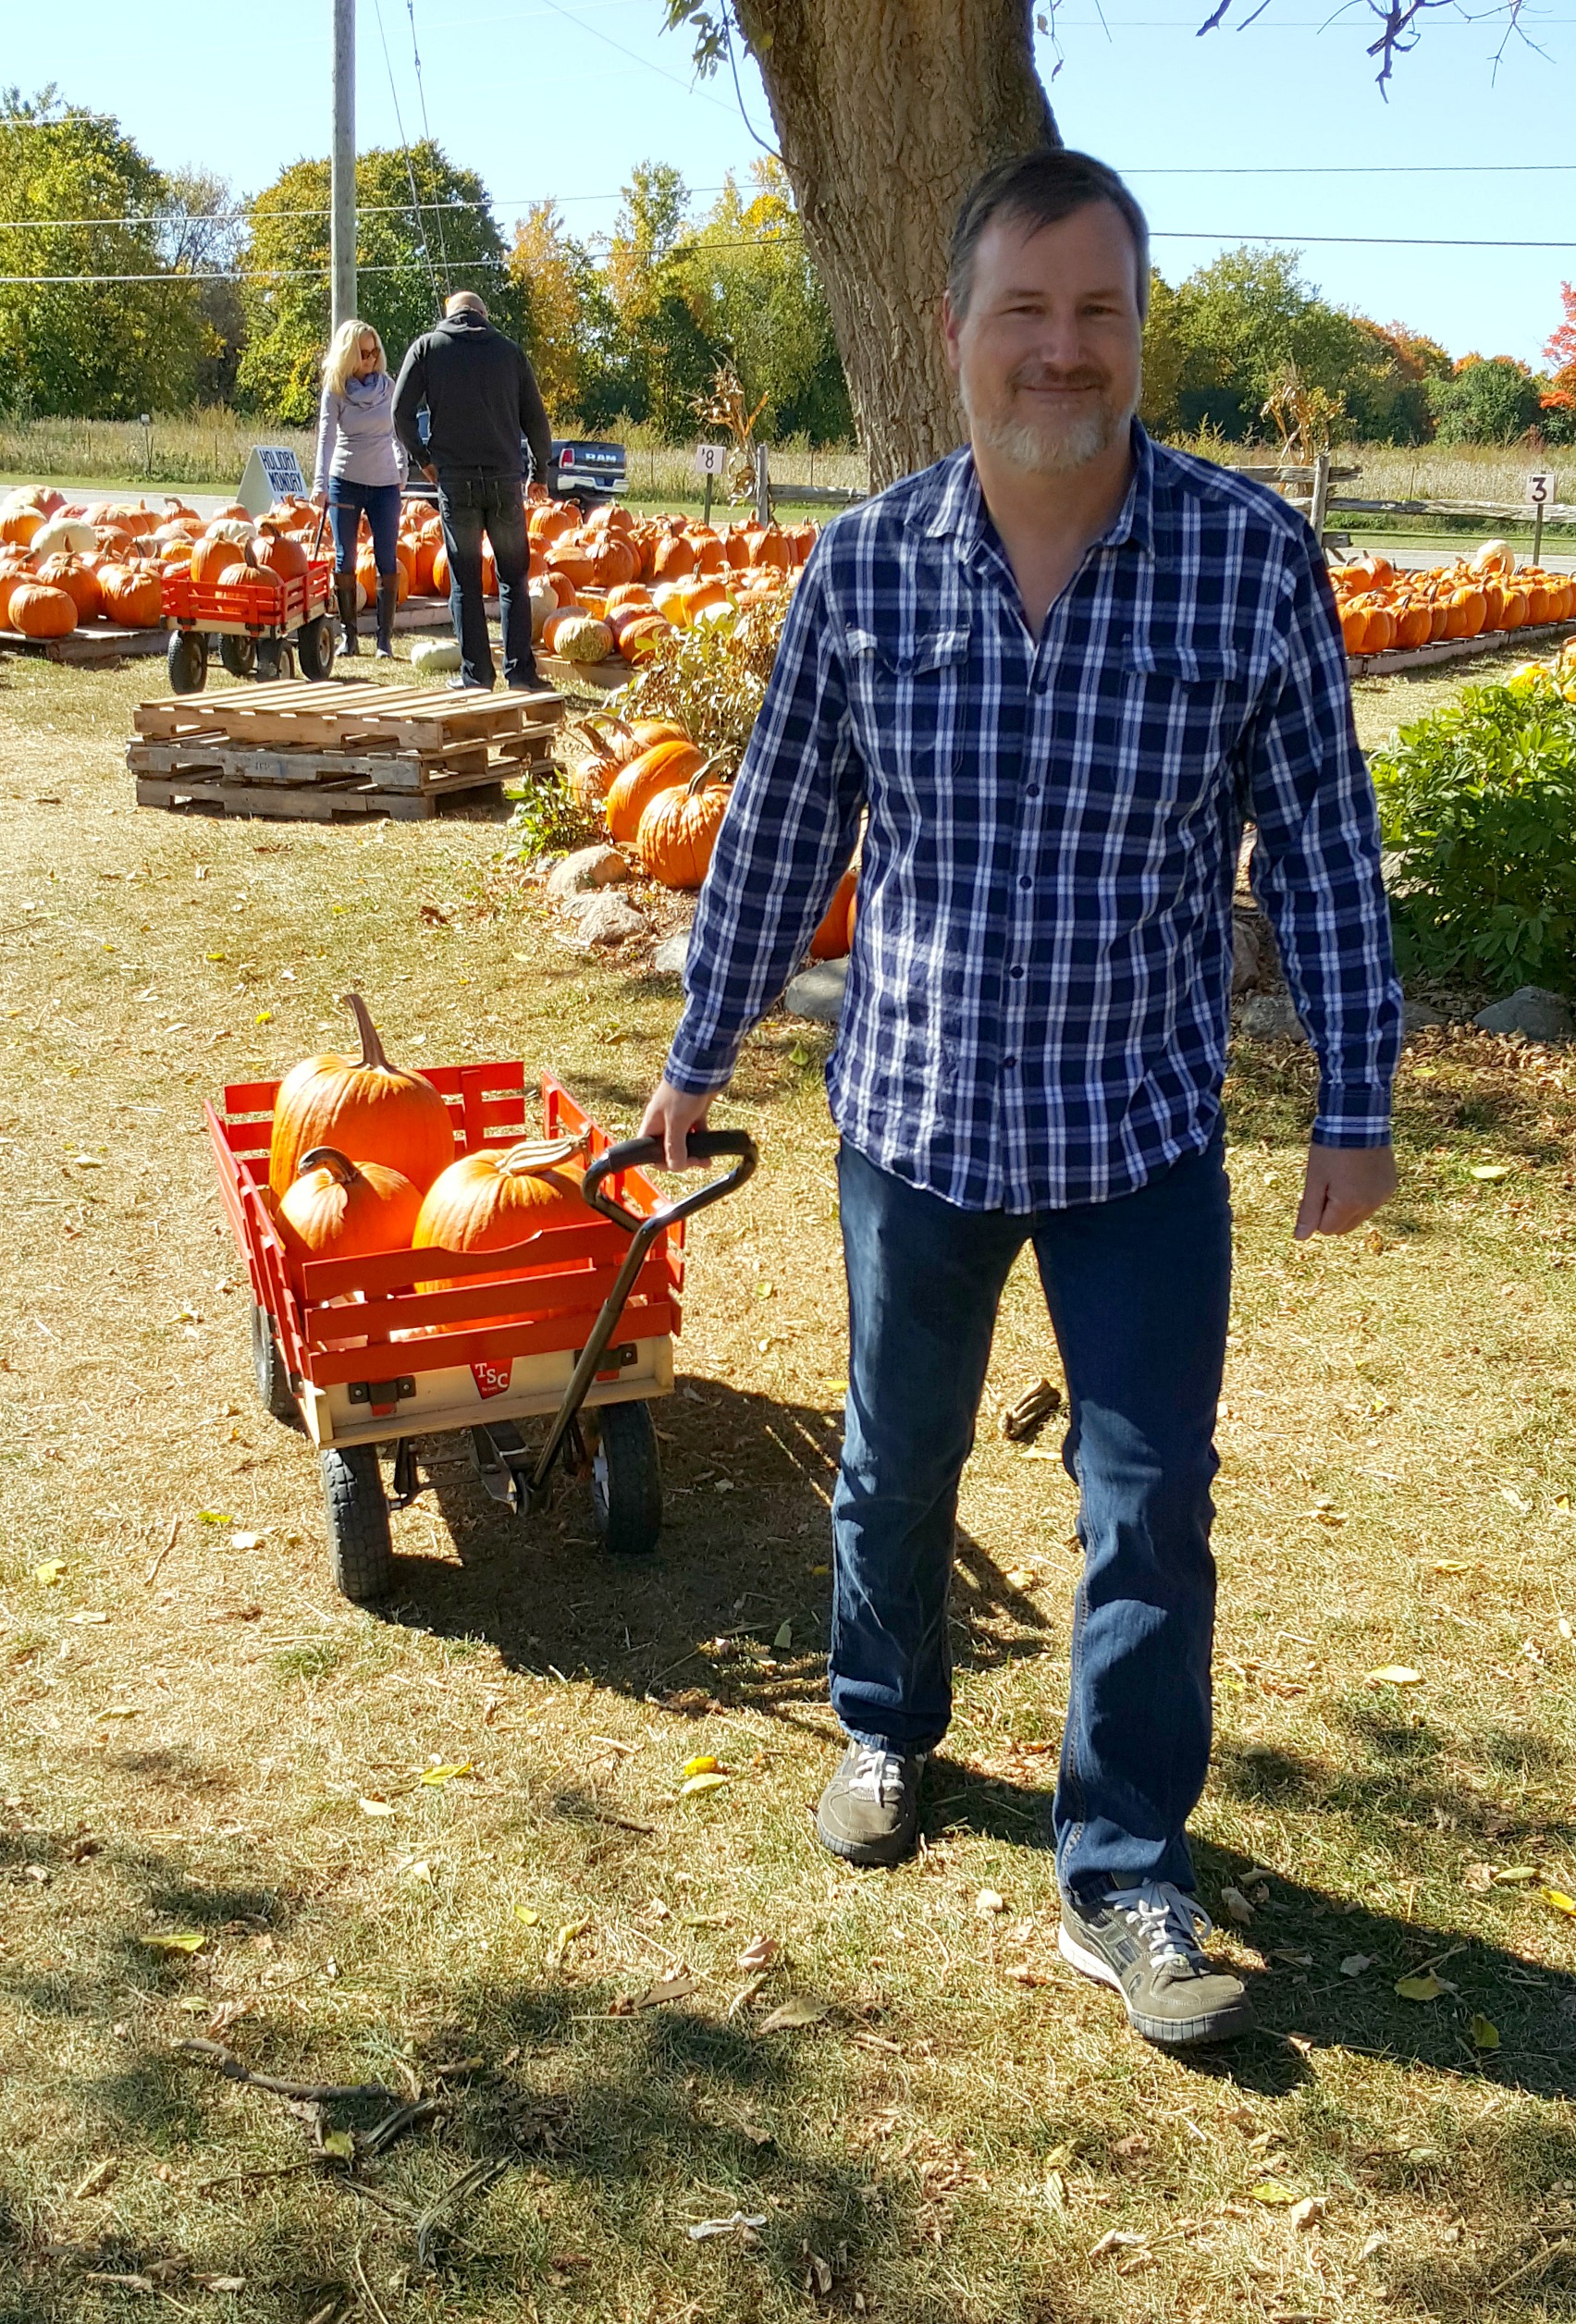
We even managed to get our pumpkins and decorative gourds in place for (Canadian) Thanksgiving. We found a local farm, just minutes from our house, that sells every possible size of pumpkin, squash, and miscellaneous gourd that you could want. They're all arranged by size/price, and the owners provide little red wagons to haul your choices around as you decide. How adorable does Tom look with the wagon?


My aunt provided the pie-sized pumpkin that is the star of our table centerpiece.

fall thanksgiving centerpiece

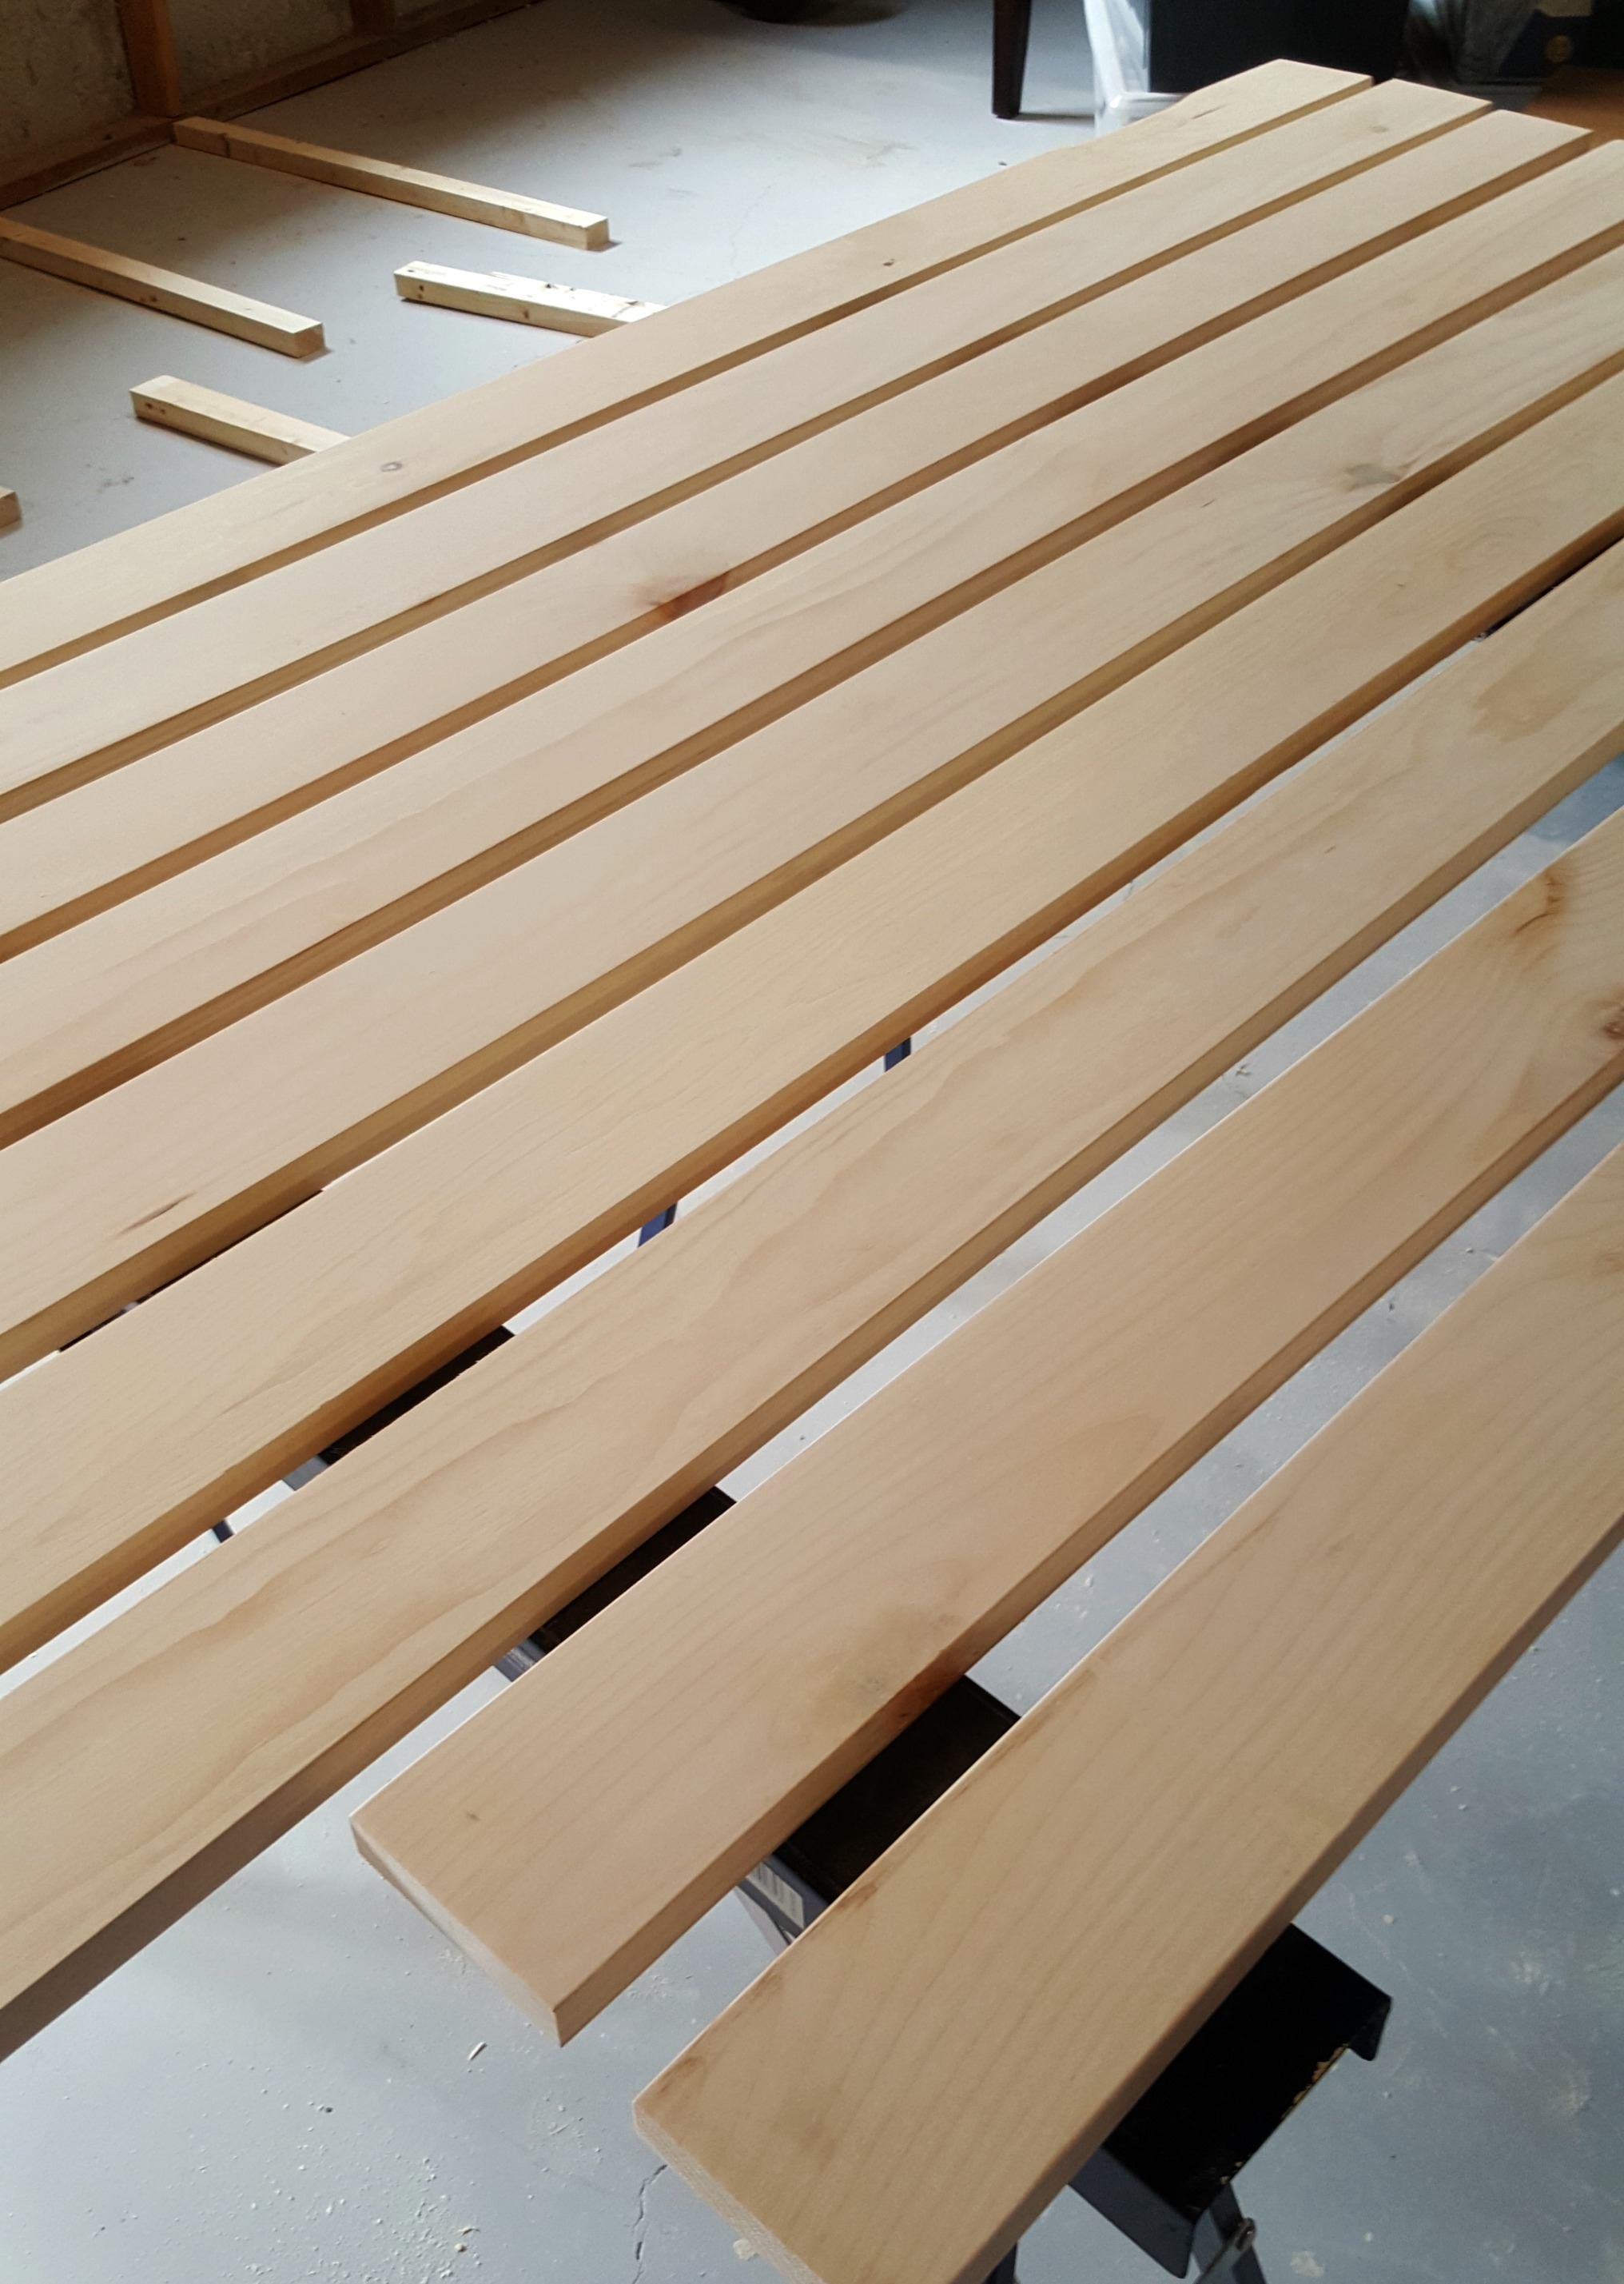
But back to the scarecrow/snowman sign. This project was so much fun. And cost nothing in new materials. I used scrap wood, plus paint and decorations that I already had on hand. I even grabbed some clippings from random plants and bushes on our property to add a natural touch.

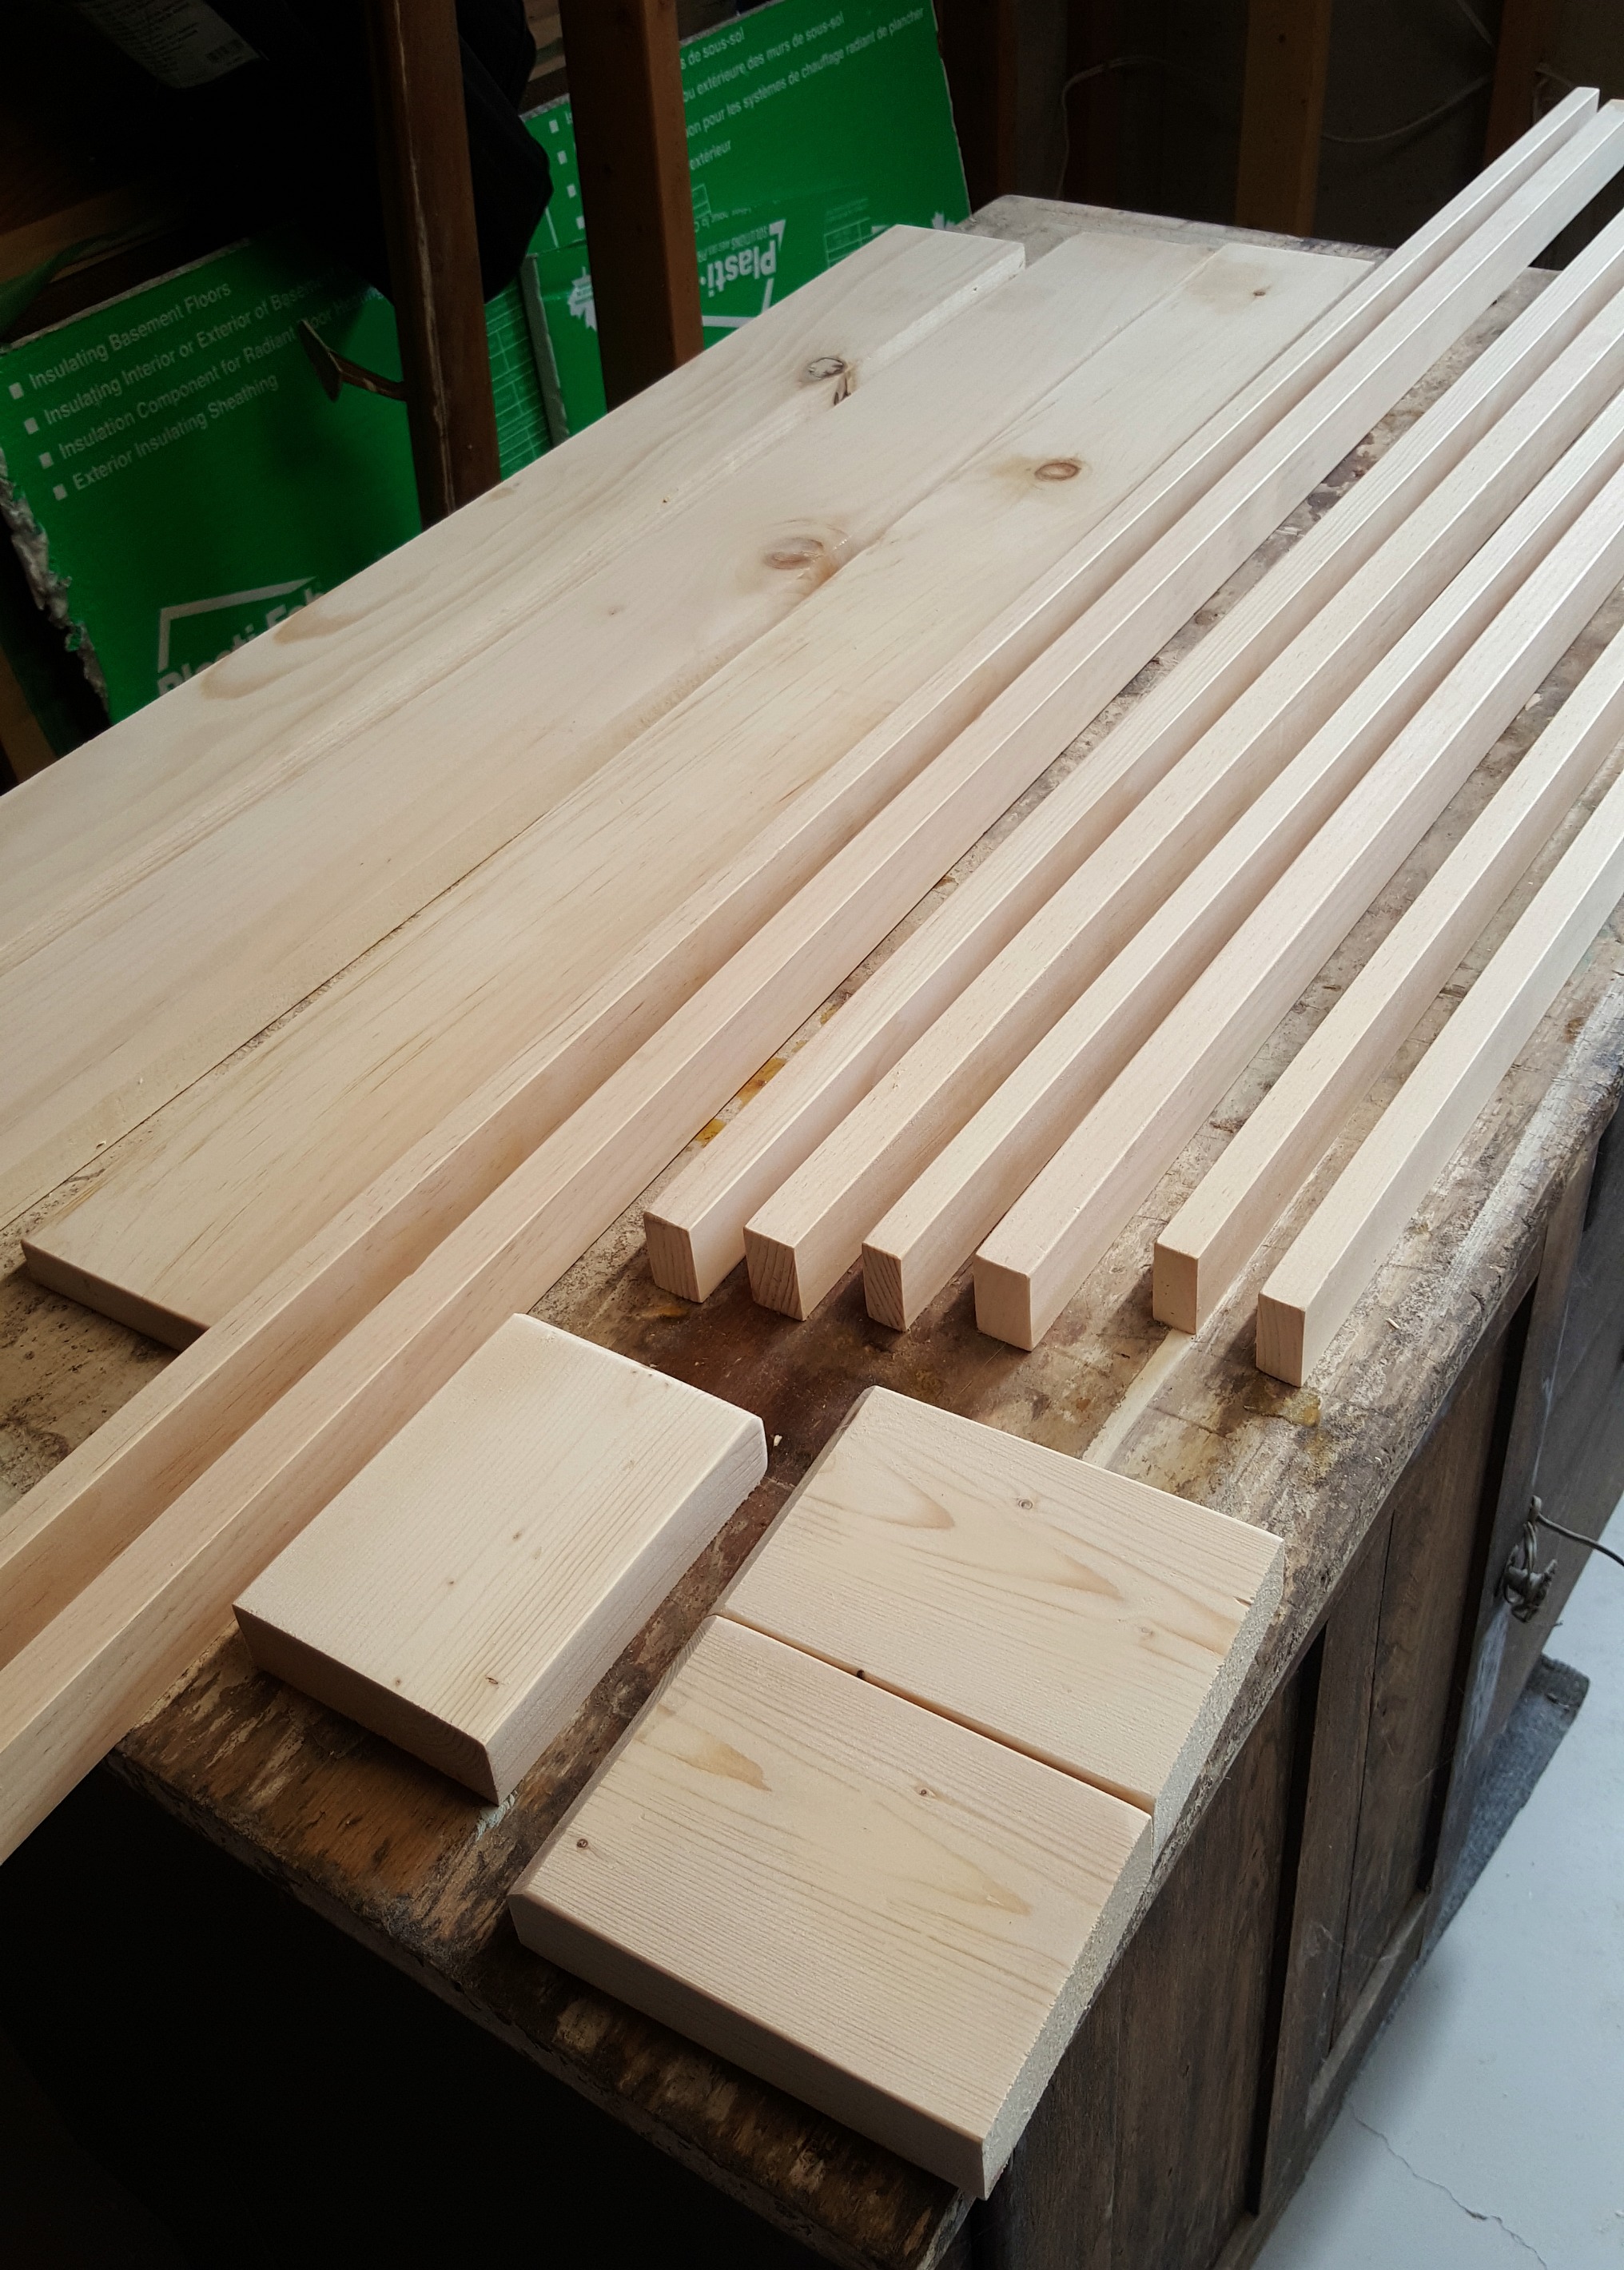
I started with a 1"x4" board that I cut into three pieces - 20" each. I then used Gorilla Glue to attach them to each other and clamped it all together overnight. You could use a pocket hole jig (Kreg is my favourite) to screw them together, but since the boards are so thin, I didn't think it was worth it this time. Plus the brim for the "hat" is screwed on, which helps hold it all together.

reversible scarecrow snowman sign

Once the boards were glued, I cut two strips from a spare sheet of 1/8" plywood for the angled hat brim - 1½" x 16" each.  I just played around until I found the angle I liked and screwed them into the sign with countersunk screws - one in each sign board section (six altogether).

reversible scarecrow snowman sign

I painted one side of the sign white with a black hat for the snowman, and the other is yellow with a brown hat for the scarecrow. I used poster paint - two coats for each section.

I started with the snowman face (because it was the easiest). I drew it in pencil on a piece of paper, erasing and correcting until I had exactly what I wanted. I flipped the paper over and held it up to a lampshade (you could also use a window in the daytime), and lightly traced the face on the other side of the page.

Back at the table, I went over the tracing again, pressing harder with the pencil this time. I then laid the page on the sign, tracing-side-down, and drew over my original sketch, pressing firmly. This transfers graphite from the back of the paper onto the sign so that you have an exact replica of your original drawing.

reversible scarecrow snowman sign

Then it was just a matter of filling in the features with paint. Once everything was dry I flipped the sign over to do the other side. Same drawing procedure as before. One final step: Give the sign an extra layer of protection against the weather with a couple of coats of matte spray lacquer.

With the painting all finished, I dug out all of my ribbon and crafting bits and pieces, plugged in my hot glue gun, threw on a movie, and got down to decorating the hats and bodies.

The focus of the scarecrow side was that big honkin' flower. What scarecrow doesn't have a floppy flower hat? I added some scraps of burlap and dried grasses from the yard.

reversible scarecrow snowman sign

The snowman side has bows made of sparkly blue snowflake ribbon and dried sprigs from the garden. My favourite bit is the piece of white glass I glued in the center of the bottom bow. It looks just like a piece of ice!

reversible scarecrow snowman sign

With the pumpkins from the farm and a potted mum, the front of the house is starting to look a little festive. Mr. Scarecrow fits right in. I can't wait until Mr. Snowman gets his chance, too.

reversible scarecrow snowman sign

Oct 26, 2016

Installing Craftsman-Style Door & Window Trim

Craftsman-style Window Trim

Now that the ceiling in the bedroom is fantastically smooth and the walls are painted, it's time to move on to the window and door trim. Like most of the other finishes in this house, the original trim was inexpensive, badly installed, and paint spattered. With the new paint on the walls (BM Edgecombe Grey), there was no way the trim could stay any longer. The strange window trim was the first to go.


Each side of the casing was made up of two pieces of wood, offset from each other, and angled in towards the window. With that angle, any moisture would collect against the window instead of away from it. I'd love to know the reason - it was obviously intentional as all of the windows in the house are done this way.

It took some elbow grease and finally the Dremel Multi-Max to remove it. It was glued and screwed in place, as well as every seam being caulked. In fact, Tom worked away on it that entire first day that I attempted to scrape the popcorn ceiling.

The door trim was easier to remove - the pieces were barely attached to the wall, so they came off with no damage. Look at those paint splatters! I can't tell how old the paint is - maybe they were in a hurry to get it done before listing? There are also paint drips on the baseboards and carpet.
 

When we started looking for door and window trim, I couldn't really find anything that spoke to me. and I looked, a lot. At one point I even picked out some ready-made trim and had it in my cart at the store, but something deep down was telling me I wouldn't be happy with it. I did some more searching on the internet (right there in the lumber aisle) and was drawn over and over again to a simple, stacked Craftsman look.

My favourite style of house/architecture, hands-down, is Craftsman.  I love the wide, yet streamlined, door and window casings, built-in bookcases, natural wood tones...and I'd give just about anything to have a large front porch with stone and wood columns.

So everything in my cart went back on the shelf and I started again. We decided on a 1" x 4" top, side, and apron (below the window sill) casing, with a 3/4" x 1 1/4" casing cap and 1/2" x 1 1/4" fillet. The stool, i.e. the bottom sill, is 1" x 10". Yes, I even learned the terminology.

Craftsman-style Window Trim

Those seem like some crazy measurements, but all we had to do was buy 1x4s and 1x2s, then plane them down as needed. (Keep in mind that 1 inch boards are really only 3/4 of an inch thick.)

Installing the trim was a simple matter of attaching each piece one at a time to build the pattern that we wanted.

Craftsman-style Window Trim

With the window, we also had to add new interior trim to replace those funky angled boards.


The door frames begin with a simple rectangular plinth block at the bottom, then the 1x4 side trim, followed by the stacked header trim.

Craftsman-style Window Trim

Each of the thin header pieces are nailed into the board below (or above) rather than into the wall. I'm still wavering on whether or not to build up the top with some decorative molding, but we're planning on adding crown molding at the ceiling so it might be overkill. It's always something that can be added in the future though.

Craftsman-style Window Trim

The window sill is all one piece, 10 inches deep, with a 2" overhang at the front and a 1" overhang on each side beyond the side trim. That piece went in first, and then we built up and down from there. The window header pattern matches the door headers exactly.

Craftsman-style Window Trim

We put them in place with just a few finishing nails to make sure we liked the look. Once everything was in place and the proportions were right, we took it all down (mark your boards!) and gave them a couple of coats of primer. The trim is so much easier to paint when you can lay it all out like an assembly line.


Then it went back up on the walls. Once everything was in place, I caulked all of the seams - between boards and between the casing and the wall. I love a seamless look. I also puttied and sanded the nail holes to prepare for painting. All of the trim was painted in a bright untinted white, Behr's Premium Plus Paint & Primer, in semi-gloss.

Craftsman-style Window Trim


We still need to put in the base trim - which we've already designed - but we want to wait until the carpet is replaced as it will all have to be removed anyway. I also didn't caulk the plinth blocks so that they could also be removed for carpet installation. But that can't be done until we finish the basement so that there's a place to put everything while the carpet is installed. One project always leads to another.

Craftsman-style Window Trim

But for now we're really happy getting the trim up. It lightens up the room so much, and the Craftsman style fits us so well. We're planning on replacing all of the doors and door frames, as well as widening the closet entry, so this was kind of our practice run at custom trimwork. We know part or all of it will have to be removed but I couldn't bear to have the room look half-finished forever.

Craftsman-style Window Trim

I'm really looking forward to new carpet and a renovated closet. We've sourced Craftsman-style interior doors as well, so as soon as we're ready we can get those in too. One step closer every day!


Related Posts Plugin for WordPress, Blogger...