SEARCH THE BLOG

Mar 20, 2014

Bathroom Wall Graffiti

I swear the main bathroom is going to be the room that breaks me. If you remember, I painted it a taupe colour, decided it was too dark, and re-painted it a light blue. I was never that enamoured with the colour - I think I should have gone a shade darker. So now every day I look at it and wish it was different. But the thought of painting it a third time...just no.

Instead, I've decided that rather than re-painting I'm going to decorate around the wall colour. The vanity top is a speckled pattern of mostly navy blue with some green veining. It limits my options a bit, but I think I've found something I like.


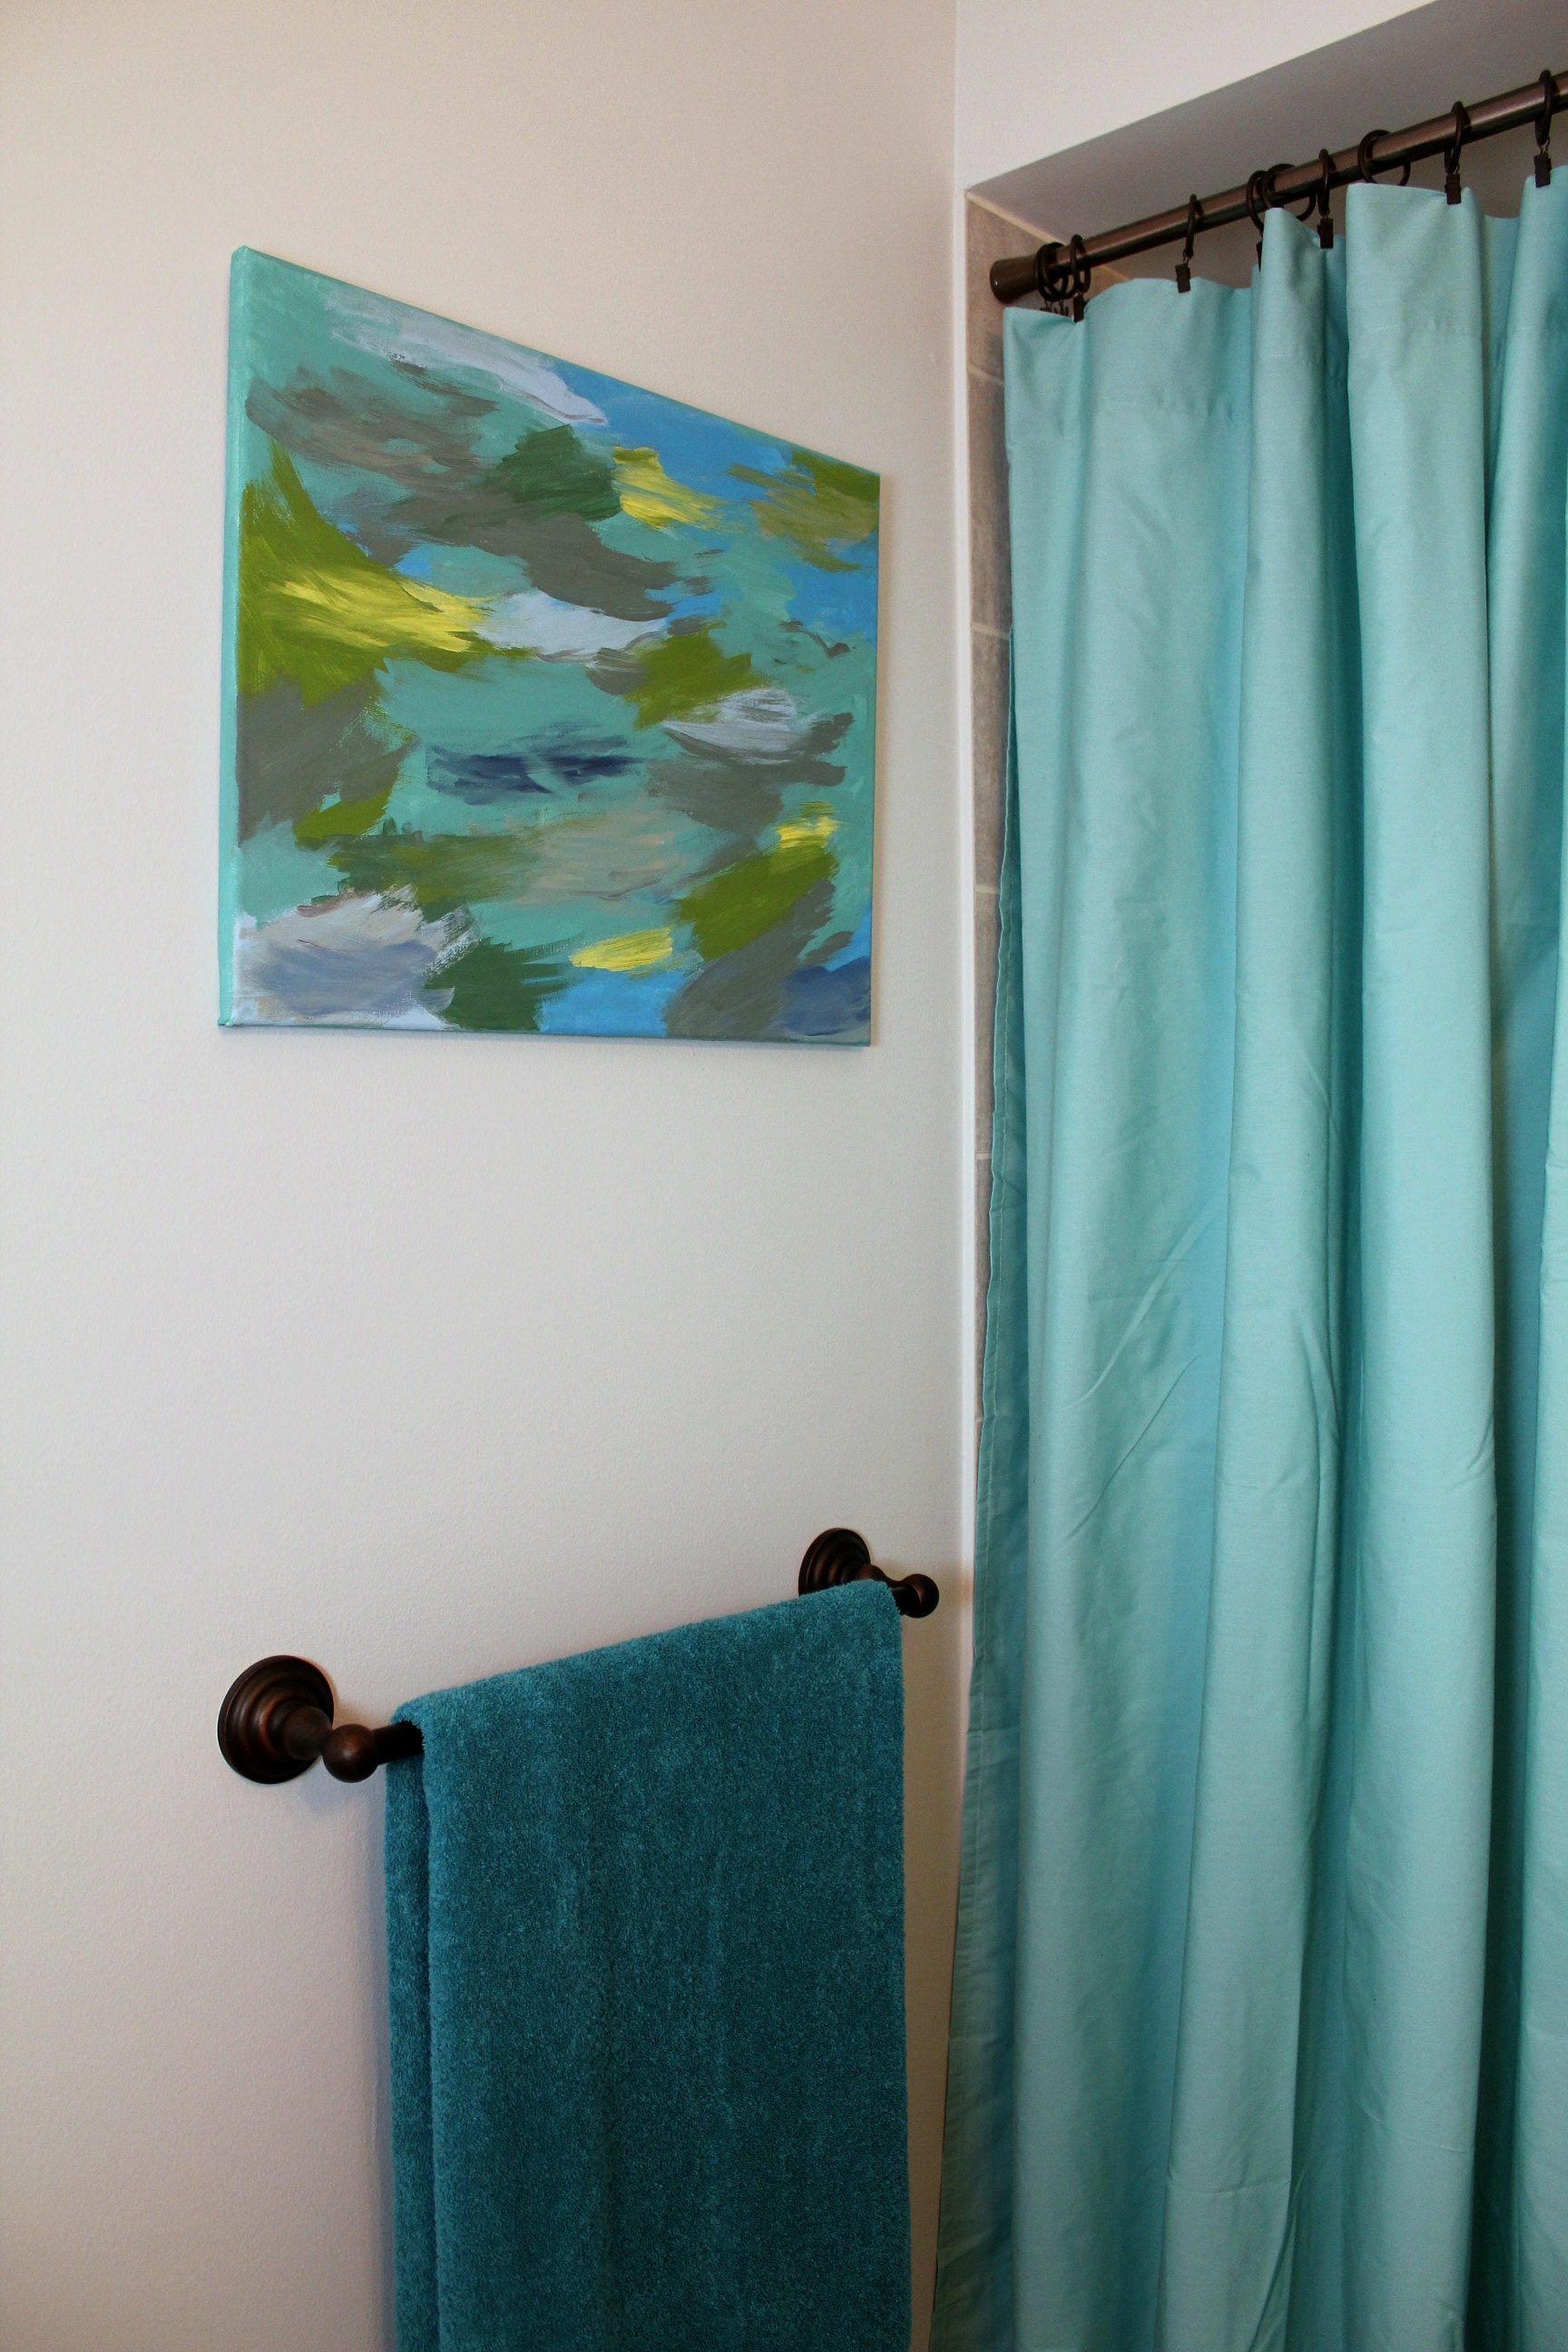
I started with a turquoise shower curtain, which is actually a twin-sized flat sheet hemmed to the correct length. Don't worry, there's a shower curtain liner behind it.


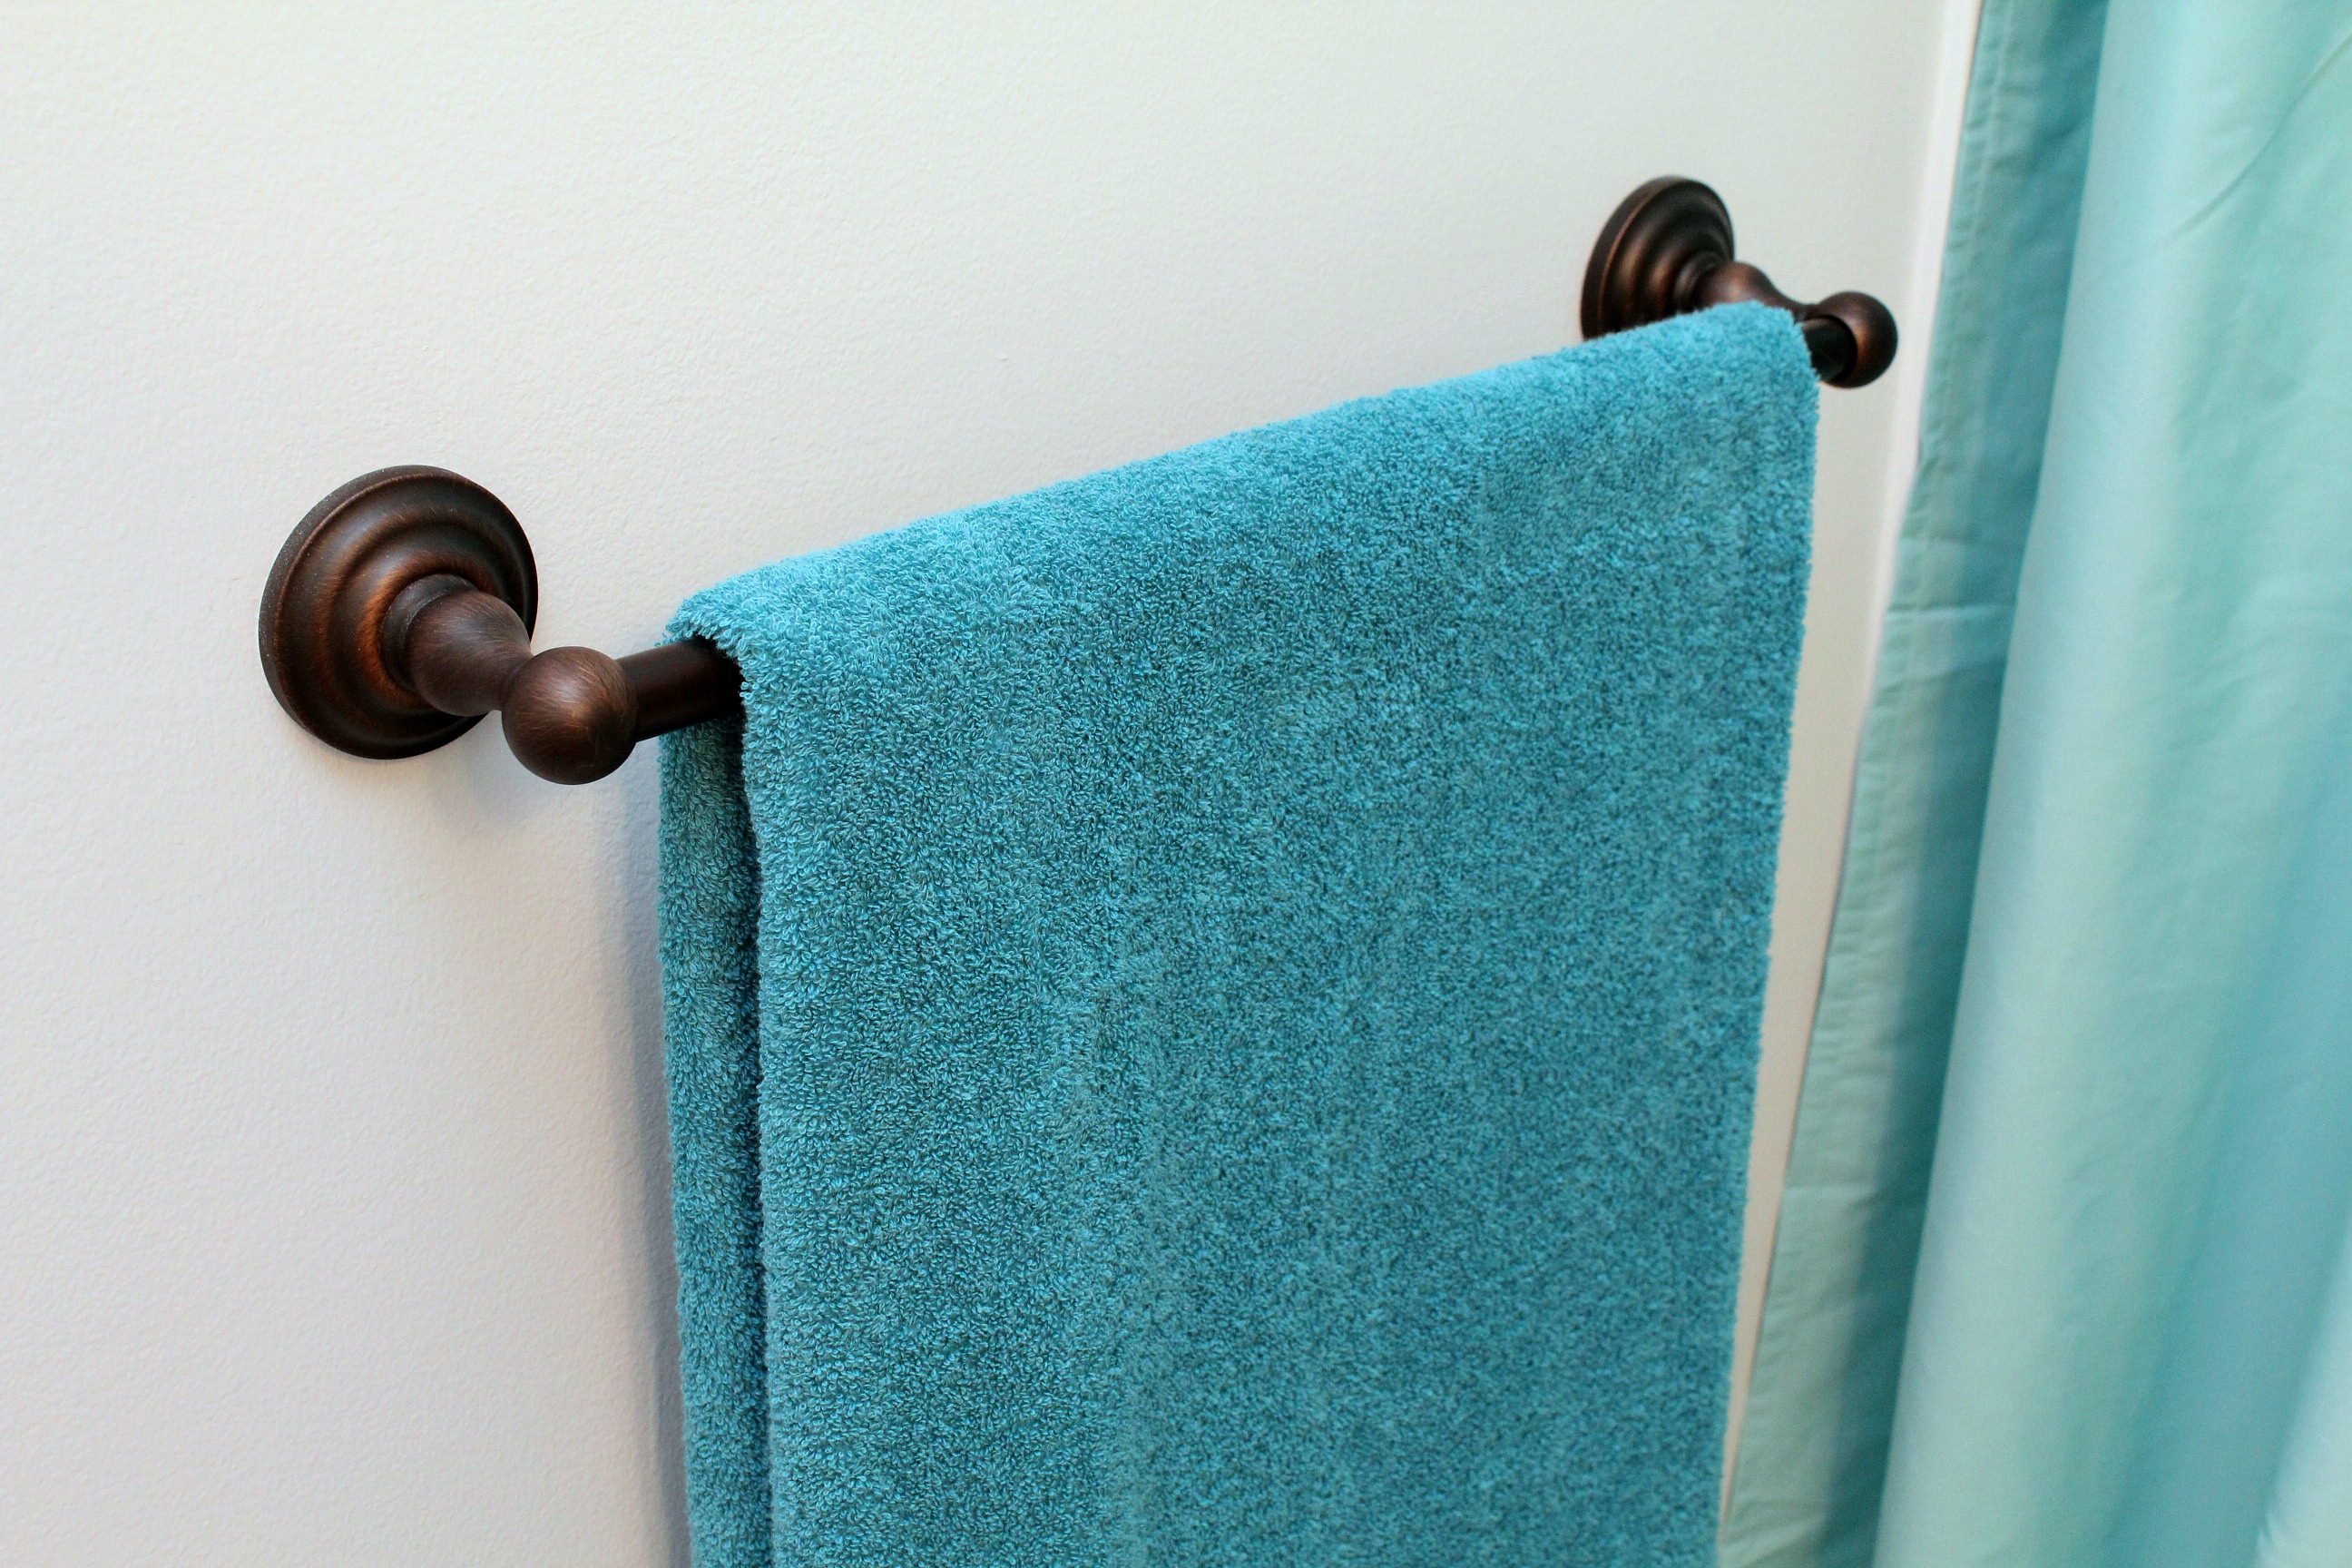
I then found some deeper teal towels. Such a rich shade. All of our other towels are white or pale yellow or tan; I think I'd like to start replacing them with more vibrant jewel tones.


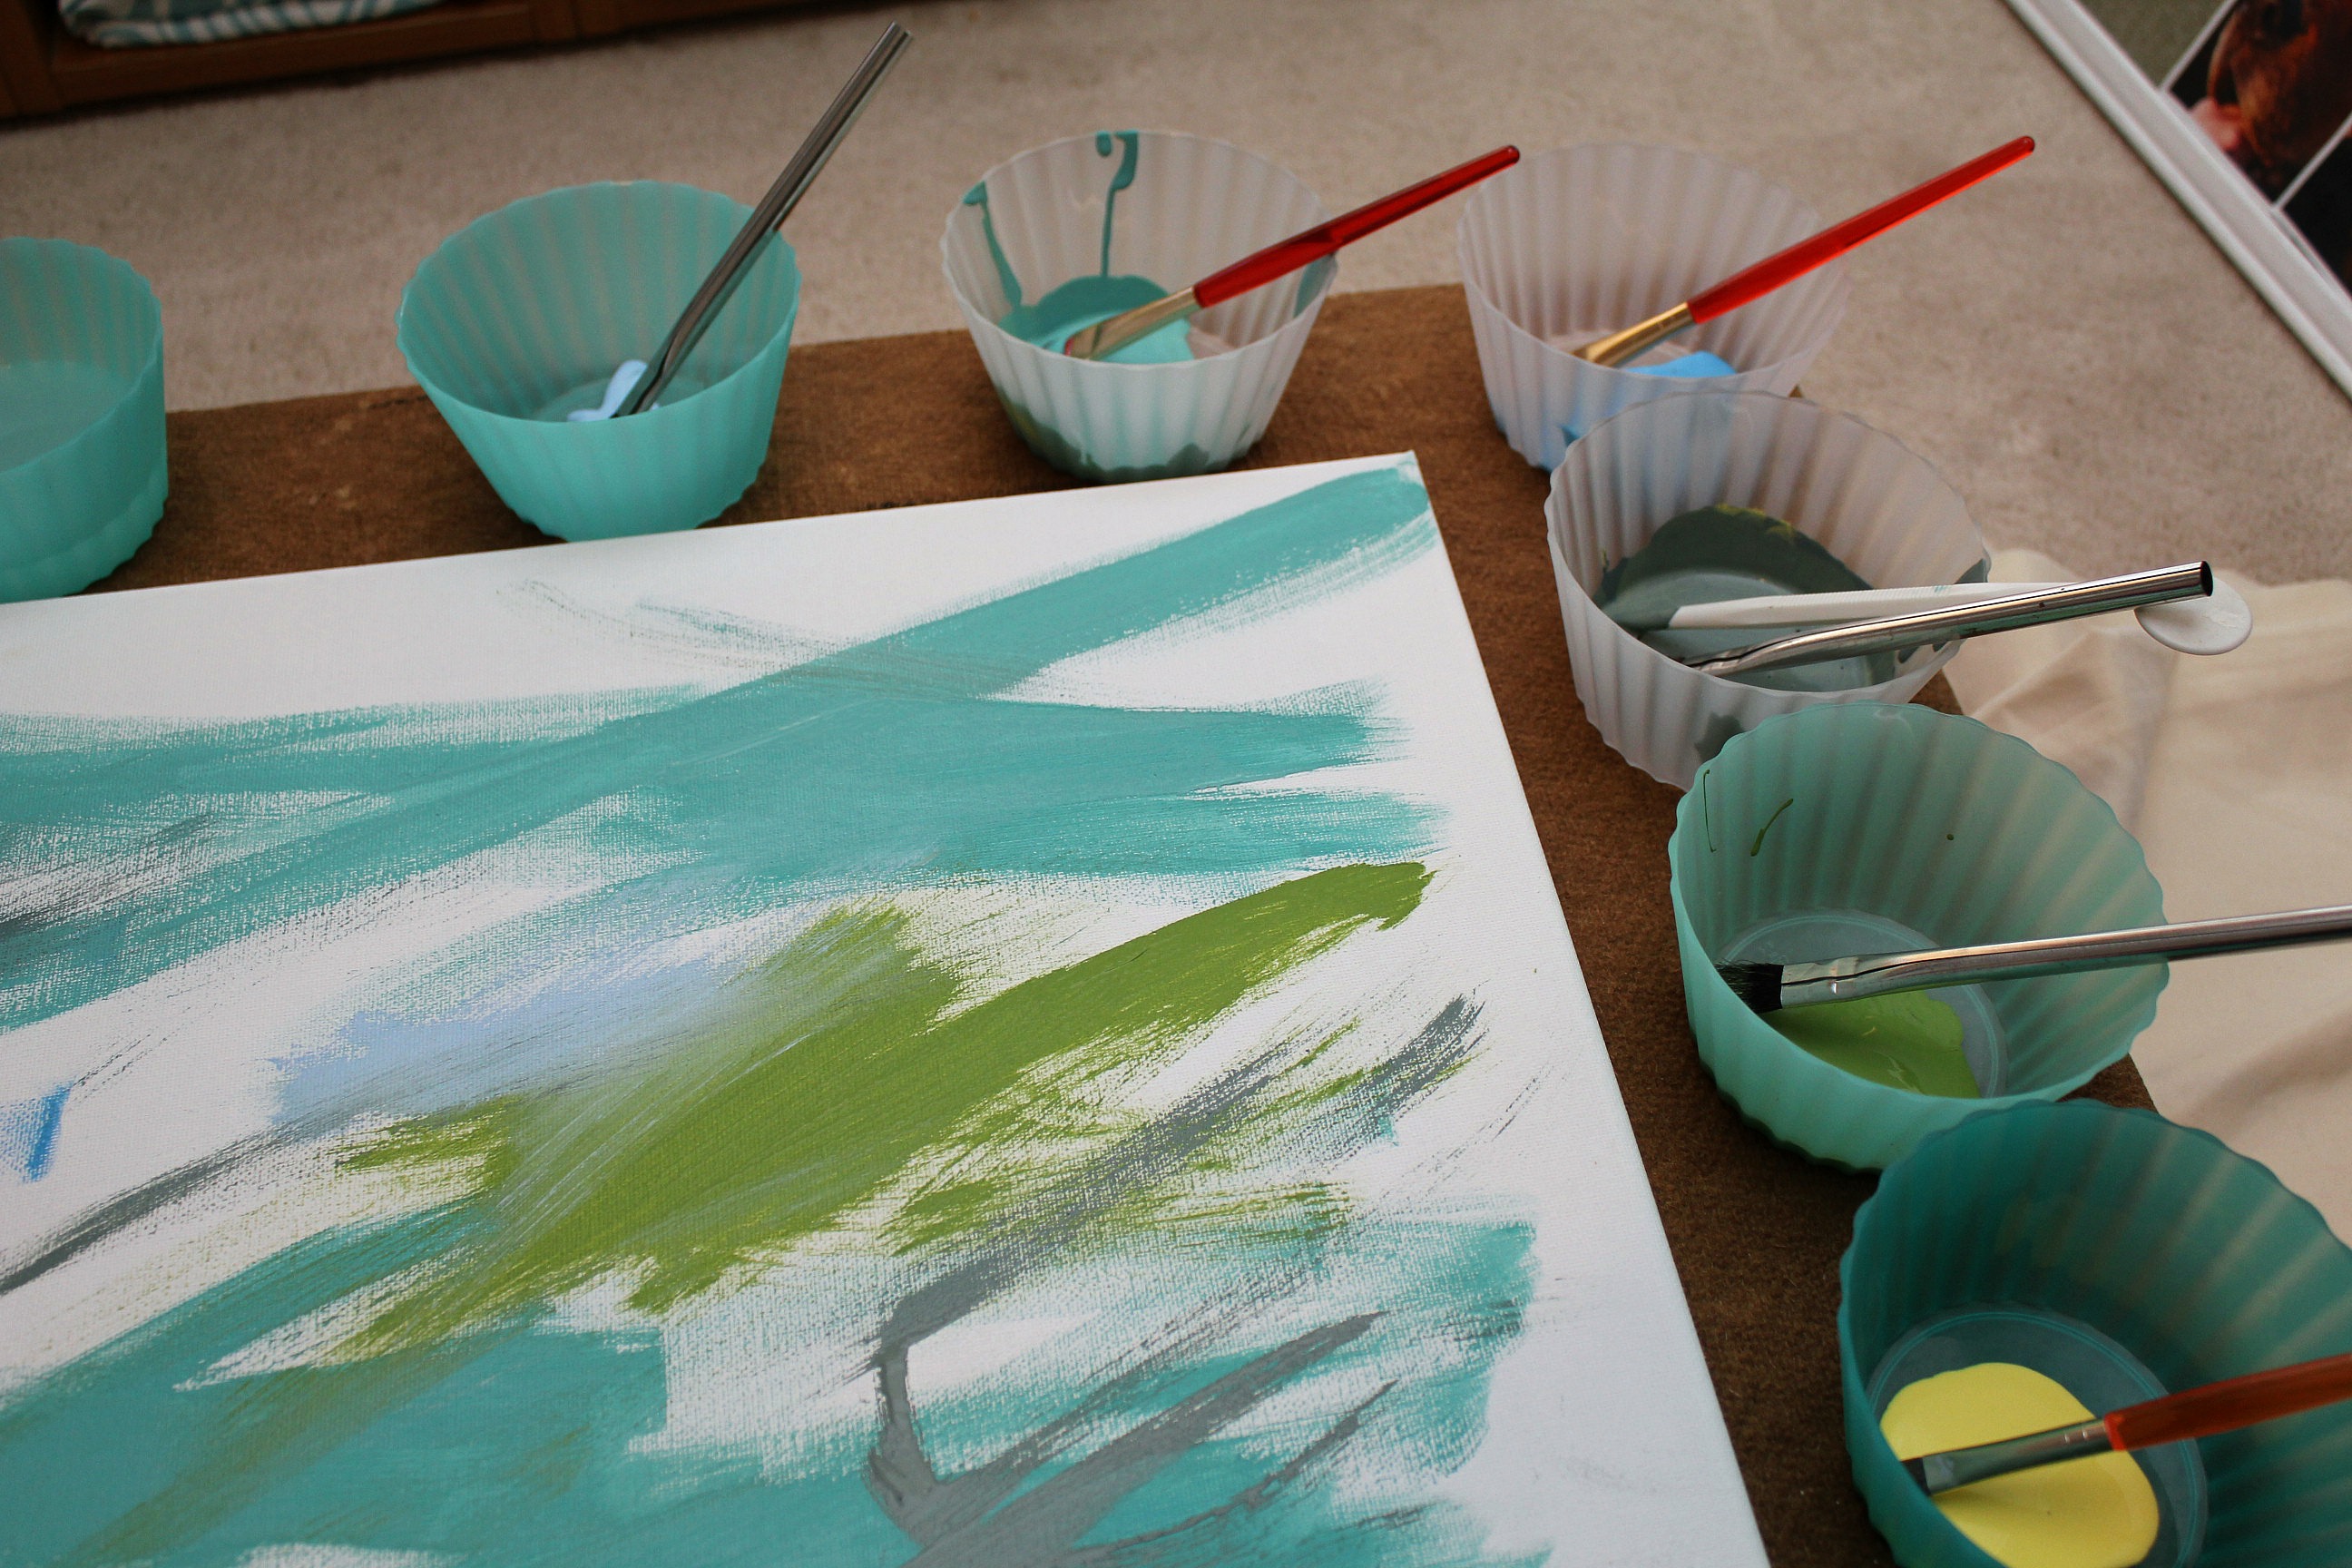
The final touch was some "art" to break up the expanse of pale blue above the towel rod. I have several 16"x20" blank canvases that I picked up from the dollar store a long time ago. I pulled one out along with all of my blue, green, and yellow craft paints.


Thank goodness I had a dozen or so little dessert cups from when I made cherry cheesecake and Oreo dirt cake (I'll warn you, if you go look at those pictures you might want to go make some. Like right now. It's okay, I'll wait.) The cups were perfect for mixing paint so that I could have even more colours to work with.

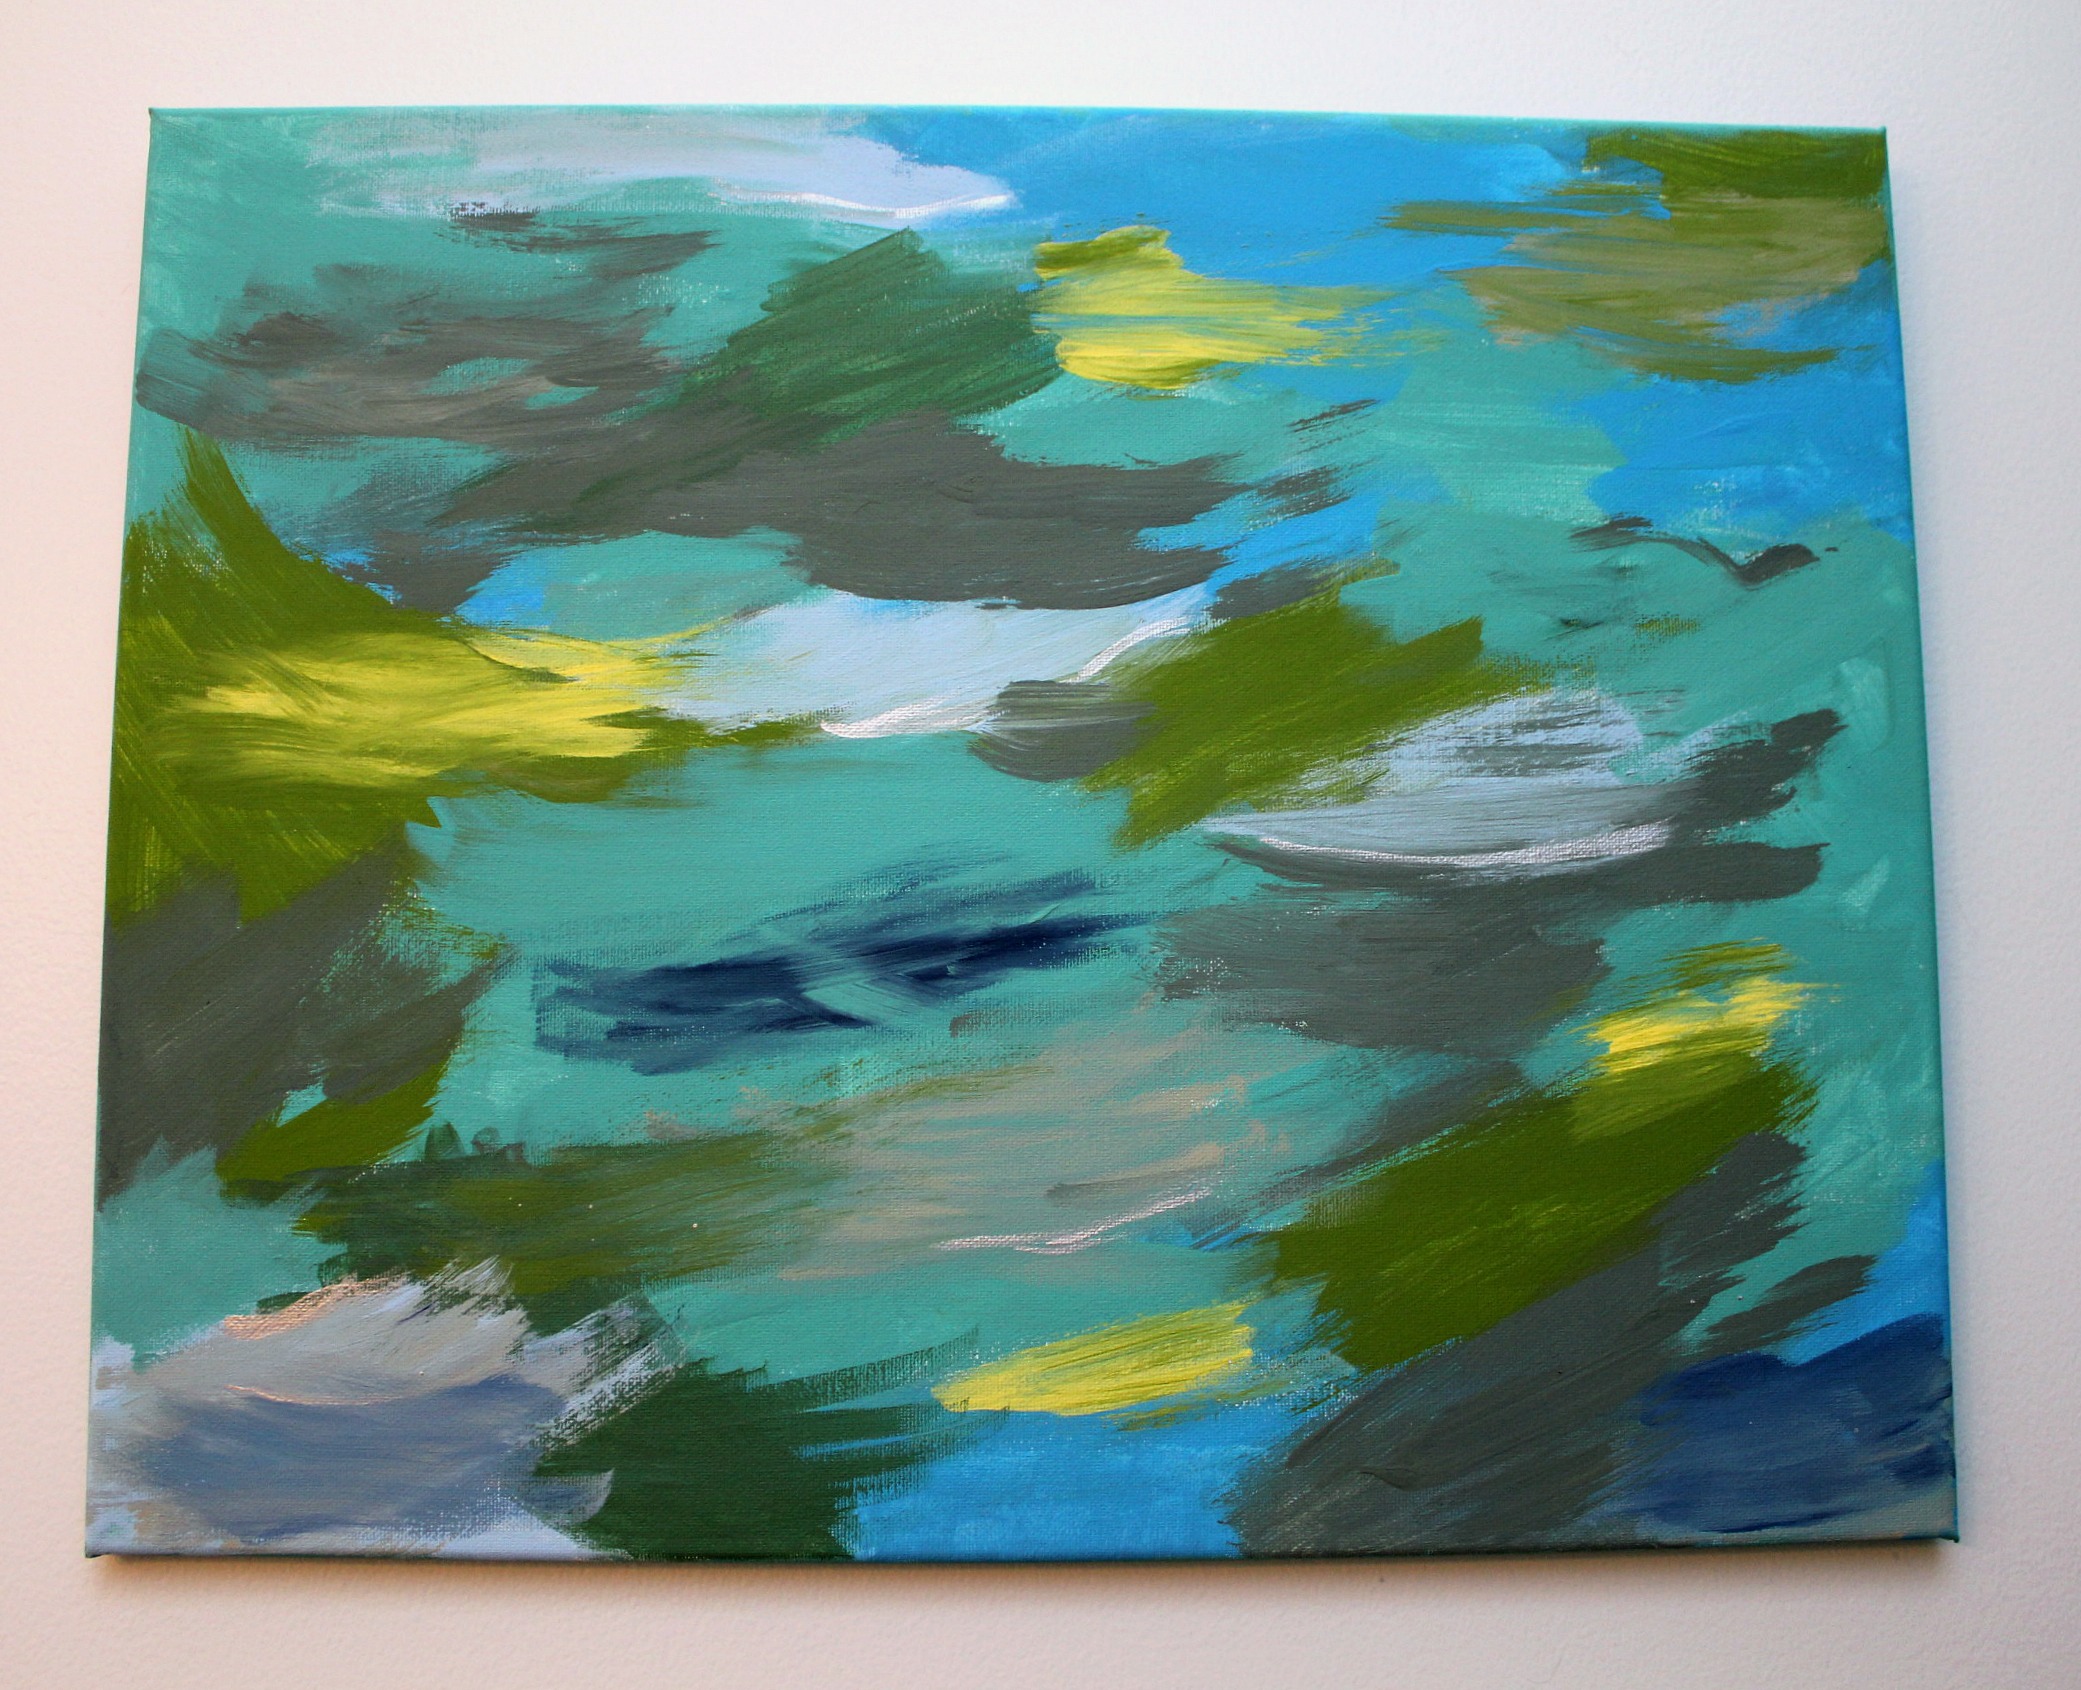
I had so many blues to choose from but not many greens, so the yellow paint came in handy to make my greens. It was surprising what colours I ended up with - that greyish colour is a mix of dark leaf green and yellow. Crazy, right? The turquoise on the far left is my favourite, and an almost perfect match for the towels, so I used it the most.


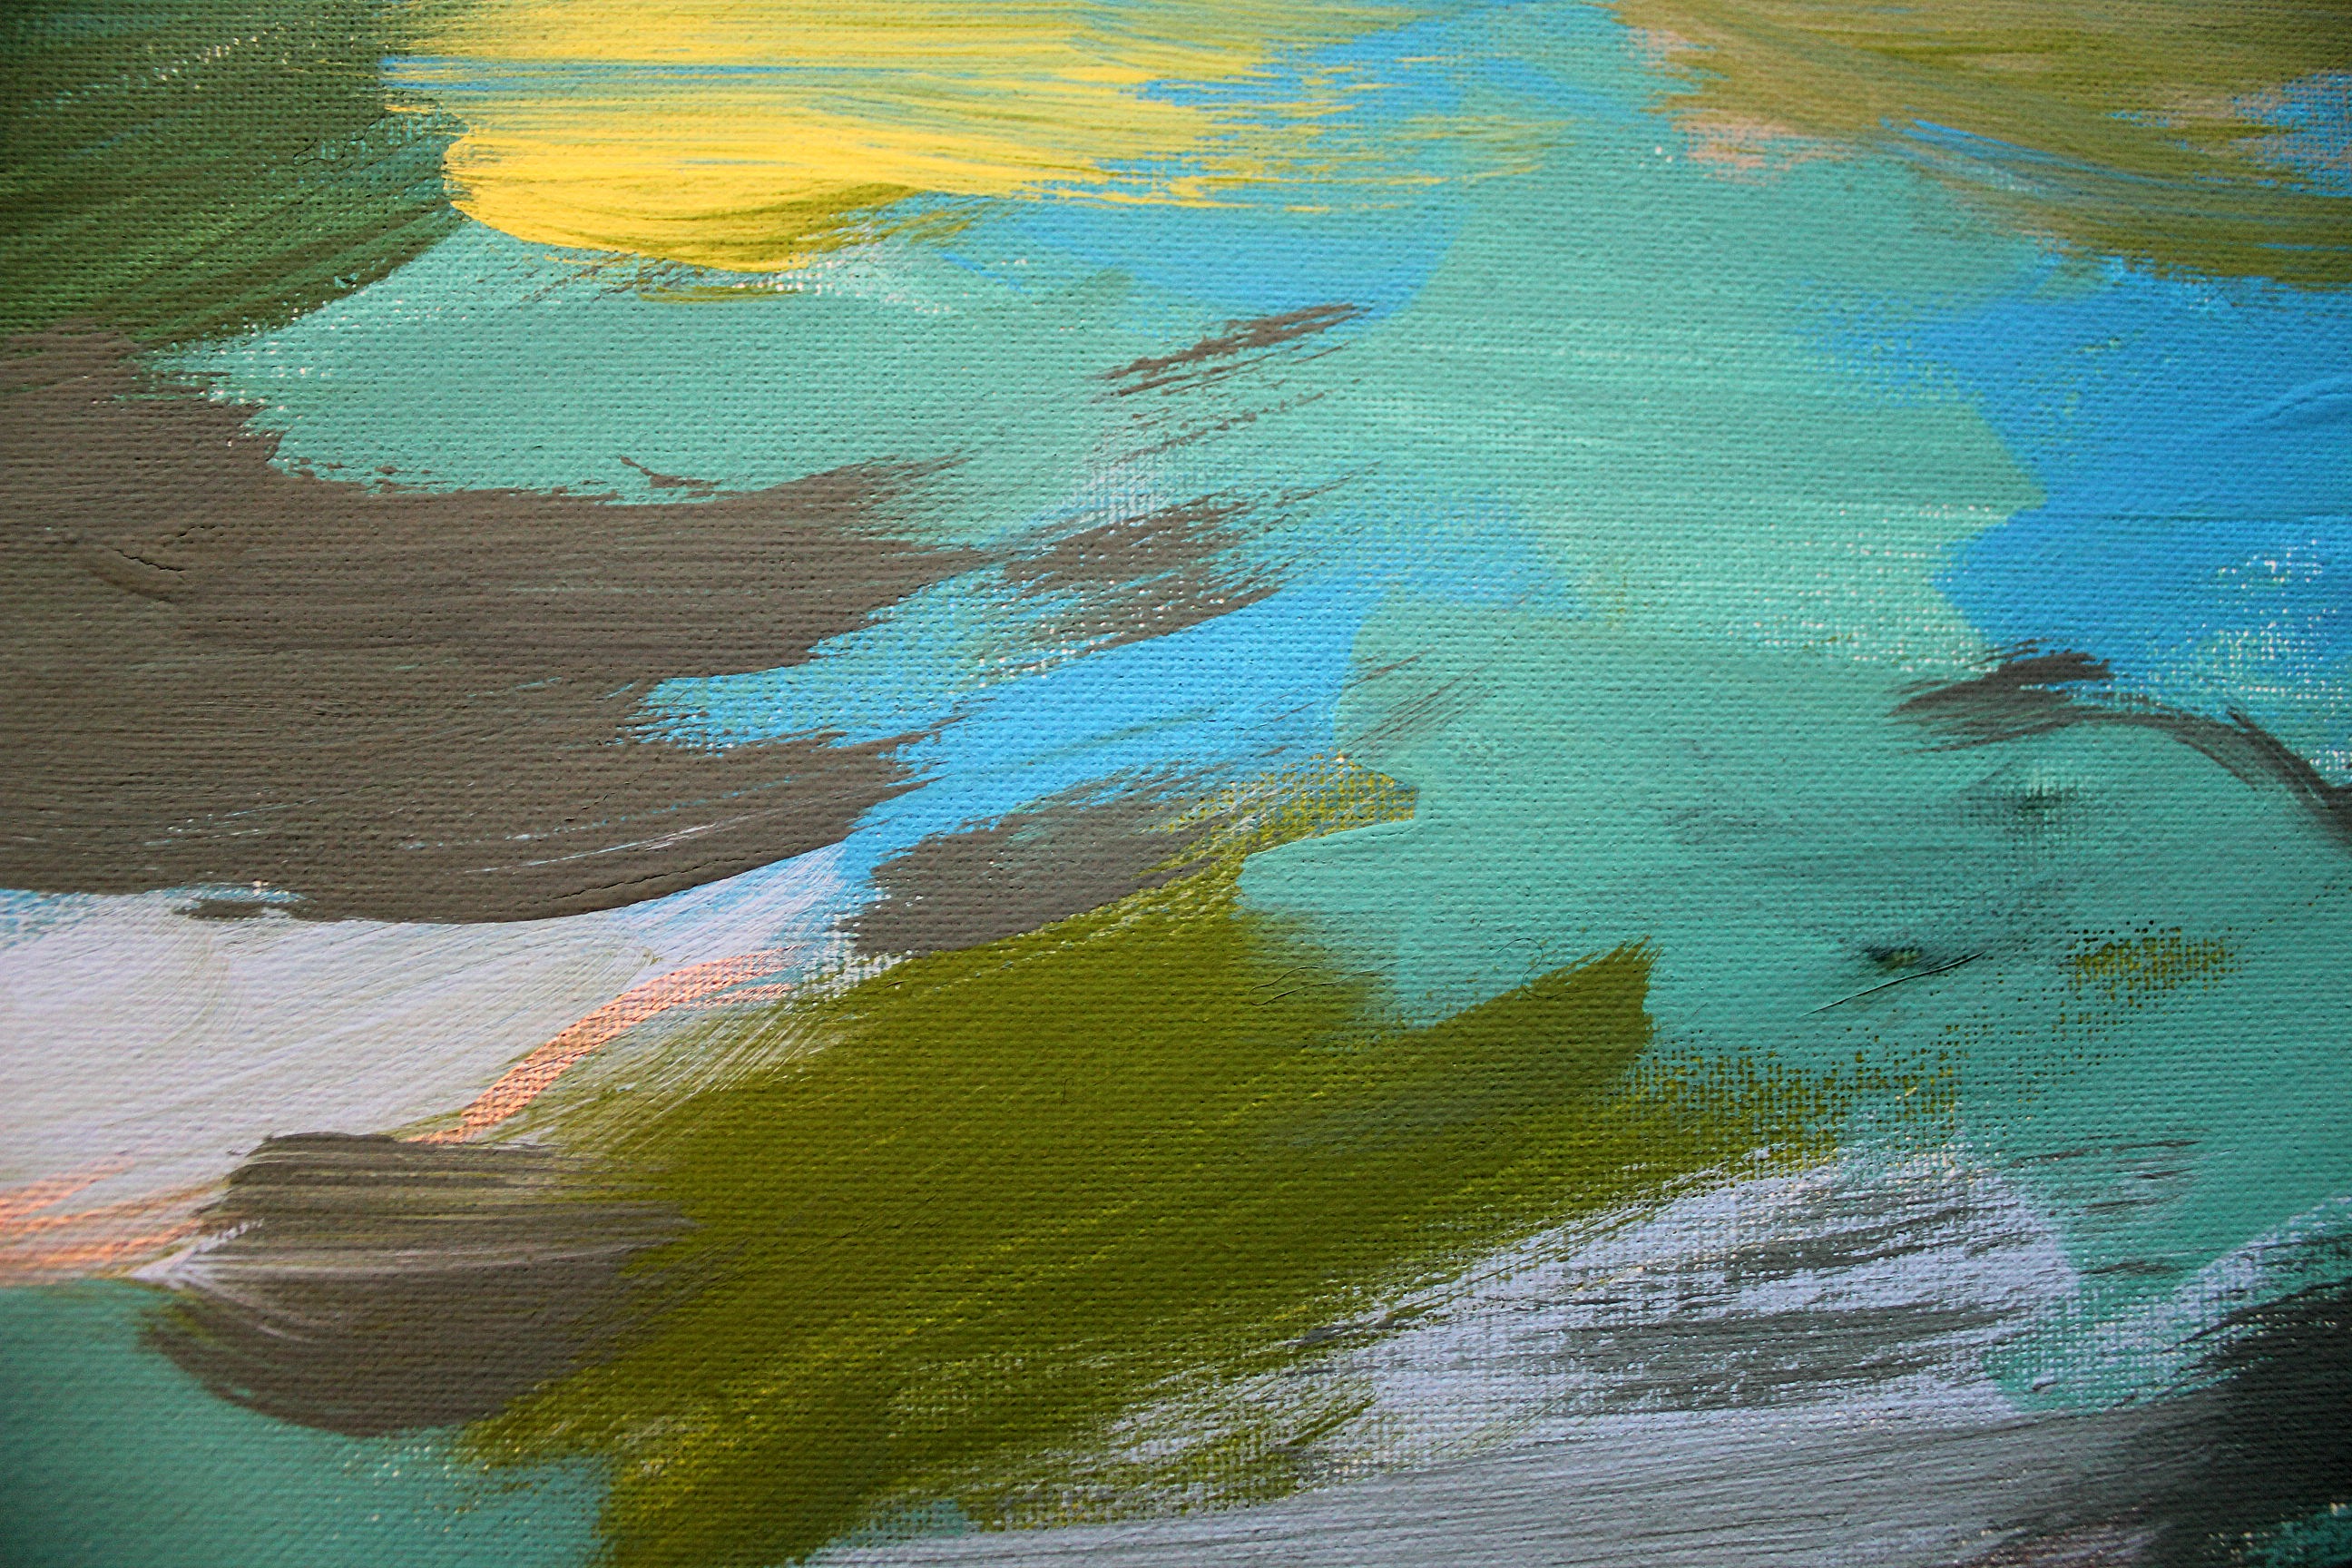
I just brushed the paint on willy-nilly using the widest artist brushes I could get my hands on.


Once I was happy with the outcome, I painted the edges of the canvas with the turquoise. I'm going to have Tom build a frame for it eventually, but for now I don't want the white edges showing. I also took some silver paint and a tiny brush and just lightly lined the edges of some of the pale blue sections. You can't even notice it unless the light hits it just right.


So, not fine art, but a nice little punch of colour in an otherwise bland room.  What's really funny is that when I went back through my pictures to find one of the vanity, I was reminded that the room was originally turquoise. Maybe I could have saved myself some trouble!


Mar 17, 2014

St. Patrick's Day Bread Recipe

This month is just flying by and I'm not getting very many projects done. Is it daylight savings kicking my butt, or just the plain old winter blues? Maybe the truth is that Tom and I are hooked on The Following and have been watching it all the time instead of working on the house.

In honour of St. Patrick's Day I'm re-posting my Irish soda bread recipe for anyone who's looking for a quick bread to go with dinner. It takes less than an hour from start to finish and is so hearty.

Enjoy!


Irish Soda Bread

Here's what you'll need to make two loaves.

3 cups all-purpose flour
1.5 tsps baking soda
1.5 tsps salt
2 cups buttermilk (or you can use regular milk and add 2 tbsp. of lemon juice to it)
1/2 cup chopped nuts
1/2 cup dried fruit

Preheat oven to 400 degrees.

In a large bowl, mix together your flour, baking soda, and salt.  Add in your fruit and nuts. We were really low on supplies so all I had were cashews and canned pineapple. I would have preferred dried cranberries, but you work with what you have. Add your buttermilk. If you are using milk & lemon juice, let it sit for 10 minutes before adding it to the mixture.

Stir your mixture for a minute or two but don't over mix it. Dust some flour onto the counter or a cutting board and plop your dough down. Form it into a ball and divide it into two parts. Shape each half into a loaf and place it on a baking sheet (dusted with flour if you want). This bread doesn't rise very much so you'll have to decide how tall you want it to be. I think I'll make smaller, higher loaves next time. Cut a cross-hatch or stripes into the top of each loaf to allow for expansion and to ensure the bread bakes evenly.

Irish Soda Bread

I had some leftover cashews so I sprinkled them on the top. You could also brush the loaves with melted butter if you wanted to. Put the loaves into the oven and bake for 30 minutes. Insert a toothpick or knife into the centre of each loaf. If it comes out clean your bread is finished baking. Adjust baking time as needed.

Once removed from the oven you have two choices. If you want a crusty loaf, let them cool as they are. If you like your bread softer, wrap each loaf in a damp (not wet) tea towel and leave to cool. I personally like a harder crust but Tom doesn't, so I wrapped them.

Irish Soda Bread

Look at that. Perfect golden brown doneness.

Irish Soda Bread

At this point you'll want to slice into this beauty and slather it with butter and jam. Or peanut butter. Or cream cheese. Or even guacamole. The options are endless.

Irish Soda Bread

Irish Soda Bread

Irish Soda Bread

This bread was just a little too easy. Dangerously so. I could see myself baking (and eating) a loaf every day. I'm going to have to start giving it away I think.


Mar 4, 2014

Framed Wedding Monogram


After two weekends of closet-building, and having the house in a shambles, this past weekend was devoted to relaxing, with a little bit of crafting thrown in.

A project I've been meaning to do for a while is a framed wedding monogram. Most I've seen online are painted on burlap, and while I could have done that, I have some green material with a bit of a velvety sheen that coordinated better with the matting, and with our wall colour.


It's a simple project - easy to do in just an afternoon. The hardest part was finding a suitable frame. It's not like I don't have a large supply to choose from, but I was having a bit of a Goldilocks moment - too large, too small, no matting.

At first I passed this one up - it had double matting that made the photo area too small - but I realized I could separate the matting and just use the larger one. The frame was already painted forest green so I gave it two coats of black paint and then a clear coat to seal it. I also applied a coat of furniture wax to give it a soft glow.


To make the lettering, I cut an adhesive-backed vinyl stencil using my Silhouette Cameo. The font style is Monotype Corsiva. Once the stencil was pressed to the material, I used craft paint to fill in the letters.


After it had dried and the stencil was removed, it was just a matter of framing it.


 I love the different textures - the woven material, the marbled mat, and then the wood grain.


I hung it in the front hall so that we can see it every day. Tom is probably wishing the entire wedding date was there so that he wouldn't have to remember it himself. :-)


Related Posts Plugin for WordPress, Blogger...