


Dec 25, 2017
Dec 14, 2017
Shortbread - 3 Ways
One of my goals this Christmas was to do more baking. Along with sugar cookies and dog cookies, I tried my hand at shortbread for the first time. They turned out so well that I wanted to share the recipe with you.

I tried two different methods, rolled cookies and piped cookies. I'm partial to the piped ones, but only because of the chocolate chips.
Rolled Shortbread Cookies (2 flavours)
2 cups of butter, softened
1 cup of icing sugar (i.e. powdered sugar)
1 cup of cornstarch
1/4 tsp of salt
4 cups of flour
Zest of one lemon
Juice of half a lemon
Gummies or other candy to decorate
Granulated sugar for sprinkling on top
Beat the butter until smooth and creamy. In a separate bowl mix the icing sugar, corn starch, salt, and flour. Stir the mixture briskly with an egg whisk (or sift it if you have a sifter) to get it light and airy. Add the dry mixture to the butter, a little at a time, until all is combined. Split your dough into two parts and add the lemon zest and lemon juice to one portion, mixing it in evenly.
Cover each dough portion with plastic wrap and refrigerate for at least one hour.
Preheat oven to 325F.
Roll your dough out on a lightly floured surface and cut your cookies into shapes. Place on a greased or parchment-covered cookie sheet.
-For the lemon cookies, sprinkle the tops with a bit of granulated sugar (coloured sugar would be fun!)
-For the plain cookies, slice your gummies in half lengthwise if they are thick and place a half in the center of each cookie, pressing down slightly.


Bake for 10-12 minutes or until they are slightly golden brown. Let cool completely.


Whipped Chocolate Chip Shortbread Cookies
2 cups of butter
1 cup of icing sugar (i.e. powdered sugar)
1/2 cup of cornstarch
1 tsp of vanilla
3 cups of flour
1/2 tsp of salt
1 cup of chocolate chips
Piping bag
Beat the butter and sugar together until smooth and creamy. Mix in the cornstarch, vanilla, flour and salt. Beat until fluffy. Stir in the chocolate chips. Cover your dough in plastic wrap and refrigerate for at least one hour.
Preheat oven to 325F.
Let your dough warm back up and transfer to a piping bag. (You could also drop the cookie batter onto the cookie sheet by spoonful if you don't have a piping bag.) Pipe your cookie dough onto a greased or parchment-covered cookie sheet in swirls, flattening them slightly with a fork or spoon. I'm not afraid to admit that mine look a bit like poops. I know you were thinking it.

Bake for 10-12 minutes or until they are slightly golden brown. Let cool completely.

Thoughts: I found that piping the cookies was really difficult as the batter didn't want to stick to the sheet and kept lifting up when I pulled the piping bag away. I would probably drop them by spoonful next time, but it was something I wanted to try.


I tried two different methods, rolled cookies and piped cookies. I'm partial to the piped ones, but only because of the chocolate chips.
Rolled Shortbread Cookies (2 flavours)
2 cups of butter, softened
1 cup of icing sugar (i.e. powdered sugar)
1 cup of cornstarch
1/4 tsp of salt
4 cups of flour
Zest of one lemon
Juice of half a lemon
Gummies or other candy to decorate
Granulated sugar for sprinkling on top
Beat the butter until smooth and creamy. In a separate bowl mix the icing sugar, corn starch, salt, and flour. Stir the mixture briskly with an egg whisk (or sift it if you have a sifter) to get it light and airy. Add the dry mixture to the butter, a little at a time, until all is combined. Split your dough into two parts and add the lemon zest and lemon juice to one portion, mixing it in evenly.
Cover each dough portion with plastic wrap and refrigerate for at least one hour.
Preheat oven to 325F.
Roll your dough out on a lightly floured surface and cut your cookies into shapes. Place on a greased or parchment-covered cookie sheet.
-For the lemon cookies, sprinkle the tops with a bit of granulated sugar (coloured sugar would be fun!)
-For the plain cookies, slice your gummies in half lengthwise if they are thick and place a half in the center of each cookie, pressing down slightly.
Bake for 10-12 minutes or until they are slightly golden brown. Let cool completely.
Whipped Chocolate Chip Shortbread Cookies
2 cups of butter
1 cup of icing sugar (i.e. powdered sugar)
1/2 cup of cornstarch
1 tsp of vanilla
3 cups of flour
1/2 tsp of salt
1 cup of chocolate chips
Piping bag
Beat the butter and sugar together until smooth and creamy. Mix in the cornstarch, vanilla, flour and salt. Beat until fluffy. Stir in the chocolate chips. Cover your dough in plastic wrap and refrigerate for at least one hour.
Preheat oven to 325F.
Let your dough warm back up and transfer to a piping bag. (You could also drop the cookie batter onto the cookie sheet by spoonful if you don't have a piping bag.) Pipe your cookie dough onto a greased or parchment-covered cookie sheet in swirls, flattening them slightly with a fork or spoon. I'm not afraid to admit that mine look a bit like poops. I know you were thinking it.
Bake for 10-12 minutes or until they are slightly golden brown. Let cool completely.
Thoughts: I found that piping the cookies was really difficult as the batter didn't want to stick to the sheet and kept lifting up when I pulled the piping bag away. I would probably drop them by spoonful next time, but it was something I wanted to try.
Just look at Little Miss Cookie Monster wanting to know which ones are hers. :-)
Dec 8, 2017
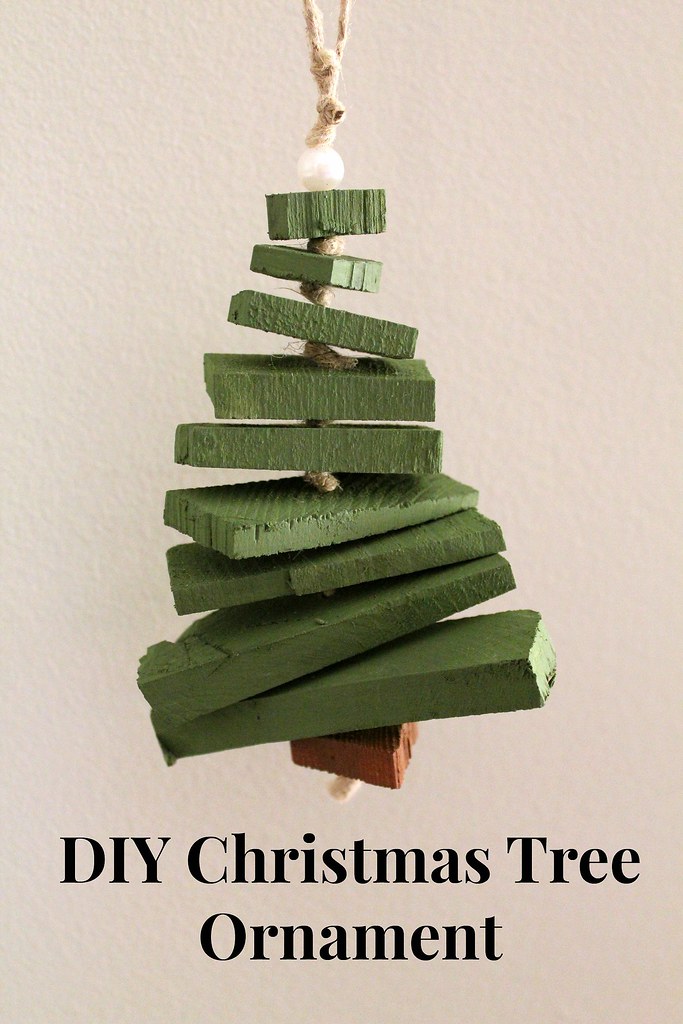
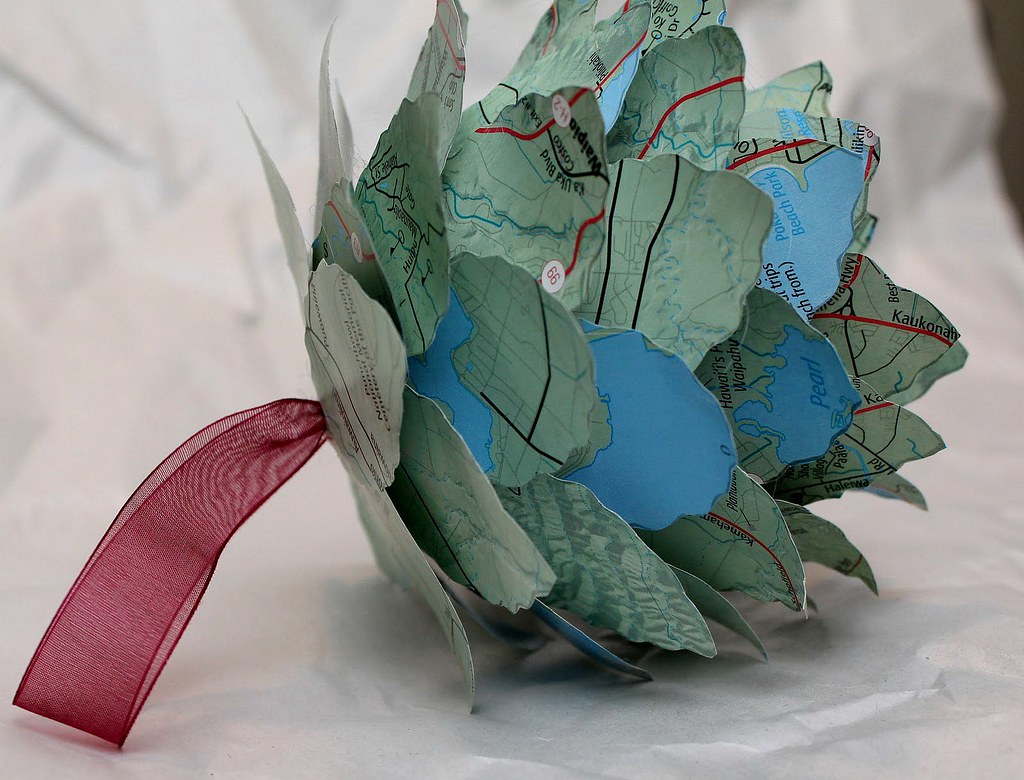
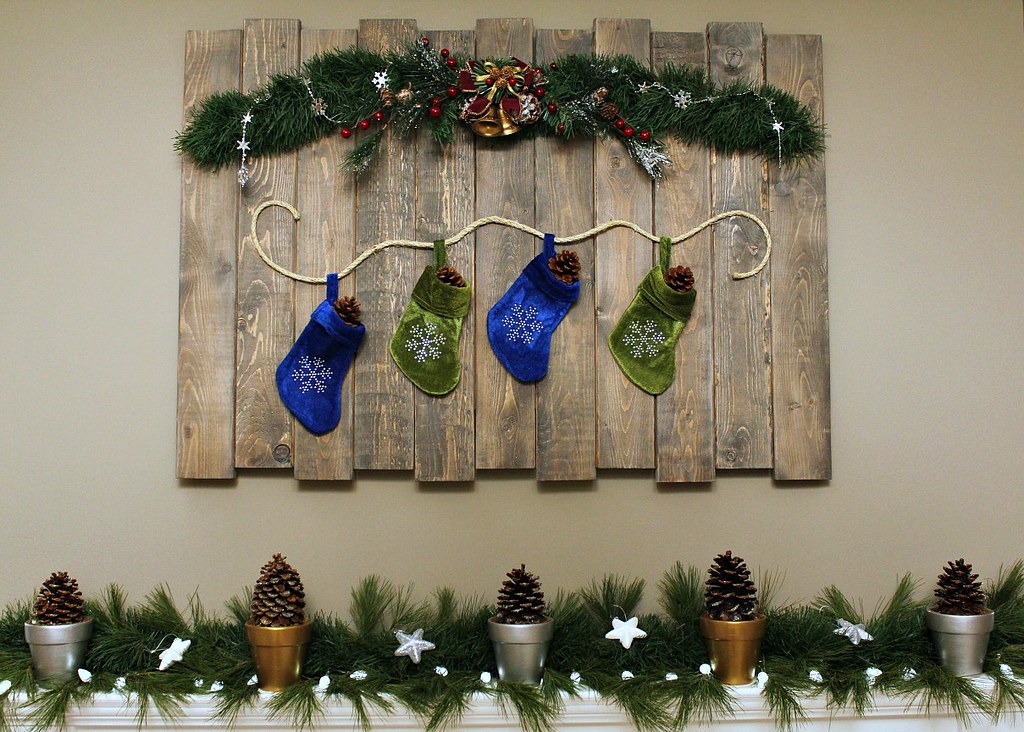
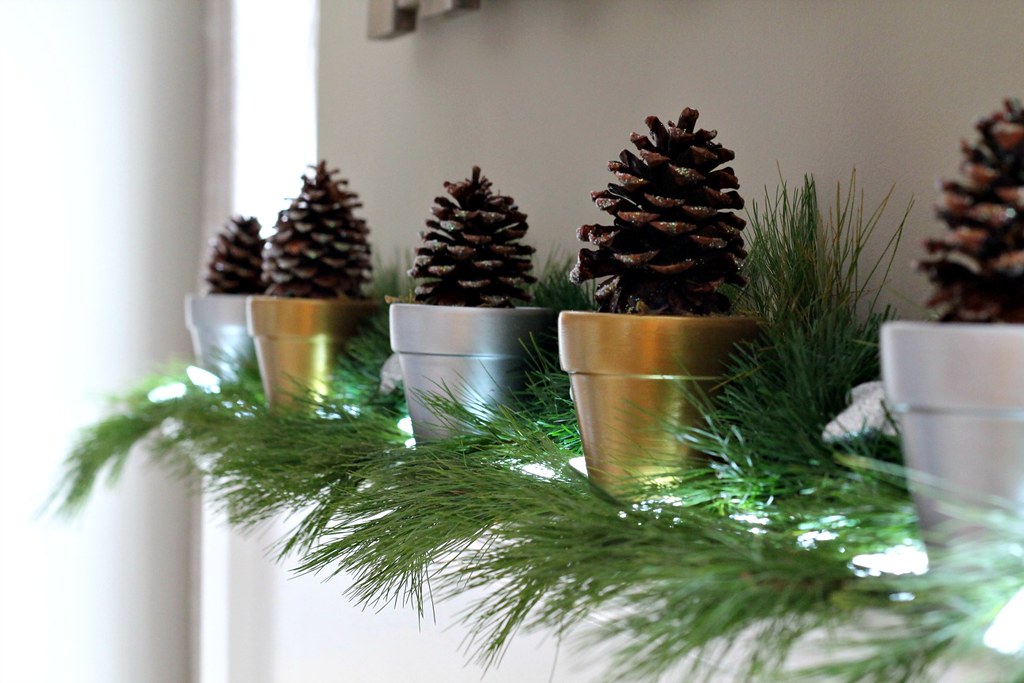
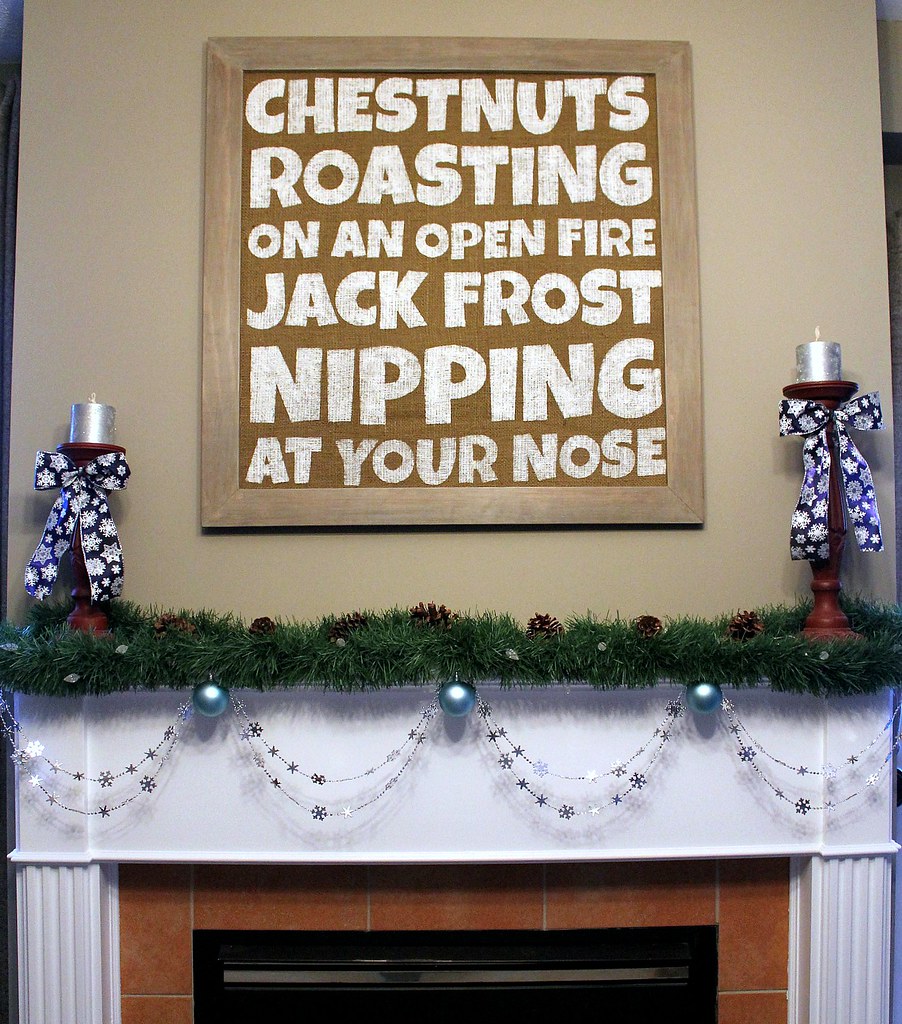
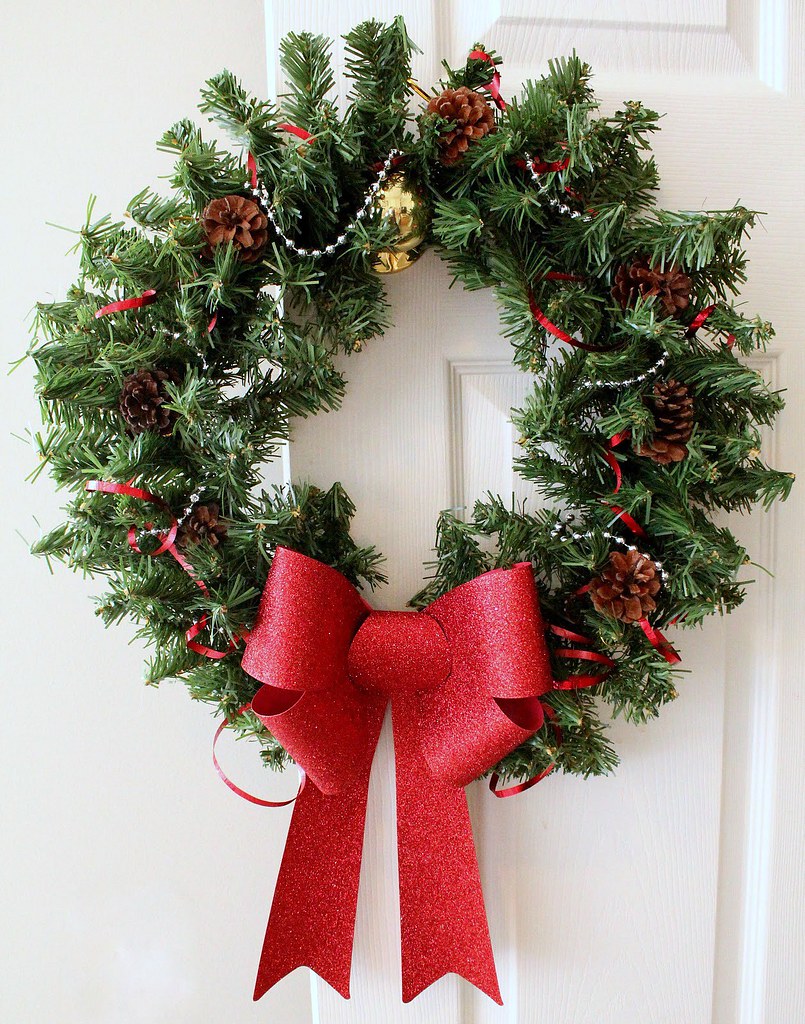
Christmas Crafts
I so wanted to get back into crafting Christmas decorations and other projects this year, but I fear I've left it too late. I'm hoping to get some finished this weekend and I'll post about them if I do get them done, but until then I'll leave you with some of my favourites from past years.


Nov 27, 2017
Homemade Peanut Butter Pumpkin Dog Cookies
I started my Christmas baking this past weekend, and had some very interested onlookers sniffing around the kitchen while I was working. Unfortunately I was making sugar cookies with royal icing, so no samples for you, puppers.
But while the icing was setting I decided to try my hand at some dog cookies. Our oldest dog, Chloe, is notoriously picky - I always feel bad that she doesn't get as many treats as our younger dog, Sasha, who's like a garbage disposal. Her favourite words are "Clean up!"

I kept these cookies as simple as possible - you never know what Chloe's going to turn her nose up at on any given day. The recipe is just pumpkin, peanut butter, eggs, and flour - but you could add just about anything else you like, as long as it's safe for your dog.
Ingredients
For cookies:
2/3 cup pumpkin puree
1/3 cup peanut butter
2 eggs
2-3 cups of flour
beef broth
For icing:
2 tbs cornstarch
1 tbs honey
water as needed
Directions
Preheat the oven to 350 degrees F.
Mix together the pumpkin puree, peanut butter, and eggs. Add the flour a bit at a time, mixing until you have a dough that can be handled without being sticky. My batch needed about 2 1/2 cups, but it can vary depending on the flour used or the size of the eggs.
On a lightly-floured surface, roll your dough out to the desired thickness. Chloe is also picky about the size of the treat offered - it truly is like living with Goldilocks - so I made these ones about 1/4" thick. Cut your cookies in any shape you'd like. I used a cookie cutter shaped like a dog bone - here is a cute option that comes in multiple sizes. Right before I put them in the oven, I brushed the top of each cookie with beef broth.

Place your cookies on a greased or parchment-lined cookie sheet and bake for 20-25 minutes. I left mine in the oven for the maximum time to get a crunchier cookie.

Let them cool before icing.
To make the icing, mix together the cornstarch and honey. It will seem like it's too dry, but keep stirring! If you add water too soon, the cornstarch will absorb it and you will be left with cement. Once the cornstarch and honey are combined (it will have a peanut butter-like consistency) you can add a few drops of water if you want it thinner.
Put your icing mixture into a piping bag (or a sandwich bag with the corner cut off if you'recheap thrifty like me), and pipe your favourite designs onto the cookies. I went with a basic diagonal squiggle. Refrigerate the cookies to harden the icing faster.

I knew Sasha would like them, but Chloe was the true test. She was a little hesitant at first when the honey smell hit her nose, but she gave it a try and ate the whole thing. I think we have a winner!


A few cookies in a clear treat bag with fancy ribbon to close the top would make a terrific Christmas gift for the four-legged friends and family in your life. I know that's what I'll be doing.


But while the icing was setting I decided to try my hand at some dog cookies. Our oldest dog, Chloe, is notoriously picky - I always feel bad that she doesn't get as many treats as our younger dog, Sasha, who's like a garbage disposal. Her favourite words are "Clean up!"
I kept these cookies as simple as possible - you never know what Chloe's going to turn her nose up at on any given day. The recipe is just pumpkin, peanut butter, eggs, and flour - but you could add just about anything else you like, as long as it's safe for your dog.
Ingredients
For cookies:
2/3 cup pumpkin puree
1/3 cup peanut butter
2 eggs
2-3 cups of flour
beef broth
For icing:
2 tbs cornstarch
1 tbs honey
water as needed
Directions
Preheat the oven to 350 degrees F.
Mix together the pumpkin puree, peanut butter, and eggs. Add the flour a bit at a time, mixing until you have a dough that can be handled without being sticky. My batch needed about 2 1/2 cups, but it can vary depending on the flour used or the size of the eggs.
On a lightly-floured surface, roll your dough out to the desired thickness. Chloe is also picky about the size of the treat offered - it truly is like living with Goldilocks - so I made these ones about 1/4" thick. Cut your cookies in any shape you'd like. I used a cookie cutter shaped like a dog bone - here is a cute option that comes in multiple sizes. Right before I put them in the oven, I brushed the top of each cookie with beef broth.
Place your cookies on a greased or parchment-lined cookie sheet and bake for 20-25 minutes. I left mine in the oven for the maximum time to get a crunchier cookie.
Let them cool before icing.
To make the icing, mix together the cornstarch and honey. It will seem like it's too dry, but keep stirring! If you add water too soon, the cornstarch will absorb it and you will be left with cement. Once the cornstarch and honey are combined (it will have a peanut butter-like consistency) you can add a few drops of water if you want it thinner.
Put your icing mixture into a piping bag (or a sandwich bag with the corner cut off if you're
Nov 15, 2017
Gimme Shelter - Another Weekend Project!
One of my least favourite things about the winter months is coming outside to an icy/snow-covered vehicle in the morning. We don't have a garage yet - someday! someday! - so instead we put up a quonset style shelter. We did have a shelter during our first two winters here, but a fierce windstorm last year tore the cover to shreds and just left the frame.

The first step this year was to remove the old frame. Once it was unbolted from the concrete, Tom strapped it to the lawn tractor and backed up into the driveway. Sounds crazy, doesn't it? Imagine seeing a shelter frame going past the the window.

But it worked like a charm. He then lifted the front to guide it and had me "drive" the shelter to the back of the property. You can't make this stuff up.
The previous shelter had been screwed directly into the concrete pad, but it was really hard work. This time, Tom laid down a framework of 2x4s first. He attached the wood to the concrete pad using the Ramset air tool, then the shelter frame was screwed into the wood.


The shelter framework is made up of u-shaped powder-coated steel tubes that form the walls and roof, and 3 horizontal steel tubes that connect the curved uprights together.

Once the frame was connected and screwed down to the 2x4 base, the end flaps were installed. Tom did this by himself and it involved a bit of back and forth - raising up one side, then the other, then back to the first, etc. - until the fabric was up over the frame. The flap has a strap that runs through a pocket from one side to the other and is tightened down to the frame with ratchets at each end.

With the ends in place, he had me come out to help with the main cover because it's huge. I'm sure you could do it by yourself, but it would take a great deal of time, having to pull up a section, then tie it in place so you could move to another section without the first one falling back down. No one needs that kind of frustration if they can avoid it.
There are lengths of steel tubing that slide into pockets at the bottom (side) edge of the cover. These are attached to the framework once it's in place, to hold the cover down tight to the frame.

Tom threw lengths of rope over the framework and tied one end of each to the pipes on the cover so that we could pull the cover up and over.

Except the pipes kept sliding out of the pockets when you pulled on an end. The solution? He zip-tied each pipe to the one beside it so that it had nowhere to go.

We worked our way back and forth, pulling the cover up and over a bit at a time. I would hold one or more ropes in place while he pulled on the others. Once it's over the top and gravity isn't working against you, it's easy to pull it all the way down into place and remove the ropes and zip ties.
.


The horizontal pipes in the pockets are attached to the framework with connectors that clamp on at each intersection of pipe. Tom then went around and tightened down all of the screws on the frame.


The cover still has to be connected to the front and back of the shelter. We pulled the fabric tight over the end flaps and ratcheted it down in the same way as the flaps.

The final step is feeding a pipe through a pocket on the flap at the front. The pipe keeps even tension on the flap when you're rolling it up and down.

And here's my baby all tucked away cozy for the night. I love not having to clean my car off in the morning after a snowfall - because you know I'm always running late and don't have time for that.

The first step this year was to remove the old frame. Once it was unbolted from the concrete, Tom strapped it to the lawn tractor and backed up into the driveway. Sounds crazy, doesn't it? Imagine seeing a shelter frame going past the the window.
But it worked like a charm. He then lifted the front to guide it and had me "drive" the shelter to the back of the property. You can't make this stuff up.
Once the frame was connected and screwed down to the 2x4 base, the end flaps were installed. Tom did this by himself and it involved a bit of back and forth - raising up one side, then the other, then back to the first, etc. - until the fabric was up over the frame. The flap has a strap that runs through a pocket from one side to the other and is tightened down to the frame with ratchets at each end.
With the ends in place, he had me come out to help with the main cover because it's huge. I'm sure you could do it by yourself, but it would take a great deal of time, having to pull up a section, then tie it in place so you could move to another section without the first one falling back down. No one needs that kind of frustration if they can avoid it.
There are lengths of steel tubing that slide into pockets at the bottom (side) edge of the cover. These are attached to the framework once it's in place, to hold the cover down tight to the frame.
Tom threw lengths of rope over the framework and tied one end of each to the pipes on the cover so that we could pull the cover up and over.
Except the pipes kept sliding out of the pockets when you pulled on an end. The solution? He zip-tied each pipe to the one beside it so that it had nowhere to go.
We worked our way back and forth, pulling the cover up and over a bit at a time. I would hold one or more ropes in place while he pulled on the others. Once it's over the top and gravity isn't working against you, it's easy to pull it all the way down into place and remove the ropes and zip ties.
.
The horizontal pipes in the pockets are attached to the framework with connectors that clamp on at each intersection of pipe. Tom then went around and tightened down all of the screws on the frame.
The cover still has to be connected to the front and back of the shelter. We pulled the fabric tight over the end flaps and ratcheted it down in the same way as the flaps.
The final step is feeding a pipe through a pocket on the flap at the front. The pipe keeps even tension on the flap when you're rolling it up and down.
And here's my baby all tucked away cozy for the night. I love not having to clean my car off in the morning after a snowfall - because you know I'm always running late and don't have time for that.
Subscribe to:
Posts (Atom)
