SEARCH THE BLOG

Mar 28, 2015

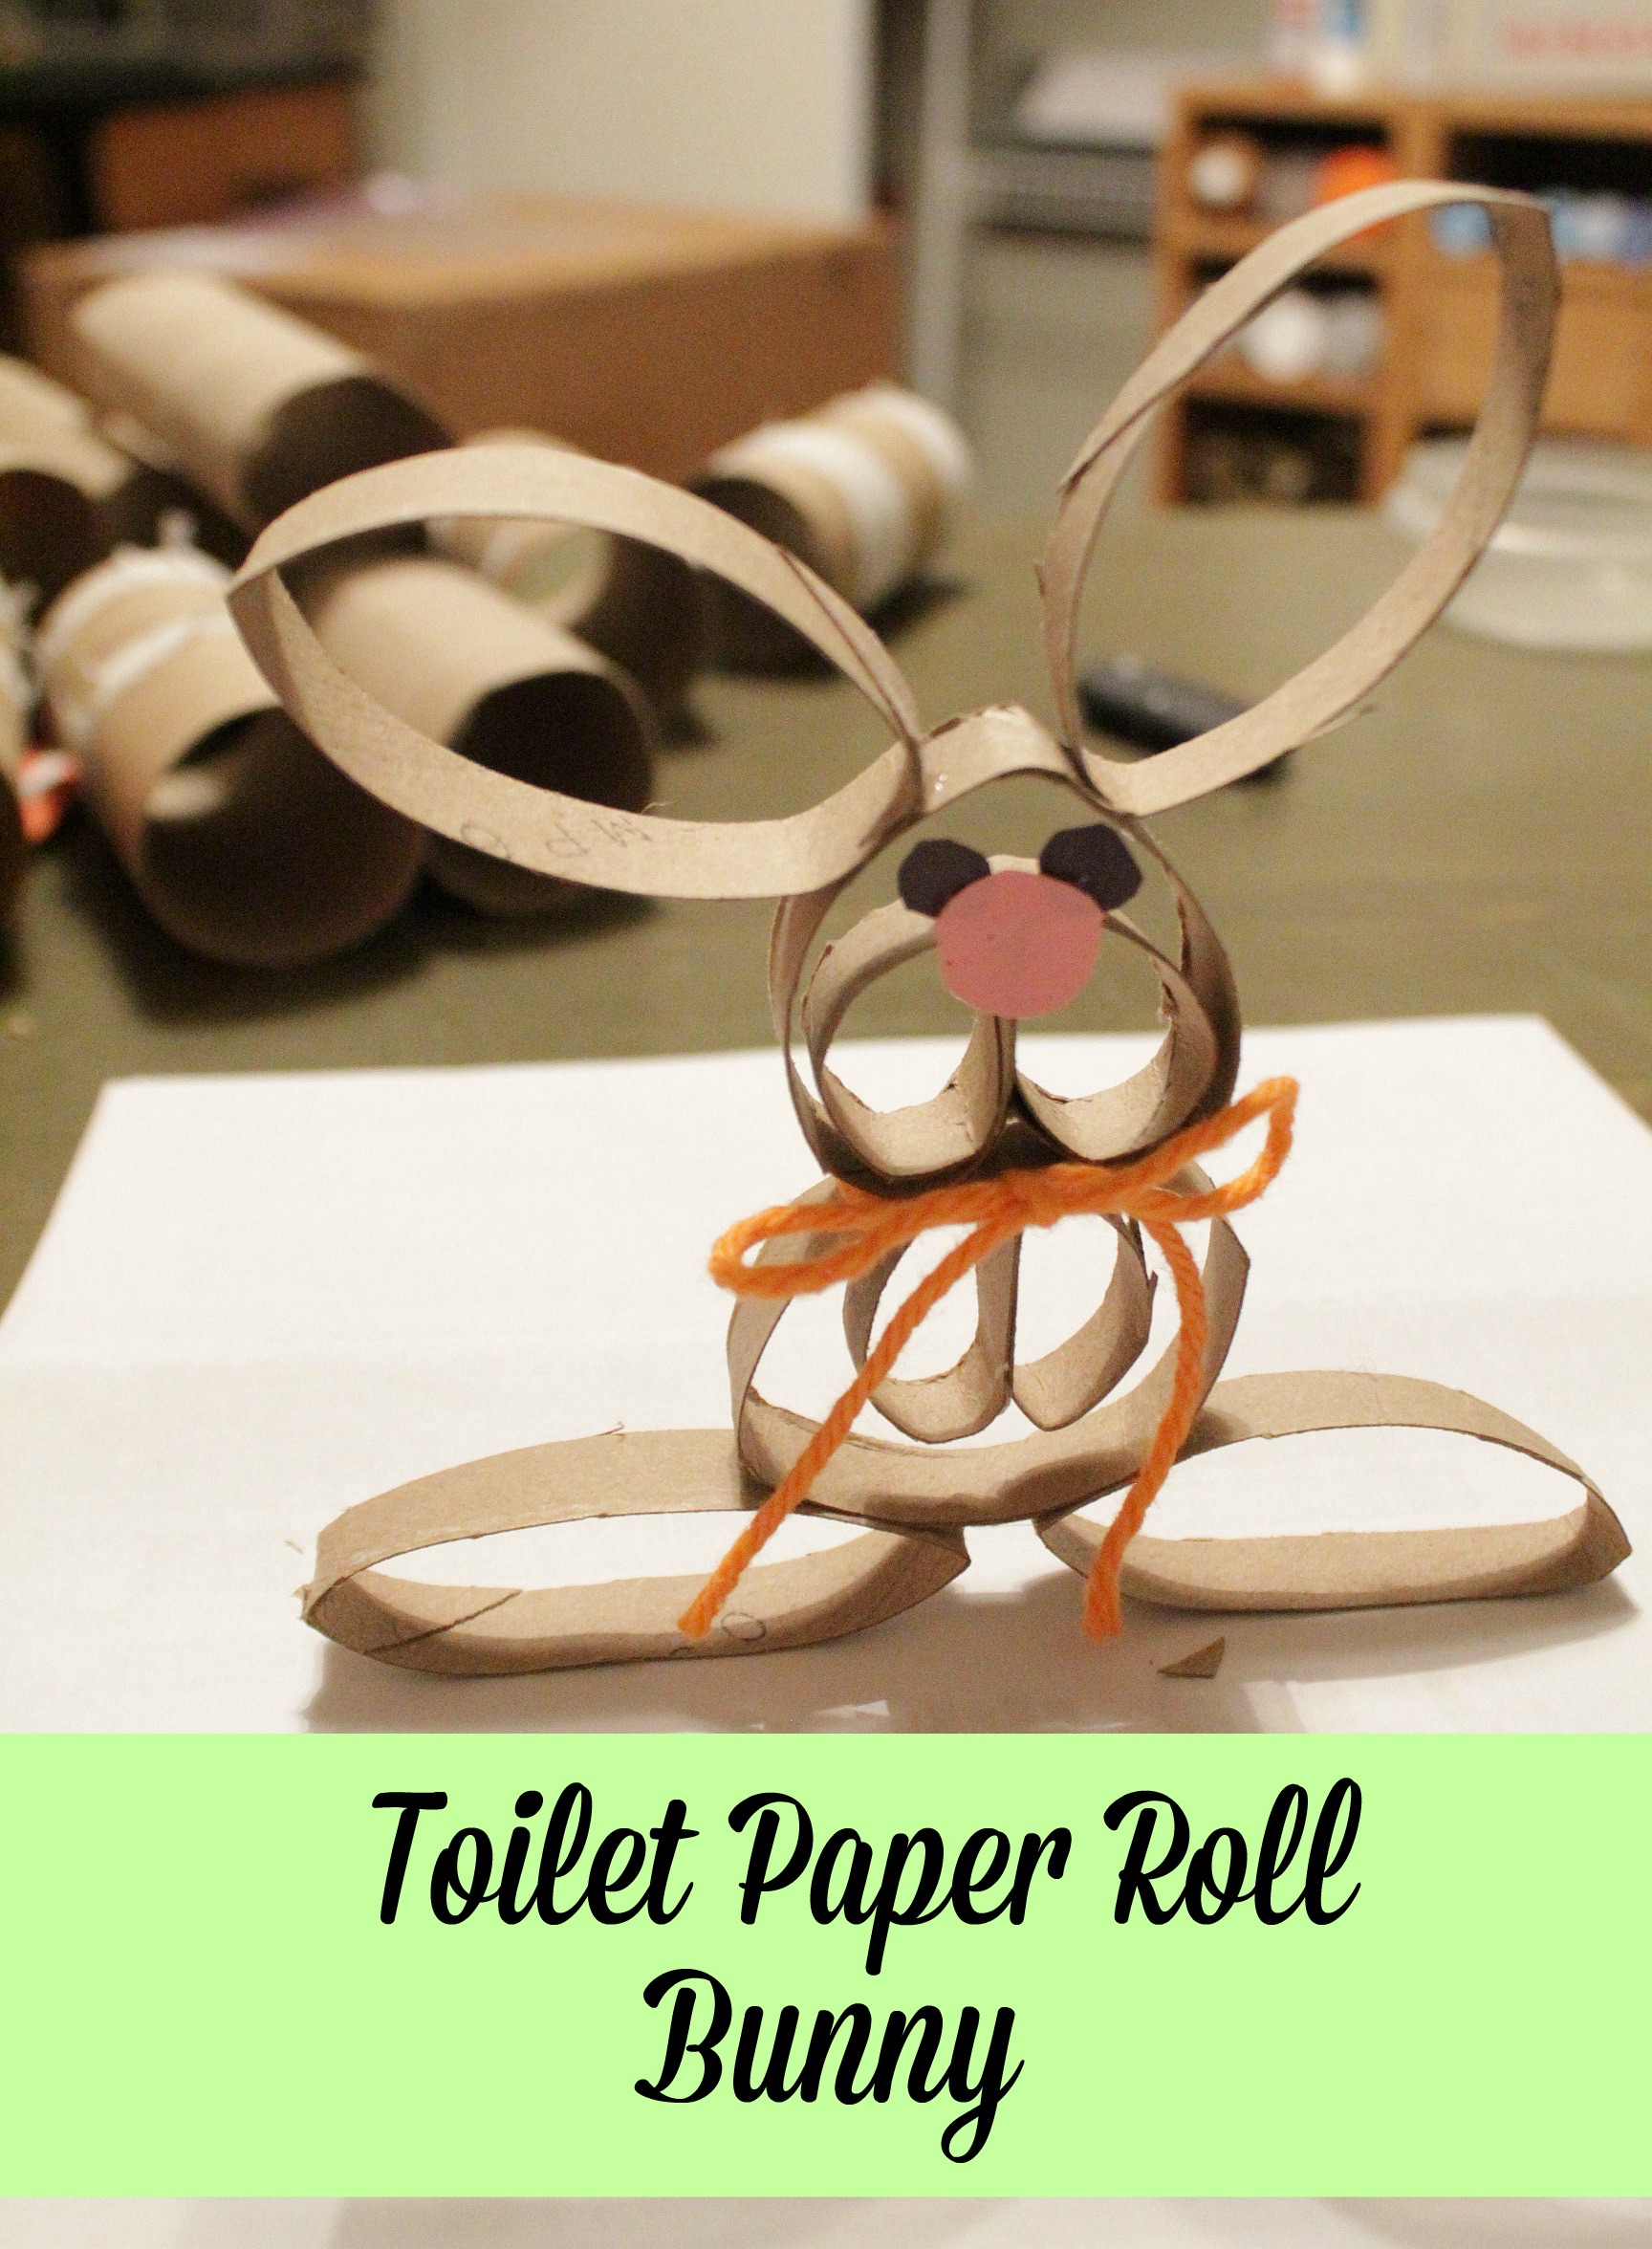
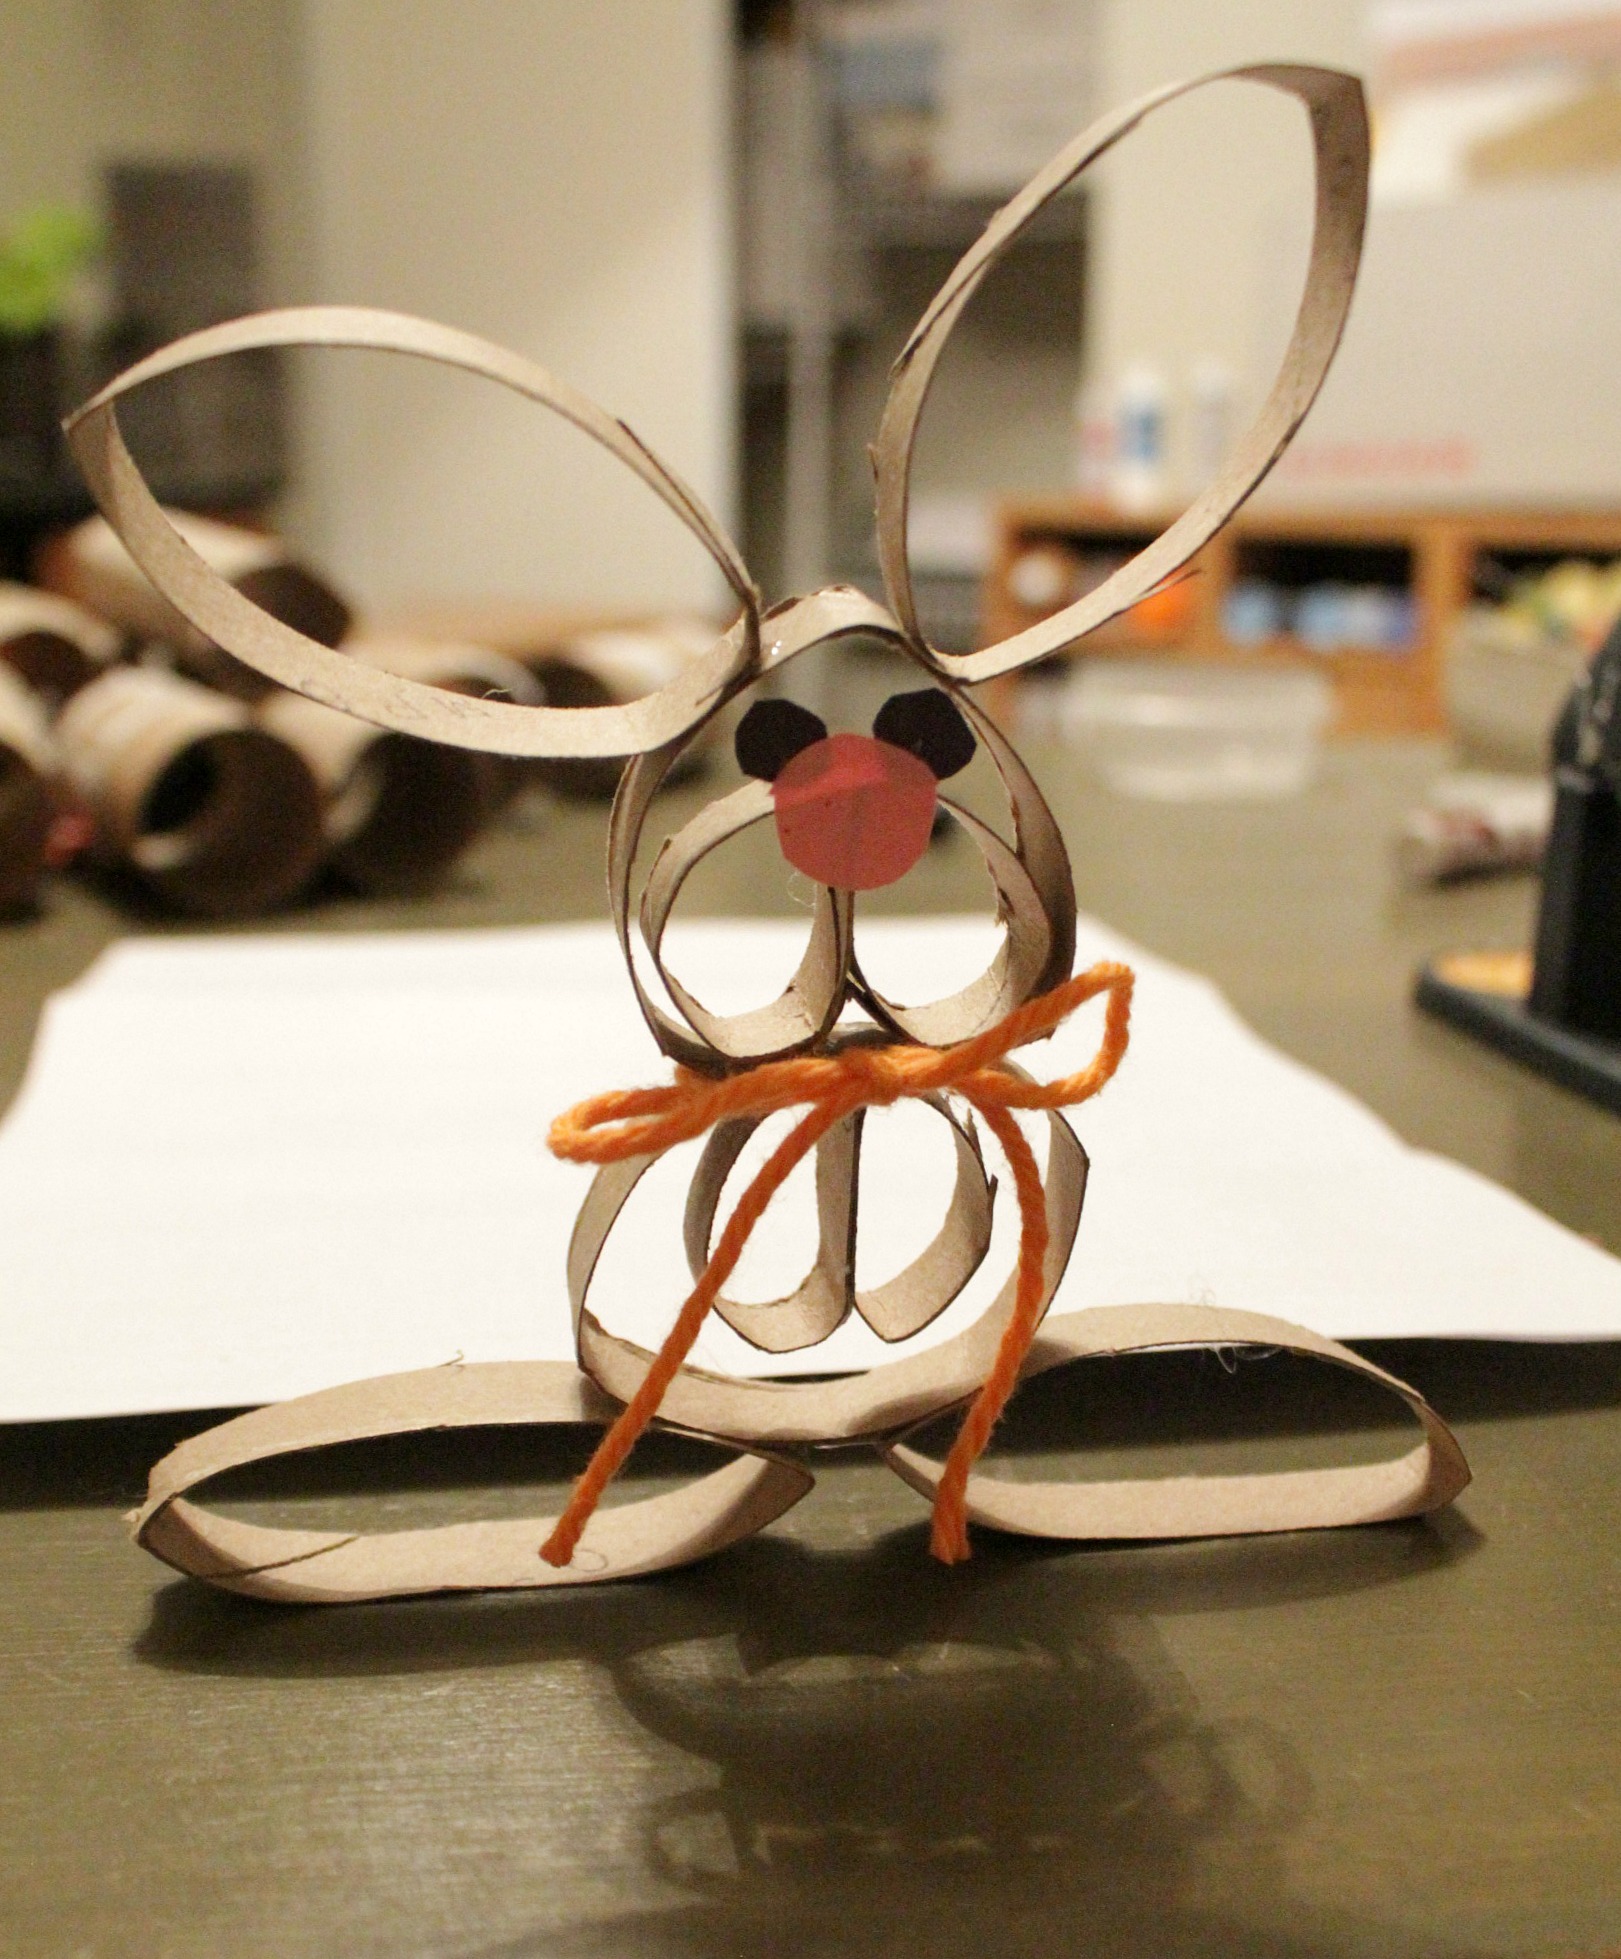
Toilet Paper Roll Easter Bunny


I always have a collection of leftover toilet tissue rolls laying around. I have great plans for them - that often never come to be. Usually at Christmas time I'll dig them out to make stars/snowflakes for the tree or to tie on gifts.

toilet paper roll star

This time I was saving them up as I had a plan to make an activity for the dogs, but I'm still waffling on whether or not to do it. Instead I poked around on Pinterest and came upon this little project. Who doesn't love a bunny, right? So I dug out my scissors and my glue gun and got to work.

toilet paper roll bunny

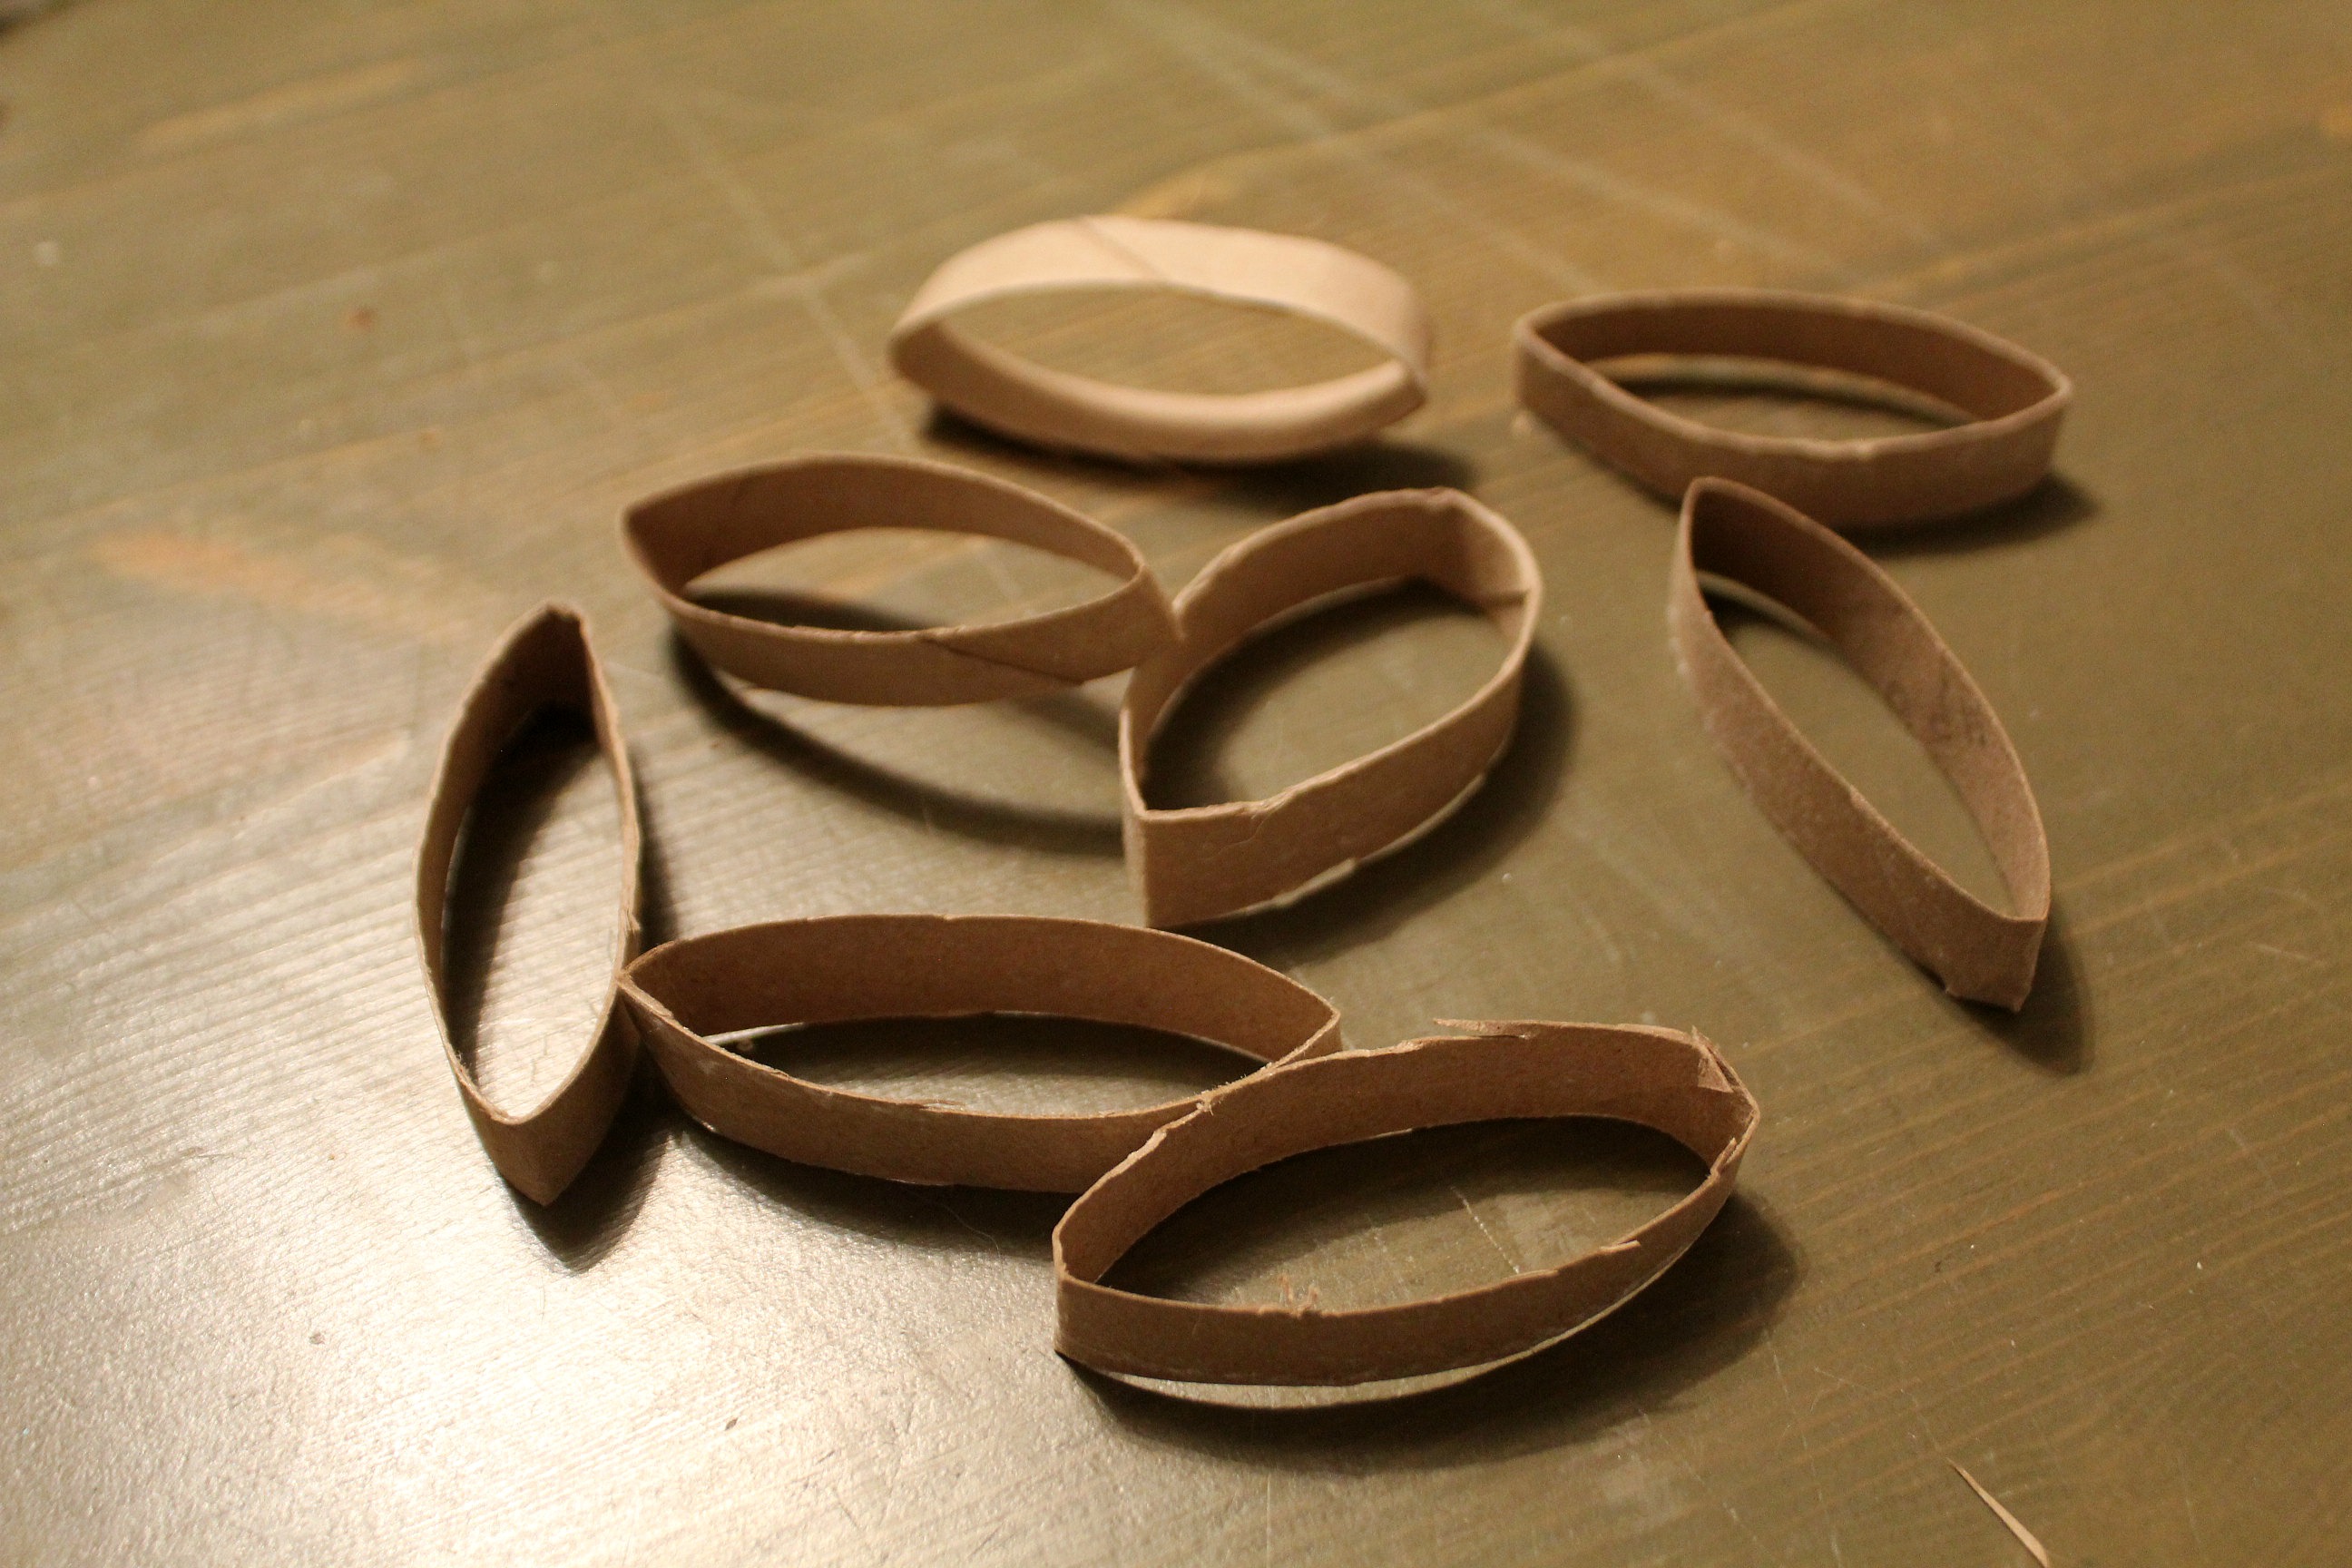
To make this bunny you'll need to cut a toilet paper (or papertowel) tube into seven equal rings. I ended up using part of a second roll to have enough rings.

toilet paper roll bunny

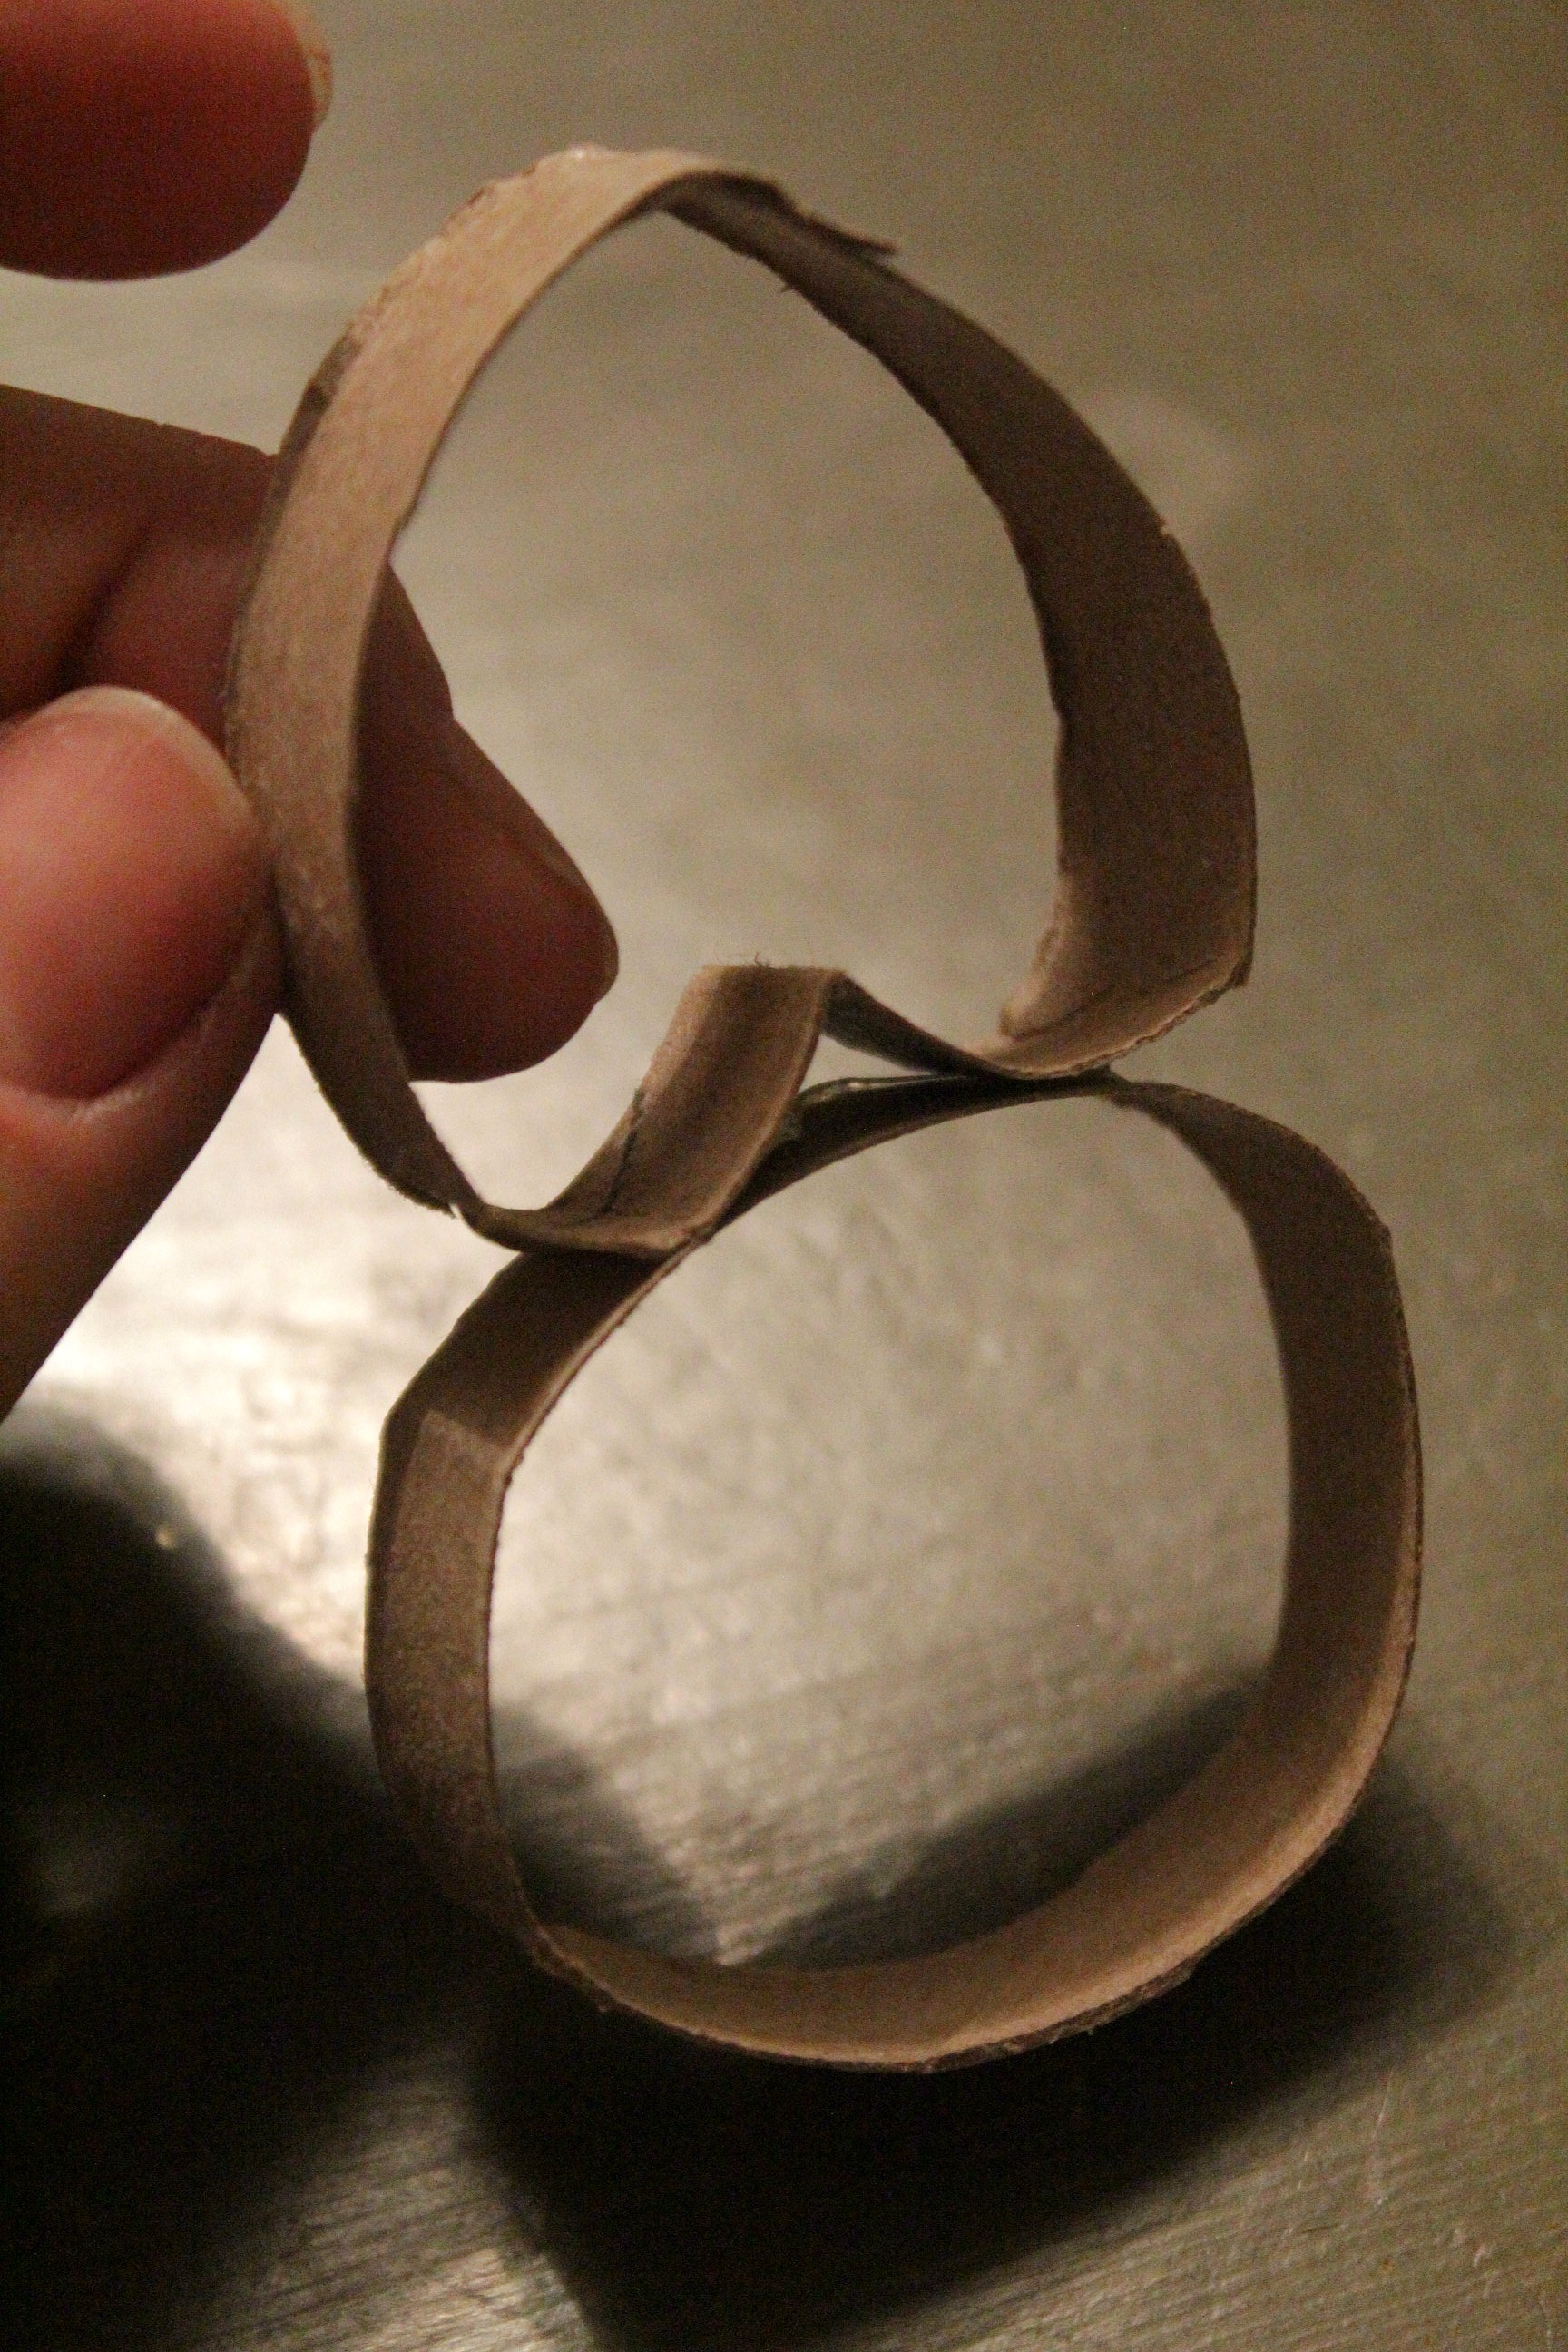
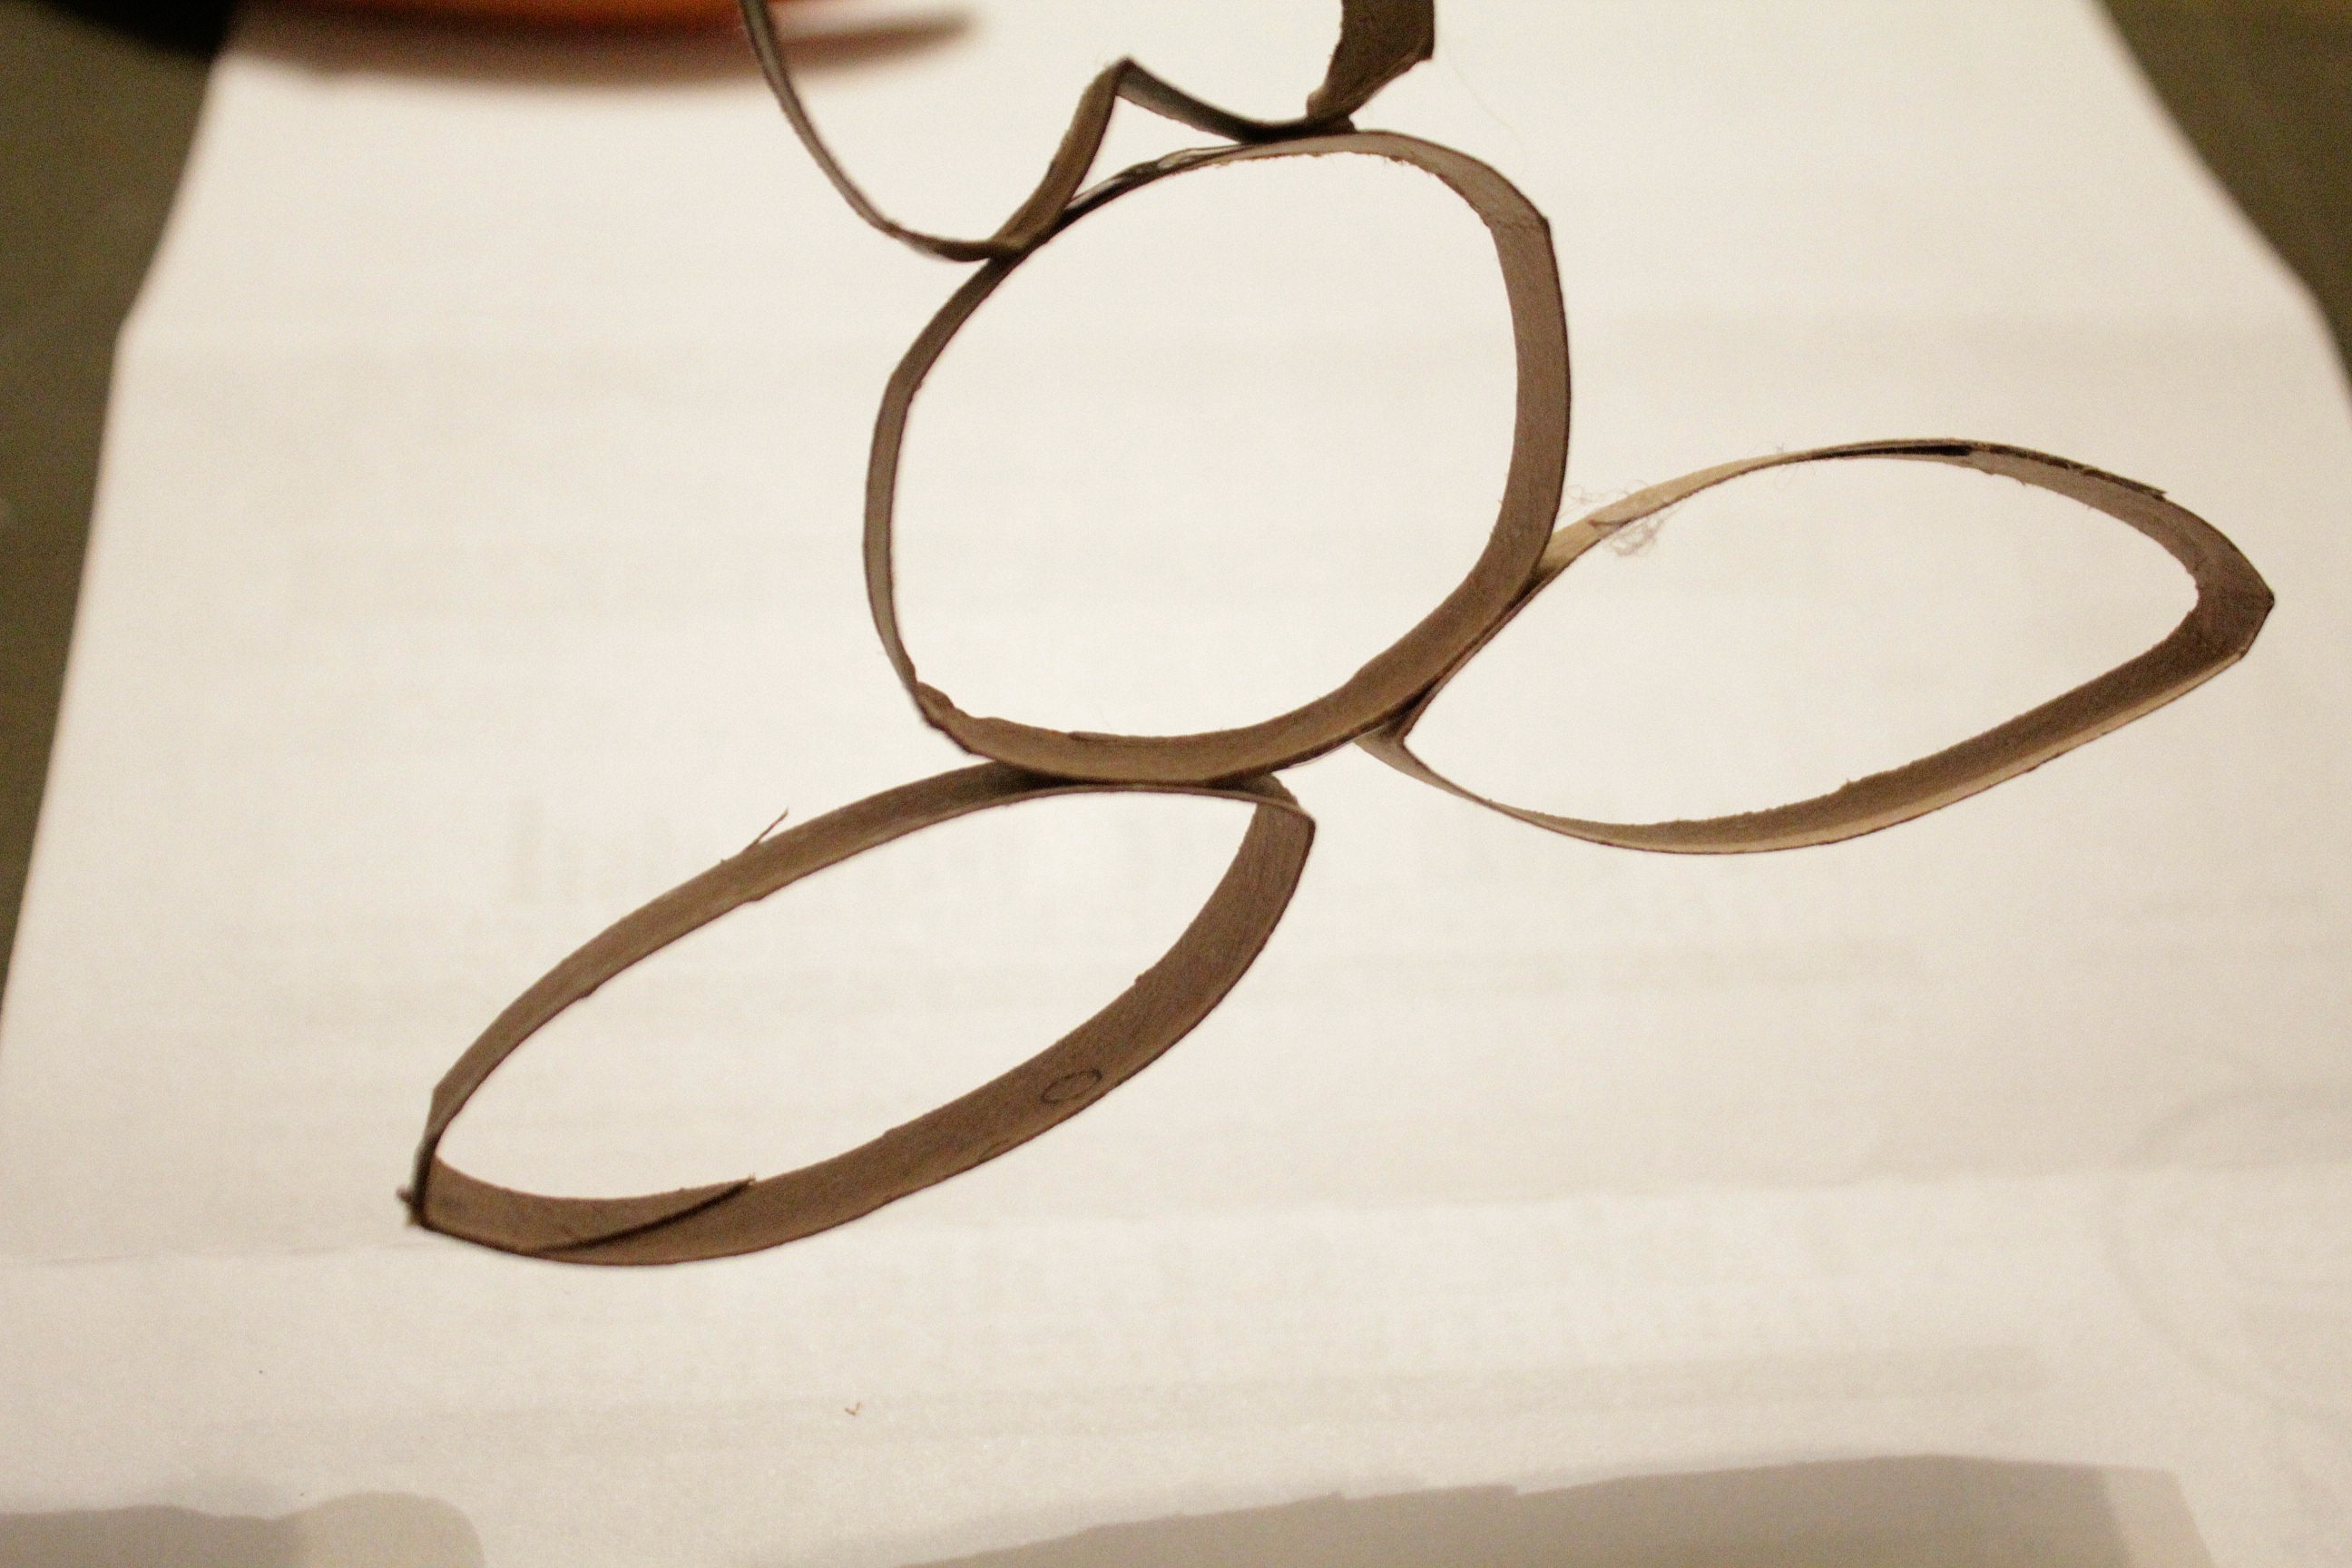
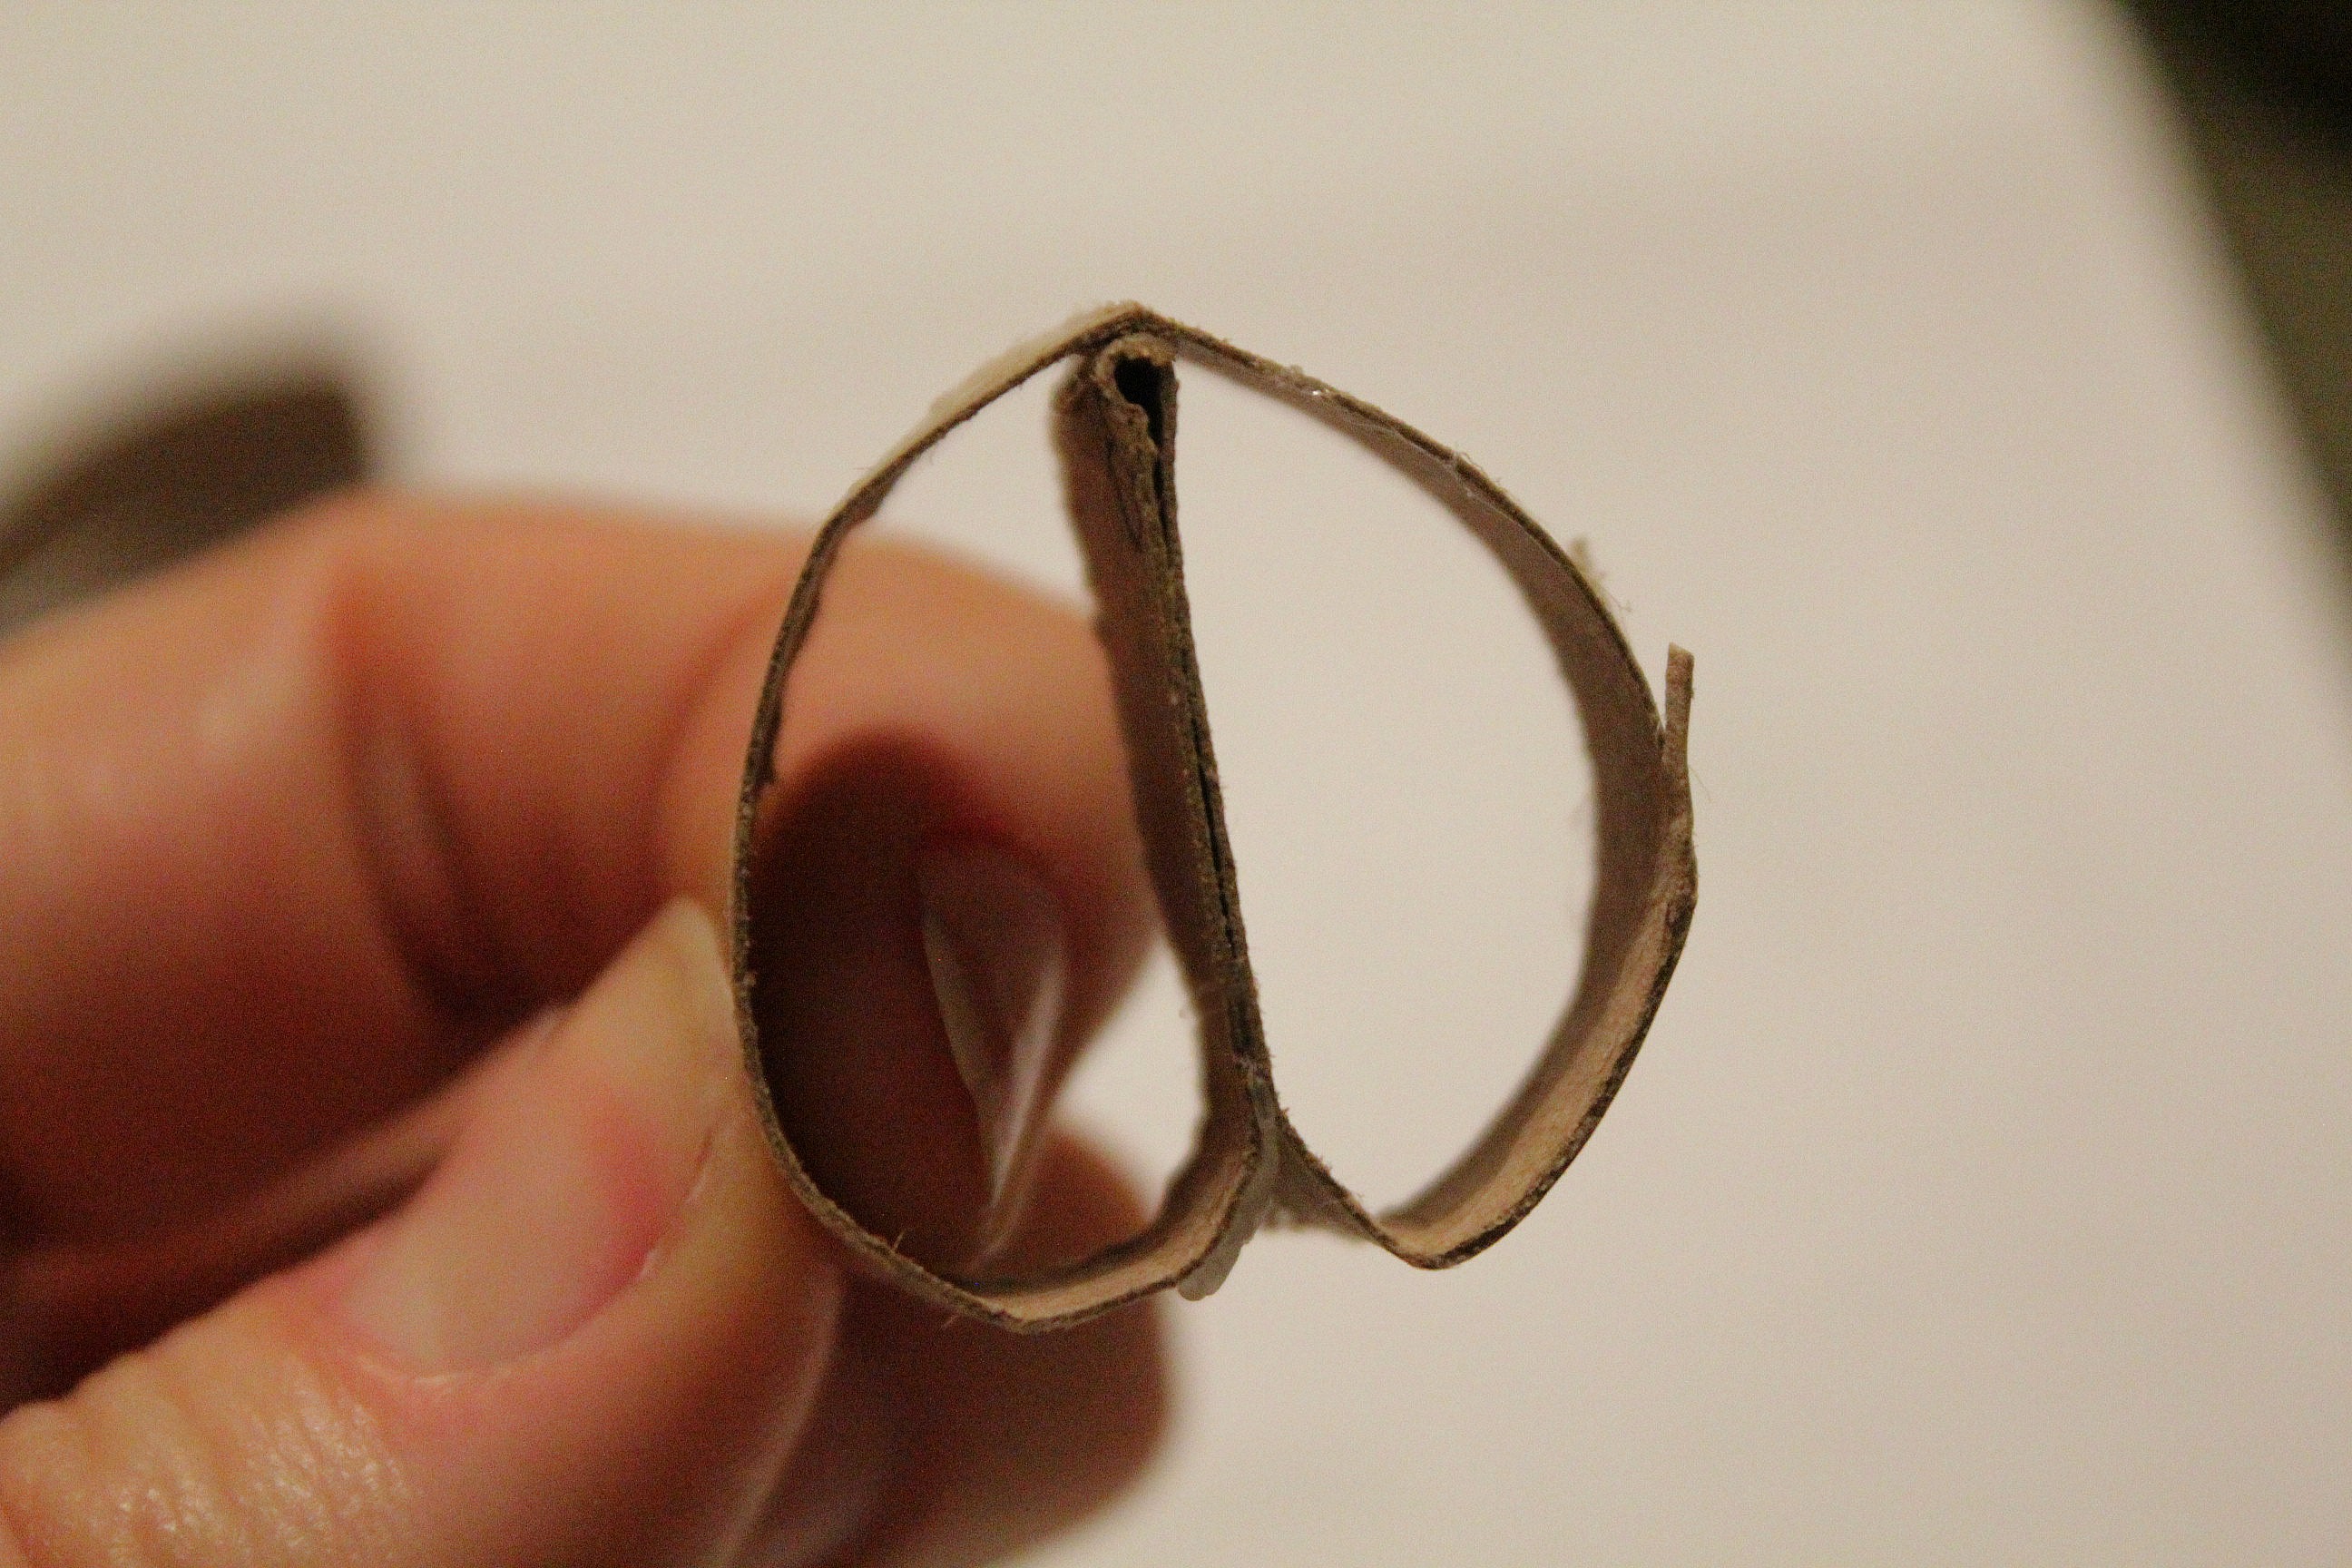
Start by taking one ring and pinching inwards in one spot to make a heart shape. Glue the heart upside down on a second ring, making sure to leave a bit of a point.

toilet paper roll bunny

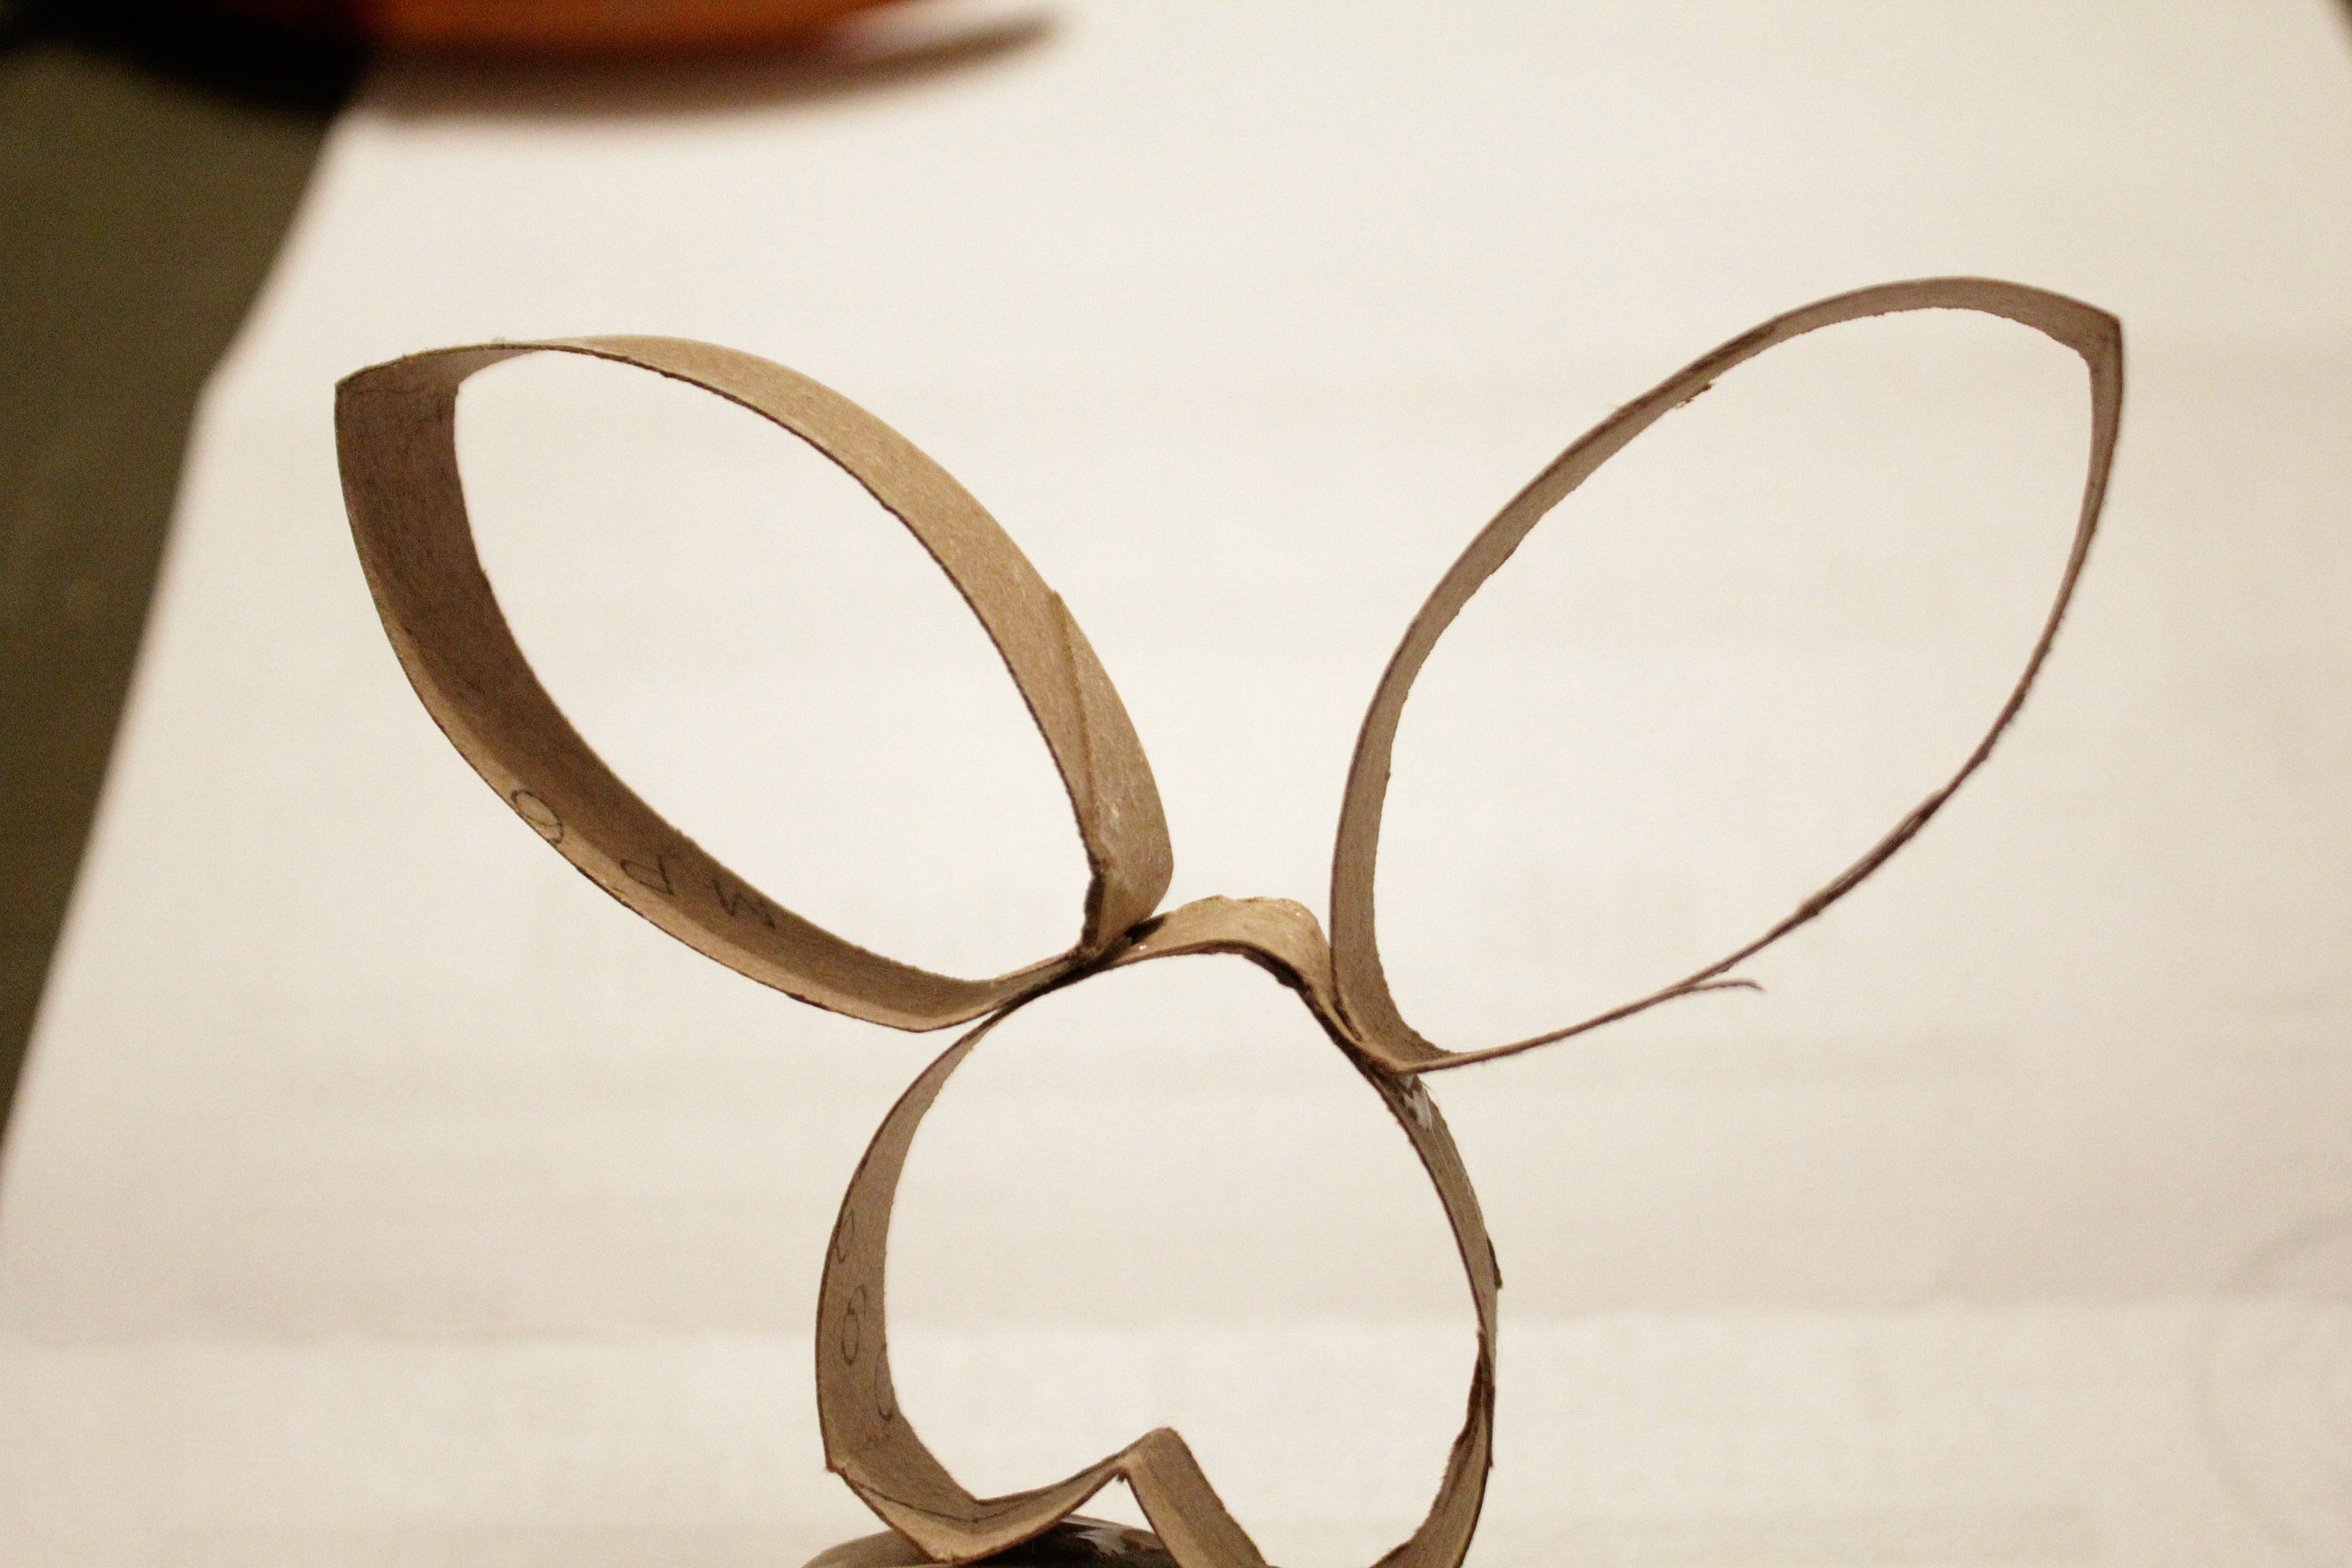
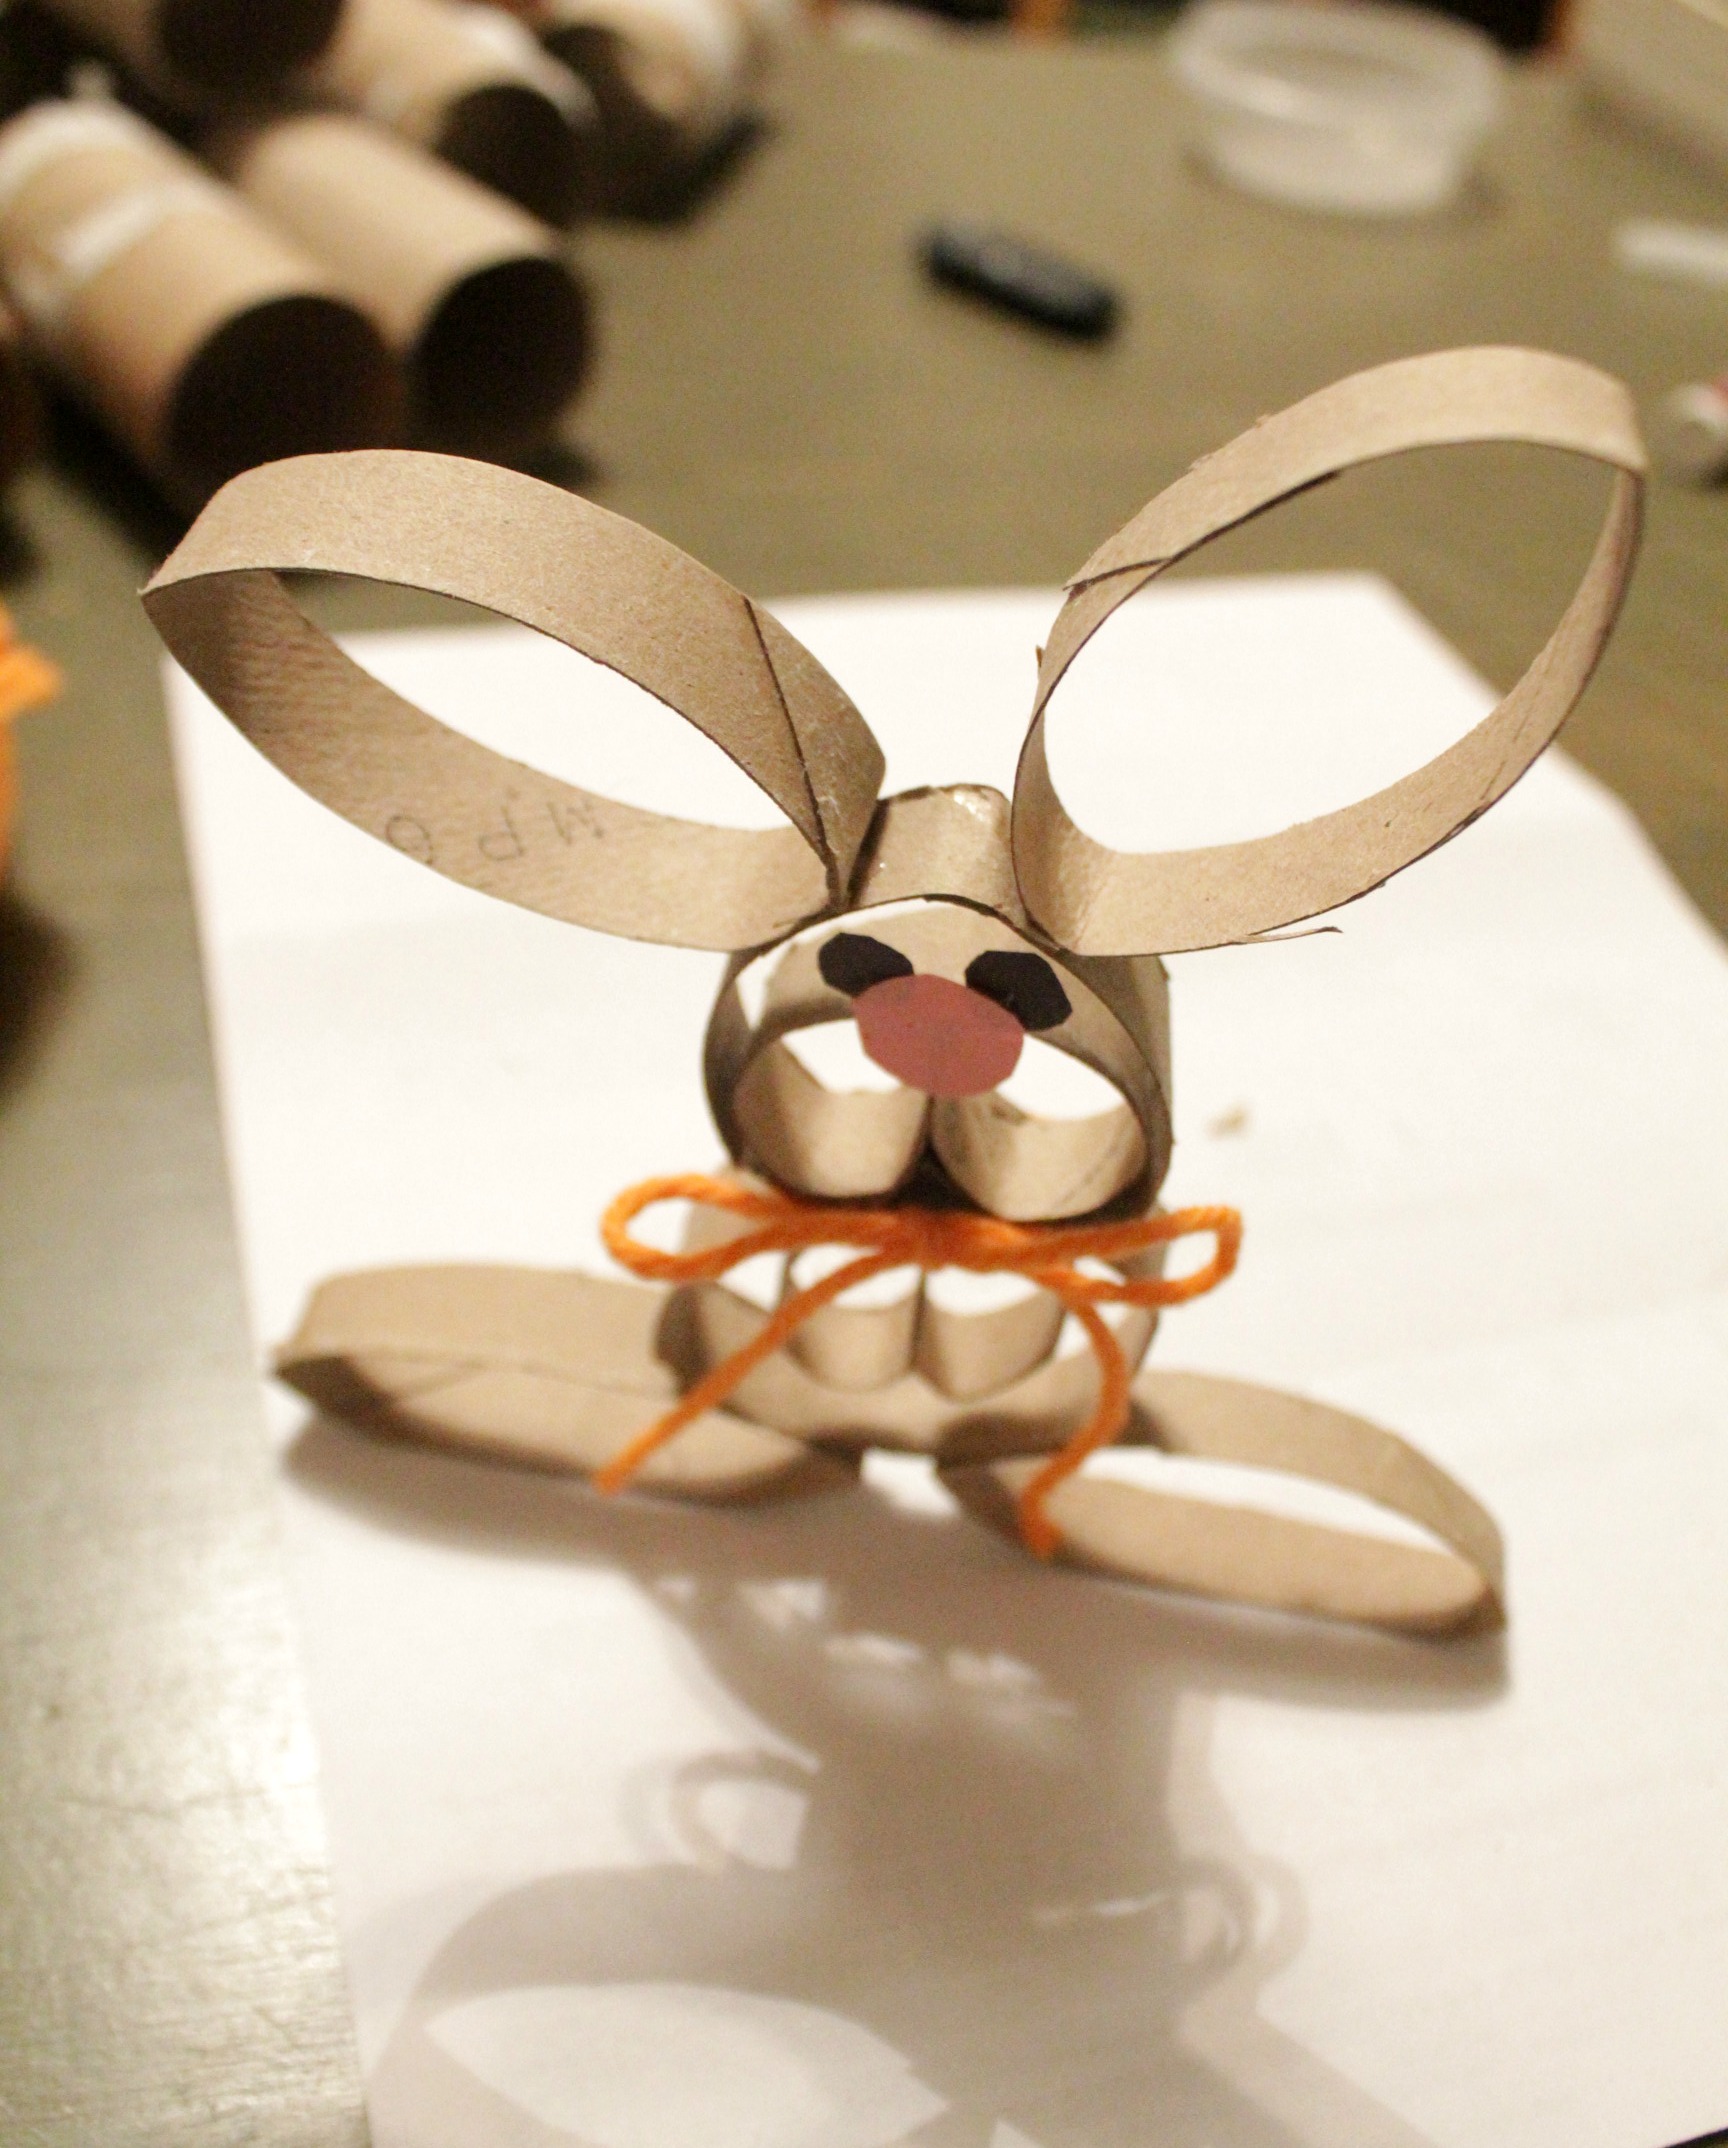
Take two more rings and flatten them out a bit, squeezing a point at one end so that they look like ears. Glue these to the bunny's head (the bottom of the heart) any way you want. You can make them stand up or be floppy - your choice.

toilet paper roll bunny

Take two more rings and flatten them the same way as the ears, gluing them to the bottom of the body for feet. These you'll want to get as even as possible so that your bunny doesn't fall over. The flatter you can get the bottoms of the rings, the better. (Mine aren't very flat here.)

toilet paper roll bunny

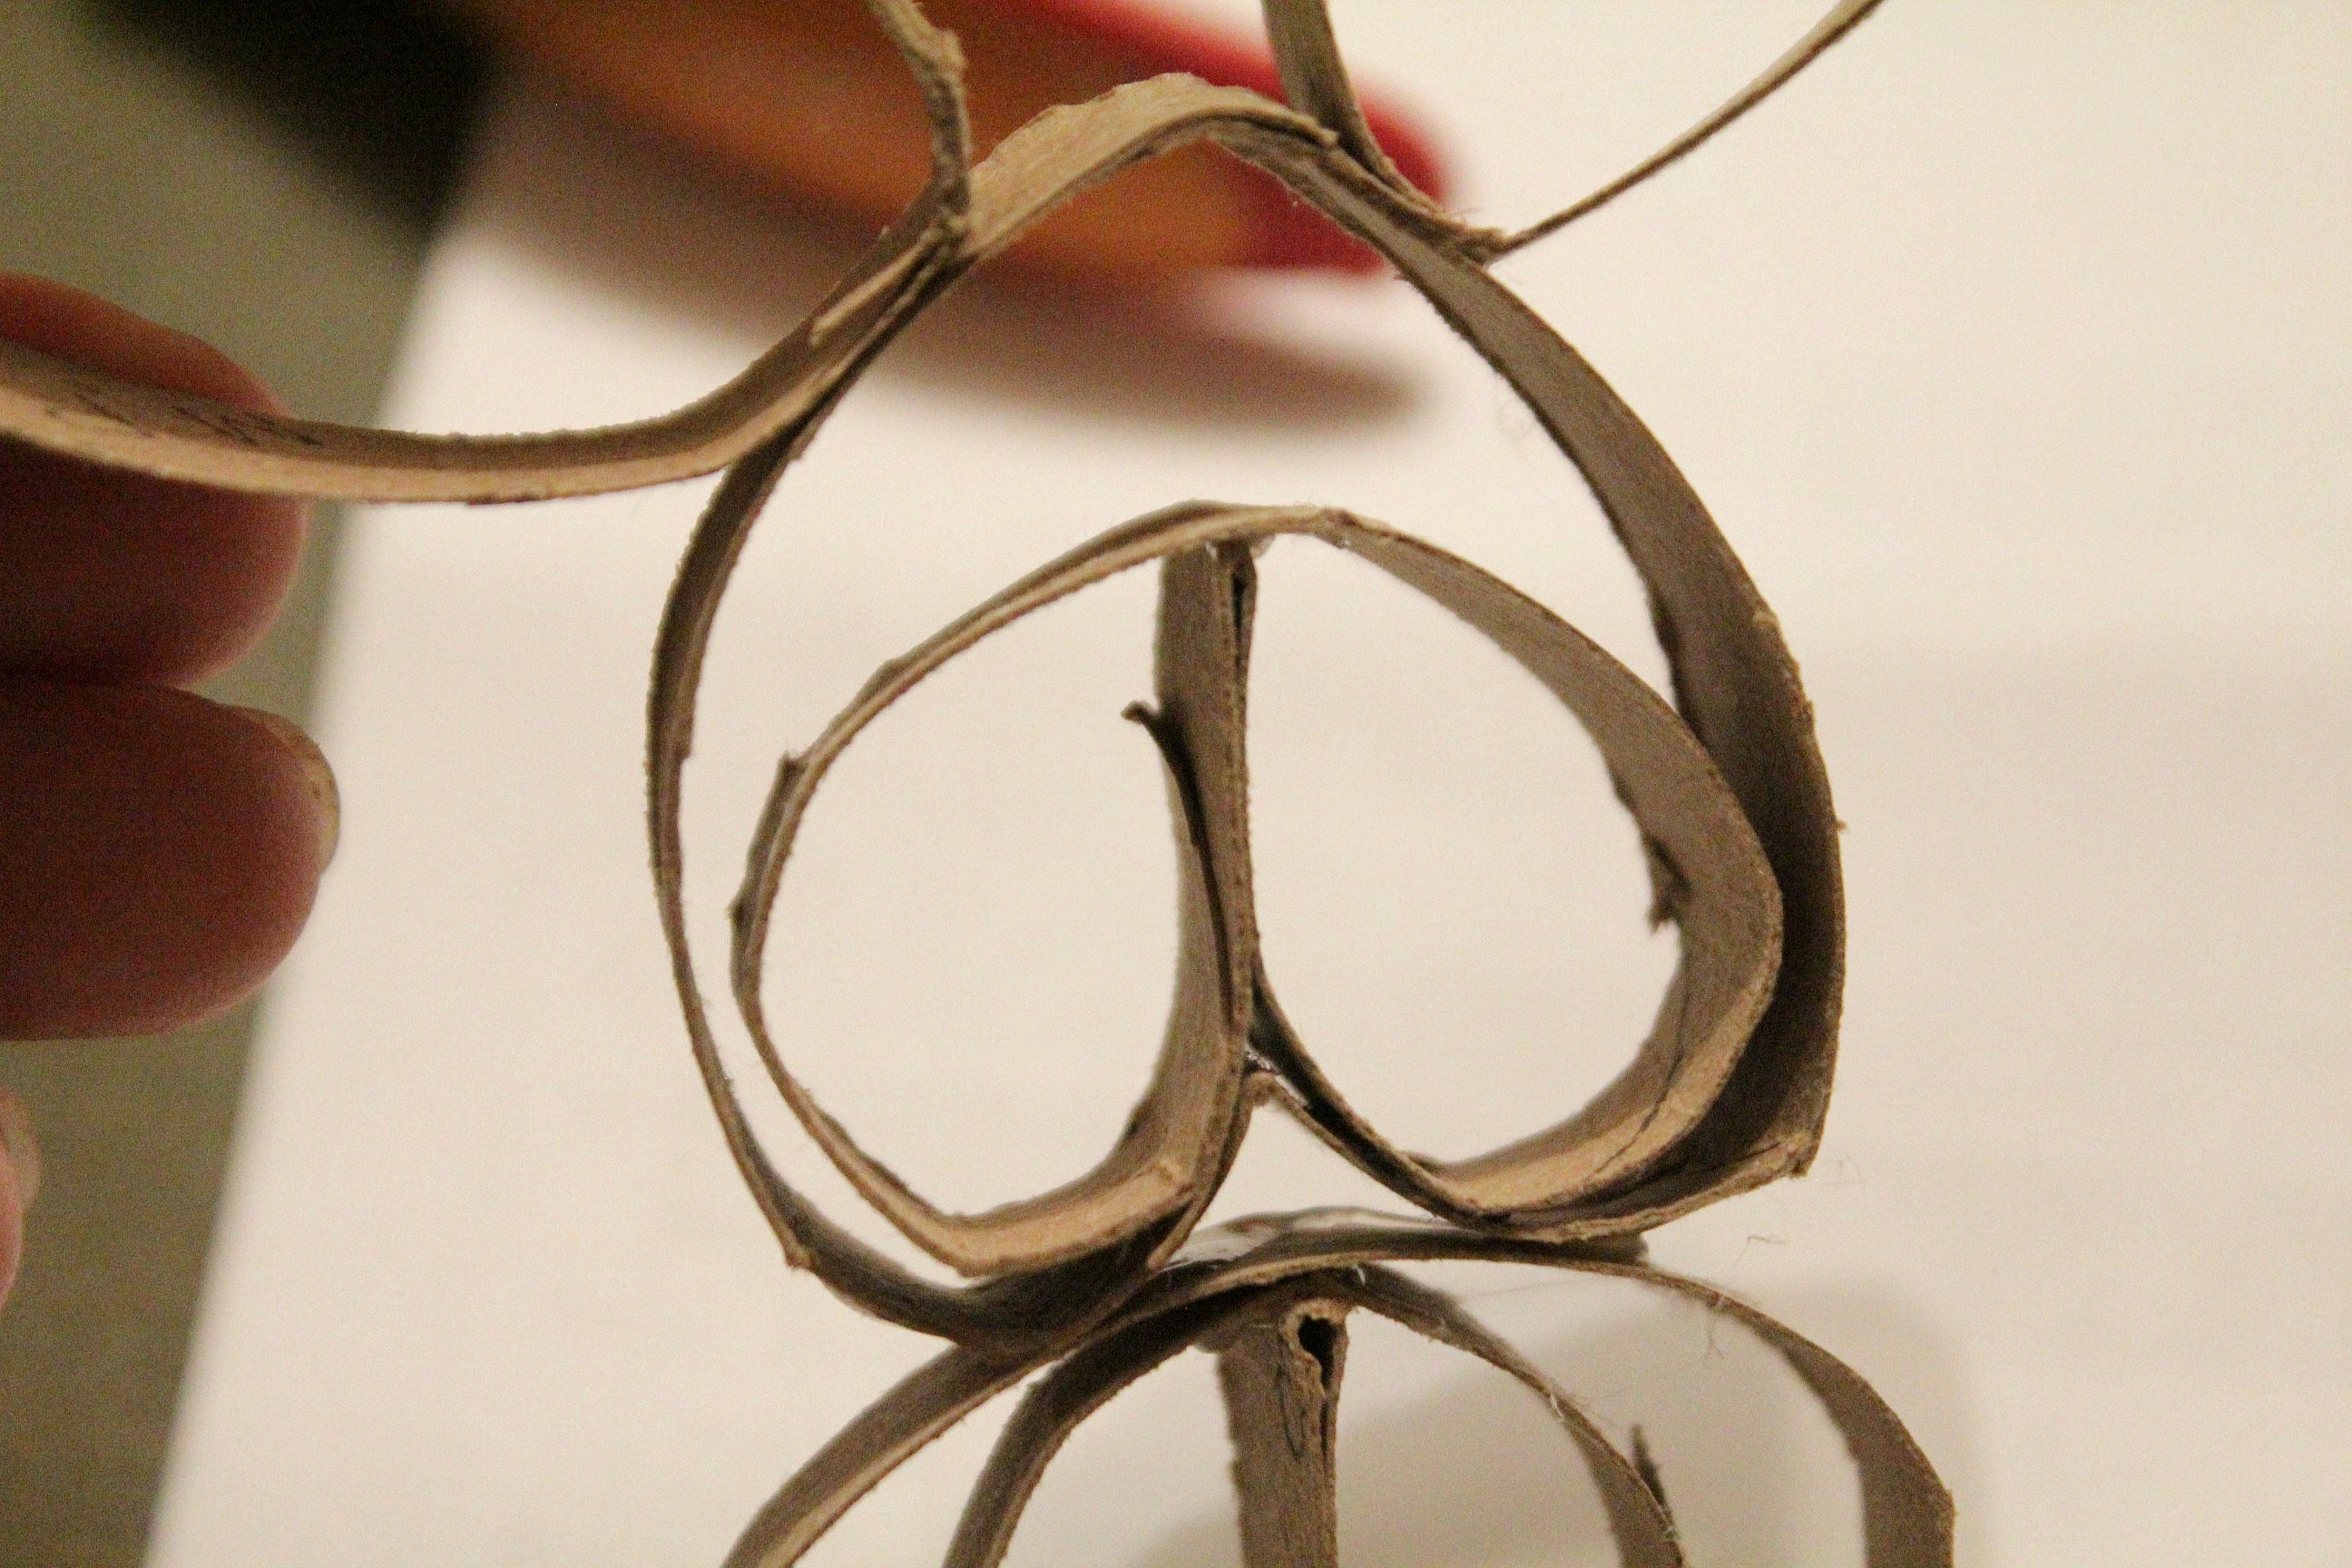
For the arms, you'll take one ring and do the "heart pinch" again, but this time pinch it all the way down until the center meets the other side. Glue the two sides that are pinched together to each other to keep them in place. Glue this shape to the inside of the body, right at the top, so that they hang down like paws.

toilet paper roll bunny

Take the last ring and make the same shape that you did for the arms. This will be the bunny's cheeks. Glue the ring to the inside of the head. How's your bunny looking so far?

toilet paper roll bunny

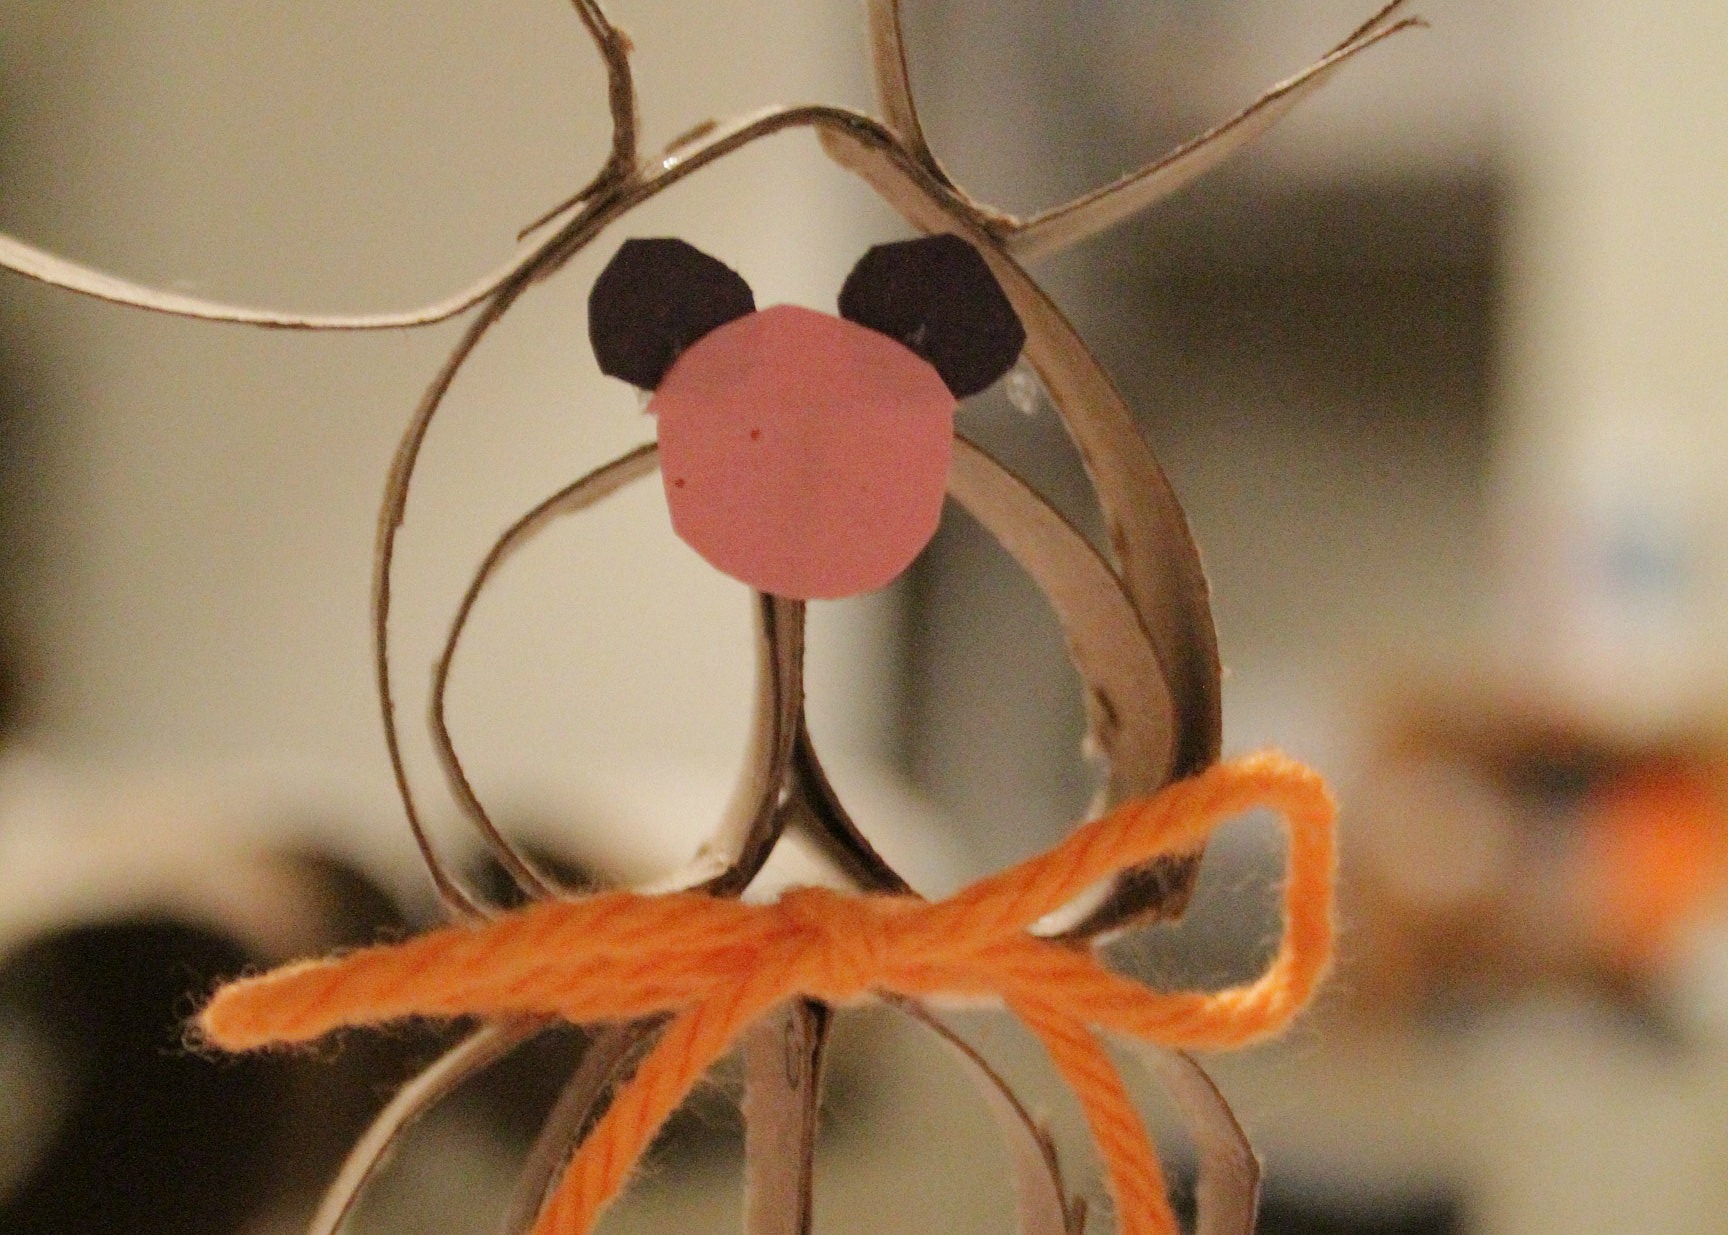
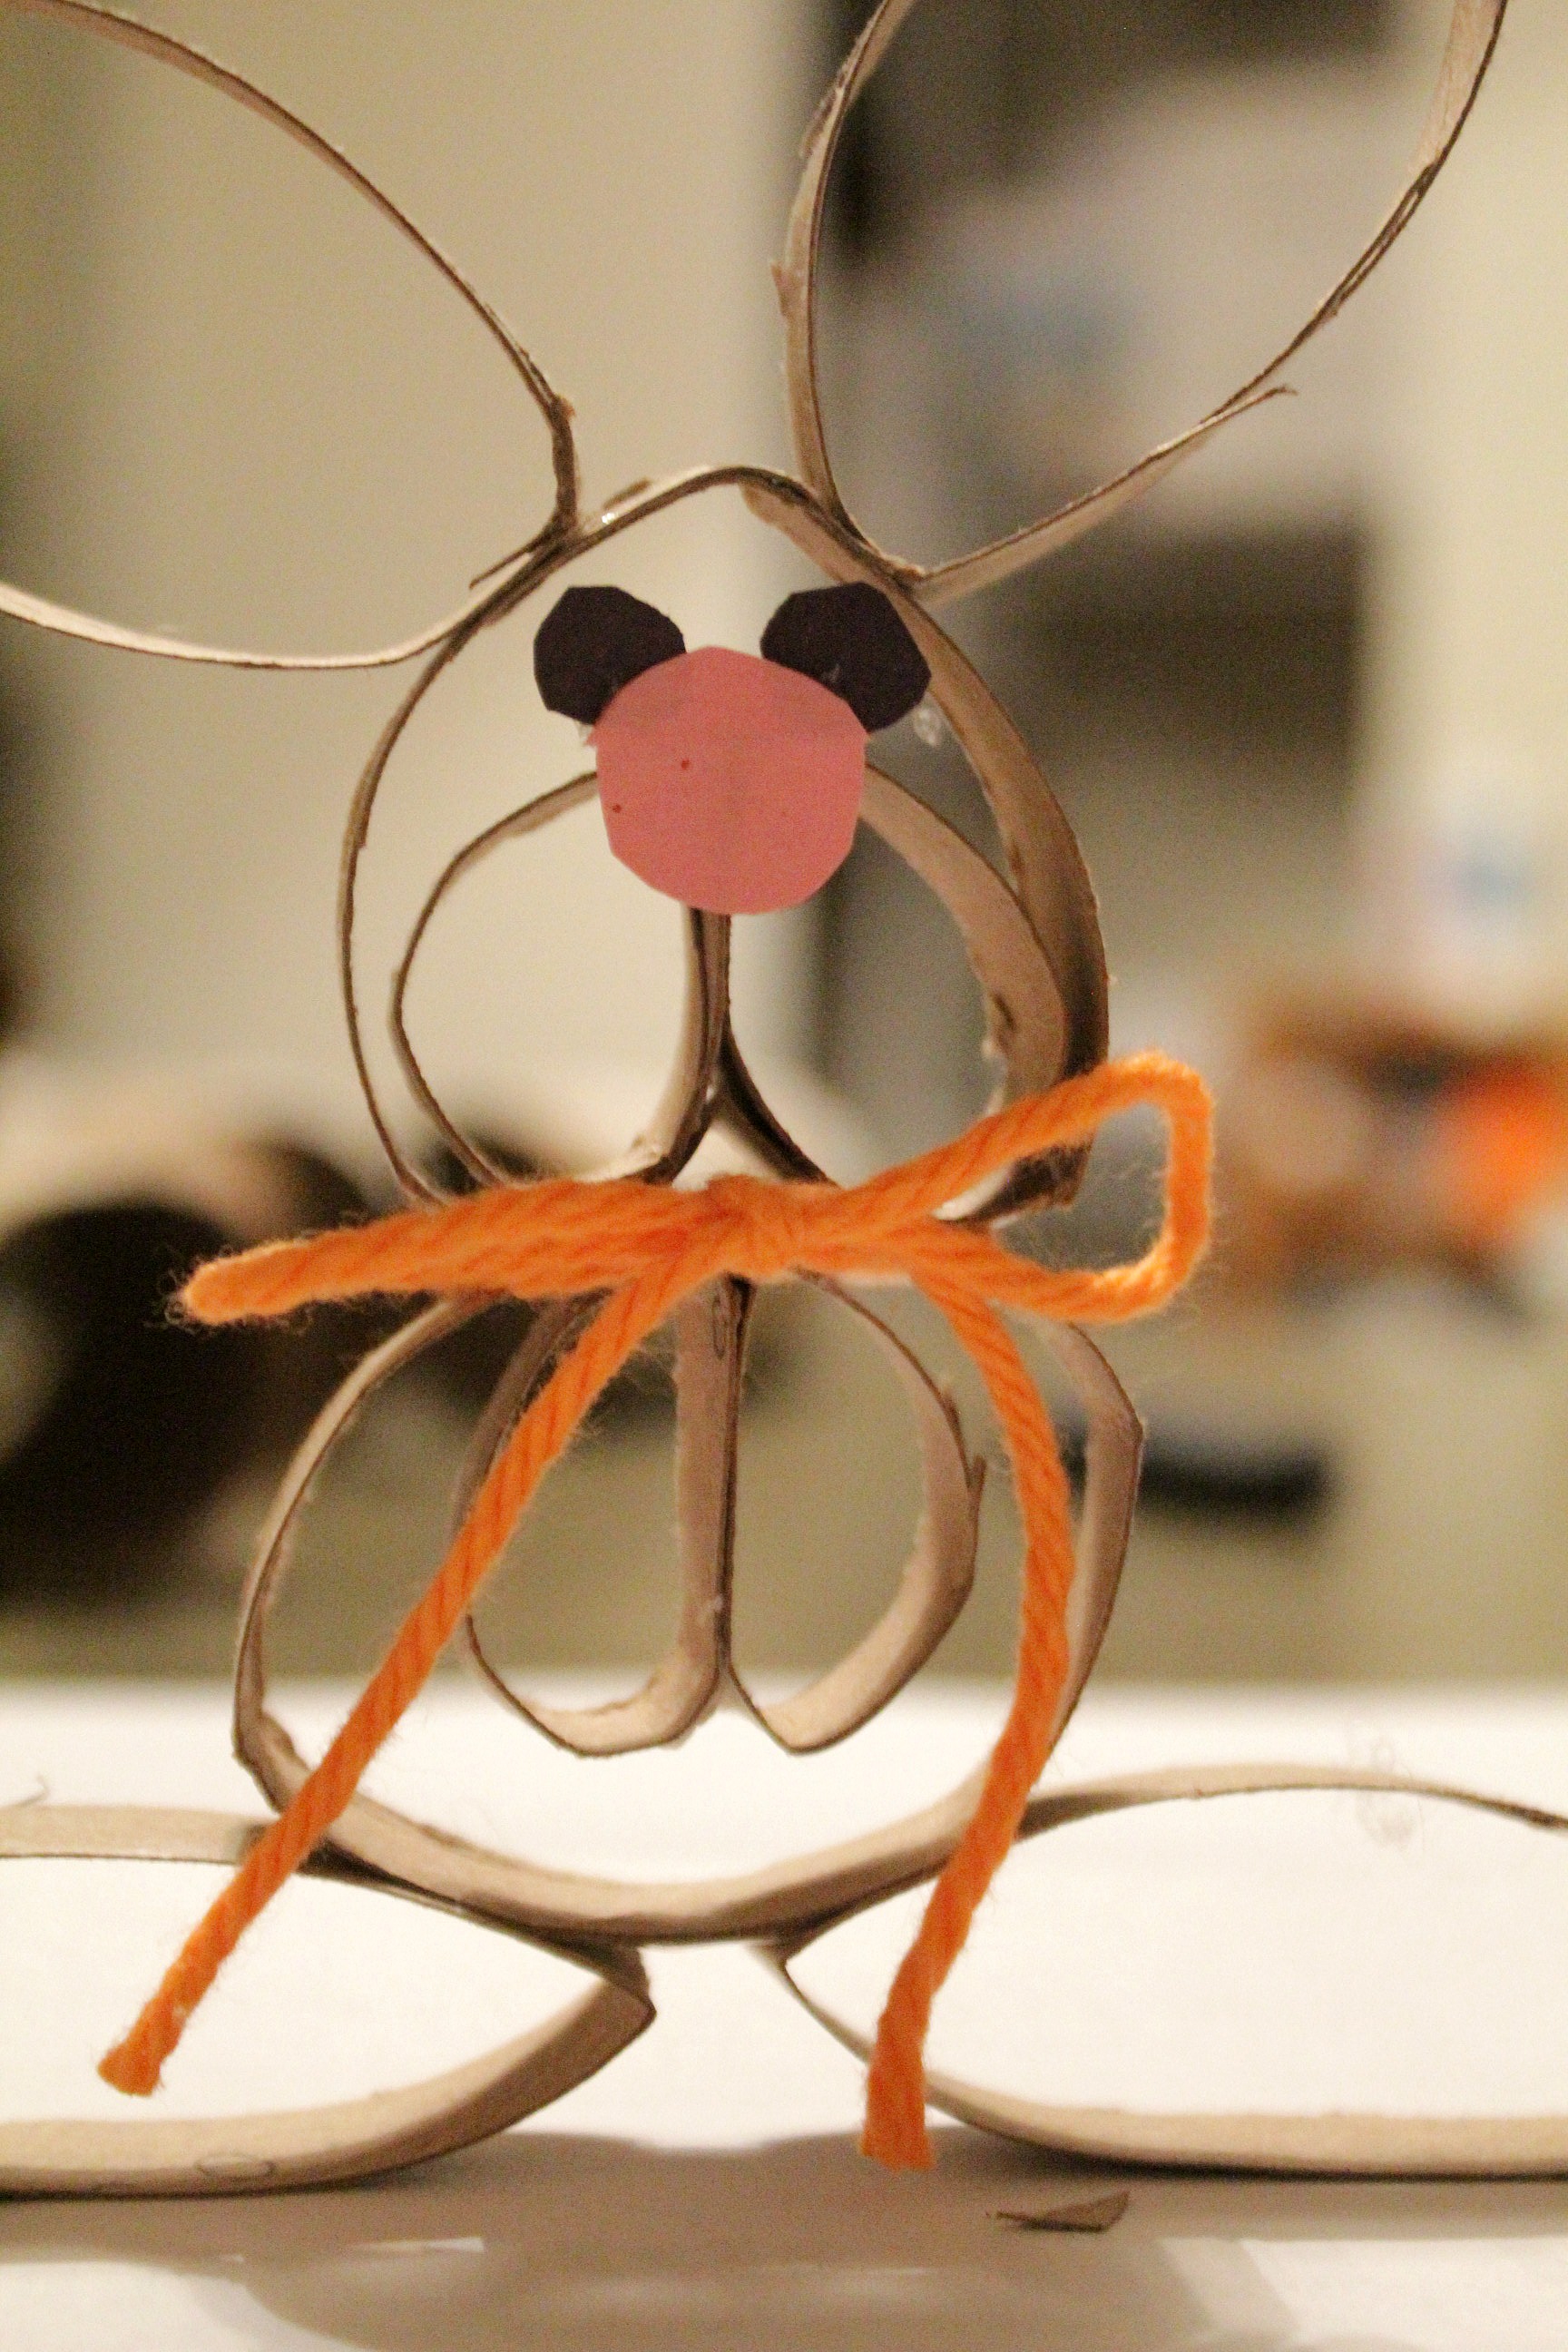
The tutorial I read calls for mini pompoms for eyes, nose, & tail, but I didn't have any, so I cut a nose and eyes out of construction paper. (My bunny is tail-less right now.)

toilet paper roll bunny

I took a piece of orange yarn and tied a bow around his neck for a little flare. You could also paint him white (before adding the eyes and nose, etc.) by hand or with spray paint. Mine's a wild bunny so he's going to stay brown.

How's that for a quick Easter project? Even kids could help with this one if you use craft glue instead of a hot glue gun.

toilet paper roll bunny

toilet paper roll bunny

toilet paper roll bunny


Looking for more Easter projects?  Here are a couple I've done in previous years. Just click on the picture to take you directly to the post (it will open in a new window).

Yarn Eggs

yarn eggs

Bunny in a Jar

Easter bunny in a jar

Easter Wreath

Easter Wreath


Mar 21, 2015

Spring Wildflower Wreath

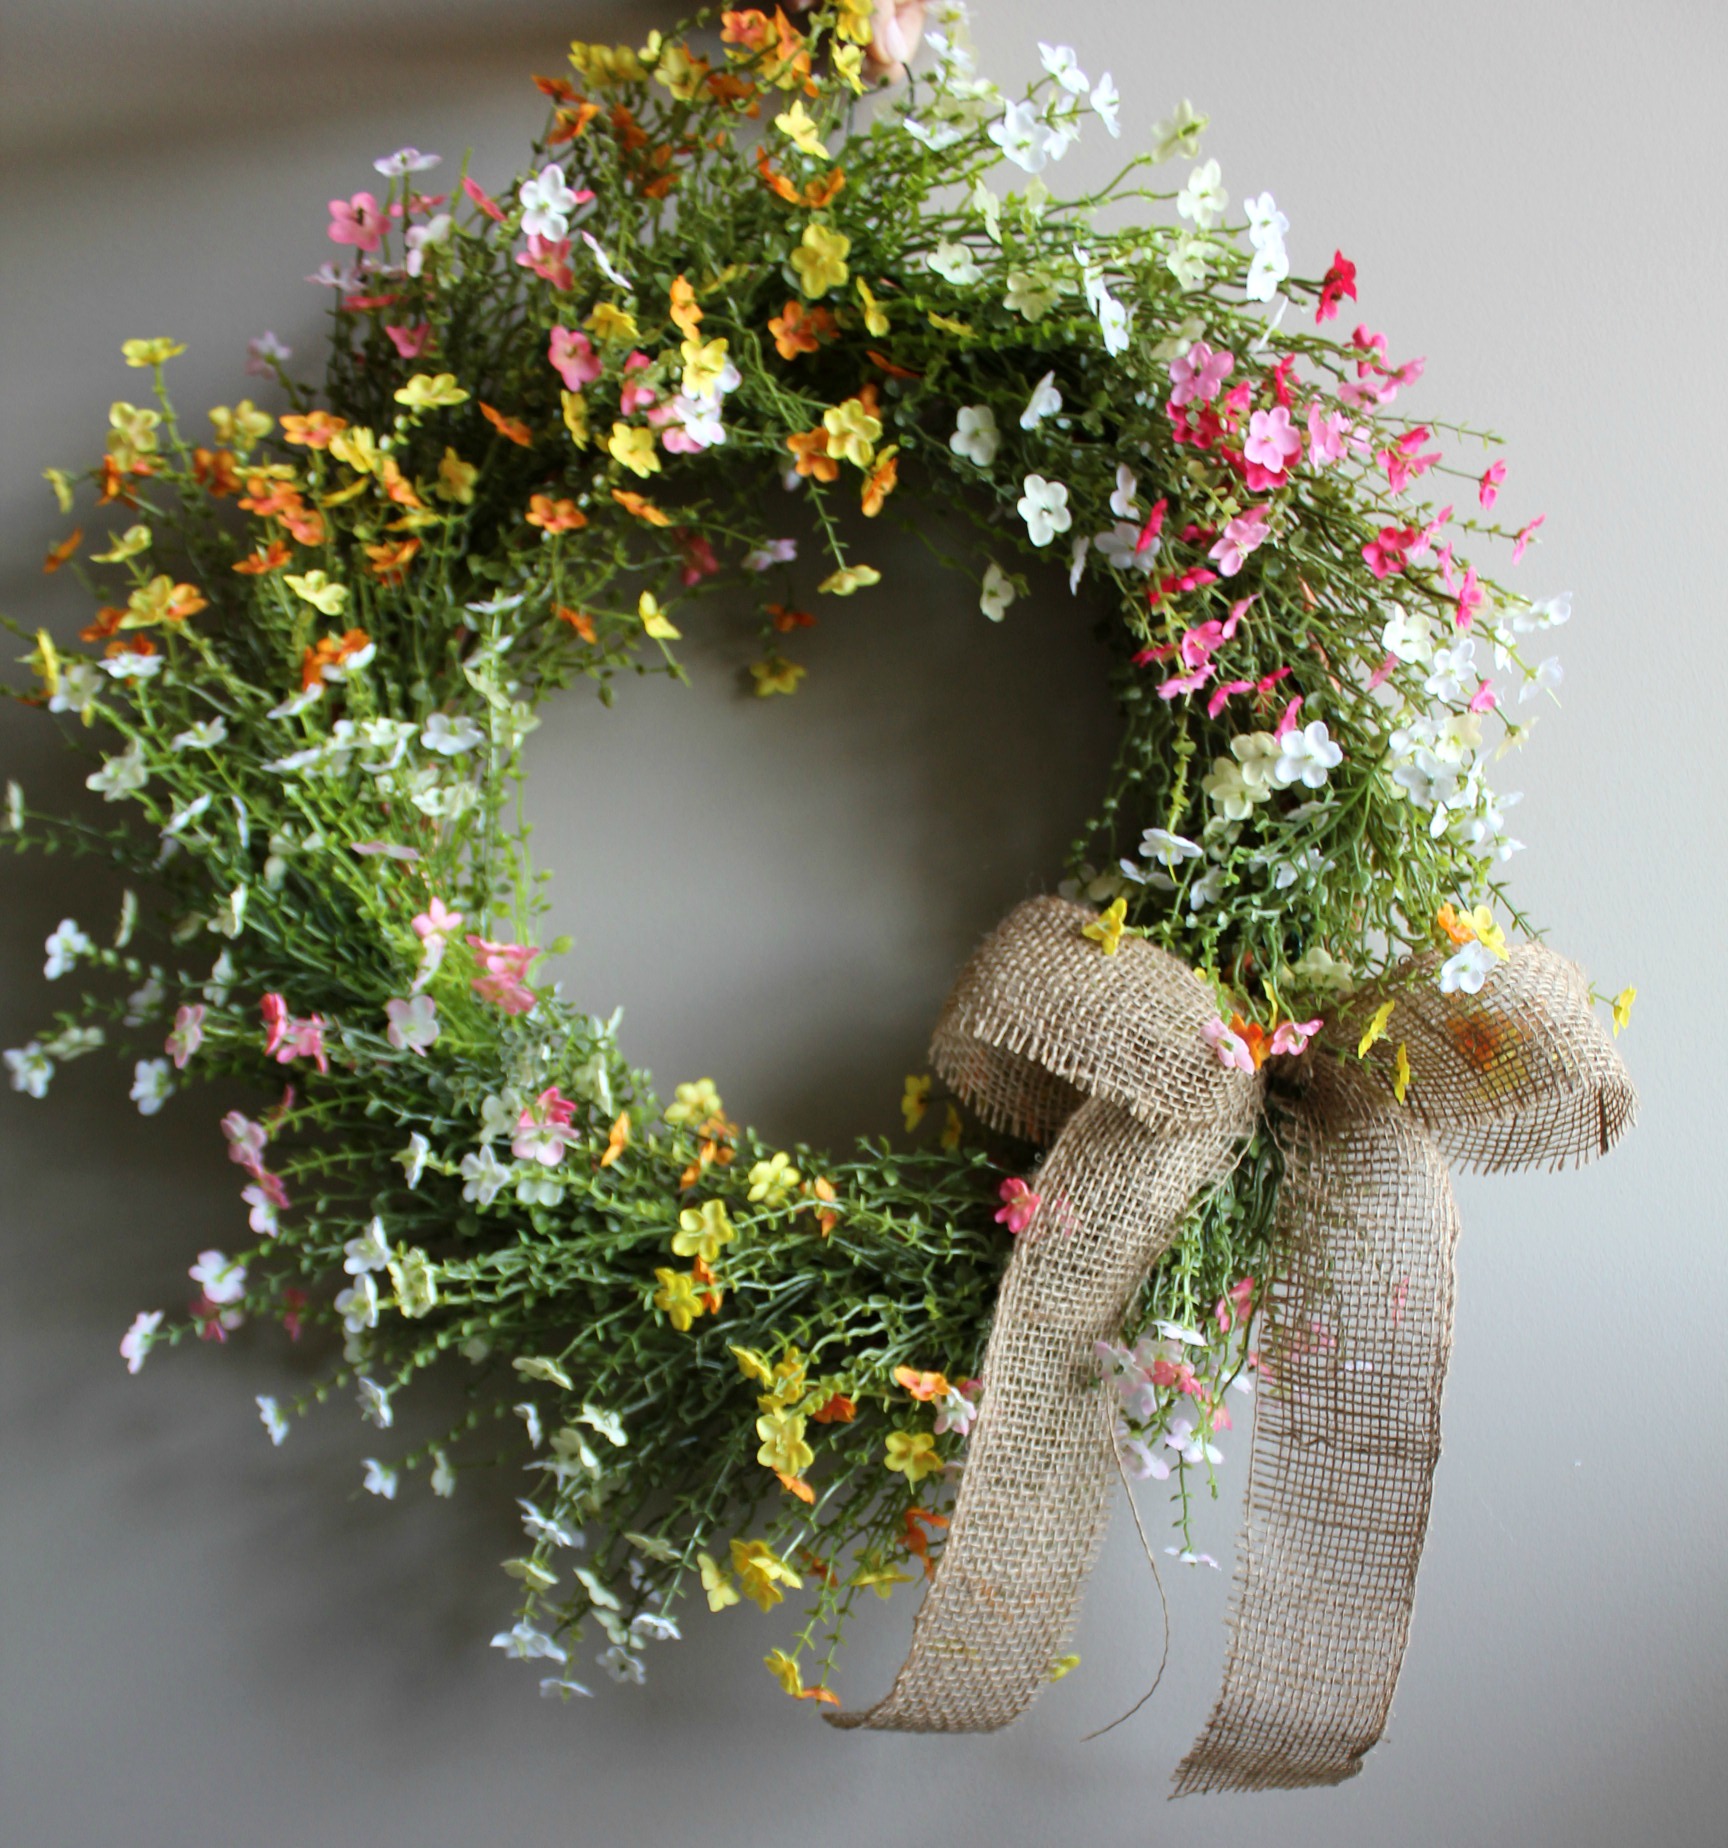
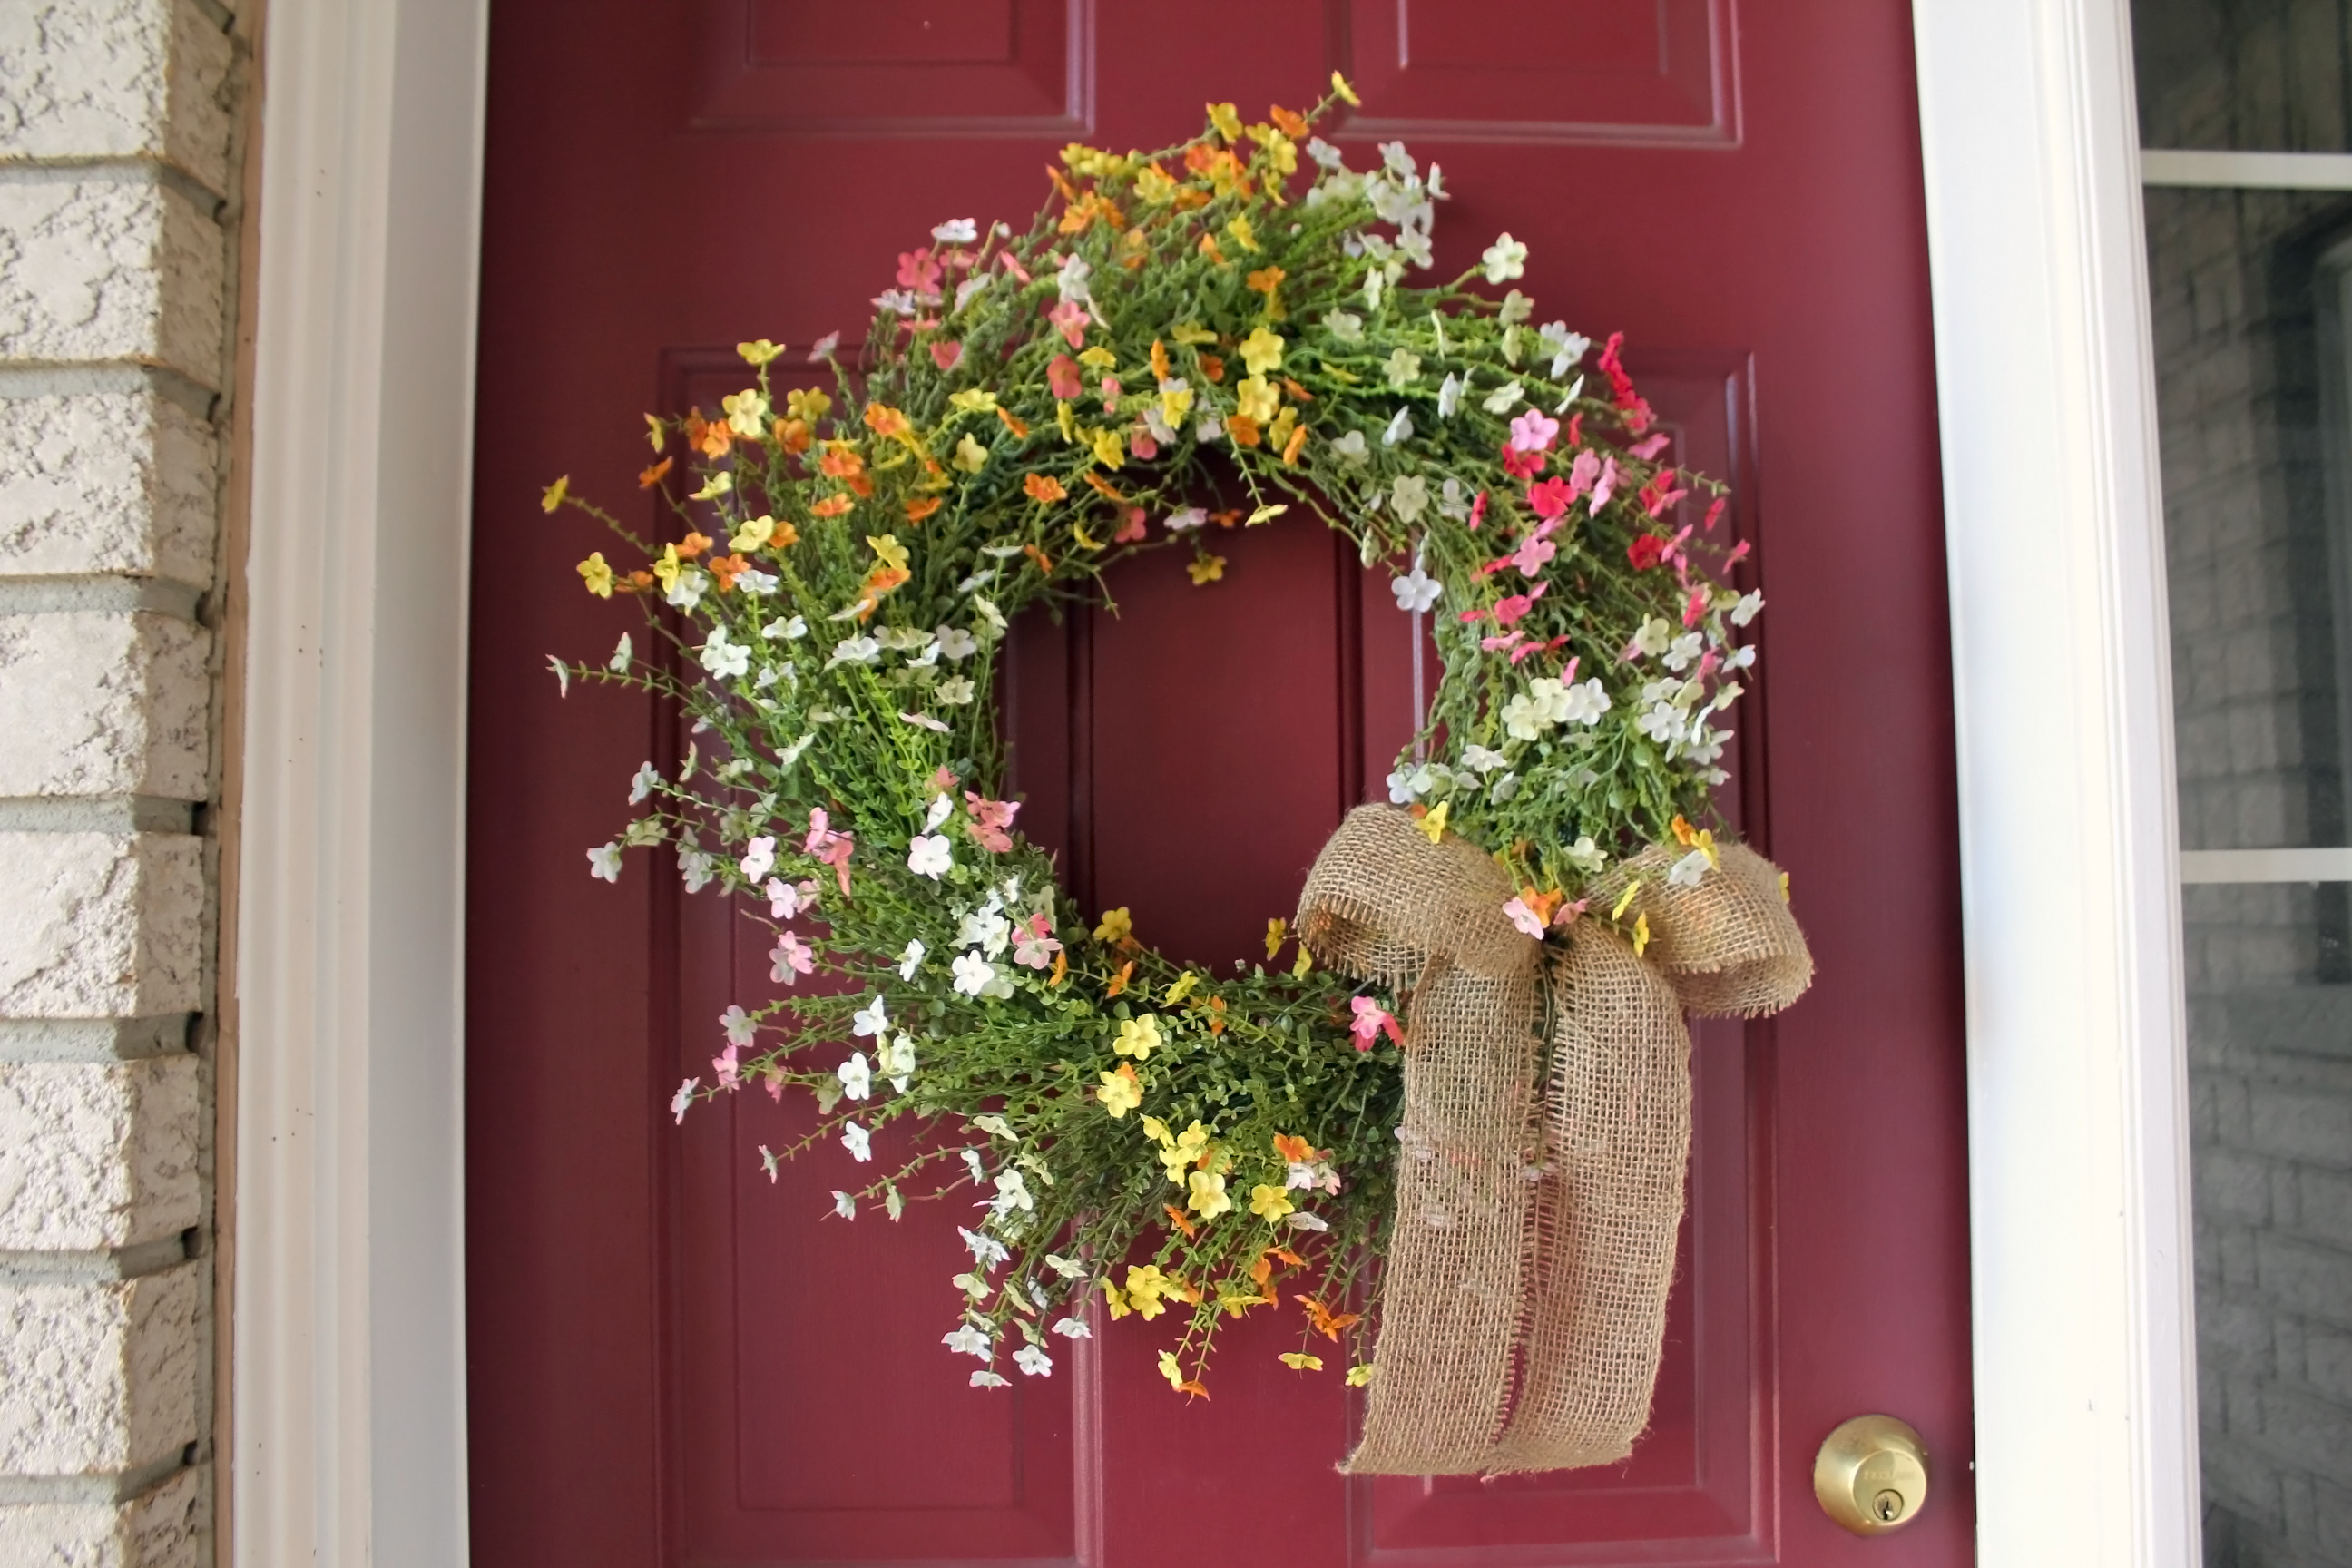
It's now officially spring, and even though old man winter is trying to stick around, I'm firmly pushing him out the door and locking it. And to make sure he knows to stay away I've hung a wreath on the door that practically shouts, "Spring is here!"

Spring Wildflower Wreath

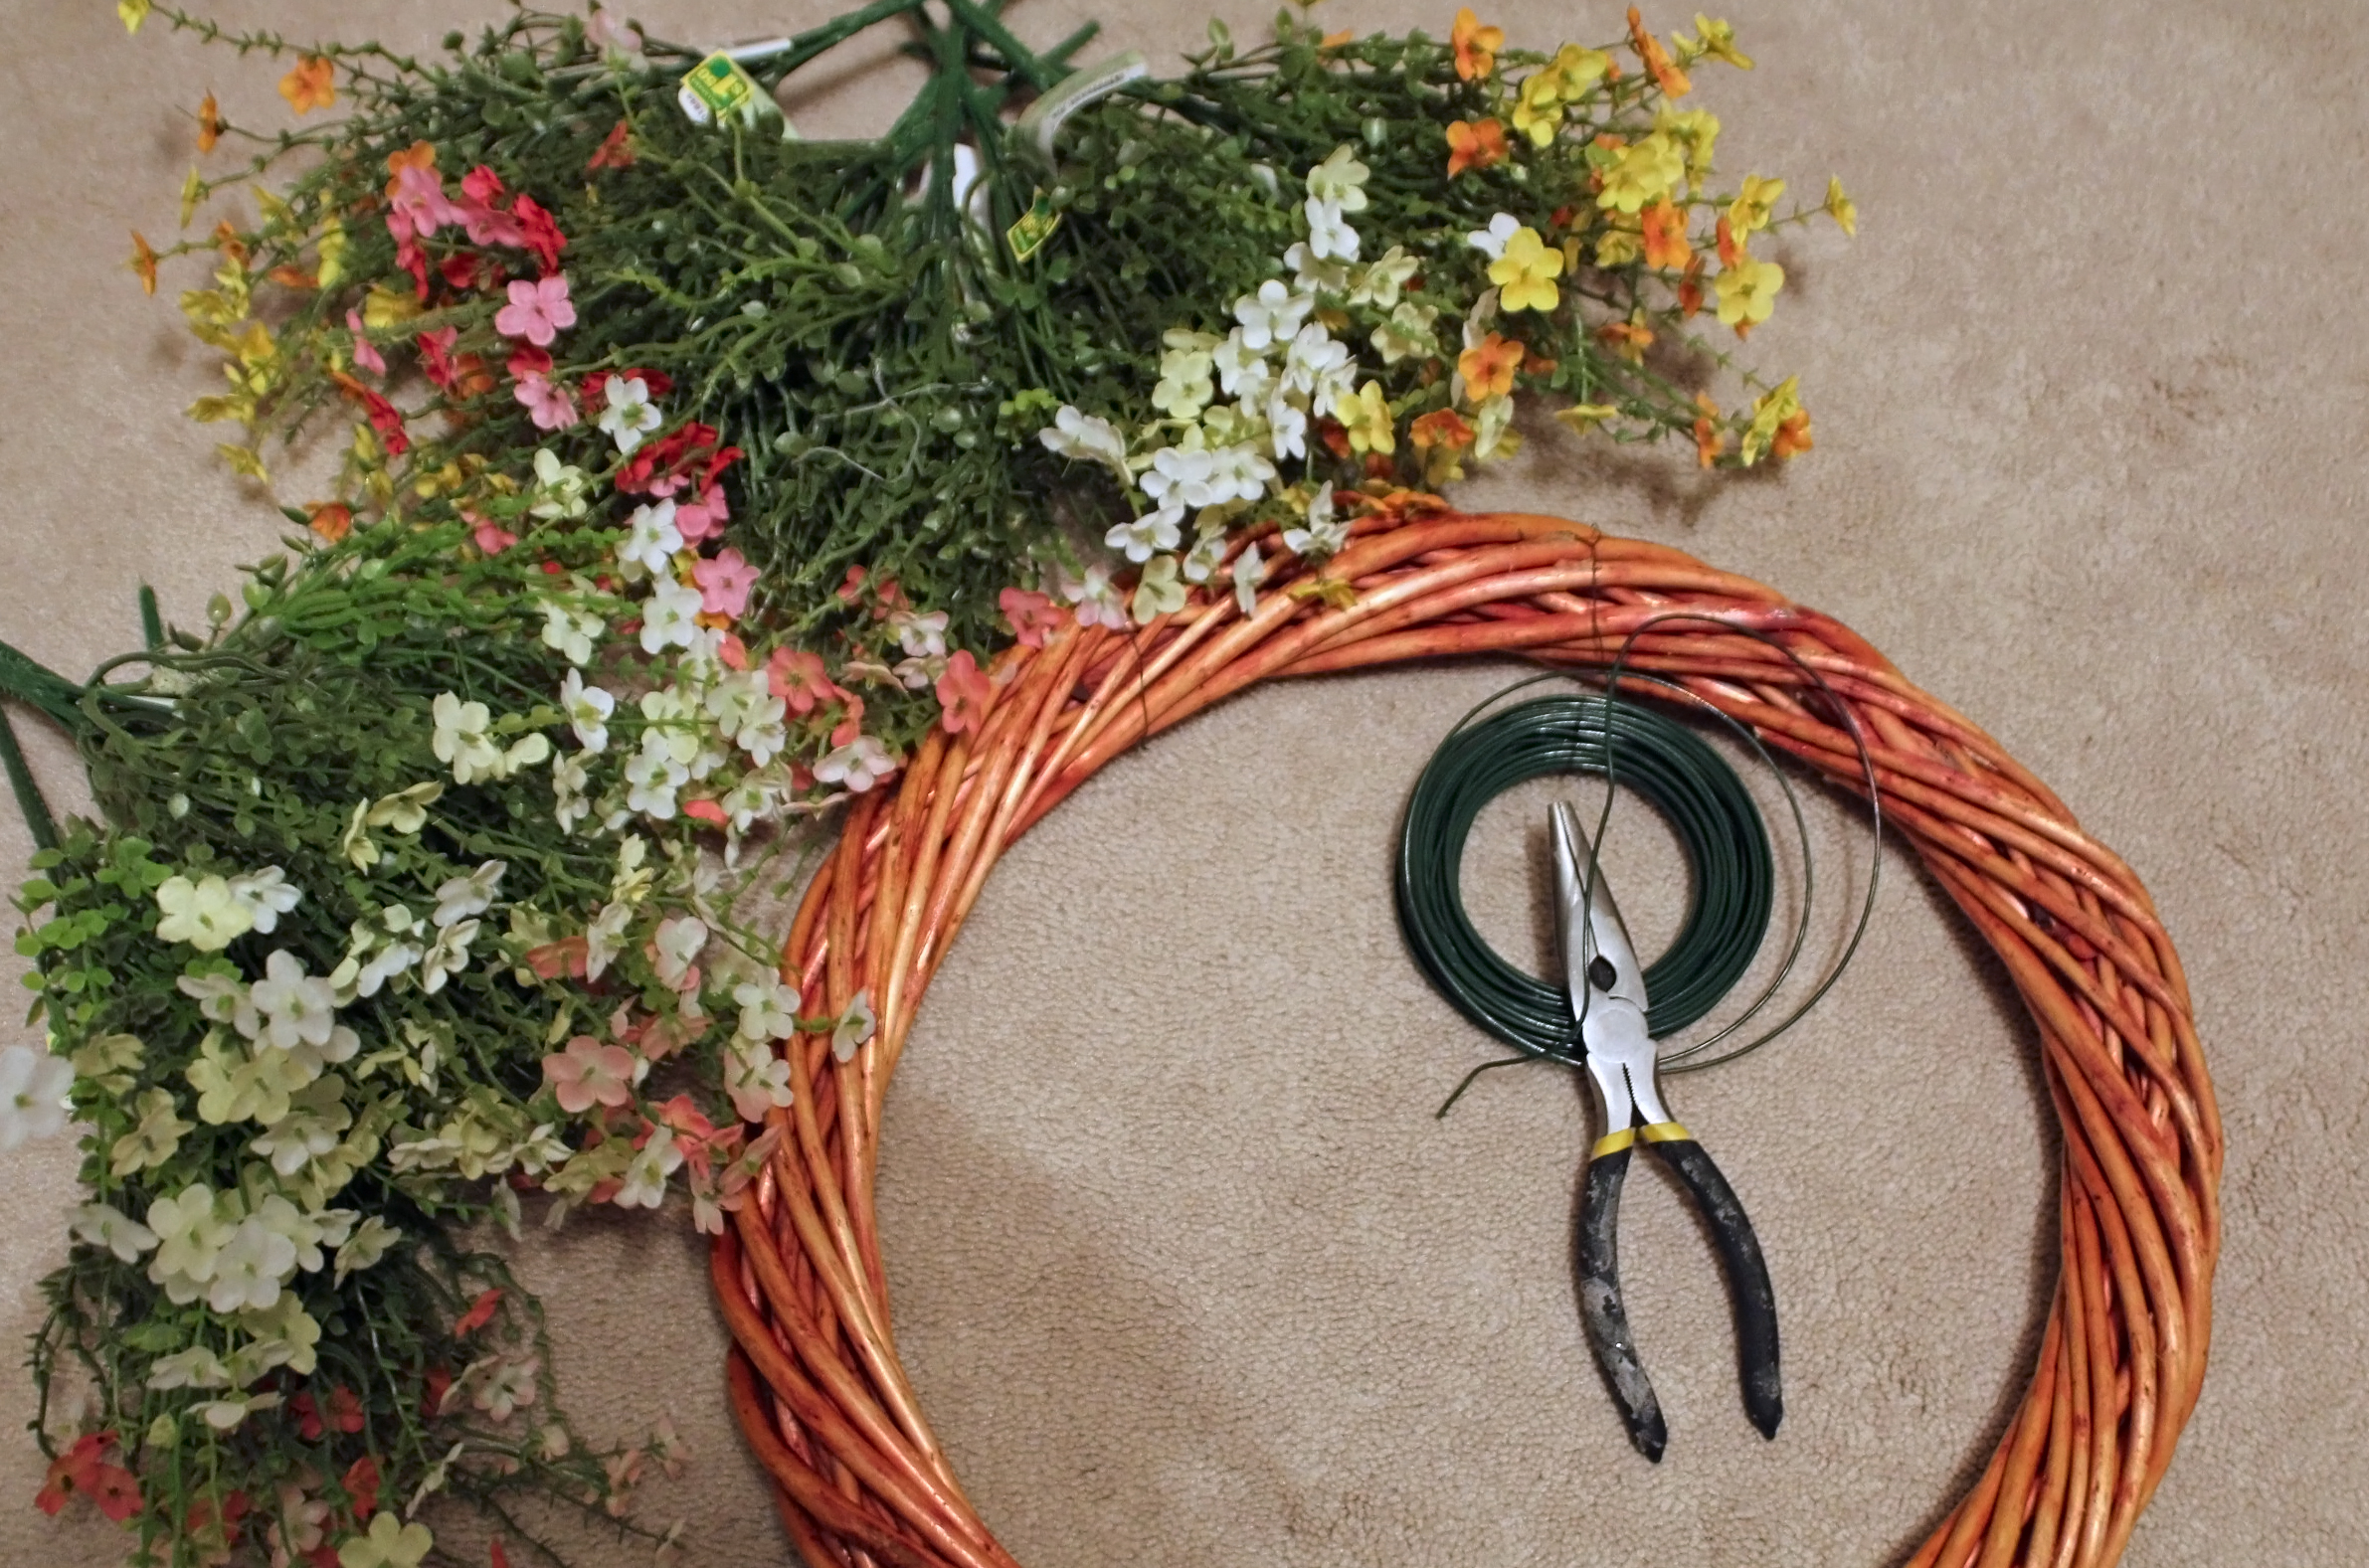
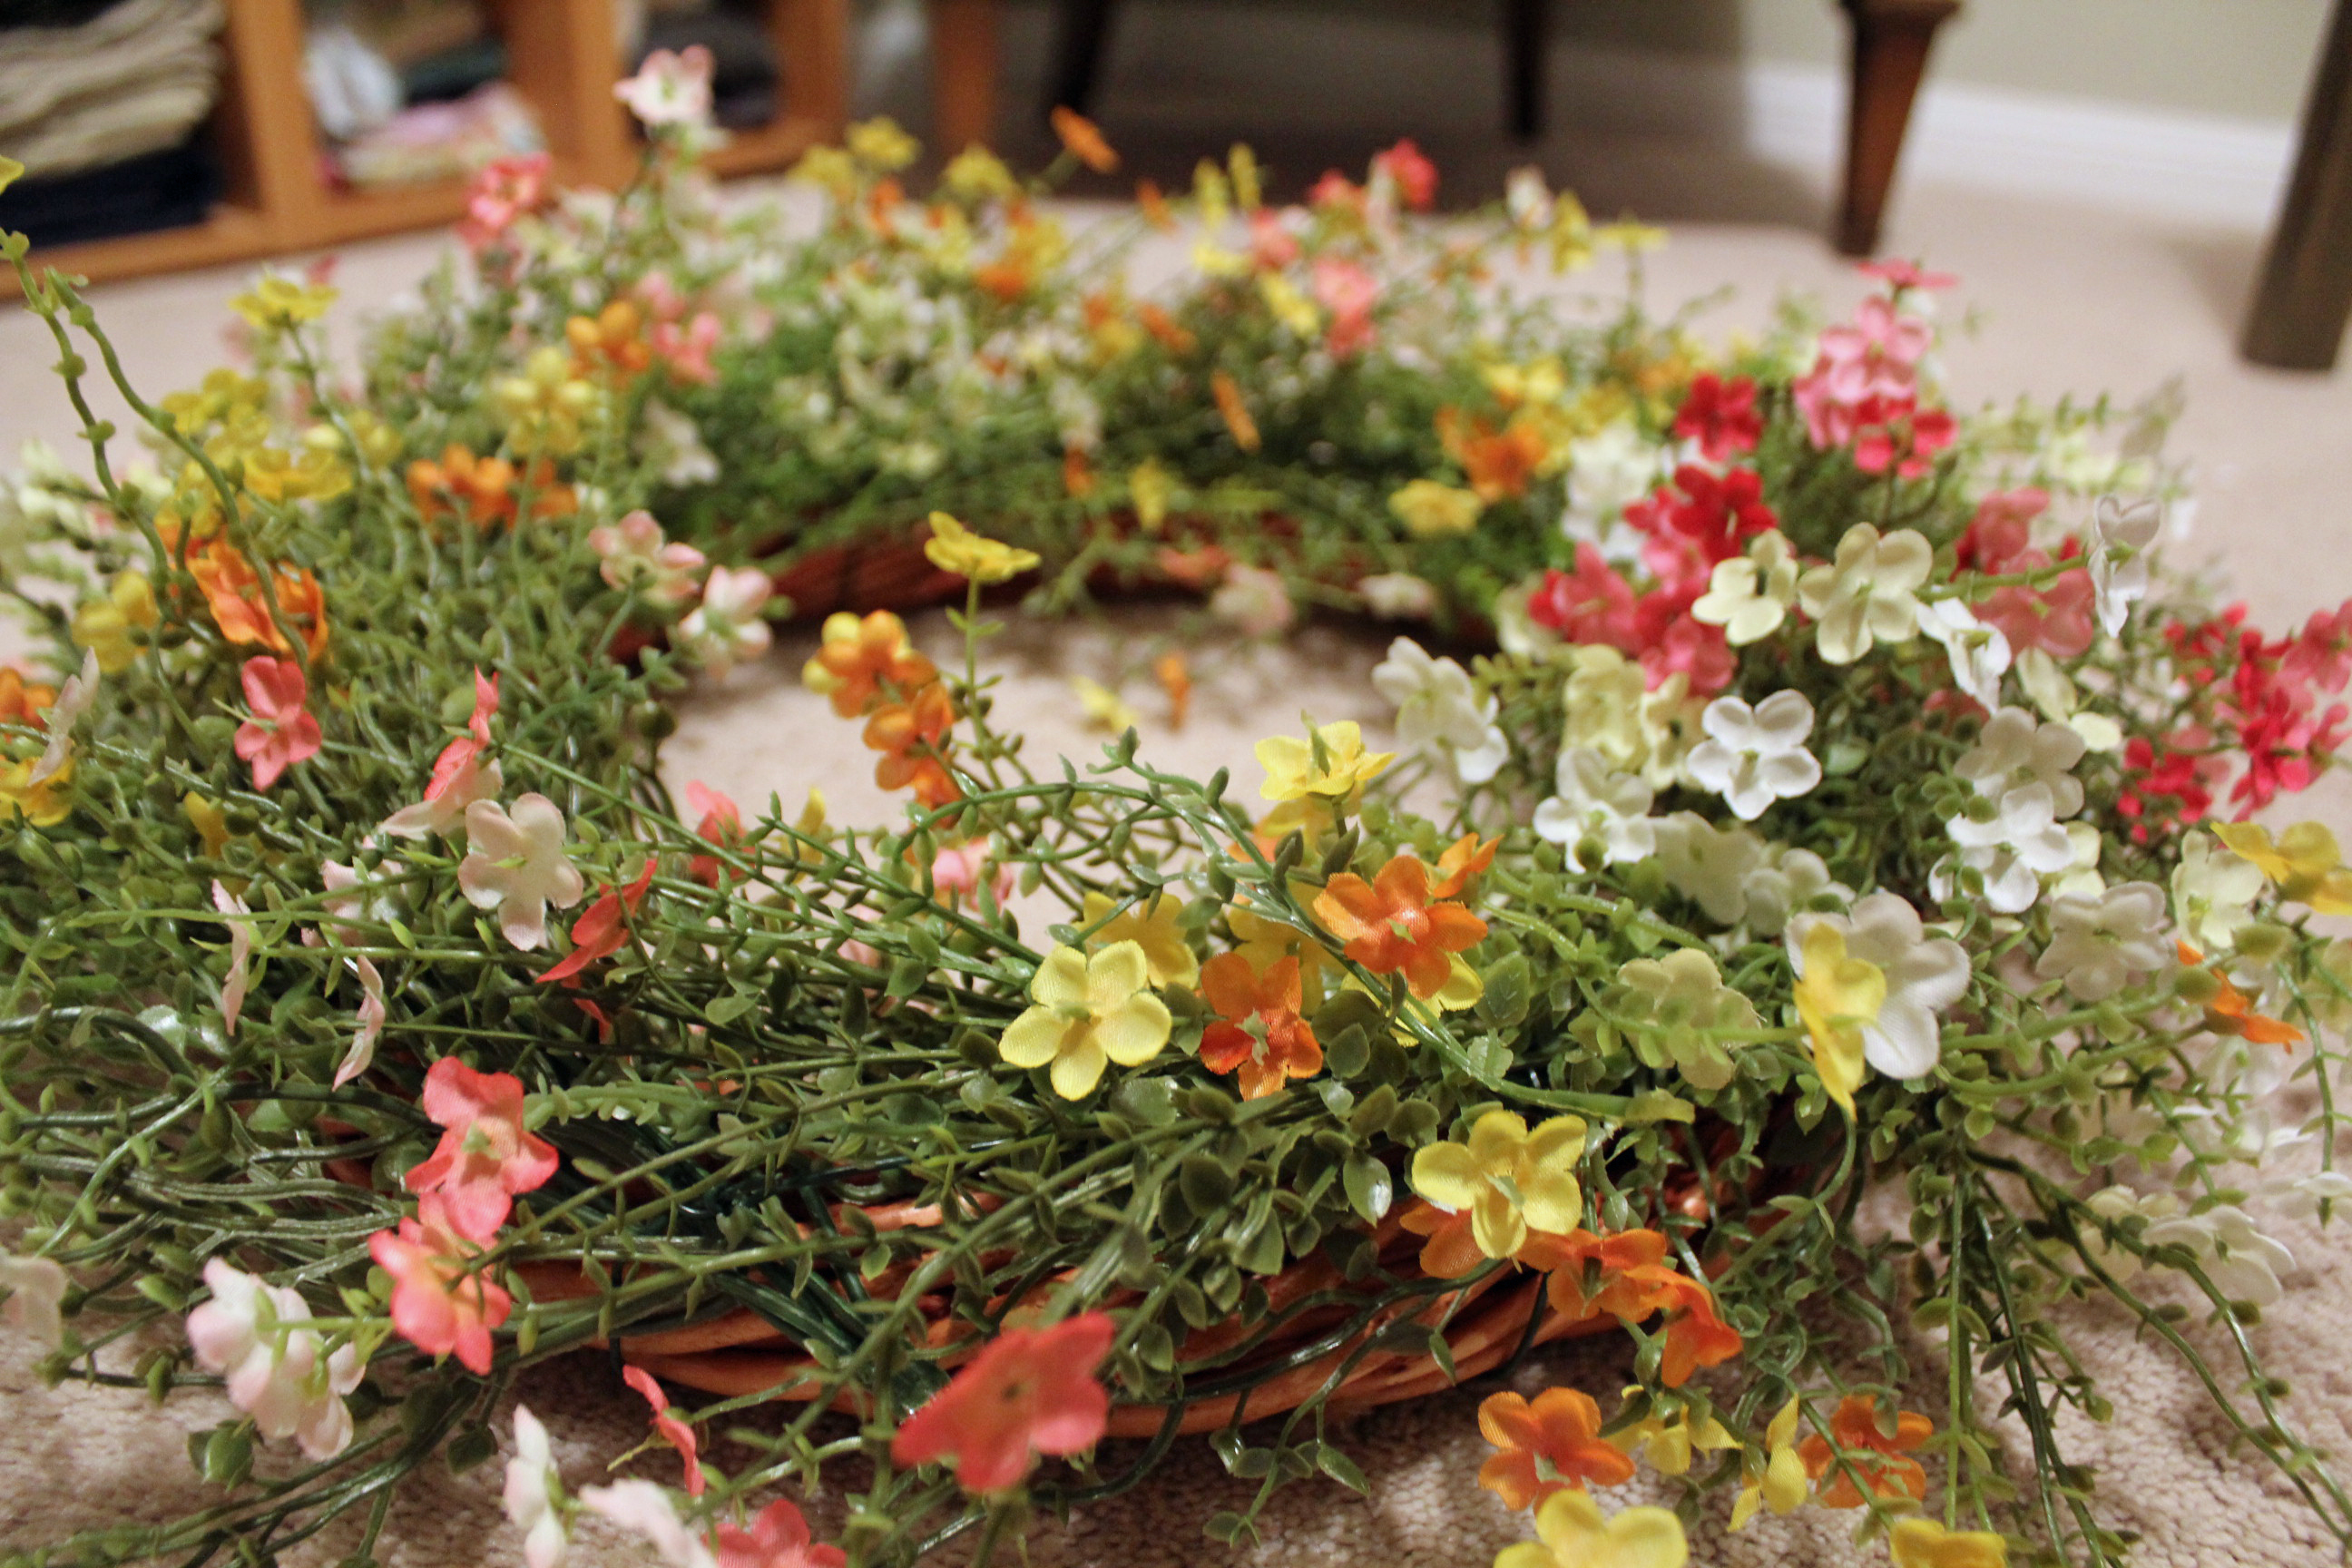
You could make this wreath, too. All you'll need is a wreath base, 10-12 bunches of tiny flowers, ribbon, and twist ties or florist's wire.

Spring Wildflower Wreath

I started out with a grapevine-type wreath and arranged the flowers around it until I had an arrangement that I liked. There's a mix of white, light pink, dark pink, and yellow/orange that I tried to mix and match to make it balanced, but still keep a little randomness about it.

I thought I would cut off the thick stem of each flower bundle, but I didn't have any sidecutters handy that were strong enough to cut through. Instead, after I wired a flower bunch to the wreath, I would bend the stem inwards so that it was covered by the next group.

Spring Wildflower Wreath

I angled the flower bundles all in the same direction so that the wreath would look like a pinwheel when finished. Some of the flowers were laying flat but there is wire in the stems, so I was able to fluff them out and fill in any areas that looked sparse. You could also buy a couple of extra bunches and cut them up, then fill in any holes you notice.

Spring Wildflower Wreath

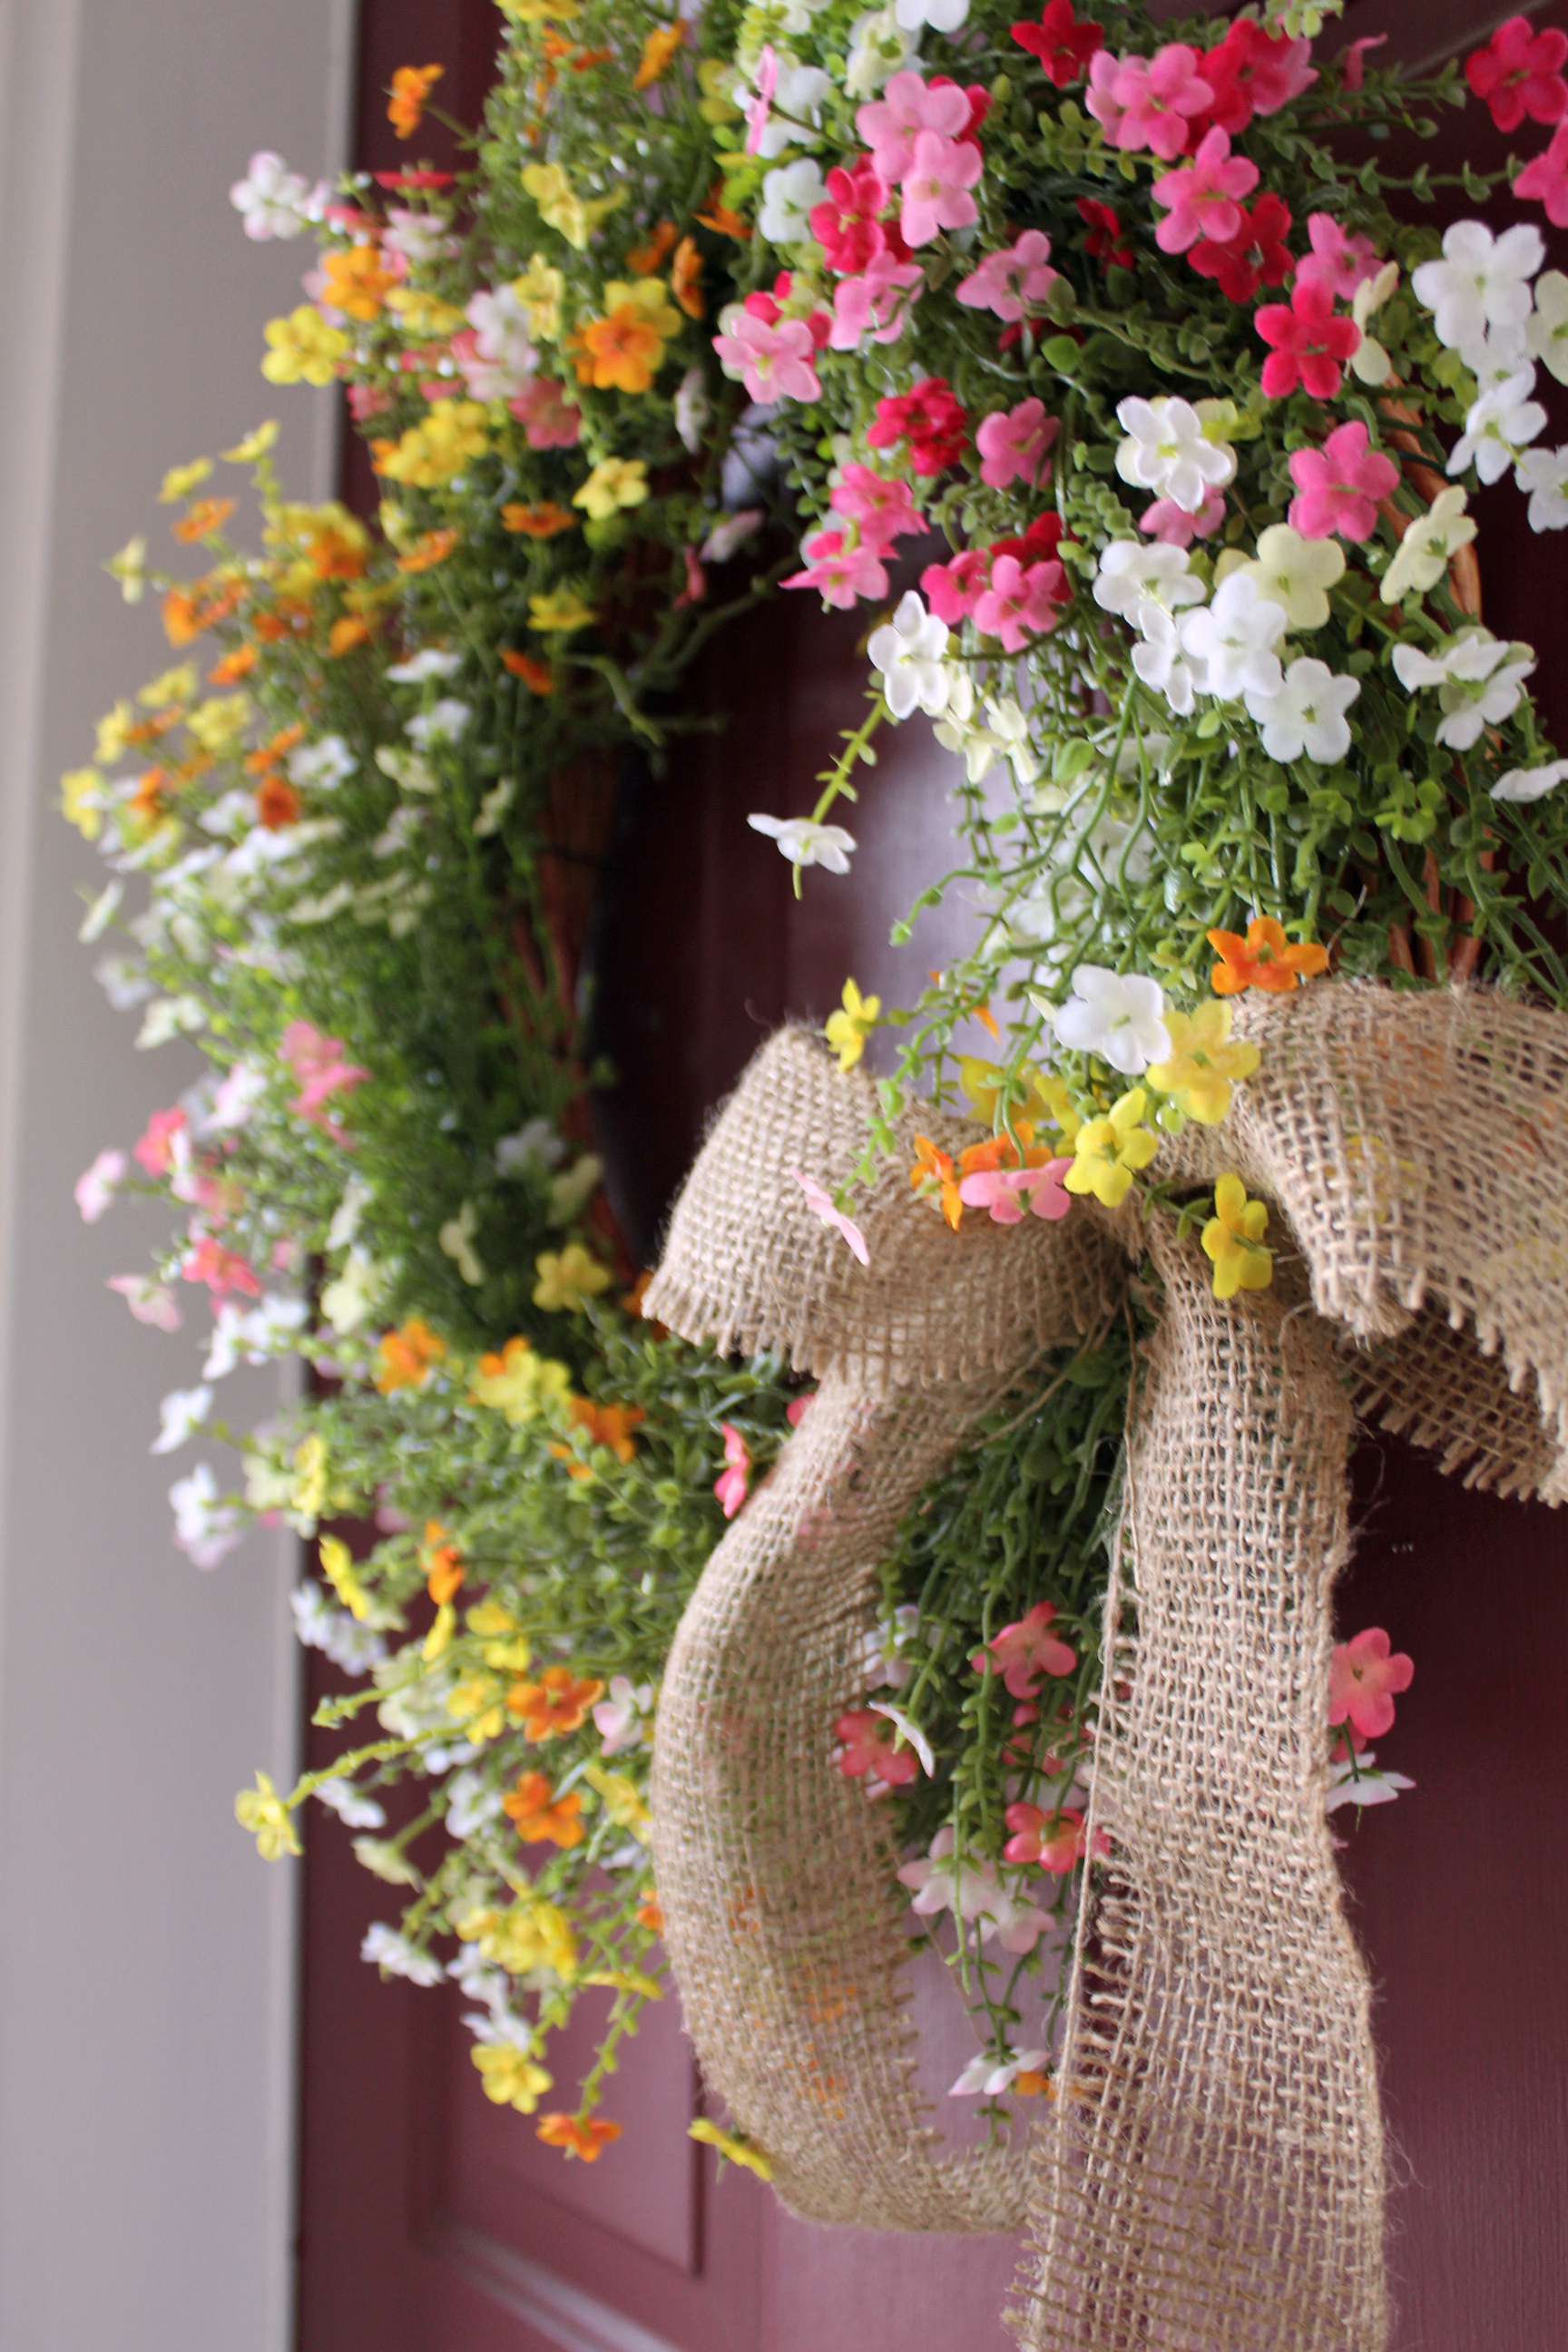
Once all of the flowers were attached I took burlap ribbon and cut it in half lengthwise to about 4 inches and tied a sweeping bow. The bow is attached to the wreath with more florist's wire. I tied a loop to the back of the wreath at the top to hang it and it was done. I'm figuring it took no longer than 20 minutes, tops.

Spring Wildflower Wreath

And now, even if a cold wind is blowing, and I still have to wear a scarf every morning, I can look at the wreath on my way in and out, and pretend that there are wild flowers and warm air all around.

Spring Wildflower Wreath


Mar 17, 2015

St. Patrick's Day Special - Irish Soda Bread

Here's a quick bread recipe from the archives to make your St. Patrick's Day a special one. I'll be whipping up a couple of these loaves tonight - and then kicking myself tomorrow for eating way too much.

Have a great day!

Original post: Irish Soda Bread

~~~~~~~~~~~~~

Irish Soda Bread

I tried something new this weekend. Irish Soda Bread. I'm by no means a baker - I don't have the patience - but this bread is so easy. Since there's no yeast and proofing to wait for, you can have the whole thing done in an hour. And a warm slice on your plate with butter and jam two minutes after that.

Irish Soda Bread

Here's what you'll need to make two loaves.

3 cups all-purpose flour
1.5 tsps baking soda
1.5 tsps salt
2 cups buttermilk (or you can use regular milk and add 2 tbsp. of lemon juice to it)
1/2 cup chopped nuts
1/2 cup dried fruit


Preheat oven to 400 degrees.

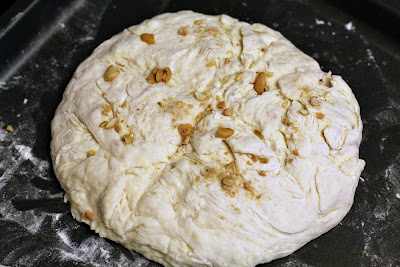
In a large bowl, mix together your flour, baking soda, and salt.  Add in your fruit and nuts. We were really low on supplies so all I had were cashews and canned pineapple. I would have preferred dried cranberries, but you work with what you have. Add your buttermilk. If you are using milk & lemon juice, let it sit for 10 minutes before adding it to the mixture.

Stir your mixture for a minute or two but don't over mix it. Dust some flour onto the counter or a cutting board and plop your dough down. Form it into a ball and divide it into two parts. Shape each half into a loaf and place it on a baking sheet (dusted with flour if you want). This bread doesn't rise very much so you'll have to decide how tall you want it to be. I think I'll make smaller, higher loaves next time. Cut a cross-hatch or stripes into the top of each loaf to allow for expansion and to ensure the bread bakes evenly.

Irish Soda Bread

I had some leftover cashews so I sprinkled them on the top. You could also brush the loaves with melted butter if you wanted to. Put the loaves into the oven and bake for 30 minutes. Insert a toothpick or knife into the centre of each loaf. If it comes out clean your bread is finished baking. Adjust baking time as needed.

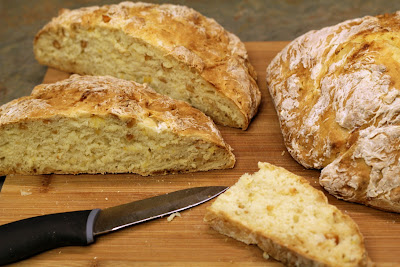
Once removed from the oven you have two choices. If you want a crusty loaf, let them cool as they are. If you like your bread softer, wrap each loaf in a damp (not wet) tea towel and leave to cool. I personally like a harder crust but Tom doesn't, so I wrapped them.

Irish Soda Bread

Look at that. Perfect golden brown doneness.

Irish Soda Bread

At this point you'll want to slice into this beauty and slather it with butter and jam. Or peanut butter. Or cream cheese. Or even guacamole. The options are endless.

Irish Soda Bread

Irish Soda Bread

Irish Soda Bread


Mar 16, 2015

Snorkeling in Trunk Bay, St. John, US Virgin Islands


We received that magical call this week that our snorkelling photos from St. John were ready to be picked up. If you remember in the previous cruise post, we decided to try one more vacation with a disposable underwater camera - though we found out that when you add up the price of the camera + processing fee + two week wait, that it just isn't worth it and we're going to start researching digital underwater cameras for future vacations. We're considering buying a waterproof GoPro so that we can take video above and below the water, plus it takes stills. Anyone have advice?

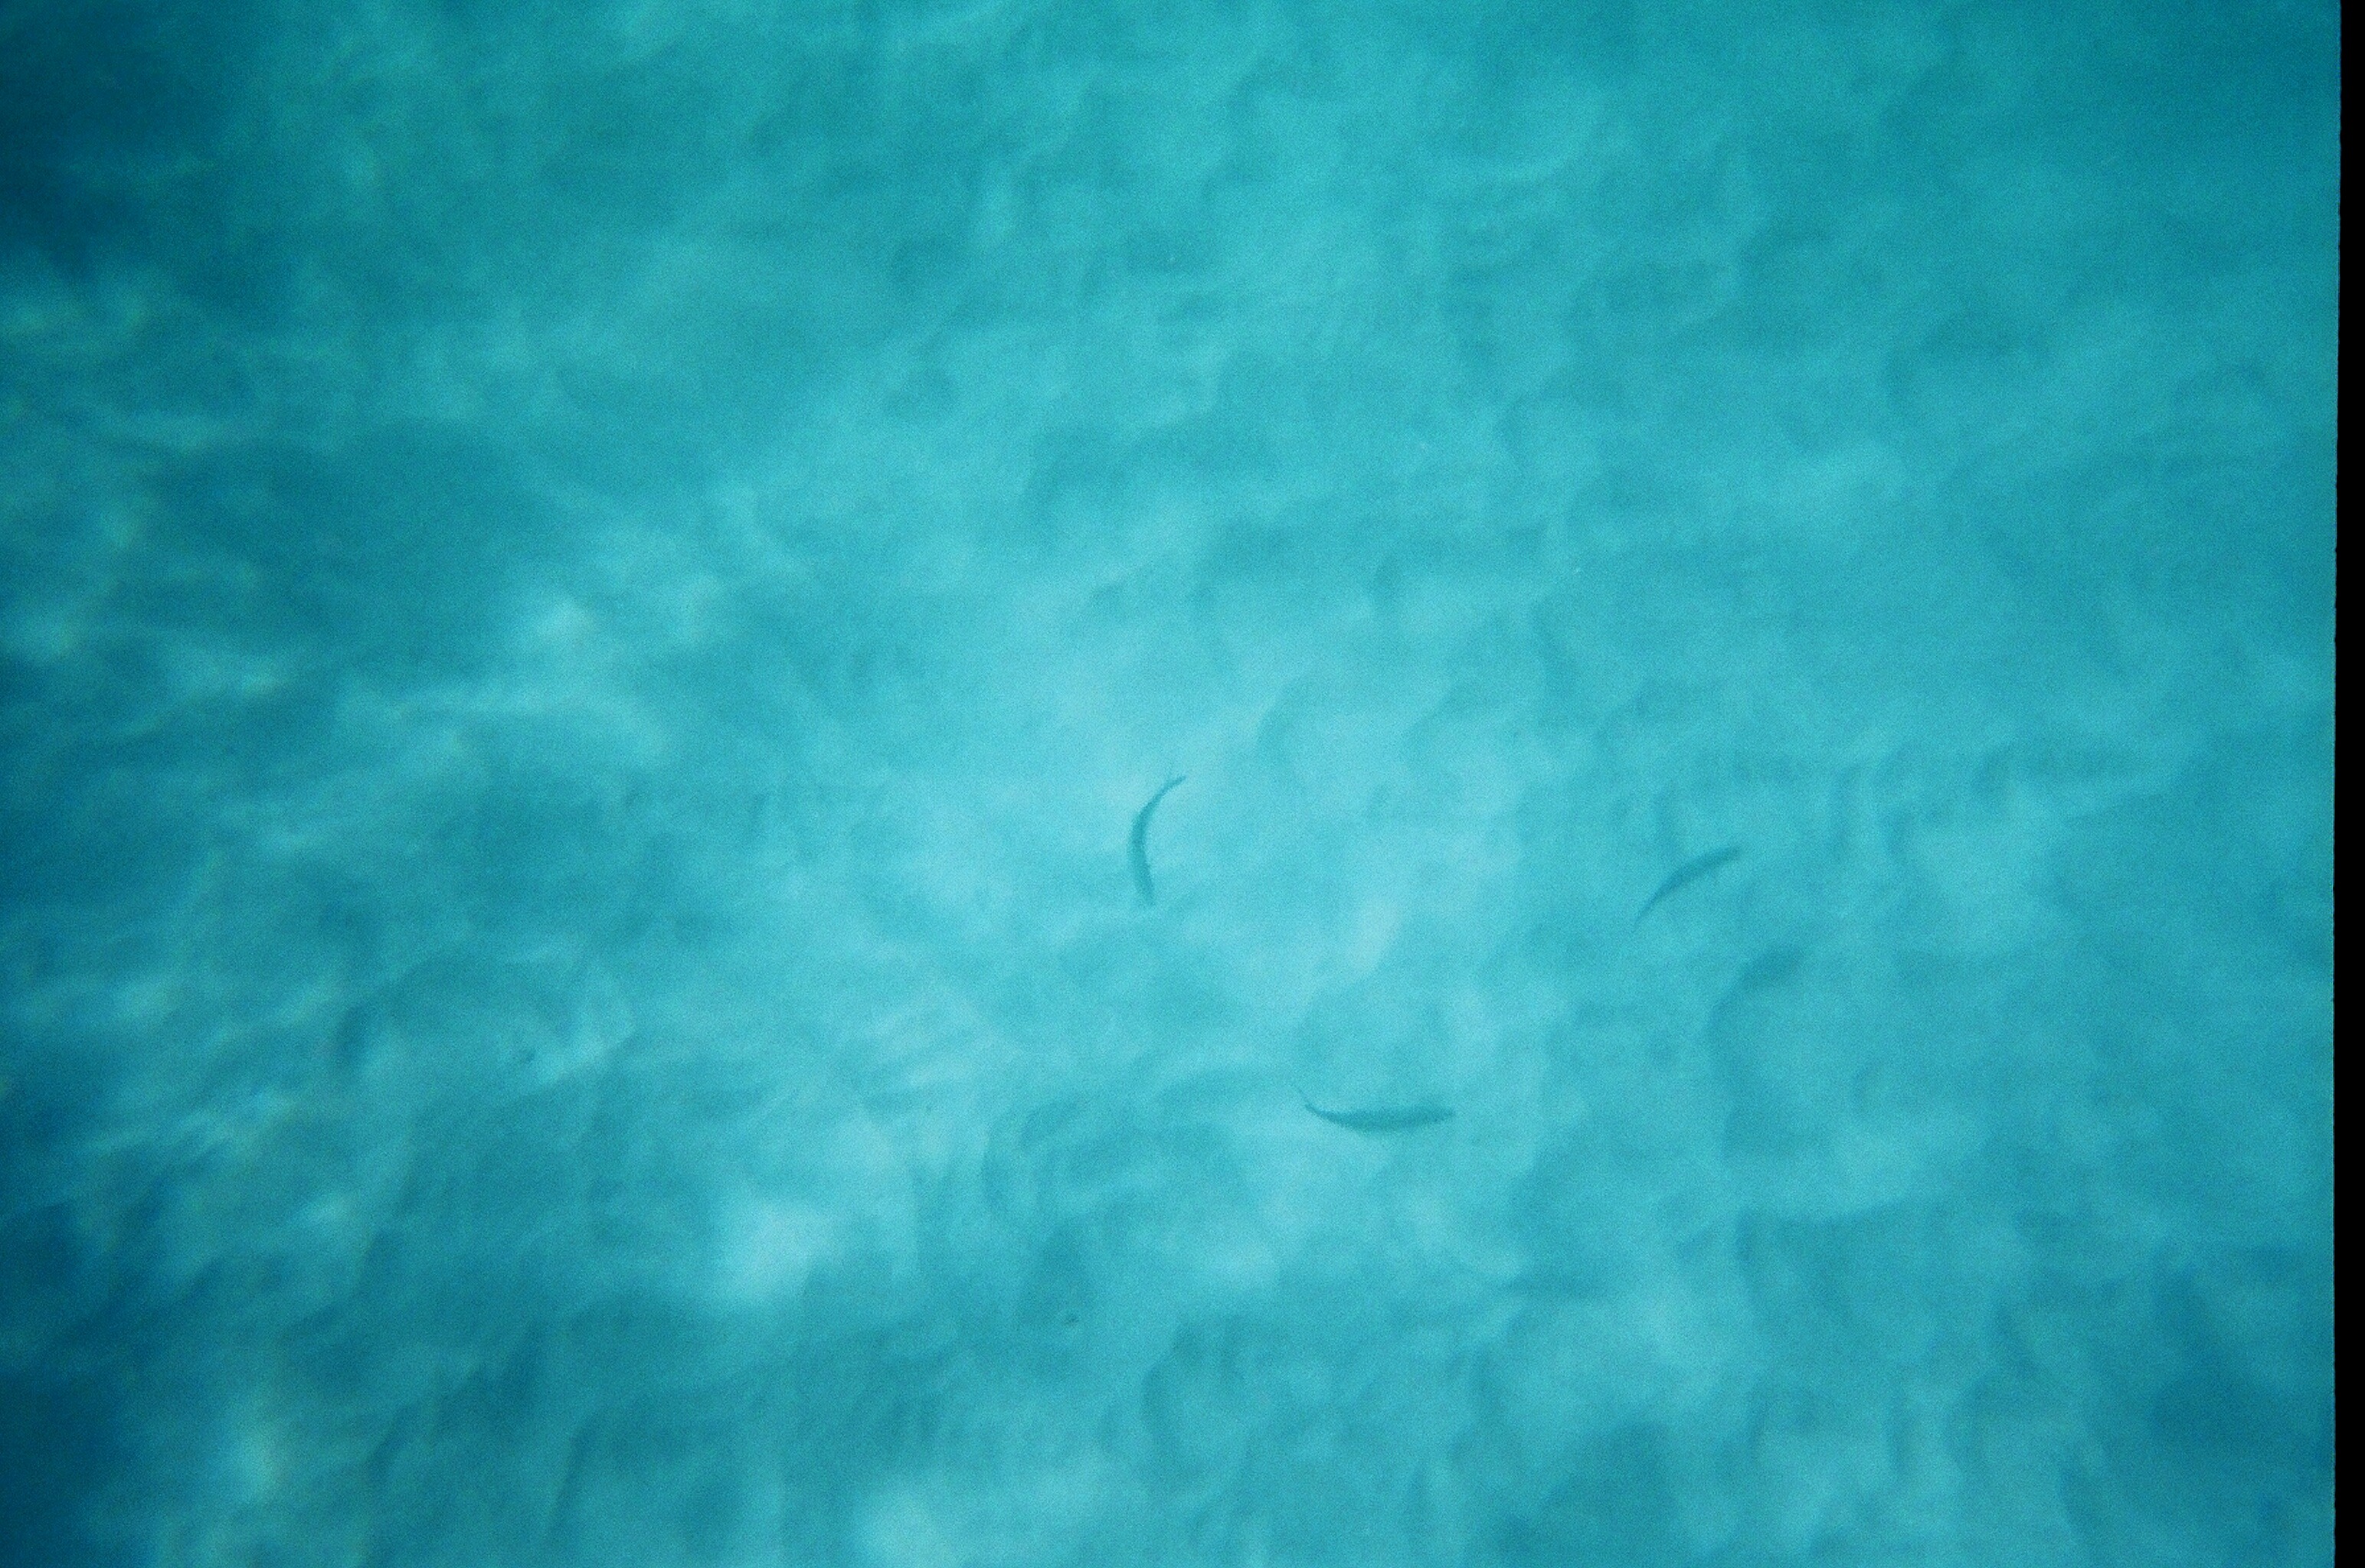
But for now, there was still the uncertainty of, 'Will there be any photos that are usable - or even in focus?" With limited light and the ocean current pushing you around, you never know what you're going to end up with.

Luckily the water in the US Virgin Islands is so clear that we had enough light - though not everything was always in focus. I'm willing to accept the blame for that one.

So here we go...

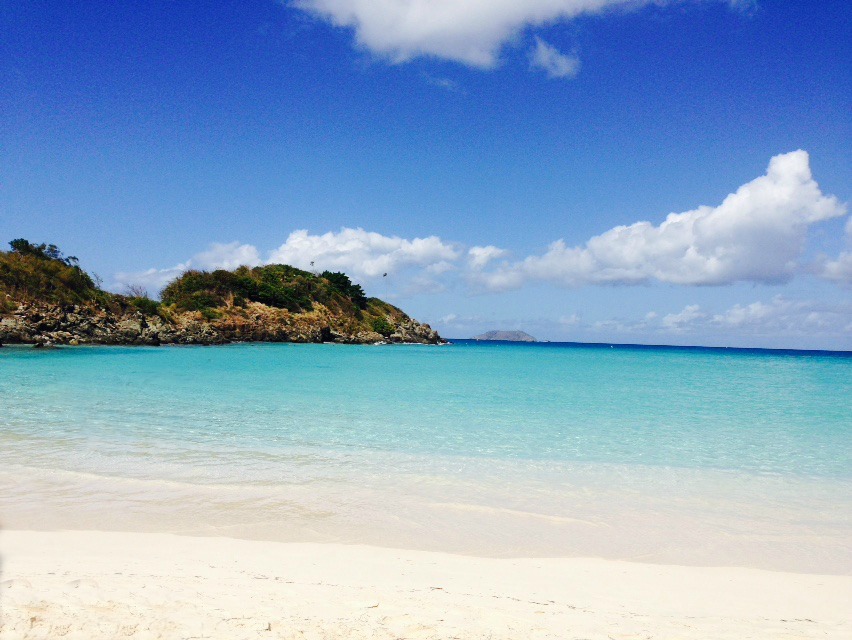
We snorkelled at Trunk Bay, on the island of St. John. This bay has a beautiful crescent-shaped beach, with soft sand, and gorgeous blue water. When we were there it wasn't crowded at all - we'd heard that it could fill up fast - maybe because we were there on a Thursday morning.
Trunk Bay, St. John, USVI
The best snorkelling is off shore about a quarter of a mile - maybe not that far, but it sure felt like it. There is a small rocky island (Trunk Cay) and a marked underwater trail has been set up to let you know what you're looking at.
Trunk Bay, St. John, USVI
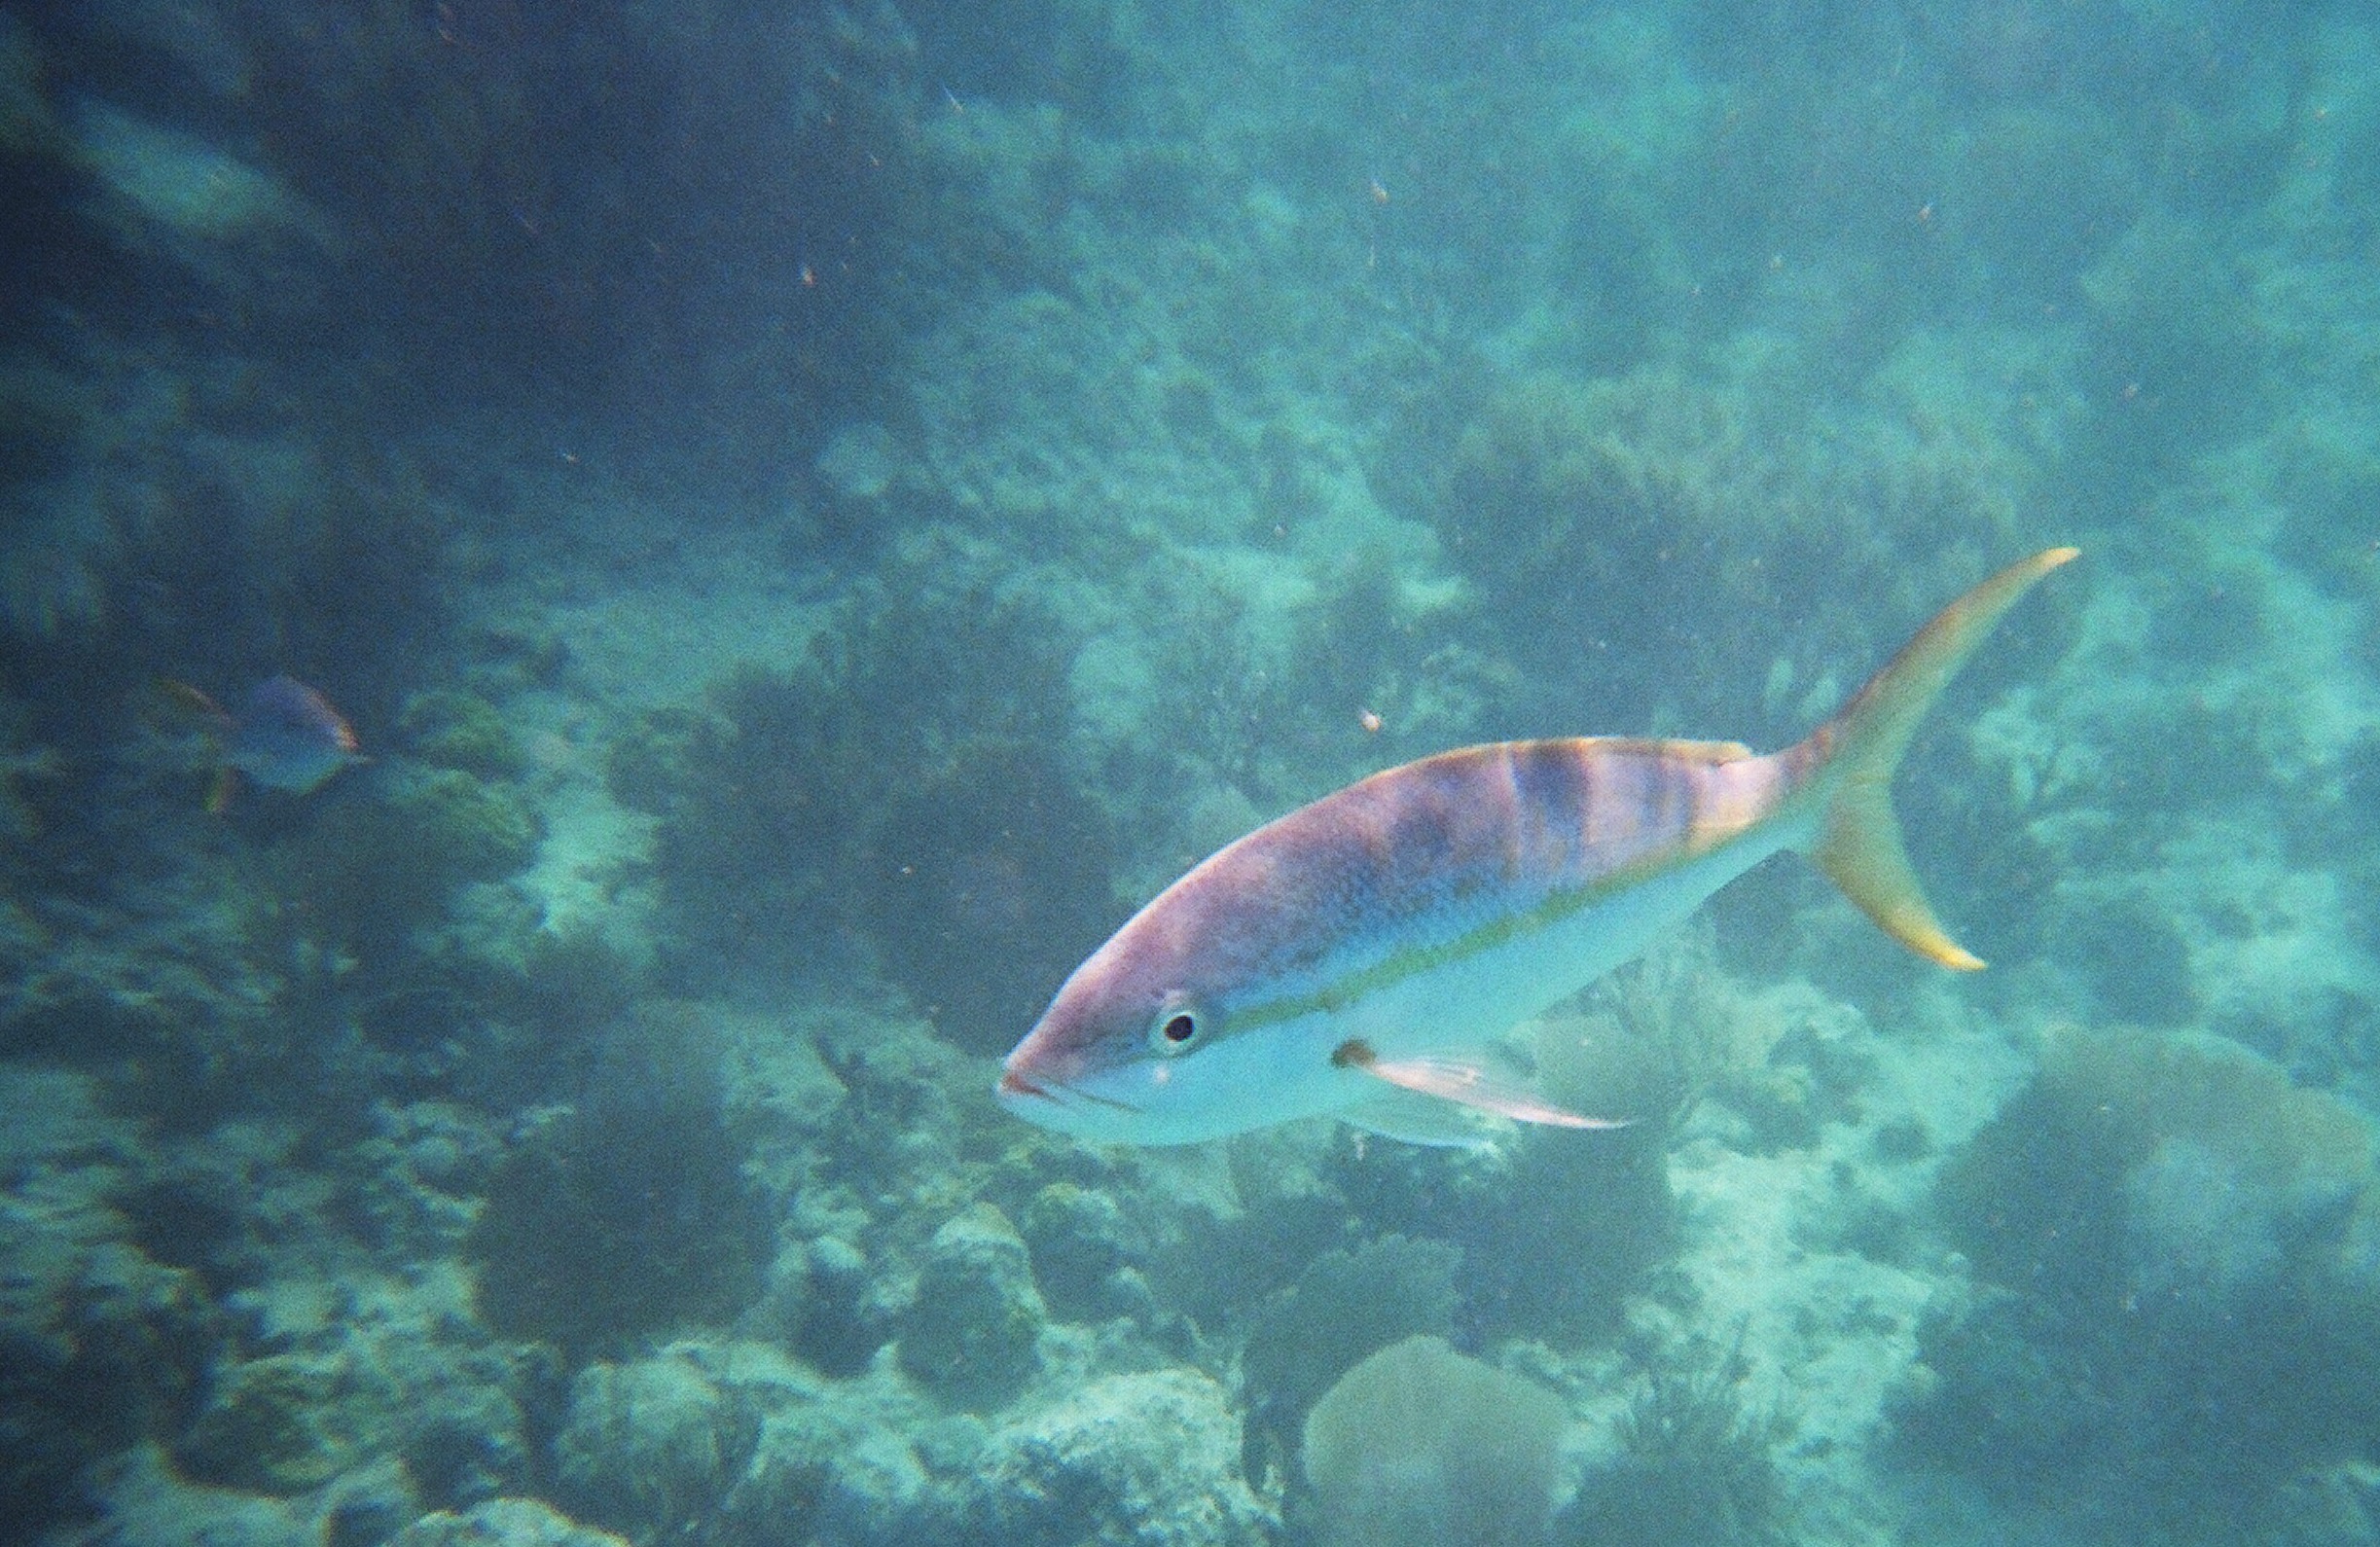
The most common fish we saw was the Yellowtail Snapper. These guys were everywhere. And really friendly. There was one or two that would circle around and weave between the snorkellers, as if they knew we wanted to take their picture.
Yellowtail Snapper Trunk Bay, St. John, USVI
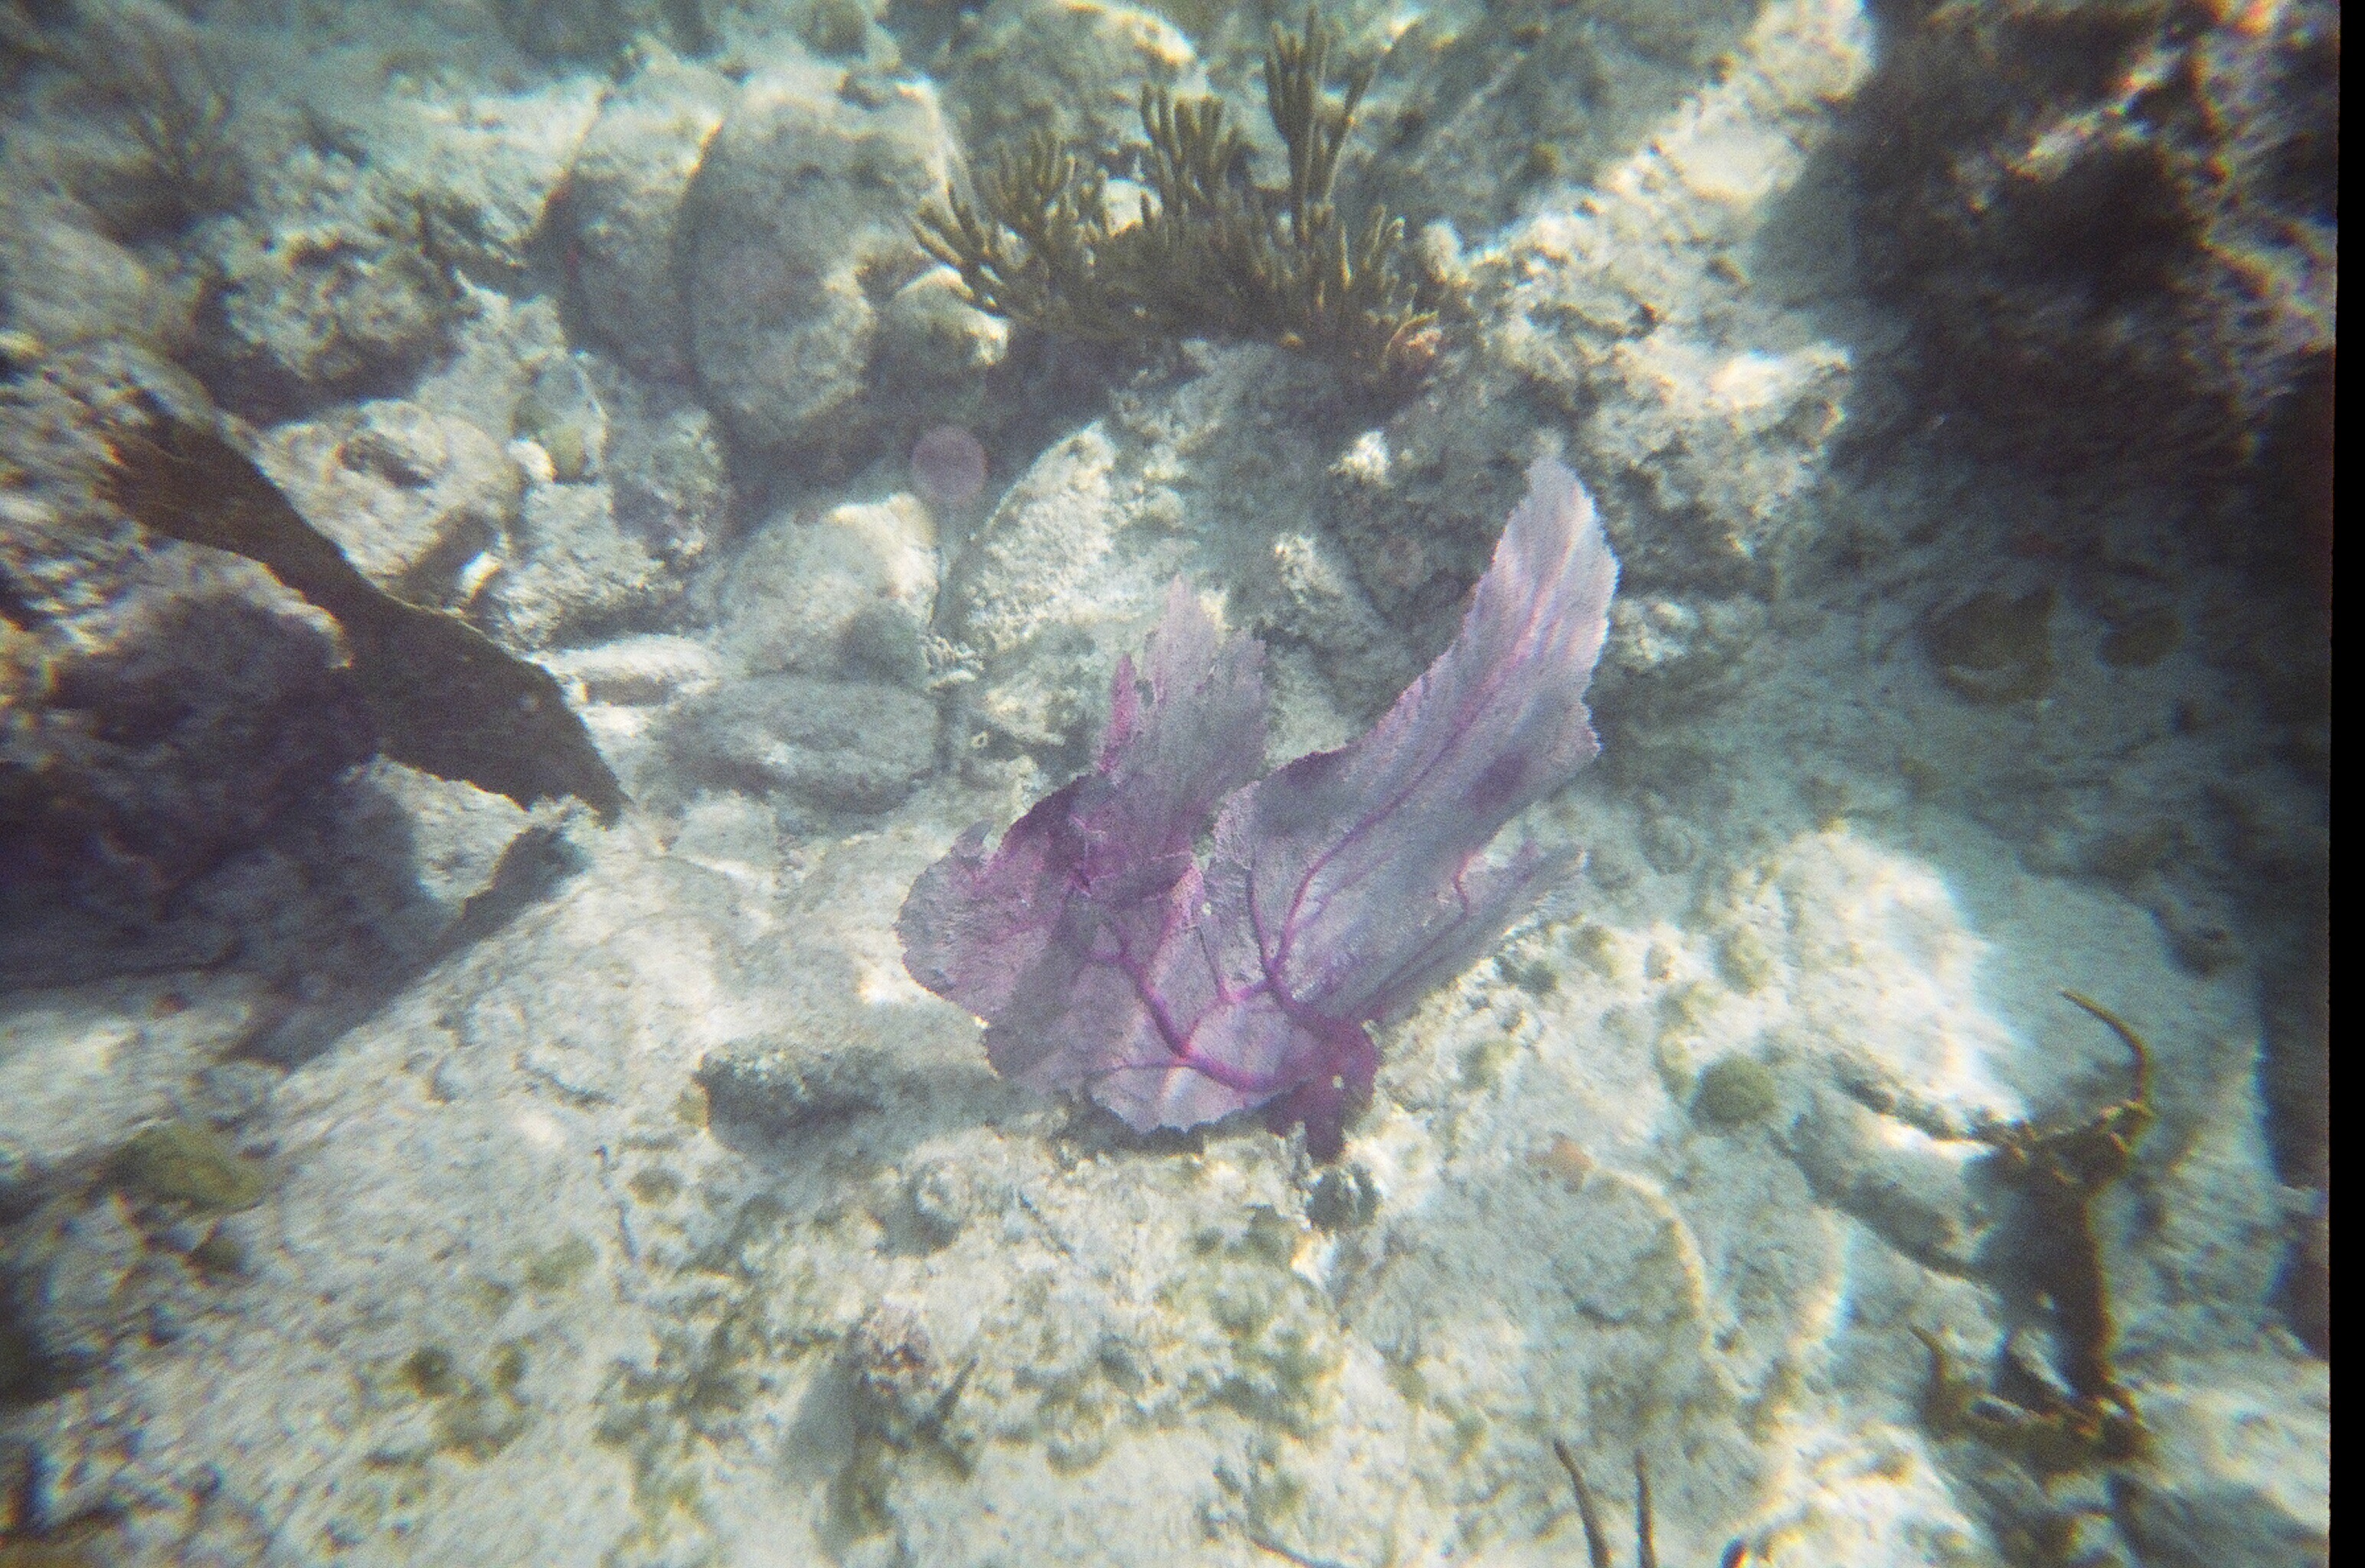
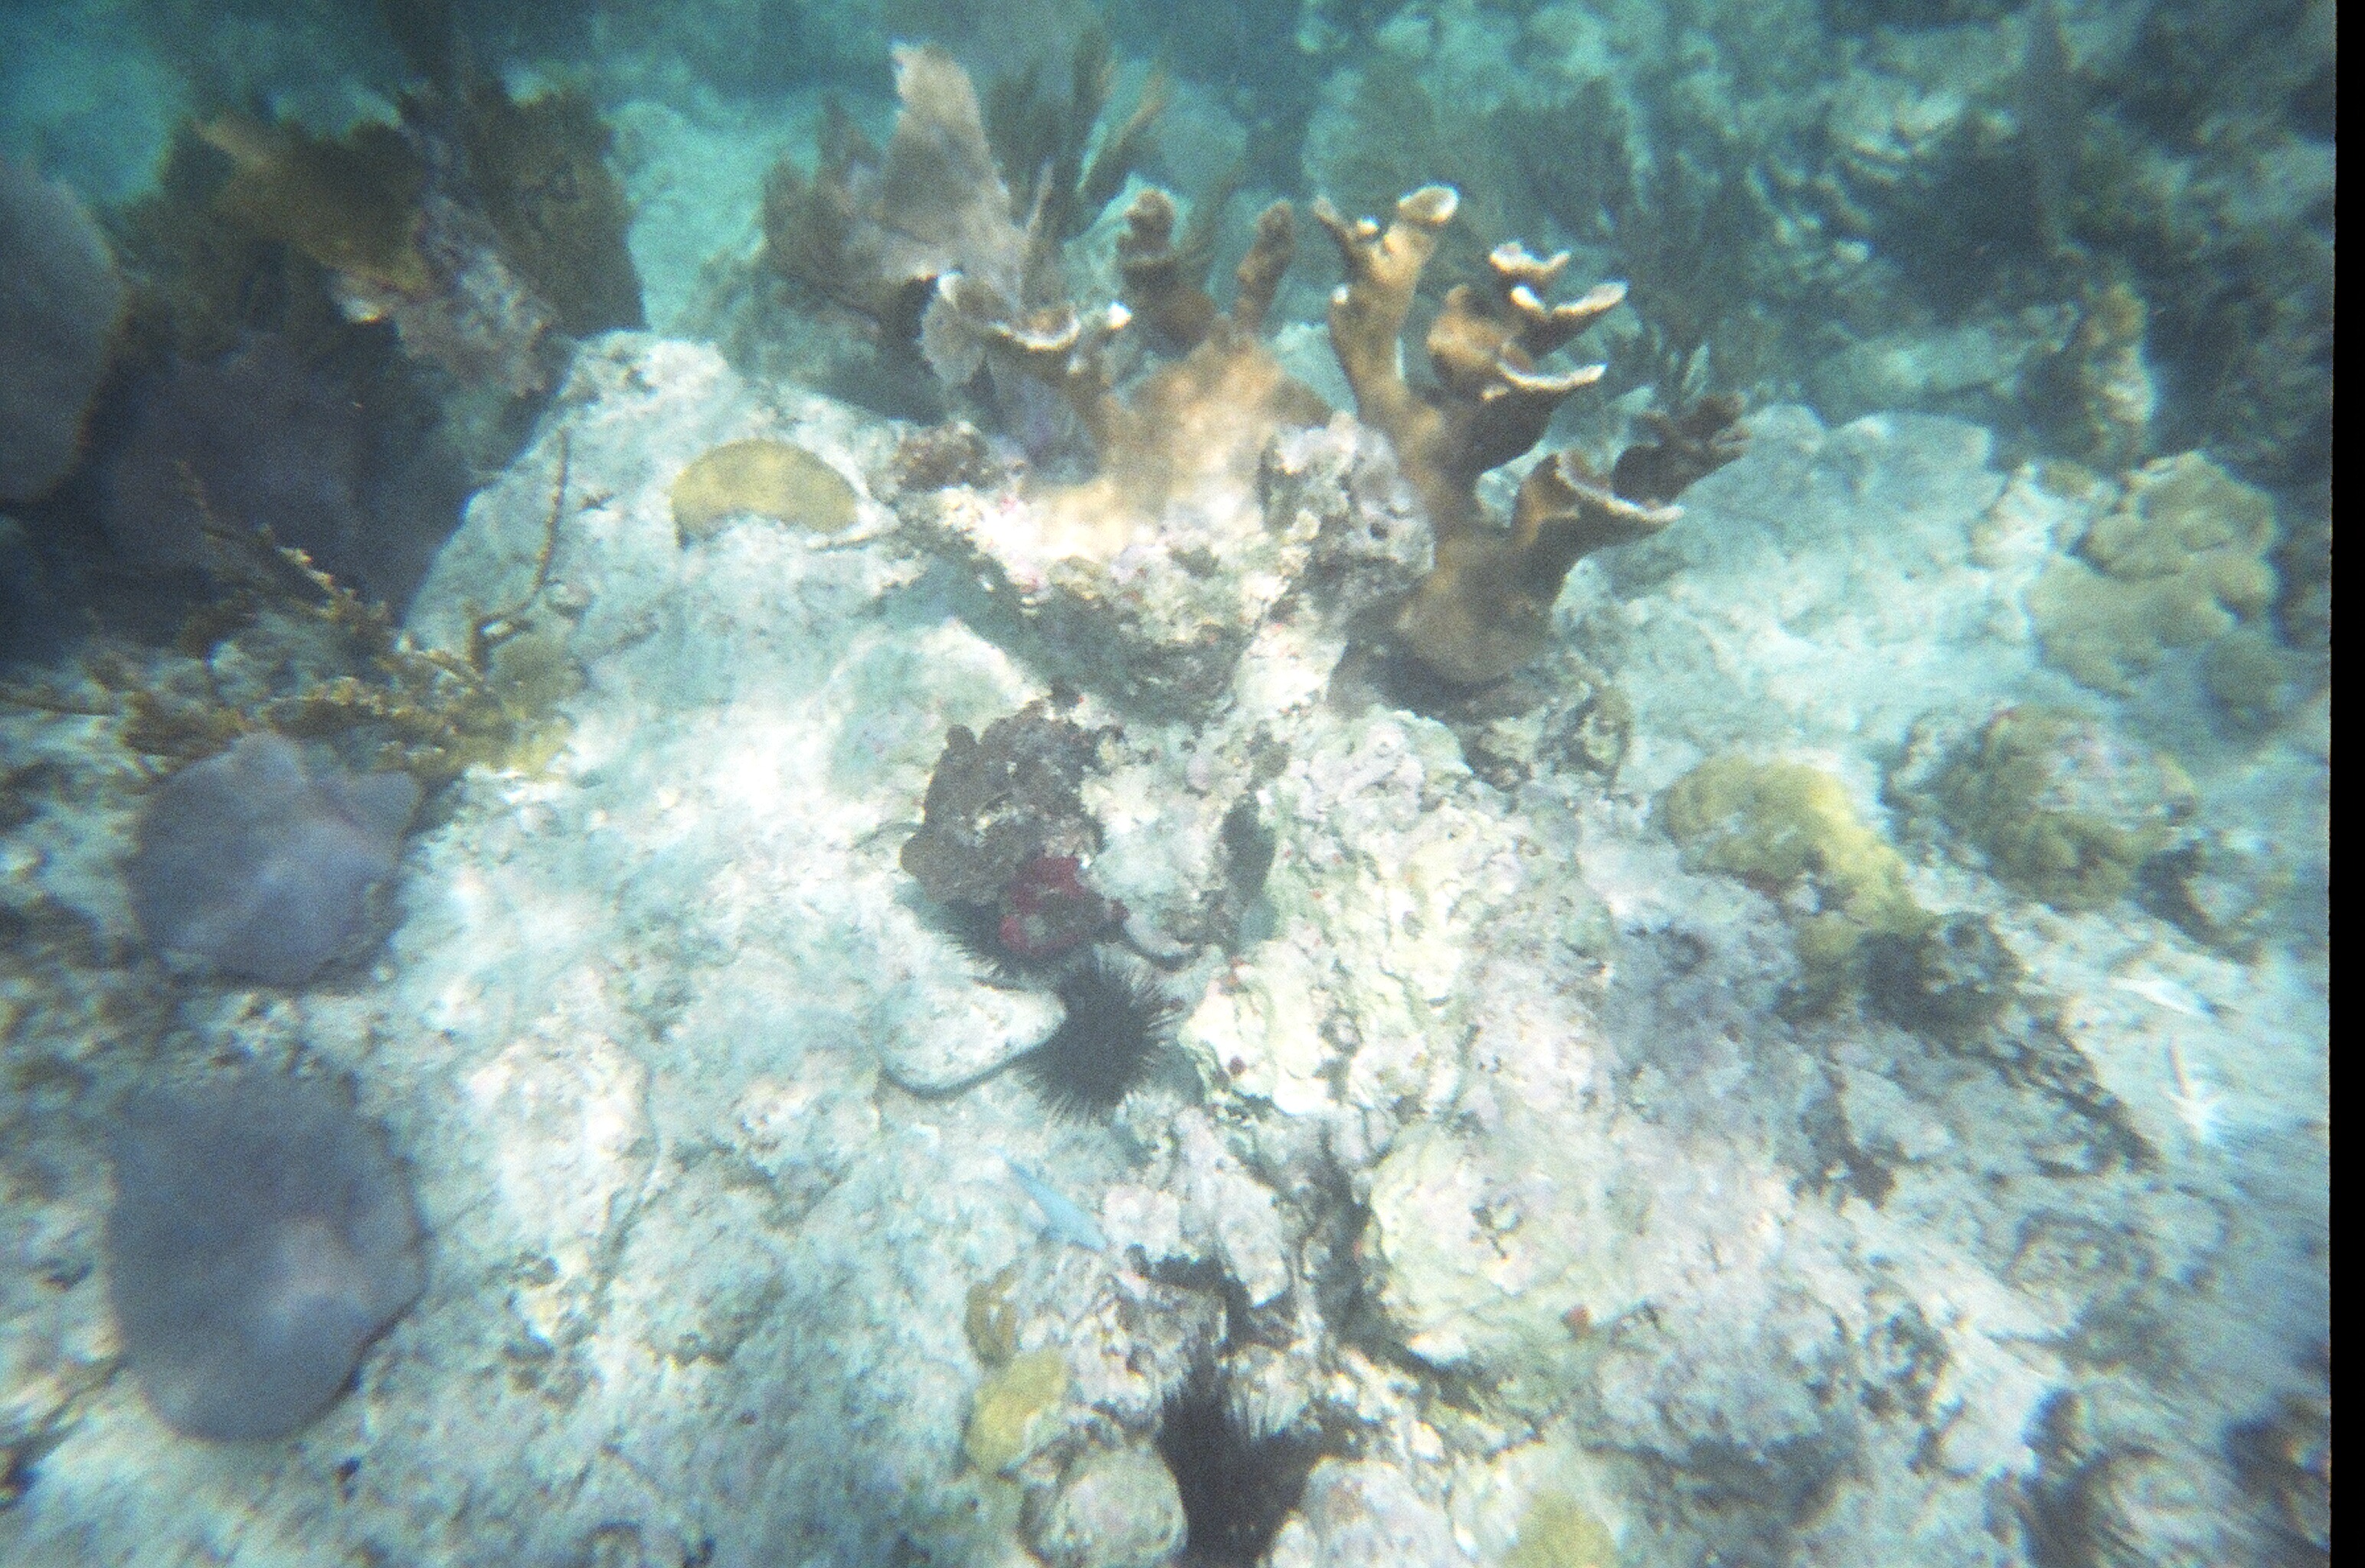
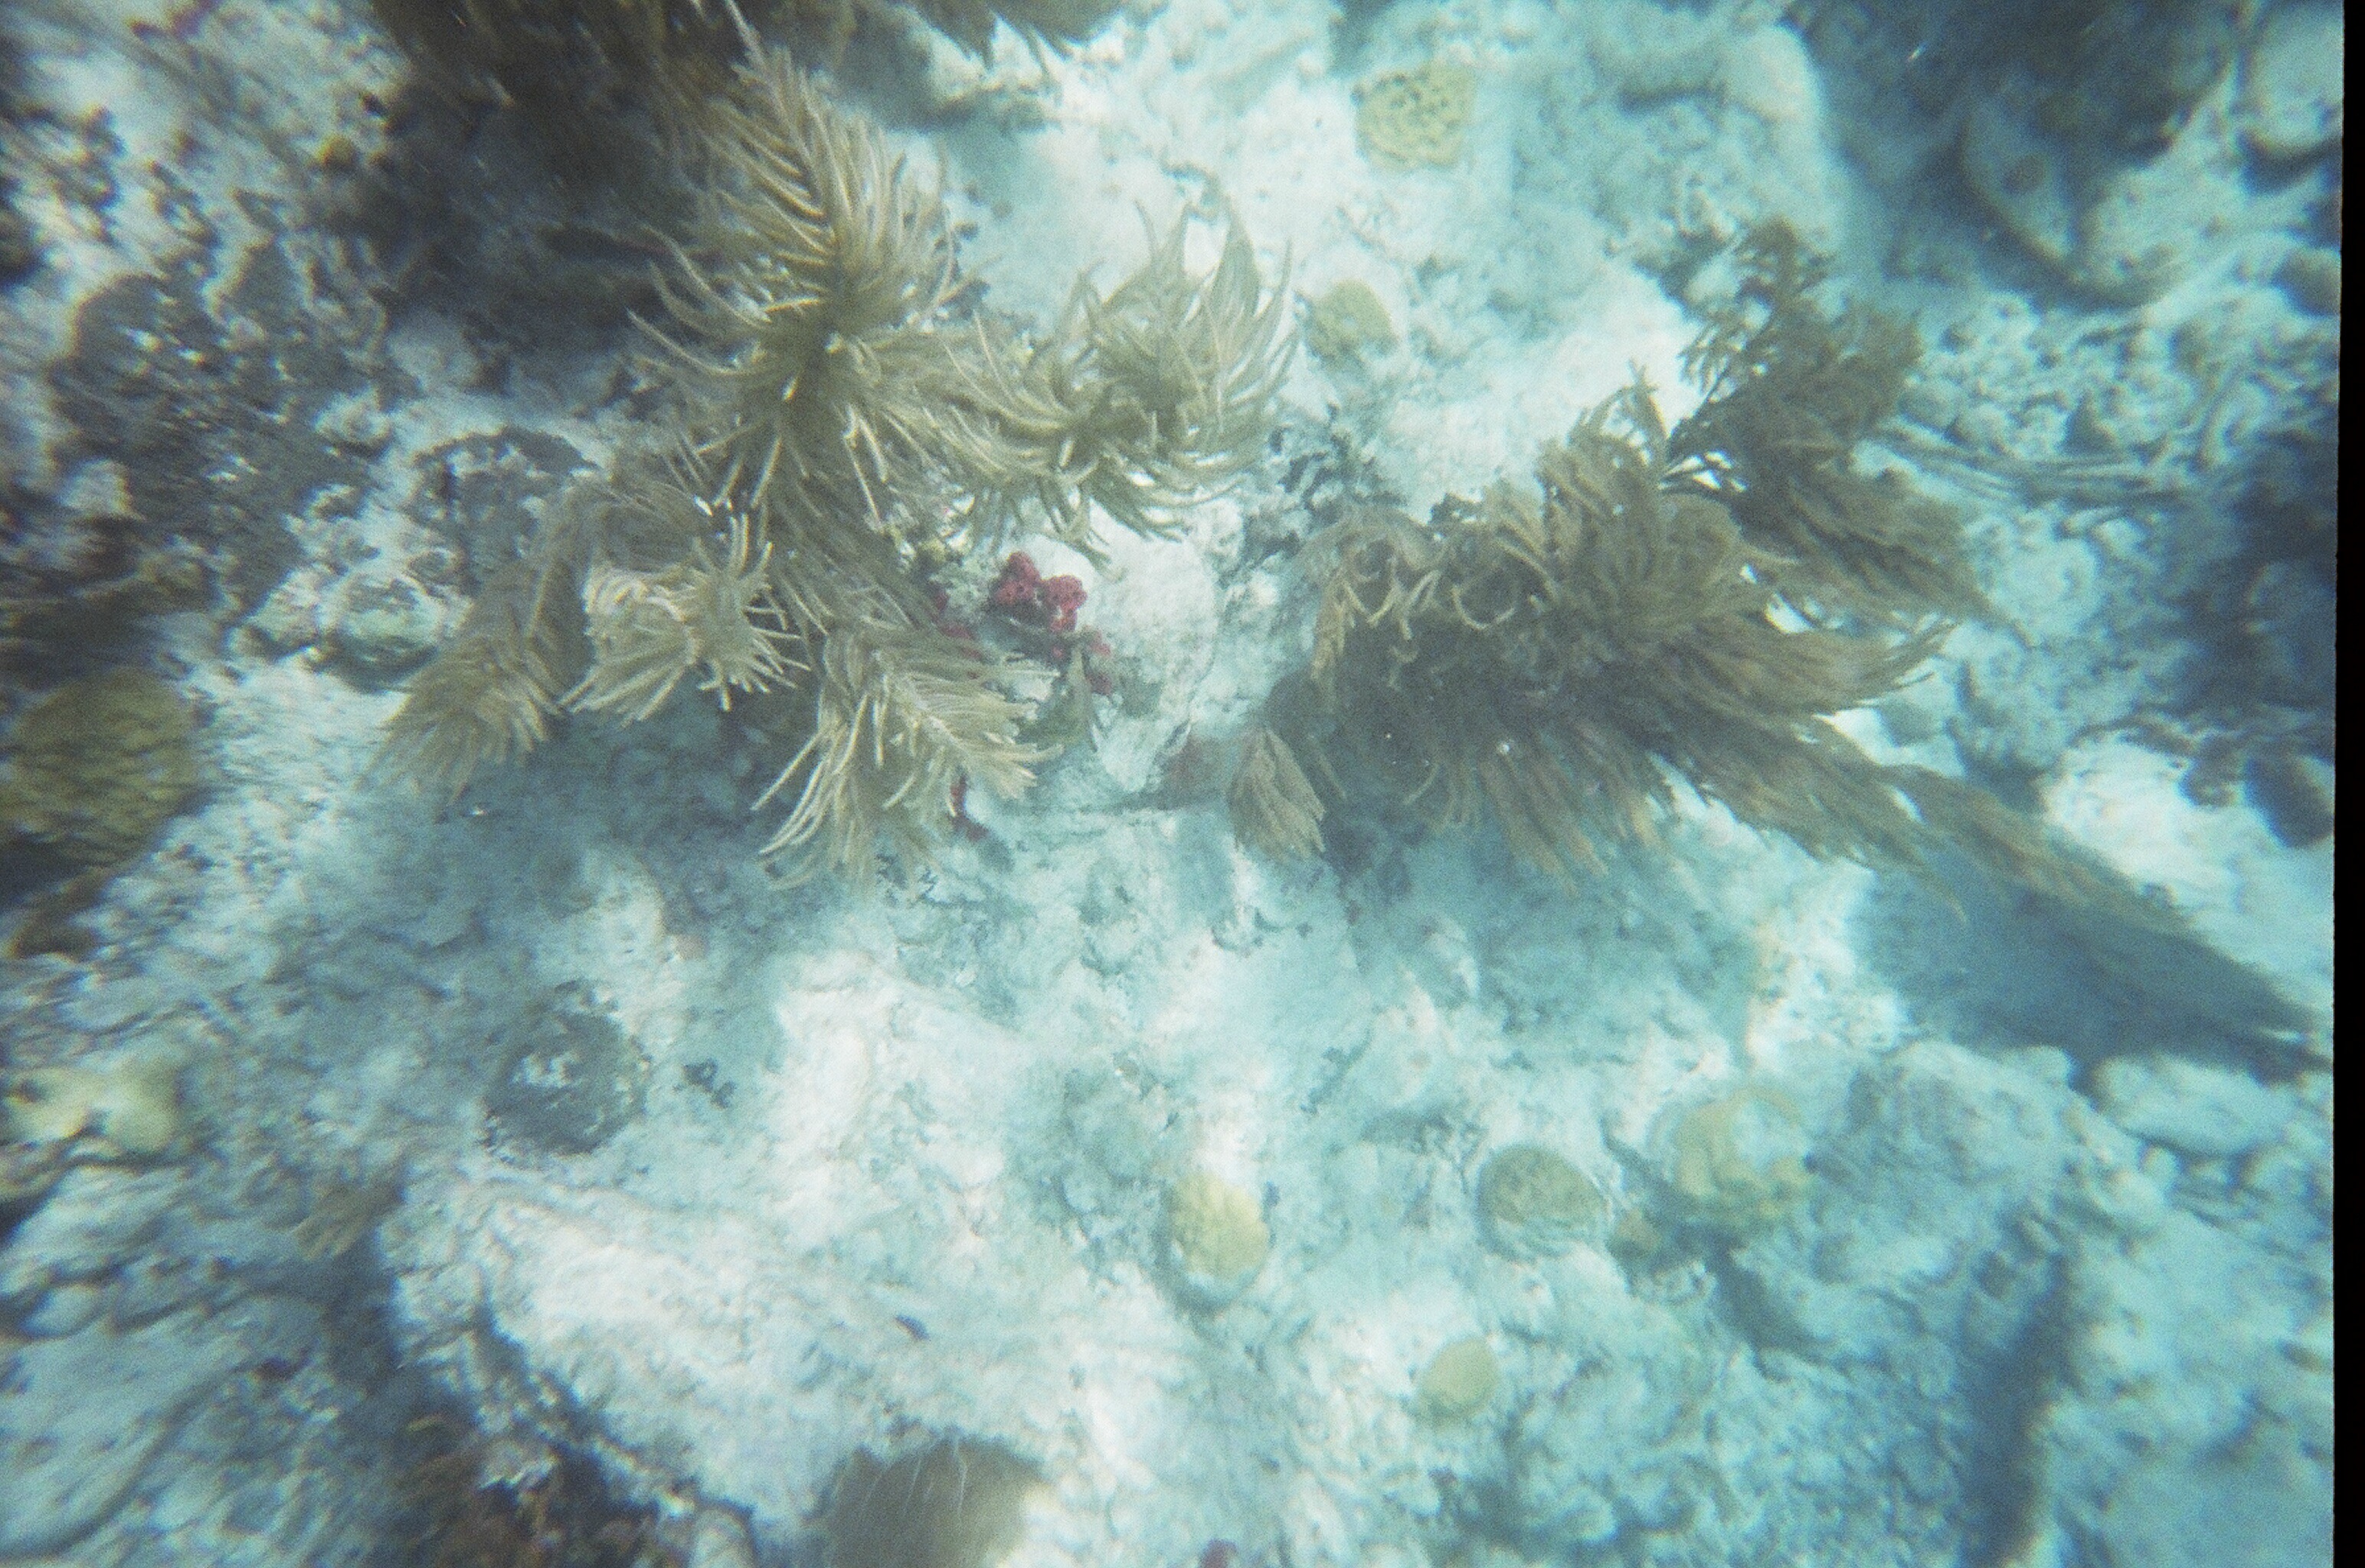
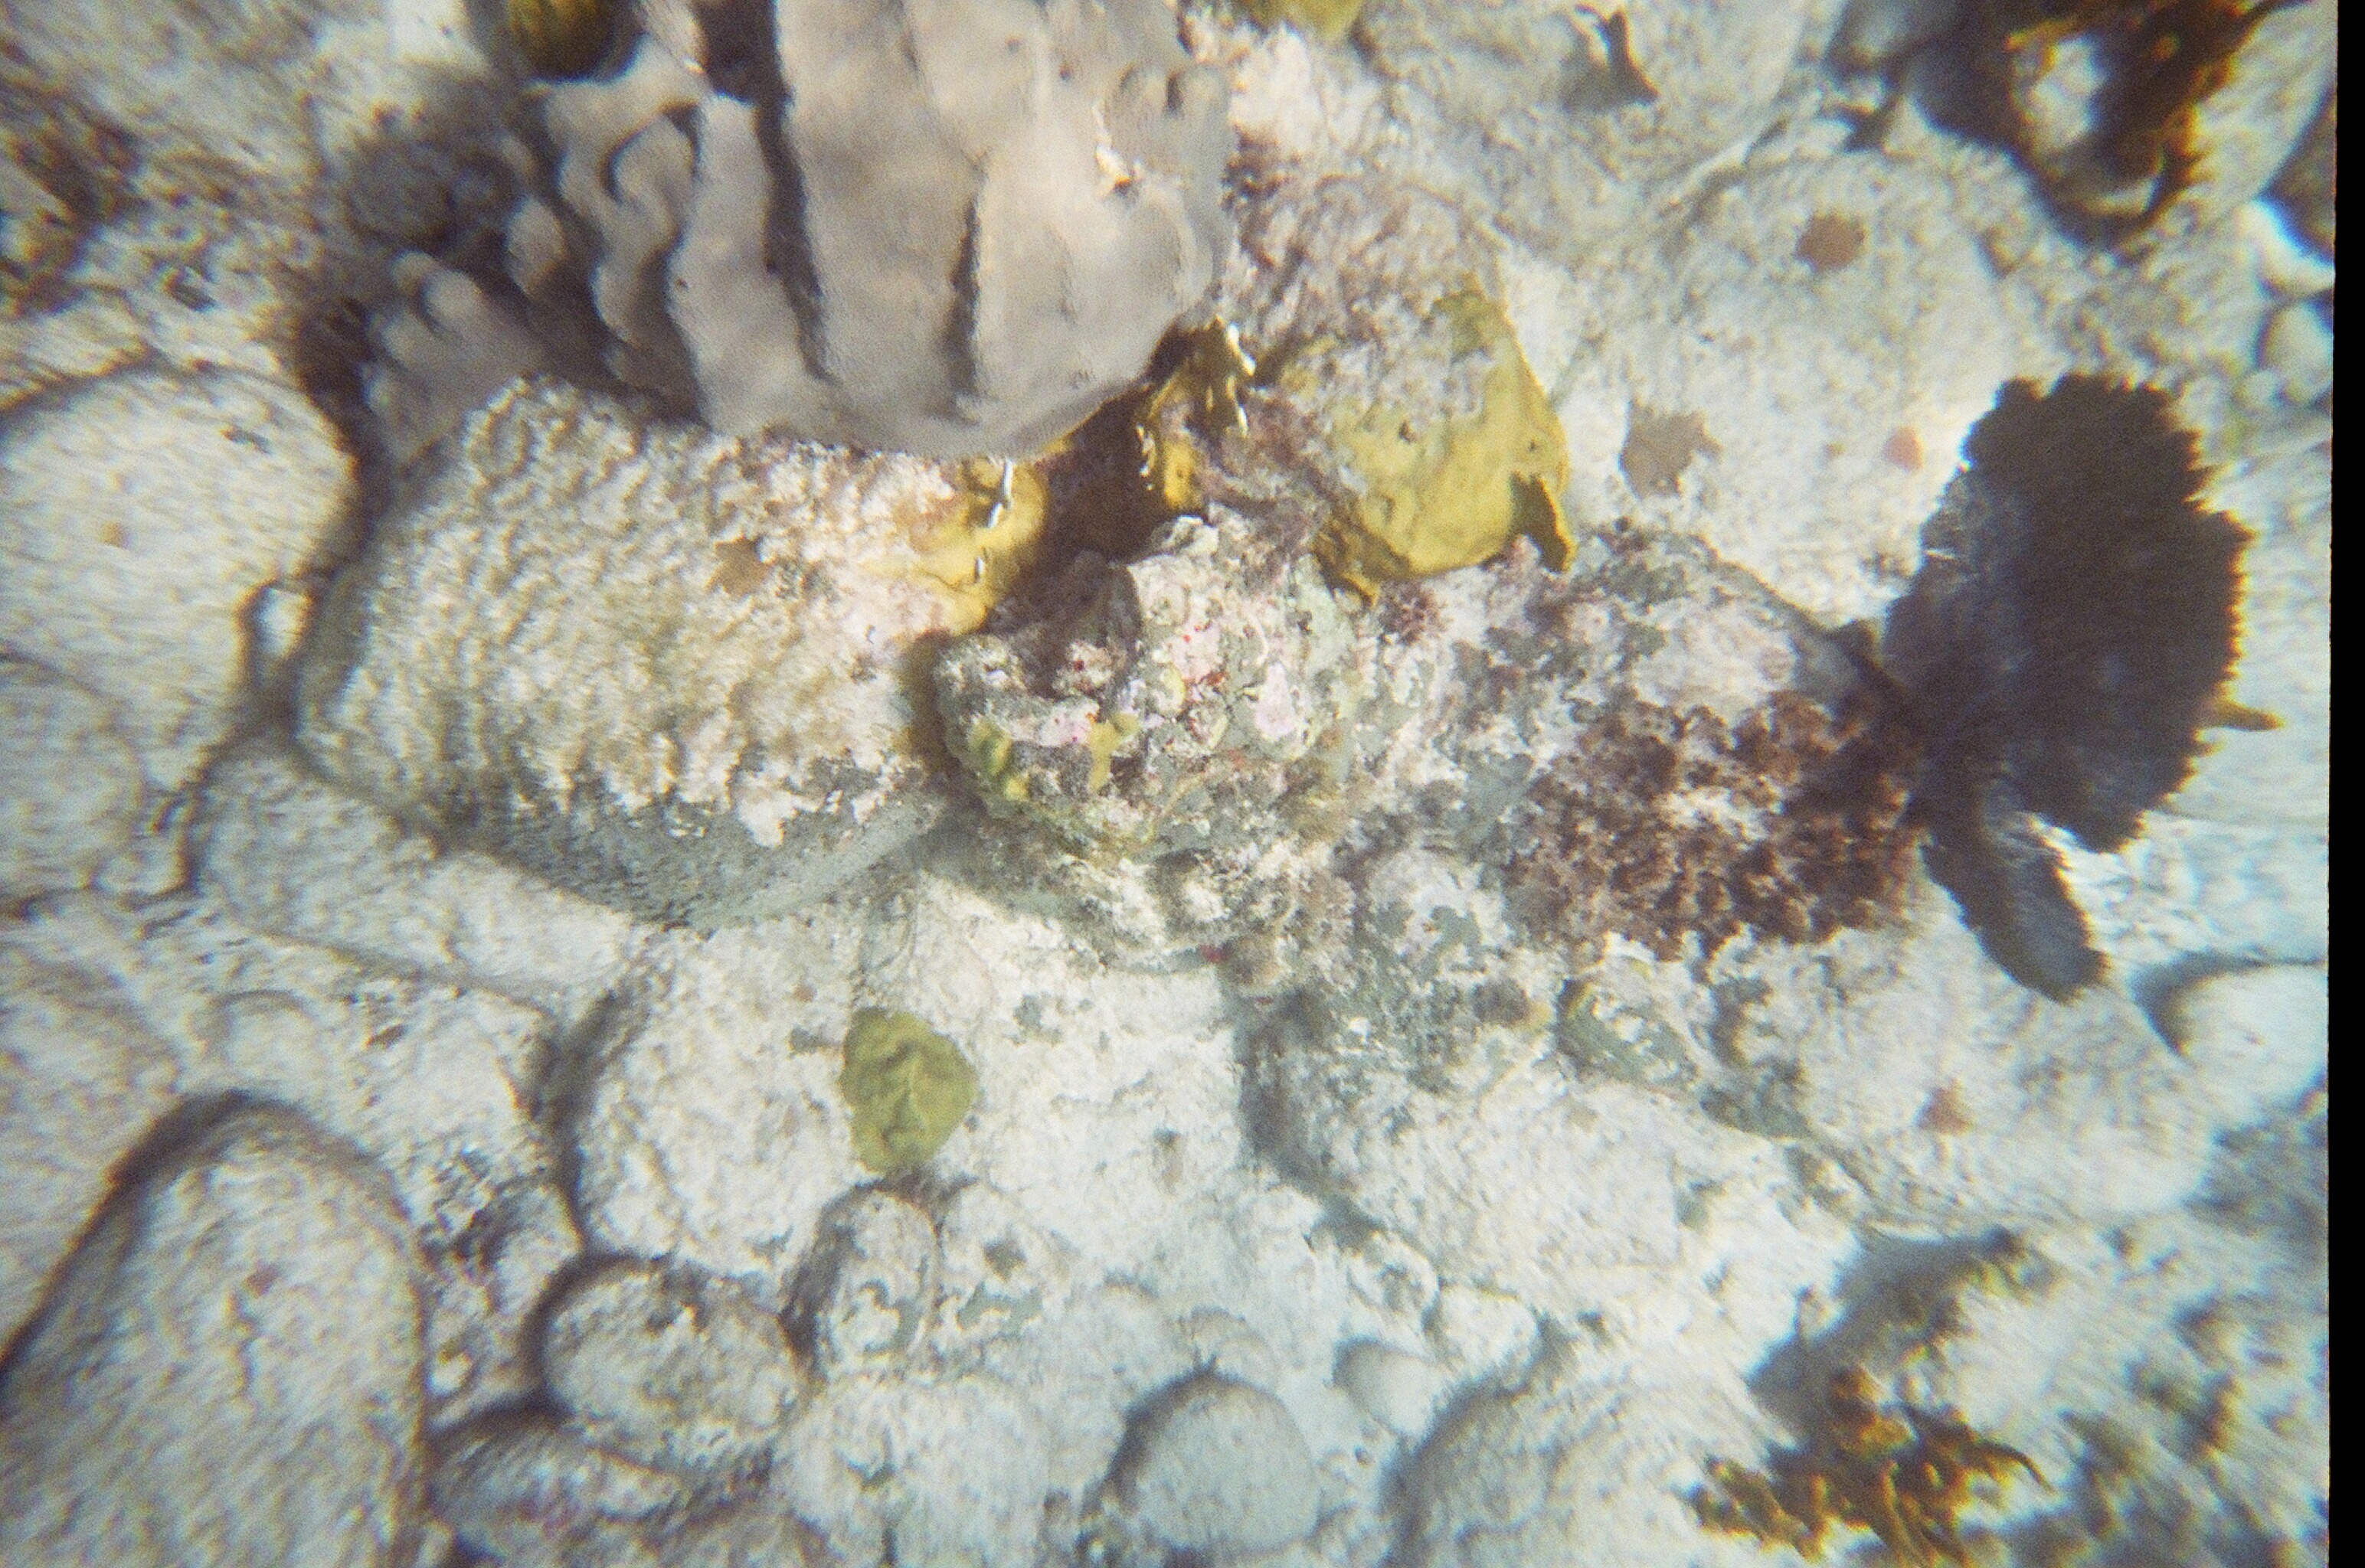
There are so many different kinds of coral but it was difficult to get pictures that showcased their true colours. The purple of this fan coral was the brightest I could find, and the gold-yellow of the elkhorn coral is pretty cool too.
Coral Trunk Bay, St. John, USVI
Oh, here is our fish friend again!
Yellowtail Snapper Trunk Bay, St. John, USVI
Coral Trunk Bay, St. John, USVI
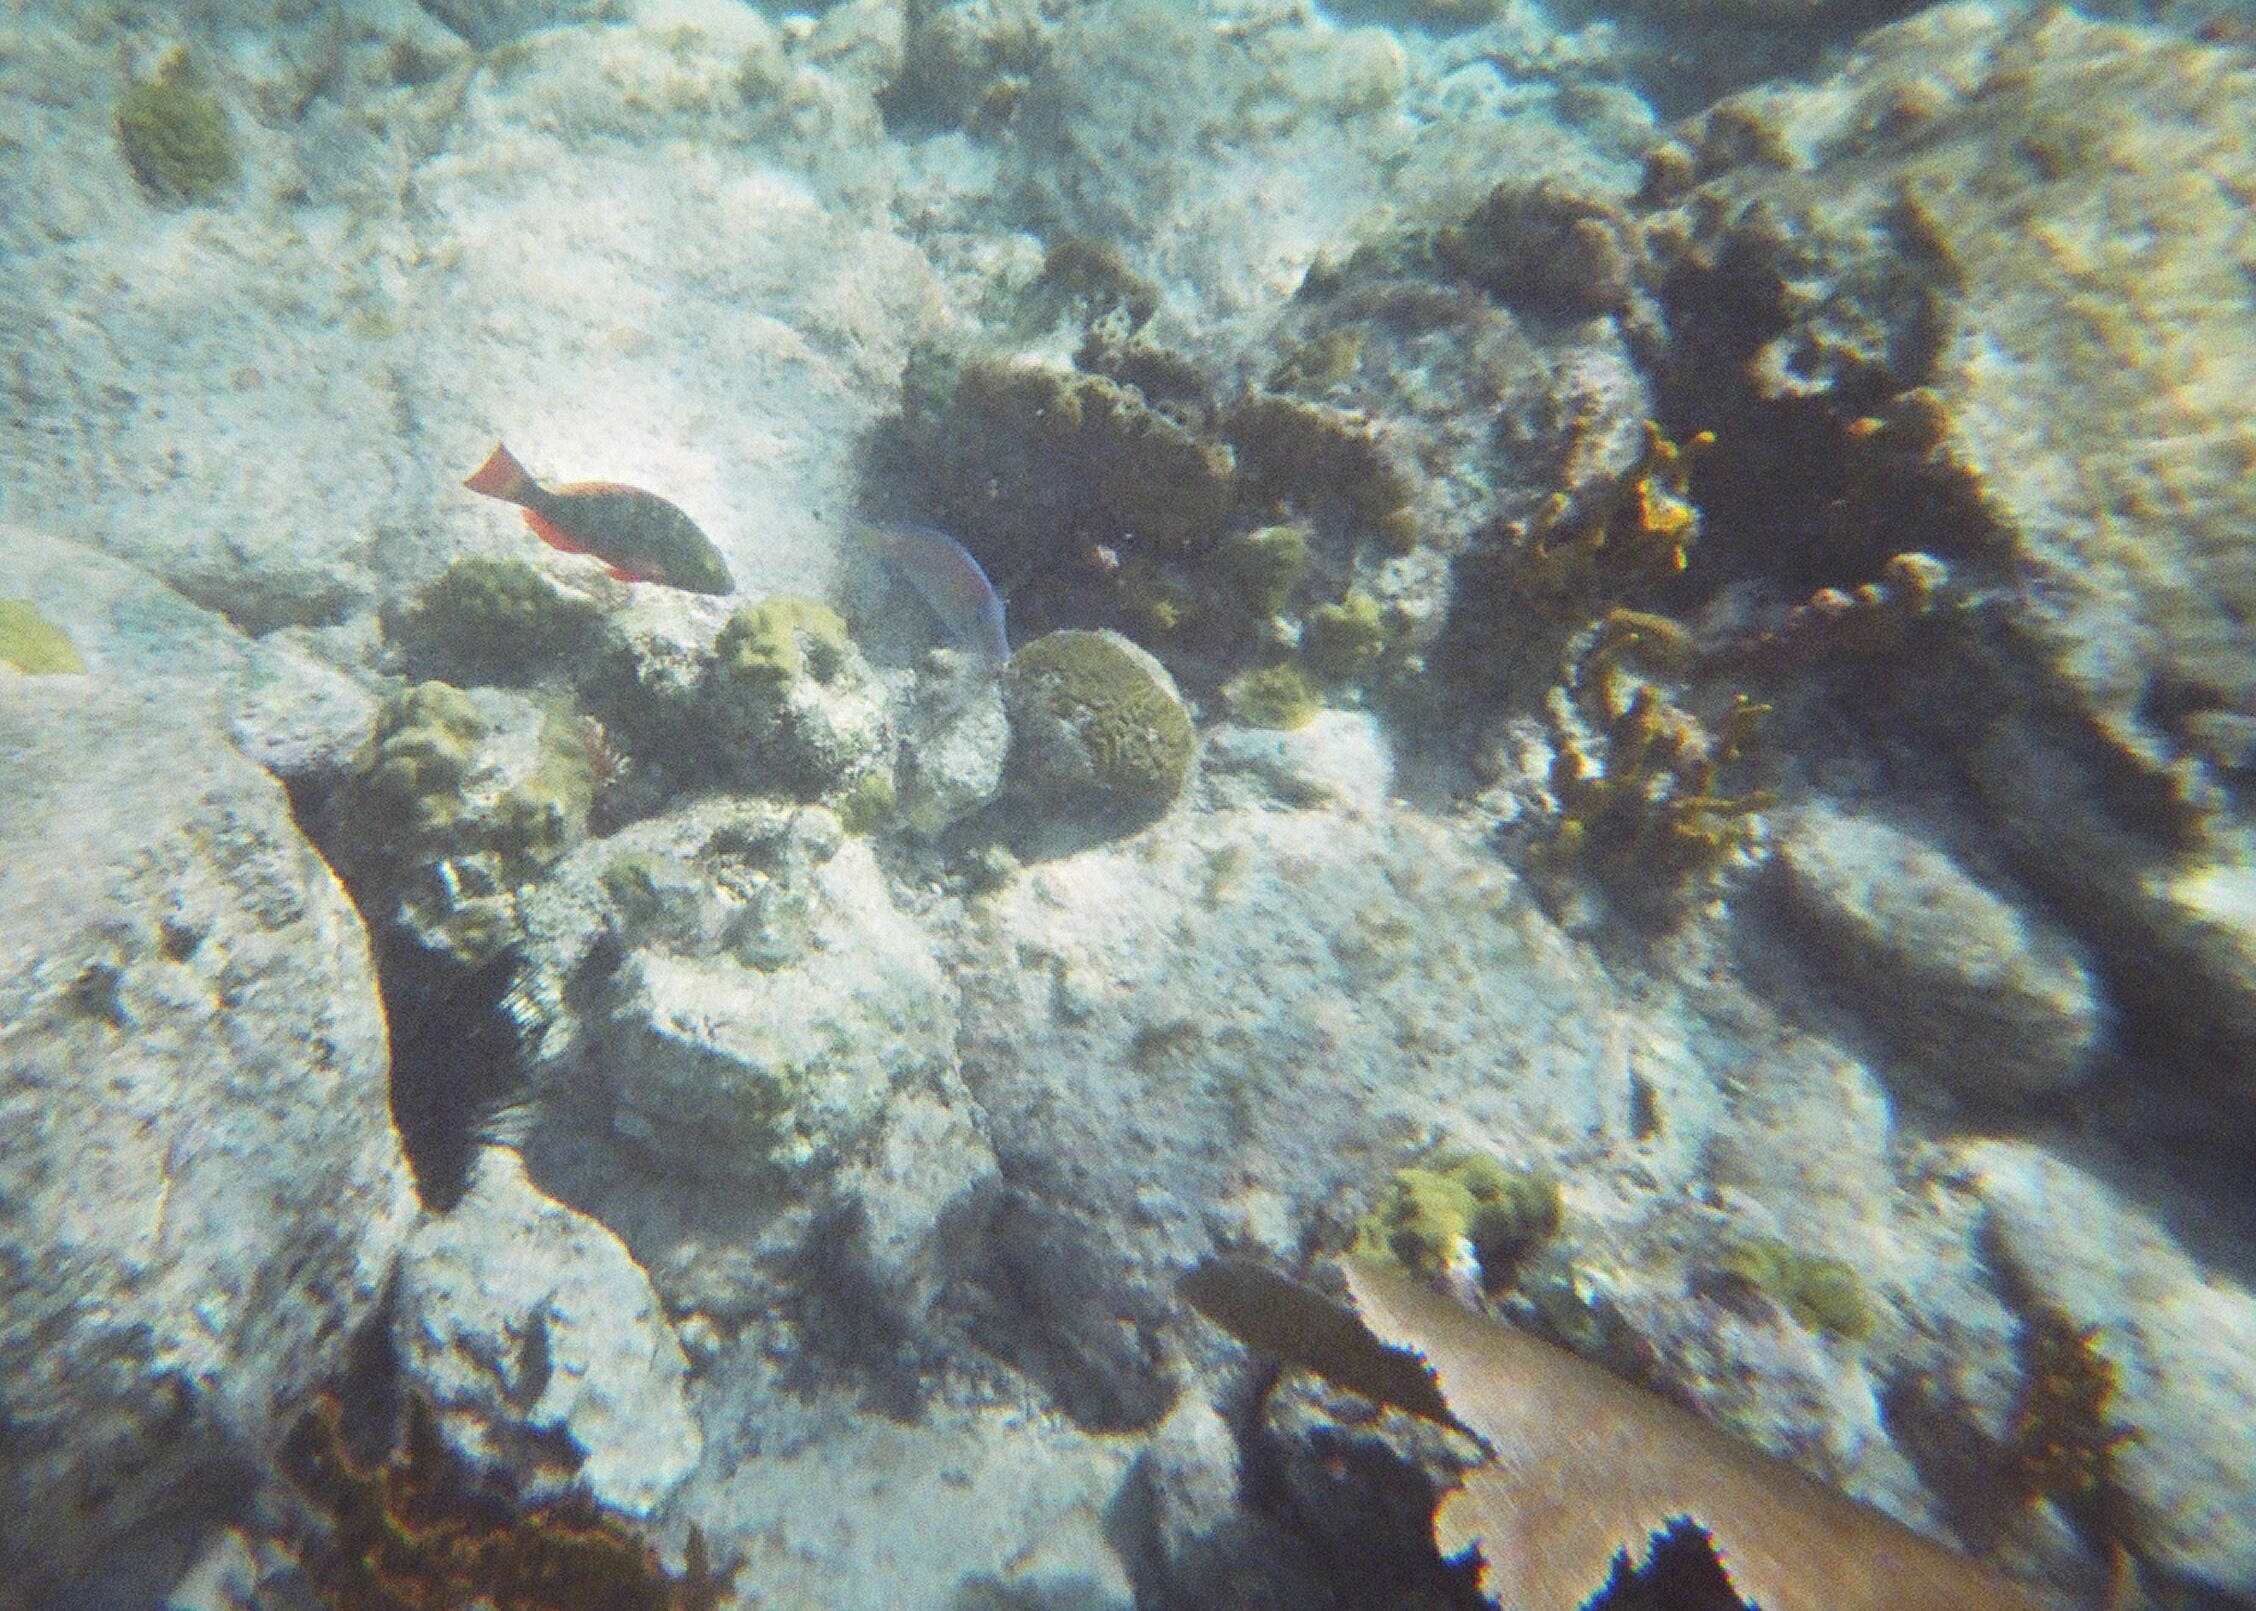
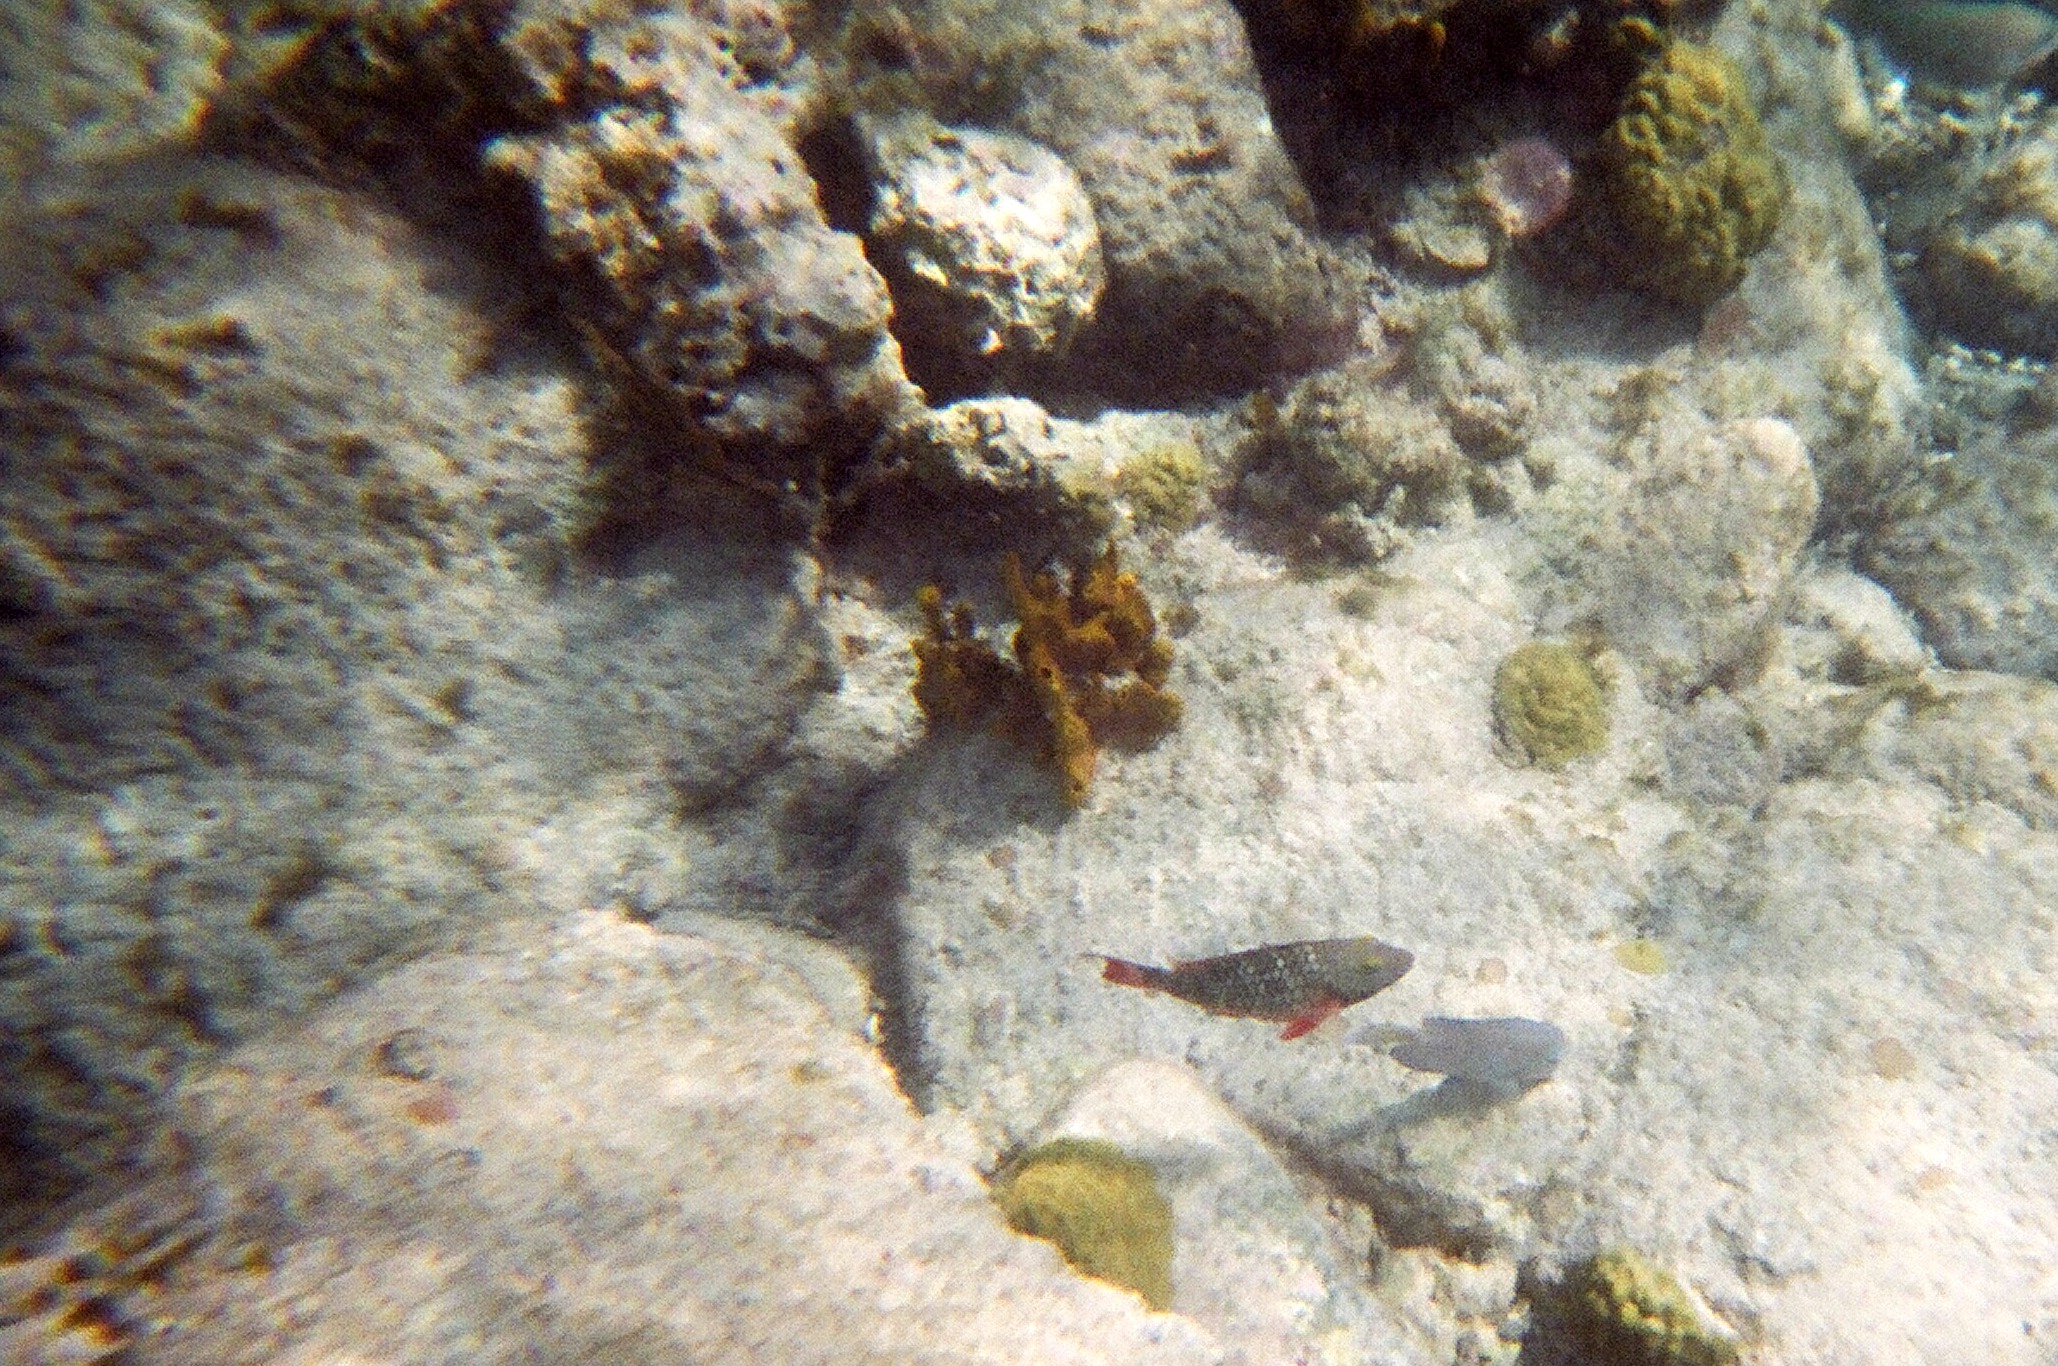
I'm just going to take some wild guesses on these next fish, based on what I could find on the internet. Mahogany Snapper and Blue Tang?
Mahogany Snapper Blue Tang Trunk Bay, St. John, USVI
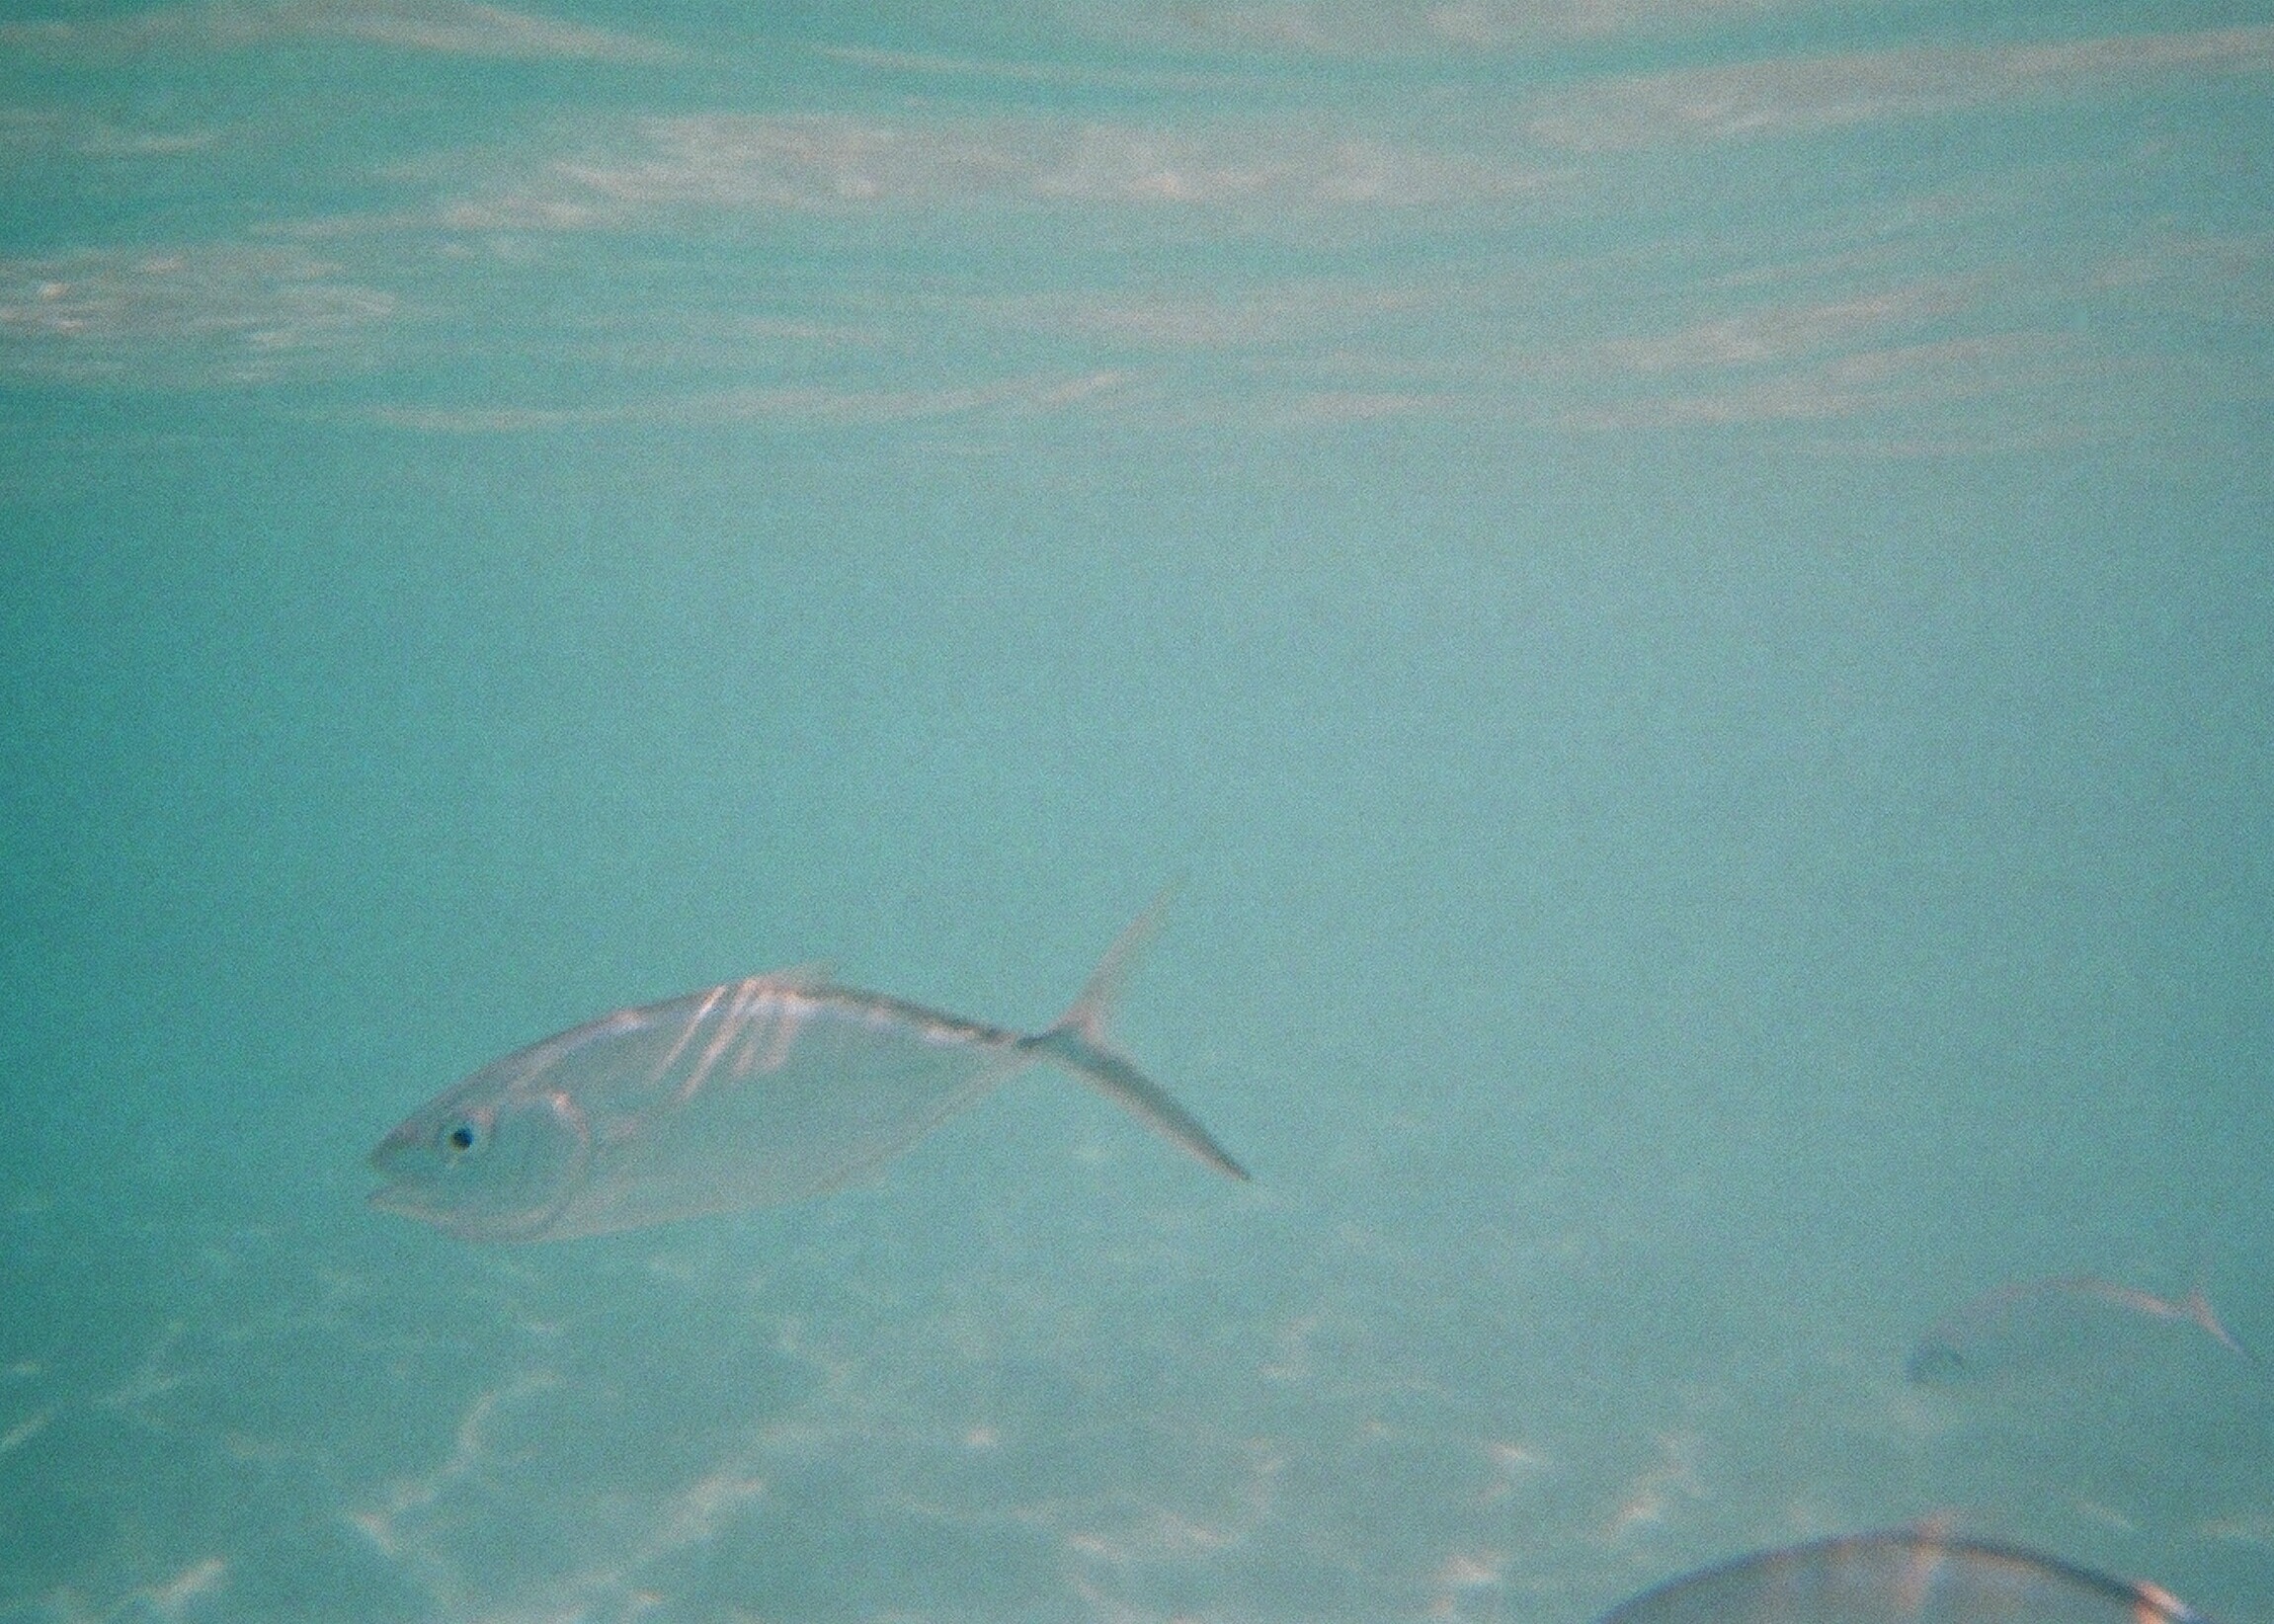
Blue Runner (Jack)? I'm so bad at this.
Blue Runner Trunk Bay, St. John, USVI
I did get a pretty good shot of Tom - the scariest creature in the sea.
Trunk Bay, St. John, USVI
So not bad - I'm glad I was able to capture the gorgeous blue of the water and a few of our marine buddies. We love snorkelling so much; I think this trip reminded us and now we're looking forward to doing it more often - and getting pictures to prove it!


Mar 9, 2015

Spring is in the Air


It's +7 degrees Celsius today, people! The "balmy" air makes me want to grab a paintbrush or the palm sander and refinish all the things. My next project is a dresser that my uncle found in the back of his storage shed and gave to me. It's solid wood and in terrific shape. I think I'm going to refinish it and replace the highboy dresser in our bedroom.

dresser - before

I'm aiming for it to look something like this when I'm done:

My sister has also roped me into helping her re-do an entertainment unit she nabbed for free - but lucky for me she's going on vacation for two weeks. :-)


Now that it's warming up, what projects do you have on the horizon?


Related Posts Plugin for WordPress, Blogger...