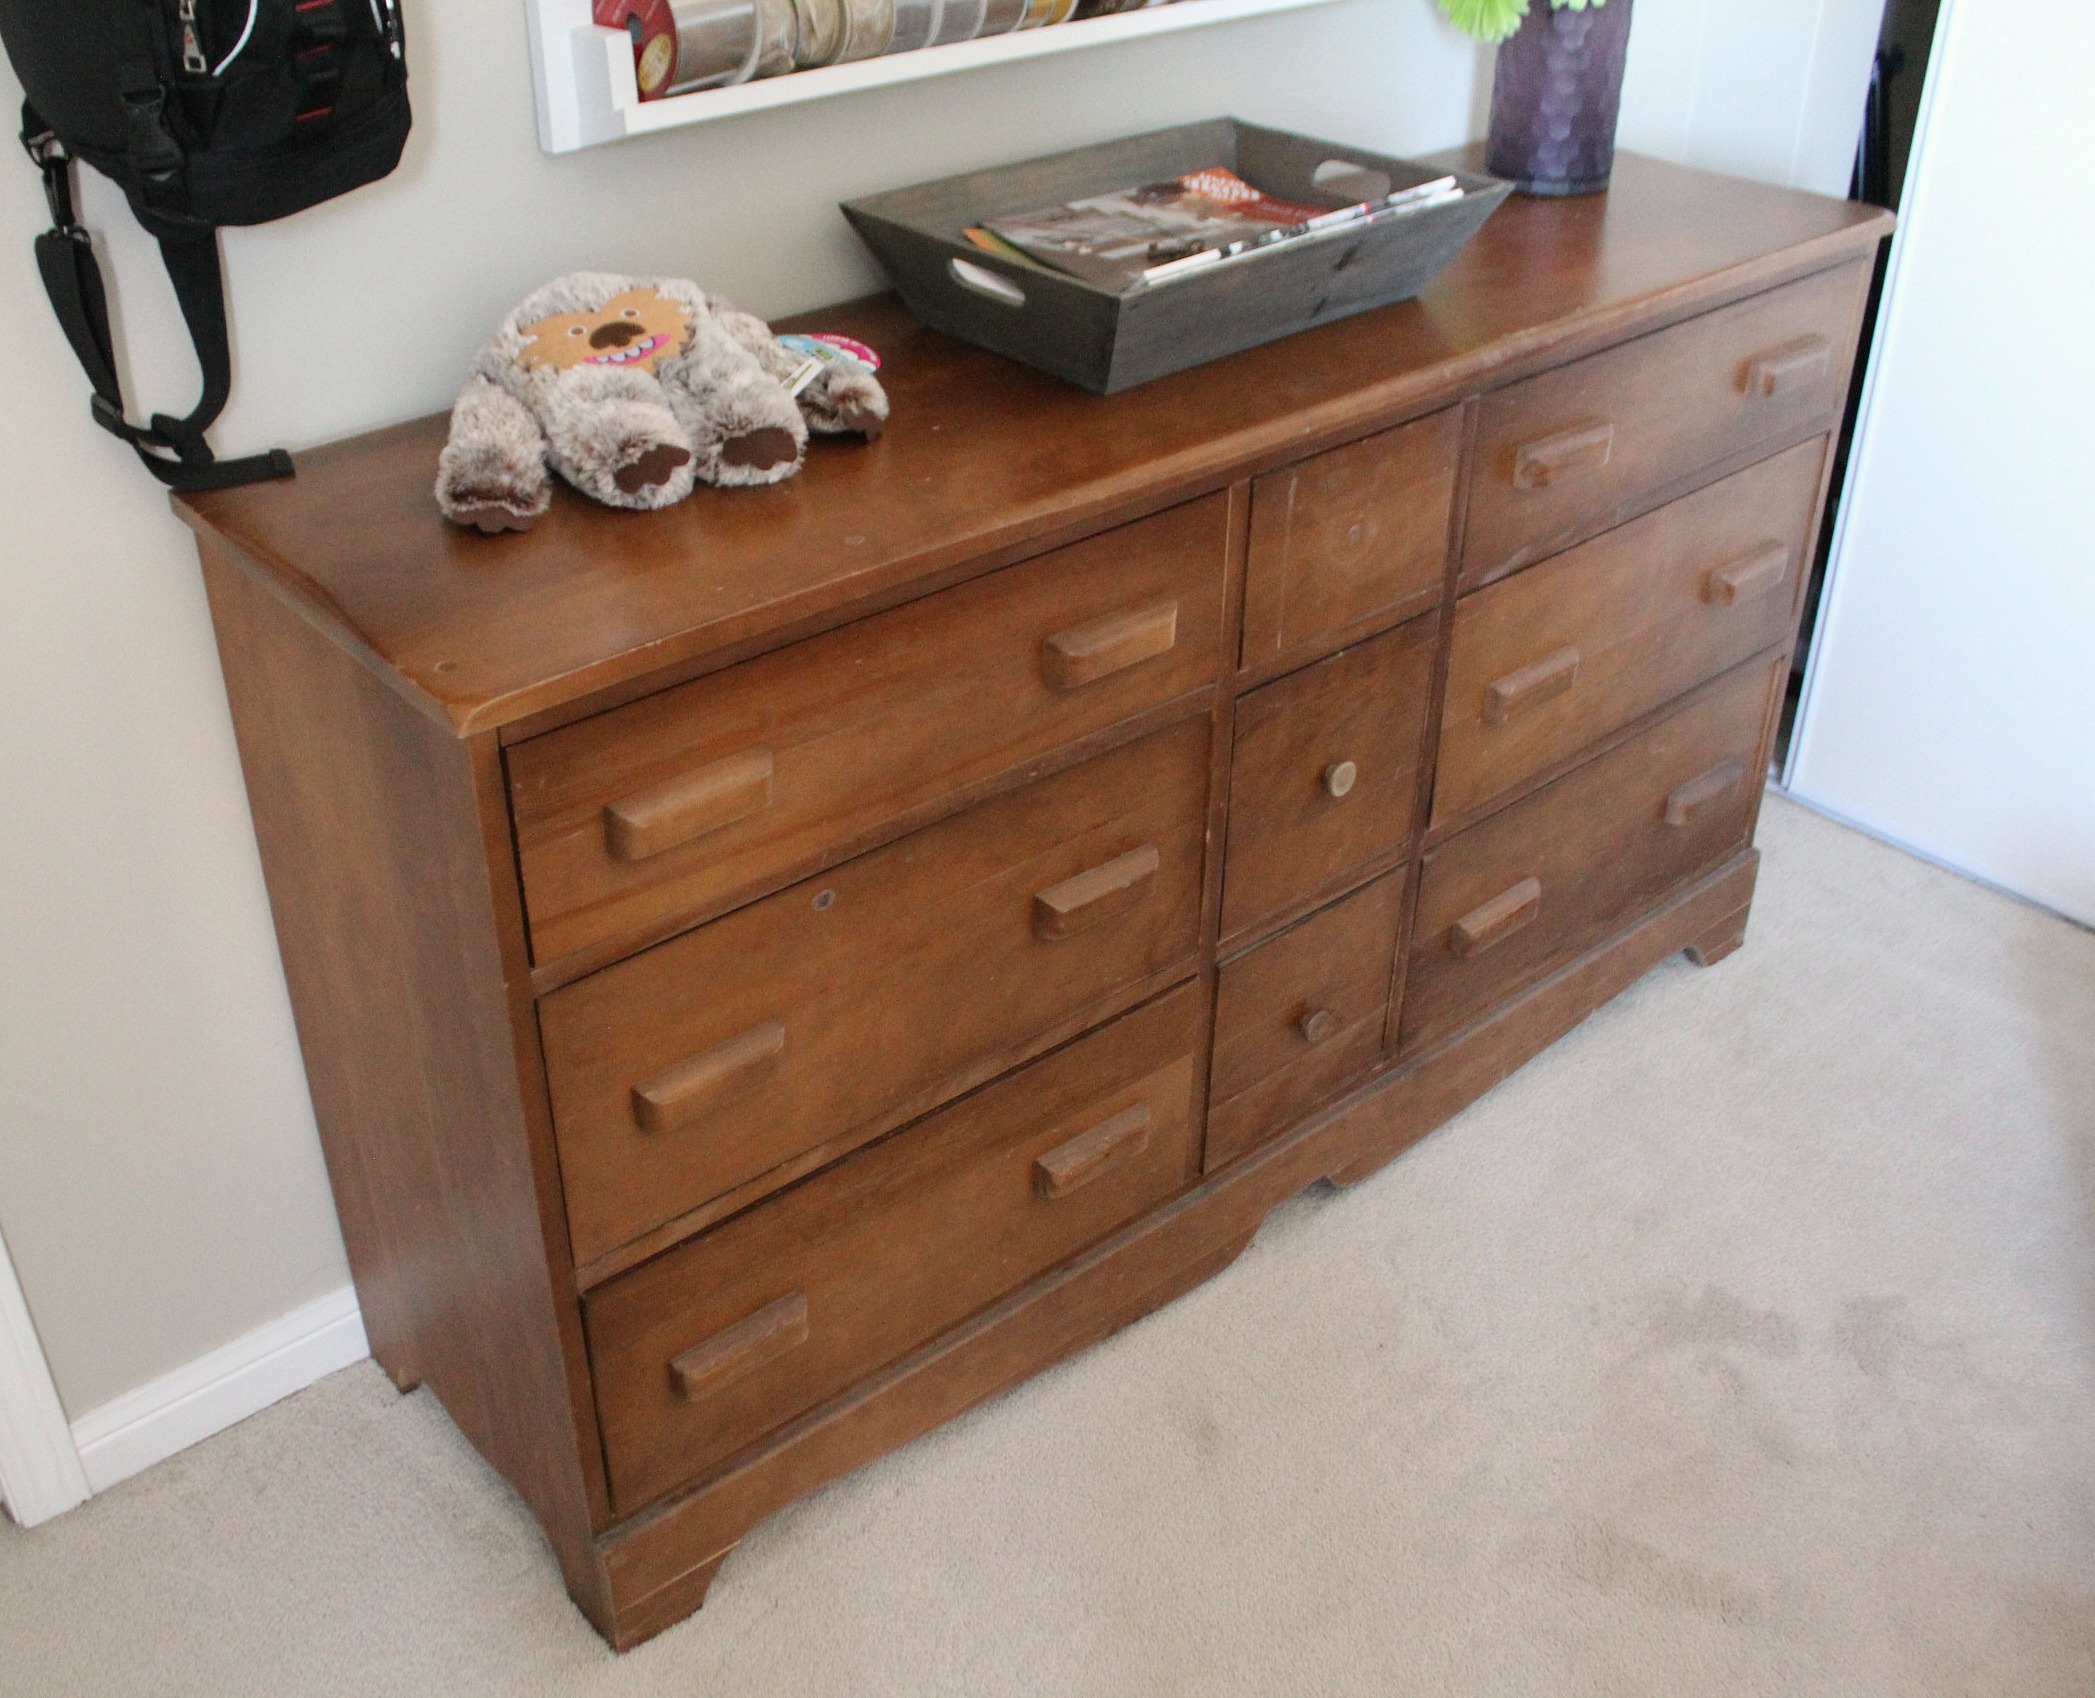
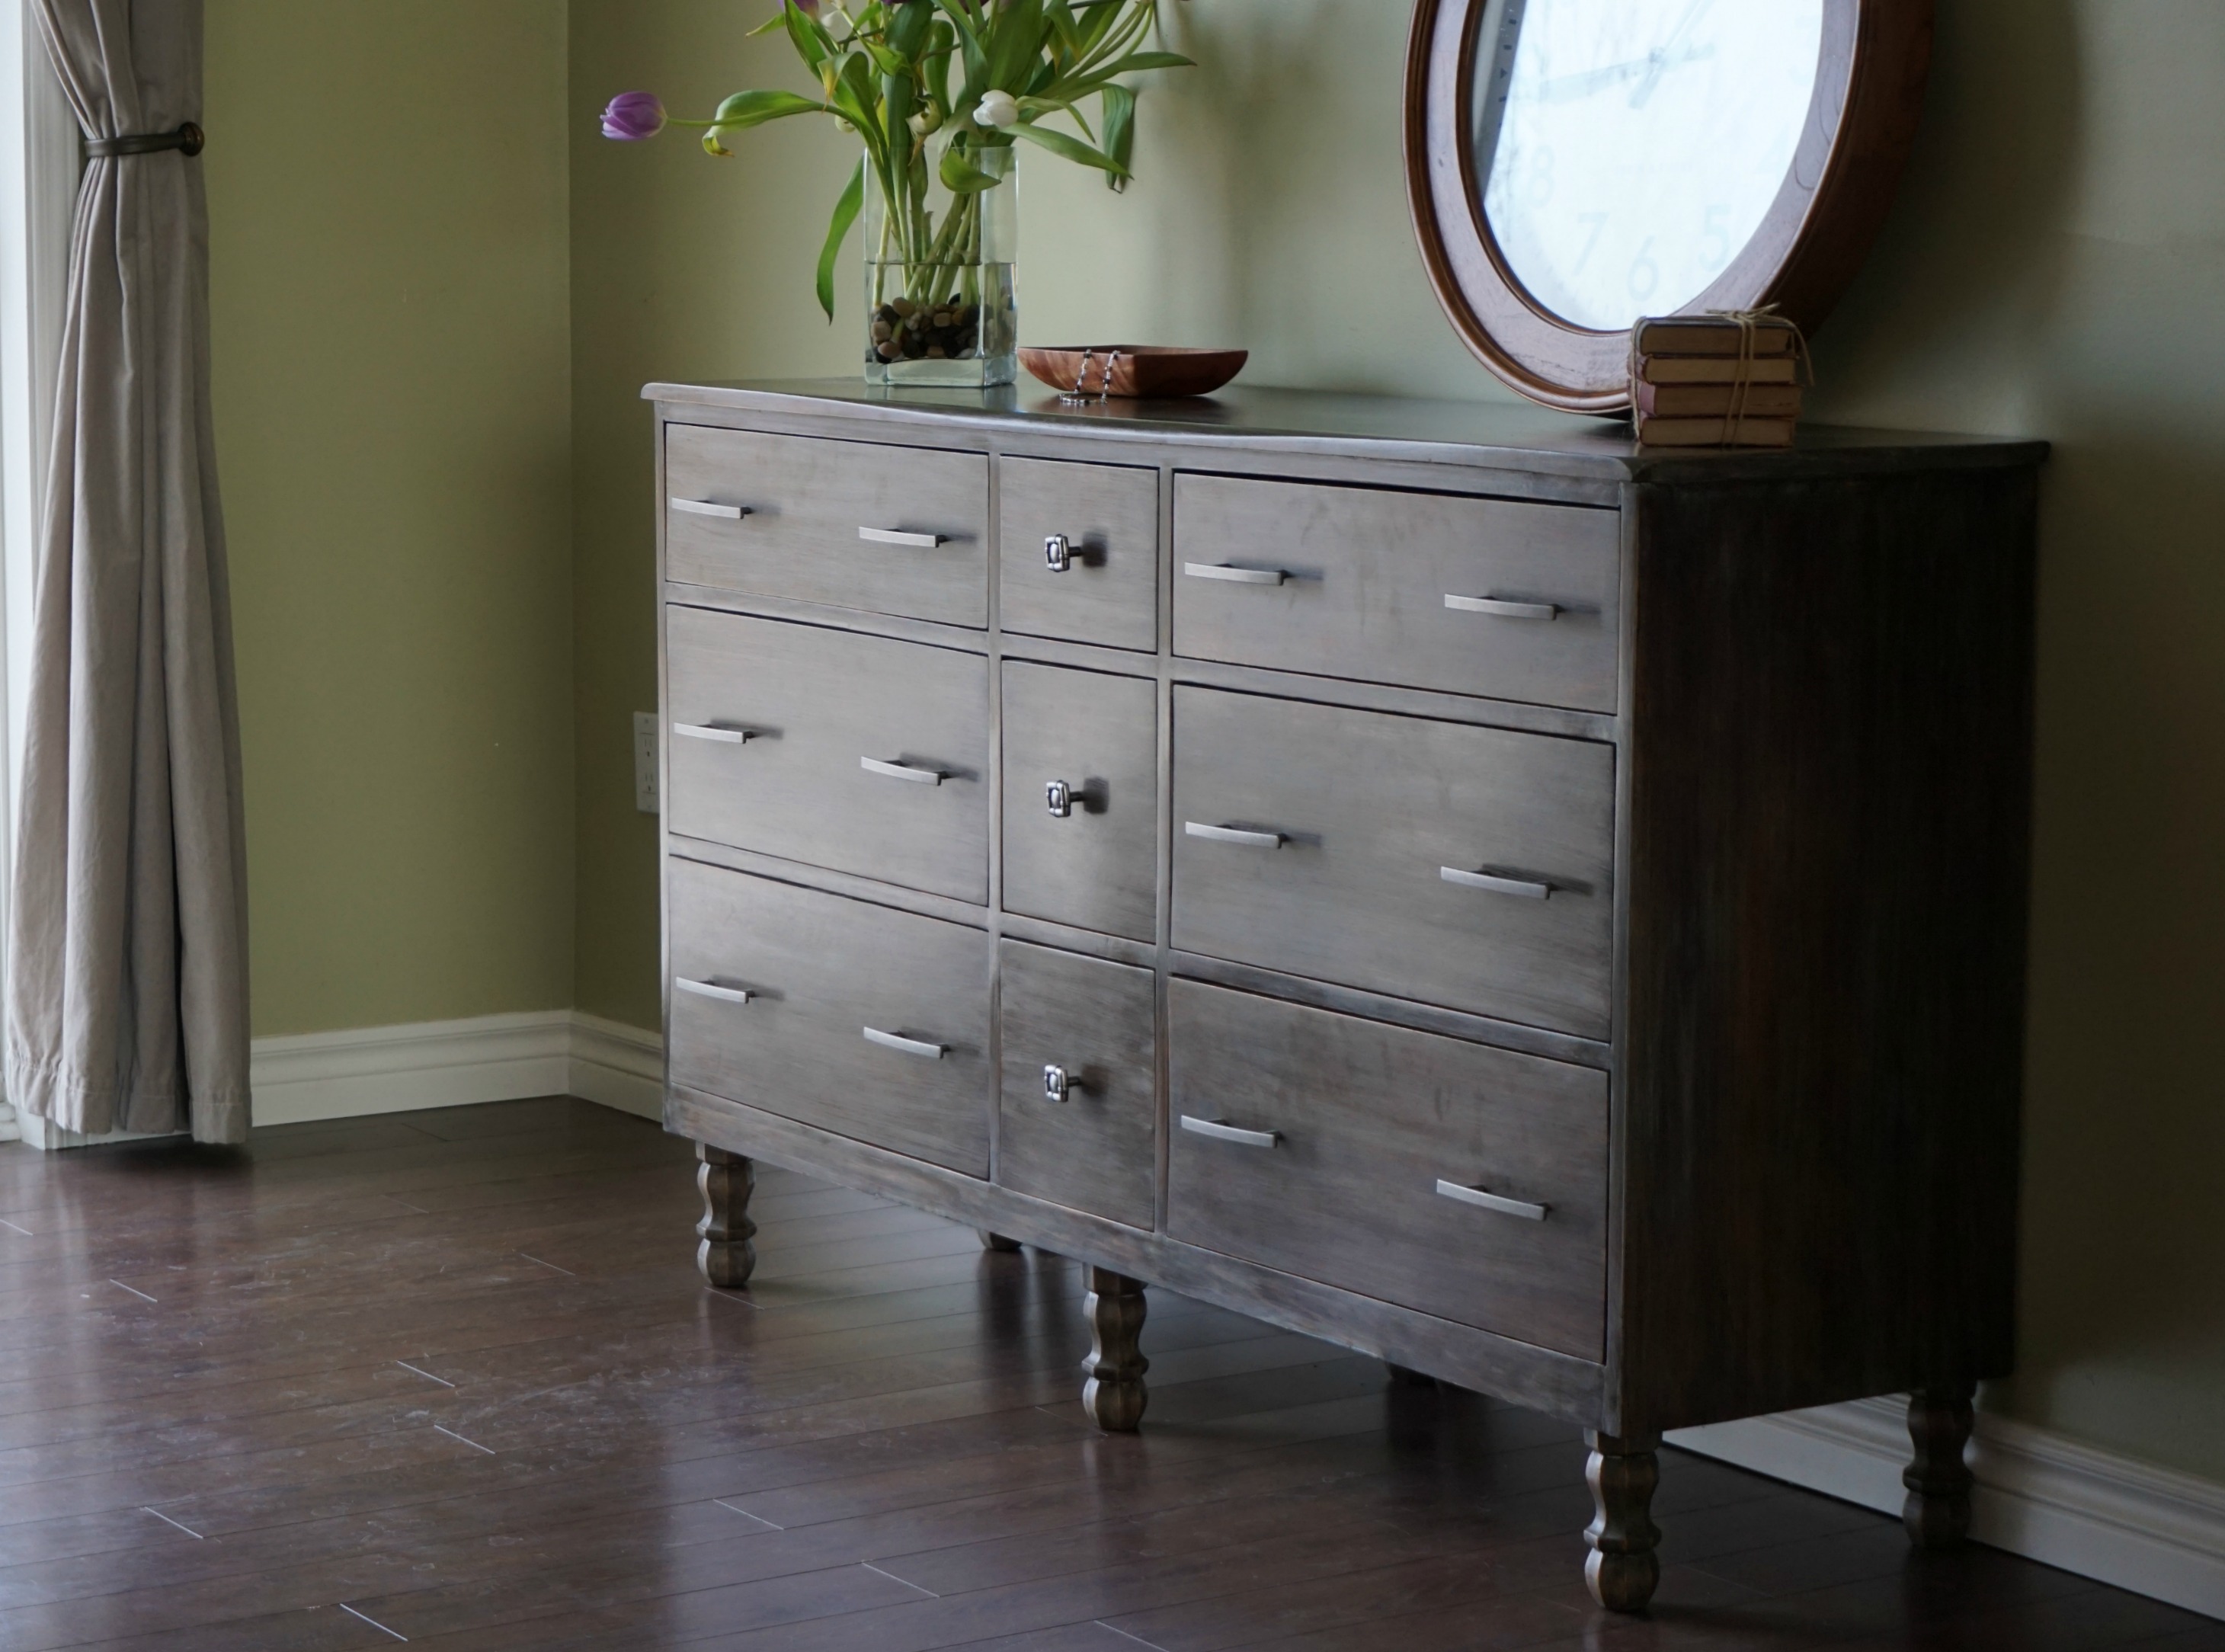
While I loved the layout of the dresser and the fact that it was solid wood from top to bottom, it sure wasn't stylish.
What had to go:
- the base went right to the floor with a scalloped edge at the front - just big enough to let dust and dog fur in but not big enough to clean under.
- the wooden handles just screamed teenage boy's bedroom to me.
- the colour was u-g-l-y. And the finish was all scratched up anyway so it would have to be redone regardless of how I felt about it.
So I dug in and and started dismantling the beast. First I removed all of the drawer handles. I don't know if I'll ever use them but I held on to them anyway. I'm a bit of a hoarder when it comes to scrap wood.
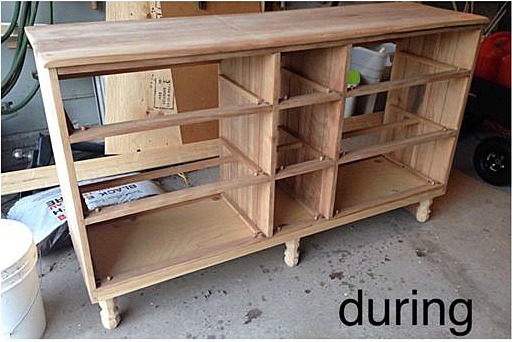
The decorative piece at the bottom is really just a board attached to the front of the dresser. I wanted the dresser to have a flush front, so I had Tom remove the front scalloped piece and shorten the sides of the dresser so that they were only about 2 inches longer than the front. I then had him add a new facing piece on the front bottom of the dresser that was flush with the frame, went straight across (no swirls), and lined up square with the sides.
The bottom of the dresser didn't actually have a "bottom" so he added a 1/2 inch thick piece of plywood below the drawers (but hidden by the edging) to give it more stability.
While this was going on I was stripping off all of the old stain from the drawers and the dresser body. I believe the stain was sprayed on in a single coat because it came off really easily.
I puttied all of the drawer handle holes and glued/clamped/filled any cracks in the body where boards had separated over time. I also puttied along the edge where that new facing board joined the old wood so that once it was stained it would look like one solid piece.
I was left with this gorgeous creature.
Sadly, I am short of photos of the repairs as my laptop hard drive crashed about a month ago and I'll admit I haven't back it up in quite a while. I know, I know, please don't say it. I'm still hoping to get it repaired for a reasonable price, but bought a new one in the meantime. I've had the old one for nearly seven years so it was probably time for an upgrade anyway.
Okay, pouting done, back to the dresser.
The next question on my mind: what colour to paint or stain it? The dresser was going to go in the master bedroom where we already have the cerused nightstands, so I wanted it to coordinate with those. But I wasn't planning on painting the bedroom the same grey this time, so I also didn't want the dresser to be quite as grey as the nightstands. (Those nightstands might end up needing a makeover down the road.)
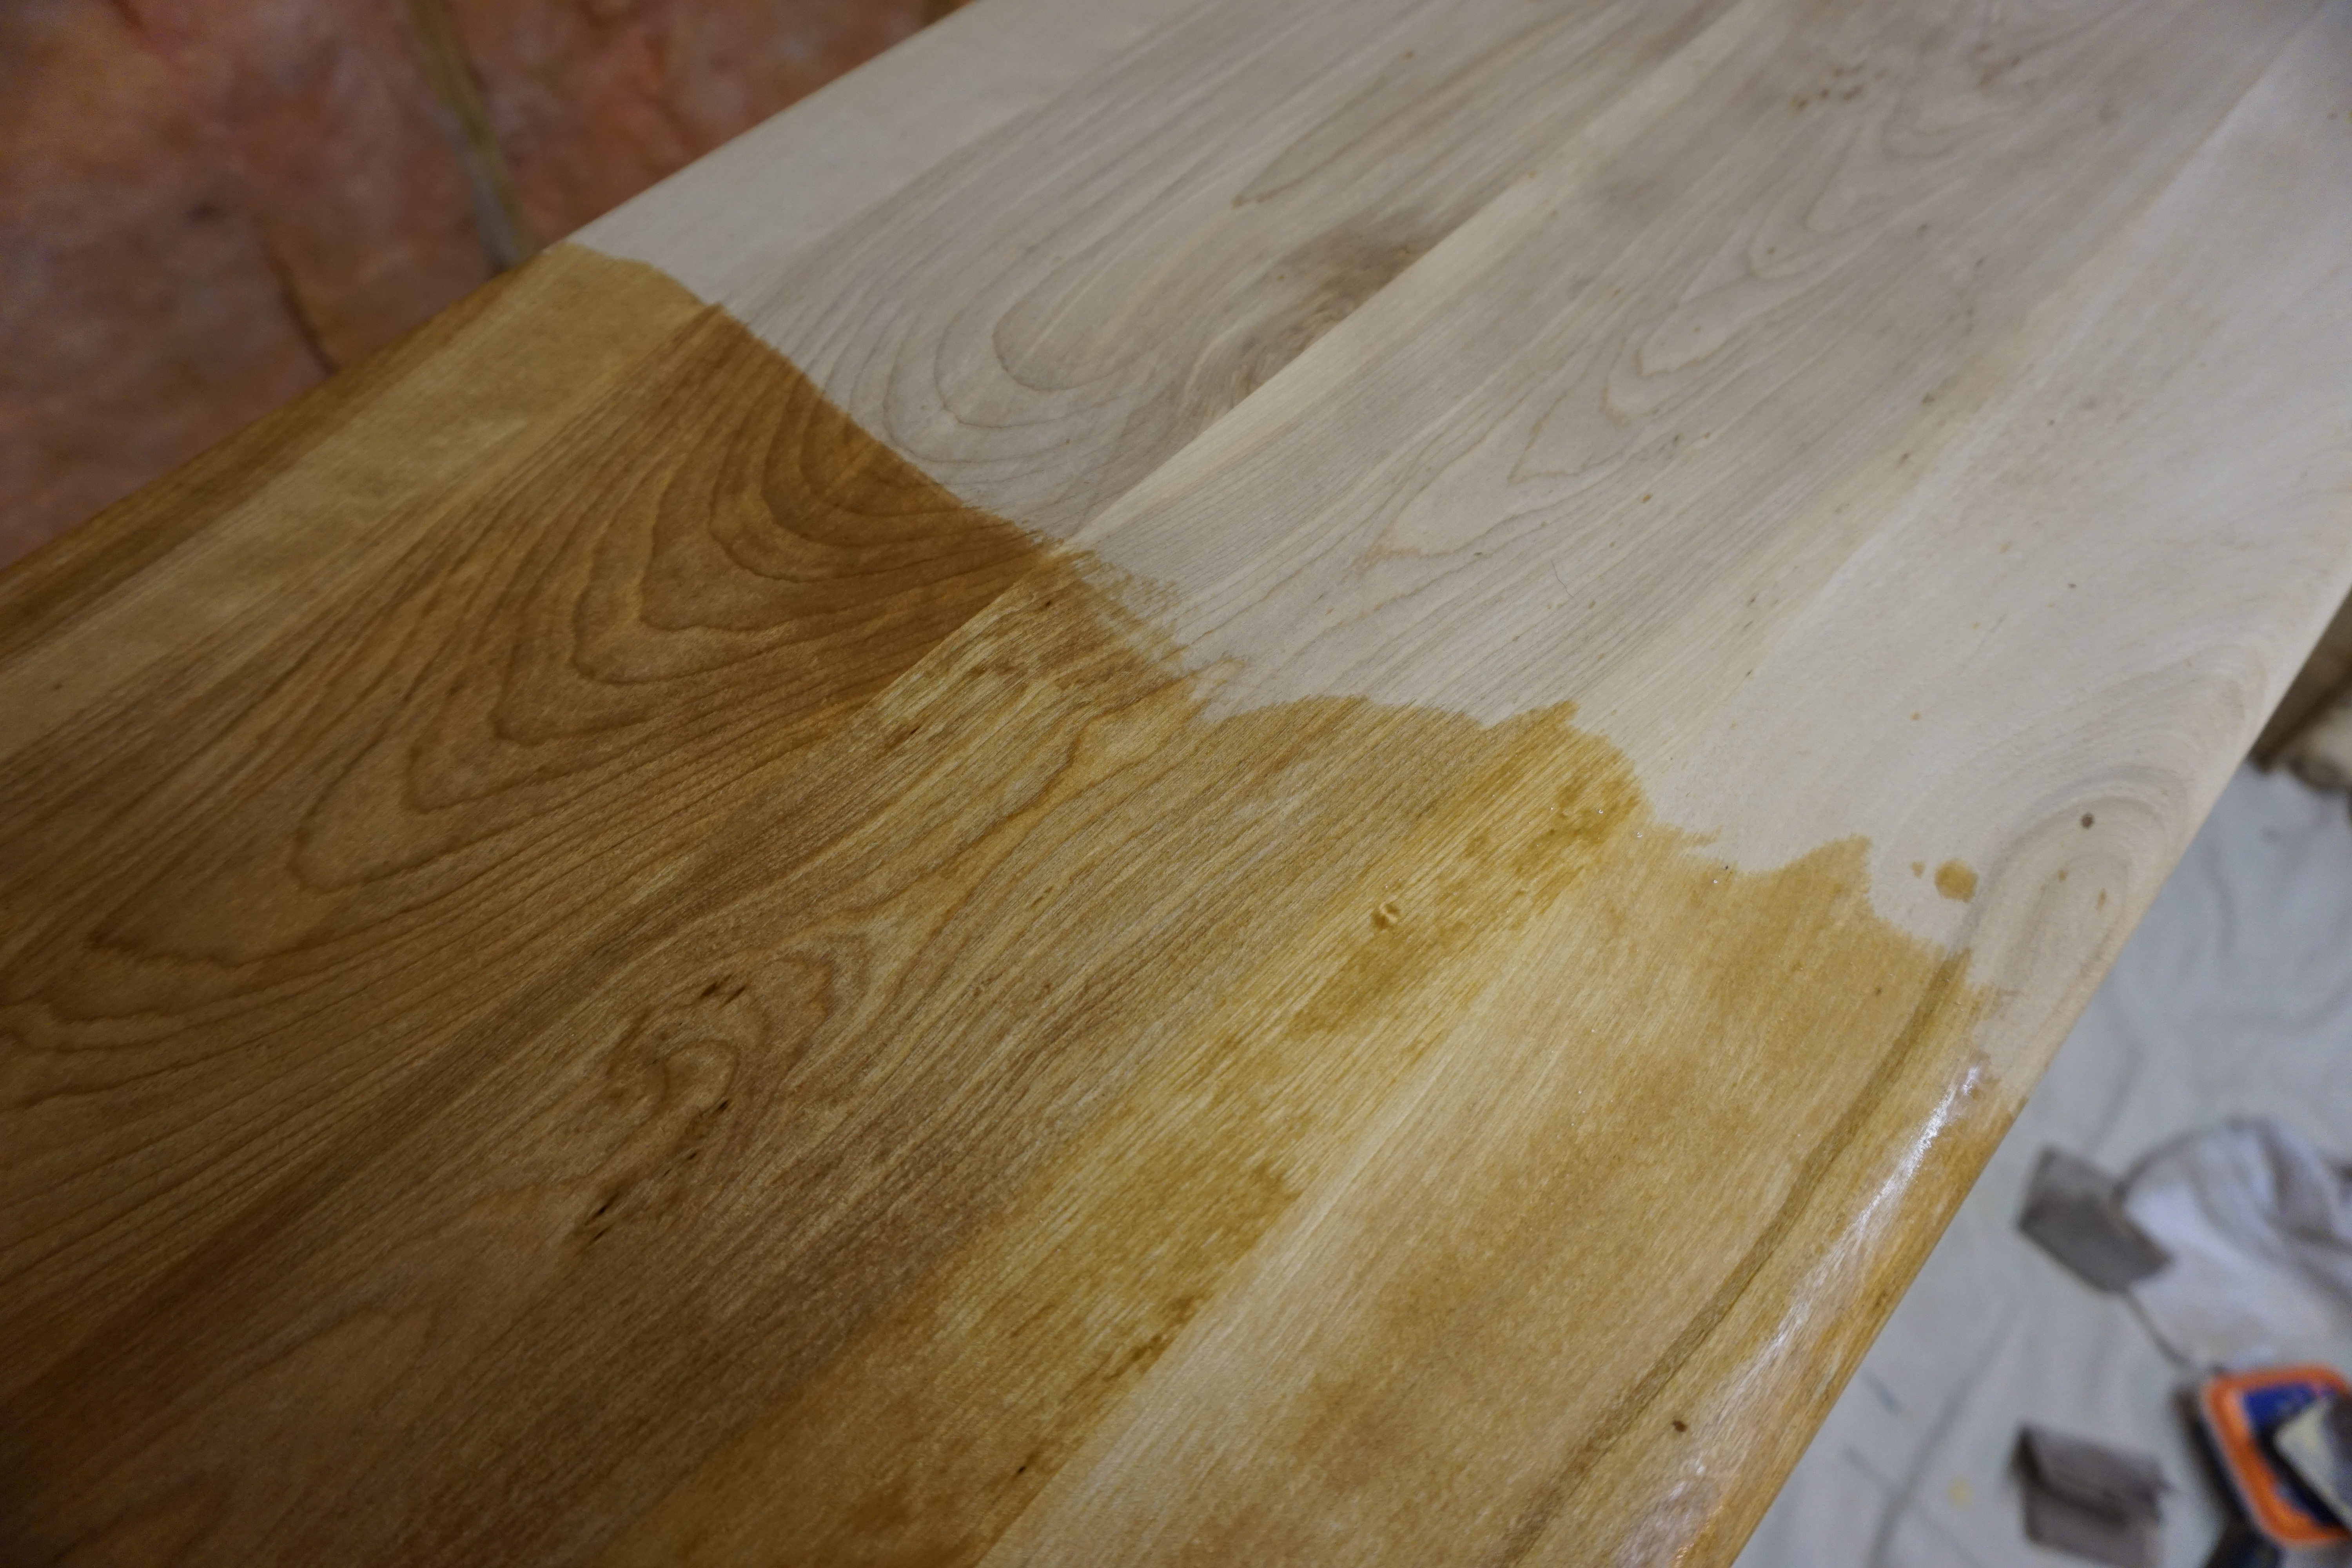
I've always been told to use wood conditioner before staining but never have before. I'm such a rebel. This time I gave it a try. And promptly gave it two thumbs down. The conditioner turned the wood a piney-yellow colour instead of the pure whitish shade of fresh wood.
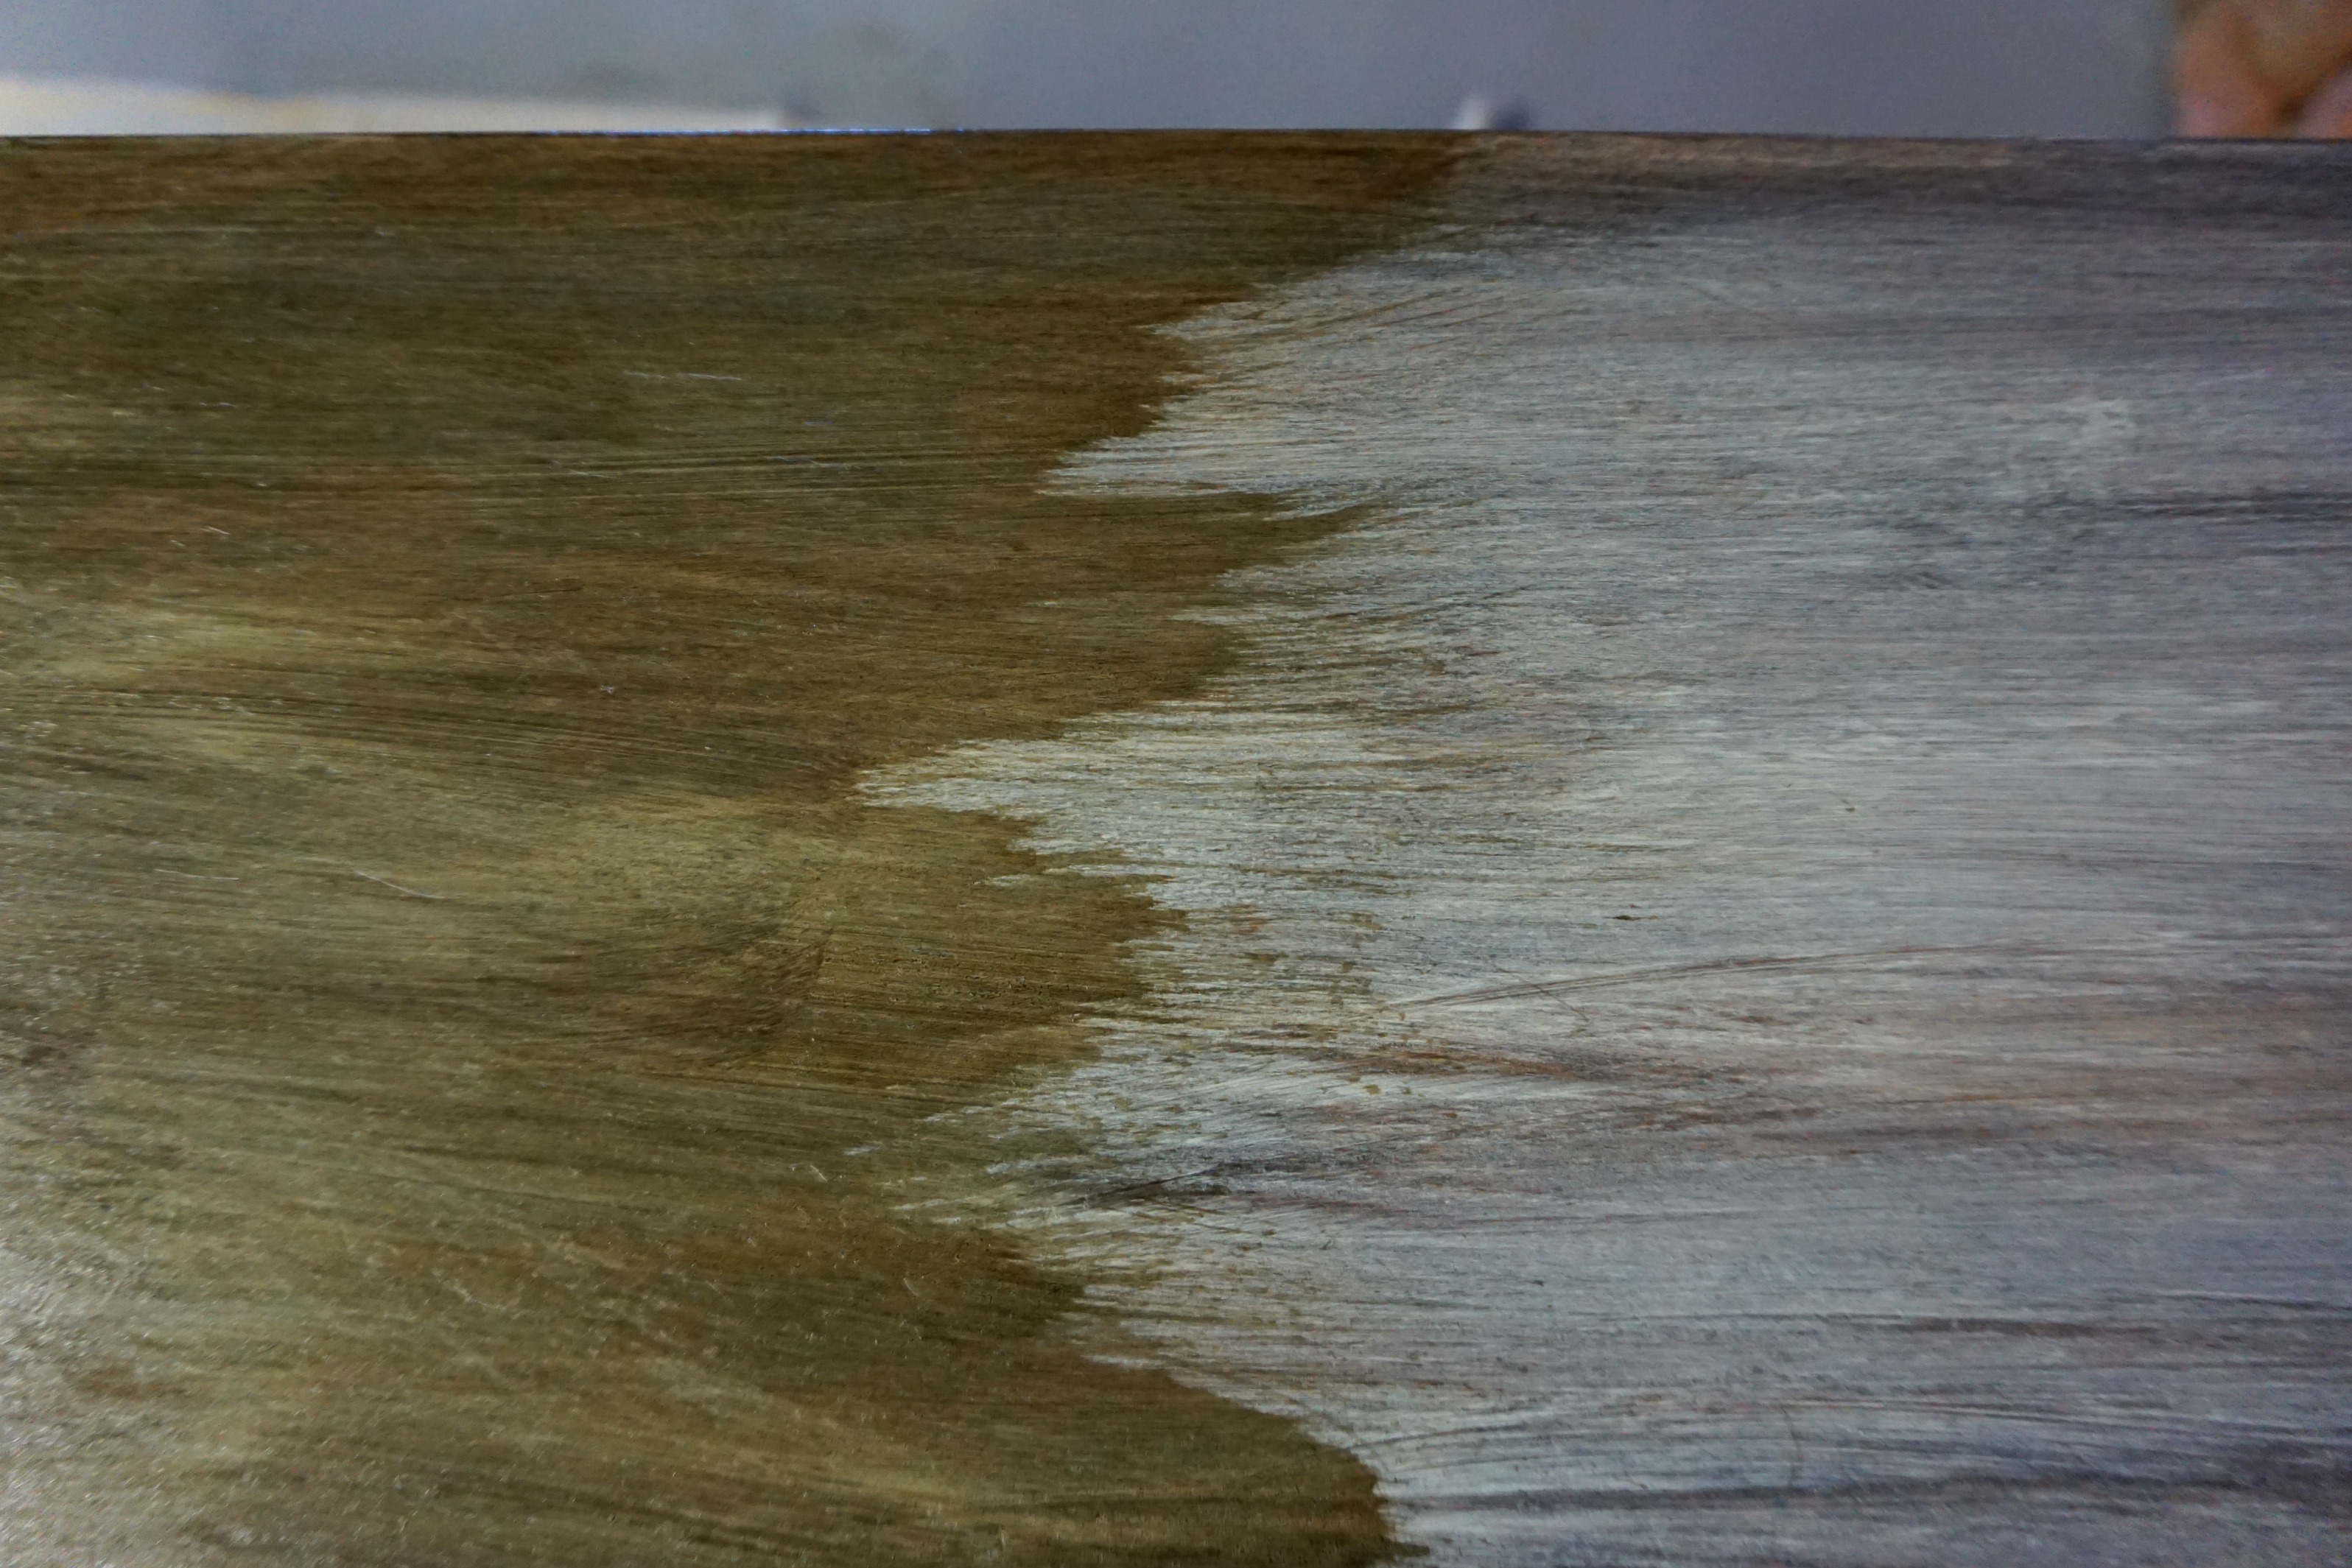
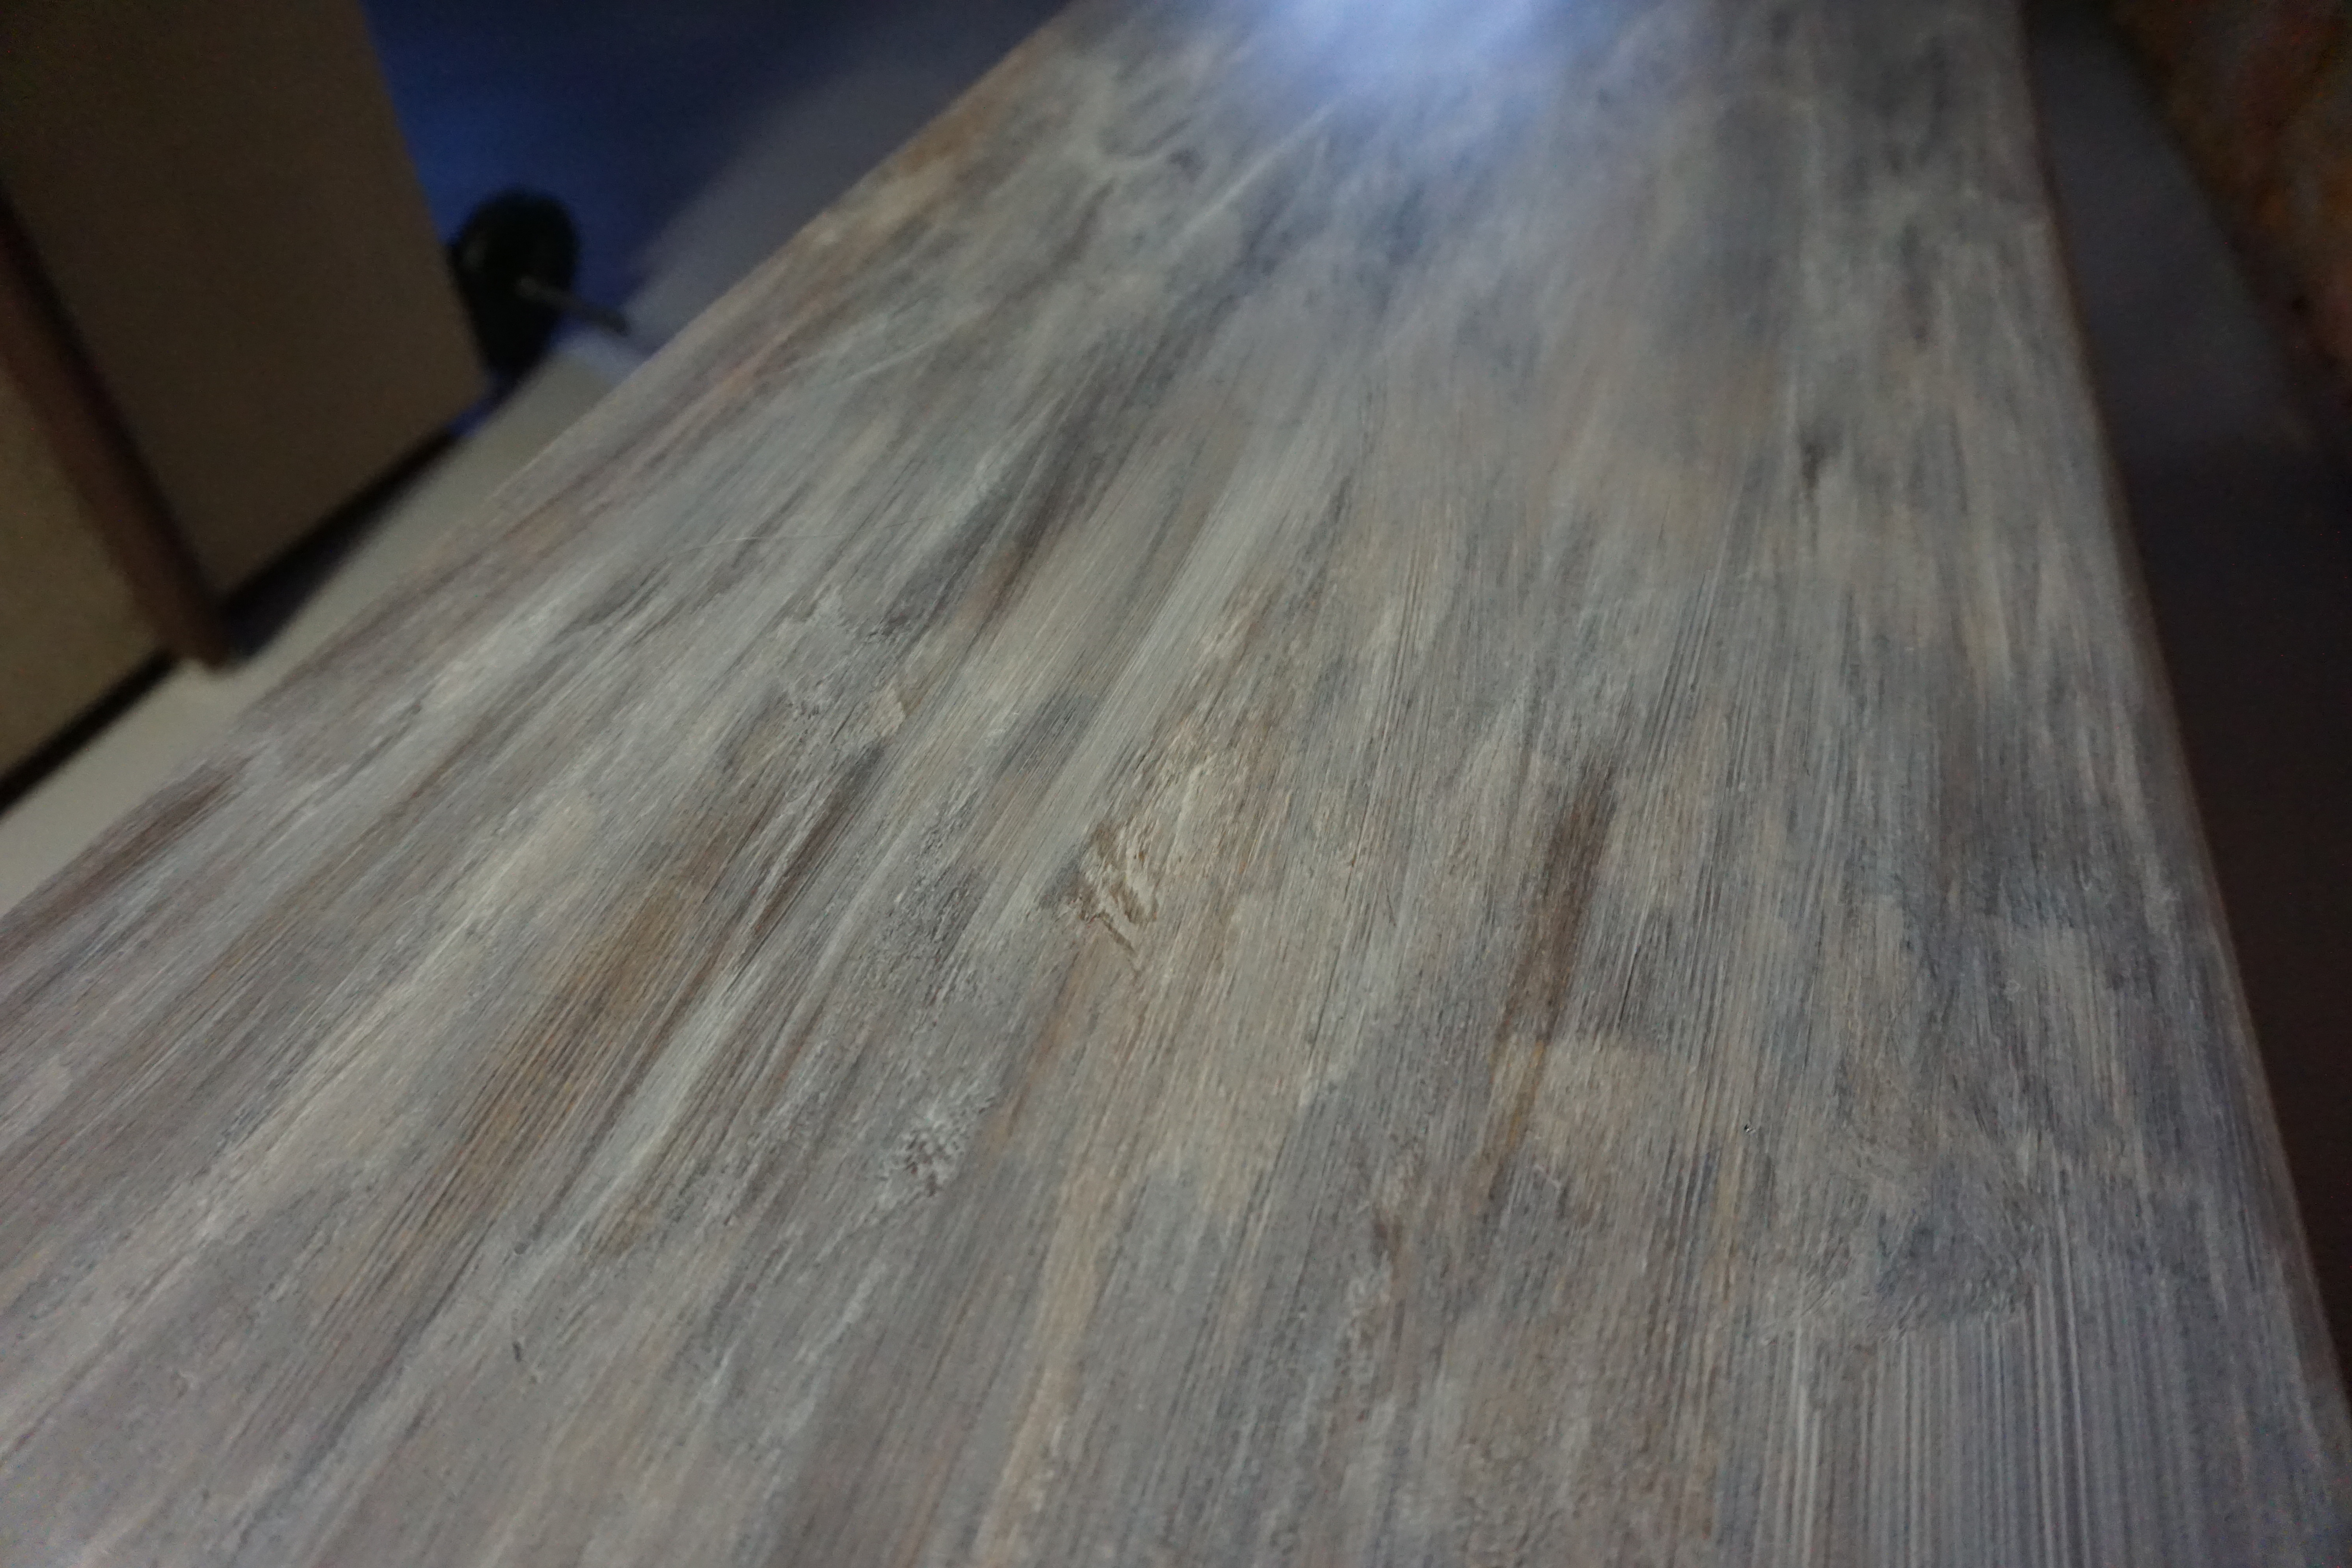
Then when I started to apply the stain (my favourite Jacobean shade by Minwax), it beaded up and would barely stick. And that darned yellow showed through, too. But I persevered and applied thin layers of stain alternating with layers of watered down grey paint (the paint we used on the basement floor, actually!)
It's a modified cerusing method that I've mentioned previously - but without the scrubbing with a wire brush this time. If you'd like more details on cerusing wood go here and here to see the step-by-step process.
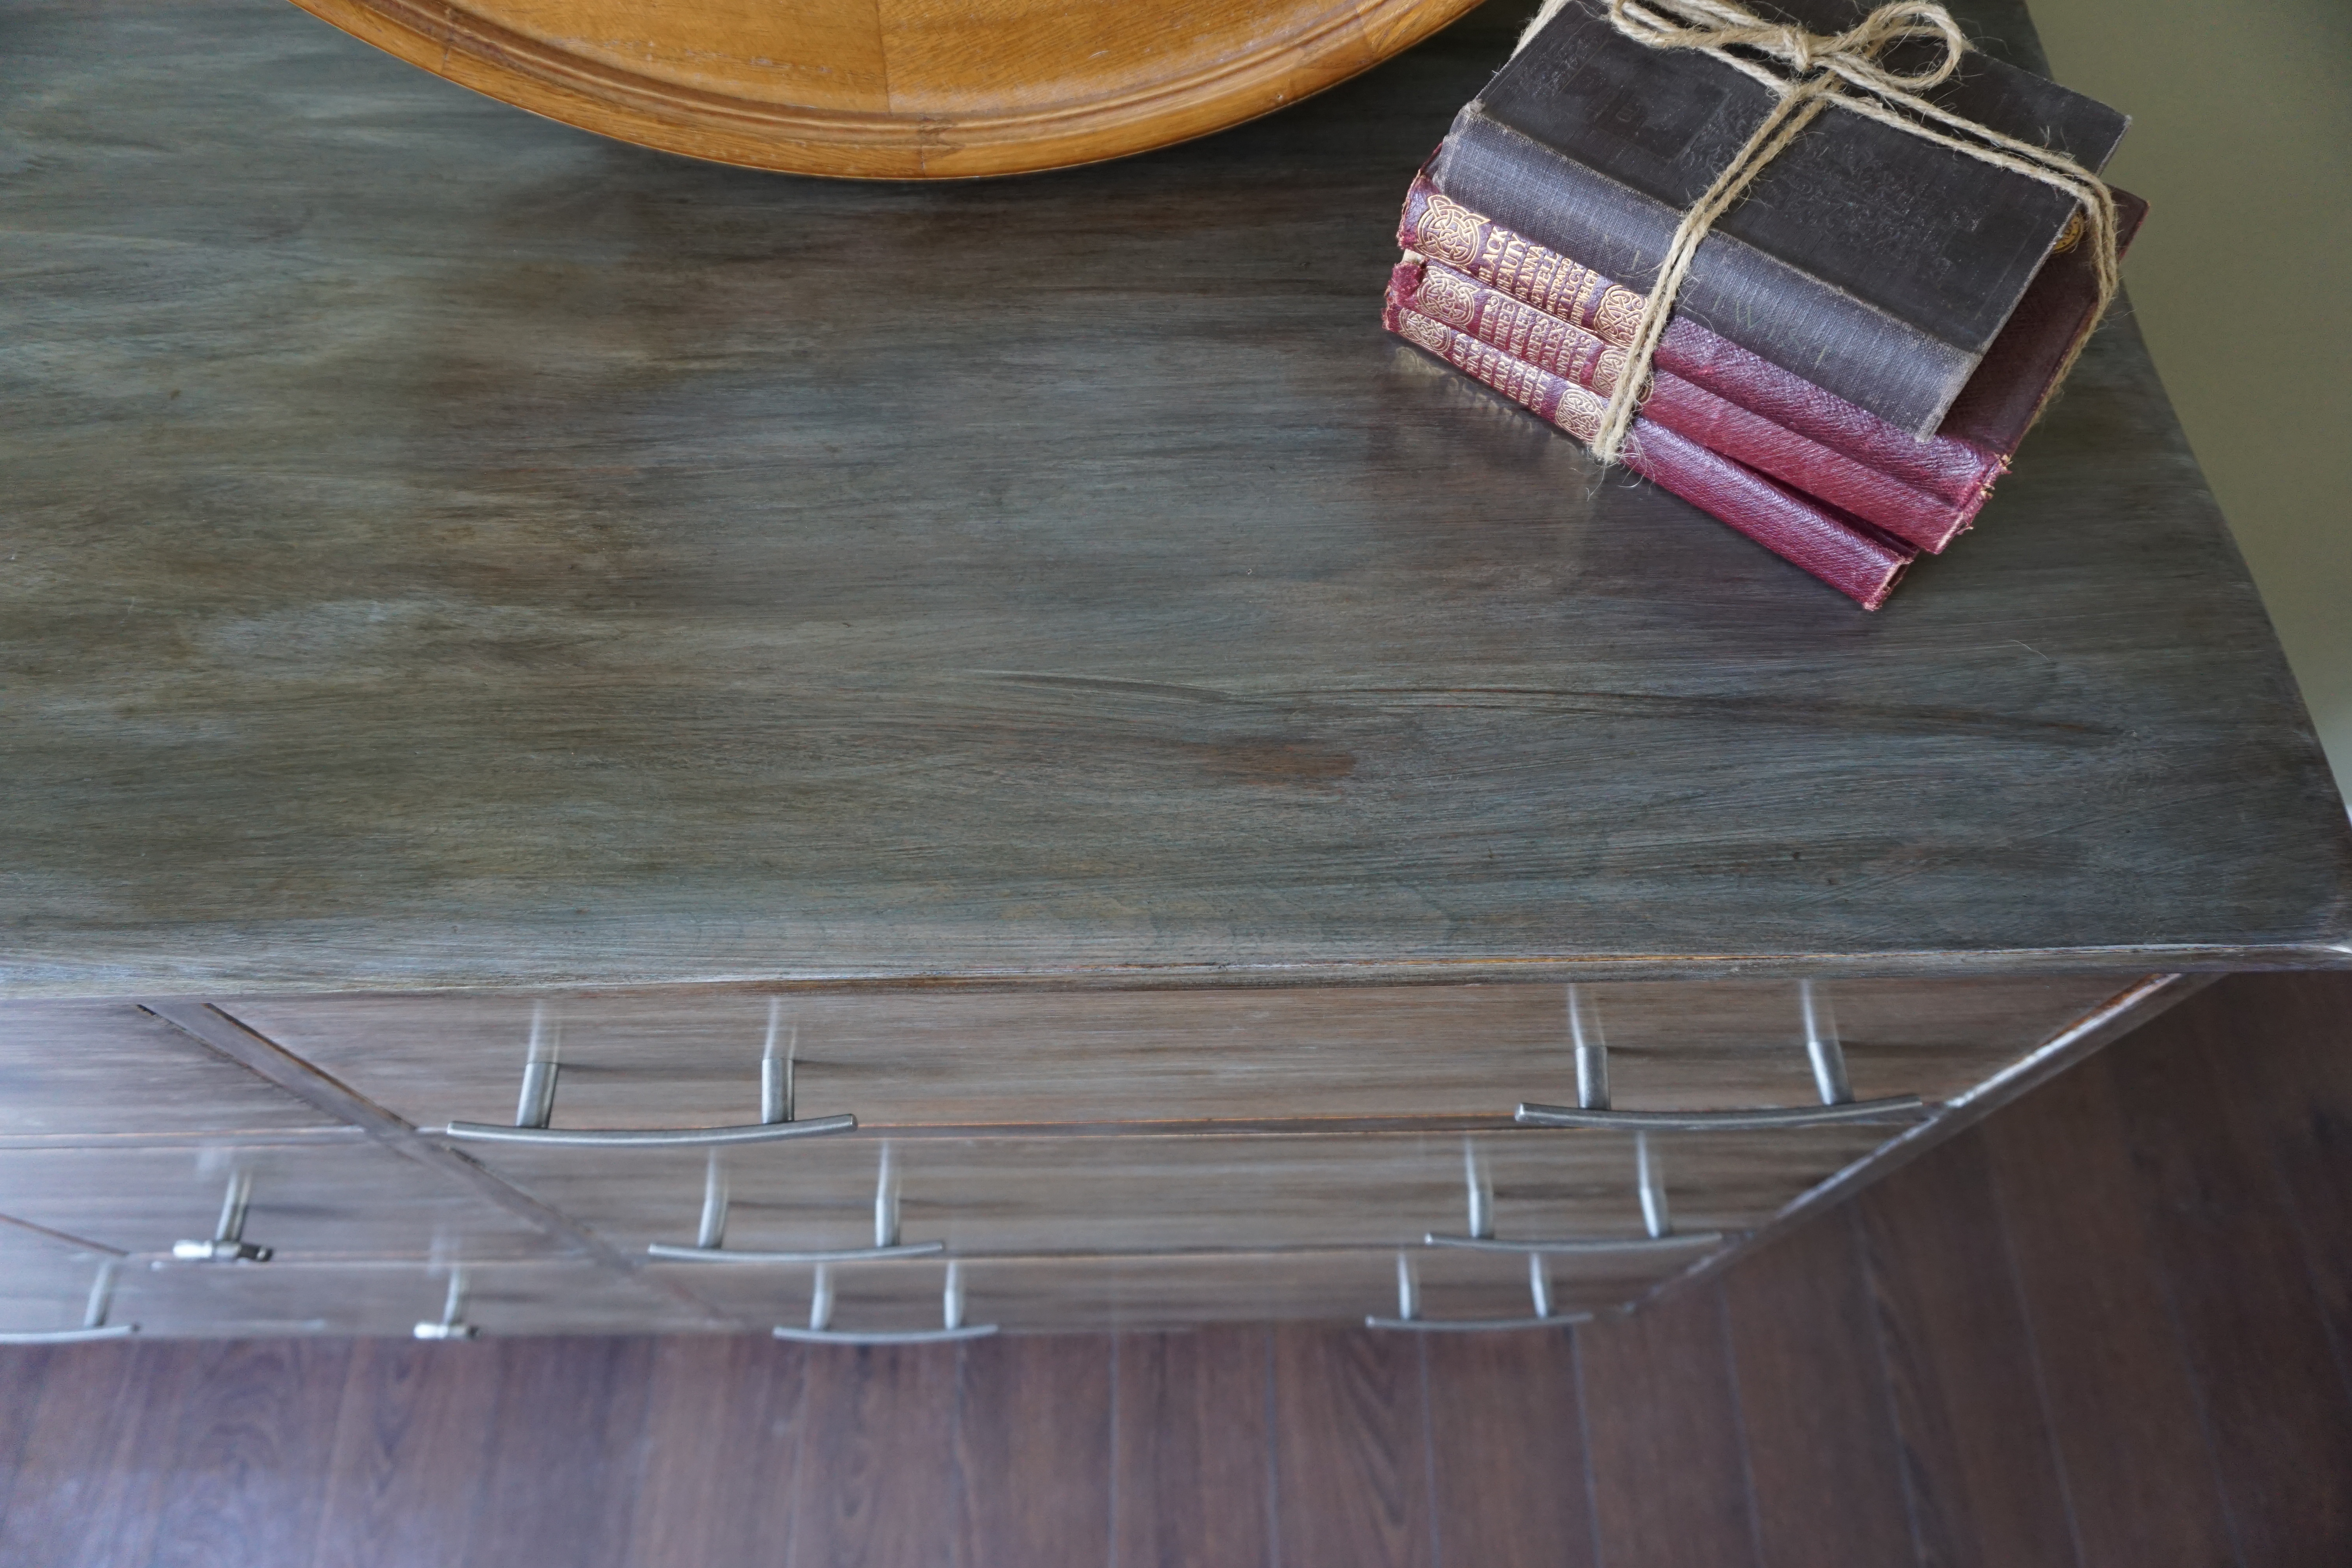
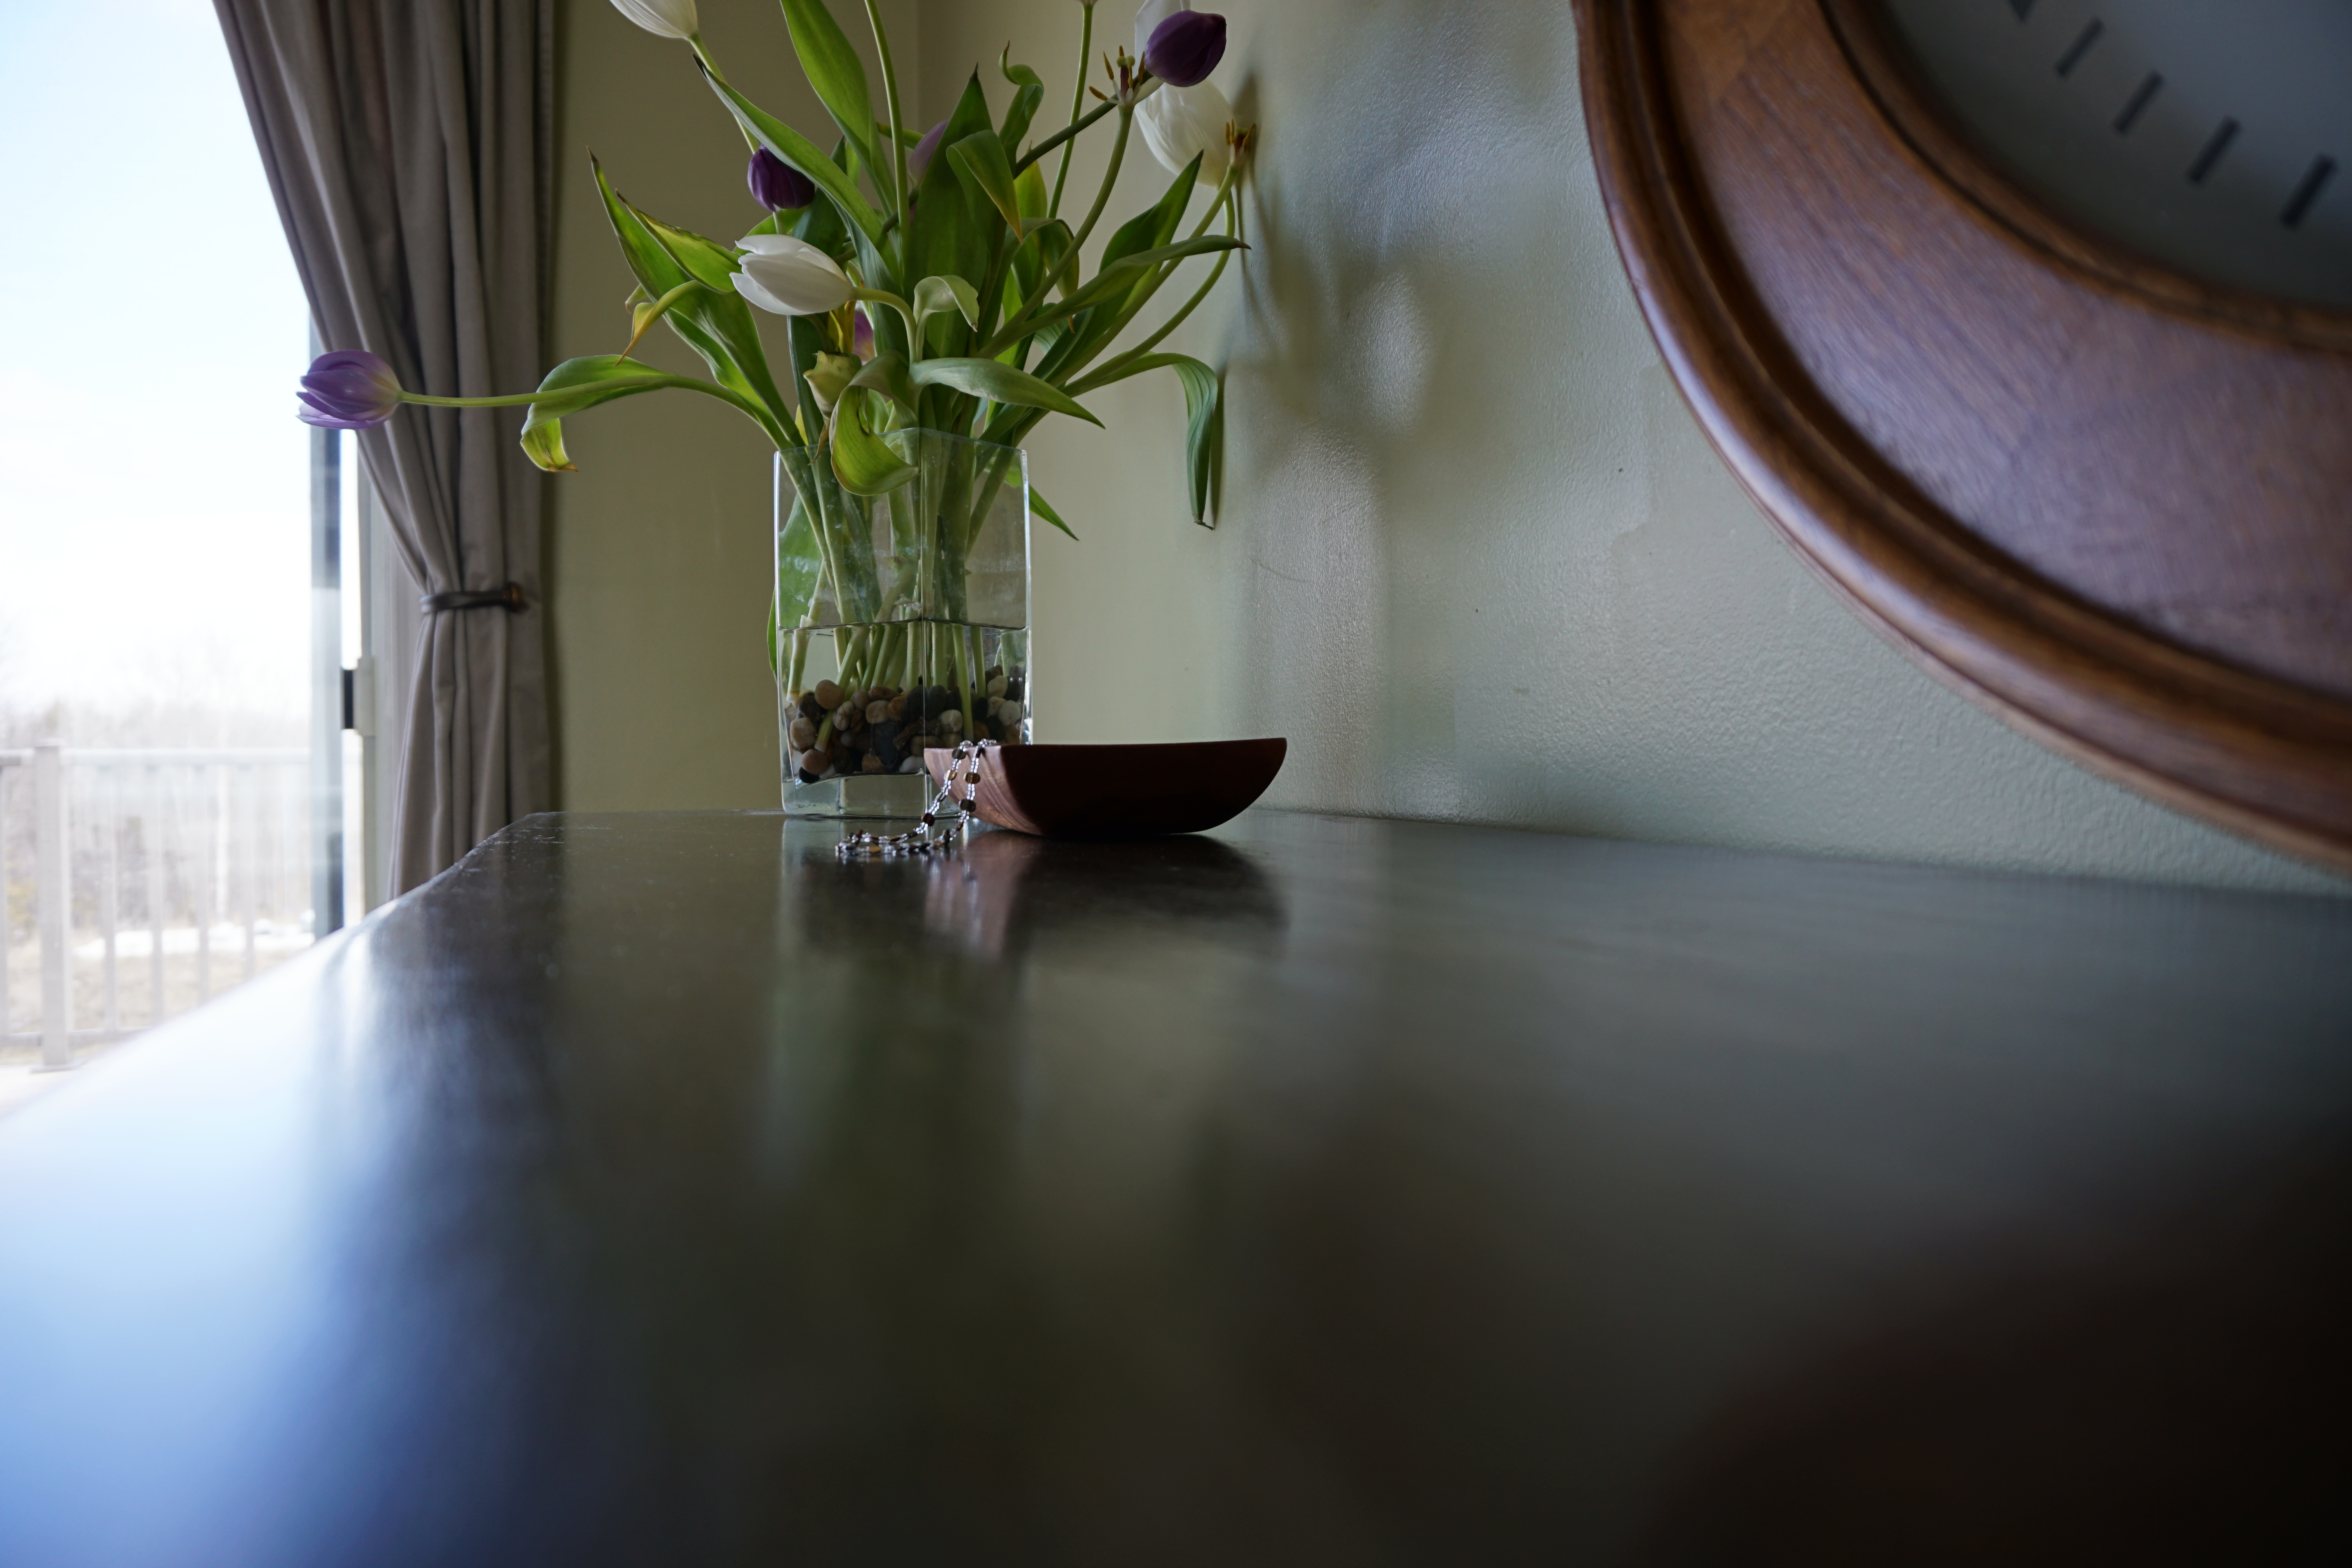
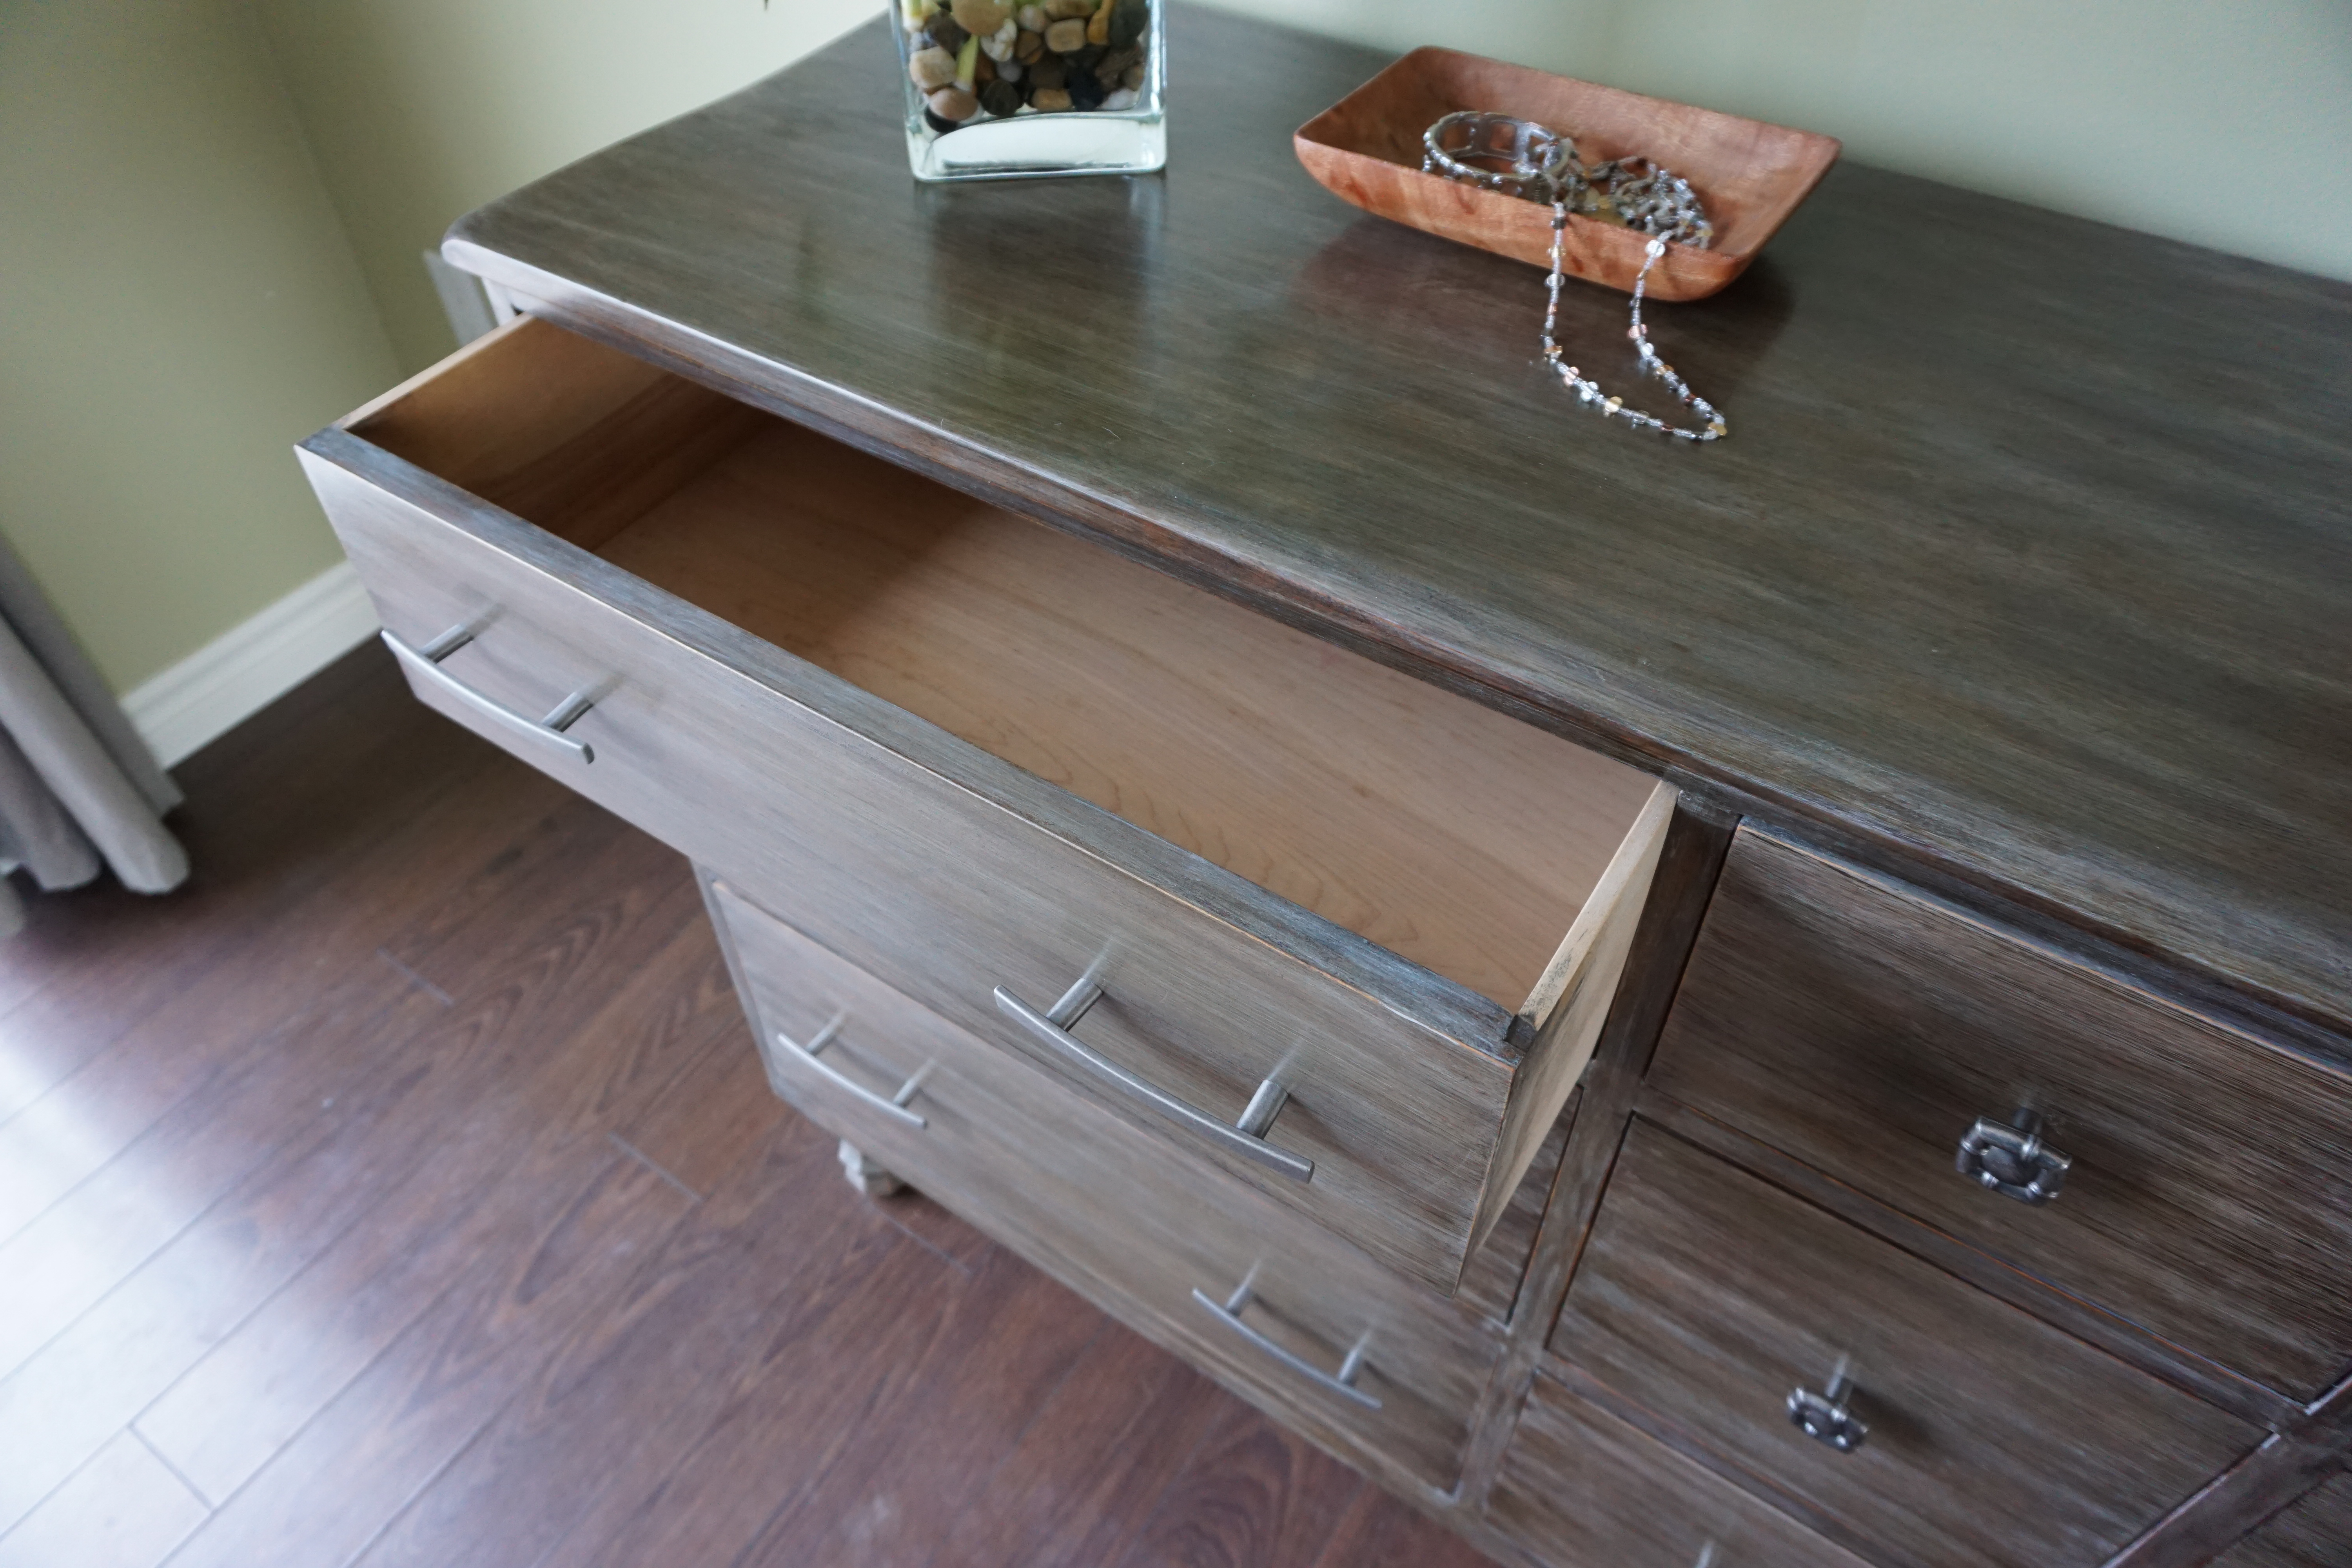
Once the colour was where I wanted it to be I applied two coats of furniture wax (Minwax paste finishing wax), buffing in between coats. The final step is to give it a once-over with extra fine steel wool. This makes the surface silky smooth. Make sure you don't scrub too hard and remove all of your hard work!
A couple of the drawers were sticking so I took a spare wax tea light and waxed the wooden runners and the bottom edges of the drawers. We also had to shim a few of them at the back as they didn't line up correctly and wobbled around. That's to be expected with decades-old wood that has been sitting in a shed! Now they all line up and slide in and out with no problem.
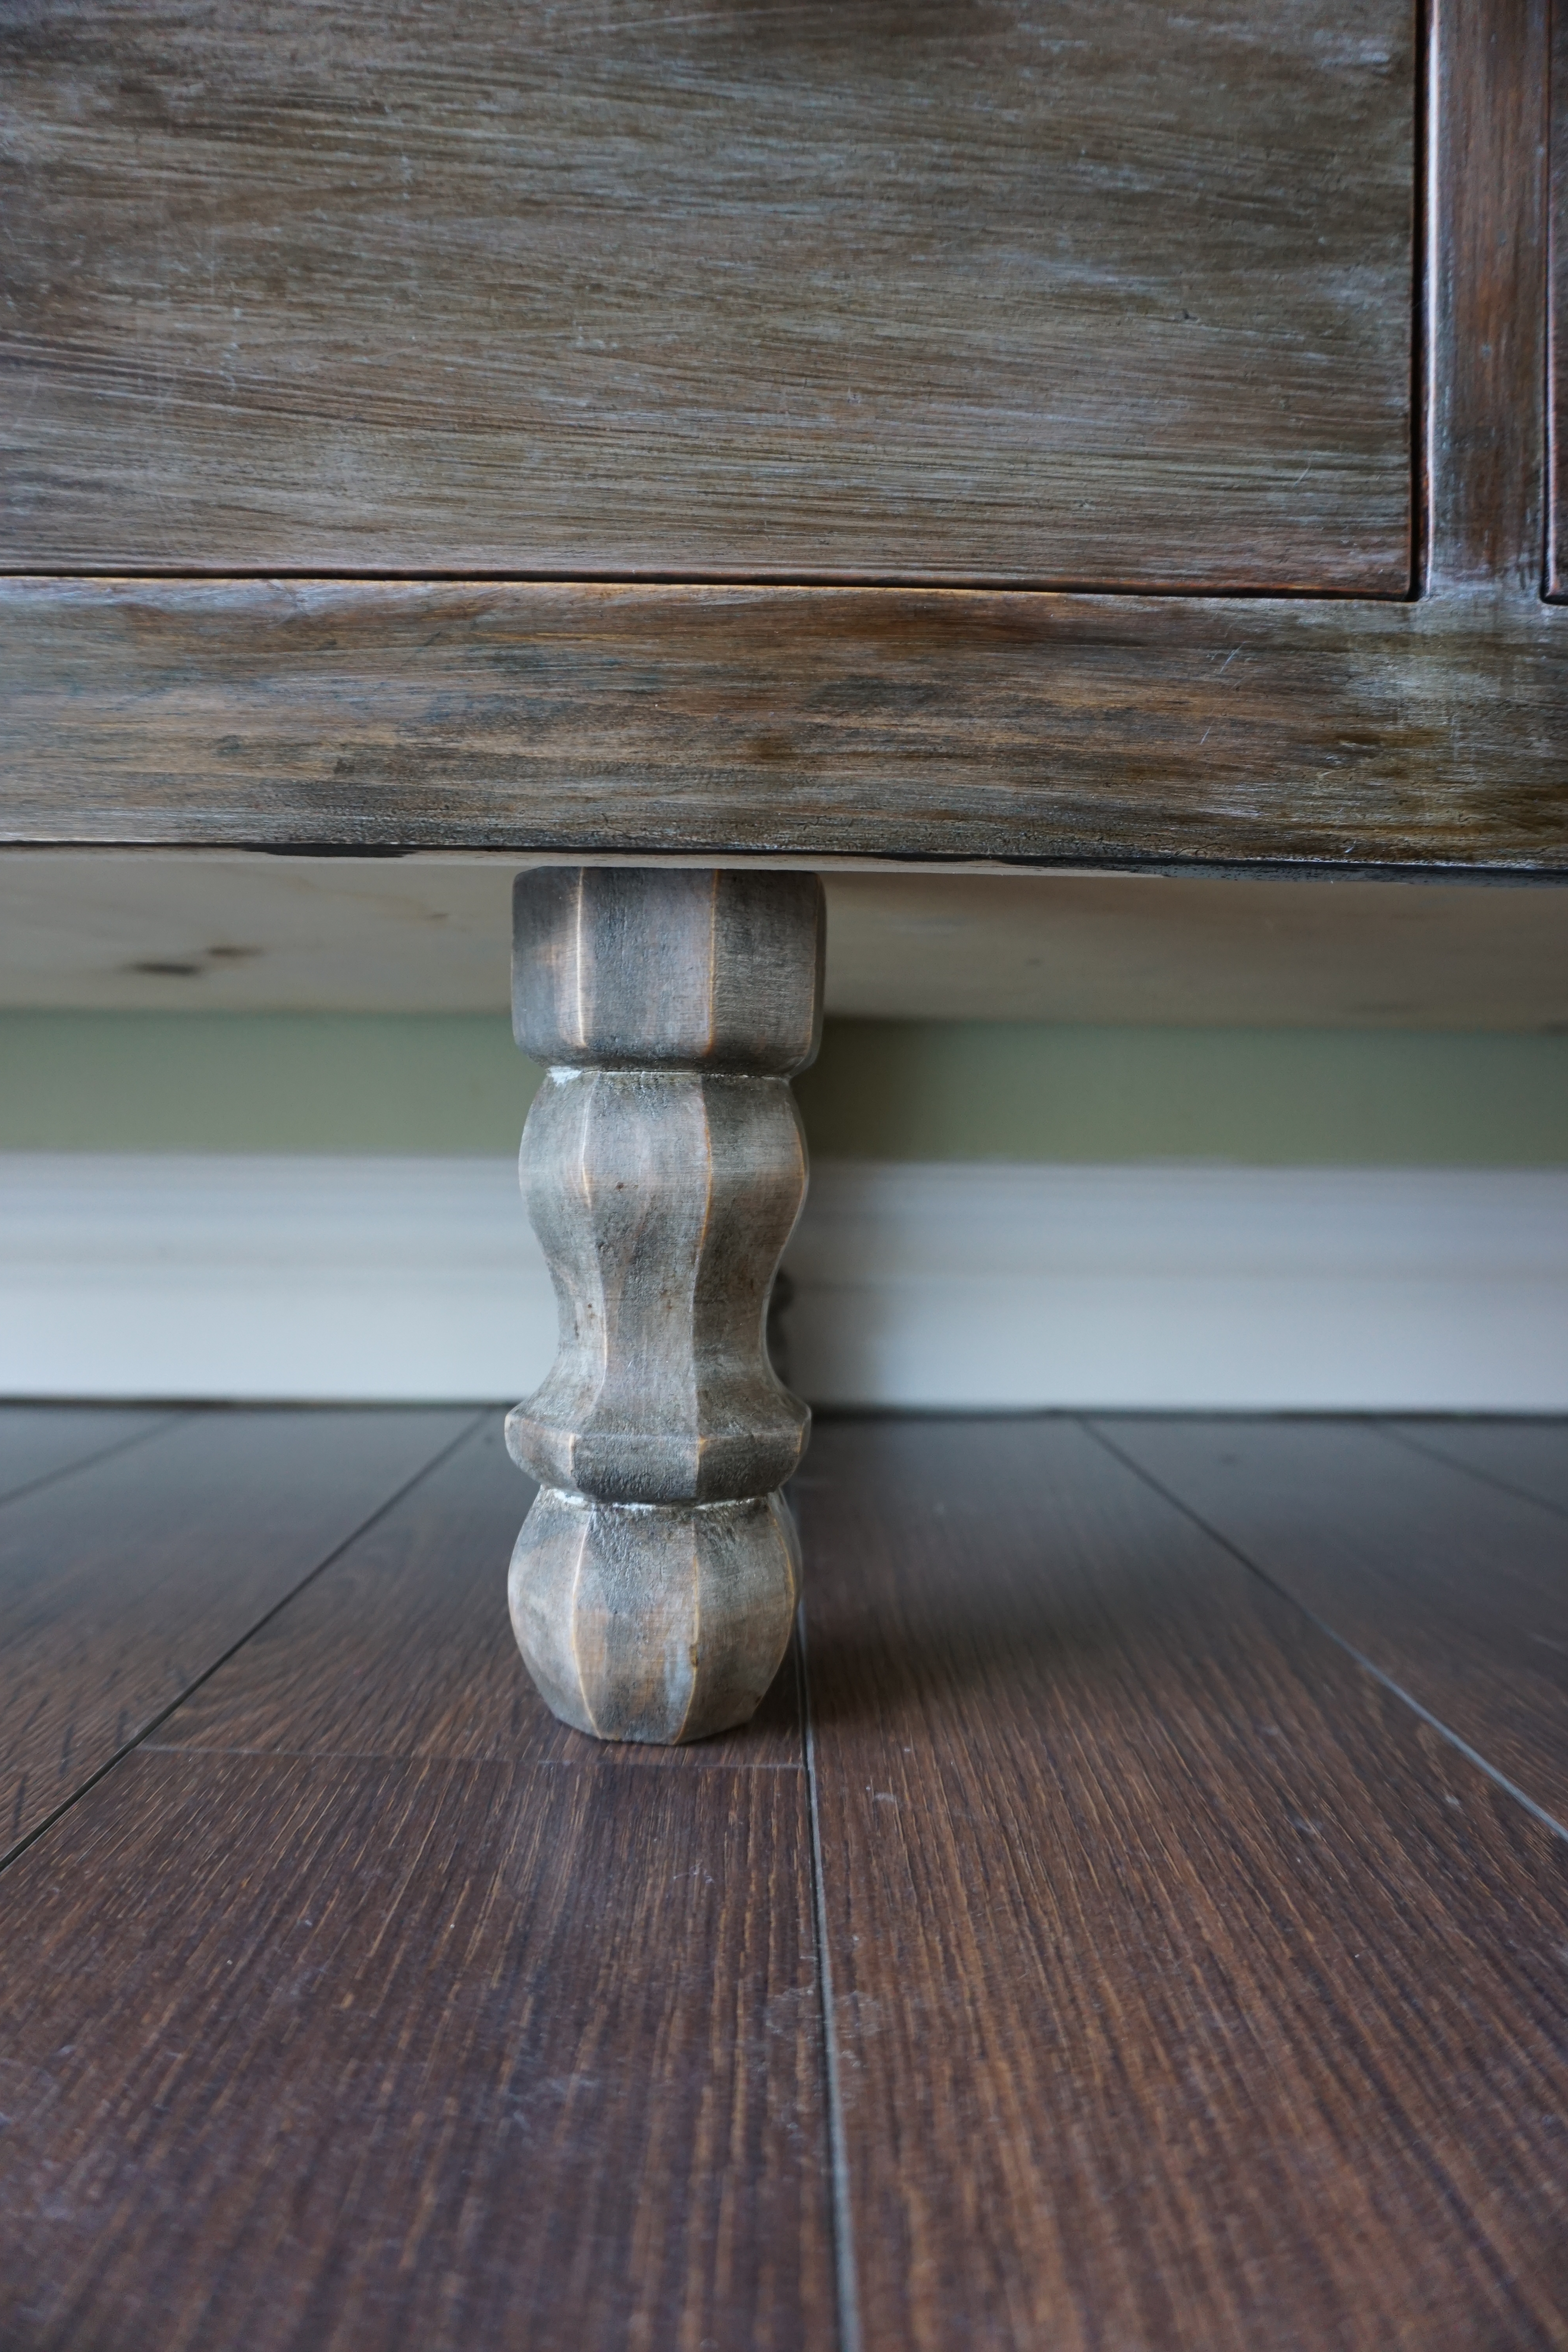
As mentioned above, I didn't like that the dresser body originally went right to the floor so I bought six 6-inch decorative legs and finished them to match the dresser. We attached metal mounting brackets directly to the bottom of the dresser and the legs screw right into them. I wouldn't suggest attaching the legs without the brackets as the built-in screw is very short so there isn't enough support. They could possibly break off if you moved the dresser around without lifting it. That's my worry, anyway.
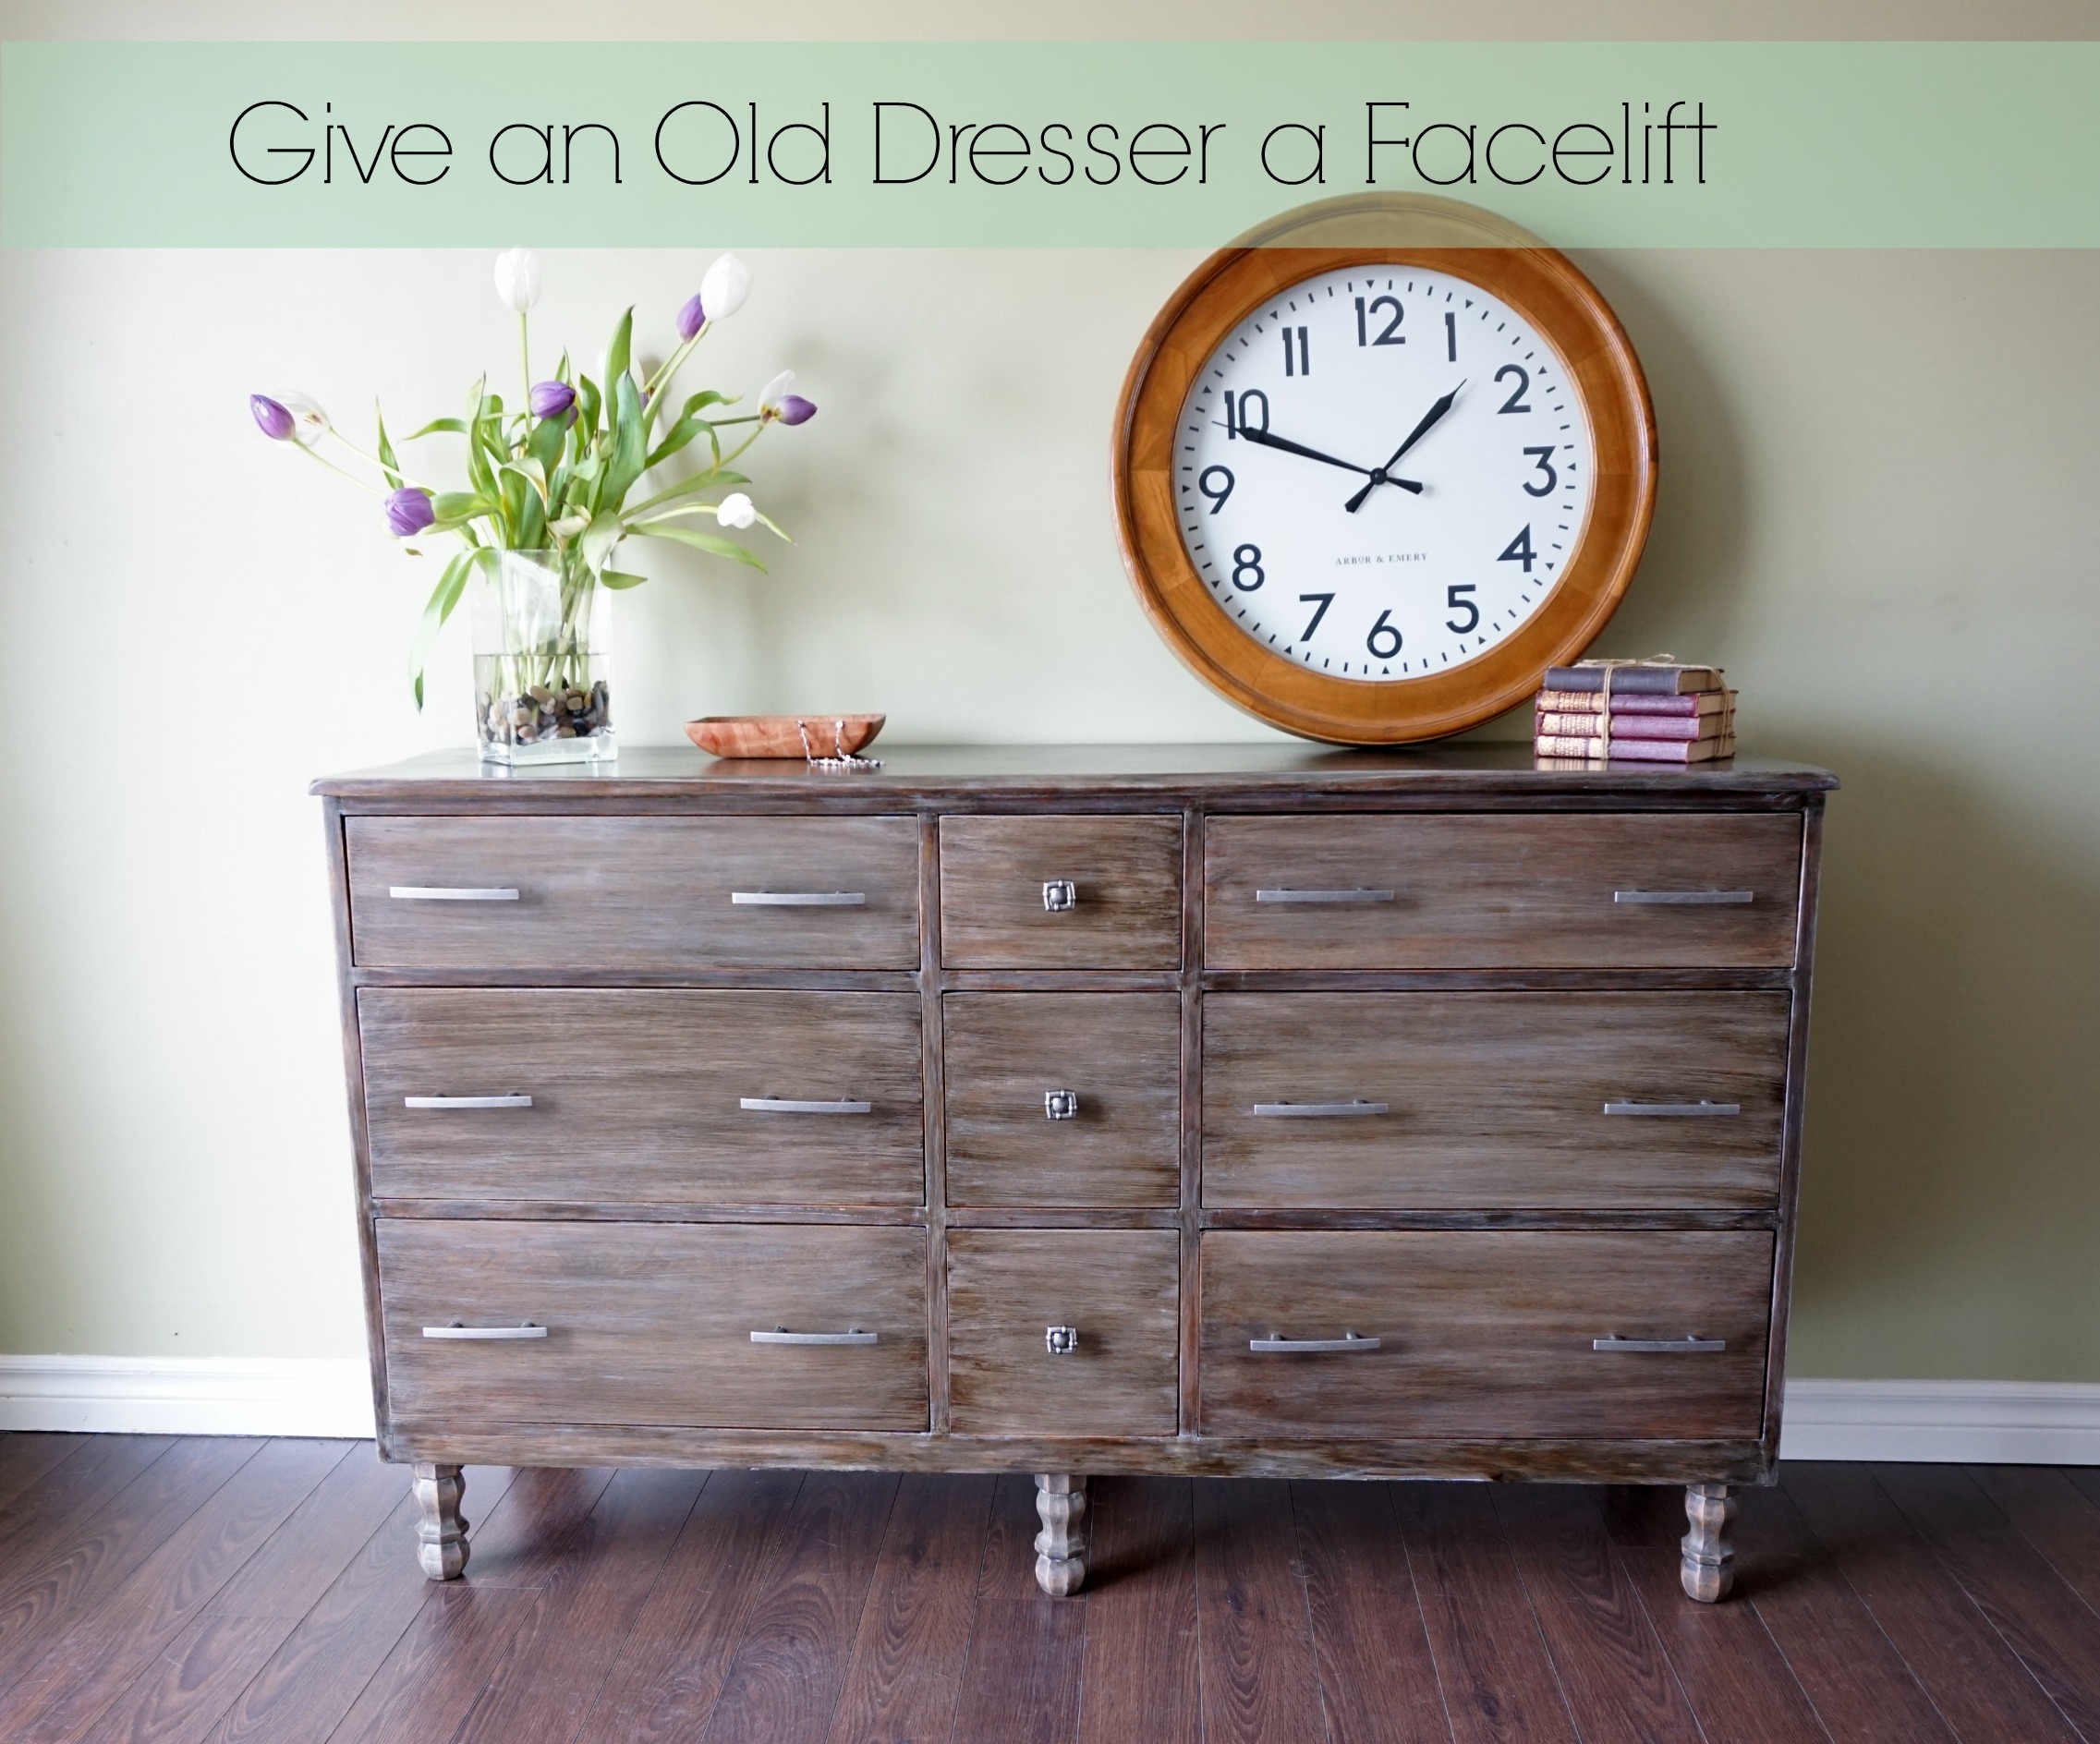
What's left on this journey? Hardware. I was leaning towards cup pulls like the ones we used on the drawers in our kitchen makeover but couldn't find anything I liked. We took a trip to Lee Valley Tools and I fell in love with some very expensive pulls ($14 each!), but it ended up that they were out of stock and discontinued. So it was back to Lowe's where I "settled" for the ones you see. I didn't really settle because I do like them a lot. Maybe even more than the pricey ones. The center knobs are kind of fun too with their woven, tufted look.
I'm really in love with this dresser. I set it up in the dining room to take advantage of the blank wall and afternoon light for photos. I'm thinking it looks pretty good there and would make an excellent buffet. I might have to go looking for another dresser!
But it's moved into the bedroom now and fits perfectly. I didn't mention that I sold that highboy I didn't like when we moved, so we've been making do with the one we used to have in the guest room (also a stain + paint makeover - my first one!) It's been pretty crowded with only a few drawers between us. I may actually get to unpack all of my clothes now!


