SEARCH THE BLOG

Jan 15, 2012

Main Floor Bathroom Makeover

We've been in this house for about 3 years.  In that time I think we've only changed 3 rooms.  I'm not sure why it's taking so long.  Well, one reason is that I can never decide what colour I want.  But it's only paint, right? 

One room that IS nearing completion is the main floor bathroom - the powder room if you will. 

This is the only "before" picture I have: 


Cool lizard, right?  Too bad it belongs to the people who lived here before.  As much as I liked each of the colours, I really didn't like the two-tone thing, and especially the wallpaper border between.  Most rooms had a border when we moved in.  Why, people, why?
I'm not a fan of that little corner shelf.  There are some in the basement as well.  It's just too small and impractical.  Nothing fits on it (except a bottle of something apparently) and it's too high up to be used to store a spare roll of paper.  My arms aren't long enough anyway.

The first thing I did was tear down that border and paint the entire room. I started by giving the ceiling a fresh coat of white paint. I had read about continuing your ceiling colour down onto the walls an inch or two to cover up any spillover from the previous paint job.  I think that's so brilliant.  I also did this around the window and door frame. I've spent way too much time in the past with artist brushes trying to cover up old paint.


There were all kinds of nicks in the wall, especially beside the toilet.  My guess is a toy was repeatedly banged against the wall during toilet-training sessions.  We took down the old towel rack and toilet paper holder and spackled the holes.  Or perhaps "craters" if you go by the size of the hole left by the towel rack.

I'm really happy with the new wall shade.  It's very soothing. What's funny is, at the same time I was doing this, Tom was painting the garage walls.  He didn't want to buy new paint so he mixed all of our light-coloured leftover paint together and came up with a pretty interesting grey-green colour.  I came home from the paint store, held my paint swatch up to his new wall...and it was the exact same colour.  Not intentional at all.  At least we'll be able to match it if he ever needs to do touch-ups.


We decided that this was also a good time to buy a new toilet.  Our town has terribly hard water and the previous owners didn't have a water softener, so all of the toilets have hard water stains in them.  And our town also had a $75 rebate program for toilet replacement this year.  Nice. Not to mention that we got to get rid of that wooden toilet seat. Taking out the toilet before painting also made it easier to get a smooth,even coat on the wall behind.  And I didn't have to practice my yoga moves to get in there.

As mentioned, the window & door frame got a coat of white.  As did the baseboards.  It was a "builder's white" before - which everyone knows is not white at all. Here is the nice new toilet all installed.  It's higher than the last one - the only thing Tom put on the "must have" list.  I like the flat top (and the white seat!)


I took down the light fixture and toilet paper holder and spraypainted them oil rubbed bronze.  I had looked for replacements but nothing caught my eye or was in my price range.  Just a few coats of paint and they look brand-new. Plus I like the contrast with the wall colour. I did buy a new towel rack that had similar lines and spraypainted it as well. Eventually I want to replace the light as I think it's too big for the space, but it'll do for now.


Wow, the wall looks like a different colour in every picture.

I also painted the magazine rack with ORB.  Gotta match, right?  It was originally an off-white that wasn't doing it for me anyway.


This room isn't finished though.  I still want to frame in the mirror.  I have the wood - I just need to stain it and get it installed.  I'm going to try to give it an aged barnboard look.  And the room needs some wall art.  Again, I have it, I just haven't gotten around to hanging it.  I found some plaques at Hobby Lobby (at 90% off!) that mimic the colours in the room. 

I'm also going to paint the sides and front of the cabinet a deep brown to go with the fixtures.  The current beige just doesn't fit.  I think once it's done, the brown, grey-green, and orange (tile) will be a terrific combination.


Have you been making any colour changes in your house? Planning any big projects for 2012? Trying to cover up the "mexican restaurant" theme like we are?


~~~~~~

I'm linking up here this week!


Jan 10, 2012

Stuffed Turtle Toy

I've had a project pinned on Pinterest for quite a while that I've been looking forward to trying.   It's a fabric stuffed turtle and it's cute as can be.  I believe it's based on this Pottery Barn Kids toy.

Our dogs are really hard on their stuffed toys so we've taken to either buying toys from the dollar store or from Goodwill because they aren't going to last anyway.  And if I could find a way to make something than it would be even cheaper. Plus, if they're cute enough maybe I could sell them.

Well, they aren't cute enough yet, but I'm getting there.

The original tutorial is on make it-love it.com.  She also provides a template for the fabric pieces.  I used her pattern exactly for the first one and I found the body to be far too large.  I cut it down for the second and it was better, but I think I'm still going to tweak it a bit.  Maybe an oval instead of a circle.

I followed her steps exactly but I'll walk you through it.

Cut out all of your pieces from whatever fabric you like.  I went to Goodwill and bought an old sheet, some pillowcases, and some cloth napkins, trying to find complementary patterns/colours. I used two different patterns for the top of the shell, and then a third one for the head, legs, tail, and bottom.


Take two of your leg pieces, and sew them together with the right sides facing in, remembering to leave the top edge open.  Do the same with the rest of the legs, the tail, and the head.

Here is my fancy needle work. Don't be jealous. 

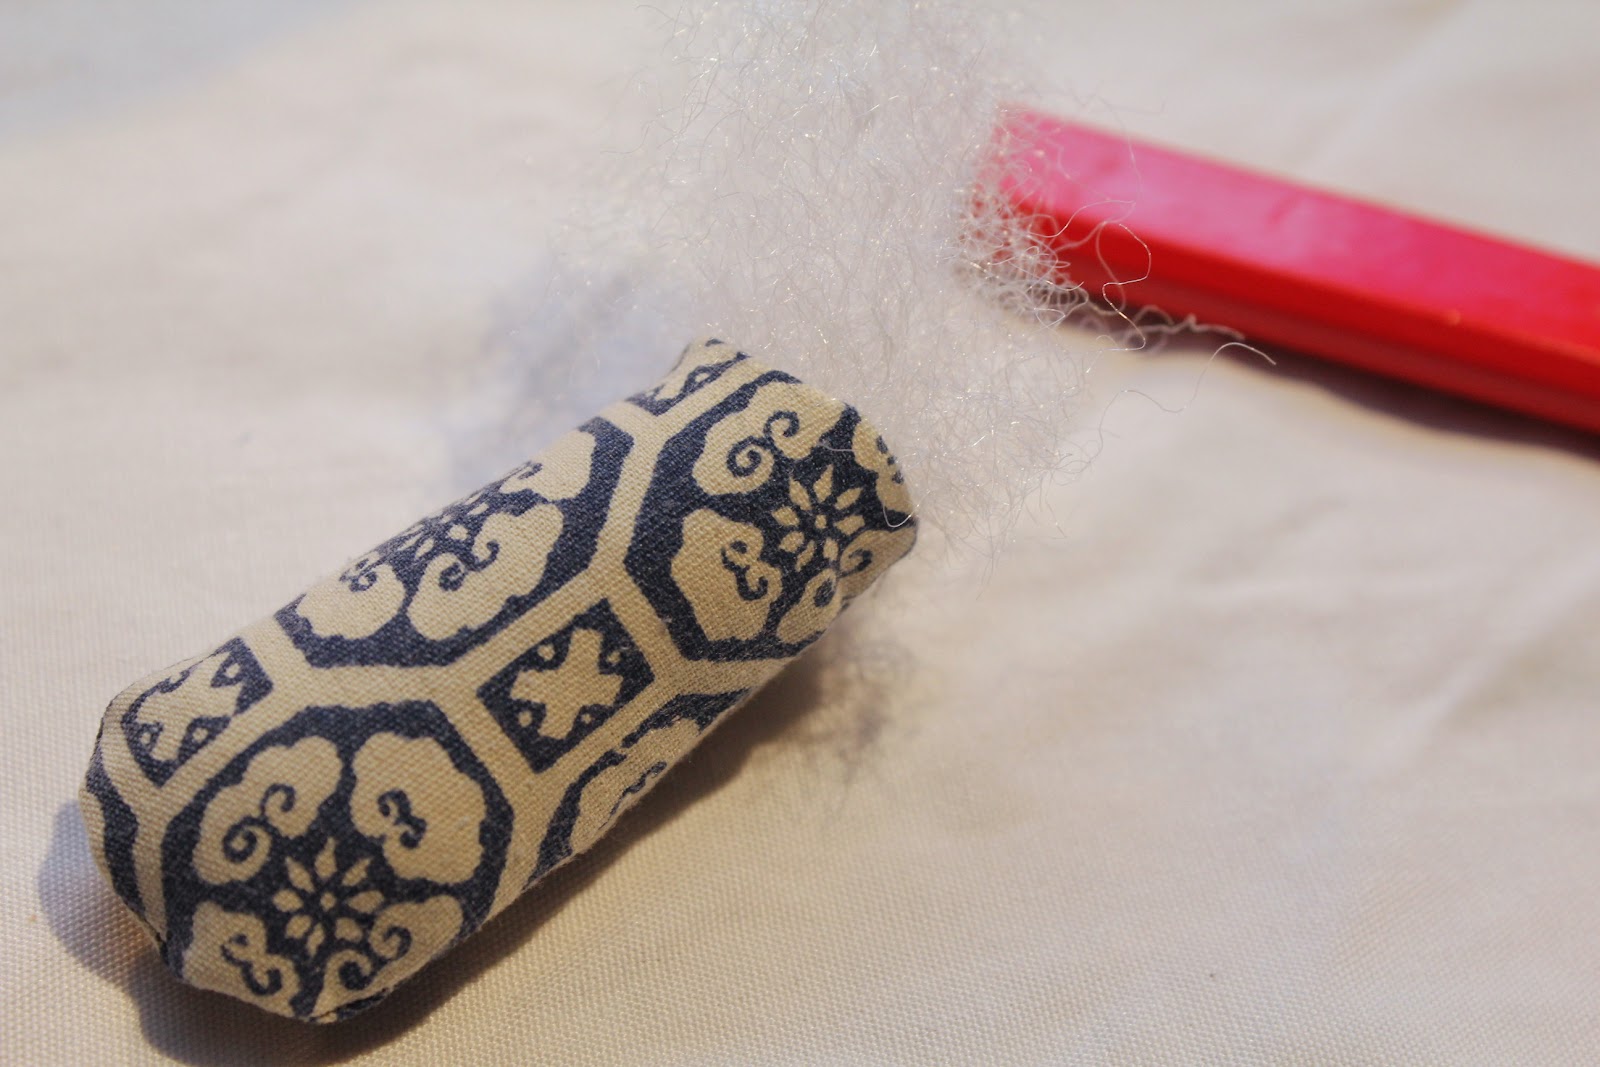
Turn each sewn piece right side out using a pencil,
paint brush, or whatever you can find.


Fill each sewn piece with stuffing (I bought a huge bag of polyester fiberfill at Michael's for about $5), using the pencil to push it in firmly.


Sew each piece closed, leaving yourself about a 1/4 inch seam.


Take two of the shell pieces, face the right sides in, and sew from the top of the shell, down ONE side to the bottom.  Do this again with your other two pieces.

 
Open the shell pieces up.  Pin the head to one of the sides about 1/2 inch up from the bottom.  It should be pinned onto the right side (i.e. the good side) with raw edges facing together.  Do the same with the tail on the other end.  Sew the two pieces into place.  (Note: I sewed the head on upside down on this one.  I haven't decided yet which way I like better.)


Take the other shell half, lay it on top of the first one - right sides in - and sew the two pieces together leaving the bottom of the shell open.  It should look like this when you're finished. (Or it might look better. There's a pretty good chance.)


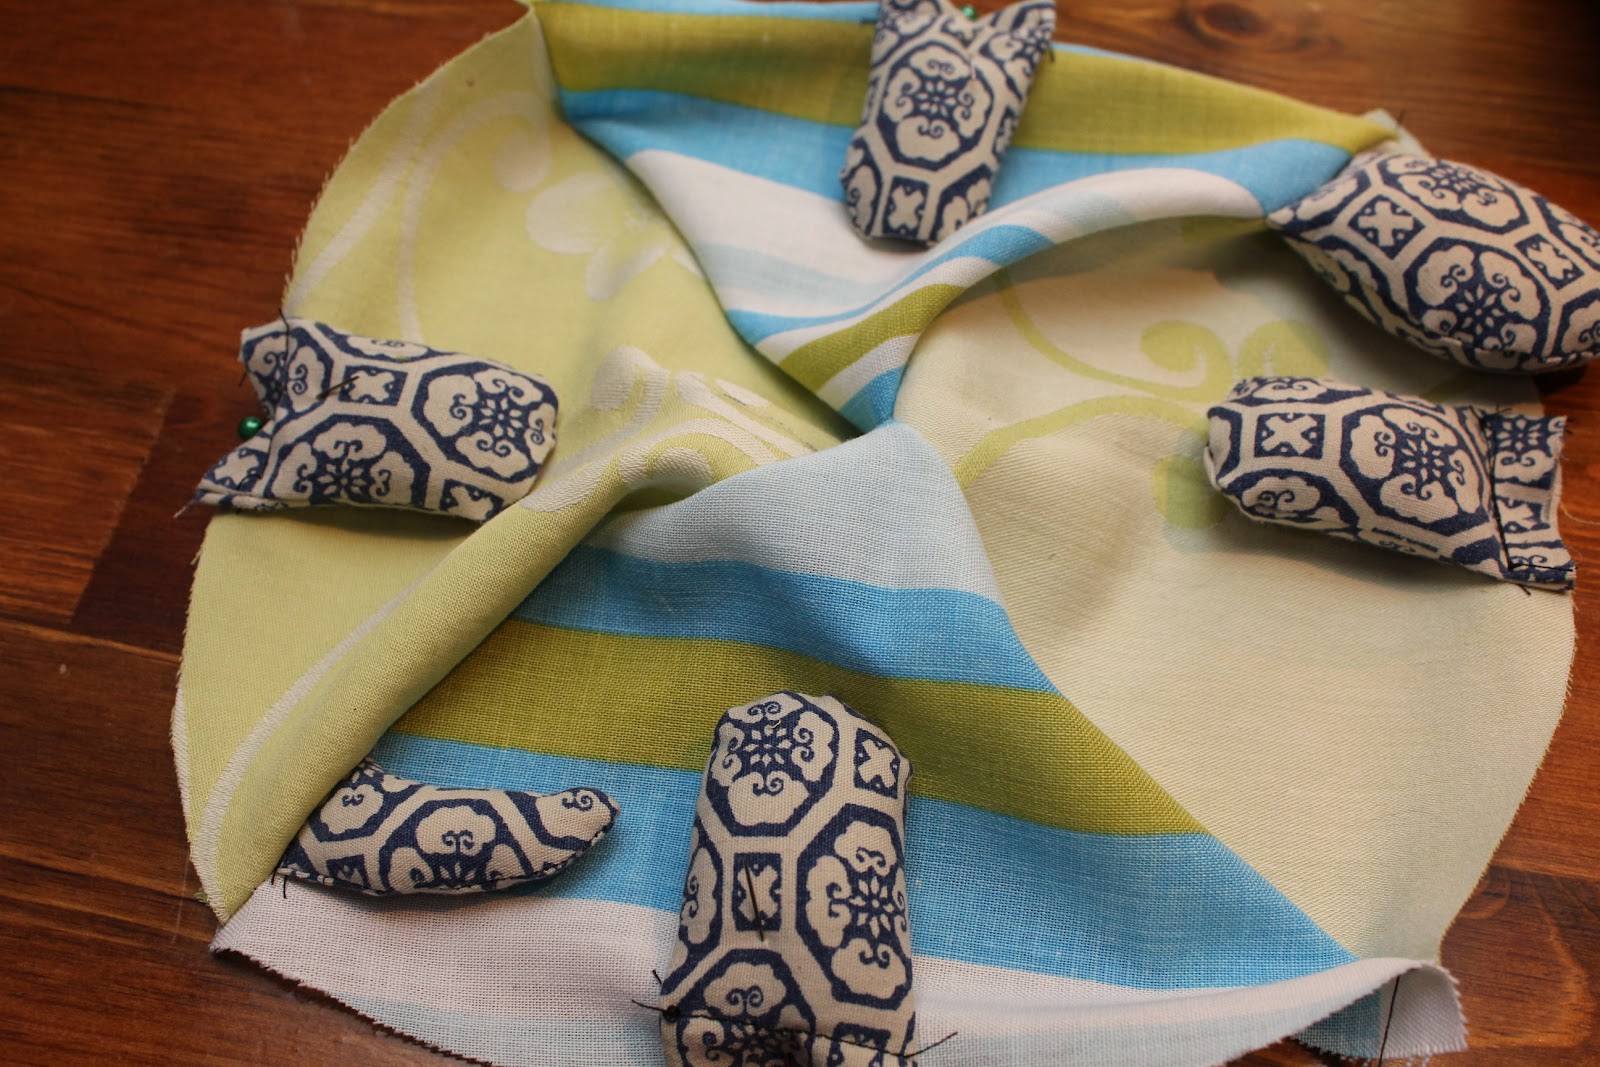
Pin each of the feet to the bottom edge of the shell, approximately in the center of each shell piece.  Attach each of the feet as you did with the head and tail.


Turn it inside out and place it on top of the circle bottom, right sides facing together.  Pin all around the circle attaching the two pieces together.  Sew around the circle leaving yourself an opening about 2-3 inches long between two of the side legs. 


Turn the turtle right side out and fill with your stuffing. Make sure it is really fluffy but not lumpy.  Fold your raw edges in and finish with your choice of stitch.  I won't be demonstrating that.  Here is a tutorial for a blind stitch.

And there it is!  Yeah, kind of awkward.  But I love him. 


 And someone else does too. 
Chloe adopted him right away and wasn't about to let go.


For my second turtle I only used two fabrics and made the shell pieces significantly smaller. I'm really digging the bottom fabric.  I think I'll use just that one next time.


He's a little more proportioned.  But still kind of funky. 

I'll keep working on it. 


~~~~~~

I'm linking up here this week!


Jan 6, 2012

Turtle Soup (Bowl?)


I stumbled across this picture today while reading
a blog I follow, The Tasty Island (Honolulu food blog). 
Pomai was on a trip to Las Vegas and San Francisco in the fall
and blogged about the food he experienced.

There is a bakery in San Francisco at Fisherman's Wharf
called Boudin that specializes in sourdough. 
Pomai, as always, did an excellent job of describing all they offer
with many, many interesting pictures.

How about a crab?

Or an alligator?

Aren't they fun?

But back to the turtle

How fantastic is that? 
You know I want one (or more than one). 

So who lives in the area that could mail some to me? 

Can you even send bread over the border? 

Maybe I'll just have to add San Franscisco to my
list of places to visit one day.

As if it wasn't already there.

Related Posts Plugin for WordPress, Blogger...