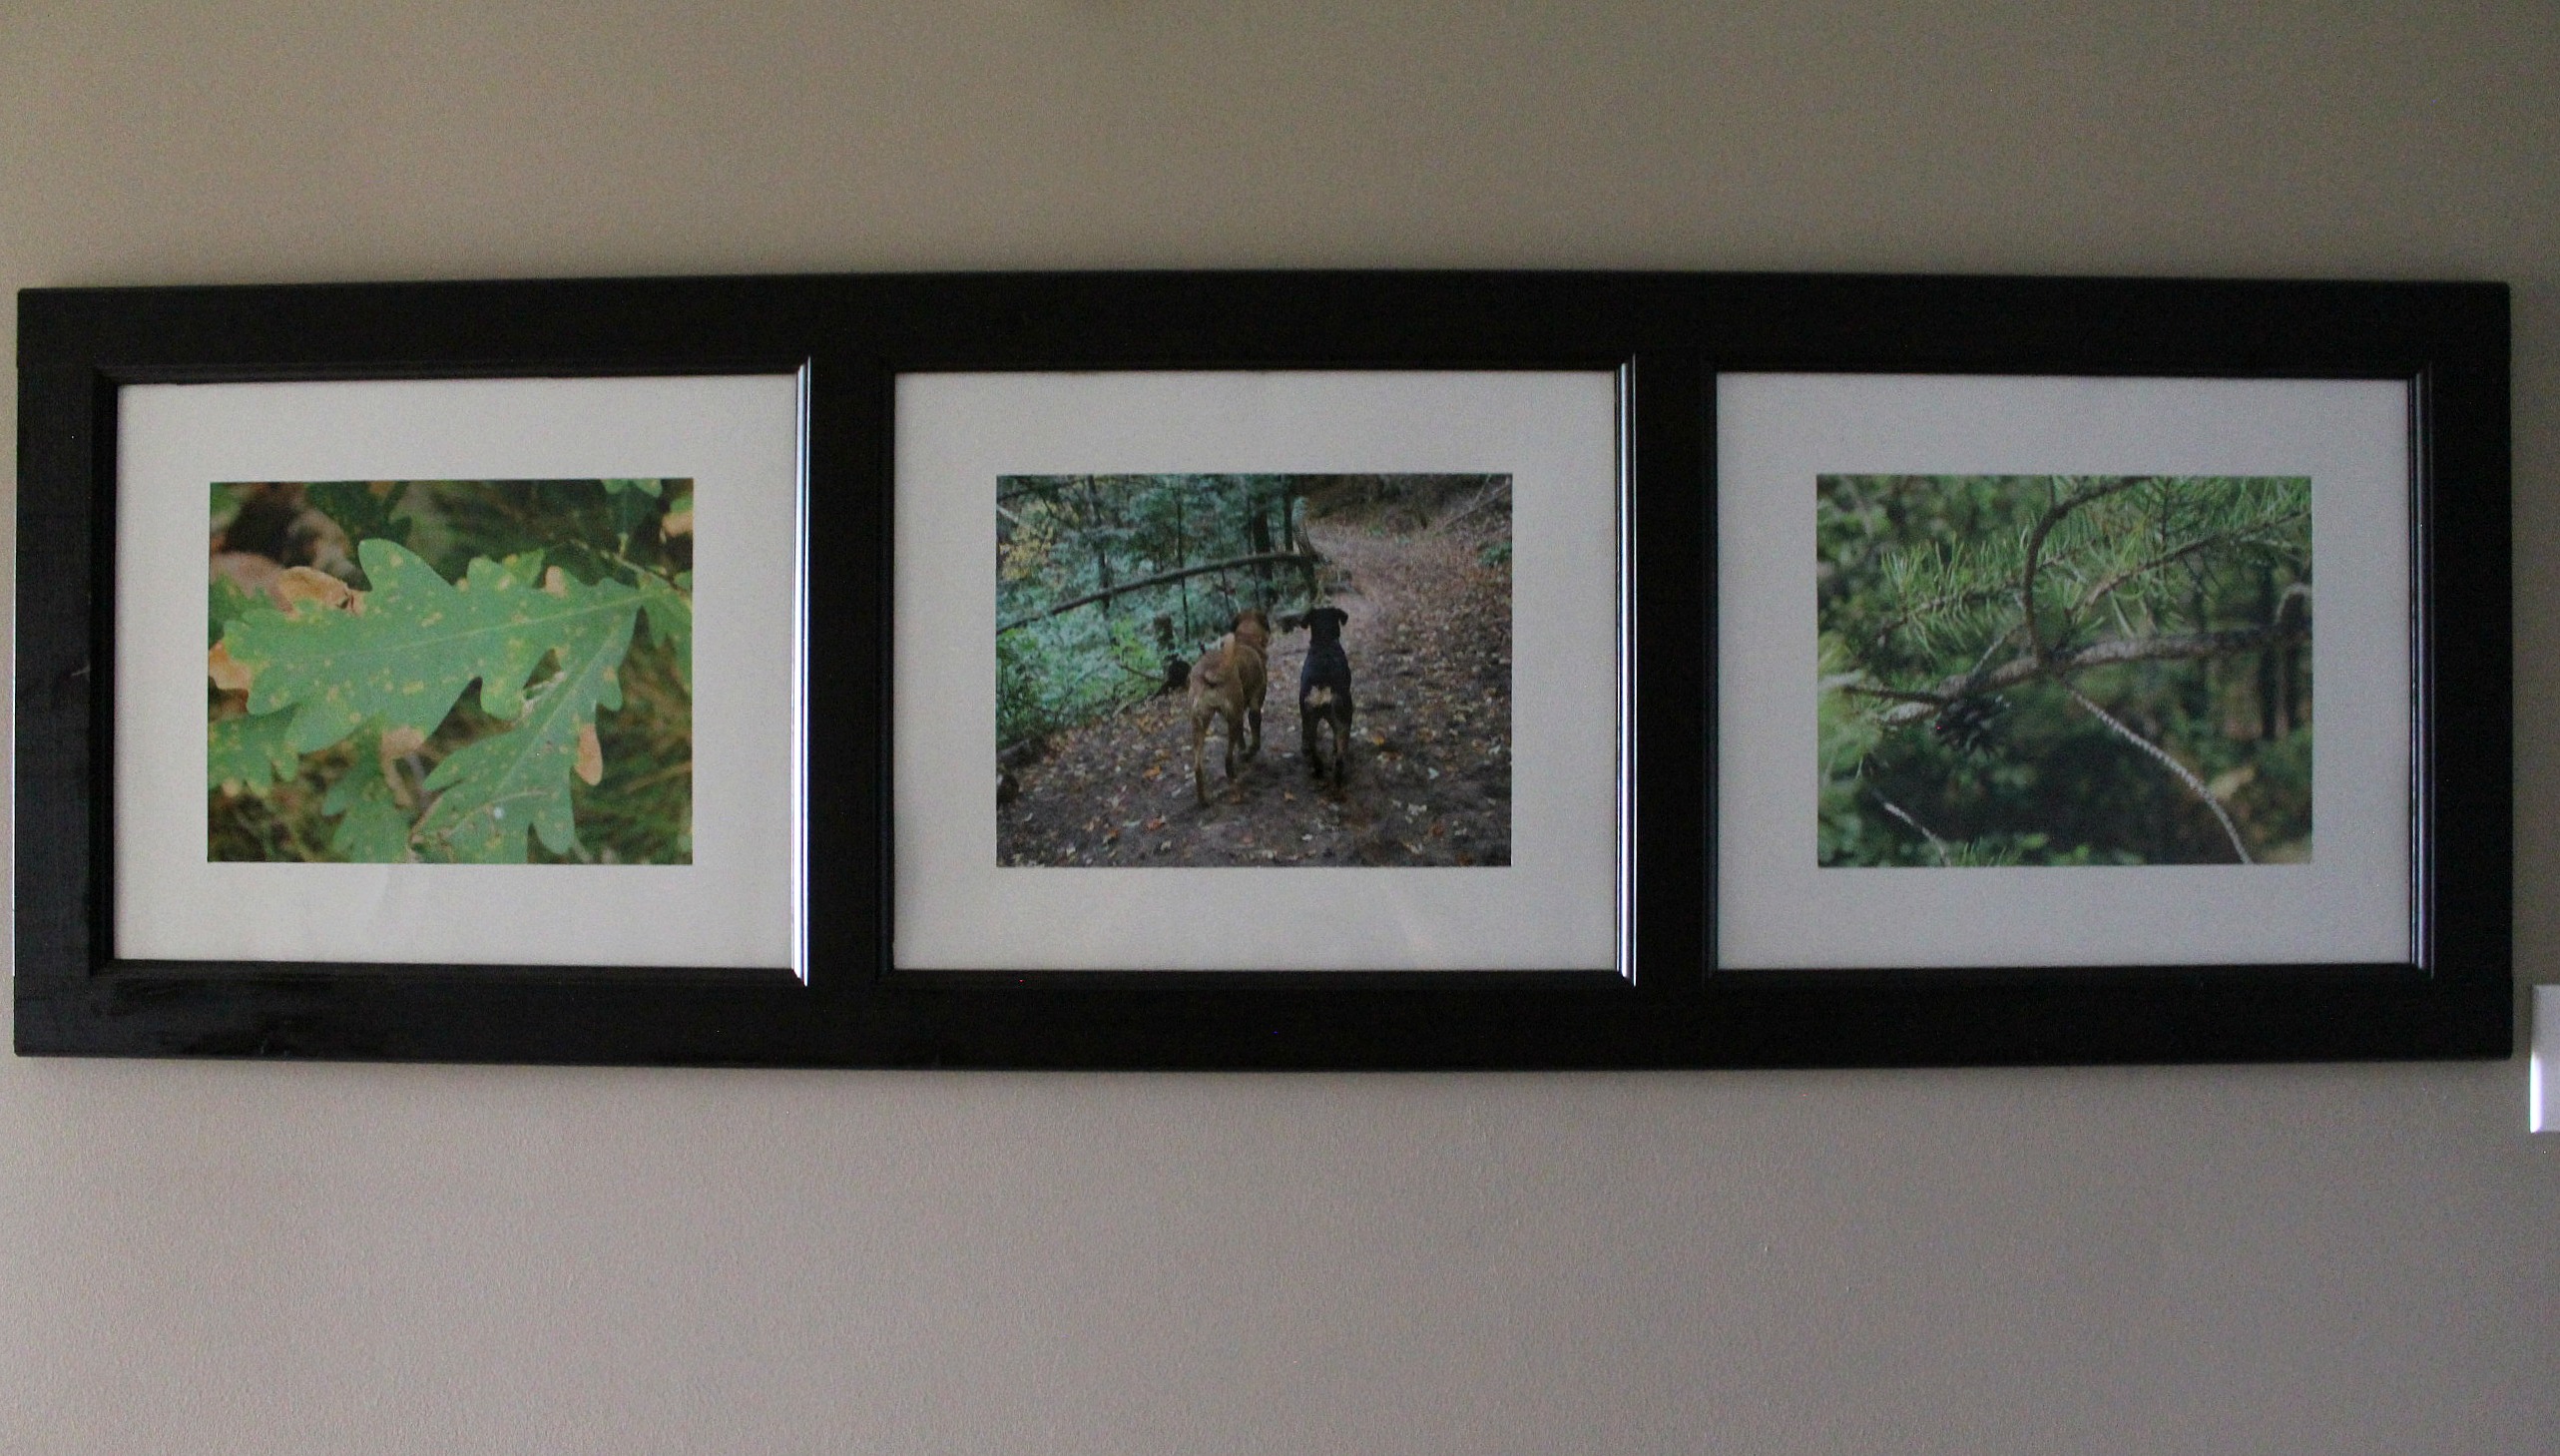
We hung it in the upstairs hallway right away, but it was some time before we filled it with photos. First I needed to decide which photos to choose. Pictures of us? Of the dogs? Vacation? Which one? I'm not great at narrowing down my options.
Then Black's Photo Centre had a 3-day sale - 75% off on oversized photos. That forced me to get my butt in gear and choose some pictures already. Each glass pane was 17" x 21", so I went with the 12" x 18" size (the next option up was 16" x 24" so that was no good). With the 75% discount it ended up being about $15 for all three pictures, including tax. Now, that's a deal! As a little side plug for Black's - you just upload the photos and within a few days (just 1 hour for smaller photos) you can go pick them up at your nearest store. I love how easy it is.
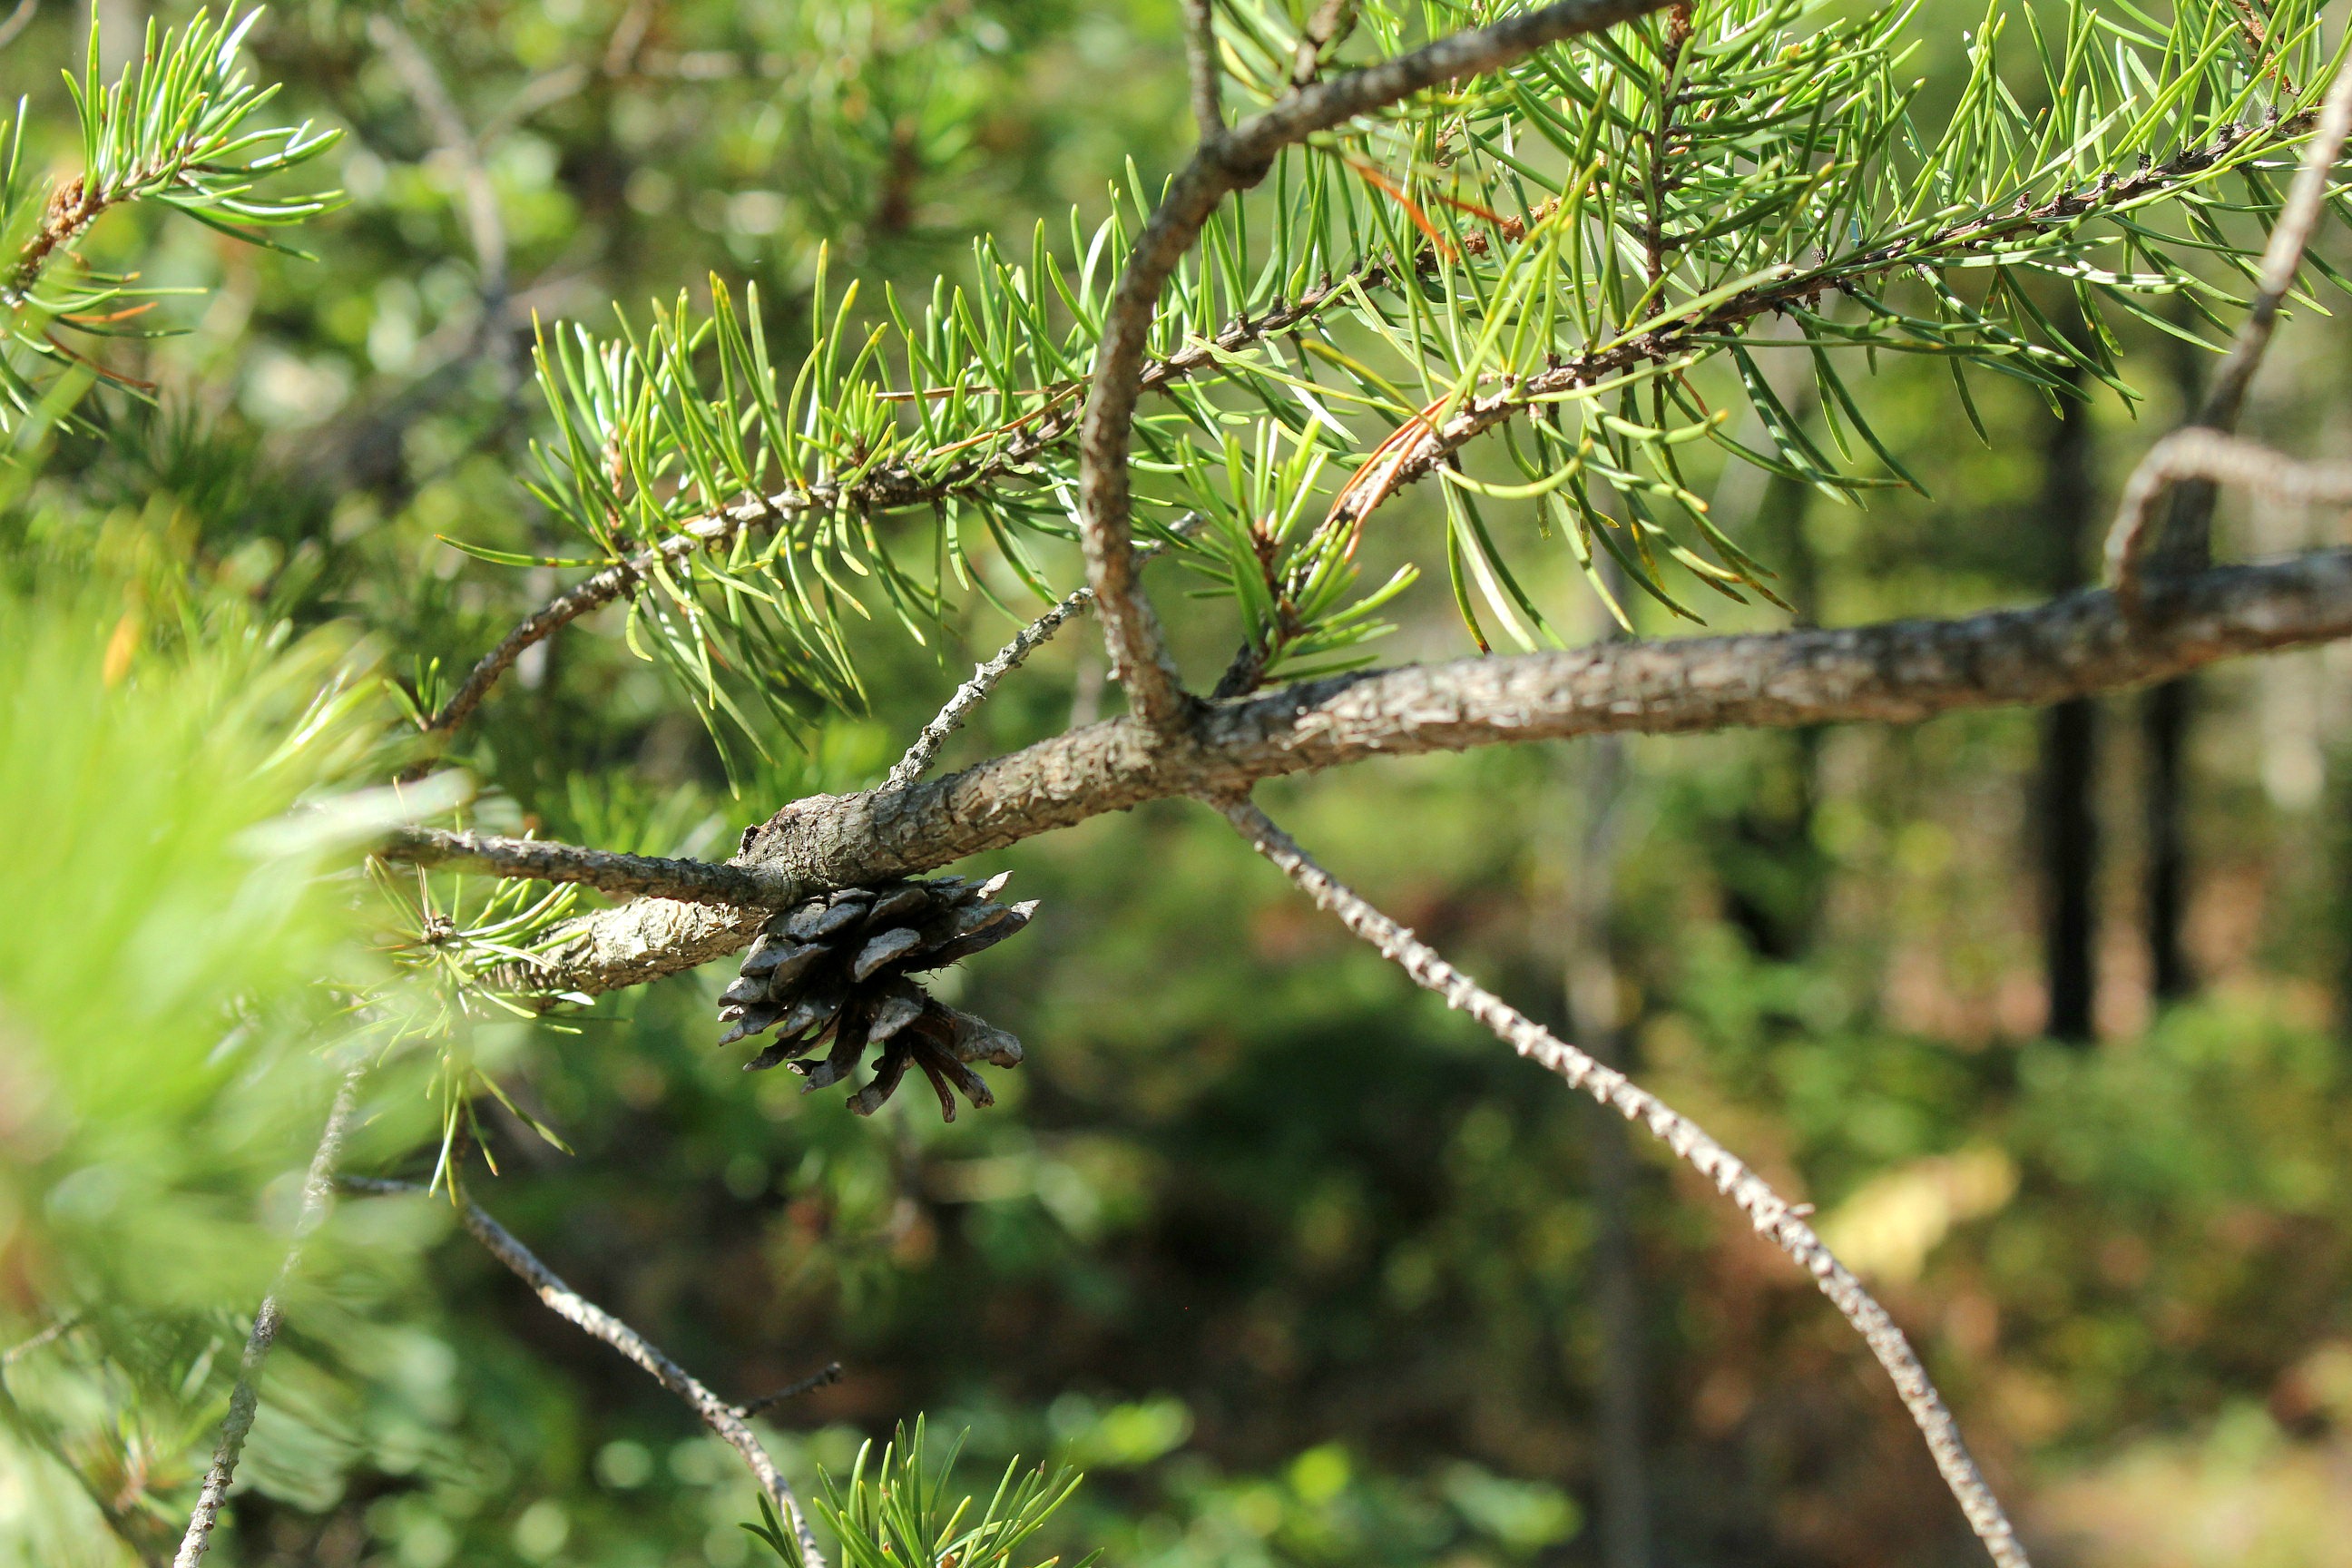
The three pictures I chose were:
I used thick poster board for matting, and cut a 3 inch border all around, making the photo area 11" x 15". Because there is no backing board like a regular picture frame would have, I had to tape the heck out of it so that it would stay in place. But from the front you would never know.
Now we have some decoration in a mostly drab hallway. The greens in the pictures really stand out and I find they attract my eye every time I walk down the hall. I still have to buff out the areas where I repaired the scratches, but the frame is looking a lot better than it did in the first picture. I'm pretty sure Tom thought I was wasting money by buying the door frame, but now that it's all done (and for less than $50 all together), he'll admit that it looks pretty nice.


2 comments:
Hey Barb,
your tutorial are great. I think that your changed Pattern are so much better! I
Thank you! I'd love to see what you end up with - I have to keep practicing myself!
Post a Comment