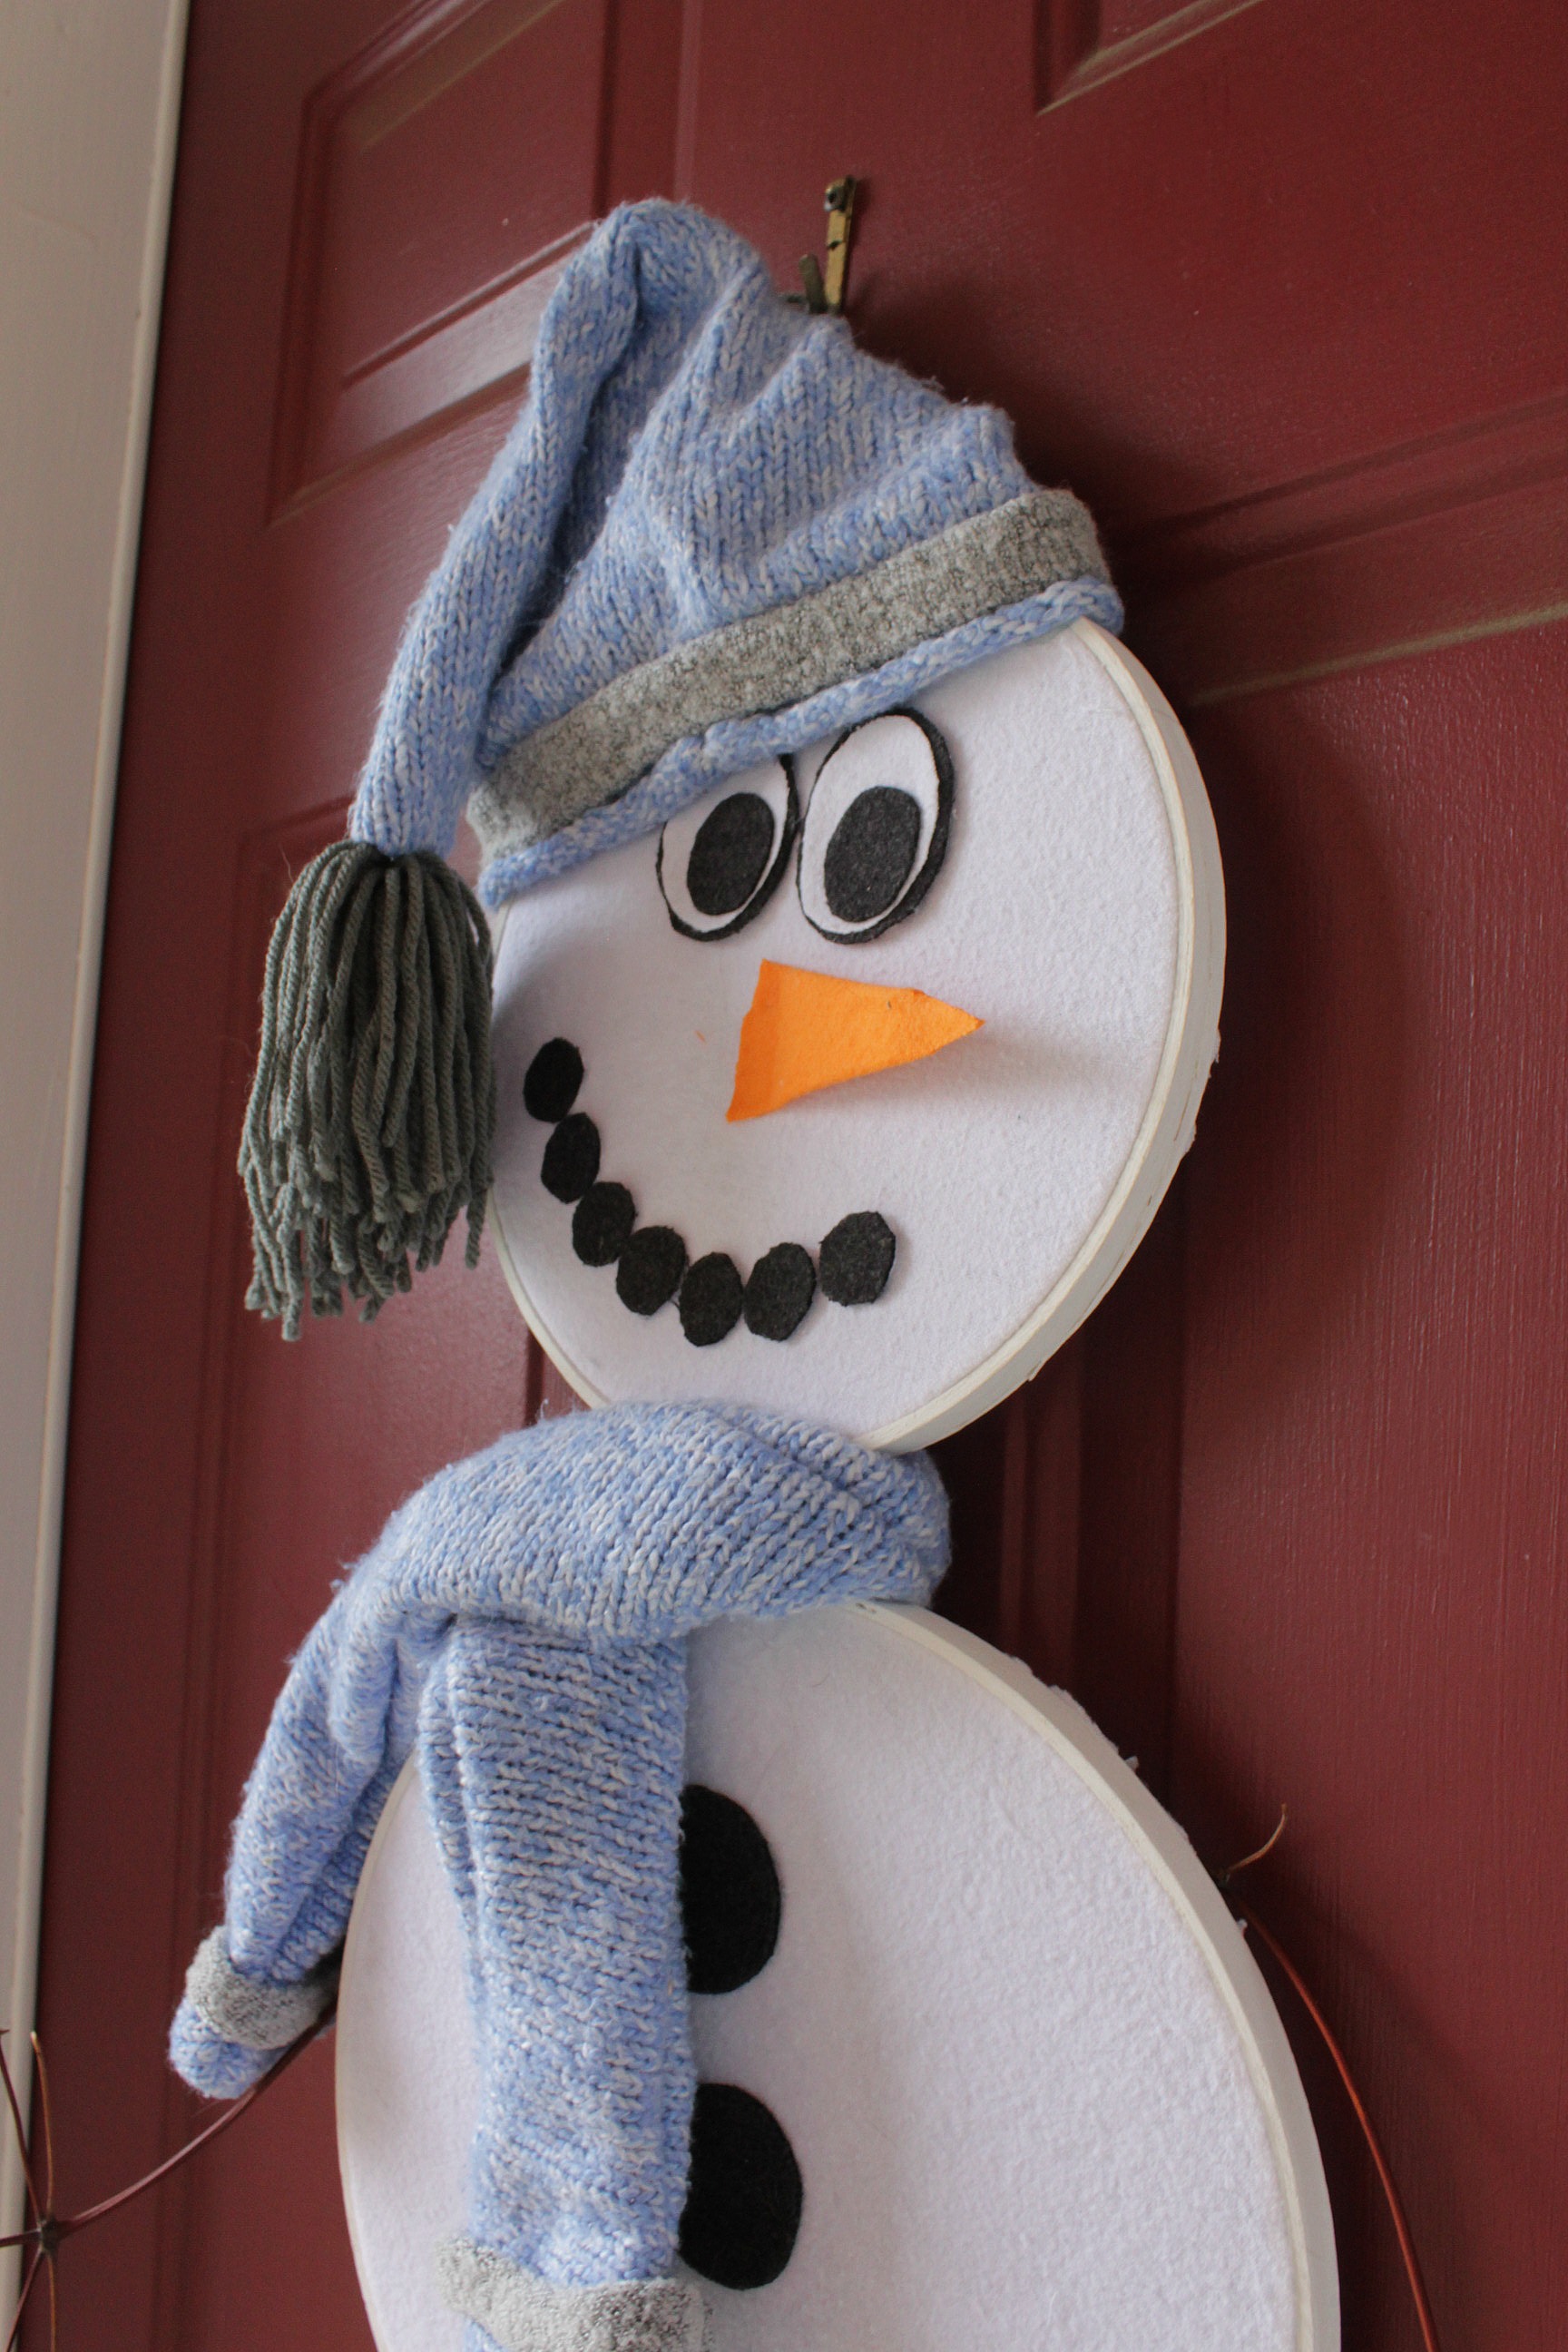
I had a little fun this week, playing around with crafts and getting into the Christmas spirit. I've been wanting to make this snowman door hanging for a couple of years. I always thought I'd find embroidery hoops at the thrift store but never did. When I was at the fabric store buying material for the receiving blankets, I wandered over to the embroidery area and was surprised at how inexpensive the hoops were. I think it cost about $7 for all three. All of the other materials came from scraps I already had.
The first thing I did was paint each of the hoops white. I covered all of the outside, the front, and most of the inside. (Don't skip painting the inside - I didn't do a very good job the first time and had to take the snowman apart when I found you could still see bare wood along the inside edges.)
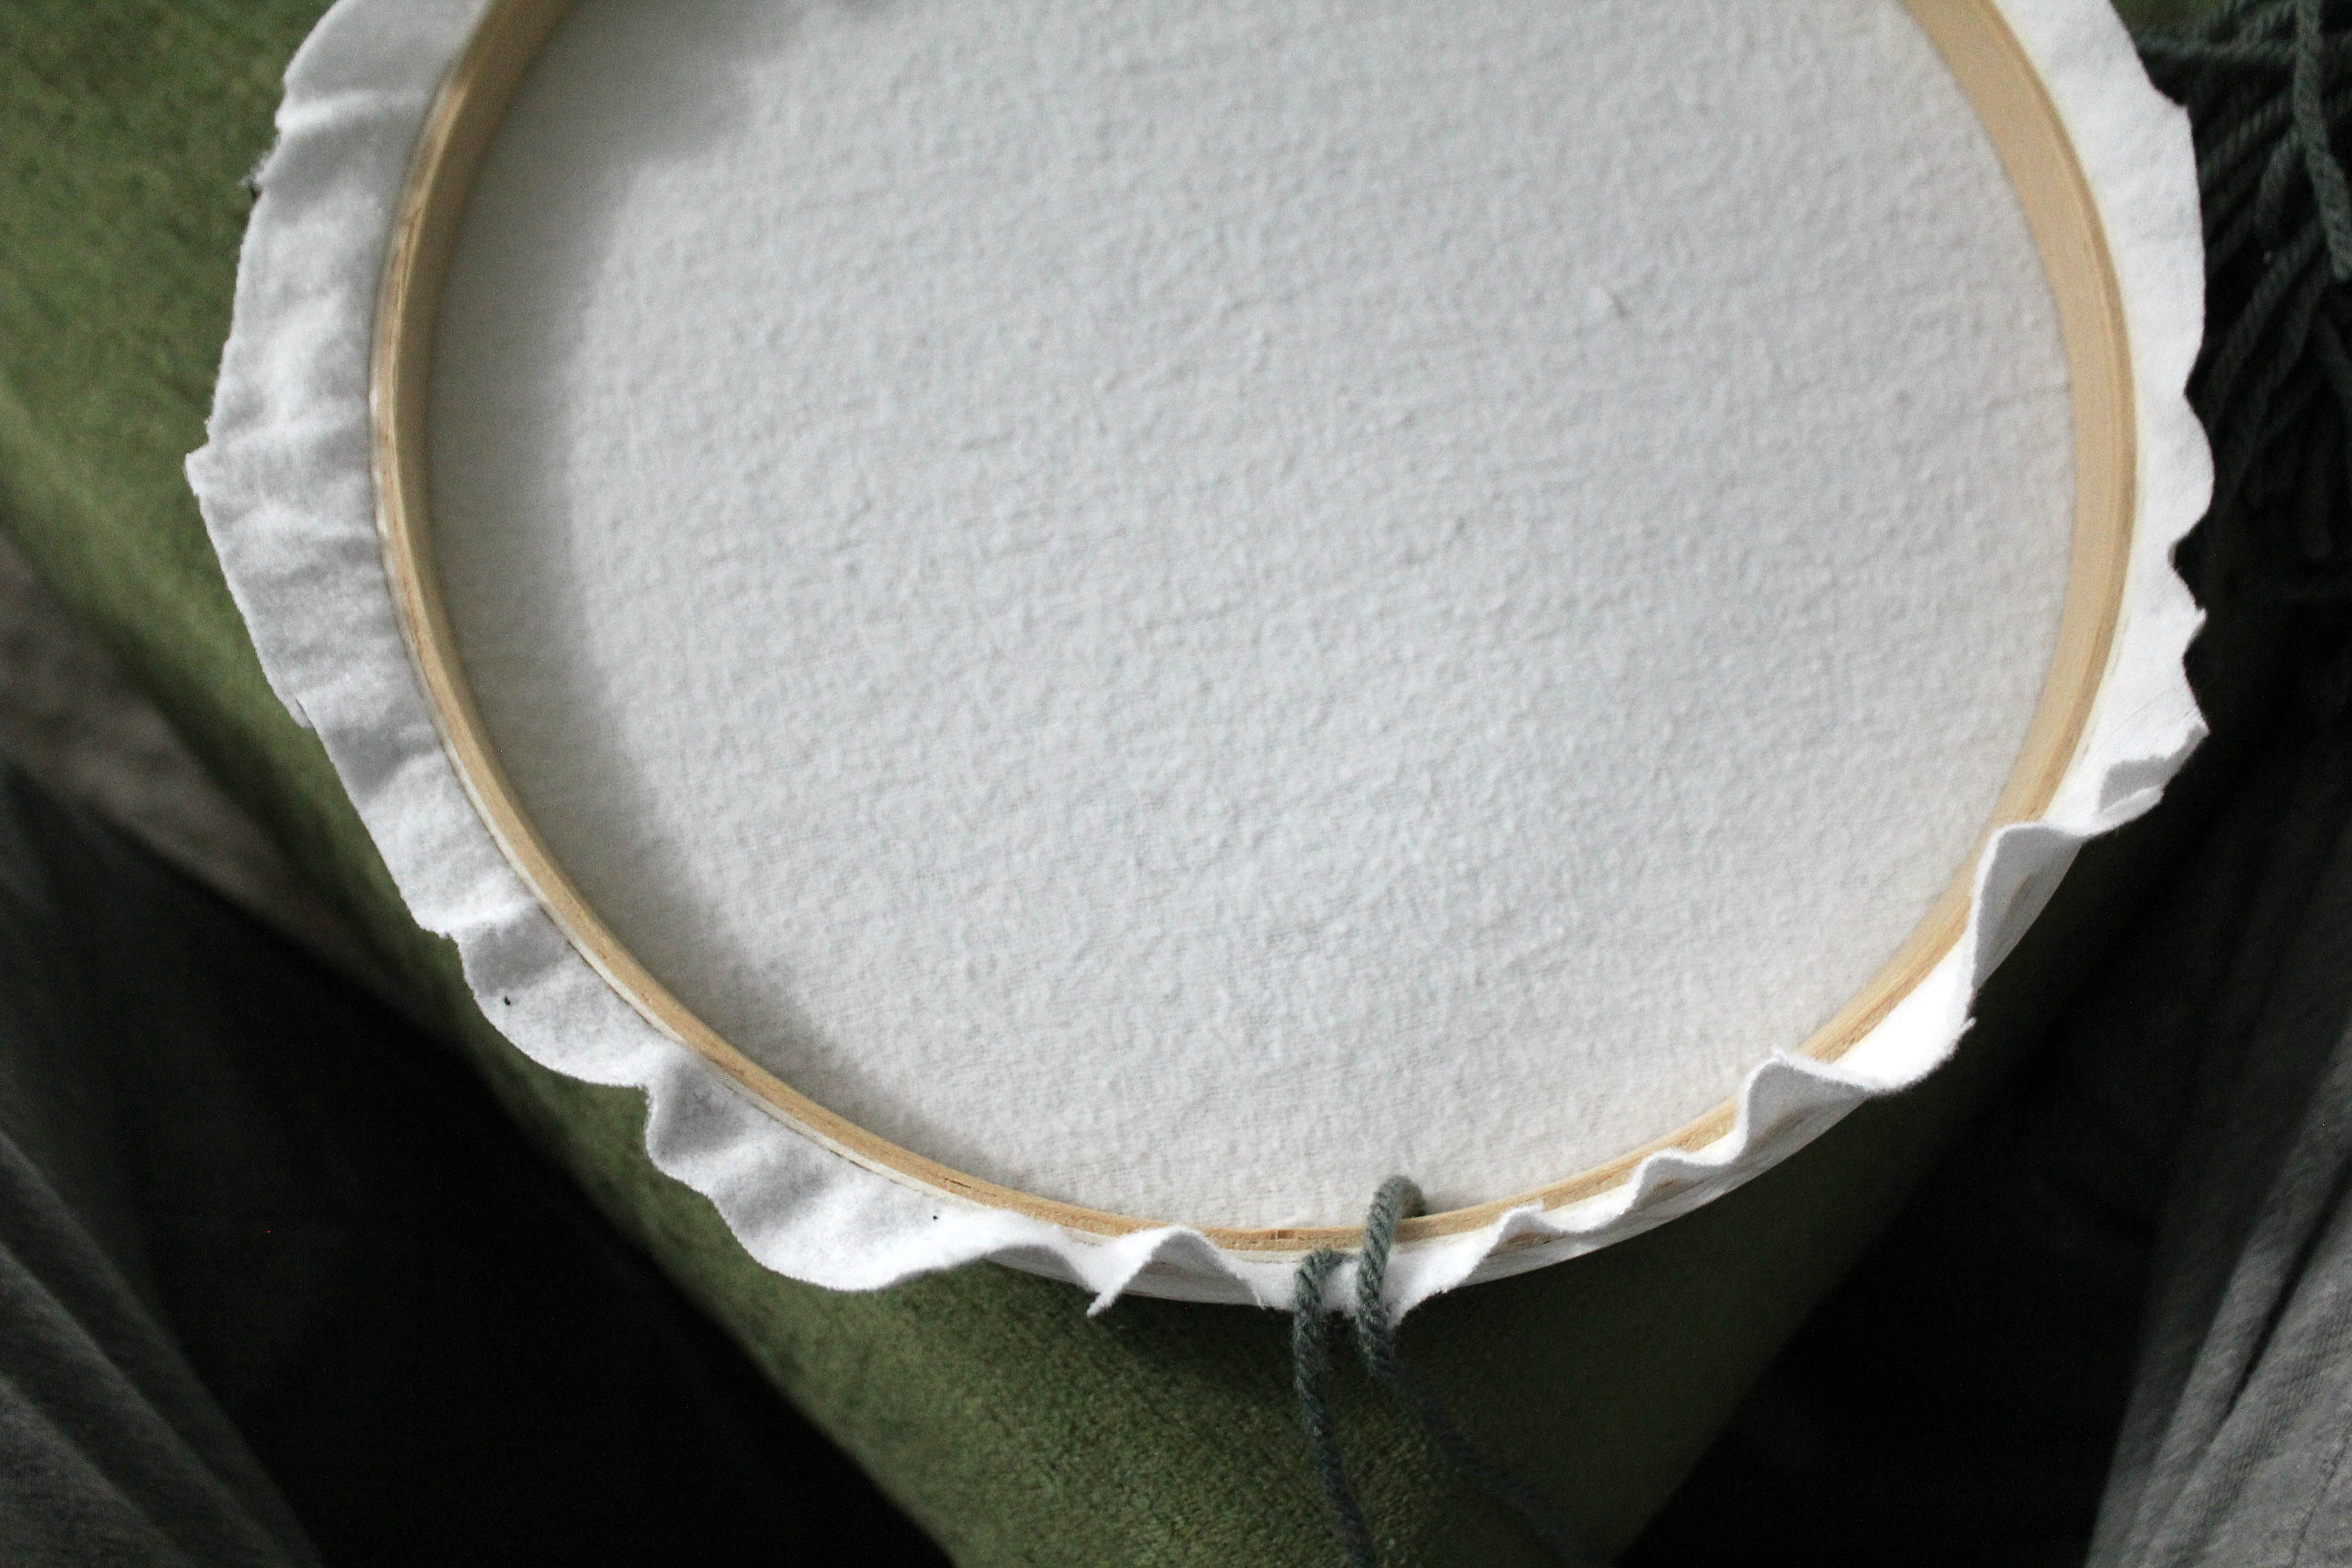
I used leftover white flannel from the receiving blankets for the head and body of the snowman. You just need to place a hoop over the material and cut around it, leaving about an inch of excess material all around.
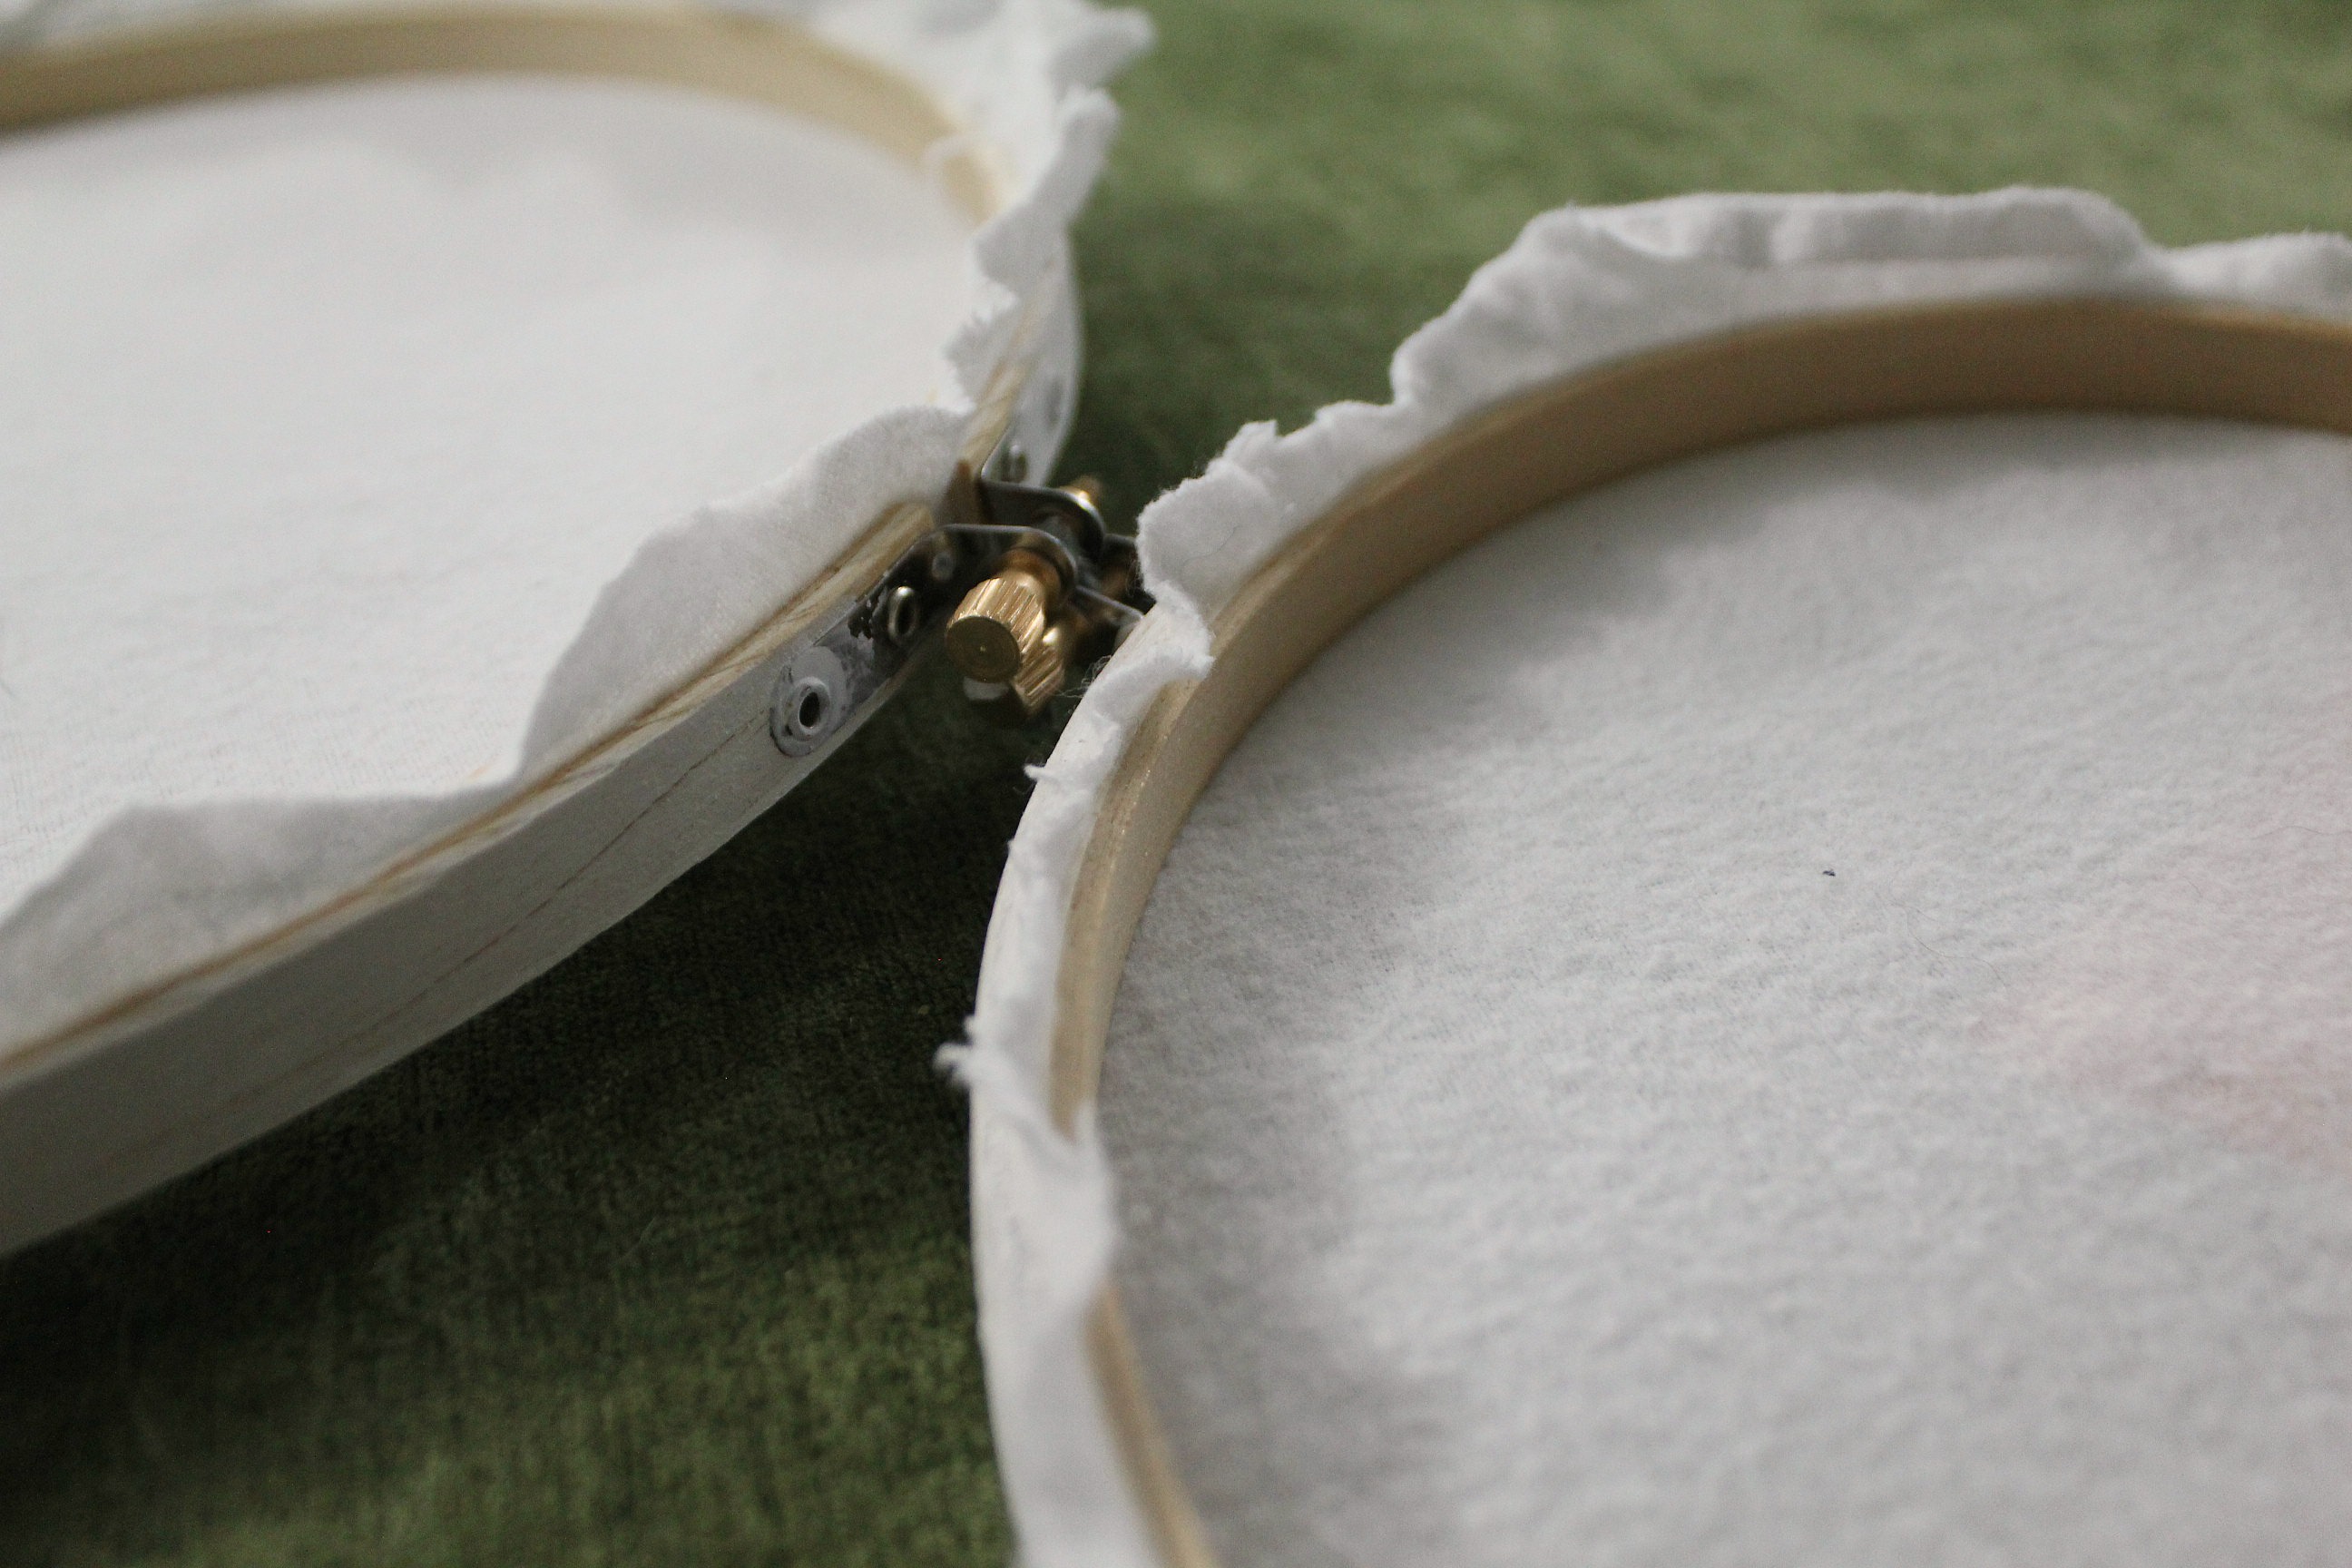
Separate the two parts of the embroidery hoop, put the fabric over the smaller ring, then press the larger ring back in place, making sure the fabric is taut. Do this for all three rings. Once your fabric is in place you can trim the excess fabric away.
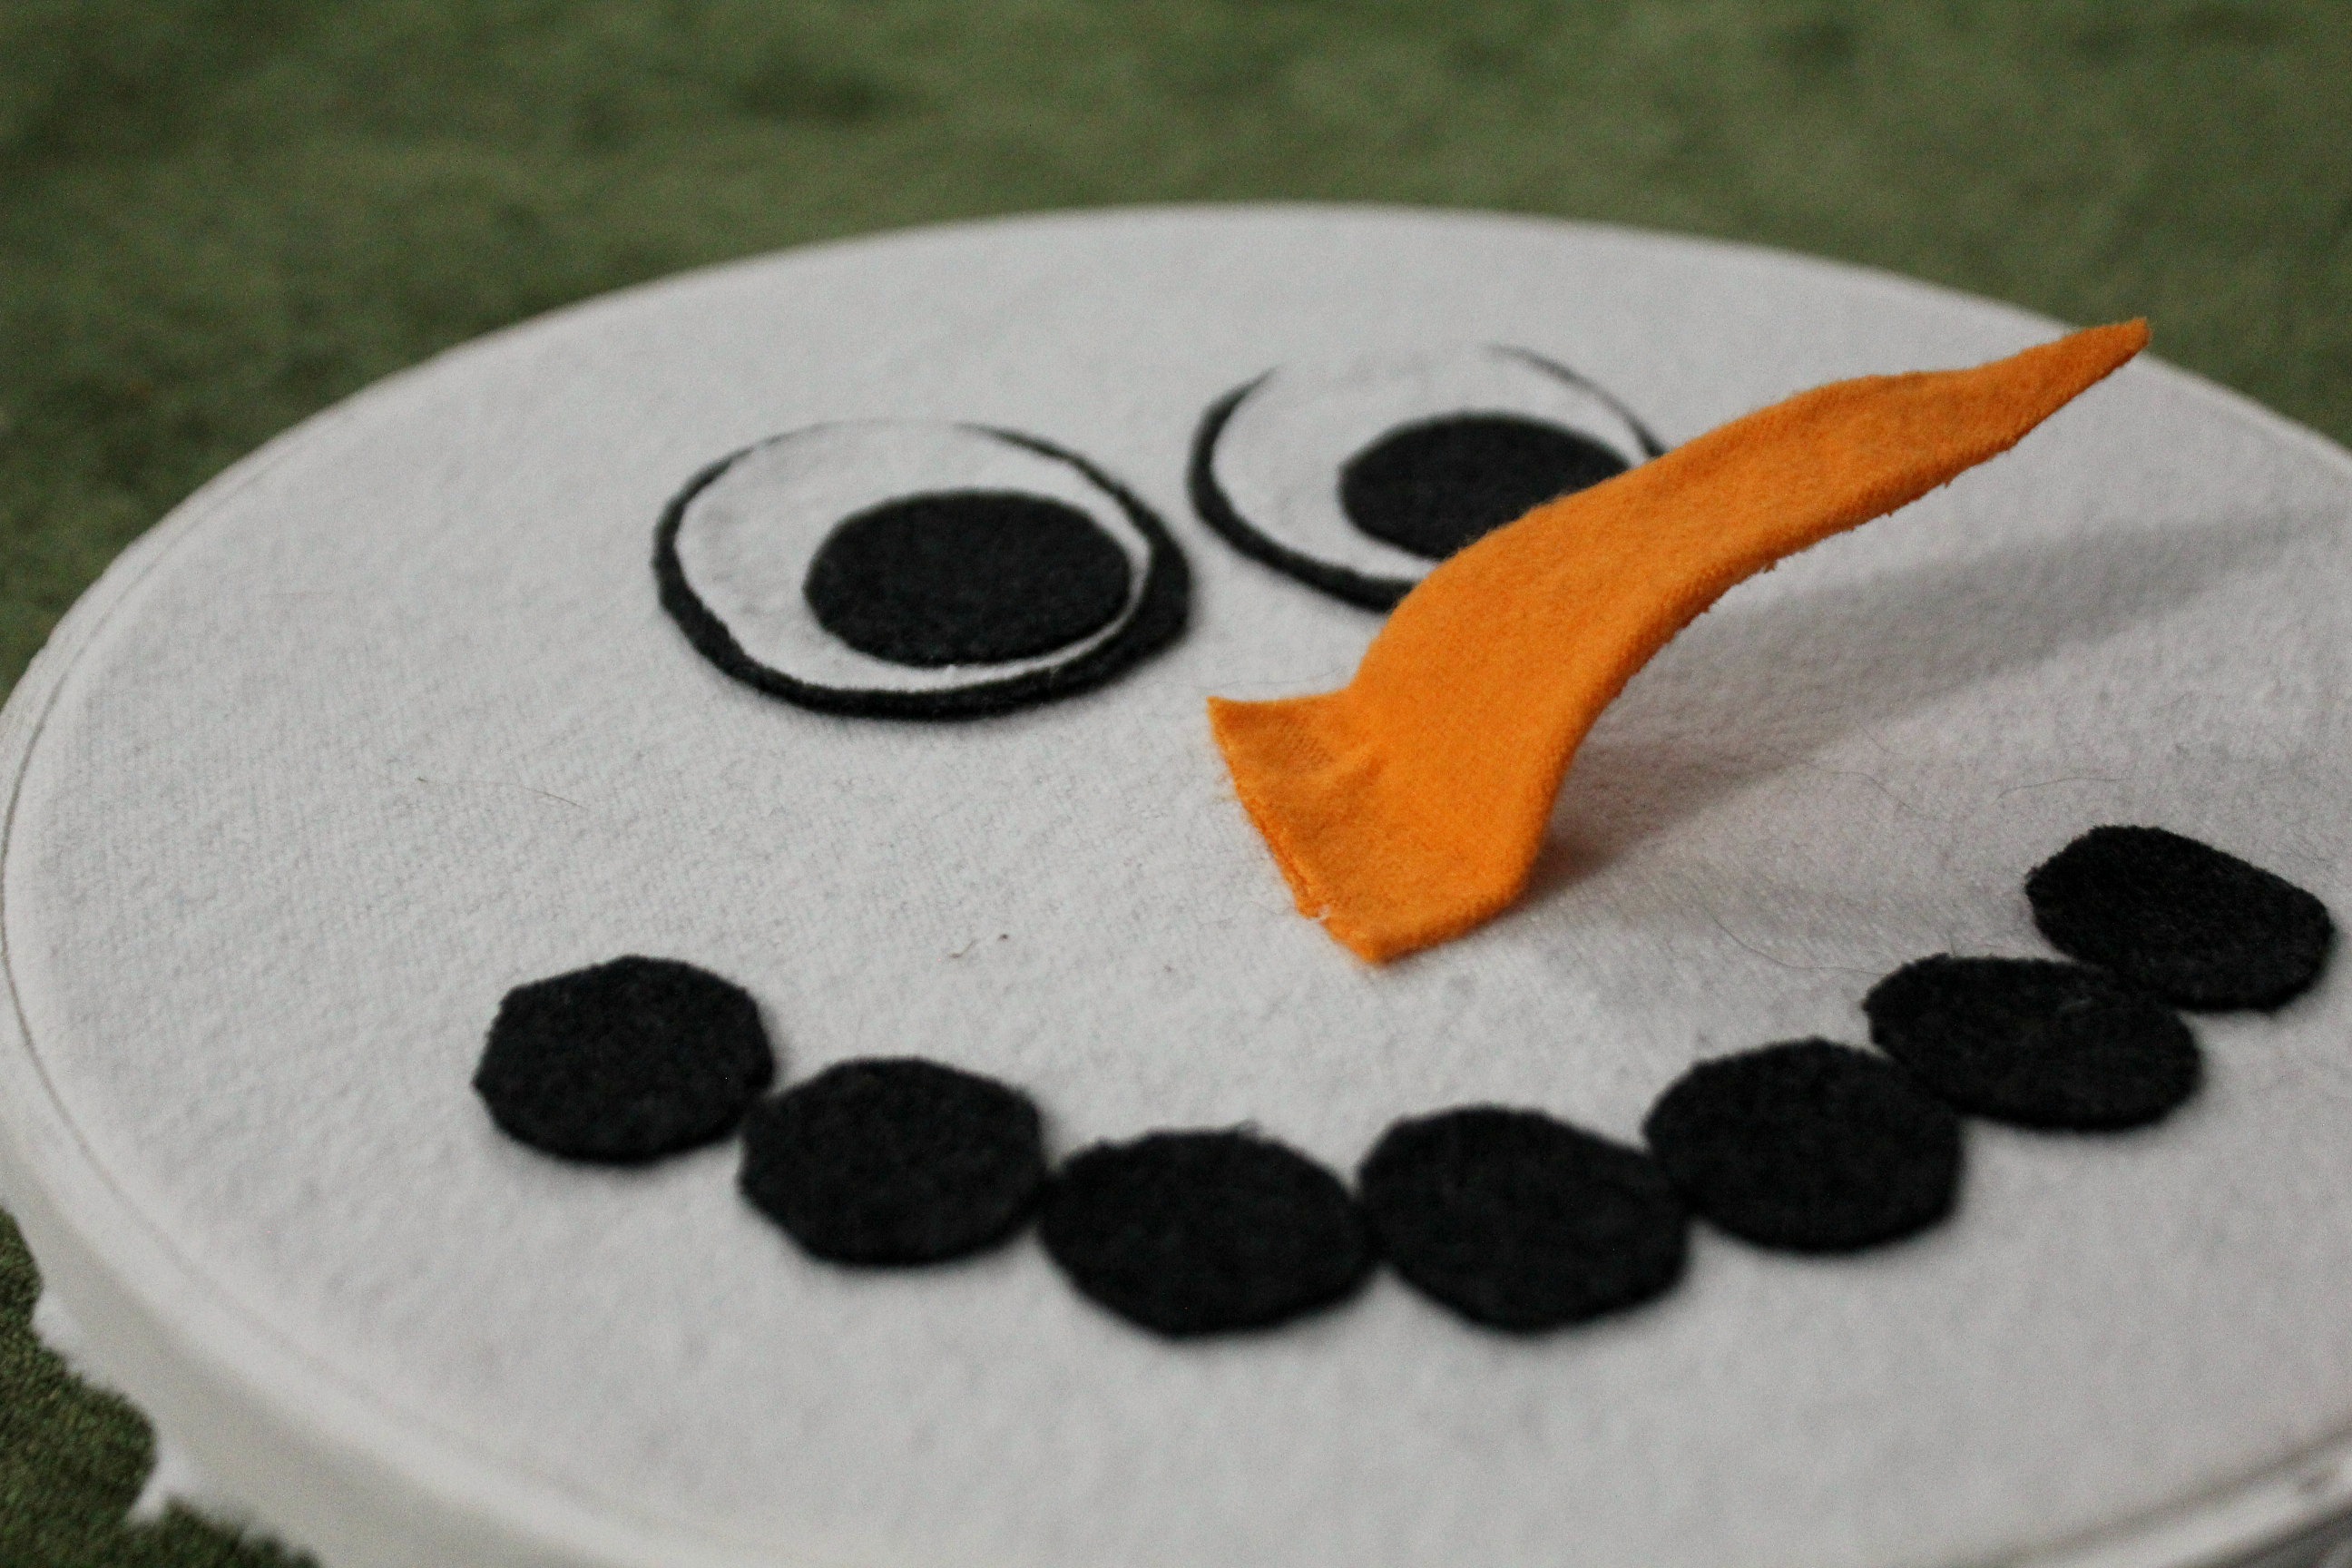
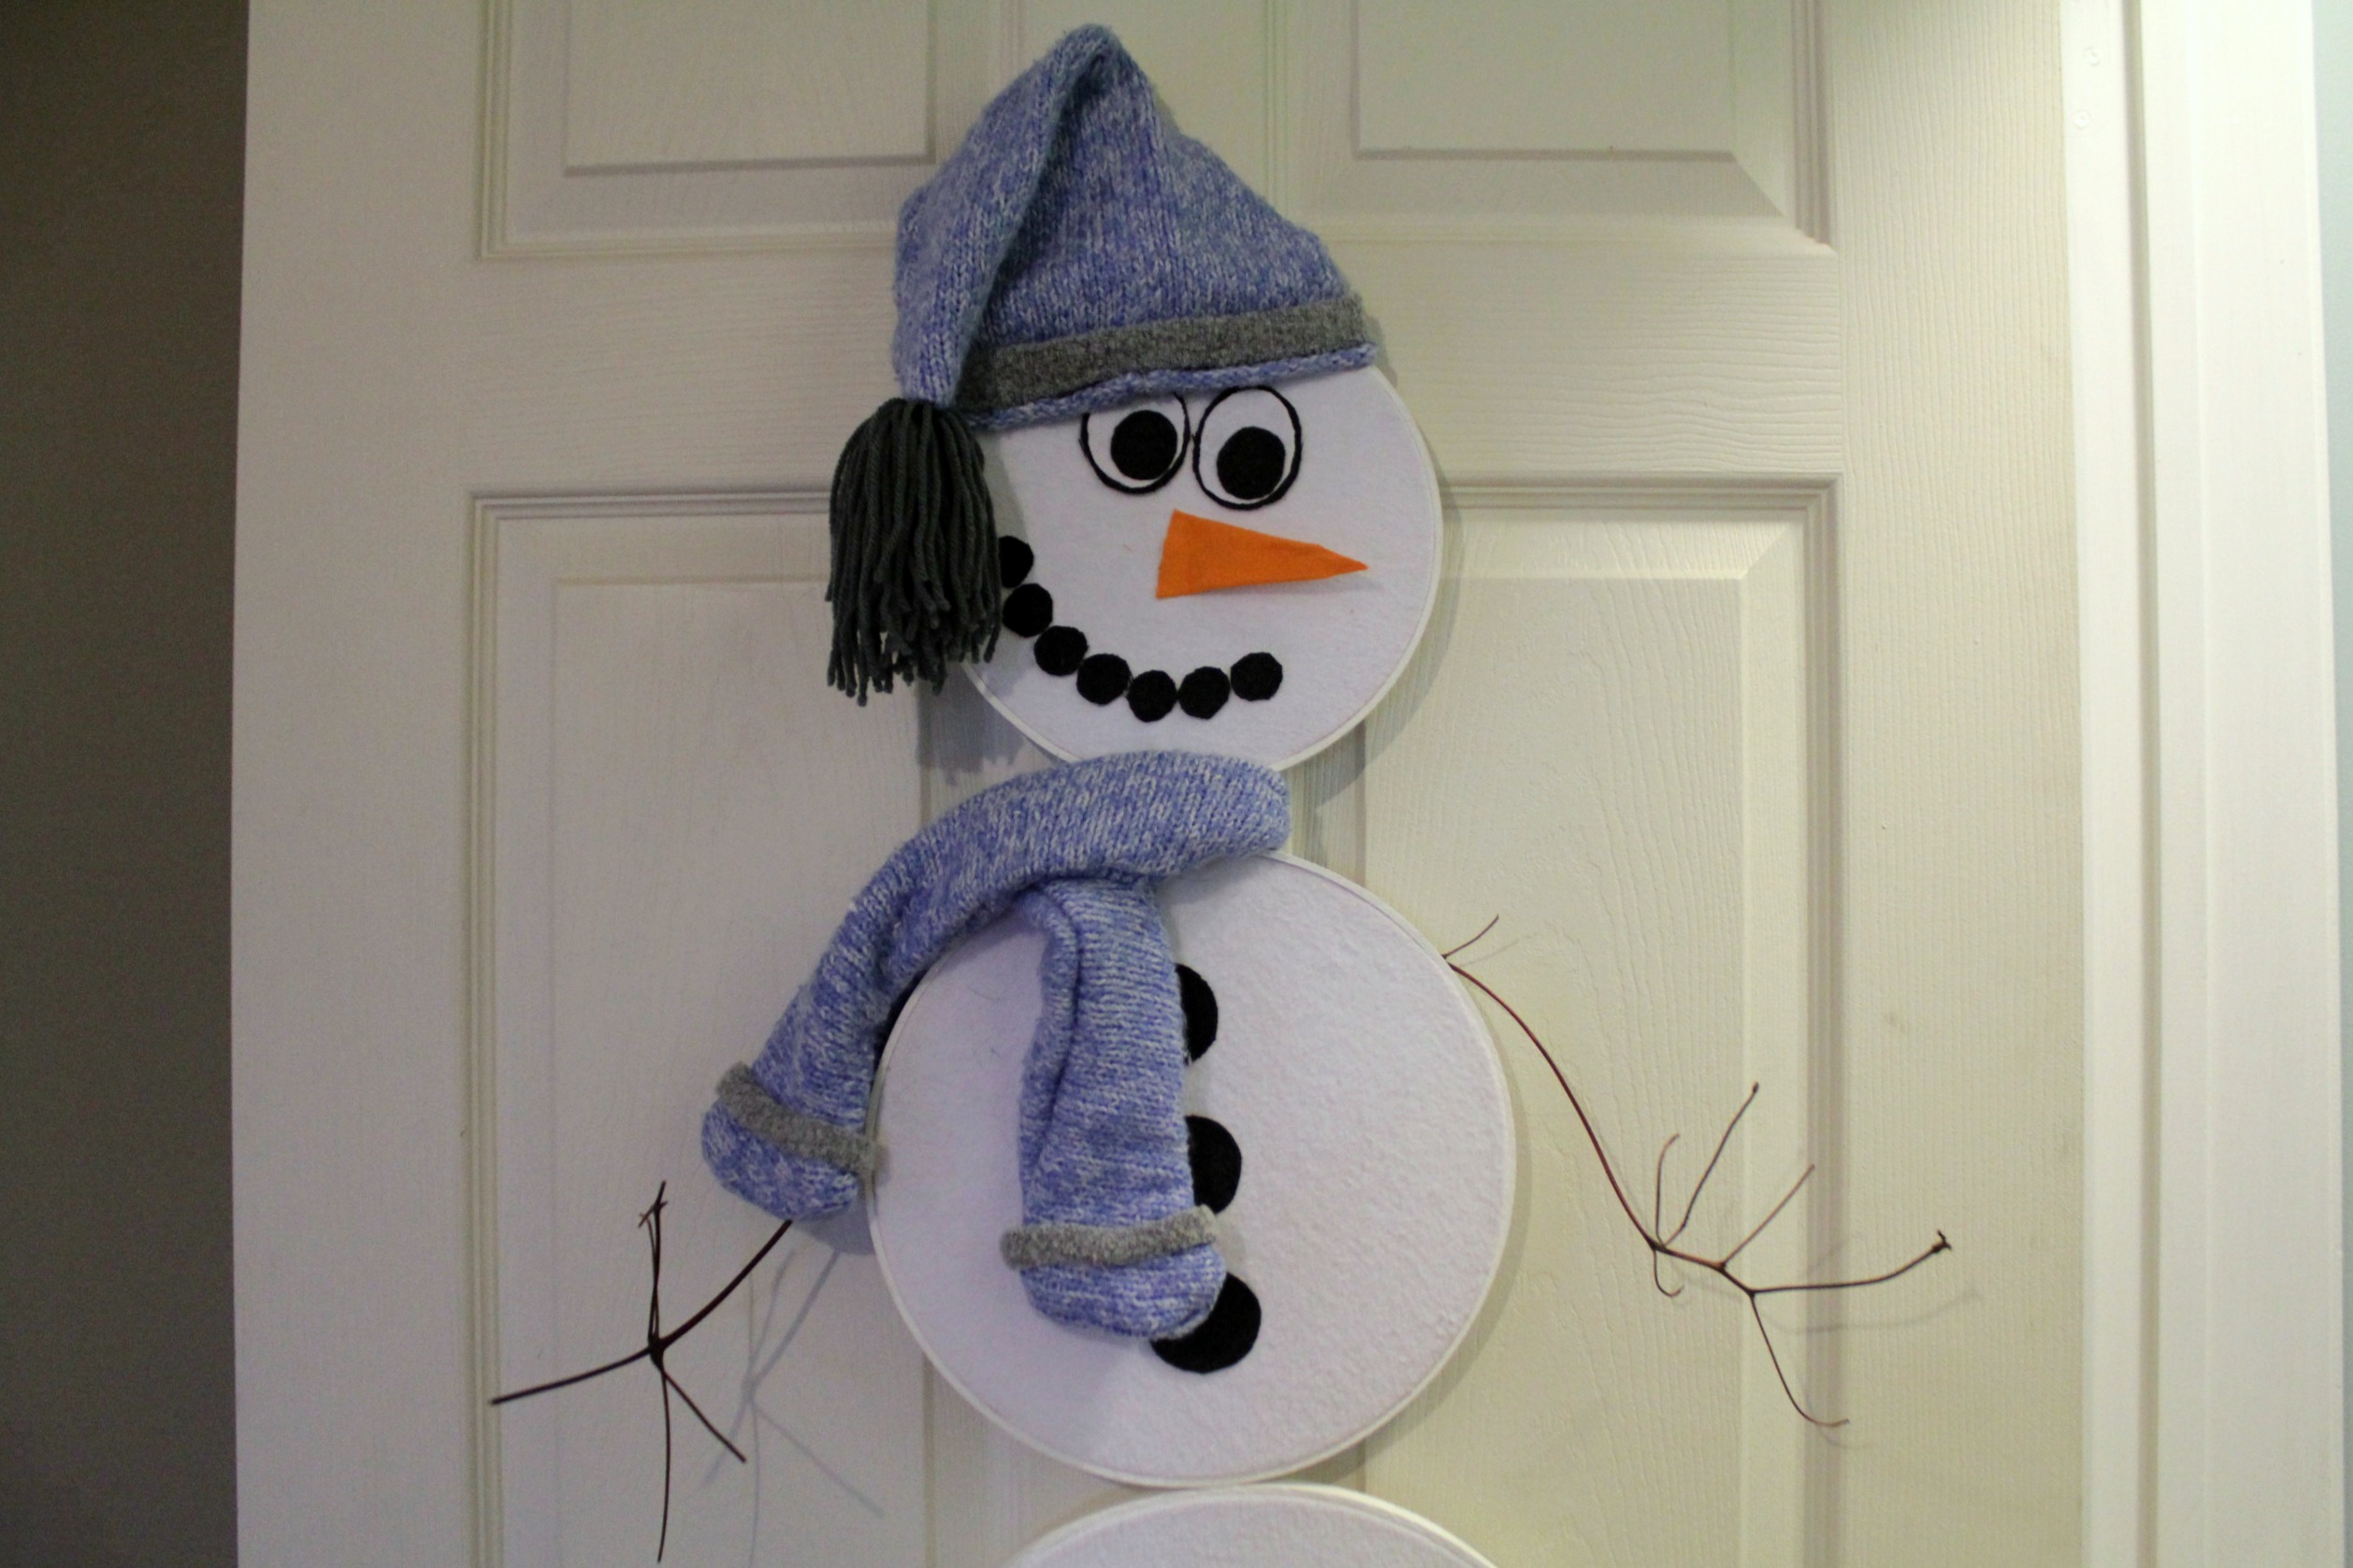
I made the eyes, nose, mouth, and buttons from scraps of fabric in my stash. The hat and scarf are made from two sweaters that I was getting rid of - I like how the knit gives it a more 3-D effect. I just glued the grey stripes right on to the blue material with craft glue. A piece of cardboard cut into a triangle and inserted into the hat keeps it from falling over. Tom thought the hat needed a pompom, so I whipped one up with grey yarn.
To join the hoops, I tied the first two together at the locks using yarn. I wanted there to be a tiny bit of a gap between them to leave room for the scarf. The bottom two hoops are glued together (hot glue).
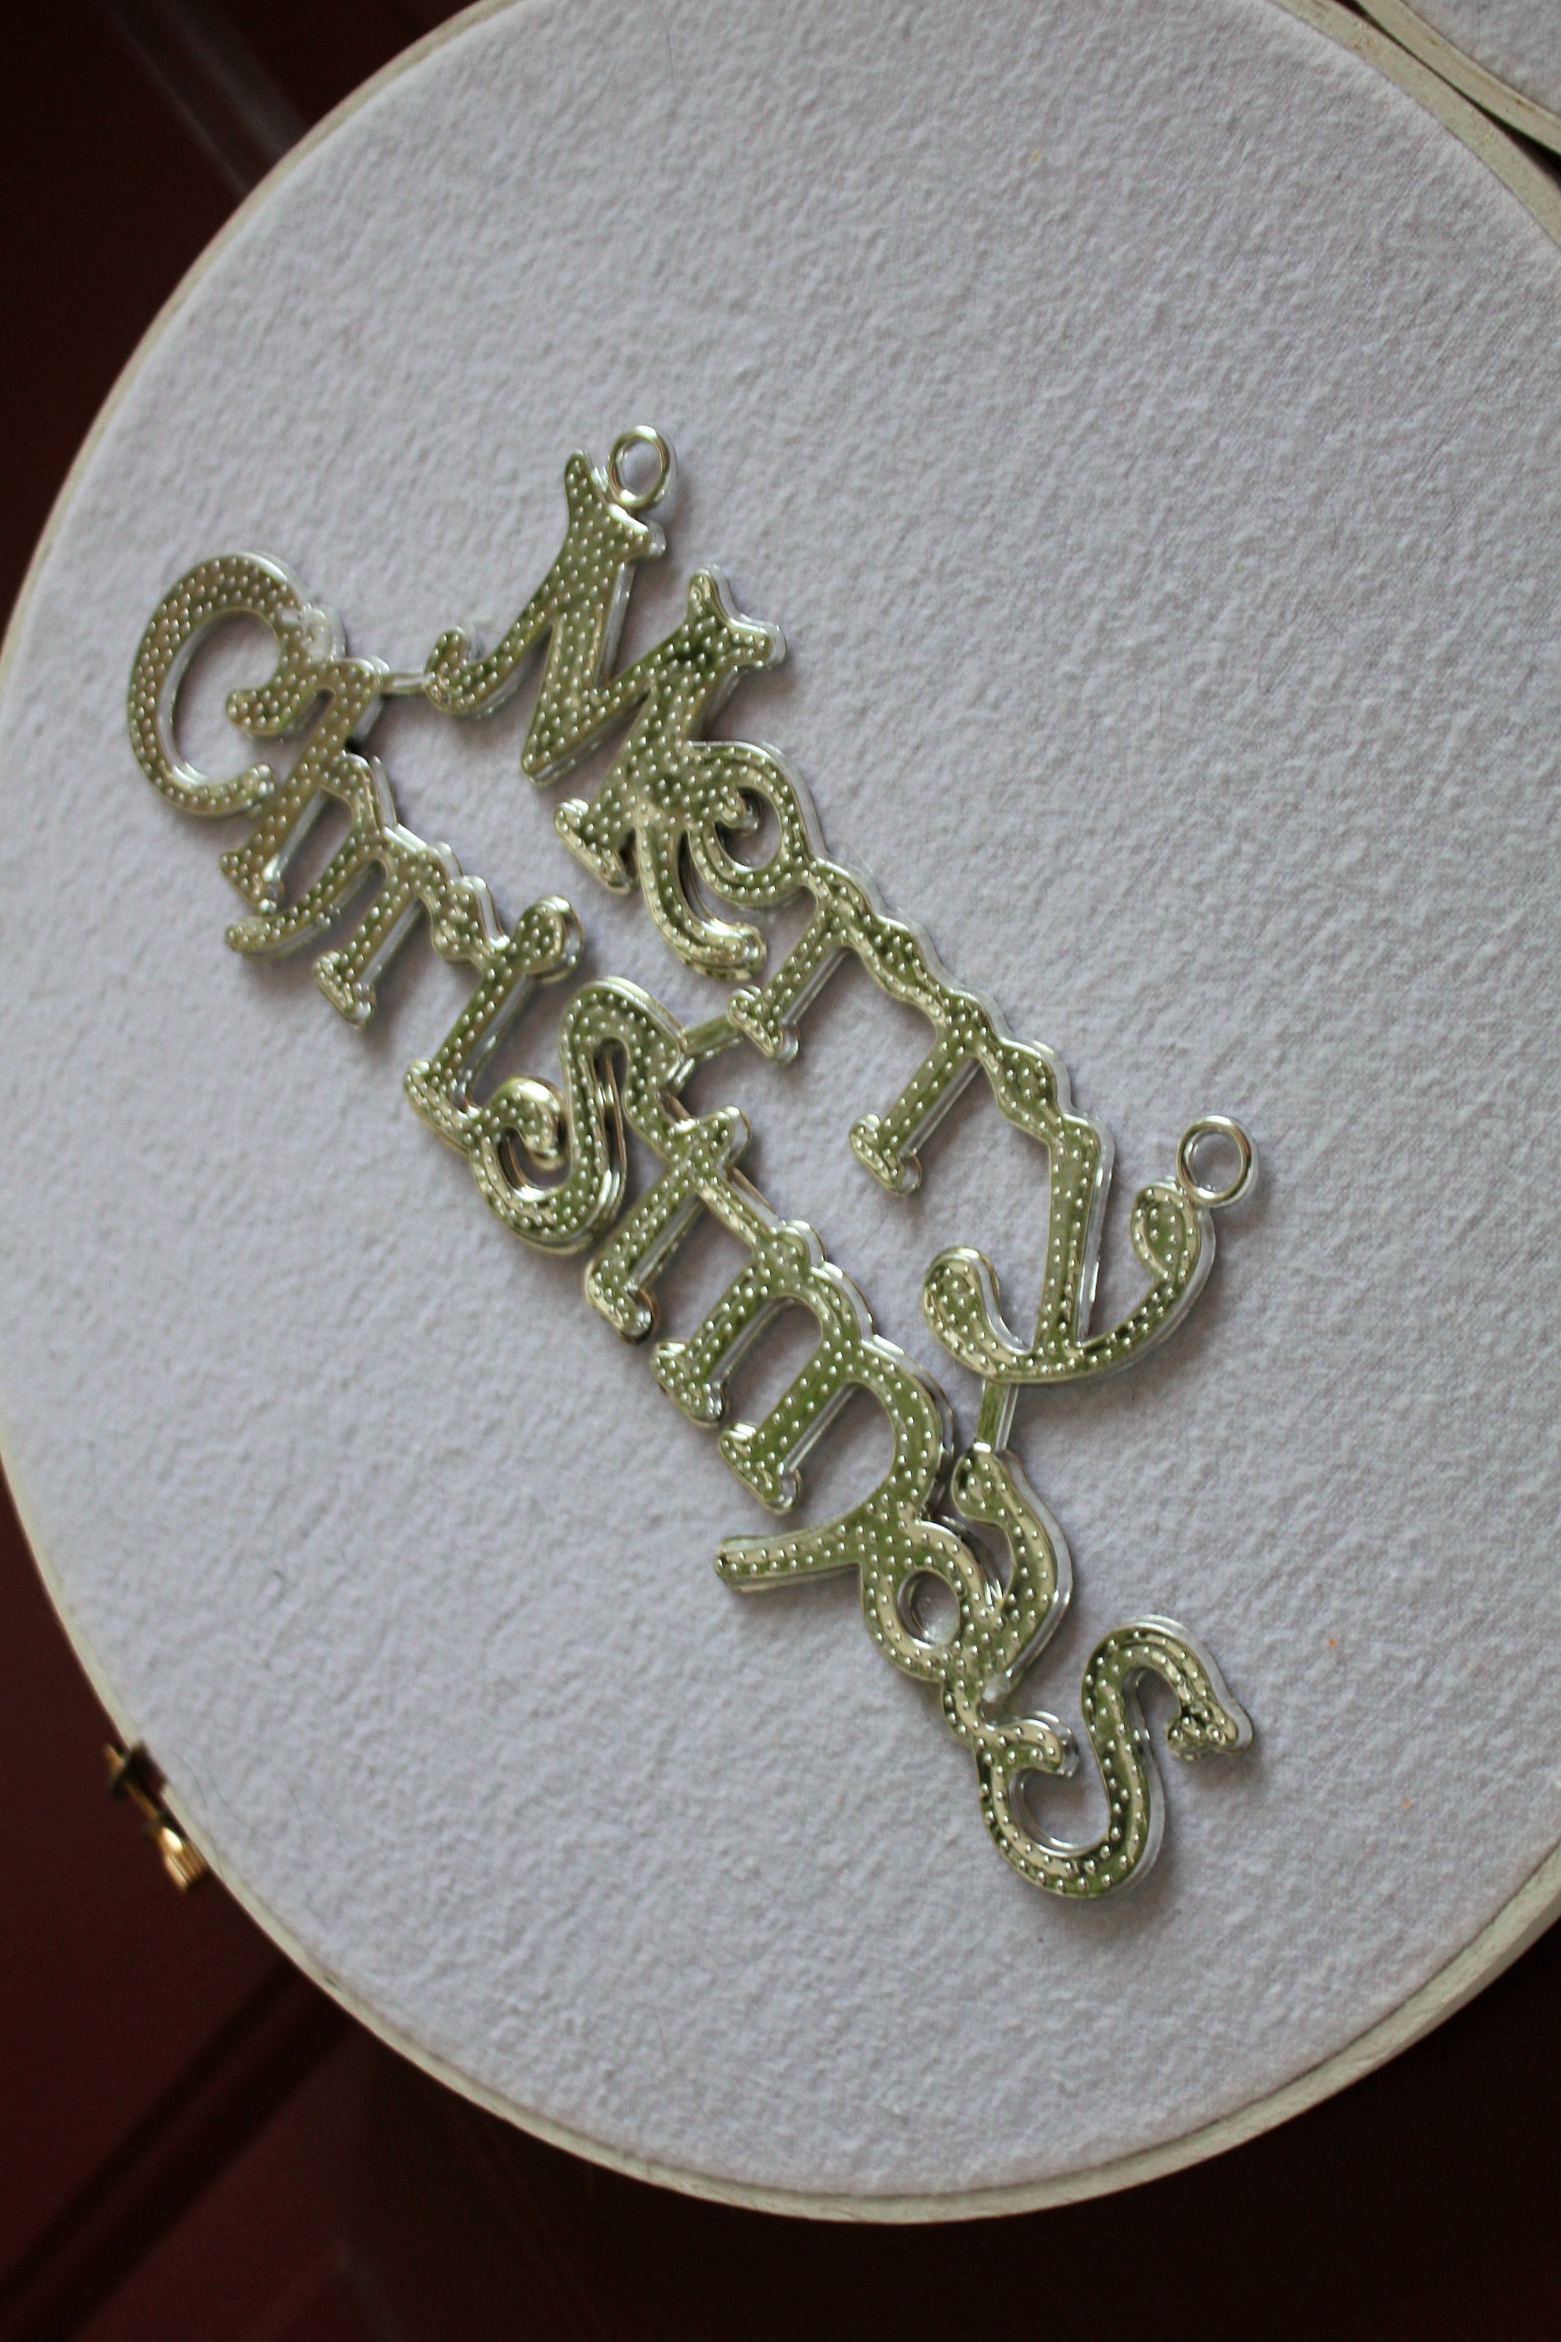
The bottom circle looked a little plain with nothing on it, so I added a "Merry Christmas" sign that I bought at the dollar store.
The final touch was adding the arms. They're branches cut from the clematis out front and glued to the back edge of the middle hoop.
Looking at it now, it kind of shouts third-grade craft time vs. let's sell these on Etsy. But I enjoyed making it, and it adds a bit of whimsy to our otherwise sedate front entrance. I haven't yet decided if he'll stay - I might break down and switch him out for one of the wreaths I've made in the past.
What do you go for when decorating - fun or classic?




No comments:
Post a Comment