We're still caught in a deep freeze here (24 days until Spring!) so the big projects requiring power tools and extended time in the garage are on hold for a while longer.
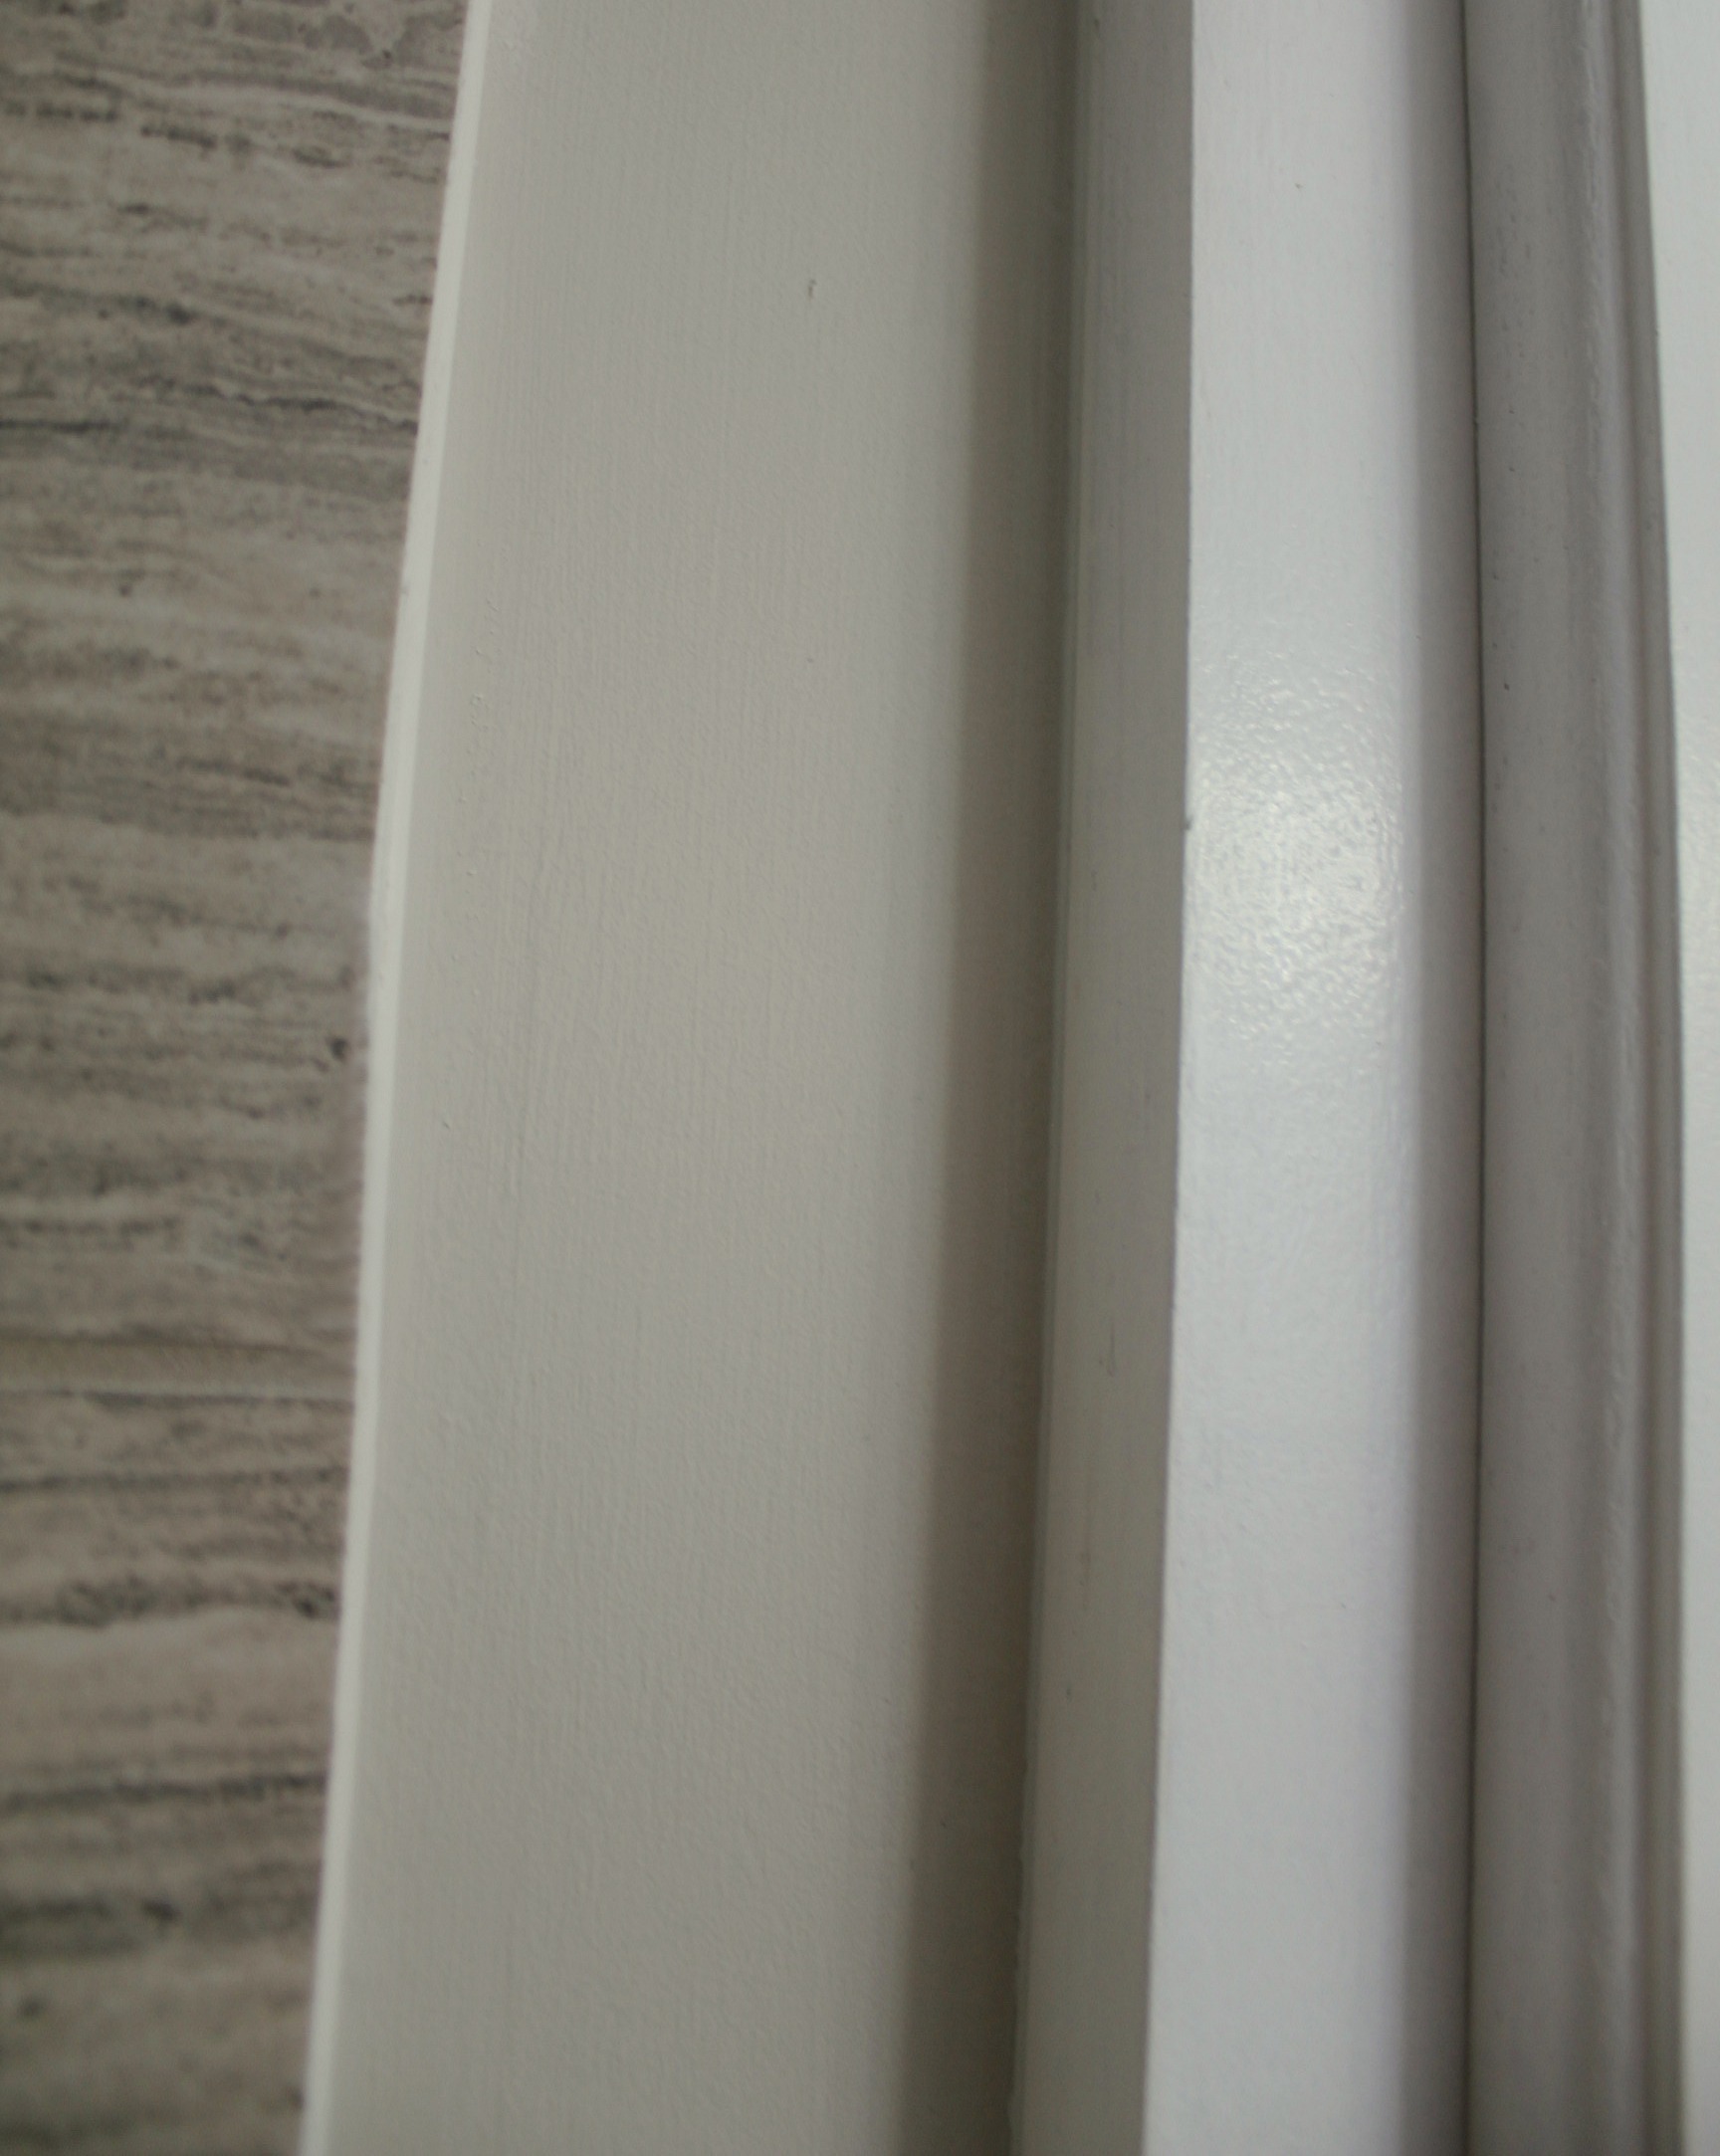
Instead, we've made some small changes that have a big impact - for us anyway. Last weekend I finally got around to caulking the gap between the medicine cabinet and the wall in the updated ensuite bathroom.
If you've never used caulk before, it's so easy, yet makes your project look "finished", like it was part of the original build. To caulk a seam you'll need a damp cloth, a dry cloth, caulk of course, and a caulking gun. If you don't have a gun you can still use a smaller toothpaste-type tube of caulk, but the gun sure makes it a lot easier.
My method: I run a bead of caulk down the seam I'm joining, making sure to let off the trigger a few inches before the end as the caulk will continue to come out of the tube.
I then run my finger down the seam, removing the excess caulk and wiping it on the dry cloth. I guess it's obvious that you'll throw away that dry cloth when you're done!
Once I've removed most of the excess caulk, I run the damp cloth down the seam to get a smooth finish. One more wipe with my finger to remove any cloth marks, and leave it to dry.
After sealing the medicine cabinet I took a close look at the faux board and batten in the bedroom and noticed that some of those seams were visible too. Raw, green wood shrinks as it dries, so some seams had opened up over the 6 months or so since the boards were attached to the wall. I just repeated what I did above, getting the wall treatment back to a "built-in" state.
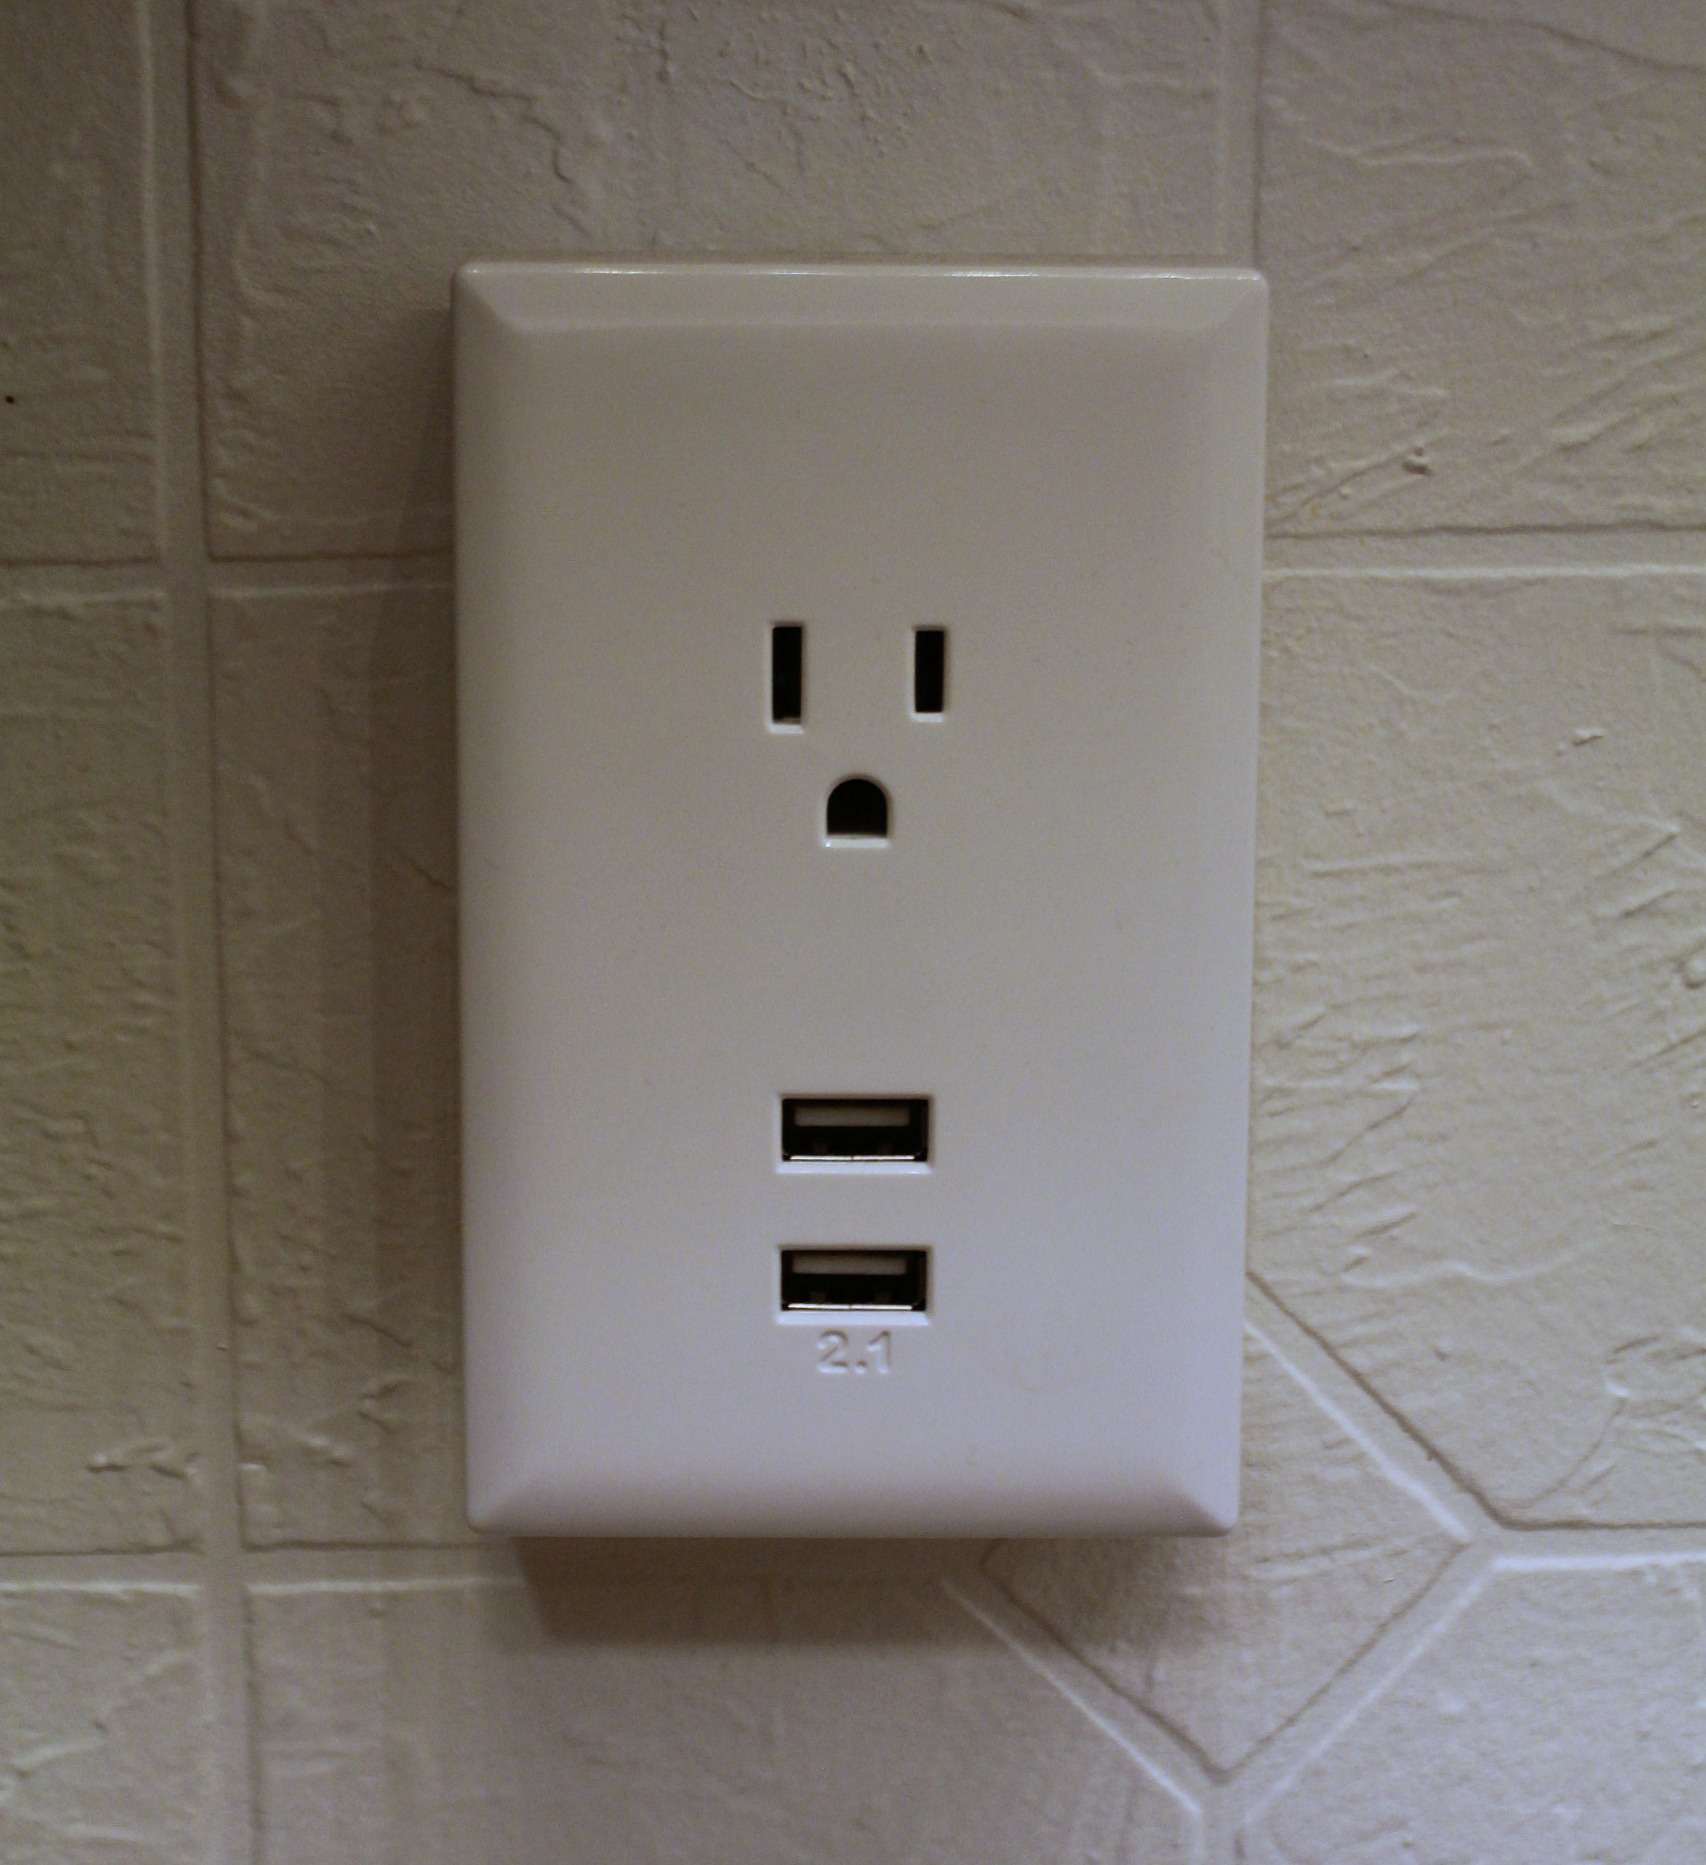
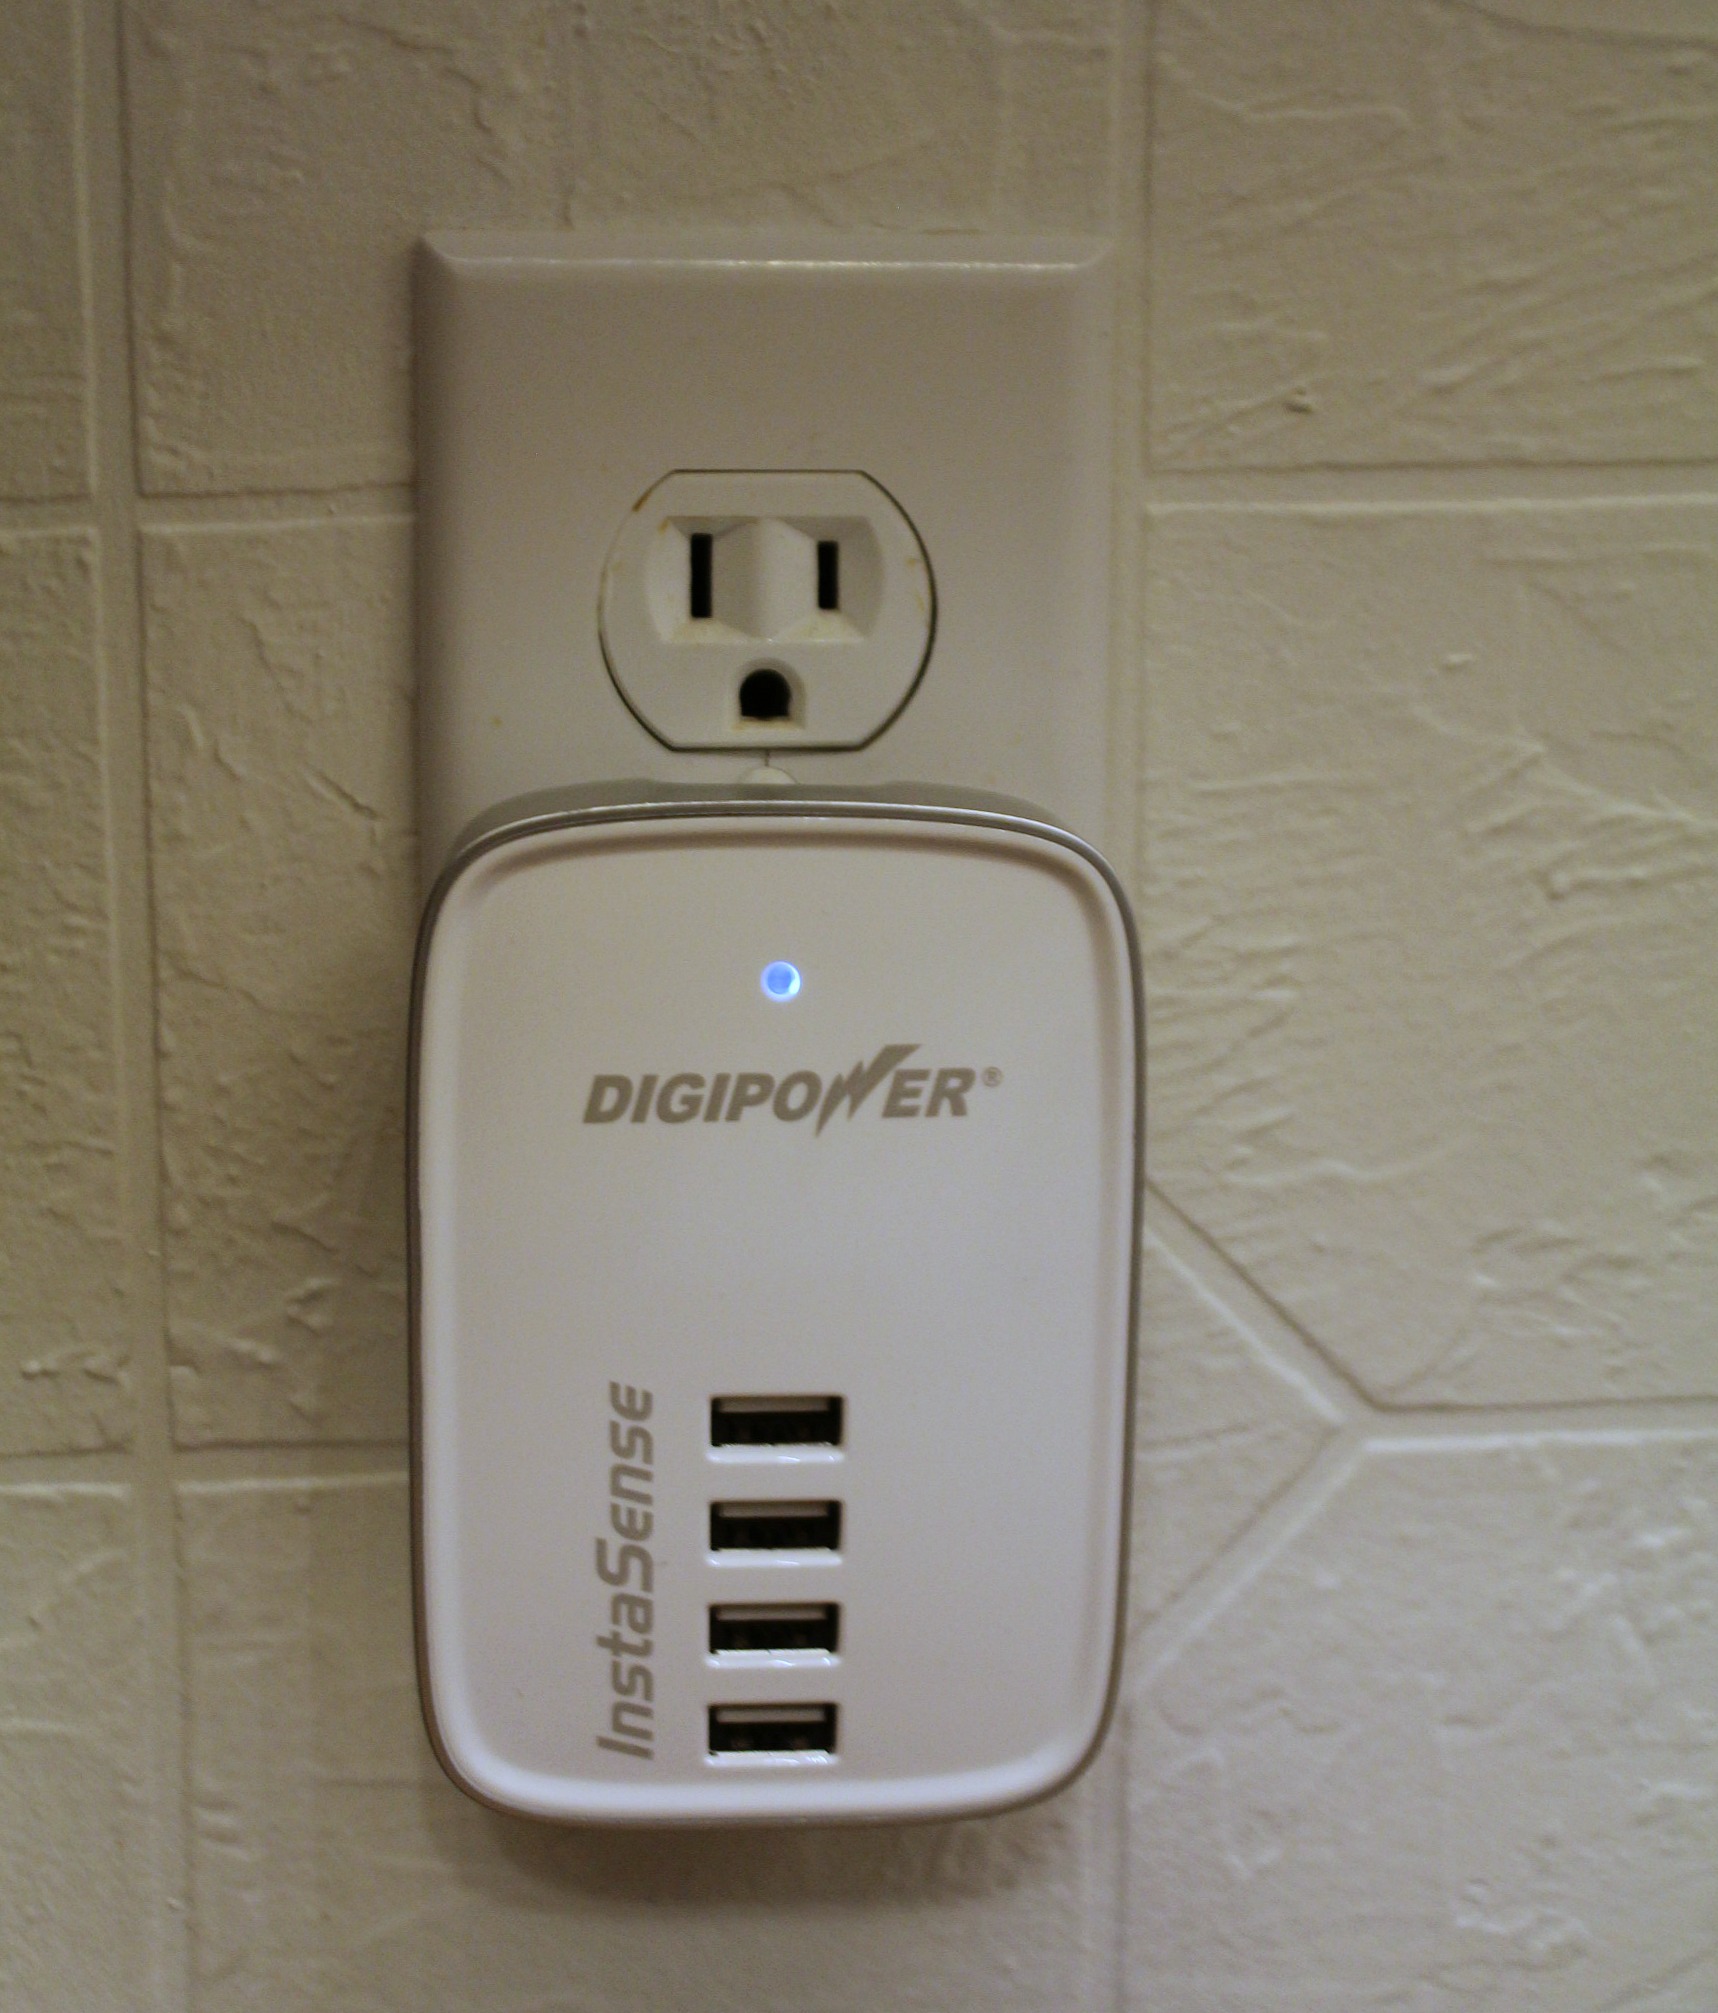
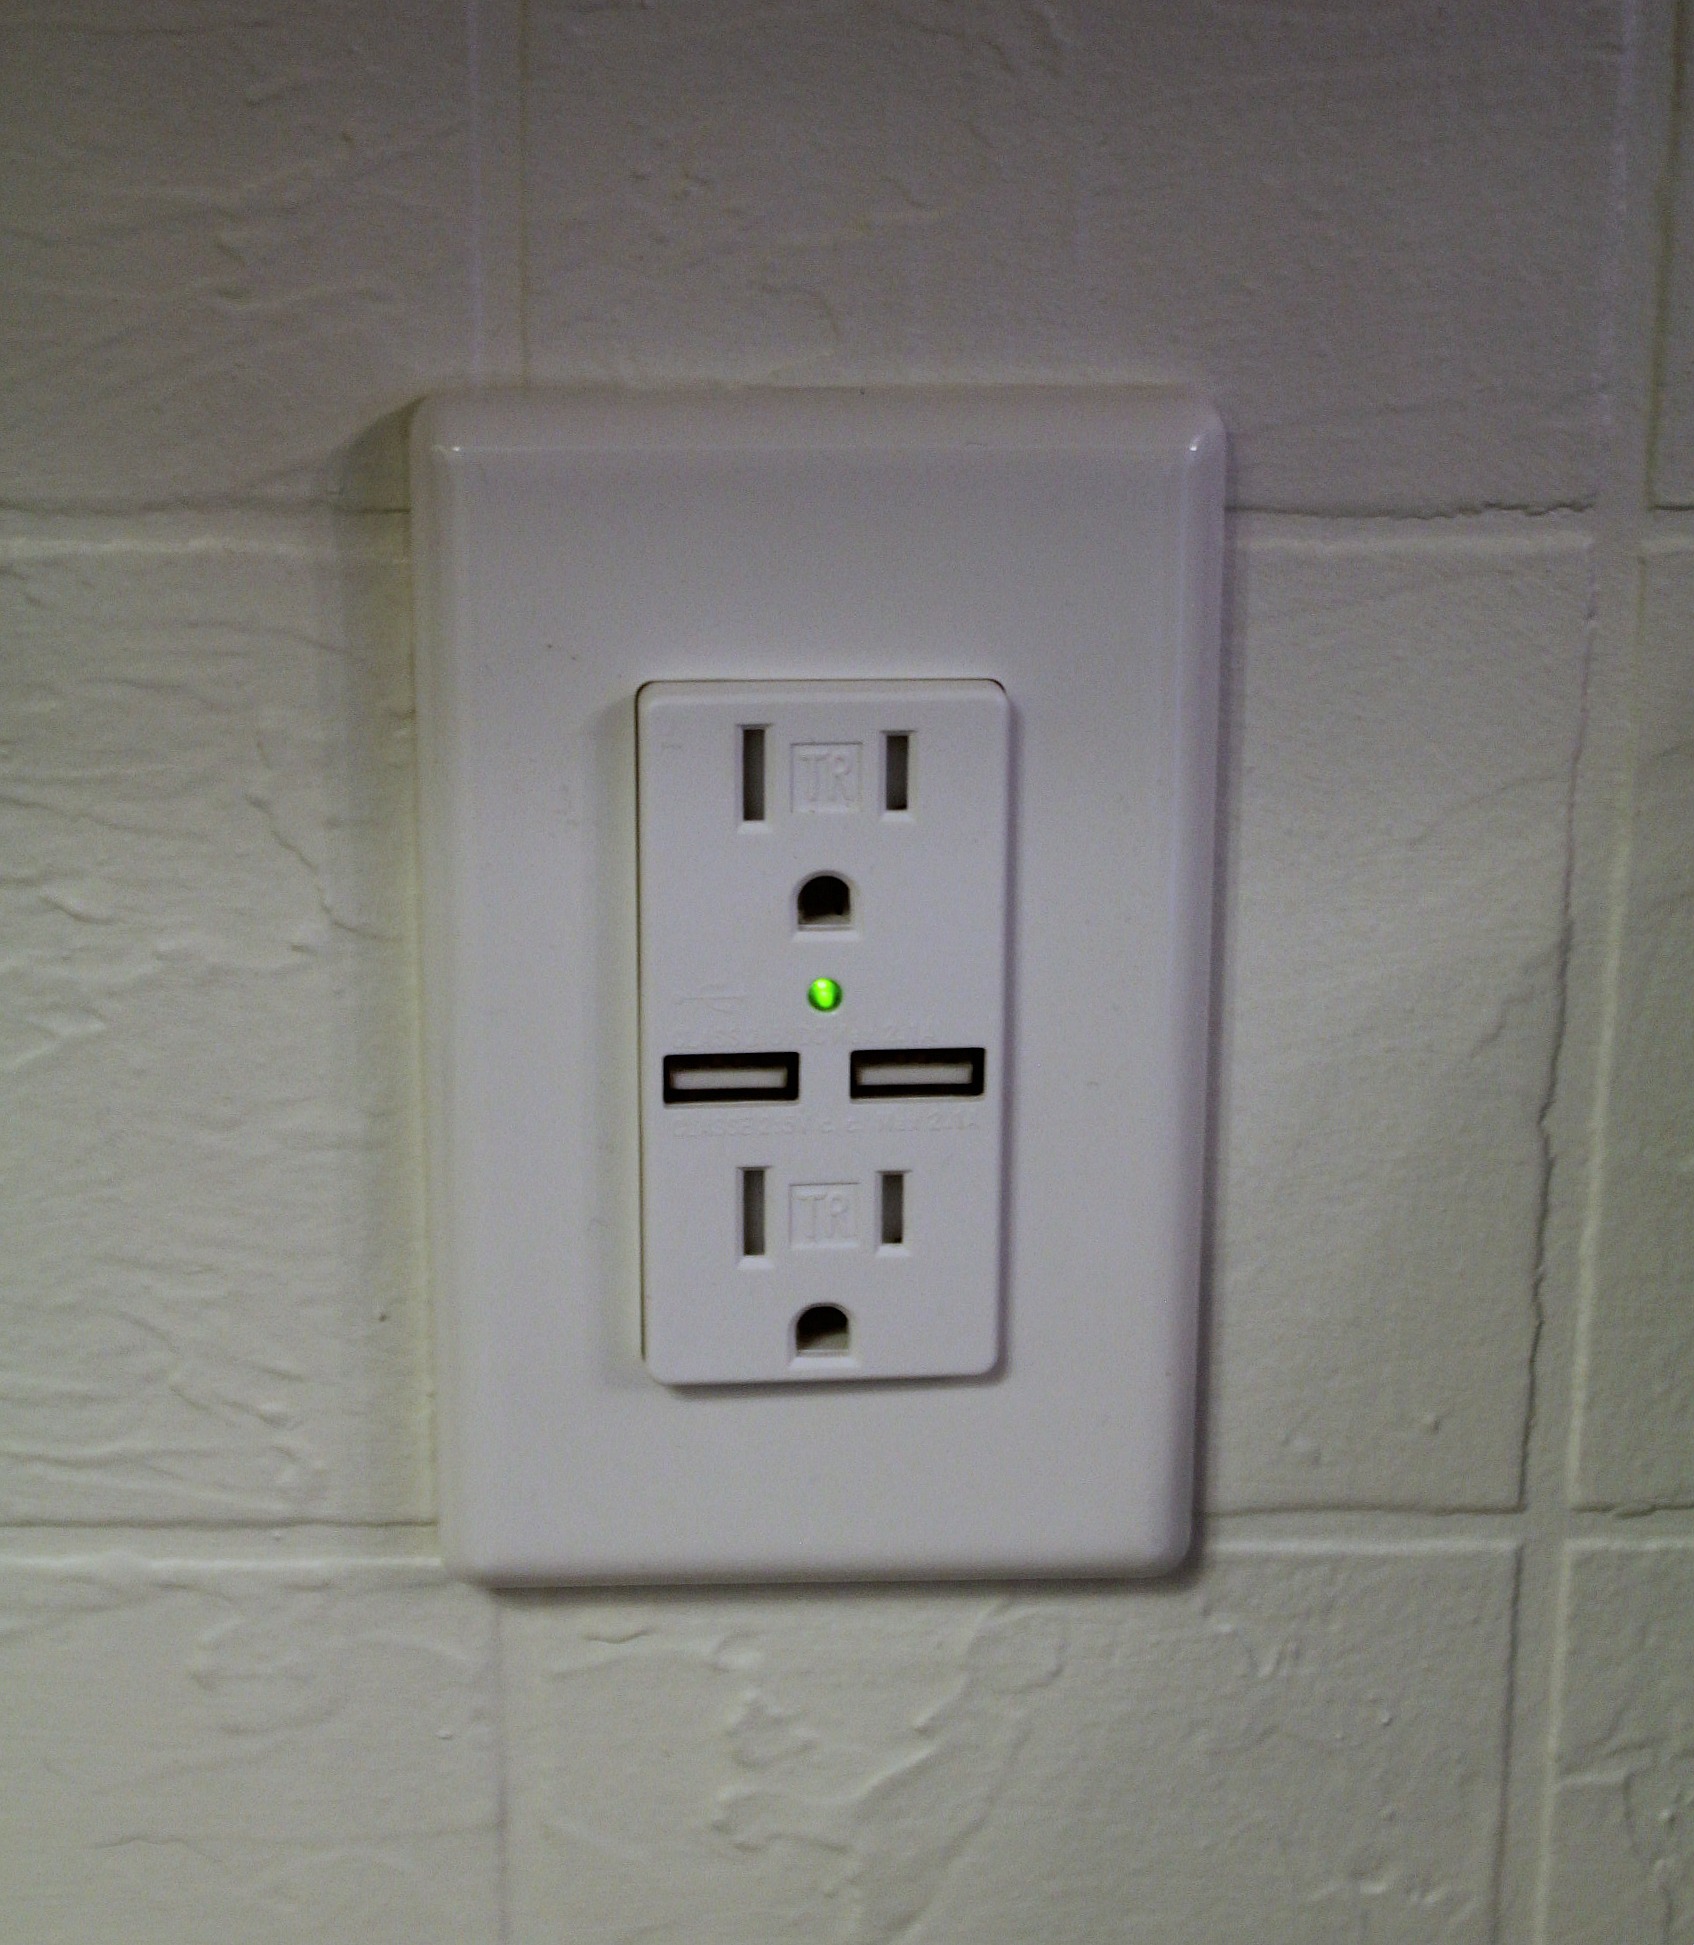
Another update was to install new wall outlets in the kitchen and front foyer that have USB ports built into them. We charge two phones and the iPad daily, and have always had to use a bulky adapter to handle it all.
We went from this:
To this:
To this:
Having 4 ports was nice, but with a USB outlet in the foyer now, Tom is happier to charge his phone by the door where he'll remember to grab it on his way out in the morning. I don't have photos or instructions on how to swap out the outlets - these were done while I was sleeping in and apparently, due to some crazy split wiring behind the wall, it took about 45 minutes and a little bit of cursing for each outlet. These outlets are deeper than regular ones, so it's a bit snug back in there.
We also plug in the "house phone" here - it's a bluetooth-enabled setup that lets us answer our cell phones from any of 4 receivers in the house. Now that the USB ports are built in, it still leaves one outlet free for whenever we need it.
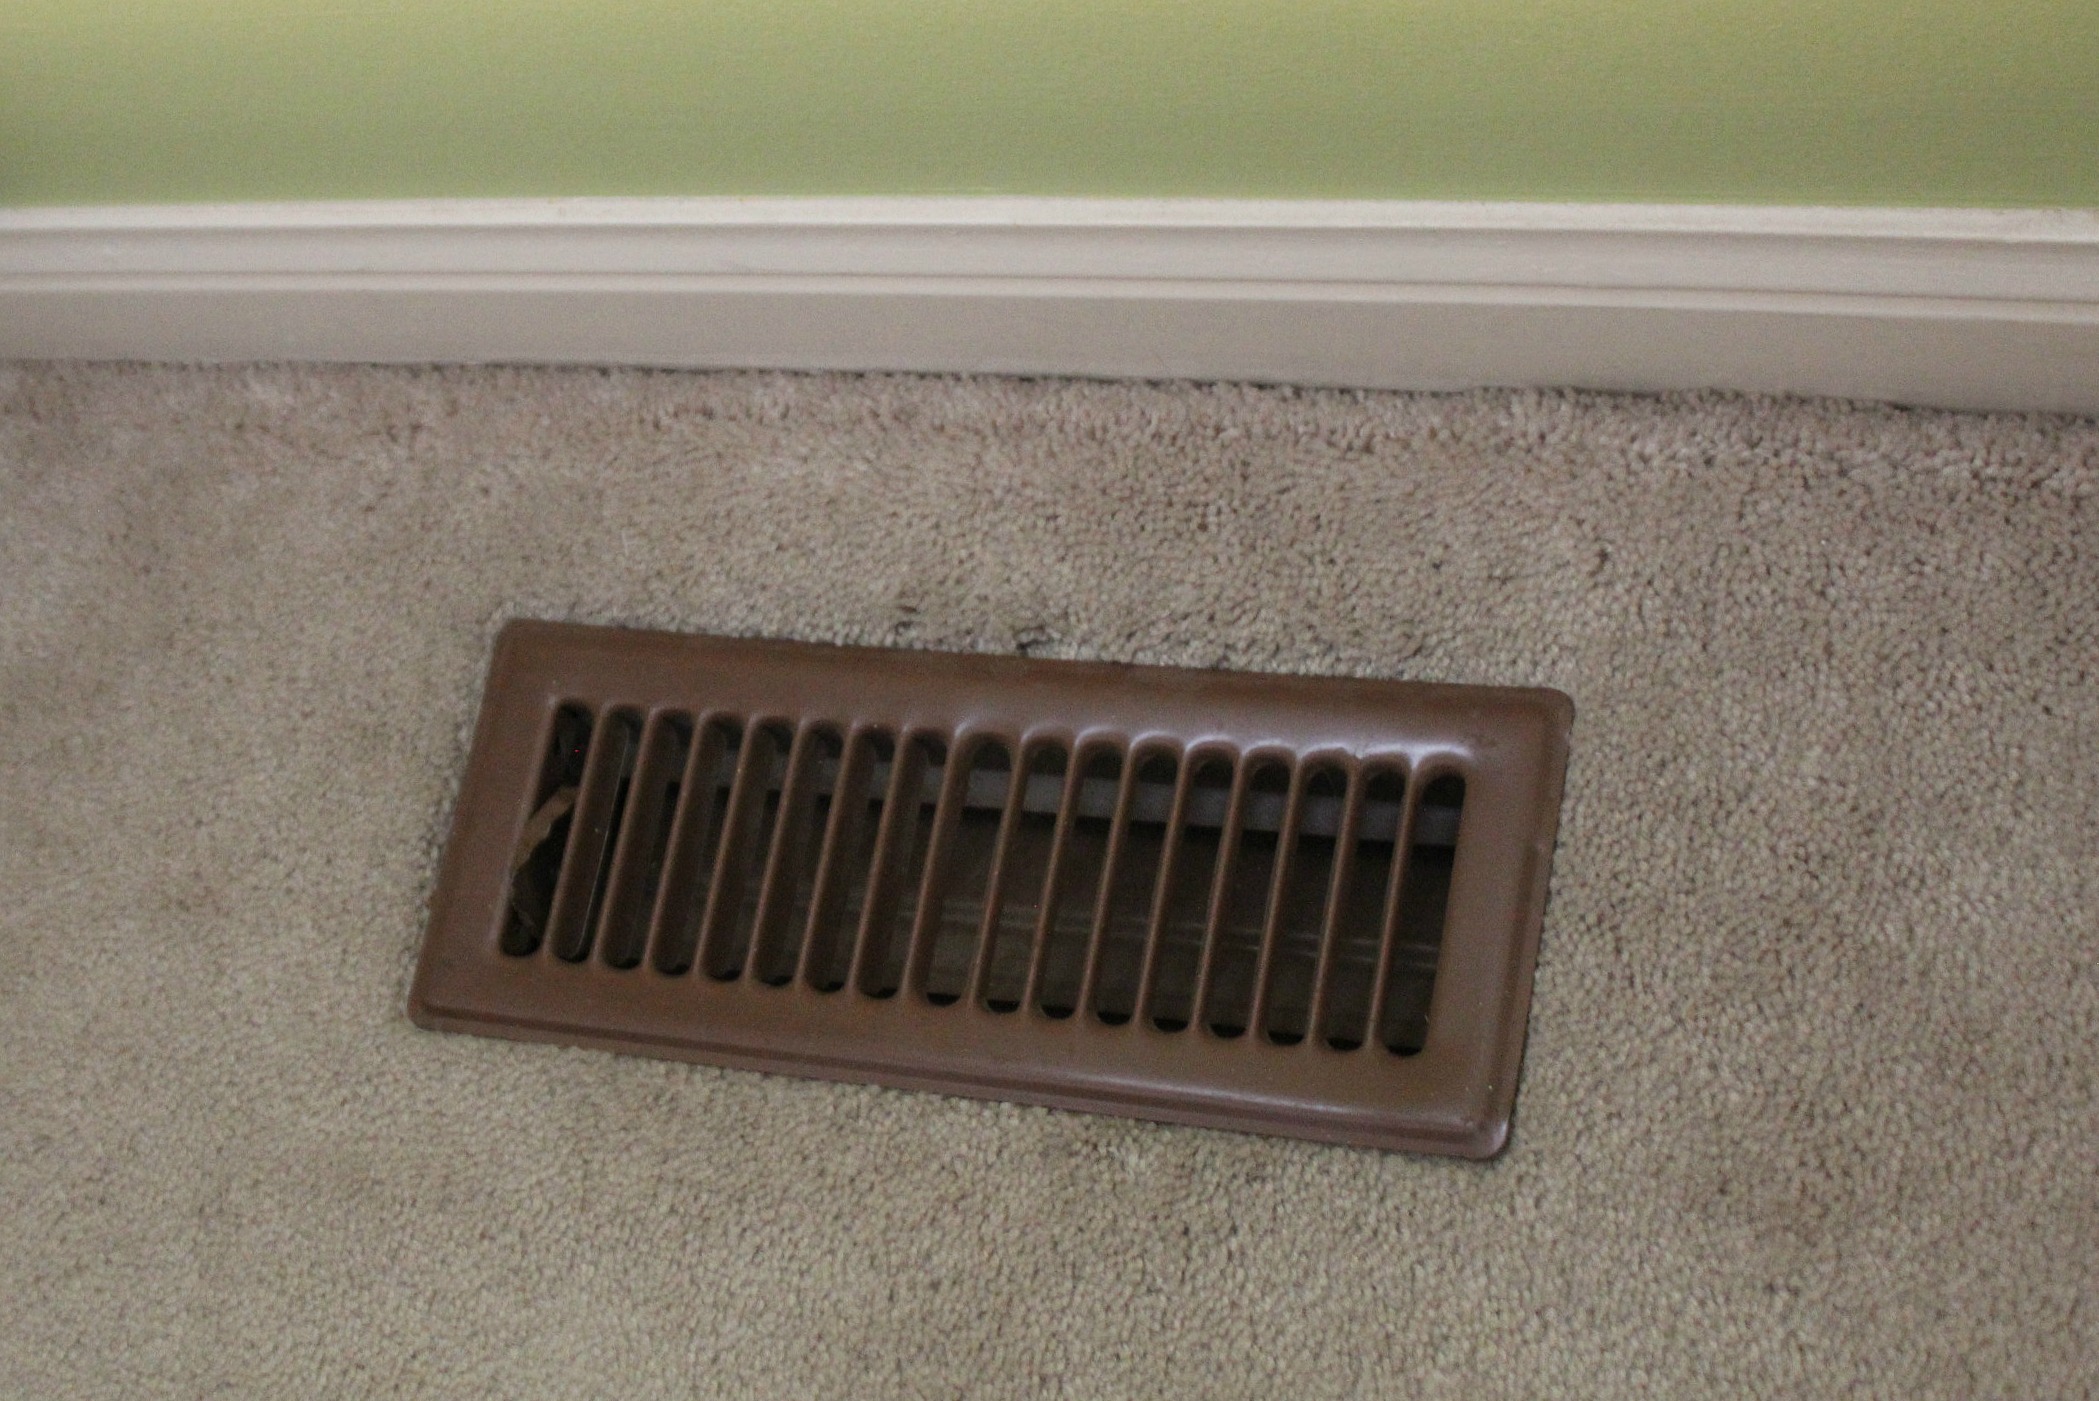
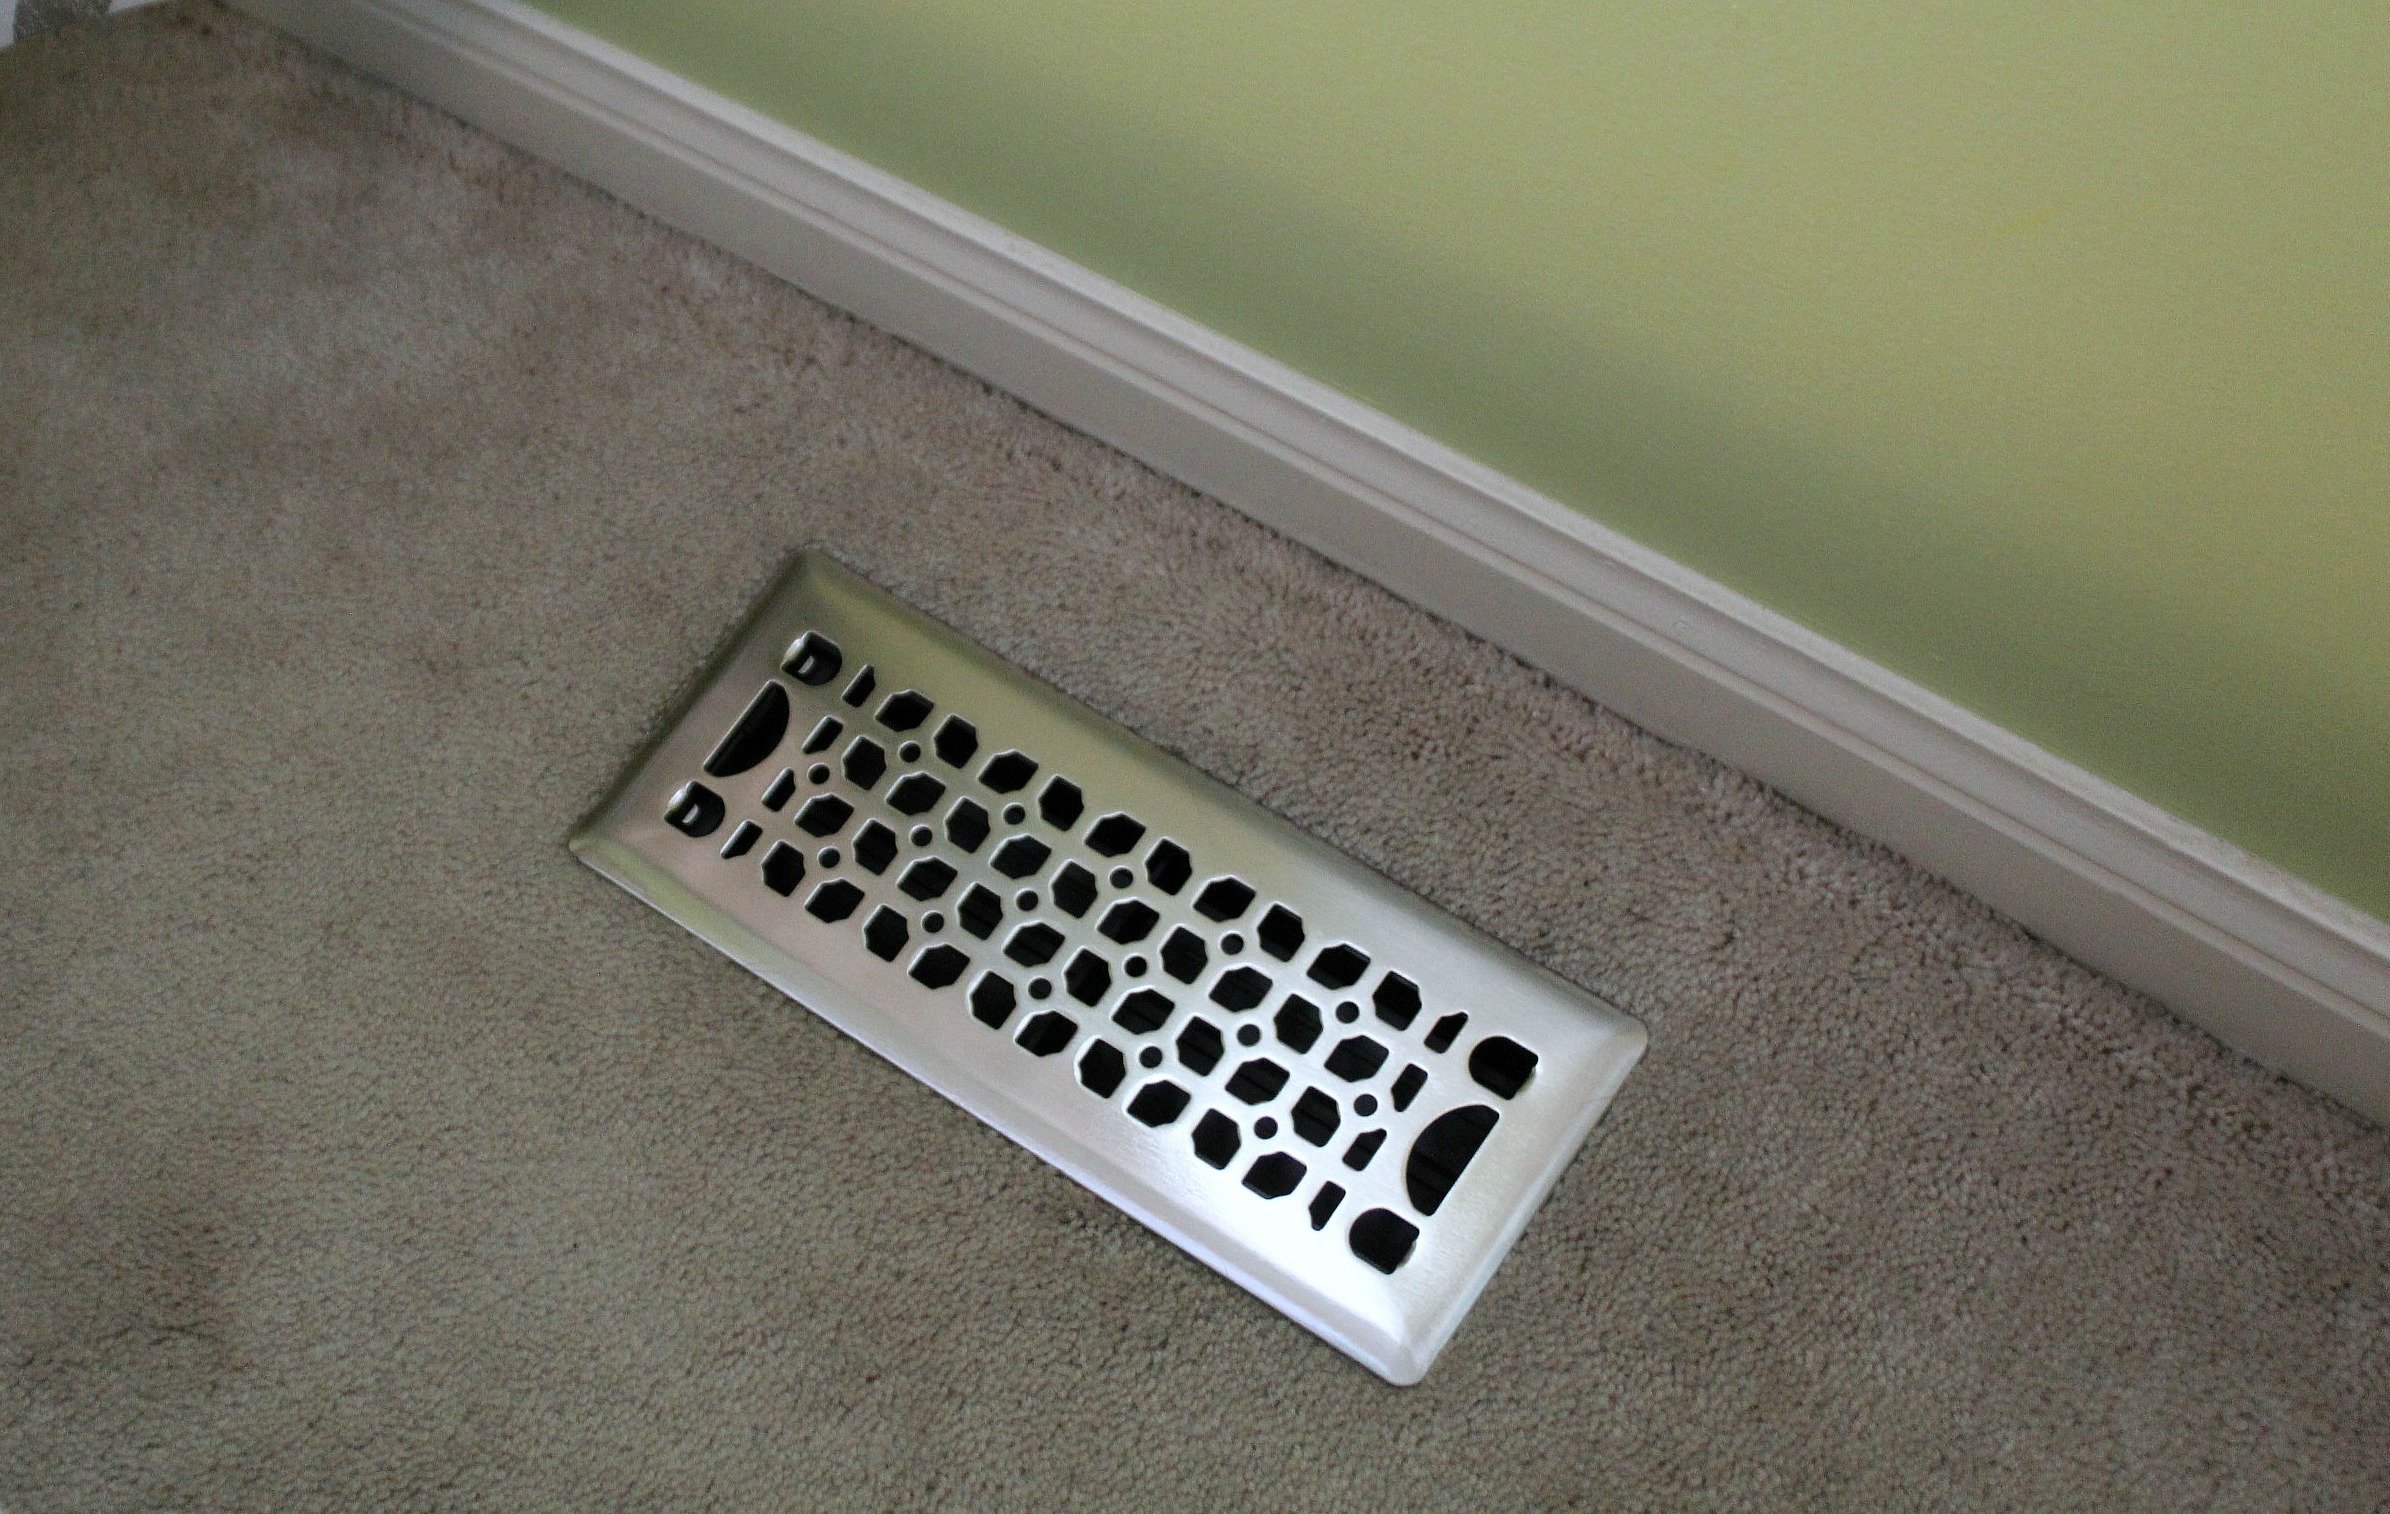
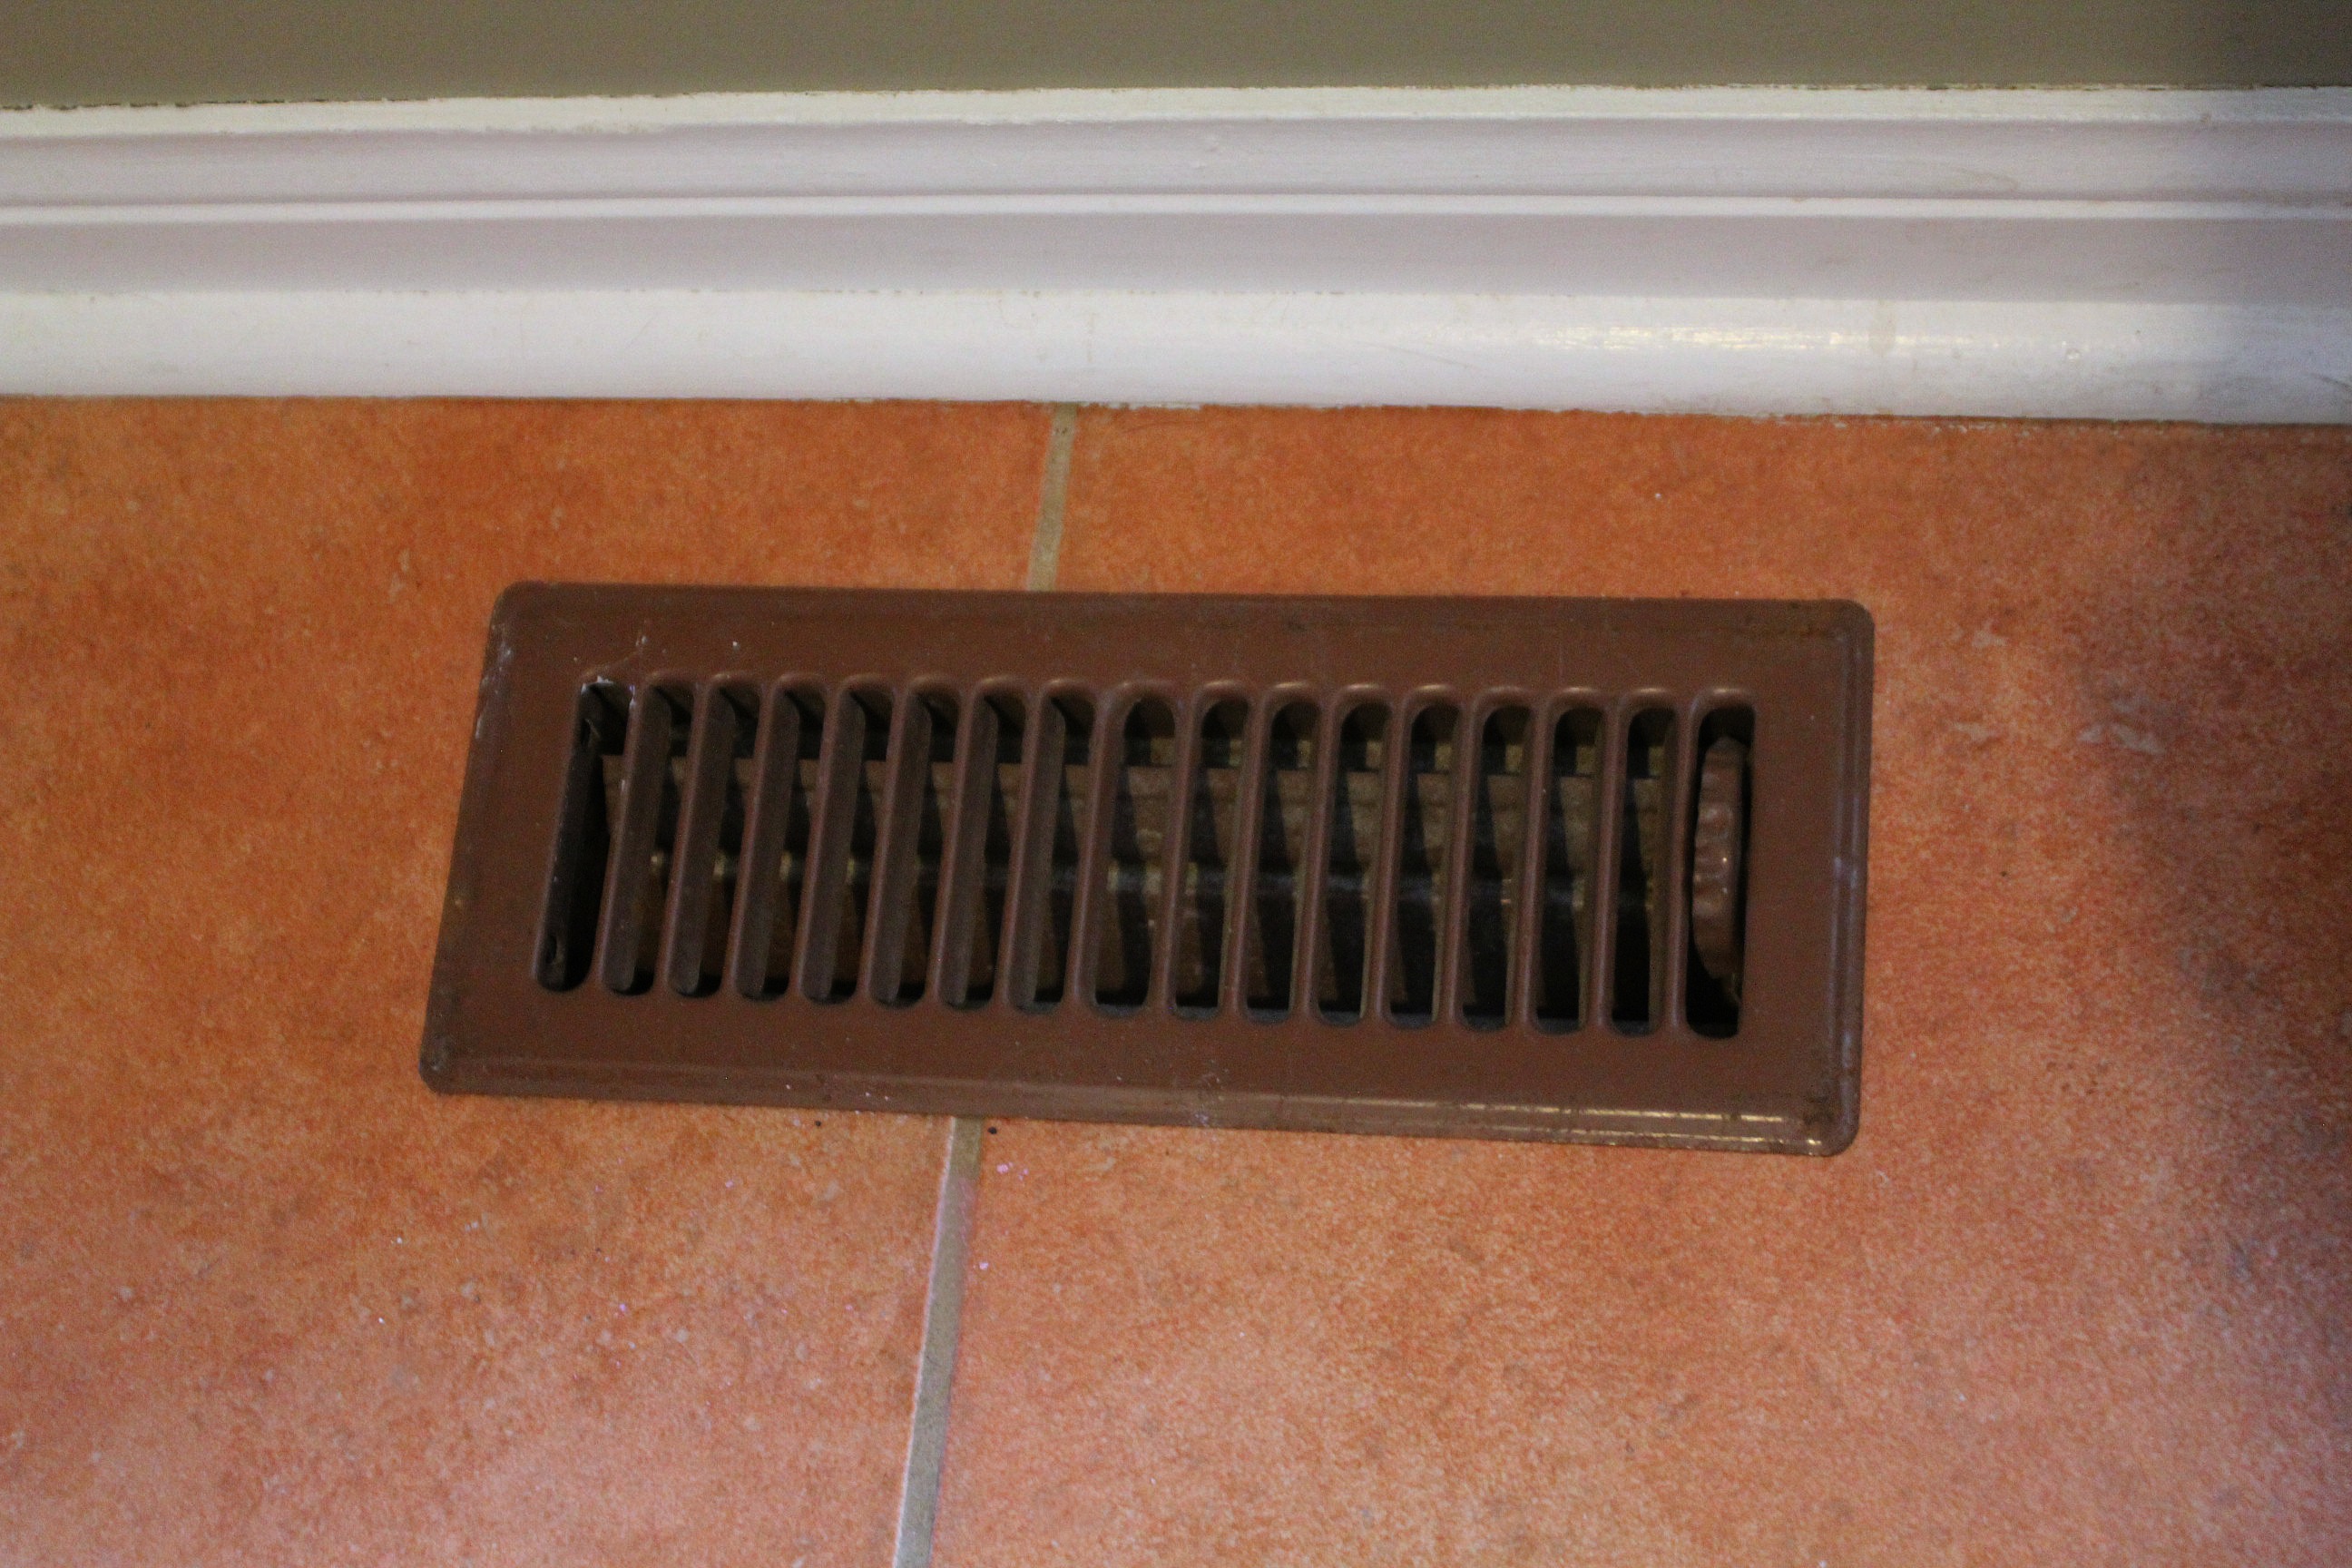
The final change was to swap out our old dull floor register covers for some fancy new ones. Ever since we put a new flat register cover in the ensuite bathroom I've been wanting to replace the ones in the rest of the house.
And now, looking at these pictures, I think I'm scrubbing my baseboards this weekend!




No comments:
Post a Comment