One of the things we've had a hard time adjusting to in the new house is the lack of overhead lighting. In our previous houses, even if we didn't like the lighting, at least there was something there to illuminate the room at night until we could get it changed. This house only has lighting in the kitchen and bathrooms (and the basement of course - fabulous, buzzing fluorescent lighting).
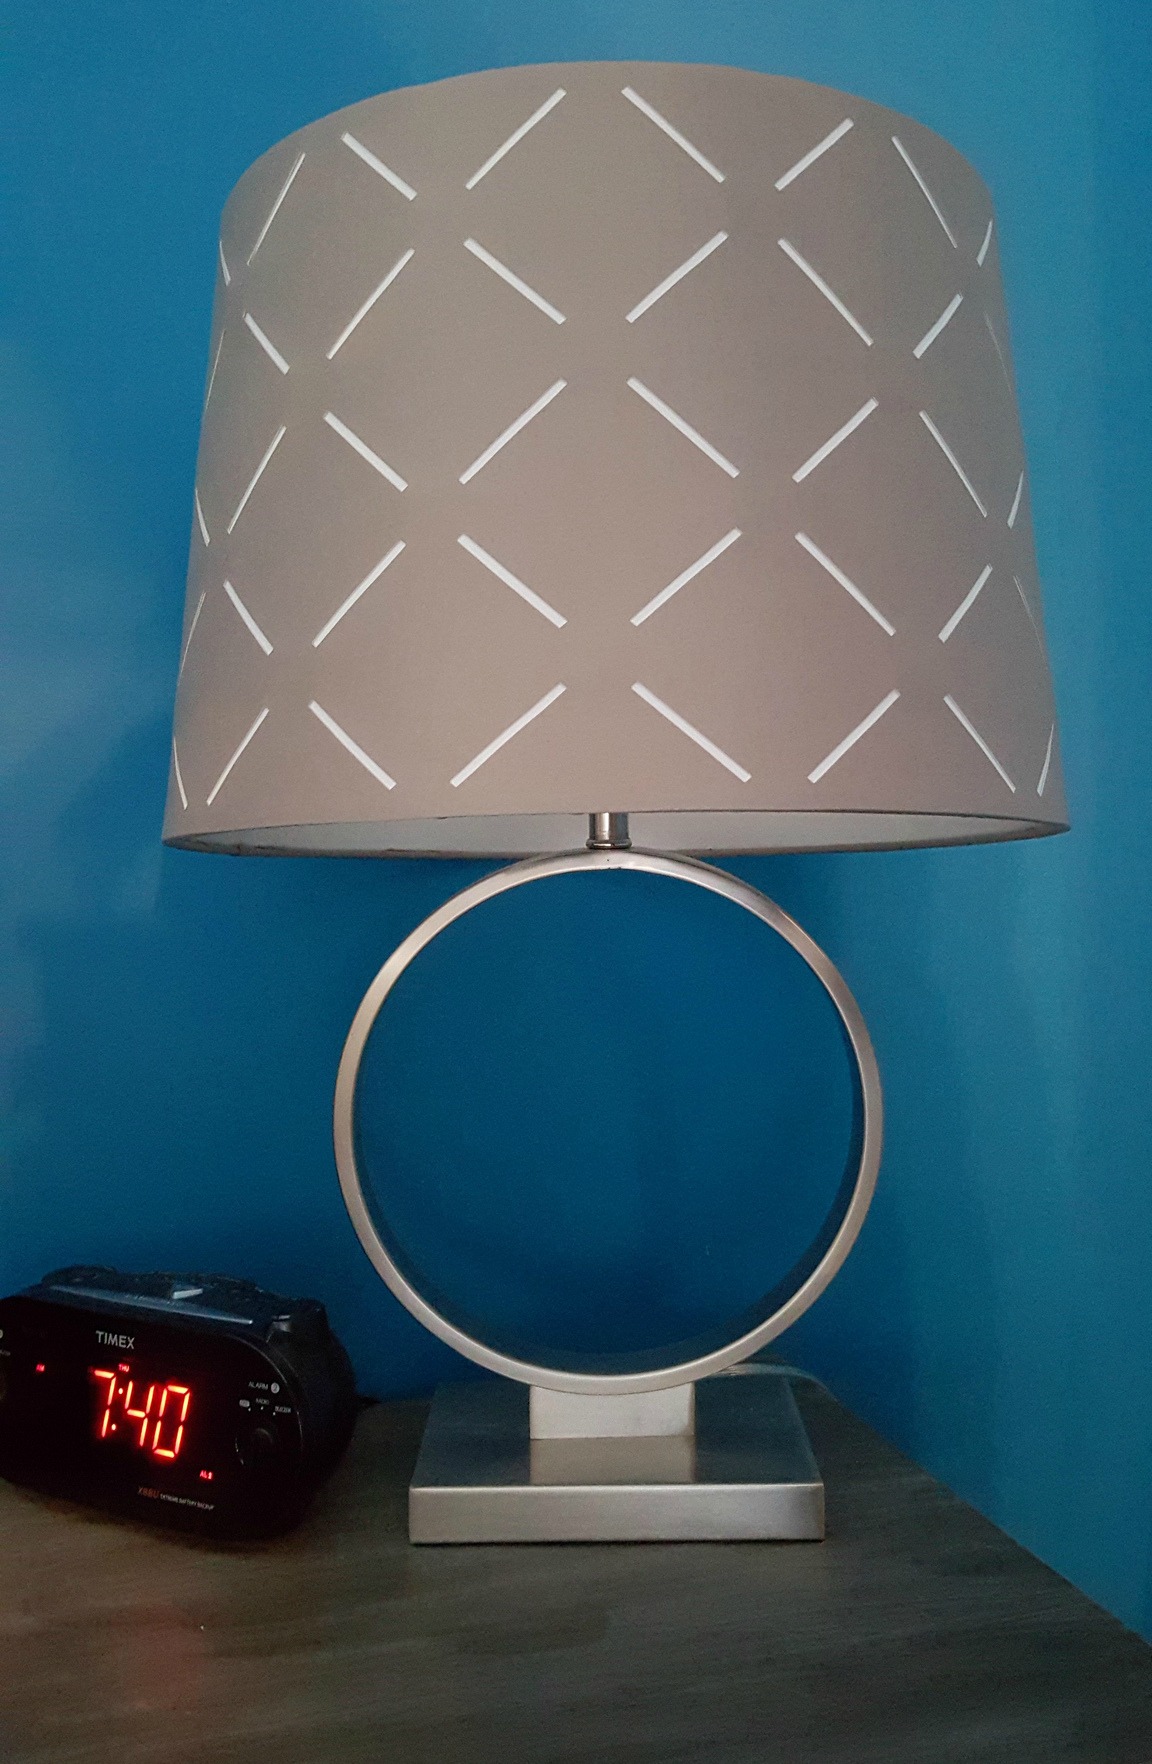
We were back to work just a couple of days after moving, so most of our unpacking happens at night. There's nothing more fun than unpacking by flashlight. Really, nothing. You should try it. One box and you're ready to go to bed. We did eventually set up some lamps, but without the rooms arranged a couple are still sitting on the floor. (My friend Jody unpacked and arranged her entire house the day she moved in - I'm sure my place drives her bananas.)
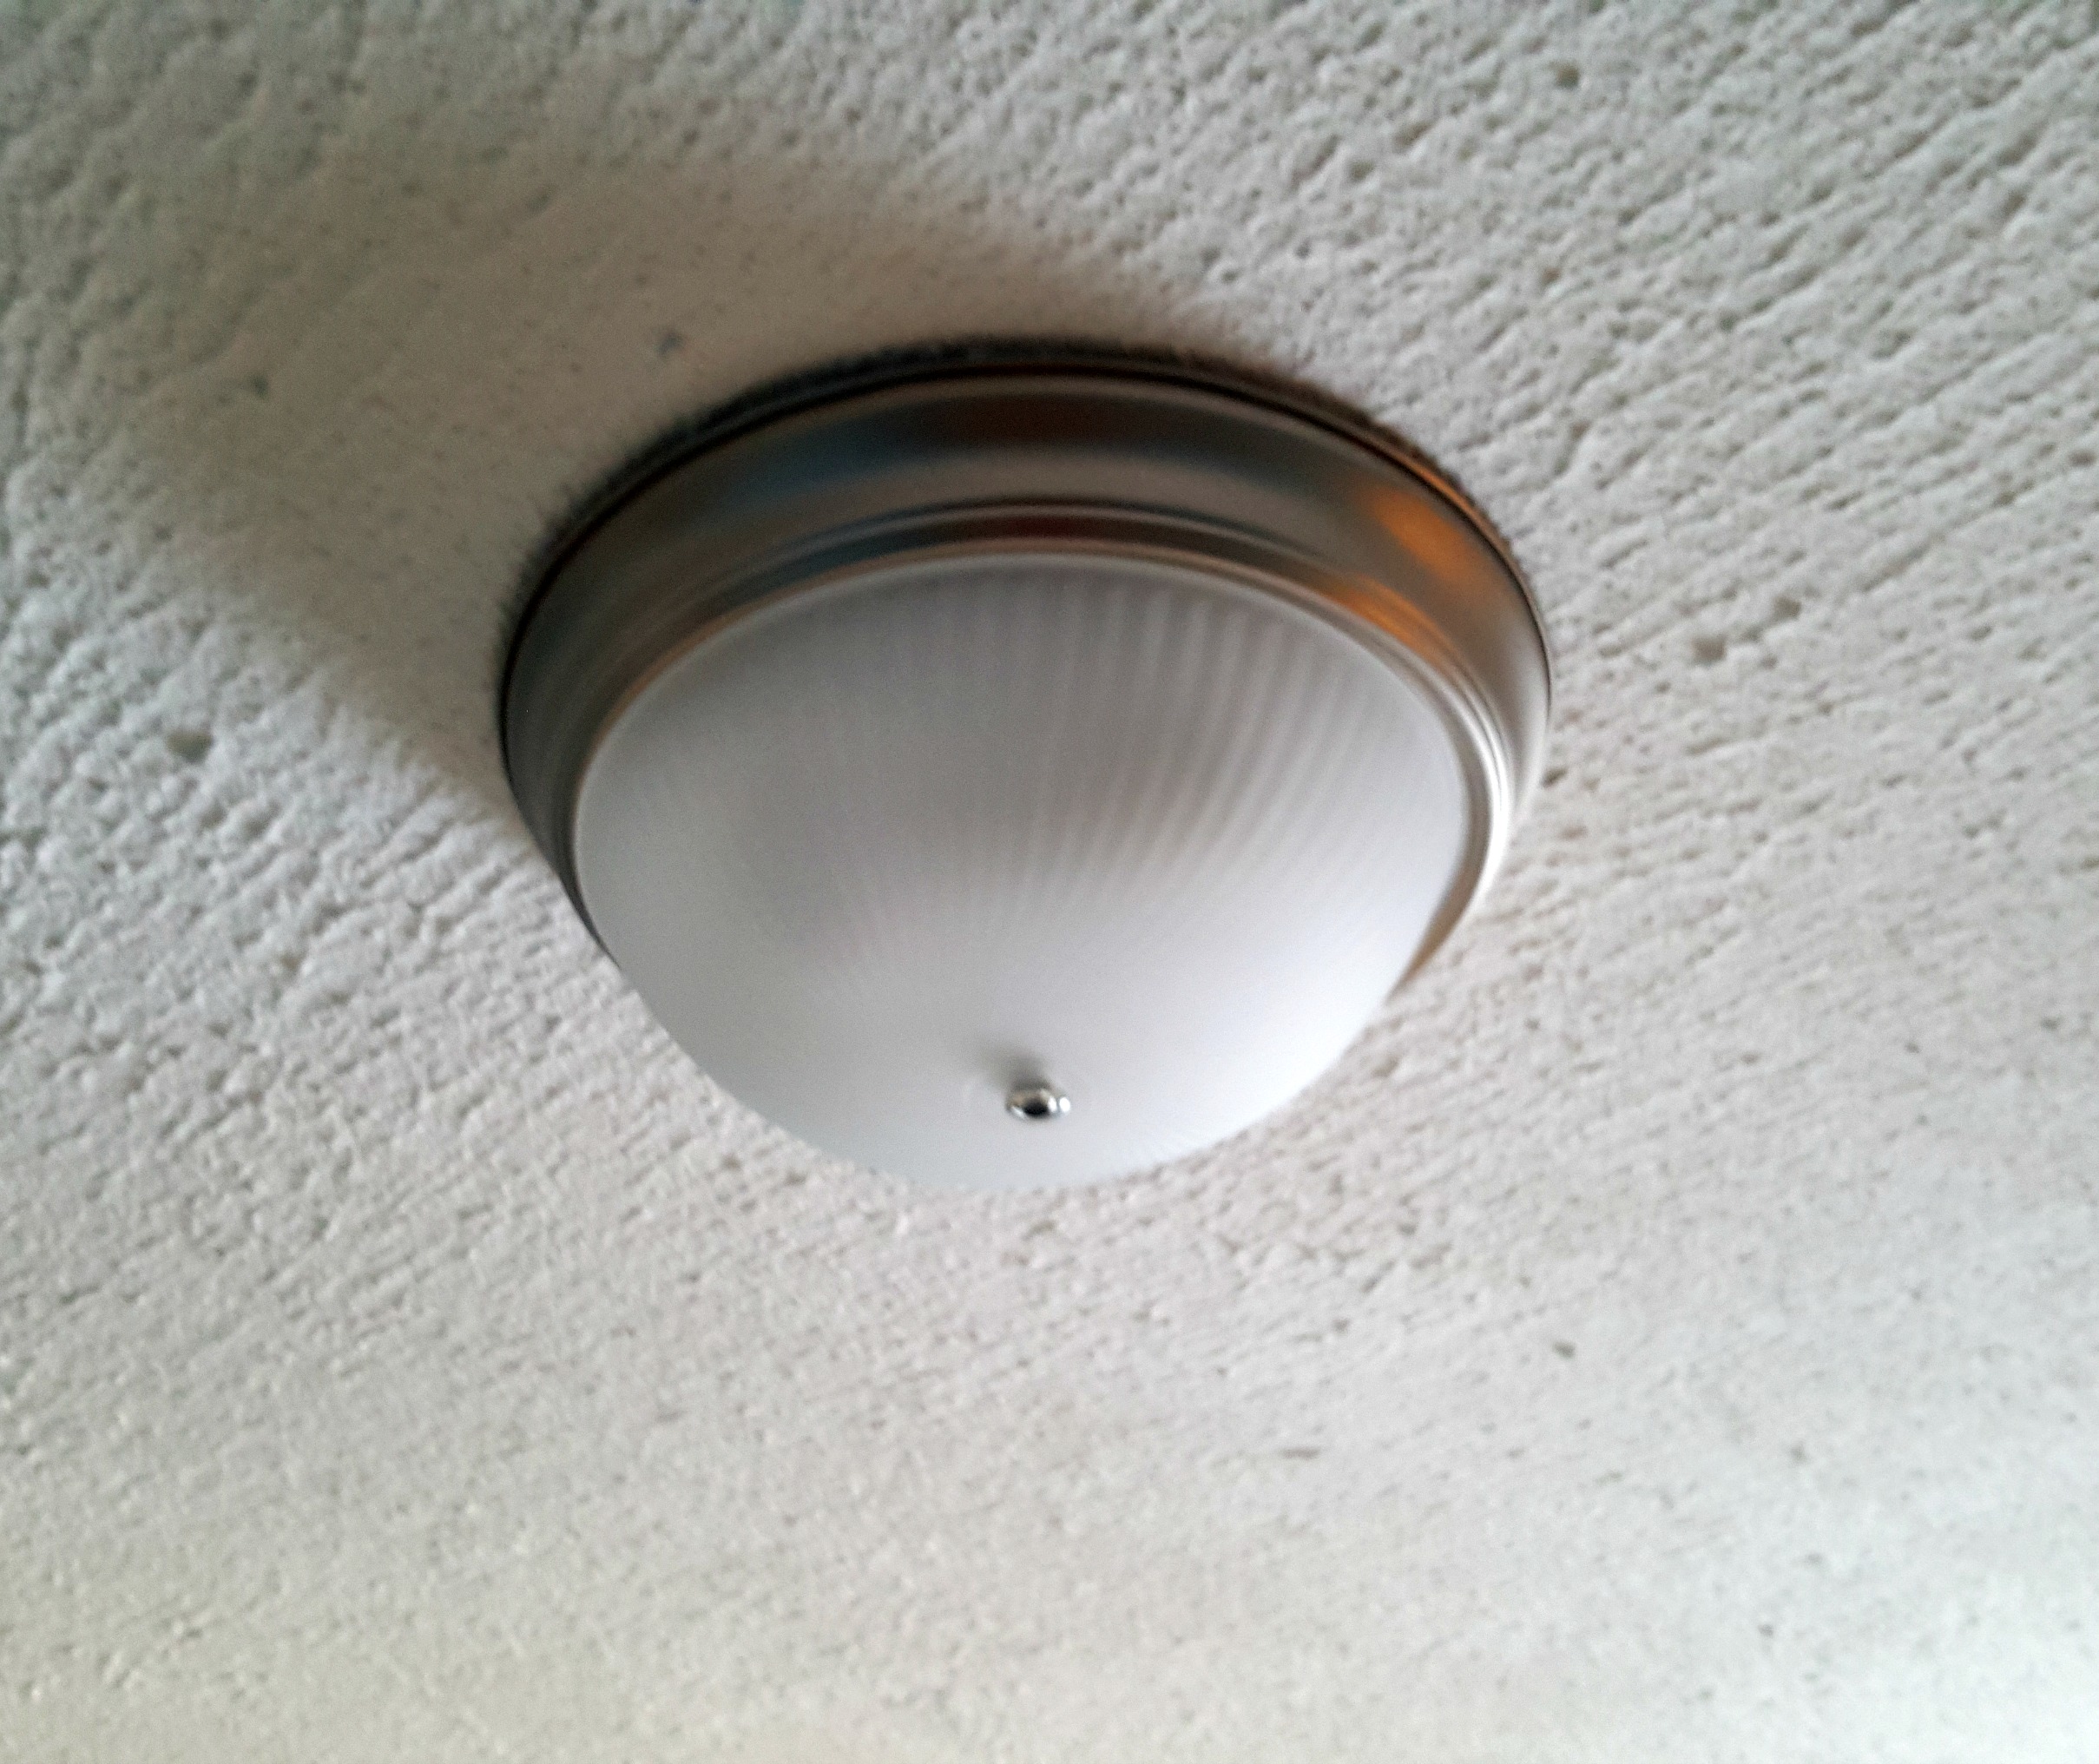
So we knew we had to get our butts out there and buy some overhead lighting. But what to buy? We want to take our time with this place and love everything we choose, so
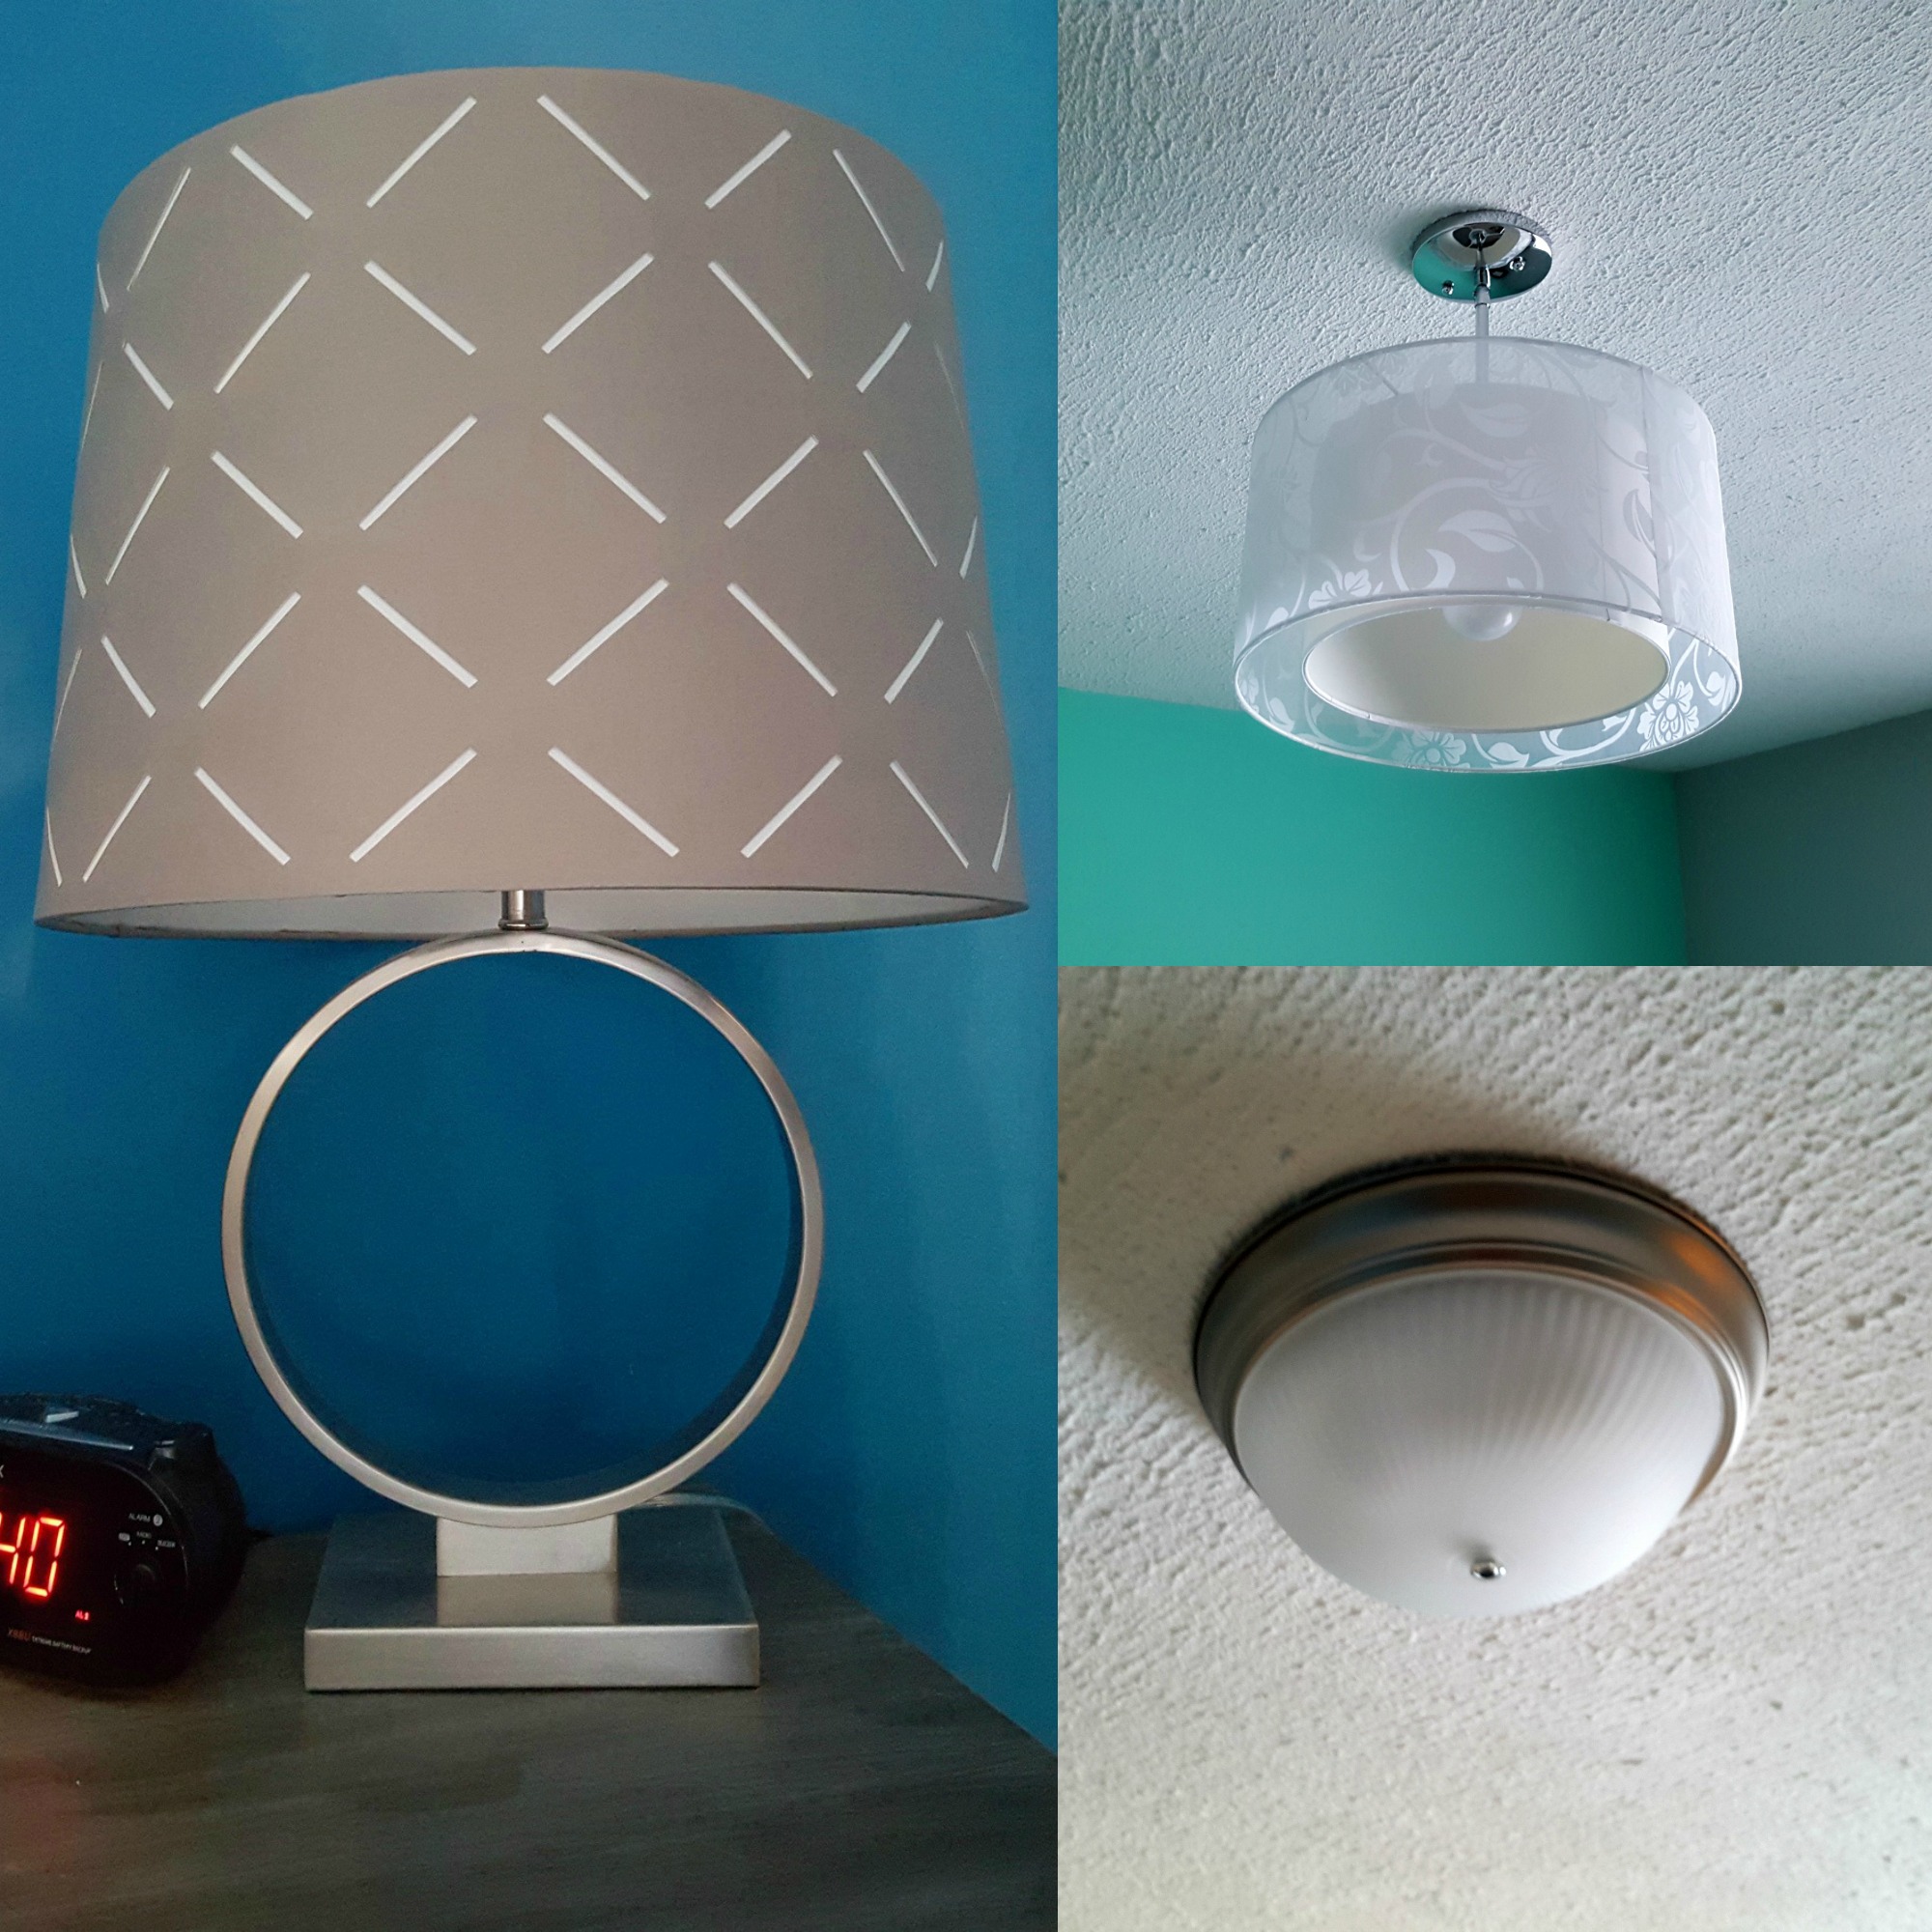
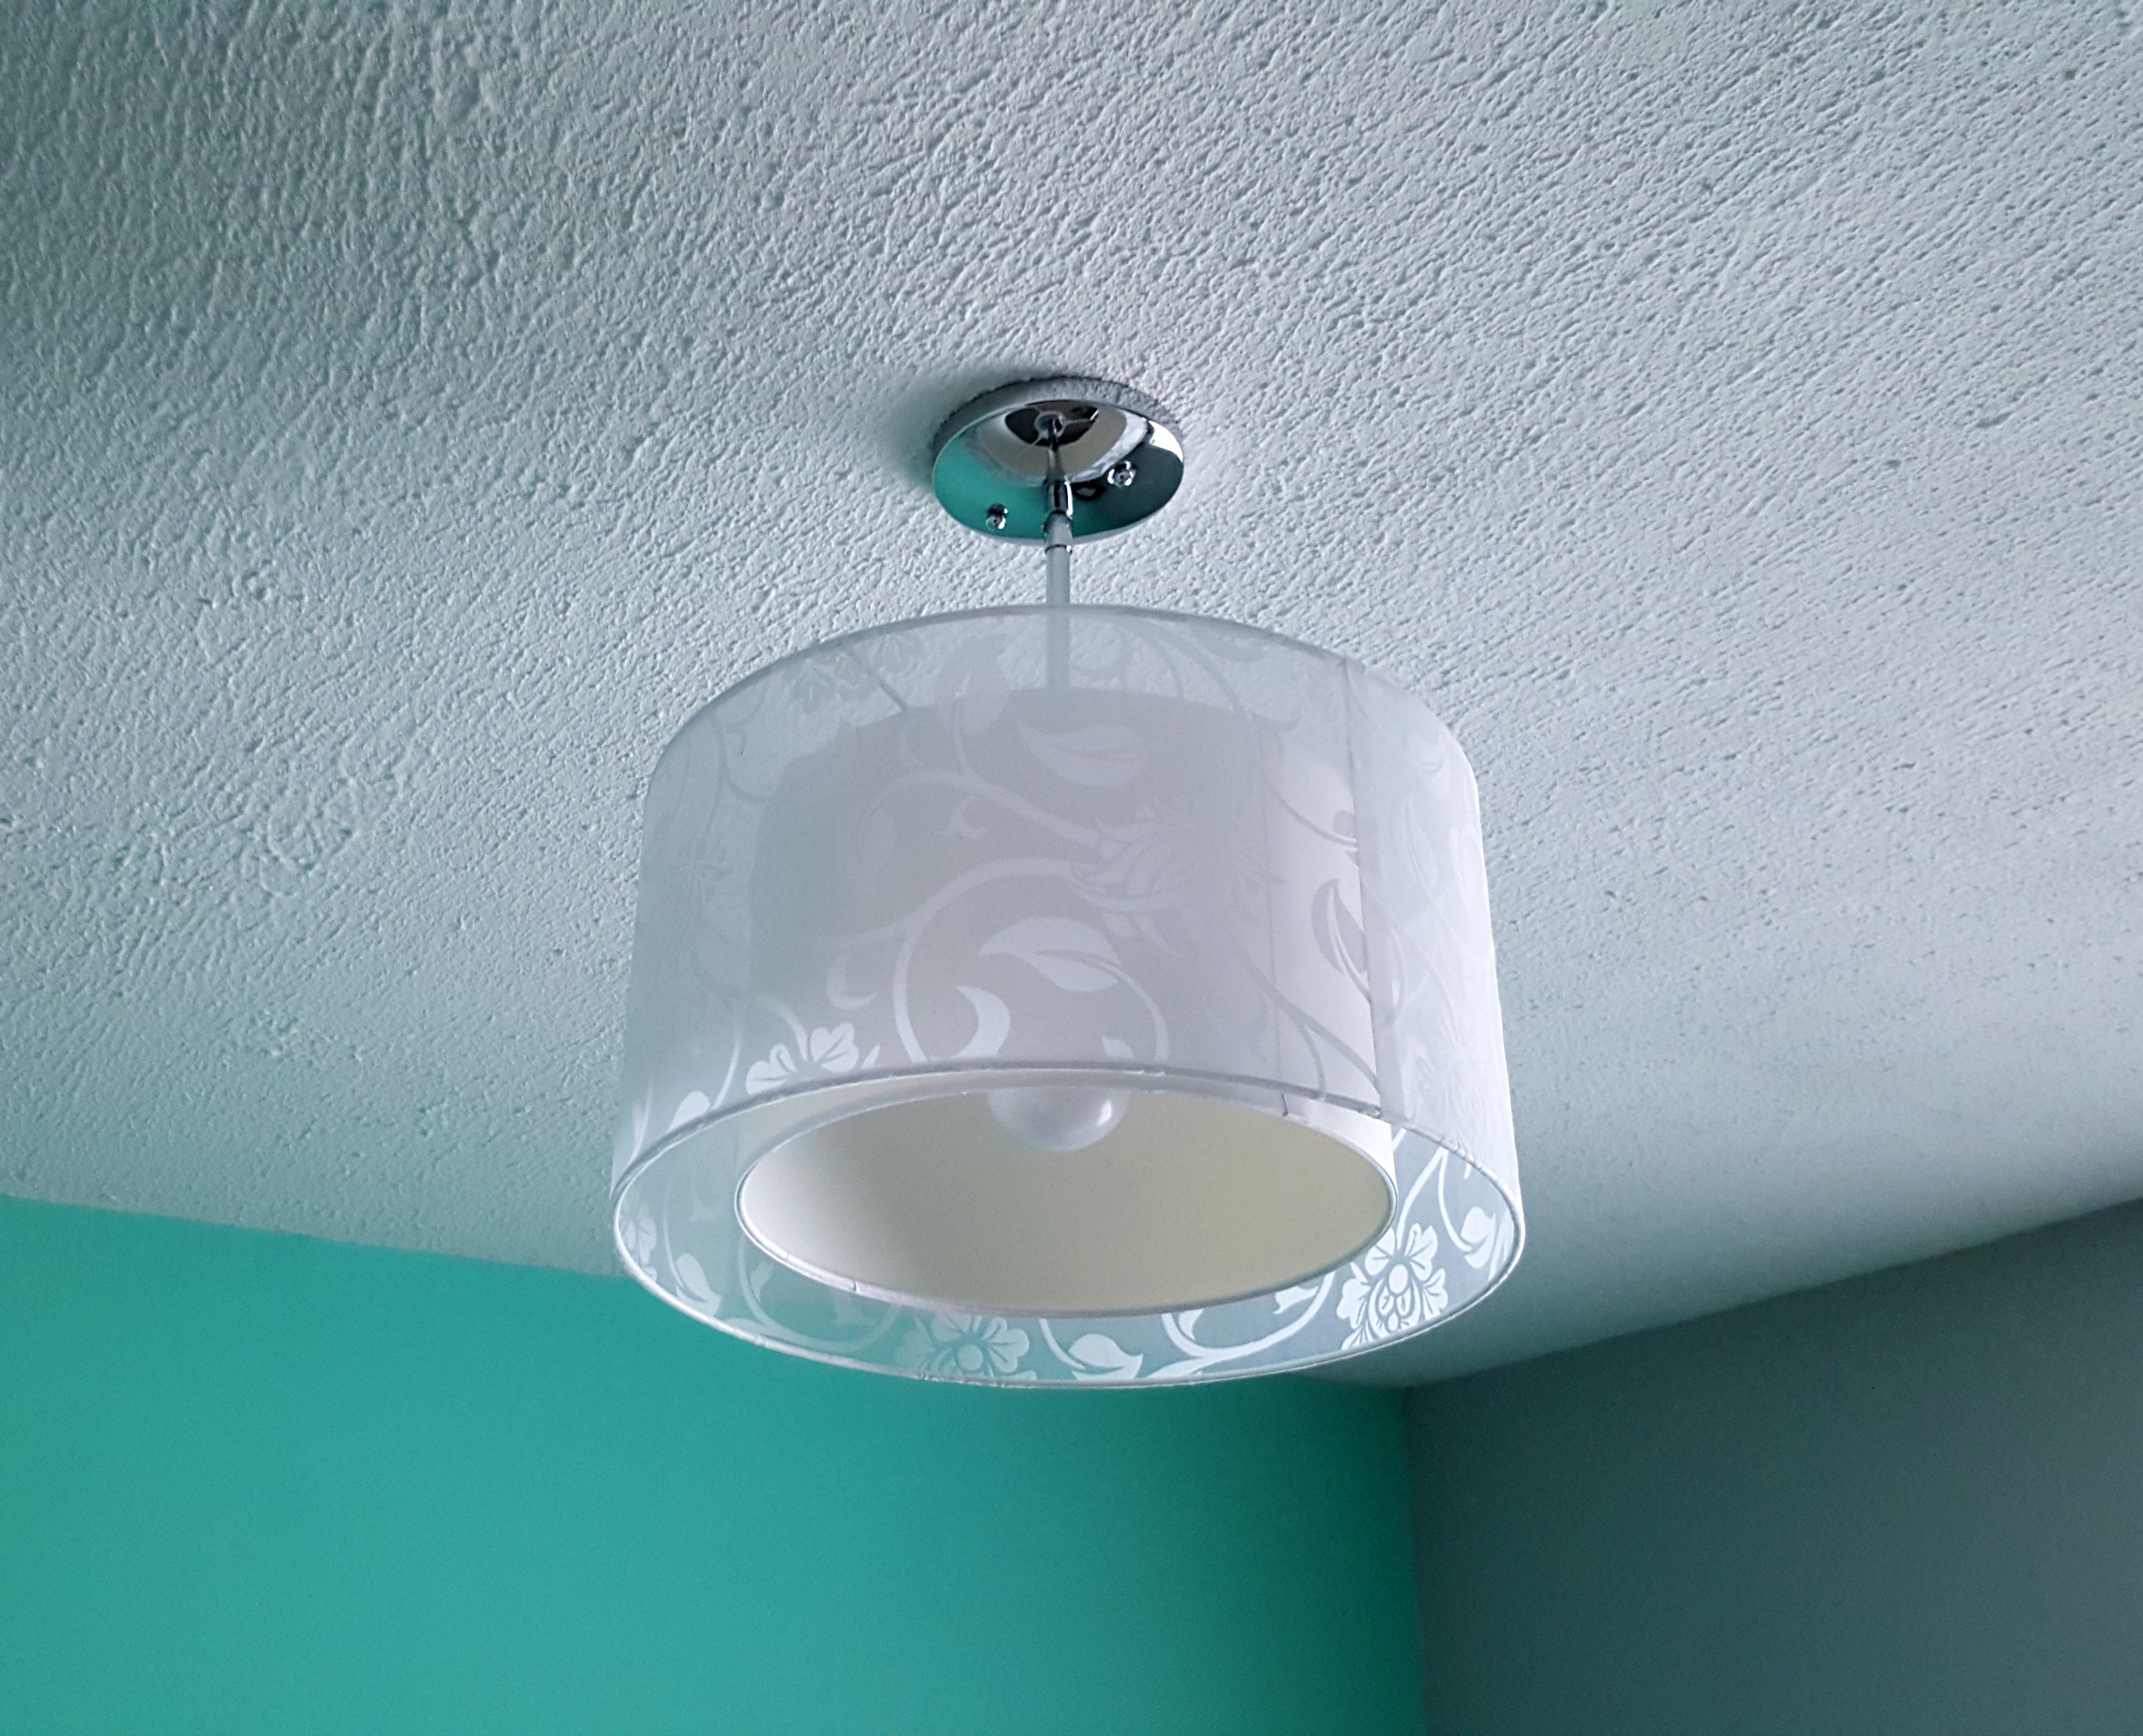
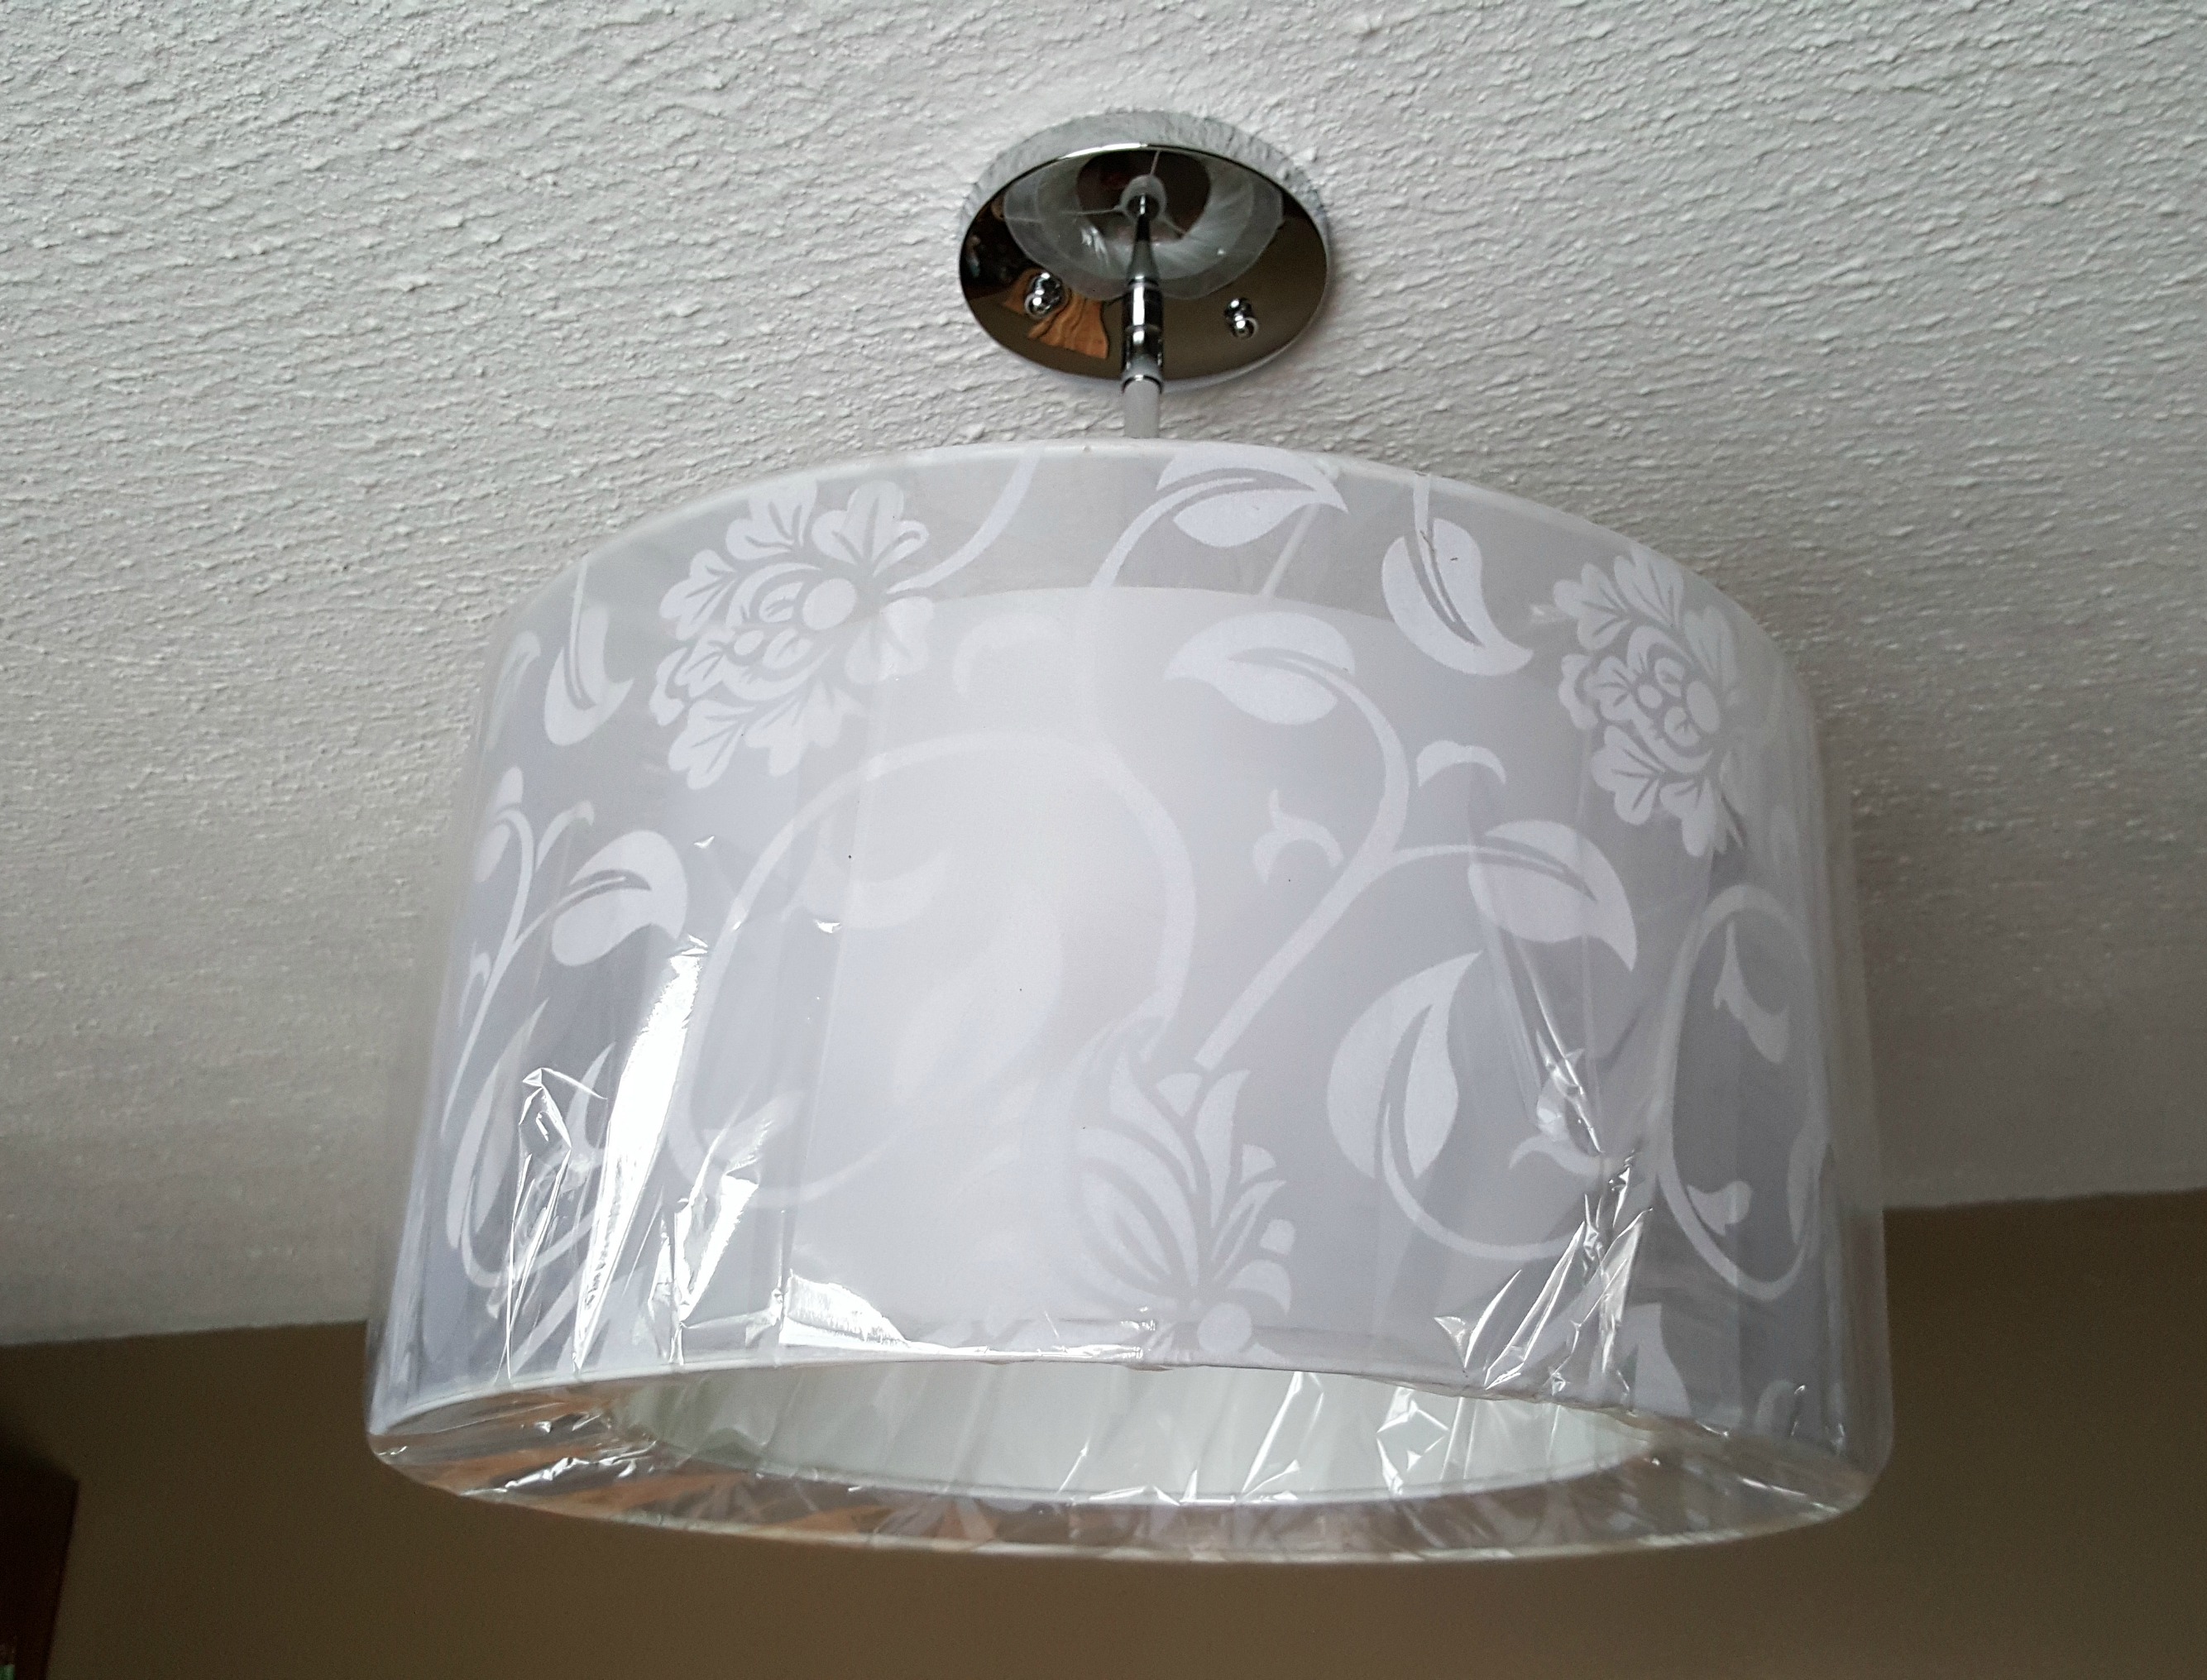
It was easier to pick out lights for the two spare rooms - I loved the drum light in our old bedroom so much that I knew I needed to see it again in the new place. Luckily Home Depot still had a couple kicking around at one nearby store. That's the worst, isn't it? Falling in love with something that's discontinued when you want to buy it again.
The process of installing a brand-new fixture involves cutting a hole in the ceiling and running wire from the wall switch up and across to the designated spot. I would love to show you exactly what Tom did, but it was freezing cold in the attic and he refused to stop to take pictures. But we have plenty more lights to add so I know there'll be many, many more chances.
Here's a quick rundown though:
Do I need to point out that the power to the room (or the whole house if you'd like) should be turned off while doing electrical work? I hope not.
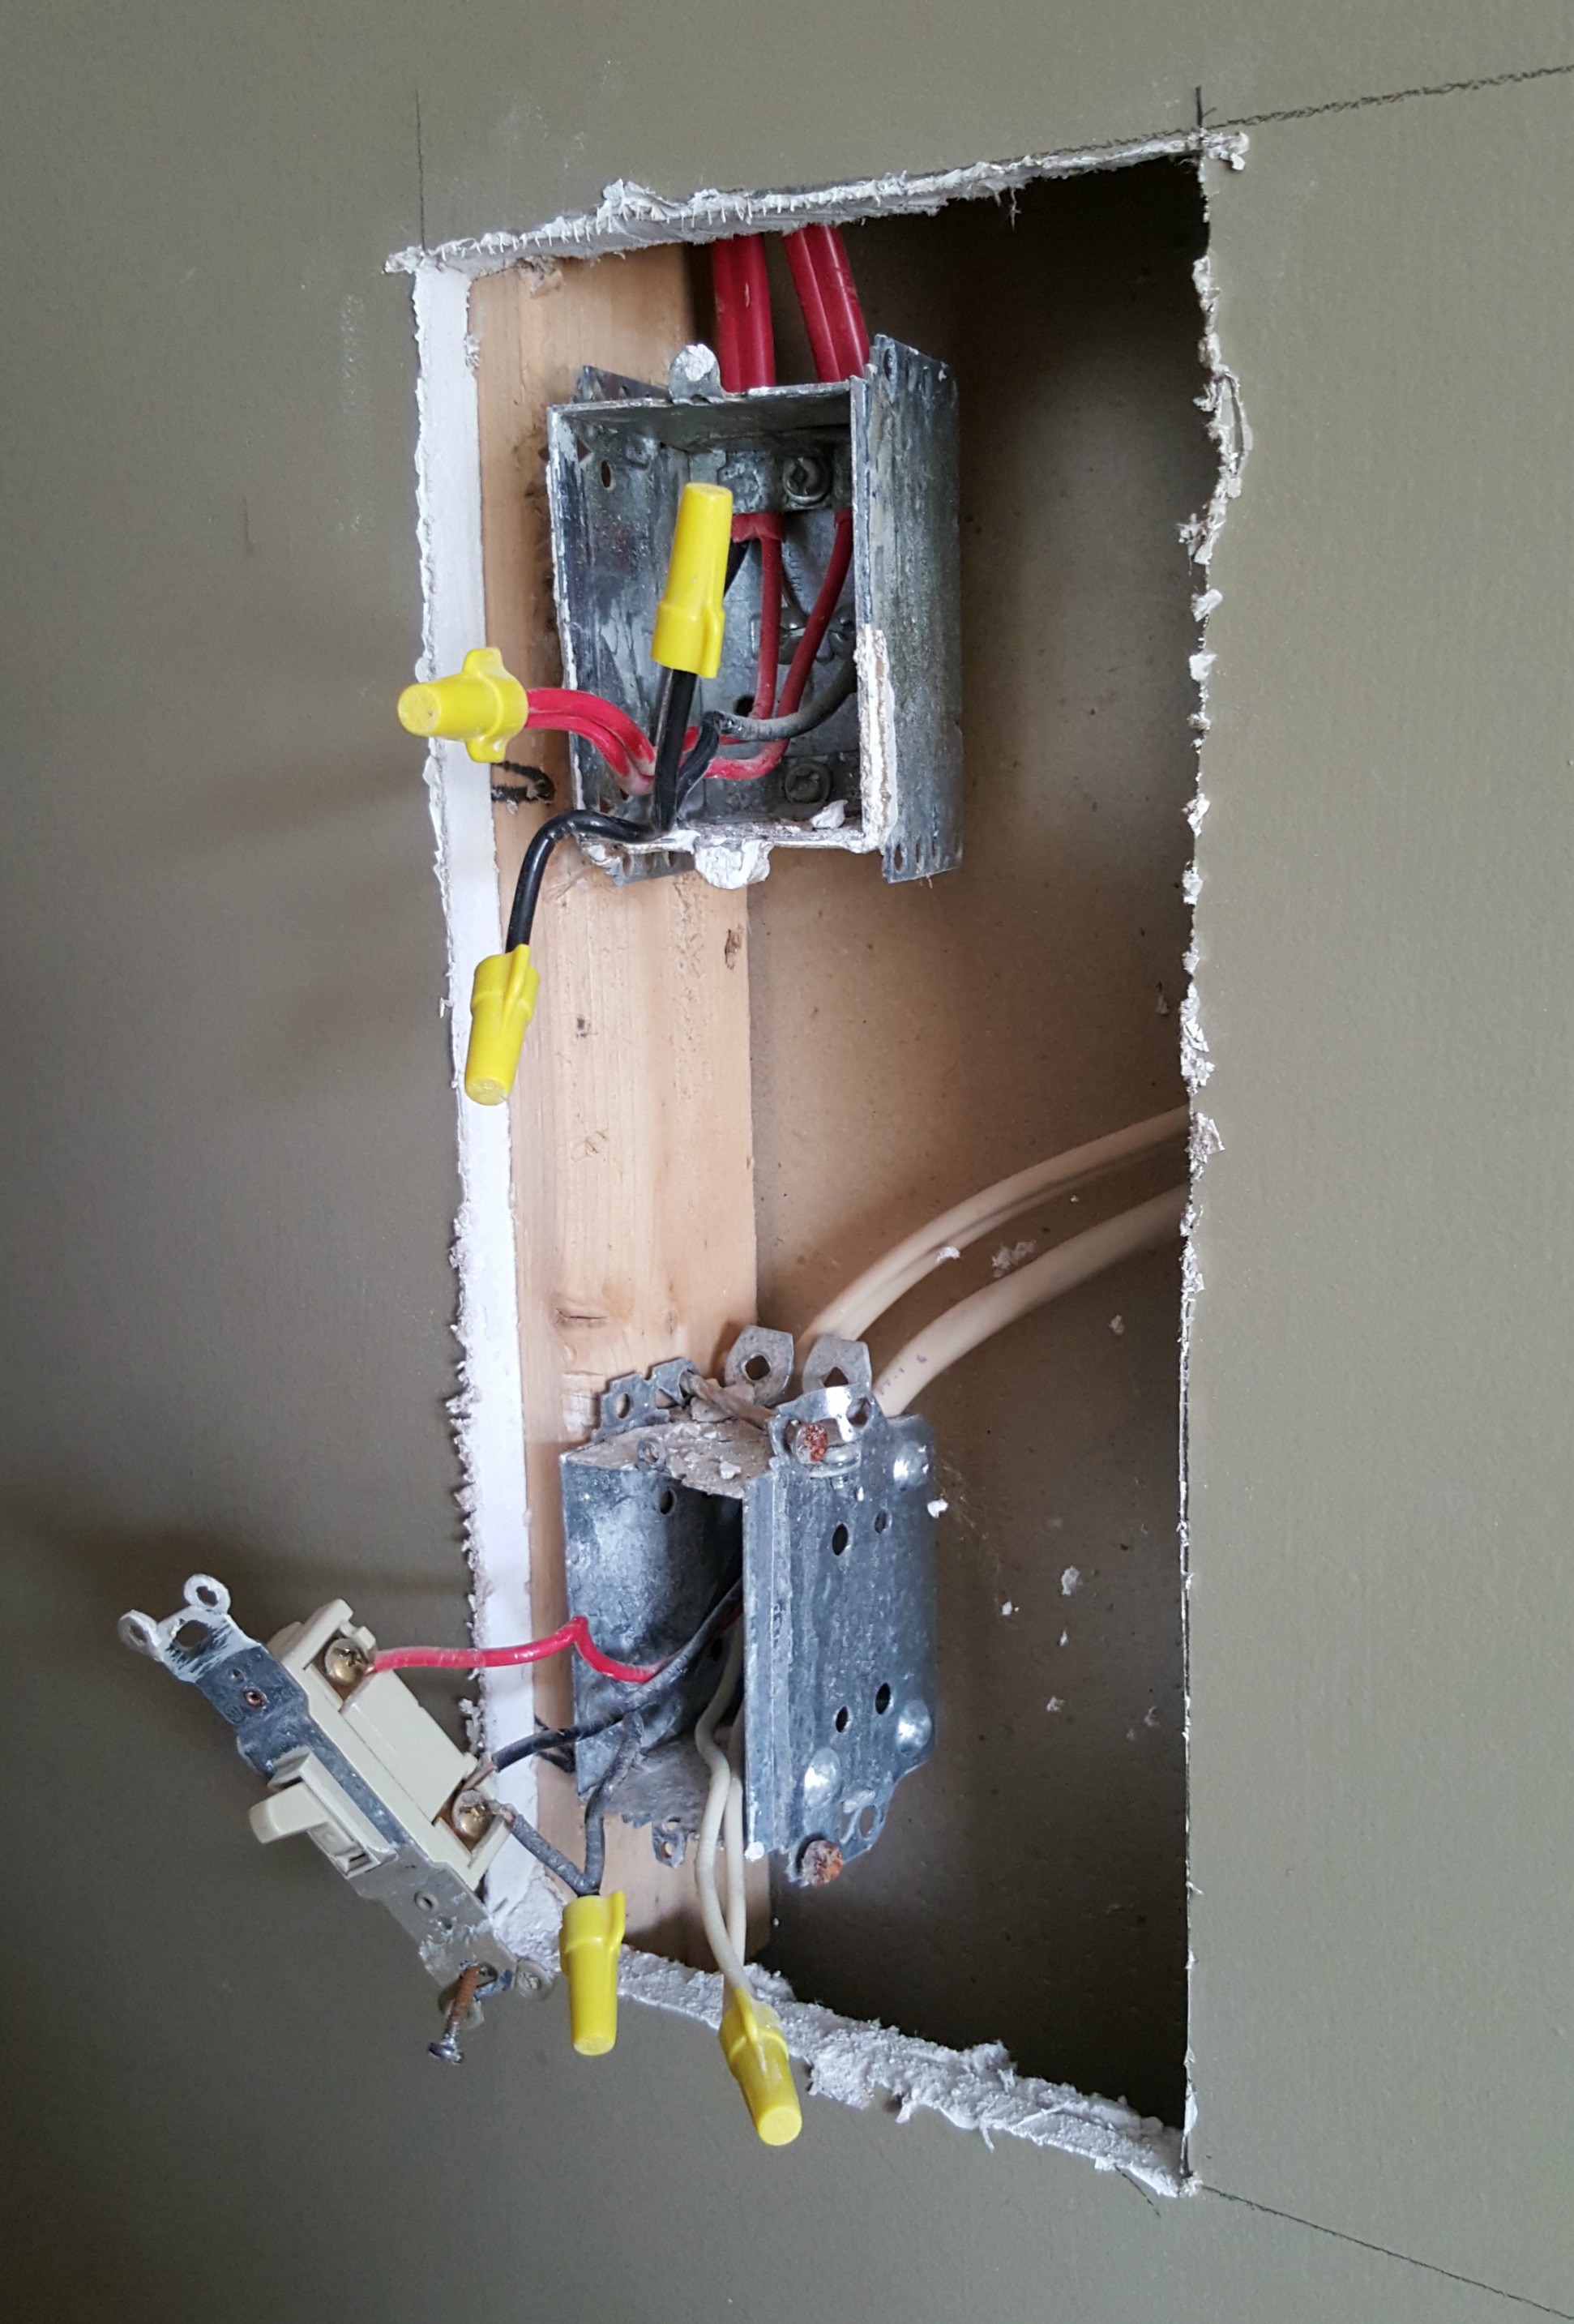
He started with the area around the light switch. A section of drywall was cut out so that the wires were visible. Normally he would also cut out a section nearer to the ceiling so that he could drill a hole through the framework to run the wiring up into the attic. Up until a couple of years ago the house had baseboard heating and he found that the wiring from that was still in place (capped at each end) so he was able to reuse this instead of running new wire. He extended the red wire down so that it reached the box with the light switch and capped off the beige wire (which runs to one of the wall outlets in the room).
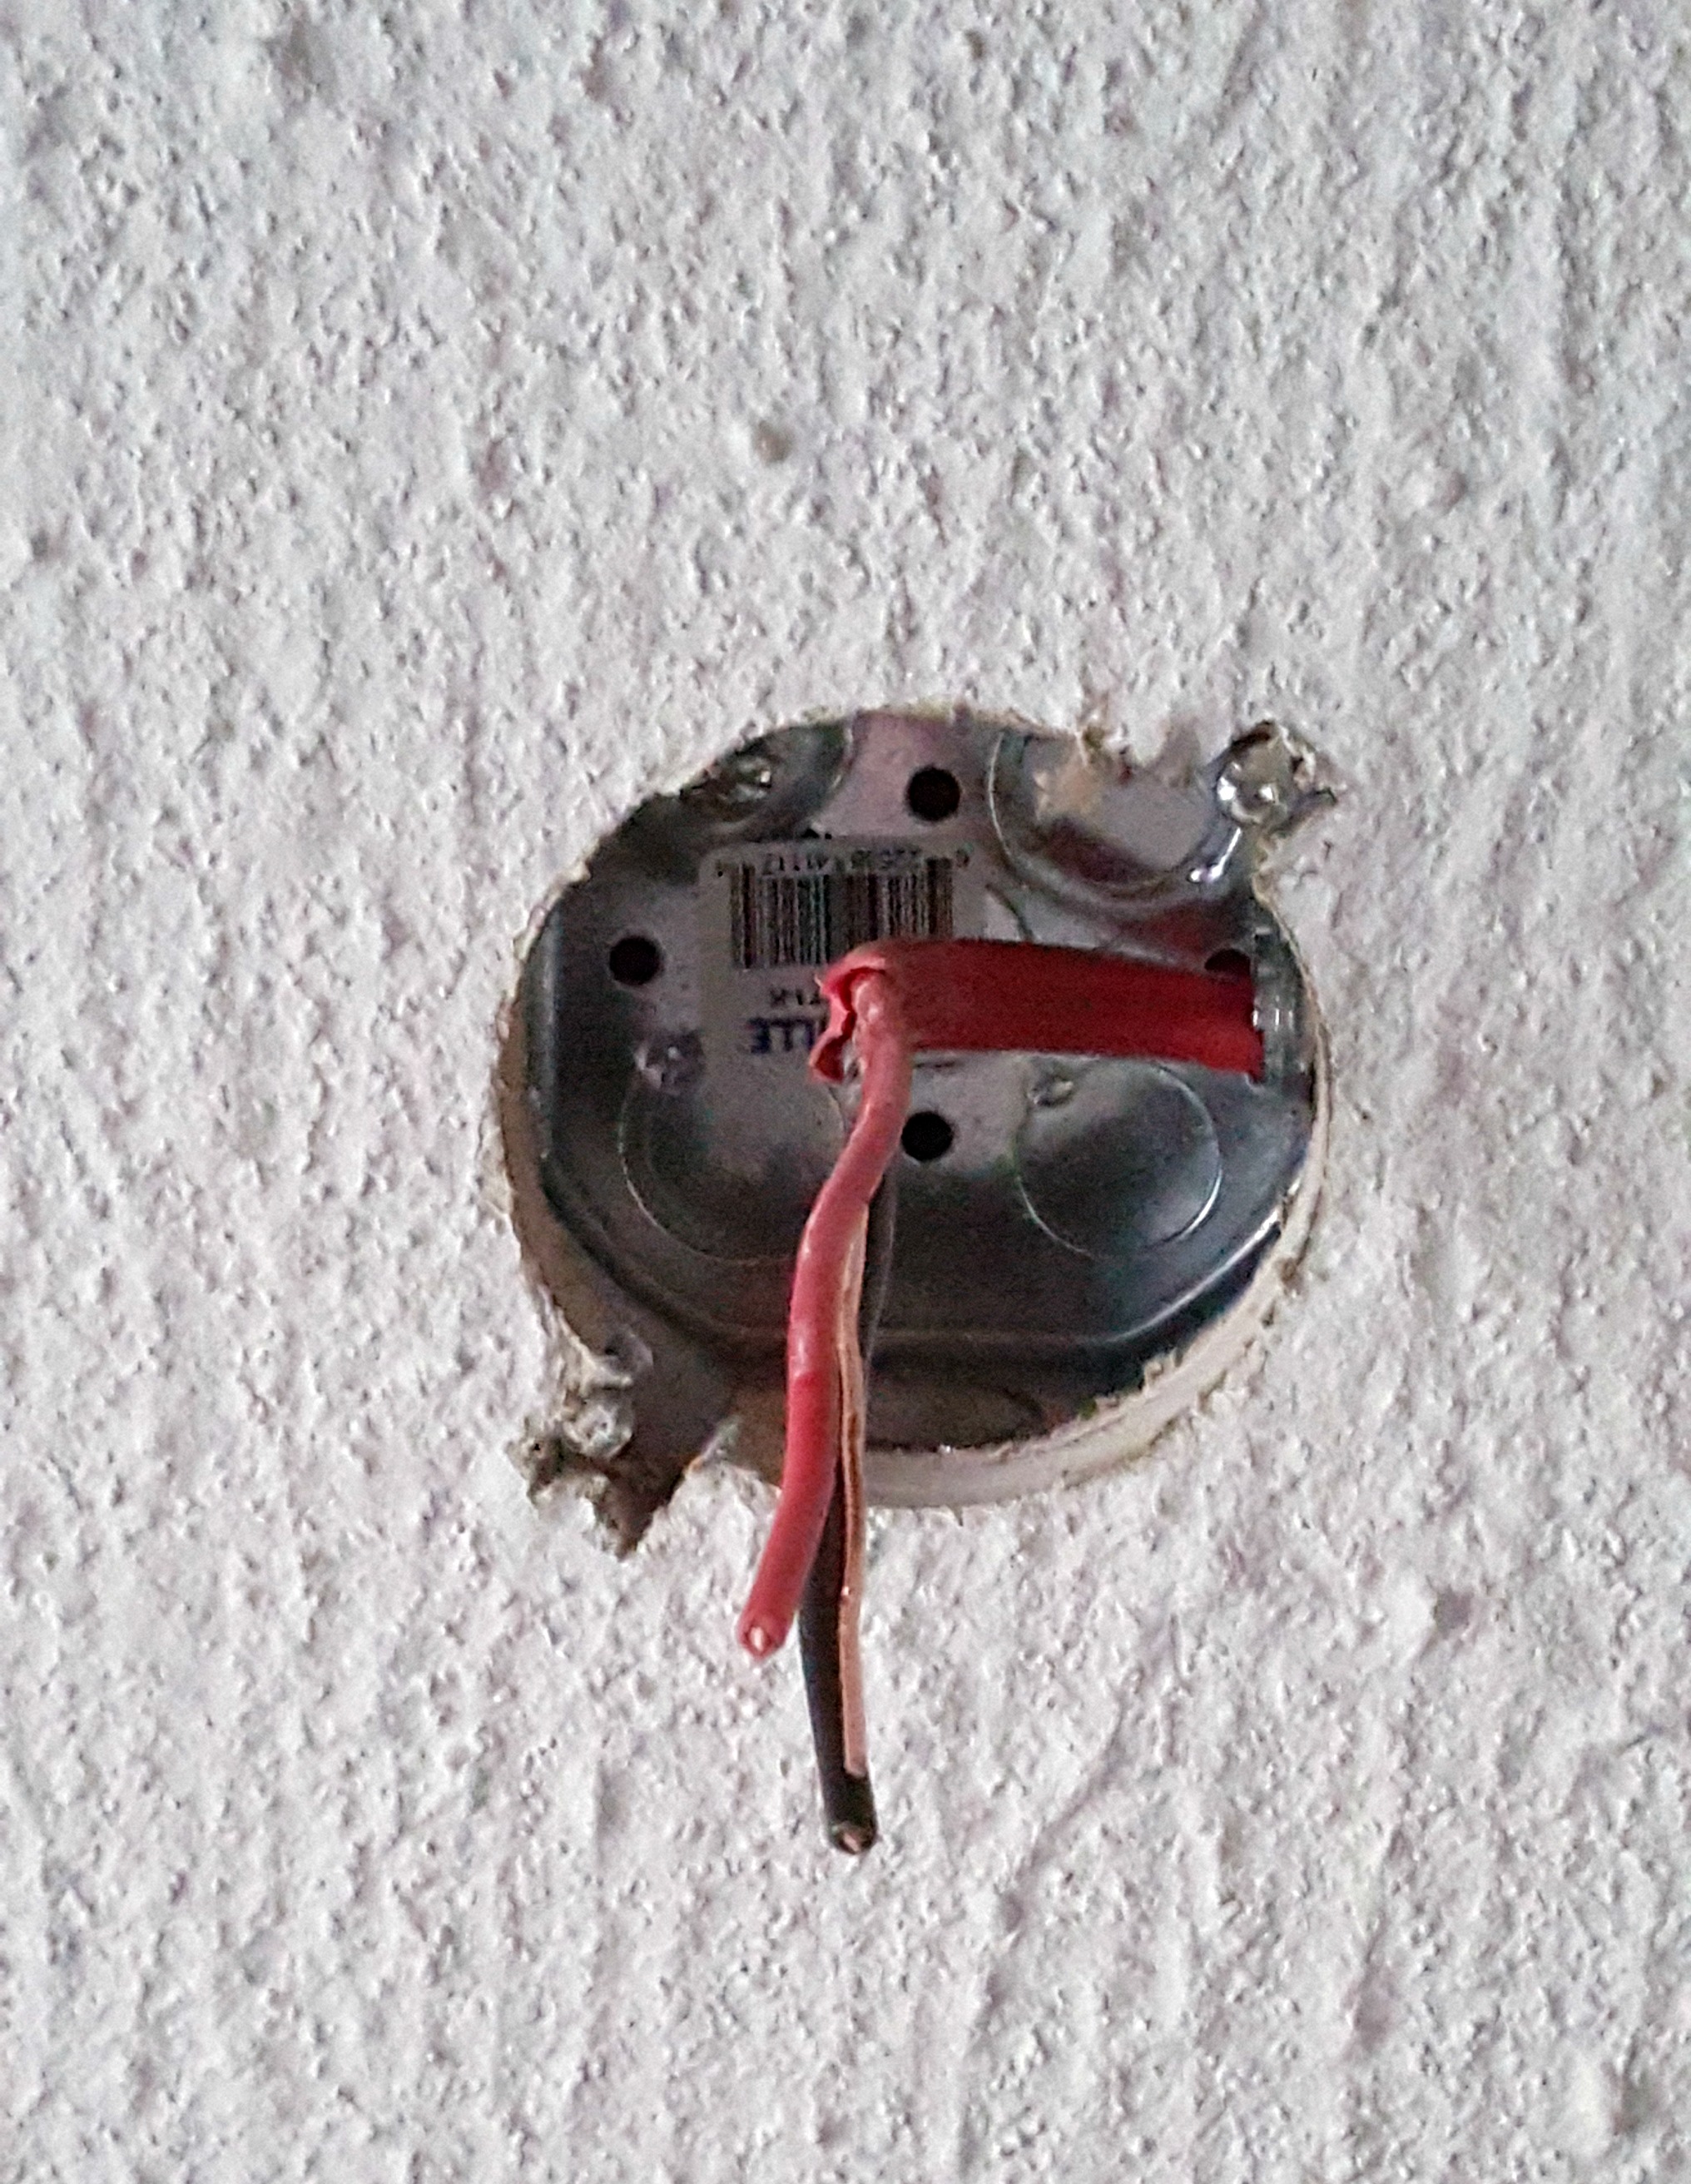
We measured the center of the room and he cut a hole in the ceiling with a 4" hole saw. The ceiling box is secured to a 2x4 cross piece mounted to the joist on the attic side with the wiring running through down to the room.


No comments:
Post a Comment