Tom has decided that he wants spray foam insulation in the basement walls - meaning we had to remove all of the previous framing as it was too close to the wall. There needs to be a gap between the concrete exterior and the framing so that the foam can act as a vapor barrier to moisture.
So we spent a weekend tearing it all down and hauling old lumber out to the burn pile. But plenty of the wood was still in good shape so I asked Tom to keep some of the better pieces for me. I ended up with about eight 2x4s with 3 to 4 feet of usable wood on each board.
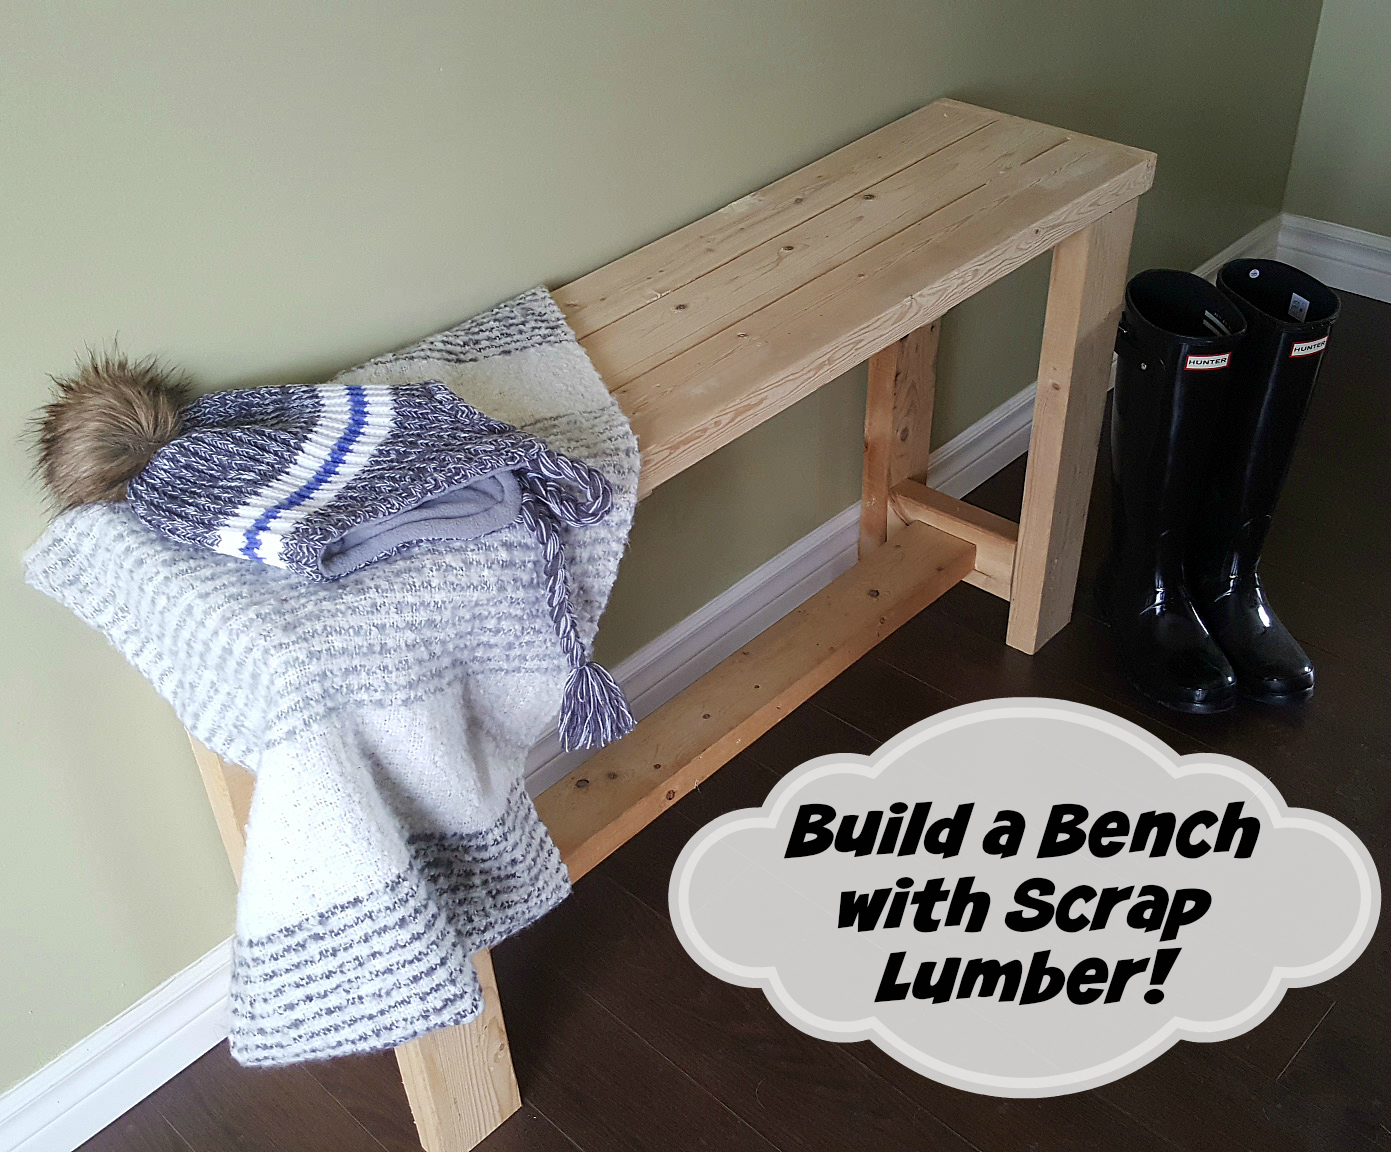
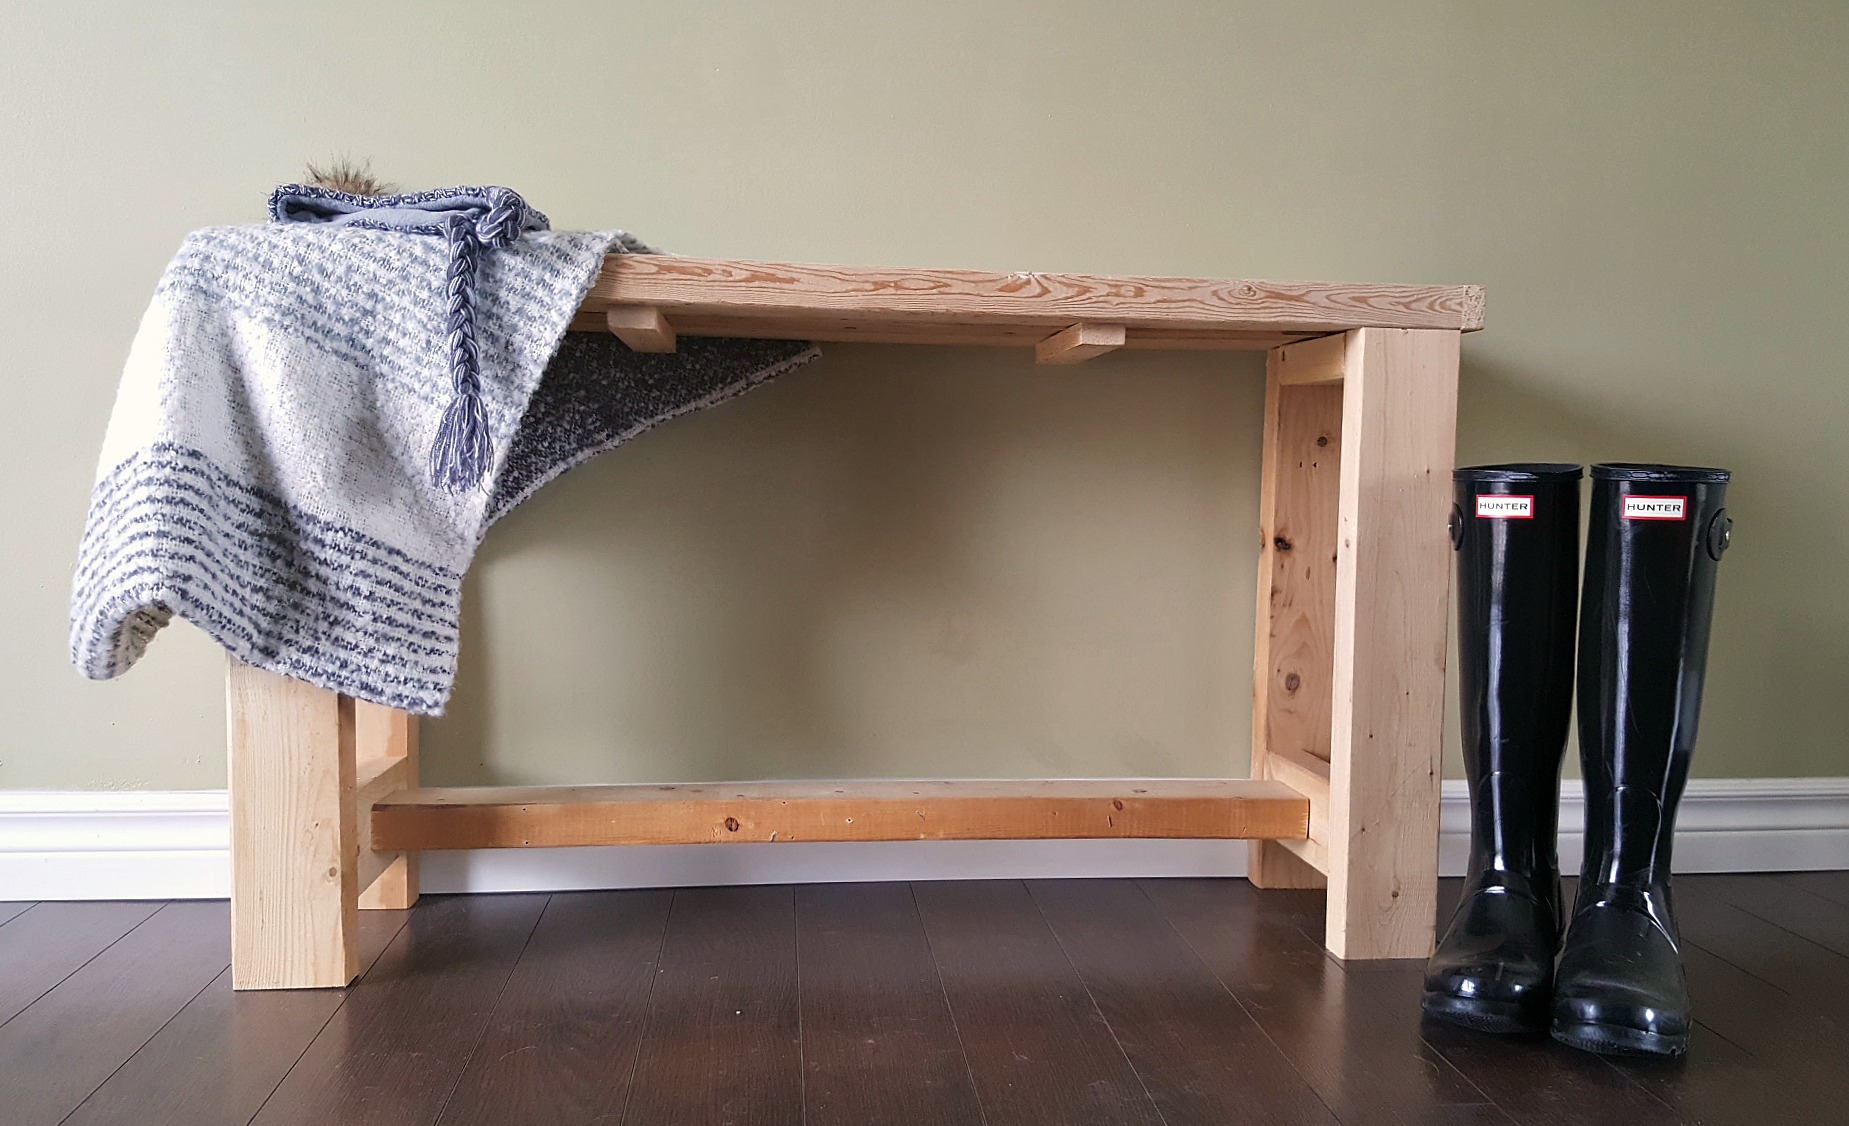
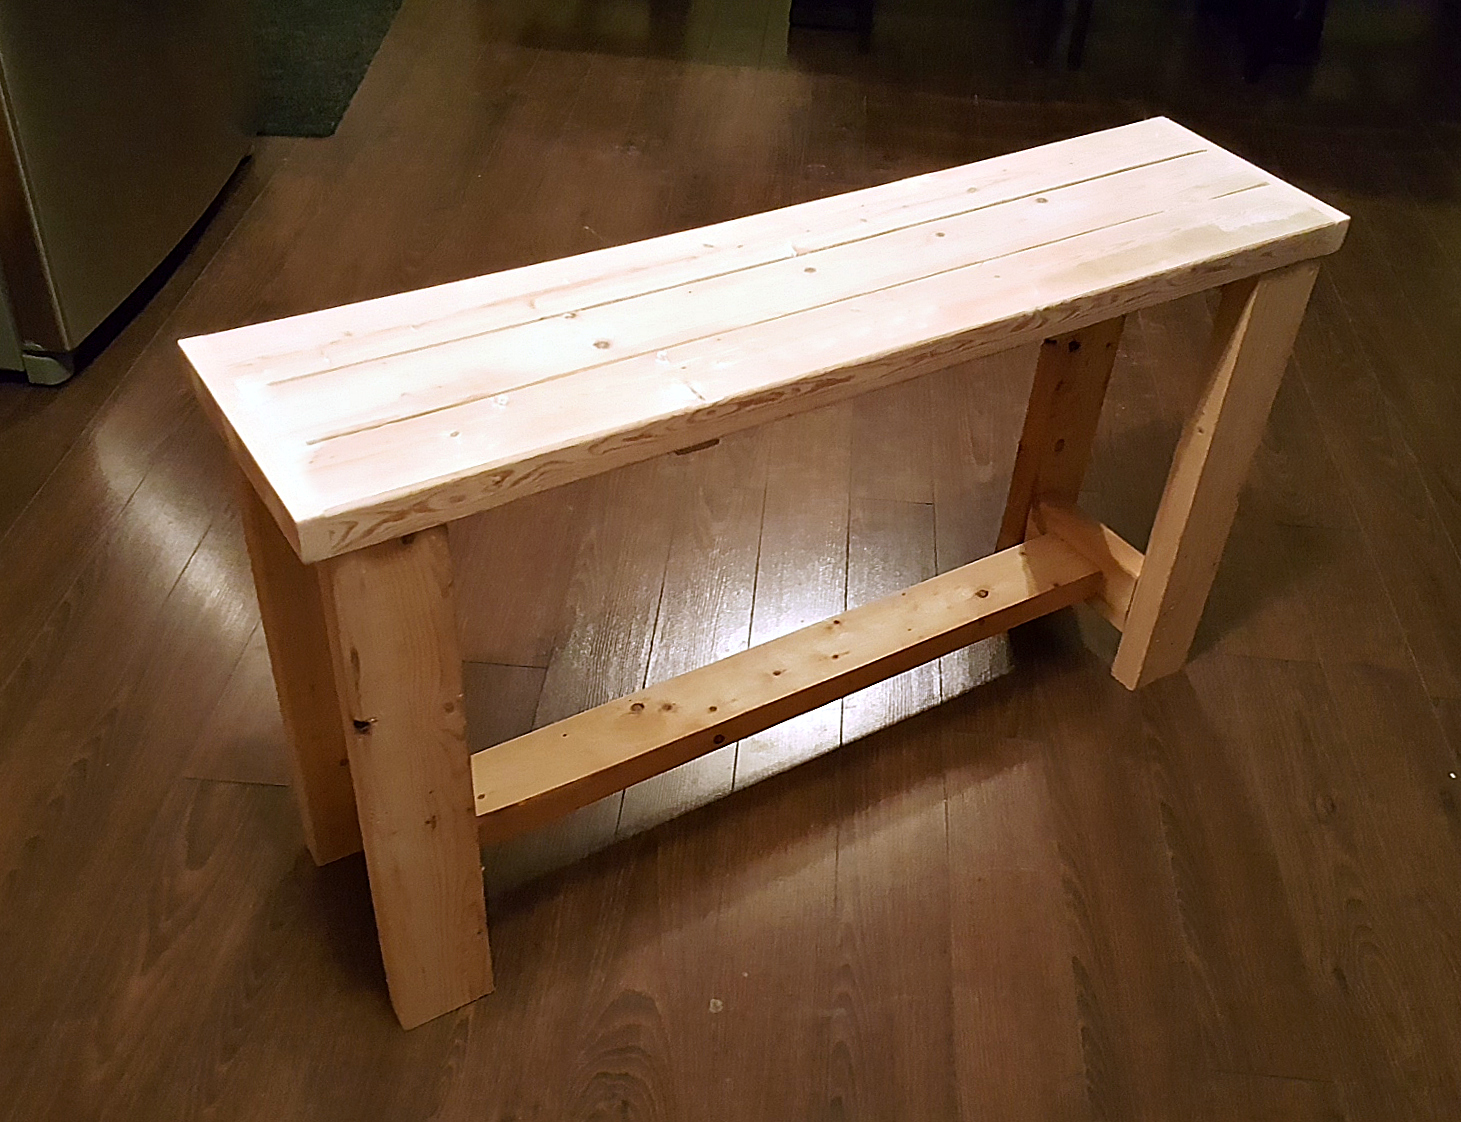
I decided to build a bench for the front entryway. There isn't a lot of space there so it had to be small - just a place to rest your butt while putting on your shoes.
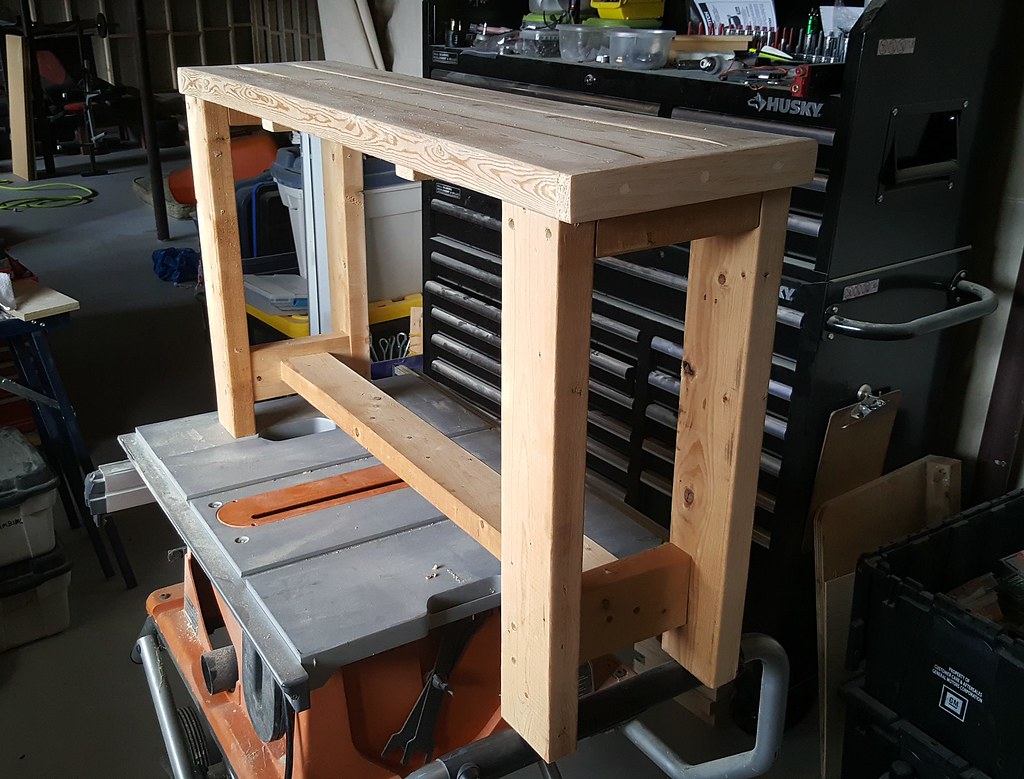
The dimensions of my bench ended up being 40" x 10½" and 19½" high.
Cut list:
2x4s:
3 @ 38 inches (seat boards)
4 @ 7 inches (spacers)
4 @ 18 inches (legs)
1 @ 31 inches (stringer - match to exact distance between legs)
1x2s:
2 @ 8½ inches (braces)
2 @ 10½ inches (end caps - match to exact depth of your bench)
Other Supplies:
12 - 1½ inch screws
28 - 2¼ inch screws
Wood puttySandpaper
Clamps
Paint or stain
To build:
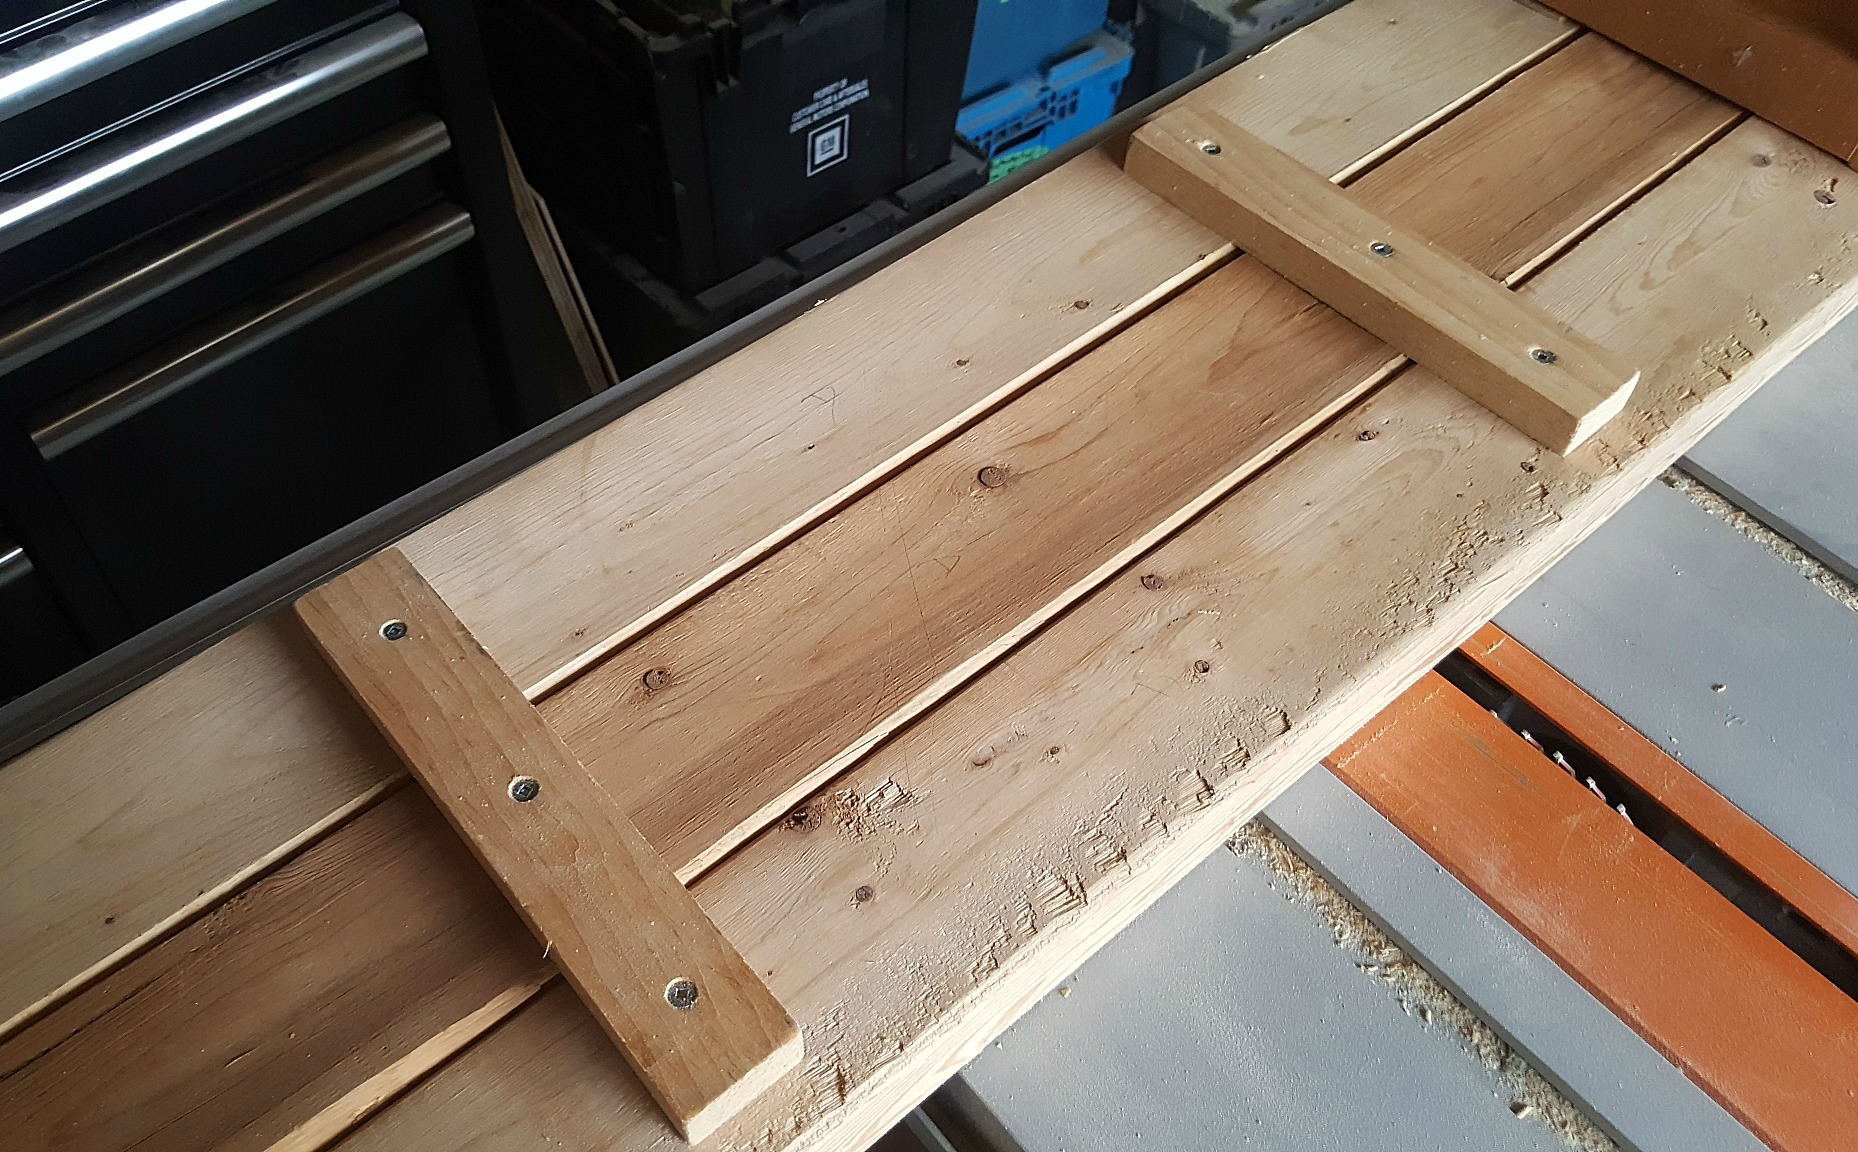
Cut three 2x4 boards to 38 inches each. Lay them flat in position, upside down, and clamp them together. We use these 2-foot long trigger clamps and they are awesome. They're long enough for just about any project and they tighten with a trigger instead of a screw. There is also a simple let-off lever for when you need to loosen/remove them.
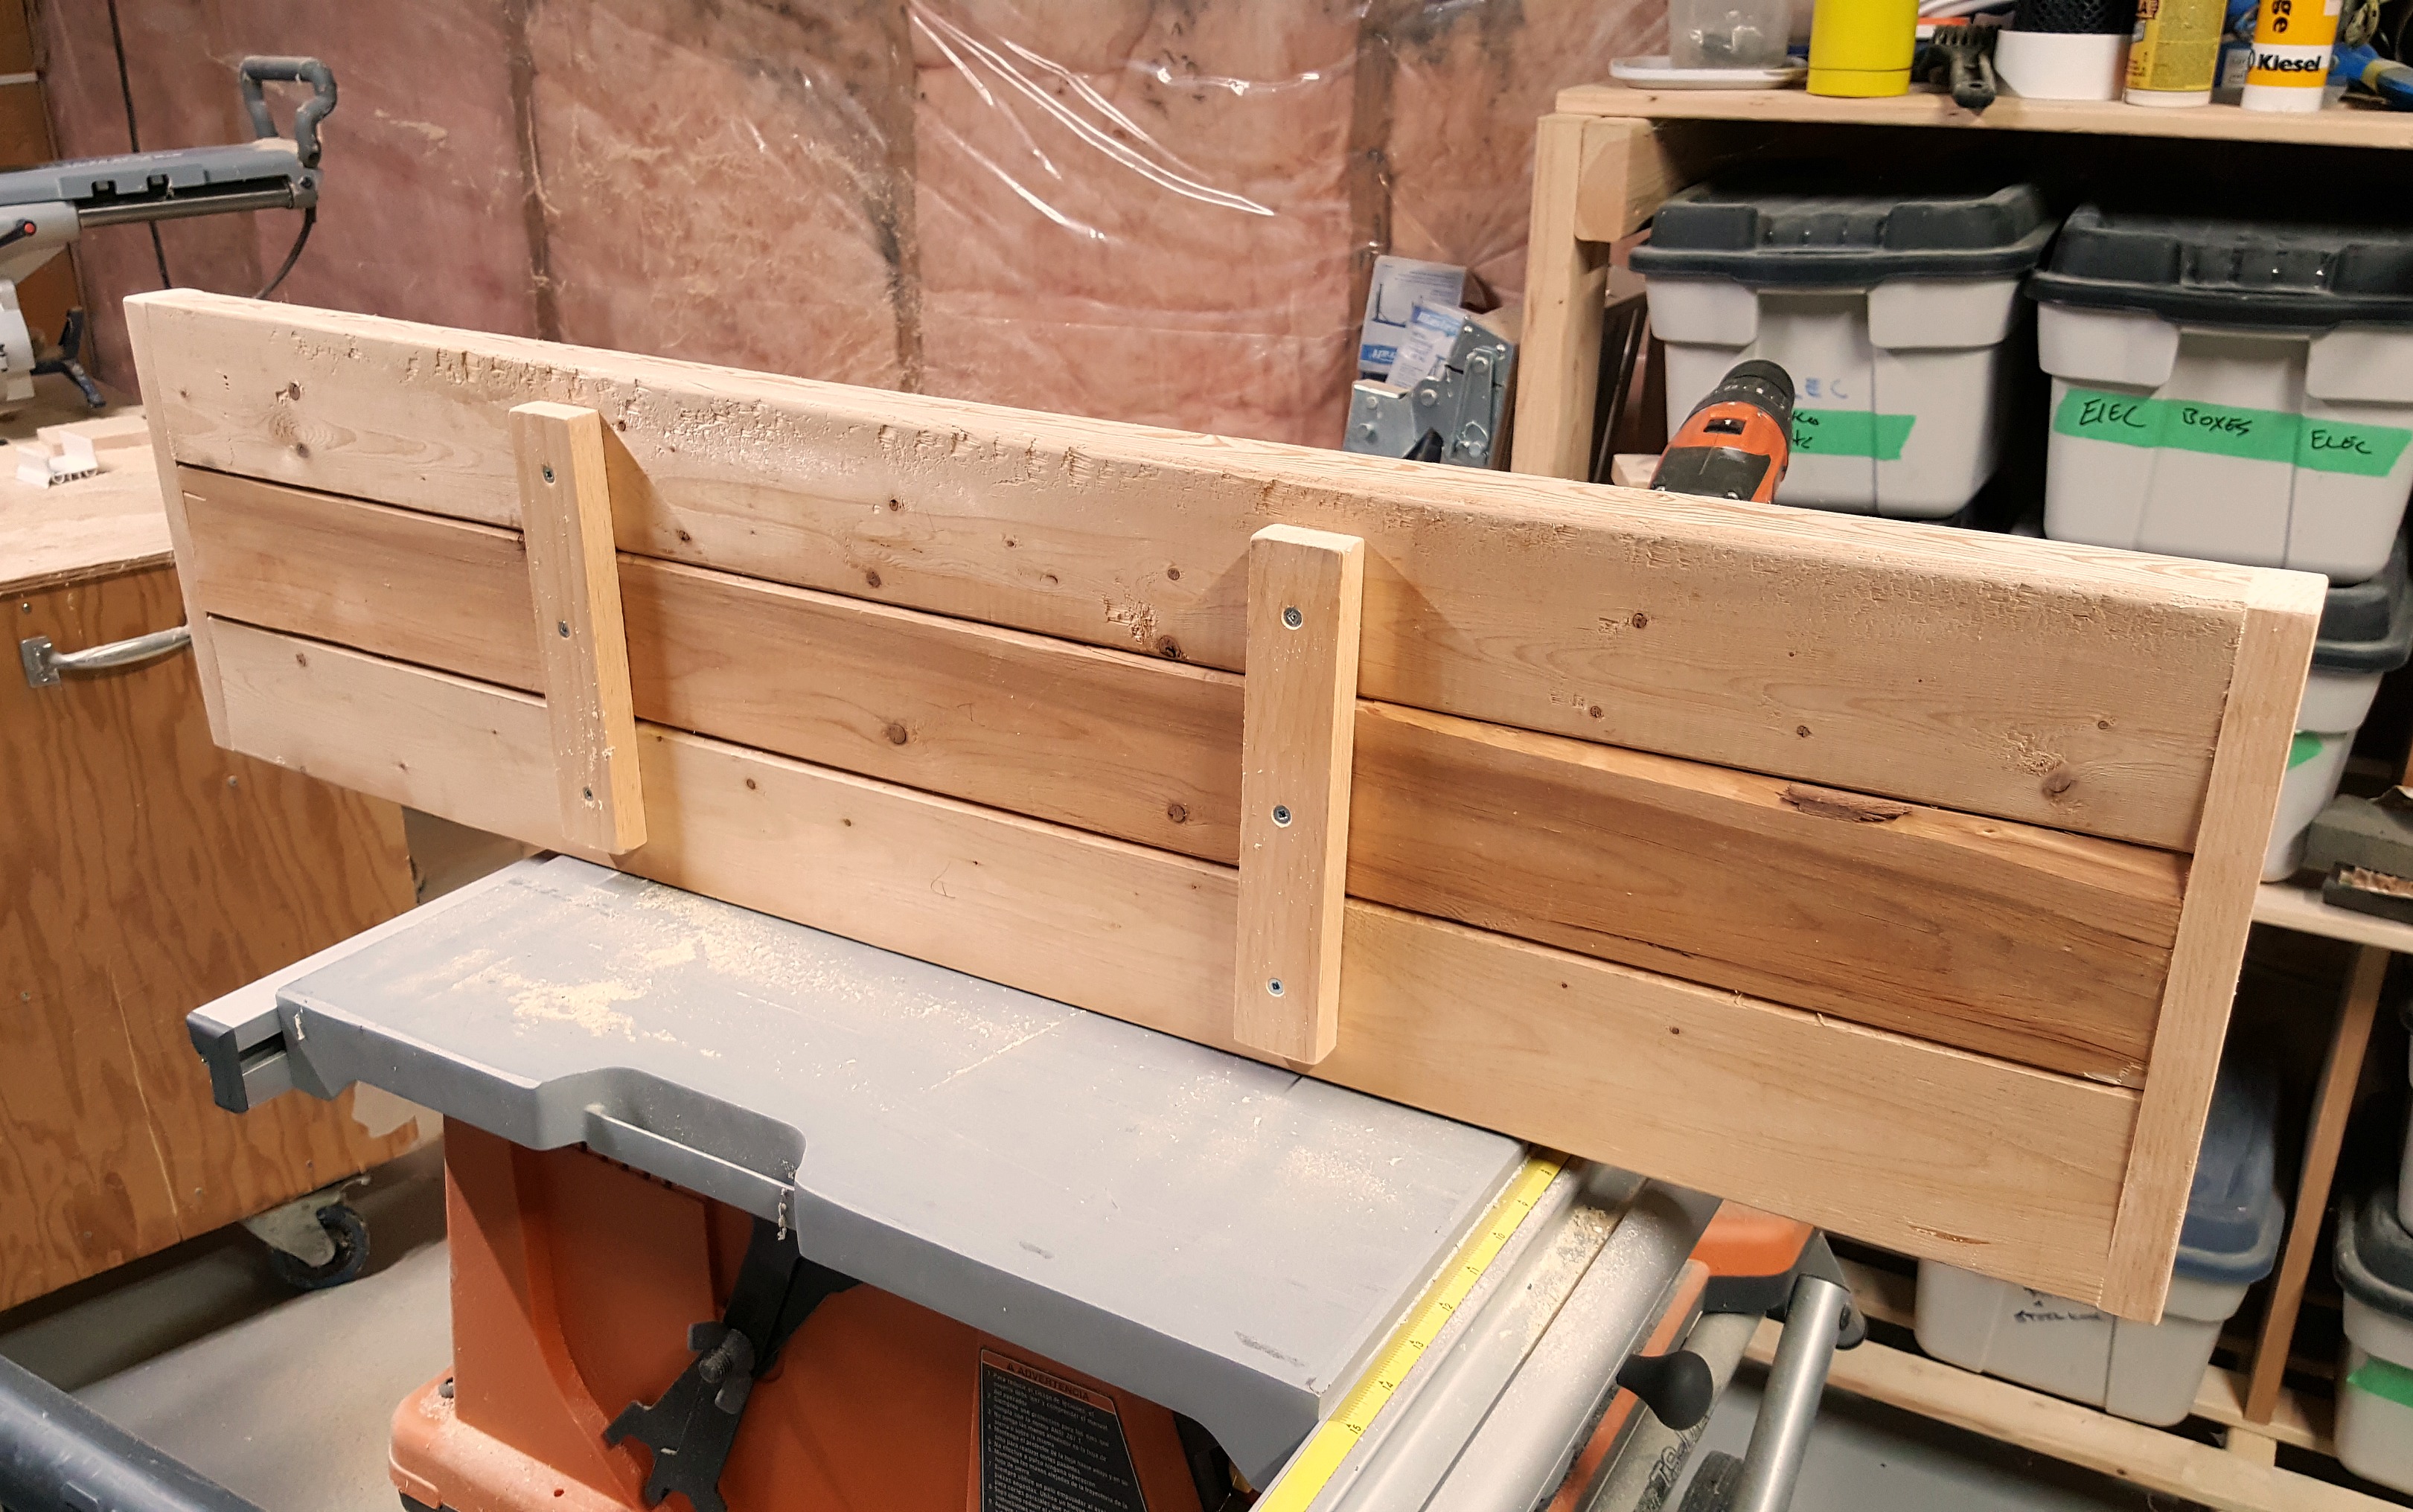
Cut your two cross braces to 8½ inches each. Pre-drill three countersunk holes into each brace, lining them up with the centers of your three seat boards. Attach your braces about a quarter of the way in from each end of the bench using 1½ inch screws. Once your braces are in place you can remove the clamps.
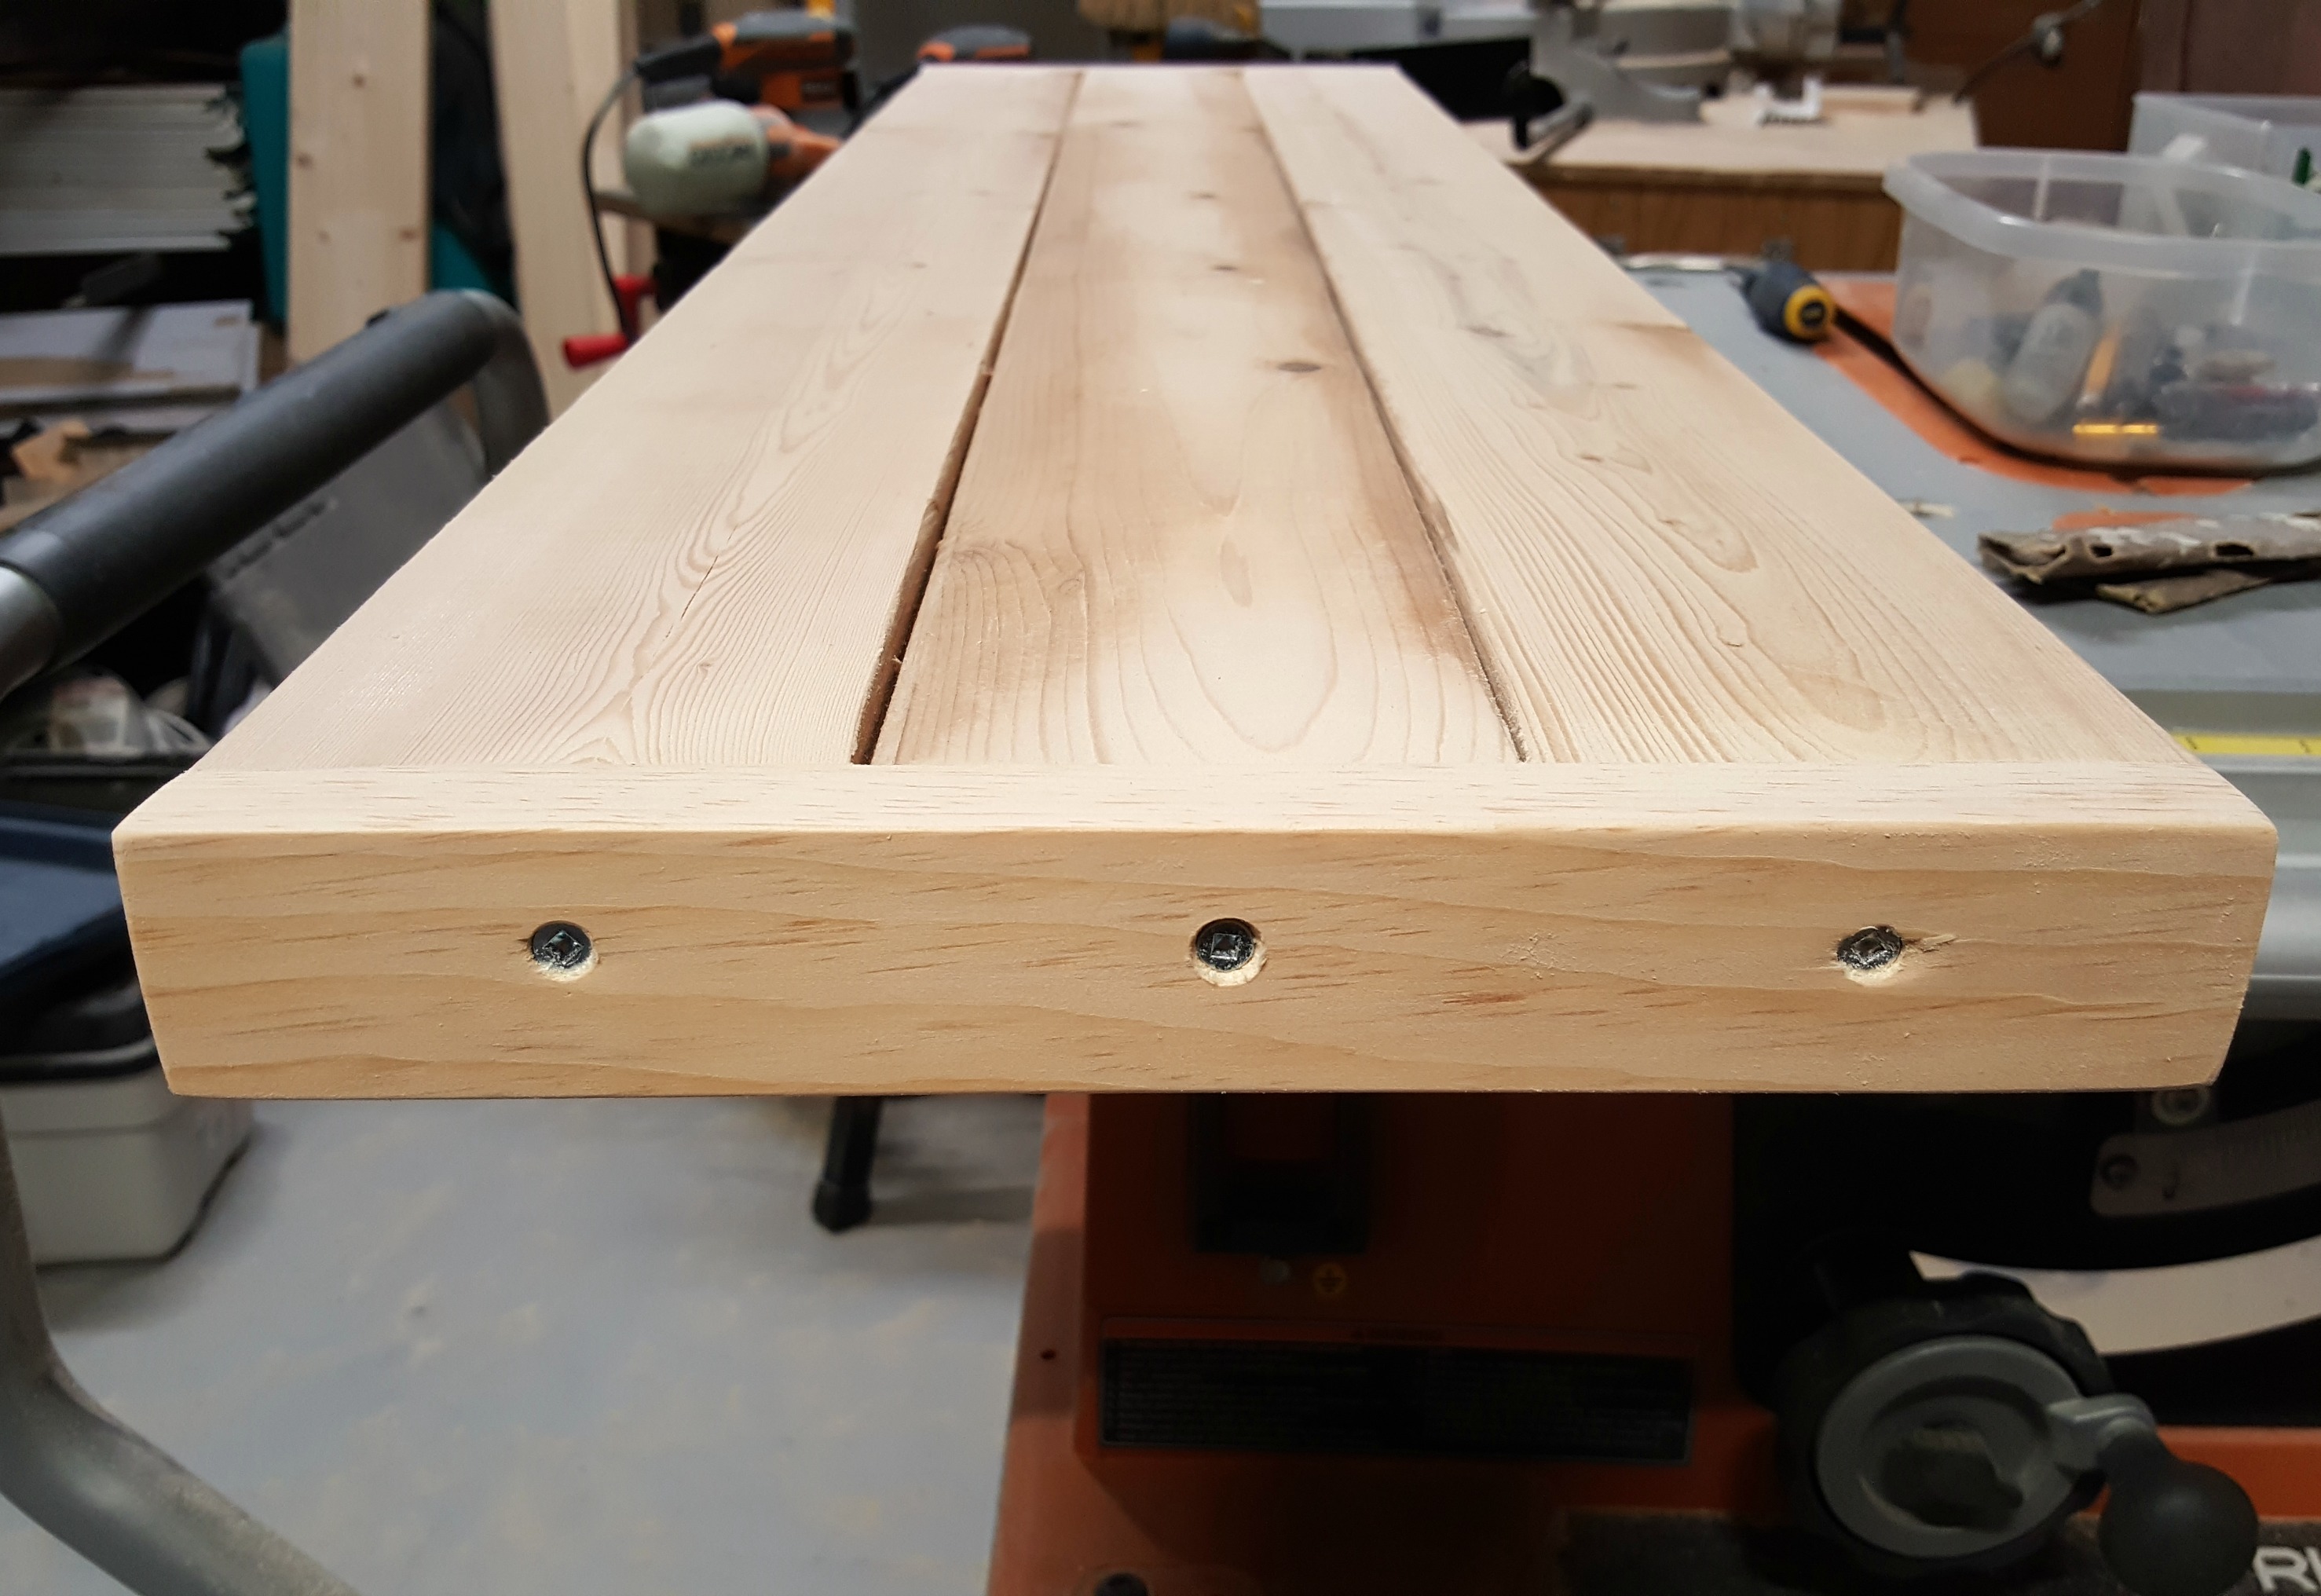
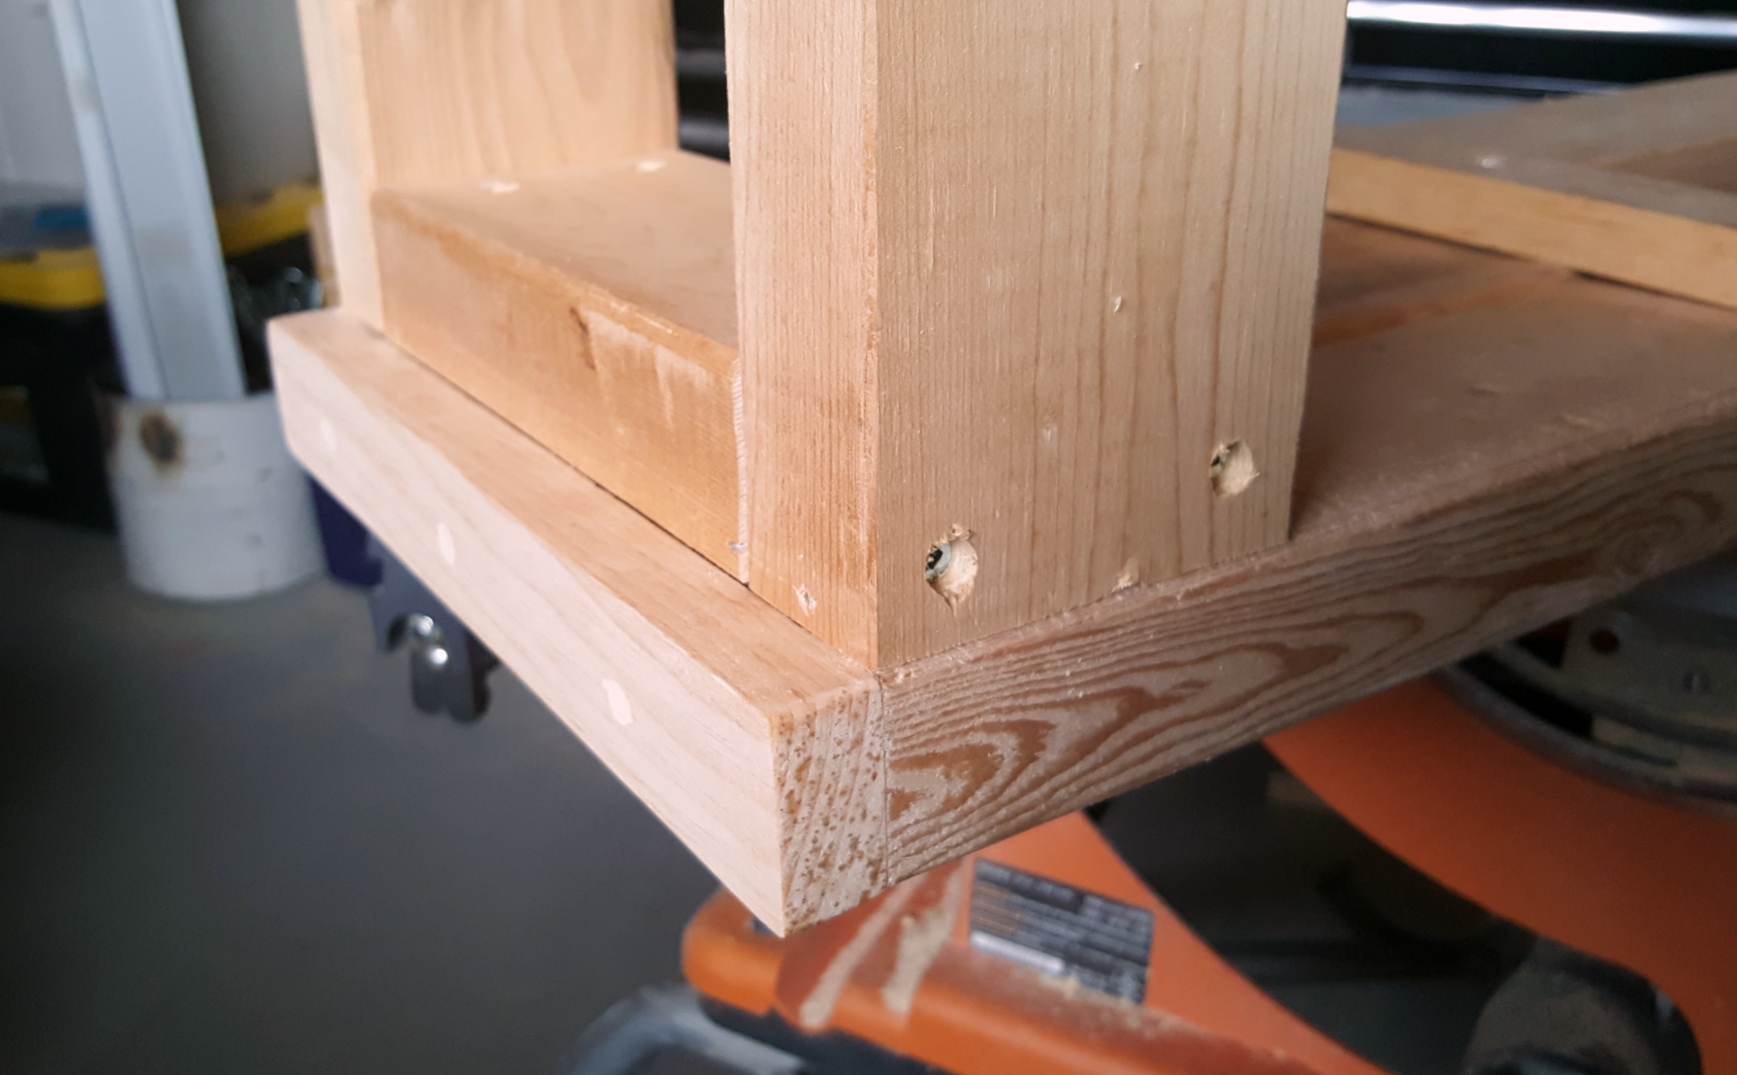
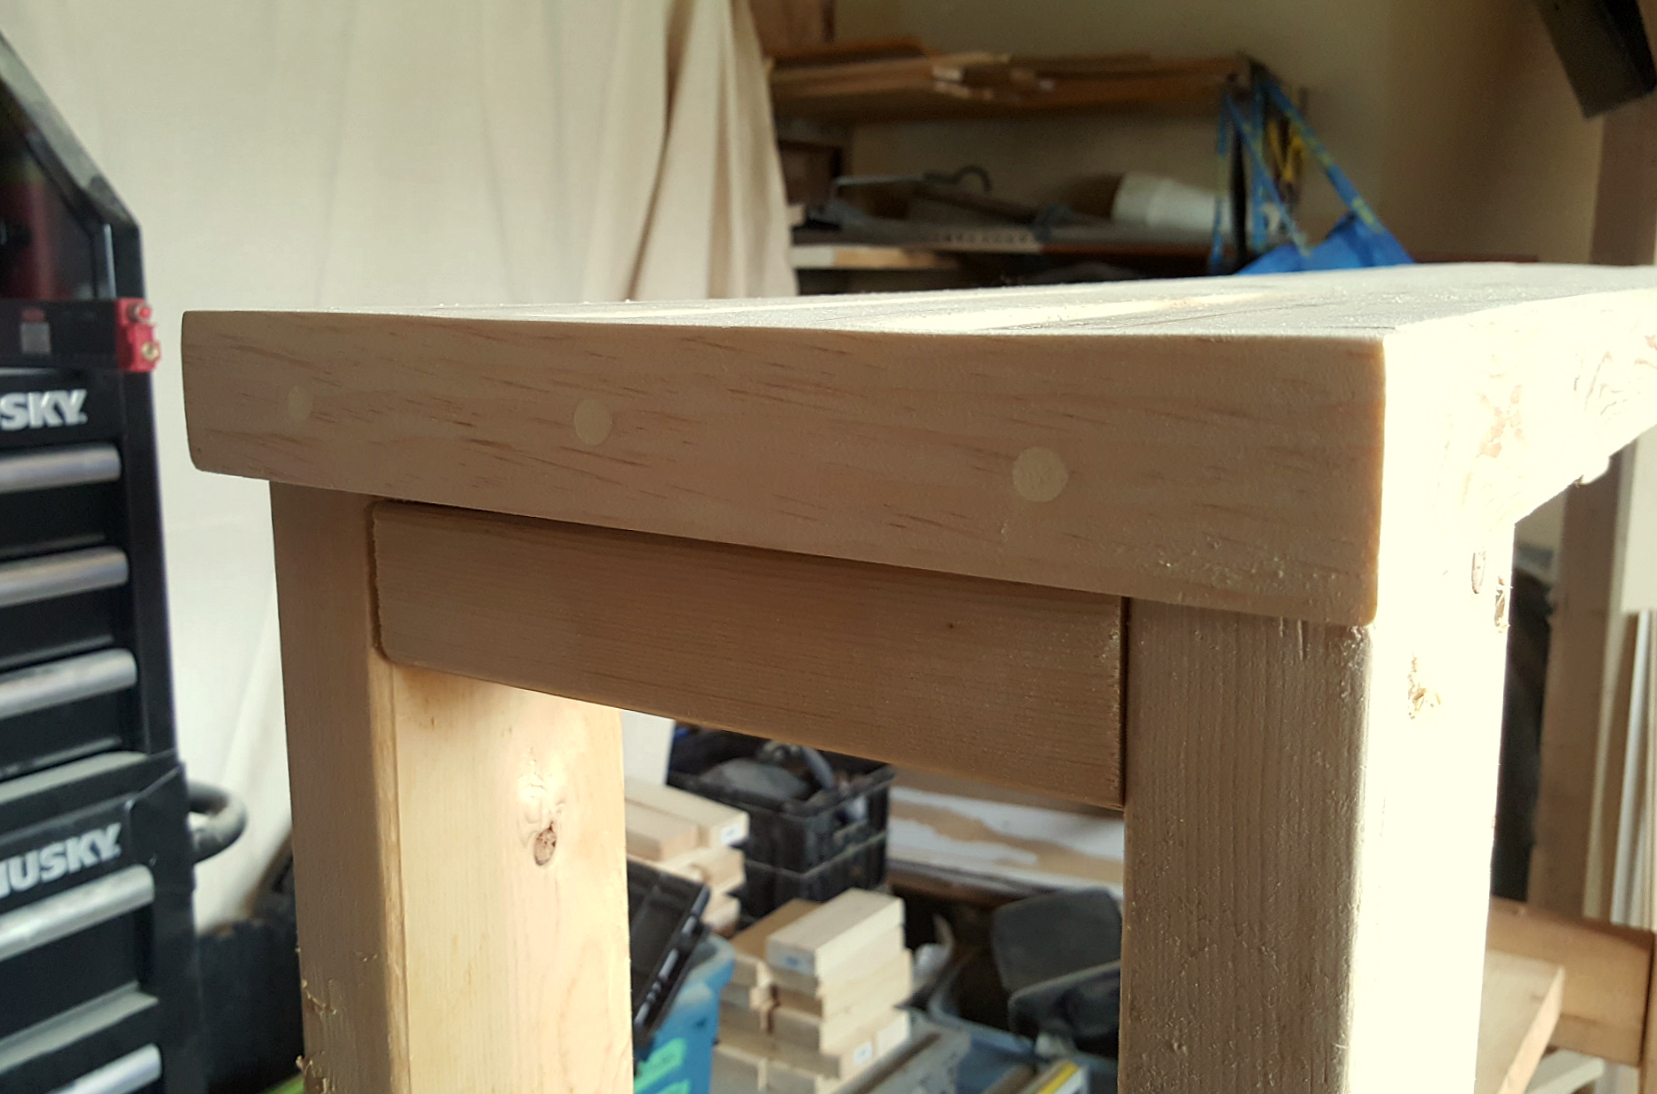
If need be, trim the ends of your boards so that they're flush with each other. Measure and cut your end caps (about 10½ inches each). Pre-drill three countersunk holes into each board, lining them up with the ends of the three seat boards. Attach the end pieces with 1½ inch screws. Sand down any rough or uneven edges.
Decide the height you'd like your bench to be. I wanted ours to hit just below the knees, which worked out to about 20 inches - so 18 inch legs. Cut four 2x4 boards to 18 inches each. The legs will be connected to each other at the top and the bottom with 2x4 spacers. Cut four 2x4 spacers, 7 inches long each.
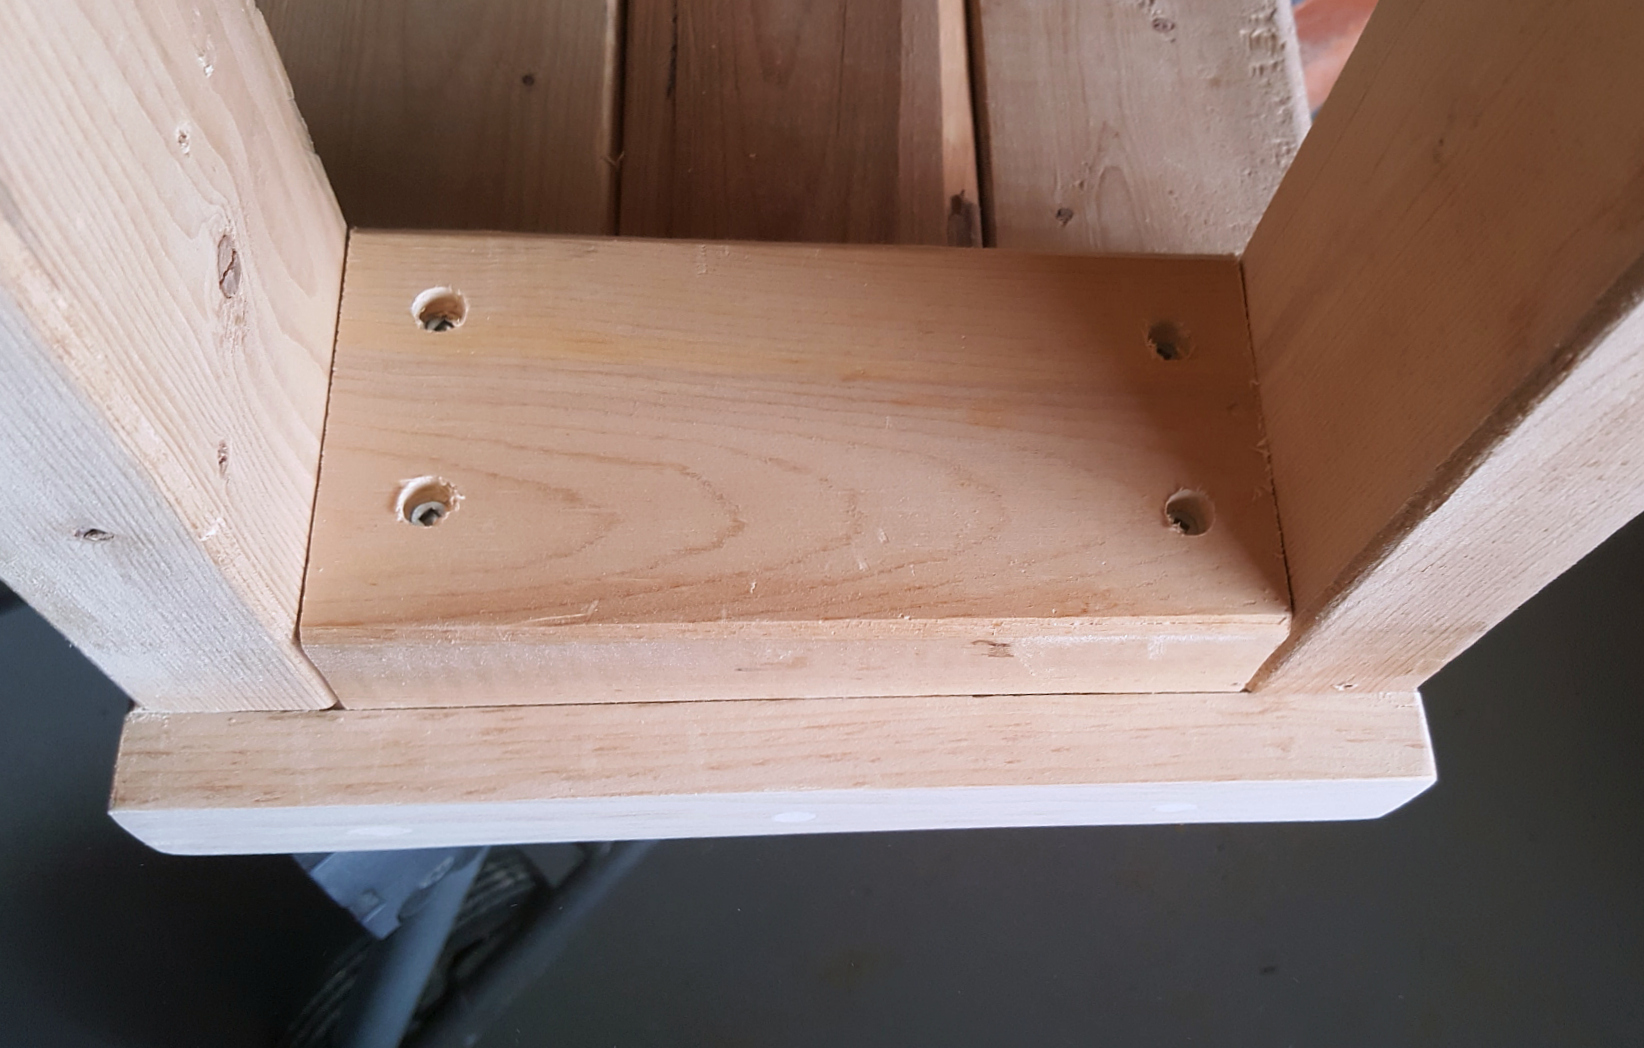
With your bench top still face down, center one of your spacers cross-ways, about an inch in from the end of the bench - just far enough in that it clears the end cap. Attach it to the underside of the bench with four 2¼ inch countersunk screws (two near each end). Be sure not to countersink these too much as you don't want the screws to come through on the other side.
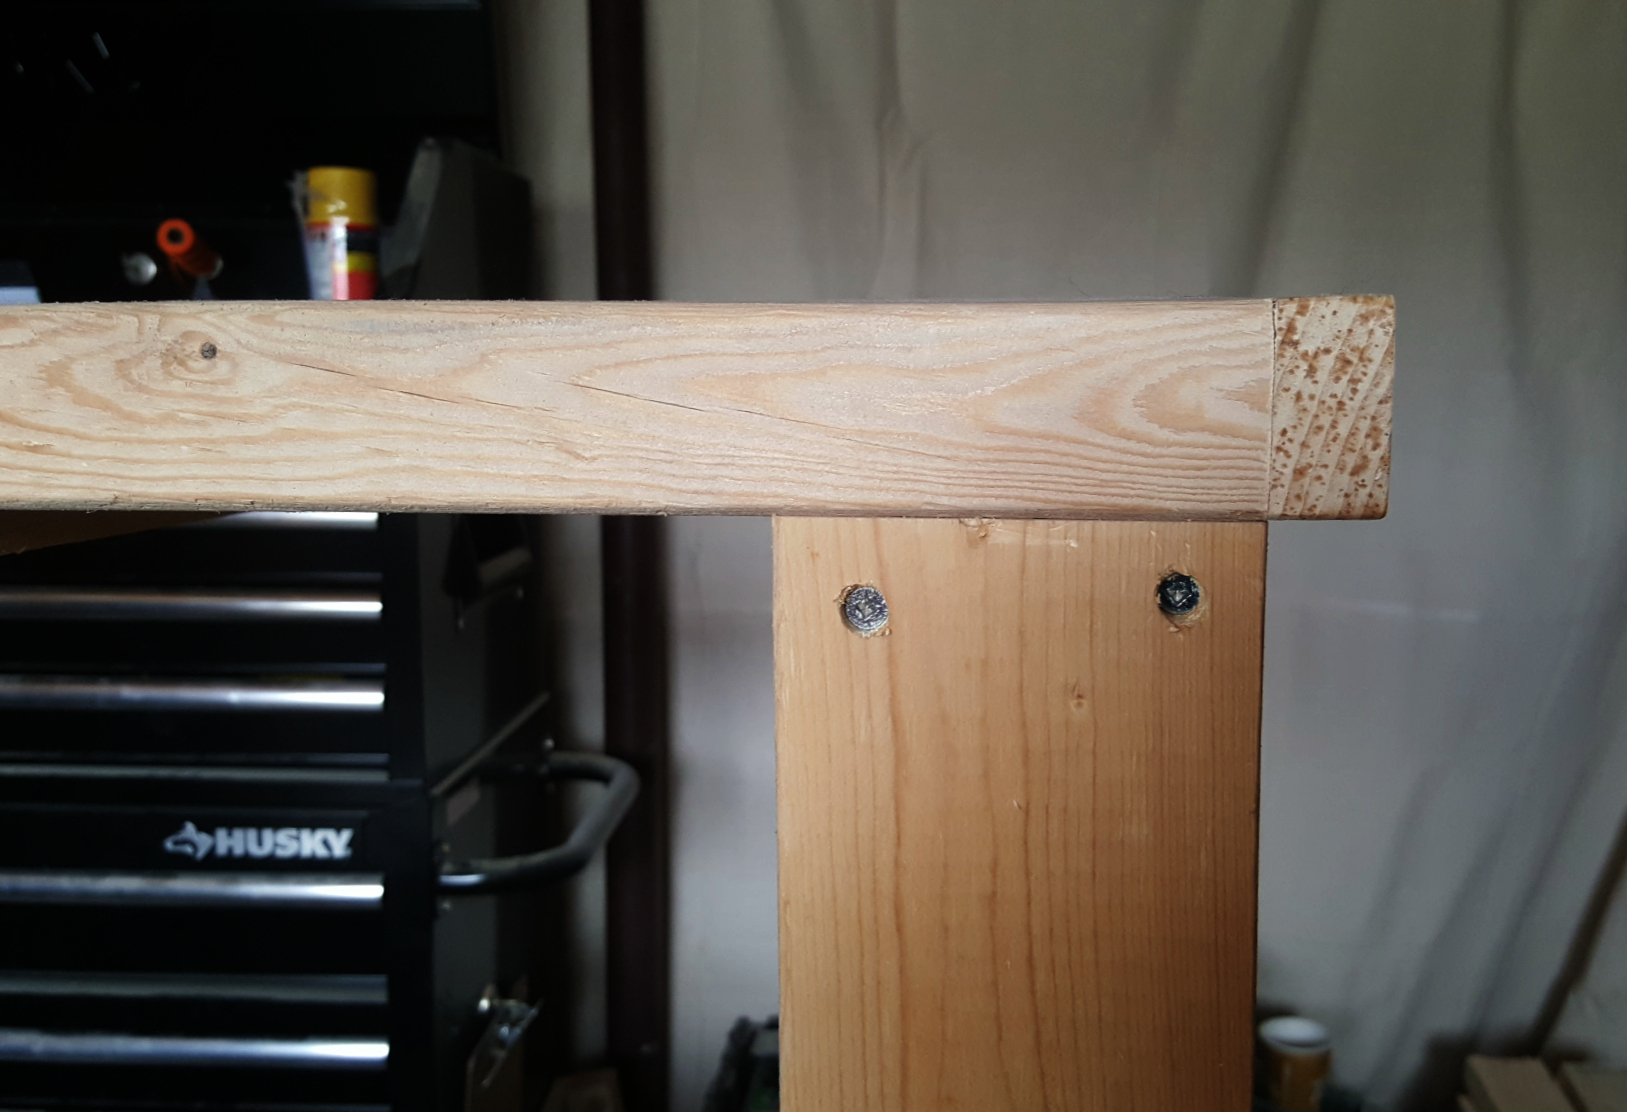
Position one of the legs so that the flat side is against the cut end of the spacer and the leg and spacer are flush with each other along the sides. Attach the leg with two 2¼ inch countersunk screws. If you need stability while using the drill/driver, clamp the leg and spacer together while you work. It's like having a spare pair of hands. Repeat with the other three legs.
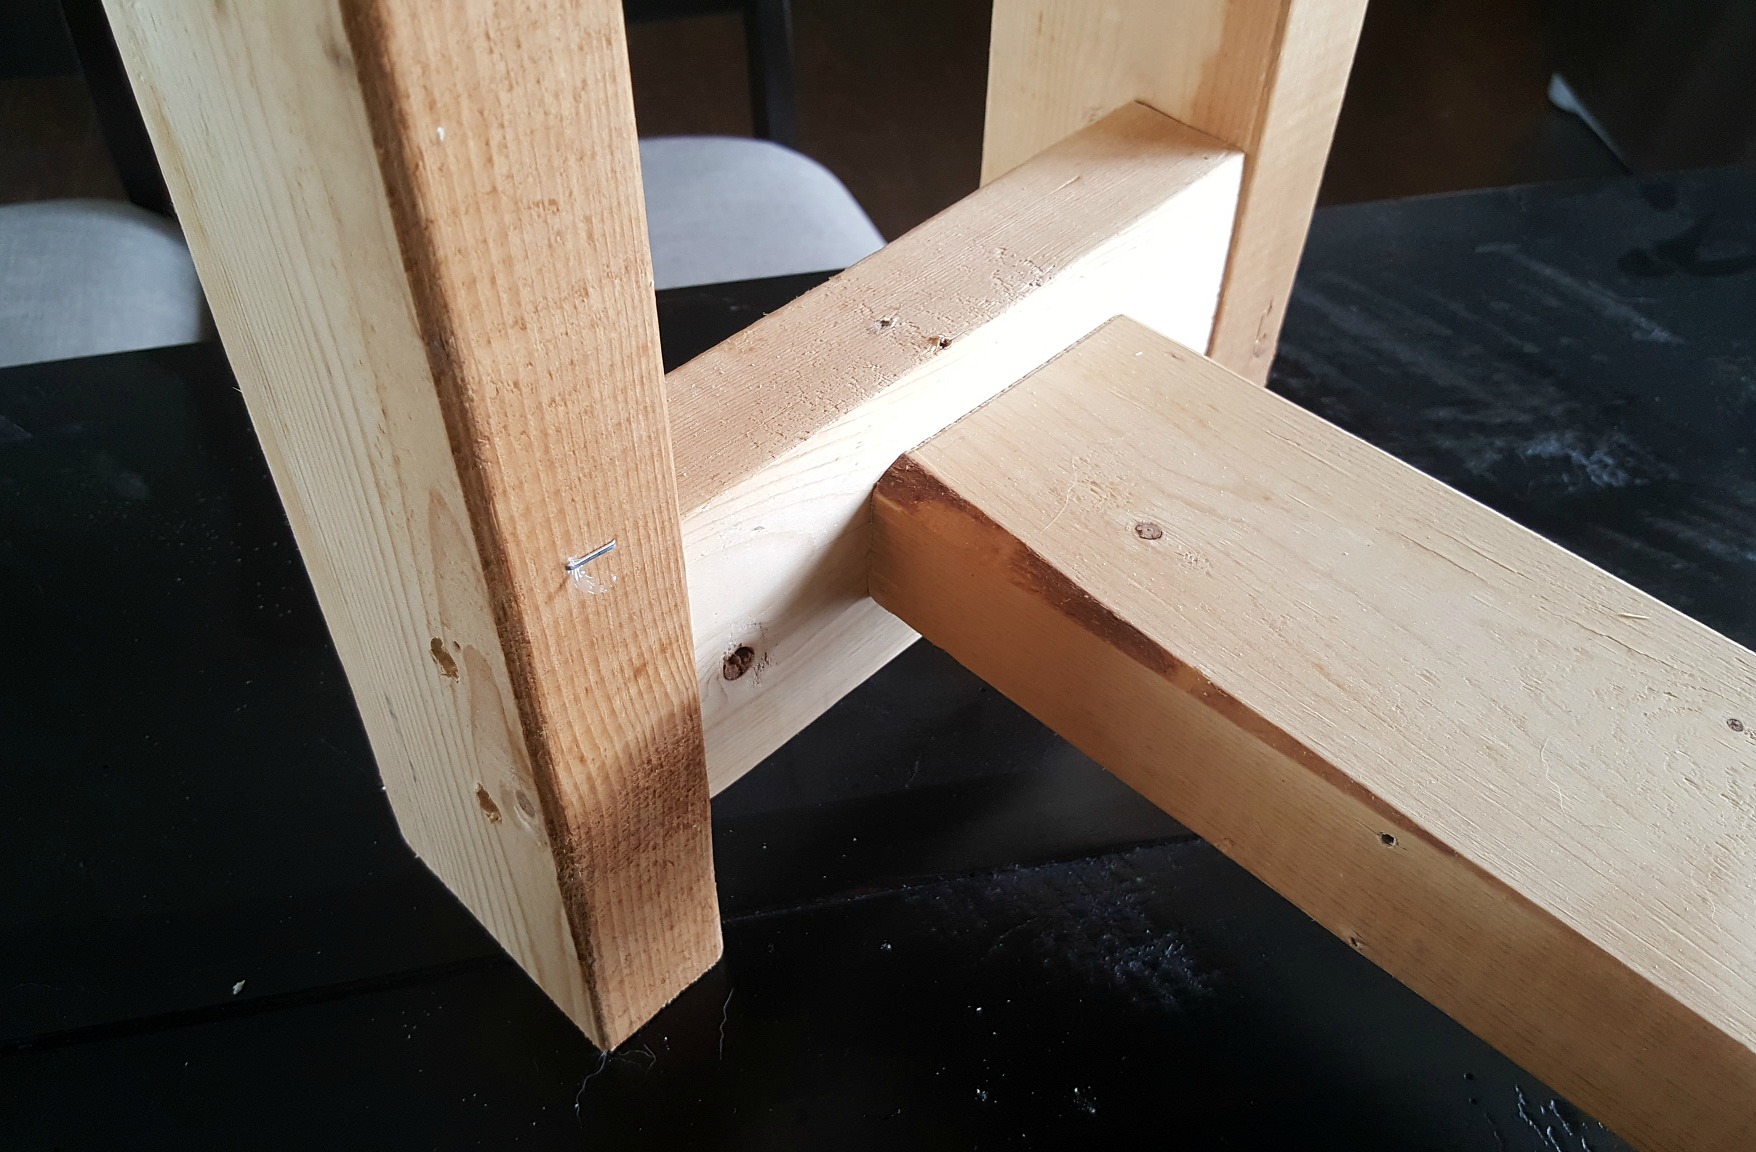
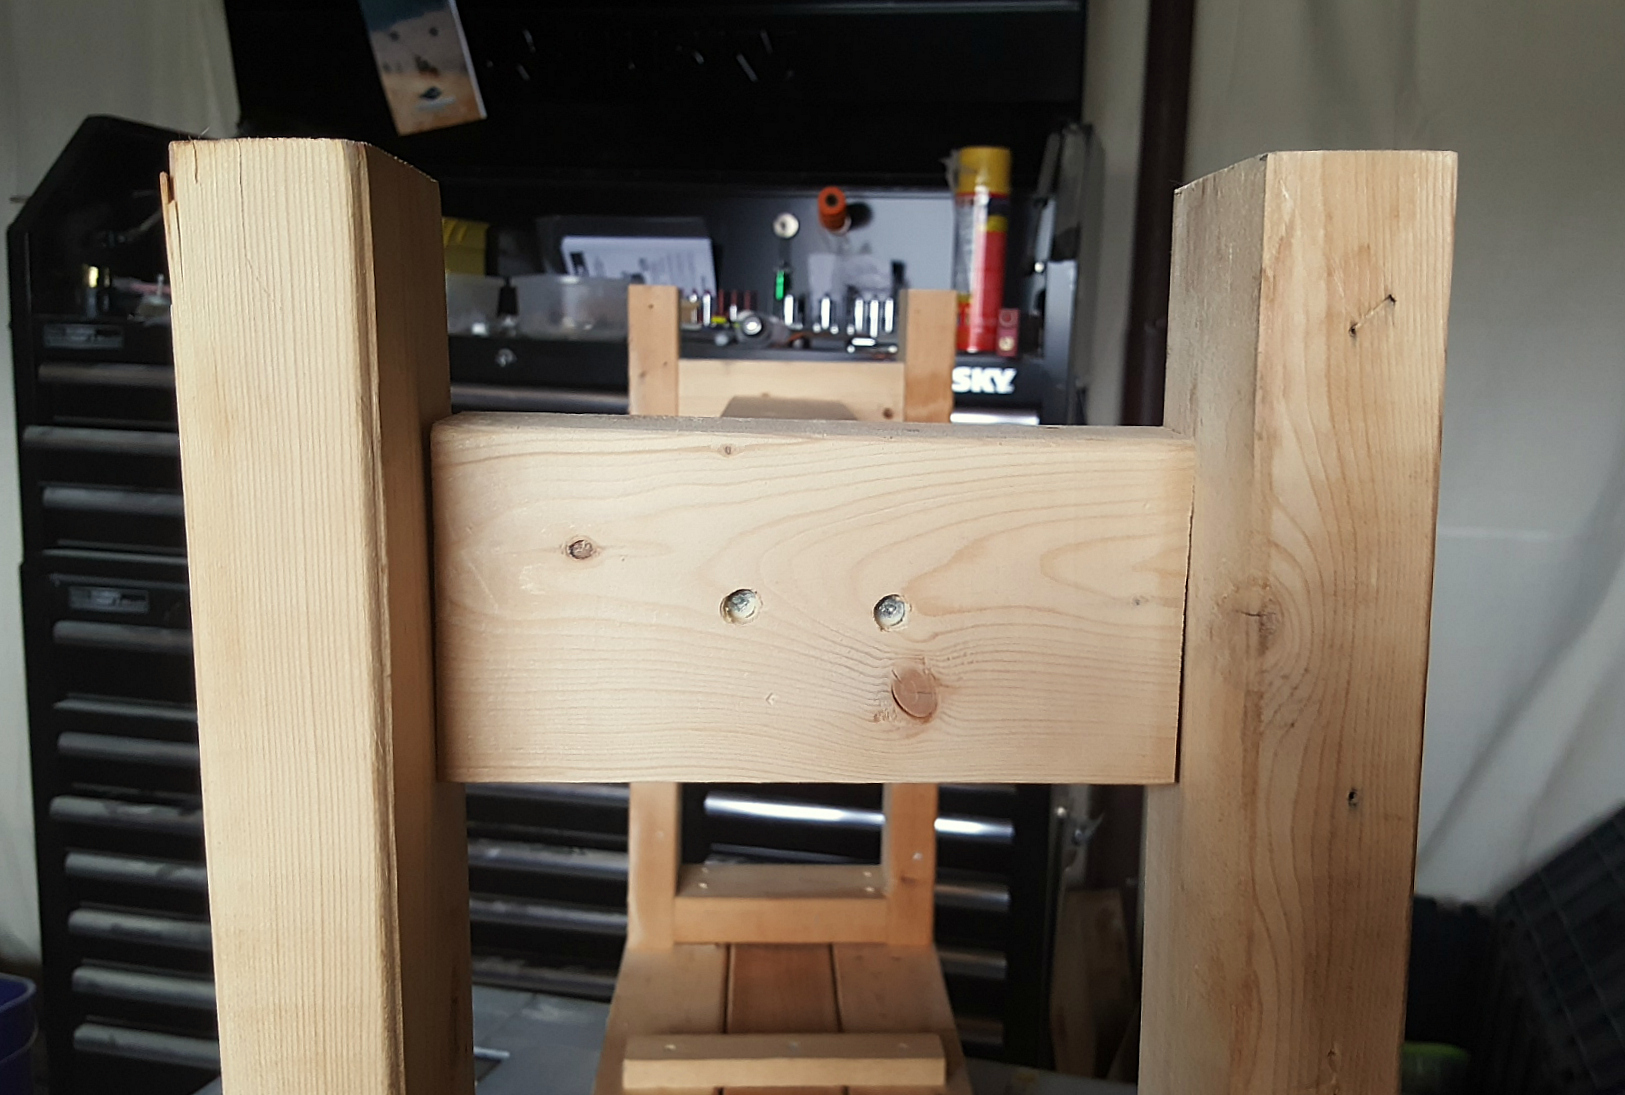
The two bottom spacers are flipped up on their edges and attached along the inside edge of each leg rather than centered between the legs like the top ones. Measure up from the bottom (or down from the top) the same distance on each set of legs and attach the spacers with two 2¼ inch countersunk screws through the outside of the leg.
The final piece is the stringer between the two sets of legs that keeps them from swaying side to side. Measure the distance between your two bottom spacers (about 31 inches on mine) and cut a 2x4 board to length. Center the cut end of the stringer on the inside of one of the bottom spacers and attach them to each other with 2¼ inch countersunk screws. Repeat on the other end.
Putty each of your screw holes, sand all over, and paint or stain the bench as desired.
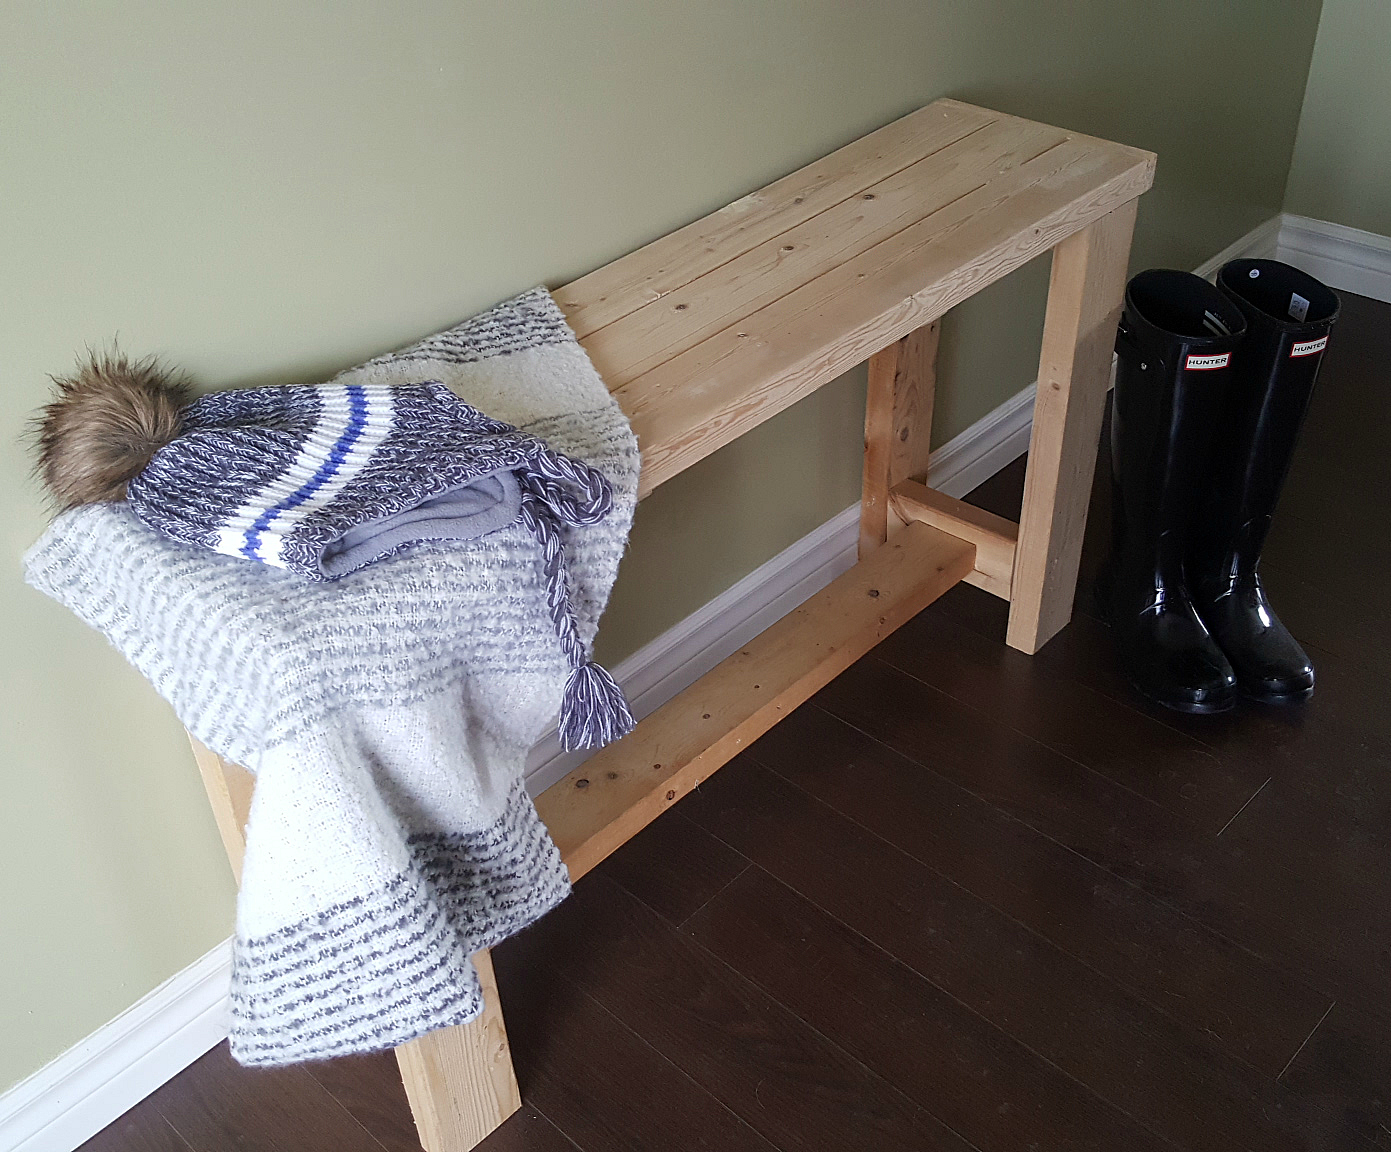
I haven't decided yet how I want to finish the bench. I kind of like how rough it looks now and have to keep talking myself out of puttying every imperfection.
Here you can see just how small the front entry area really is. One of our future projects (pending an architect's - and the town's - approval) is to add a bigger entry onto the front of the house and extend this area outwards.
This was the first project I've ever done completely by myself. I made a few mistakes (like trying to force a screw through another screw!), and a couple of times I wanted to ask Tom for help just because it would have been easier, but I pushed through. I'm proud of this little guy. And now I feel confident enough with the power tools to try my hand at something more complicated.



No comments:
Post a Comment