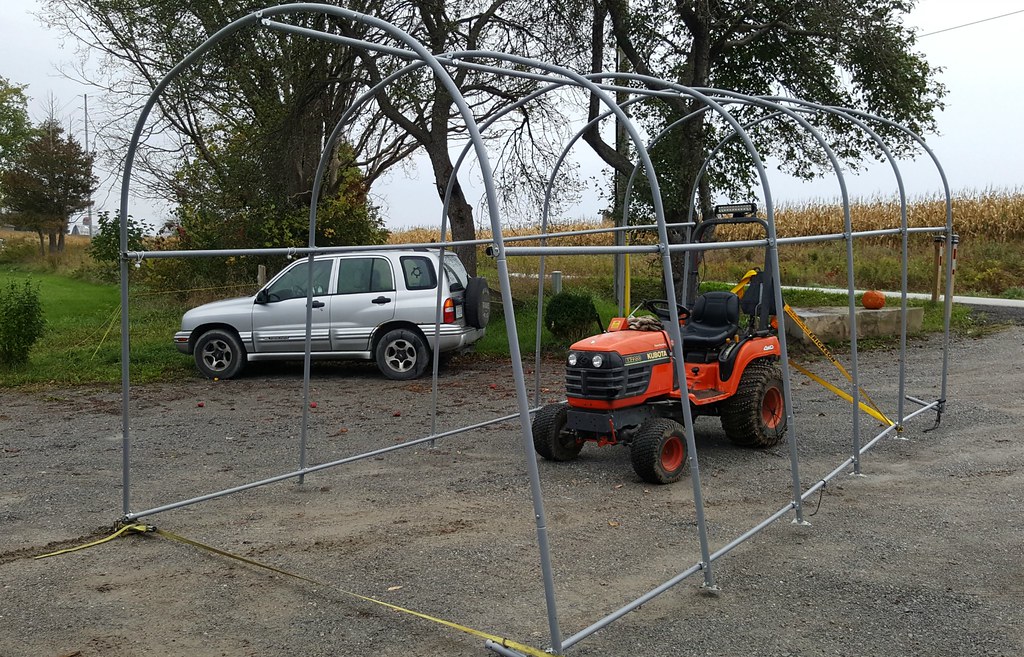
The first step this year was to remove the old frame. Once it was unbolted from the concrete, Tom strapped it to the lawn tractor and backed up into the driveway. Sounds crazy, doesn't it? Imagine seeing a shelter frame going past the the window.
But it worked like a charm. He then lifted the front to guide it and had me "drive" the shelter to the back of the property. You can't make this stuff up.
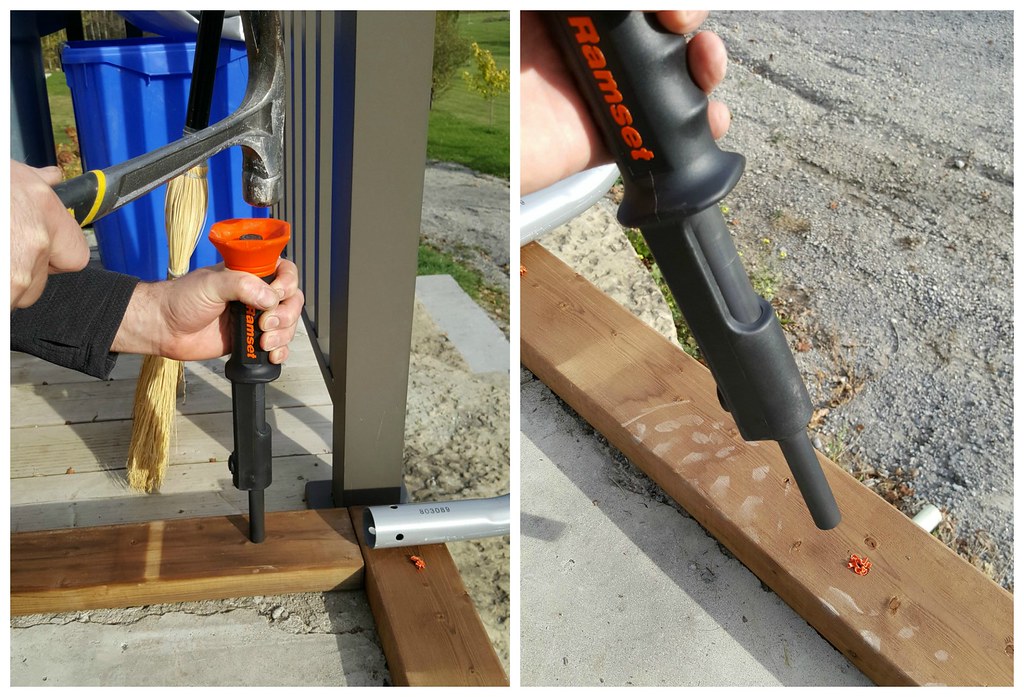
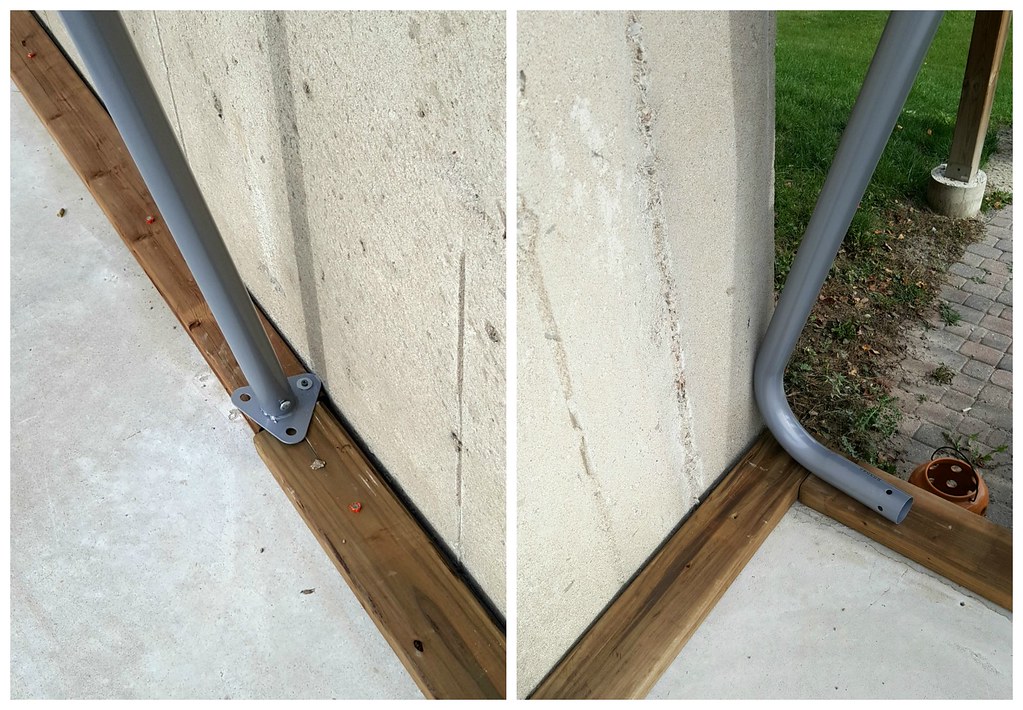
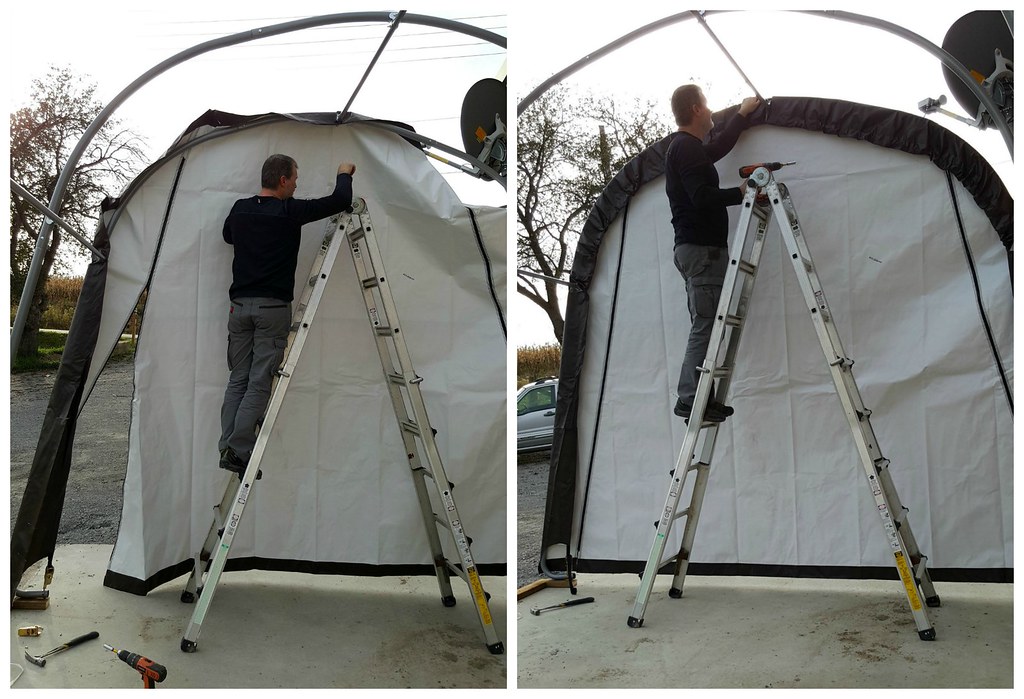
Once the frame was connected and screwed down to the 2x4 base, the end flaps were installed. Tom did this by himself and it involved a bit of back and forth - raising up one side, then the other, then back to the first, etc. - until the fabric was up over the frame. The flap has a strap that runs through a pocket from one side to the other and is tightened down to the frame with ratchets at each end.
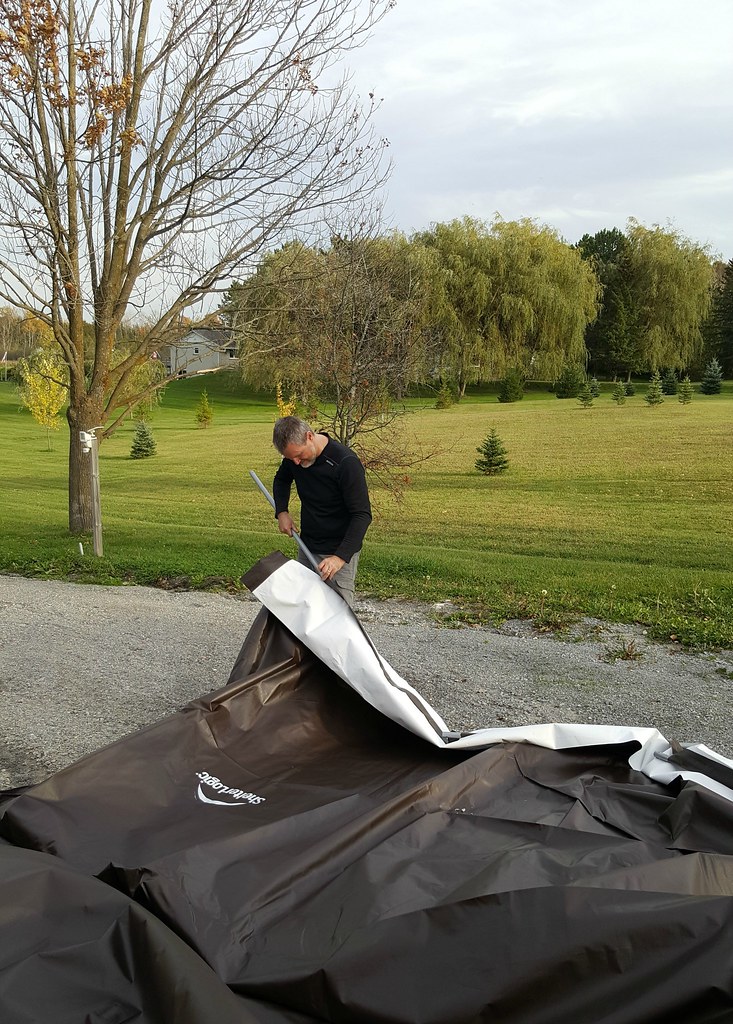
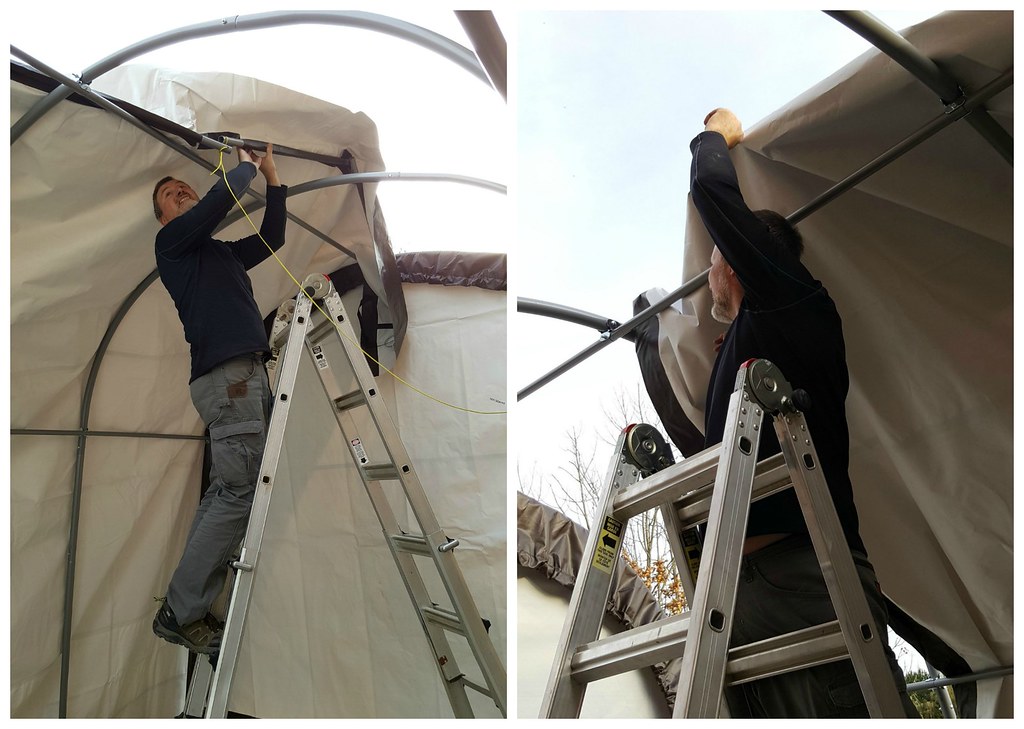
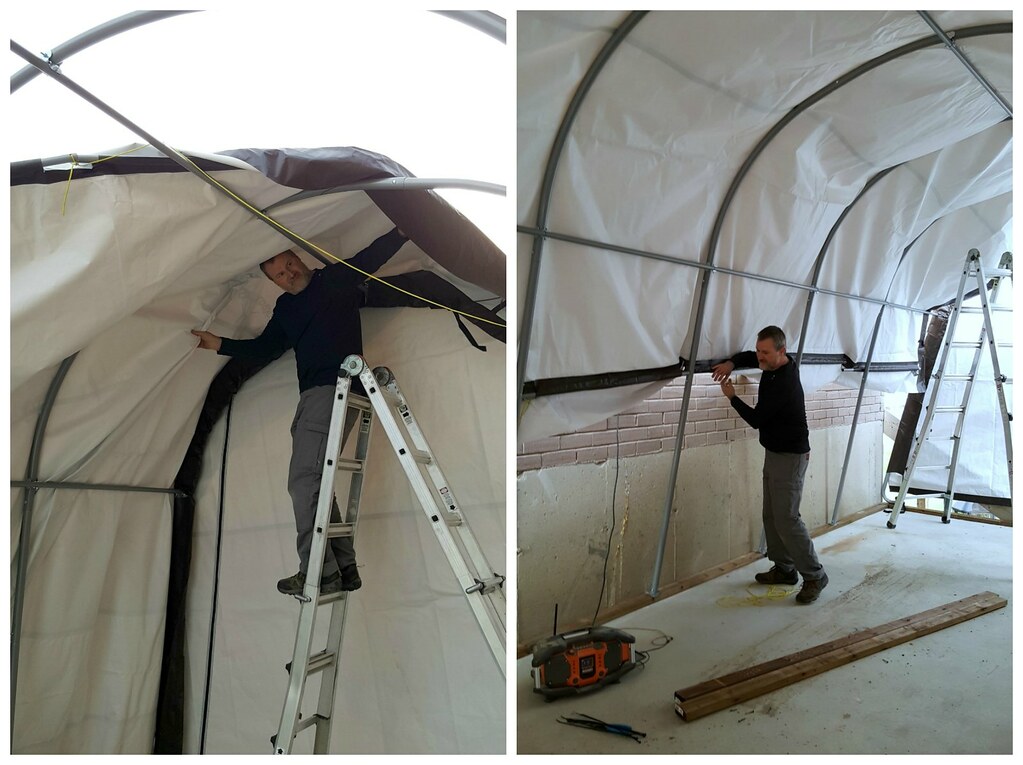
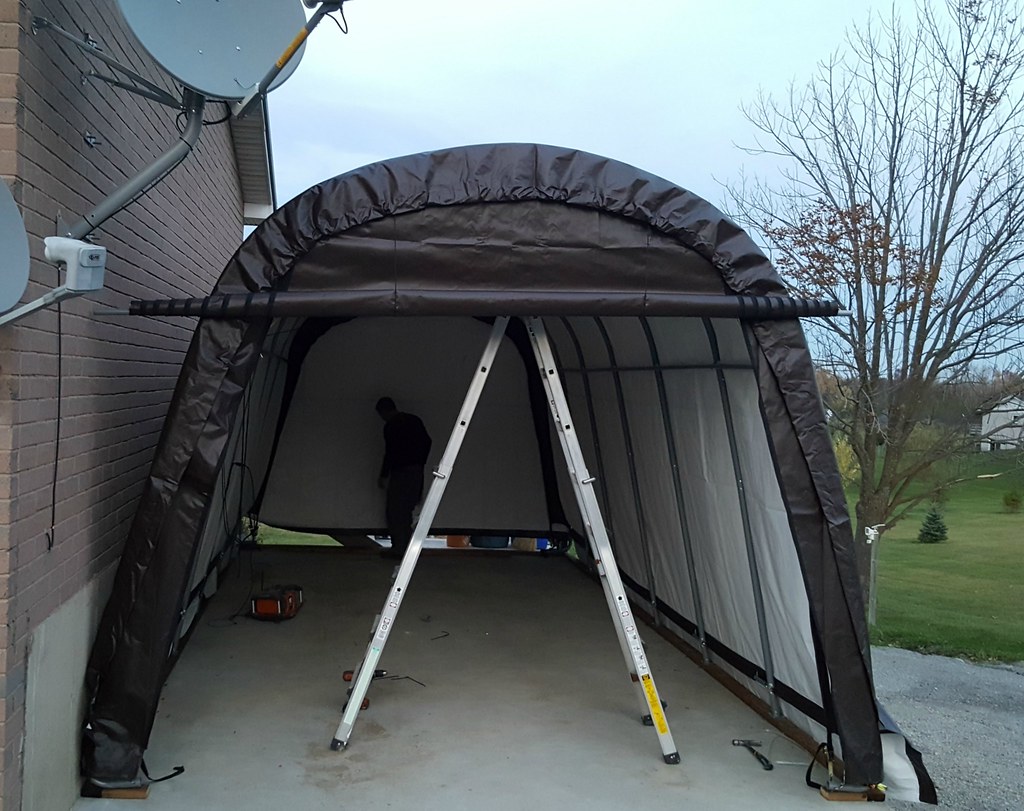
With the ends in place, he had me come out to help with the main cover because it's huge. I'm sure you could do it by yourself, but it would take a great deal of time, having to pull up a section, then tie it in place so you could move to another section without the first one falling back down. No one needs that kind of frustration if they can avoid it.
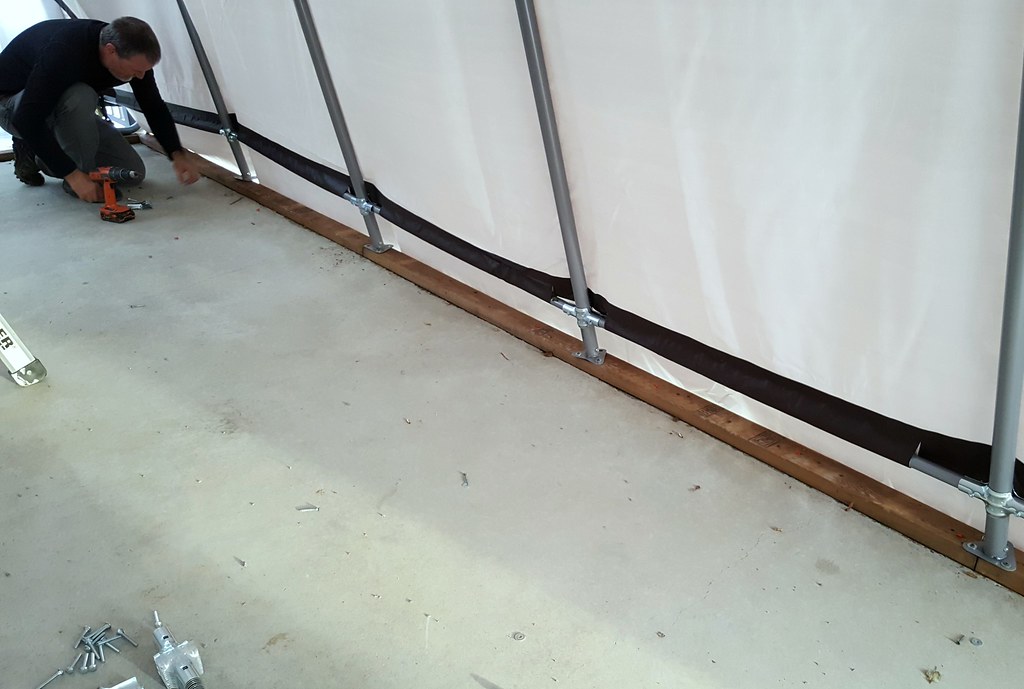
There are lengths of steel tubing that slide into pockets at the bottom (side) edge of the cover. These are attached to the framework once it's in place, to hold the cover down tight to the frame.
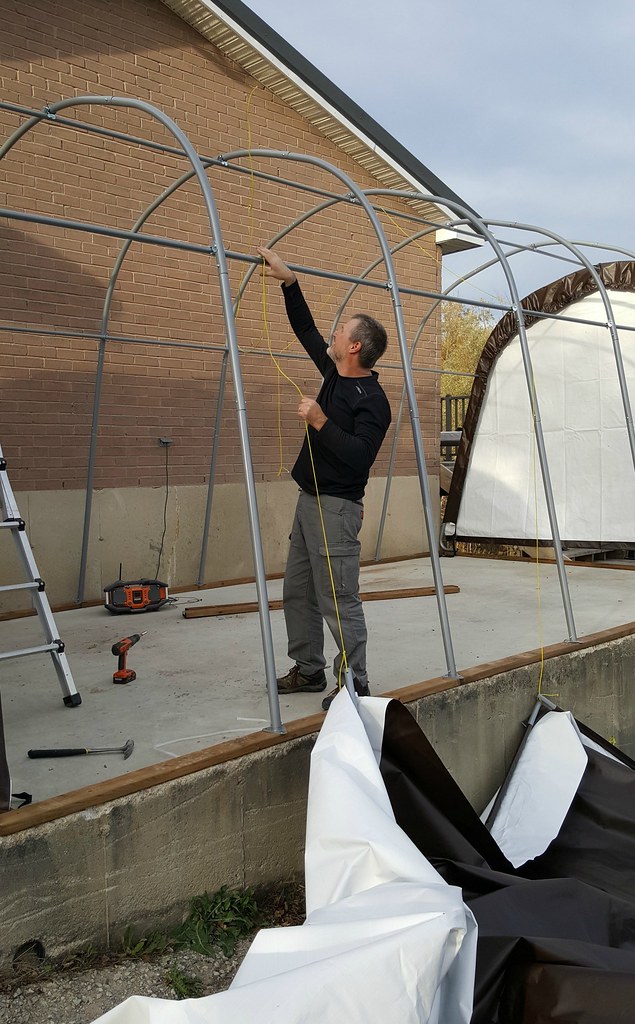
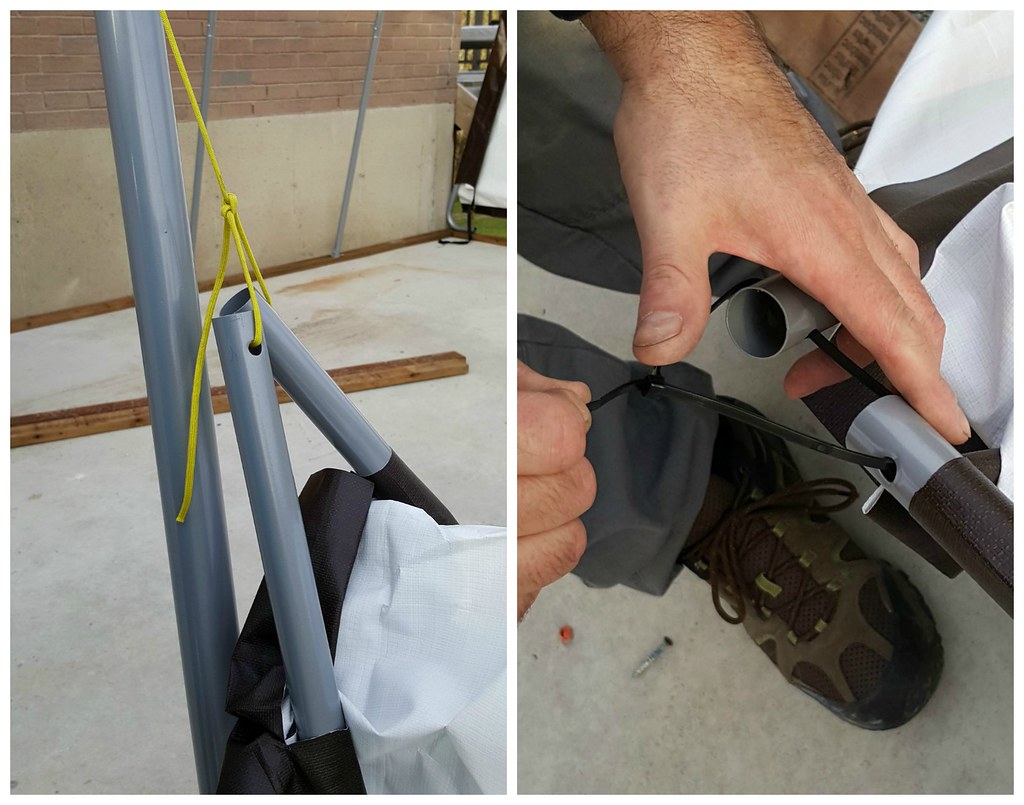
Tom threw lengths of rope over the framework and tied one end of each to the pipes on the cover so that we could pull the cover up and over.
Except the pipes kept sliding out of the pockets when you pulled on an end. The solution? He zip-tied each pipe to the one beside it so that it had nowhere to go.
We worked our way back and forth, pulling the cover up and over a bit at a time. I would hold one or more ropes in place while he pulled on the others. Once it's over the top and gravity isn't working against you, it's easy to pull it all the way down into place and remove the ropes and zip ties.
.
The horizontal pipes in the pockets are attached to the framework with connectors that clamp on at each intersection of pipe. Tom then went around and tightened down all of the screws on the frame.
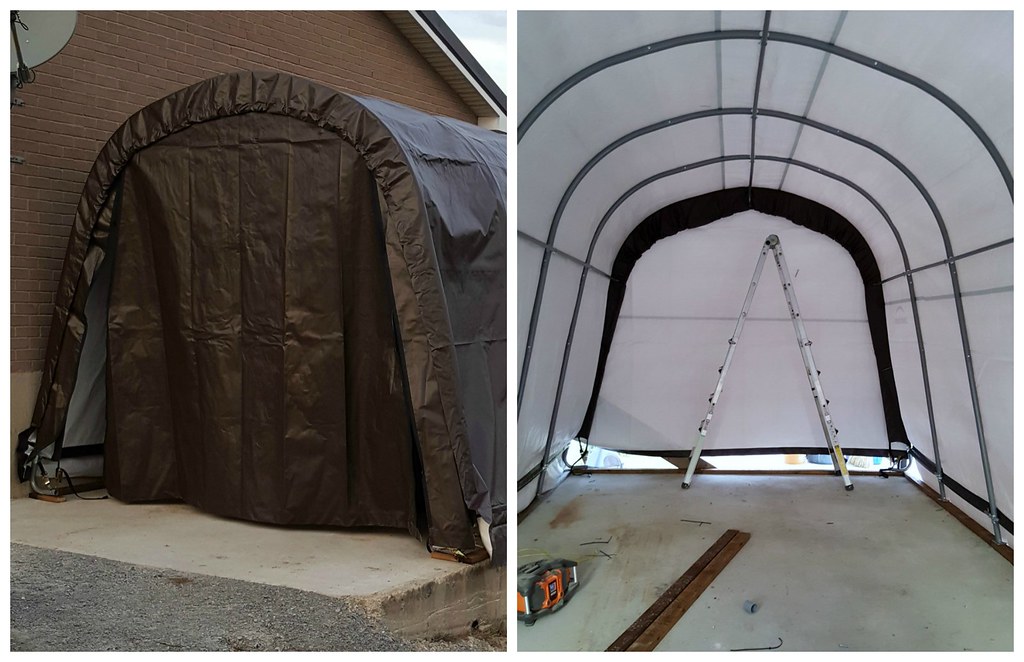
The cover still has to be connected to the front and back of the shelter. We pulled the fabric tight over the end flaps and ratcheted it down in the same way as the flaps.
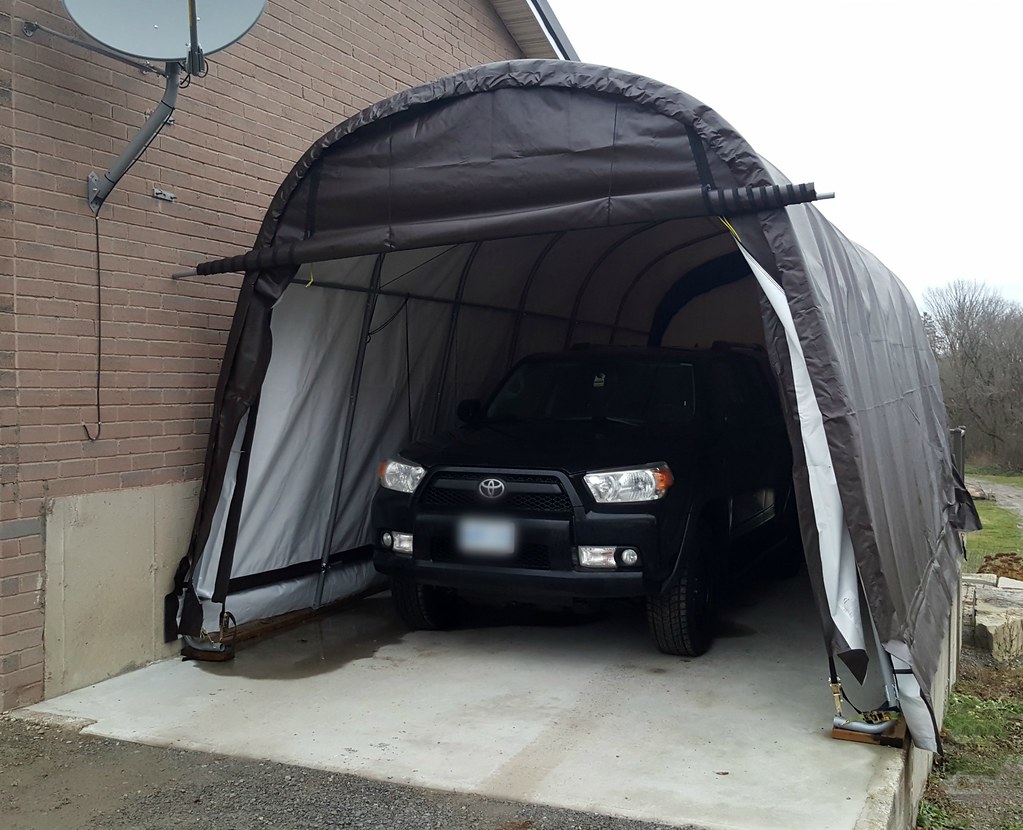
The final step is feeding a pipe through a pocket on the flap at the front. The pipe keeps even tension on the flap when you're rolling it up and down.
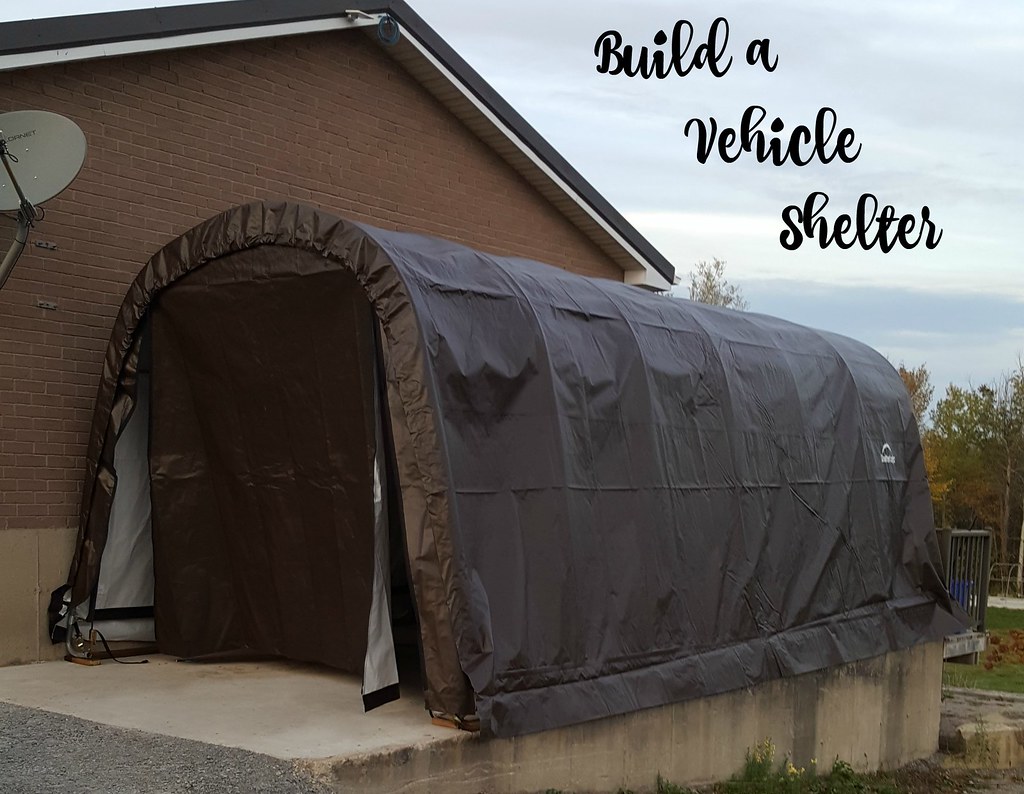
And here's my baby all tucked away cozy for the night. I love not having to clean my car off in the morning after a snowfall - because you know I'm always running late and don't have time for that.




No comments:
Post a Comment