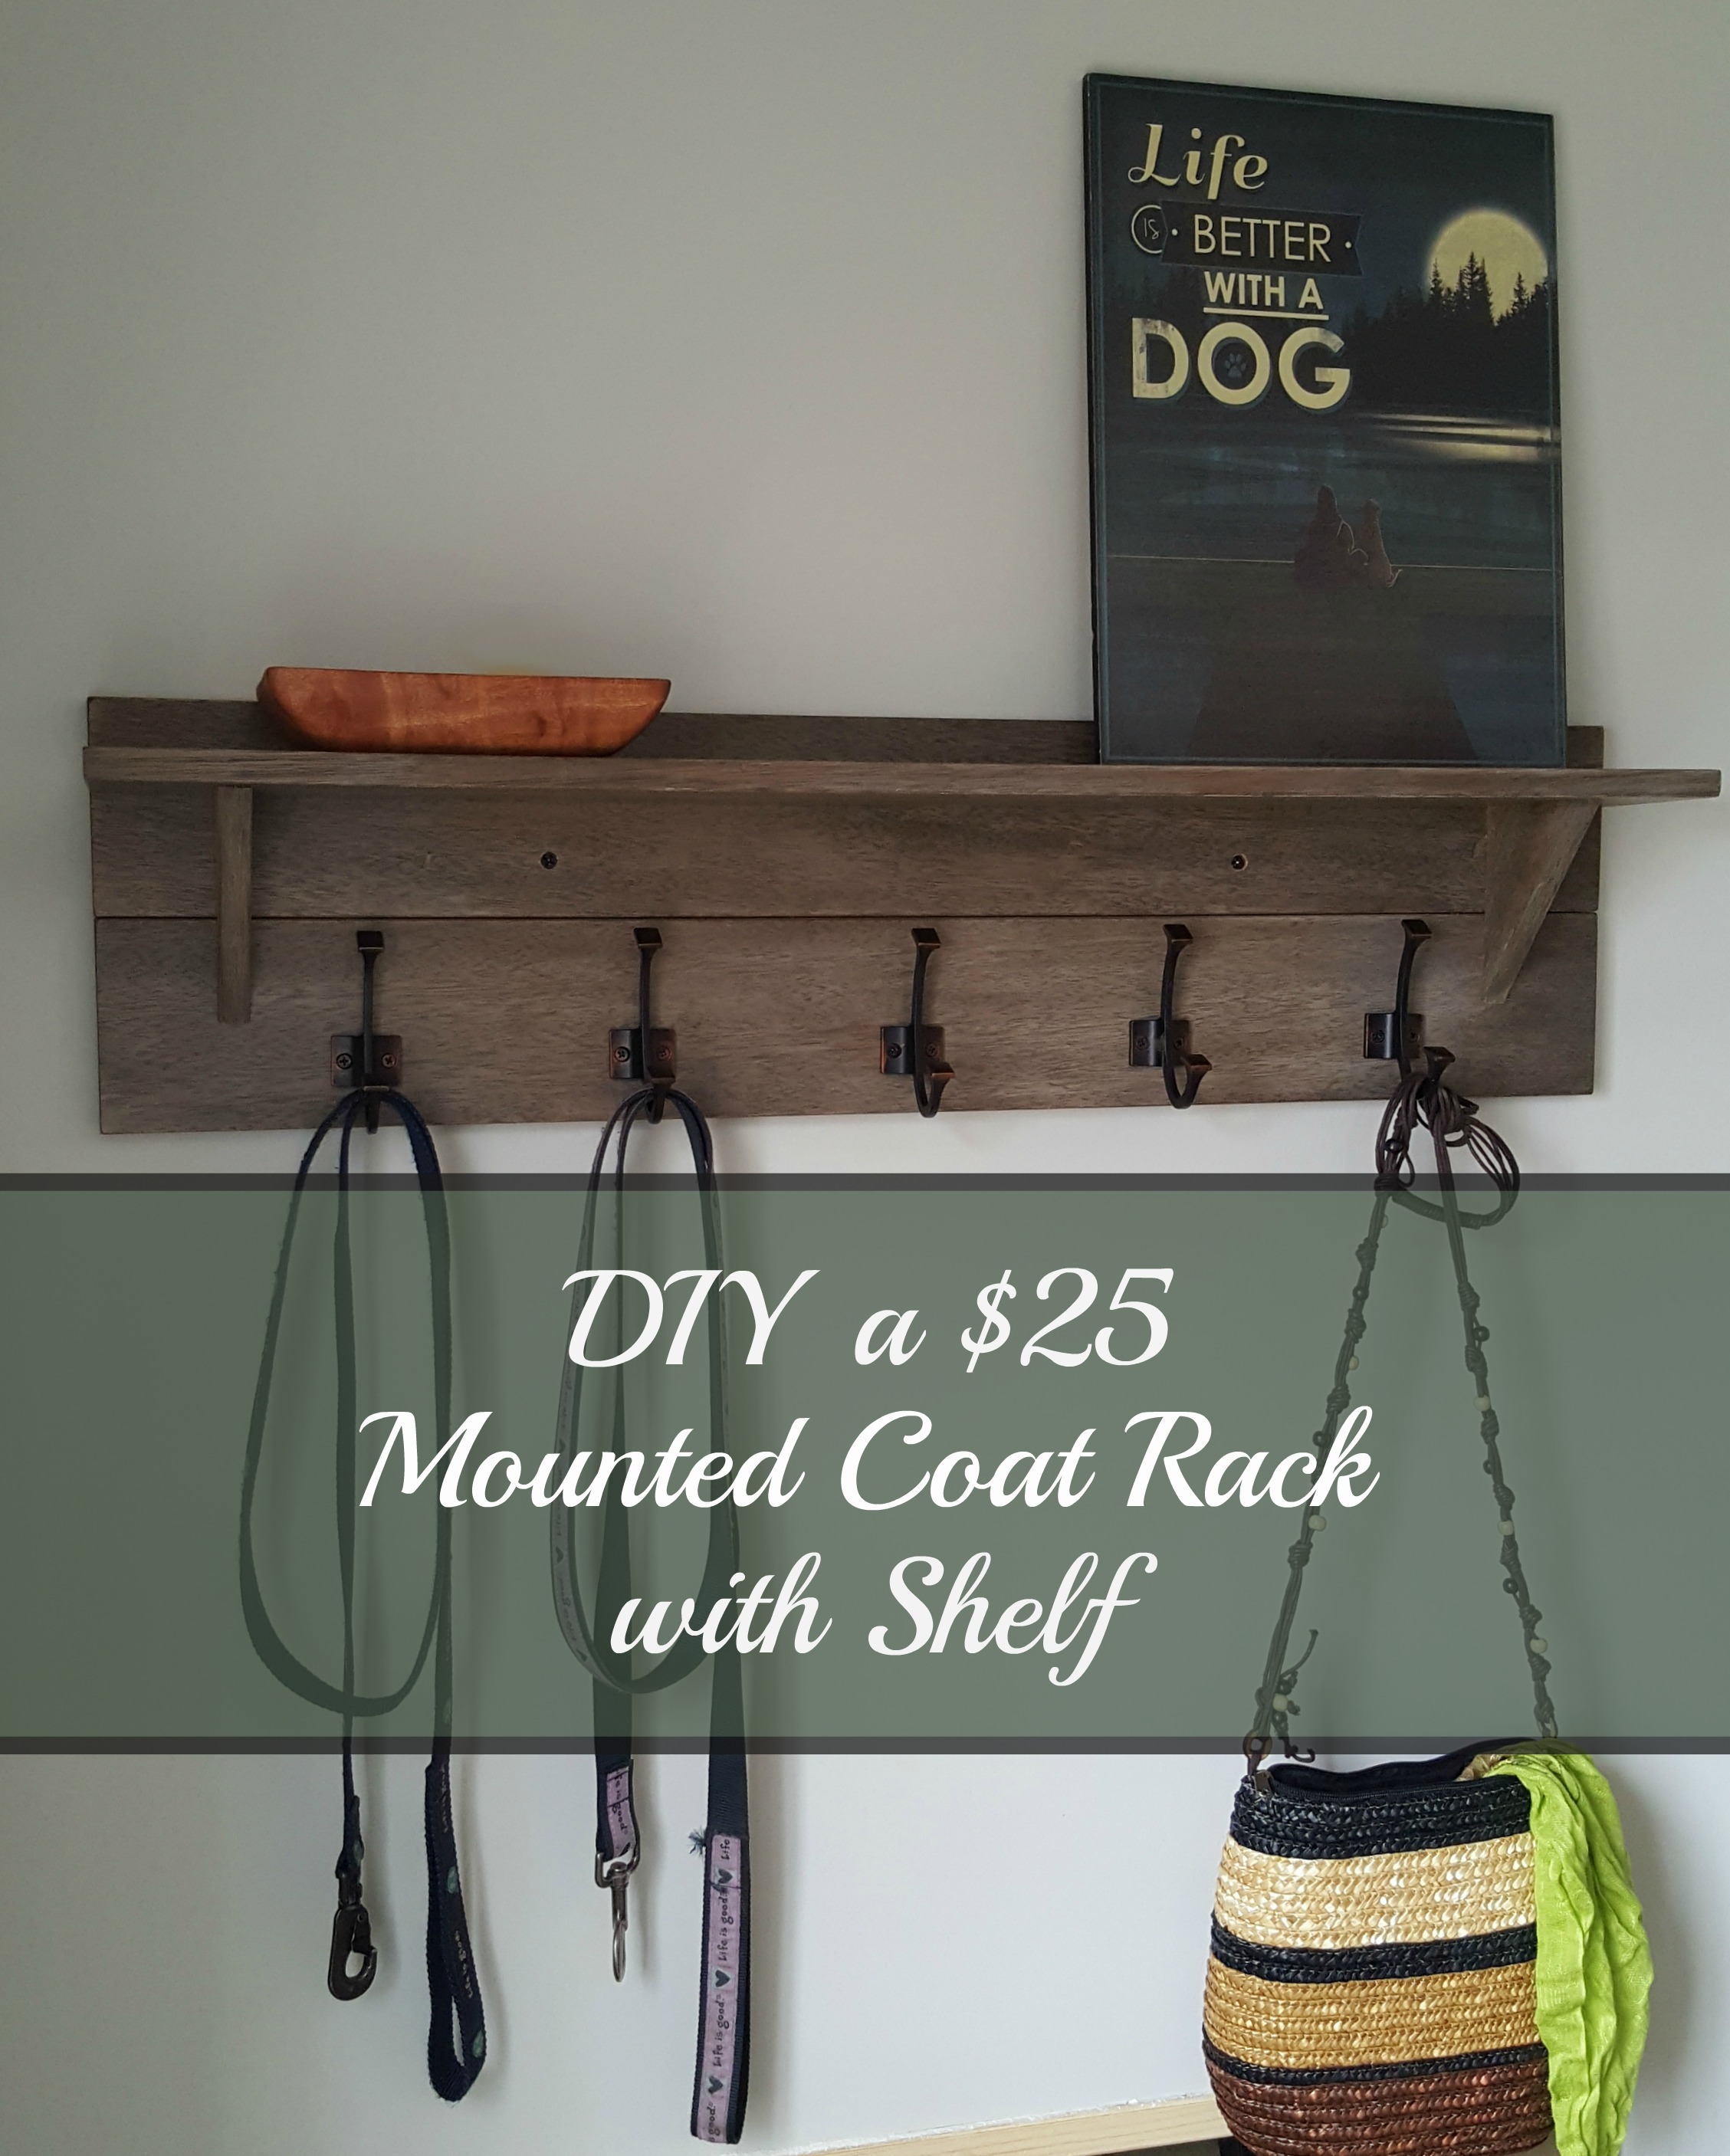
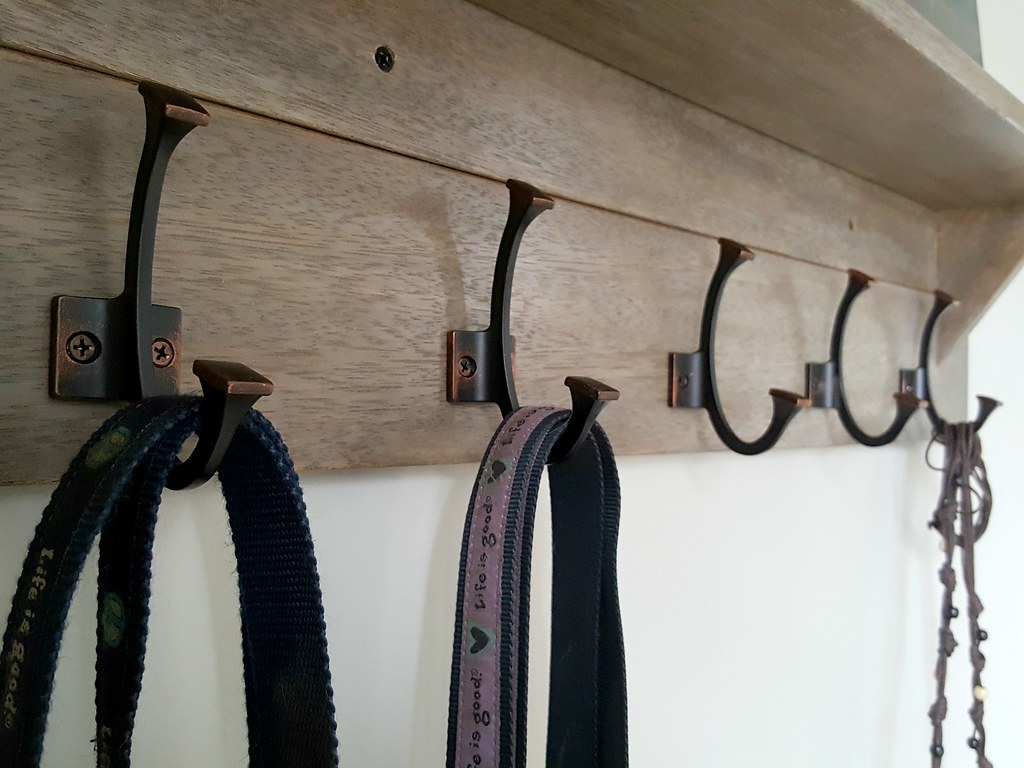
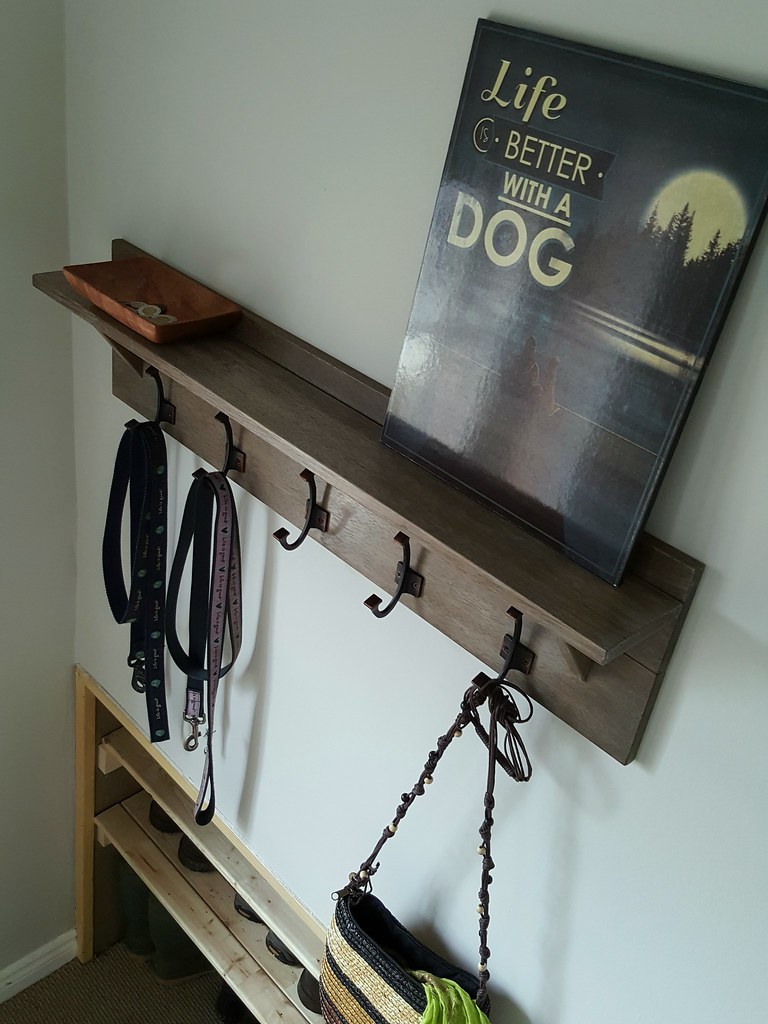
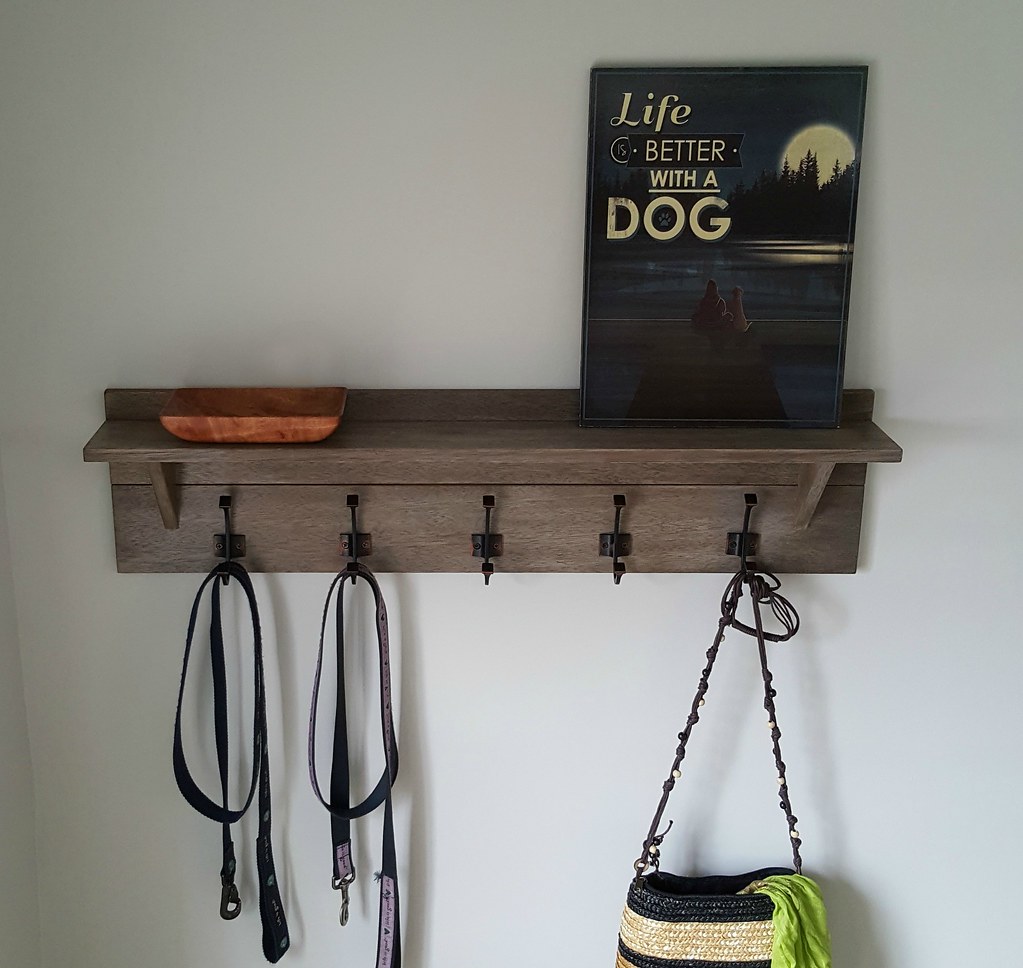
We used to have a row of coat hooks by the front door that I took down when I repainted the main floor. Tom loved that coatrack and kept talking about getting a new one - all.the.time. He missed having a place to hang the dog leashes, and a spot for the dish that holds the odds and ends that wind up in his pockets.
So while he was away one weekend I decided to build a new one for him. We have plenty of scrap boards in the workshop, so I was pretty sure that I wouldn't have to buy anything except the hooks. This project is really inexpensive - even if you do have to buy the wood, it won't cost you more than $25 all in (depending on the hooks you choose).
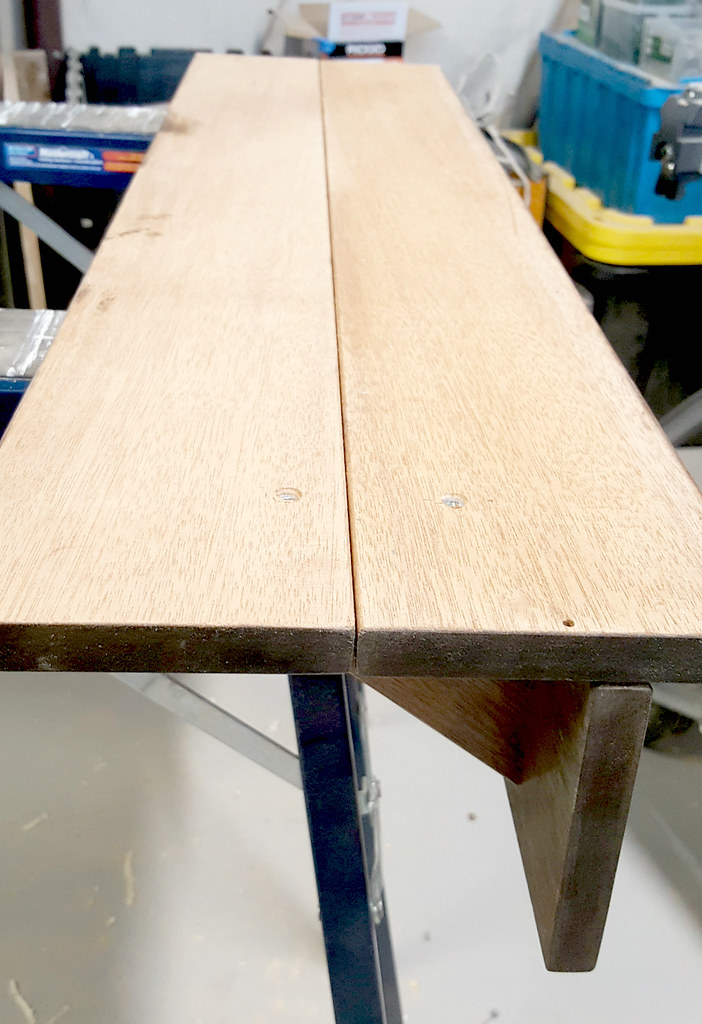
As soon as he left that Saturday morning, I hurried down to the basement to go through the wood and see what I could see. I was getting a little worried as the only boards I could find that were wide enough were 2 inches thick, and I'm not that handy with the planer yet. But then buried under some exterior siding that the previous owners had left behind, I found two pieces of leftover planking, 1" x 4.5" in size. I'm not sure what it was used for - flooring or door trim maybe - but it was soft, almost like cedar.
I cut 3 lengths of board at 36 inches each and sanded them smooth. Two boards would be the backing and the other would be the shelf. I went back and forth on how to attach the shelf to the back - ideally I would have liked to use metal brackets with some sort of scroll design, but a search online didn't show any available to buy in my area that were small enough. I settled on triangular supports made of the same wood.
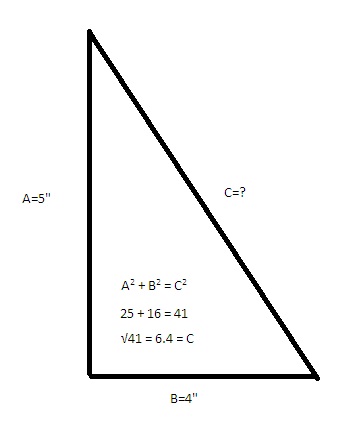
The supports are 4" and 5" on the right-angled sides. It would have been easy enough to just cut a triangle to size, but I wanted the finished edge to be on the outside, so a little algebra and help from Pythagoras was in order (a2 + b2 = c2). The long side ends up at 6.4 inches. Yay, math!
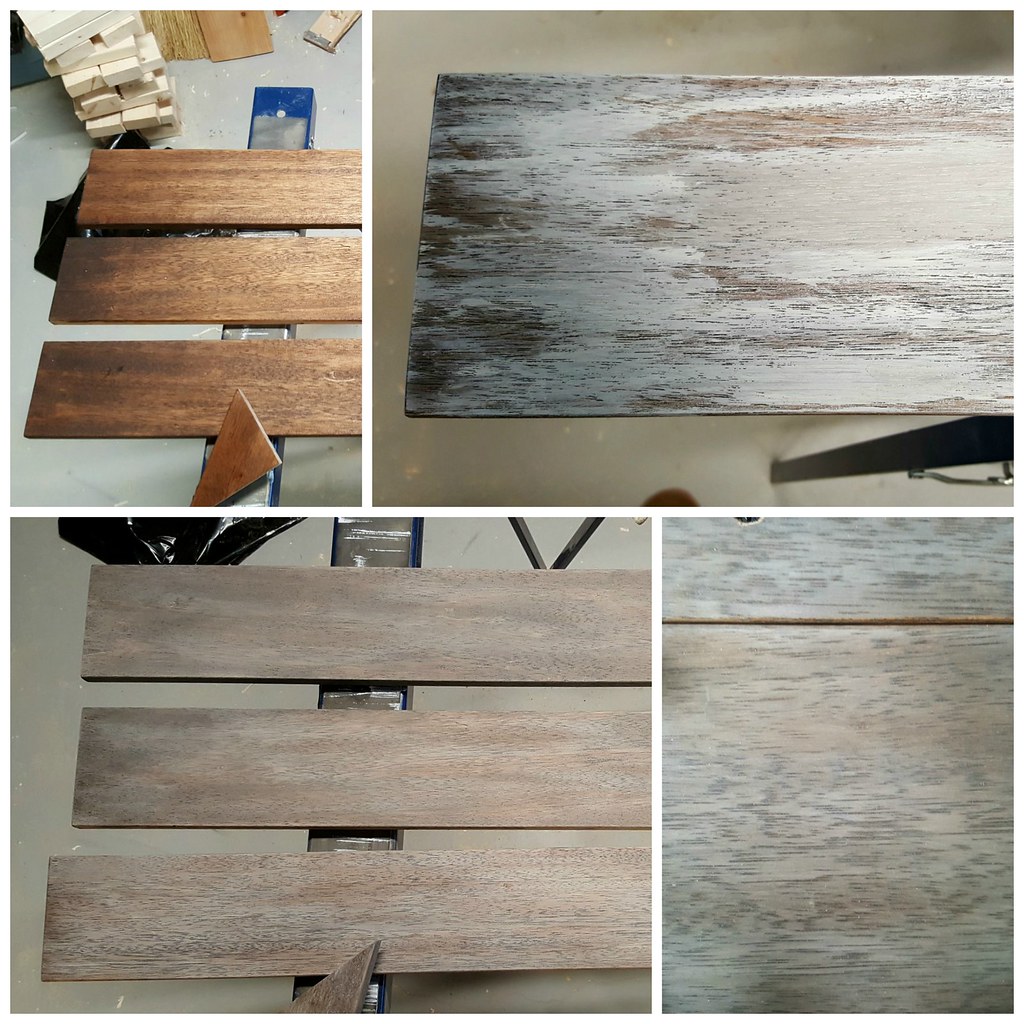
I stained each of the boards and the supports with Minwax water-based stain in Jacobean and then went over it with watered-down paint - a beigey-grey colour that gives a weathered look.
The stain and the paint are applied with a clean cloth so that you can control the amount of product that is transferred. You just work back and forth - stain, paint, wipe, stain, paint, etc. as needed. You can see above that I applied quite a bit of paint at first (top right photo), but since it's watered-down you have time to wipe it back until you get what you want. The bottom two photos show the finished product.
When I had the wood the shade that I wanted, I applied two coats of clear furniture wax (Minwax again) and buffed it, first with another clean cloth and then with extra fine steel wool. This process is called "cerusing" and I've talked about it several times before. It is my favourite way to finish wood. The colour can always be customized, and the buffed and scrubbed surface has a soft, smooth feel - much nicer than polyurethane. For more examples see the dresser, night stands, and sofa table that I've done previously.
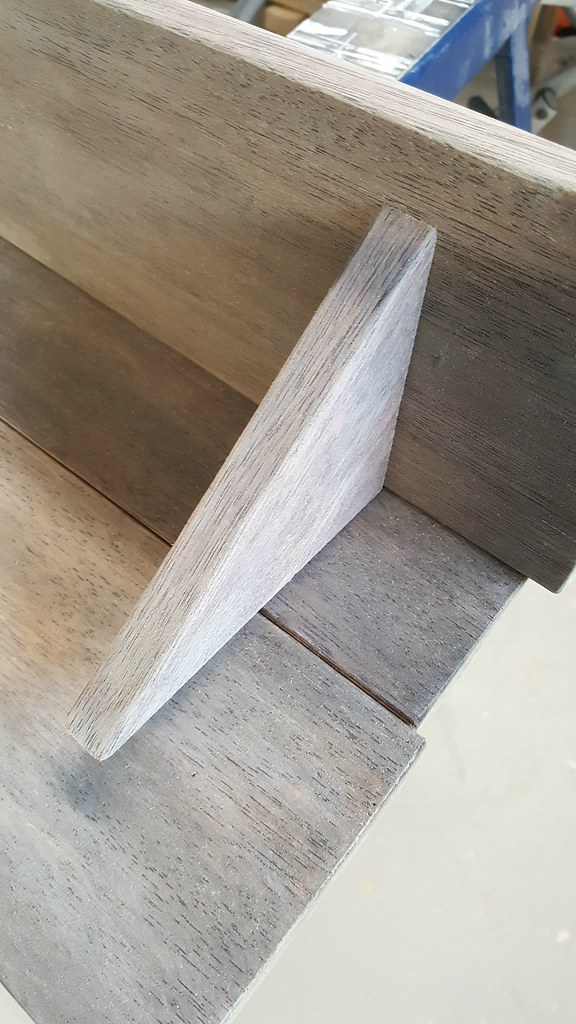
I arranged all of the pieces to determine where the supports would go. I decided they looked best 2.5" in from the ends with the shorter side supporting the shelf and the longer side against the back.
Since the supports are tapered, the two screws need to be different lengths - 1.5" and 2" each. You definitely don't want the tip of the screw poking out through the front of the support!
Attaching the back boards and the supports can be a little tricky as you have to hold everything in place while you're doing it. I clamped the two back boards together along their long edges to keep them tight and aligned, laid the boards flat with the support sitting on the top, and carefully drove the screws in from the underside, holding the support in place with my other hand. I went very slowly to make sure that the screw was straight and didn't pop out the side of the support. Repeat with the other screw and then the other support.
To attach the shelf board, I left everything where it was, put the shelf board in place (you can clamp it to the back board to keep it tight), and attached the screws as before, this time working horizontally. Remove the clamps and oh my goodness, you have a shelf! I was pretty proud of myself at this point. I used wood filler to hide the visible screws on the shelf and then blended them to match the wood with stain and paint.
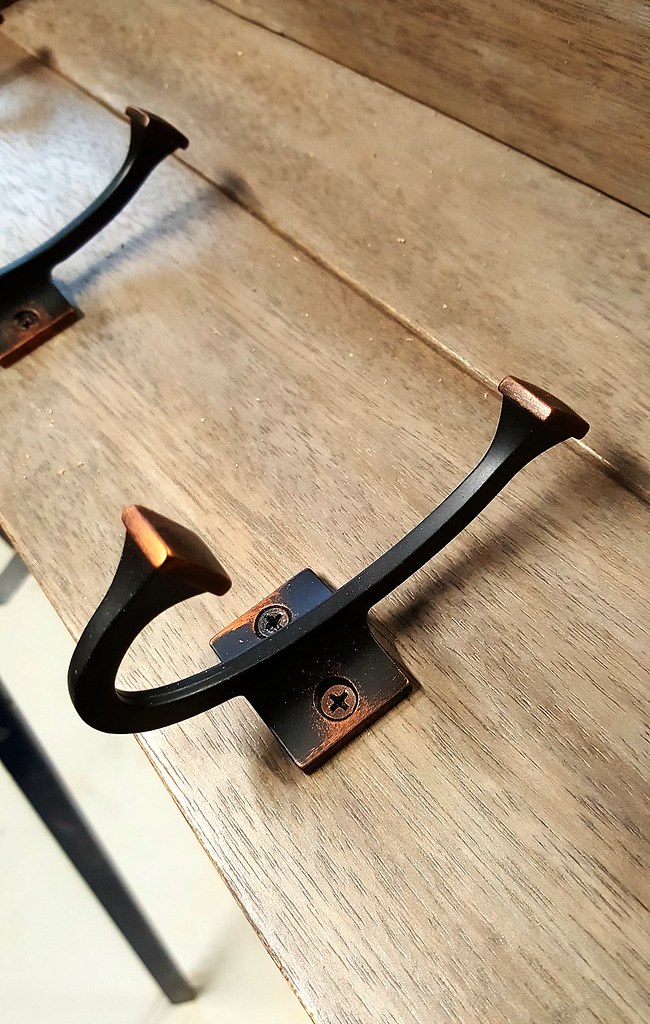
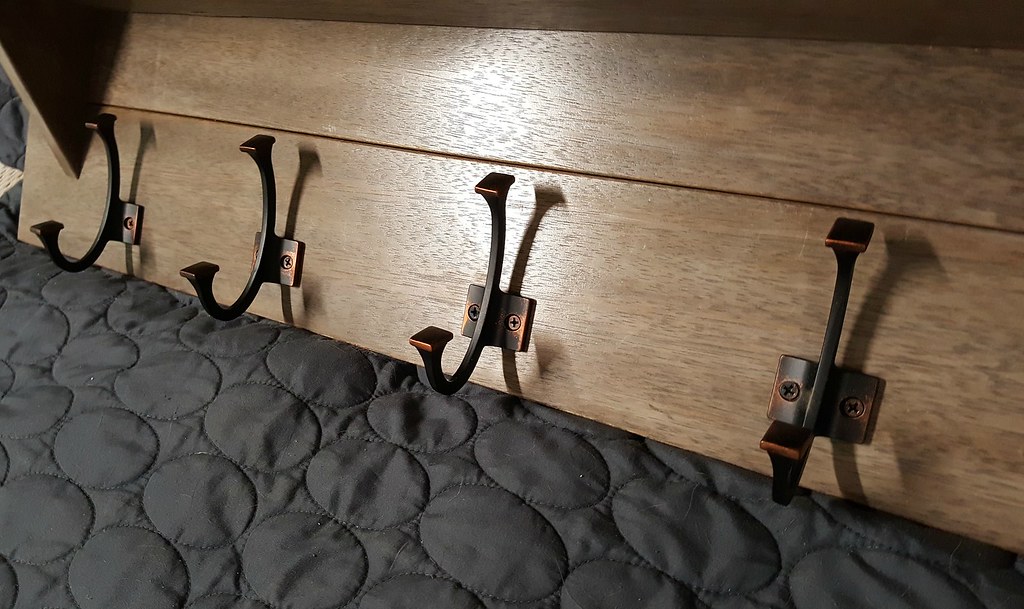
The final step was to add the hooks. These ones are from Canadian Tire, but you can find a similar style here. They are evenly spaced between the two end supports and are attached with two front-mounted screws each. The screws were a bit too long so I had to cut off the ends with diagonal pliers (sidecutters). I could have just used shorter screws but these ones have oil-rubbed bronze heads to match the finish on the hooks.
When Tom got home he was so surprised. He was also a little sad as he said, "You're not going to need me anymore - you know how to use all the tools." Aww, I'll still keep him around. After all, someone has to hang it on the wall for me. :-)


