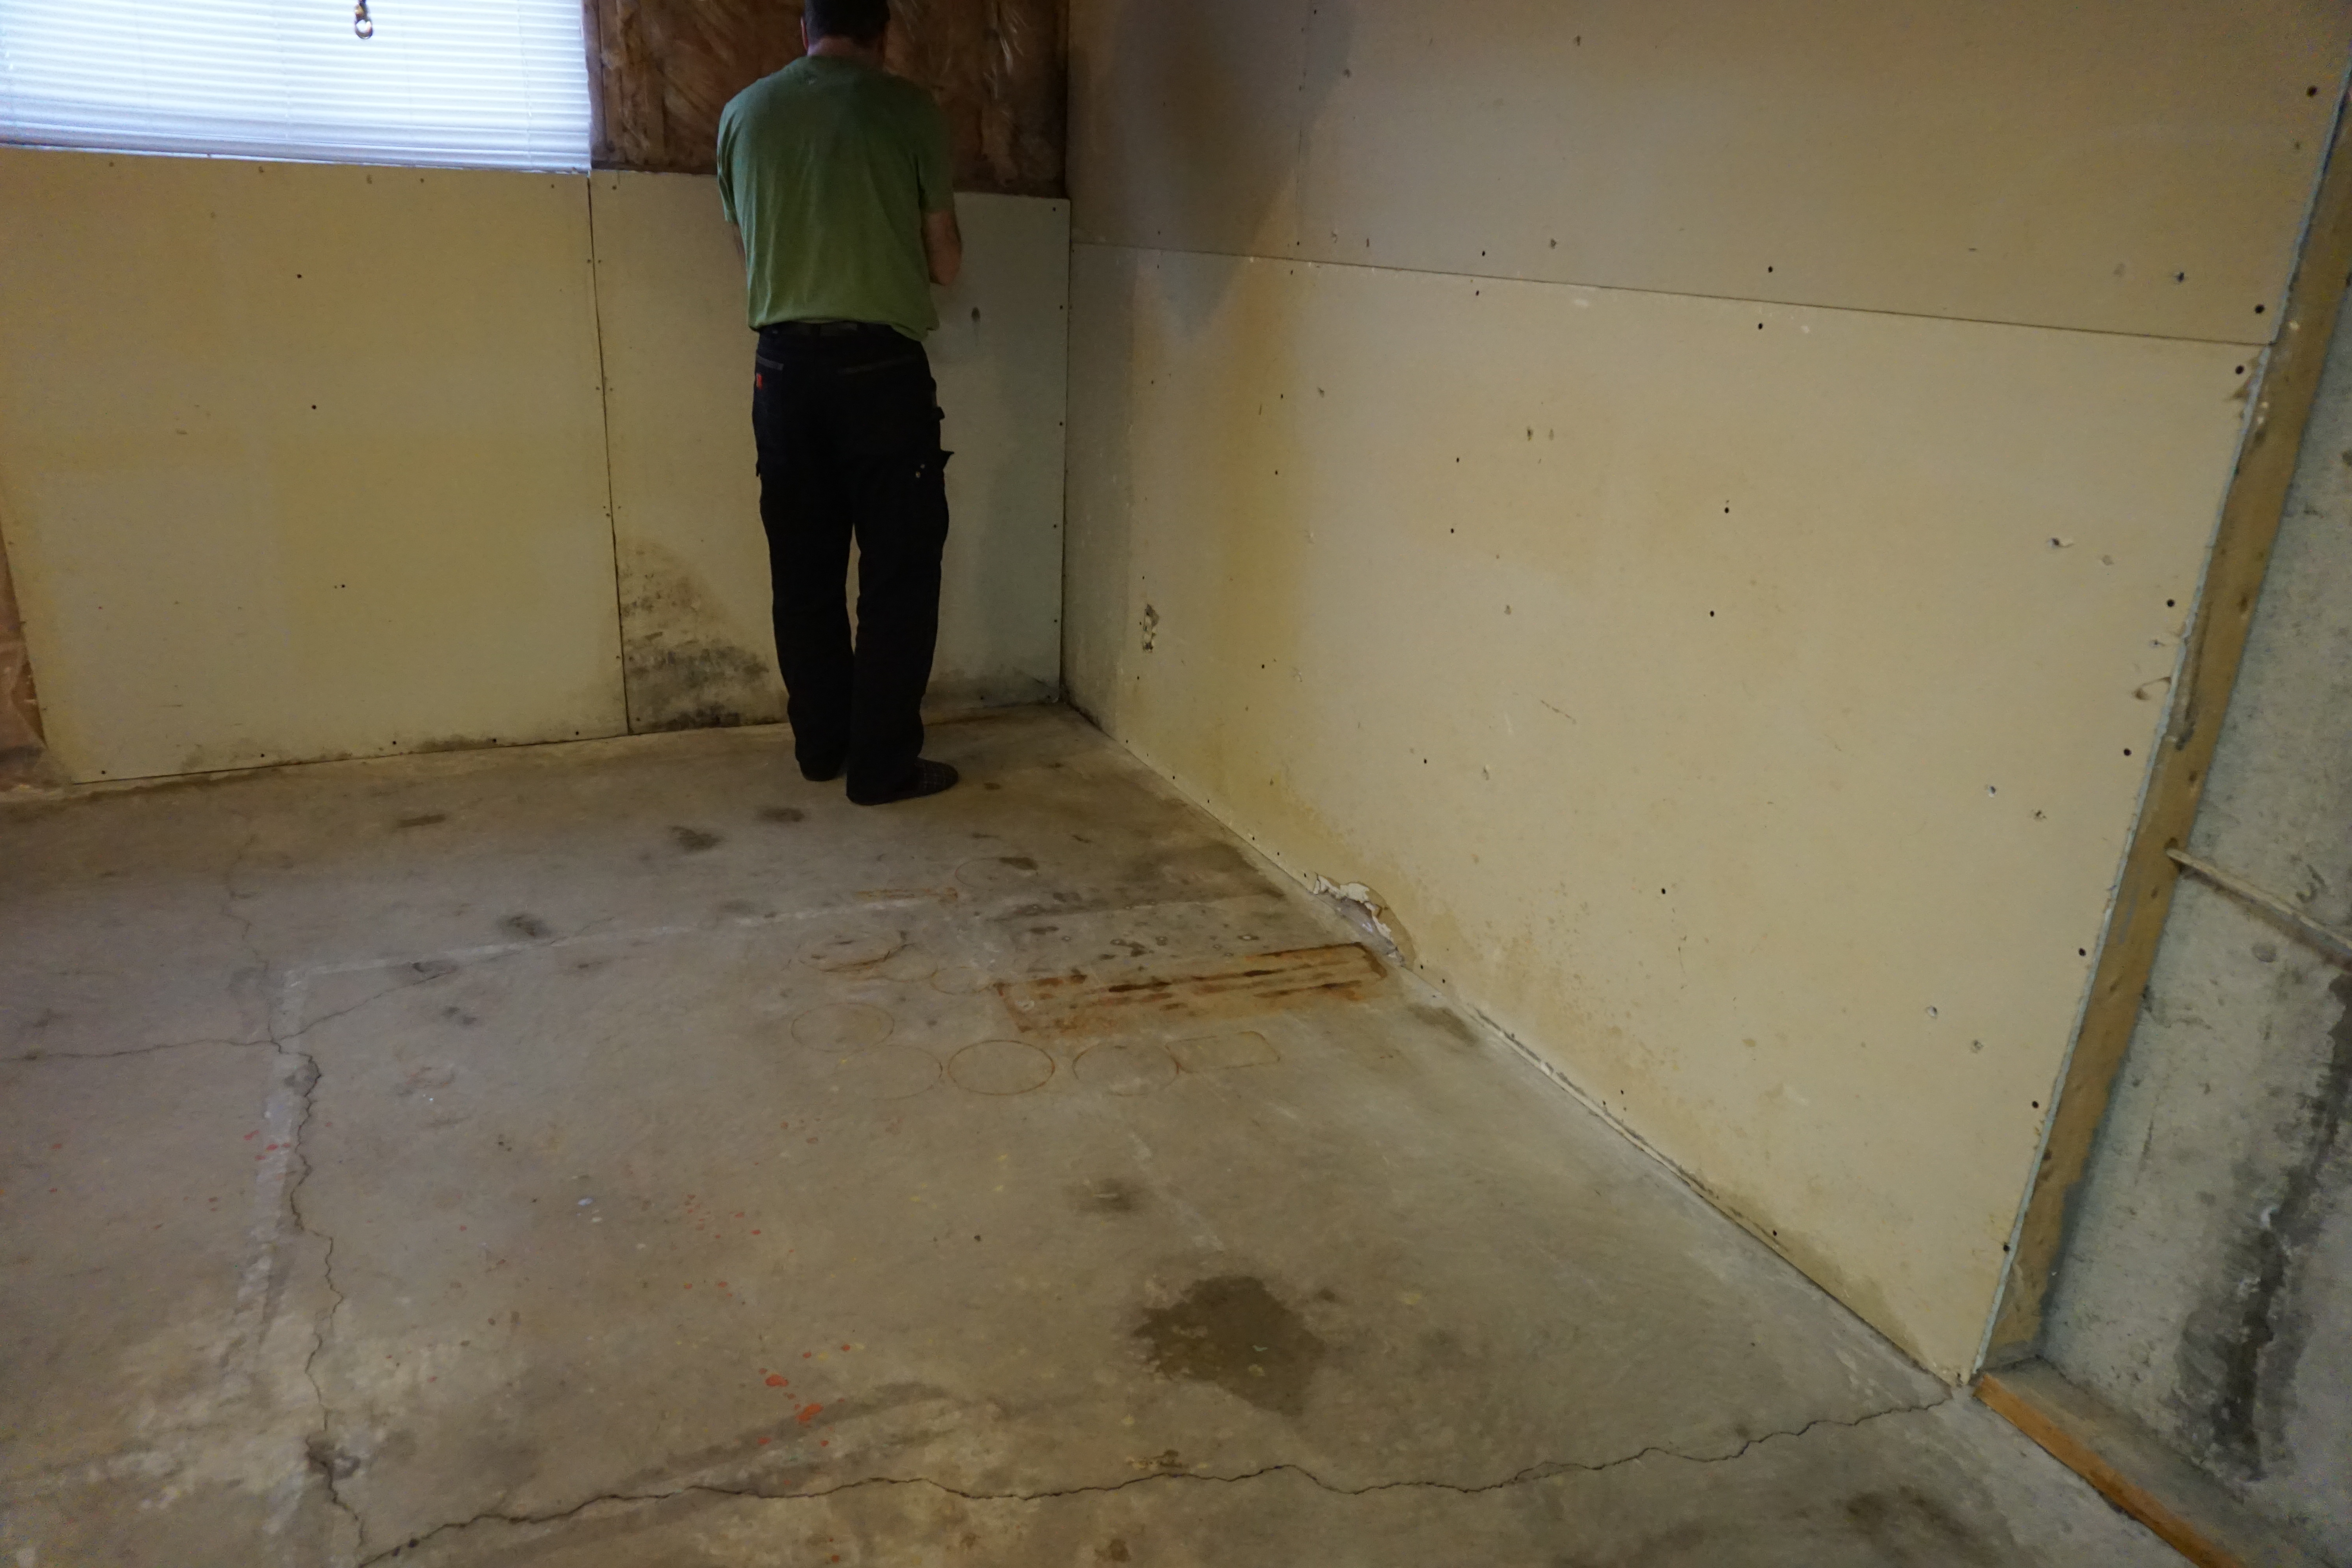
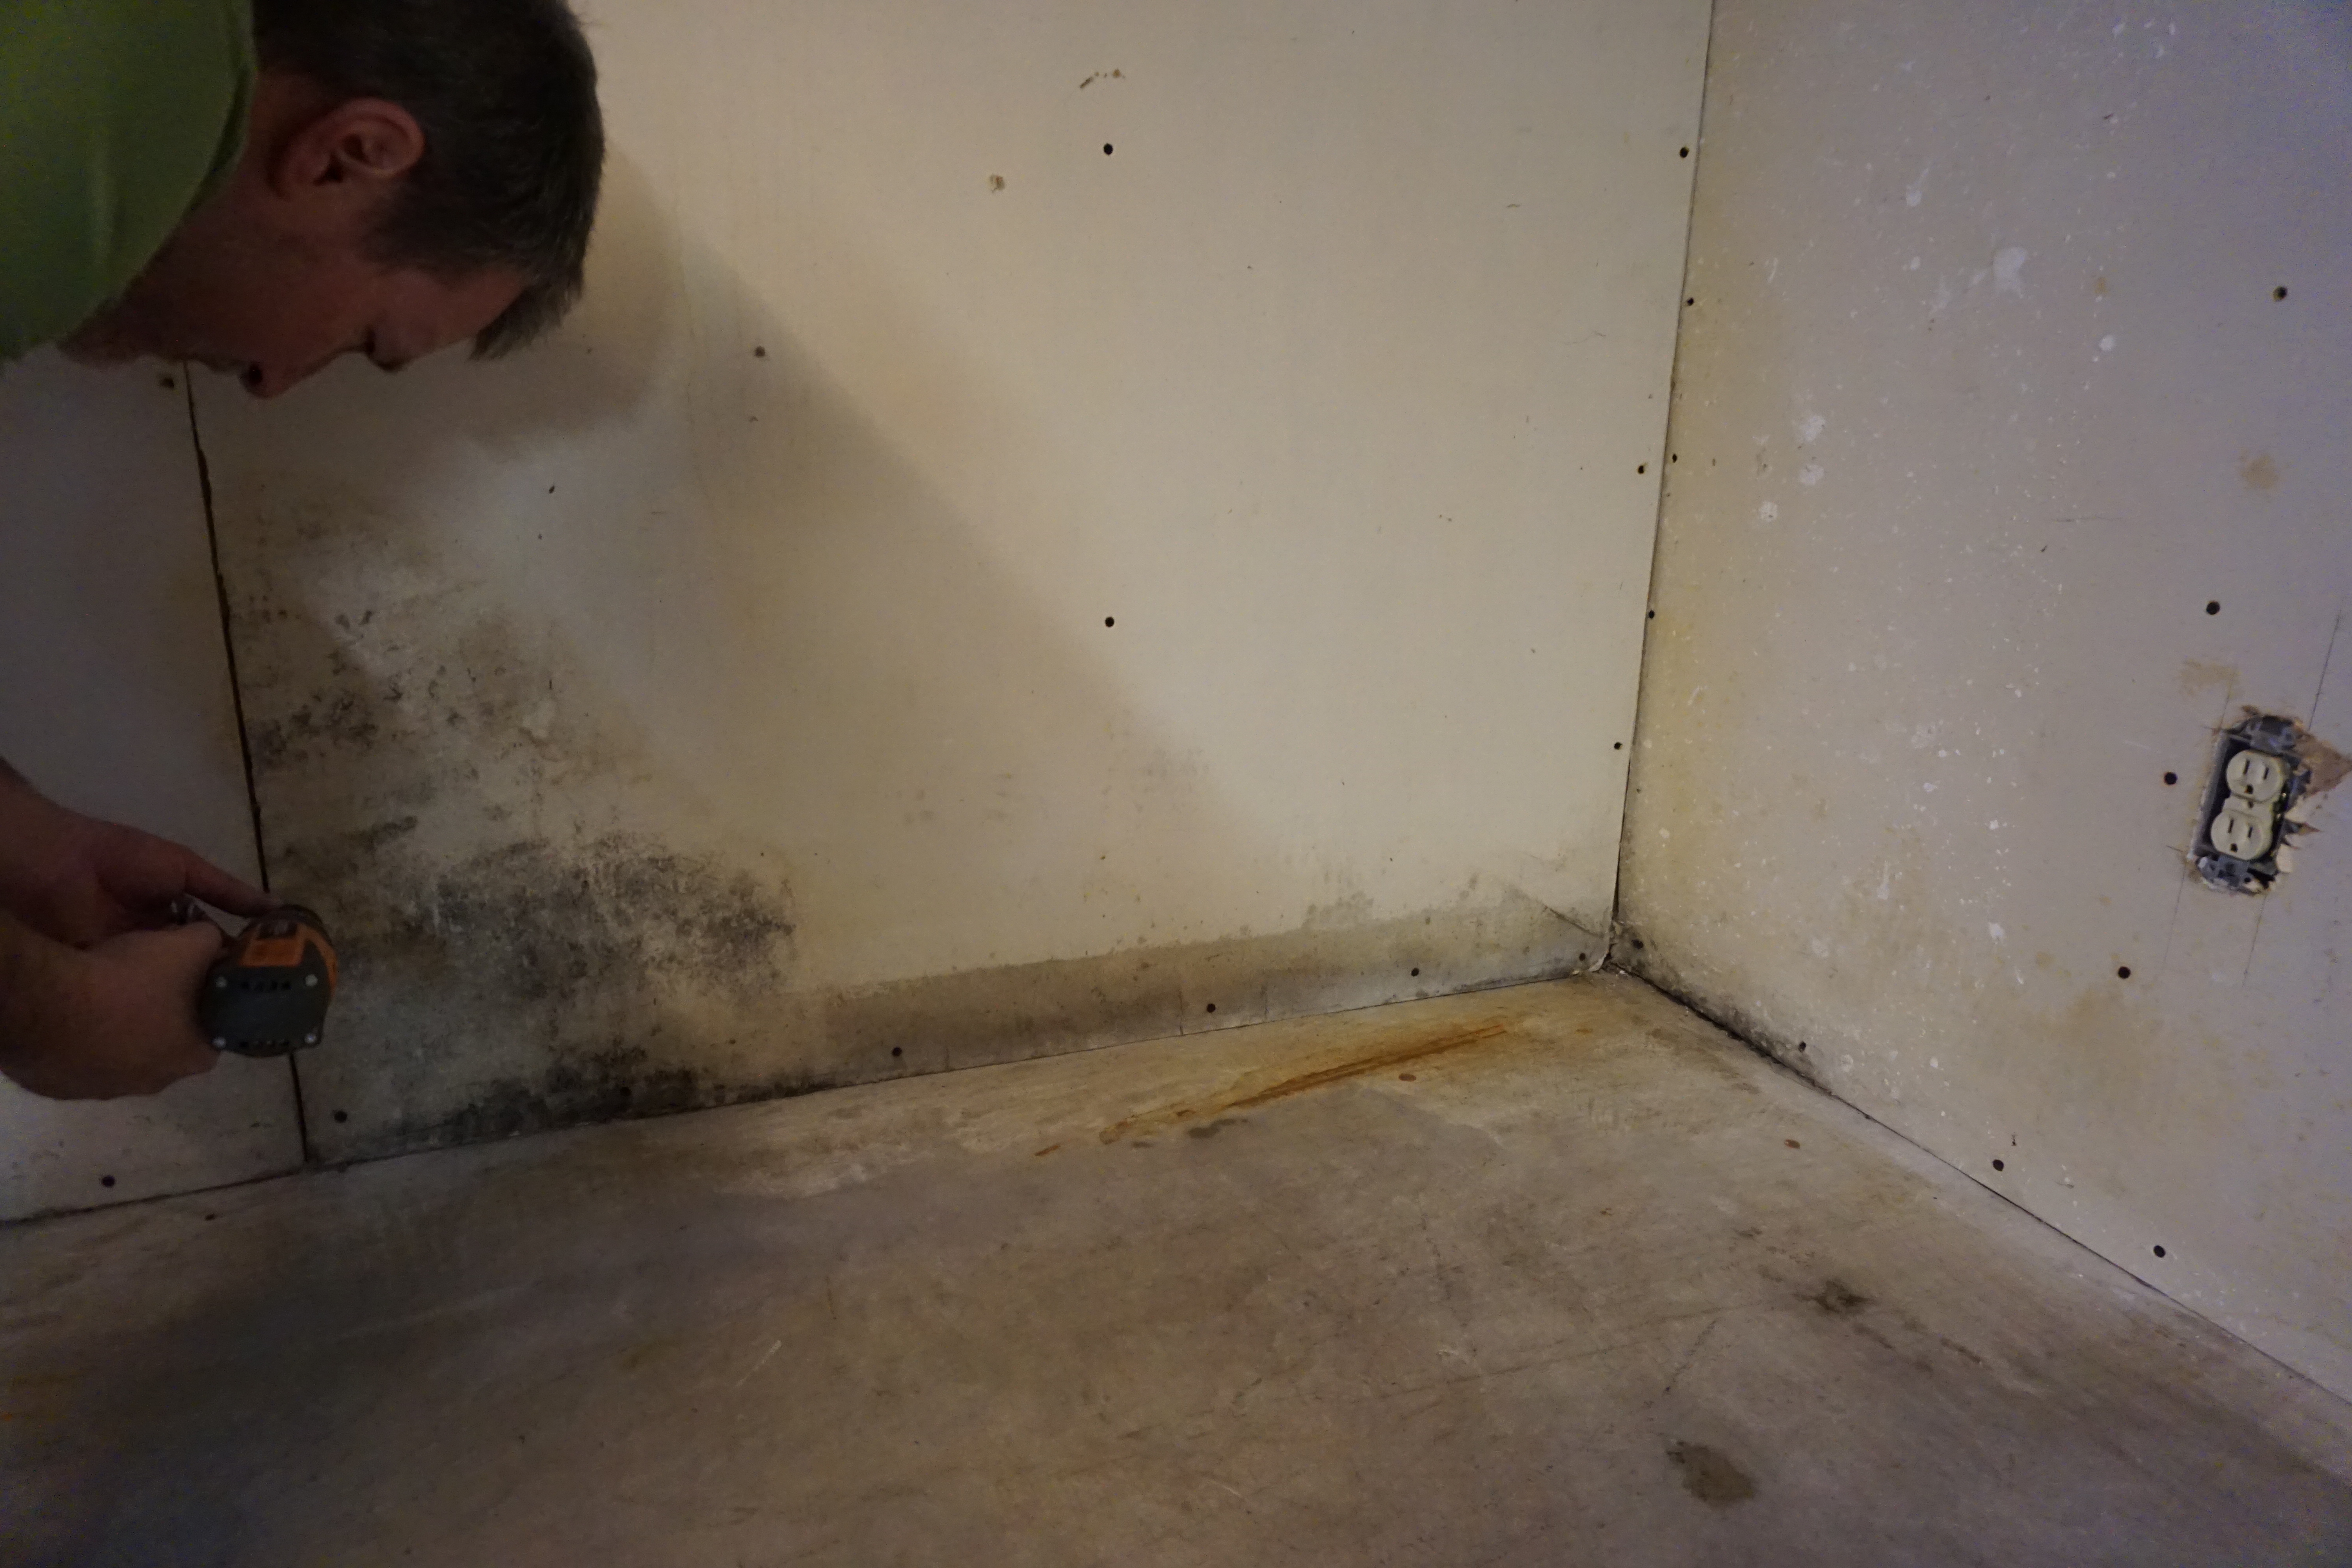
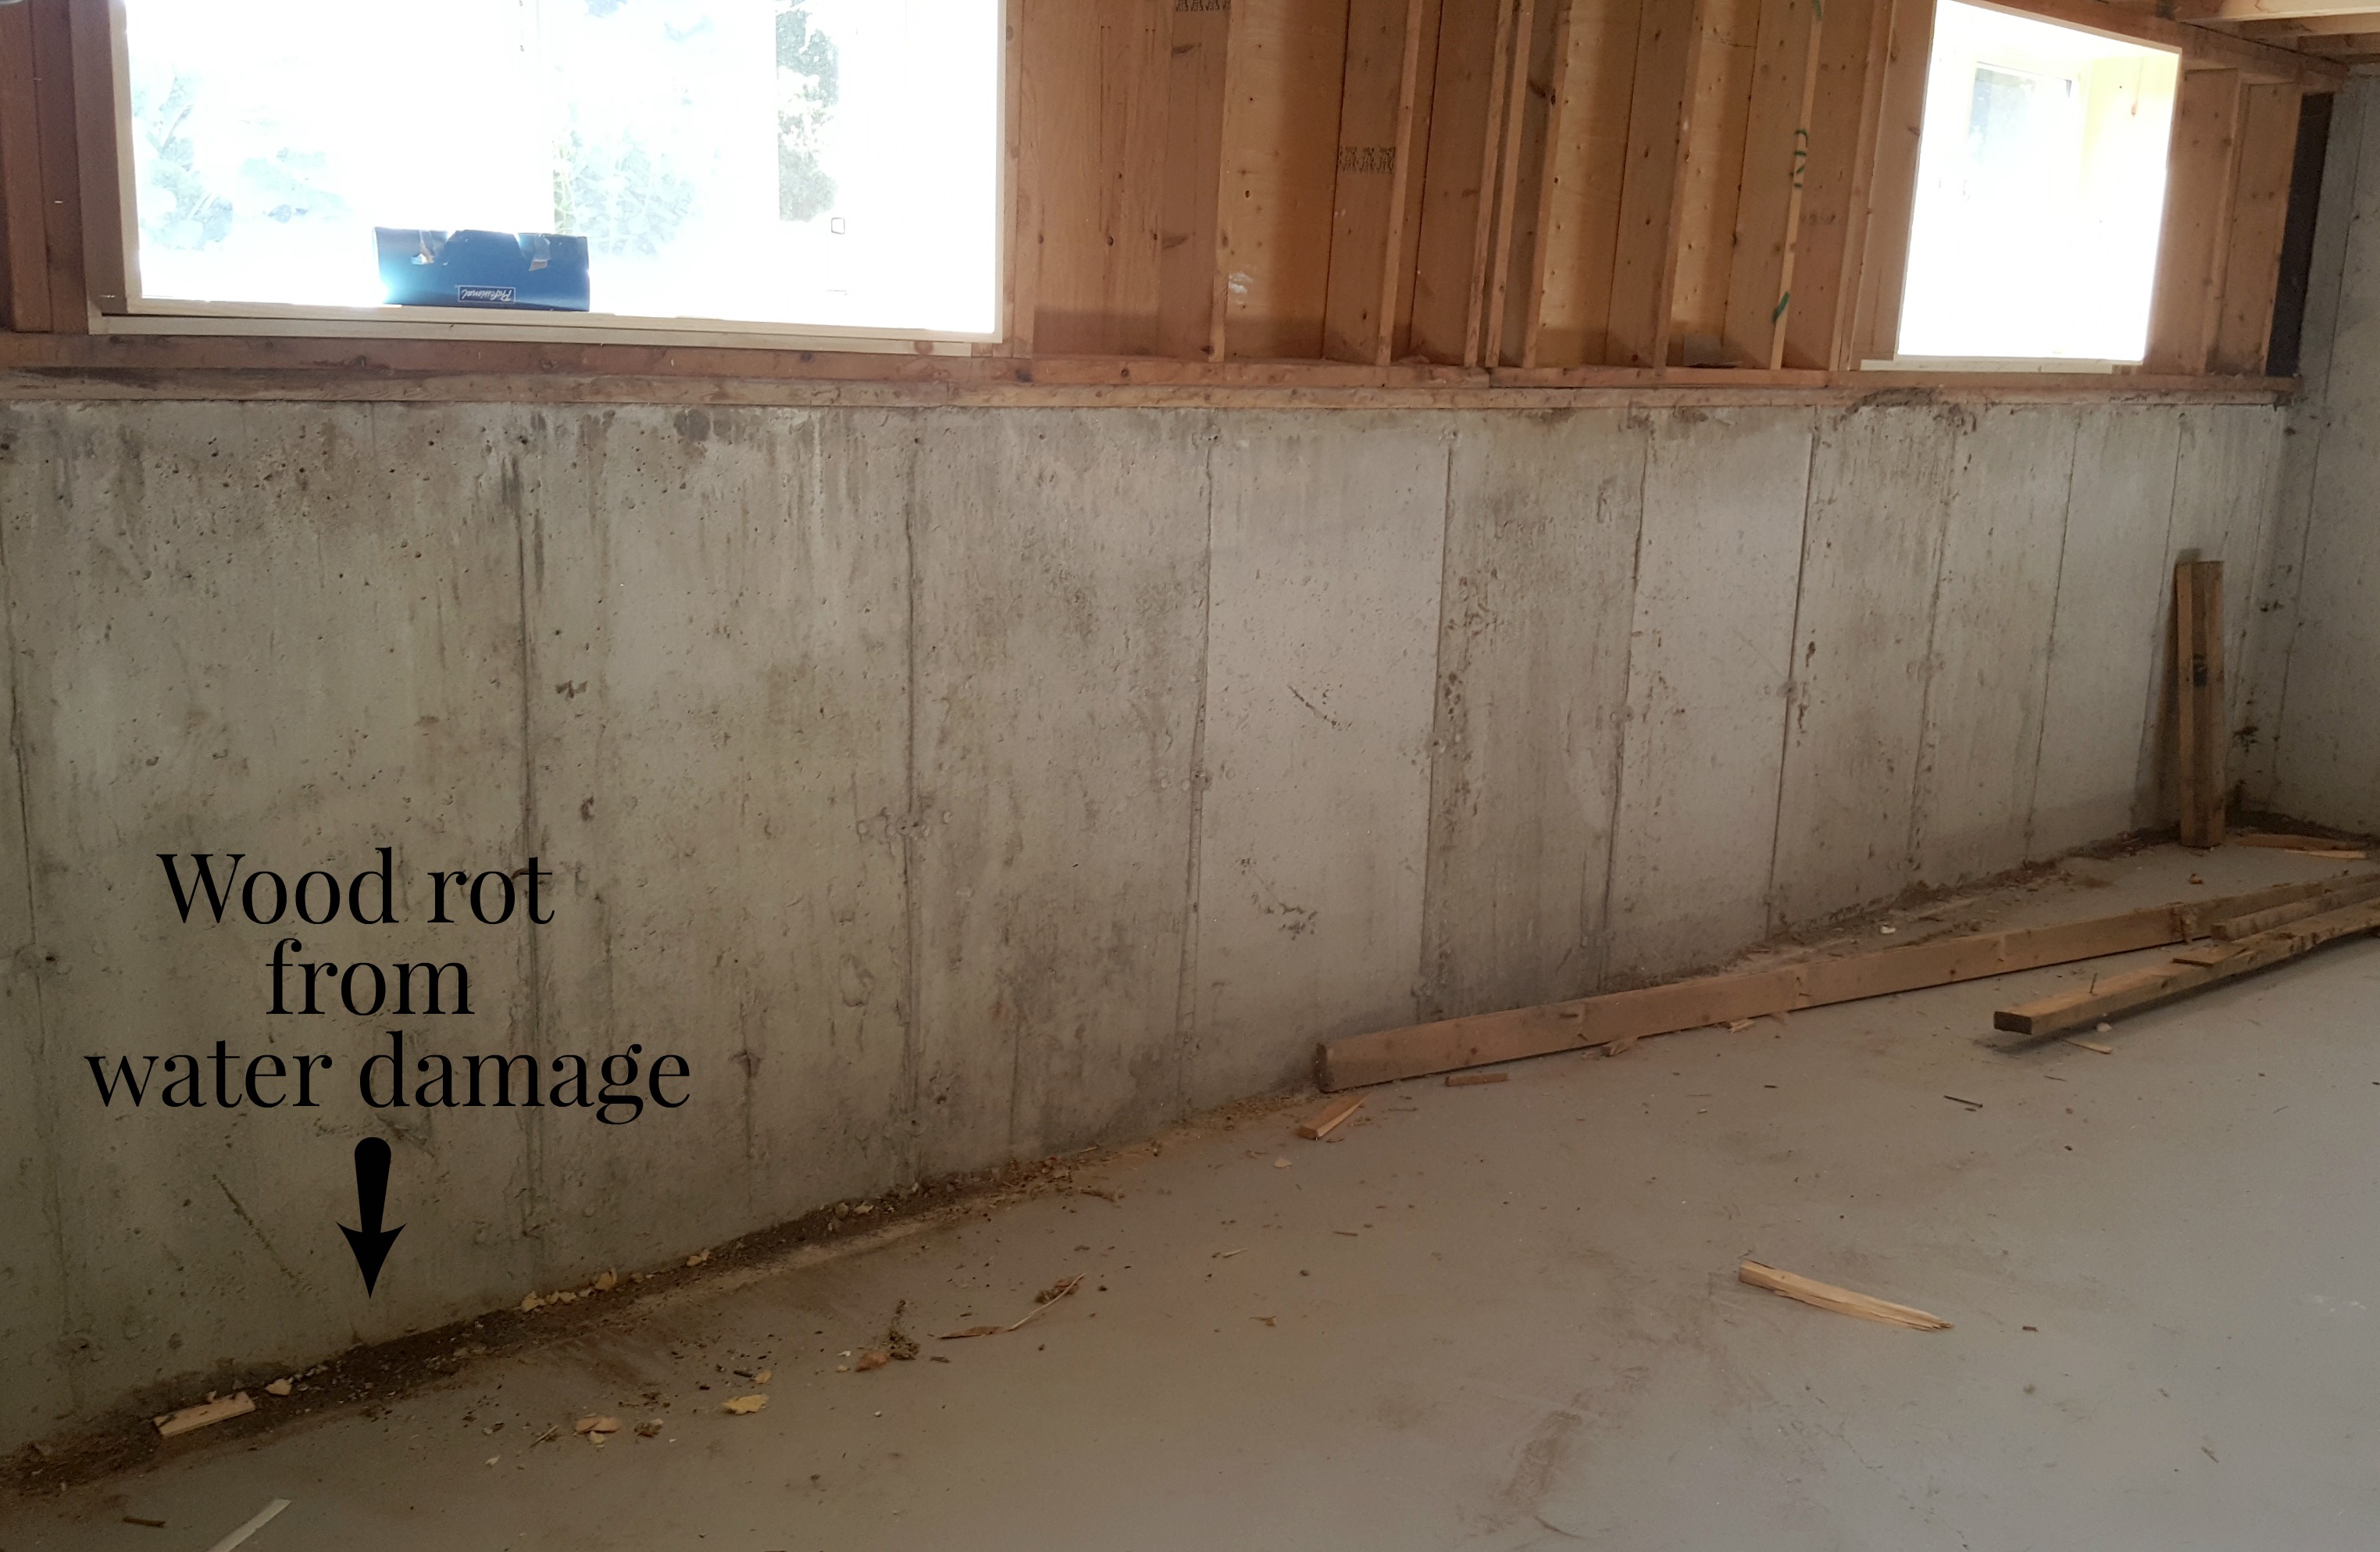
A lot of the drywall and insulation had been damaged by moisture so we tore it all down to start fresh. We also wanted to install additional electrical boxes, so it had to come down to run the wiring anyway. Once it was gone and the old insulation removed, Tom decided he would rather have spray foam insulation go back in instead of the usual pink fiberglass type.
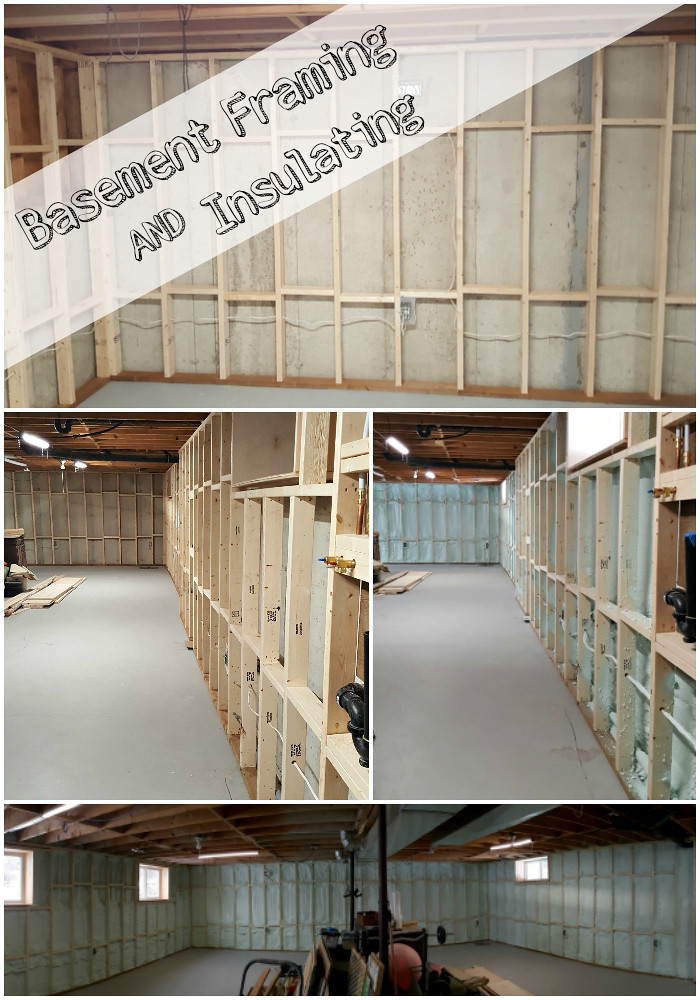
We gathered a few quotes, and the one thing we were told by all of the installers was that the framing was too close to the wall for foam. Normally your framing is right up against the wall, the pink insulation is installed, and a vapour barrier goes up to keep out moisture. With spray foam insulation there is no separate vapour barrier - it acts as the barrier. If your framing is against the concrete, moisture will find its way through the wood and into your drywall. No good. Instead, there is a gap between the wall and the framing that is filled by the foam.
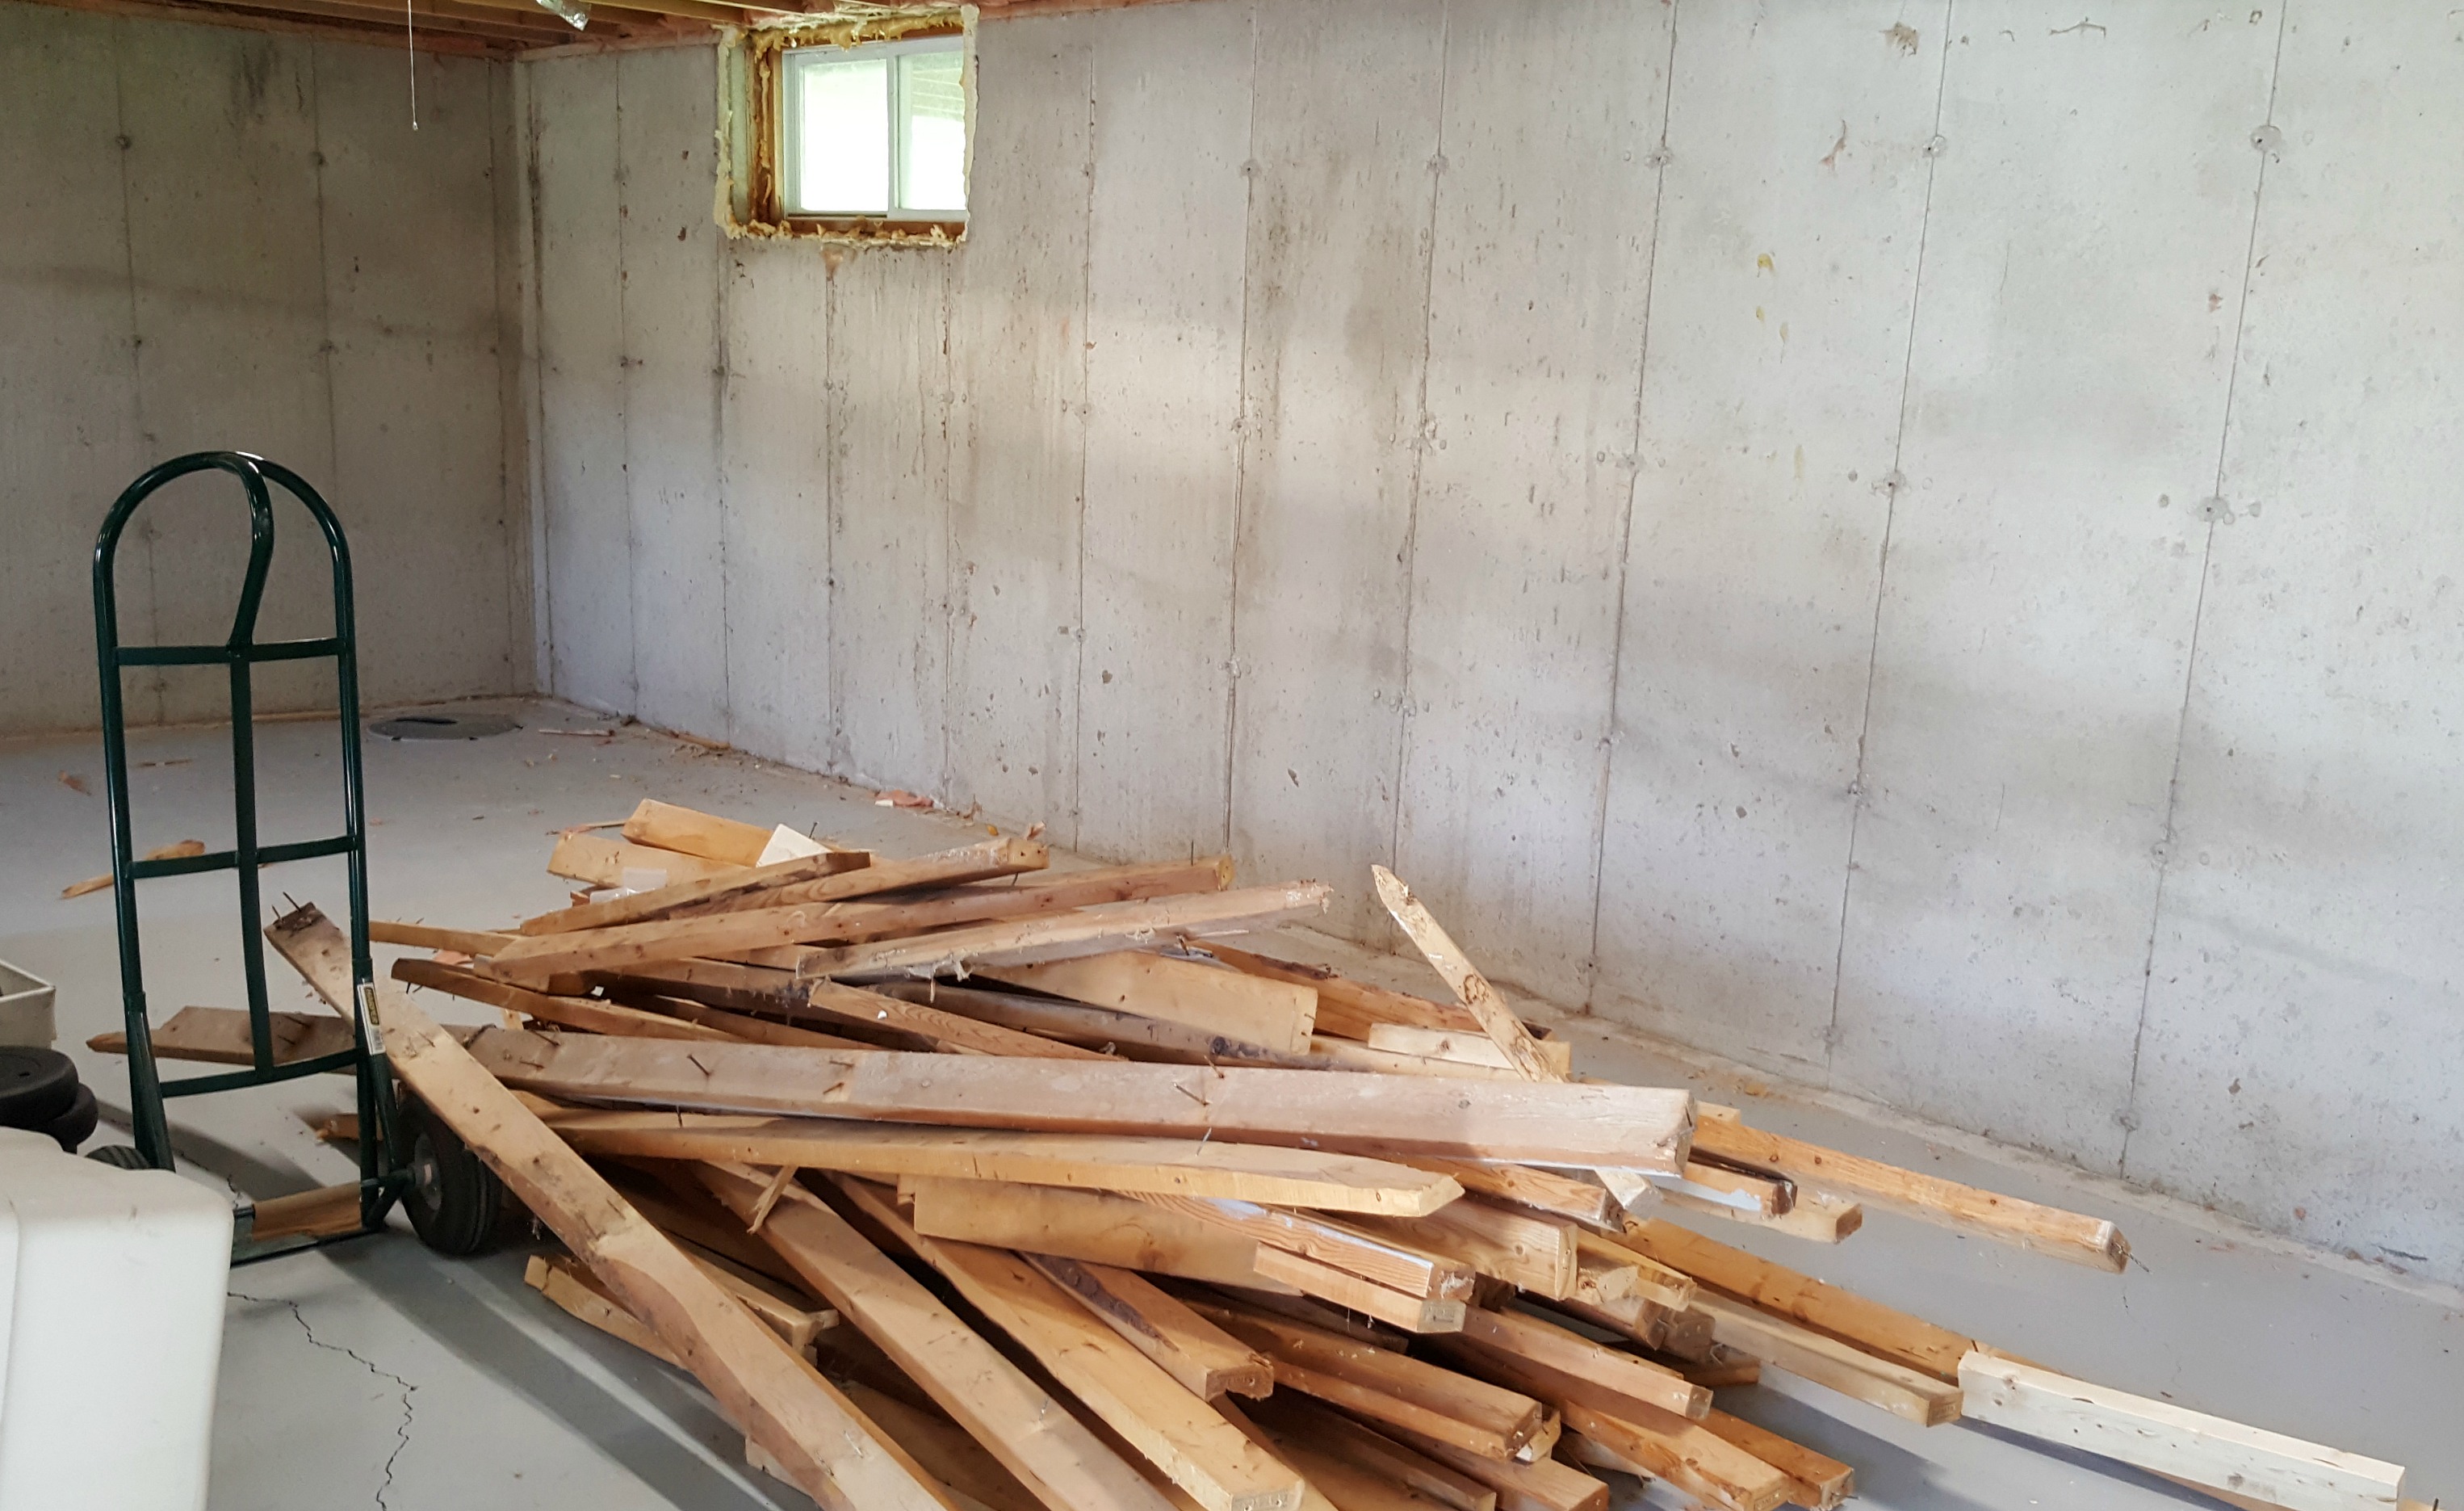
So before we could have the insulation installed, the framing had to come out and new framing had to go up. You know on the renovation shows when they say, "It's demo day! Yay!"? Demo is only fun for a hot minute - then it gets noisy, and dirty, you have a headache, and you still have to lug all of the boards and whatnot up out of the house. But we got it done in a day and moved on to the reinstall.
Okay, that's a bit of a lie since we took a break from that job to install two new basement windows at the front of the house and box in the two at the back. Part of our moisture problem was caused by the large gaps around the front window frames, so large that you could see daylight through them.
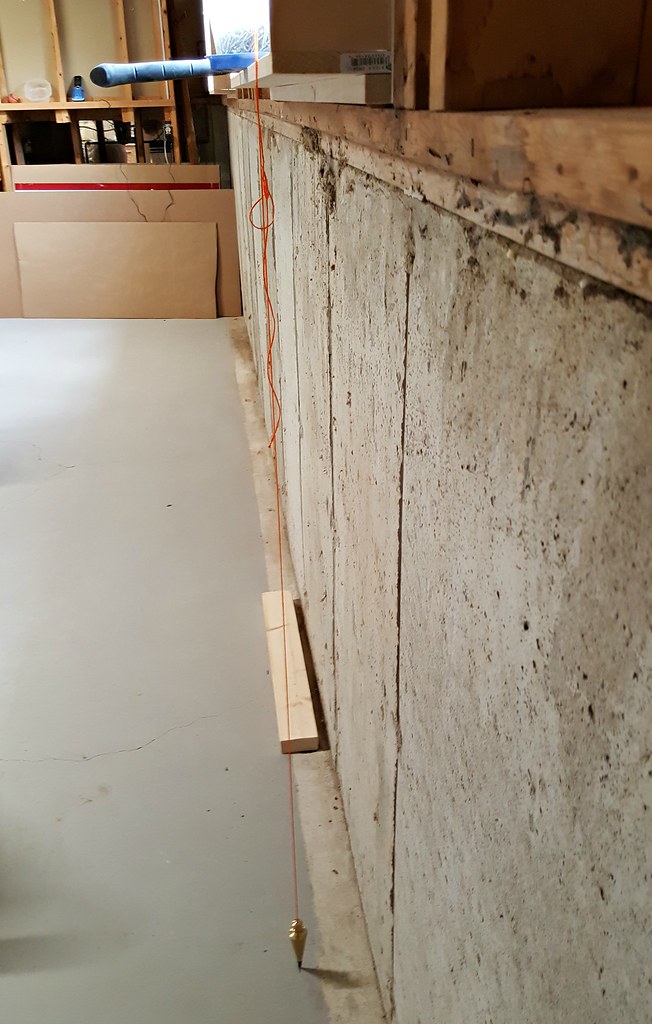
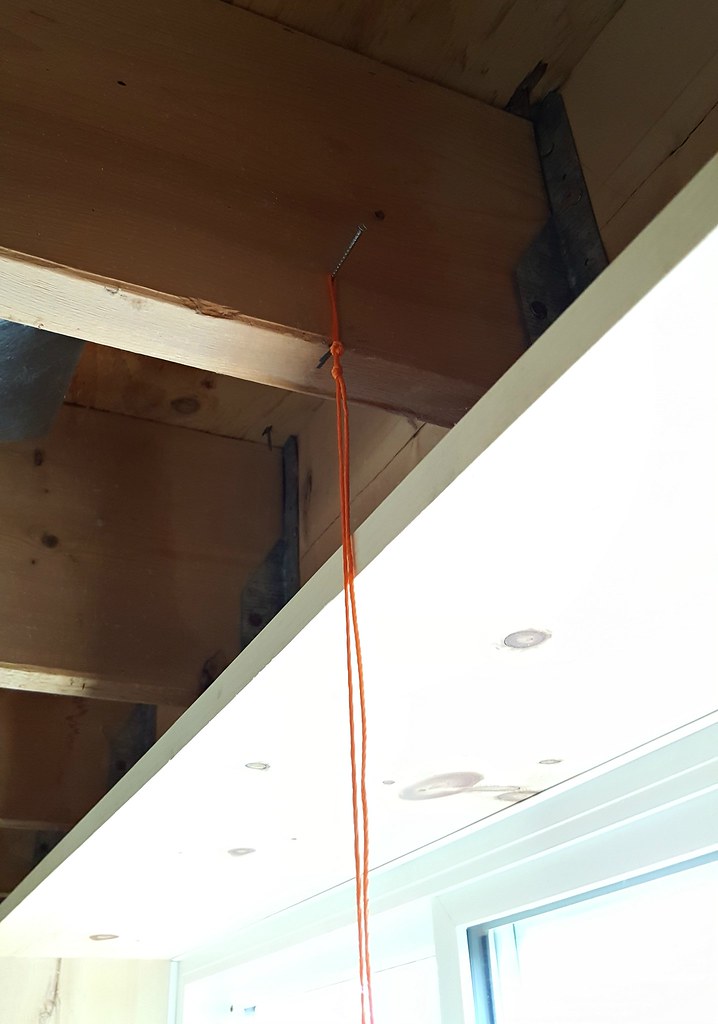
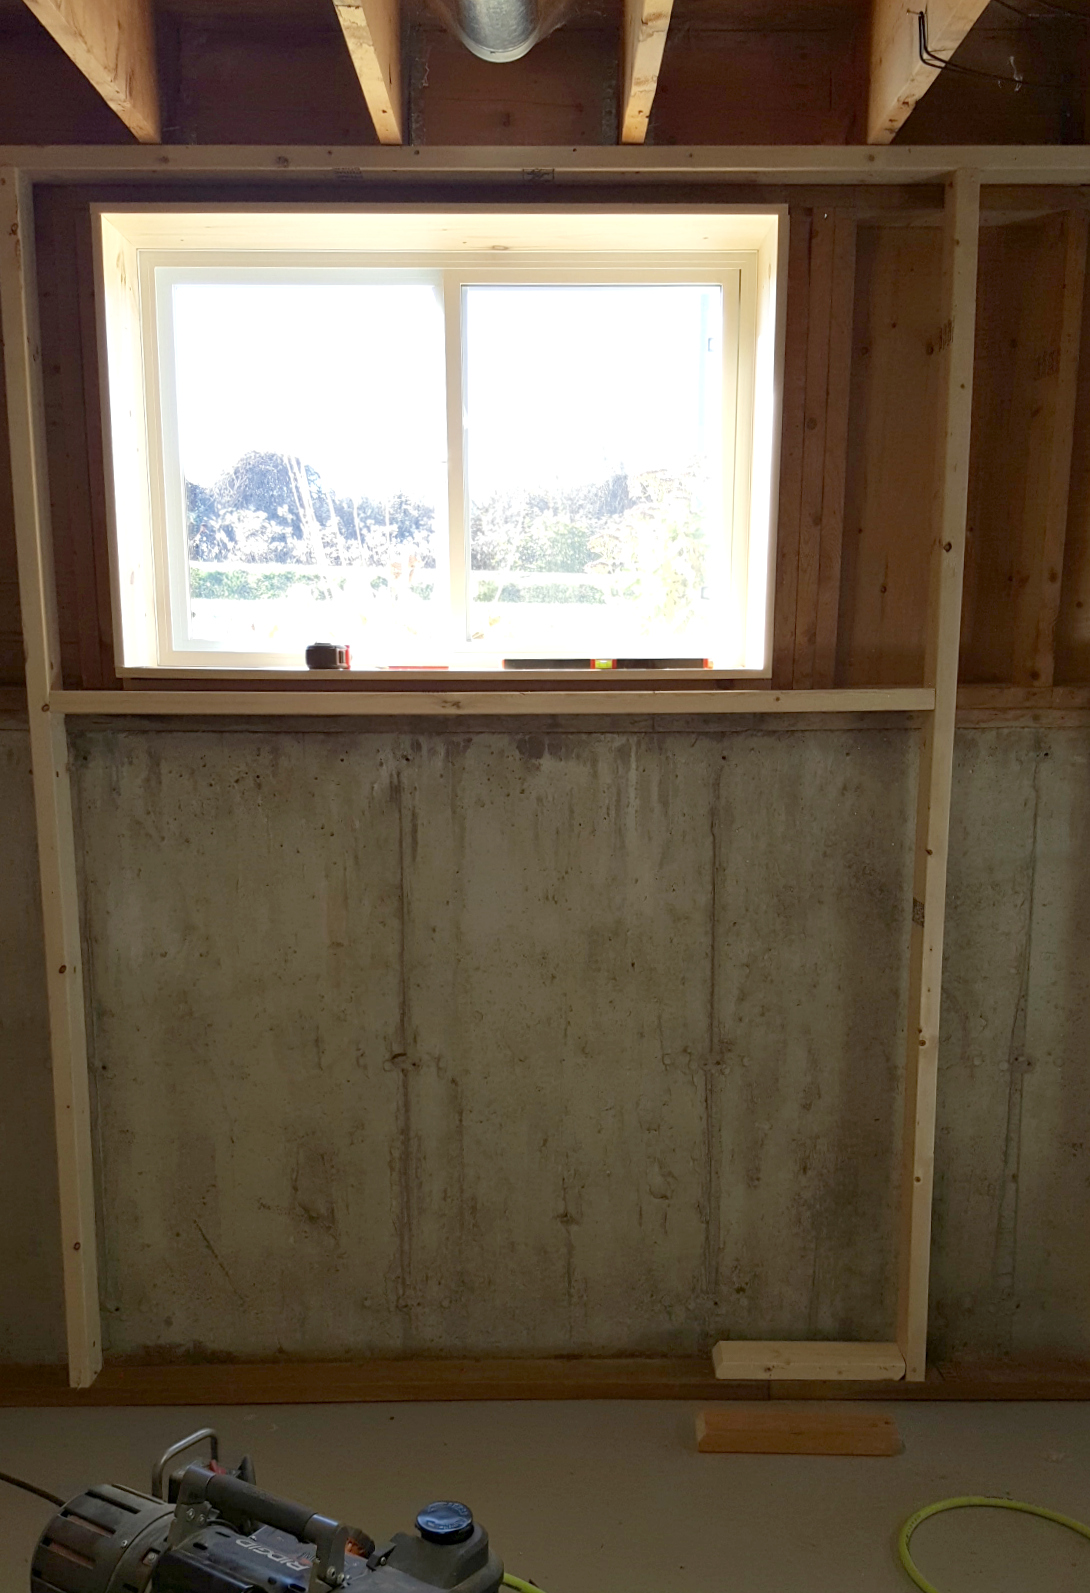
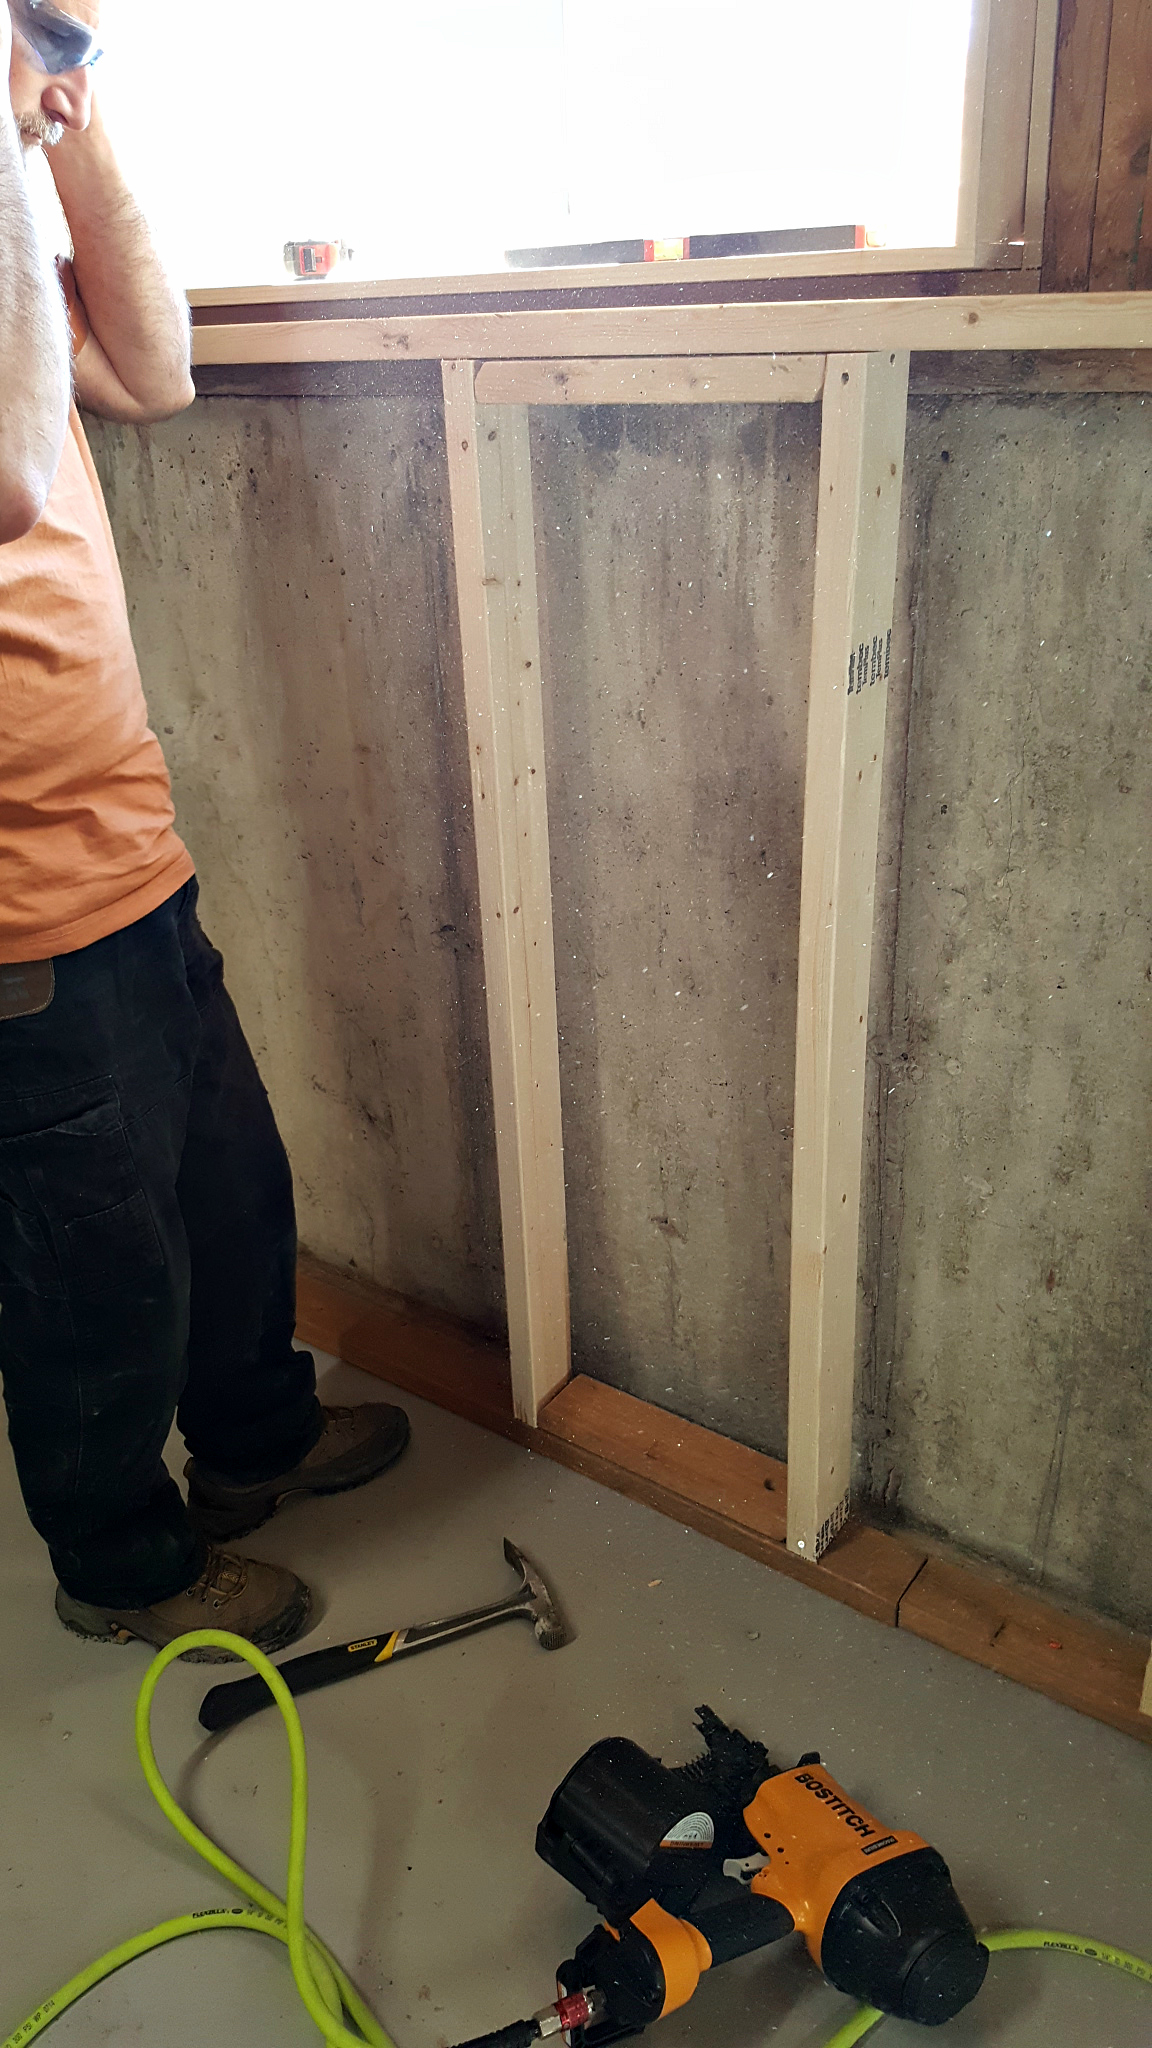
One of the benefits of replacing the windows and boxing them in was that we now knew where the framing and drywall would go. We dropped a plumb line past the front of the window "box" down to the floor and marked it. That's where the sole plate would sit. We also marked the spot on the joist for the ceiling plate. We did this in a few more places along the wall and then used a chalk line to draw a straight line between the marks.
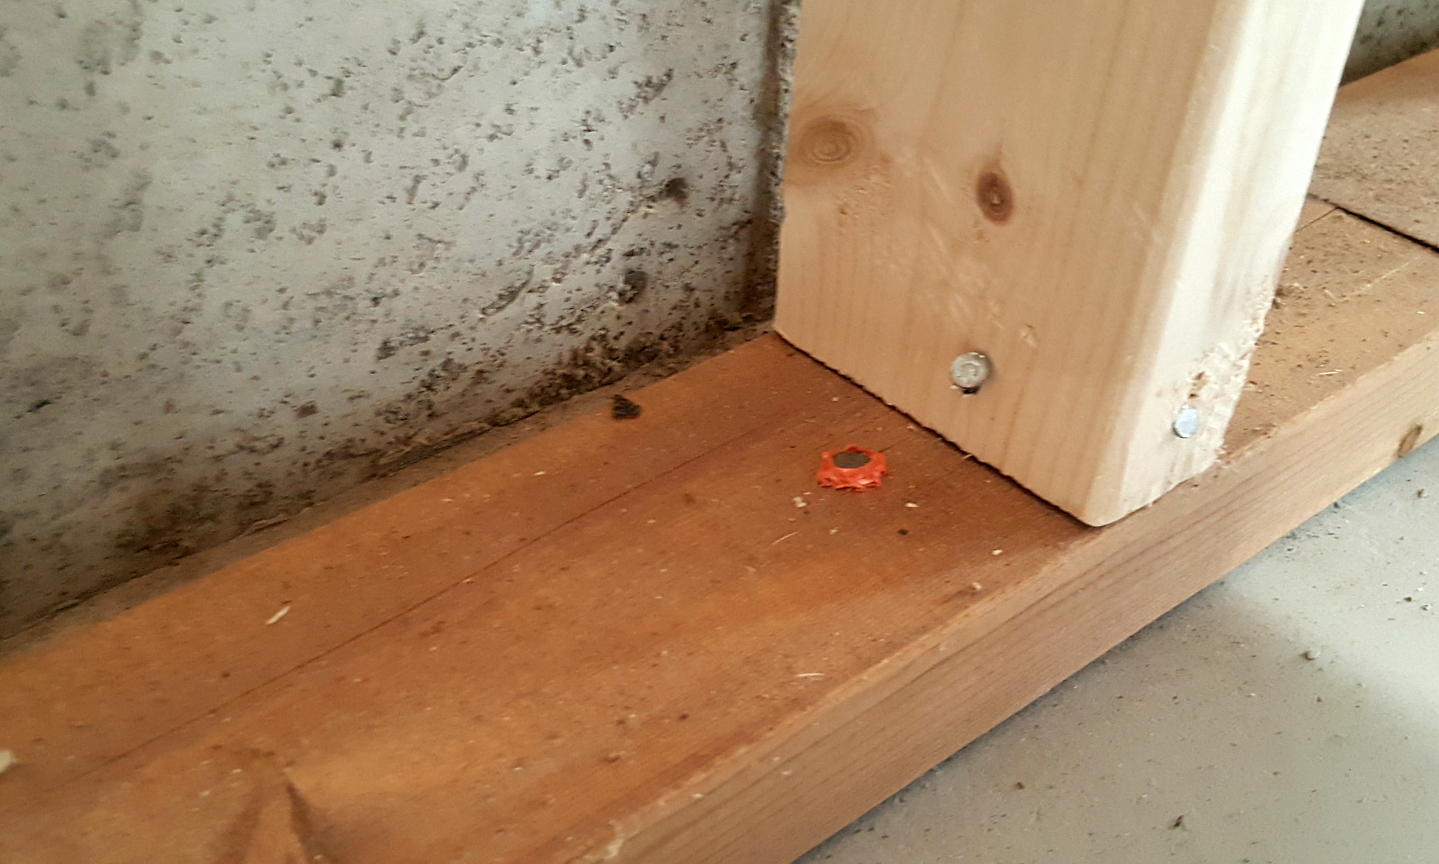
The sole plates were installed using a Ramset air tool. The nail, called a pin, is used with a cartridge and fires into the wood and the concrete like a .22 caliber bullet. One of our dogs is now terrified if anyone even heads towards the basement because of the noises from the compressor/ramset/air nailer. The poor thing is traumatized. We've started taking her down there for cookie breaks to try and help her get over it but it's slow going.
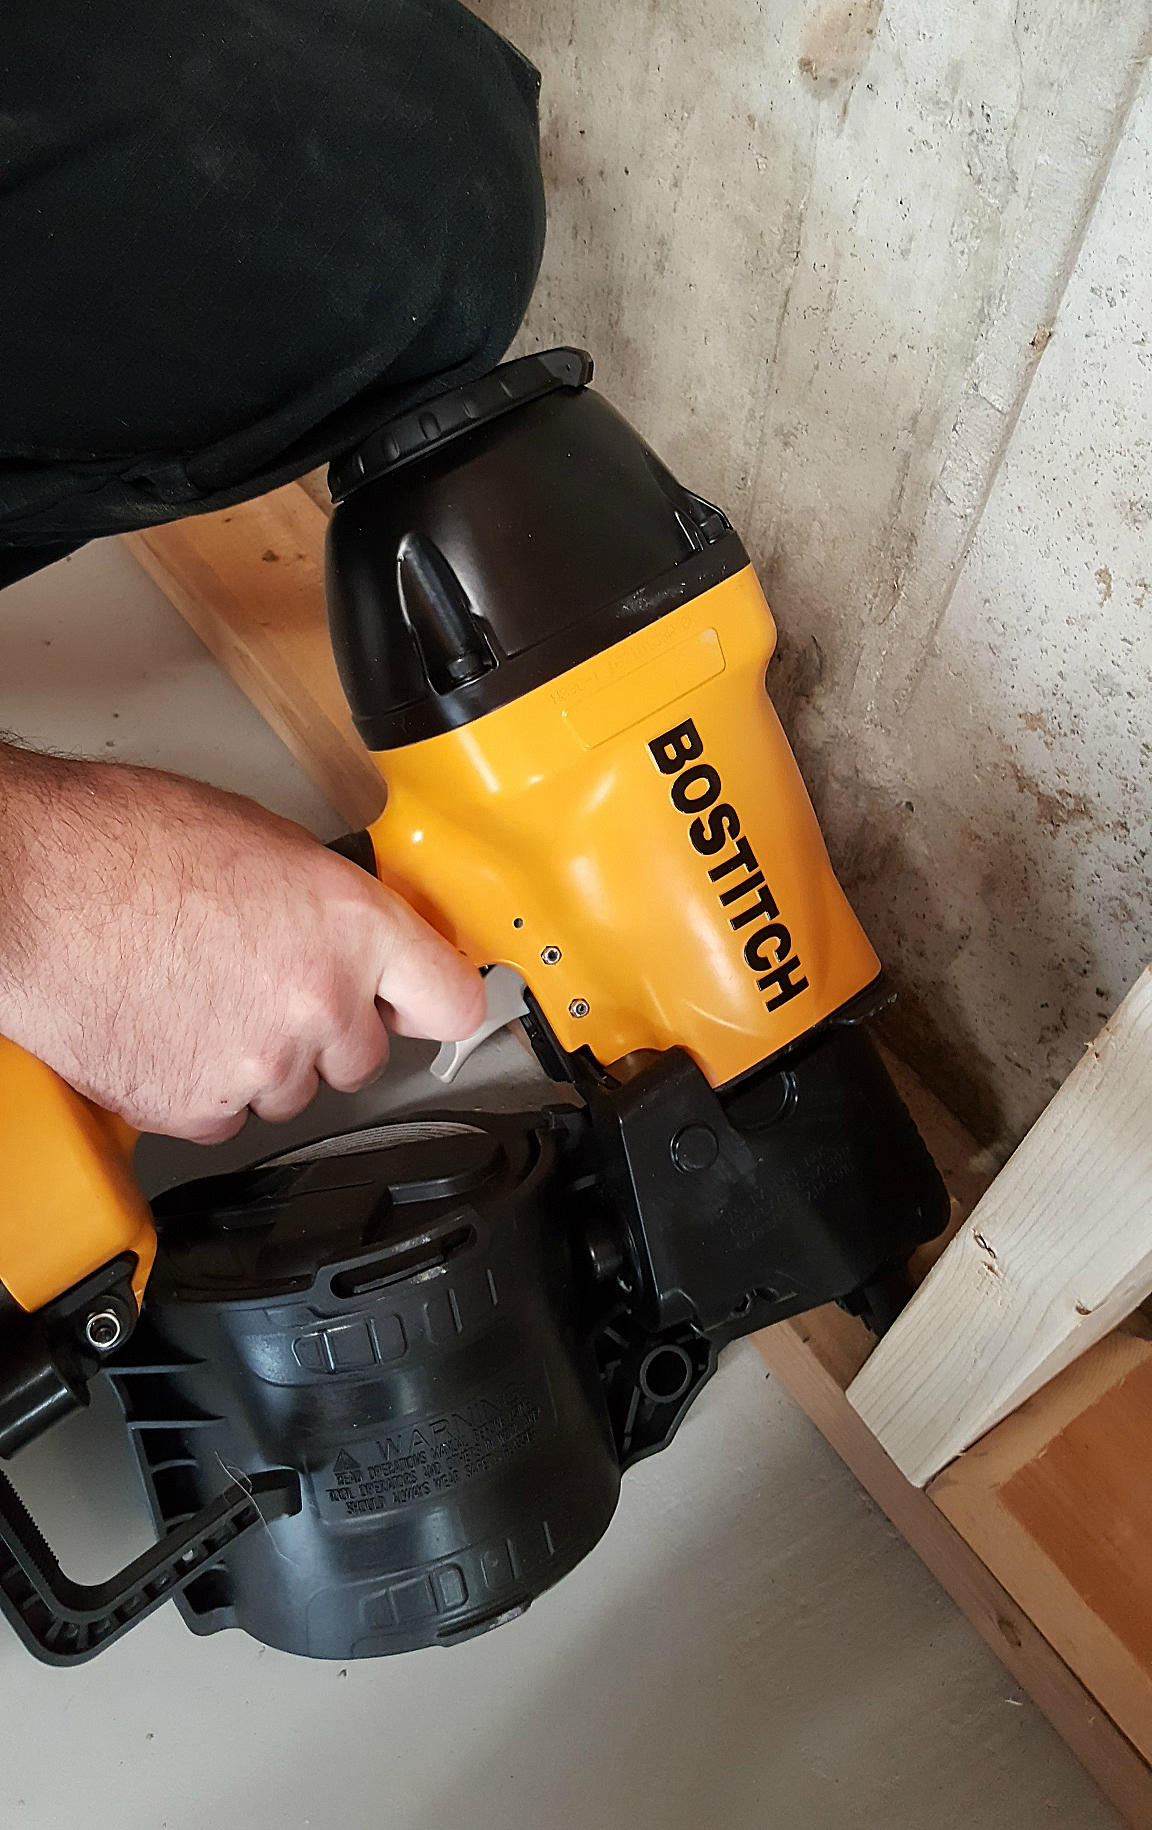
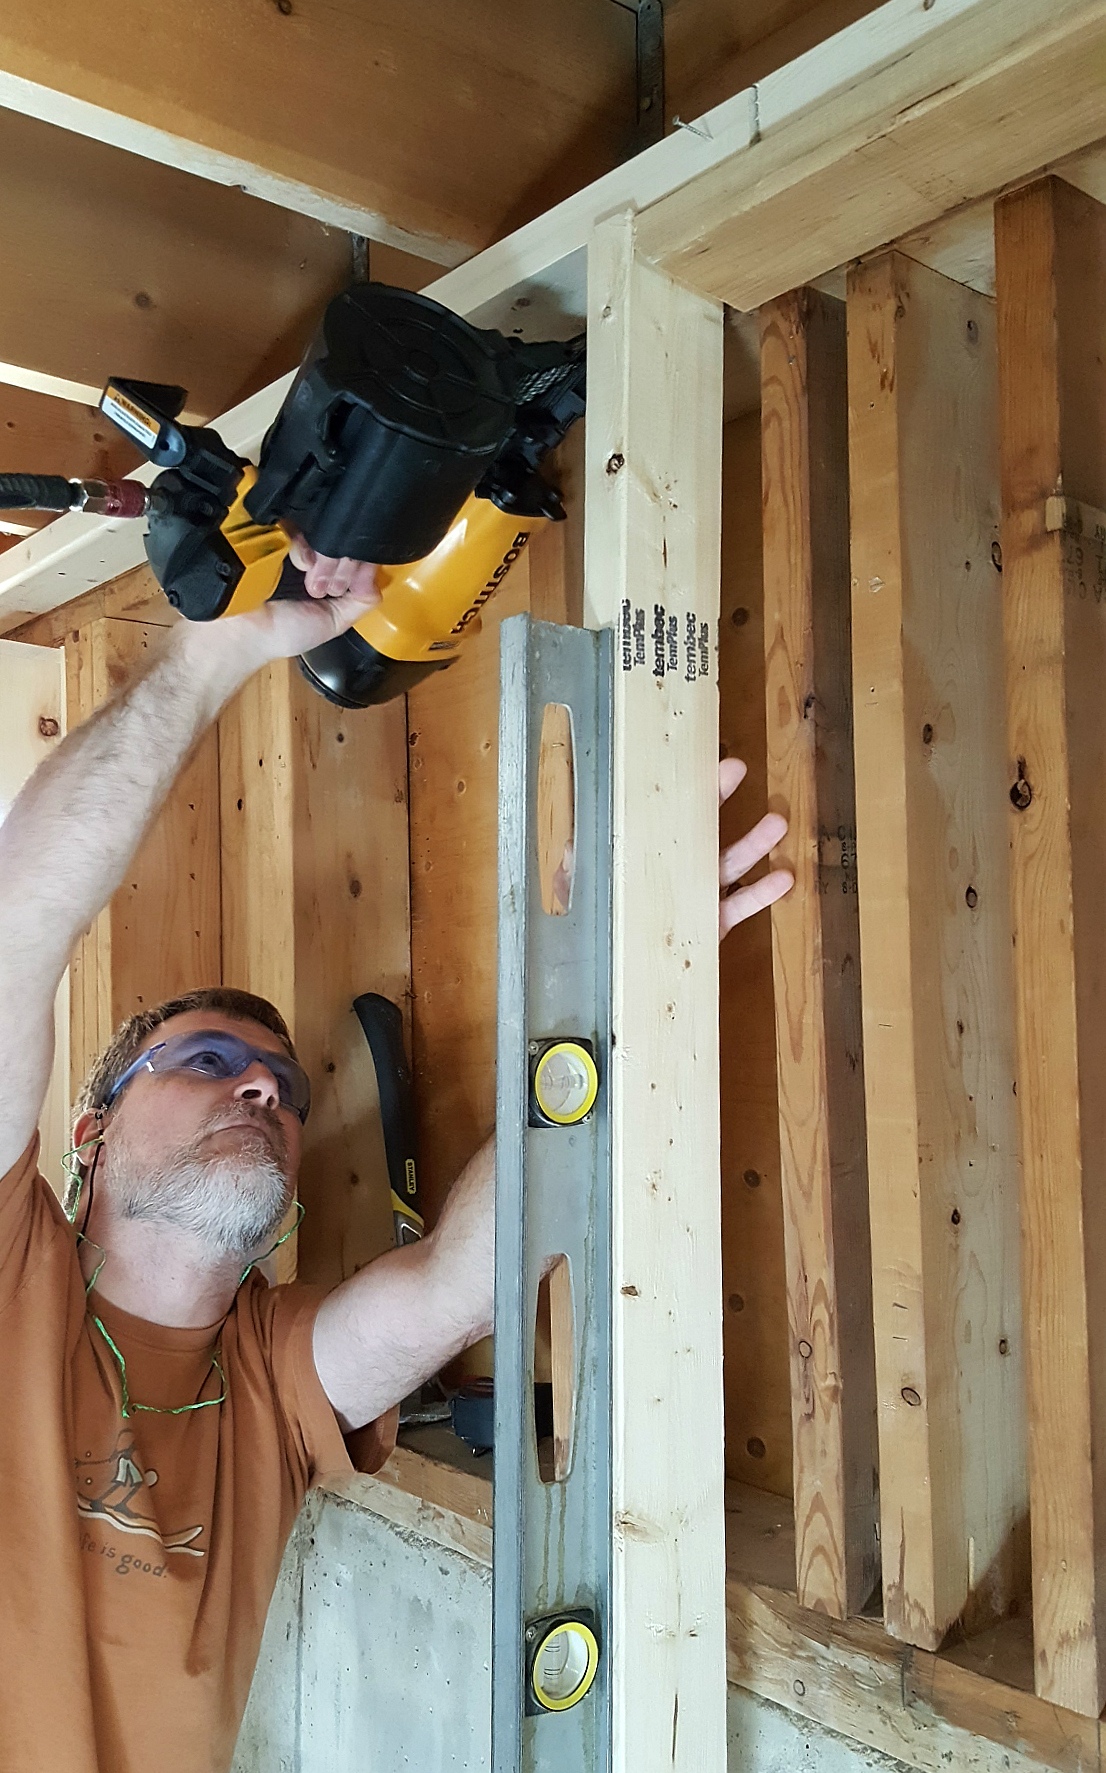
The ceiling plate and the studs are attached using an air nailer. The one we use is by Bostitch. To attach the studs a nail is driven diagonally (toenailed) through the stud and into the sole plate, one on each side and one at the front.
Three nails go into the top as well. The bottom of the stud is flush with the front of the sole plate, but since you want it to be plumb top to bottom you need to line it up with a level before nailing it in at the top. This leveling means that it might not necessarily be flush with the ceiling plate.
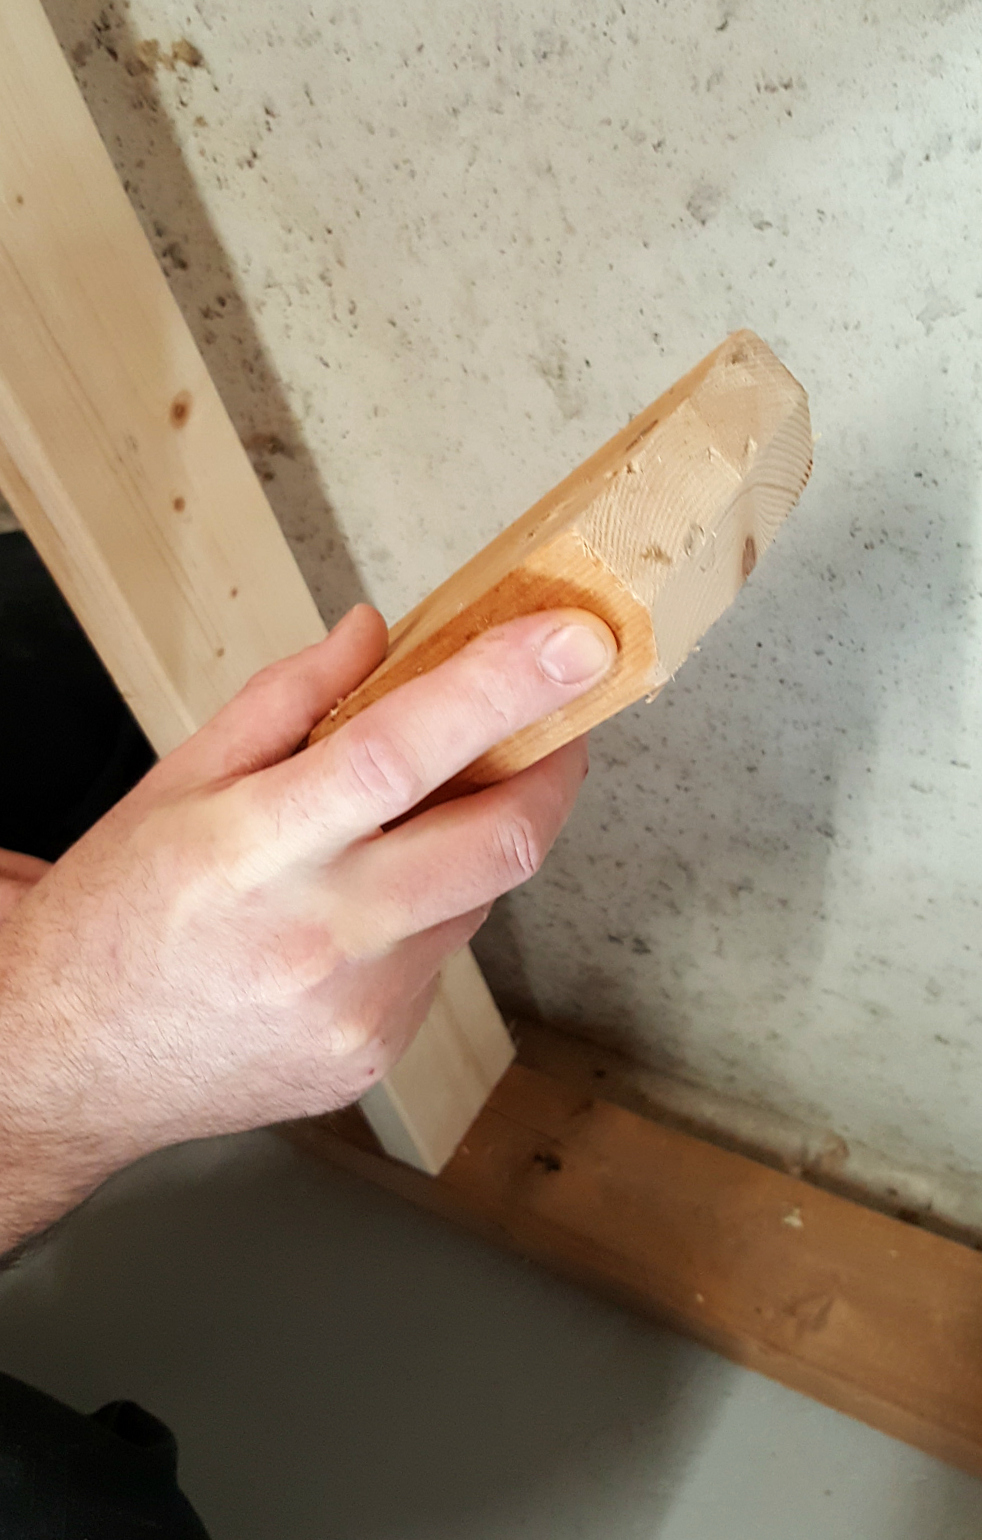
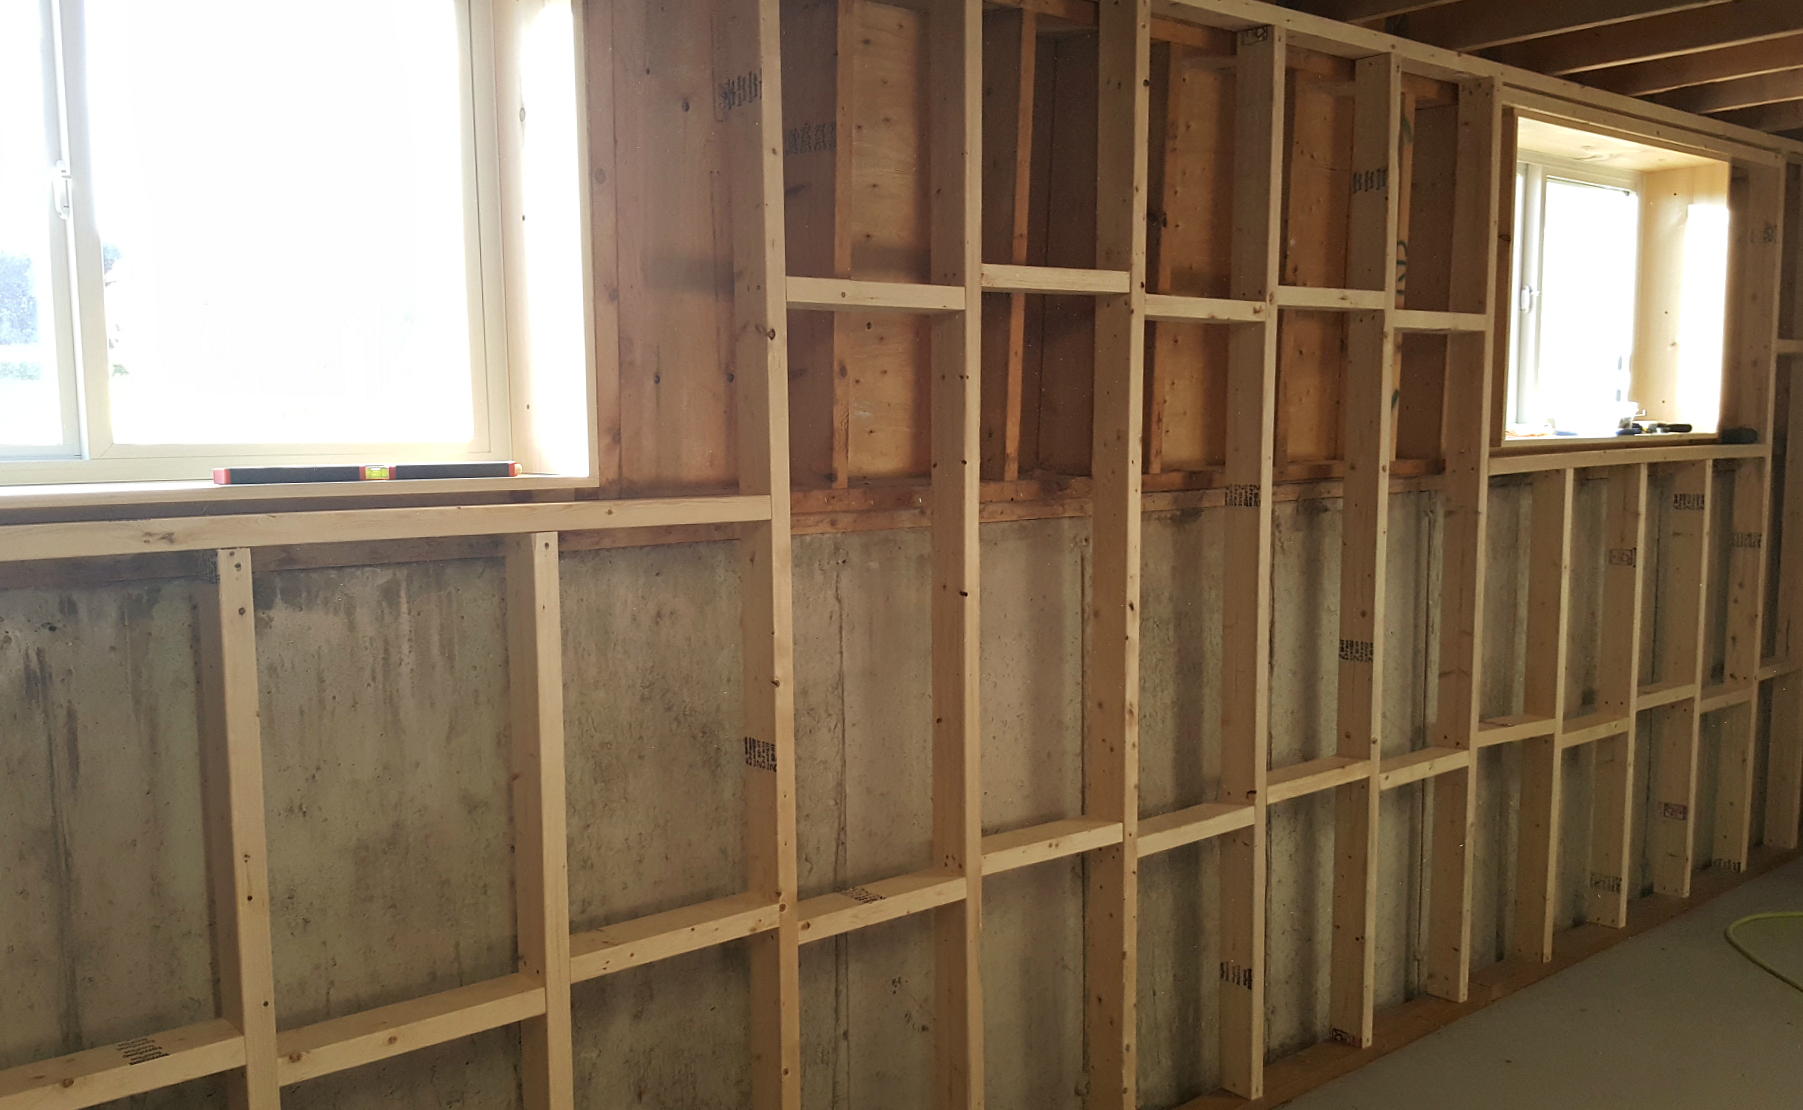
The studs are spaced 16" on center, i.e. from the center of one stud to the center of the next. The easiest way to maintain this spacing is to make a spacer jig from a spare piece of 2x4. If a stud is 1.5" thick (and it usually is), the jig will be 14.5" long (16 inches minus 1.5 inches). Here's a tip: to make it even easier to slide the spacer in and out of the space, cut off one of the edges on each end (opposite sides) at a 45 degree angle. This will also ensure it lays flat against the plate, in the off-chance that one of the angled nails didn't go all the way in.
When framing around the windows, the stud on the far side needs to be installed before the ones in the middle. Measure across from the nearest stud in 16" increments until past the window and install the full stud. Then a crosspiece is installed horizontally below the window from stud to stud. The studs installed below the windows are still 16" apart (and are called cripples - dropping some knowledge on ya!)
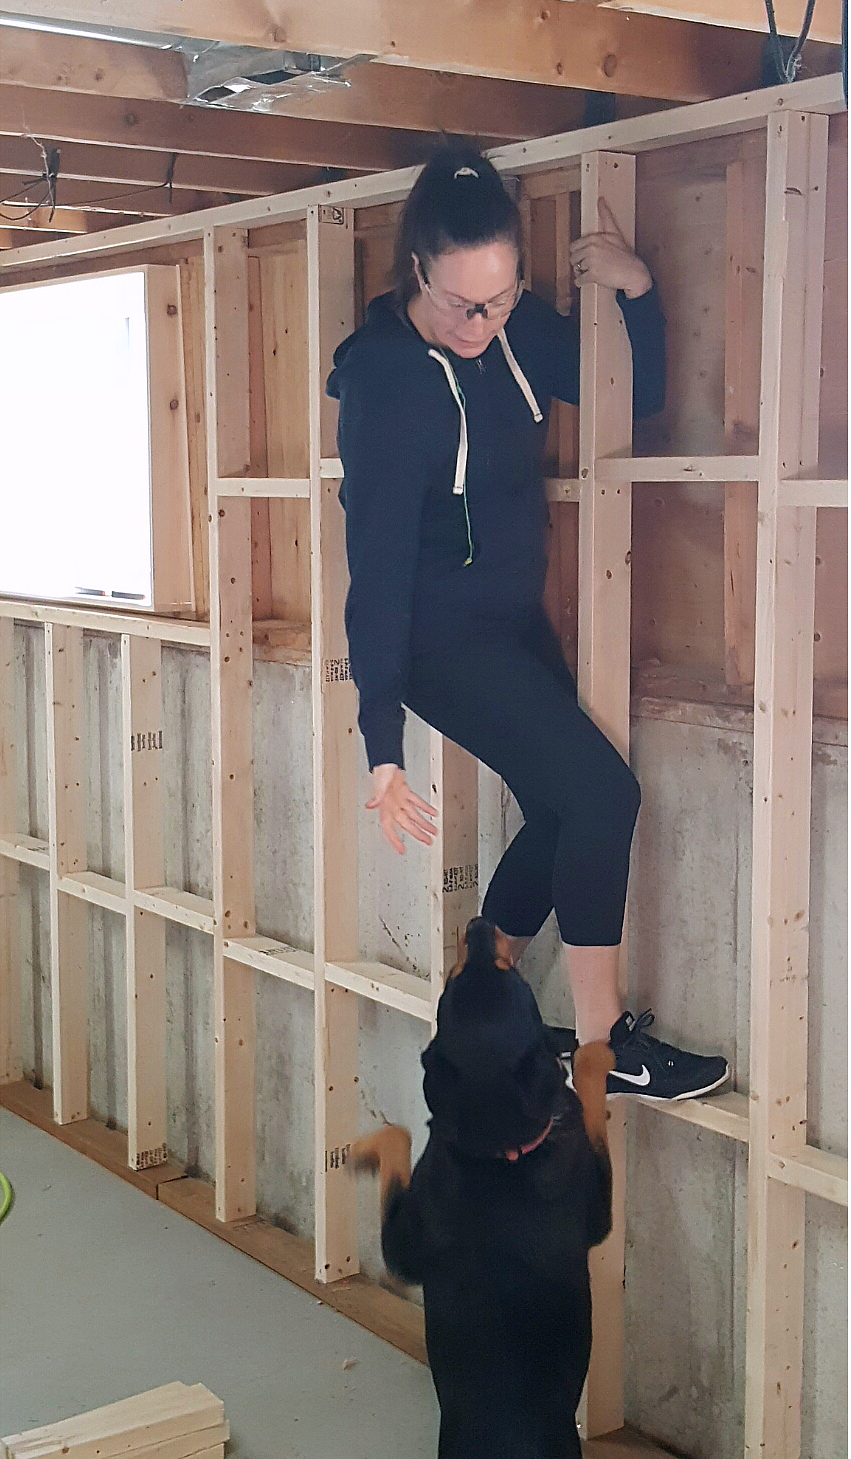
Between the studs we added blocks for stability. These blocks are just pieces of 2x4 cut to length (14.5 inches again). We put blocking at the top and bottom of the wall, about a third of the way from the ceiling and floor. They can be staggered or run straight across - staggering them just makes them easier to install as you can nail straight through from the opposite side instead of toenailing at an angle. You can climb on our framing, it's so strong now. I know because I did.😛
This reinforcement blocking can also act as a fire block, i.e. it breaks up the air space between studs so that should a fire break out, the flames won't shoot up the wall like in a chimney to the next floor. Our framing is not tight against the wall so the reinforcing blocks aren't fire blocks, but the foam insulation does act as a block. (Although insulation itself is still flammable, of course.)
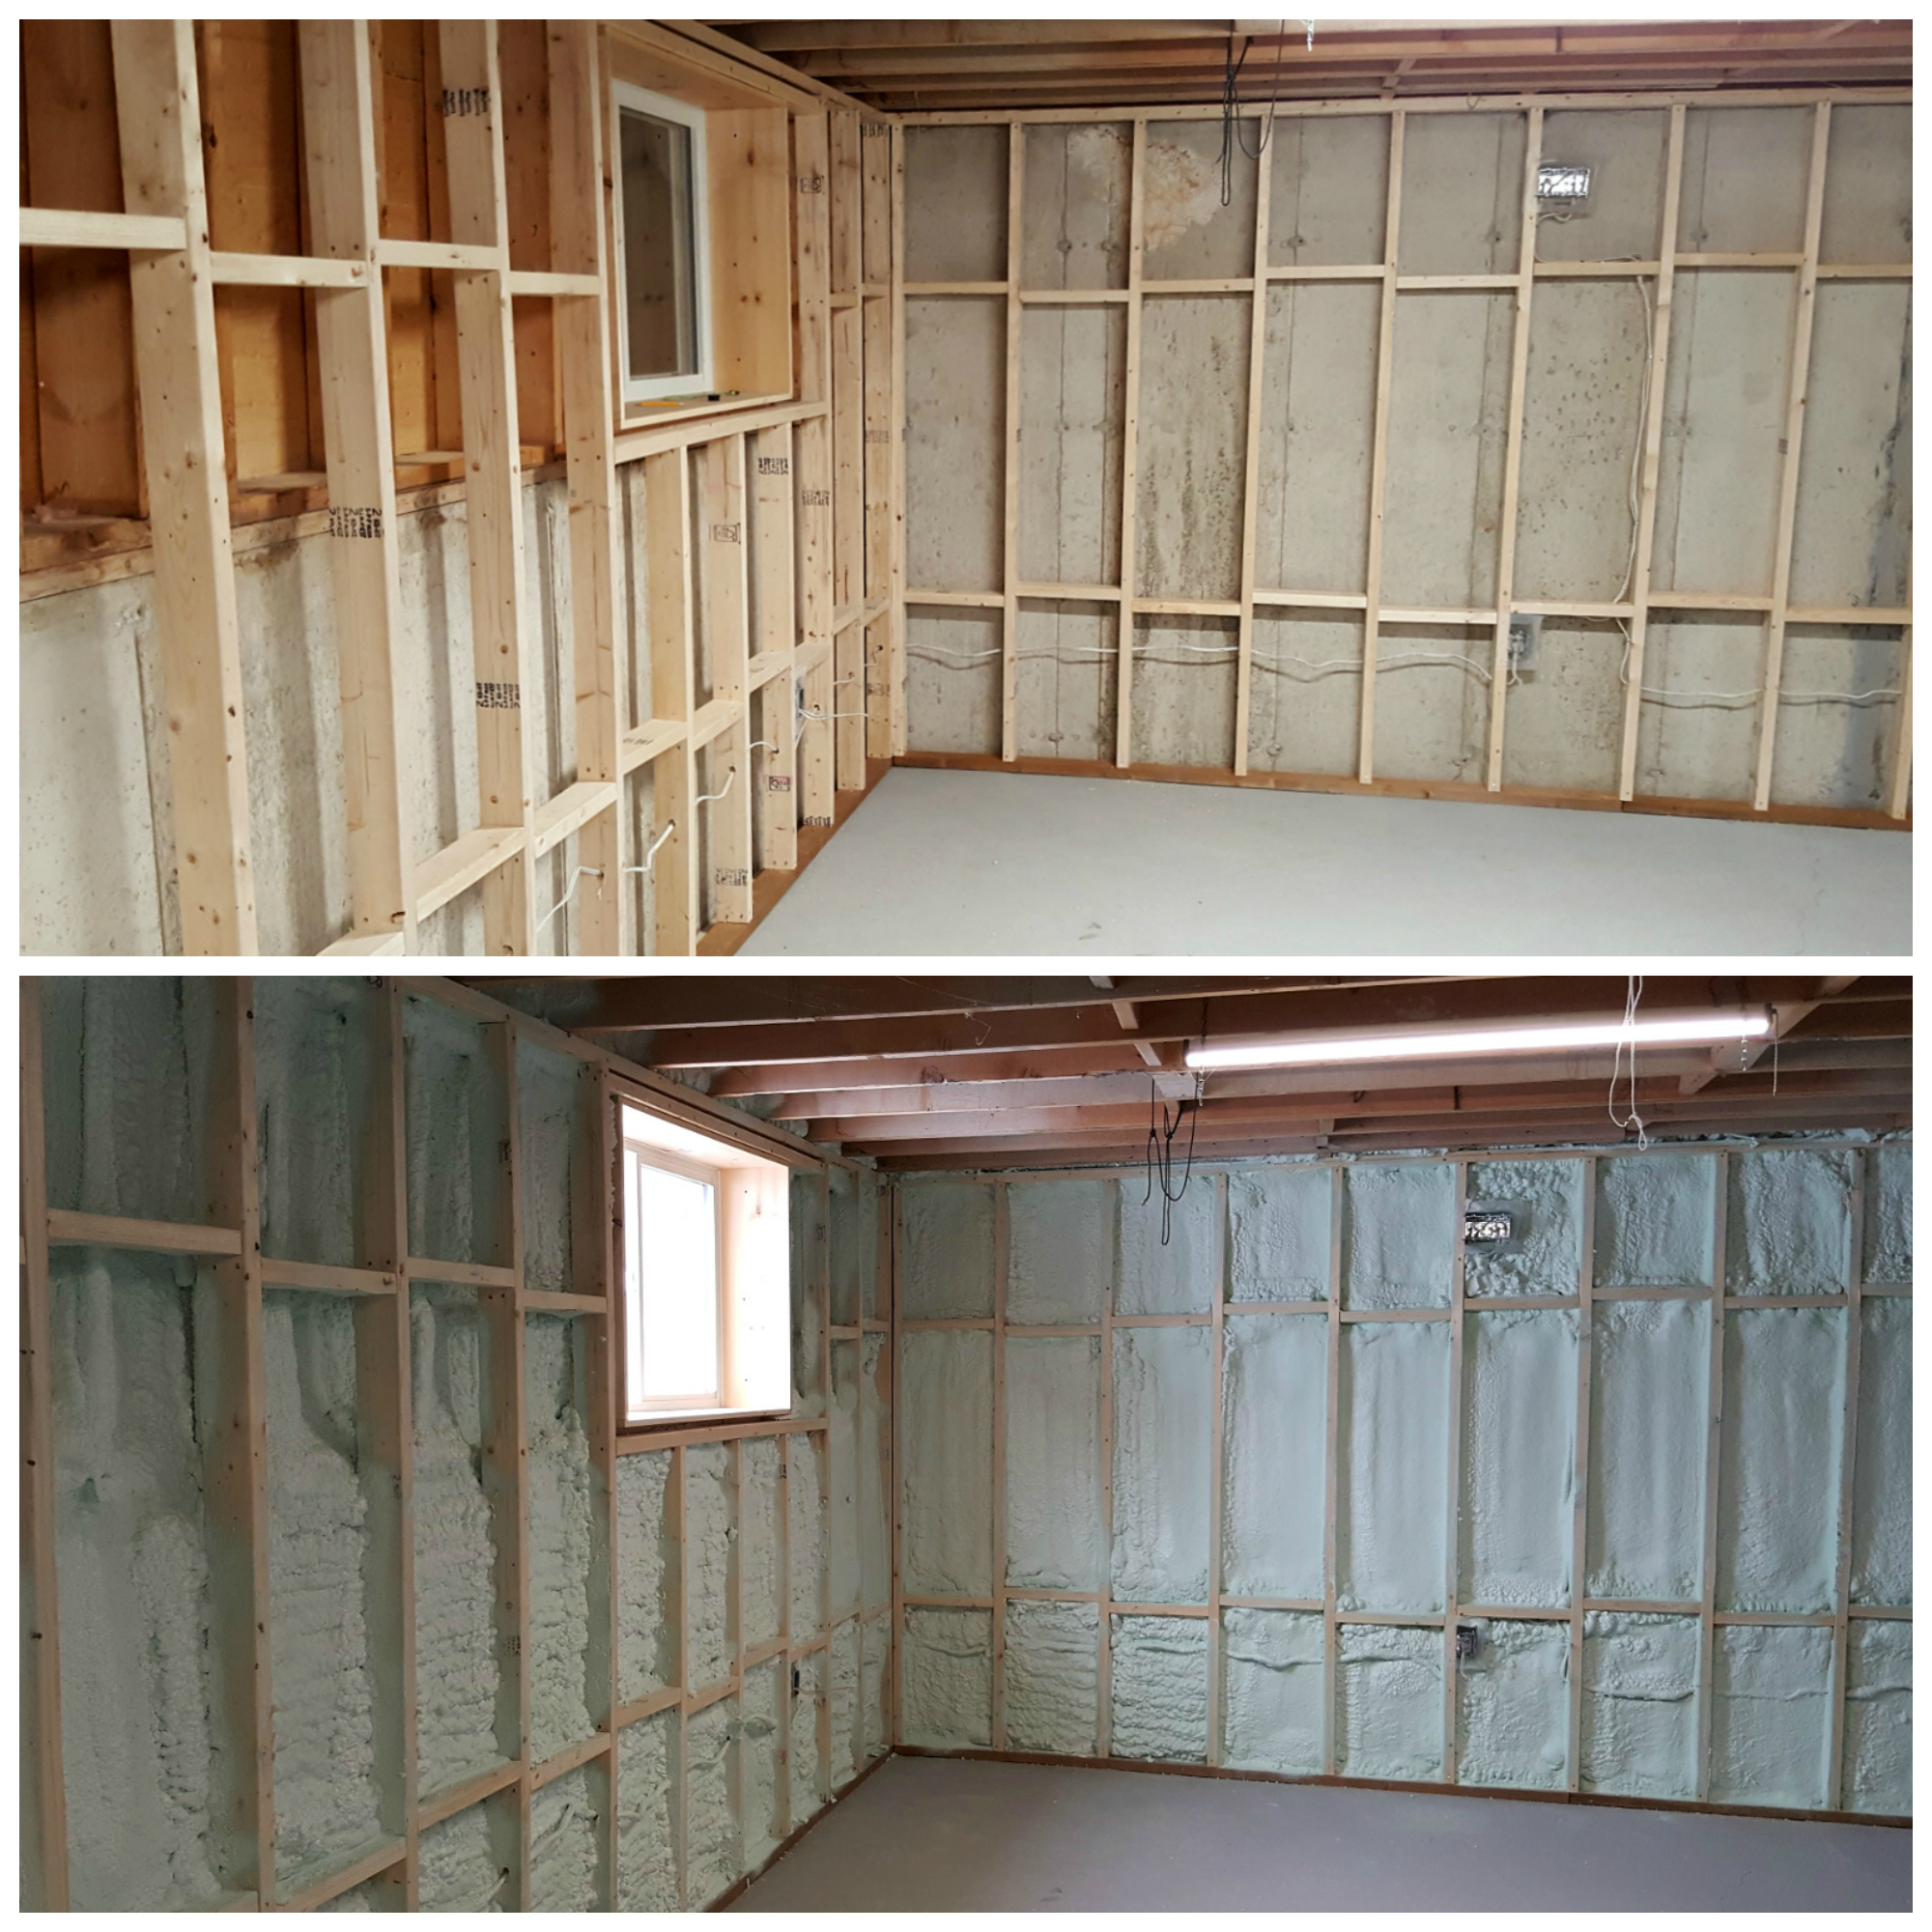
Once all of the framing was in place and the new electrical wiring had been run, it was time for the spray foam insulation. By this time it was winter and it was pretty darn cold in that basement. We took the dogs out of the house for the day (they got to go to work with Tom!), and the basement was sprayed in just a few hours. I went to look at it as soon as I got home and I couldn't believe how much warmer the space was. That soon.
The walls are pretty freaky looking - almost like a horror movie, dripping green everywhere.
Here are some side-by-side before & after shots:
I'm sure people think we're crazy for being so excited for the insulation, but it was a really long time in coming. Next up is to put in the floor and then we can start framing in rooms and hanging drywall. Here's a link to our eventual floorplan. That's how we'll be spending the rest of our winter. How about you?







No comments:
Post a Comment