


One thing the room was lacking was some shelving or other visible storage space. You know, for items you want out of the way, but that you still want to access easily. I did consider building more of the plumbing pipe open shelving that we have in the dining room, but I also felt like I wanted to do something a little different this time. I settled on wall-mounted crates.
Wooden crates are fantastic for storage - whether it be toys, magazines, or vegetables. With handles, they are easy to carry, and they look so much better than cardboard boxes. And they make fun shelves! There are so many styles and so many different ways to display them.
But first I needed to build the crates.We have a huge number of 1x2" boards in our lumber stash. When the roofers installed our metal roof they used them as a framework to lay down the steel sheets, and they gave us all of the extras when they were finished. The wood has been piled up in the basement ever since, just waiting for a project.

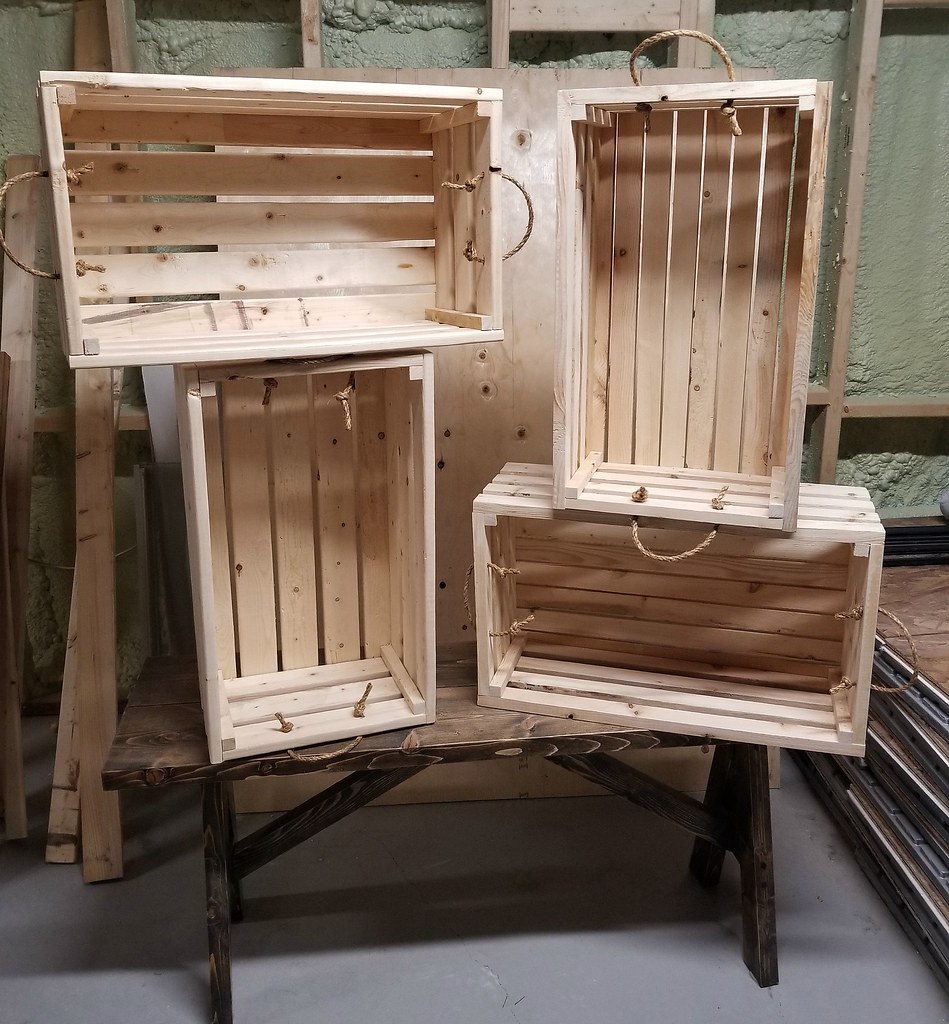
The first step was to cut down the boards. We decided on crates that were 12" x 24" and 4 boards high (about 8.75"). Some crates out there have solid ends but we went with slats all the way around.
For one crate you will need:
16 - 1x2x24" boards (8 for the sides, 8 for the bottom)
8 - 1x2x12" boards (for the ends)
4 - 1x1x8.75" boards (for the corner supports)
1.25" staples (or brad nails, or screws)
Sisal rope for handles
Cut down your 1x2s to 24" and 12" as needed. Keep a couple of your end cuts to use as spacers. Cut down a 1x2" board to 8.75" in length and then cut the board in half lengthwise to get two 1x1" pieces. Do this again with another board for the other two corners.

The next thing we did was build a right-angled jig to hold the pieces in place while they were being stapled together. If you remember the bench I built from scrap wood last year, it made the perfect surface to build on. The bench was just a fun project to see what I could do and it was made from old framing 2x4s, so I wasn't worried about ruining it. The jig was made of two scrap boards nailed into the top of the bench at right angles to each other. Using the jig ensures that your crate sides stay square and true.

The pieces are laid out against the jig as follows:
Place the first 24" board flat against the bottom of the jig and tight into the corner. The distance between slats is the thickness of a 1x2" board, so when putting the second board down, sandwich a spare slat or an end cut flipped up on its long edge between them, to keep the correct spacing. Repeat with the next two boards. Don't push the spacers tight against the end as you need to leave room for the end slats and corner support.
Place one of the end cuts up on its long edge as a spacer at the end, tight to the jig side, on top of the slats. Lay a corner support against this end cut, again on top of the slats, and staple it downwards into the side slats.


Once the four slats are attached to the corner support, turn it all around and repeat the process on the other end to attach the second support. Then repeat from the start to build the other long side.
To attach the ends (this will be easier with an assistant):
Staple the lowest end slat into place at a right angle to the sides, keeping it lined up with the lowest side slat. You will staple from the side slat through the end of the end slat. The corner supports will act as a guide to where the end slat should sit. Make sure to also staple the end slats to the corner supports. Repeat this process with the first end slat for the other side so that you form a box. Now work back and forth adding the slats, keeping them lined up with the side slats.


You now have a crate!
To make it more authentic, you might want to add rope handles. Stand the crate up on one end and determine how far apart you want the holes for the handle to be. To keep this spacing uniform on both ends - and on all crates if there is more than one - make a template for the holes with a scrap board or end cut. Center the template on the uppermost end slat and while holding it in place, drill through the holes and through the wood below. Make a handle by feeding the sisal rope through the holes and tie off each end with a knot.


And that's it. Once the first crate was done the next one took no time at all. We could bang these out all day. Or until we ran out of wood.
We also had some spare 1x3" boards left over from building the kitchen island, so we made two crates from those as well. The process was the same, except that there are only 3 slats on each side instead of 4, and 5 slats on the bottom instead of 8. The same 1x1" corner supports were still used, but this time they only needed to be 8.5" long.

I'm waiting for the paint in the office to cure before I mount these to the wall. And I haven't decided yet if I'll stain or paint them first. Stay tuned to see how I finish them.


2 comments:
I adore your idea! I use custom archive boxes to store important documents, these boxes are very helpful for you to sort your things in a safe place.
Post a Comment