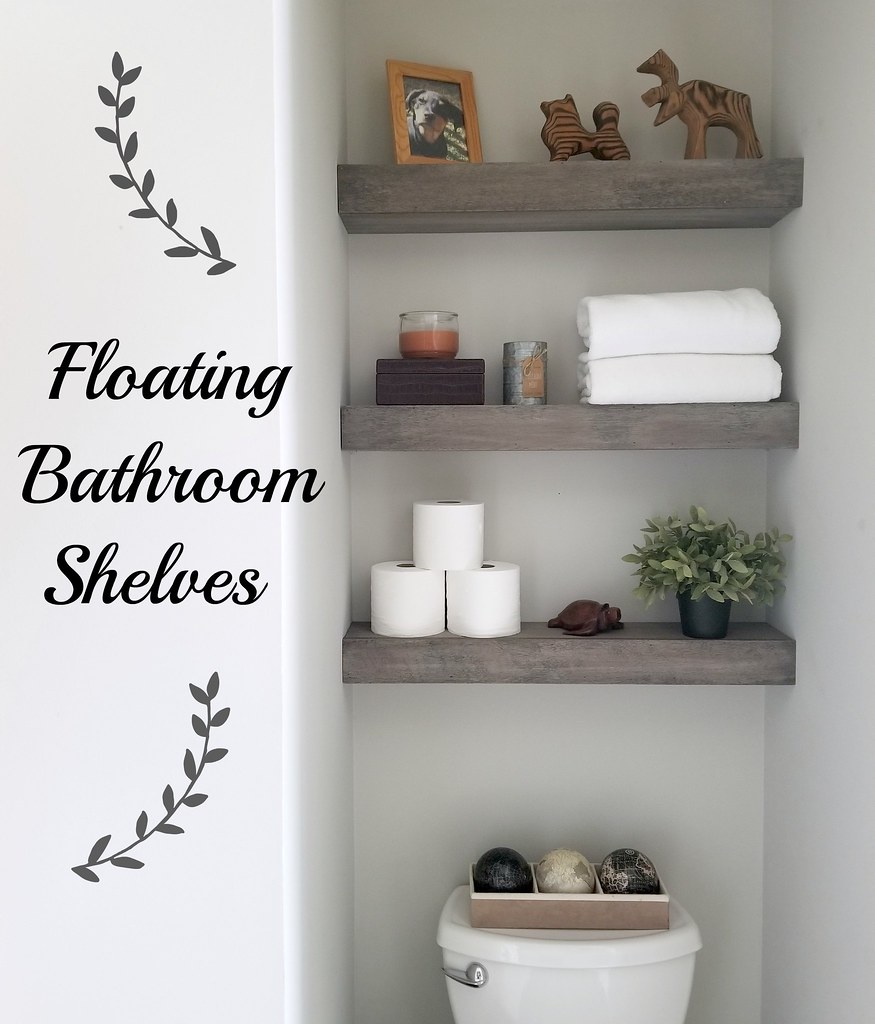
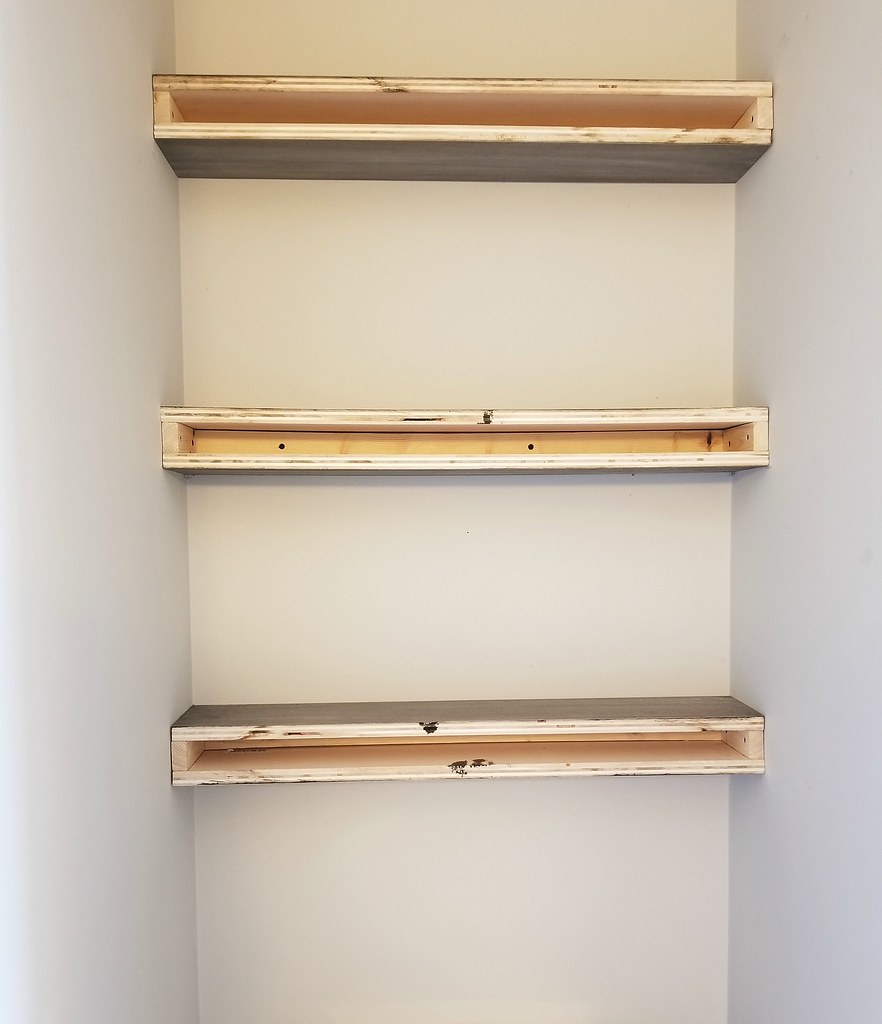
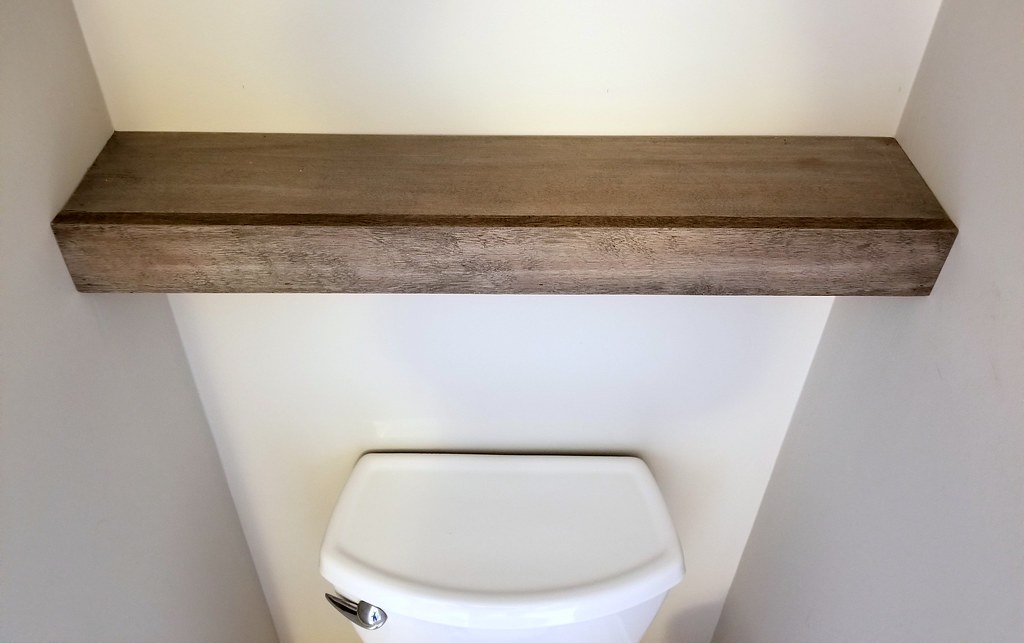
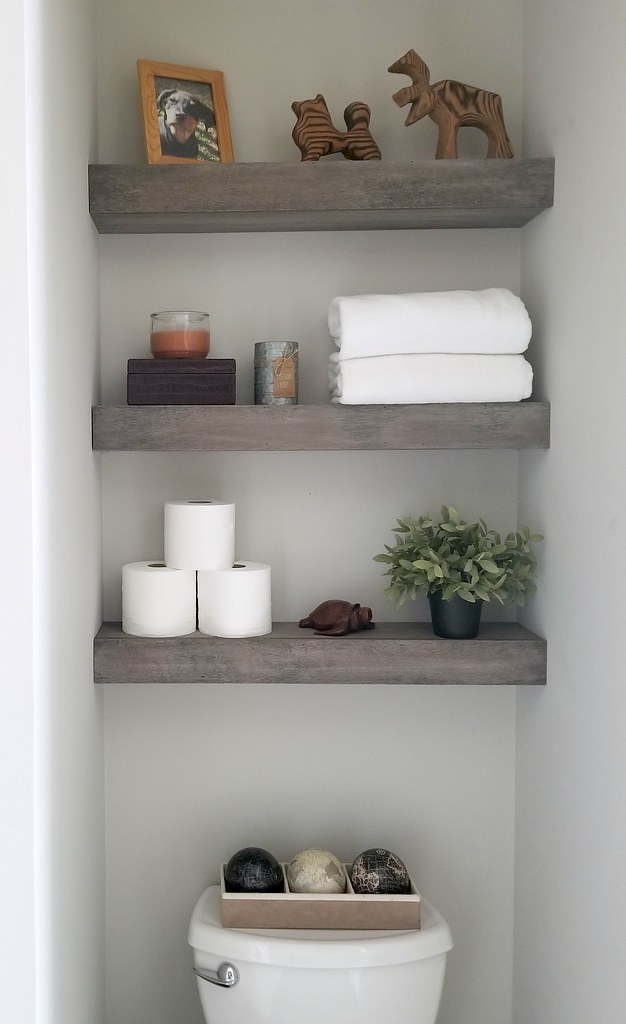
The tops and bottoms of the shelves are made from 3/4" veneer plywood, and the shelf faces are cedar trim boards. My finished shelves are 5"x30" and 3" thick.
I was able to build them entirely with scrap wood, but even if you were starting from scratch, it would only cost you about $20 total.
Materials needed:
6 - 3/4"x5"x30" plywood shelf boards
3 - 3"x30" trim boards
3 - 1"x2"x30" mounting boards (for back wall support)
6 - 1"x2"x4" mounting boards (for side wall support)
screws, anchors, brad nails
sandpaper, stain, paint
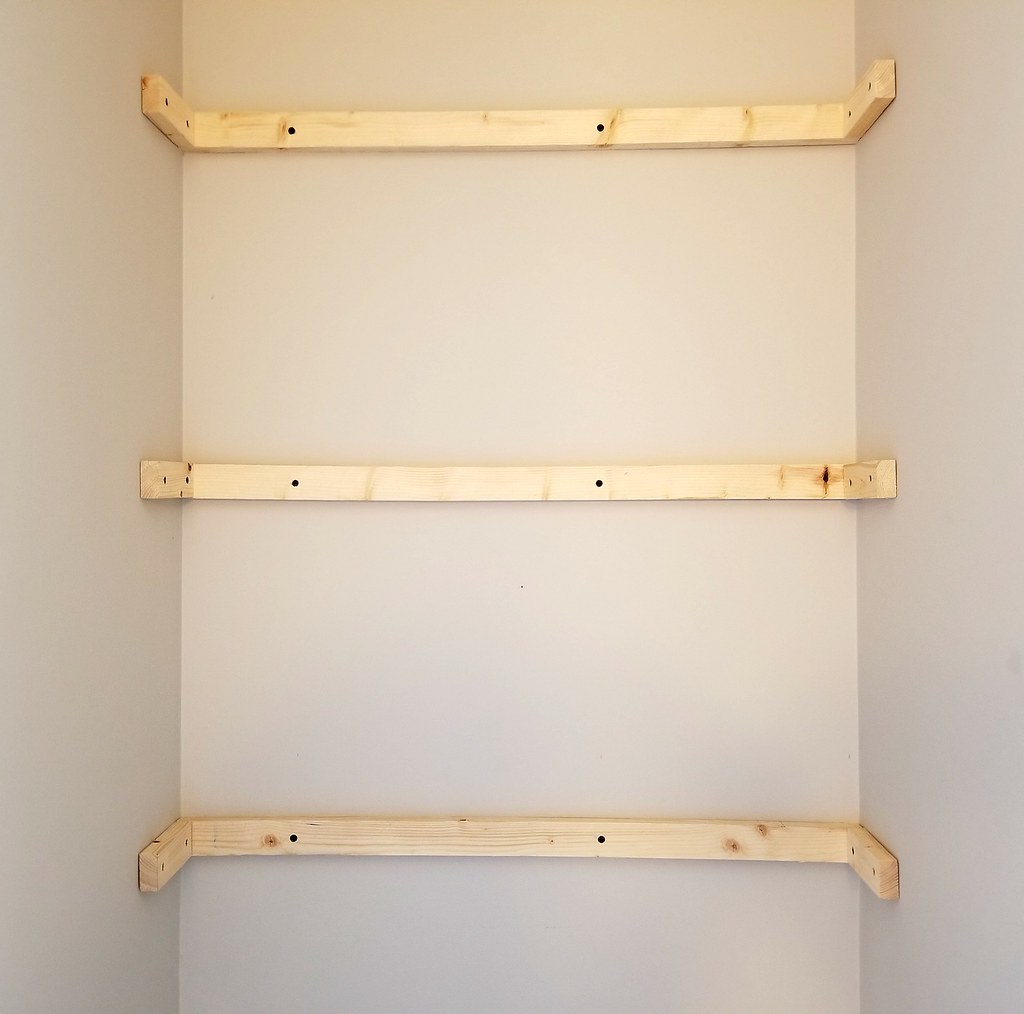
Measure the width of your back wall and cut your mounting boards to length. My mounting boards are 1"x2" boards left over from when our roof was redone. (These are the same boards that I used to build the wooden crates last month.) Our toilet alcove is about 30 inches wide, but the walls aren't perfectly straight, so each board had to be customized. I cut the mounting boards to just under 30 inches first, and then shortened each one of them a sawblade's width at a time until they fit perfectly.
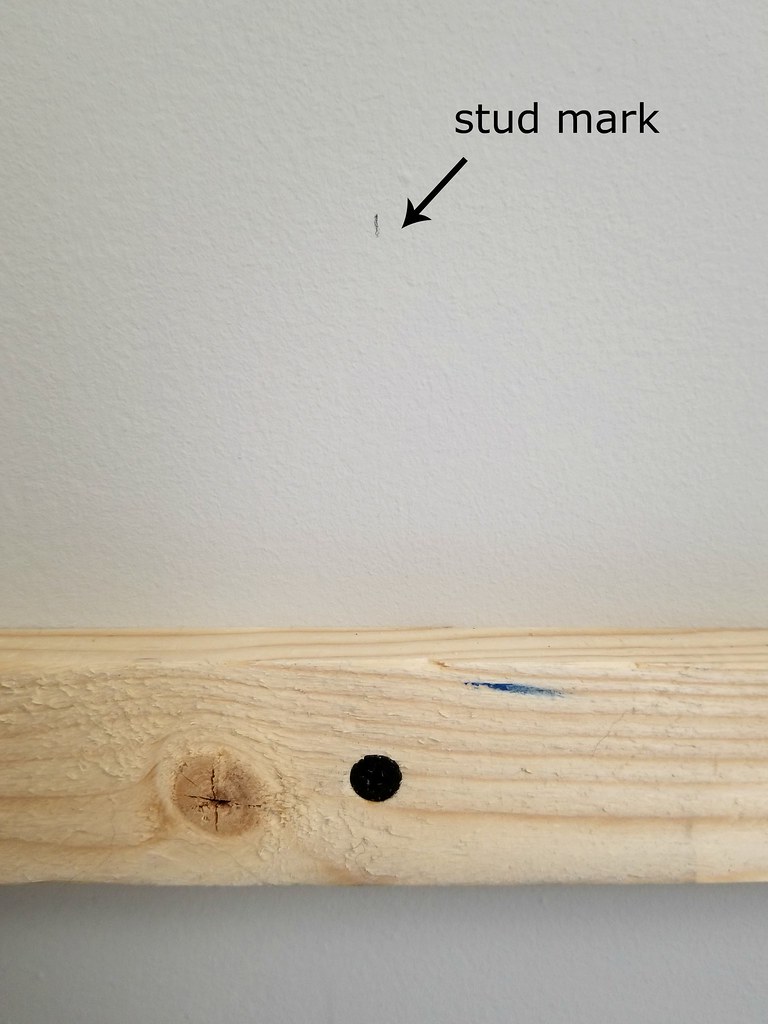
Using a stud finder, locate the wall studs on the back wall and mark the locations on your mounting boards. Drill holes through your boards, aligning them with the marks you made for the studs.
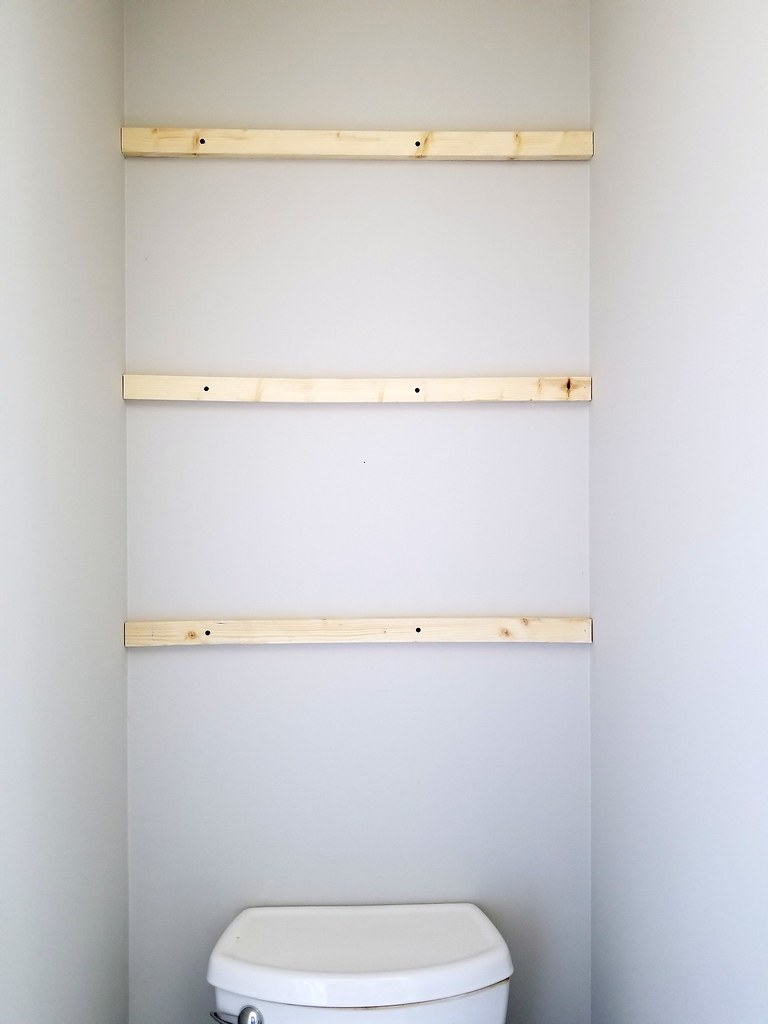
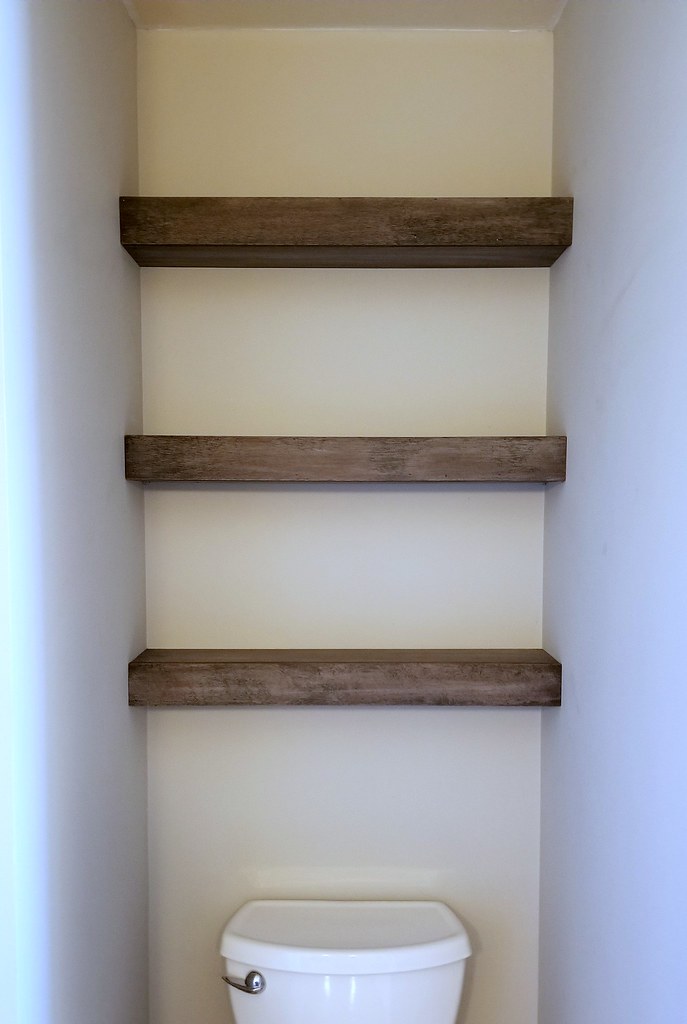
Place the first board against the wall in the location you've chosen, and use a level to position it horizontally. Drill your screws through the holes in the board and attach it securely to the wall. Repeat with the other two mounting boards. My shelves are positioned 14" apart.
The mounting boards on the side walls were only 4 inches long, so I wasn't able to attach them to a stud. When you aren't able to hit the studs, you'll need to use wall anchors.
Pre-drill the holes in your side mounting boards. Place a board in position and use the level to line it up with the back mounting board. Drill through the holes just enough to touch the wall behind and mark your anchor spots on the wall.
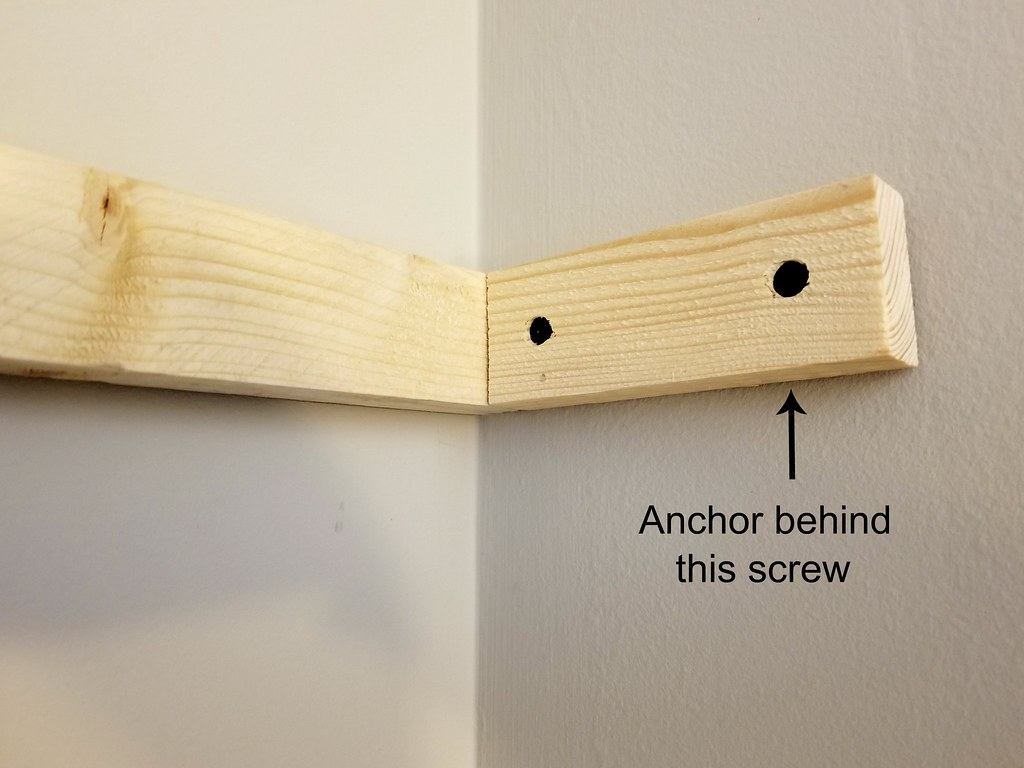
For a shelf that is this shallow, an anchor is only needed for the front hole - the back end of the mounting board is tight against the rear mounting board and only needs a screw to hold it in place. Repeat the process for the other side wall mounting boards and install your anchors. Once your anchors are in place you can attach the side mounting boards to the wall.
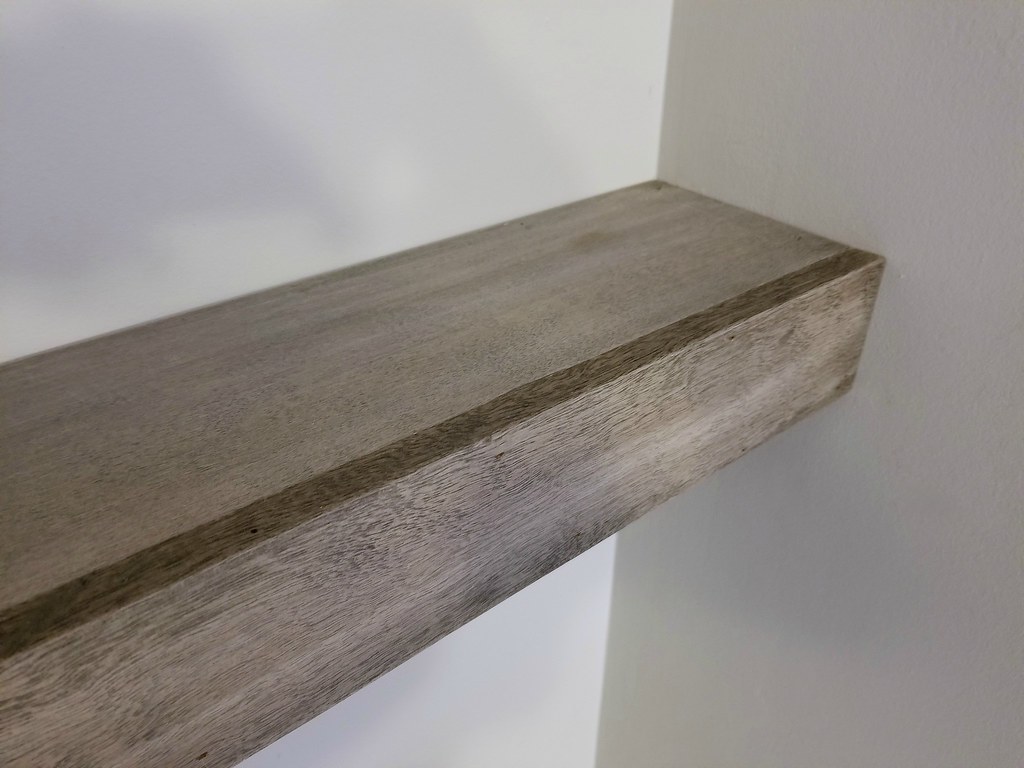
Cut your top and bottom plywood boards to length (approx. 30 inches in my case). Repeat with your face boards. Sand and stain one side of each plywood board, and one side plus the long edges of each face board. I stained my boards with Jacobean stain from Minwax, and then followed up with a light wash of flat white paint to give a weathered look. You could also finish up with polyurethane or furniture wax if your shelves were going to see a lot of traffic.
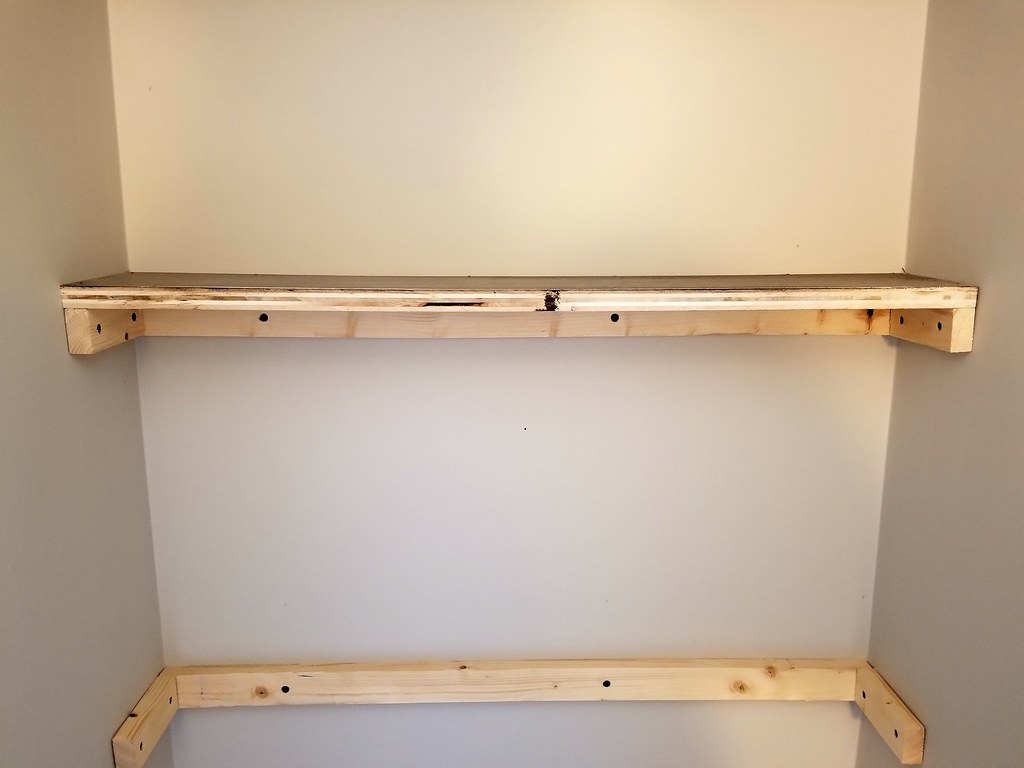
Take your first plywood board and lay it on top of your first mounting framework, stained side up. You may have to adjust the length of your board if your walls are uneven like mine. Again, shorten the board just a little at a time so that you don't end up with it too short. Once your board fits snugly, nail it to the mounting boards using the air nailer. You could also attach the boards with screws, but you'll need to putty and stain the screw holes when you're done, while the brad nails are virtually invisible.
Take your second plywood board and fit it snugly below your mounting framework. Nail it in place as with the first board.
Repeat the two previous steps with the other shelves.
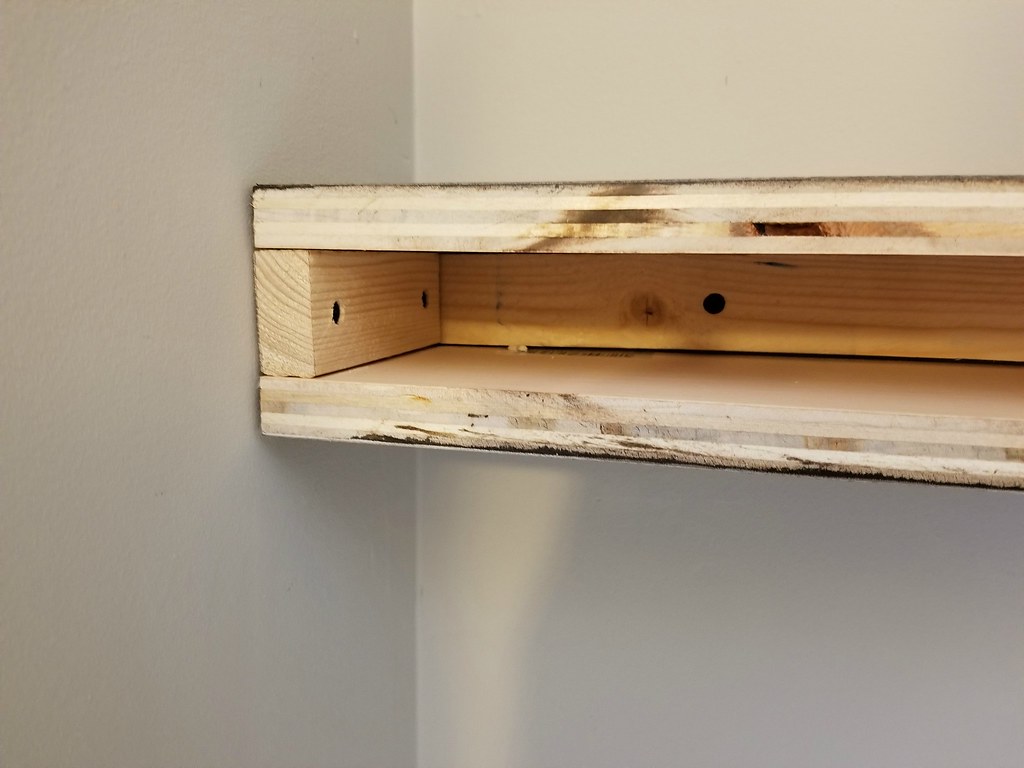
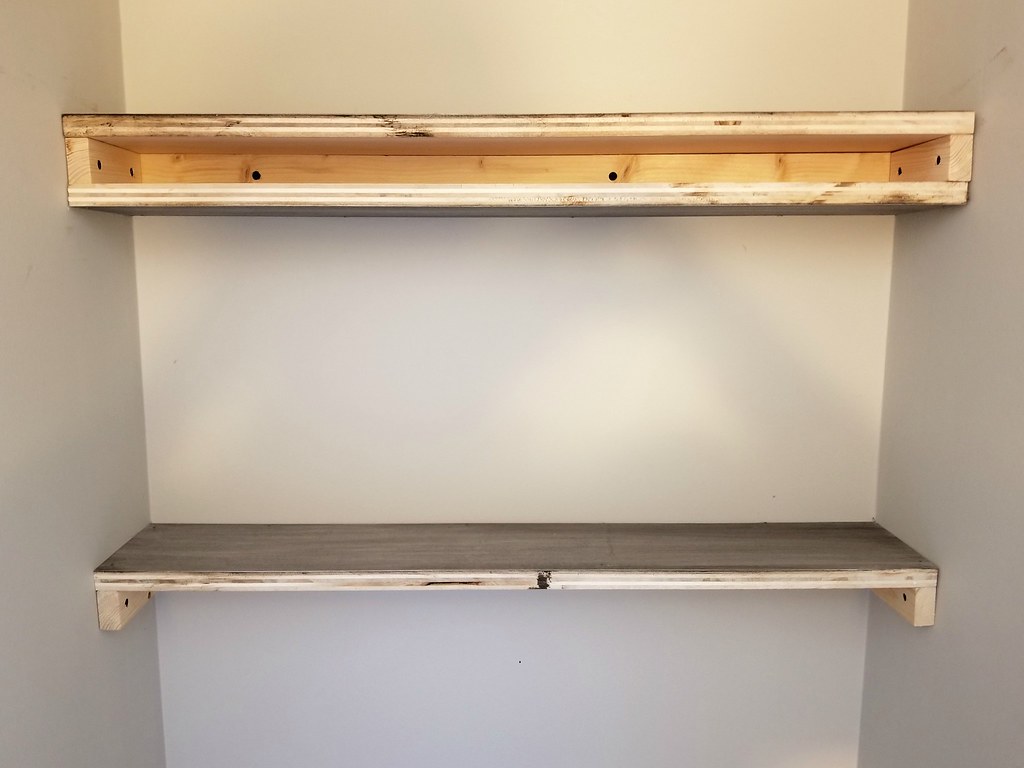
Take a front face board and fit it into place, lining it up top and bottom with the plywood. Nail it into place all around the edges. Repeat for the other shelves.
Step back and admire your new floating shelves.
Additional note -
If your shelves are longer or you've made them significantly deeper than mine, you may want to add 1"x2" center supports between the top and bottom face boards (i.e. sandwiched inside the shelf). This will keep your shelves from sagging over time, especially if they are supporting something heavy.
Place the first board against the wall in the location you've chosen, and use a level to position it horizontally. Drill your screws through the holes in the board and attach it securely to the wall. Repeat with the other two mounting boards. My shelves are positioned 14" apart.
The mounting boards on the side walls were only 4 inches long, so I wasn't able to attach them to a stud. When you aren't able to hit the studs, you'll need to use wall anchors.
Pre-drill the holes in your side mounting boards. Place a board in position and use the level to line it up with the back mounting board. Drill through the holes just enough to touch the wall behind and mark your anchor spots on the wall.
For a shelf that is this shallow, an anchor is only needed for the front hole - the back end of the mounting board is tight against the rear mounting board and only needs a screw to hold it in place. Repeat the process for the other side wall mounting boards and install your anchors. Once your anchors are in place you can attach the side mounting boards to the wall.
Cut your top and bottom plywood boards to length (approx. 30 inches in my case). Repeat with your face boards. Sand and stain one side of each plywood board, and one side plus the long edges of each face board. I stained my boards with Jacobean stain from Minwax, and then followed up with a light wash of flat white paint to give a weathered look. You could also finish up with polyurethane or furniture wax if your shelves were going to see a lot of traffic.
Take your first plywood board and lay it on top of your first mounting framework, stained side up. You may have to adjust the length of your board if your walls are uneven like mine. Again, shorten the board just a little at a time so that you don't end up with it too short. Once your board fits snugly, nail it to the mounting boards using the air nailer. You could also attach the boards with screws, but you'll need to putty and stain the screw holes when you're done, while the brad nails are virtually invisible.
Take your second plywood board and fit it snugly below your mounting framework. Nail it in place as with the first board.
Repeat the two previous steps with the other shelves.
Take a front face board and fit it into place, lining it up top and bottom with the plywood. Nail it into place all around the edges. Repeat for the other shelves.
Step back and admire your new floating shelves.
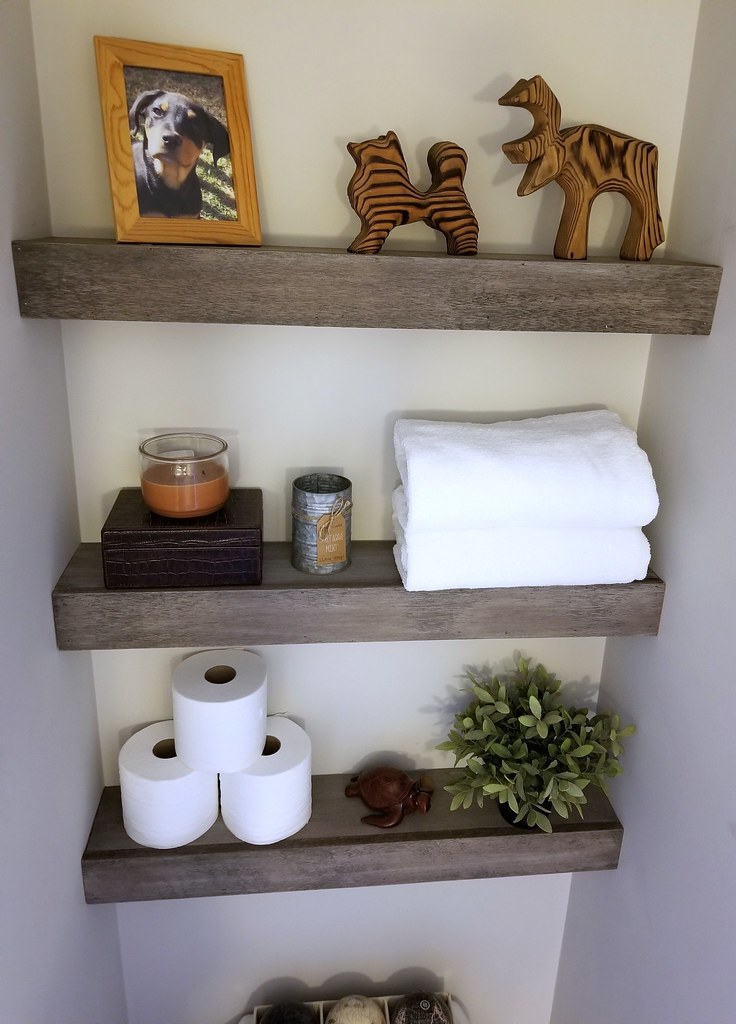
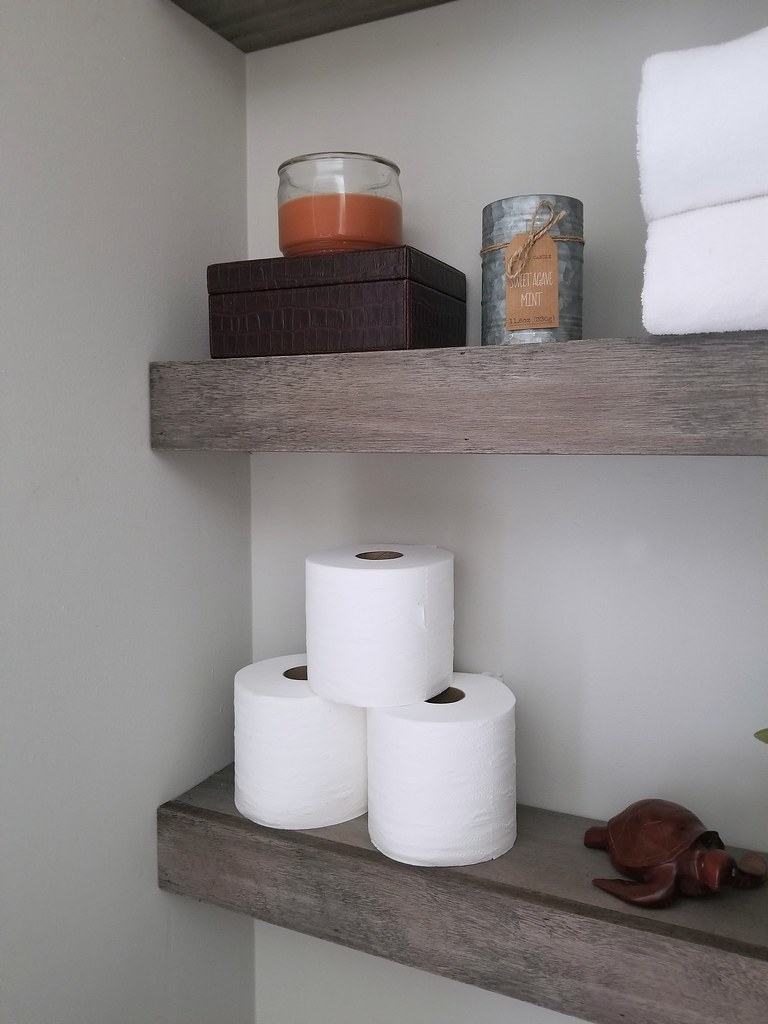
They're a perfect place to store extra rolls of toilet paper and bath towels, as well as showing off your favourite knickknacks. (And of course a scented candle or two to keep the air fresh.)
Additional note -
If your shelves are longer or you've made them significantly deeper than mine, you may want to add 1"x2" center supports between the top and bottom face boards (i.e. sandwiched inside the shelf). This will keep your shelves from sagging over time, especially if they are supporting something heavy.


No comments:
Post a Comment