Our current bedside tables are cheapies that I'd refinished for a Pinterest challenge. They're sweet and I love the colour, but they were too low for our bed. And since one of the dogs likes to sleep on the floor beside the bed, we thought it would be nice to give her some extra space to stretch out.
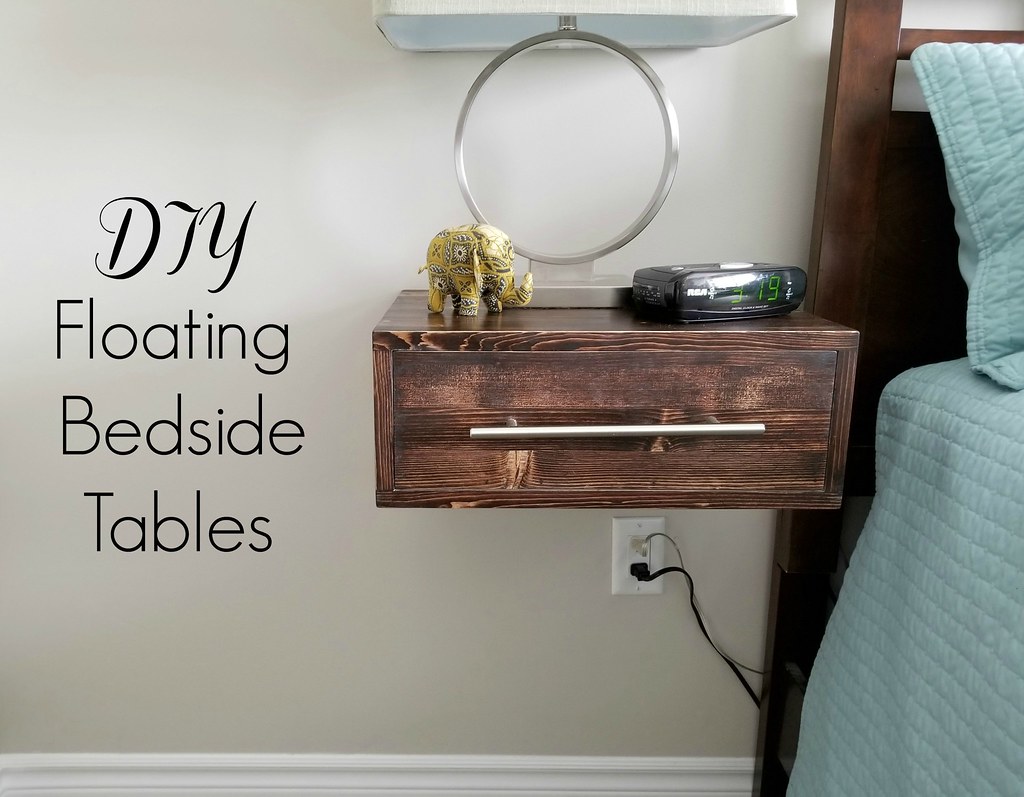
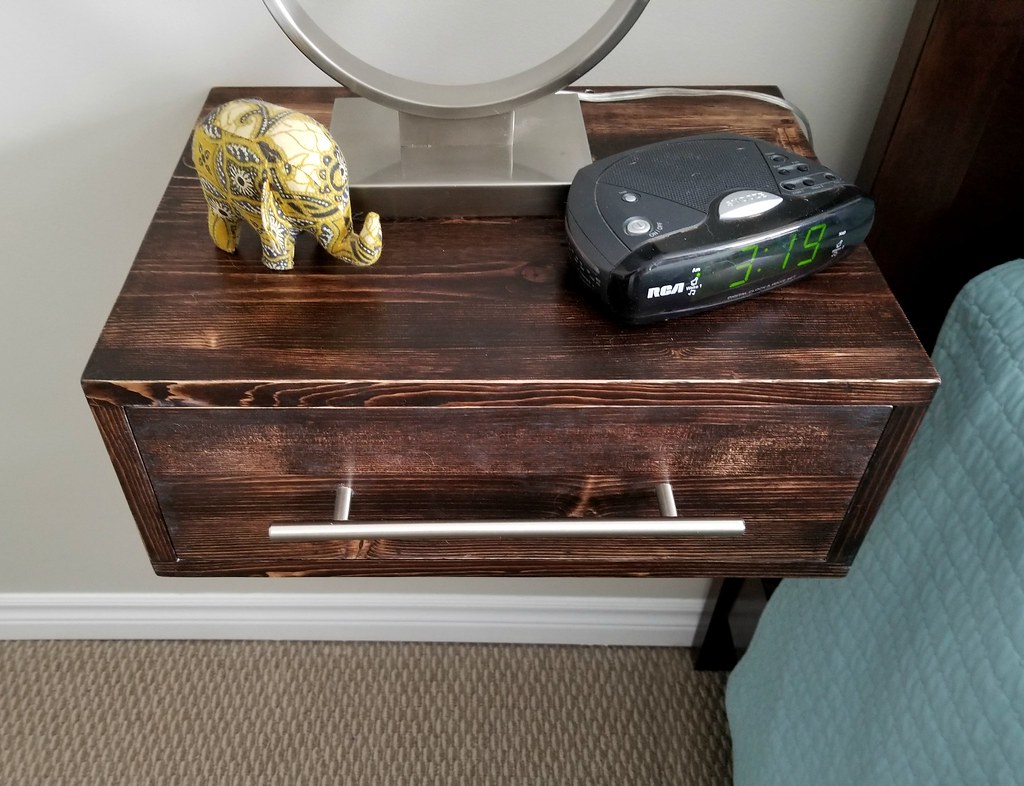
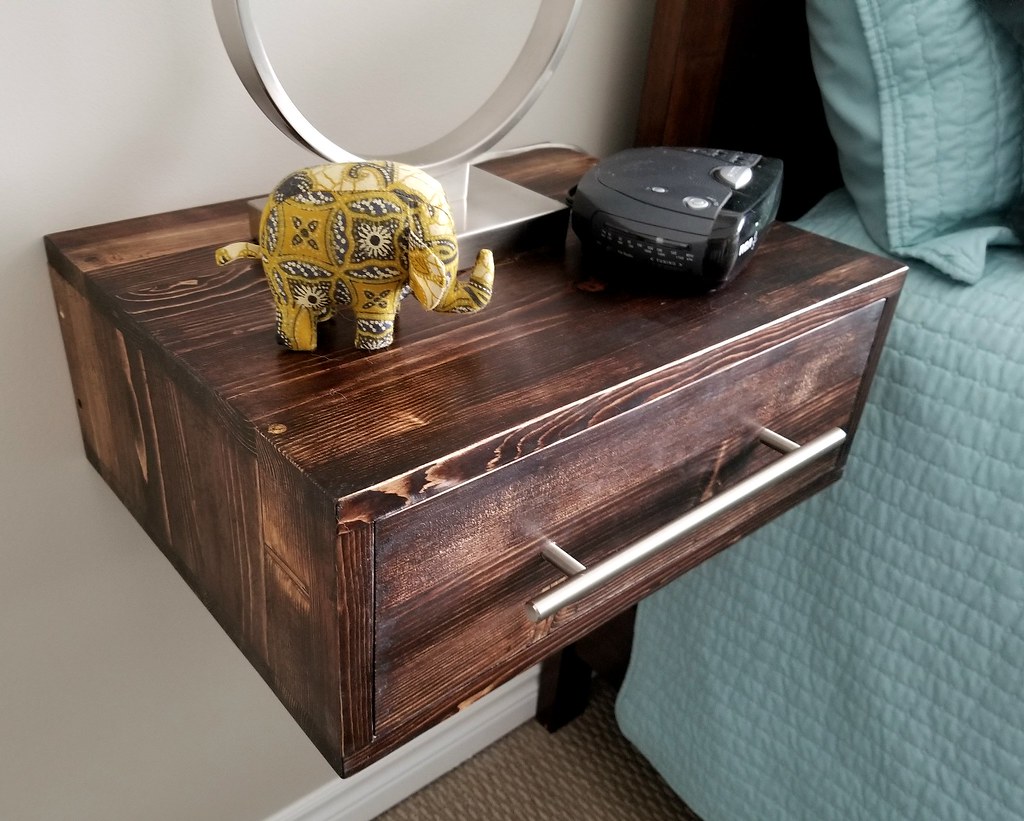
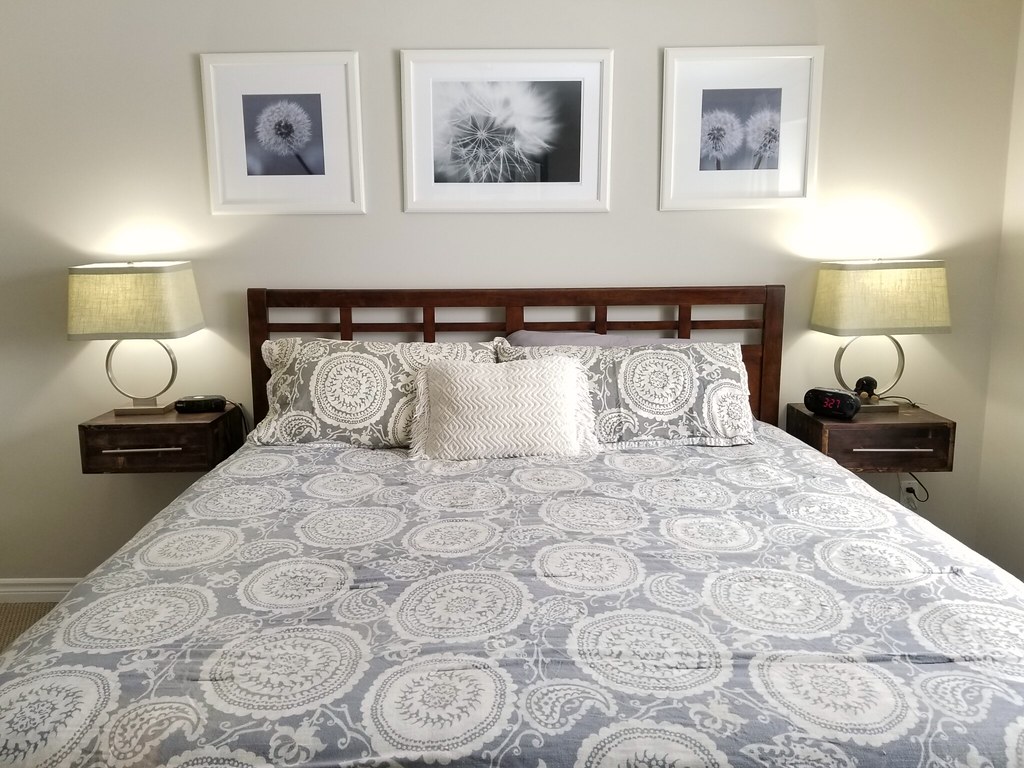
We went very streamlined with the new tables, to match the bed frame and to make the room seem as large as possible. The dimensions are 18"W x 14"D x 7"H, with drawers that are 16.5"W x 12.5"D x 5.5"H.
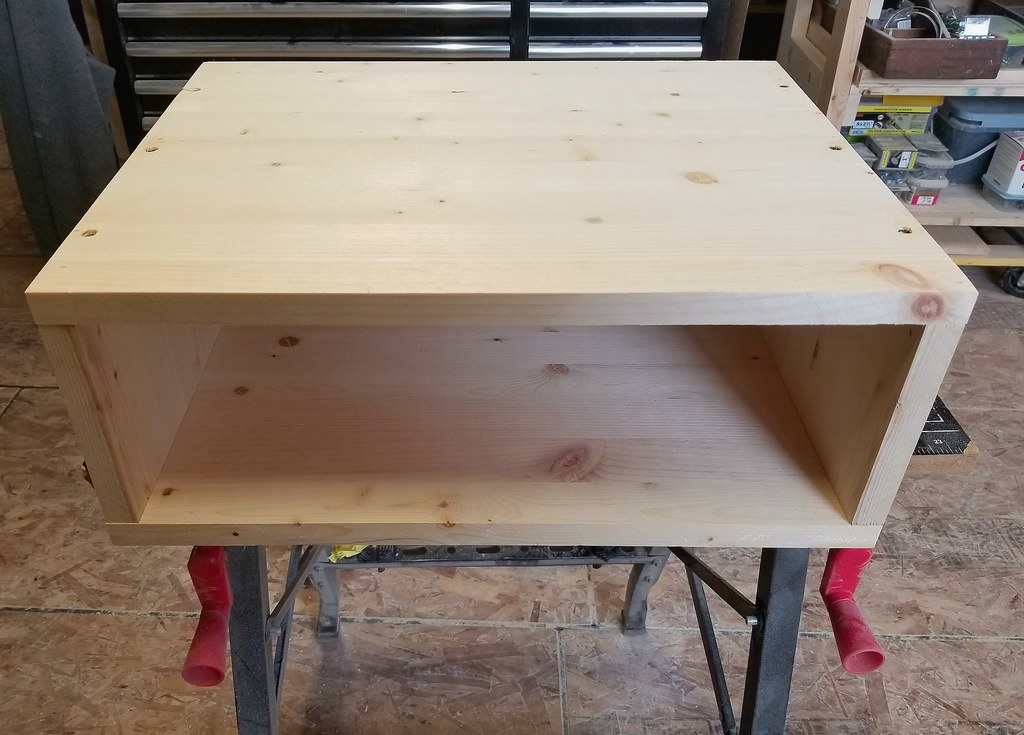
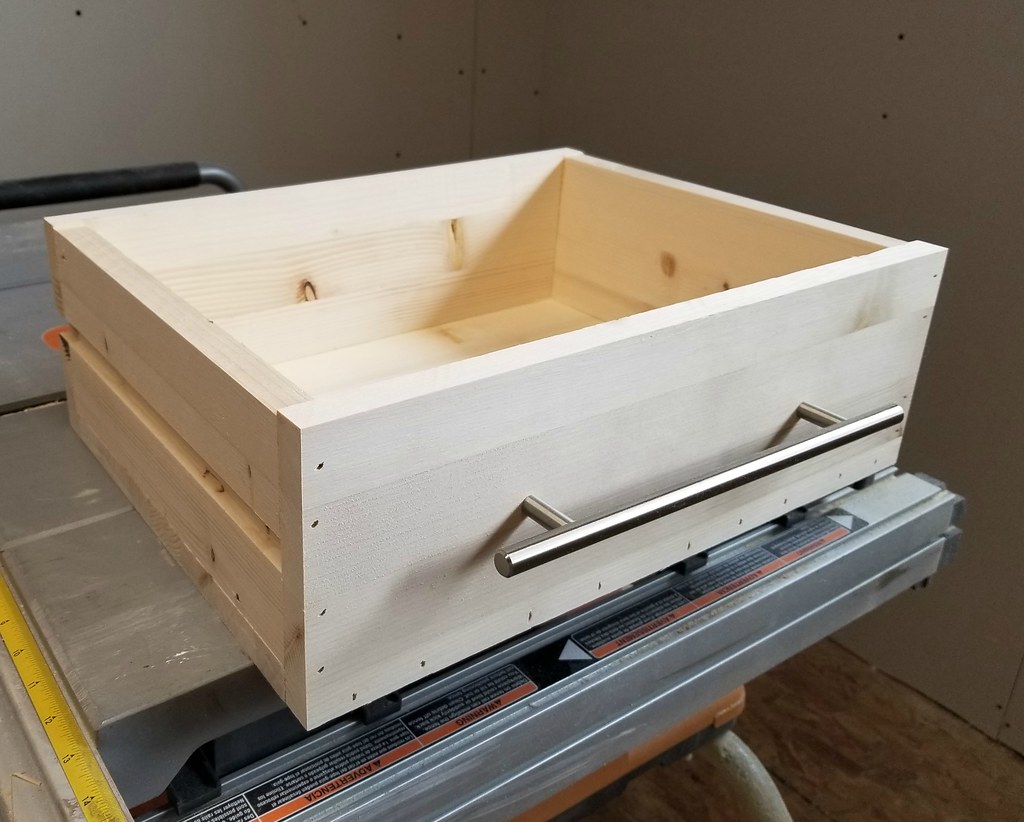
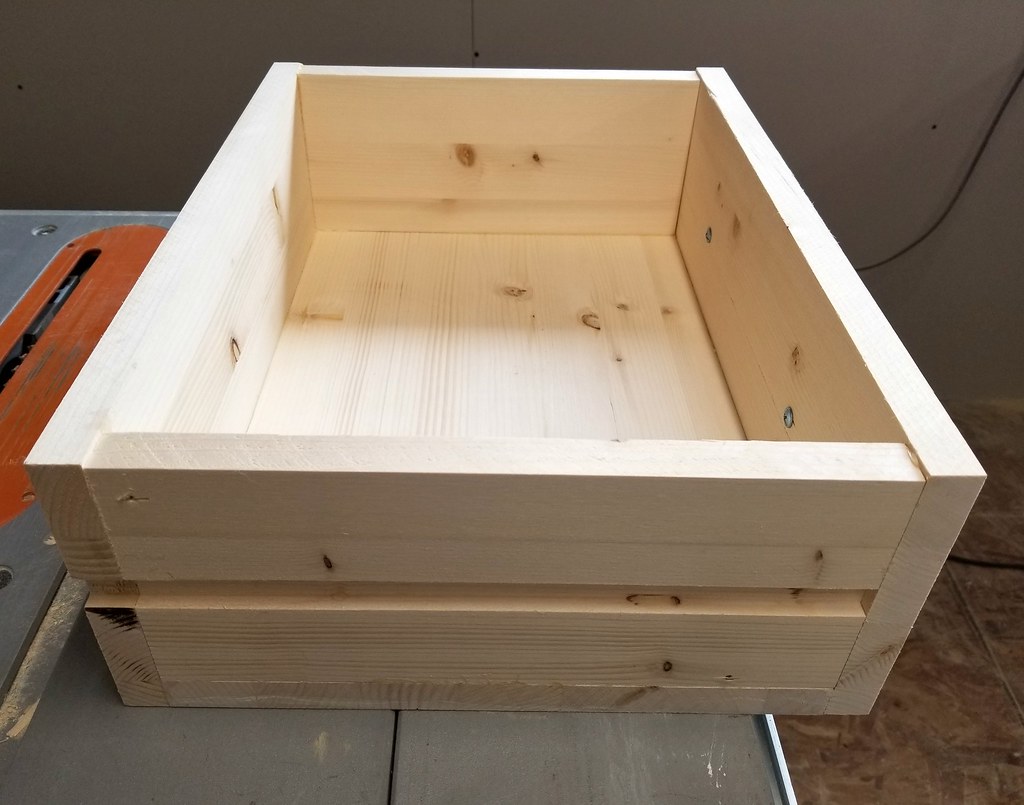
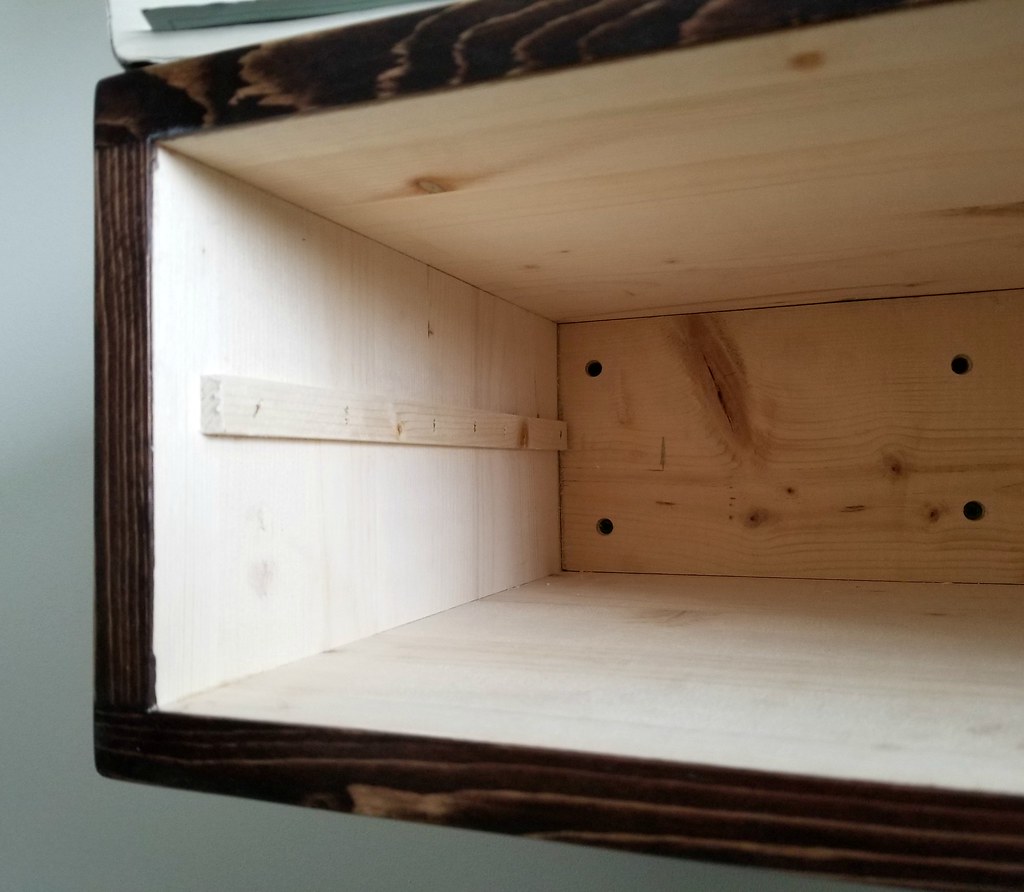
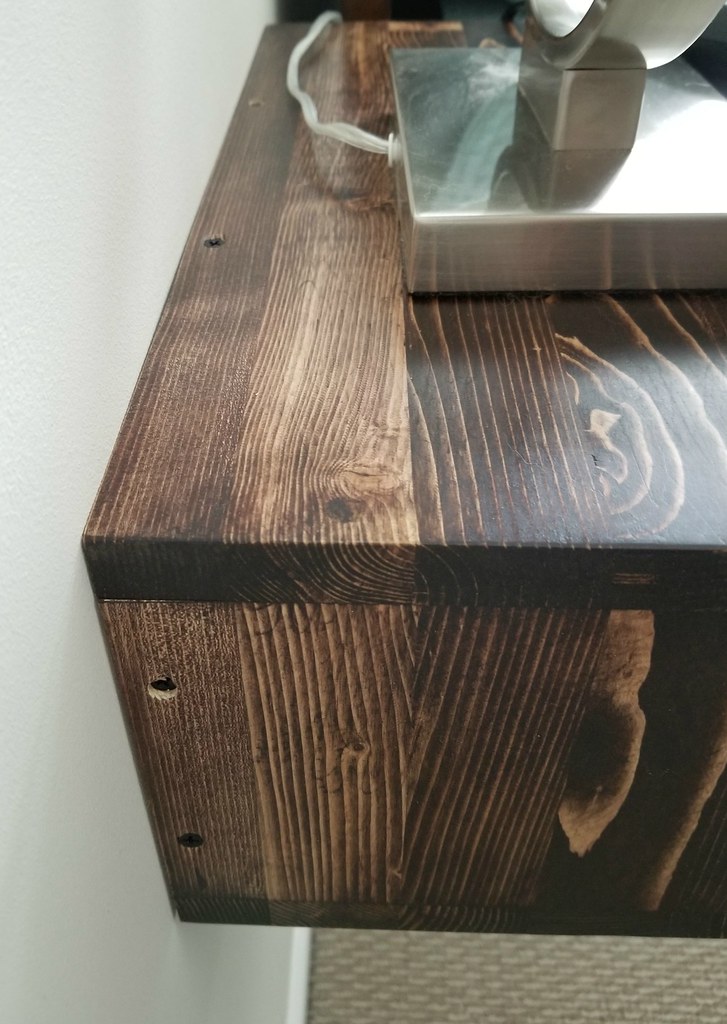
They're built from sheets of pine shelving boards - four 16" x 48" boards were enough for two frames and two drawers. They are both basically boxes, with sides that are joined with countersunk screws. The frame is open at the back so that it can fit over the mounting board that is anchored to the wall (see below on details for hanging it). The face of the drawer was attached with finishing nails.
Wooden guides were attached to the insides of each frame that match with grooves in the side of each drawer. These guides help with drawer movement and keep the drawer from tipping forward when open. Tom cut the grooves in the drawers on the table saw with a dado blade, and then cut the matching sliders from leftover wood. The sliders are attached with glue and finishing staples.
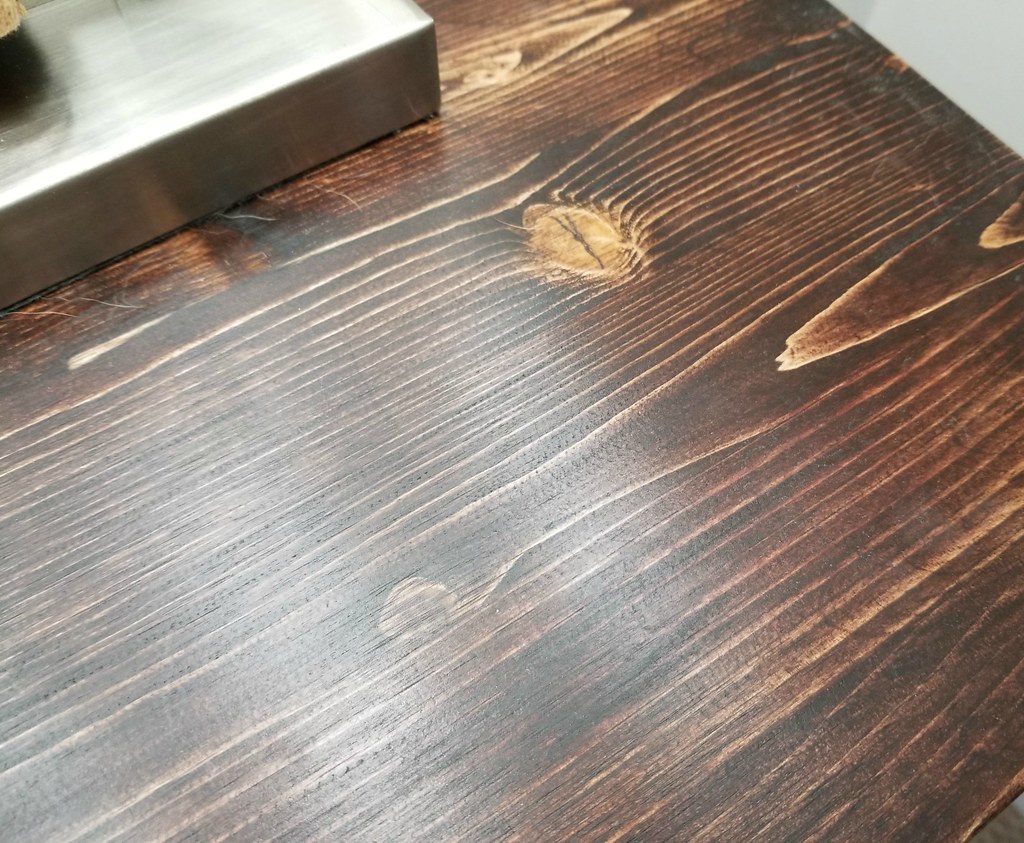
Once the frames and drawers had been built, I sanded them smooth, and then stained them with one coat of Minwax stain in Jacobean, and then two coats of MW stain in Red Mahogany. I was trying to get as close as possible to the colour of the bedframe without it being too matchy-matchy. Once the stain was dry I waxed the pieces with MW finishing wax and buffed them with extra fine steel wool.
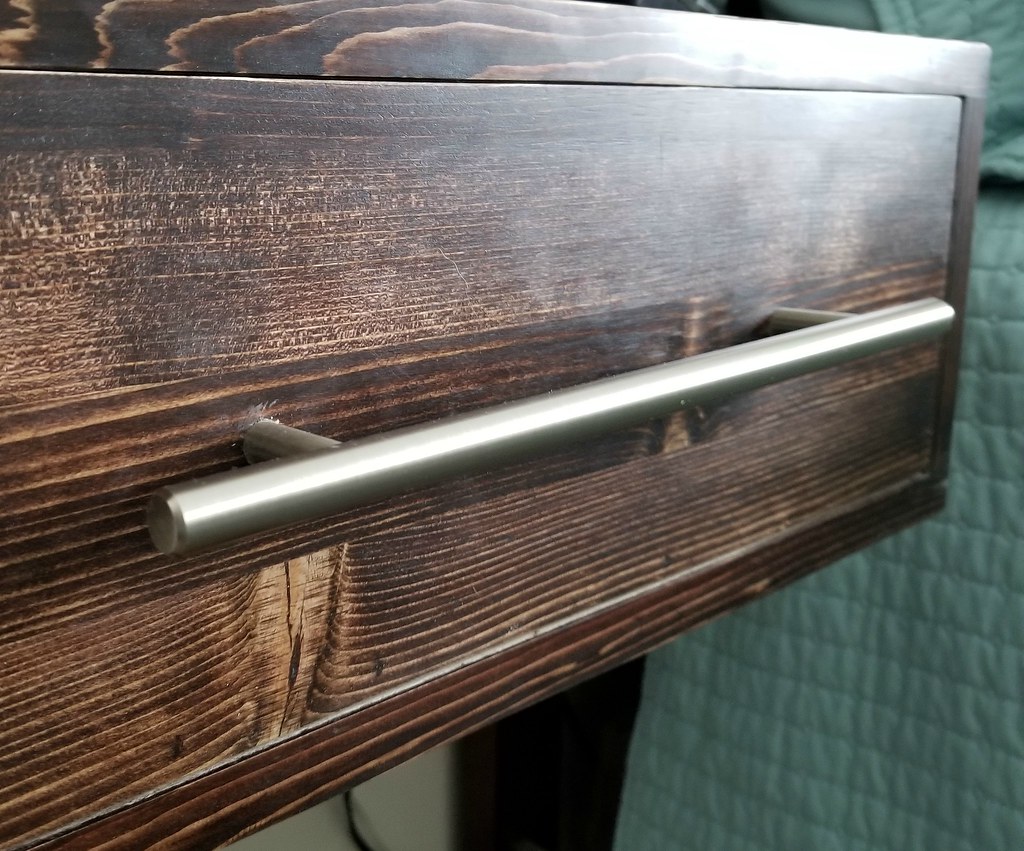
The handles on the drawers are a straight bar style, brushed steel, and 11 inches in length.
To mount the tables to the wall, Tom cut a piece of 2"x 6" lumber to match the inside dimensions of the table frame (16.5" x 5.5"). This board was mounted directly to the wall (on the studs) with 3 inch countersunk screws. For some reason I didn't take a photo of it, but you can reference these floating shelves to get an idea. The table frame "box" then slid over the mounting board and was screwed in on all four sides with countersunk screws.
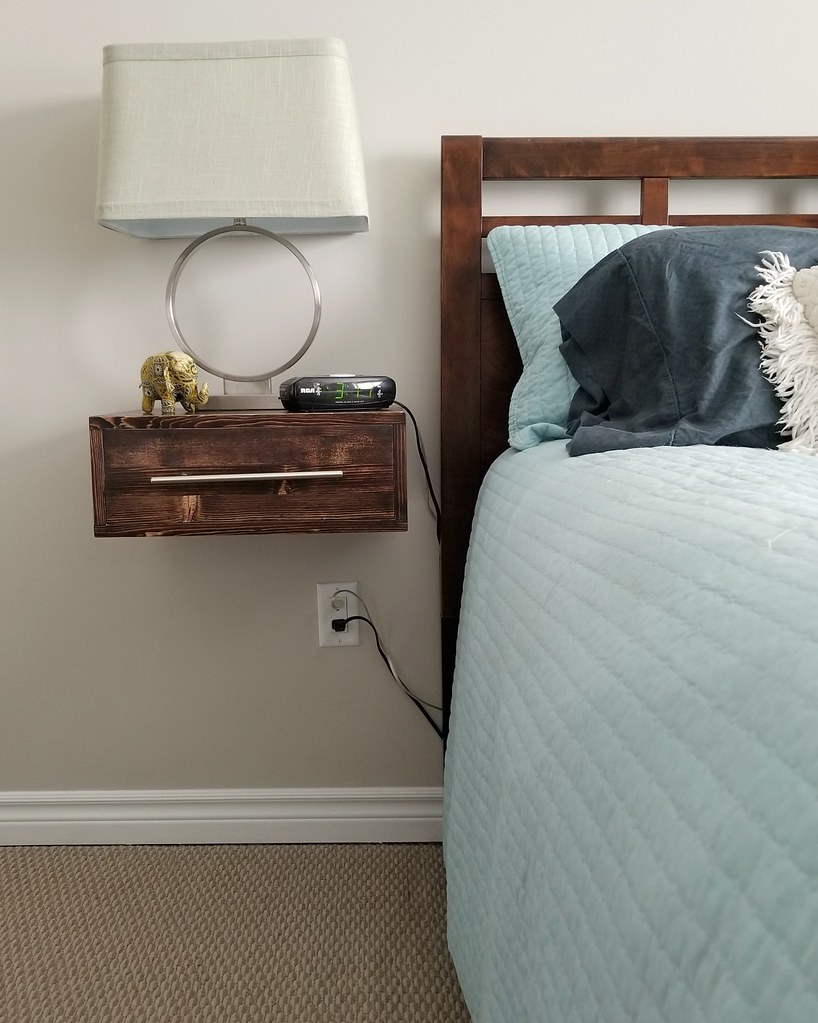
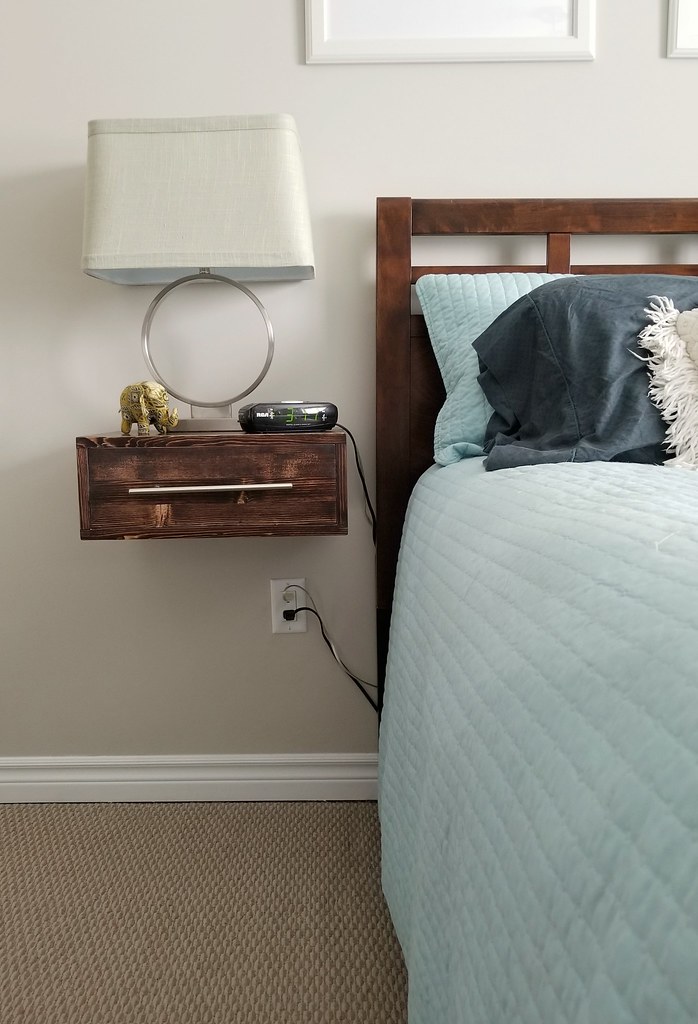
The tables are mounted on the wall 3 inches higher than the top of the mattress to make it easy to reach the lamp and see the alarm clock when we're in bed.
Here's a before and after of the tables once in place. The only bad thing with a floating bedside table is that the lamp and clock cords are visible. We could shorten up the cords but there's no hiding the outlet.
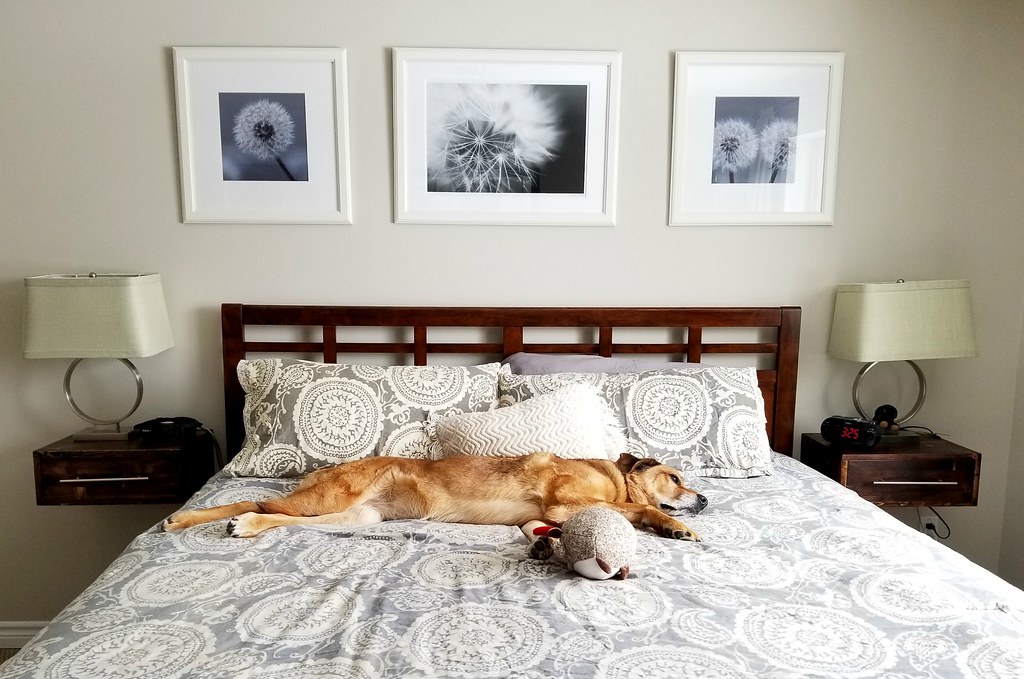
So far the dog isn't willing to sleep under the floating nightstand, but she has managed to fill up the extra space (mostly with her long giraffe legs and random toys).
And then sometimes she just takes over the bed instead.
~~~~~~~~~~~~



No comments:
Post a Comment