SEARCH THE BLOG

Showing posts with label laundry. Show all posts

Oct 23, 2018

Ironing Board Holder (DIY)


I'm trying to be a little more organized around the house - using every possible nook and cranny for storage. A prime example: our linen closet is extremely small - I've had to pare our sheets and towels down to just the necessities - but the iron and ironing board still didn't have a dedicated space.
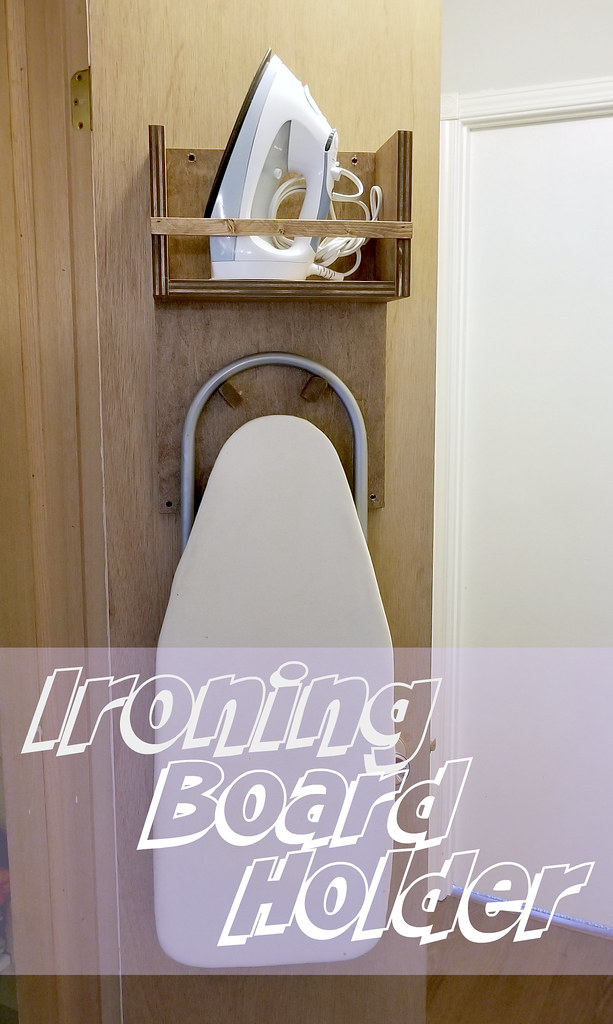
Ironing Board Holder (DIY)

I took this design idea from Ana White and tailored it to our house. The great thing about it is that it cost me nothing - it was made entirely from scrap wood - but it wouldn't cost more than $20 if you had to buy the material.

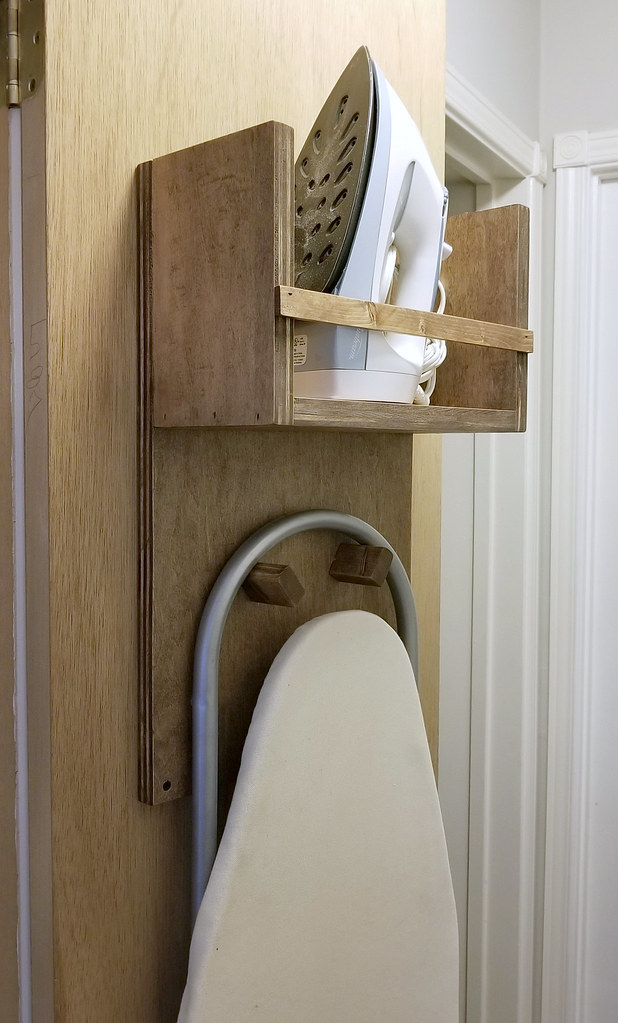
We have a compact tabletop ironing board so it fits perfectly on the inside of the linen closet door. I probably should have realized earlier that I could hang it there. And the door casing is deep enough that the shelf for the iron doesn't interfere with the shelves inside.
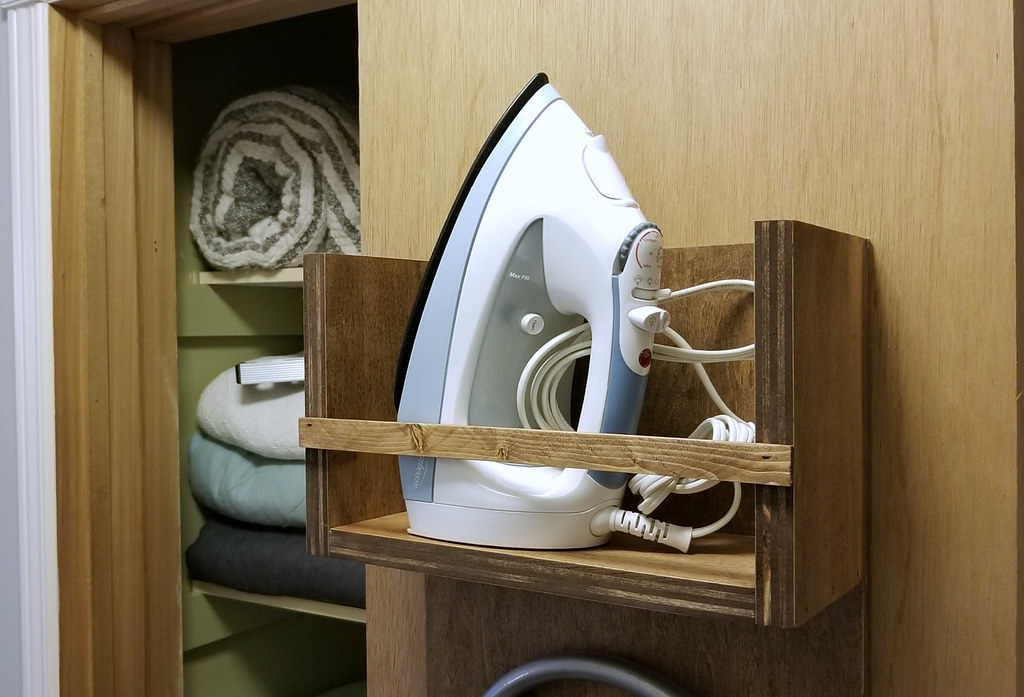
Ironing Board Holder (DIY)

Materials needed:
3/4" plywood (mine has a birch veneer)
1" x 1.5" pine board (or dowels)
1" x 1/4" pine trim
1-1/4" brad nails and/or screws

Tools used:
Air nailer (with compressor)
Drill/Driver
Measuring tape
Ruler
Miter Saw
Table Saw

Cut List:
1 - 12"x 20" plywood (back)
1 - 10.5"x 5" plywood (shelf bottom)
2 - 7.5"x 5" plywood (shelf sides)
2 - 2" pine pegs or dowels
1 - 12" pine trim
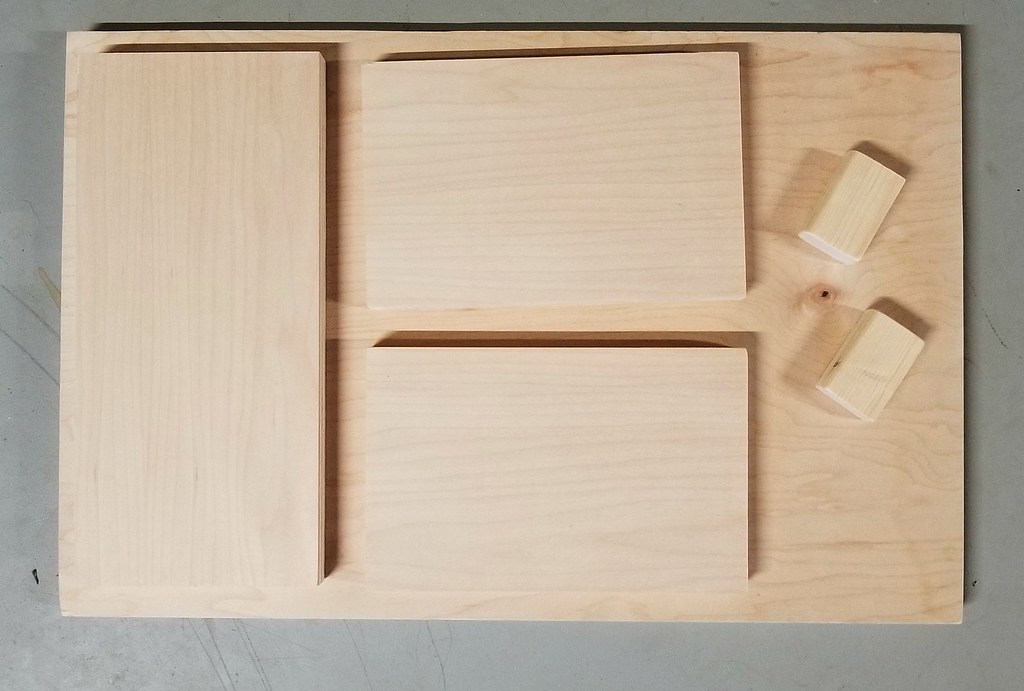
Ironing Board Holder (DIY)

To build:

Attach the sides of the shelf to the bottom with either countersunk screws or brad nails. The bottom should be sandwiched between the sides and should be flush.
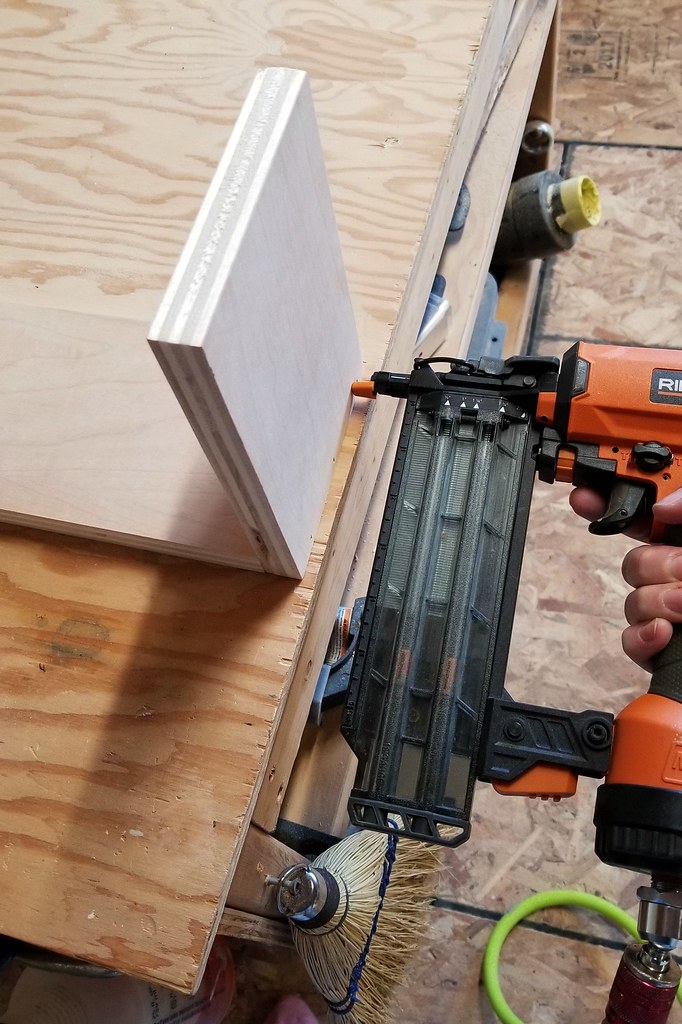
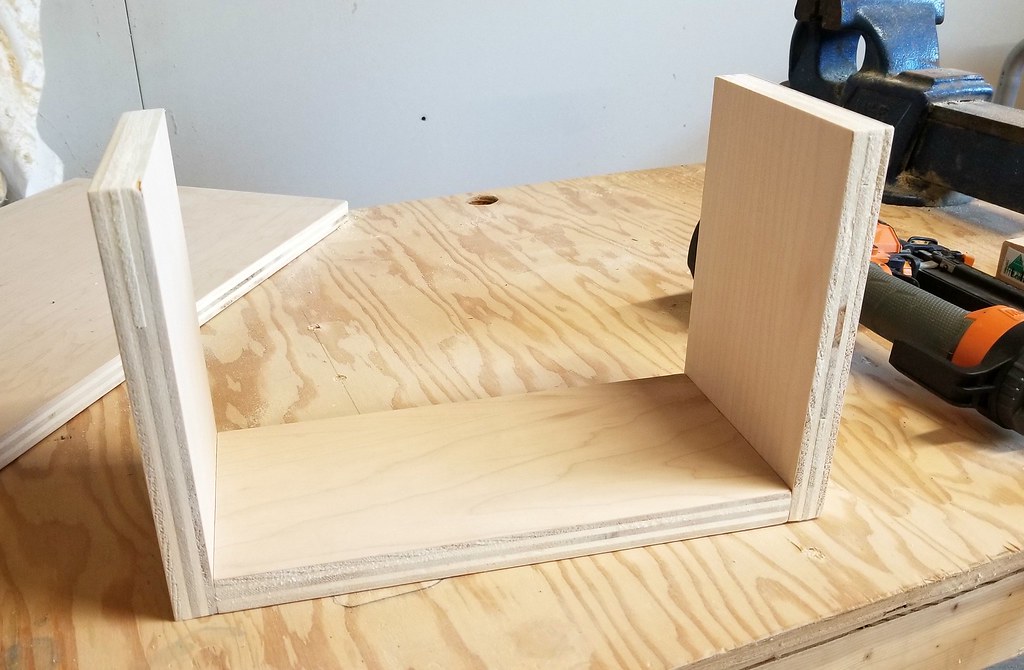
Ironing Board Holder (DIY)

Attach the shelf pieces to the back with countersunk screws. All outside edges should be flush.
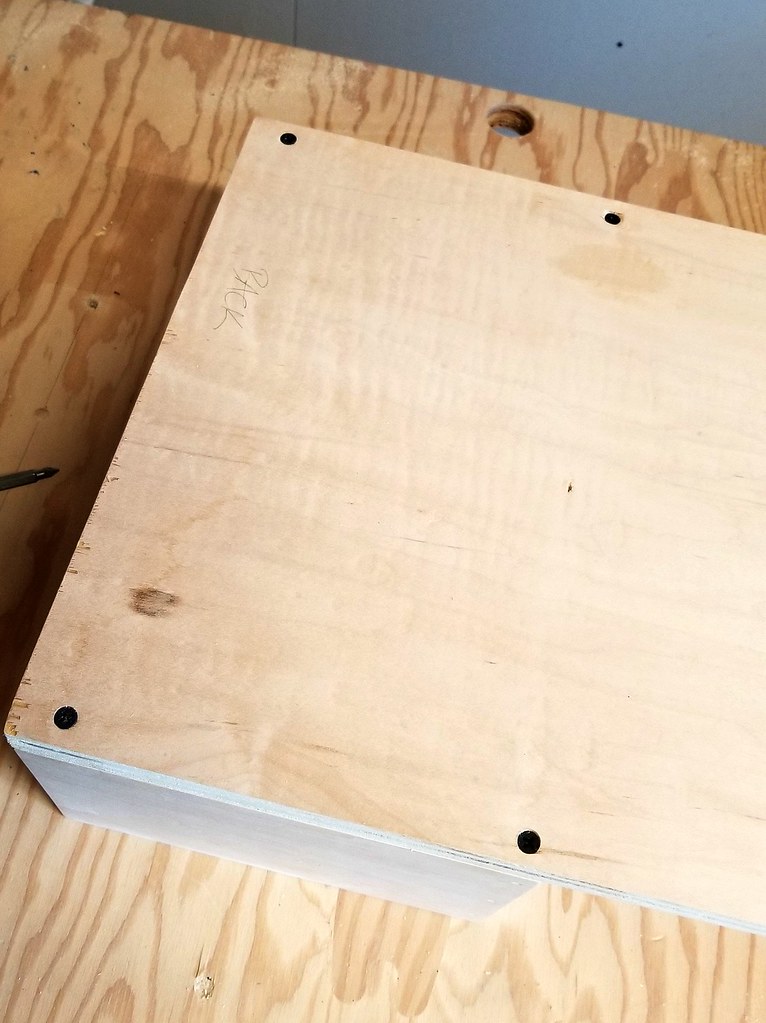
Ironing Board Holder (DIY)

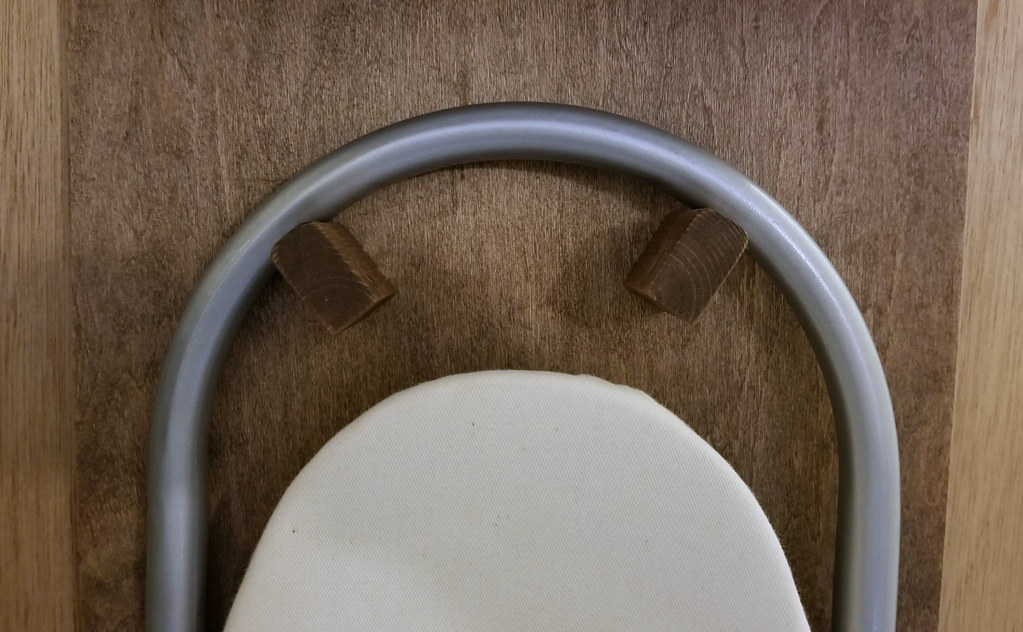
The board I found in the scrap pile for the pegs was flat on the bottom and rounded on the top. I have no idea where it came from or what it was used for, but it was ideal for this project. At first I was going to attach the pegs in a straight line like on the original plans, but due to the shape of the ironing board "leg", it made more sense to angle them. The curved edges of the tops of the pegs fit the curve of the leg perfectly.
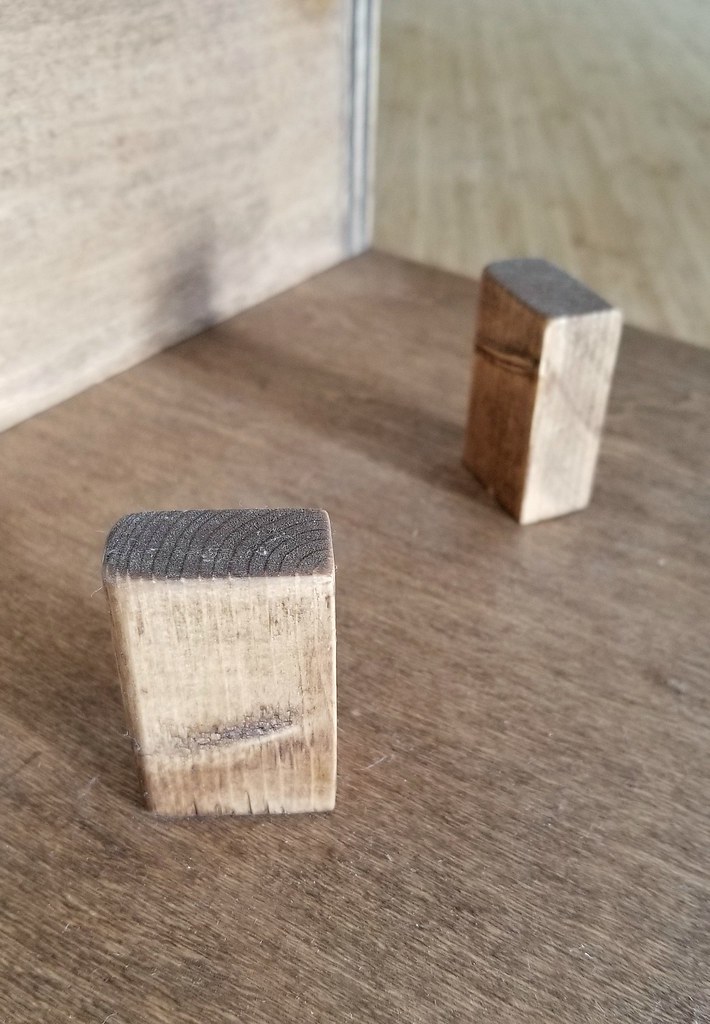
Ironing Board Holder (DIY)

Place the pegs or dowels in position and trace around them. Taking a very small drill bit, drill a hole through the back board in the centre of each traced area. This gives you a reference point for the screws when you attach them from the back. Glue the pegs to the board to hold them in place while you're working on them. (I used a couple of drops of Krazy Glue).
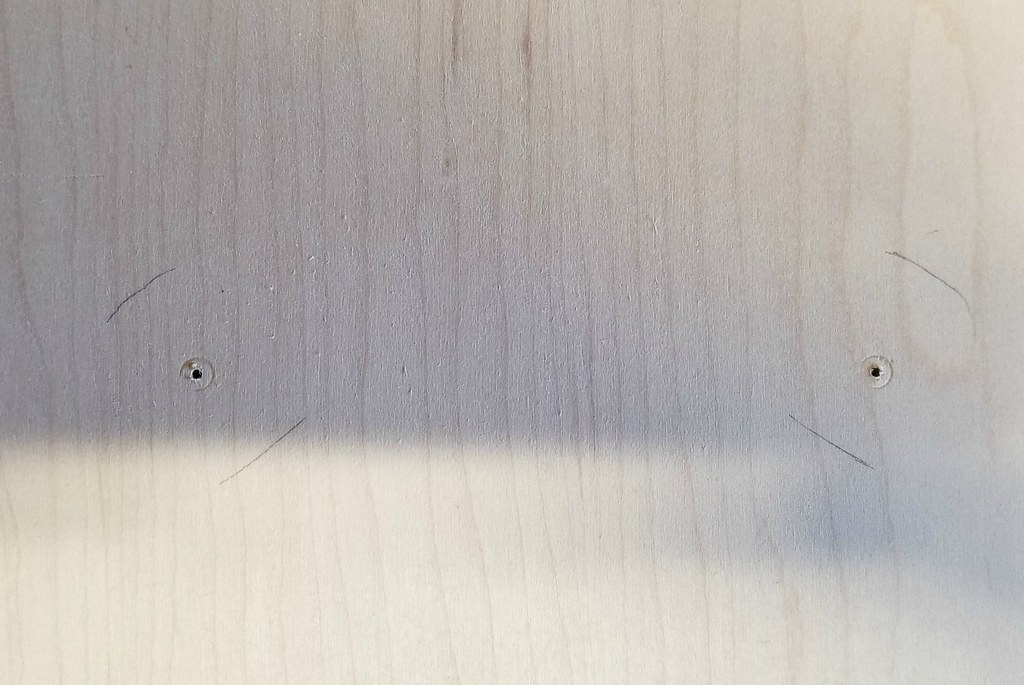
Ironing Board Holder (DIY)

Screw the pegs to the board from the back, using the drilled hole as reference, as mentioned above. Since my pegs were going to be at an angle, I needed two anchor points for each, to keep them from twisting around. My ironing board is very light and the pegs are small, so I used two brad nails in each peg instead of screws.

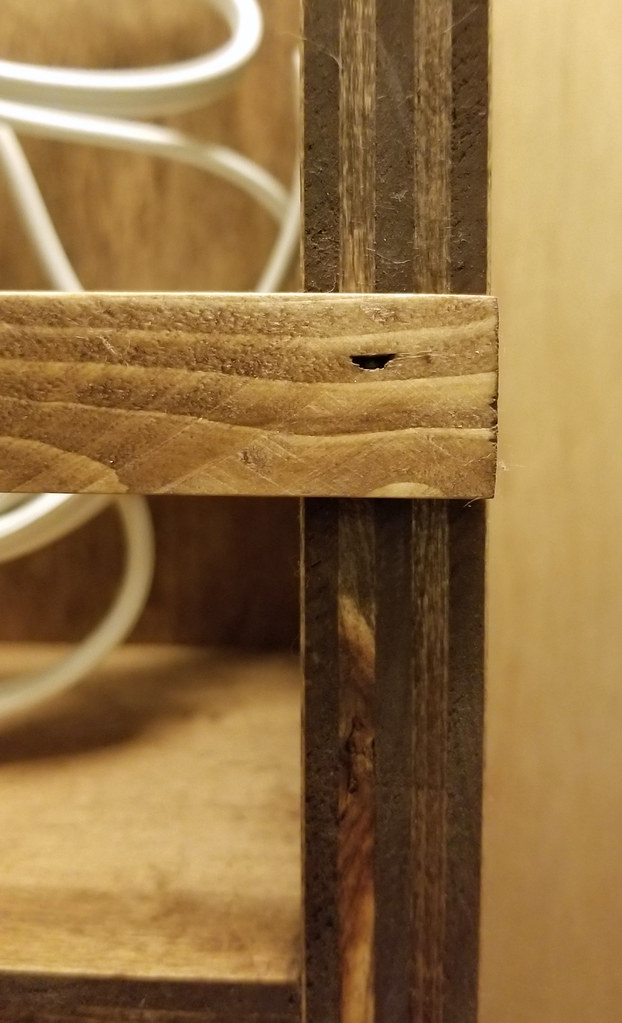
Attach the trim to the front of the shelf a few inches up from the bottom using brad nails or screws. This strip of wood keeps the iron from falling off the shelf when the door is opened and closed.
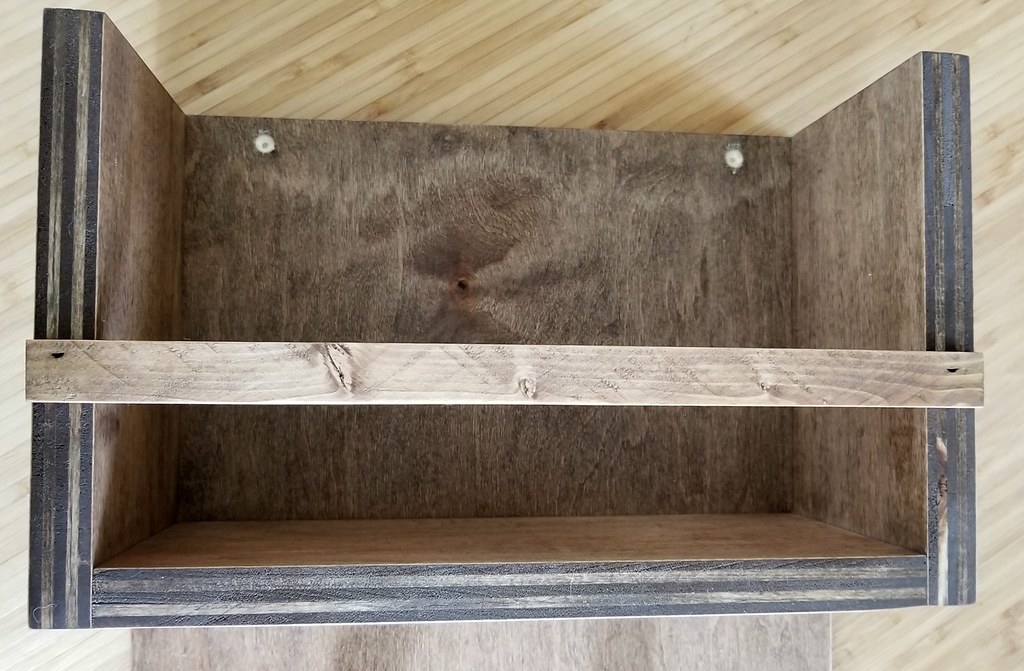
Ironing Board Holder (DIY)

My shelf was stained with Minwax stain in Special Walnut. Two coats and then buffed with a soft cloth.

The final step is hanging the holder. I mounted it to the inside of the linen closet door with a screw at each corner of the back board. If your iron or ironing board are heavy, you may want to use anchors behind the screws.
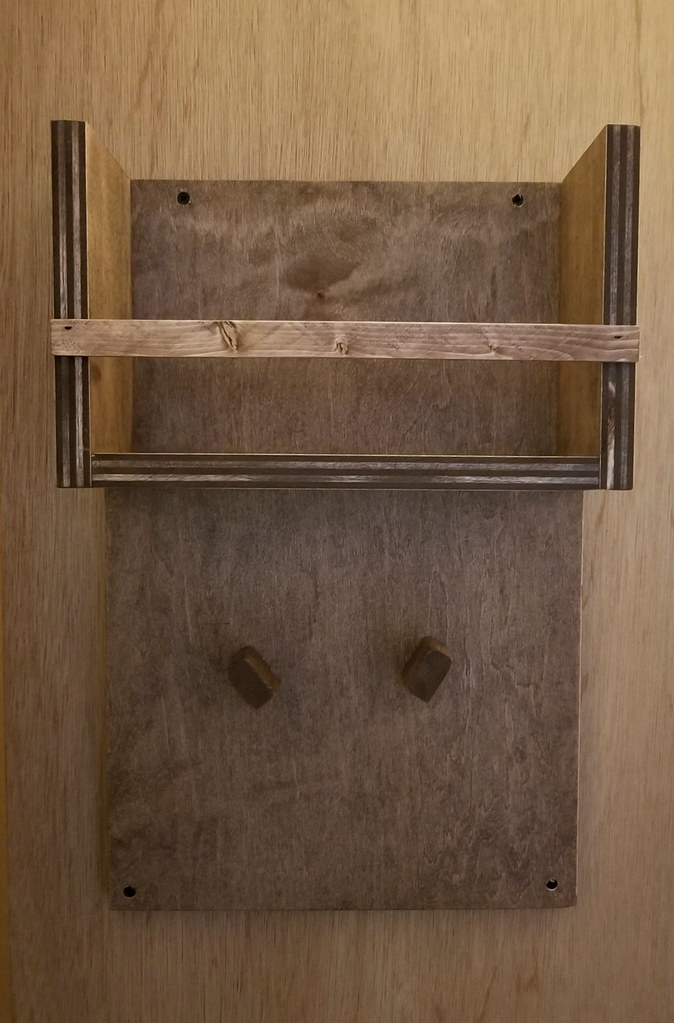
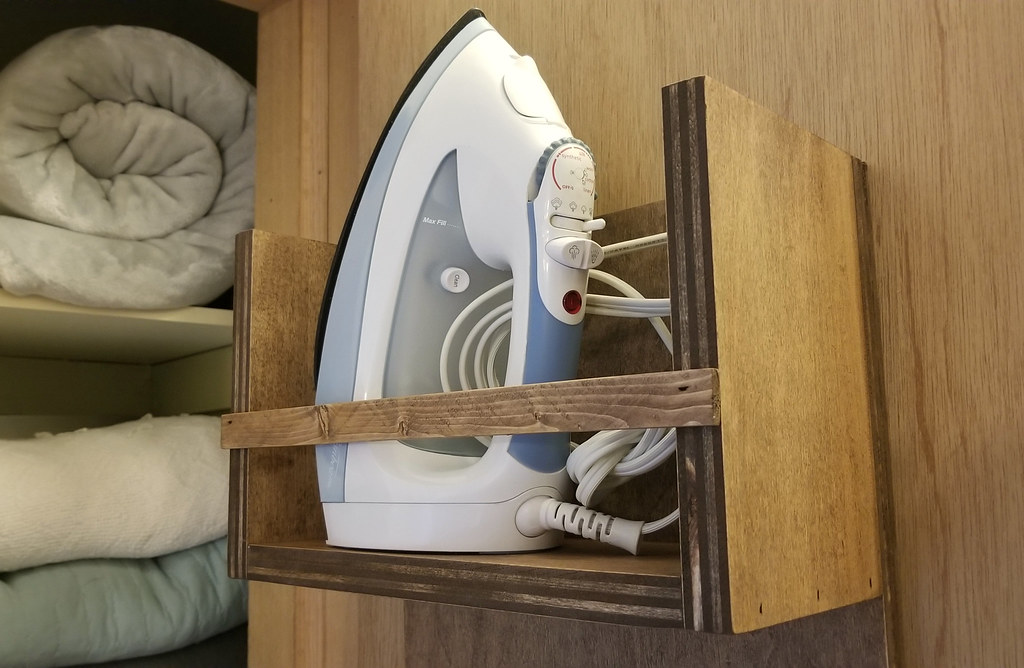
Ironing Board Holder (DIY)


Ironing Board Holder (DIY)

Ironing Board Holder (DIY)

Ironing Board Holder (DIY)

Ironing Board Holder (DIY)


Aug 10, 2014

Making a Functional Laundry Room in a Tiny Space (with a Sliding Wall!)


Our laundry room is more of a laundry "nook" - it's a space in the basement squeezed in beside the hot water heater and the furnace. The basement is fully finished, so if we wanted to rearrange things it would be a major undertaking. There are always things you think you'd have done differently, but really, there was nothing wrong with the basement, so we were happy to leave the walls where they were.

The first thing we did do when we moved in was to remove the laundry sink and replace the old side-by-sides with stackable machines. We also had the local utility company move the water heater closer to the back wall instead of it being in the middle of the room. That freed up a lot of floor space. By "a lot" I mean that we went from 4 square feet of cleared space to 9. Break out the noisemakers, it's a party down here.

Always keep in mind that a renovation isn't about making a space magazine-worthy, it's about making it functional for you. We didn't need counter tops or cupboards, cute sayings or jars of clothespins. We needed an open area. We like to hang most of our shirts to dry, and hanging clothes takes up a lot of space. All we had was a 3-foot rod with a shelf above it for detergent, fabric softener, etc. We would end up hanging the clothes from any available place - water pipes usually. Most of the time it looked like we were running a t-shirt business on the side.

Before:
laundry room makeover before

So, while renovations were going on upstairs in the bathroom (p.s. I am sooooo close to showing you the finished room!), we did this quick weekend project - that stretched into a week because I decided to paint everything.

First I removed the old shelf and hanging rod and patched all of the holes in the wall. The area around the door had never been finished, so Tom put up the few pieces of missing drywall, I mudded it and gave everything a fresh coat of white paint. There is an open space above the door that can be used for storage, so instead of drywalling over it Tom installed a small door to cover it. The door latches closed and is nearly invisible if you aren't looking for it. Trim around the door finished it all off. I forgot to take a before picture, but the doorway on the other side of the furnace looks the same. Some day we may get that end finished as well.

Before:
drywall and trim door before

After:
drywall and trim door after

We determined that we really needed two clothing rods, one above the other, to give us double the hanging space. But that would mean we couldn't have a shelf for cleaning products. I didn't really like having the bottles up so high anyway - some of them are heavy and lifting them above my head wasn't fun.

The narrow wall along the side isn't used, so we bought three wire shelves to mount there and hold the bottles. That was all well and good until we realized that when clothes were hanging they would block access to the supplies.

After a brainstorming session or two, we came up with the idea of a sliding wall. Tom cut a piece of 1/4 inch plywood to the width of the wall and about 4 feet high, I painted it white so it would blend in, and we mounted it to the wall with heavy-duty drawer slides.

drawer slides sliding wall laundry room
sliding wall laundry room

Tom installed a home-made wooden track to the floor to keep the "wall" in alignment. The wire shelves mount to the sliding wall, and we added a simple handle to make it easier to pull in and out. I'm so excited about the wall, I could probably write an entire post just about this part.

sliding wall laundry room

For the rods, we wanted the top one to extend out farther than the bottom one, so that longer clothing would still hang freely instead of draping on top of the bottom rod. Tom built two sets of brackets from 2x2 lumber and mounted them to the back wall. The bottom rod sits about 12 inches from the wall, and the top rod is at 20 inches. Since the sliding wall on the side is only 4 feet high, we were able to extend the top rod all the way over to the side wall, giving us another 10 inches or so of hanging space. The top rod is attached to the side wall with a rod flange to add extra support.

hanging rods laundry room
hanging rod laundry room

The raw wood looked a little unfinished so I painted the brackets white and stained the rods Jacobean brown (Minwax). We now have plenty of space to hang everything, and clean clothes are no longer rubbing up against the water heater and furnace. We put a 4x6 rug down so you aren't standing on the cold cement floor, and the laundry baskets slide under the hanging rods like they were meant to be there.

hanging rods laundry room after
hanging rods sliding wall laundry room after
hanging rods laundry room after

This has completely changed how we feel about doing laundry. I'm not saying we're fighting each other for the chance to do it, but it sure helps that it no longer looks and feels like you're entering a dungeon.

Have you made any small changes around the house lately that have had a big impact?
Related Posts Plugin for WordPress, Blogger...