SEARCH THE BLOG

Jan 6, 2014

DIY Vintage Book Coat Rack


The worst thing about DIYing gifts for your family is that you can't show them off on the blog until after Christmas. So much for giving other people ideas for their own gifts, right?

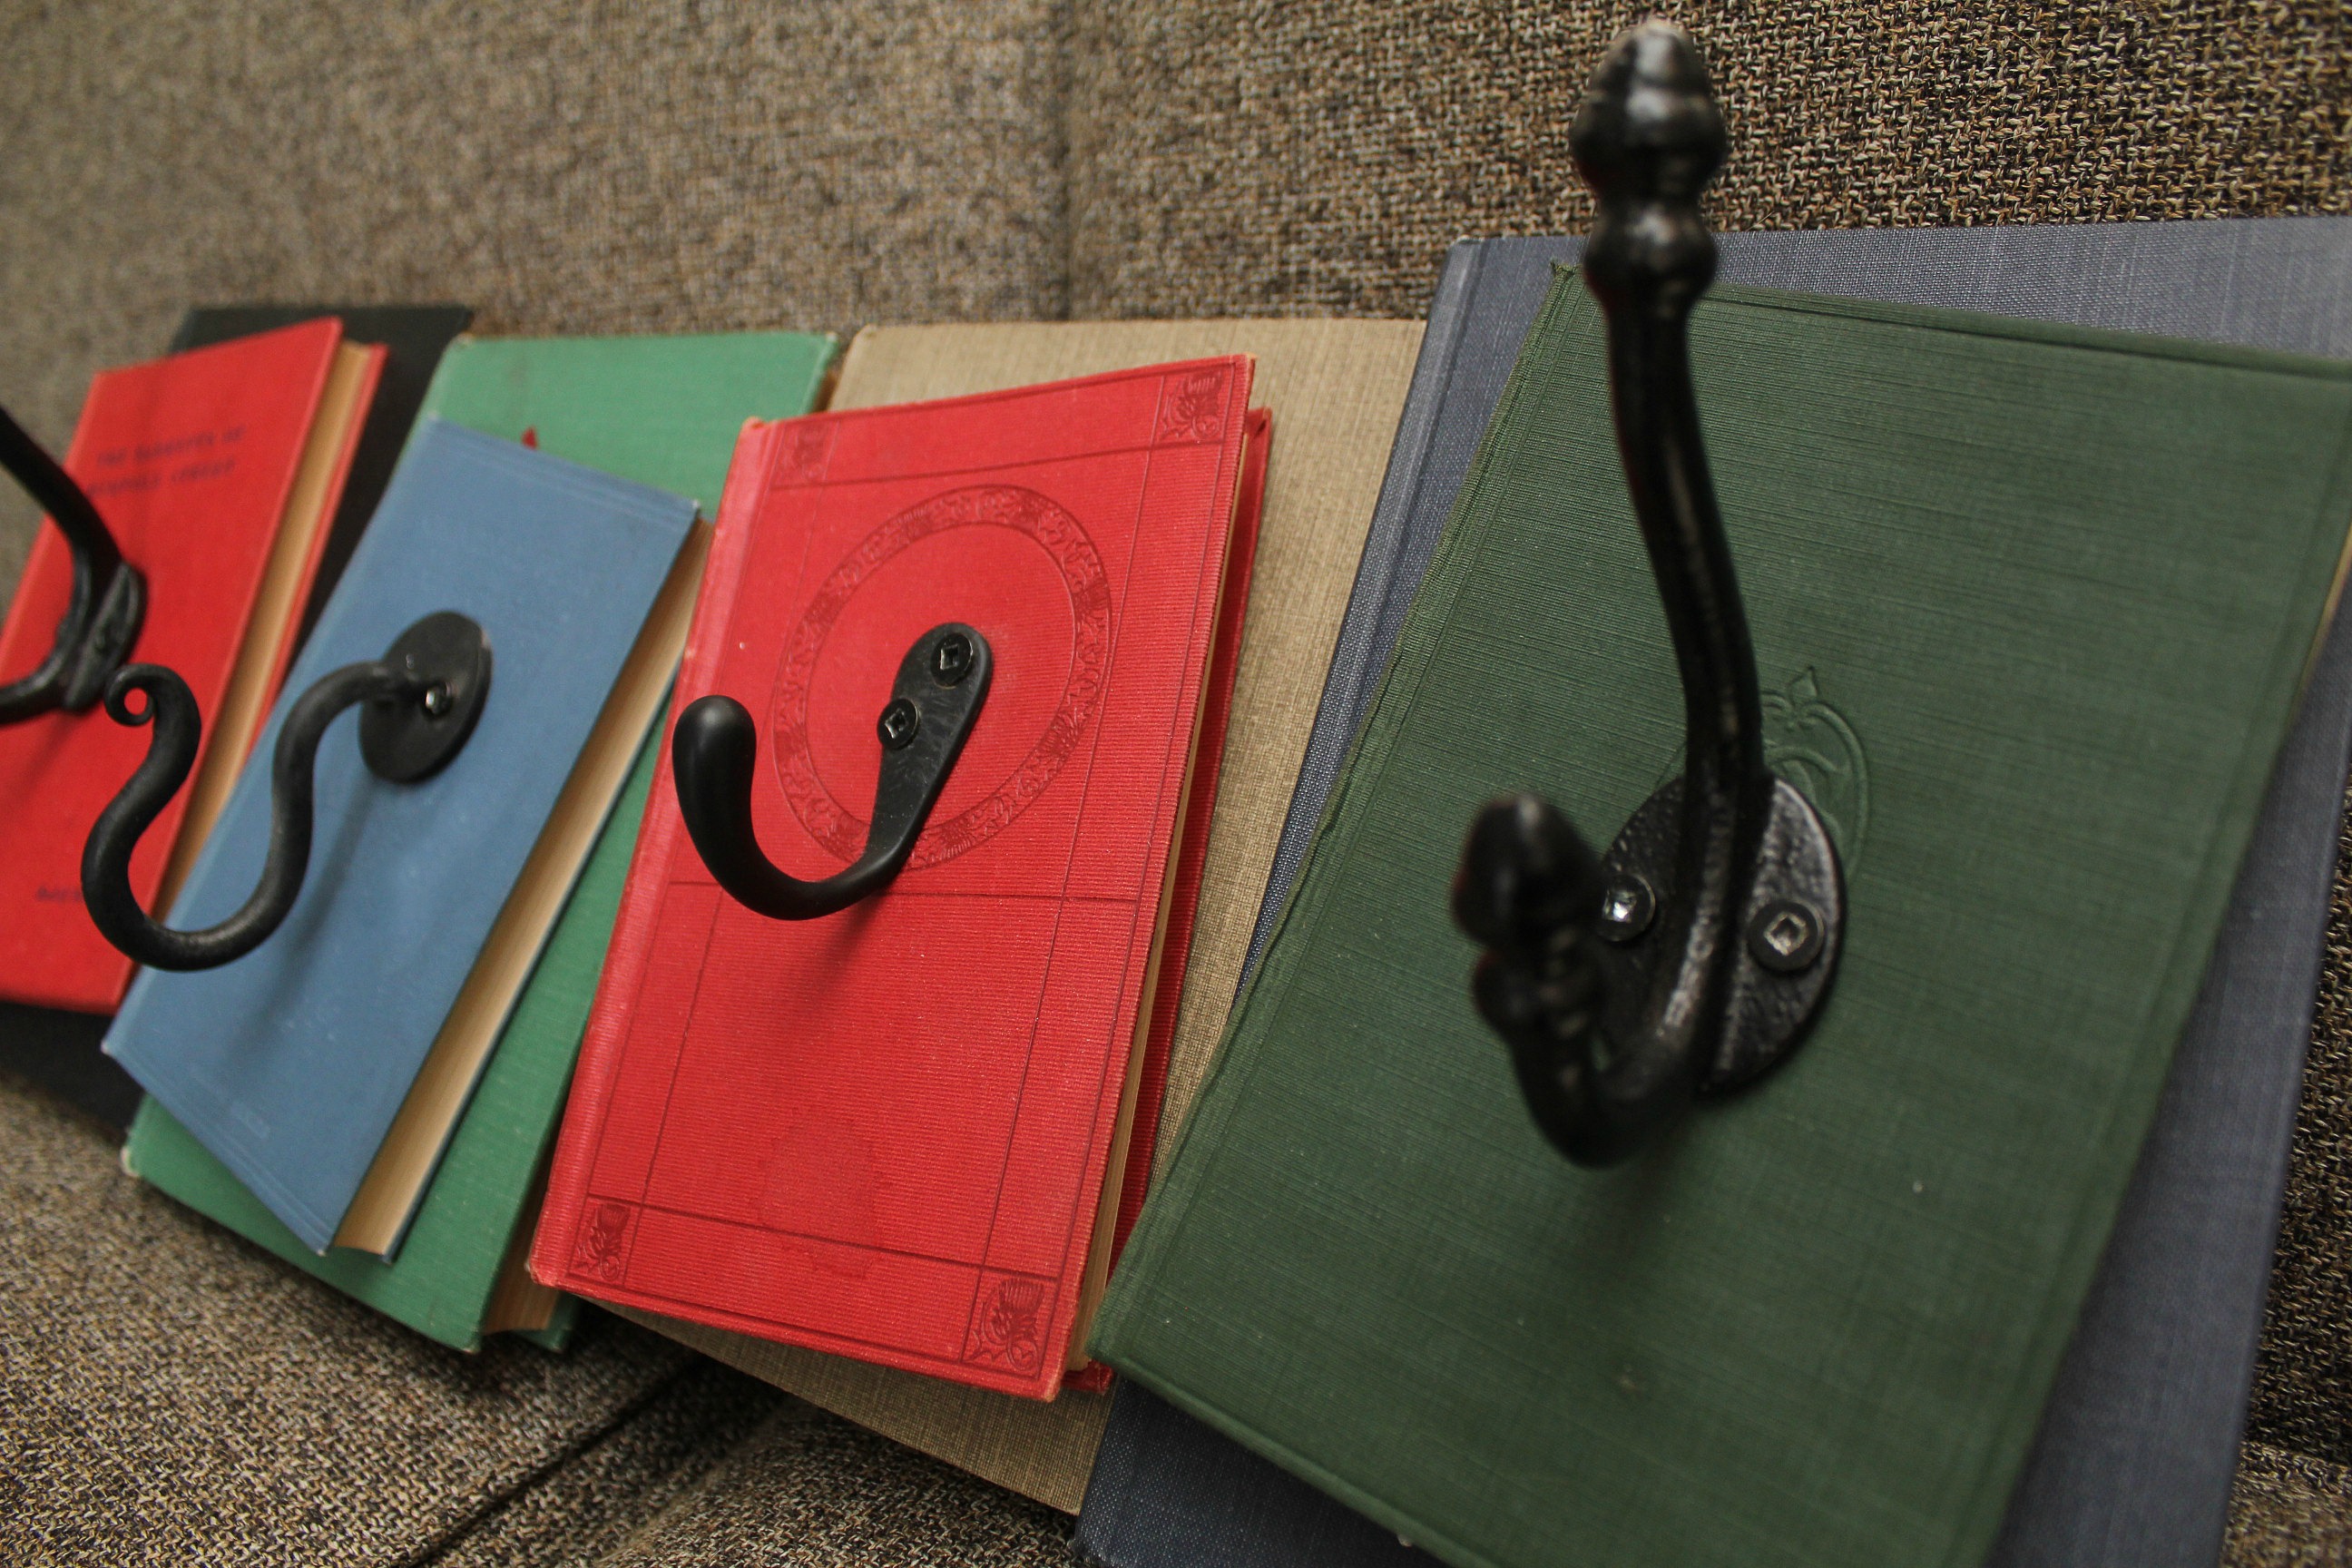
My aunt is a bit of a book lover. Family members who read here are laughing right now at the "bit" part. She has a used bookstore in our home town that is stuffed to the gills with books of every genre. So what better gift to give her than a wall-mounted coat rack made from vintage books?
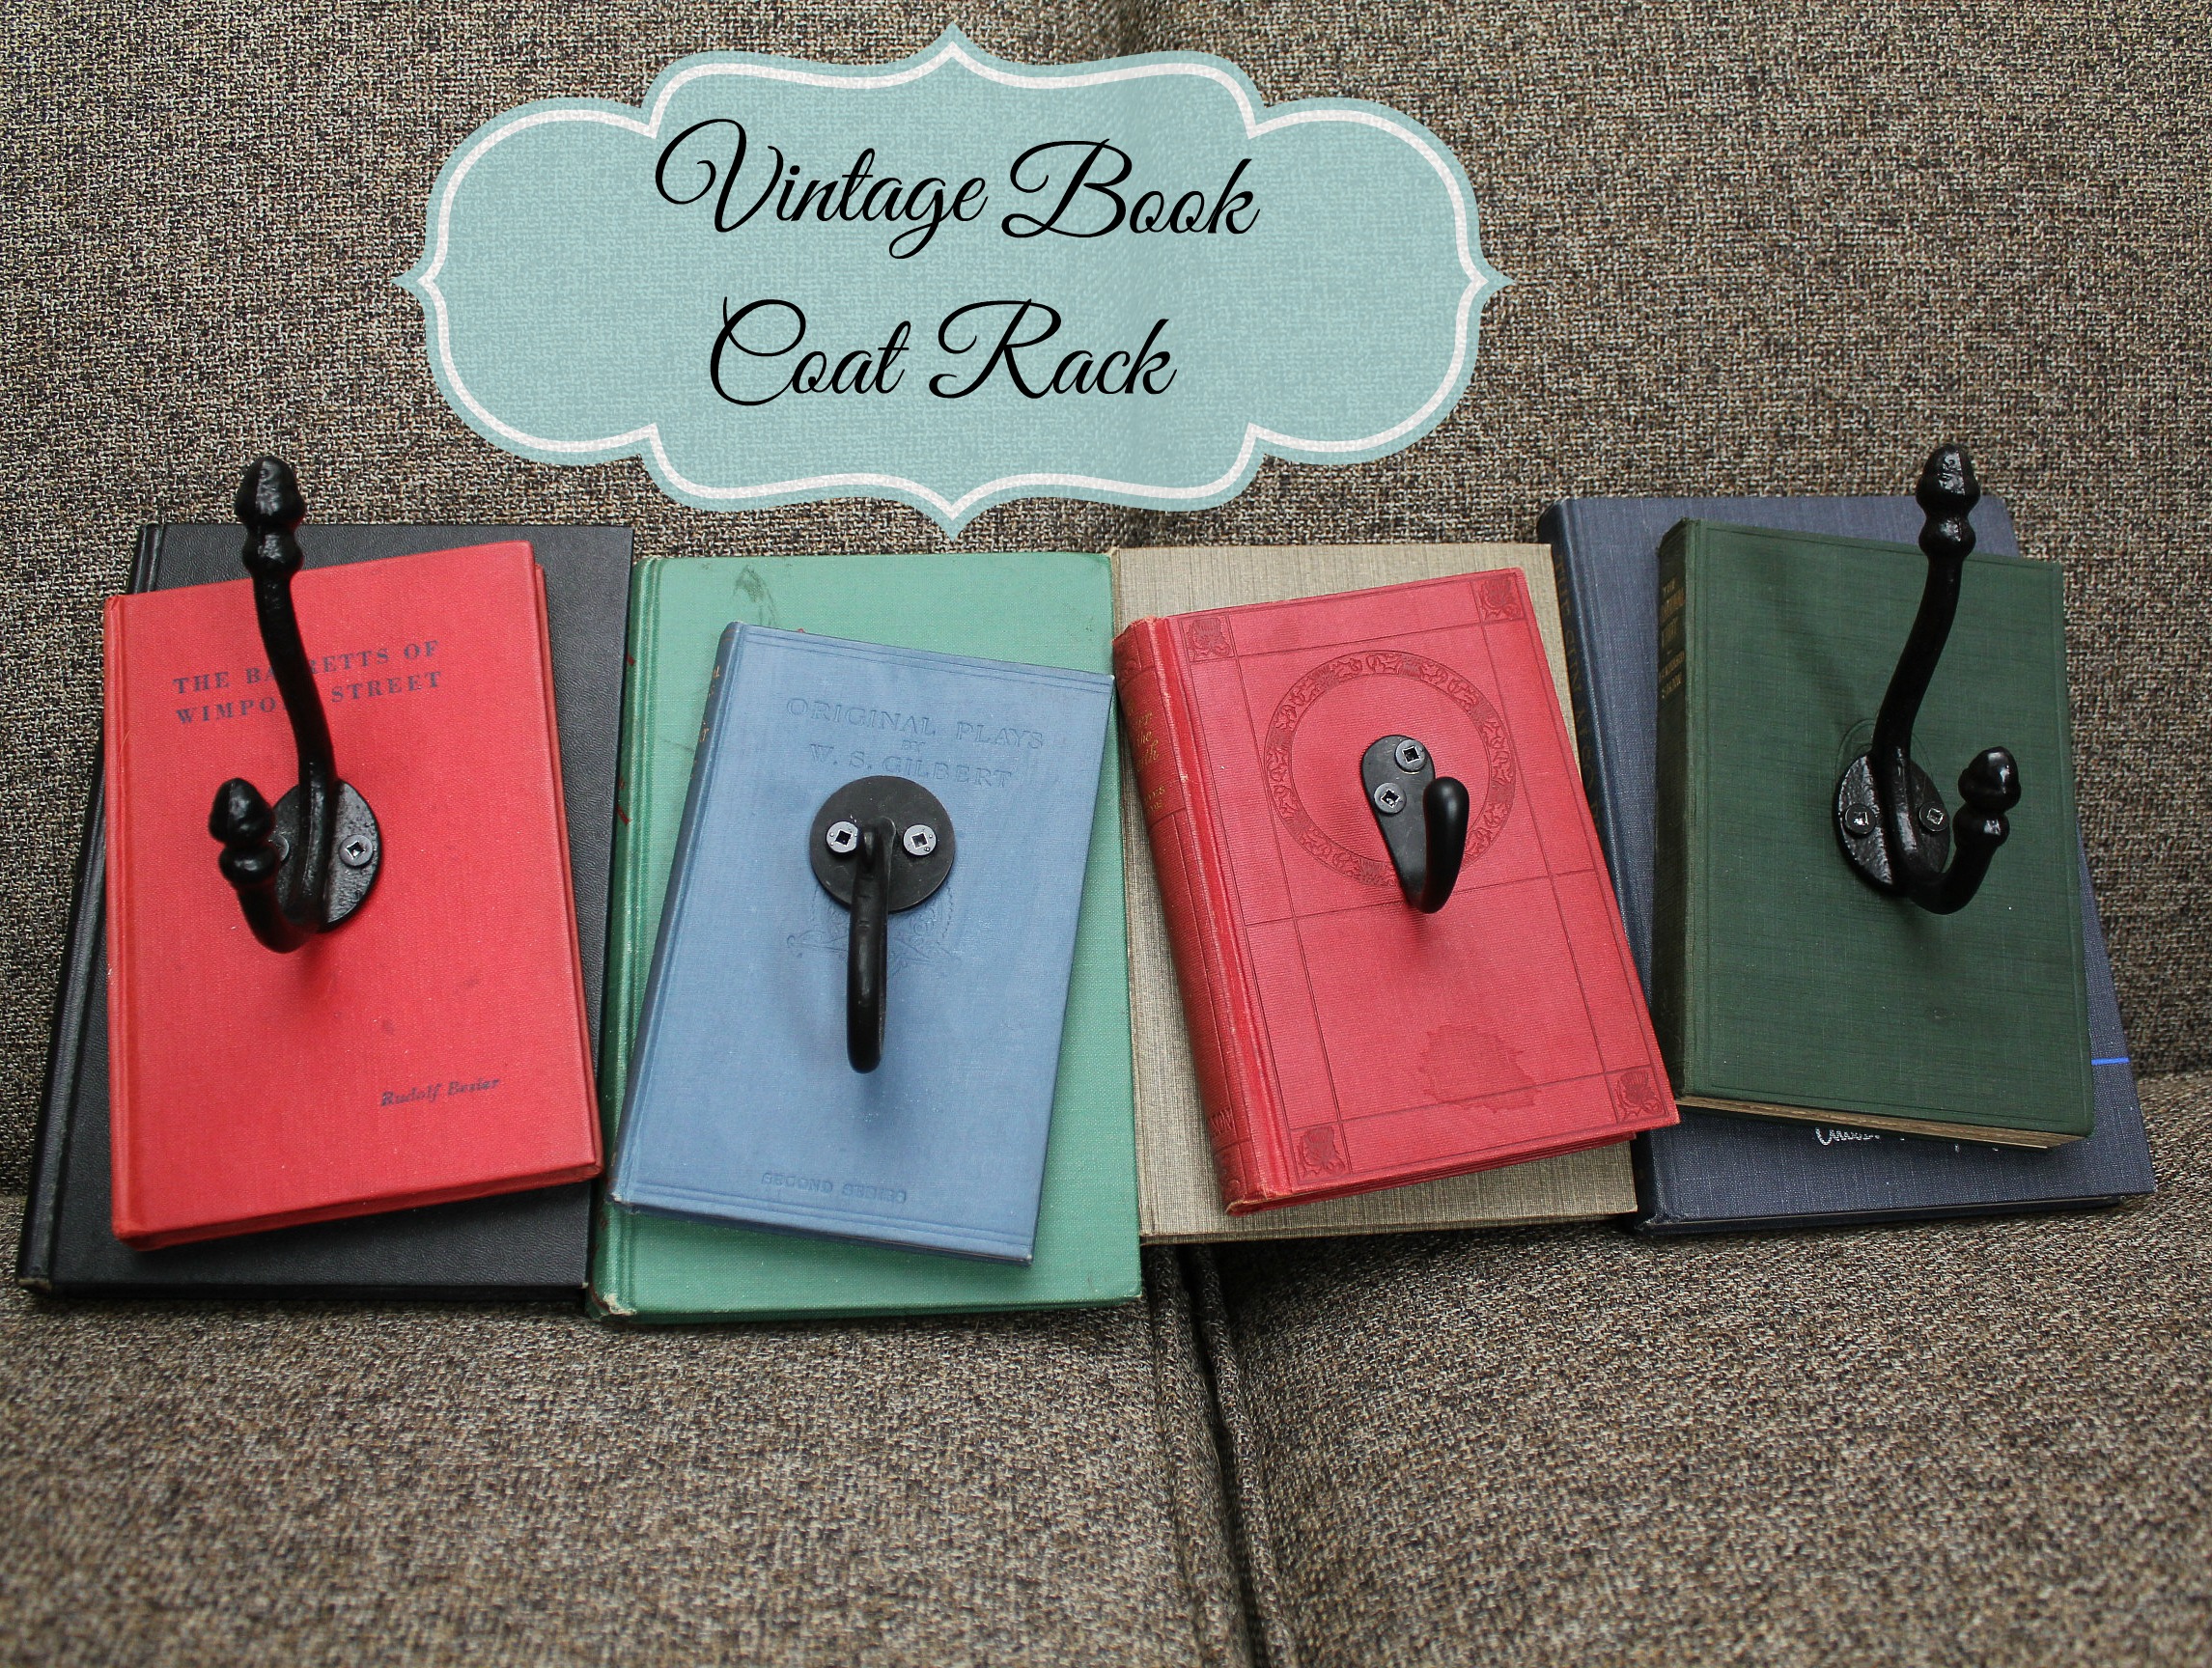

I first saw this idea on the Knick of Time Interiors website and pinned it to my "Future Projects" Pinterest board for later. Isn't her coat rack cute?  I loved the different-sized hooks and the off-kilter books and knew it would be the perfect gift for my aunt.

The original instructions involve screwing the wood to the back of the books, the books to each other, and then the hooks to the front of the books, but we thought it might be easier - and stronger - if we ran long machine bolts straight through from front to back, locking them in with nuts. This method requires you to have a selection of drill bits and other tools, so if you're workshop is limited you might want to use the other instructions.

Tom & I have a bad habit of leaving building handmade gifts until the last minute, but I knew this one was going to take some time, so I got right on it. I headed to the local used bookstore to get some vintage books in varying sizes and colours. Just imagine how much I was cringing when I told the lady at the bookstore that I was looking for cheap hardcover books that I could drill holes into. But she was actually kind of excited when I explained the project and asked if I would make one for her too!

I didn't really choose the books according to author, I was looking mostly at colour and size, but I still got a good variety with some classics mixed in. There is some Hemingway, some Shaw, and a couple of books from series' that my aunt already had. For a minute she thought I'd used books from her shop!
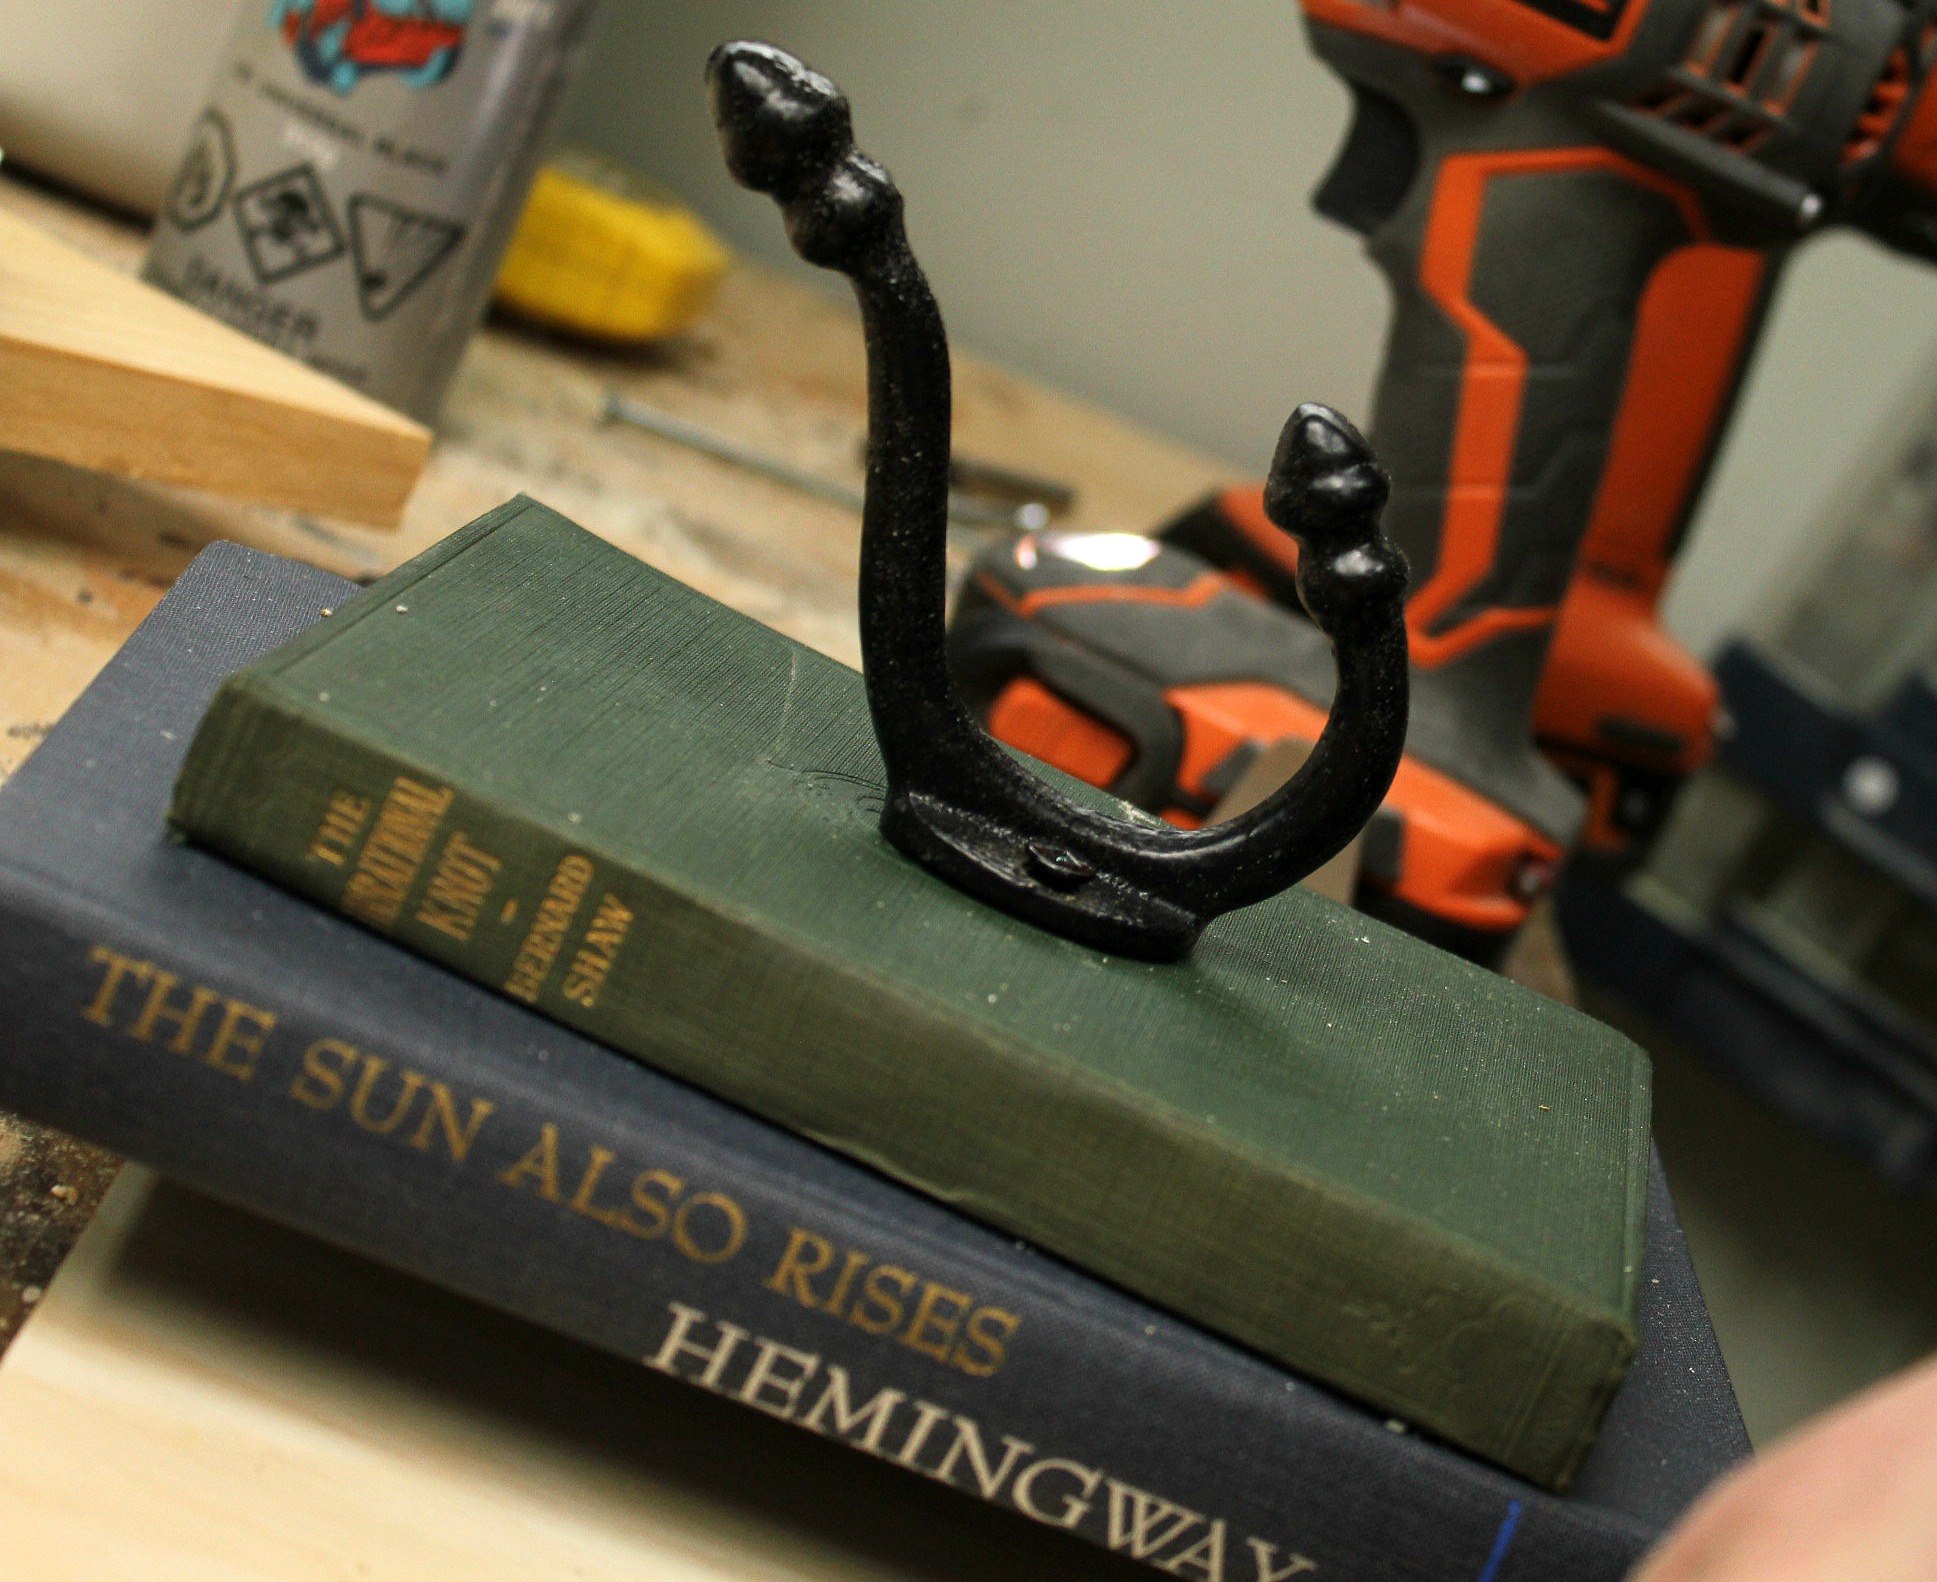

The hooks came from Canadian Tire, except the second one which is from Lee Valley Tools. That one is my favourite - made of hand-forged iron. I was hoping to find some authentic vintage hooks in local resale stores but I couldn't find a single one. Still, I think these ones have an old vibe.
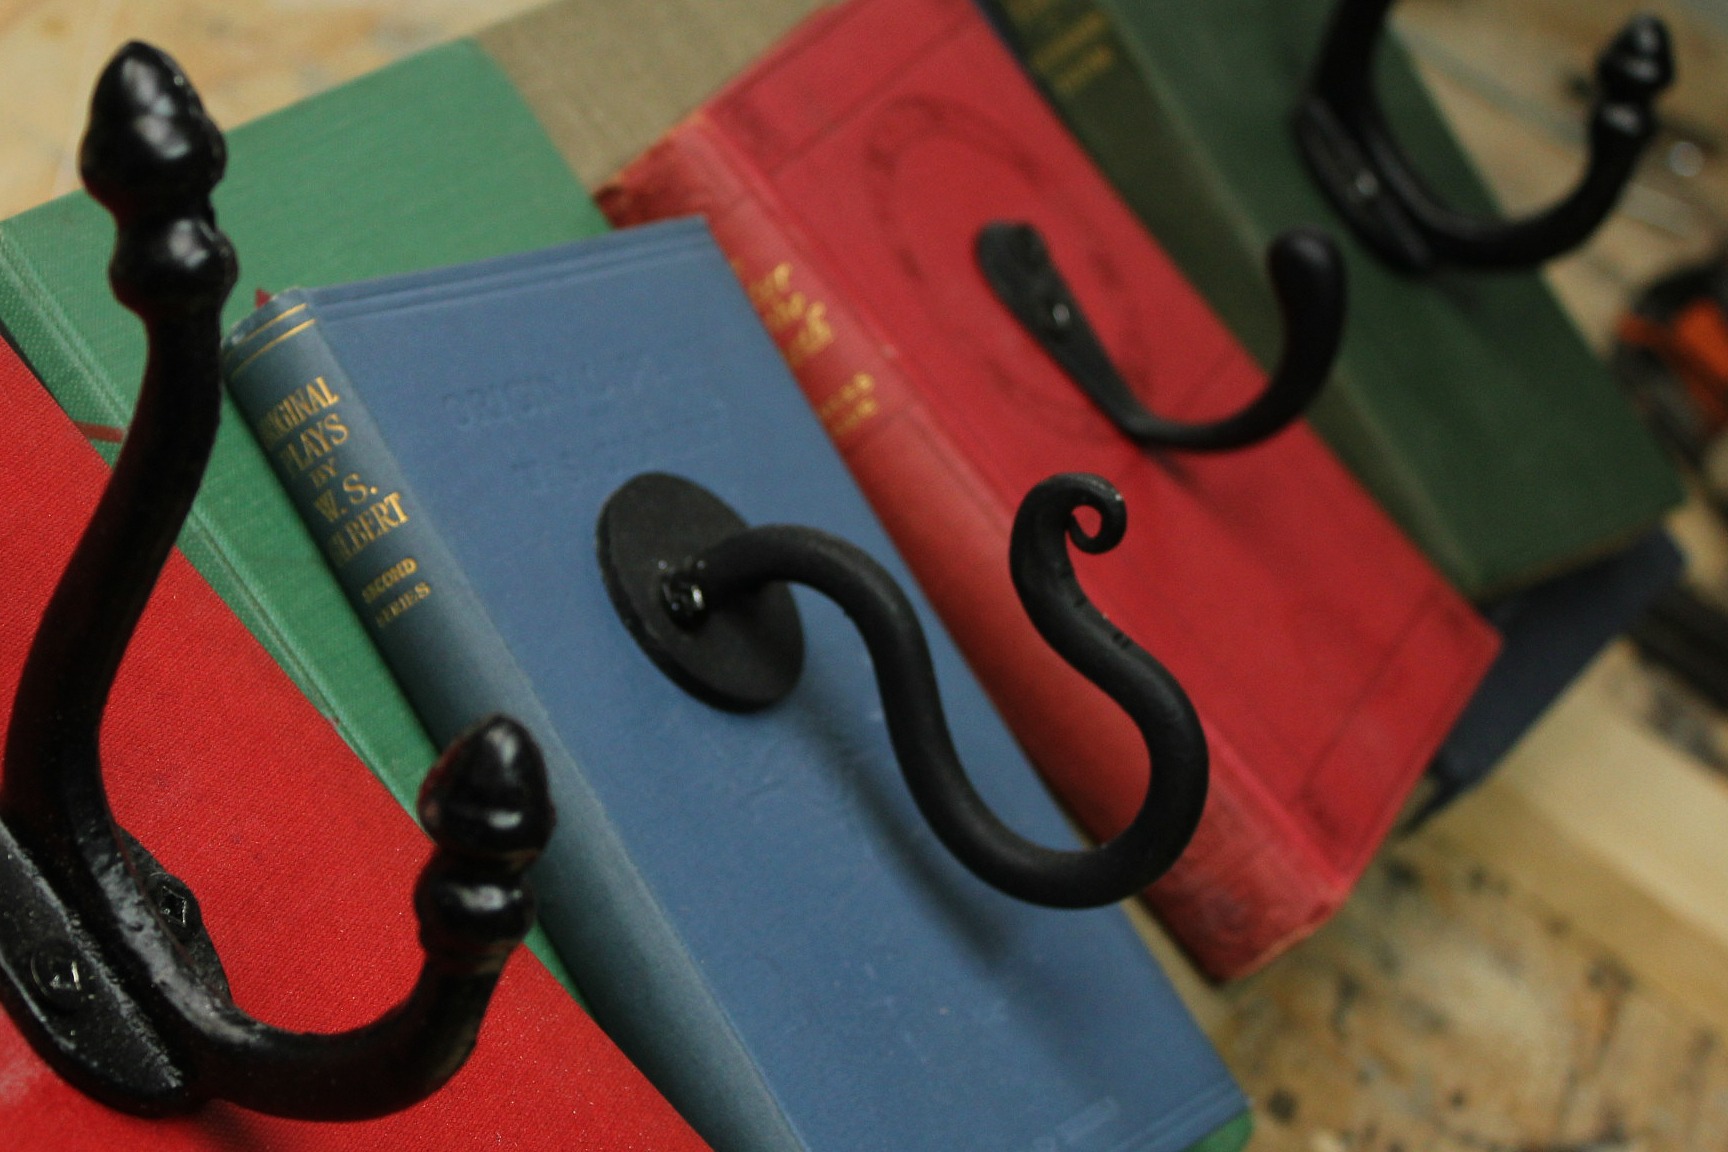

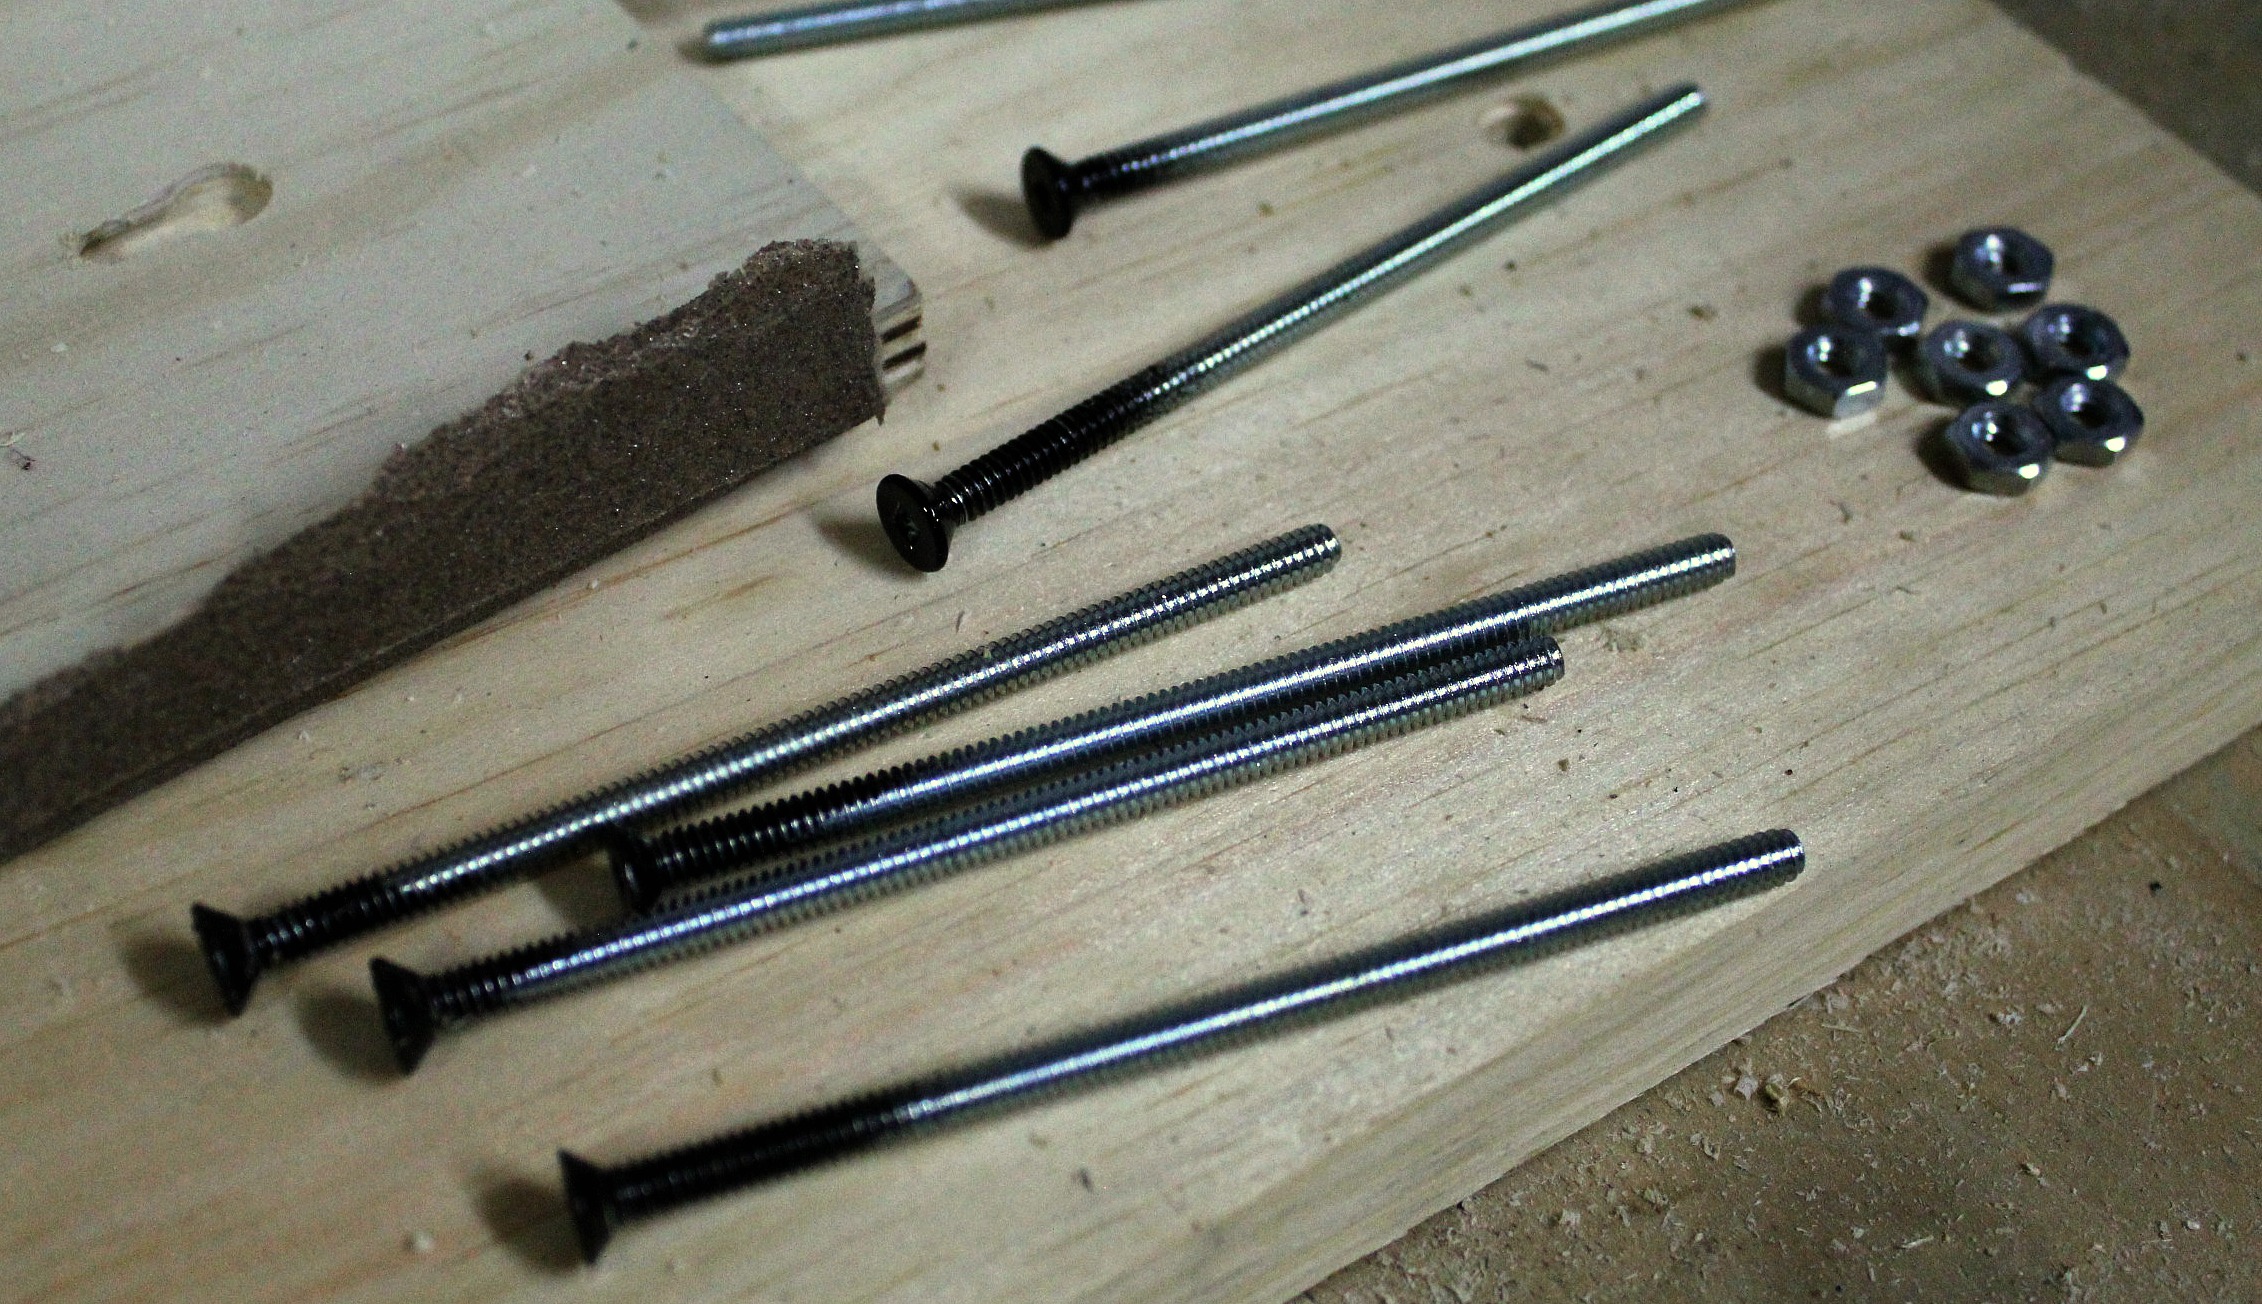
To put it together you'll need long machine bolts with tapered heads, matching nuts, and a piece of plywood as a backing board. Make sure the bolts are longer than you'll need - you'll be cutting the excess off later. You'll also need black paint if you want the bolt heads to blend in with the hooks. We spray painted the heads ahead of time to keep from getting paint on the hooks.

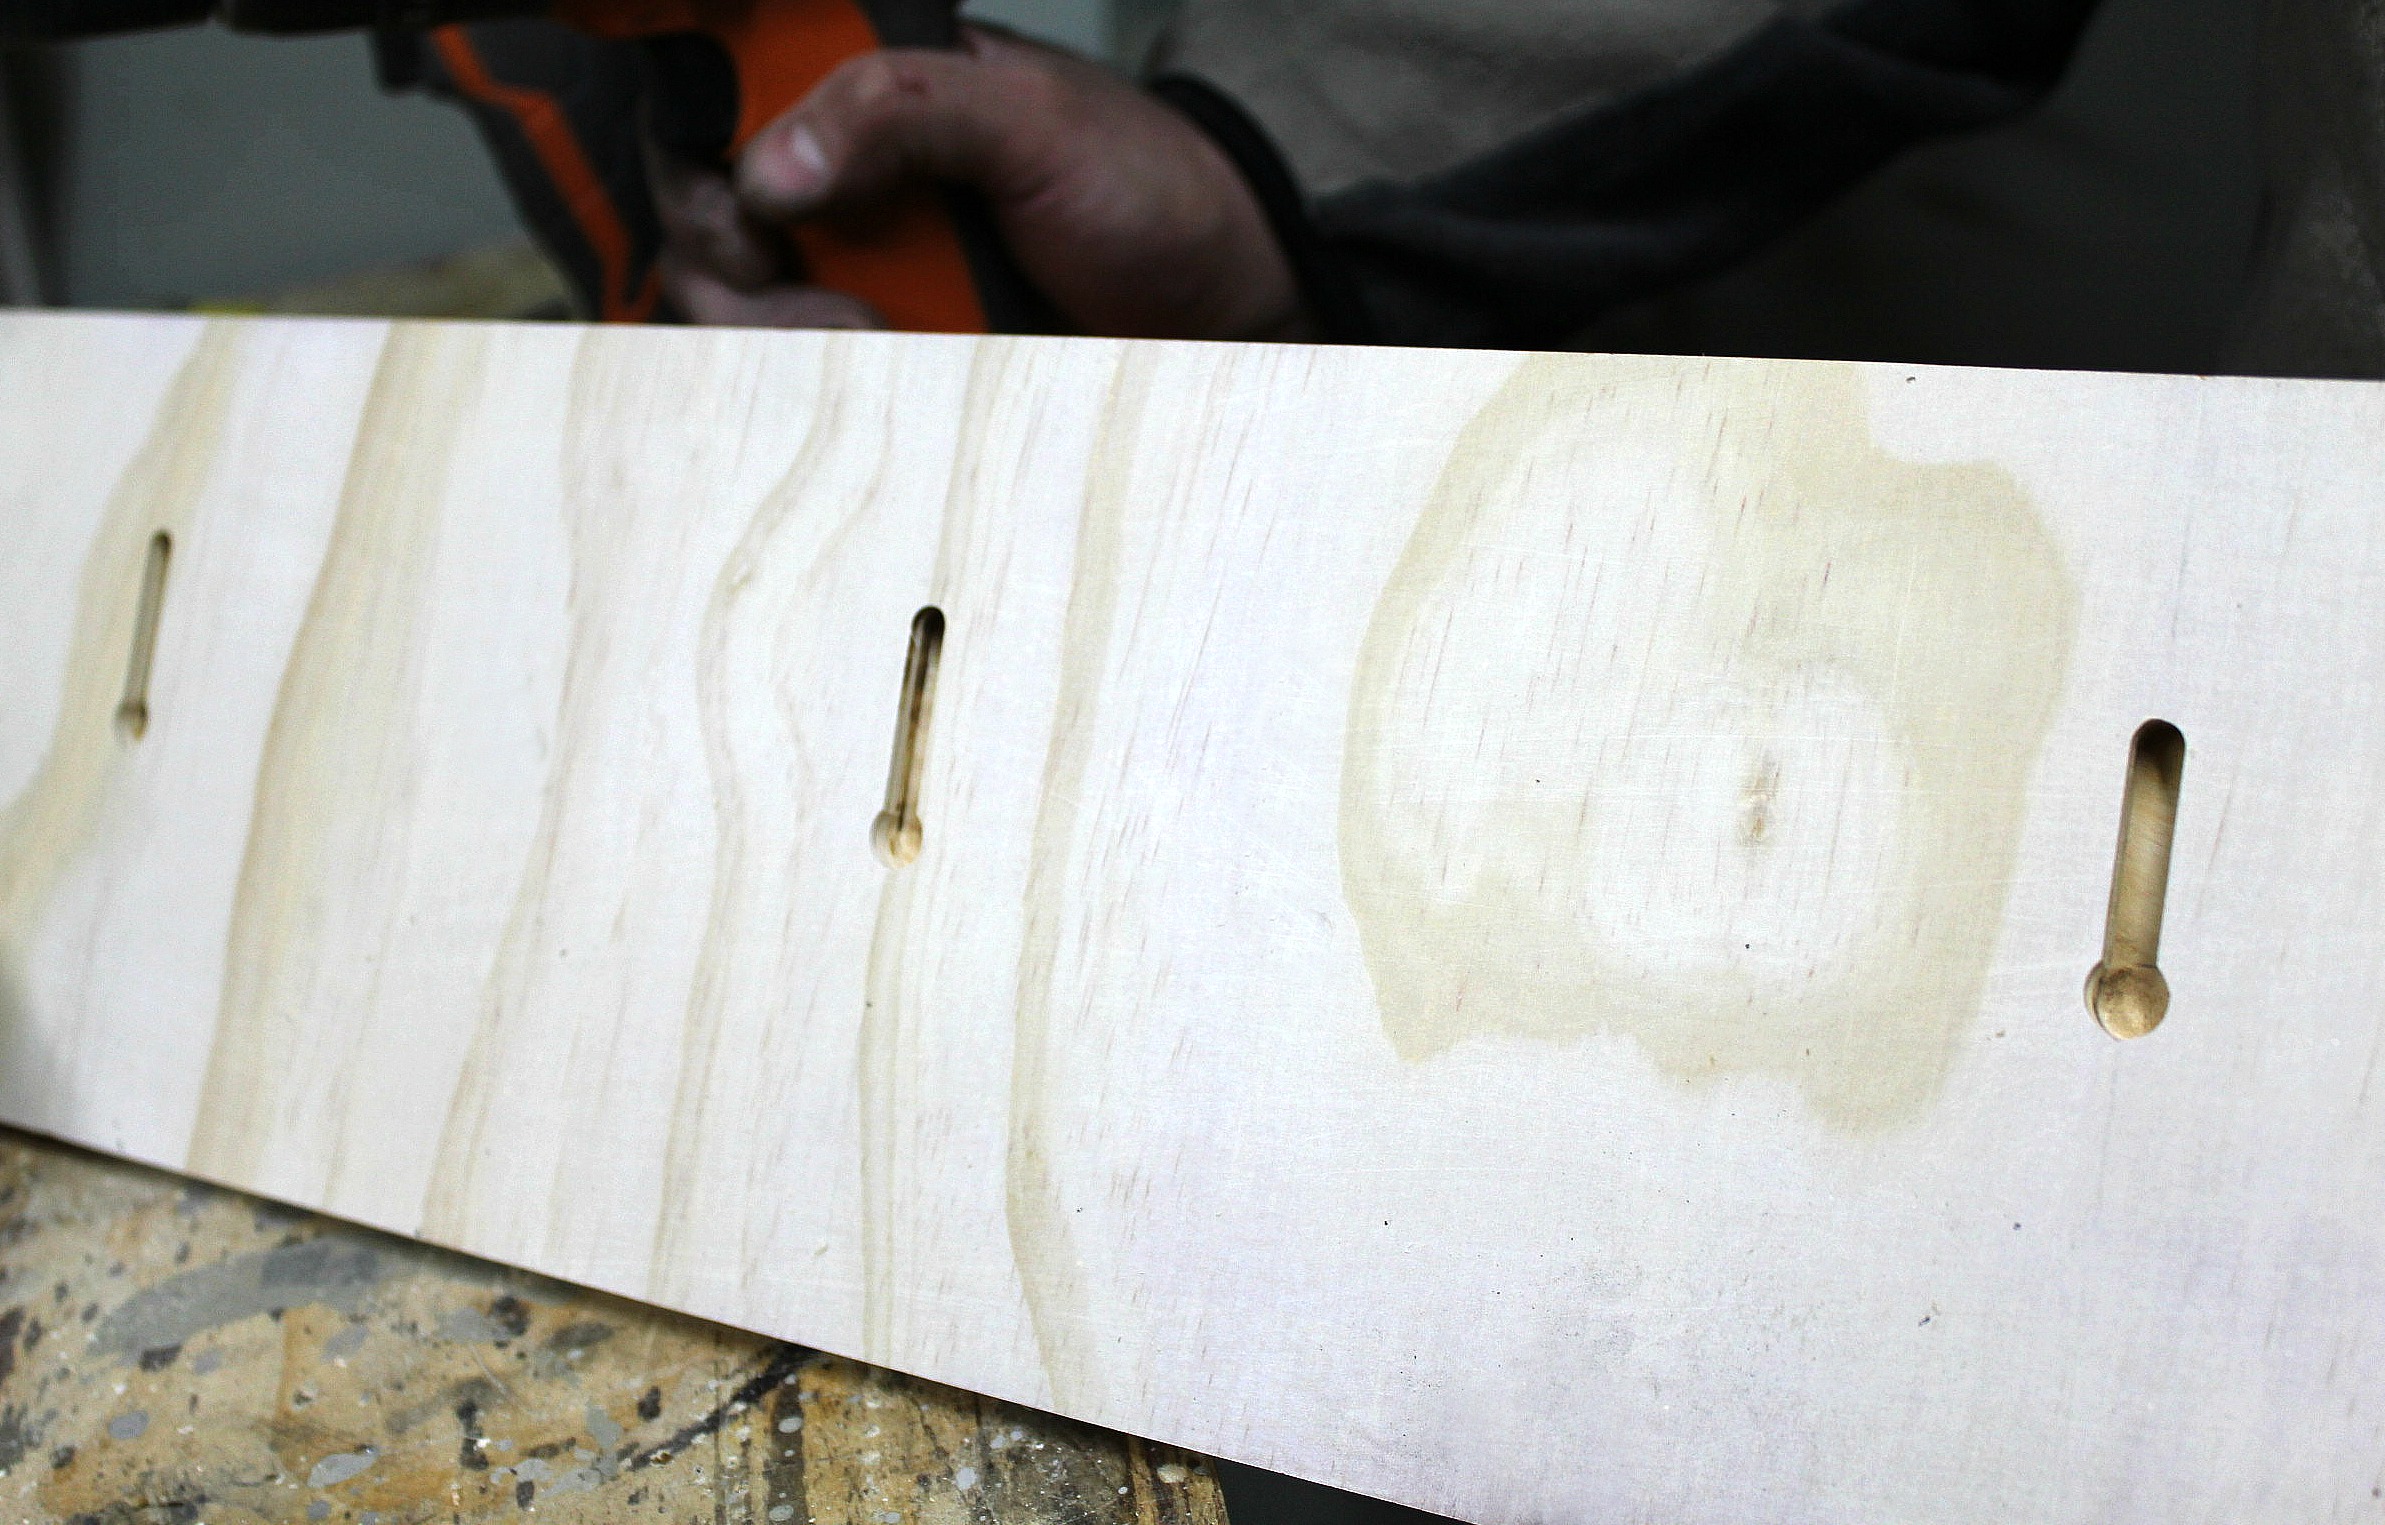
Here's where Tom took over. First, he cut three keyholes into the back of the board to make it easy to hang. All you need to do to hang it is insert three screws (with anchors) into the wall the same distance apart as the holes and slip the coat rack onto the screws.

He even built a template for my aunt. It's a board with three screws through it with the same spacing as the rack. The screws stick out through the back, so she just has to press it against the wall to make marks, and then she knows exactly where to put the screws to have it line up. My husband is such a smartie!

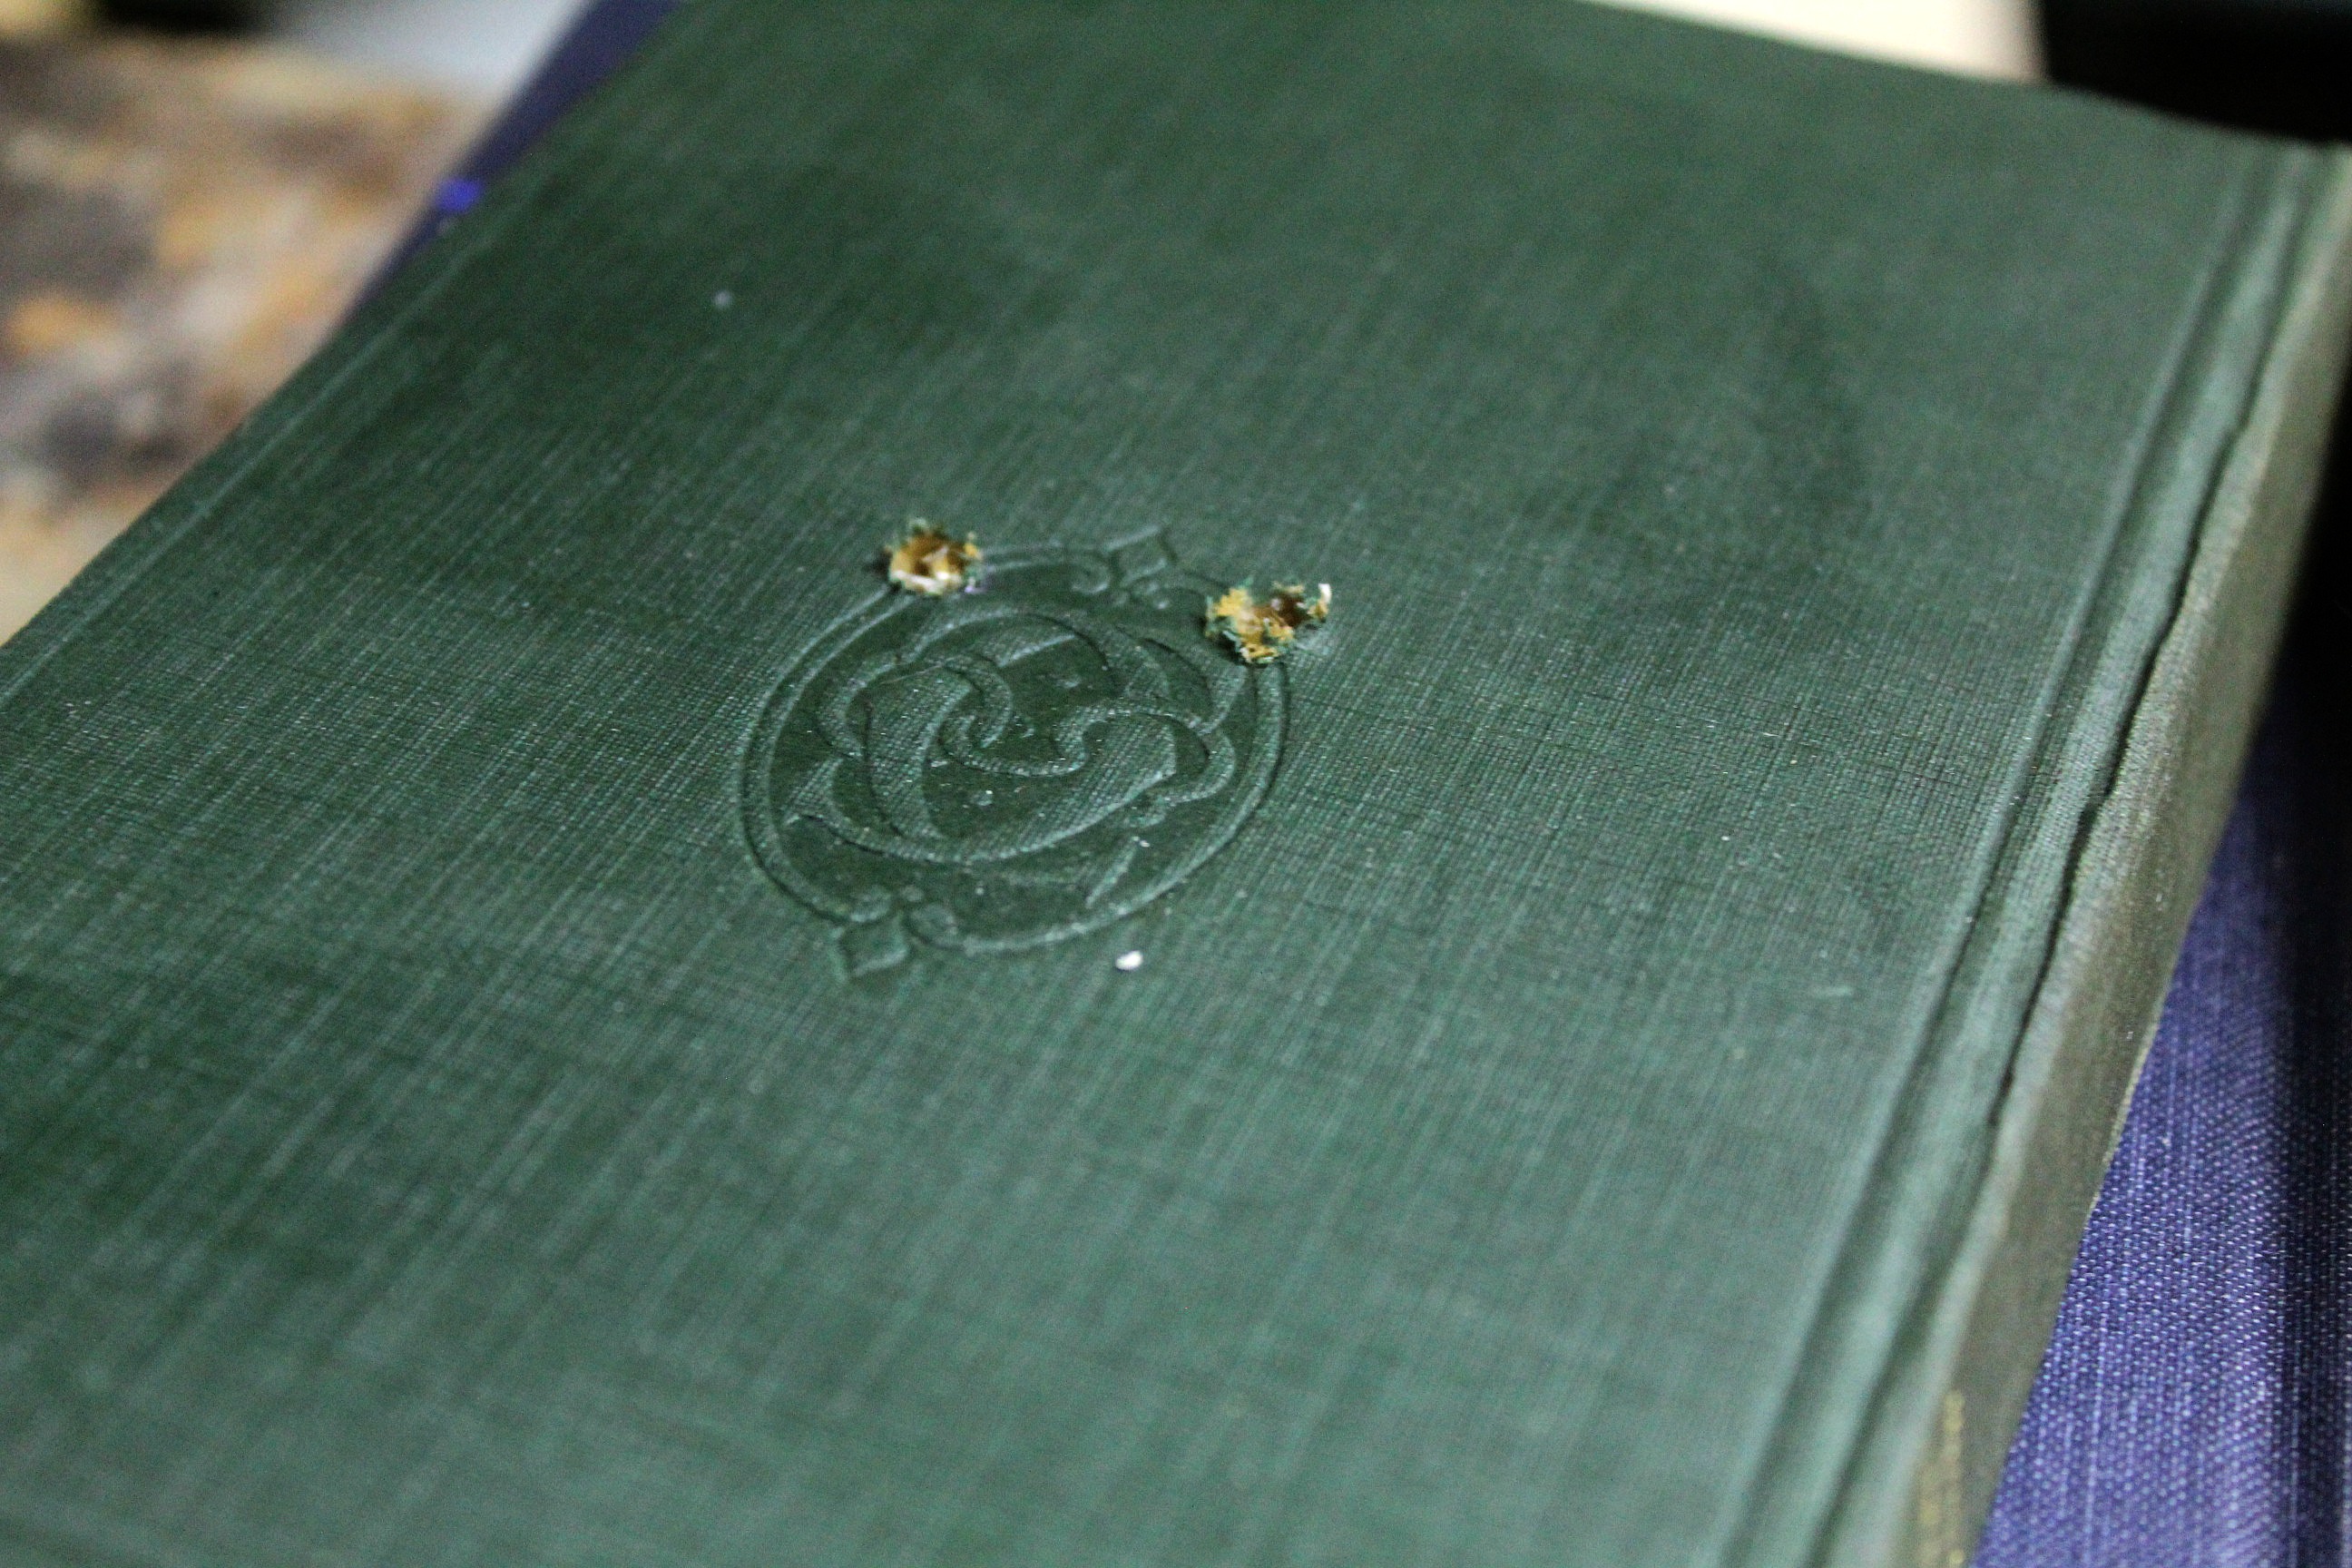
I arranged the books on the board and then the hooks on the books in the exact pattern I wanted them. Tom  then drilled small guide holes into the covers of the books where the bolts would go.
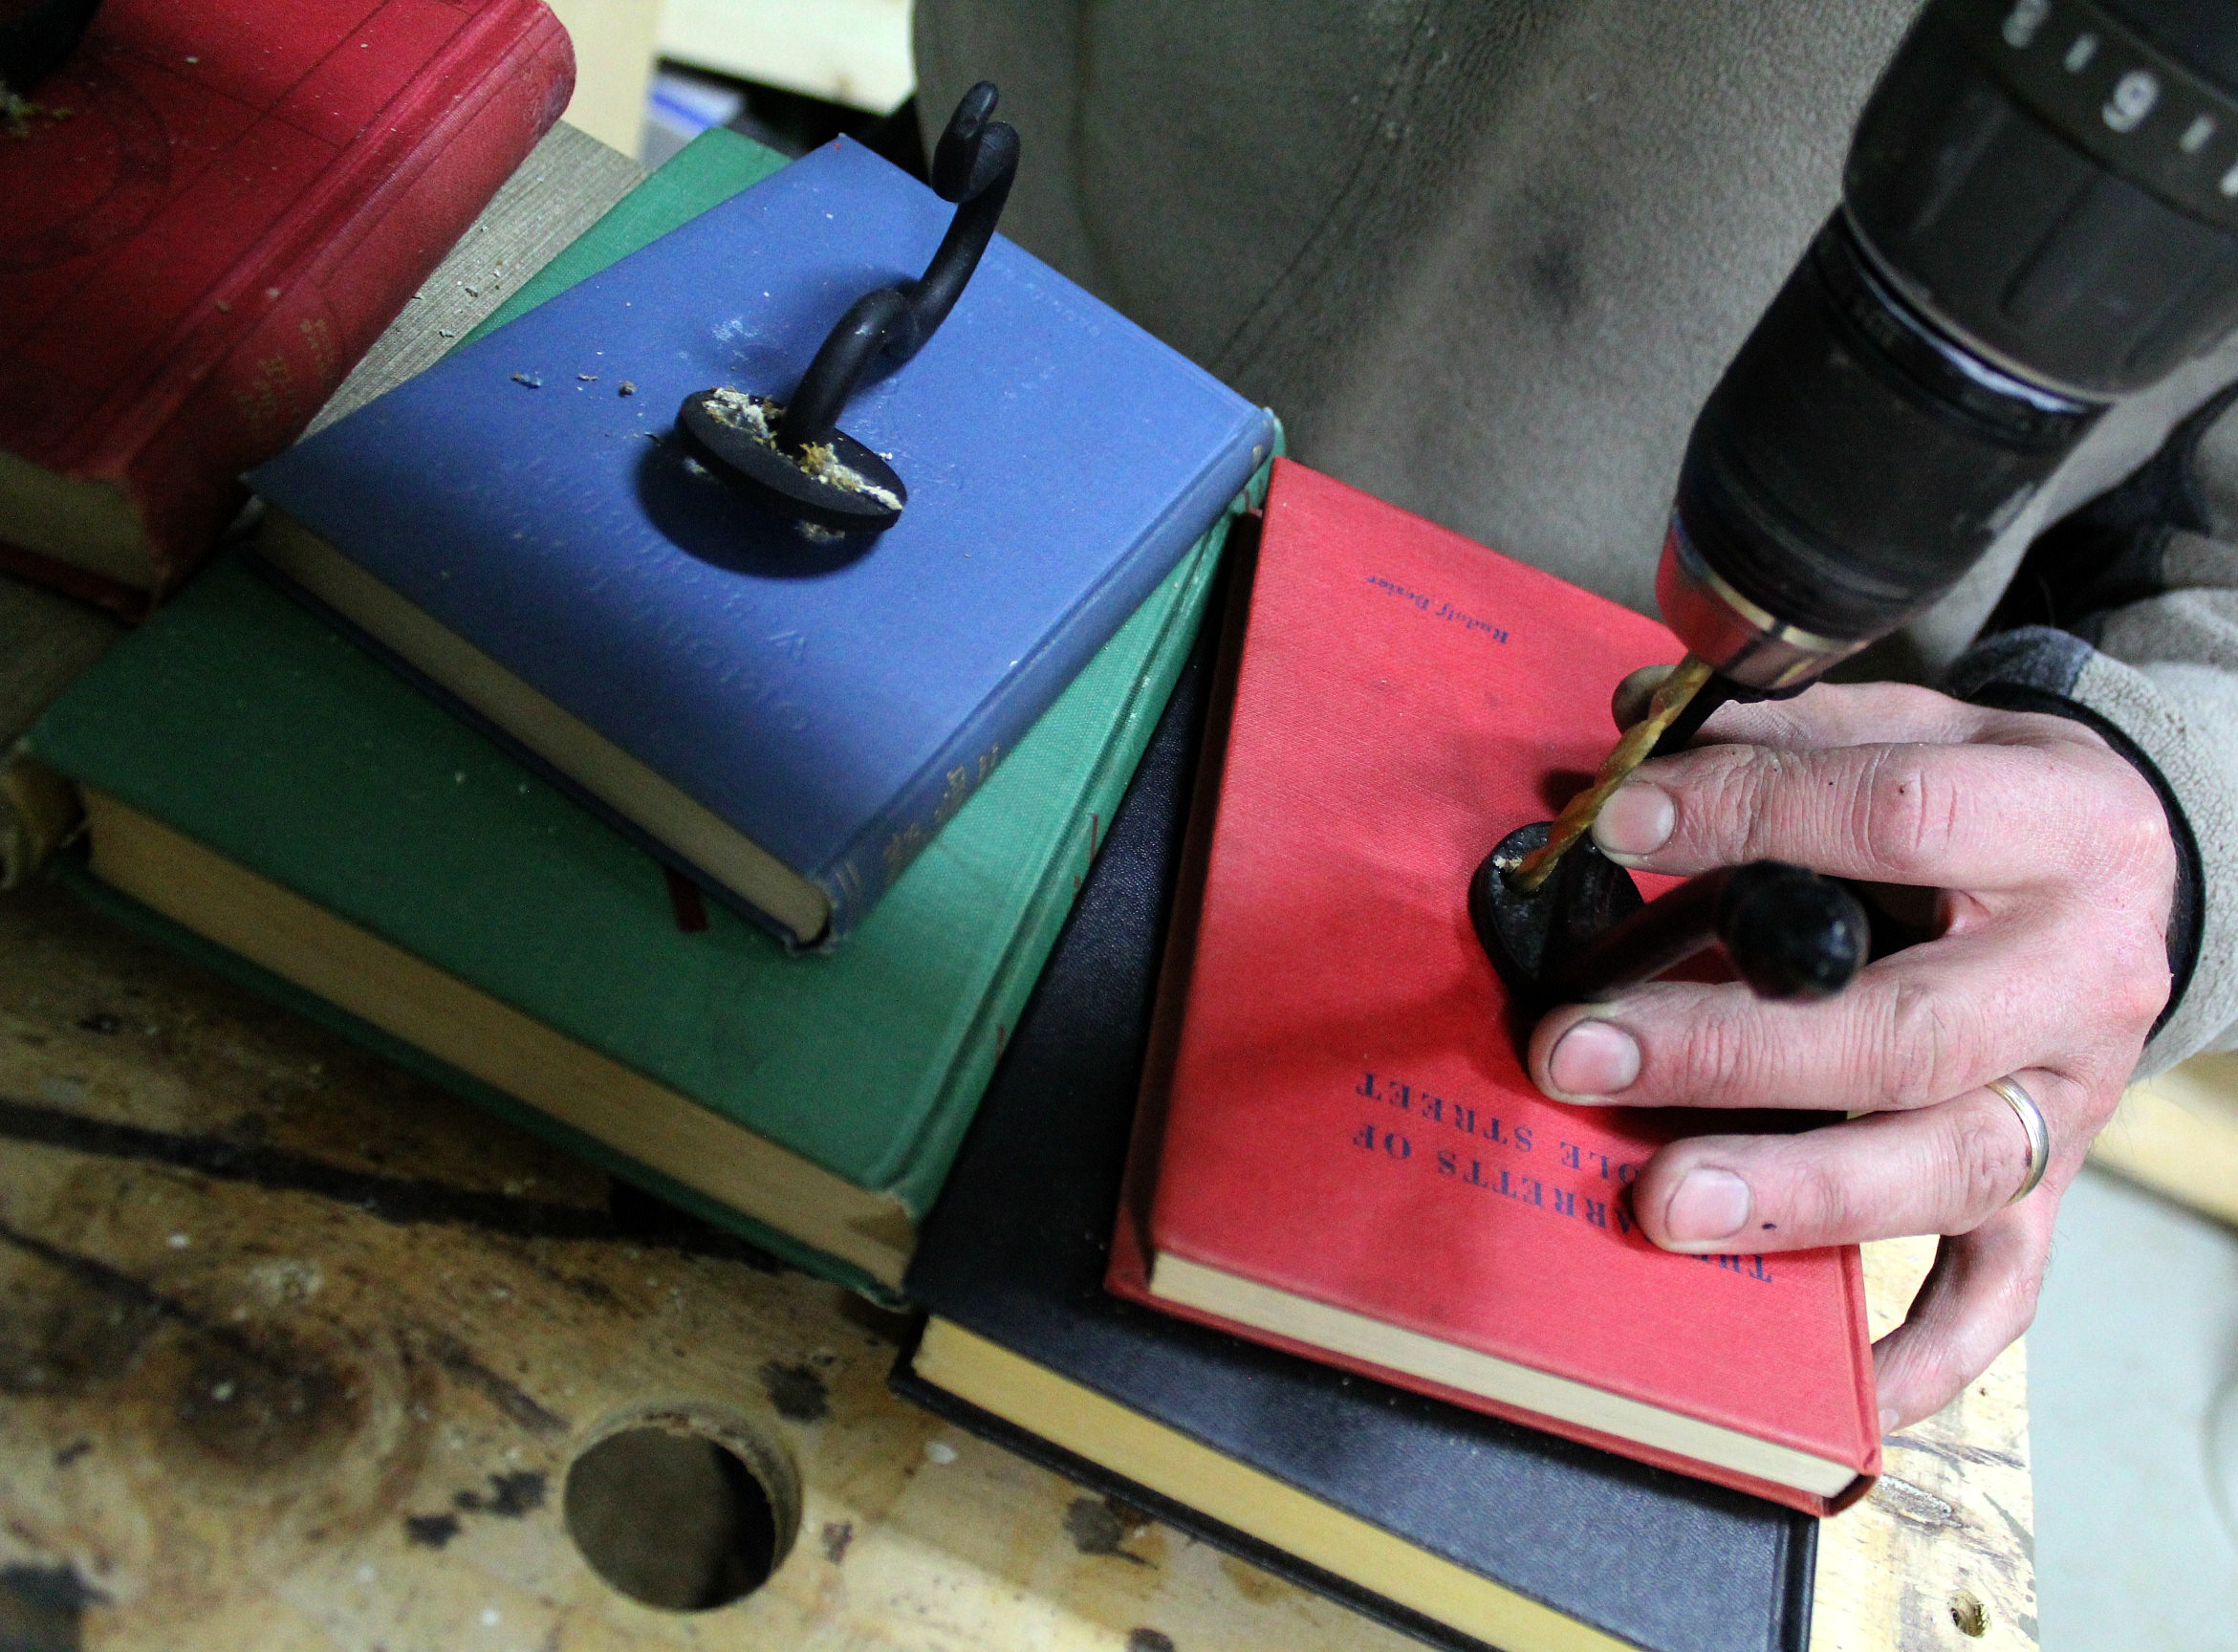


He put the hooks to the side, placed scrap boards over the books, and clamped them to the work table, squeezing the books down tightly in between. If you don't have clamps, you could have someone hold the boards in place for you.


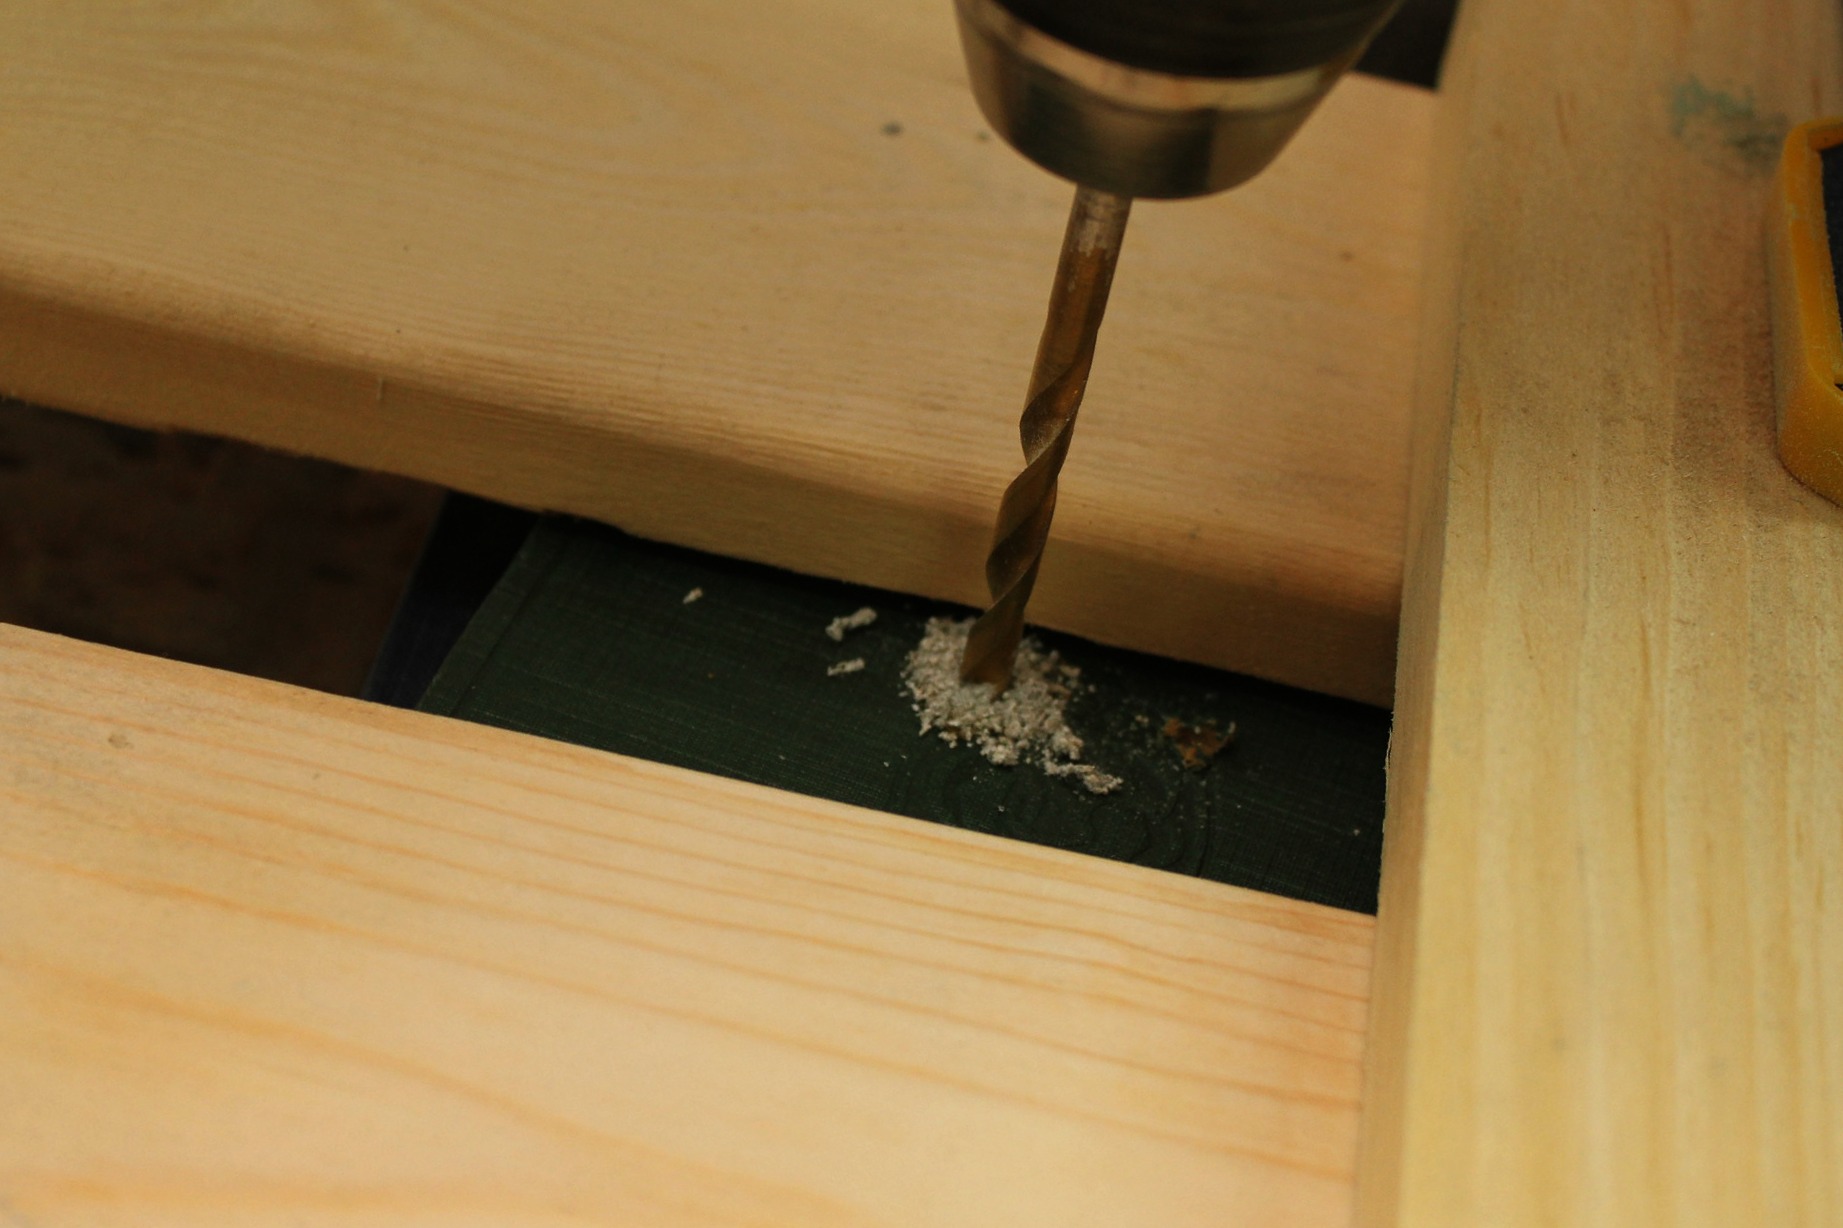
He drilled holes down through the books and the plywood using the guide holes from before. Once the holes are drilled, you can remove the clamps as you can now use the holes to line everything back up if something gets moved around.
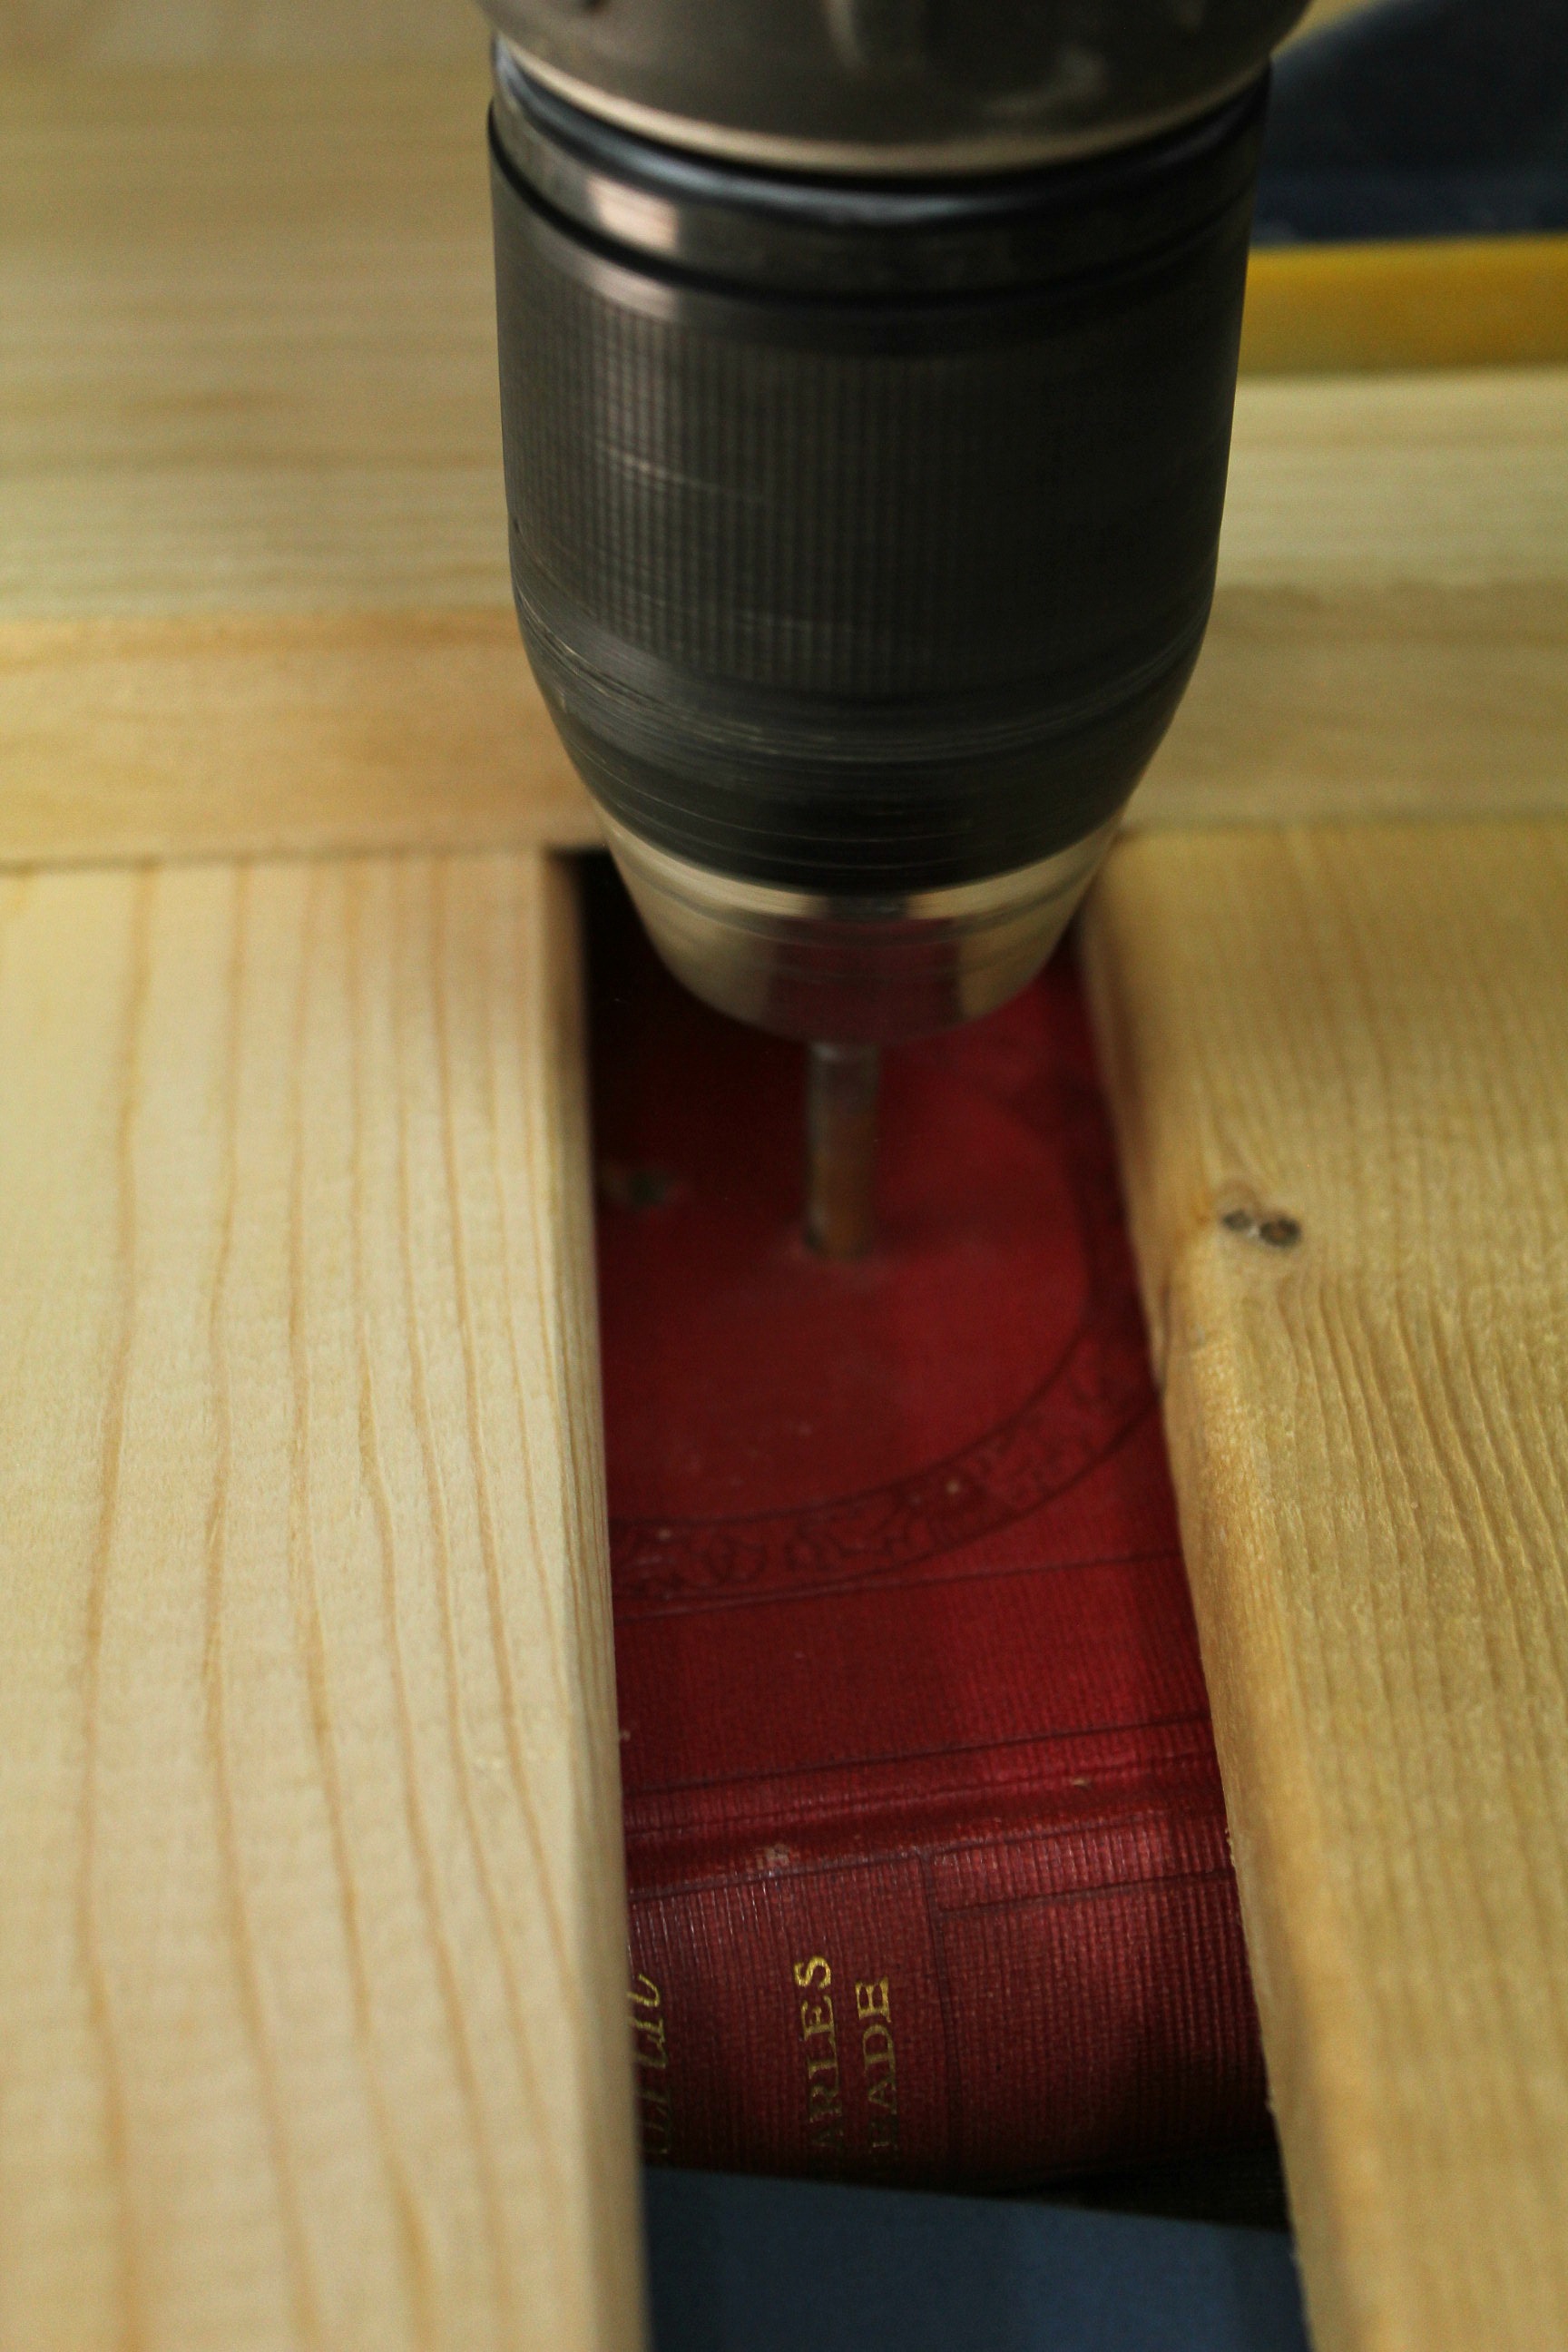
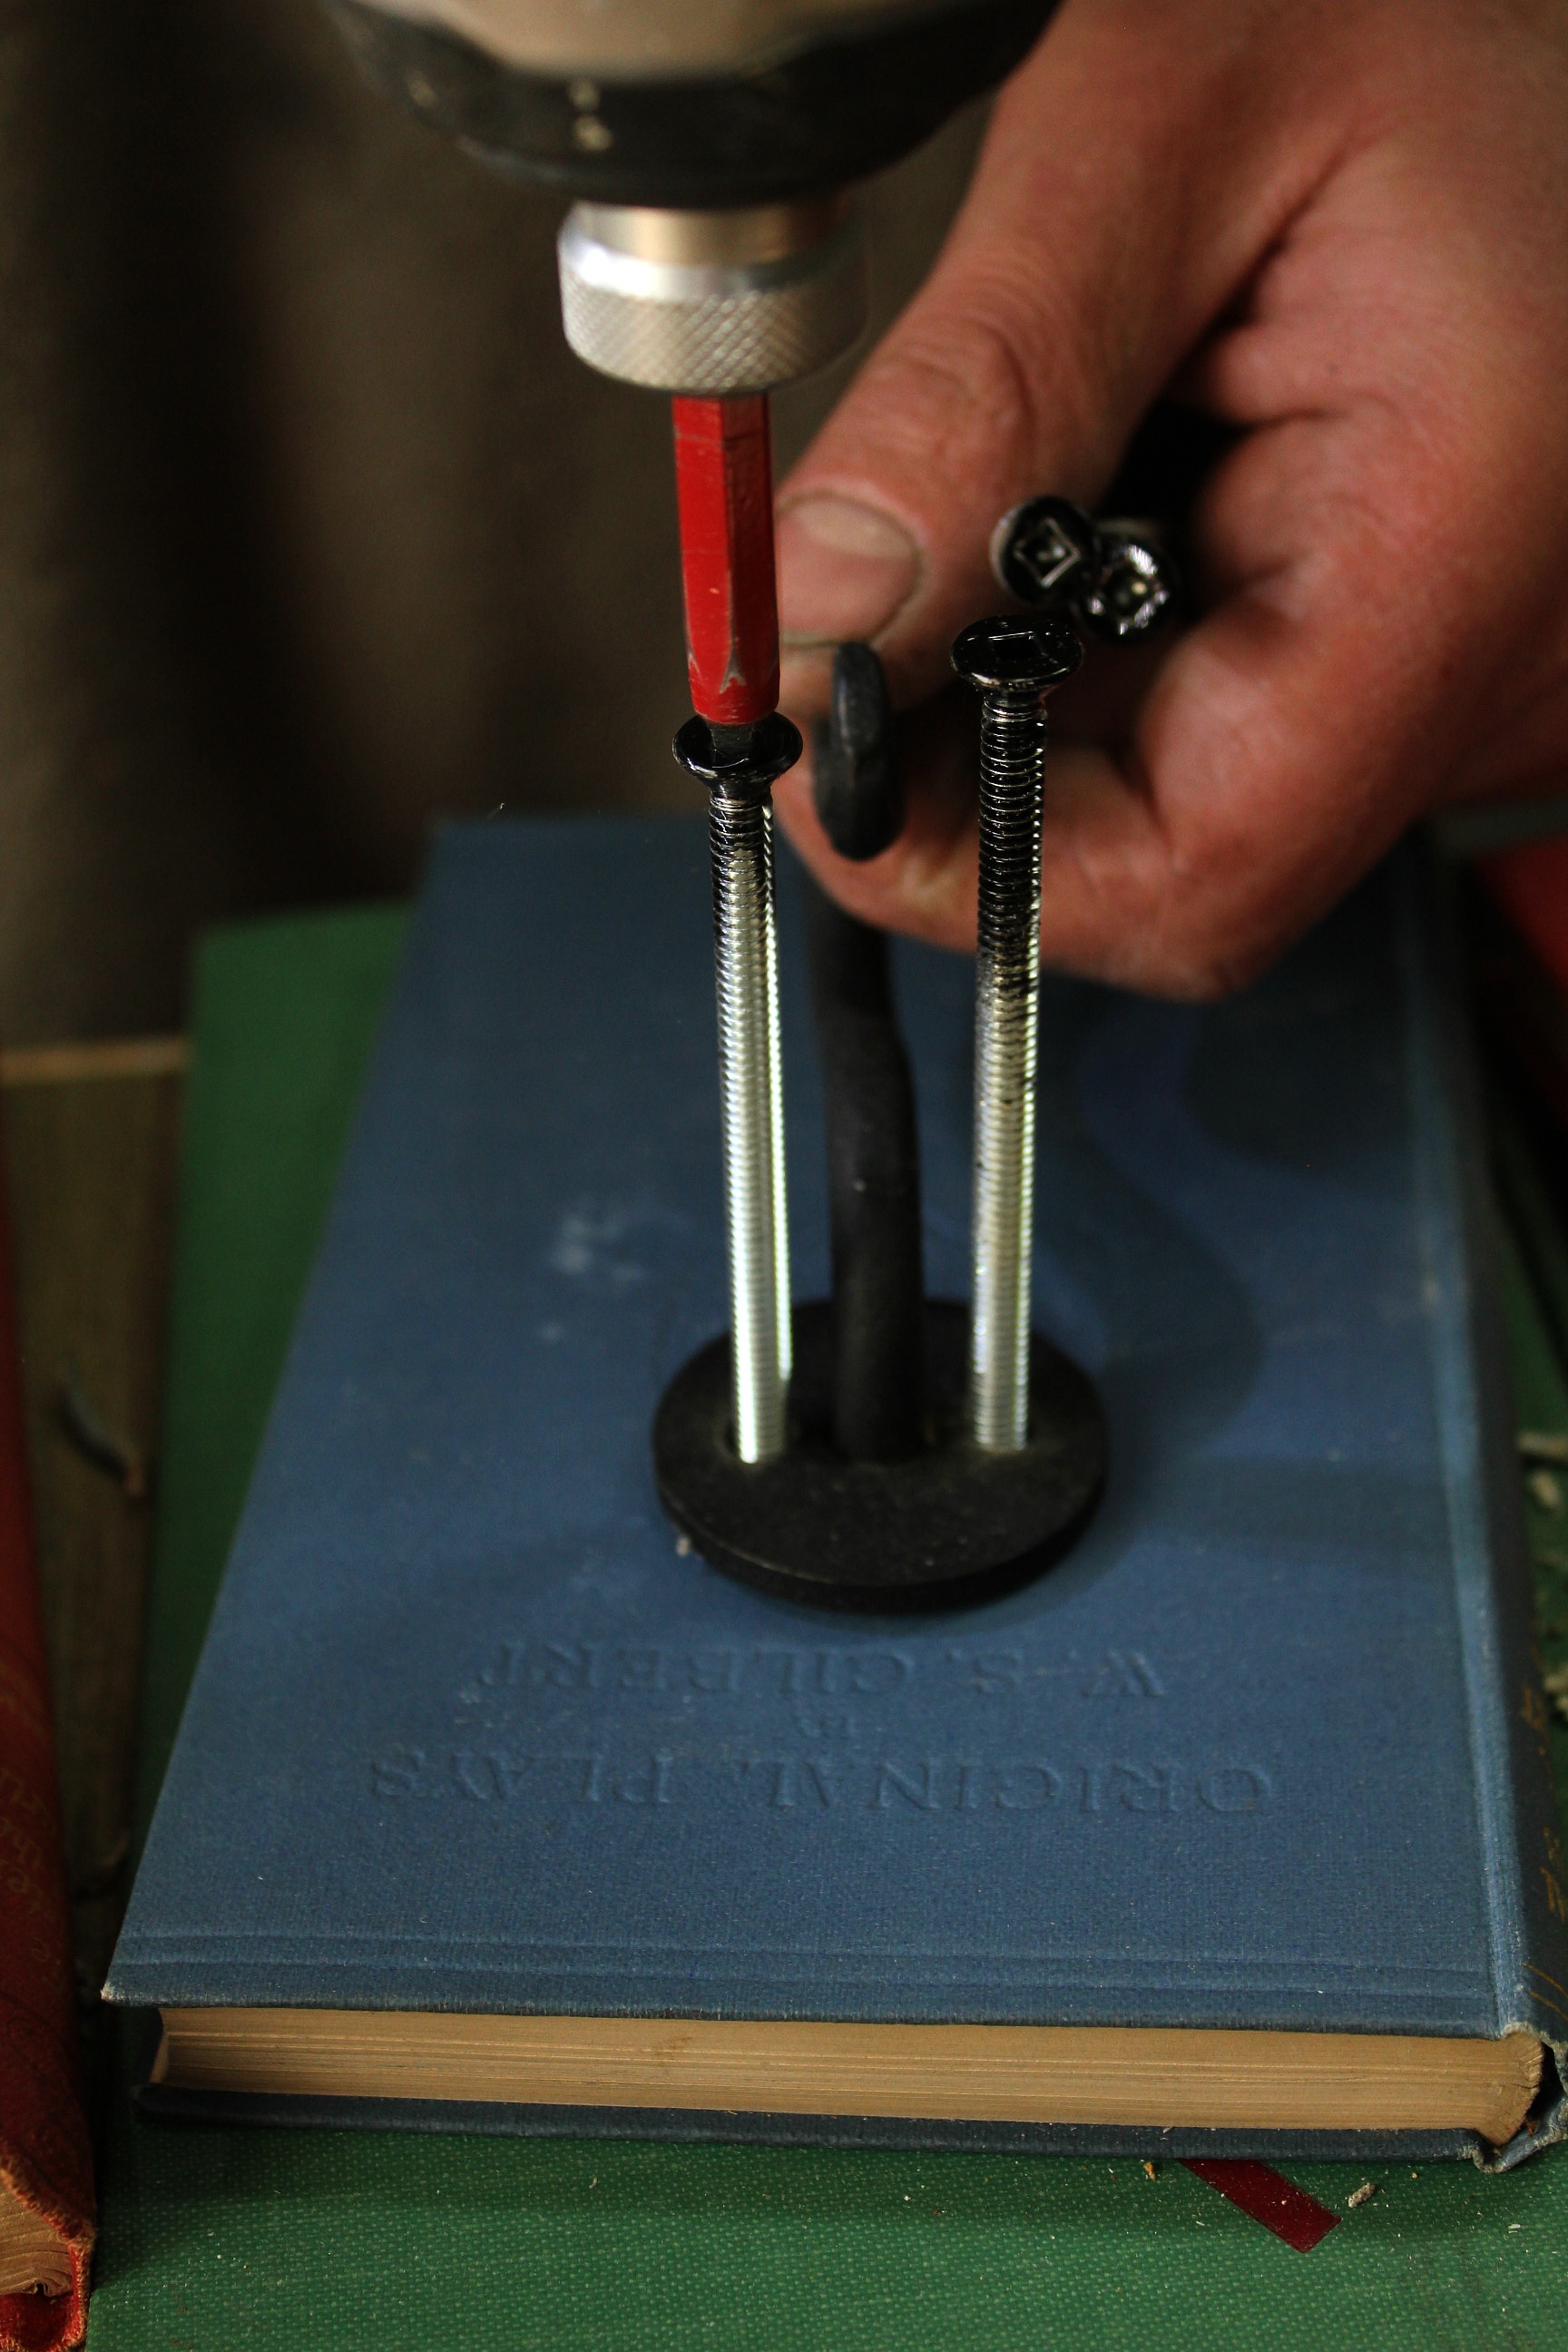
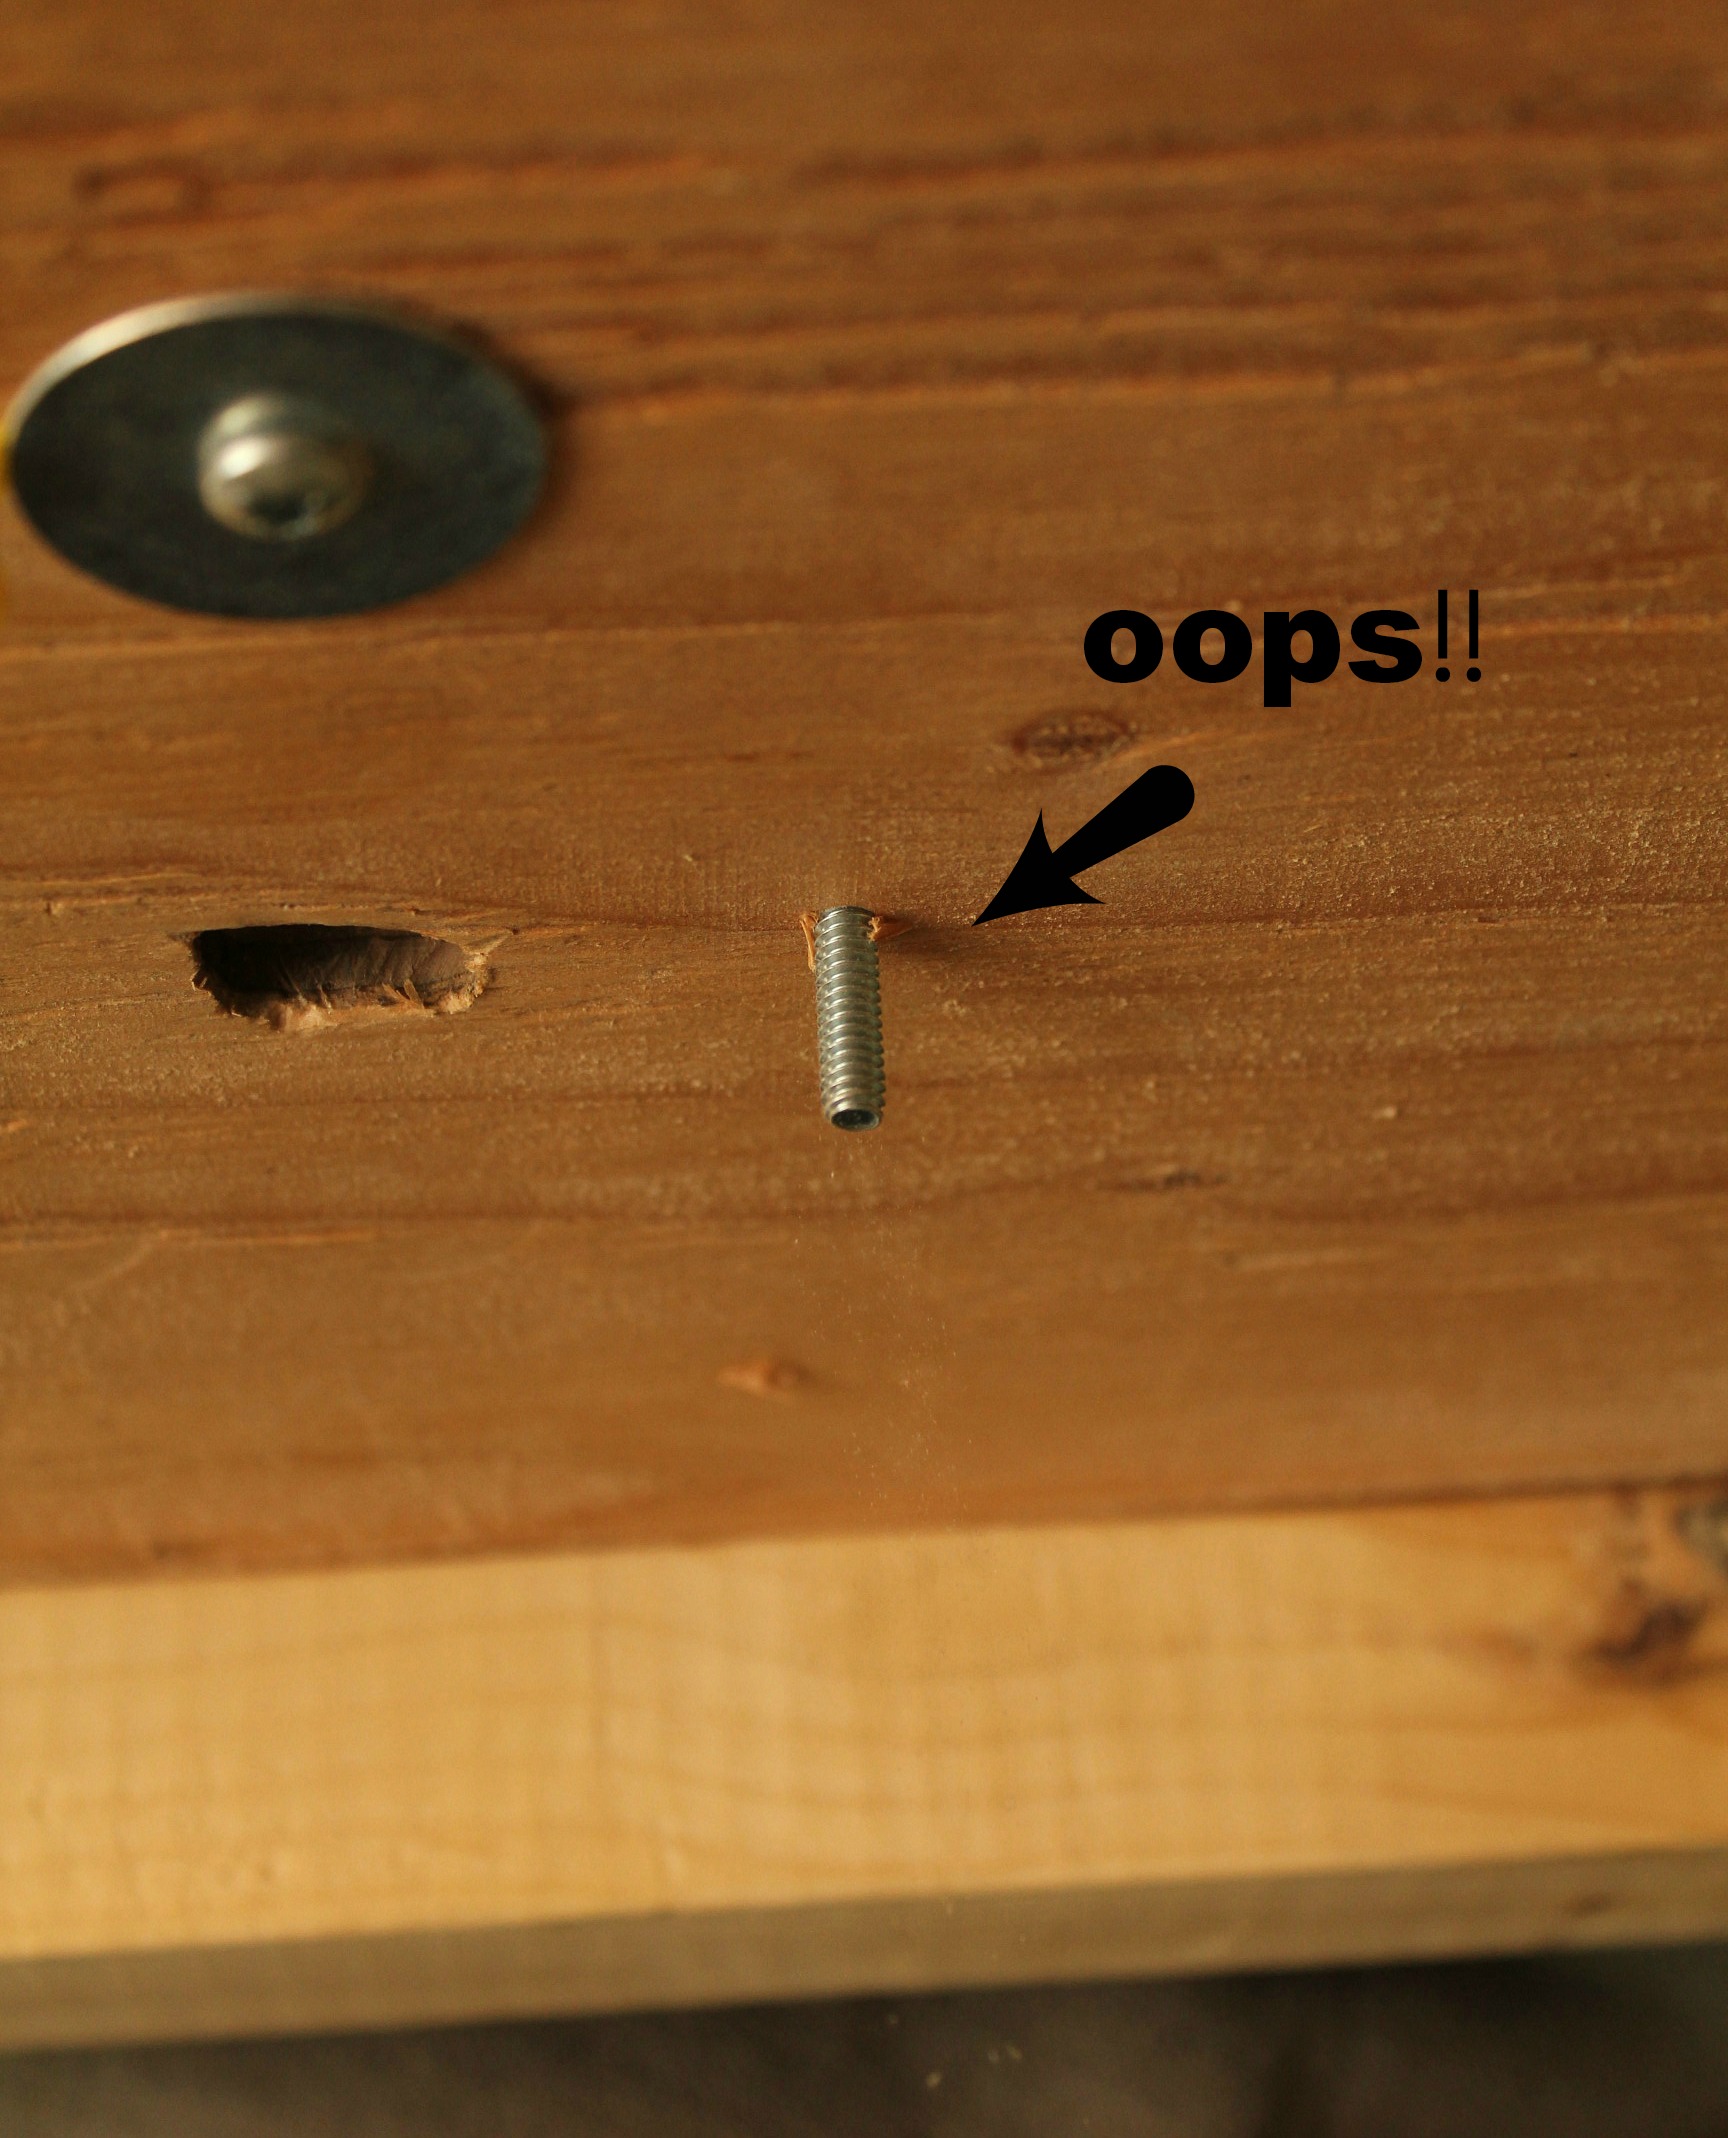
He then put the hooks back in place and screwed the bolts through the holes to test the setup. We both had a laugh when one of the bolts went right through the books, the board, and the worktable, locking the whole thing down.


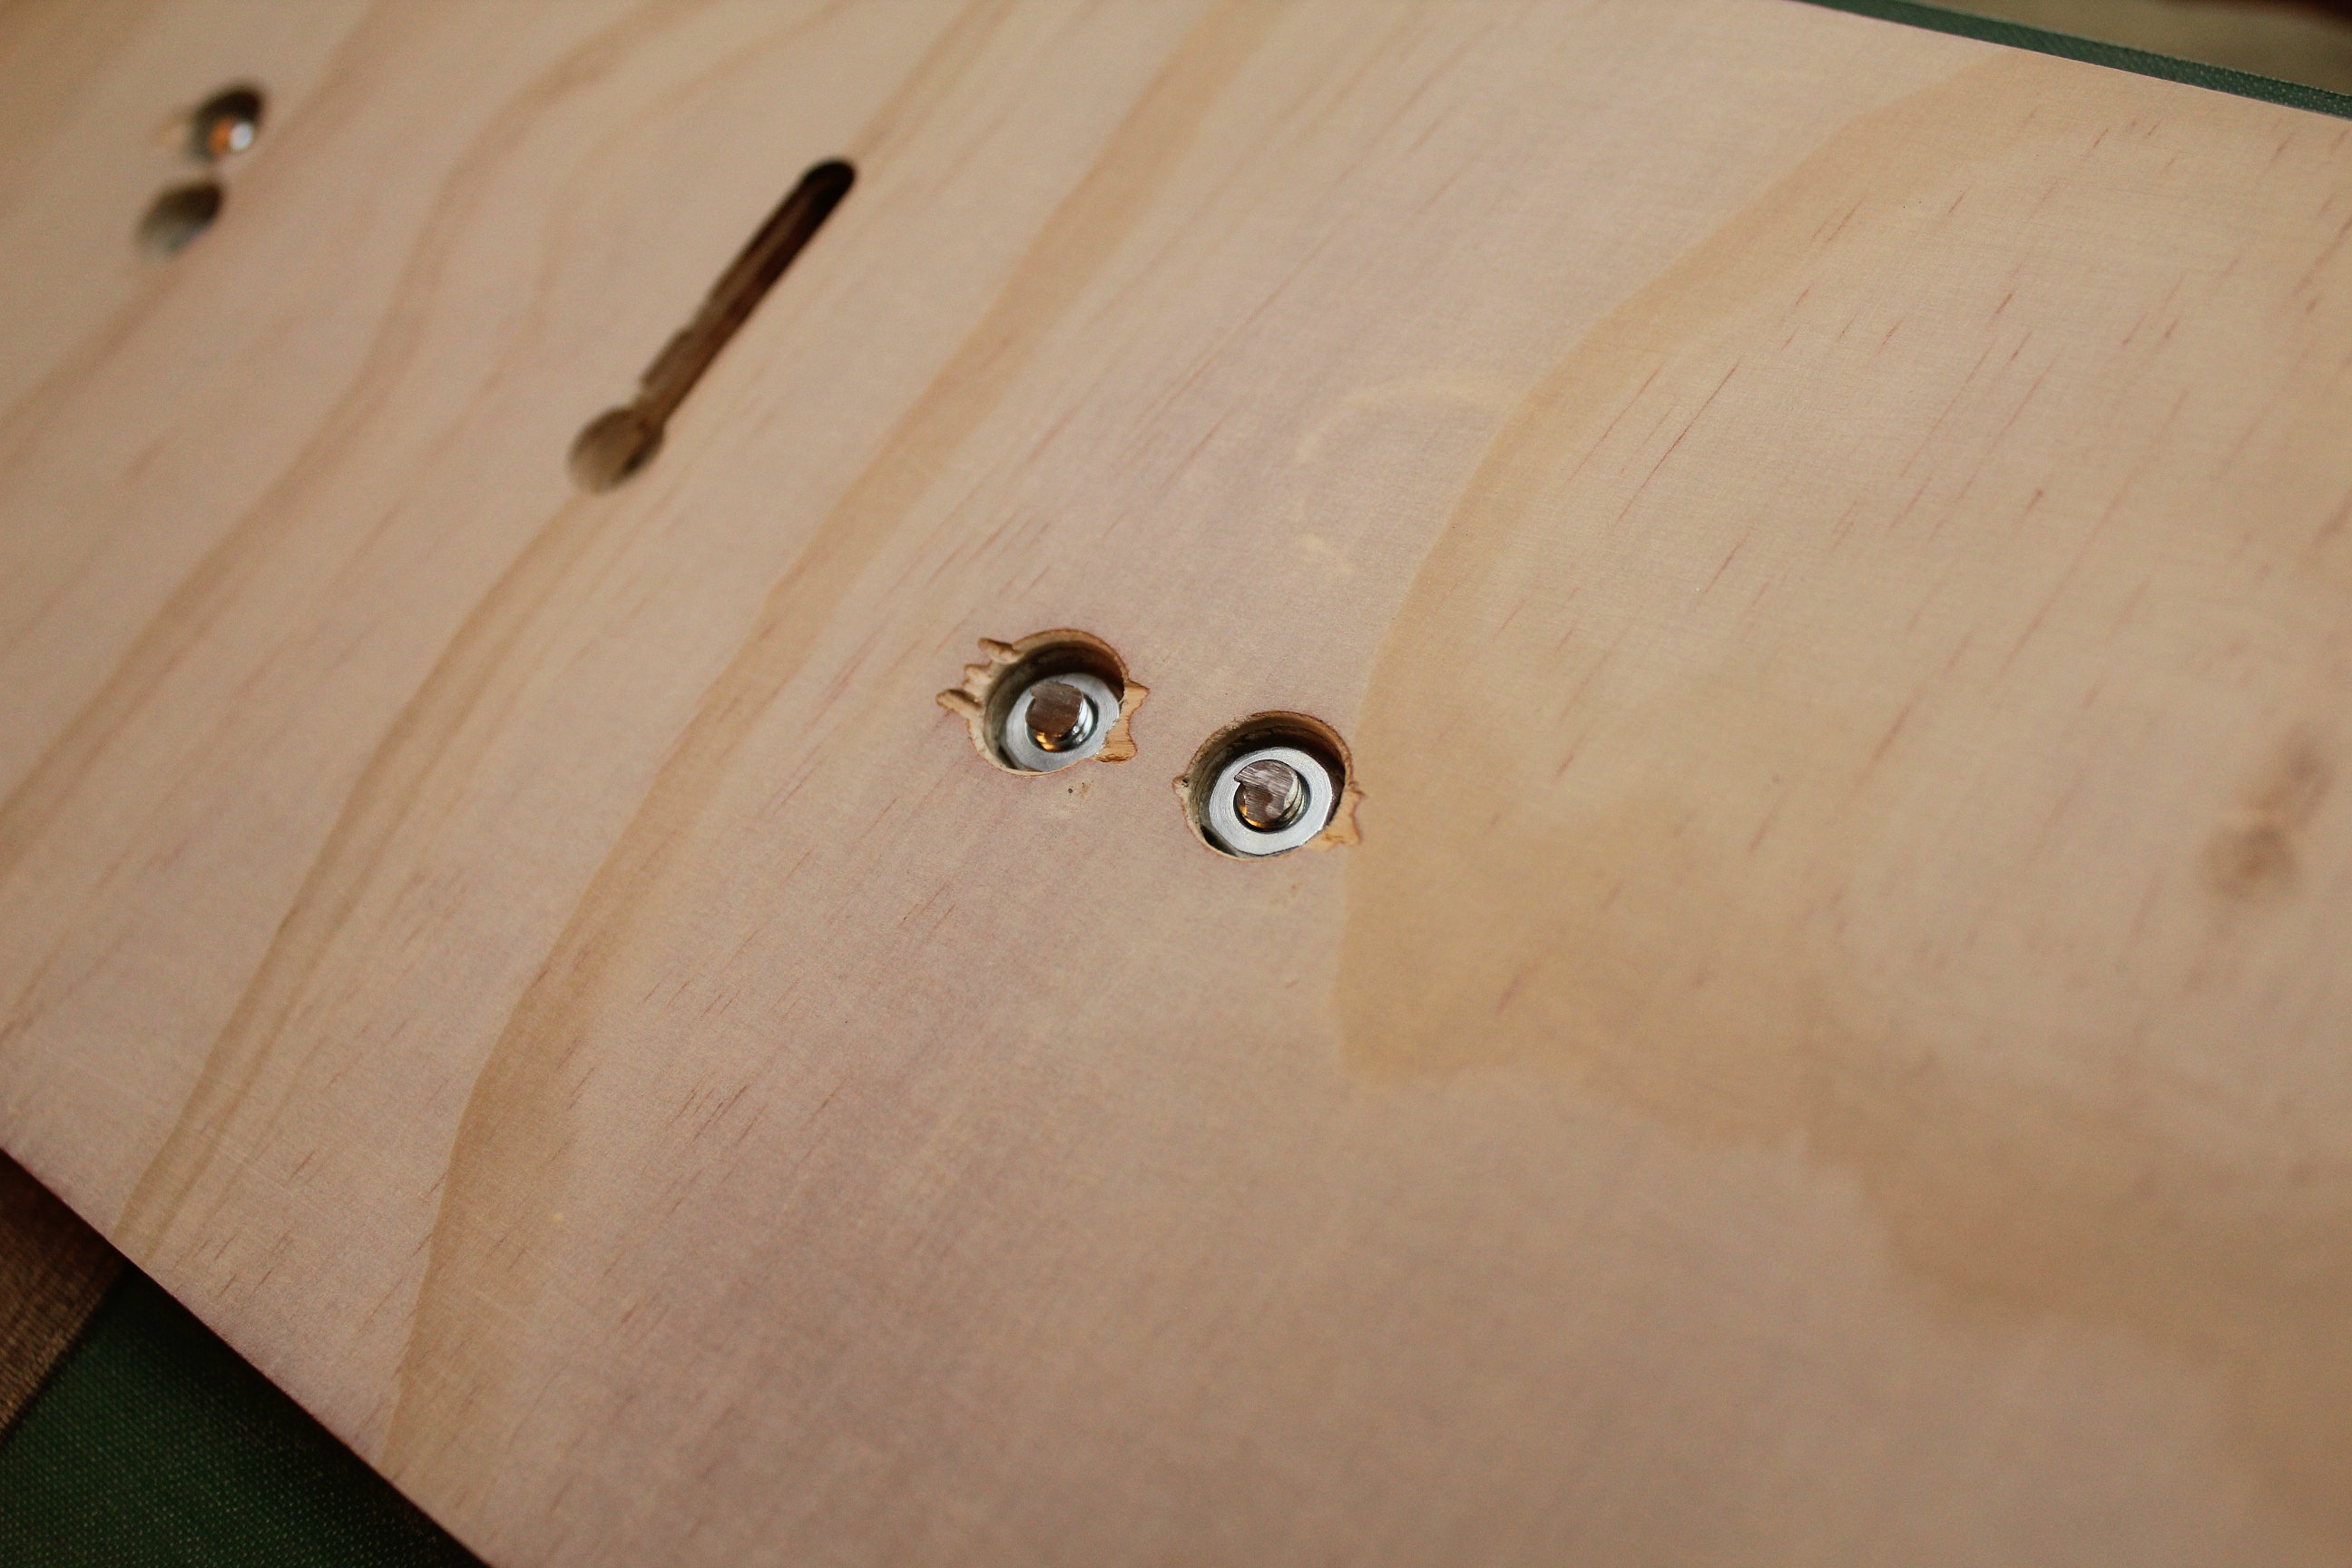
You'll now remove the mounting board so you can widen the holes at the back. You want the nuts to sink down flush with the board. Tom used a cone-shaped tapered bit to widen the holes to the right size.
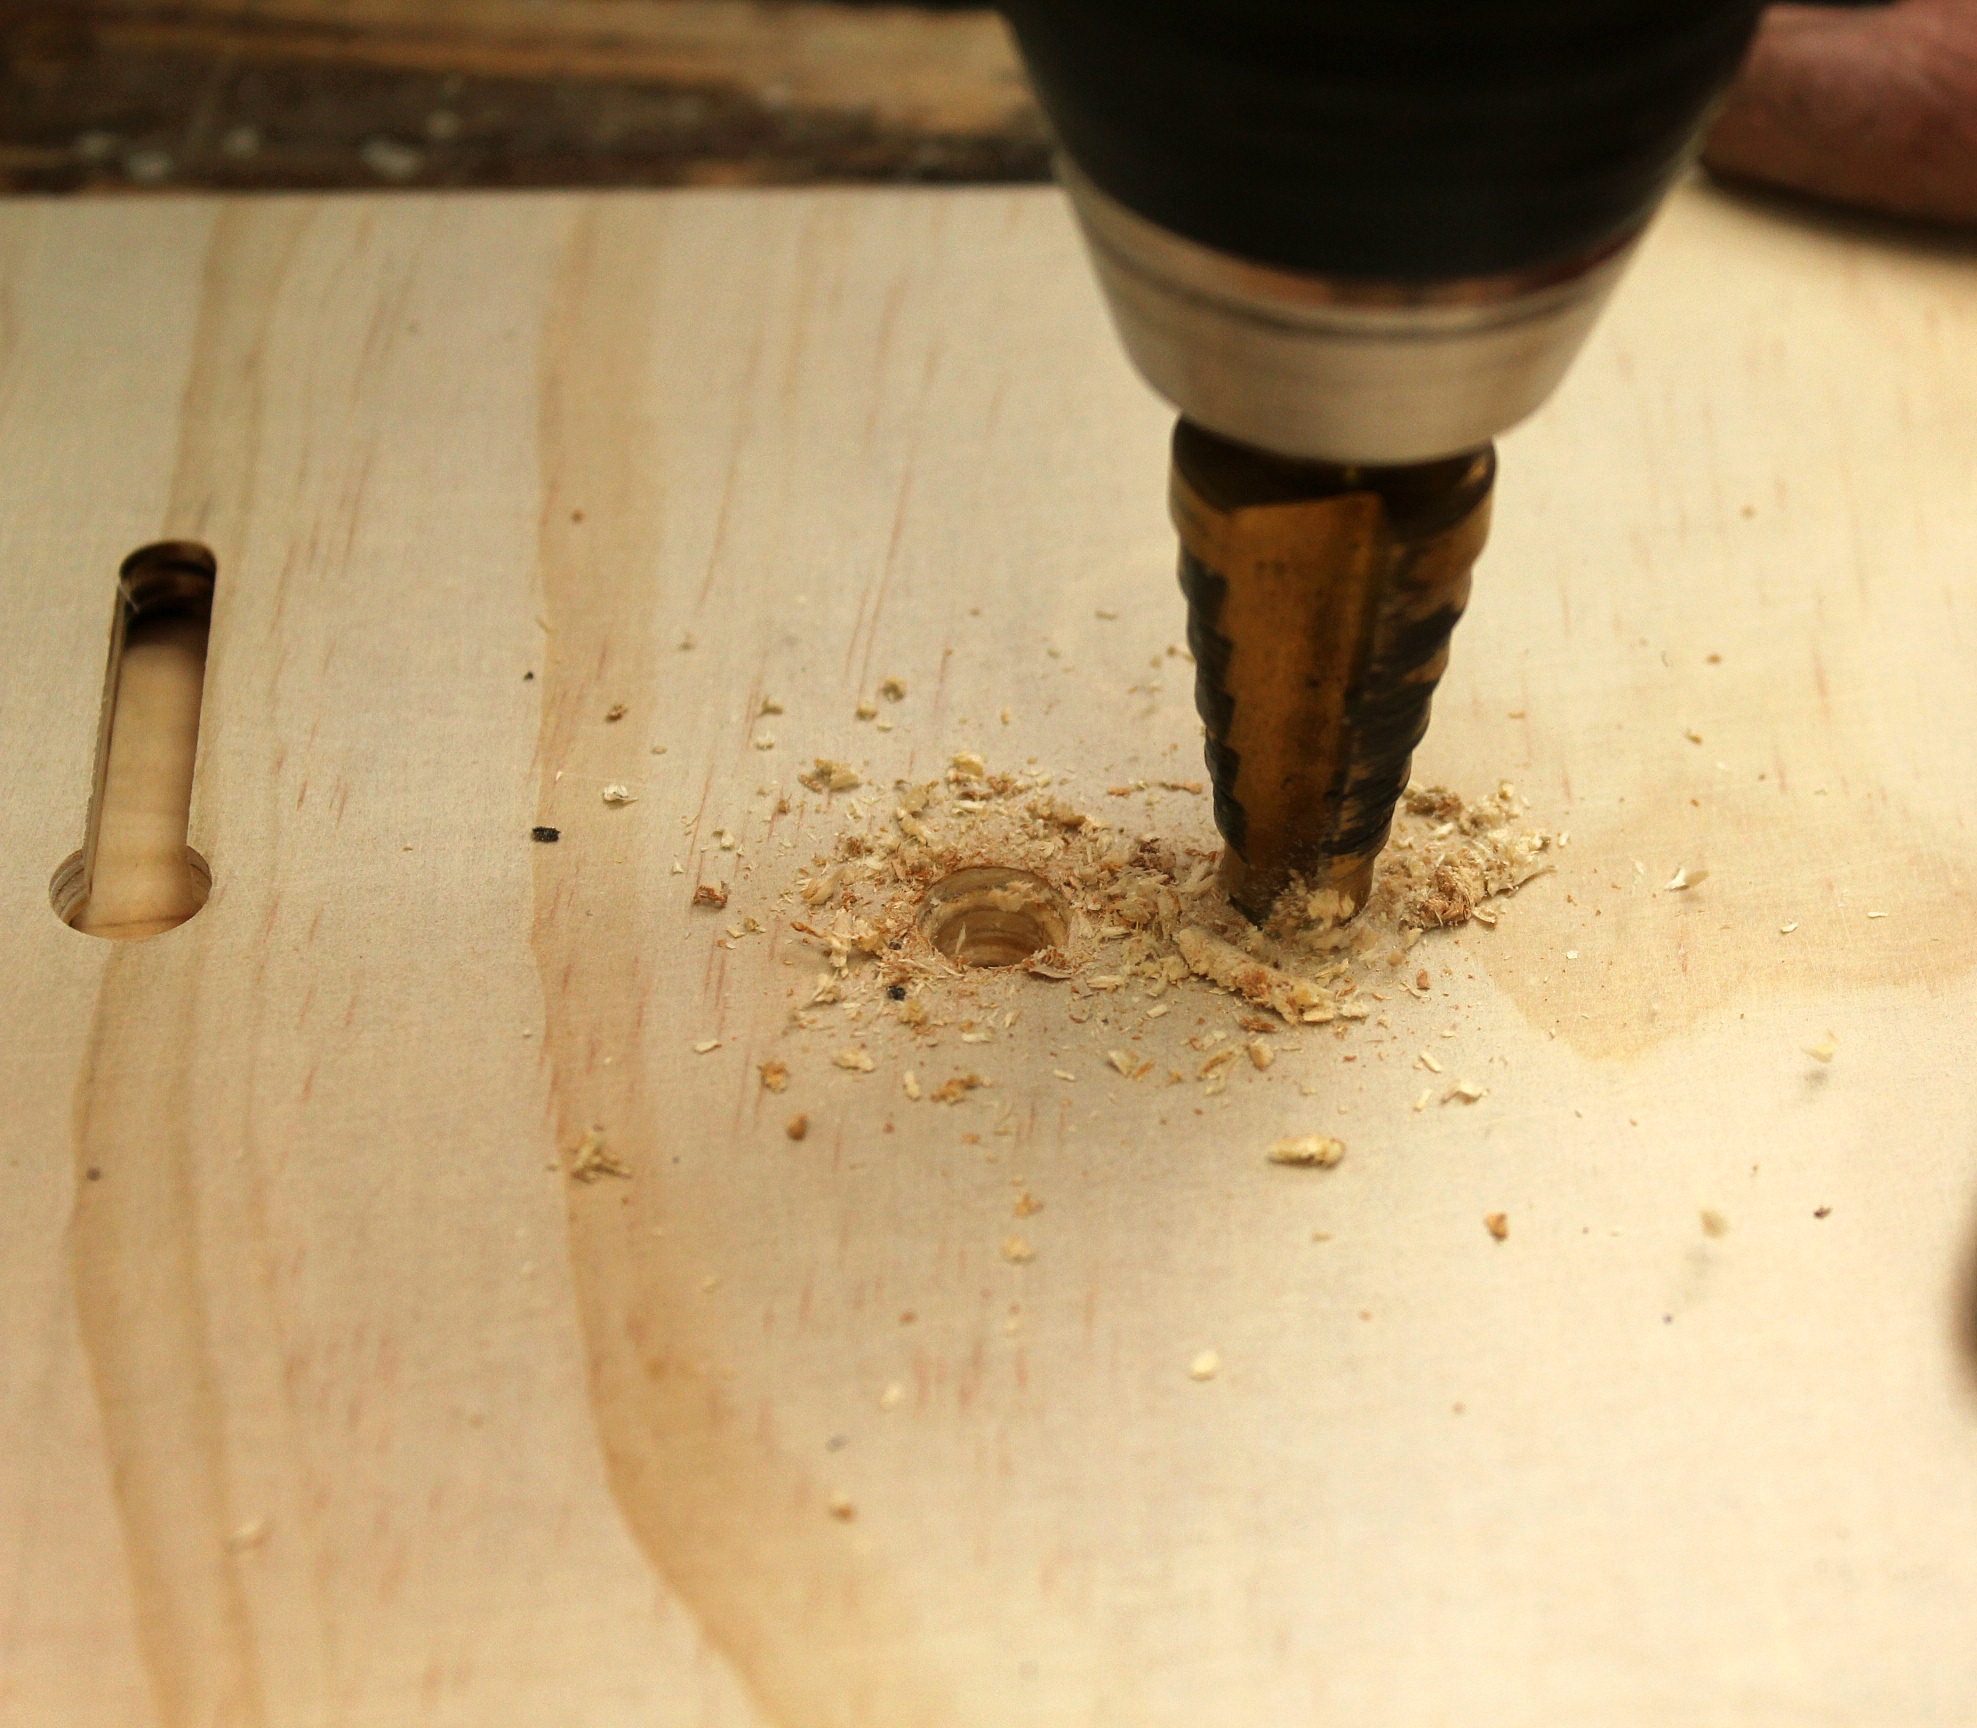

Then you put the board back on and thread the nuts onto the bolts, tightening them right down until they disappear into the holes.

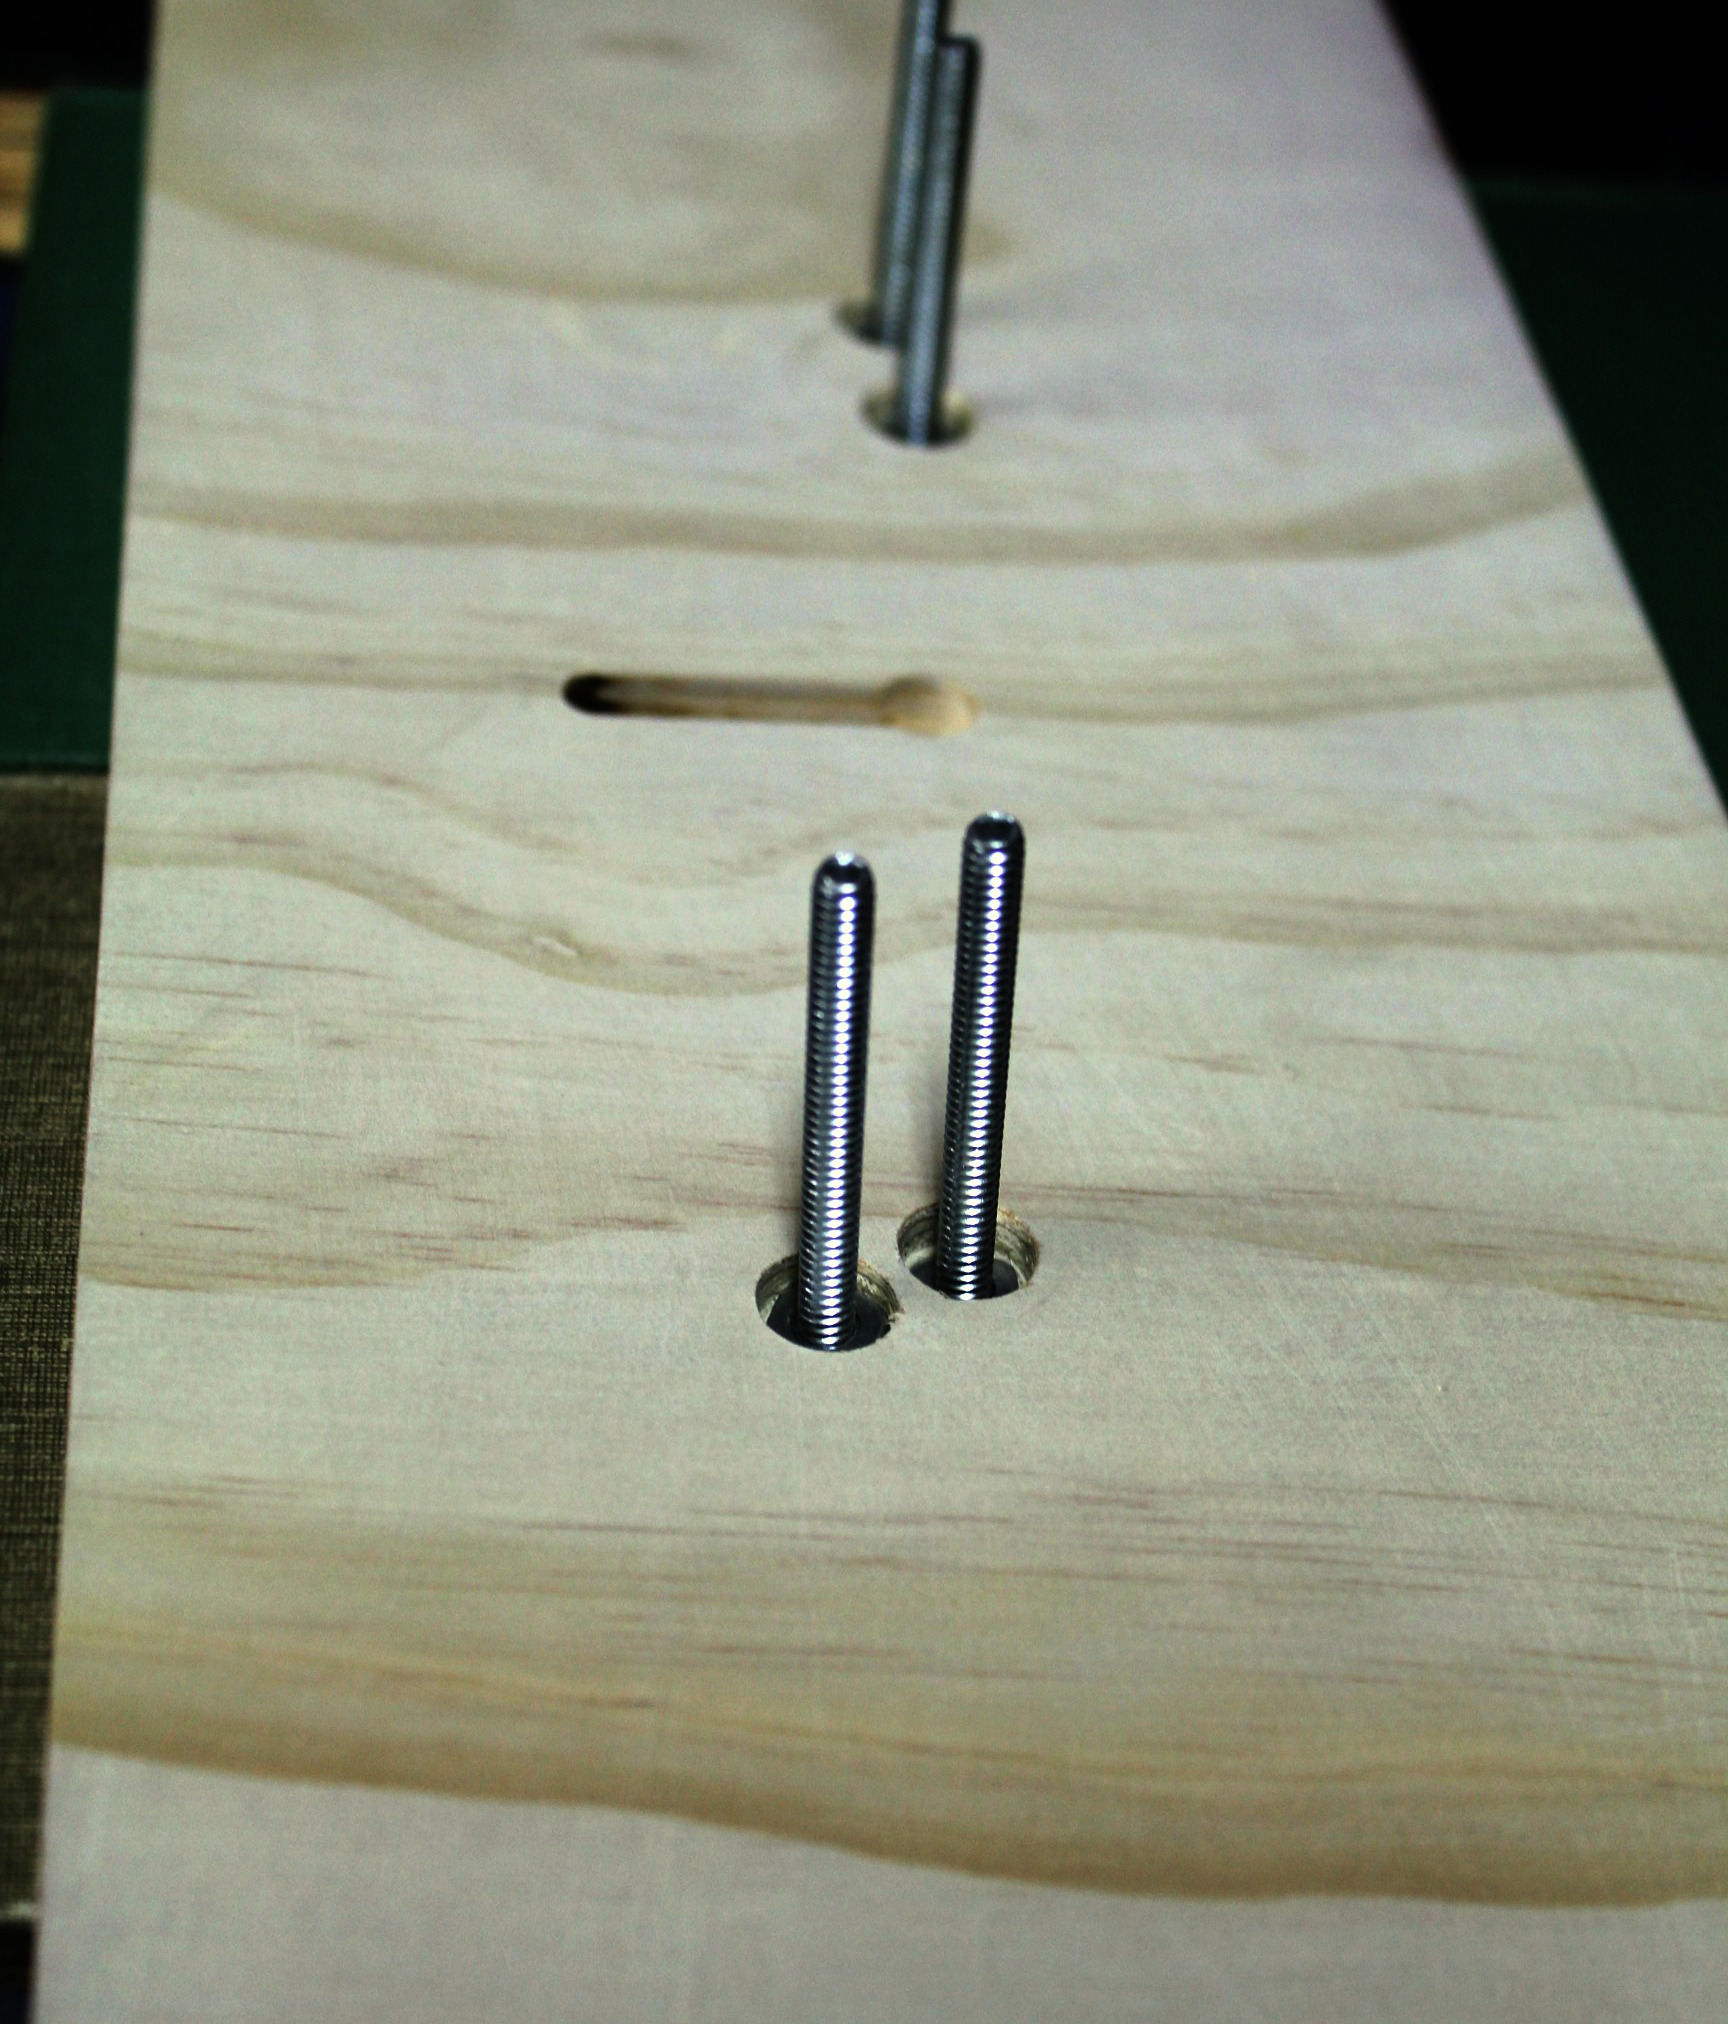
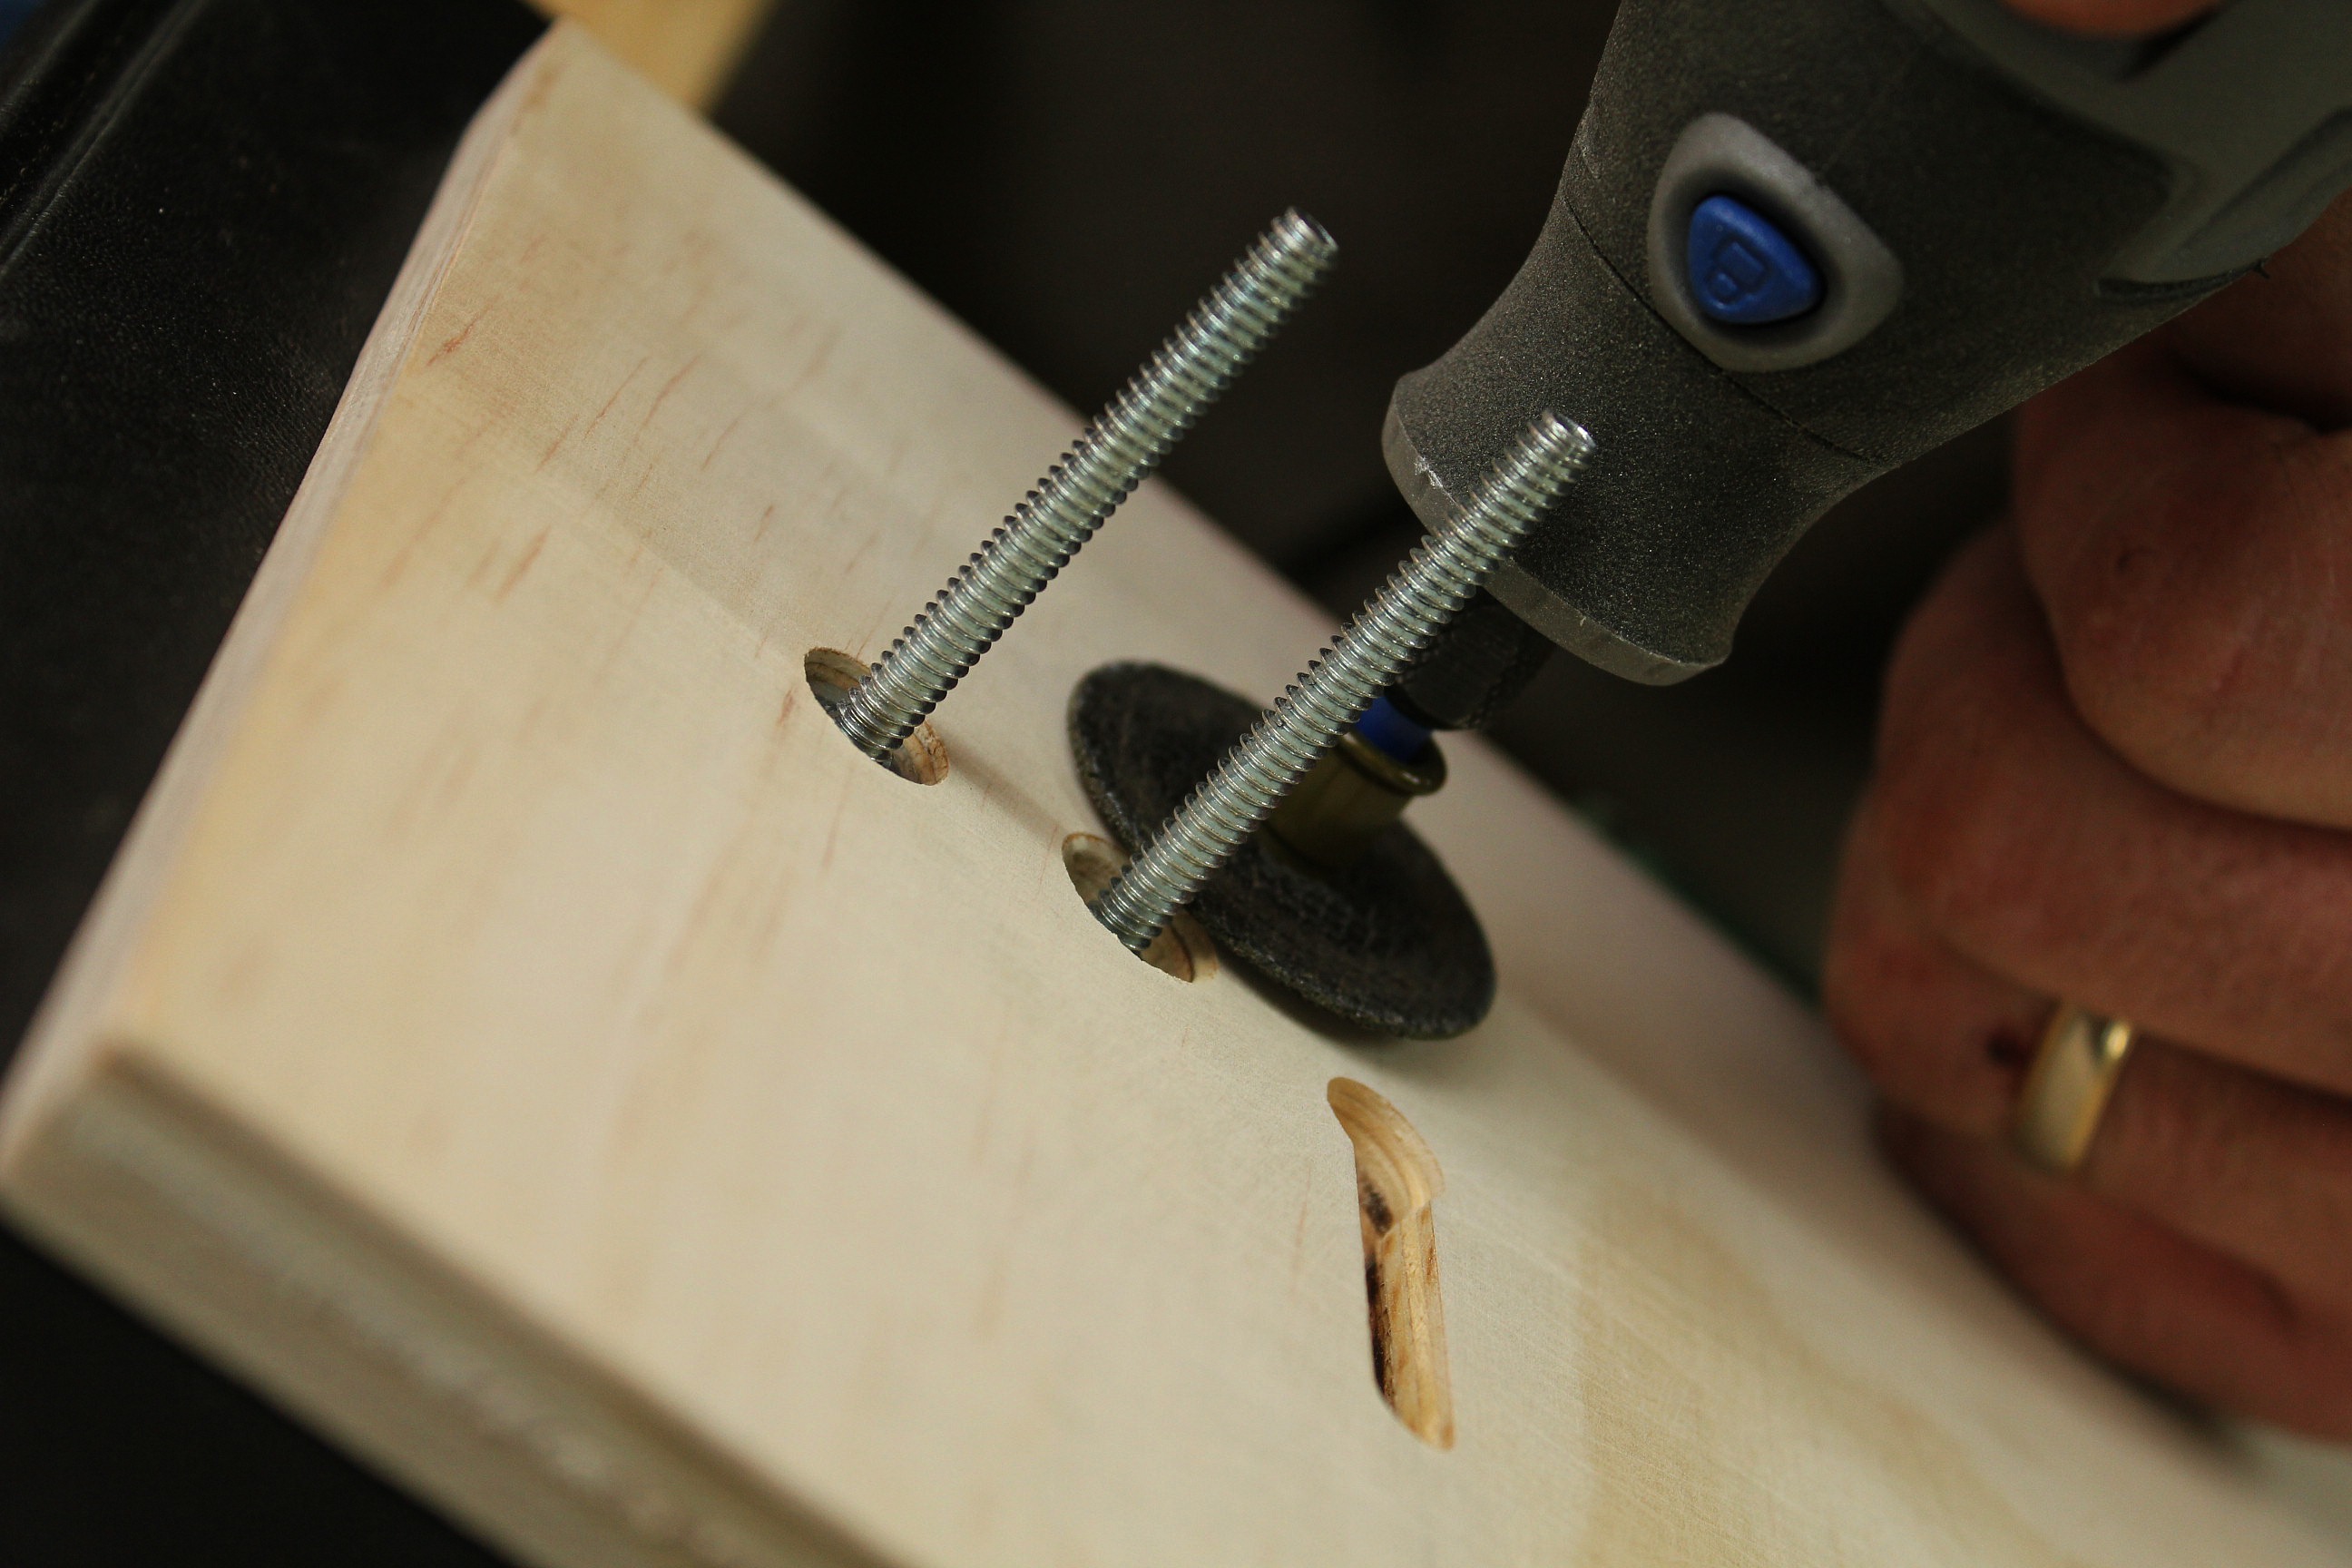
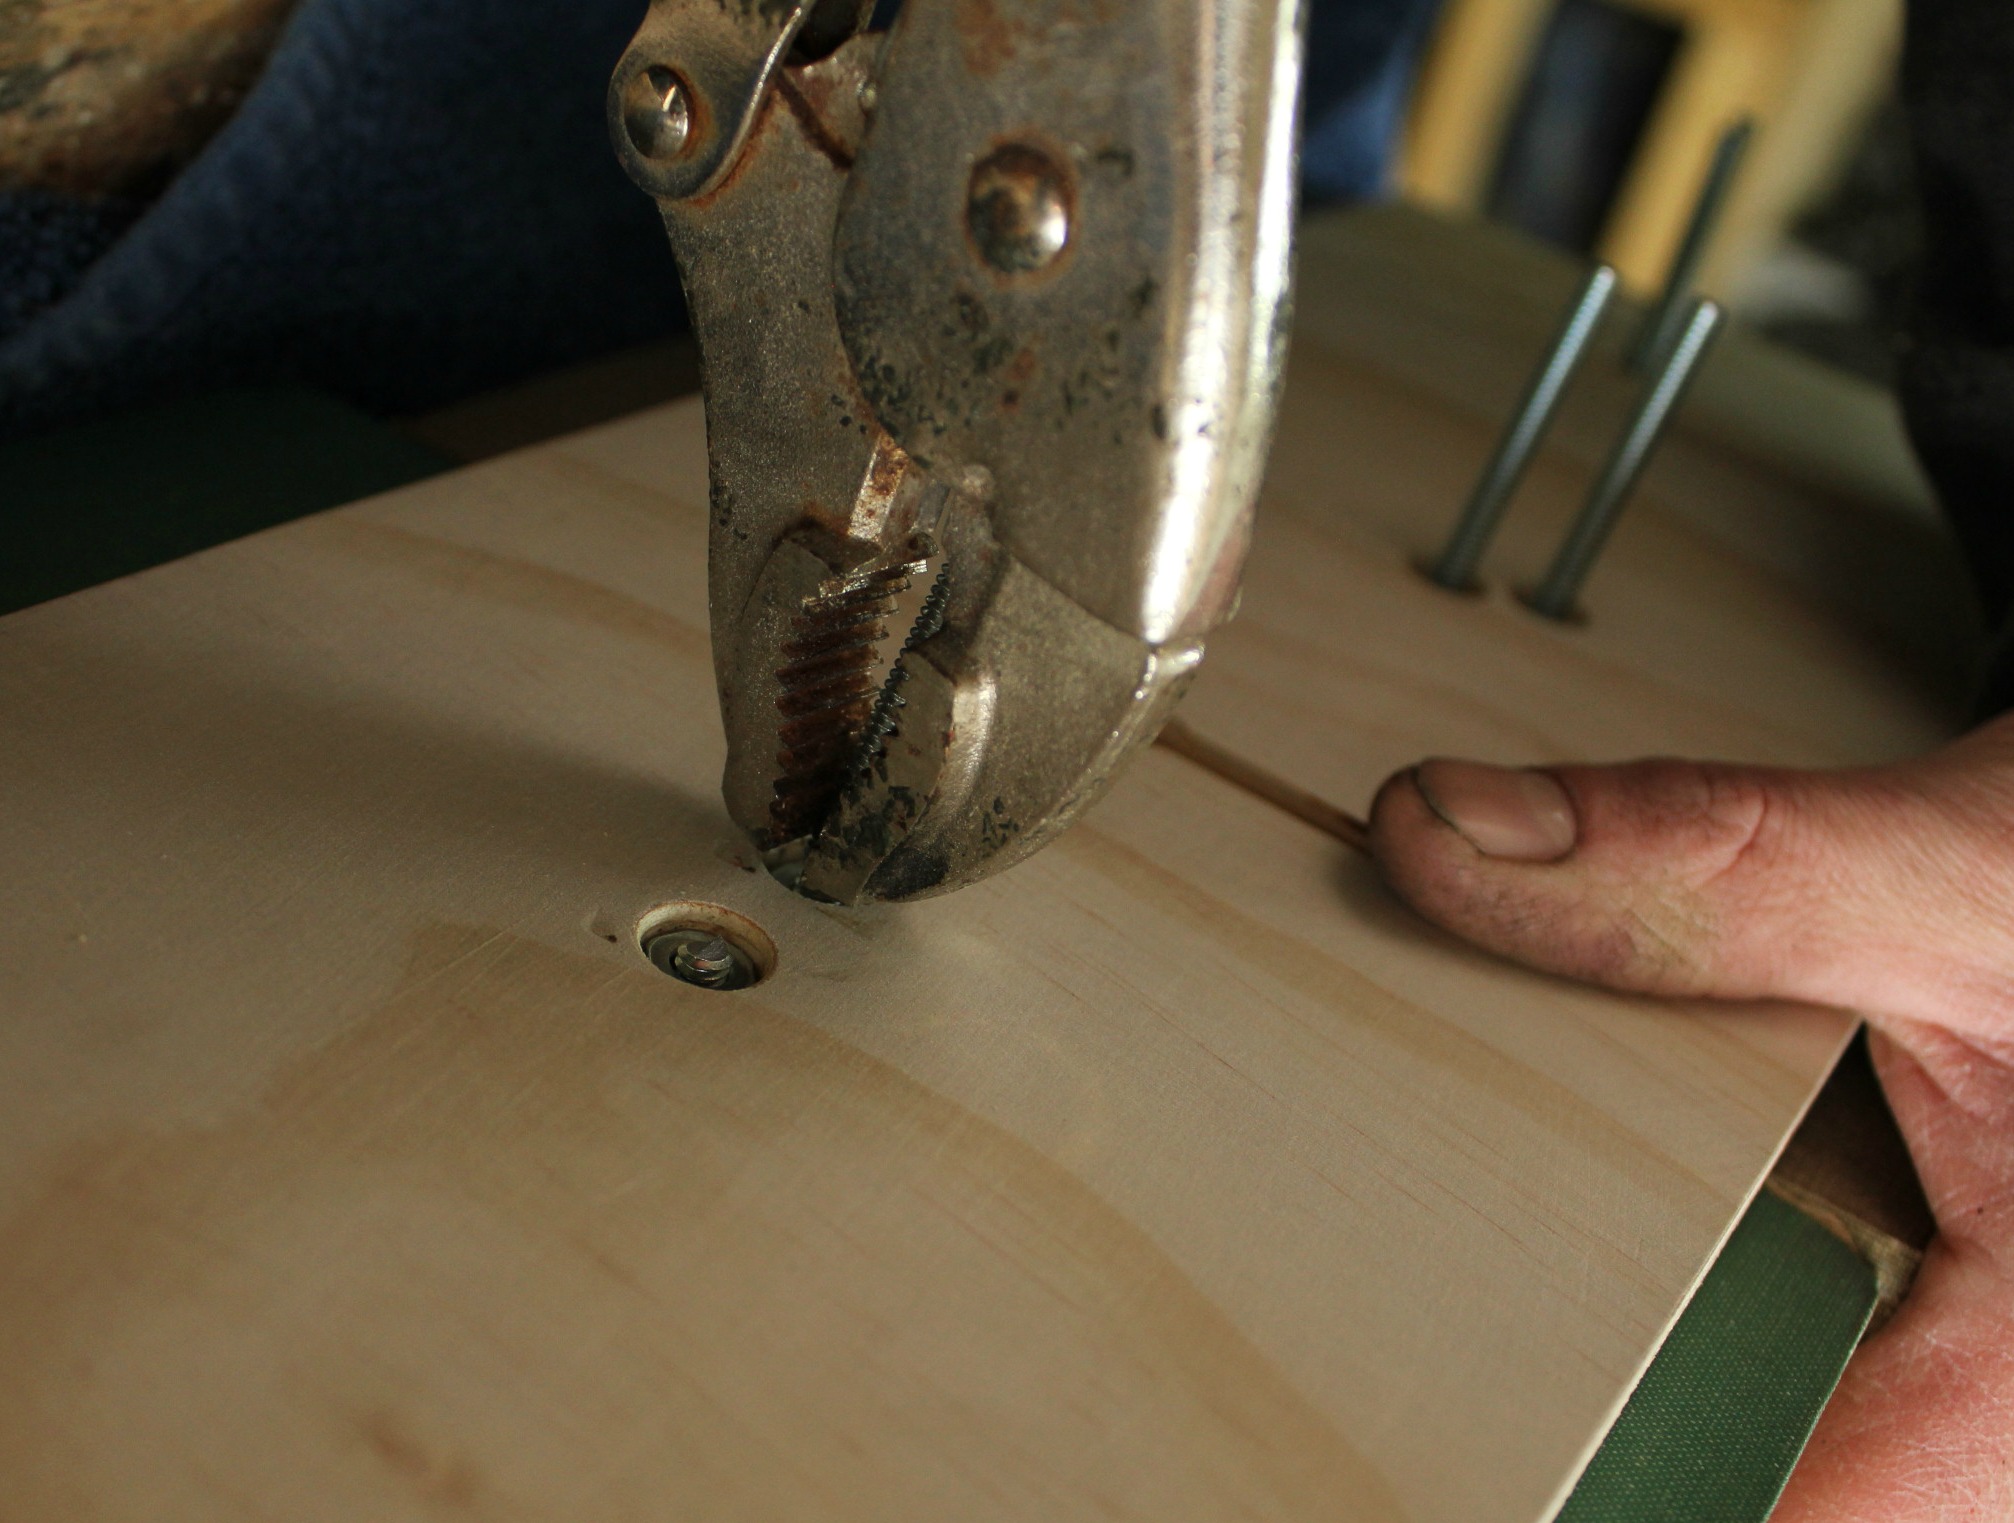
Now you'll want to cut off the excess rod on the bolts. Tom used the Dremel with a cutoff wheel, but you could also snip them off with vise grips and then sand down the sharp edges.


The final step was to fill in the bolt holes at the back with wood putty and sand it smooth when dry.

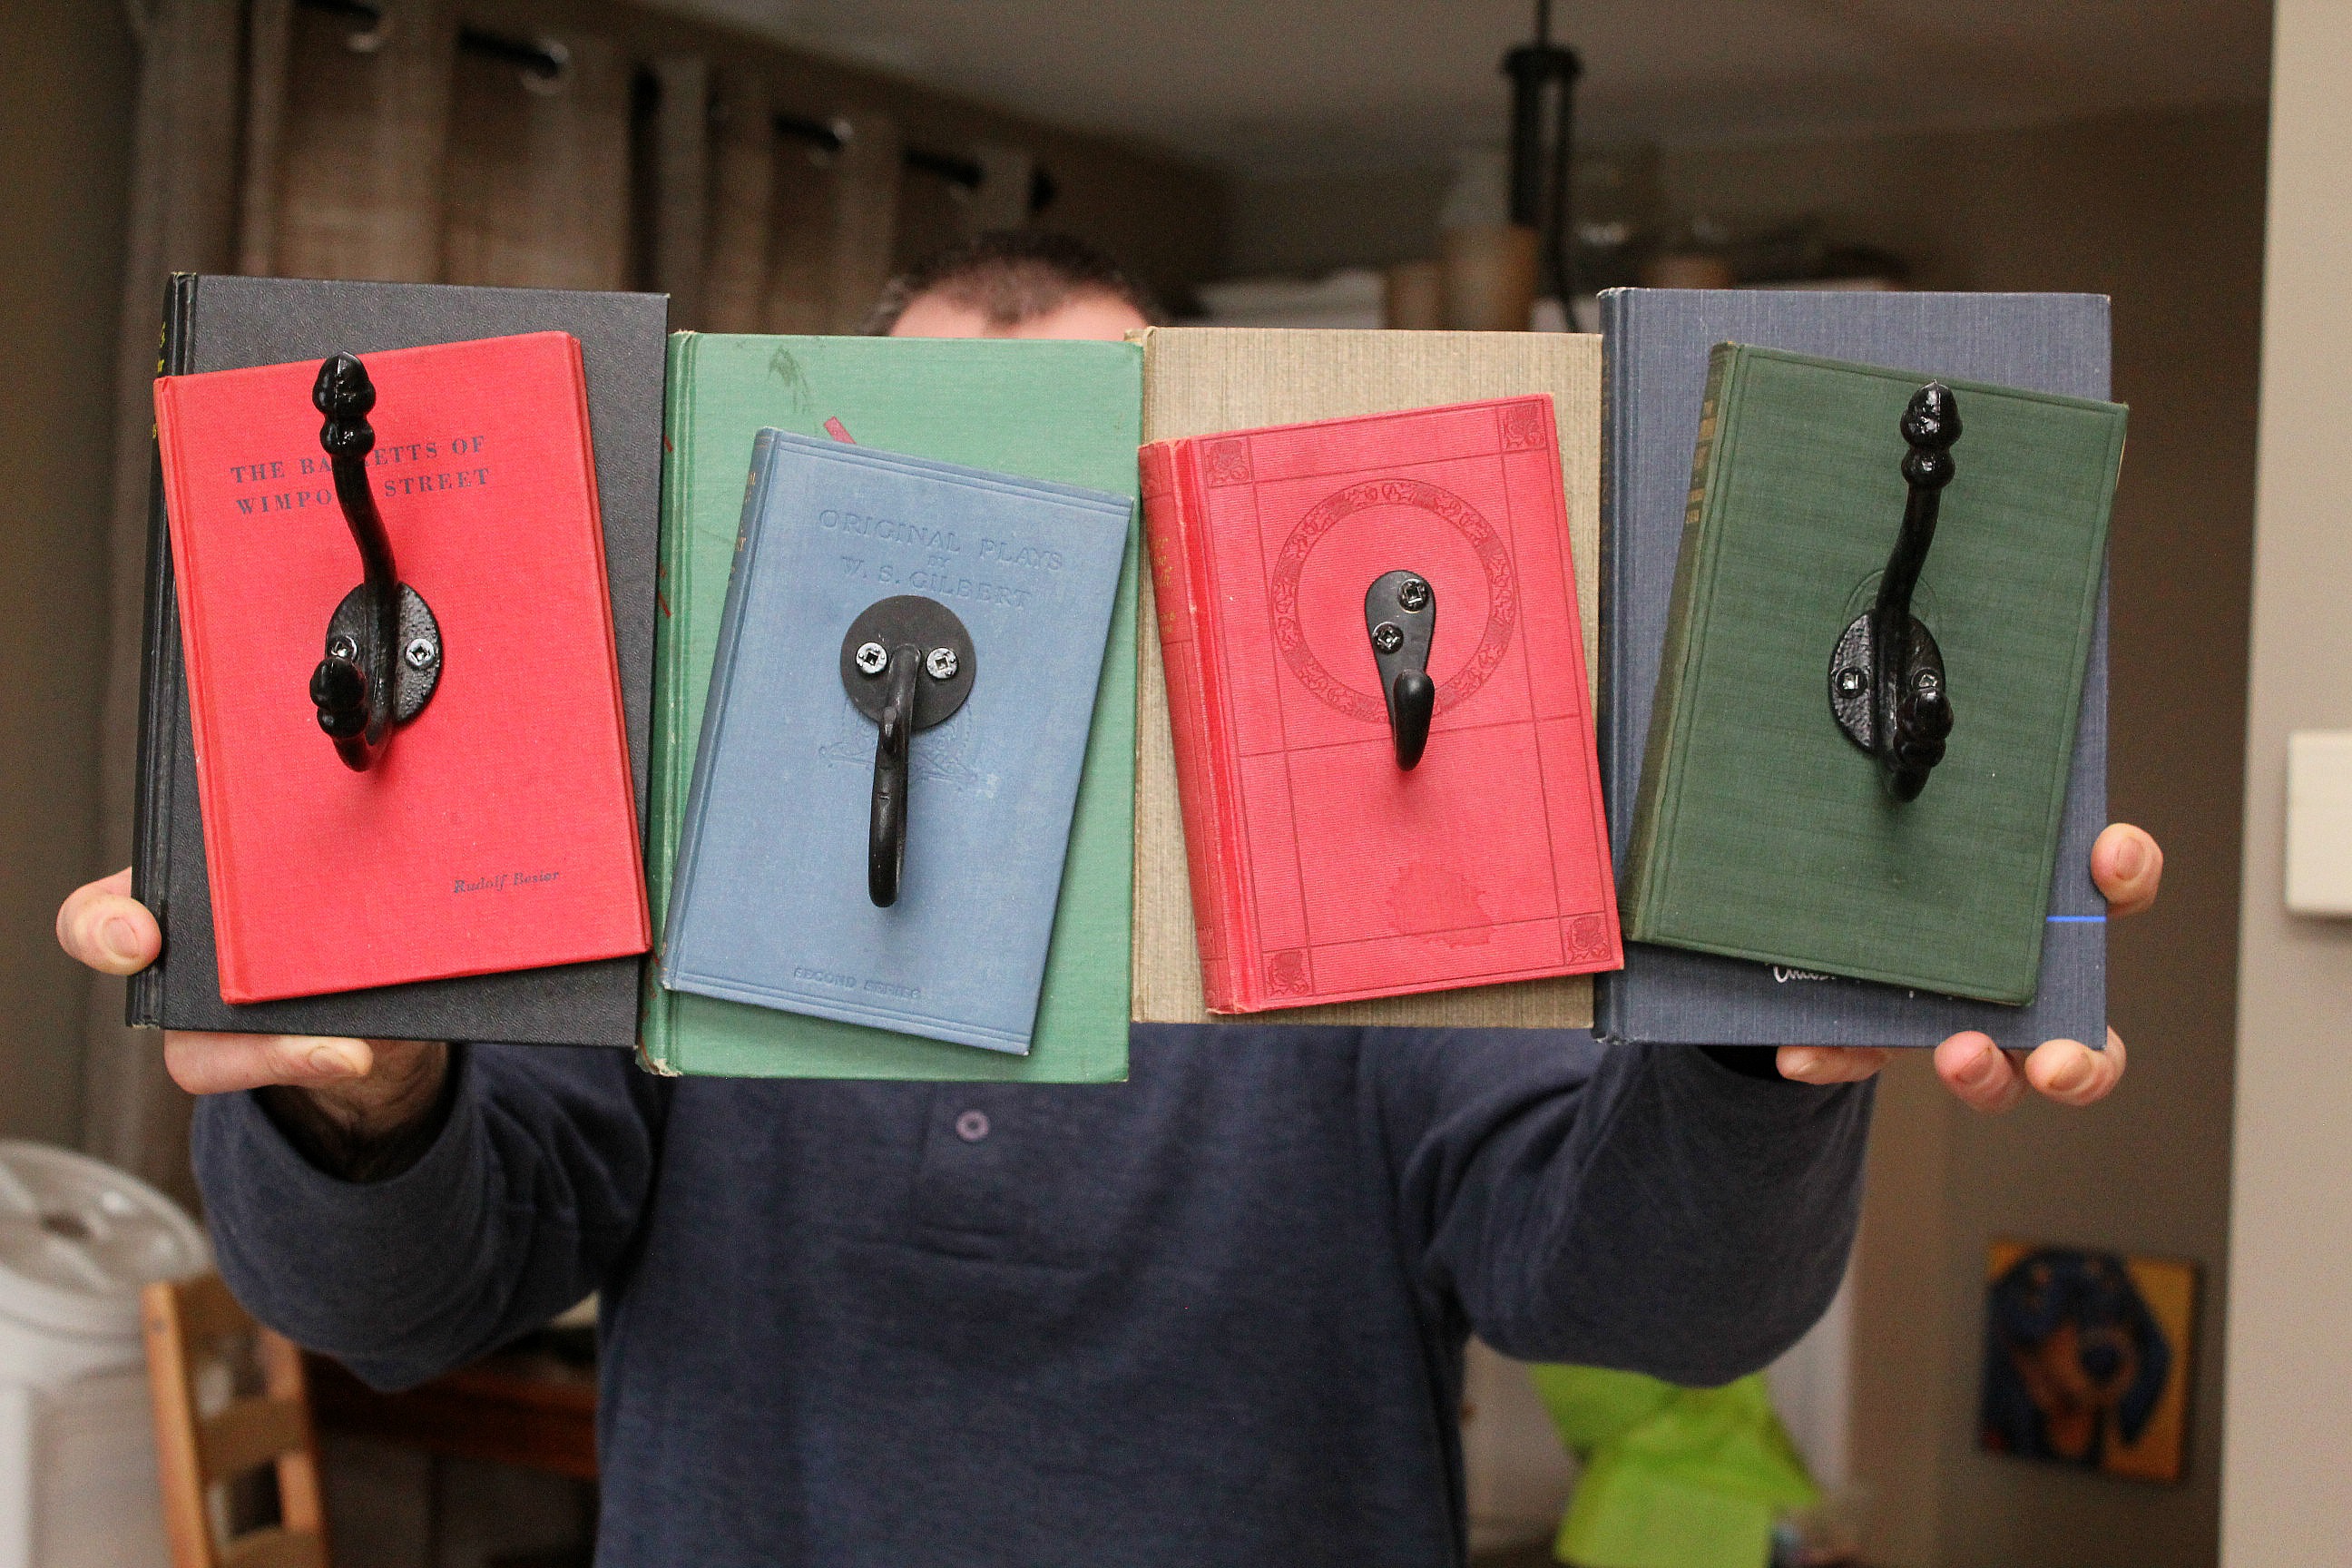
Here she is, all ready to go. 


This is one of my favourite things we've ever built. It makes me want to run out and buy more books and start a coat rack-building business.
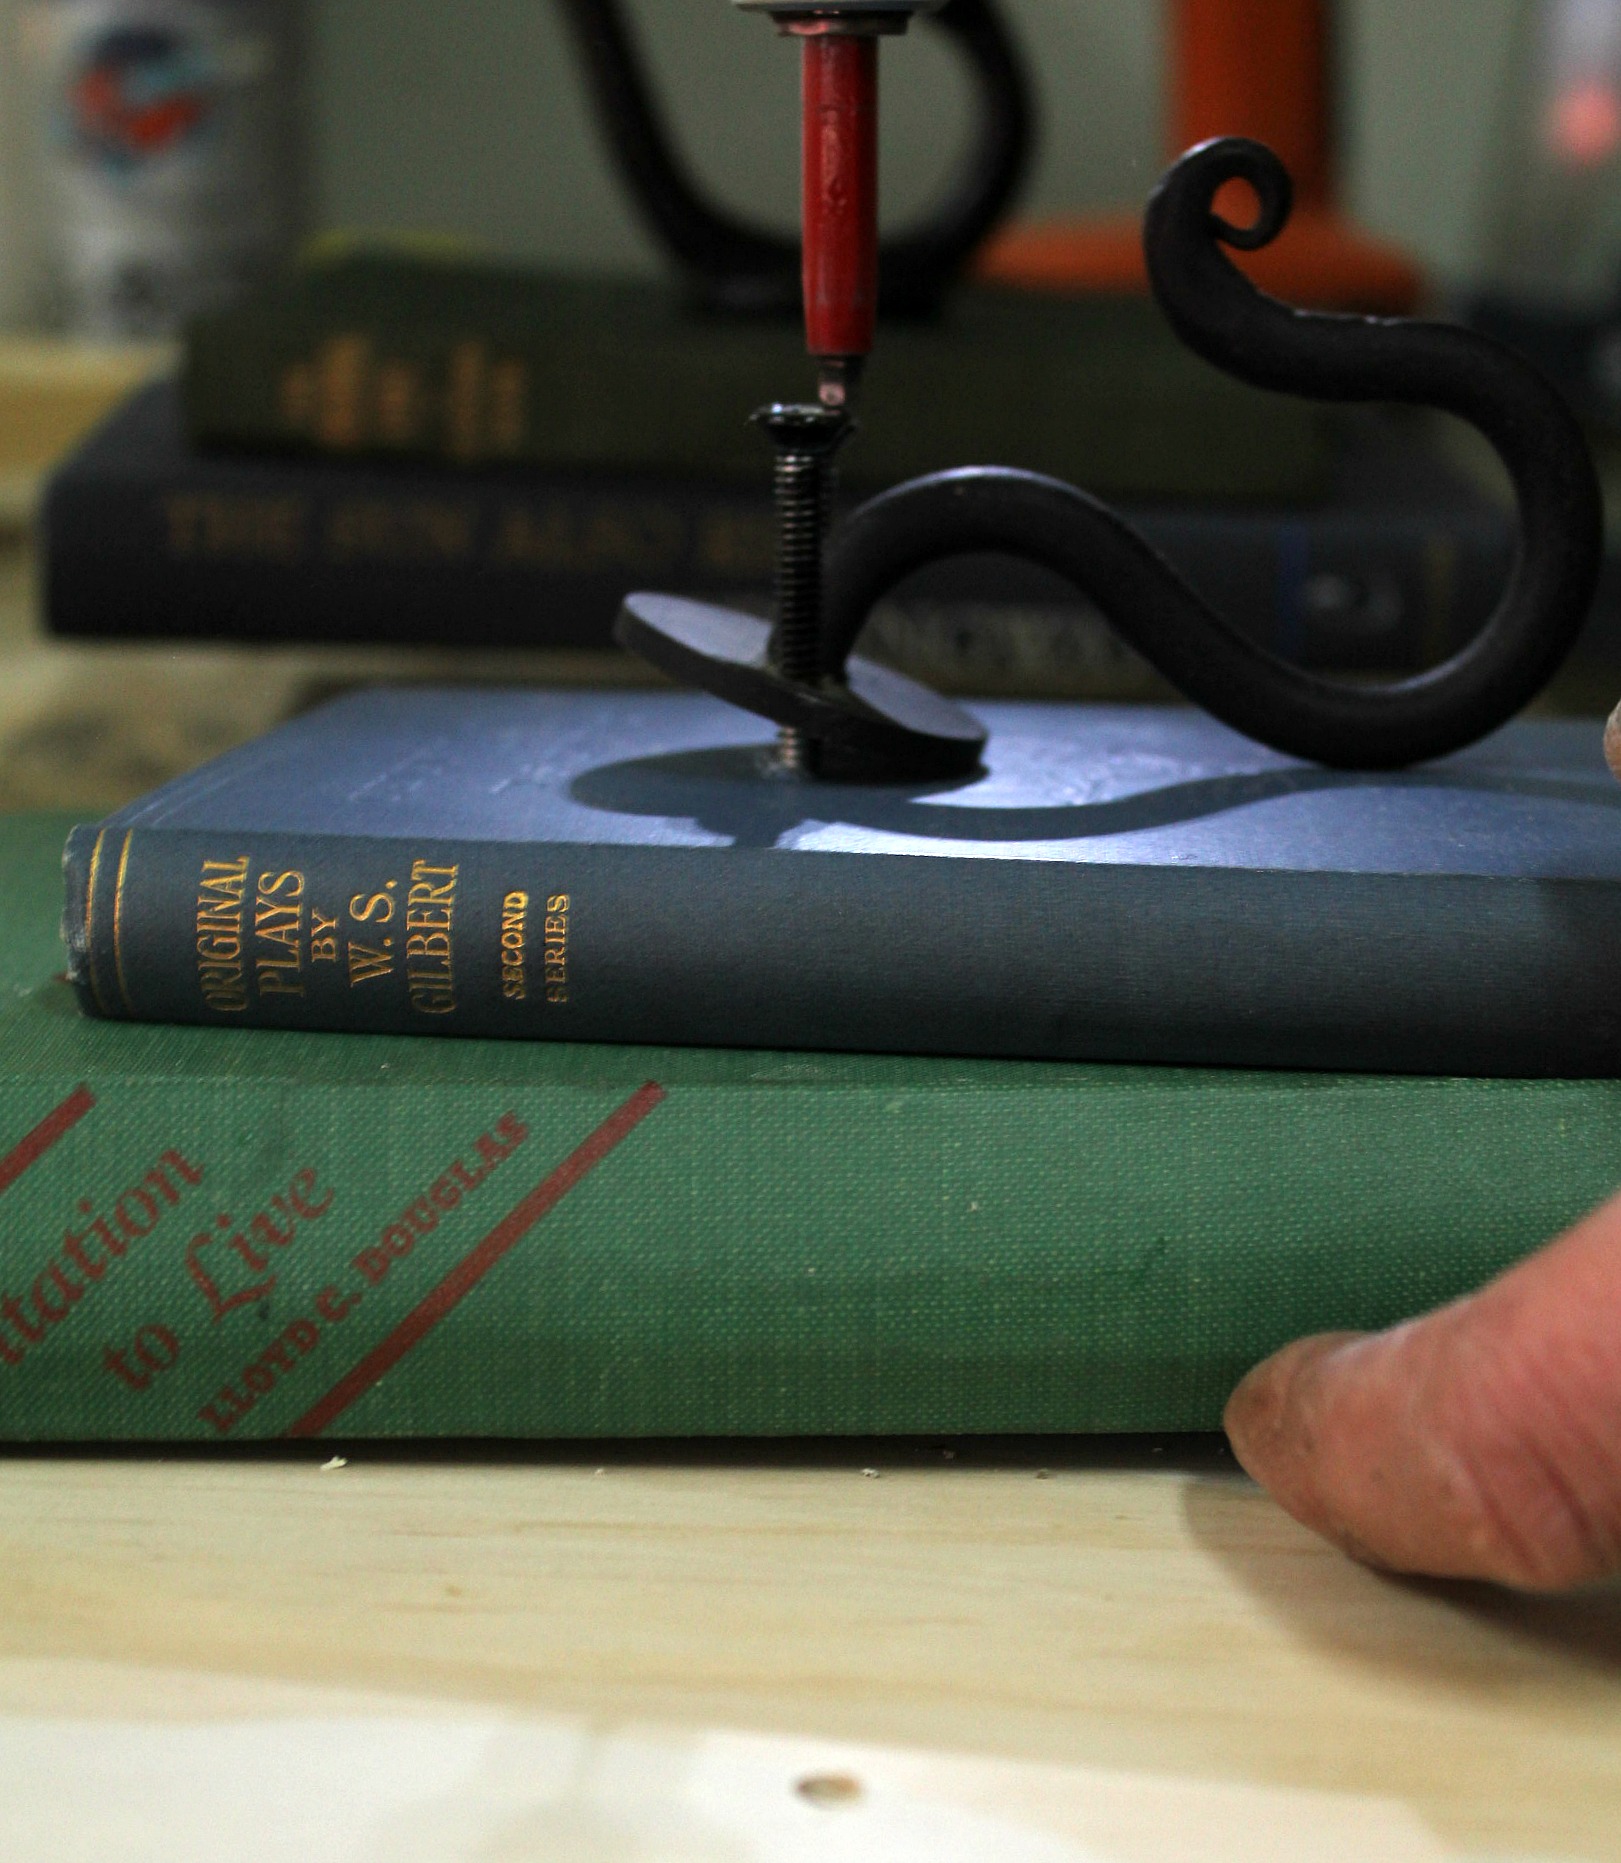

Are you a bibliophile? Do you know someone who is? 
Do you think this is something you'd ever make?


Jan 2, 2014

About a Wonderful Woman


This last year has been a rough one for us. Tom's mom was diagnosed with cancer at the beginning of the year and went through some pretty tough treatments, surgeries, and rehab. We spent much of spring and summer driving back and forth to Toronto to visit her.

Things were looking positive - her hair had grown back, she was learning to walk again - when in July she got the news that the cancer had returned and there was nothing the doctors could do. The rest of the year quickly became about spending as much of the short time we had left with her - playing cards, watching movies, looking through photo albums, just being there.

During the first weeks of December it was obvious that the pain was getting worse, and three days before Christmas she passed away. The holidays were so very difficult - instead of parties and laughing, there was funeral planning and long stretches of silence.

The funeral was held this past Saturday. The church was absolutely packed - so many people considered her a friend. To paraphrase the eulogy, she may not have been curing diseases or saving endangered animals, but there is no one who knew her who can say that the world wasn't a better place for having her in it.


So, I know my posting has been sporadic this year, but I hope you'll forgive me. Tom & I are checking out some new opportunities, and we're looking forward to taking on some bigger projects - like finally getting that master bath done once and for all. We really took our time with the kitchen, to the point where it stopped being fun. And we don't want to ever lose the joy we get from DIY. I hope you stick around to see what changes we make to this little house of ours.

Happy New Year to my friends (yes, I consider you all my friends), and here's to making some outstanding memories in 2014.

Dec 16, 2013

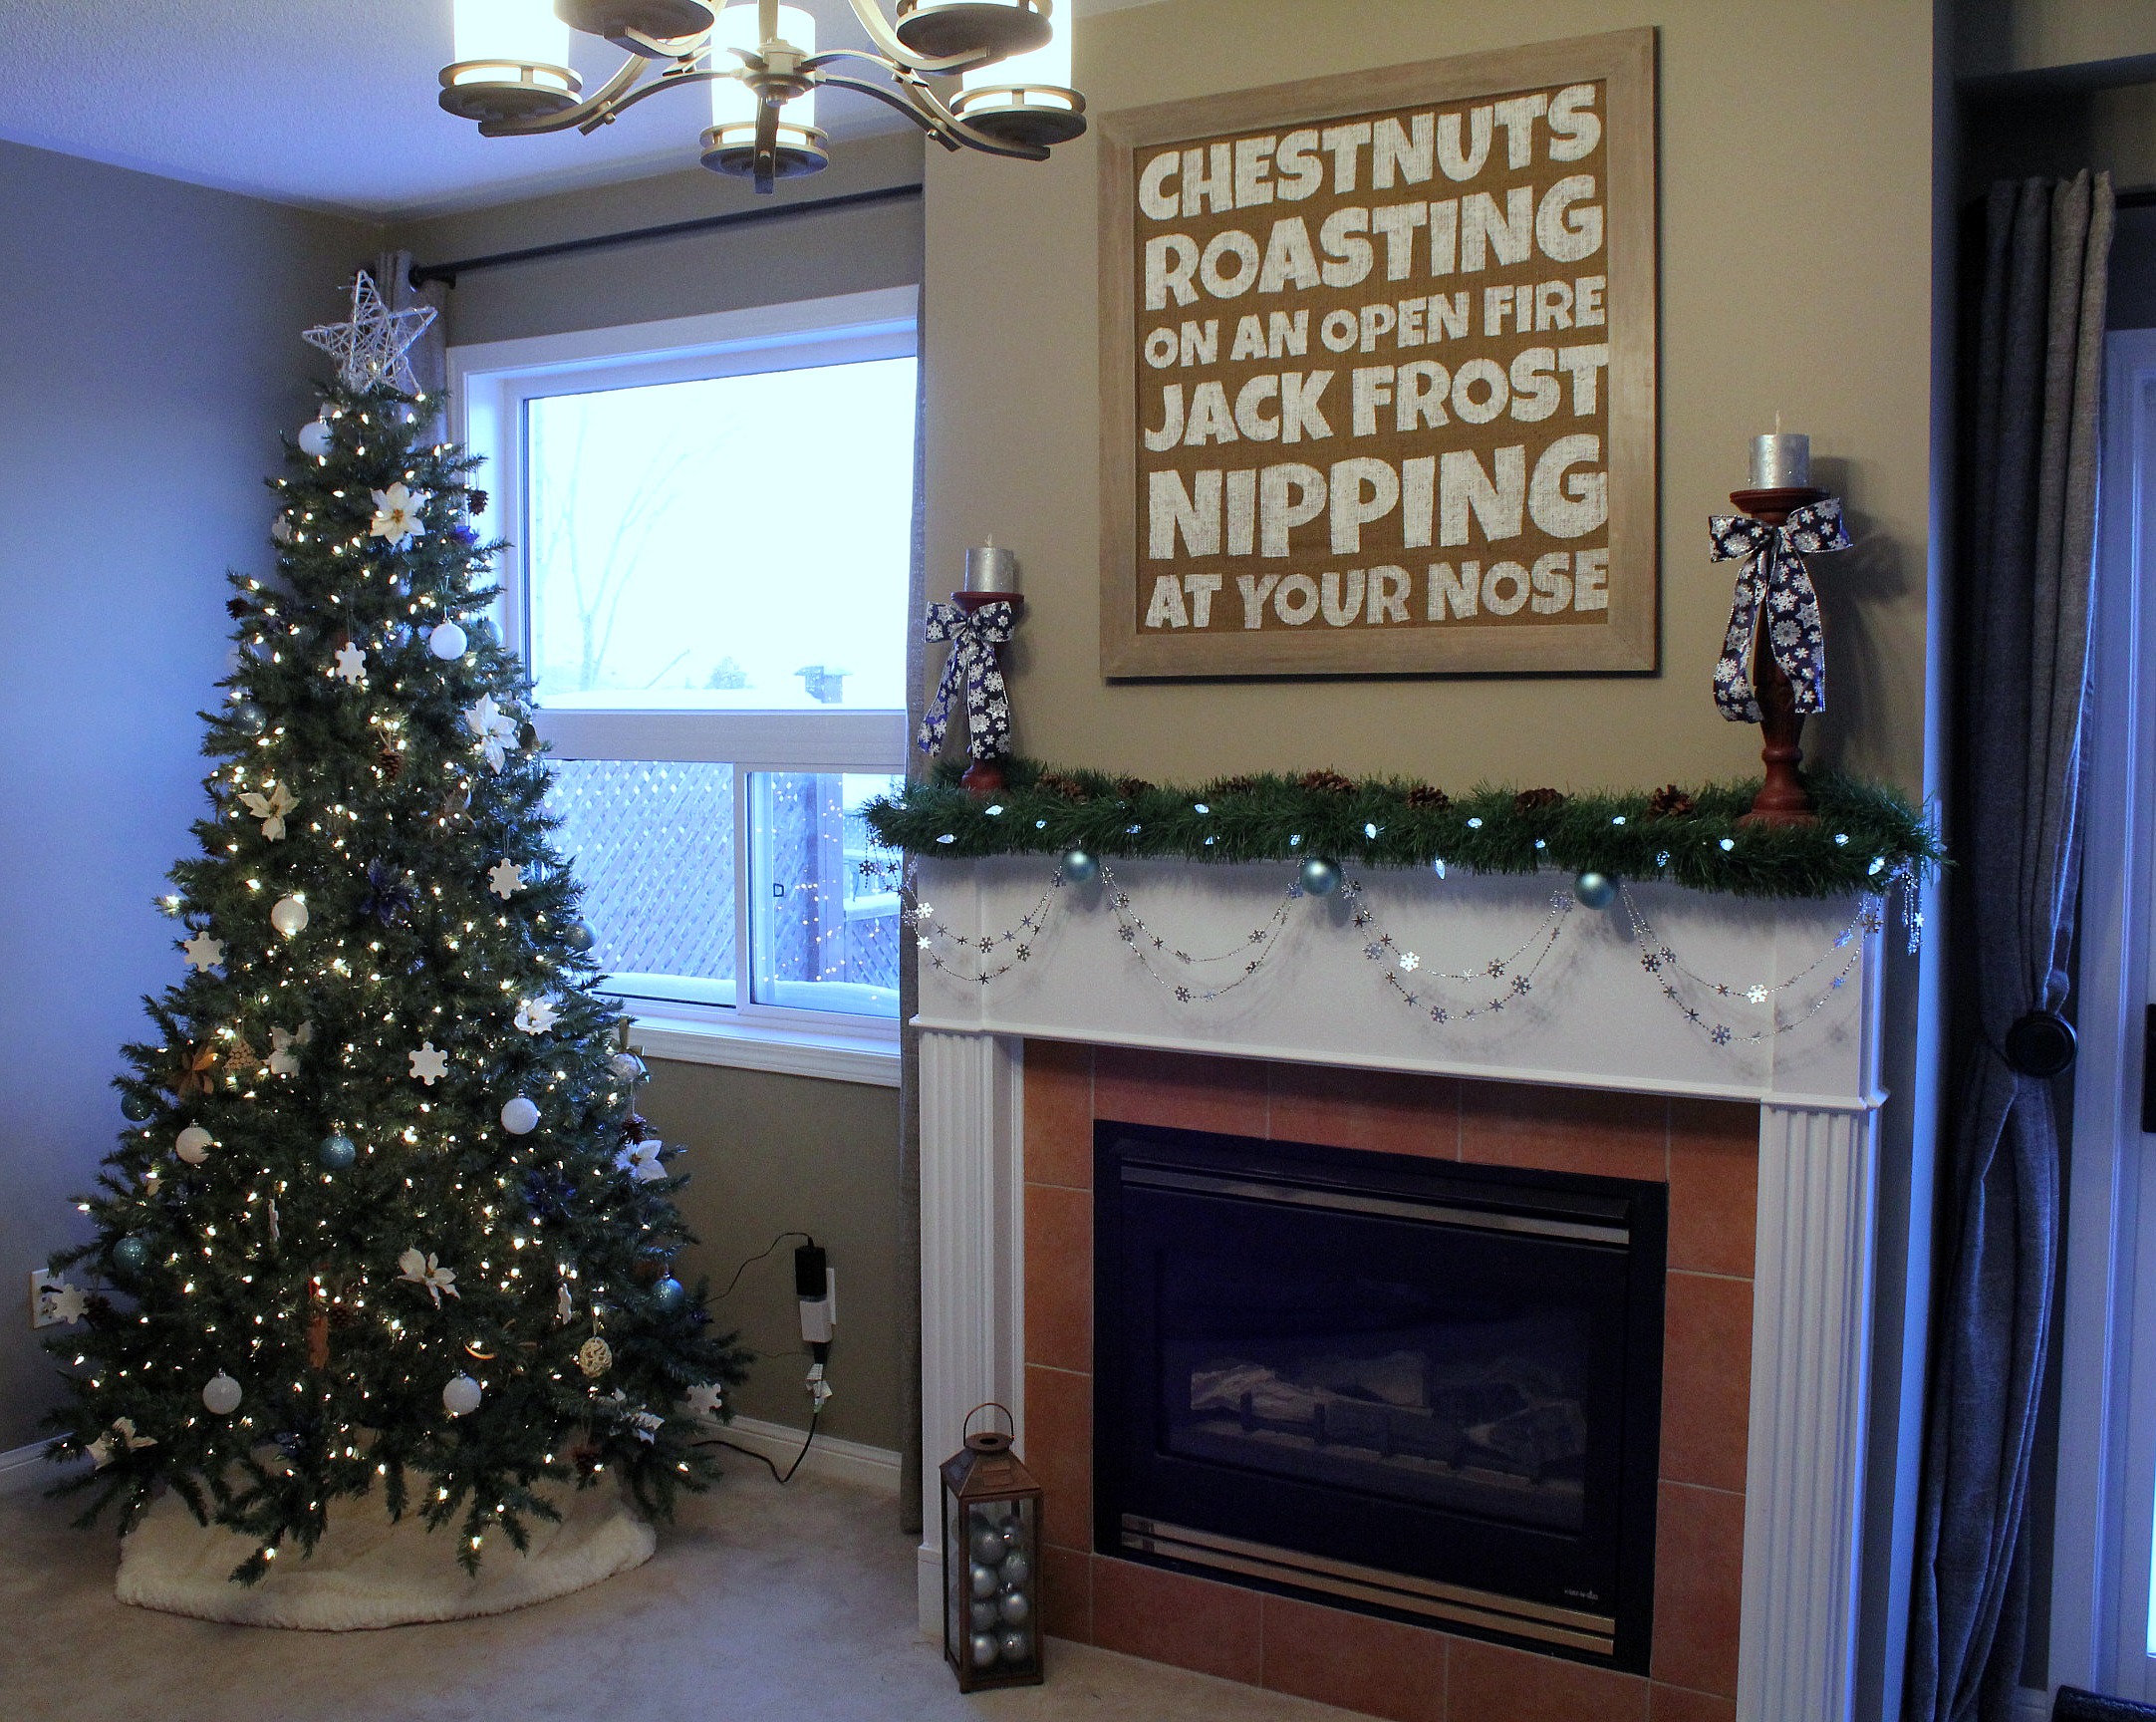
Burlap Christmas Song Sign


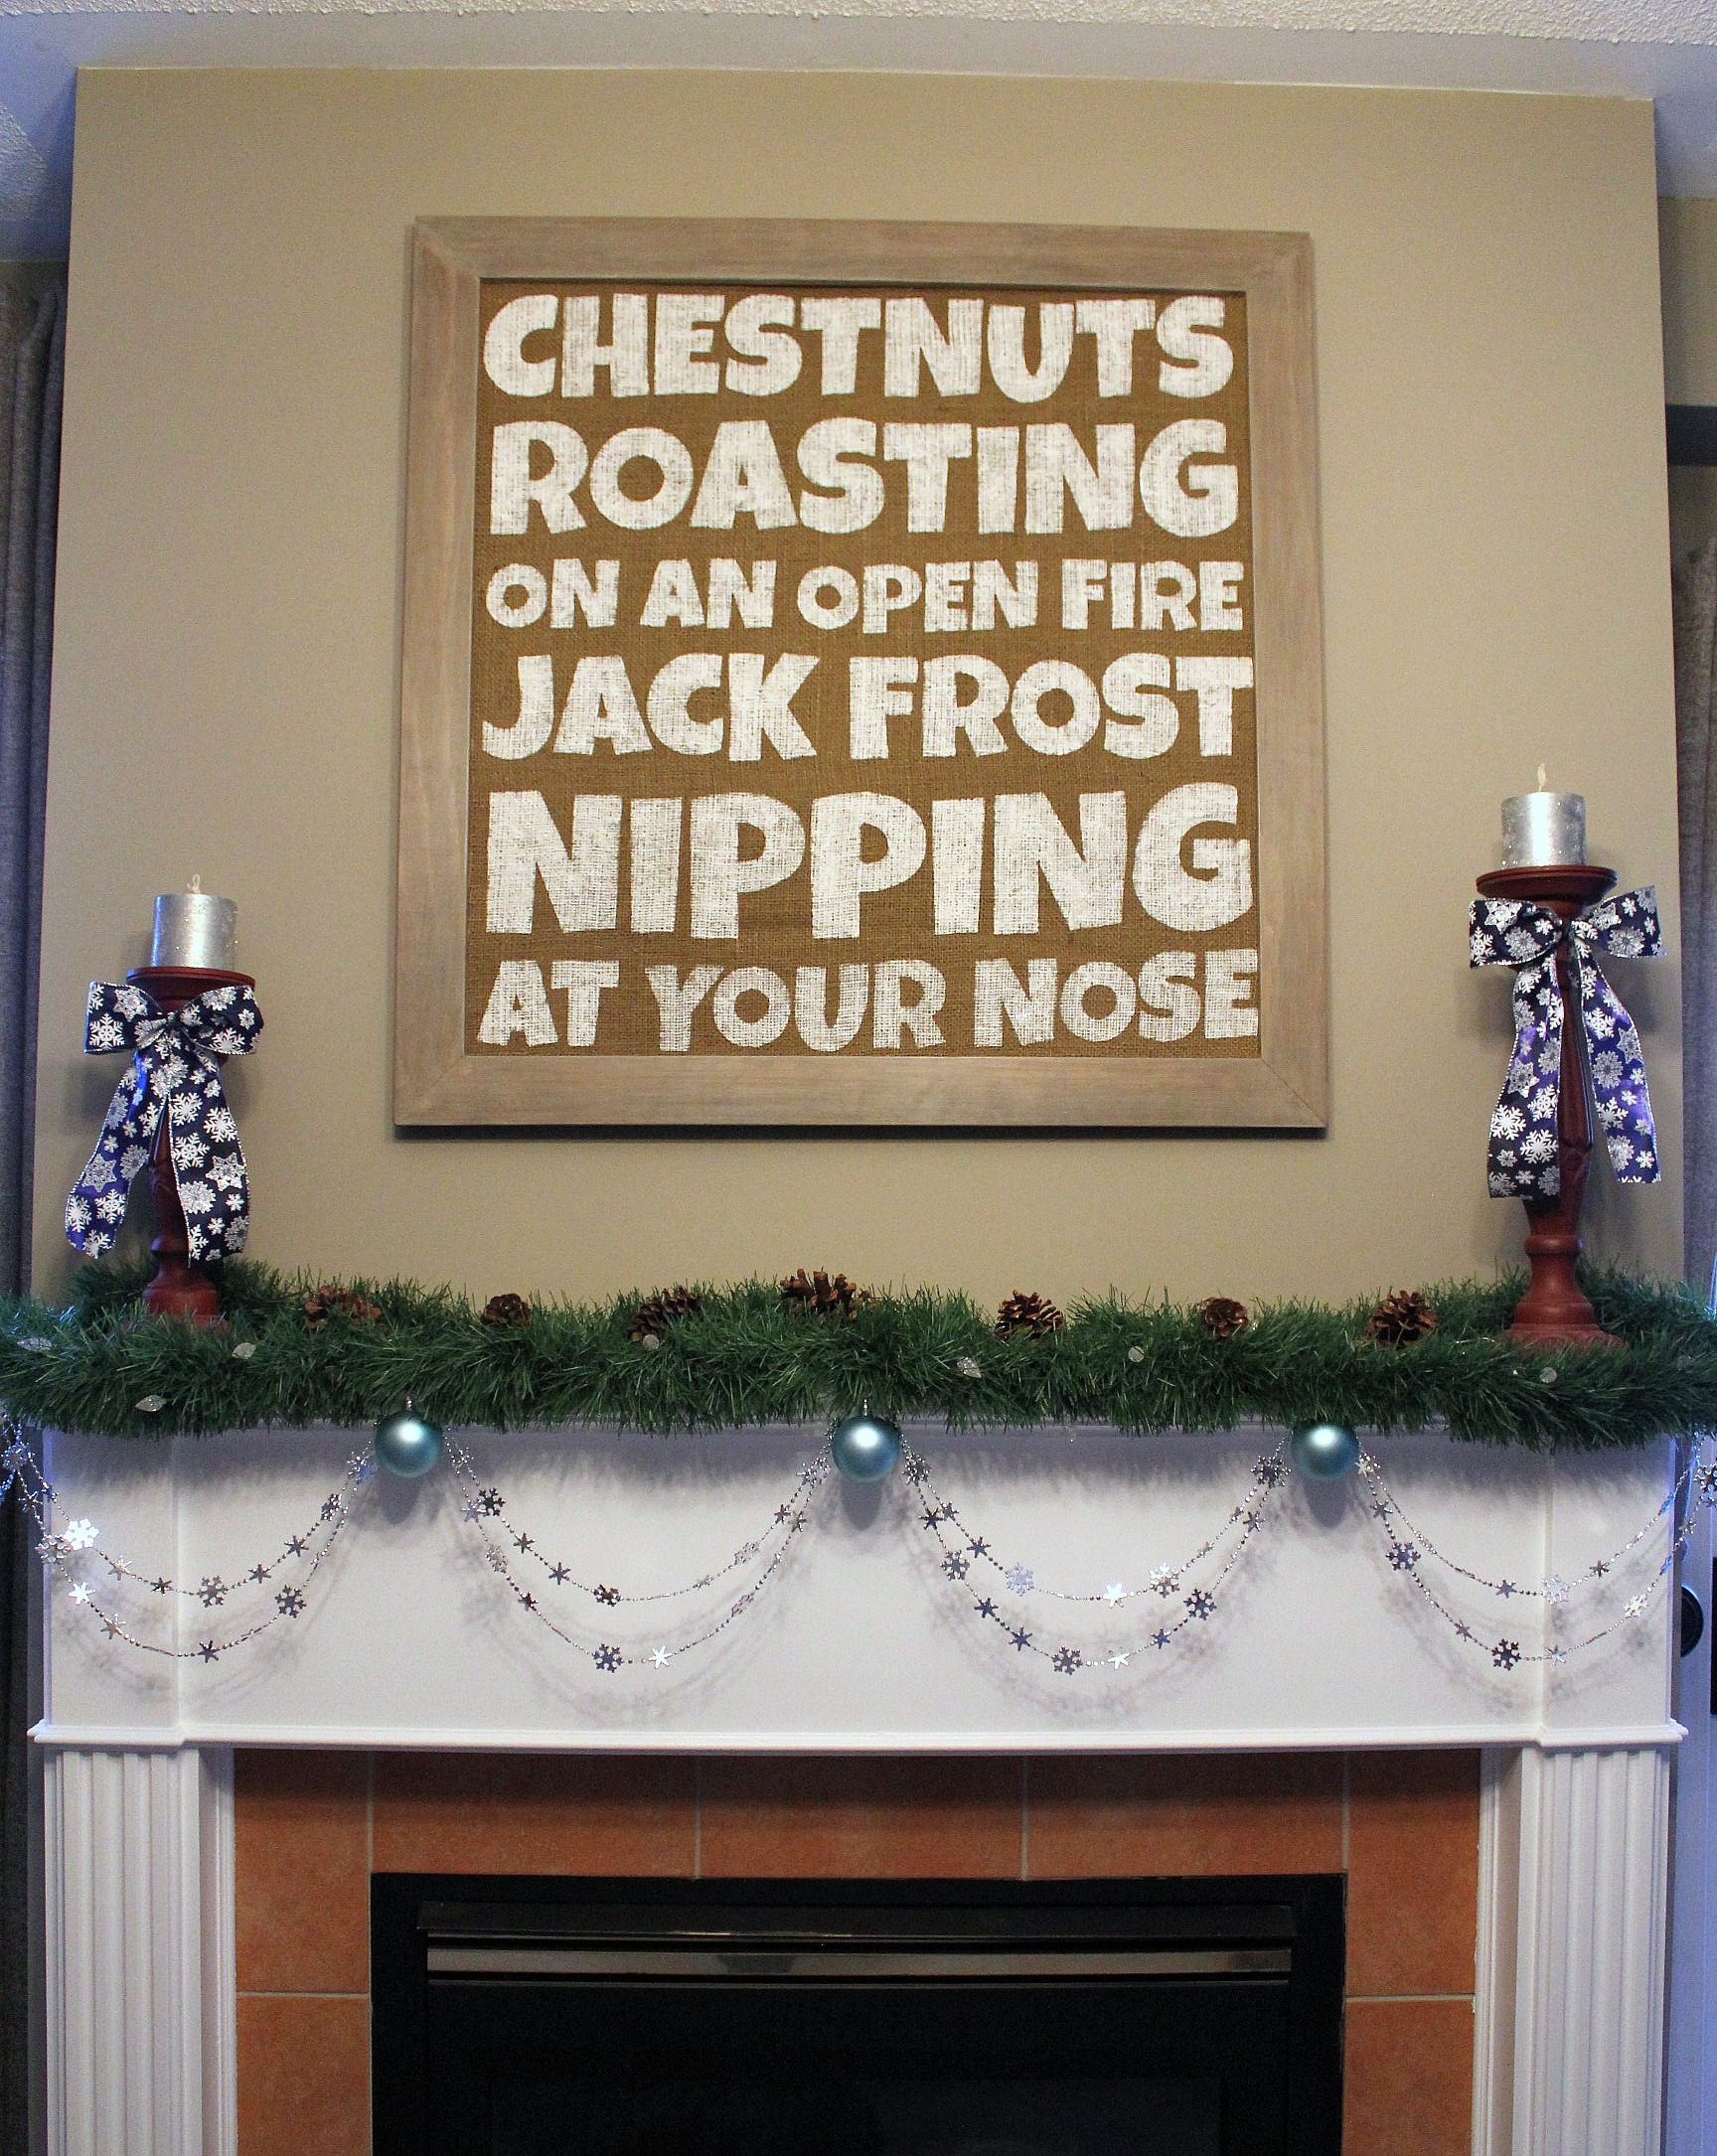
I made a little sign for over the fireplace this year. Well, it's 30" x 30", so maybe not so little.


The idea came from Denise...on a Whim and her chippy window sign. When I saw it I knew I needed to make one. I like to hang something different every year - click here for last year's "art".

I didn't want to copy her sign exactly, so I went hunting for other Christmas song lyrics. After looking at hundreds of songs - some I'd never heard before - and trying to fit them into a square, I came to the conclusion that The Christmas Song was the one to go with. Denise knows what she's doing.

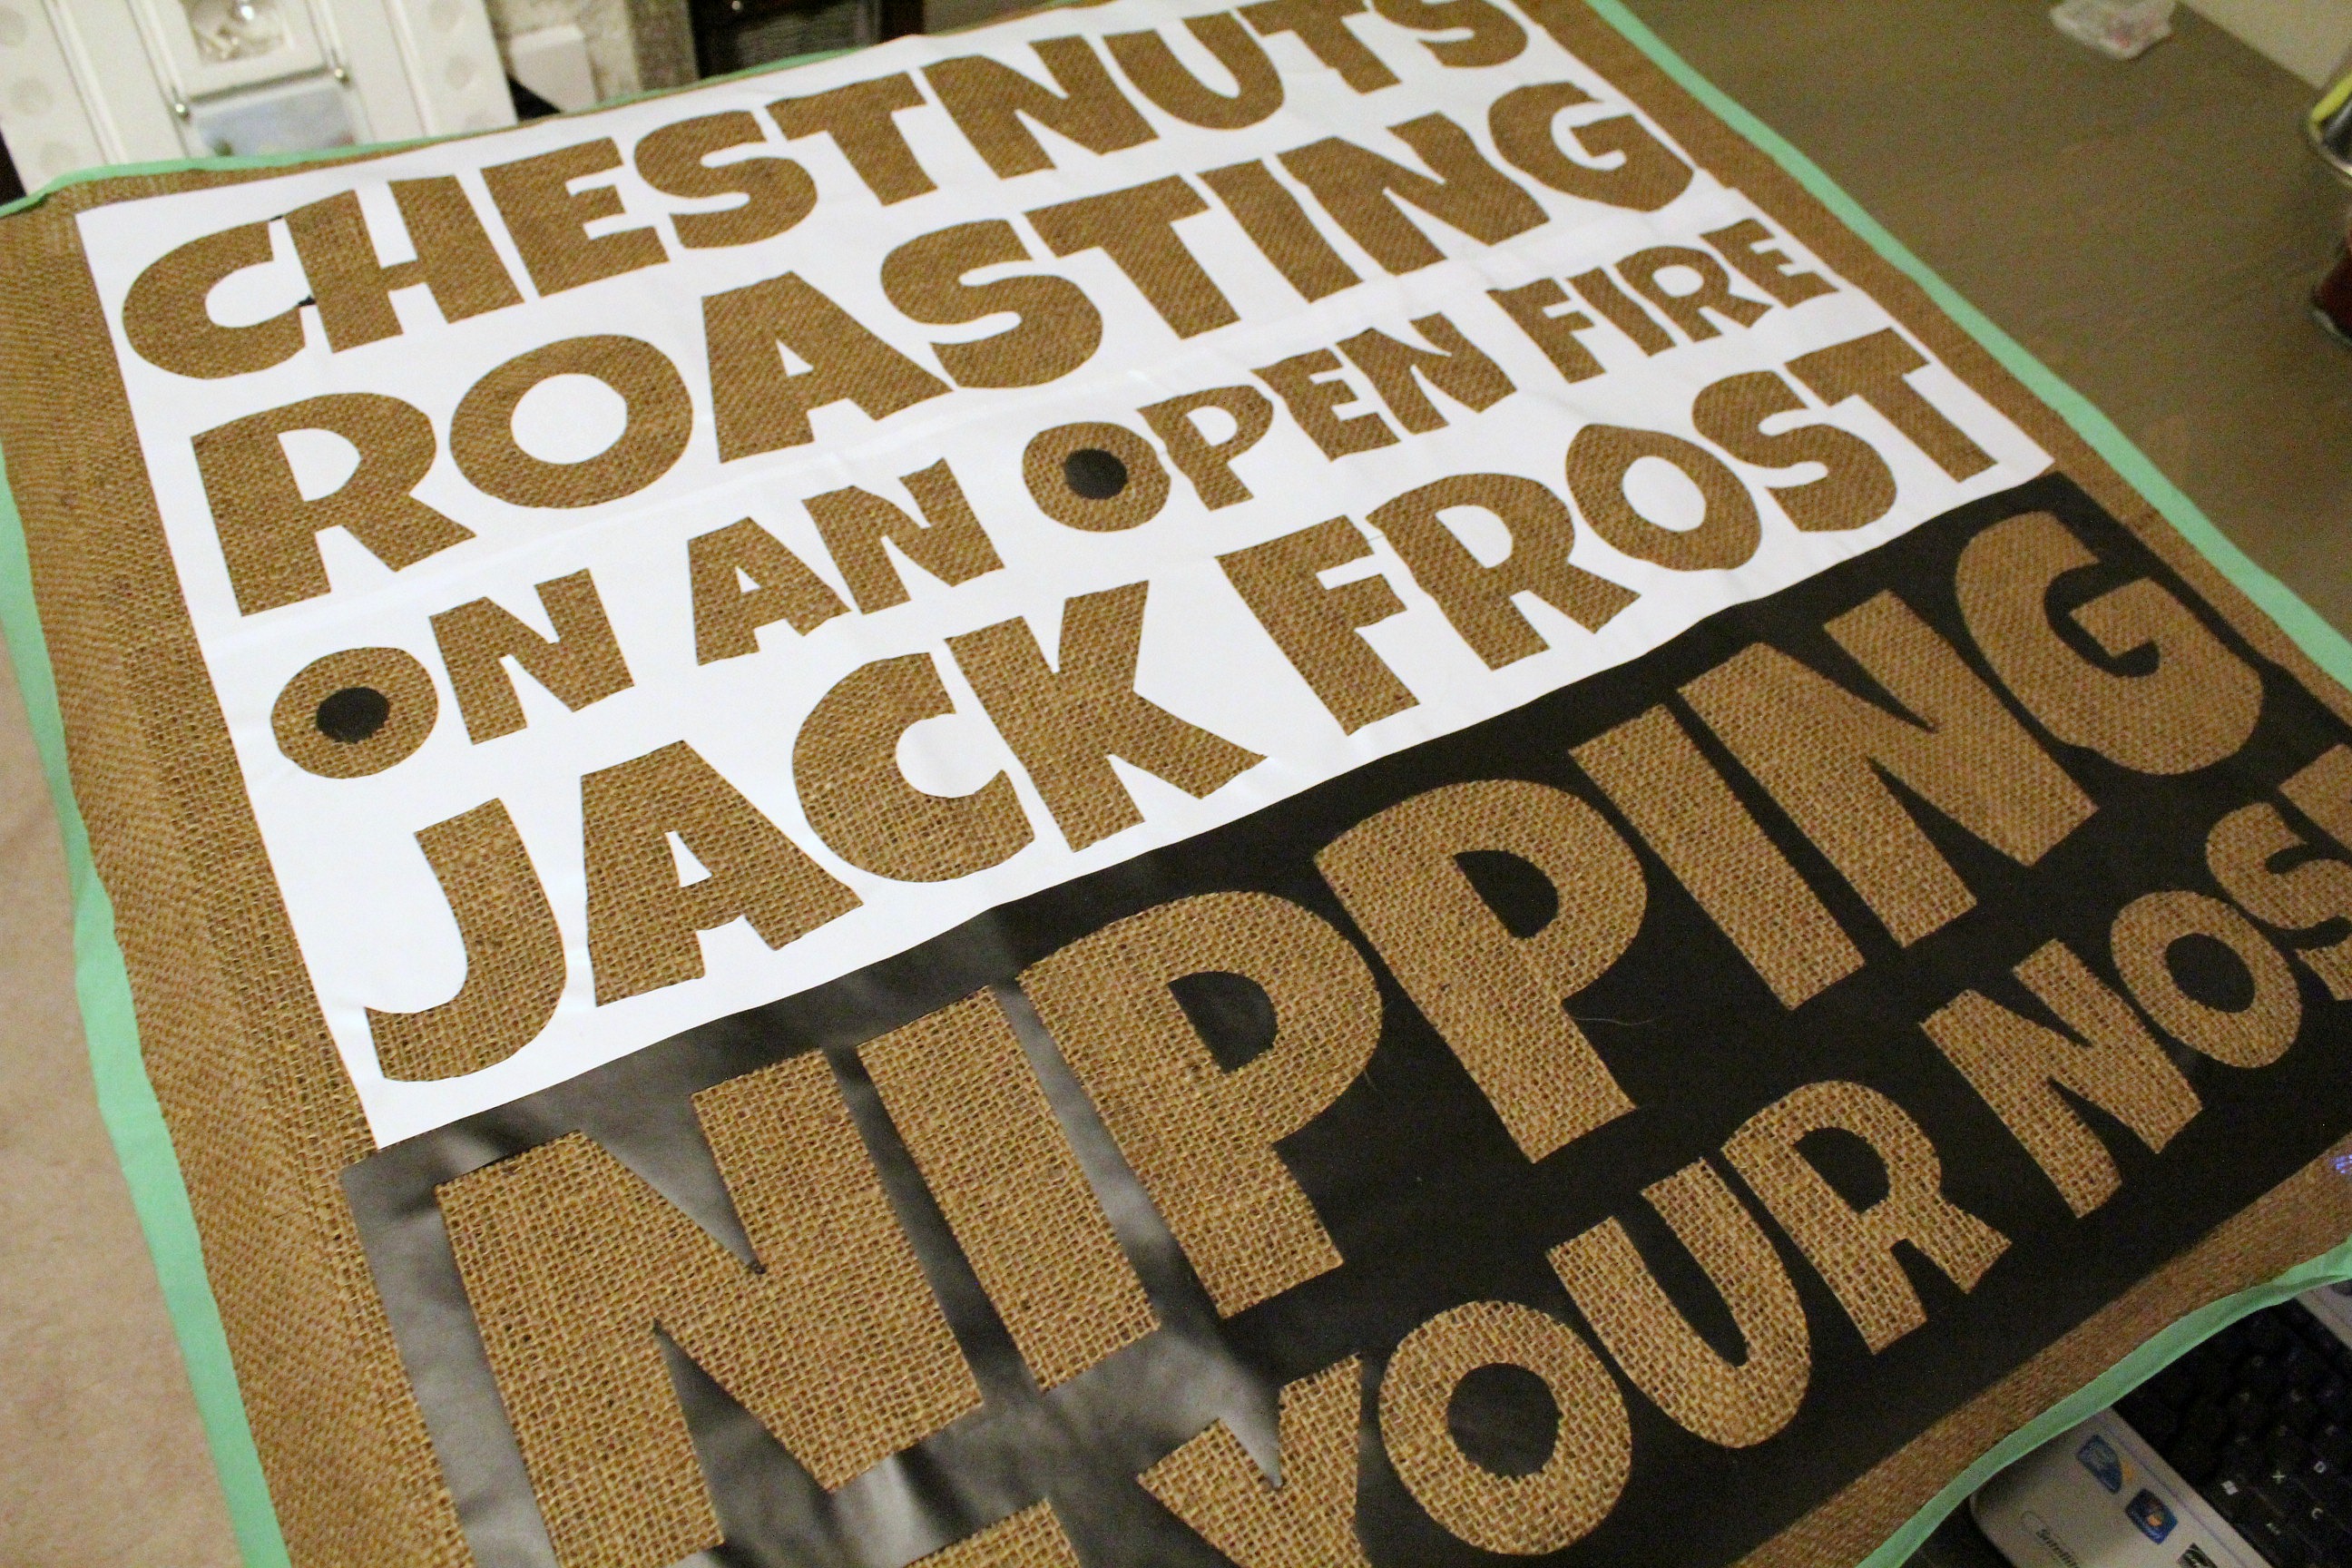
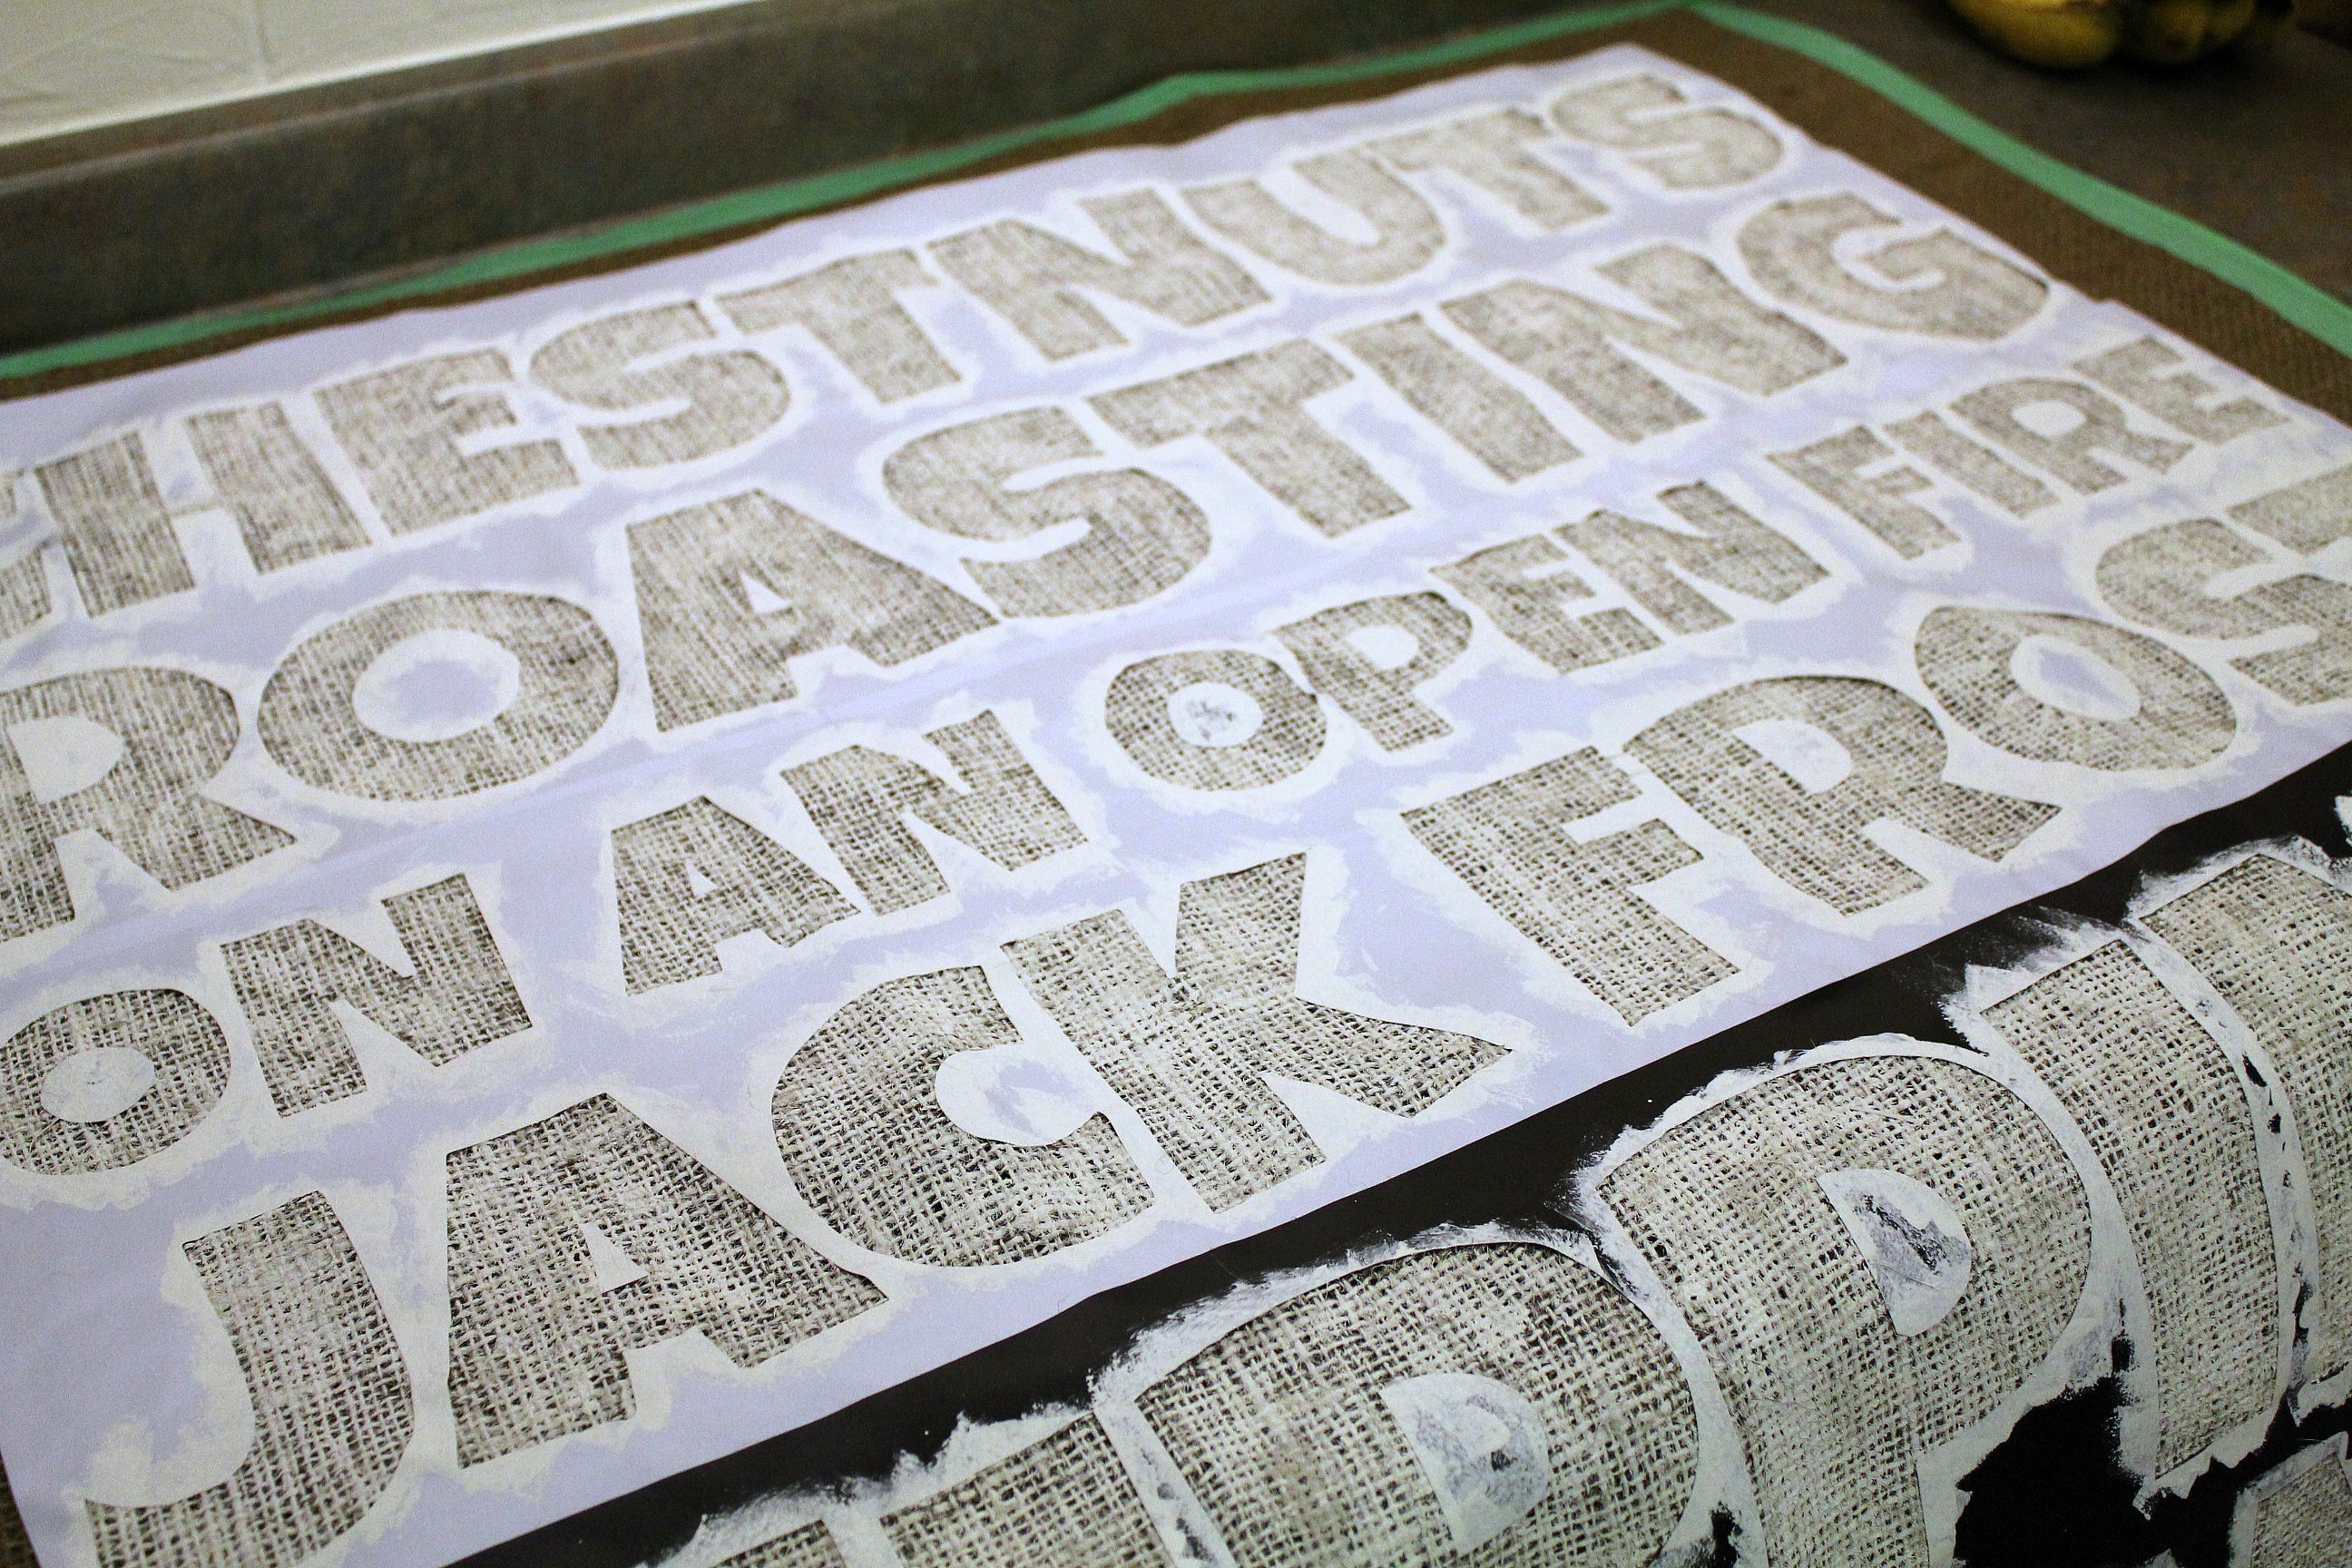
I cut a piece of burlap to about 34" x 34" to give myself some extra fabric to wrap around the back, and taped off the edges with painter's tape to keep them from fraying. I then used my Silhouette Cameo to cut out the words. This is the first time I've cut out something so large - it used up almost all of my adhesive vinyl! - but I love how much time it saved.


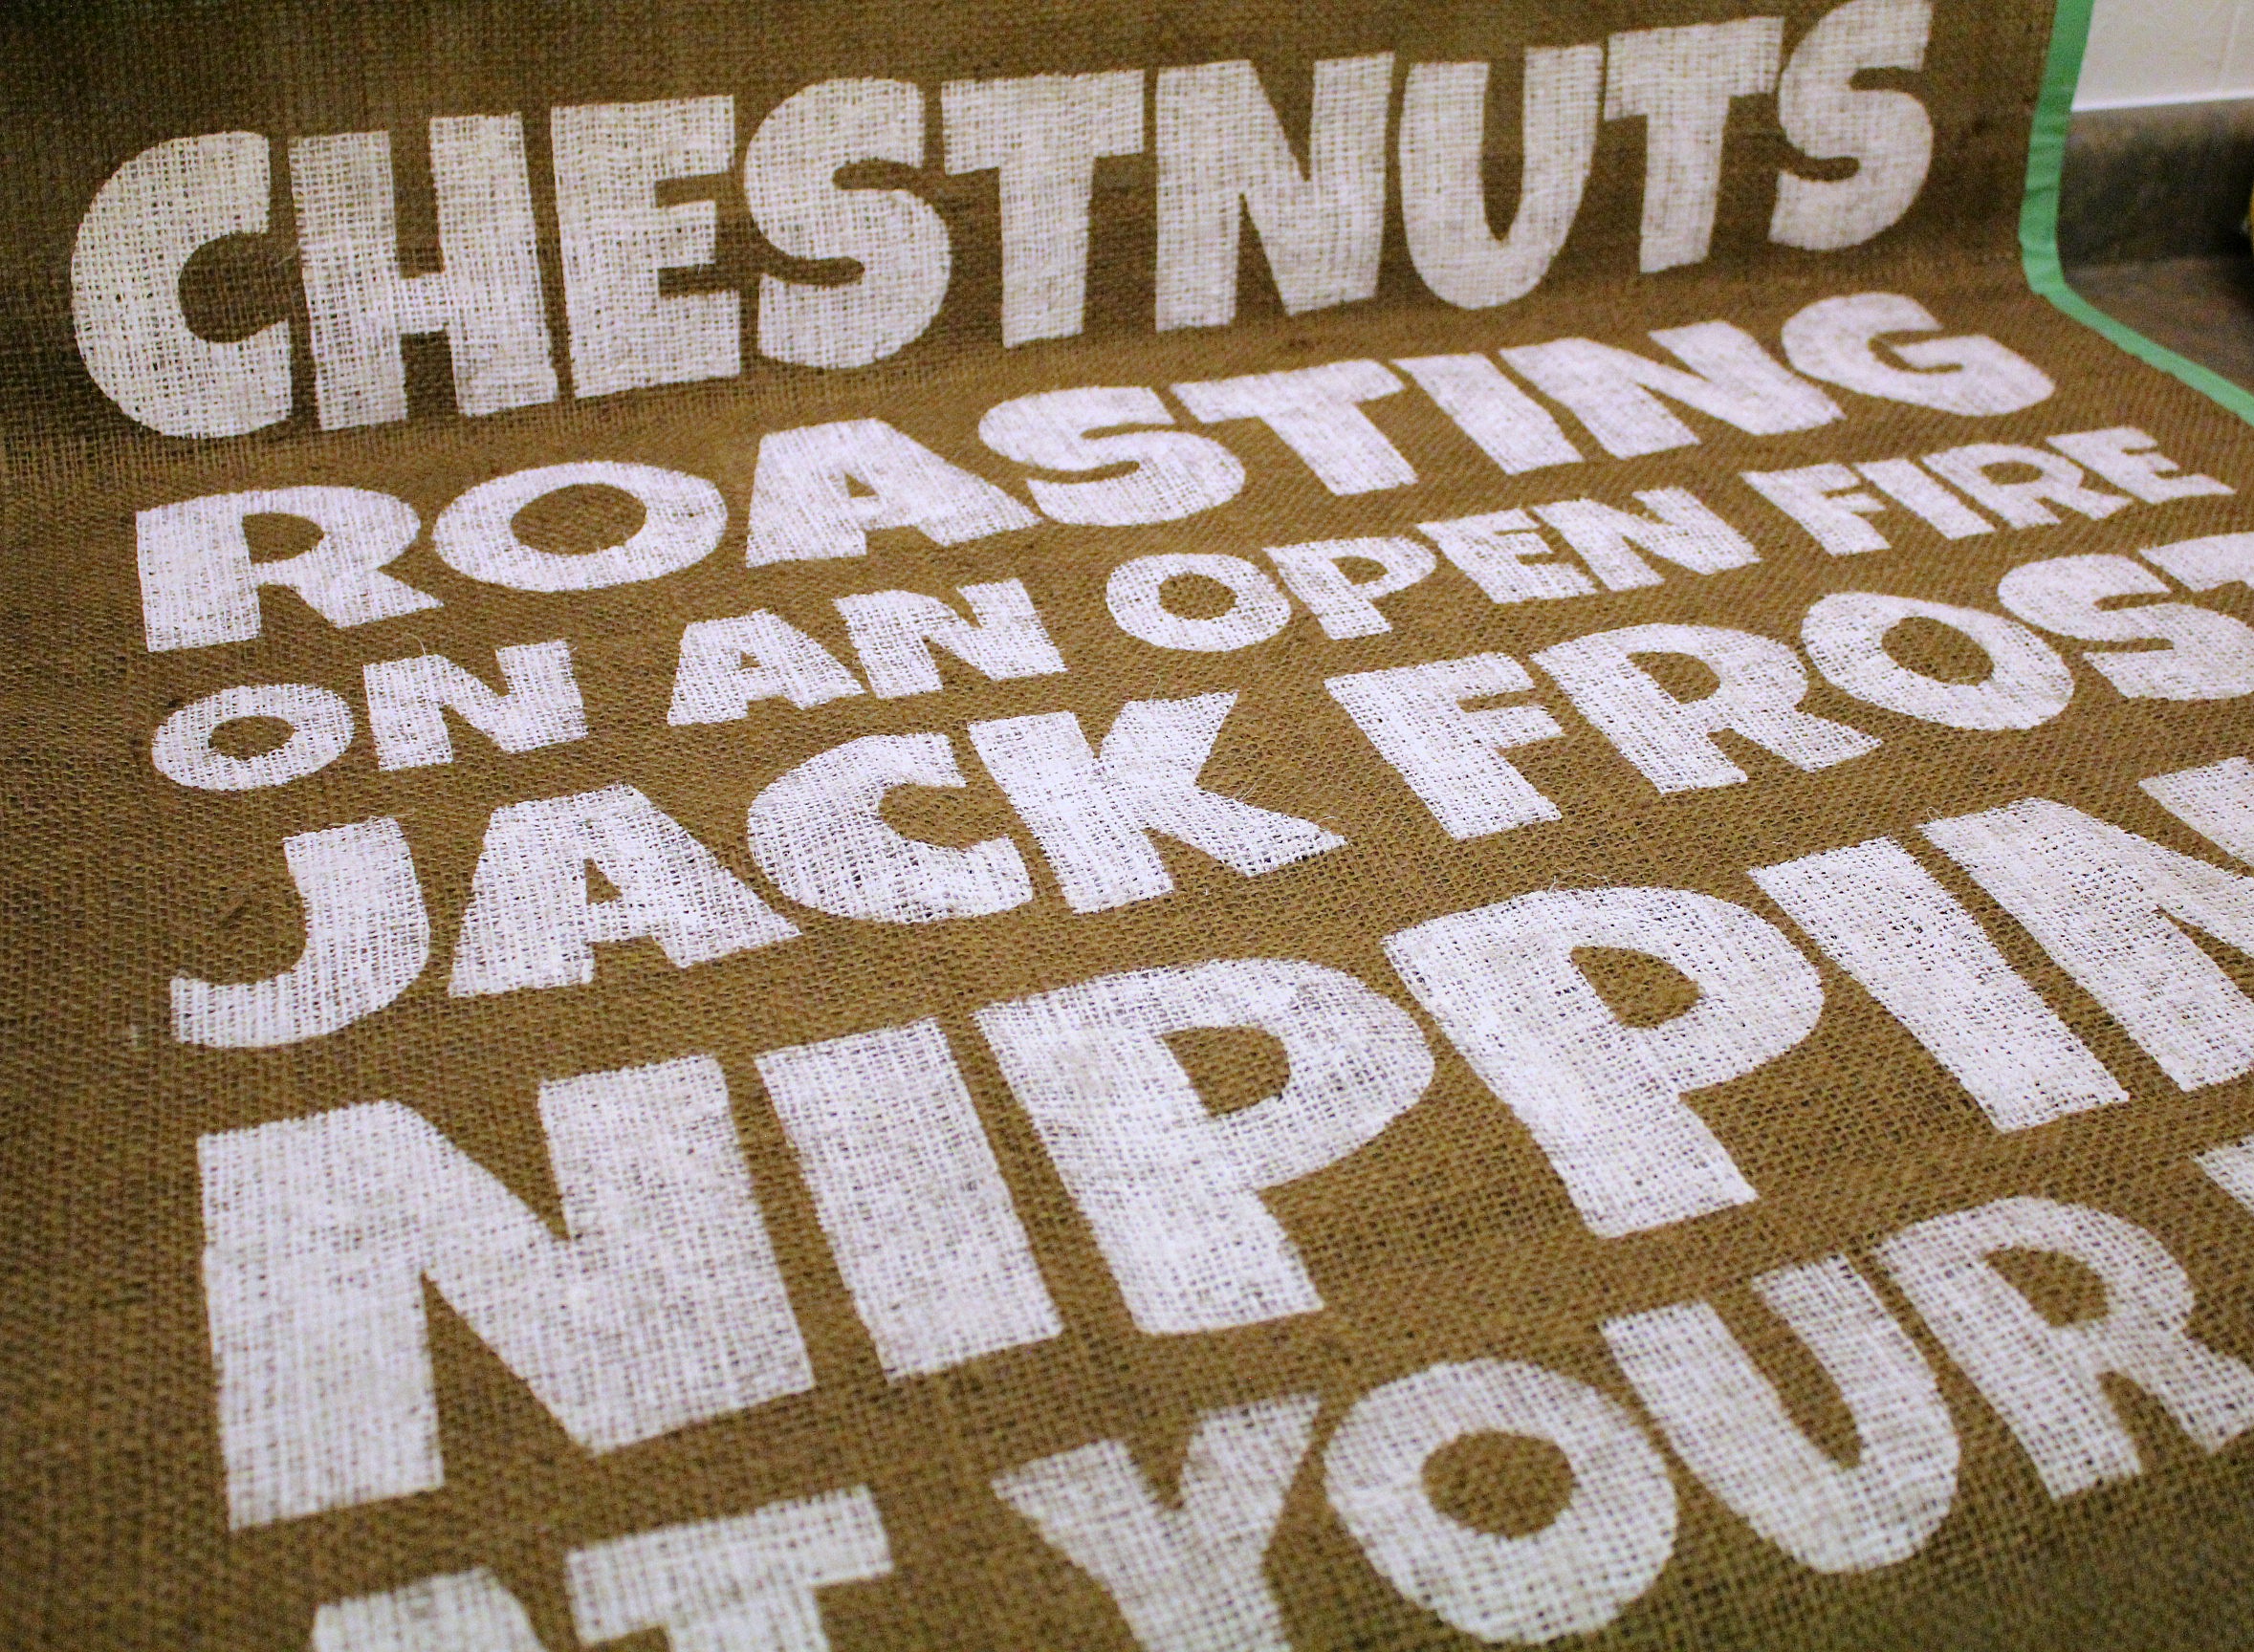
I laid out the words in 6 lines, carefully making sure they were even, and that they stayed within the 30" space limit I'd set. Once it was laid out the way I wanted it, I filled in the words with two coats of Antique White craft paint. I left it to dry for the night and then peeled off the stencil. The edges of the letters  were beautifully sharp.


We had just had new living room furniture delivered that day so there were some huge pieces of cardboard laying around. I cut one piece to 30" x 30" to use as a backing board, centred the burlap on it, wrapped the edges behind, and taped it down.

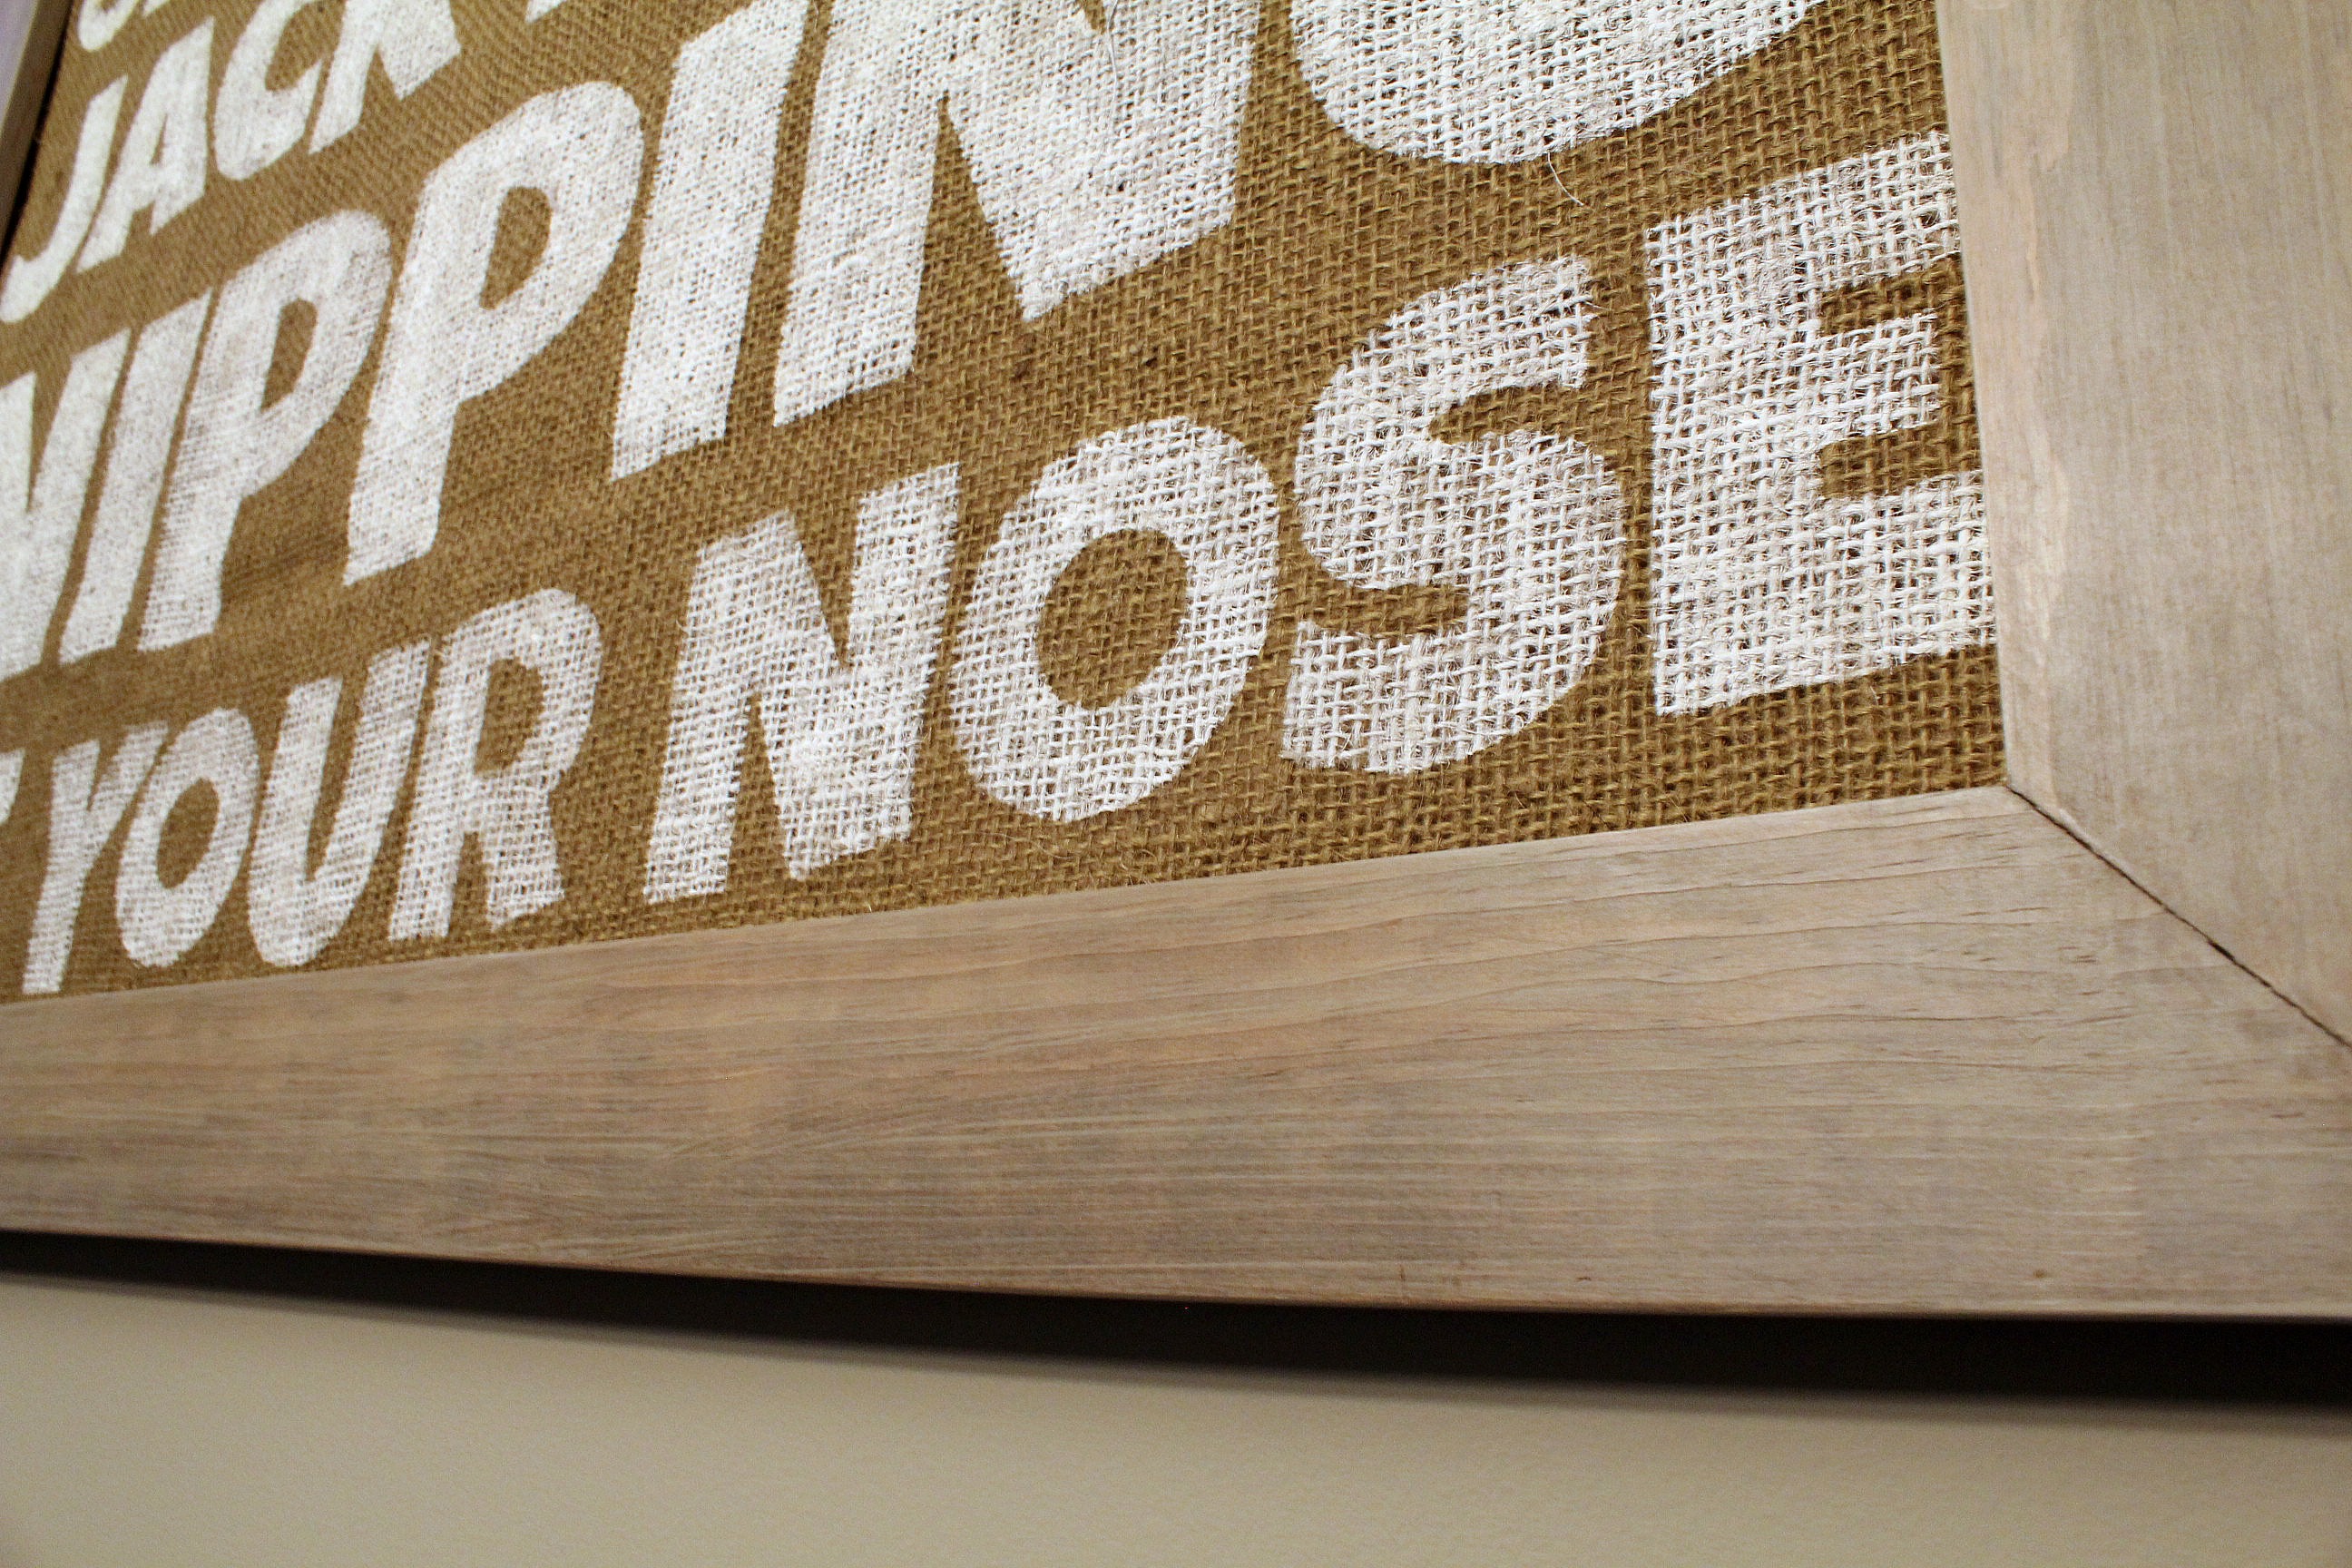
Tom built the frame for me using 1"x3" boards. He routered a rabbet in the back to hold the sign in place and reinforced the corners with L-shaped corner brackets - inset of course.


I stained the frame with Minwax Provincial and then wiped on a coat of watered-down paint the same colour as the wall. A coat of furniture wax, a buff with a soft cloth, and it was ready. I use this finishing method a lot - if you'd like more in-depth instructions, click here.


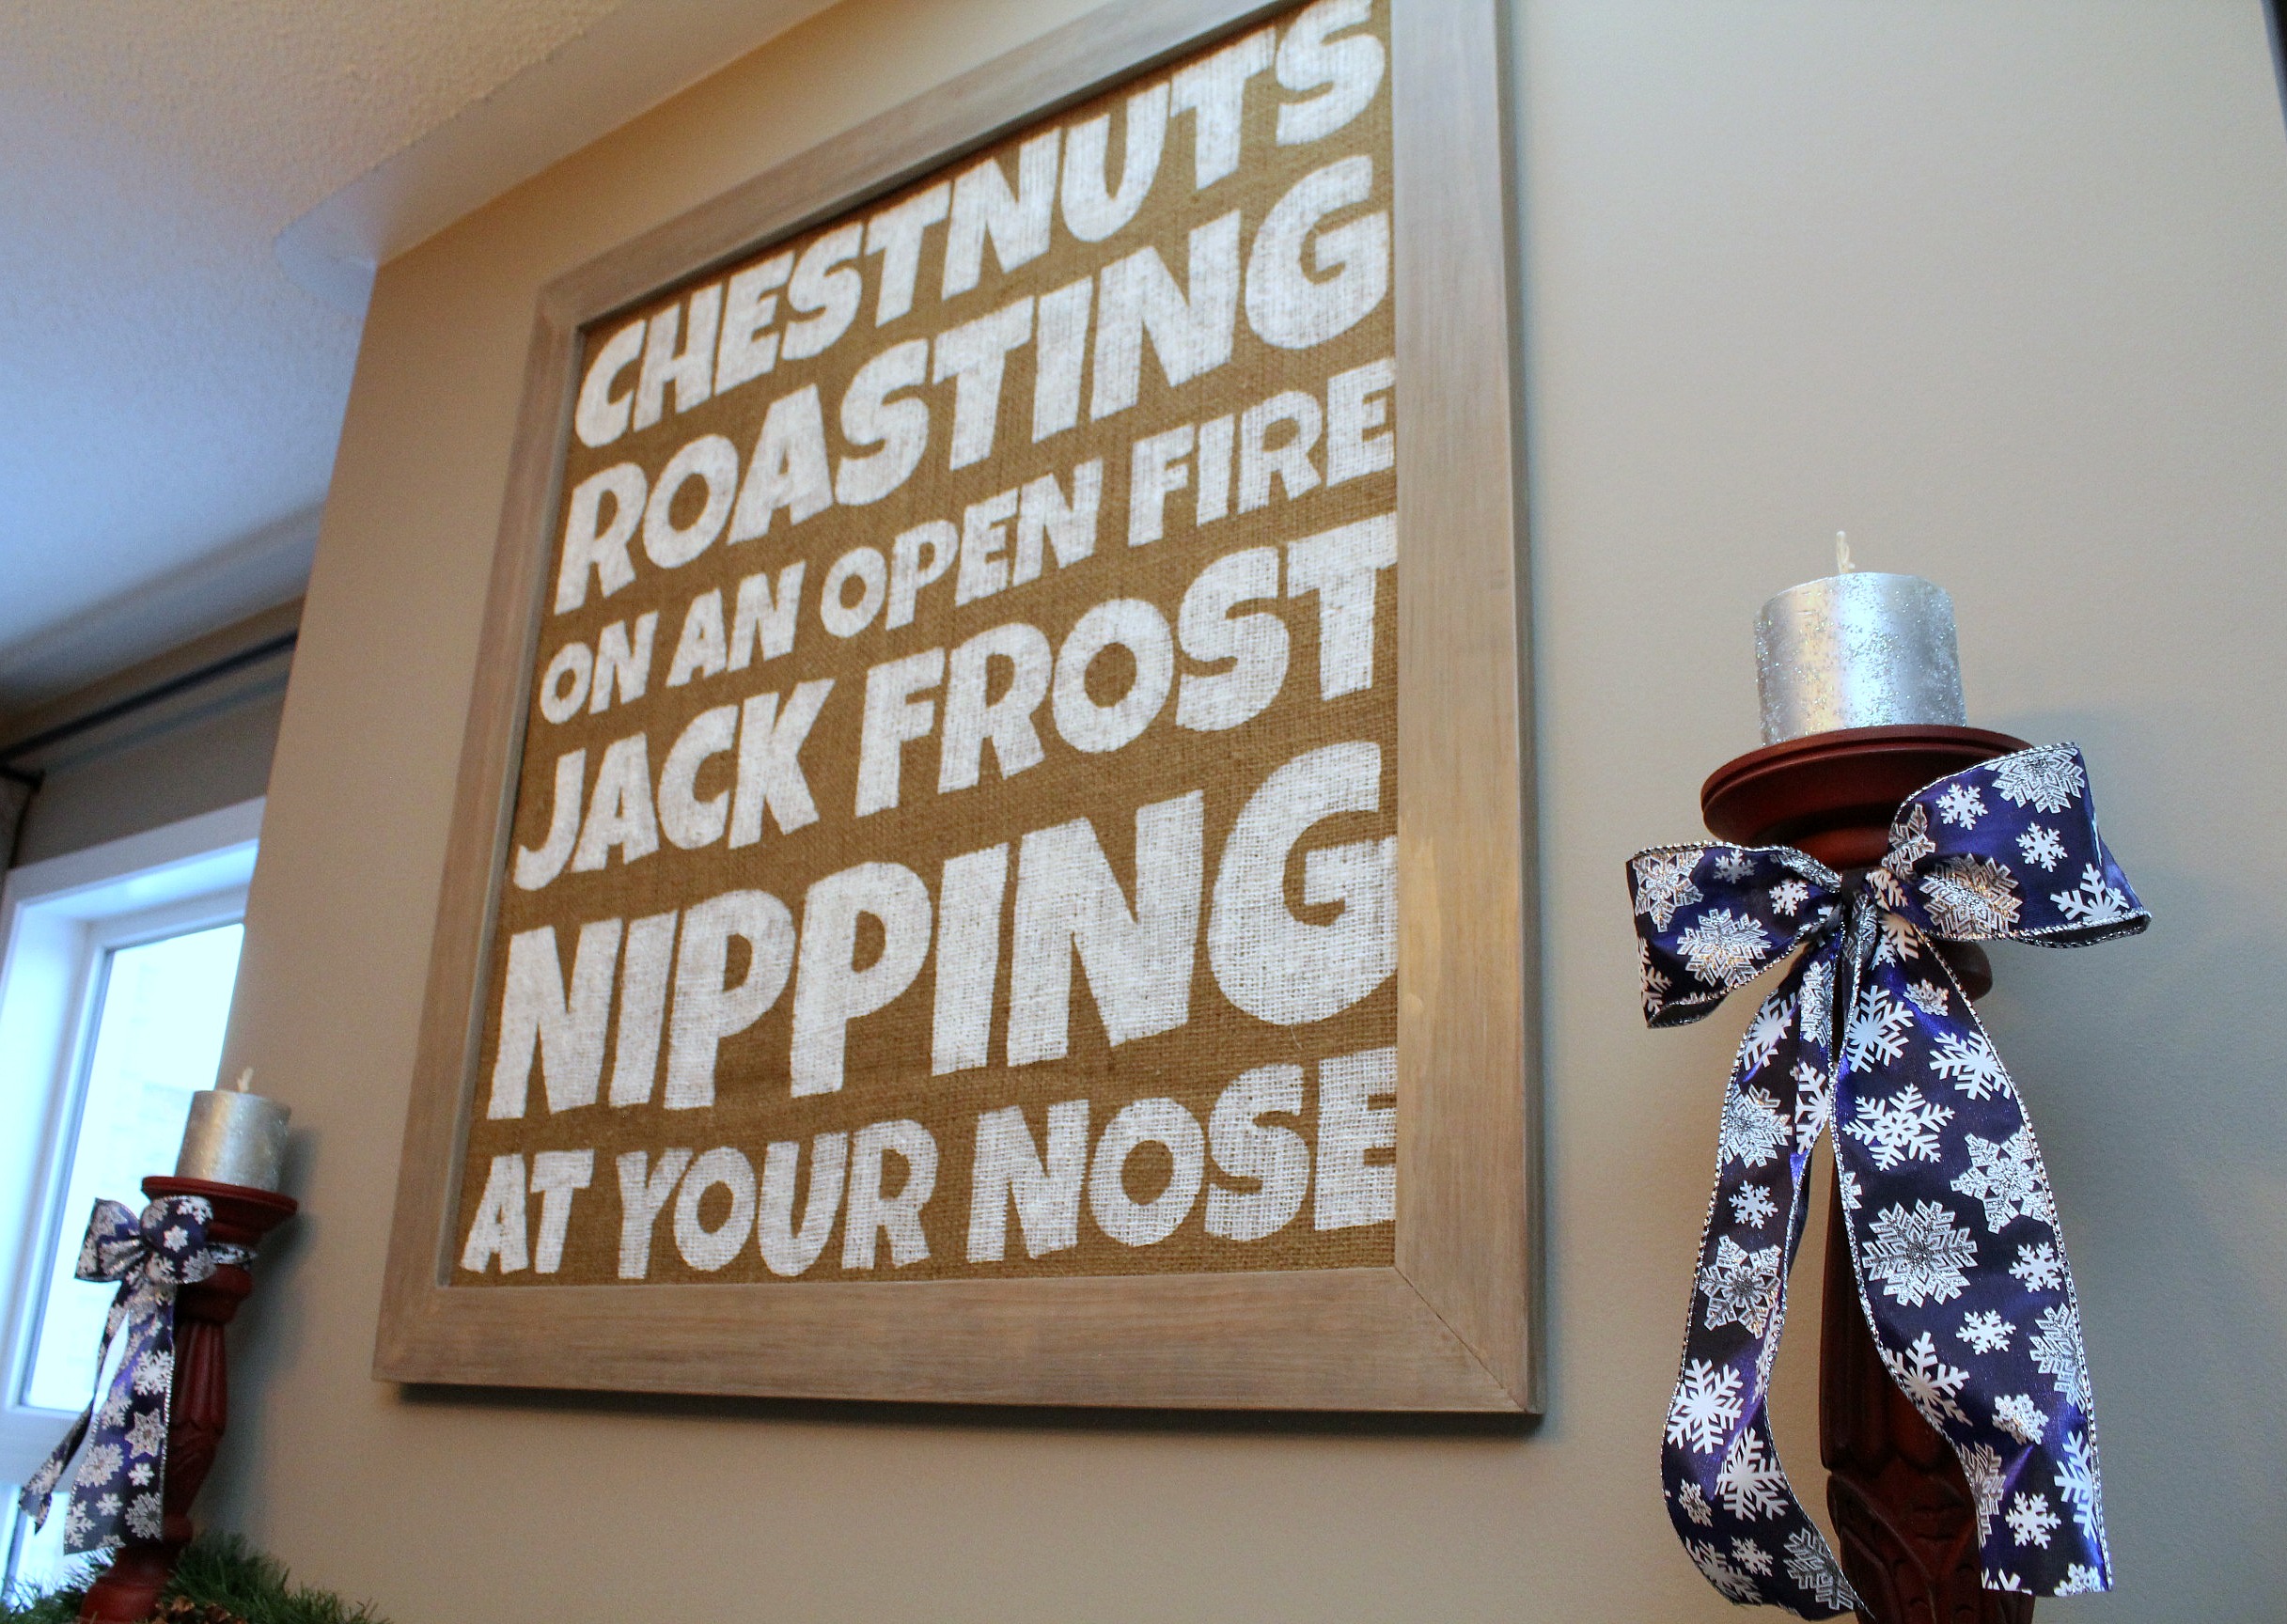
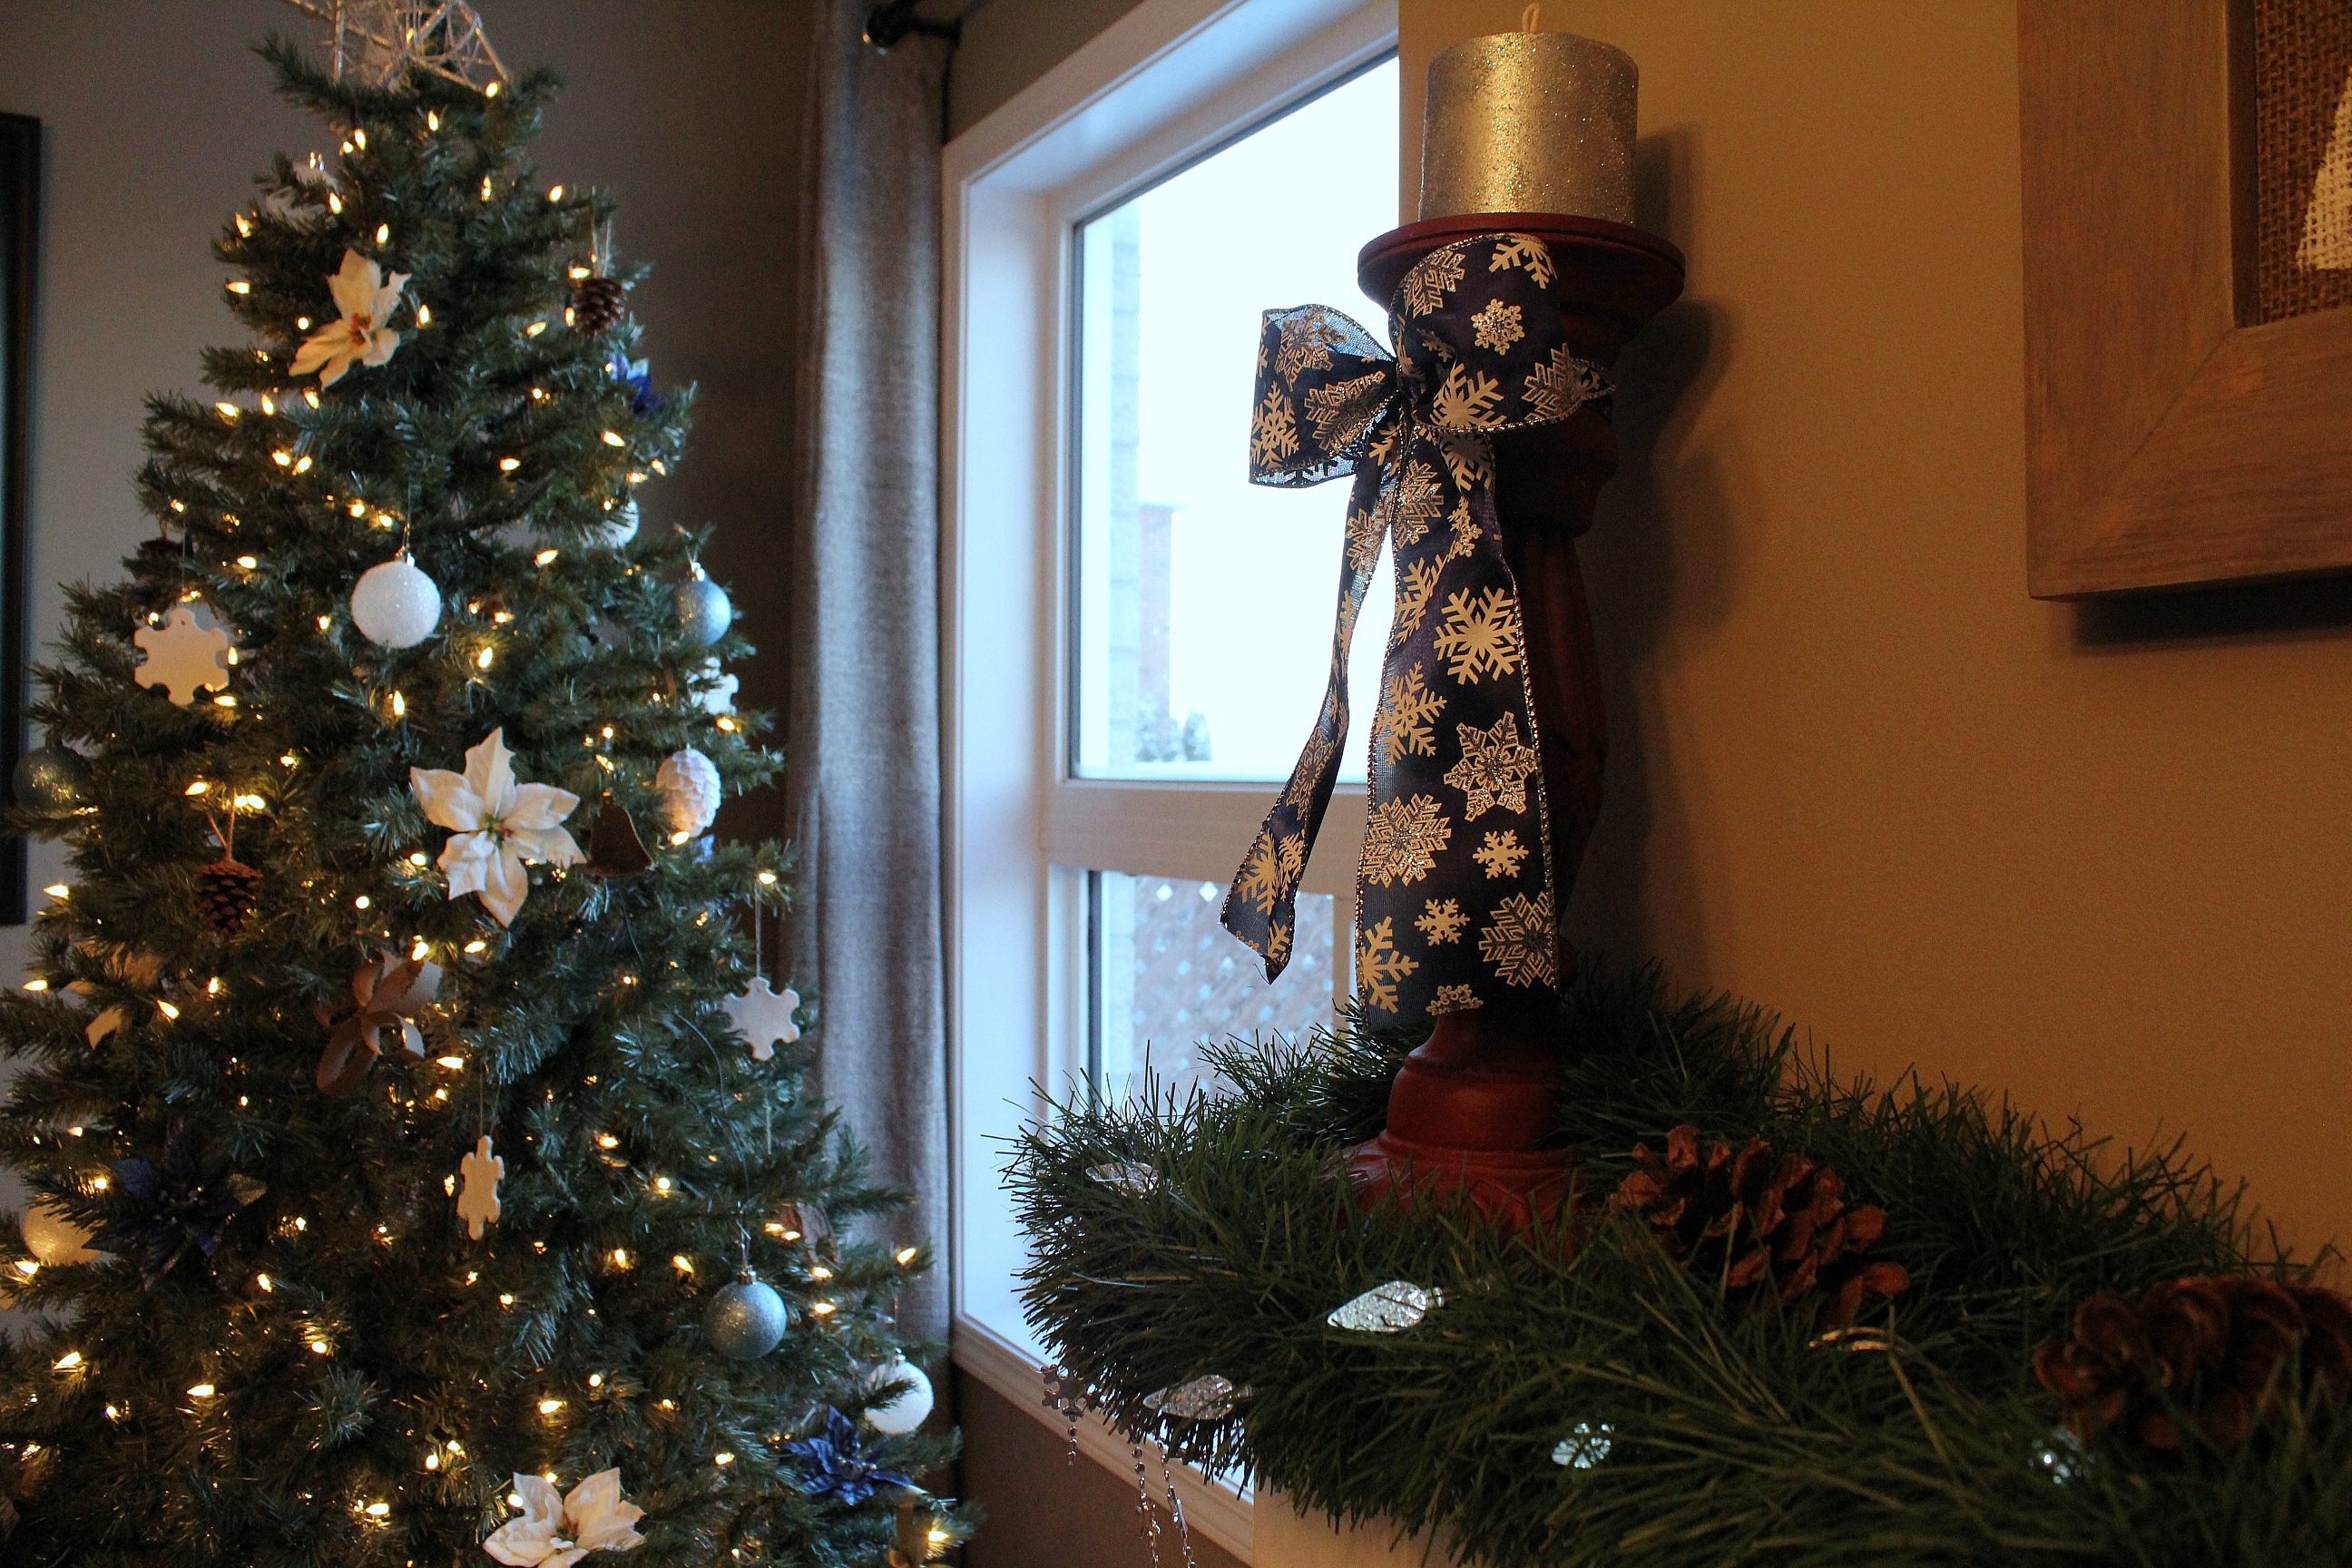
Since the sign is so light, and I want to reuse the frame, I just taped it into the frame. I hung the sign on the hooks that were already there and added some candlesticks on each side to balance it out.


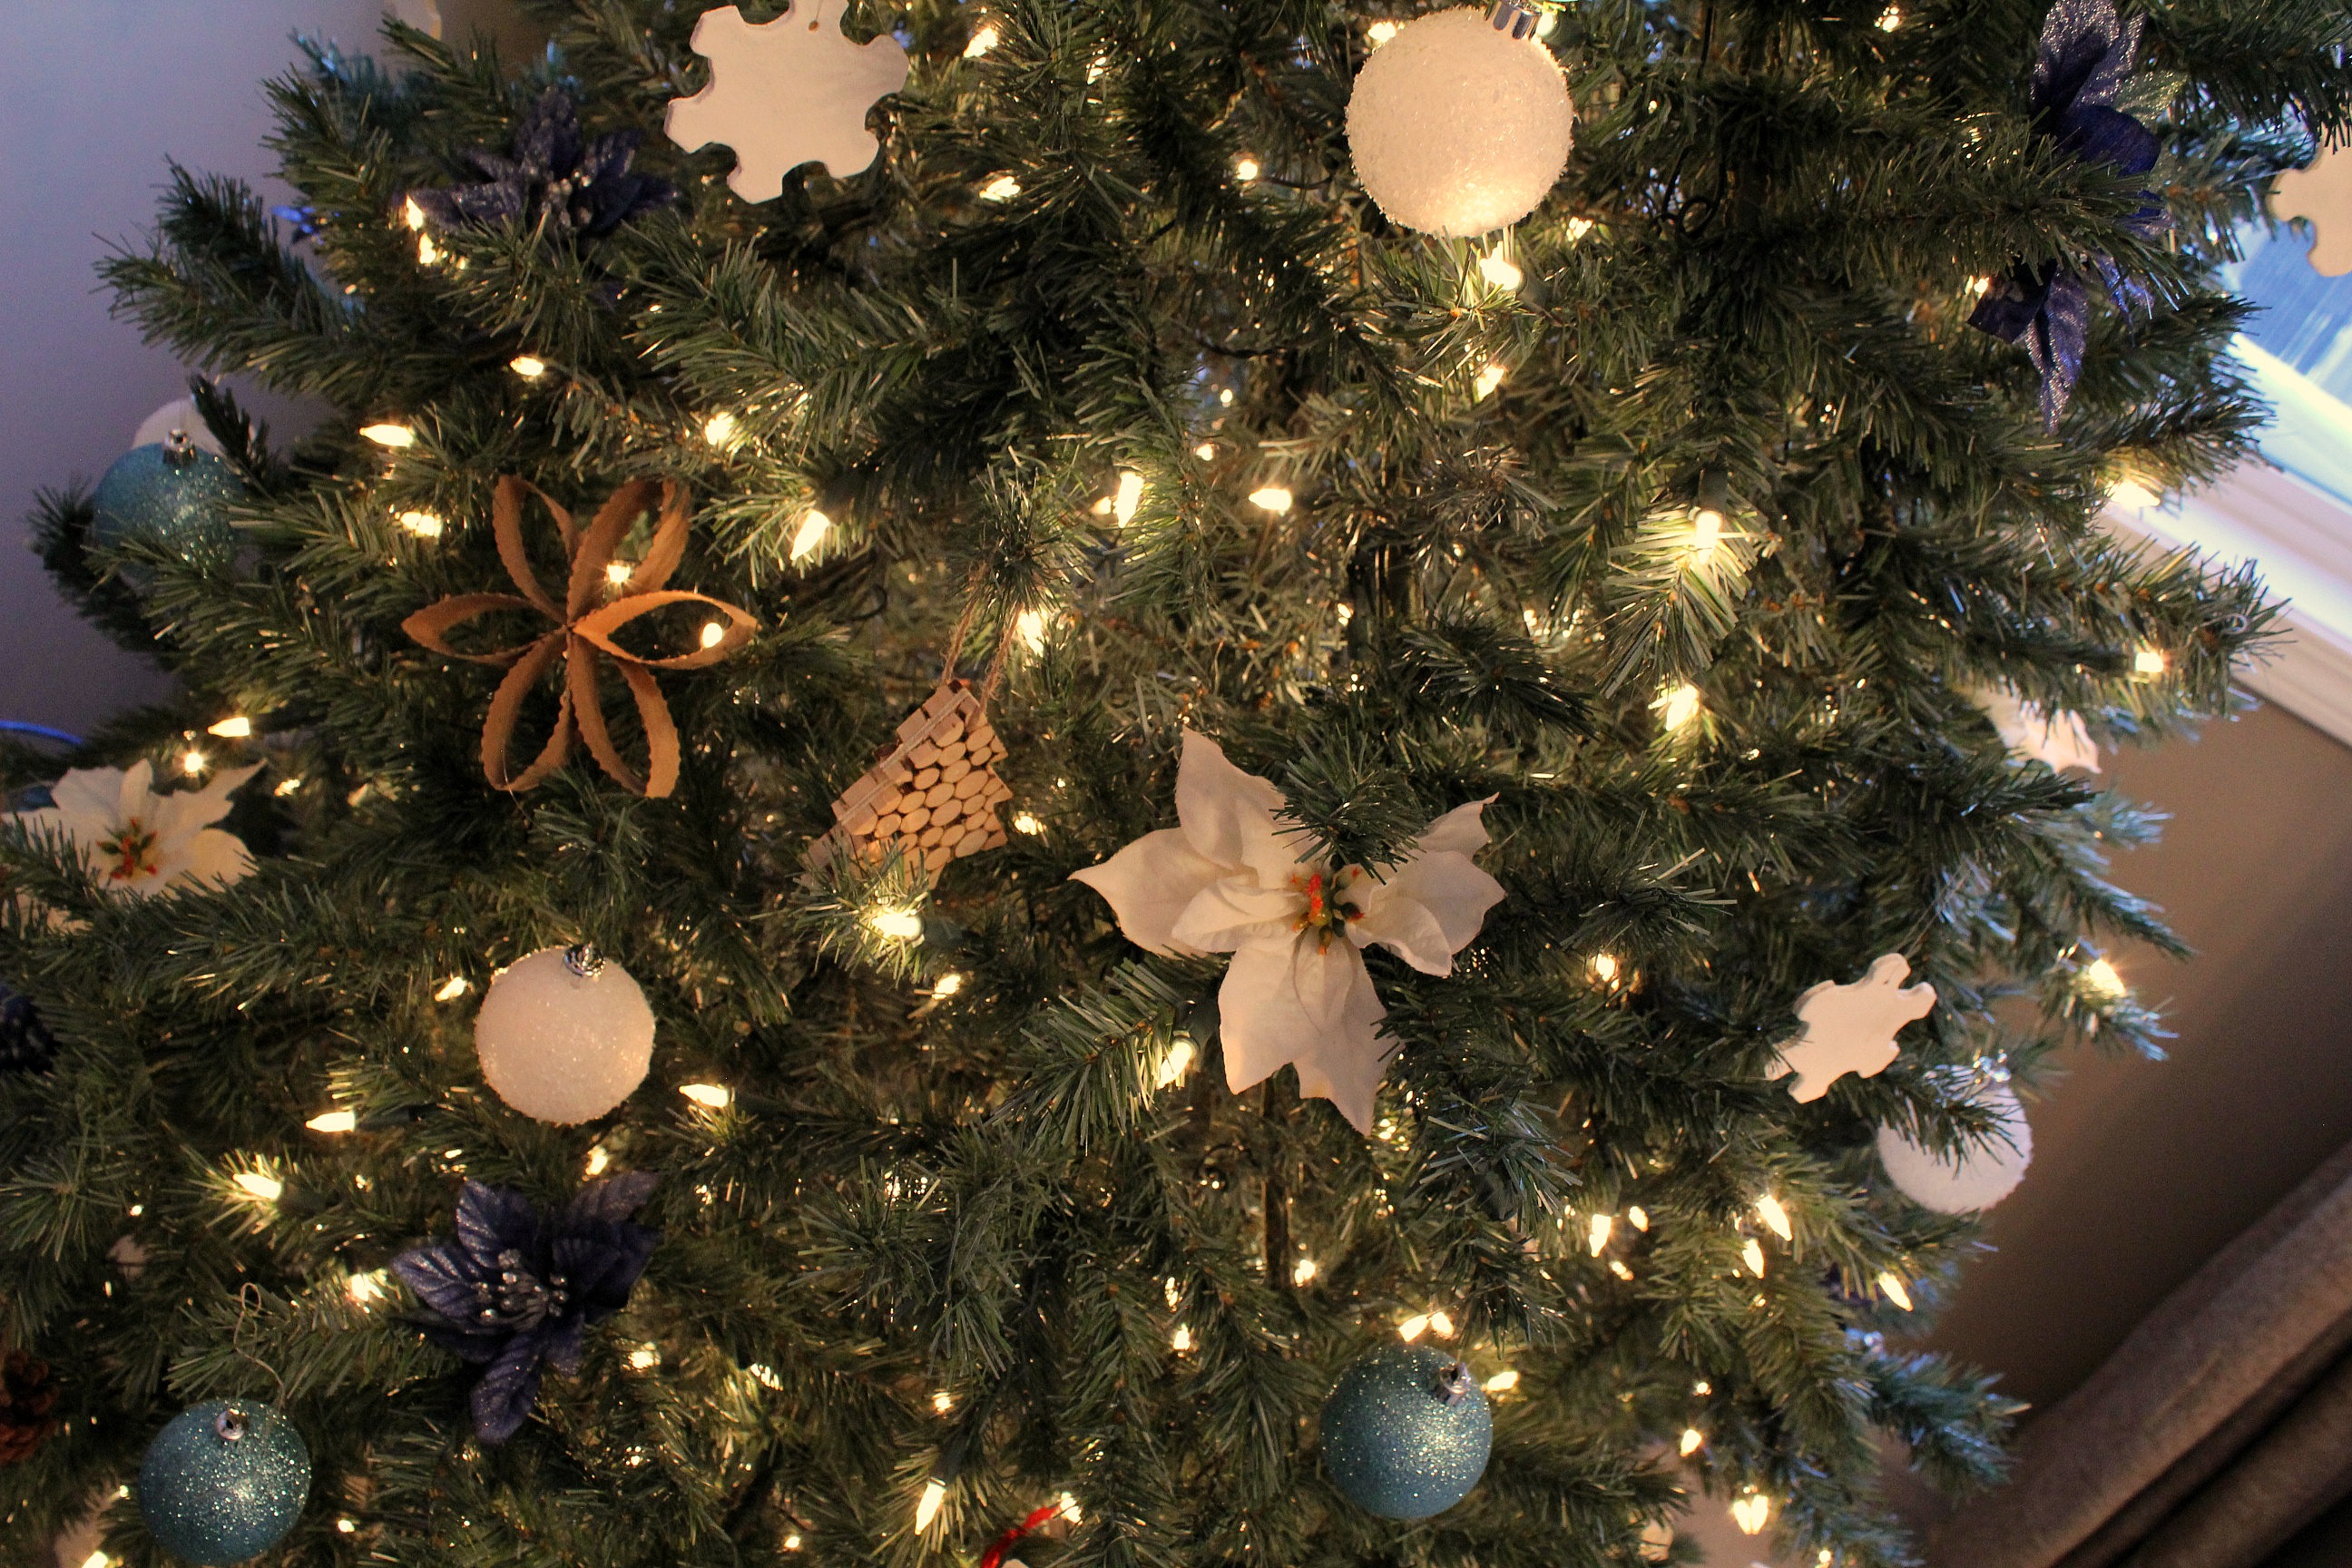
I've gone pretty light on the decorations this year, and stuck with blue, white, and silver. We aren't going to be home much, and no one is coming to visit, so it was mostly just to perk up our spirits when we catch a glance.


I think the sign is fun and a little quirky. We don't usually decorate with "quirky" in mind, so I think it might be just what we need.


Related Posts Plugin for WordPress, Blogger...