SEARCH THE BLOG

Showing posts with label Silhouette. Show all posts

Aug 13, 2018

Stenciled Mailbox (using Silhouette Cutter)


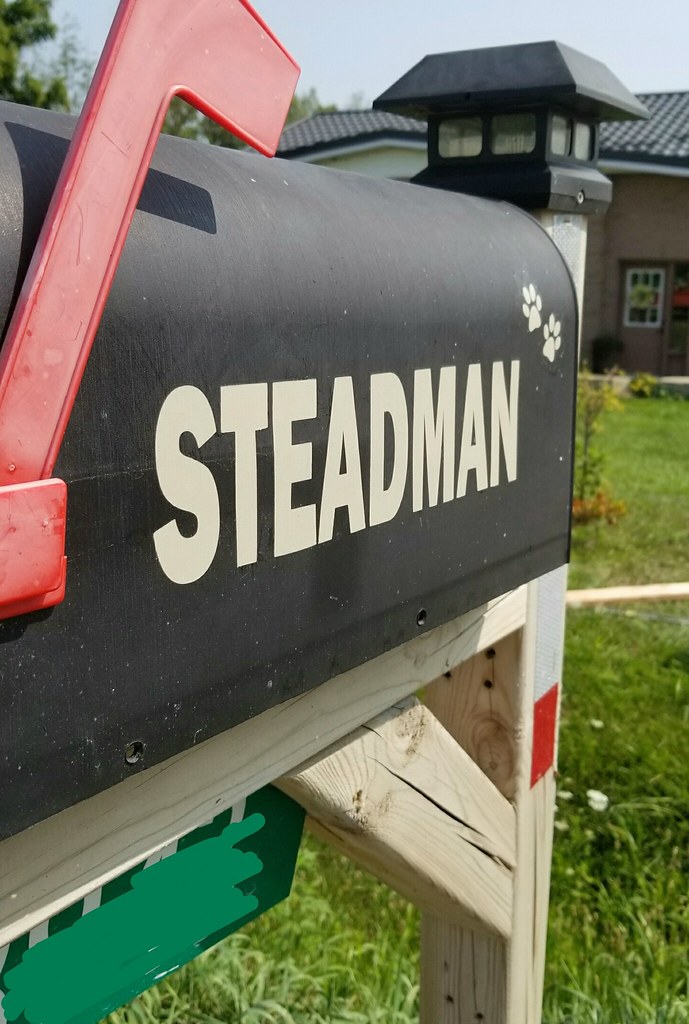
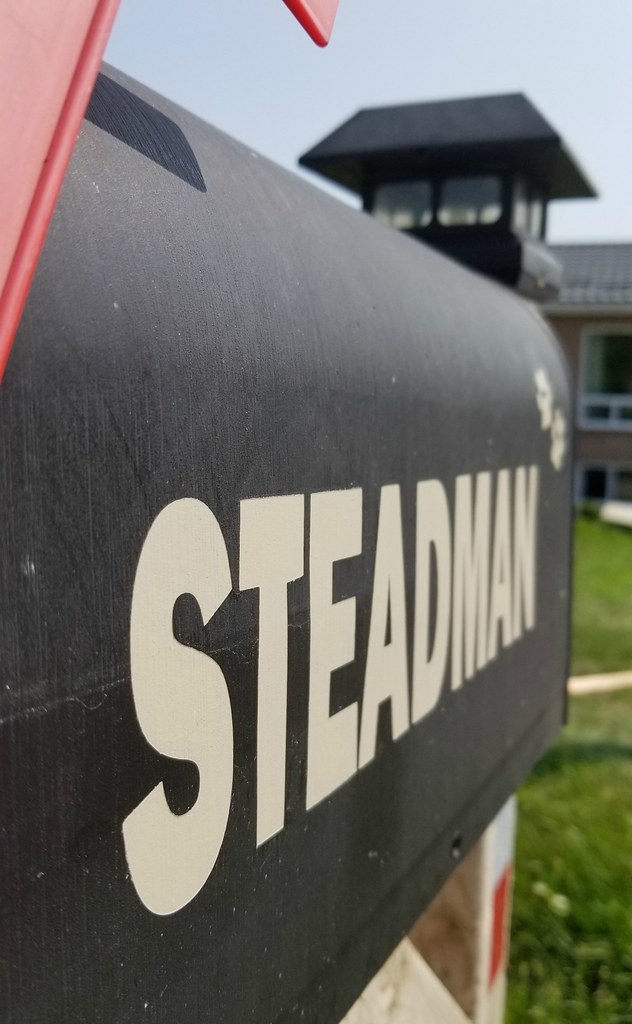
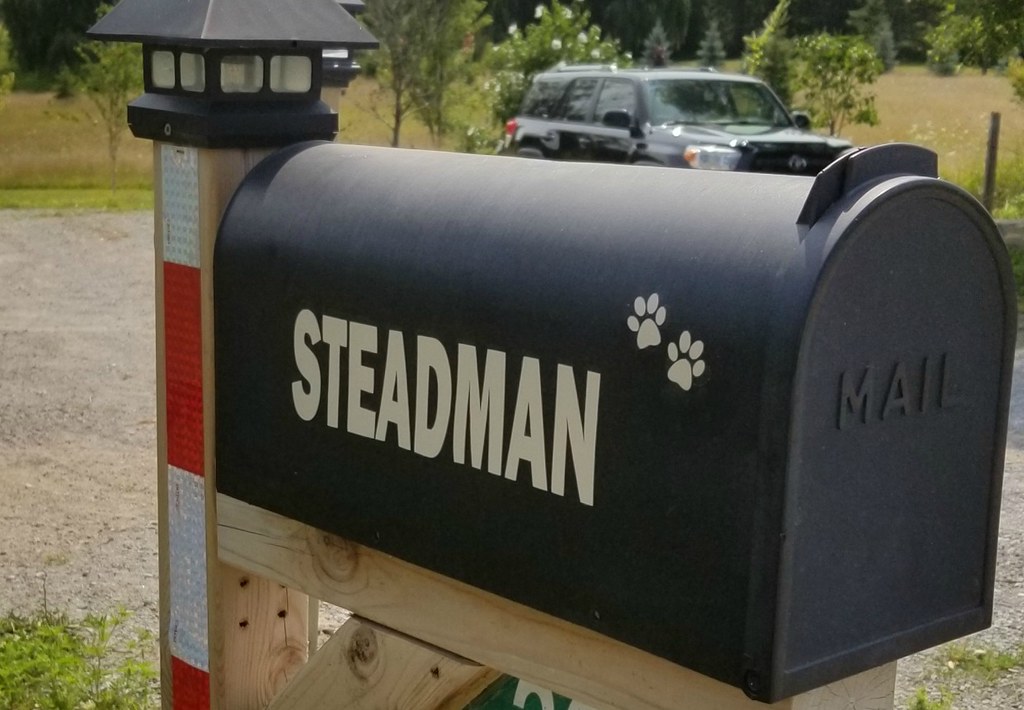
We've been in our current house for about 2.5 years. This past weekend I finally - finally - got around to putting our name on the mailbox.

Stenciled Mailbox (Silhouette cutter)

I've been thinking about it for months, but week by week the time slipped away, until I eventually just got up off my butt, took down the vinyl cutter, and did it.


Stenciled Mailbox (Silhouette cutter)

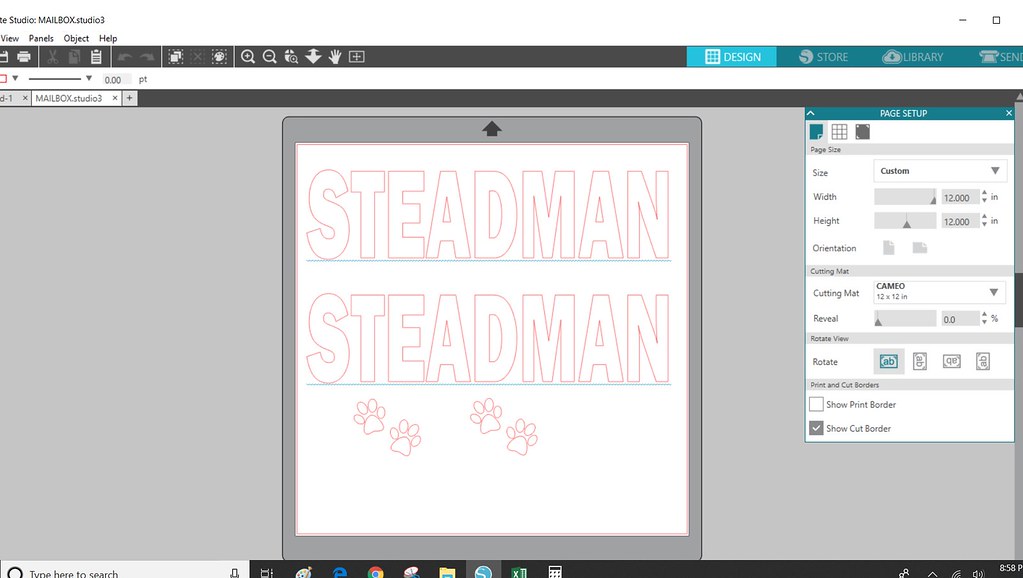
I cut out the letters with my Silhouette cutting machine. I love the Silhouette. I'm not a "stencil all the things" kind of person, but when I do need one, this machine makes it so easy.
Stenciled Mailbox (Silhouette cutter)

You design your image on the computer screen with the Silhouette software, feed in your stencil material (it works with more than just vinyl), and let the machine cut the pattern for you. Bing, bang, boom, done. **This is not sponsored, I just think it's a great machine.**

Stenciled Mailbox (Silhouette cutter)

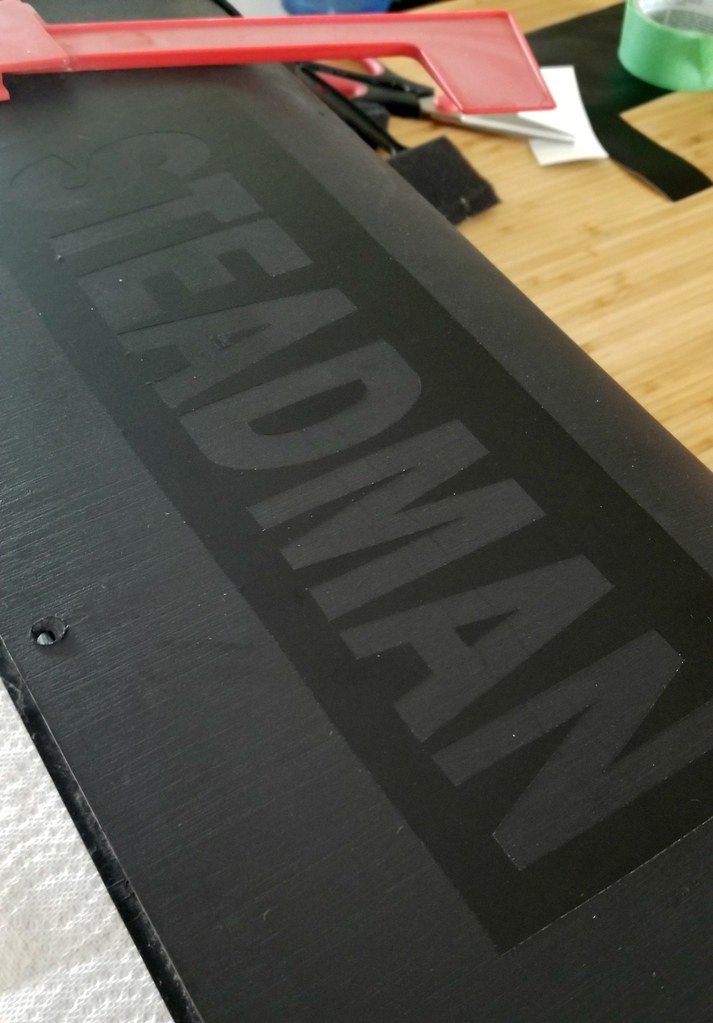
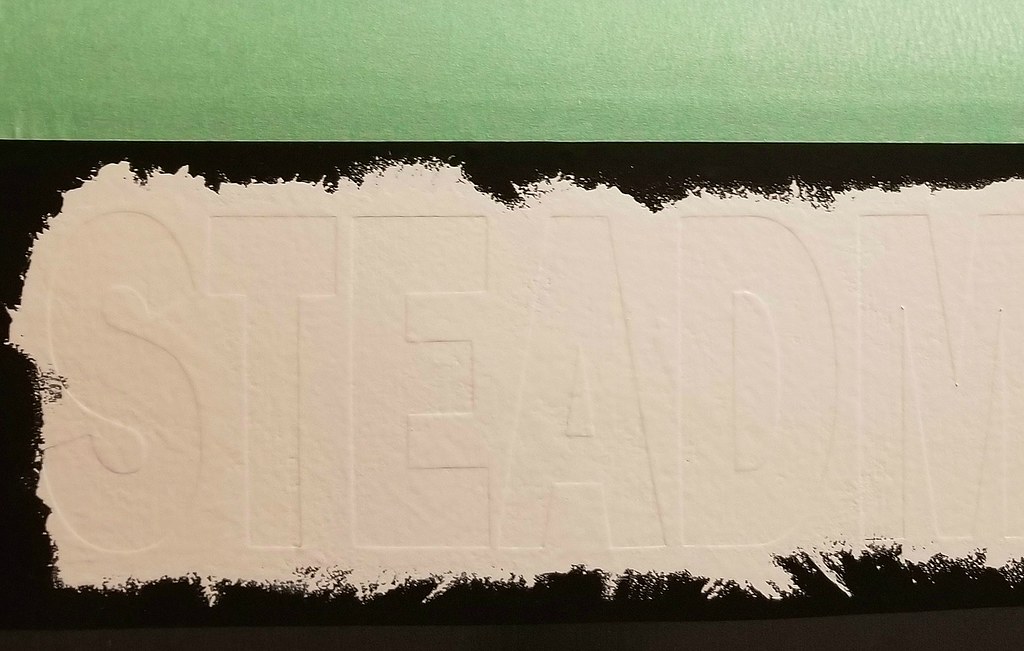
It took two tries to get the letters on as the paint I chose the first time didn't stick. The second time I changed to spray paint and also used a spray primer for extra security.

Stenciled Mailbox (Silhouette cutter)

Besides our name, I also added dog paws because, well, it's no surprise how much we love our dogs. They are family and deserve to be represented.

Stenciled Mailbox (Silhouette cutter)

I'm sure that at some point it will need to be repainted as our road is heavily traveled, so dust, dirt, and gravel are constantly being thrown around. But the great thing about having the cutter is that I can whip up another copy at any time.

Stenciled Mailbox (Silhouette cutter)


Dec 16, 2013

Burlap Christmas Song Sign


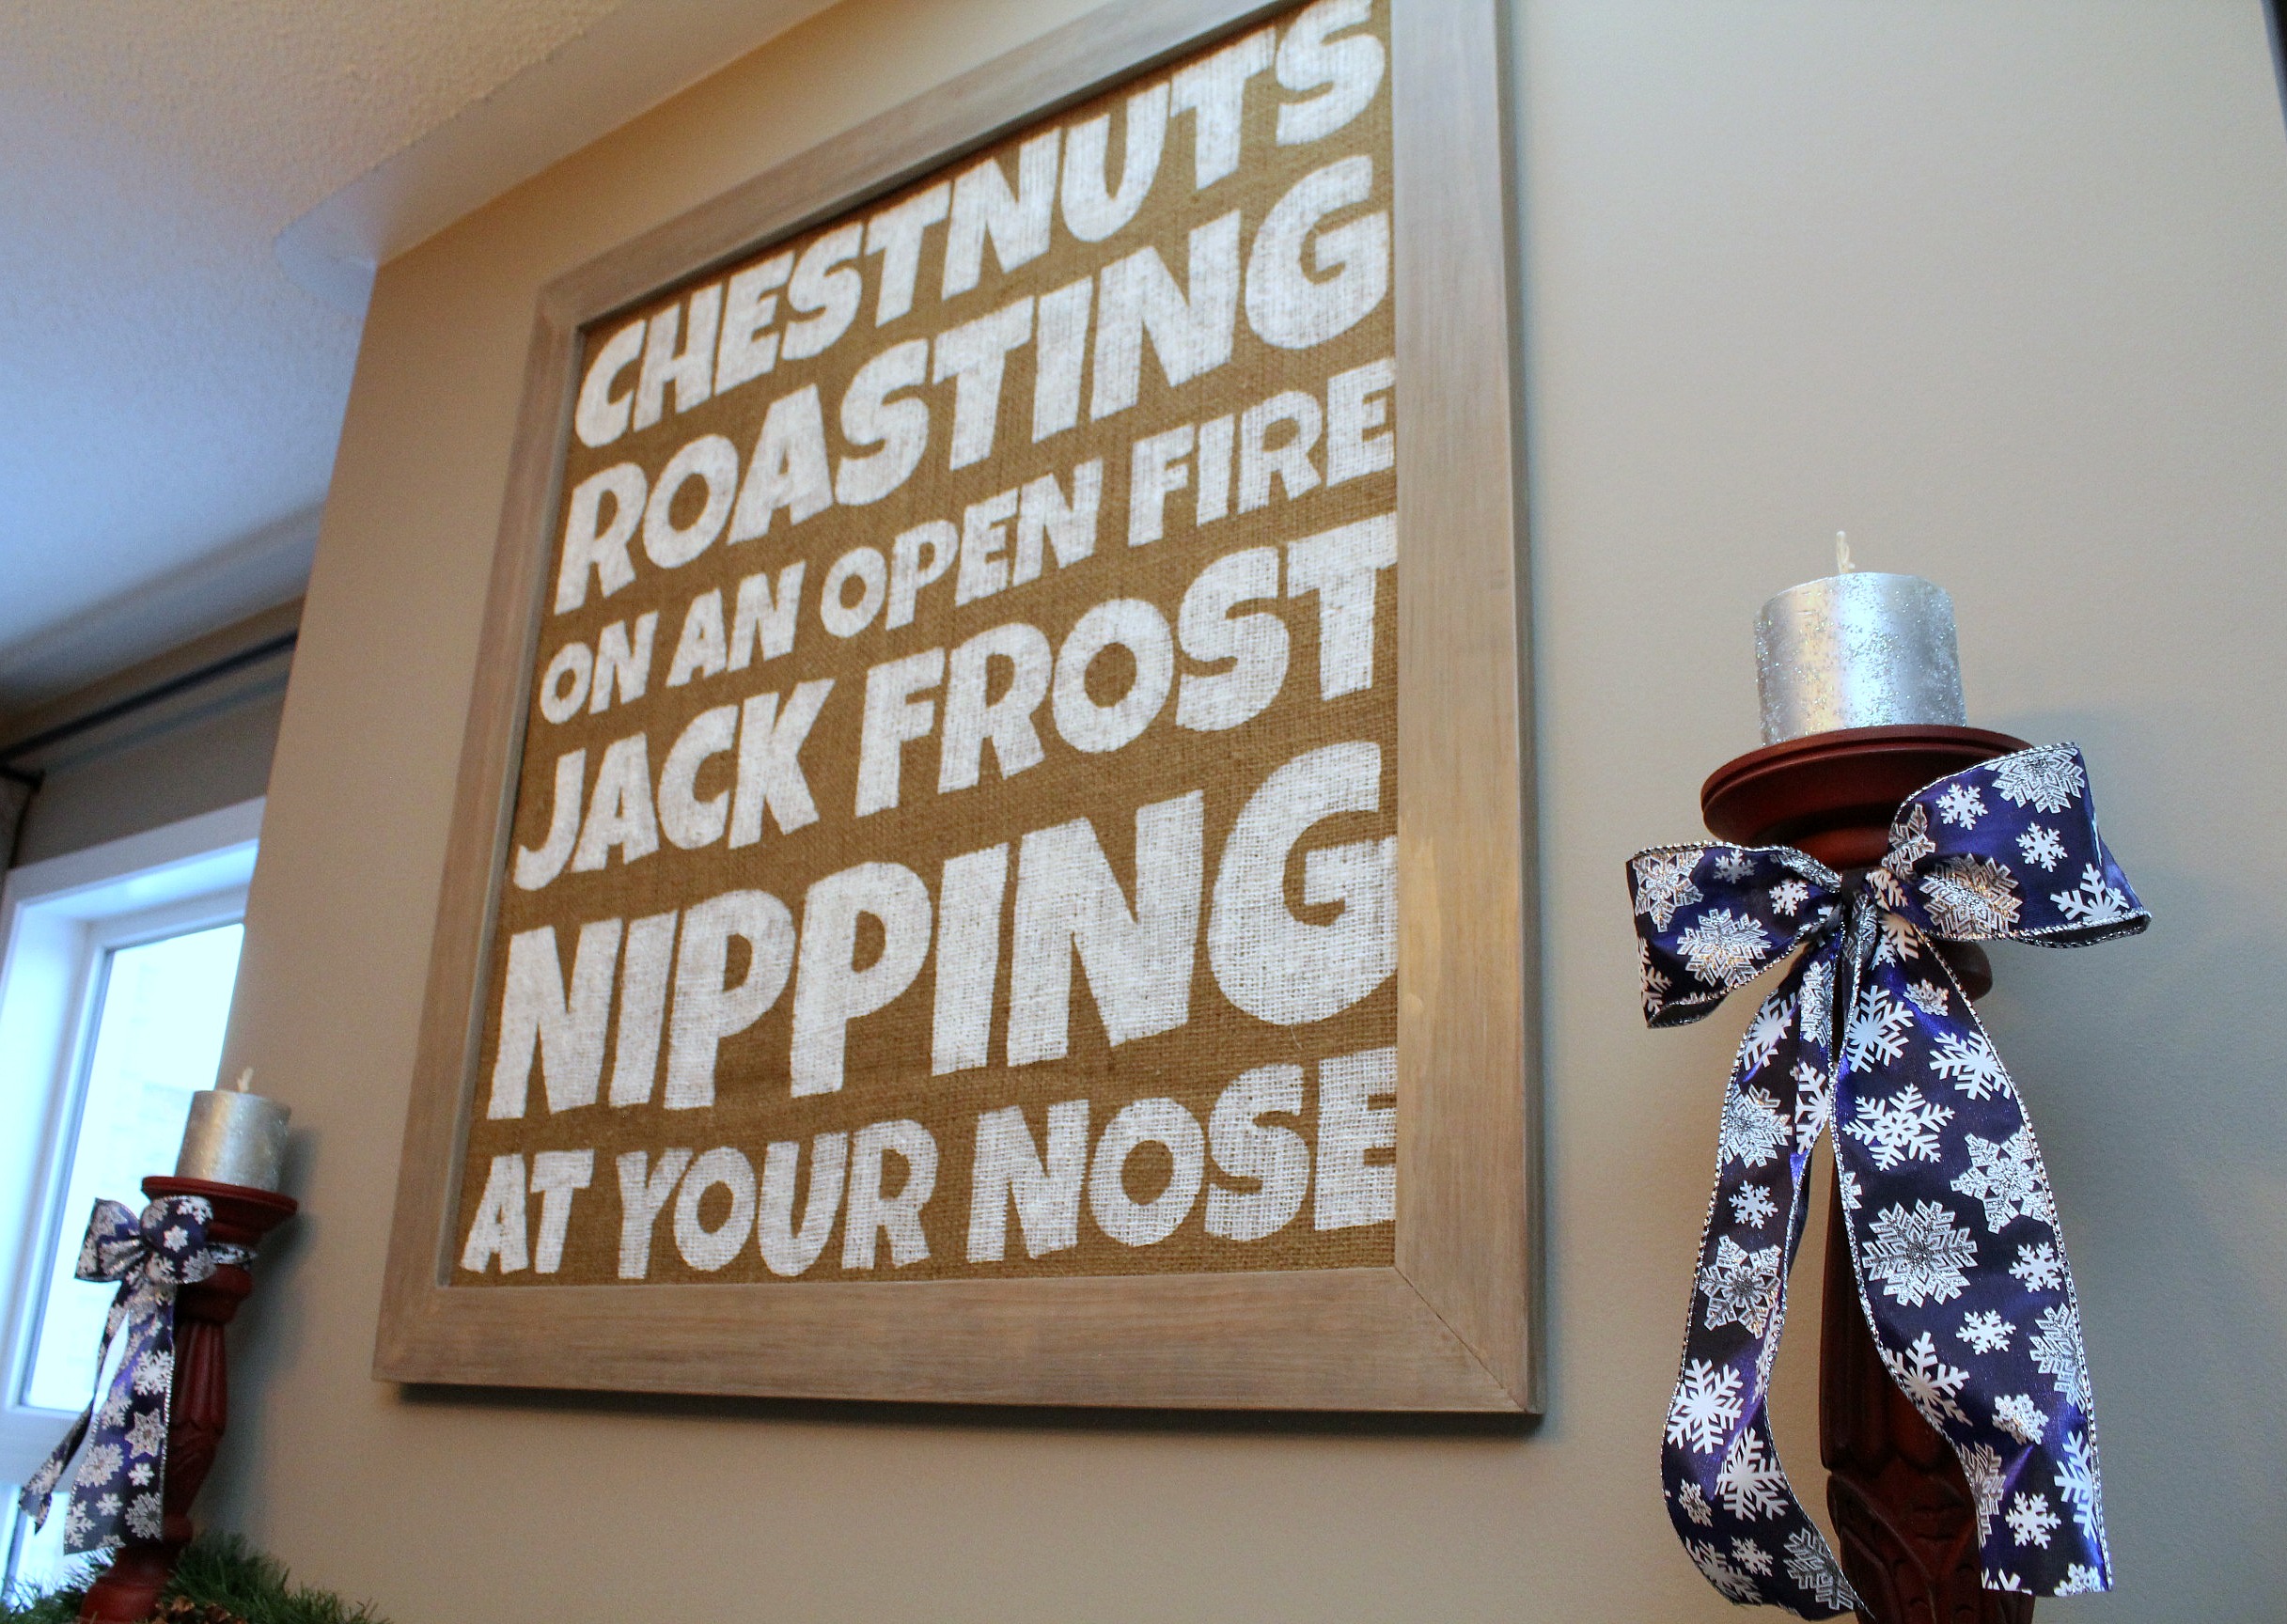
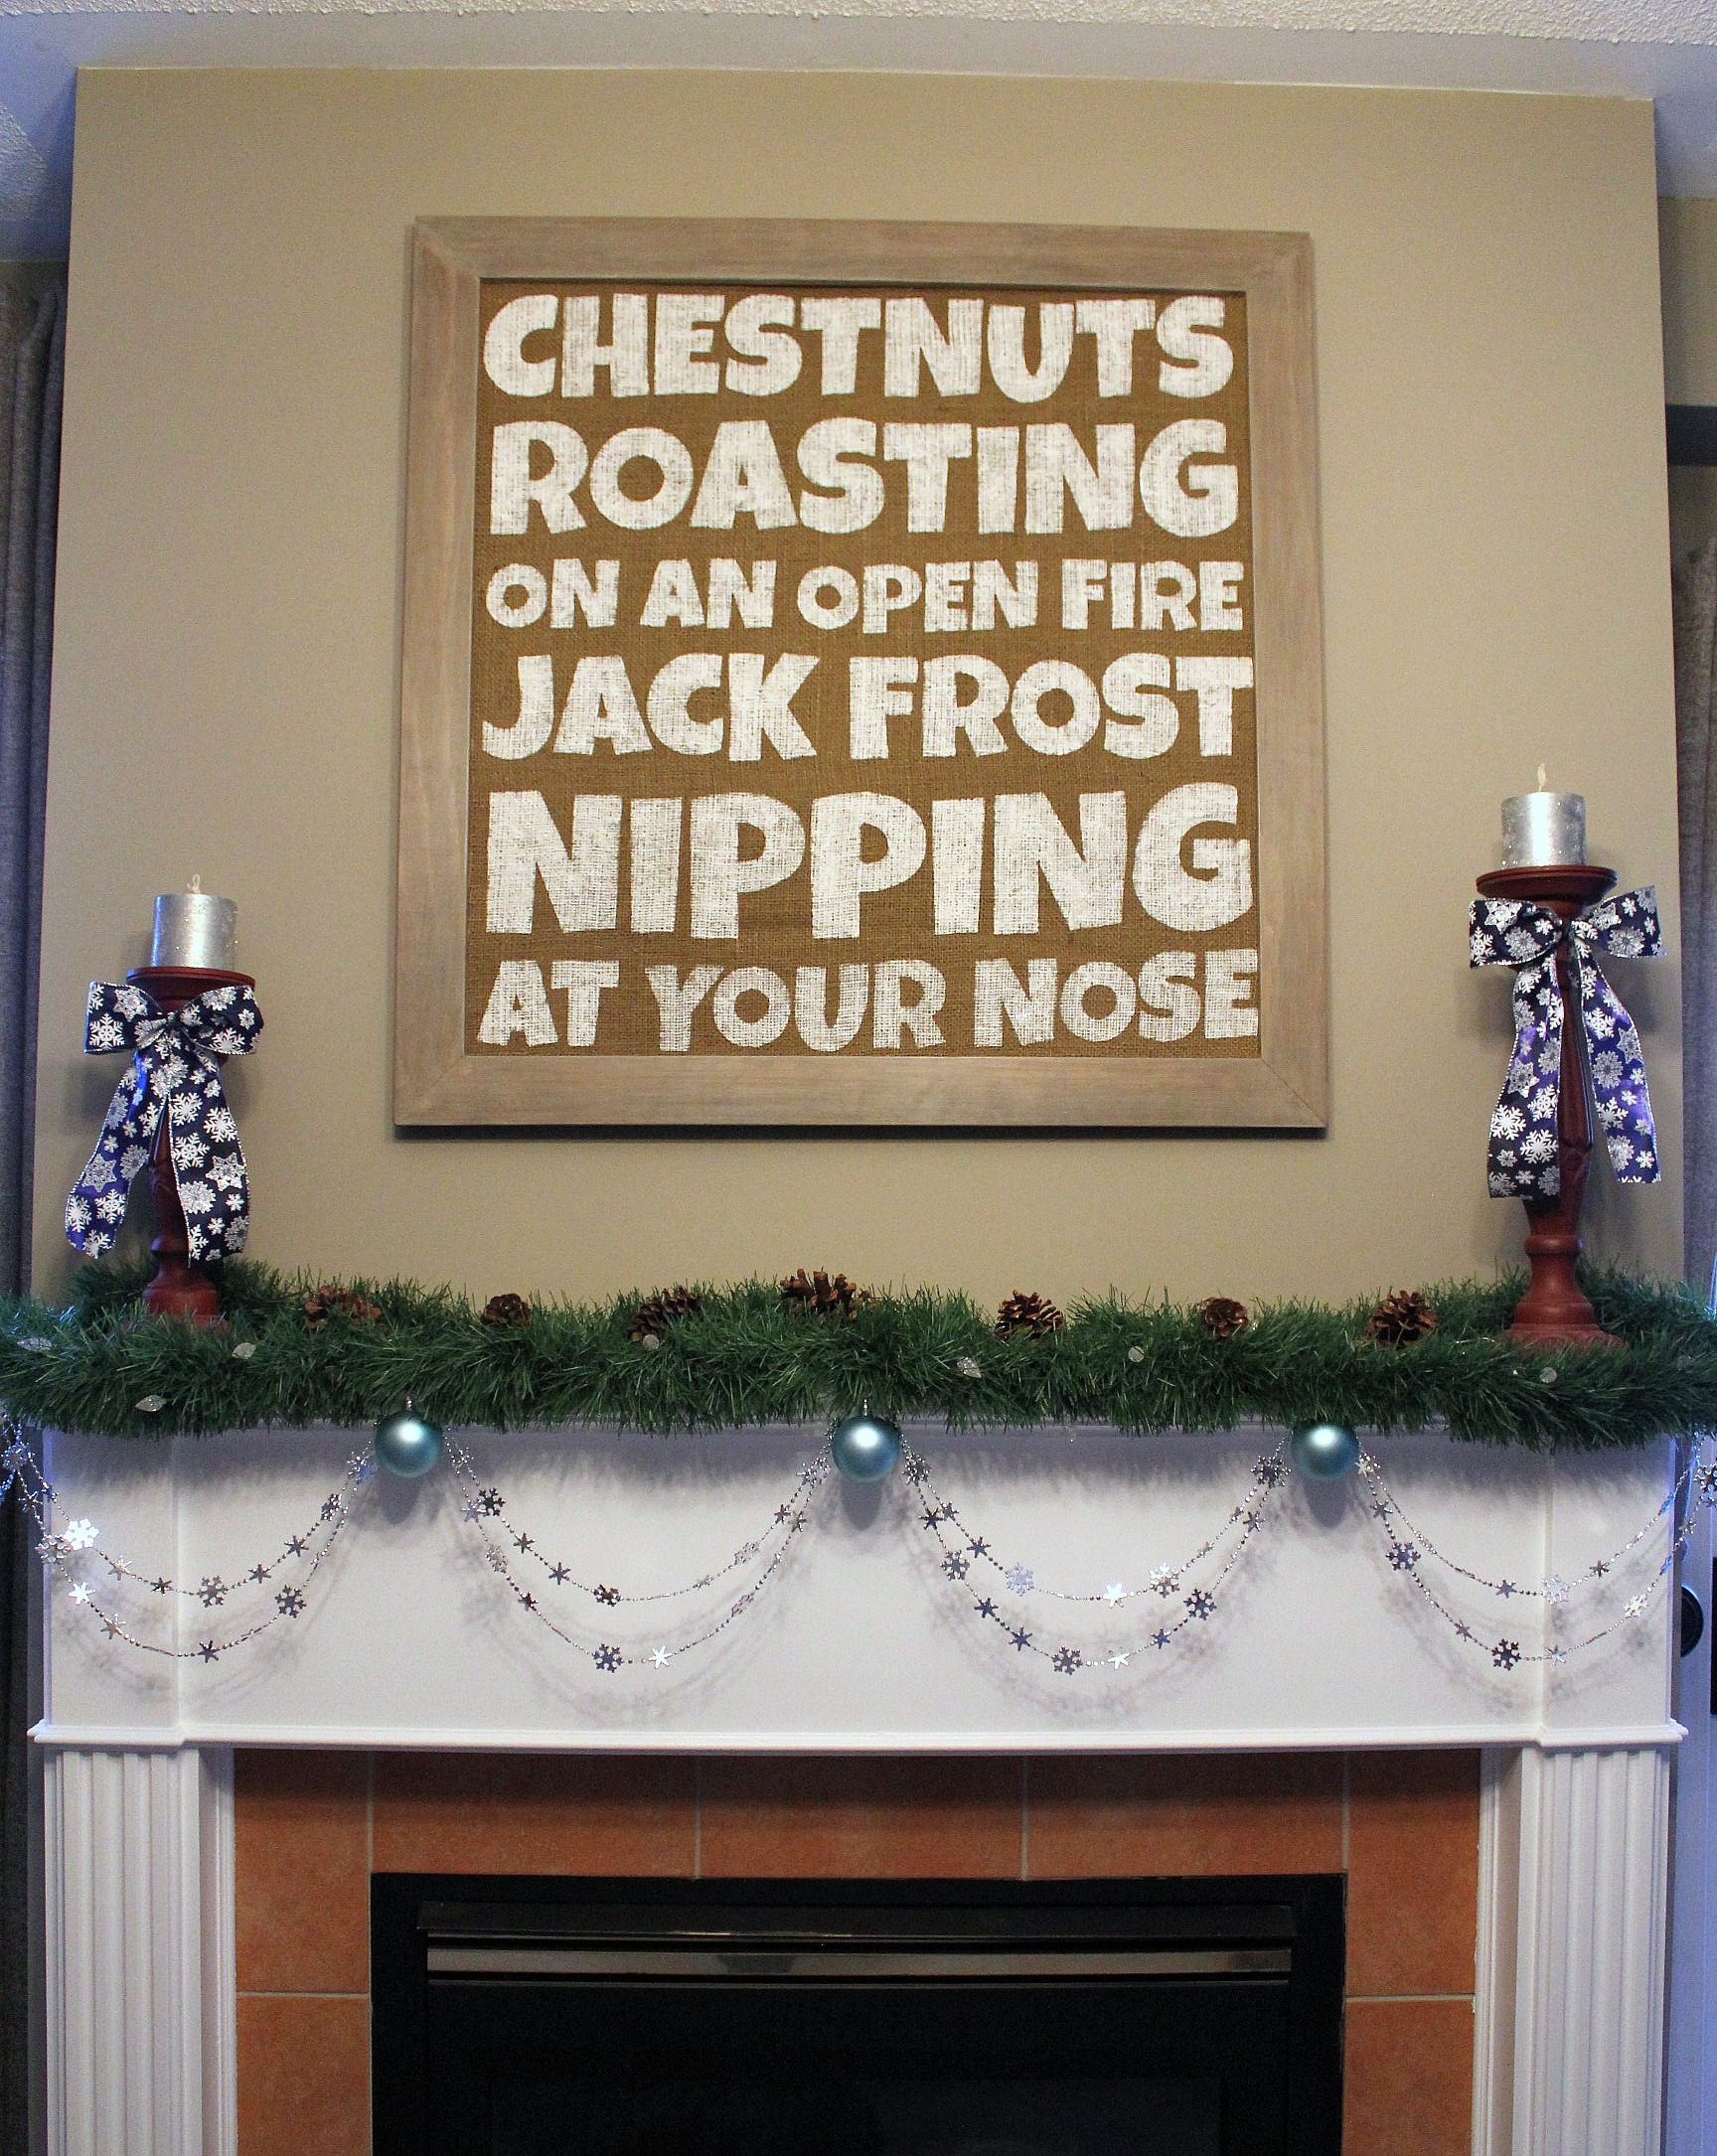
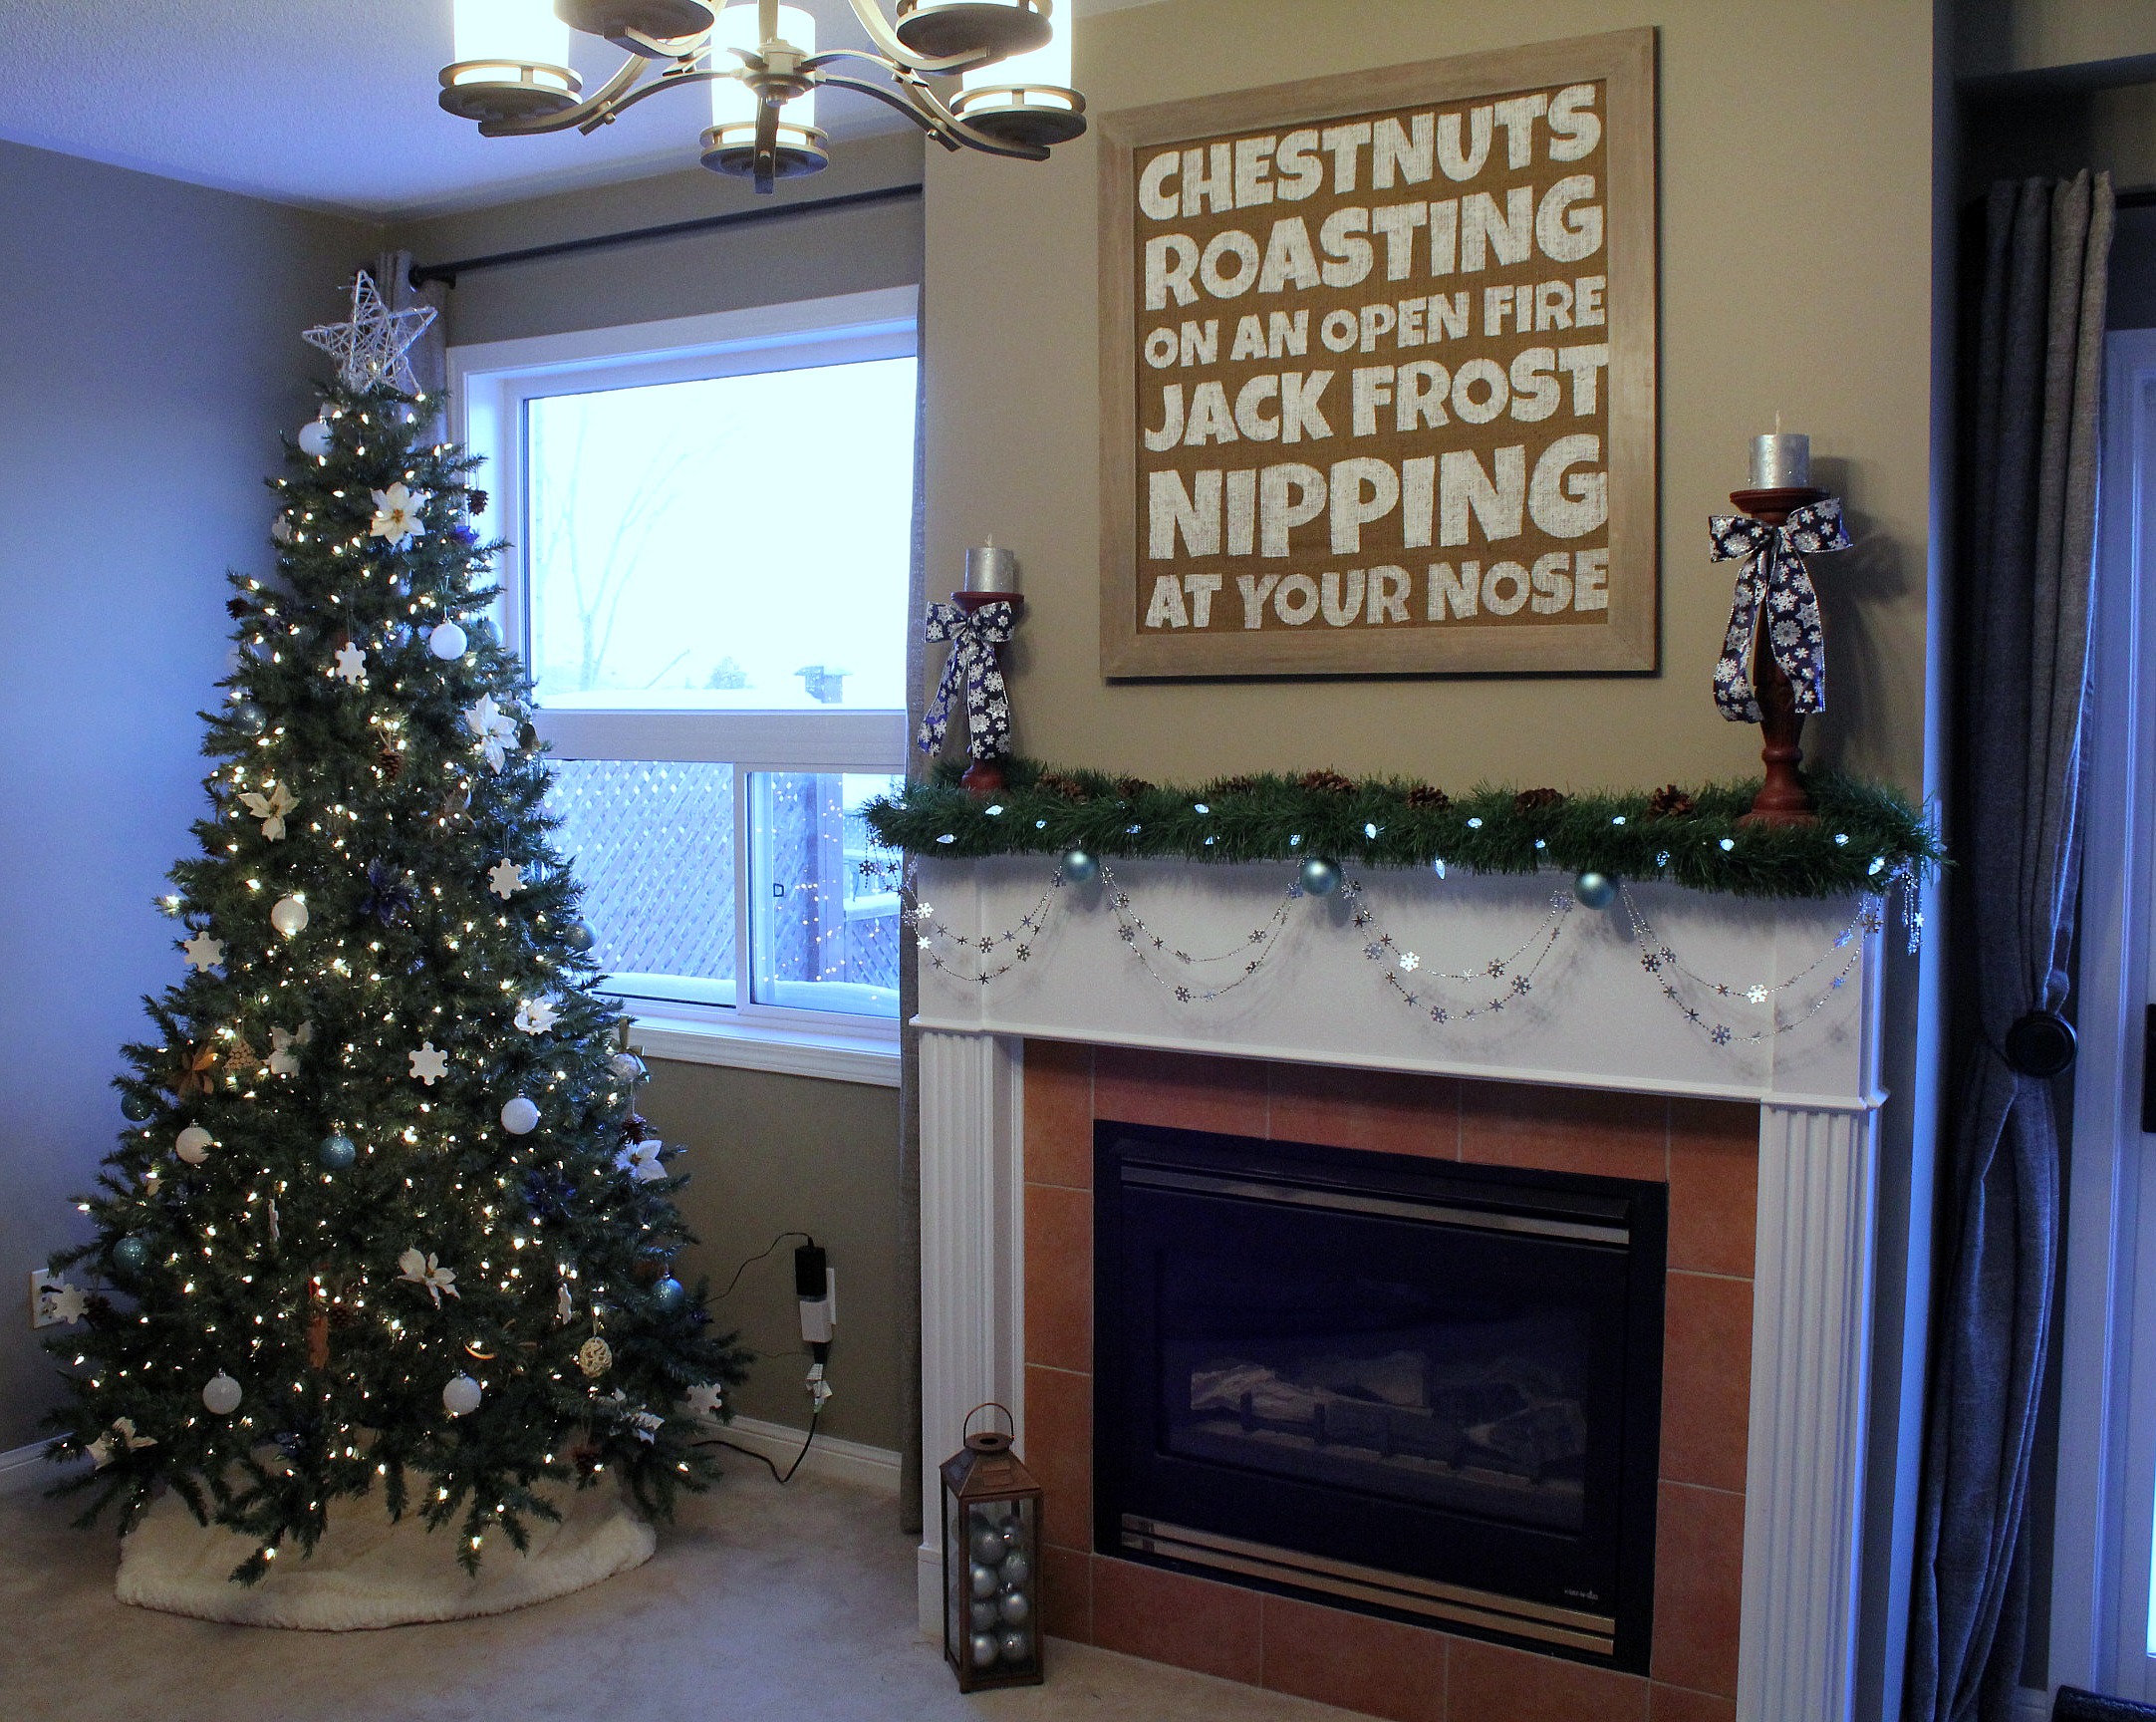
I made a little sign for over the fireplace this year. Well, it's 30" x 30", so maybe not so little.


The idea came from Denise...on a Whim and her chippy window sign. When I saw it I knew I needed to make one. I like to hang something different every year - click here for last year's "art".

I didn't want to copy her sign exactly, so I went hunting for other Christmas song lyrics. After looking at hundreds of songs - some I'd never heard before - and trying to fit them into a square, I came to the conclusion that The Christmas Song was the one to go with. Denise knows what she's doing.

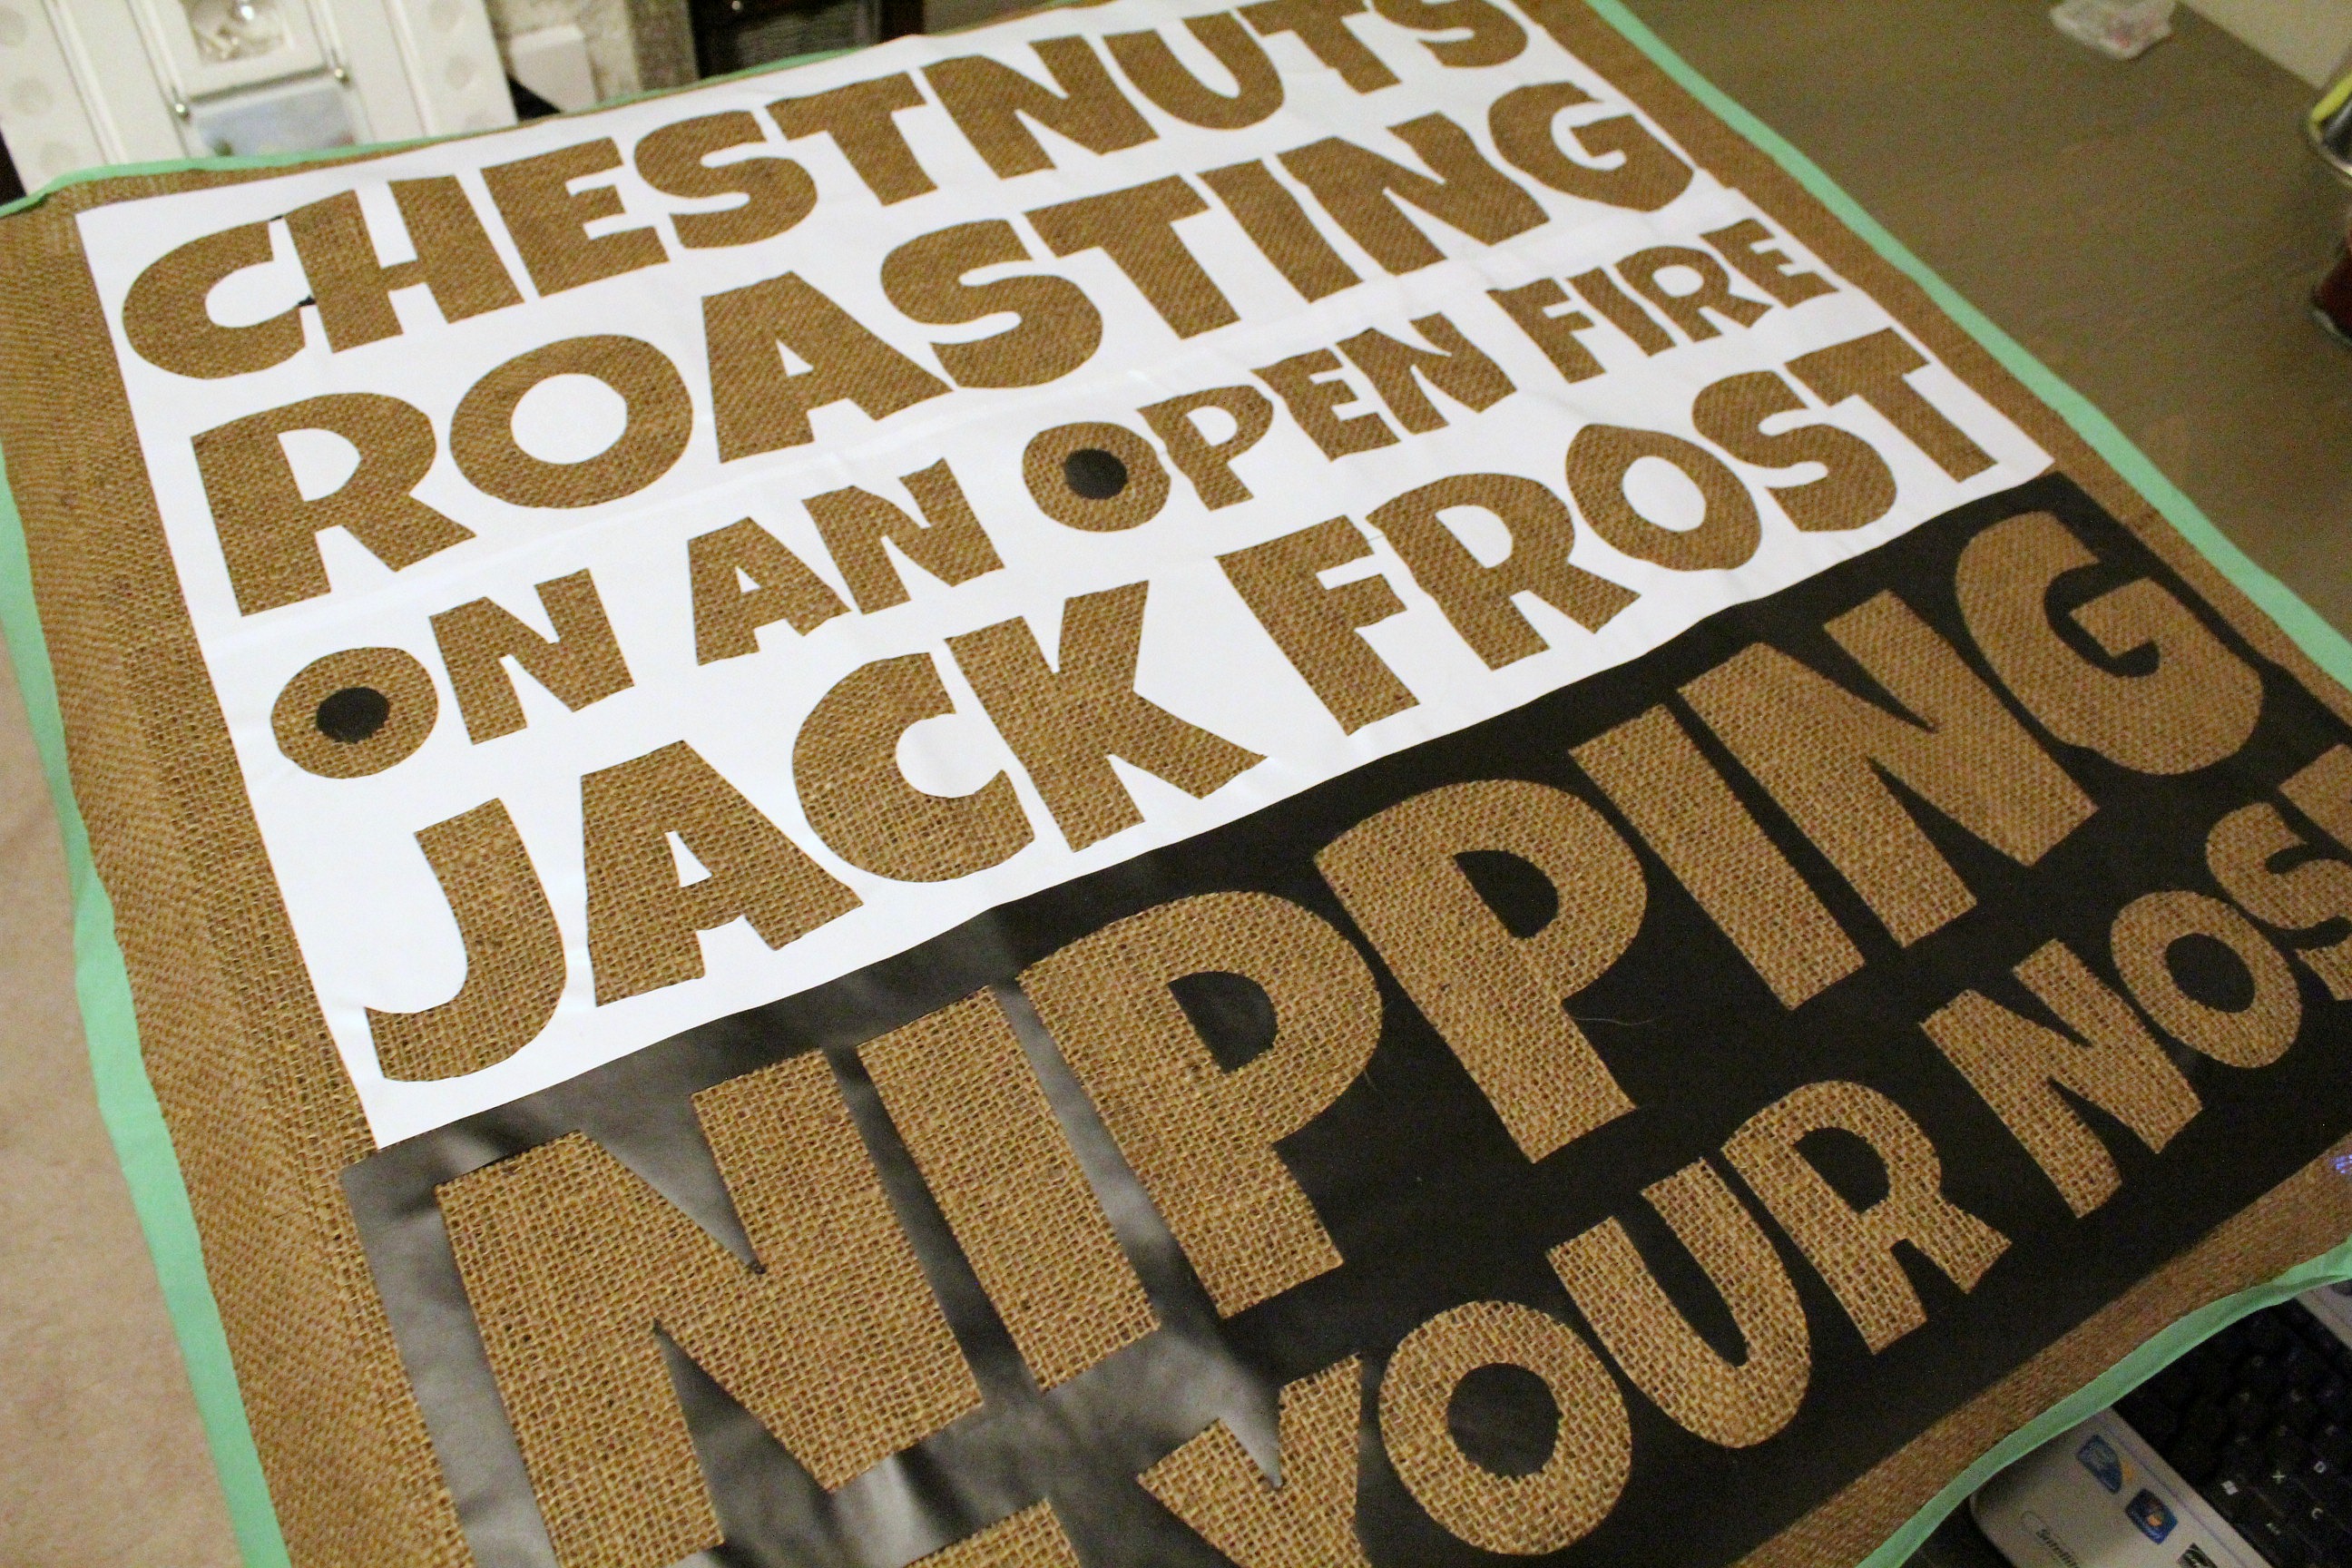
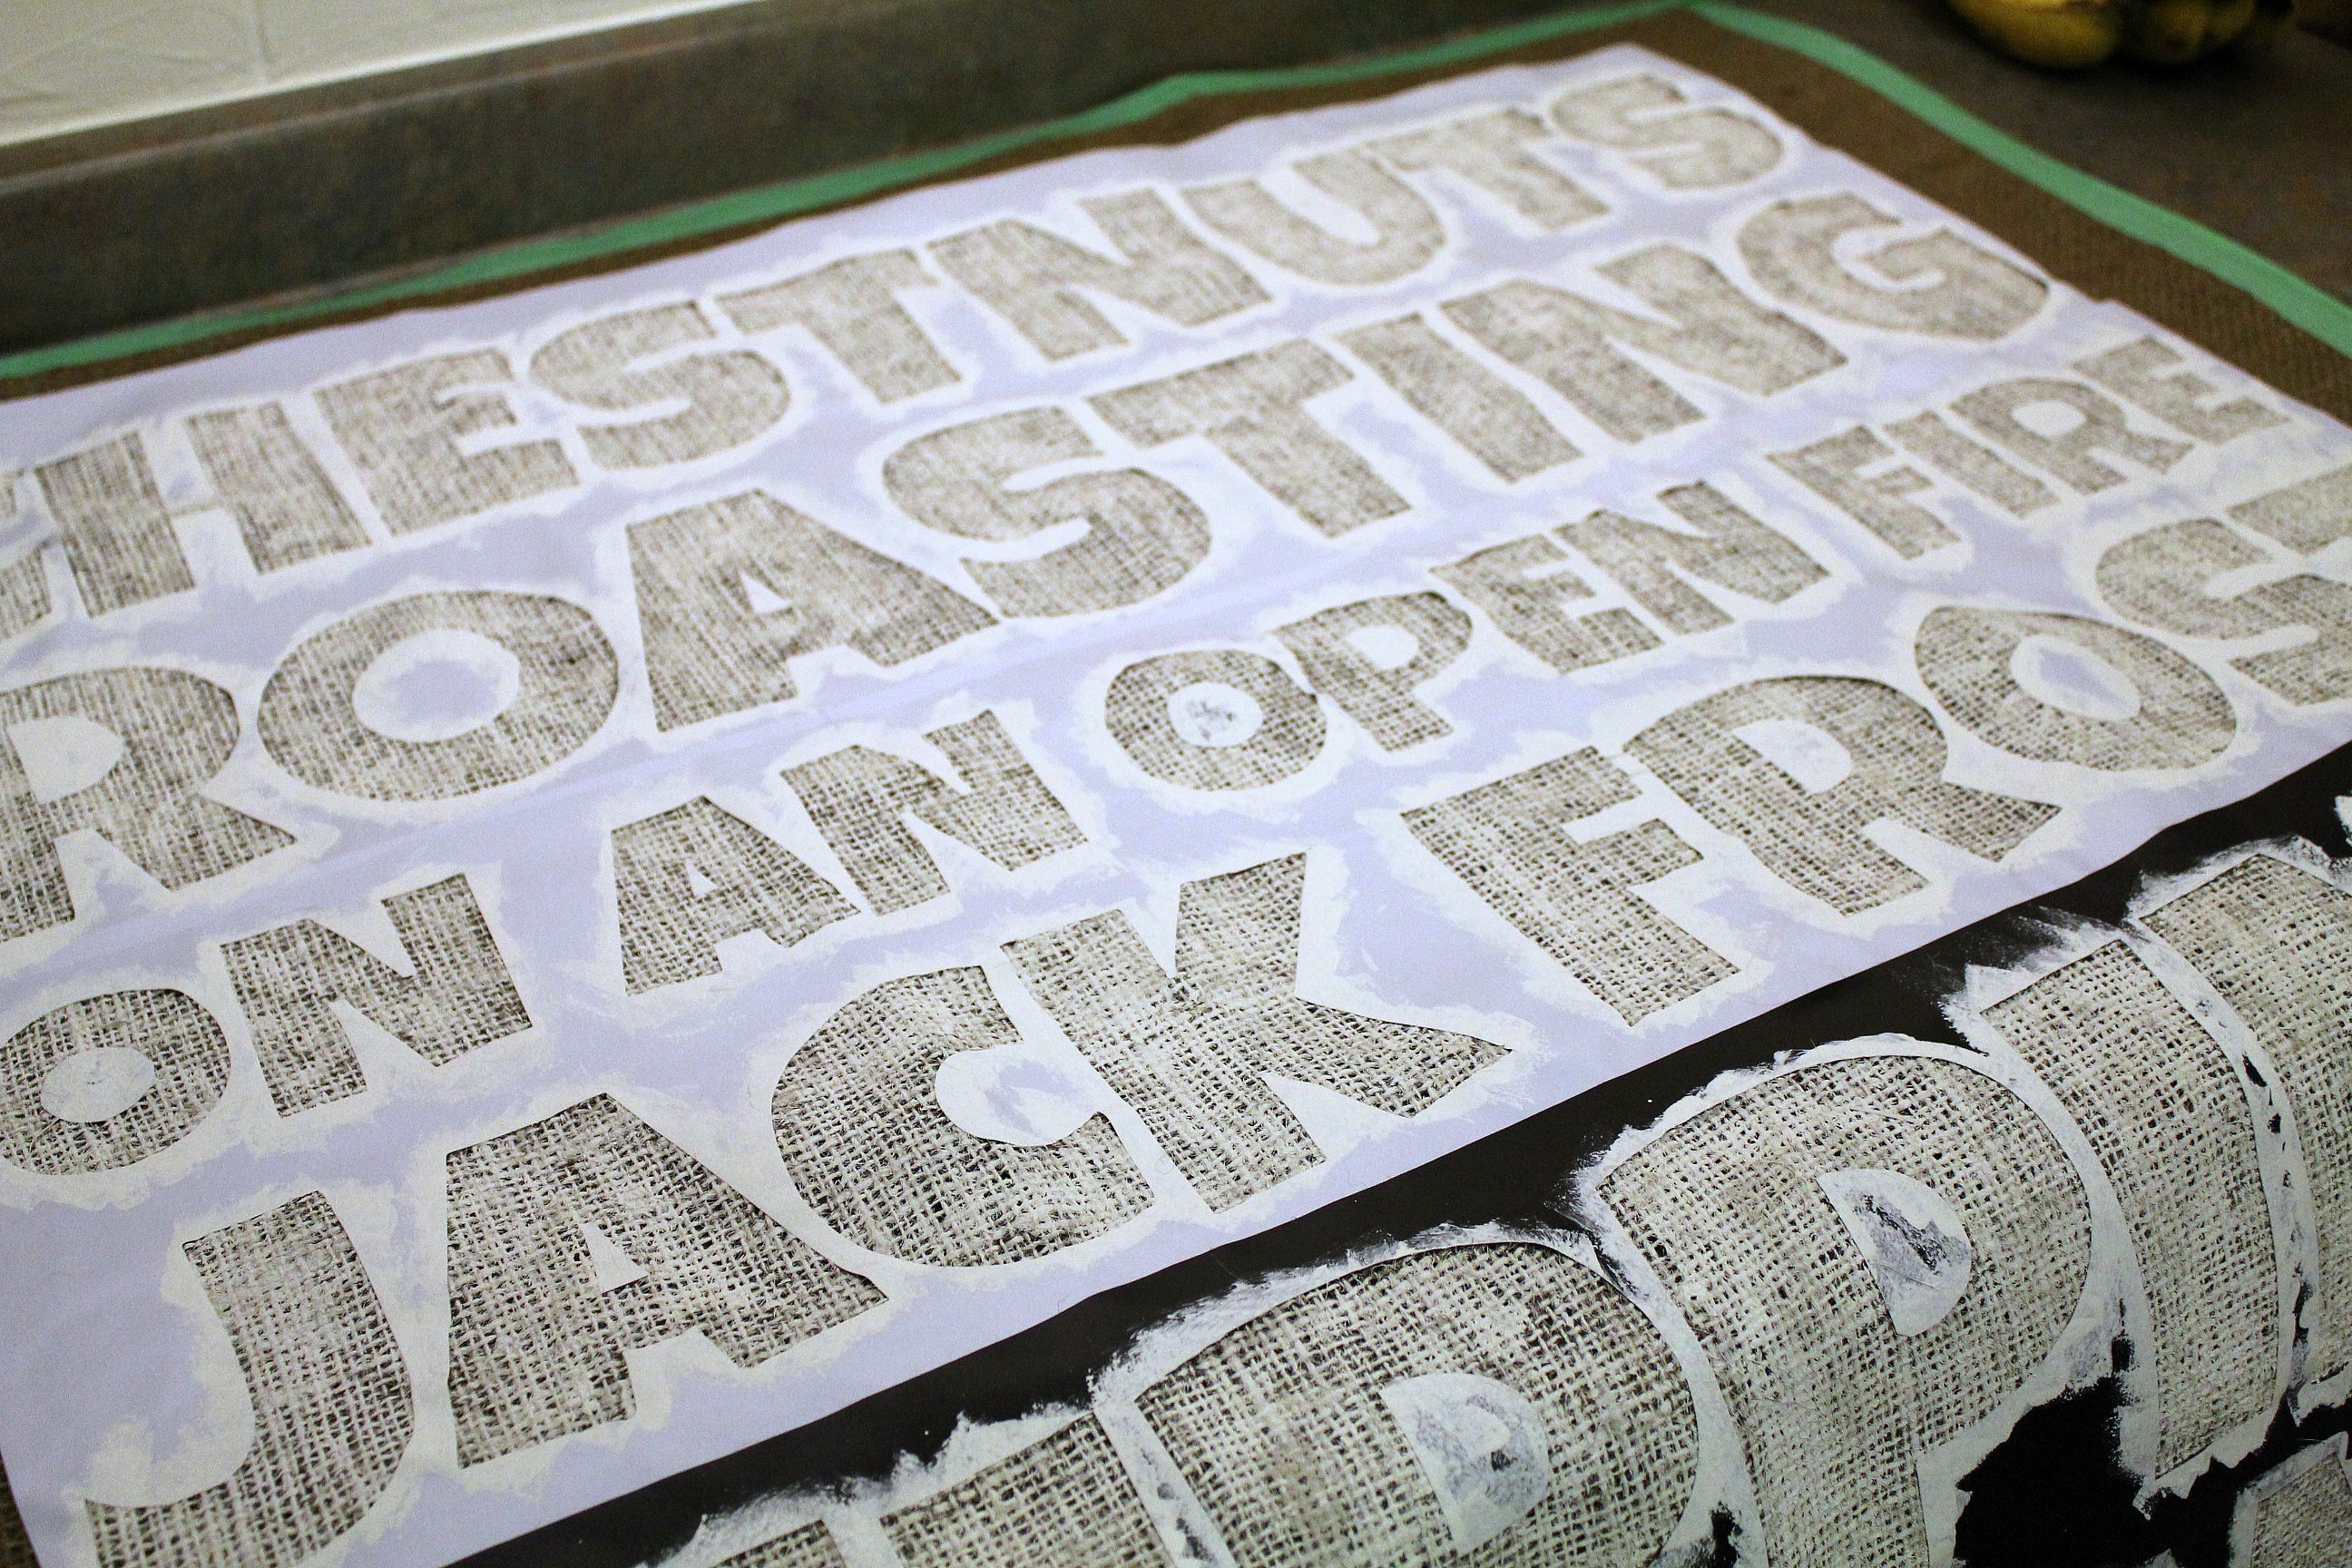
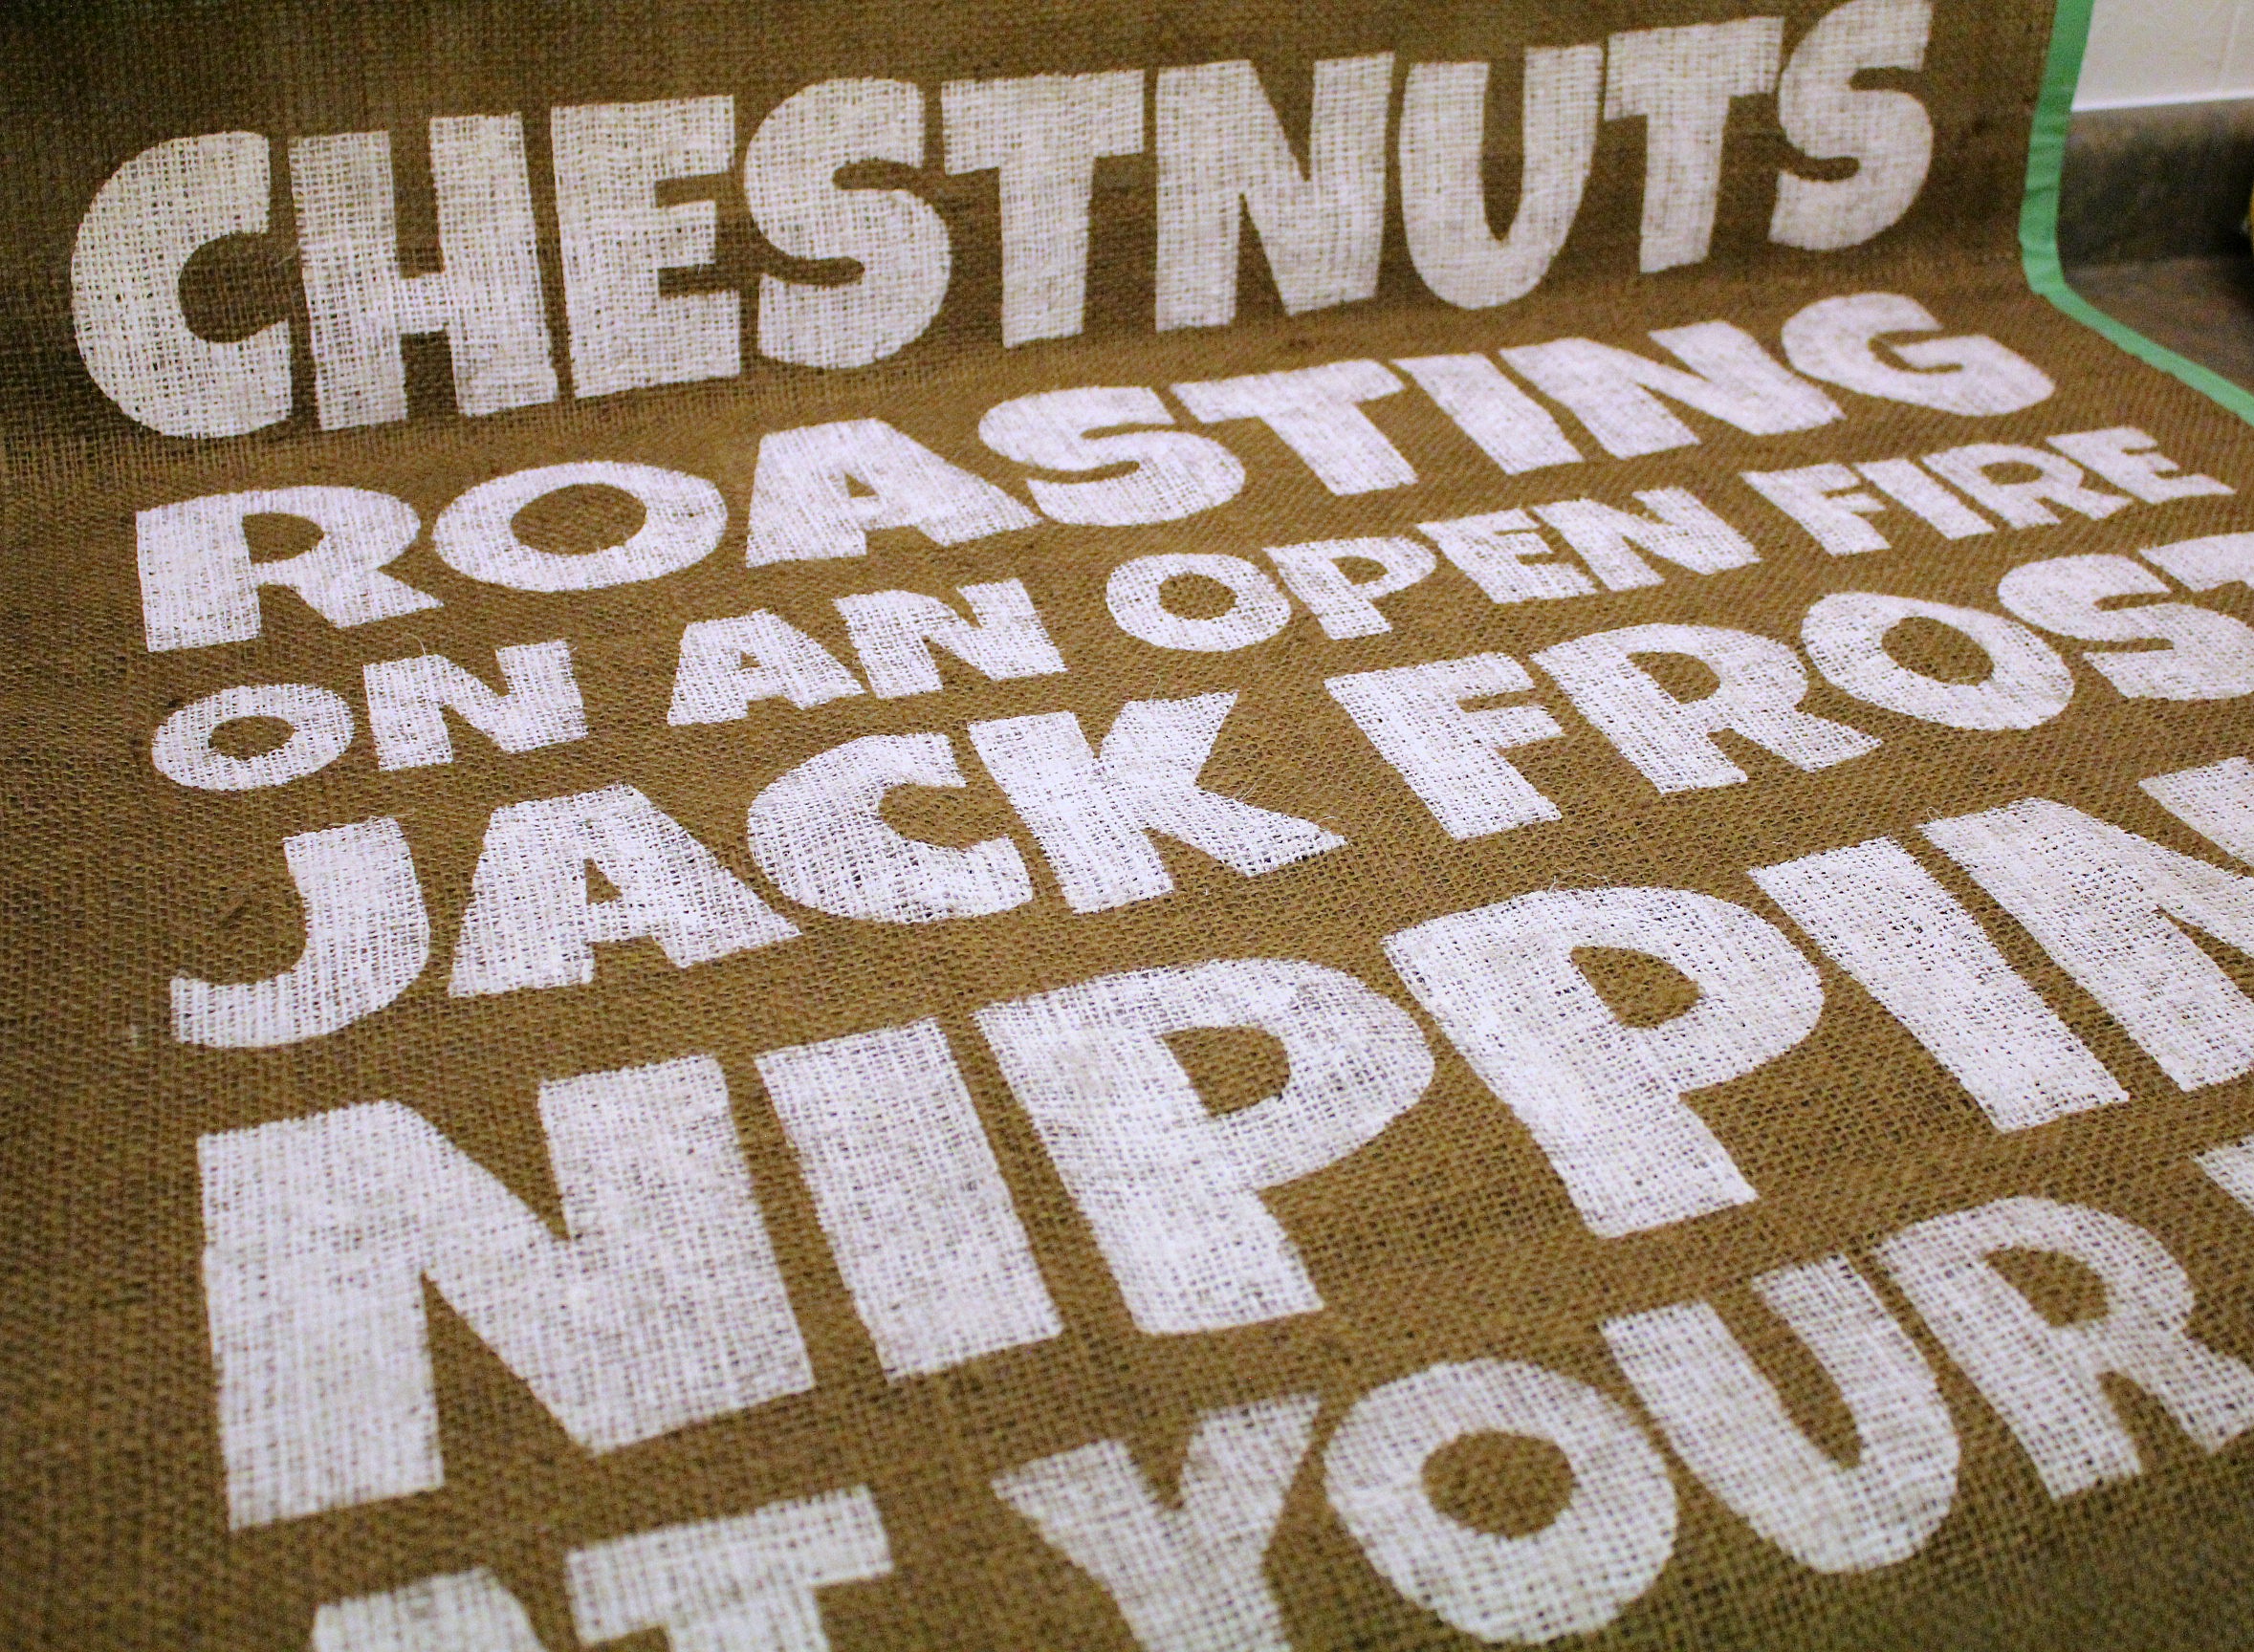
I cut a piece of burlap to about 34" x 34" to give myself some extra fabric to wrap around the back, and taped off the edges with painter's tape to keep them from fraying. I then used my Silhouette Cameo to cut out the words. This is the first time I've cut out something so large - it used up almost all of my adhesive vinyl! - but I love how much time it saved.


I laid out the words in 6 lines, carefully making sure they were even, and that they stayed within the 30" space limit I'd set. Once it was laid out the way I wanted it, I filled in the words with two coats of Antique White craft paint. I left it to dry for the night and then peeled off the stencil. The edges of the letters  were beautifully sharp.


We had just had new living room furniture delivered that day so there were some huge pieces of cardboard laying around. I cut one piece to 30" x 30" to use as a backing board, centred the burlap on it, wrapped the edges behind, and taped it down.

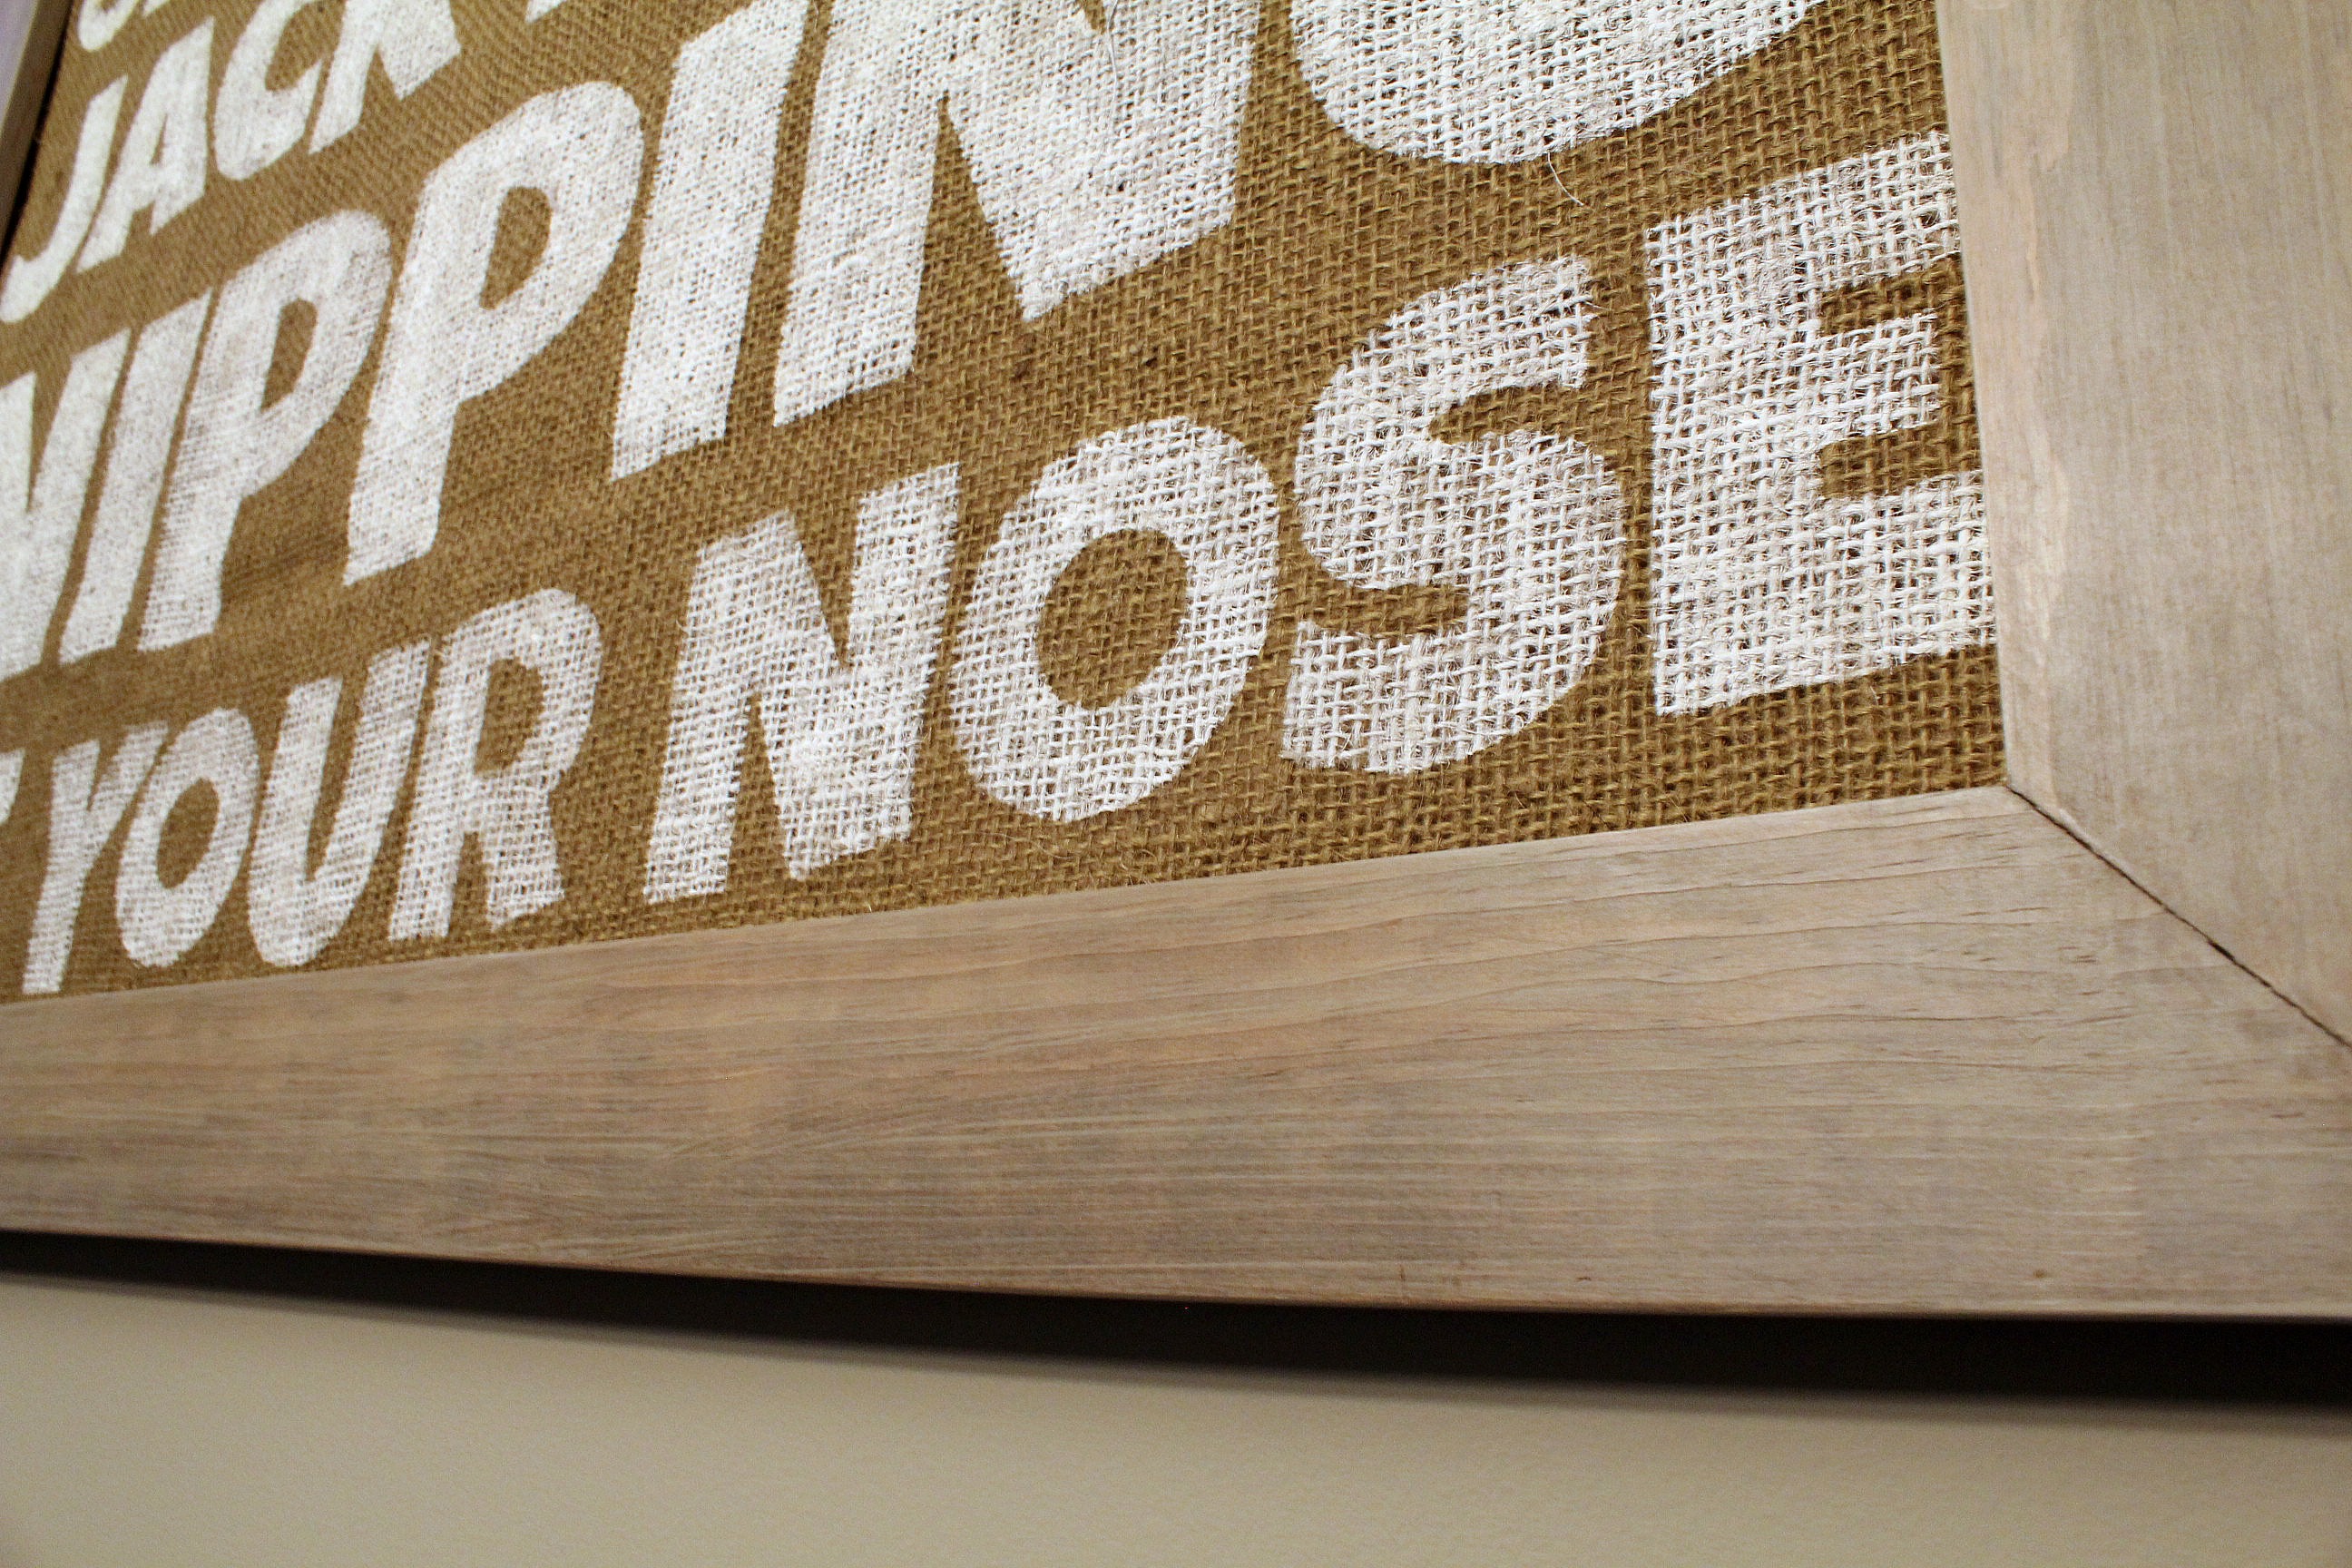
Tom built the frame for me using 1"x3" boards. He routered a rabbet in the back to hold the sign in place and reinforced the corners with L-shaped corner brackets - inset of course.


I stained the frame with Minwax Provincial and then wiped on a coat of watered-down paint the same colour as the wall. A coat of furniture wax, a buff with a soft cloth, and it was ready. I use this finishing method a lot - if you'd like more in-depth instructions, click here.


Since the sign is so light, and I want to reuse the frame, I just taped it into the frame. I hung the sign on the hooks that were already there and added some candlesticks on each side to balance it out.


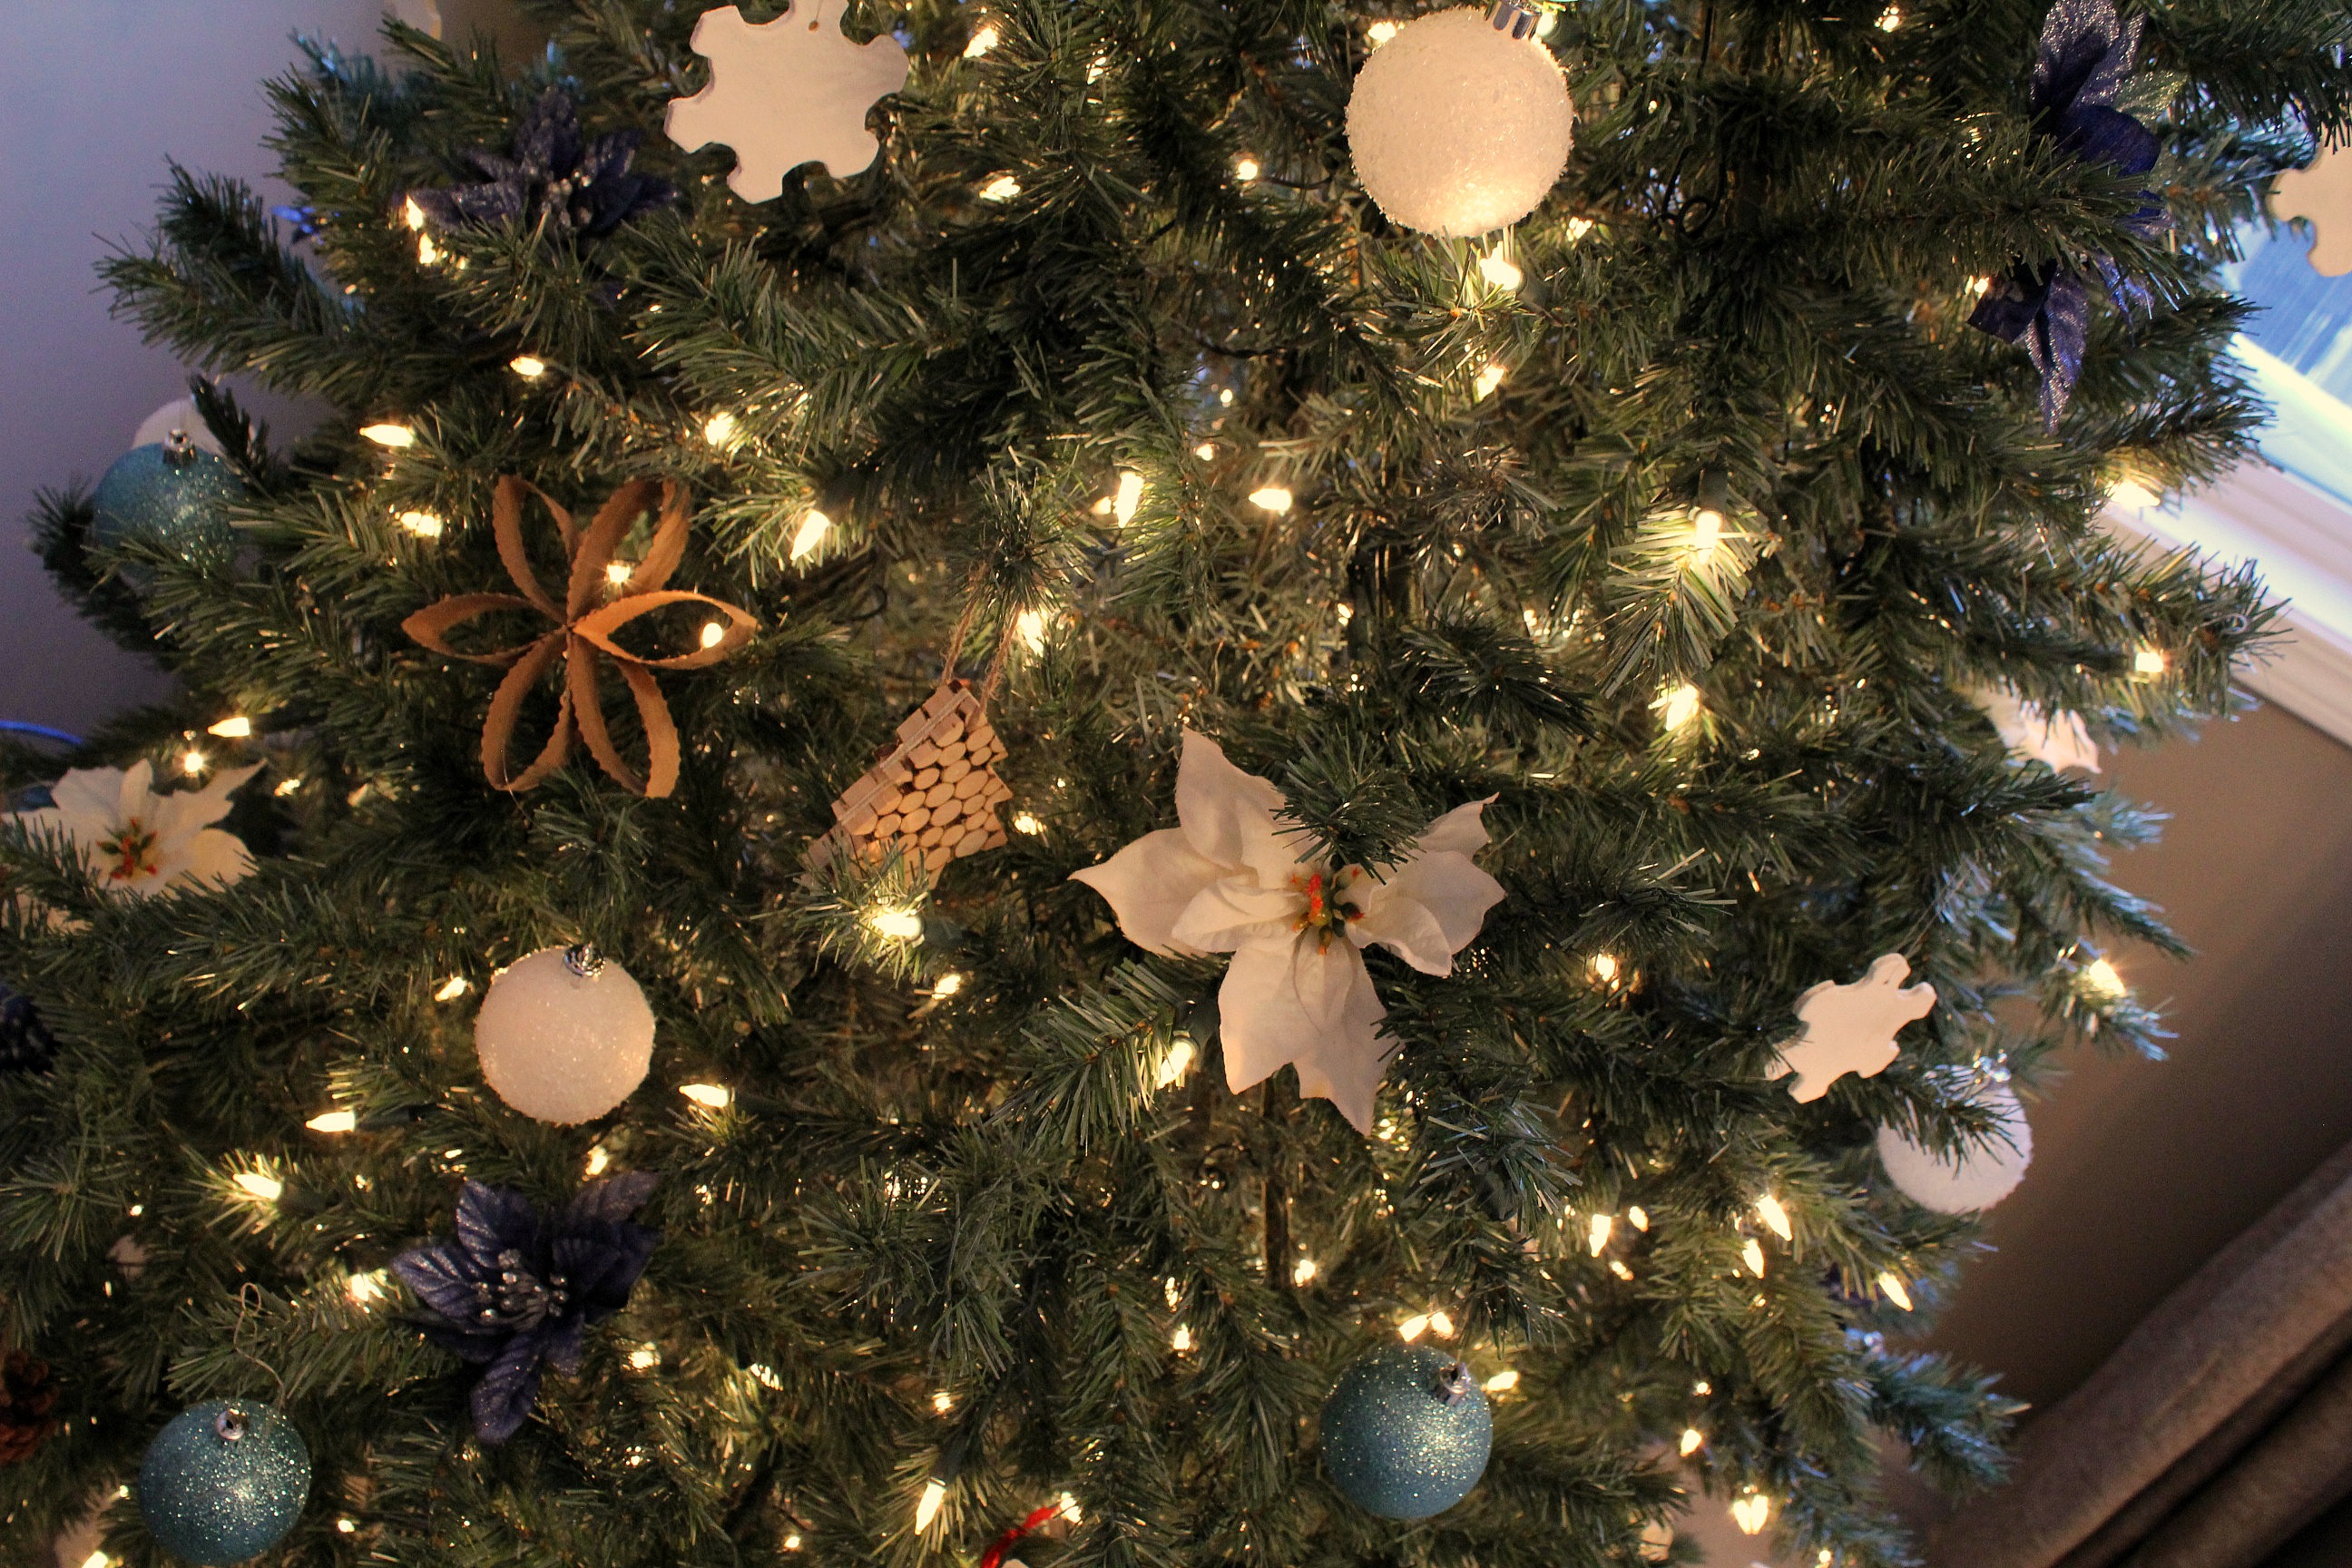
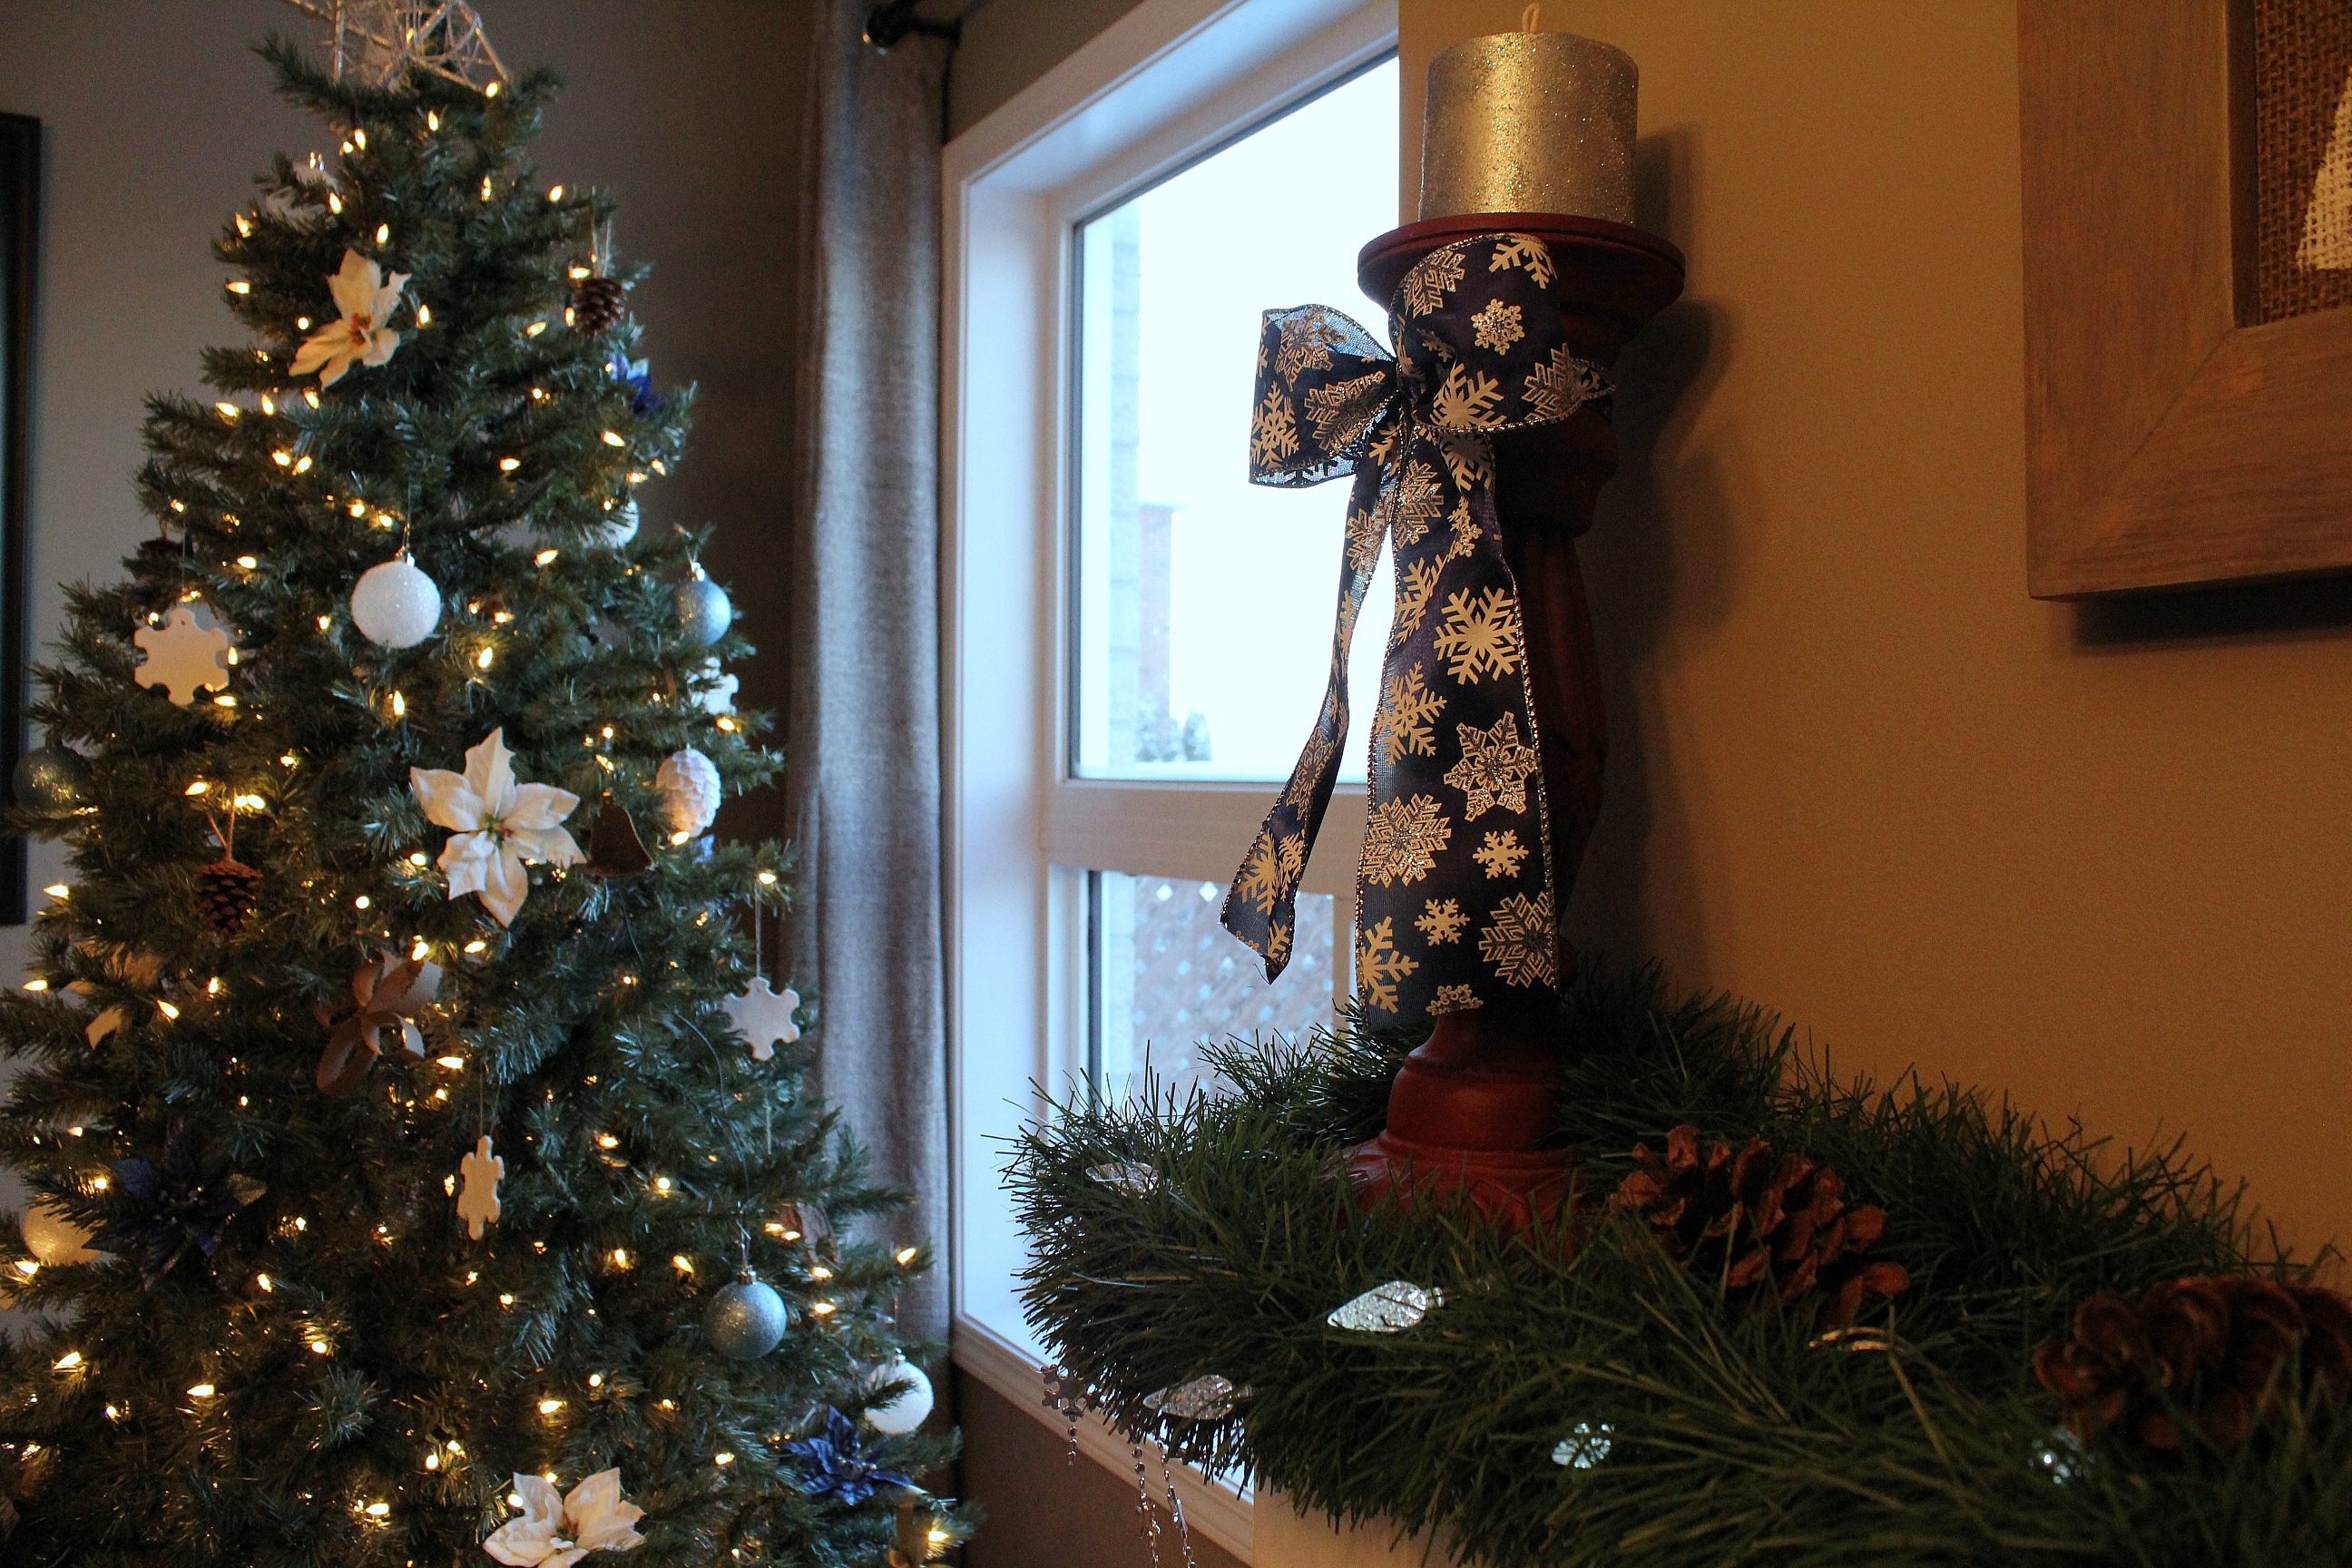
I've gone pretty light on the decorations this year, and stuck with blue, white, and silver. We aren't going to be home much, and no one is coming to visit, so it was mostly just to perk up our spirits when we catch a glance.


I think the sign is fun and a little quirky. We don't usually decorate with "quirky" in mind, so I think it might be just what we need.


Jun 1, 2013

Pallet Cottage Art

Thank you all for sticking around - I know I've really been slacking on the blog front, but I'm going to try really hard not to feel guilty about it. Sometimes you just gotta take a break.

And I think the break was worth it because it renewed my interest in finishing my pallet sign. If you remember, I took a pallet and turned it into a blank canvas many, many months ago.


It sat in my craft room all that time because I couldn't get the phrase I wanted to fit the way I wanted. Too big, too small, it just wouldn't work. So the sign and I studiously ignored each other day after day.

But then I started thinking about a new sign. One that looked like it came from a seaside rental property. The last time Tom & I went to Hawaii, we stayed at a place called Turtle Beach Rentals just north of Haleiwa on Oahu. Now I have no affiliation with this place - I'll just recommend it to anyone who will listen. Because it is just that wonderful. Small, secluded, literally steps from a nearly deserted beach.

So I took the name of the place and made my sign. I put "North Shore" instead of the actual town to make it a little whimsical, and so that I didn't infringe on any ownership issues. The catch phrase for the site is "This is the place!" so of course I added that too.


And then my favourite turtles. If you know me at all you know I looooove turtles. Plus the first day we stayed there I managed to get up close and personal (zoom lens, I didn't get in his face) with one of the turtles the beach is named for. It made my whole vacation.


Once I knew what I wanted to put on the sign it all came together quickly. I cut the words out with my Silhouette Cameo and used painter's tape to secure them to the boards. I have stencilling brushes, but I found that a flat-edged artist's brush worked better. The "N" was done with the stencil brush and you can see that more of the paint was getting on the stencil than on the exposed wood.


I used white paint on a grey background and then, once it was dry, I sanded it to make it look old and worn by the elements. The spots where parts of a letter are missing are my favourites. And my sweet little turtle came out just as I wanted. Such great detail.


As a final touch I hot glued starfish to each of the top corners. It adds a three dimensional quality and increases the beach feel.


It will eventually be hung in the basement above the couch. Right now it's balanced on DVD box sets on the sofa table we built in March.


We're going to paint the walls a light blue (I think) or maybe a soft sand. We spend a lot of time there watching TV and hanging out with the dogs, so I want it to be relaxed and cozy.

This sign was huge to work on. But we aren't going to have that many decorations in the room so whatever things we do hang have to be commanding. This is definitely commanding.


~~~~~

I'm linking up here this week!


Jan 16, 2013

Stenciled Dog Bowls (Silhouette)

In my last post I mentioned that Tom gave me a Silhouette Cameo for Christmas. On the weekend he asked me how I liked it. Umm, it's great. So far I've...installed the software on my computer. He was off to his parents' house for a visit and told me he expected something stencilled when he got back, young lady!

So I gave it a go. My first project? Stenciling the dogs' names onto their food bowls. Now I didn't really intend to stencil them, I actually was planning on using vinyl letters, but that comes later in the story.

Do you have a Cameo? I've been wanting one forever. I've done some stenciling by hand in the past year and I can tell you, cutting out those letters or images by hand is just no fun. And the Cameo lets you do more than make stencils of course - you can cut out paper, fabric, vinyl, even temporary tattoos.

Glamour shot:

And so I got started. Now keep in mind that this was the first time I've ever used a Silhouette machine so I wasn't going for anything complicated. Also keep in mind that I didn't get around to starting until 5pm on Sunday night. Am I a procrastinator? I'll let you know. ;-)

My machine came with sheets of different coloured plastic - what I thought was vinyl. Why else would they be different colours? I planned to cut out the letters of the dogs' names and stick them on to the sides of their bowls. I opened up the program and got to work deciding on the size and font. I even put the names really close to each other so that I wouldn't waste any material.


I fed the yellow plastic into the machine and pressed start. Oh my gosh, so exciting. I actually videotaped it cutting the letters. Is that too nerdy? When it was done I peeled off the first letter and that's when I realized that it was a clear stencil and the yellow was just the backing paper. Sad Barb.

But that's okay, I have lots of paint - I can just paint the names on! Tom chose (he was home by then) Annie Sloan chalk paint in Aubusson Blue.


Our dog bowls are more like buckets with lids. They are so great because not only are they tall so the dogs don't have to lean way over to eat, but you can fill the bucket part with food and it's a travel bowl for trips.


I applied the stencil to the side of the bowl (Yay for self adhesive!) and pressed painters tape around the edges to block any stray paint strokes. And since I'd put the two names so close together I had to block the other name.


It took two coats of paint and only about 20 minutes to dry completely. I did some touch ups with a plastic scraper and an artist's brush, and then sprayed the names with a few coats of matte acrylic coating to seal.


Tell me that isn't adorable. Maybe I'll add some girlie flowers.


We hung the "Sasha" picture we found at HomeGoods over Sasha's bowl. Everyone needs something pretty to look at when they're eating, right? And why not a picture of yourself? Though for a minute I thought it might look like a shrine or something equally morbid.


Over Chloe's bowl we hung her graduation certificate from obedience class - framed of course. Isn't she a smartypants? She graduated first in her class. (She was the only one in her class.) 


There you go, my first project. Not the toughest to do, but it was fun, and I learned a lot. I can't wait to try something more complicated - maybe even with real vinyl.


~~~~~

I'm linking up here this week!

Jan 13, 2013

Getting Back Into It

Many, many apologies for not posting this past week. I know you don't want to hear my excuses - everyone's busy, get on with it, girl - so I won't bore you with them. They mostly involve month-end paperwork and my work location moving (no more commute!), getting ready for vacation (and cleaning the house in anticipation of the dogsitter being here), and a personal project that may get very interesting. I hope, I hope, I hope.

Let me show you a bit of what I have been doing, because it's not like I've been sitting around eating Cheetos the whole time (not the whole time).

1. I used my Silhouette for the first time - did I mention that Tom gave me a Silhouette Cameo for Christmas? - and added the dogs' names to their food bowls.


They were like, "You know we can't read right? And that we already know whose is whose?"

Just humour me, okay?

2. I took the Christmas wall hanging above the mantel from this:


To this:


It only took a few minutes and a couple of nails. The one on the bottom is a metal wall hanging that I bought the first week we moved into our current house. Tom wanted to buy it for me for Christmas that year but I was so excited that I rushed out and bought it myself. I love the contrast between the wood and the metal.

3. And we celebrated Sasha's birthday a little late. We had the family over for a belated Christmas dinner on her actual birthday (the 29th, also my birthday), so we didn't get to celebrate until after New Year's. I'm pretty sure she didn't mind.


As I mentioned before, it's full steam ahead on the kitchen update now, and we're taking off to Cuba again for a week. What have you been up to?

Related Posts Plugin for WordPress, Blogger...