SEARCH THE BLOG

Jun 3, 2014

Master Bath Demo Begins

We got a huge amount completed on the master bath renovation this weekend. The contractor is coming this month to re-tile, and we have some plumbing to do before he starts, so we thought it would be best to get the demolition done as soon as possible.

As a refresher, this is what the bathroom looked like before. While it is the master bath, it's a tiny little thing and difficult to take pictures of.


Within months of moving in (5 years ago), the drywall around the shower door began to crumble and the framing started to rust. It just got worse and worse as more water damage happened. There were huge chunks of drywall falling out and it was impossible to clean the rust and hard water stains from the tiles and door. One of the first things we did when we moved in was install a water softener, but after 10 years of hard water pounding on it, the damage has been done.

We haven't exactly been speedy on getting this project underway. In fact, I think it was 10 months ago when I first mentioned our plans for the room. We then thought about the tile for a few months more before actually buying it. We didn't buy the tile I showed you nearly a year ago, but something very similar. The pattern for the shower floor is going to be much more interesting, and the wall tiles are larger than the original ones.
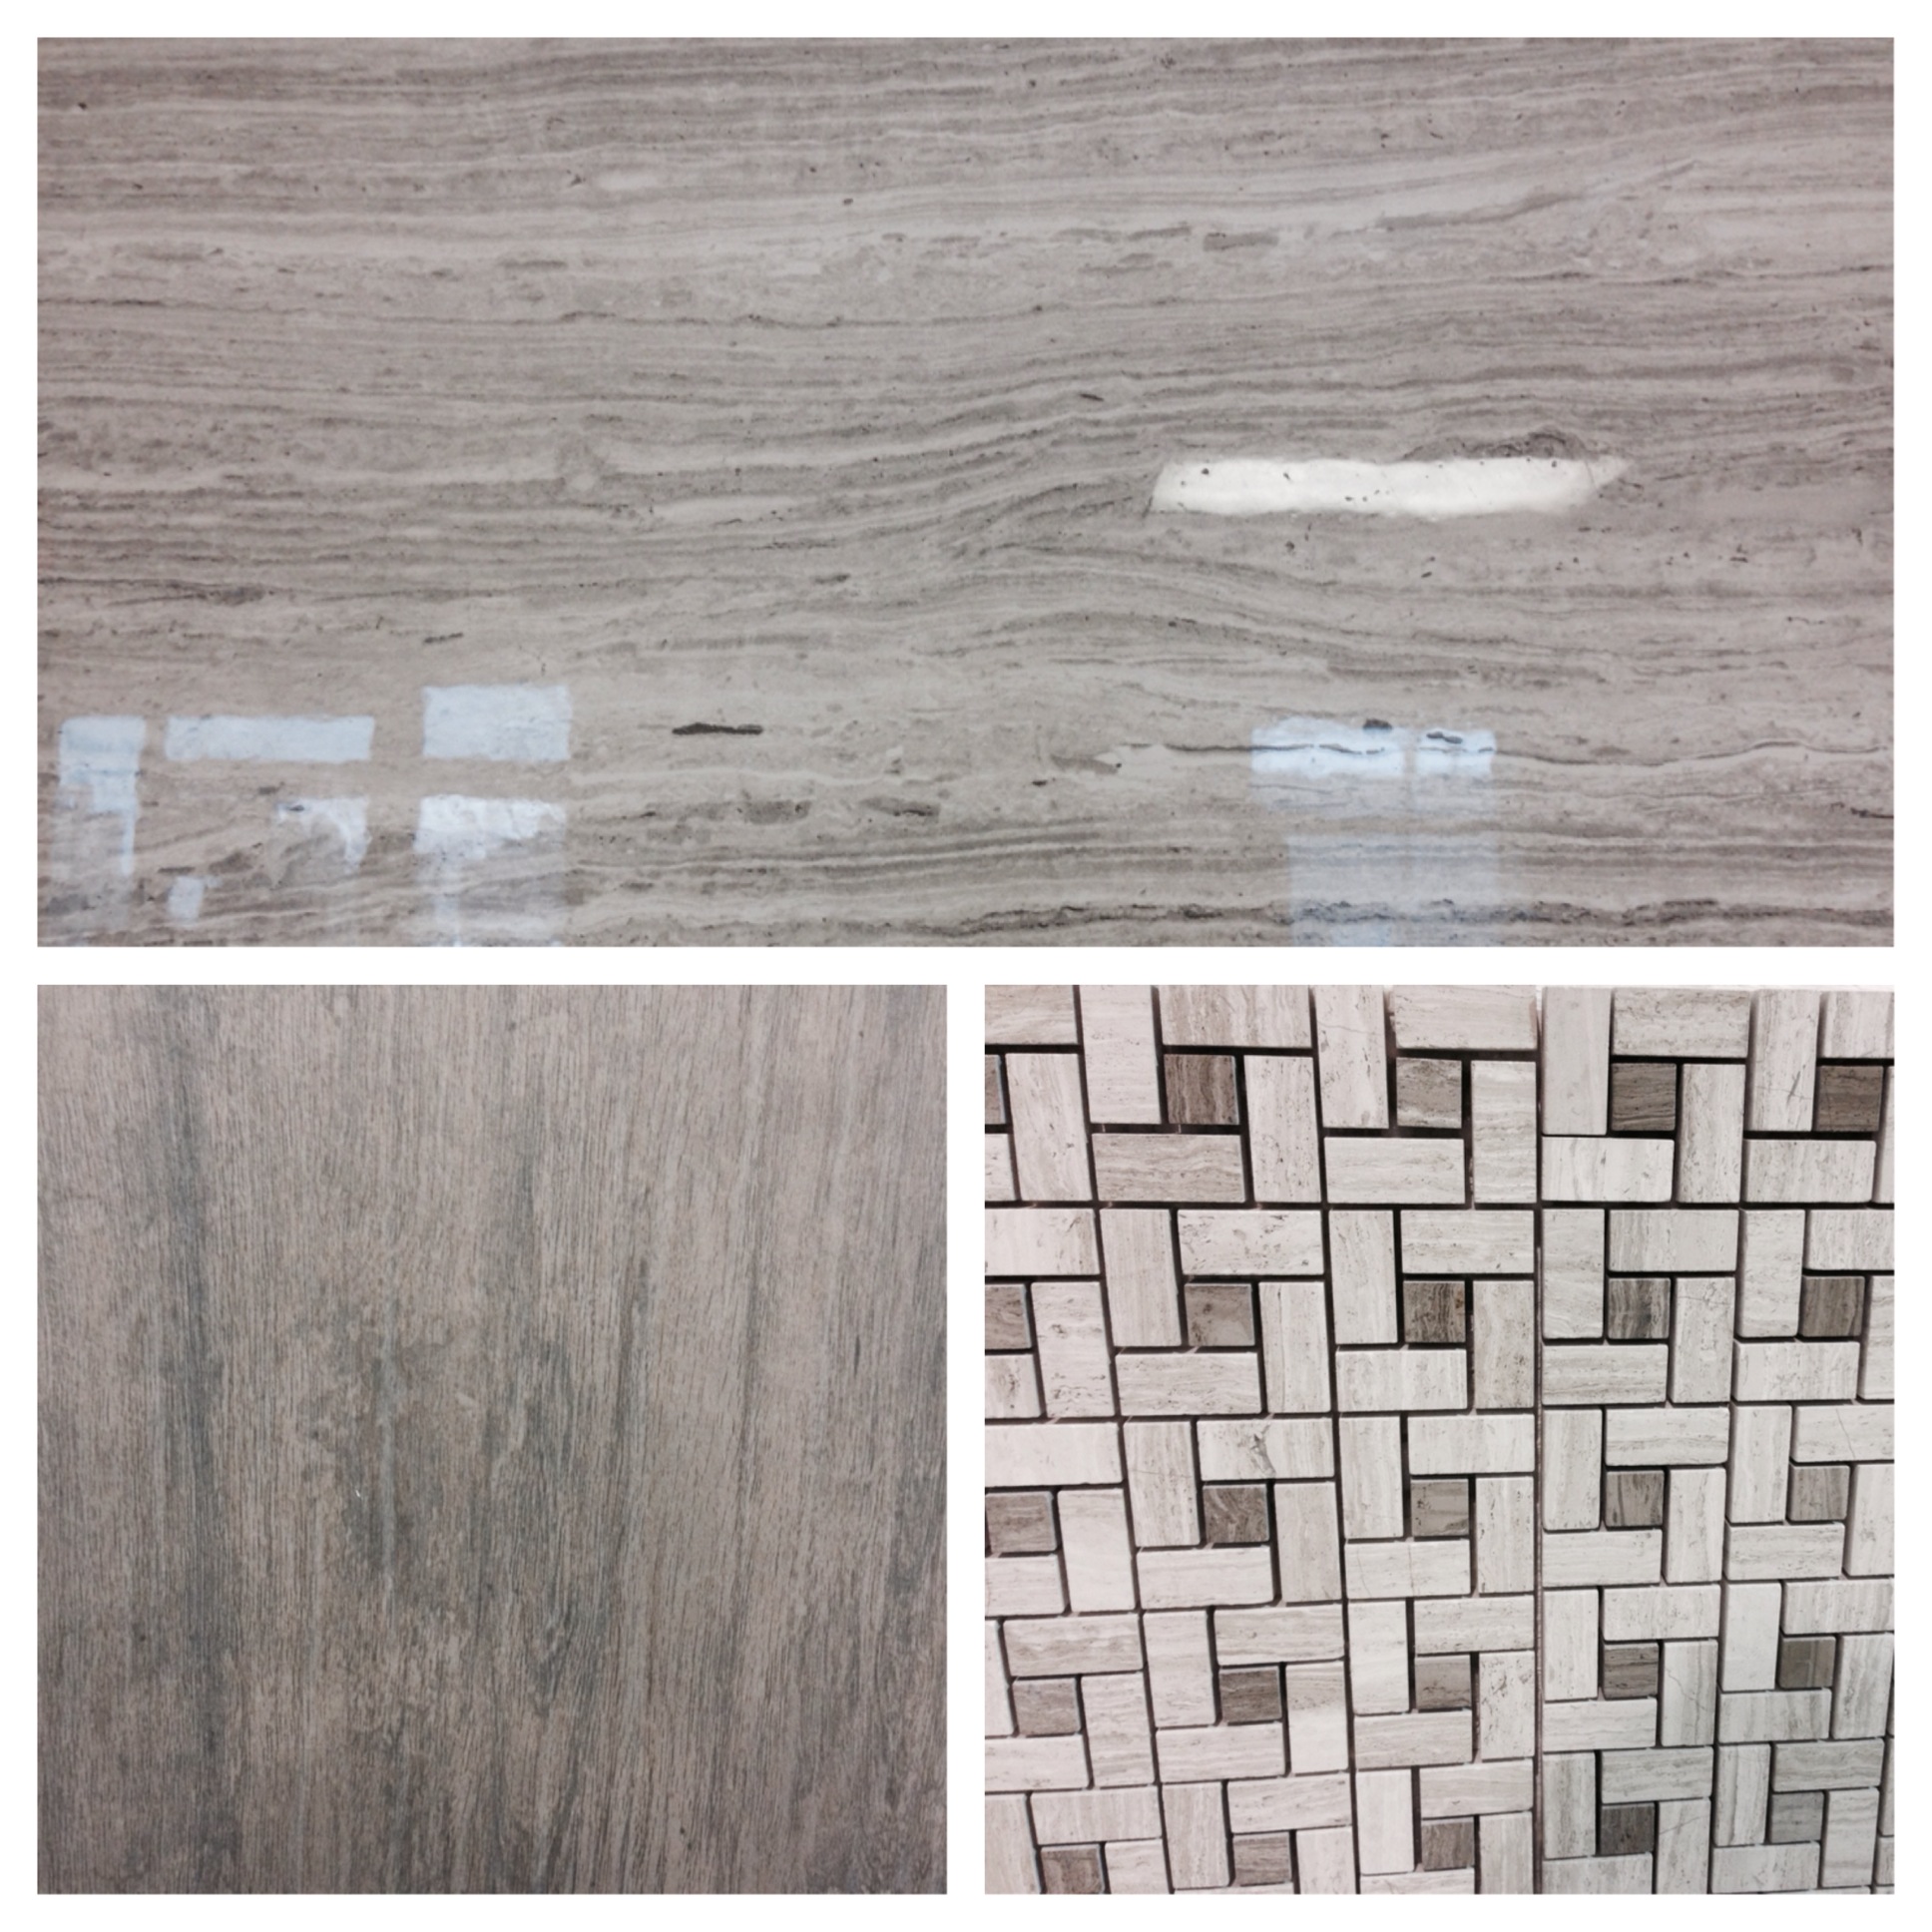
The search for a contractor was a bigger chore than it should have been. What is with people not following up with an estimate, or not even returning your call in the first place? Does every job have to be in a mansion to make it worthwhile?

Well, we now have a highly-recommended contractor on board and a start date (about two weeks from now). We told him we would do the demo ourselves to save some money. And because that's the most fun part, isn't it? We're also going to have to reroute some plumbing to install the floating vanity, and we need to change out the shower fixtures a bit. You see how the pipes for the sink come out of the floor? We need to move them up onto the wall.
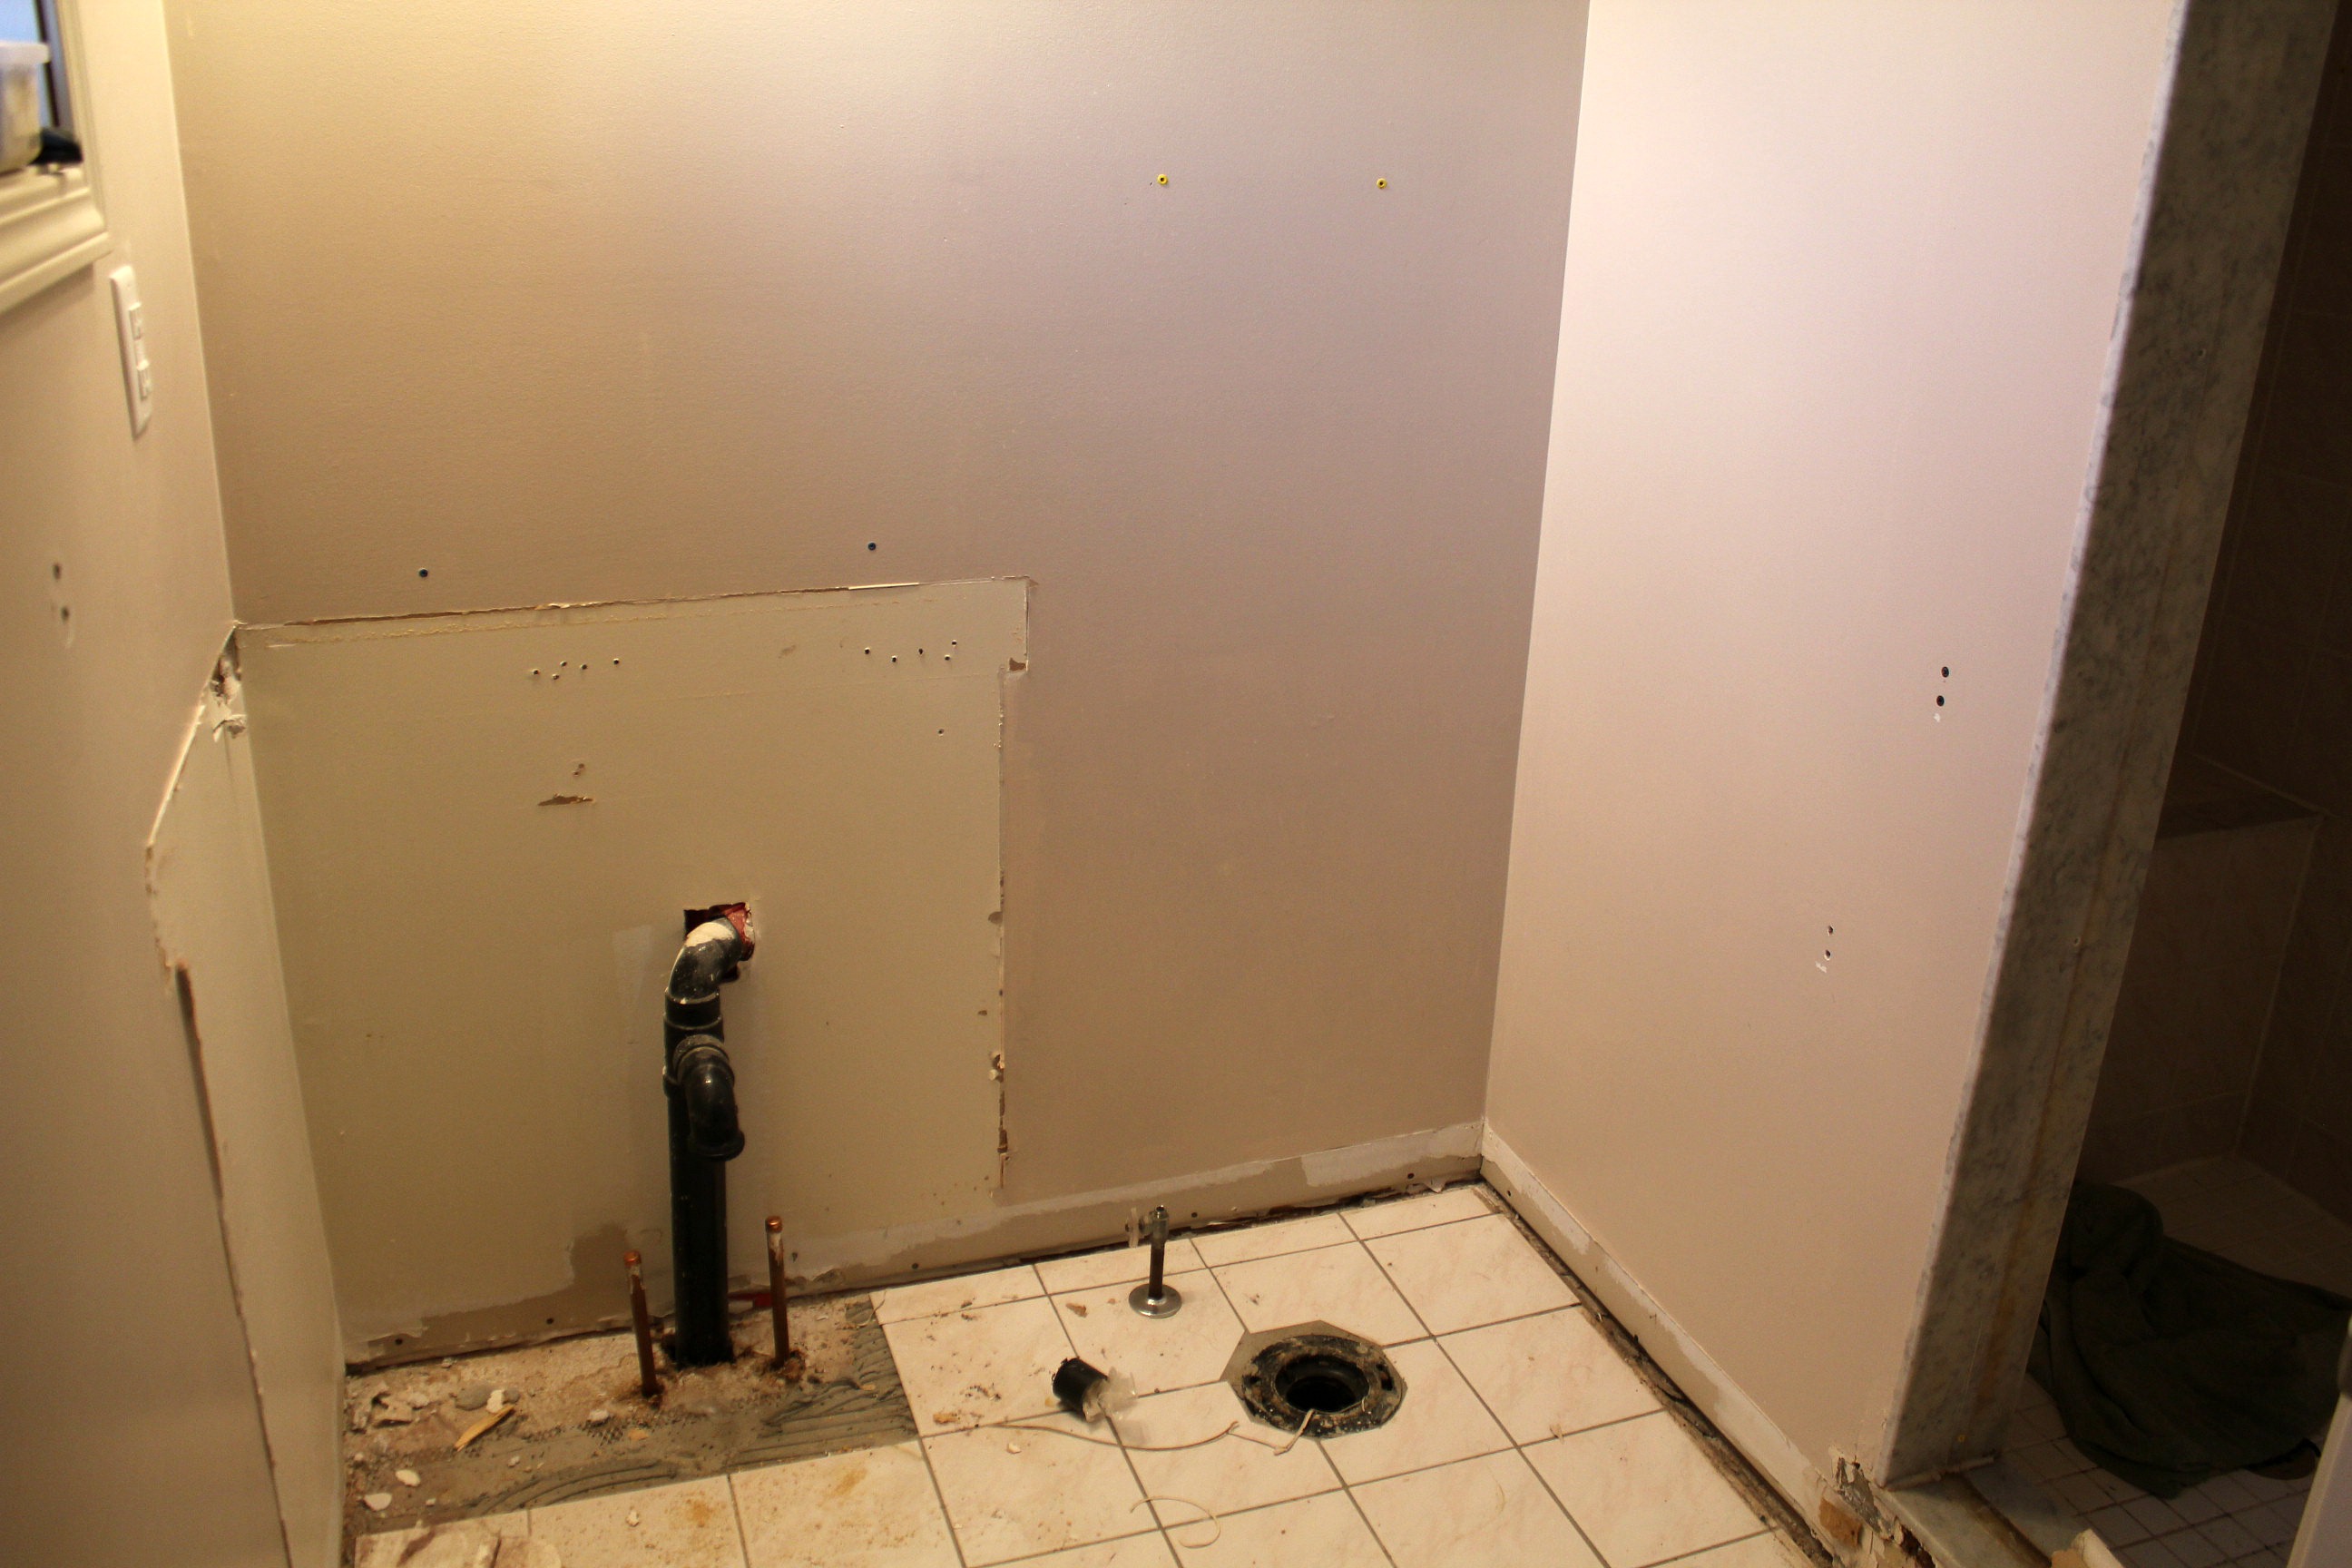

We had no idea what we were going to find once everything was taken back to the studs, so we wanted to give ourselves plenty of time. Plan for the worst, hope for the best.

Once the vanity and toilet were removed we got down to tearing out the shower. Prepare for some nasty photos, it's going to get dirty in here.
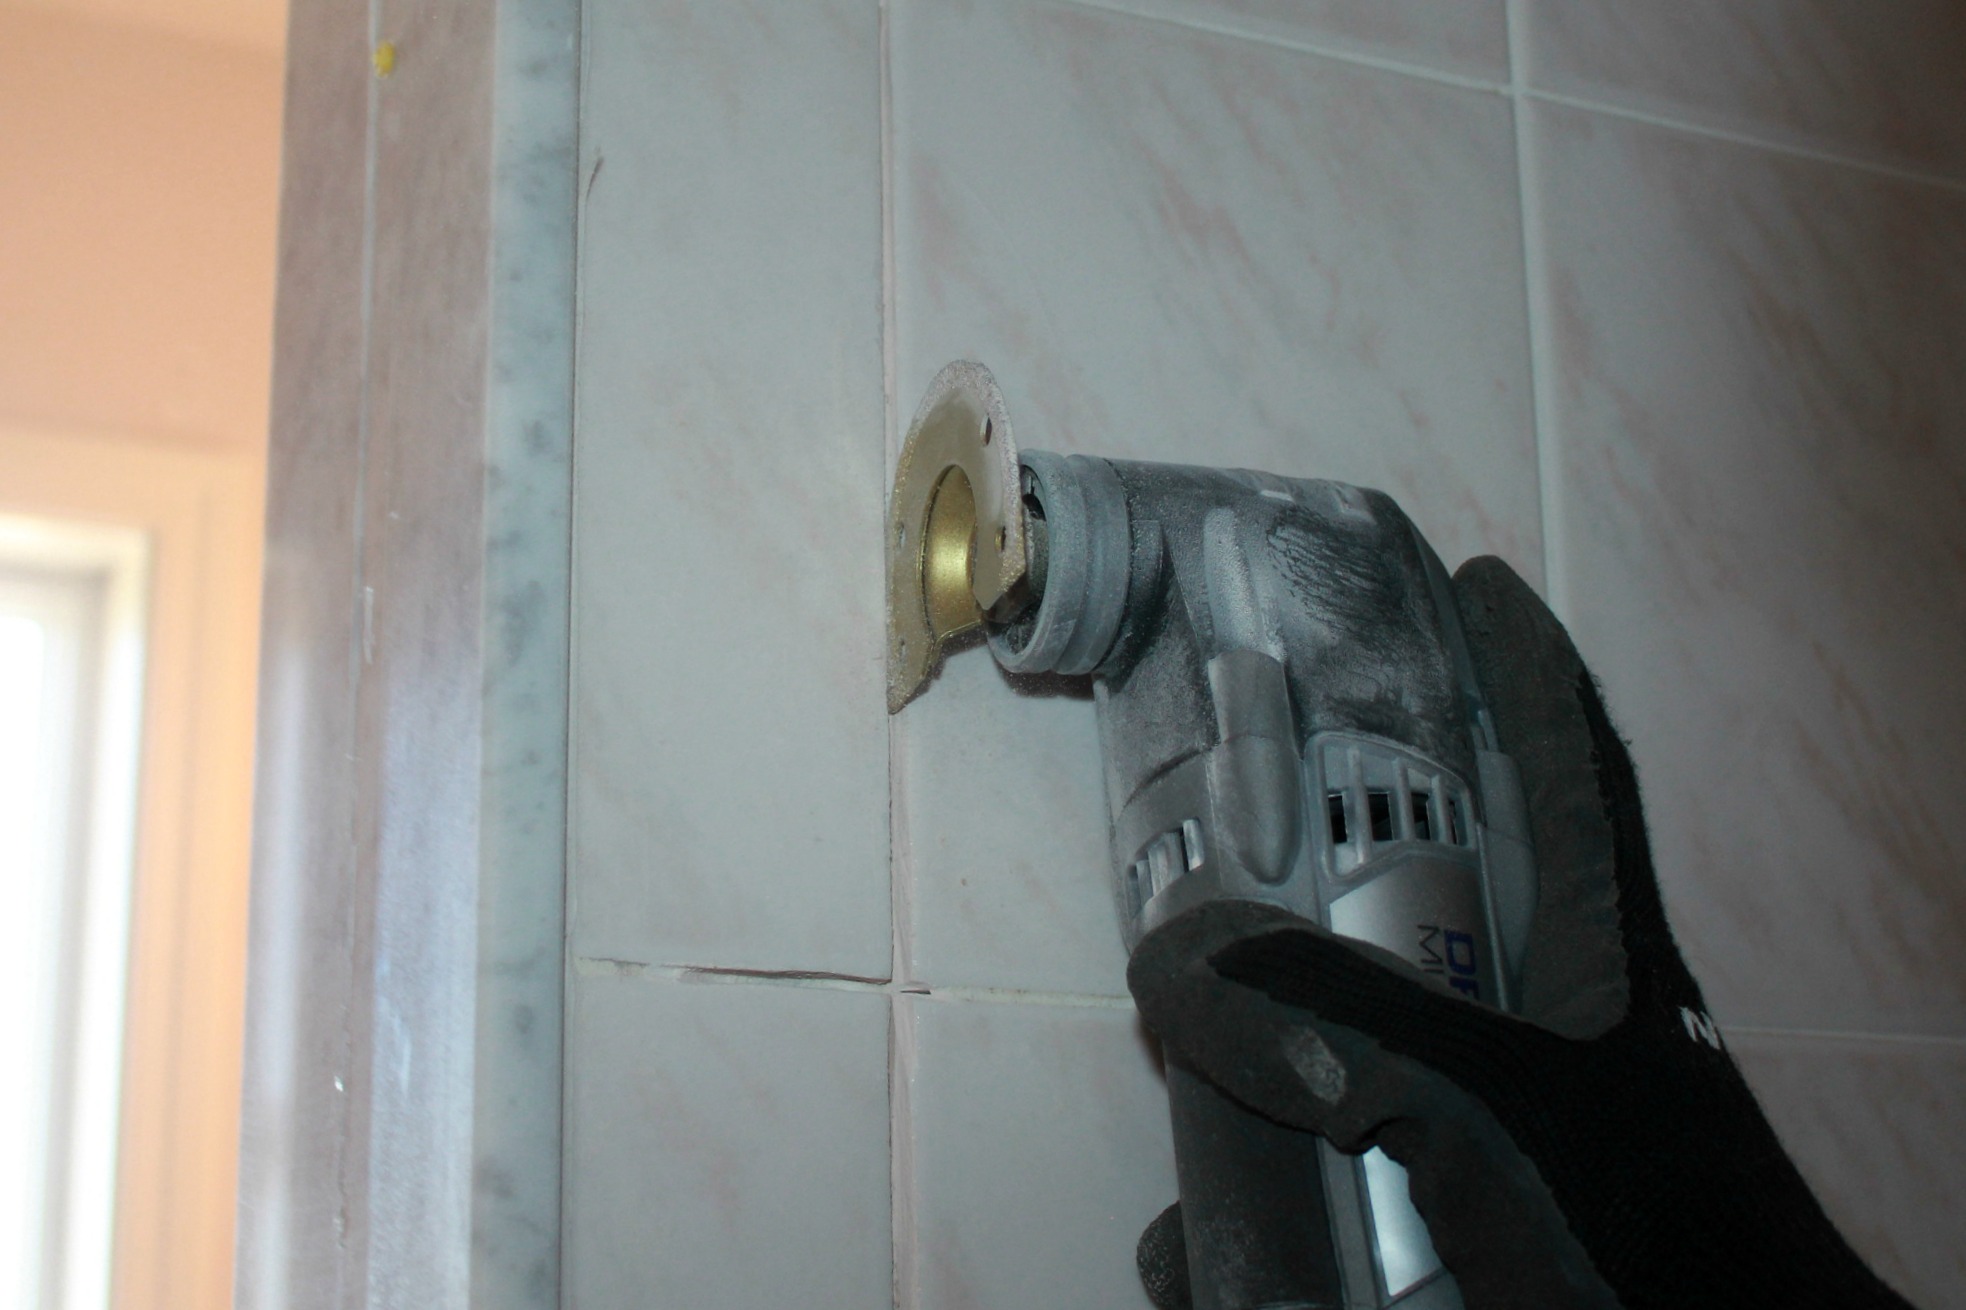

We removed the door and started taking apart the door frame. I finally got the chance to use my Dremel Multi-Max (yay!) with the grout blade. Tom said it sounded like an angry beaver when it was cutting. There's video, but it's all out of focus so I won't subject you to that. Judging by how easily the tiles around the door came off, I'm surprised the shower didn't fall in on us a long time ago. Everything underneath was completely rotted.
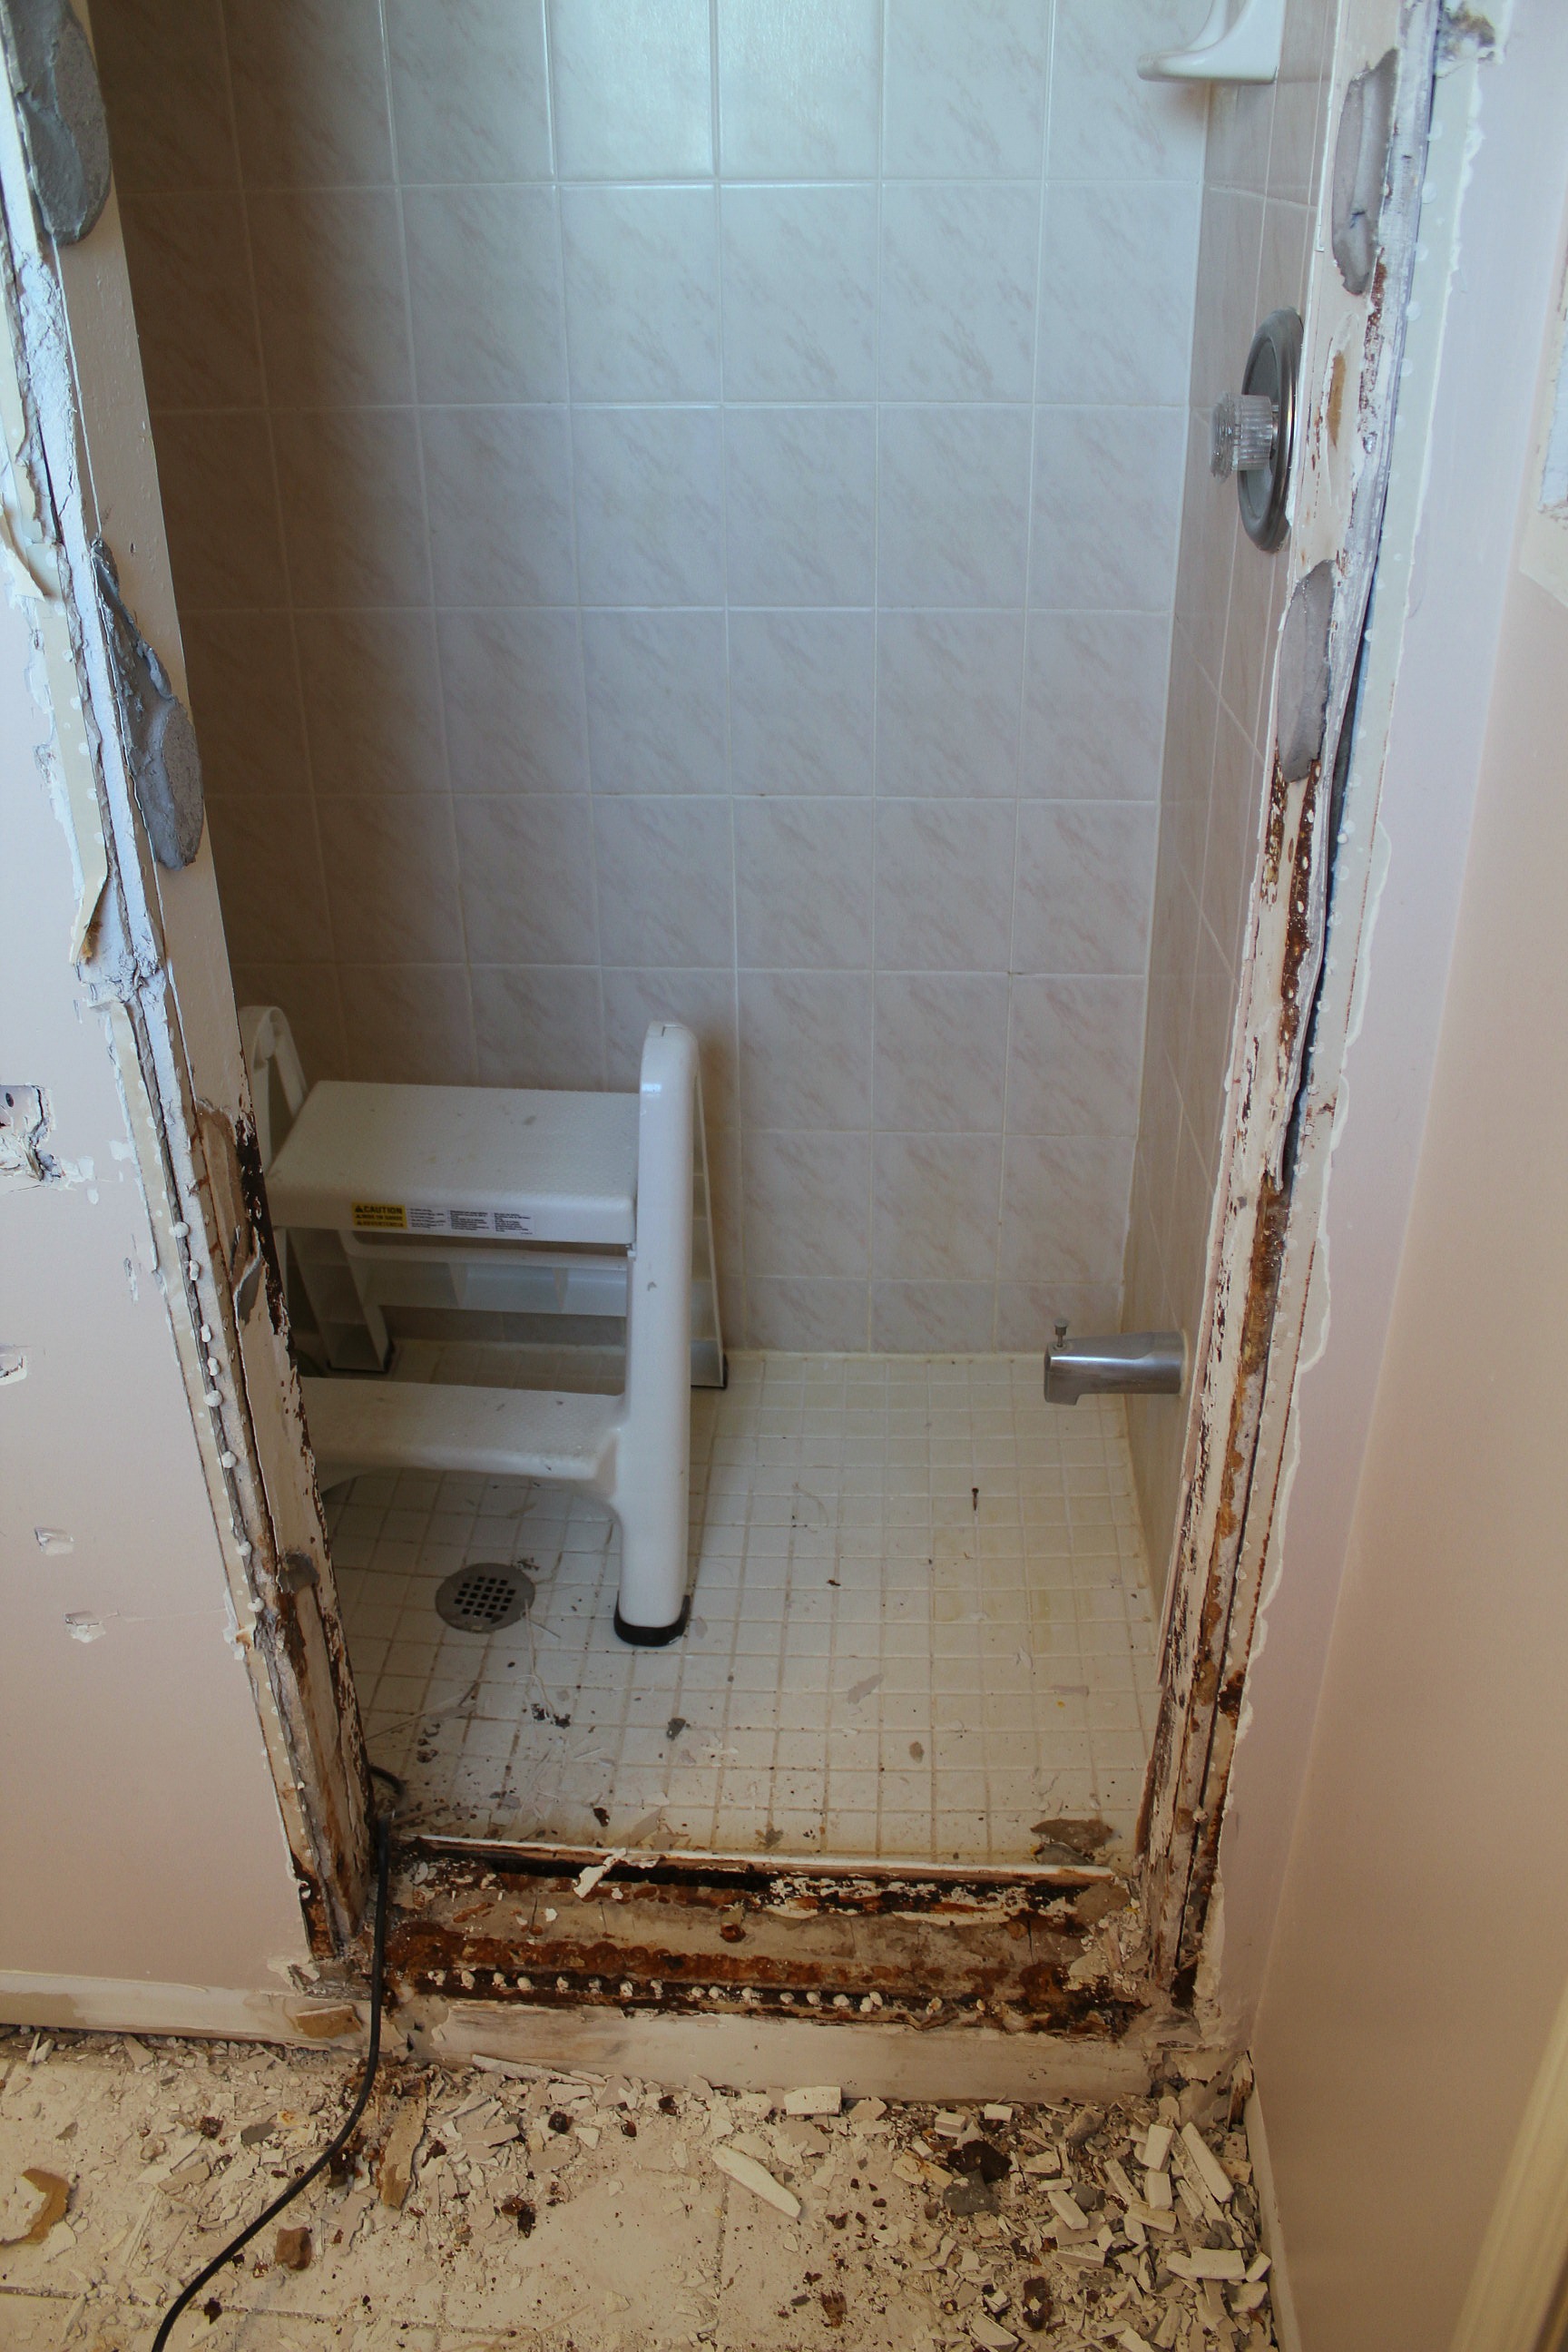
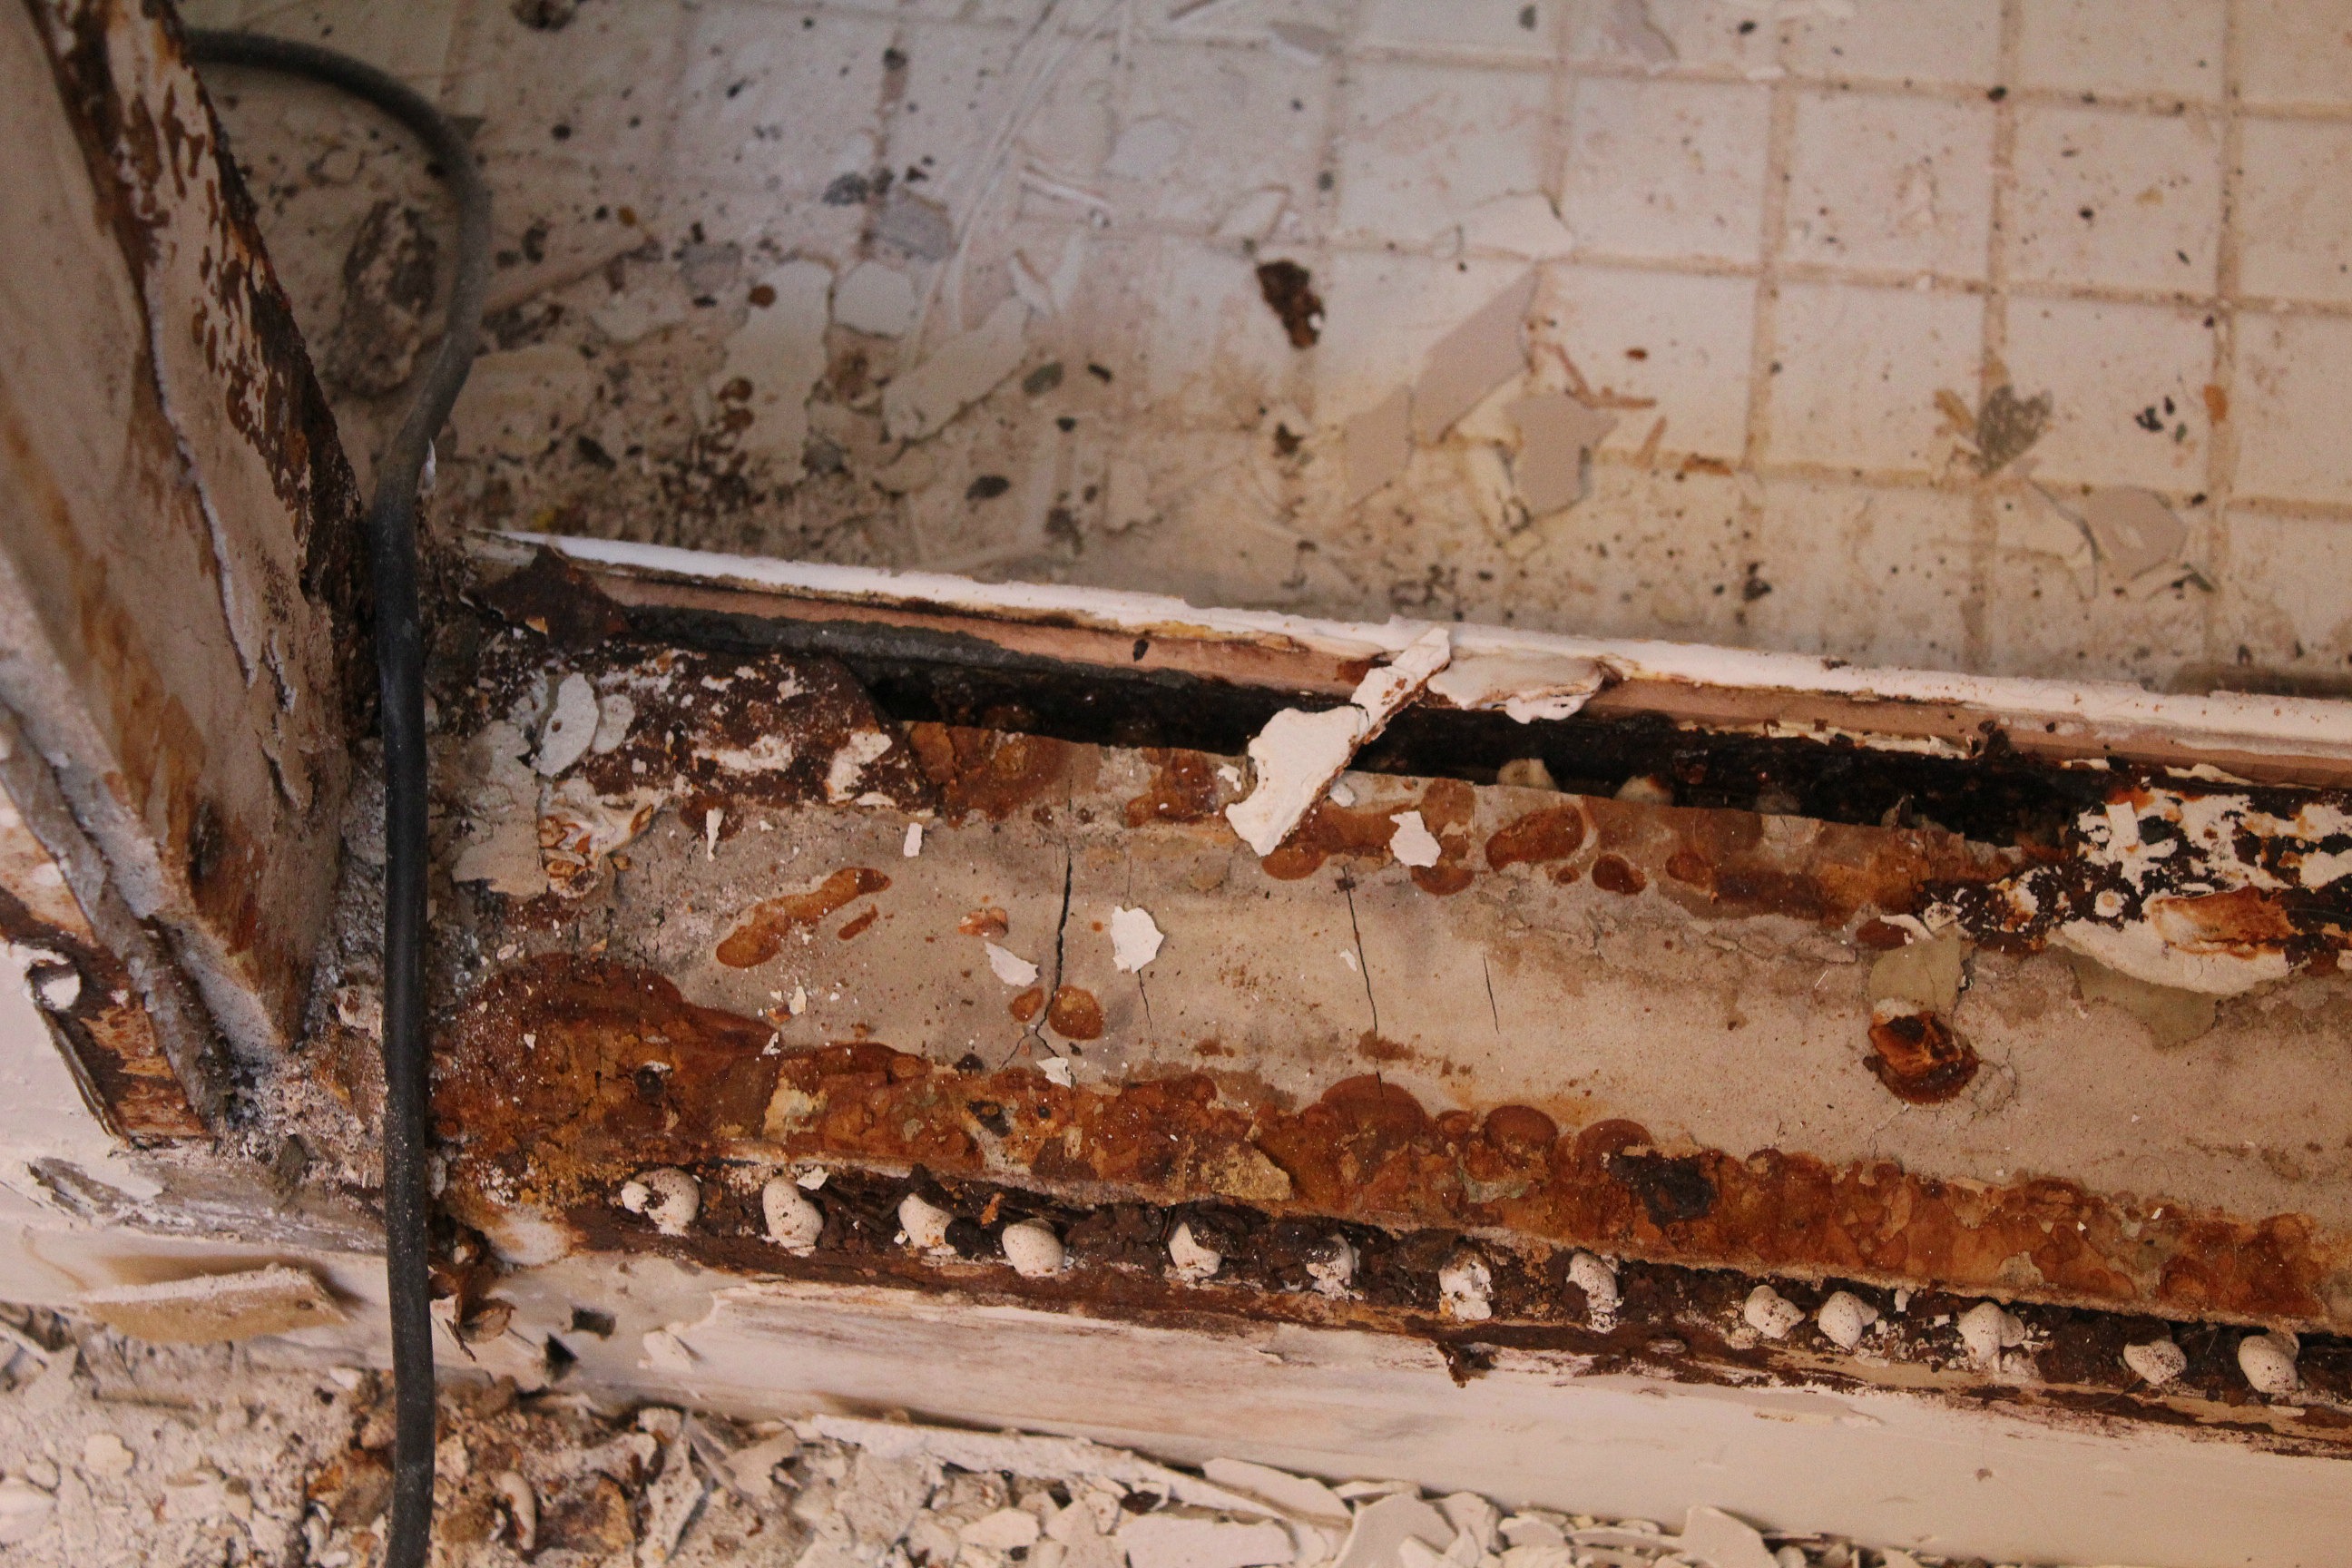
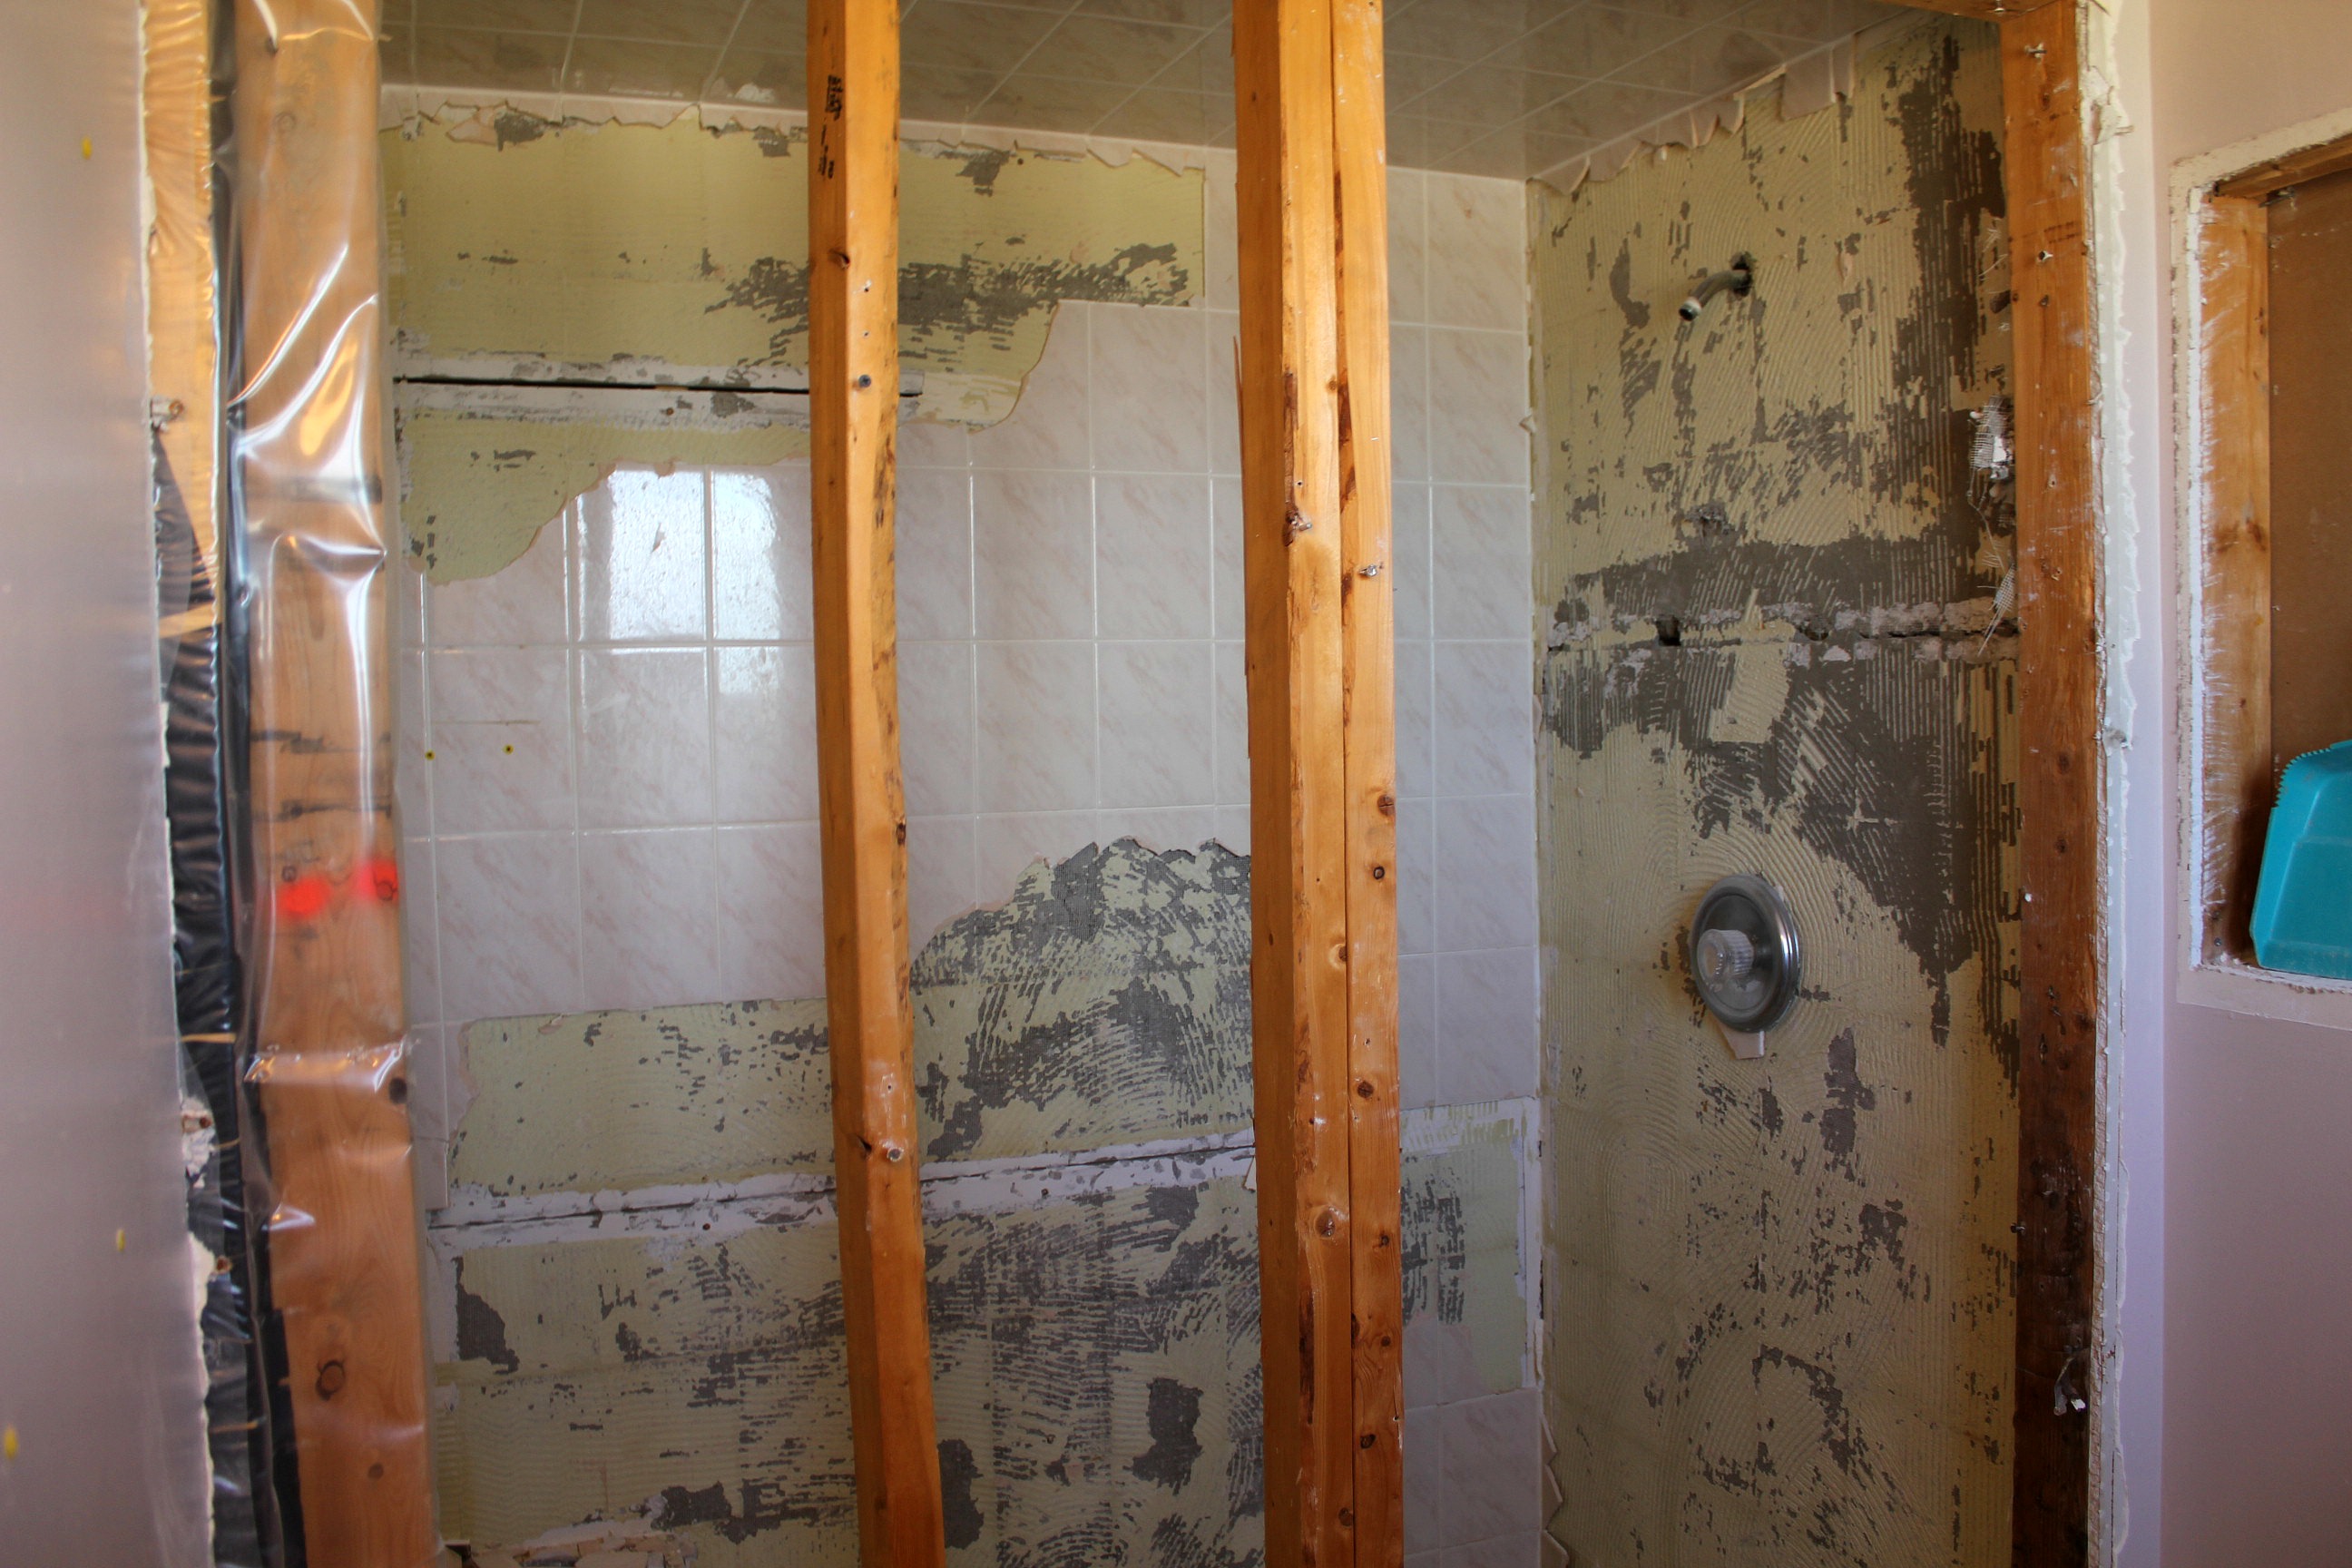
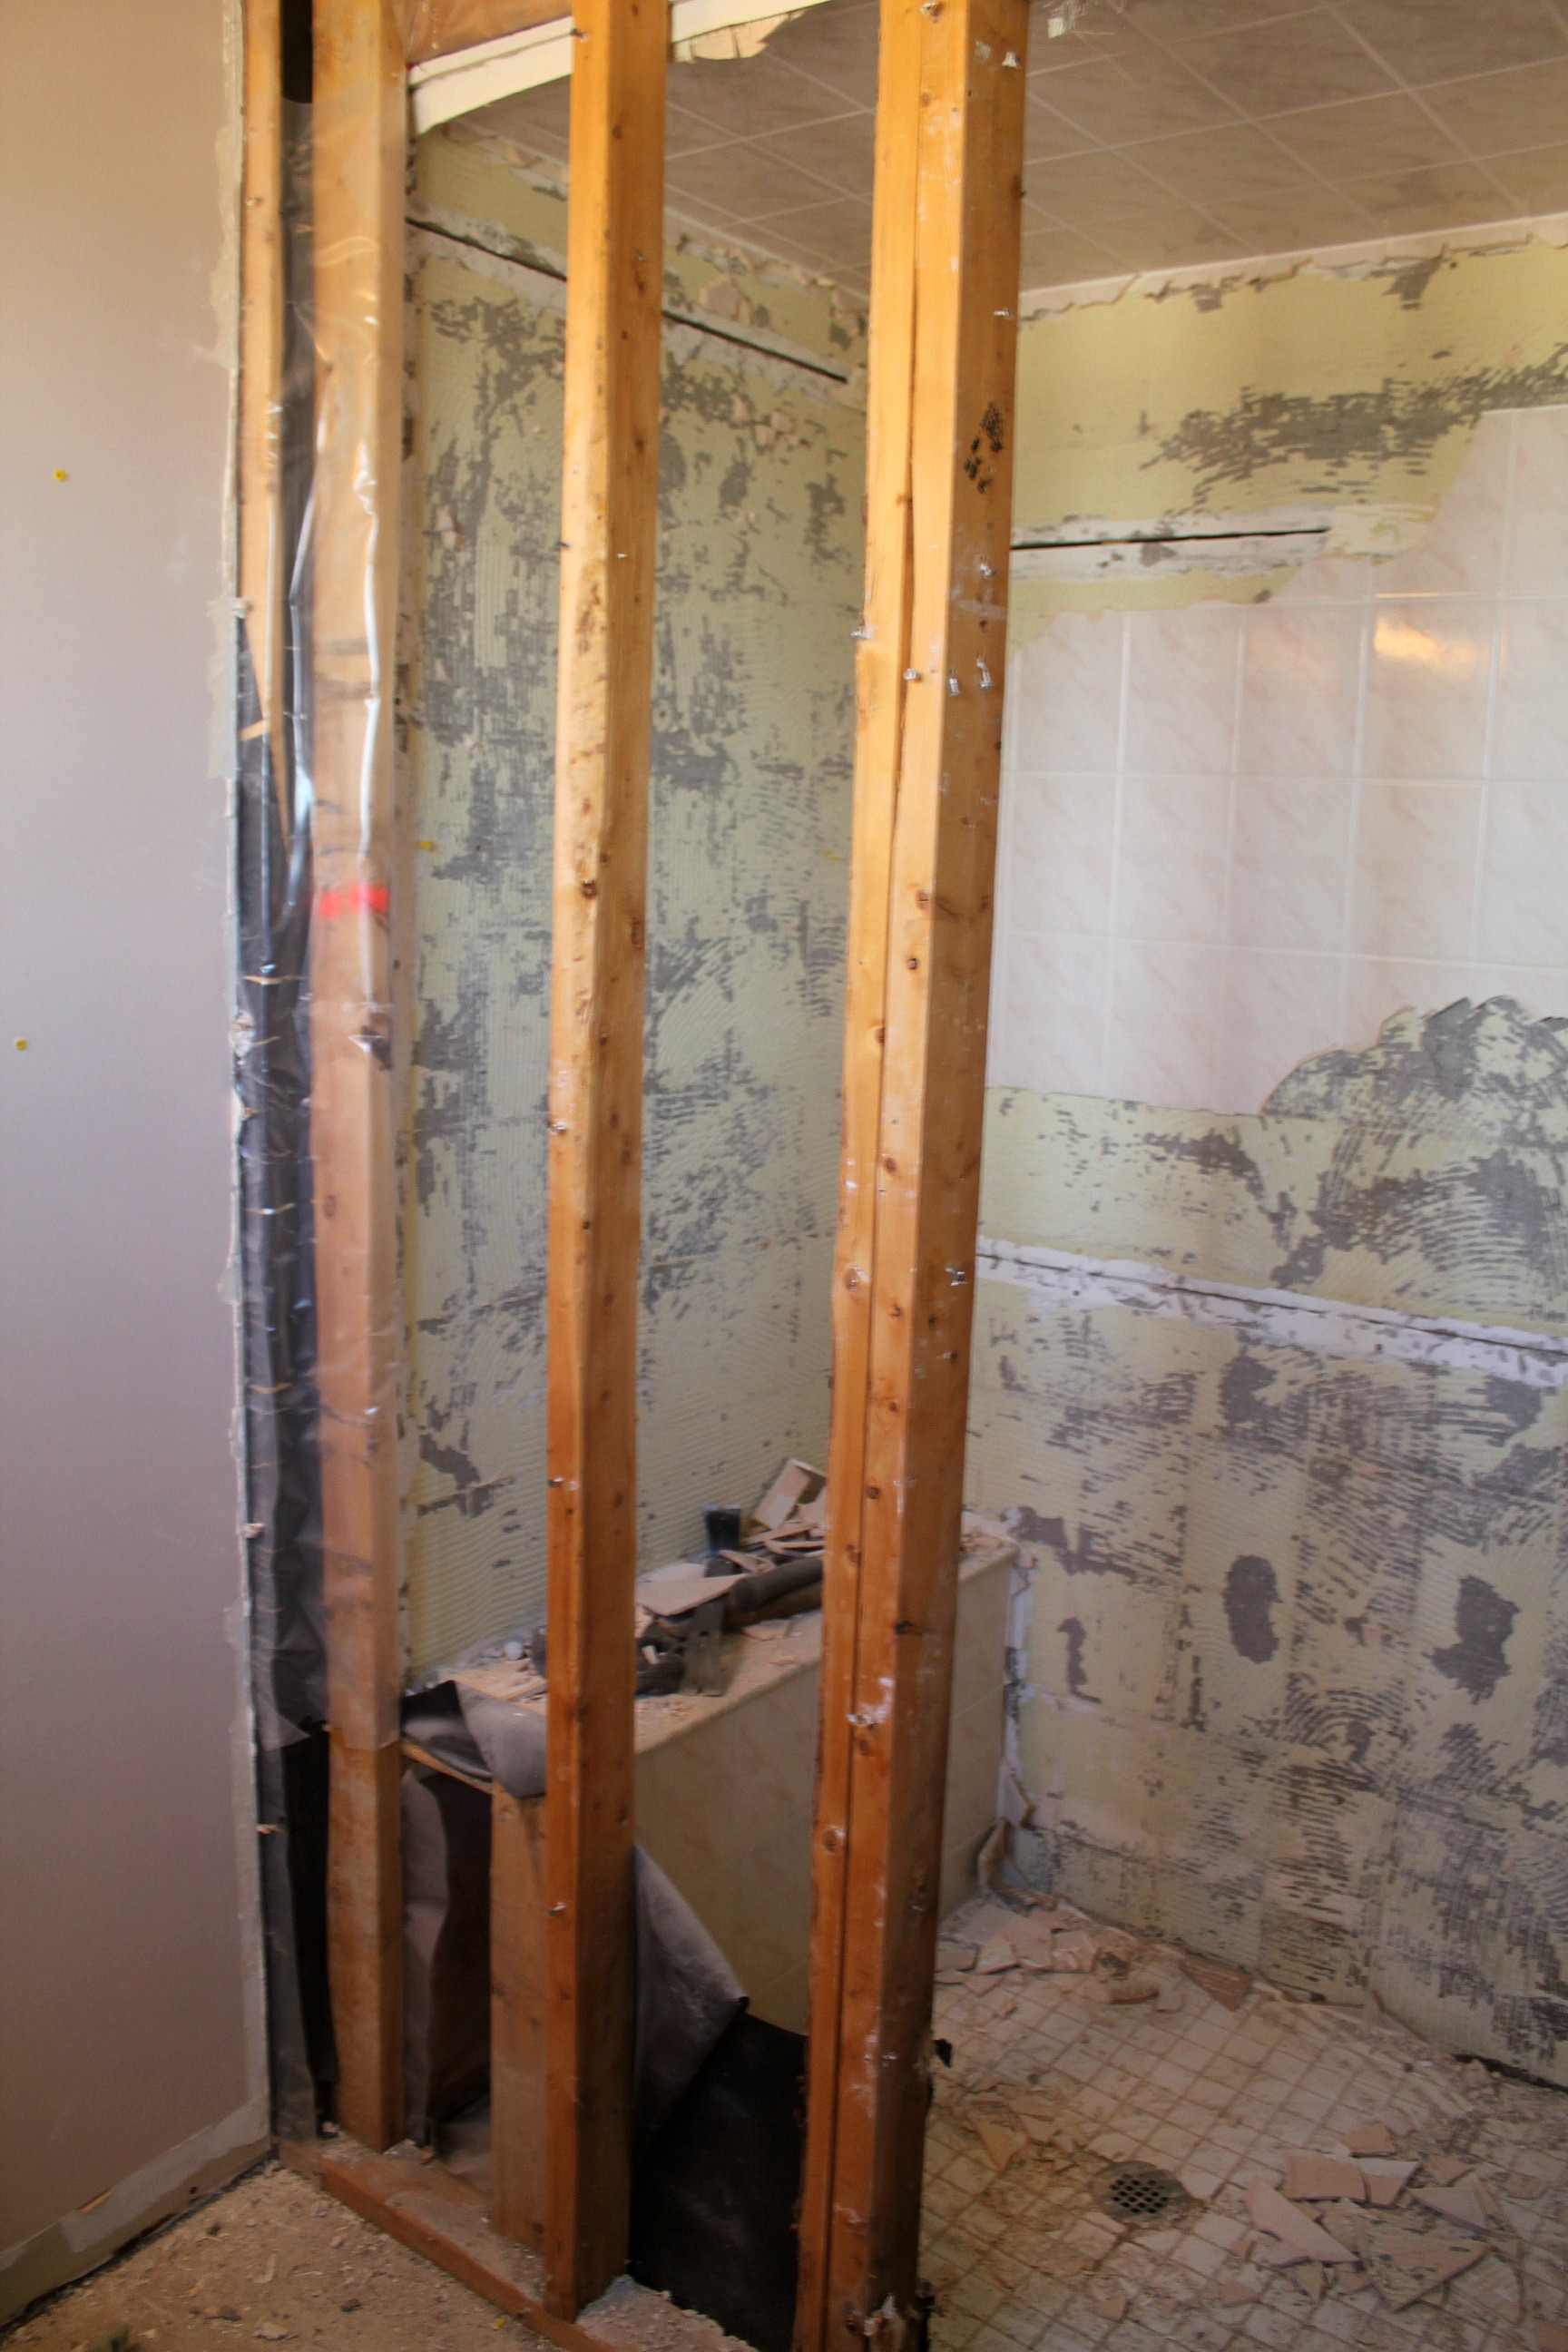
I was in charge of removing the shower tiles while Tom took care of the floor. I'm going to pat myself on the back here with the amount of work I got done. I even pulled down the backer board myself. And I having the aching muscles to prove it. Plus a few cuts on my legs because I started out wearing shorts. I know, I know, I should have had long pants on from the beginning, but it was hot! Eventually I didn't care how hot it was, I was tired of having blood drip down my shins. There'll be no skirt-wearing for me this week.


After Tom removed the tile floor, he took down the wall that divides the shower from the rest of the room. We're going to have sliding glass doors that run the width of the room so it isn't needed. It was wonderful to see how much light we're going to have in there when it's done. No more showering in a dark cave!


The ceiling above the shower was lower than in the rest of the room. We were hoping that it was just empty space up there and that we could raise it up to the same level as the main room. When we tore off the tile and drywall we were met with cross beams and insulation. But when we pulled the plastic back (and the insulation fell down) we saw that it was insulation all the way up. So we are going to be able to raise the beams up, put new insulation in, and have an even ceiling all the way across.

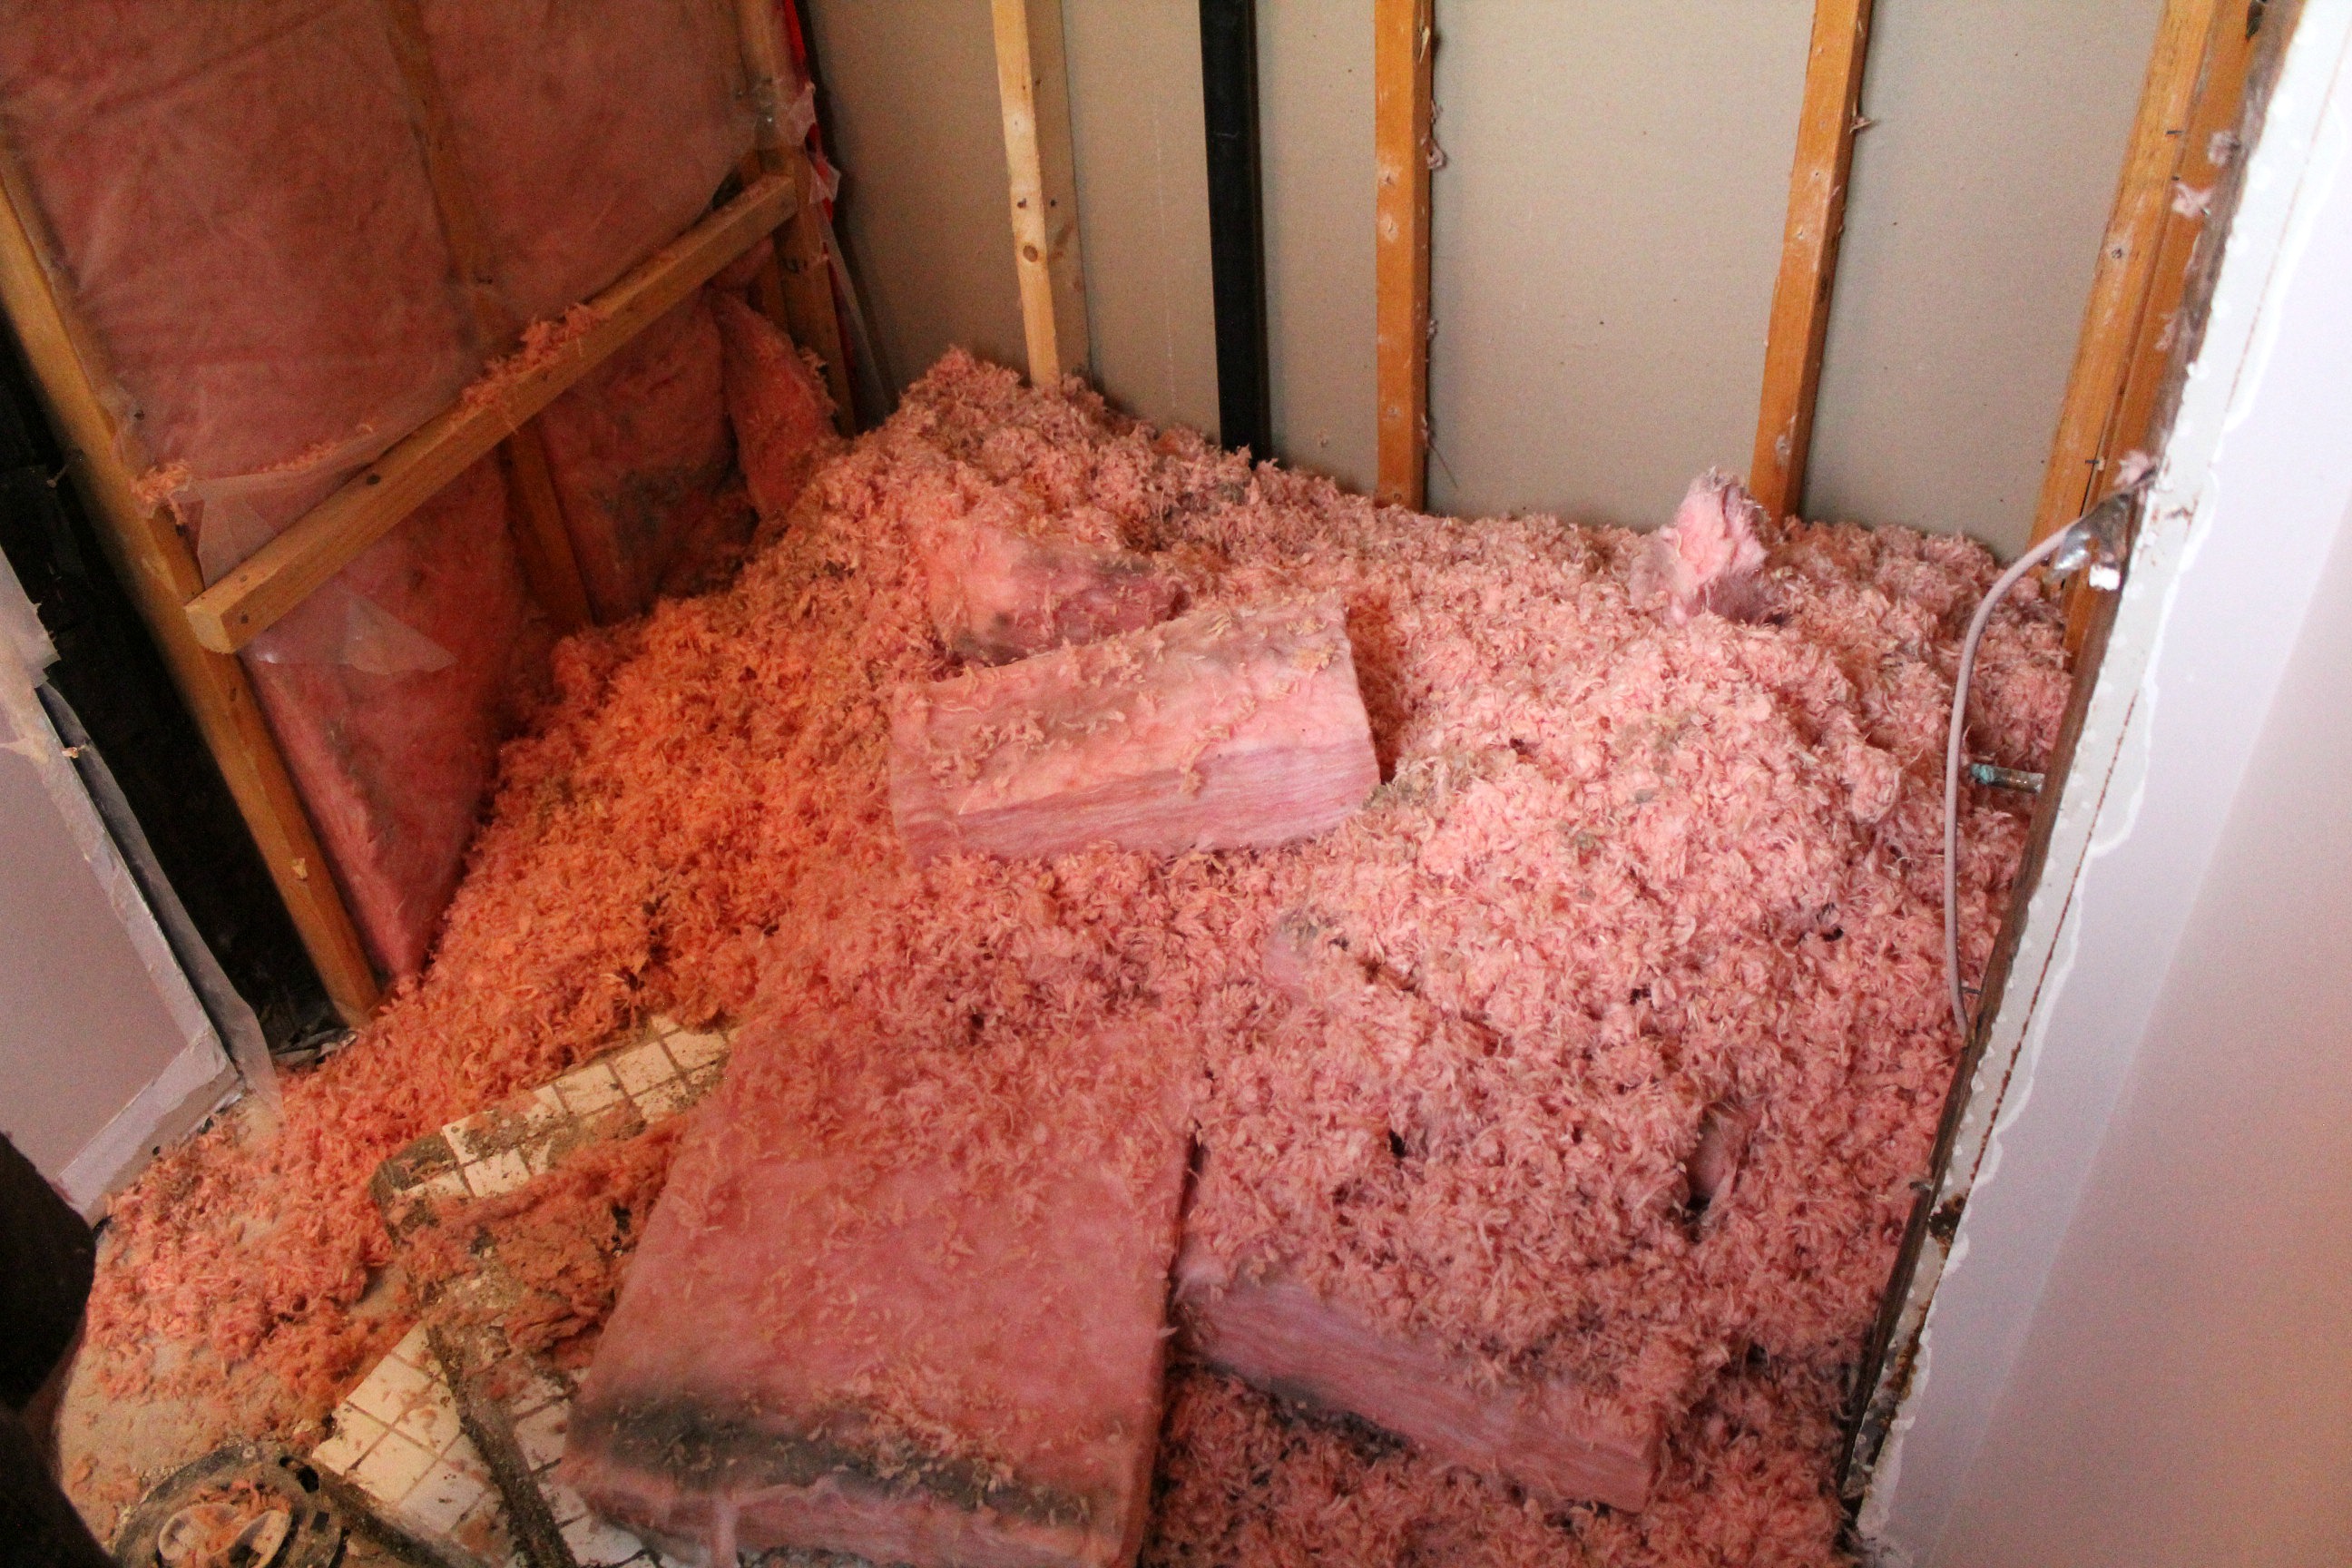
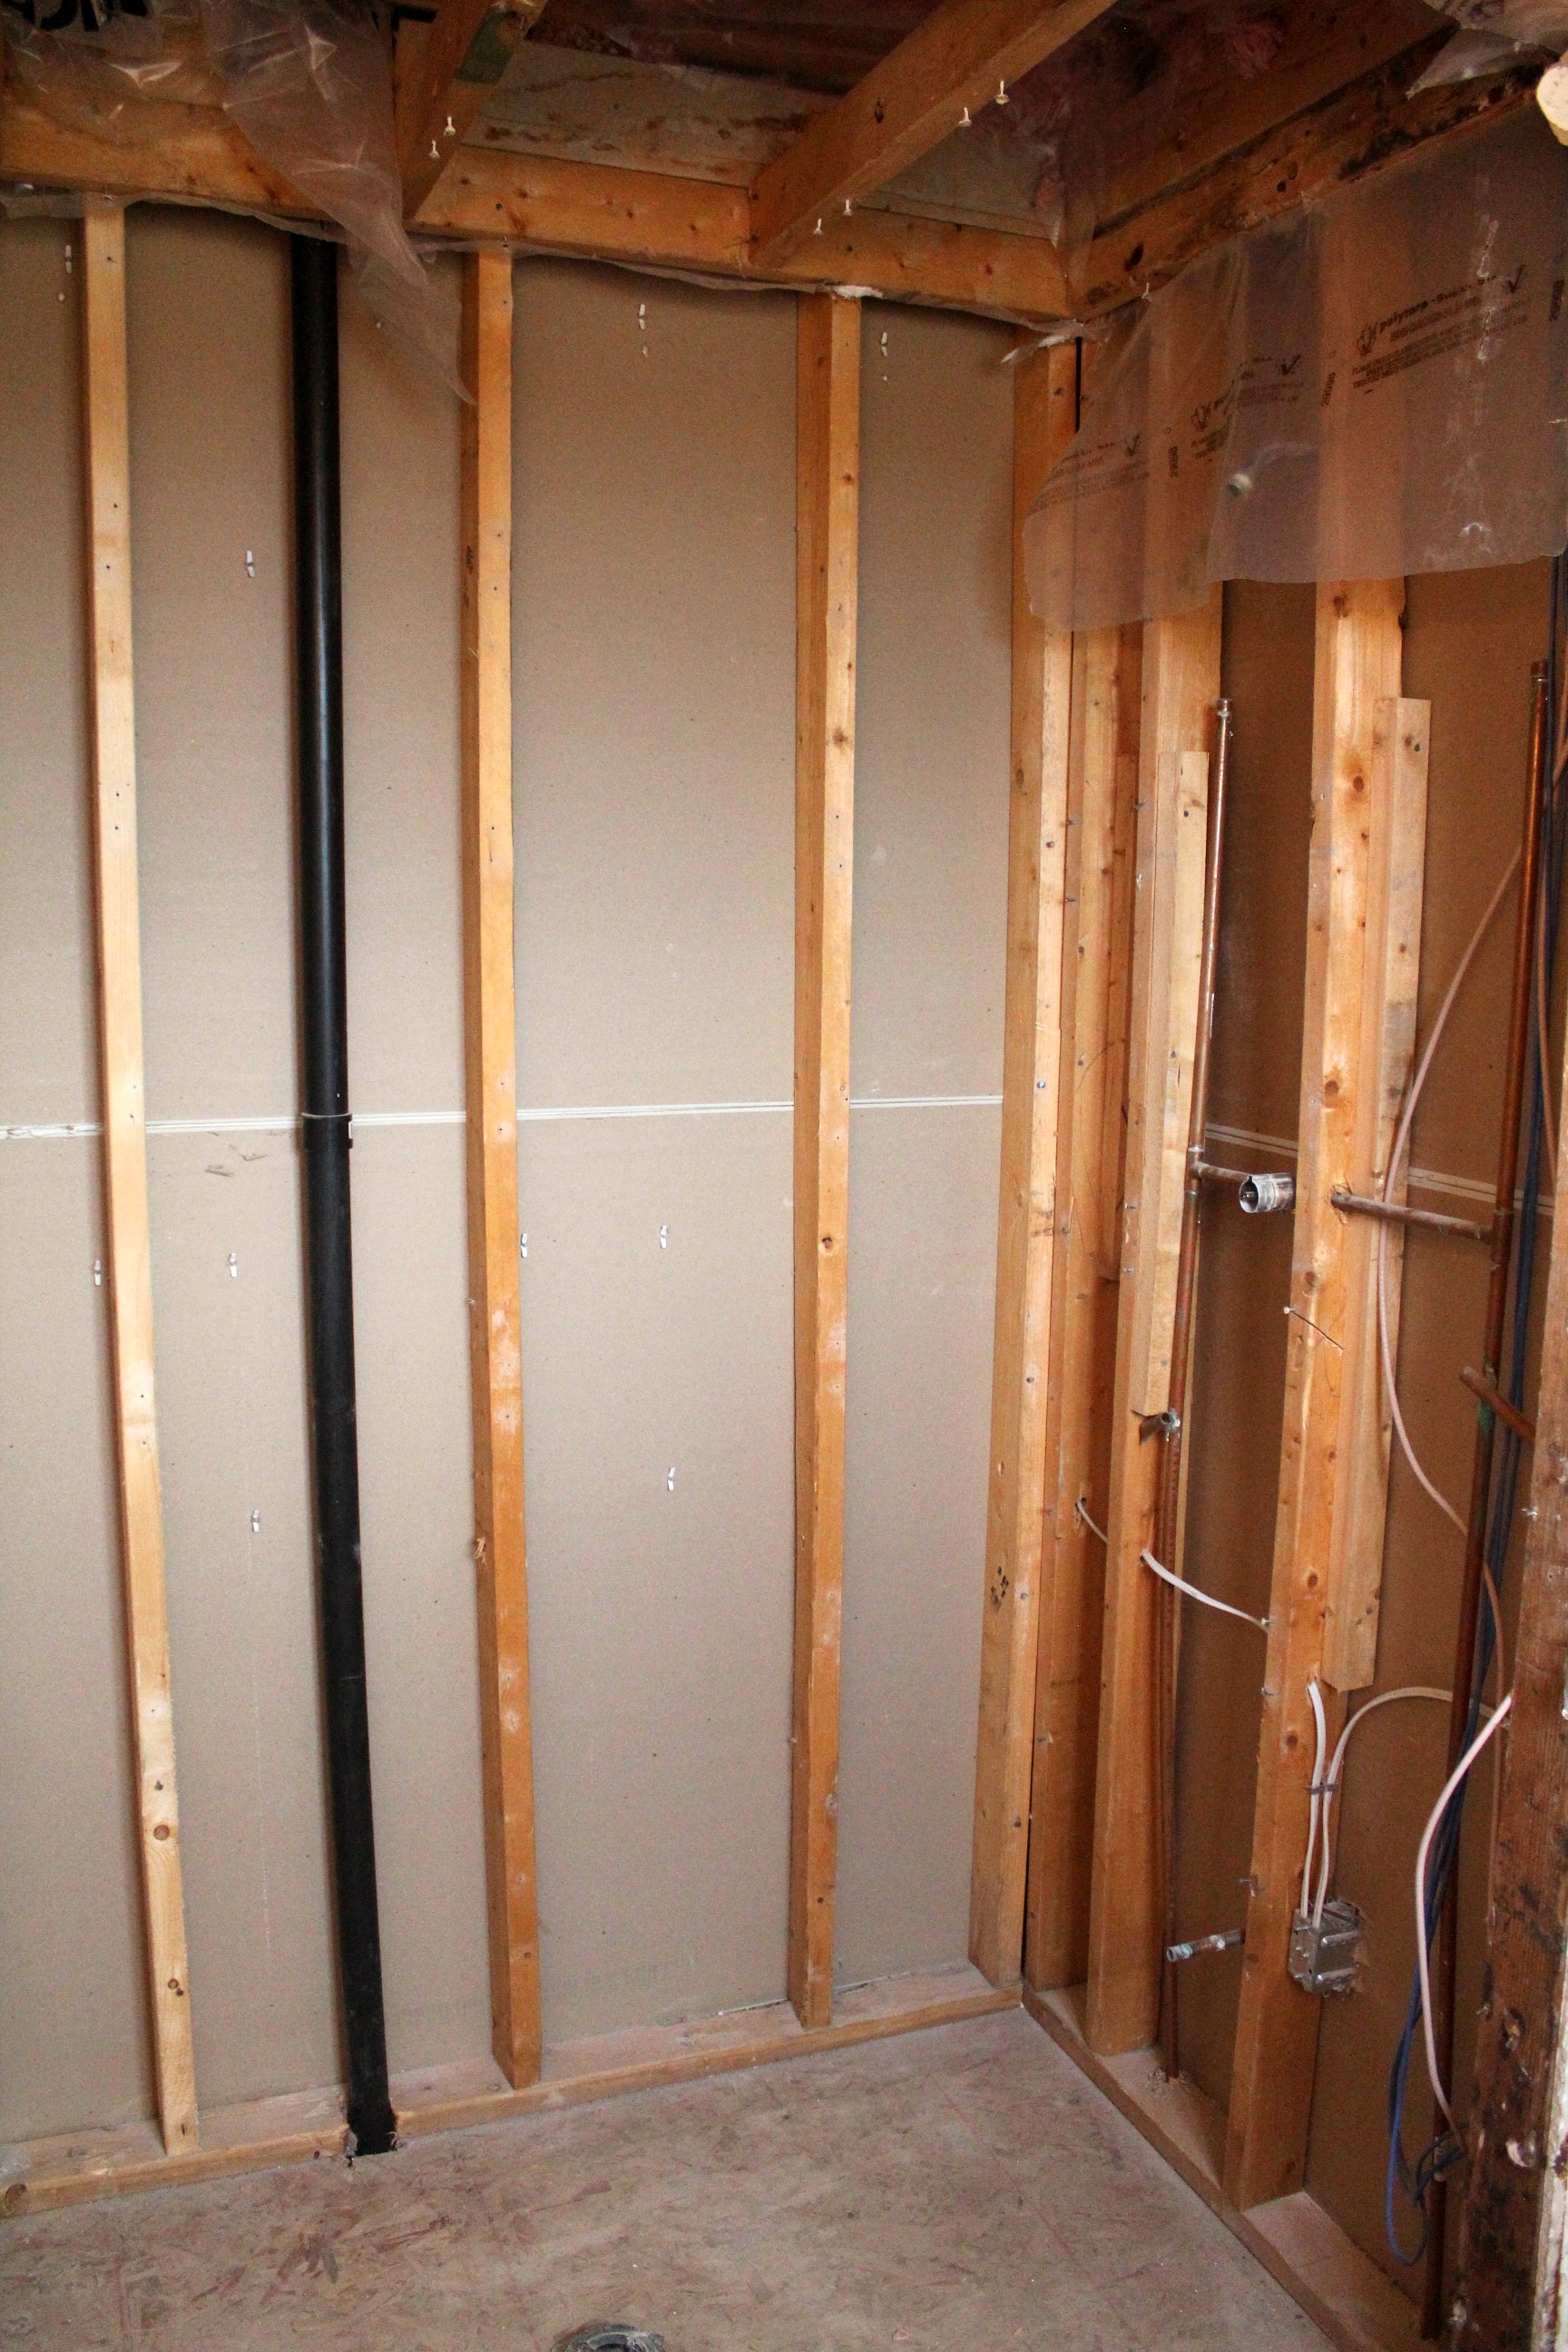
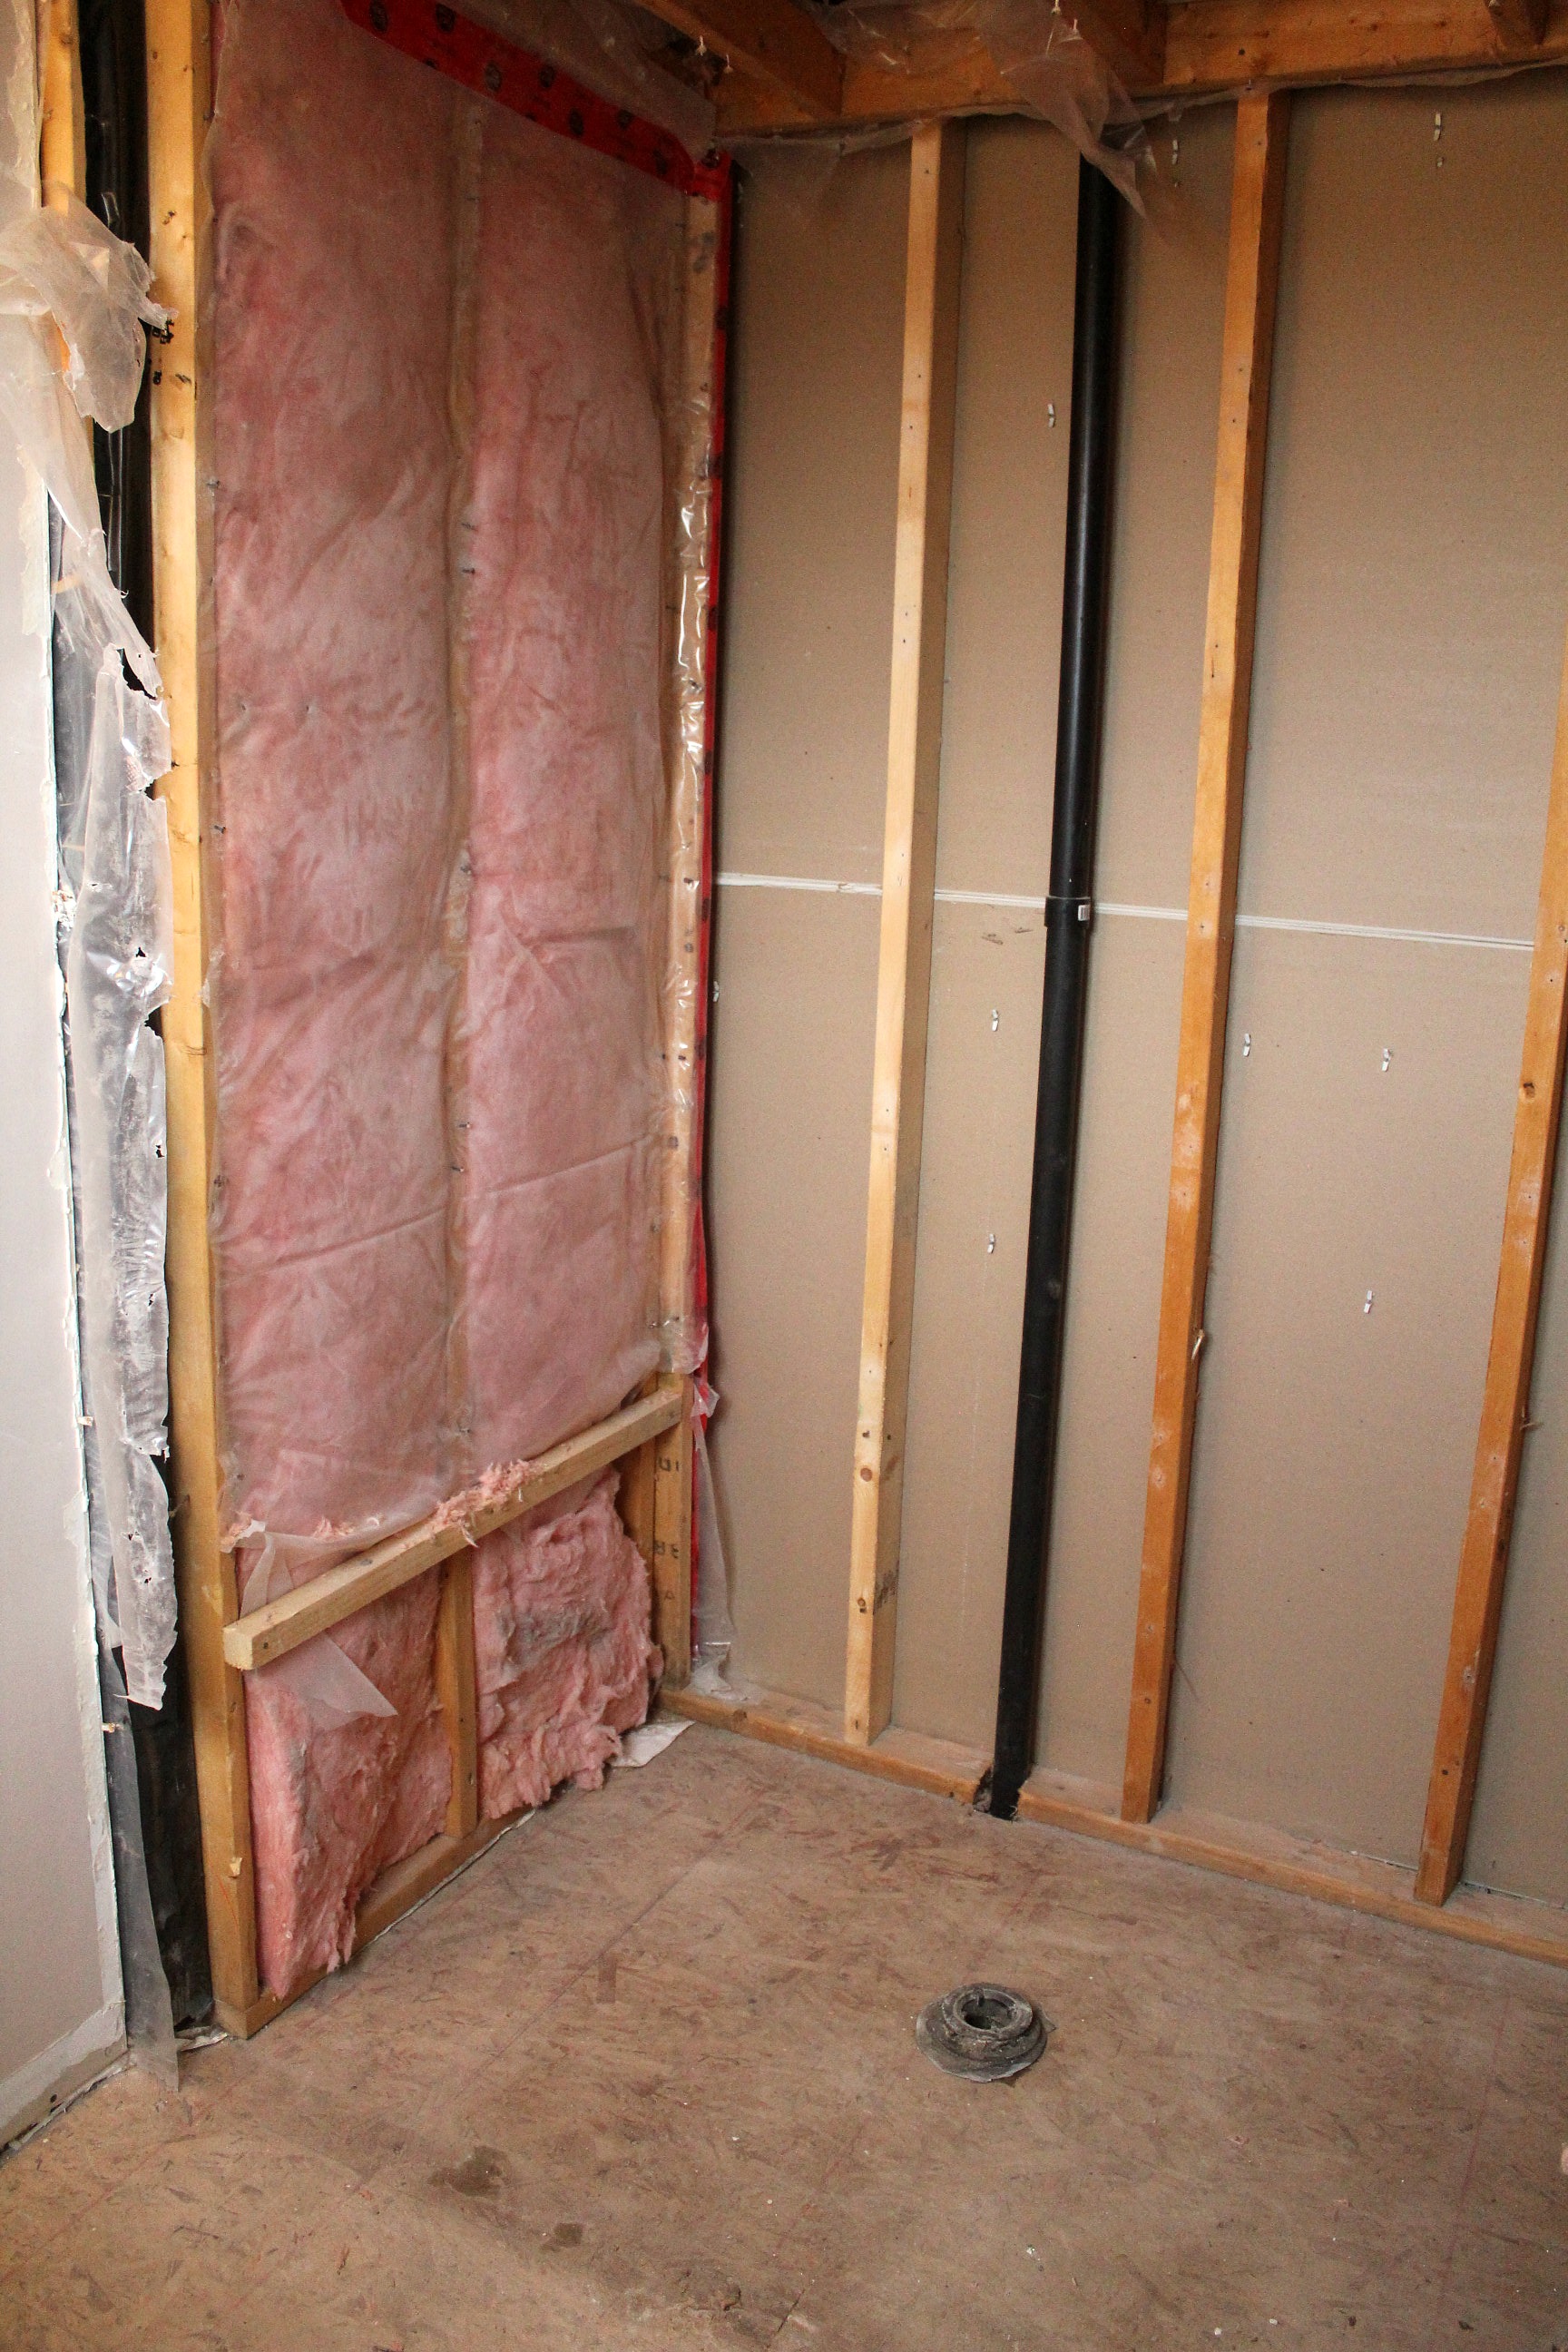
By the end of the day we had the room completely stripped to the studs and the plywood floor. Everything seems to be in good condition, none of the leaking water went below the floor tiles.


This is getting so exciting now! It finally feels real. What also feels real is all of Tom's stuff in "my" bathroom for the next month. Thank goodness we're on different schedules in the morning so we aren't running into each other.

We're meeting with the contractor tomorrow night to go over all the details and then my part is done. Tom's the plumber, I just do the heavy lifting.

**************

Check out these links for the rest of the process -

Bathroom Reno - Plumbing and Insulation

Bathroom Reno - Shower Installation

Bathroom Reno - Tiling

Bathroom Reno - Reveal!


May 28, 2014

The Best Laid Plans...

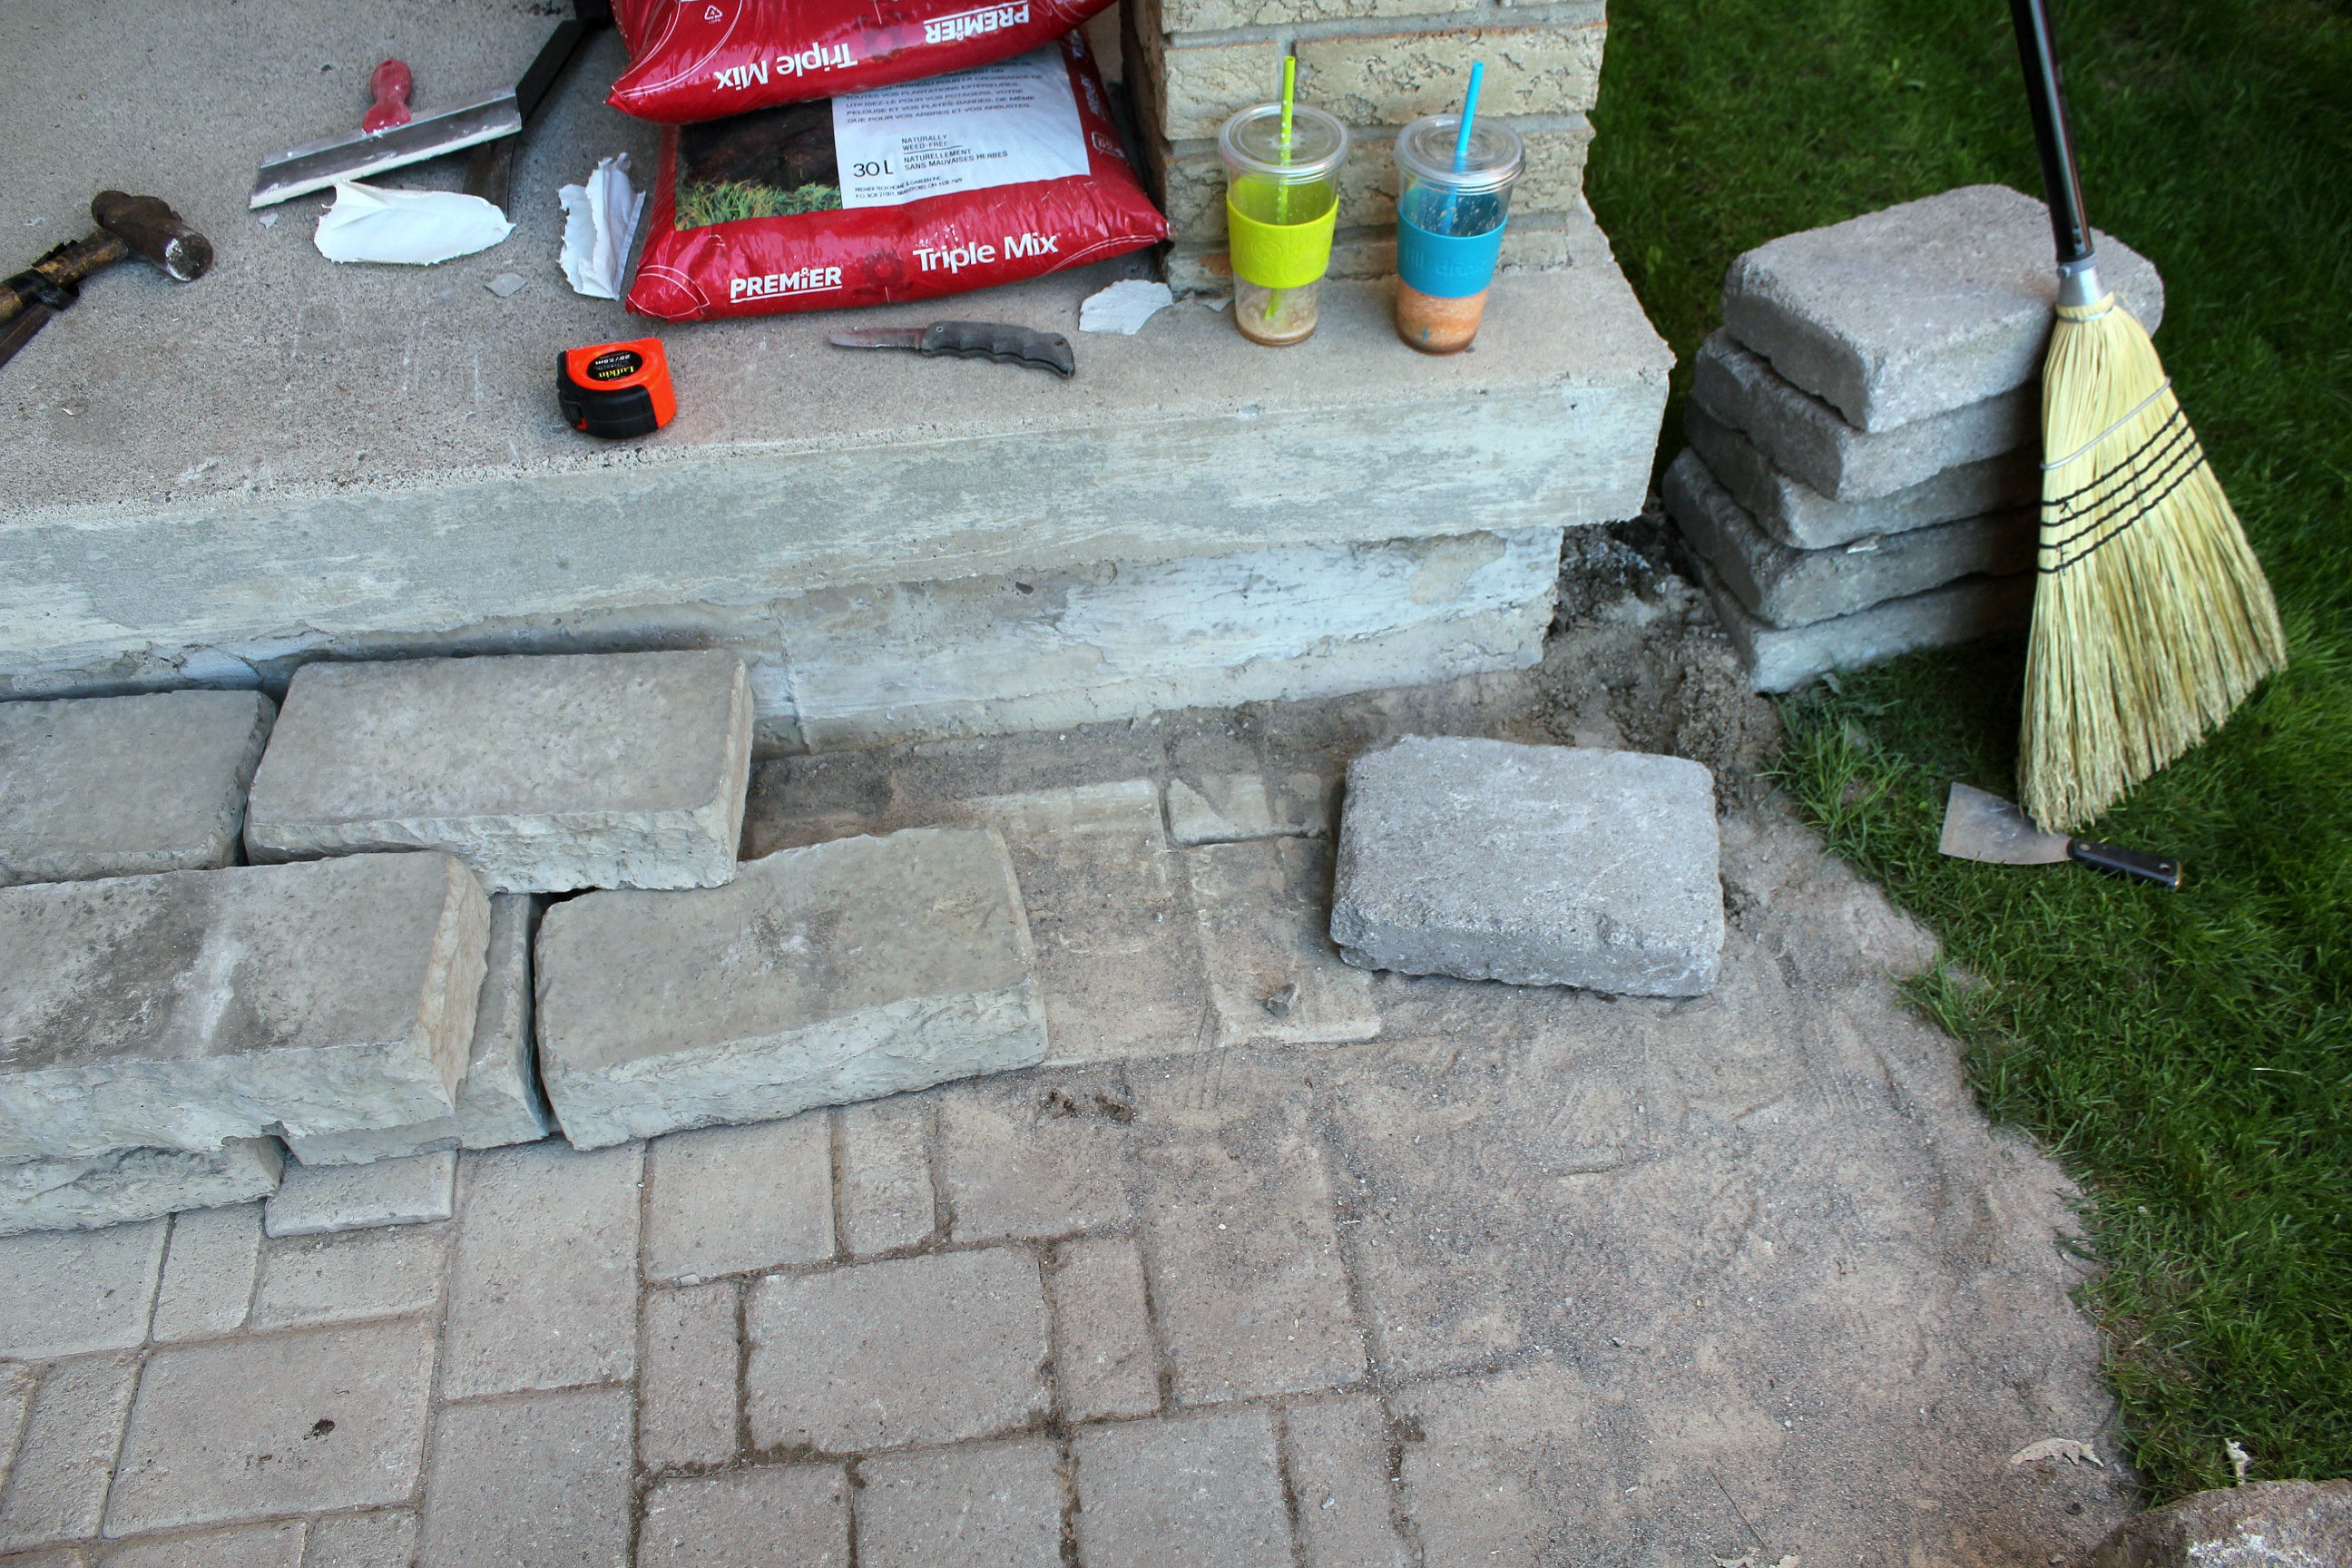
This past weekend ended up being an exercise in futility. The plan was to buy new pavers for the front steps and boards for the board and batten wainscoting on Saturday, install the pavers, and get the boards planed down to size. Then on Sunday we'd prime and paint the boards and get the chair rail installed.

Did.Not.Happen. When we got back from buying the stones and boards, Tom pulled out the old stones, leveled that area of the sidewalk and put the new pavers in. It was then that we realized we didn't like them. So we rearranged them. Still not good. We tried a combination of the new ones and the old ones. No go. So we went back to the store to return the pavers and look for something else. We couldn't find anything else we liked so we went home defeated, with the plan to try some stone and landscaping retailers next weekend.


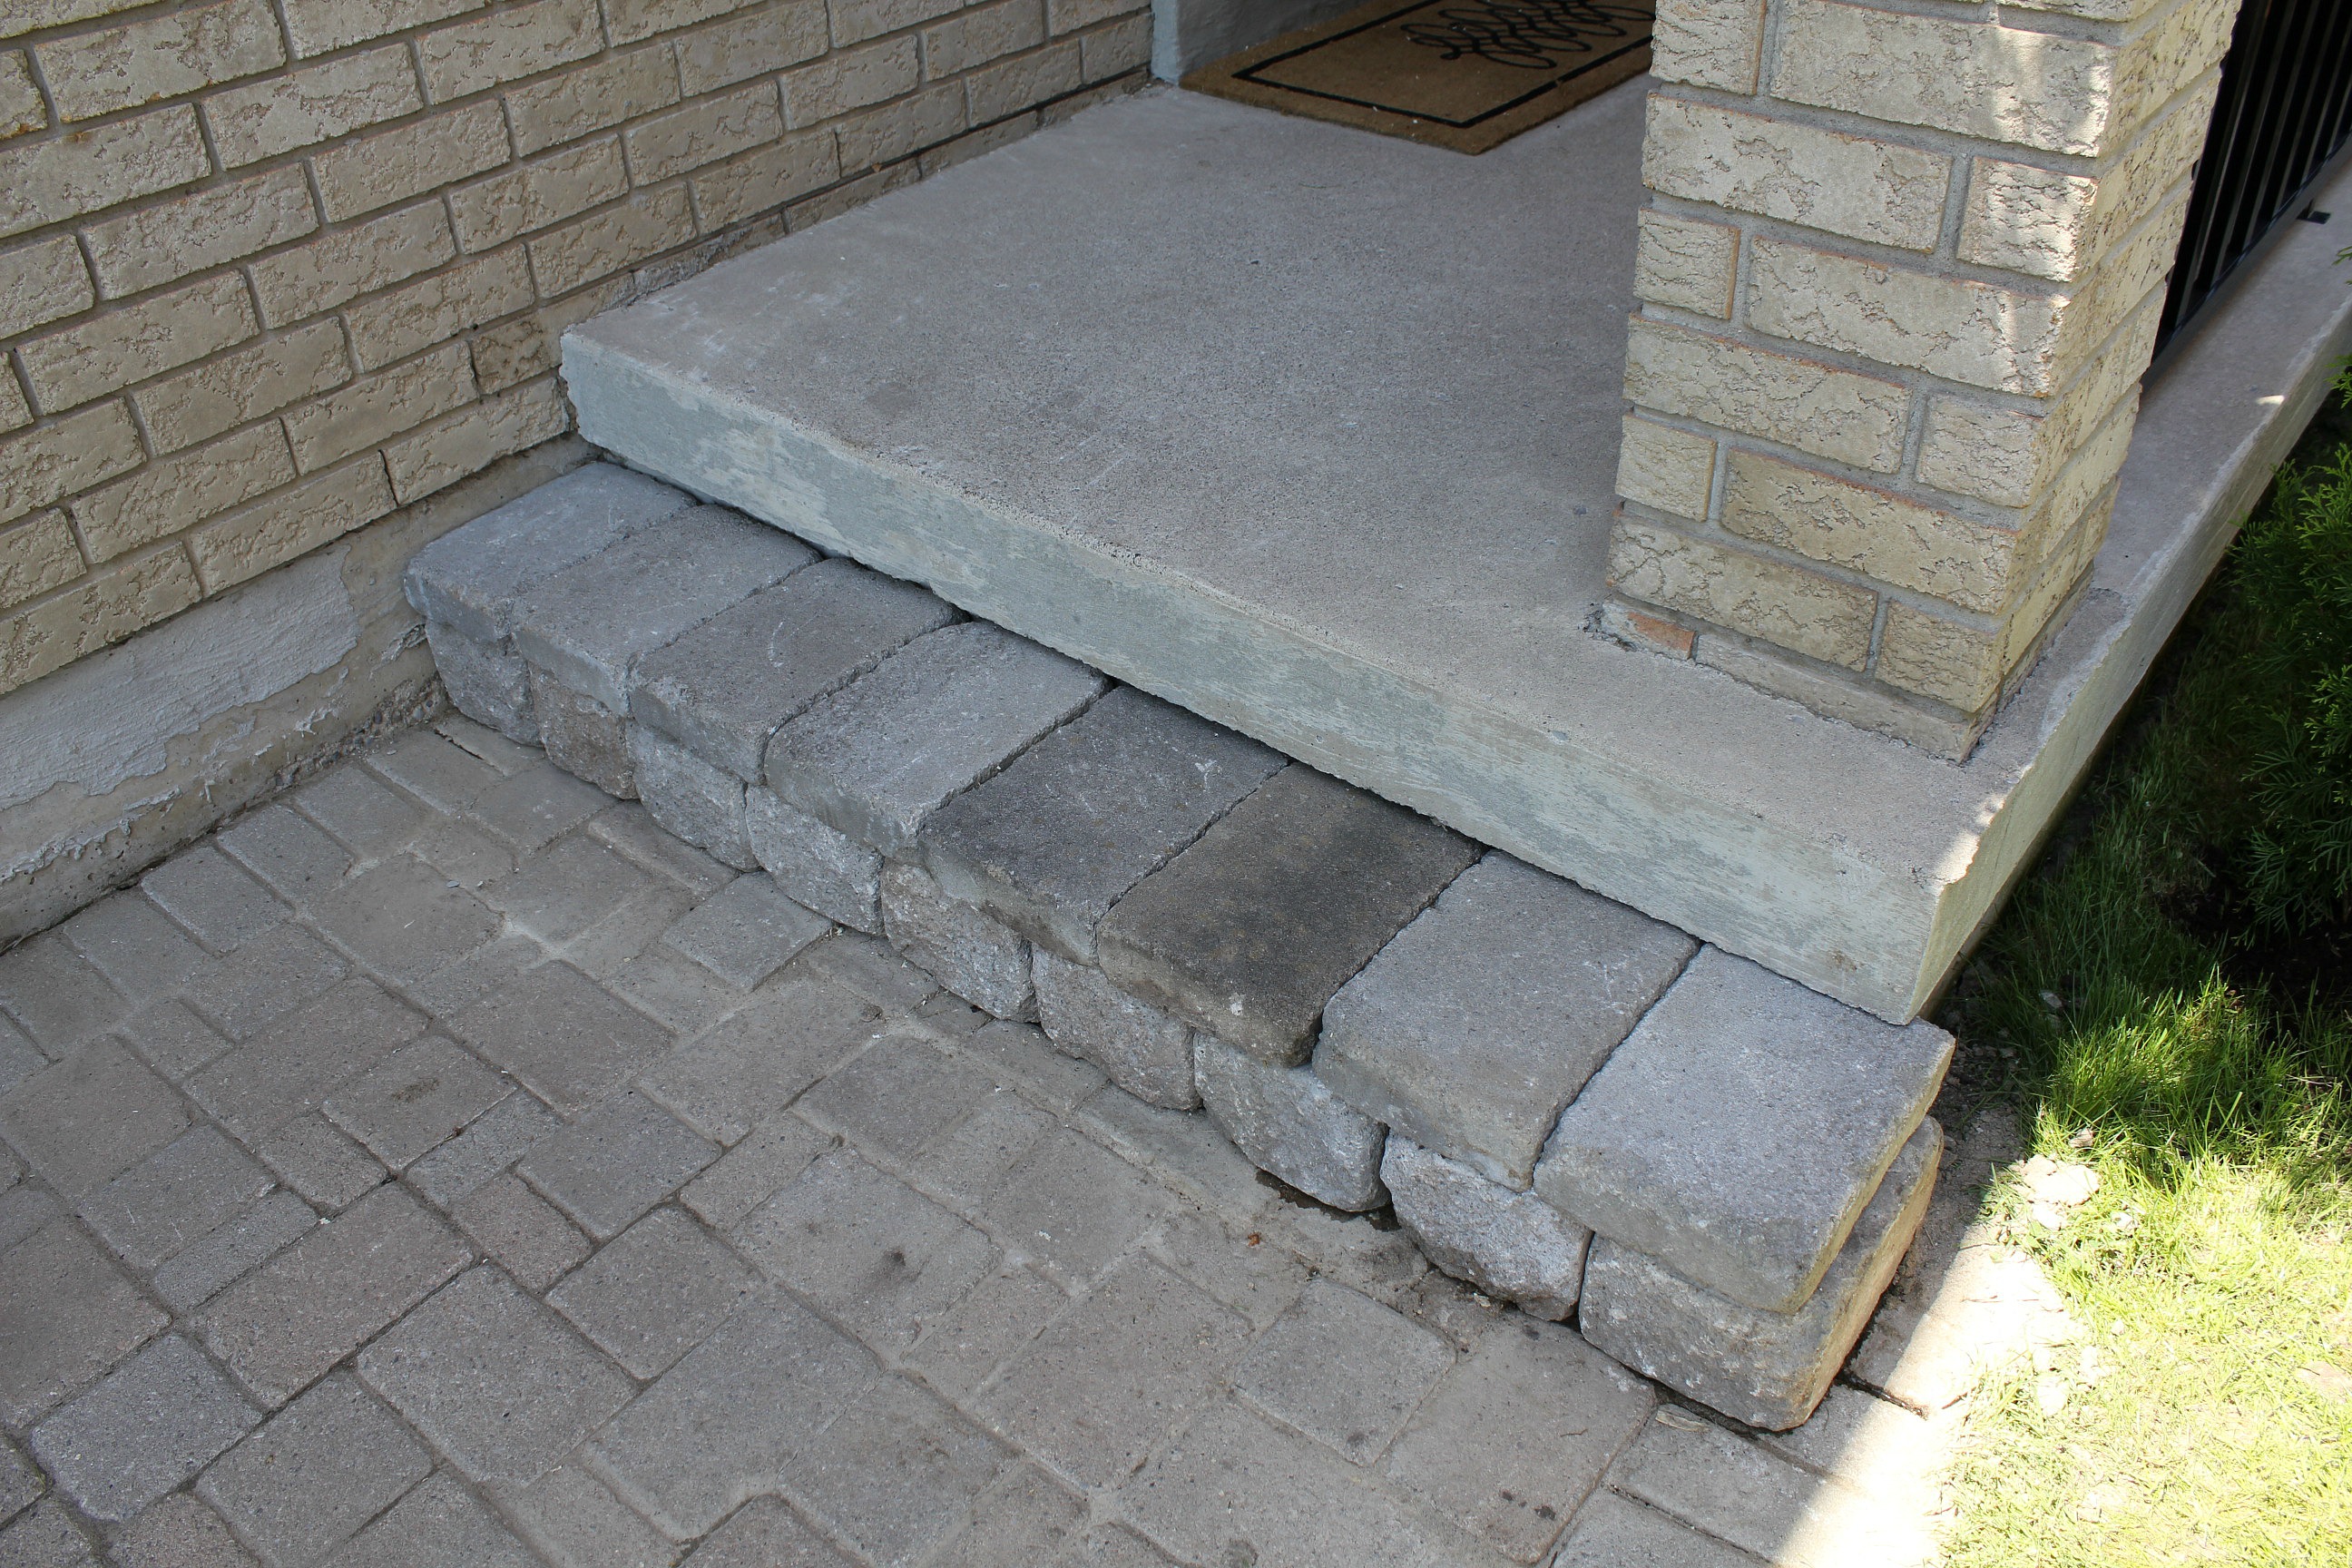
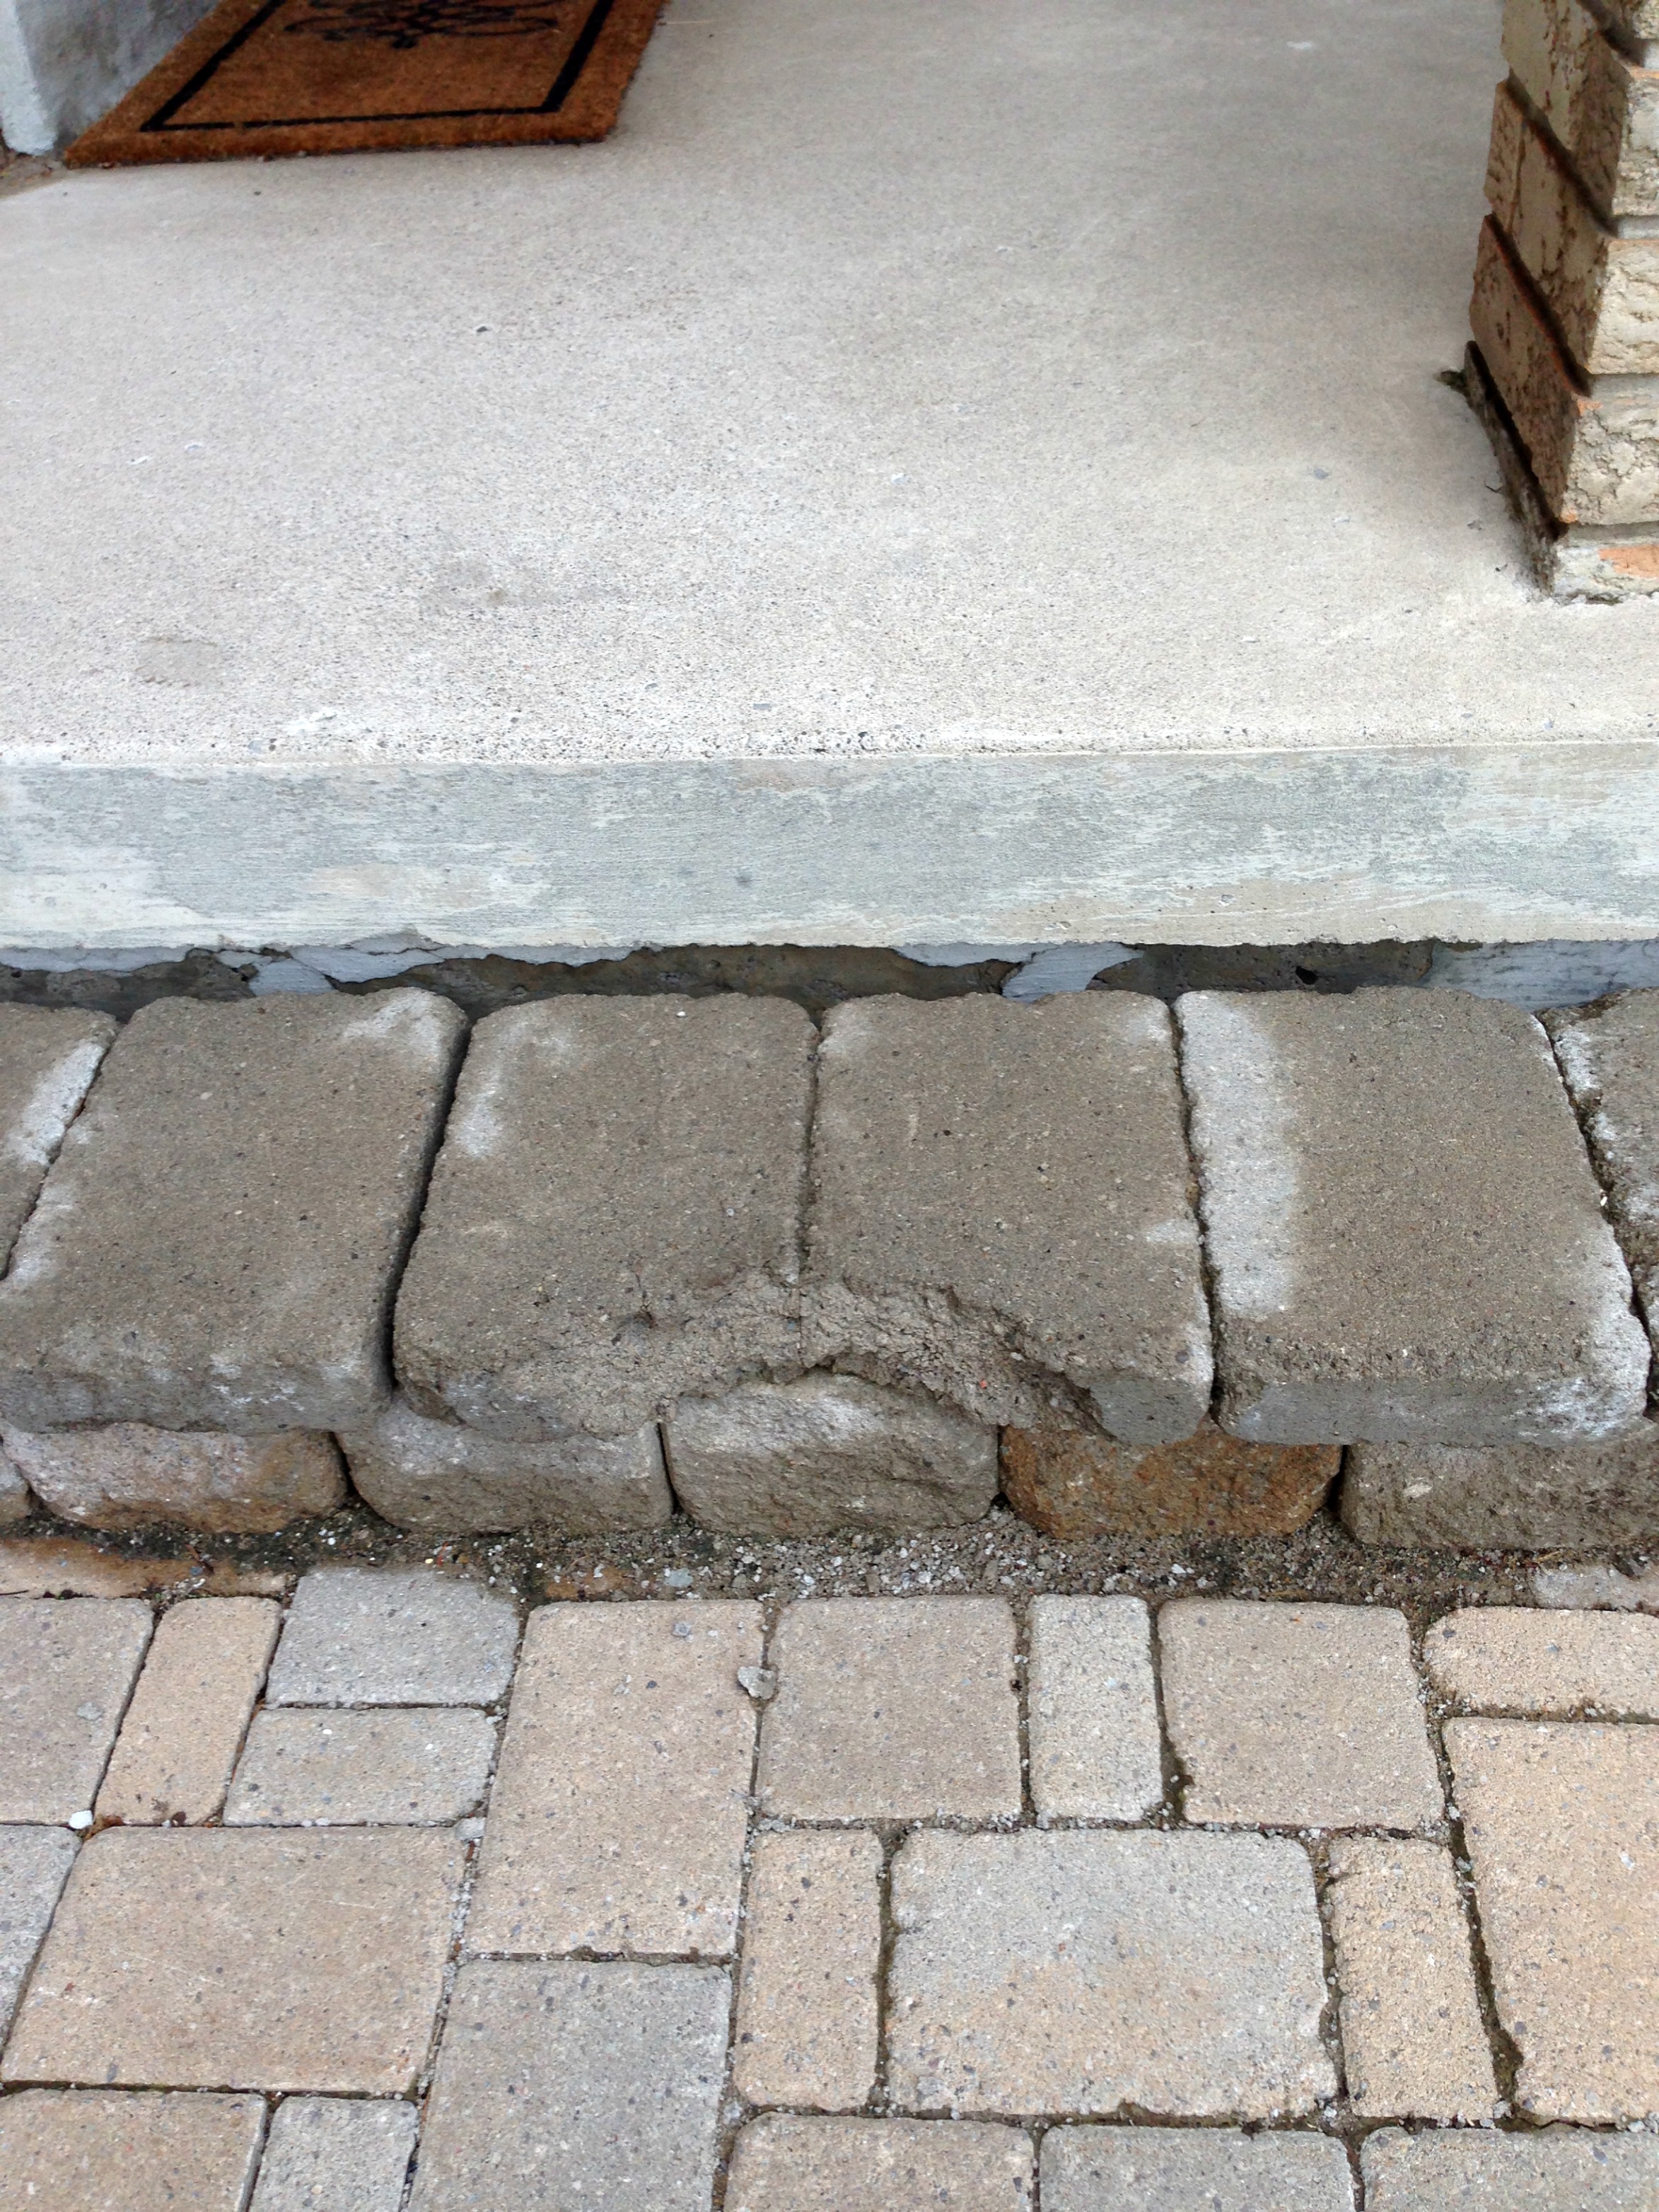
But what to do with the front steps that were now torn apart? We put the old stones back into place - and stole two from the garden retaining wall to replace the ones that were damaged over the winter. We're planning on removing that garden and planting something else anyway.

With the sidewalk leveled it made a huge difference. I can't believe how much better the steps look just with that little change. It's still not where we want to end up, but for now at least it's not a hazard. Though it's sad that we spent an entire day just to end up back where we started.


And it doesn't look as bad as it did last weekend...


Or the weekend before...


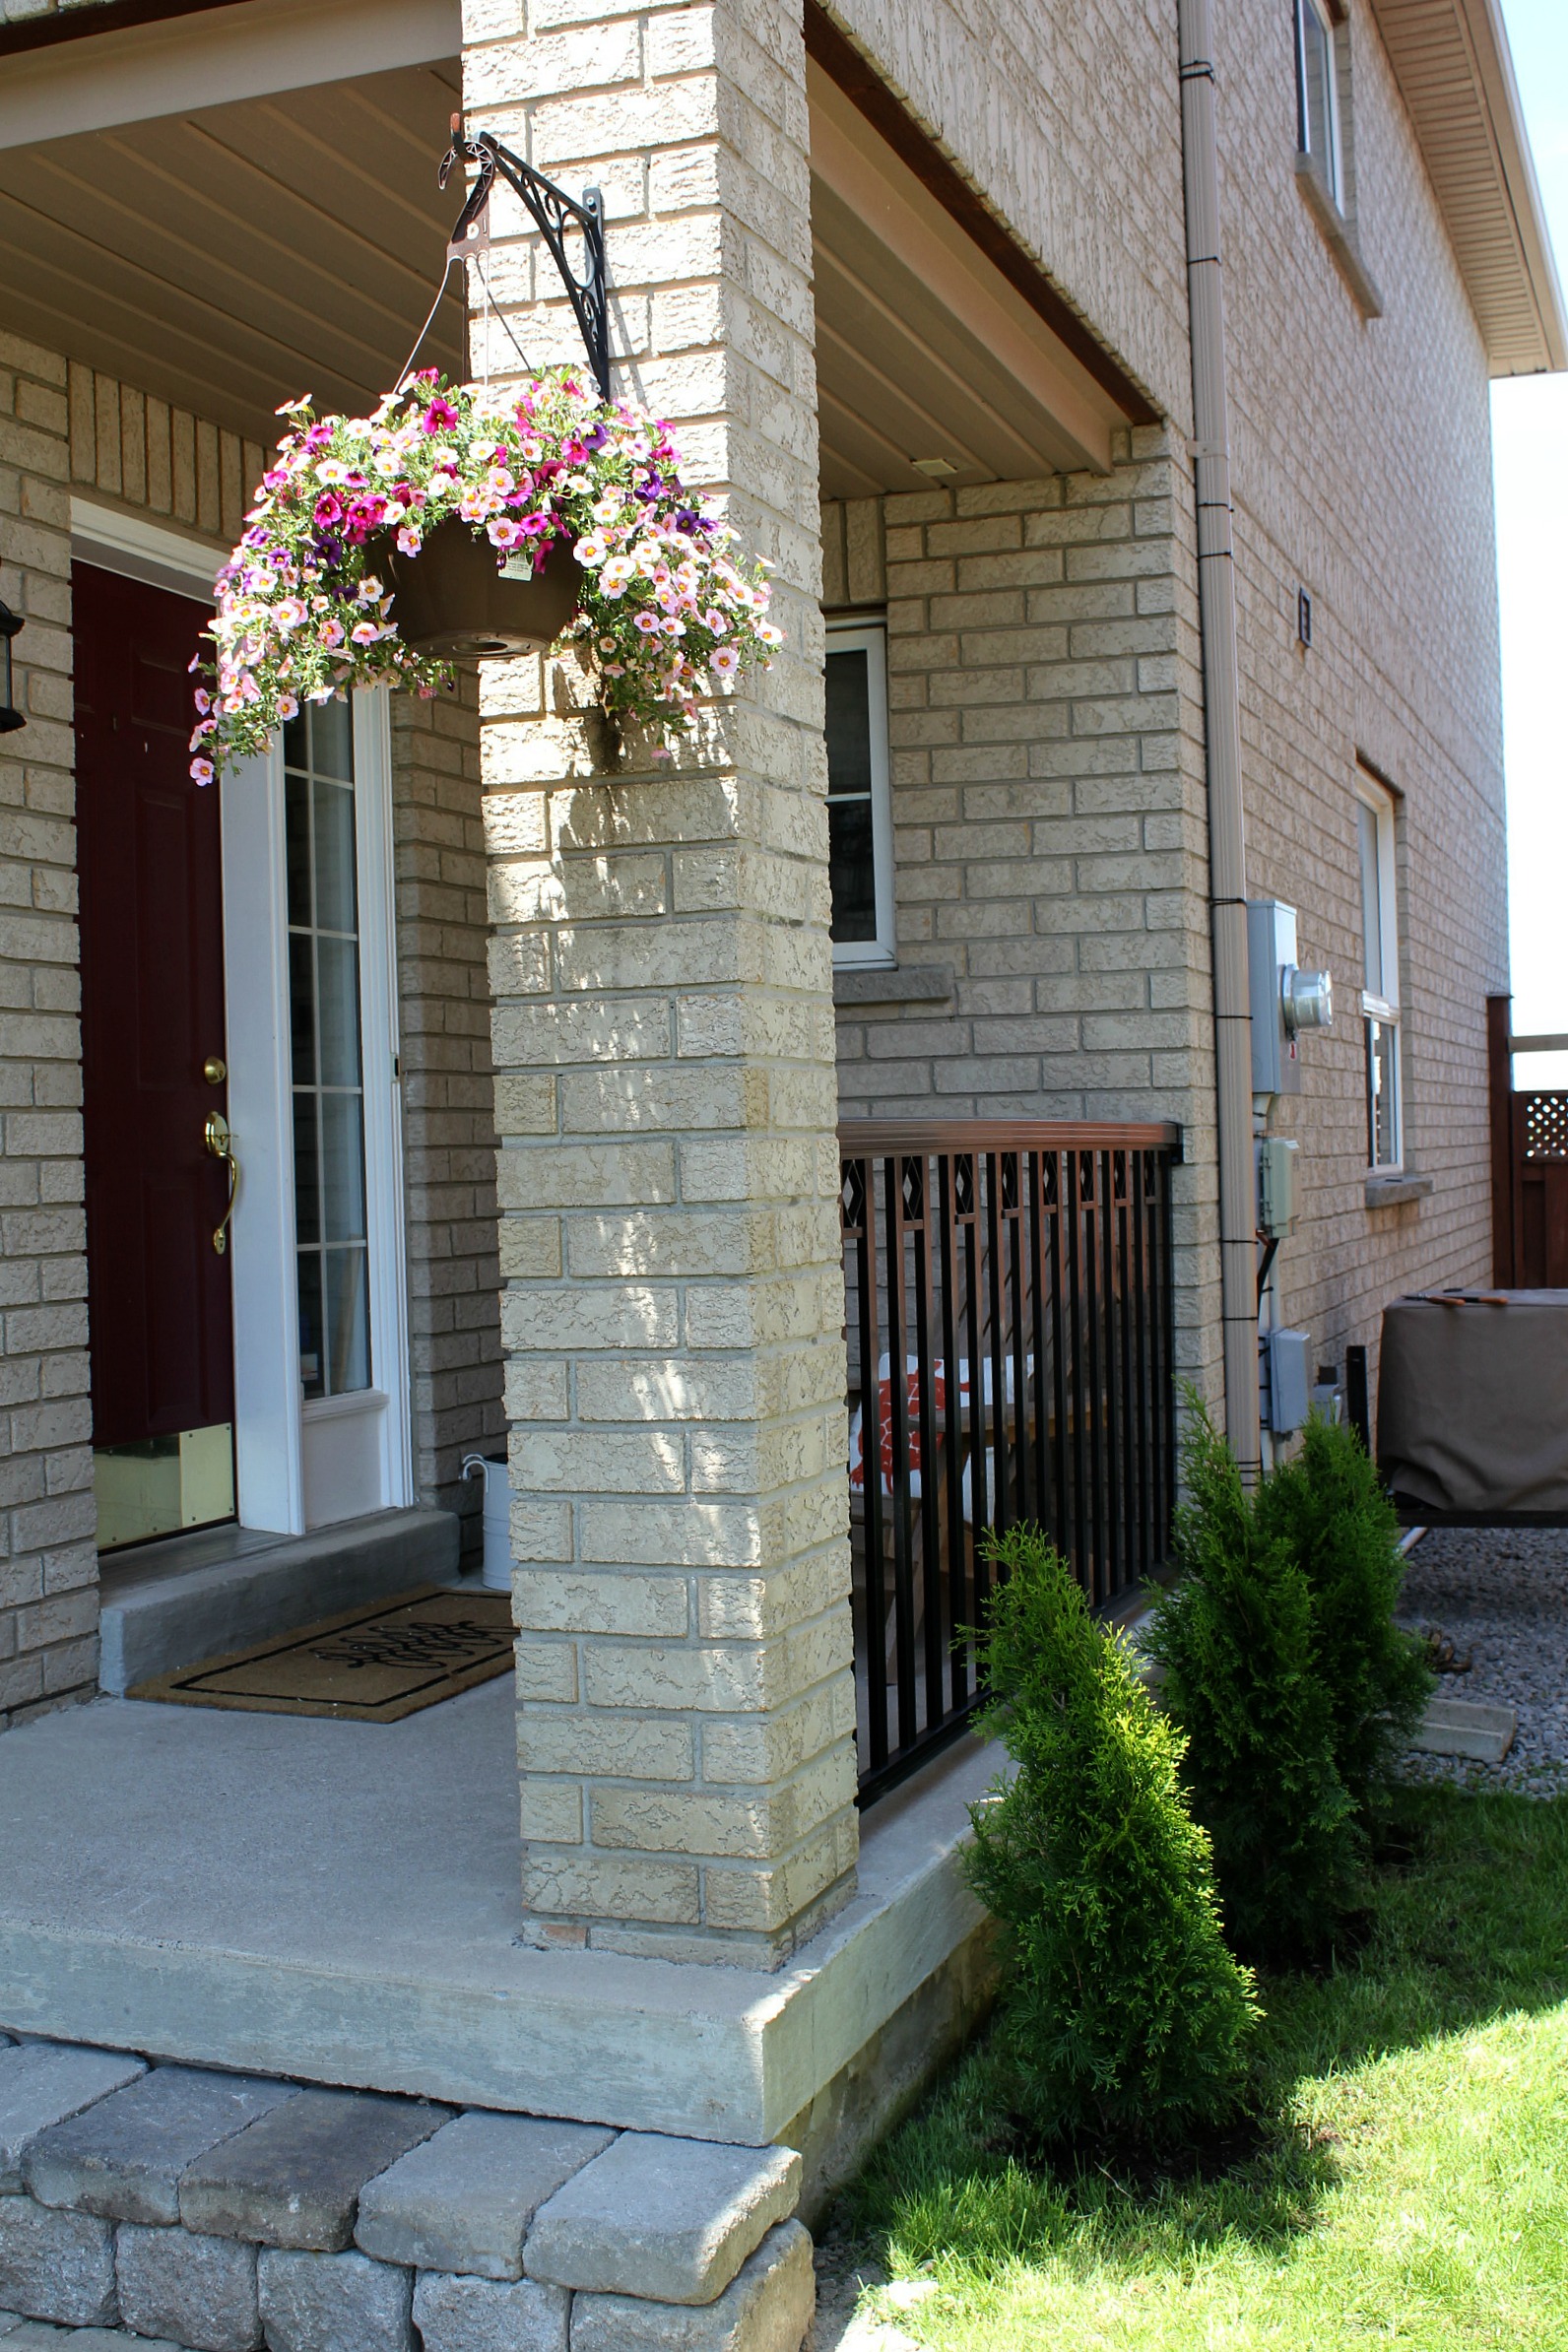
On the bright side, we did pick up some trees to plant along the side of the porch. The neighbours' house is so close - there's no privacy at all. Last year we installed the railing to separate us a little bit, and now we're putting in cedar trees to block the view. They're small right now, but eventually they'll provide some privacy - for us and for our neighbours.


And we brought out the hammock, because the weather was awesome. Of course, Little Dog is in love with the hammock and won't let anyone in it by themselves. Even when everyone else has given up, she's still in there swinging away.


Oh, we did get the boards planed, and a couple of coats of primer applied, but that was it. The time just whizzes by too fast and suddenly is 8pm on Sunday night. This week is month-end for me at work so I'm staying late and nothing is going to get done before Thursday. But once Thursday hits -it's game on. There's no time to waste because...we finally have a date for our master bath renovation to start!

May 22, 2014

Easy Homemade Dinner Rolls

My father-in-law was over for dinner on Sunday, and instead of just whipping up a one-pan stirfry meal that is our usual, I decided to do it up right - bbq pork loin fillets, rice, and a couple of different vegetables (including more fiddleheads!) Fancy. I also wanted to try out some dinner rolls instead of my regular go-to - Irish soda bread (which is awesome by the way, you should try it), so I got to experimenting.

Easy Homemade Dinner Rolls

I'm definitely a beginner when it comes to yeast-type breads, so if I can do it, you can do it too. All together it takes about 2 1/2 hours so give yourself plenty of time.

Ingredients:

3 1/4 cups flour
1/4 cup sugar
1 tablespoon yeast
1 teaspoon salt

1/3 cup oil
1 1/3 cups warm water

Mix together the flour, sugar, yeast, and salt. Add in the oil and water. Mix well and then knead the dough on a lightly floured surface for a few minutes. If you're using a stand mixer with a pastry hook, let it mix for about 5 minutes. Cover the dough with a tea towel and let it rise until it doubles in size (about an hour).

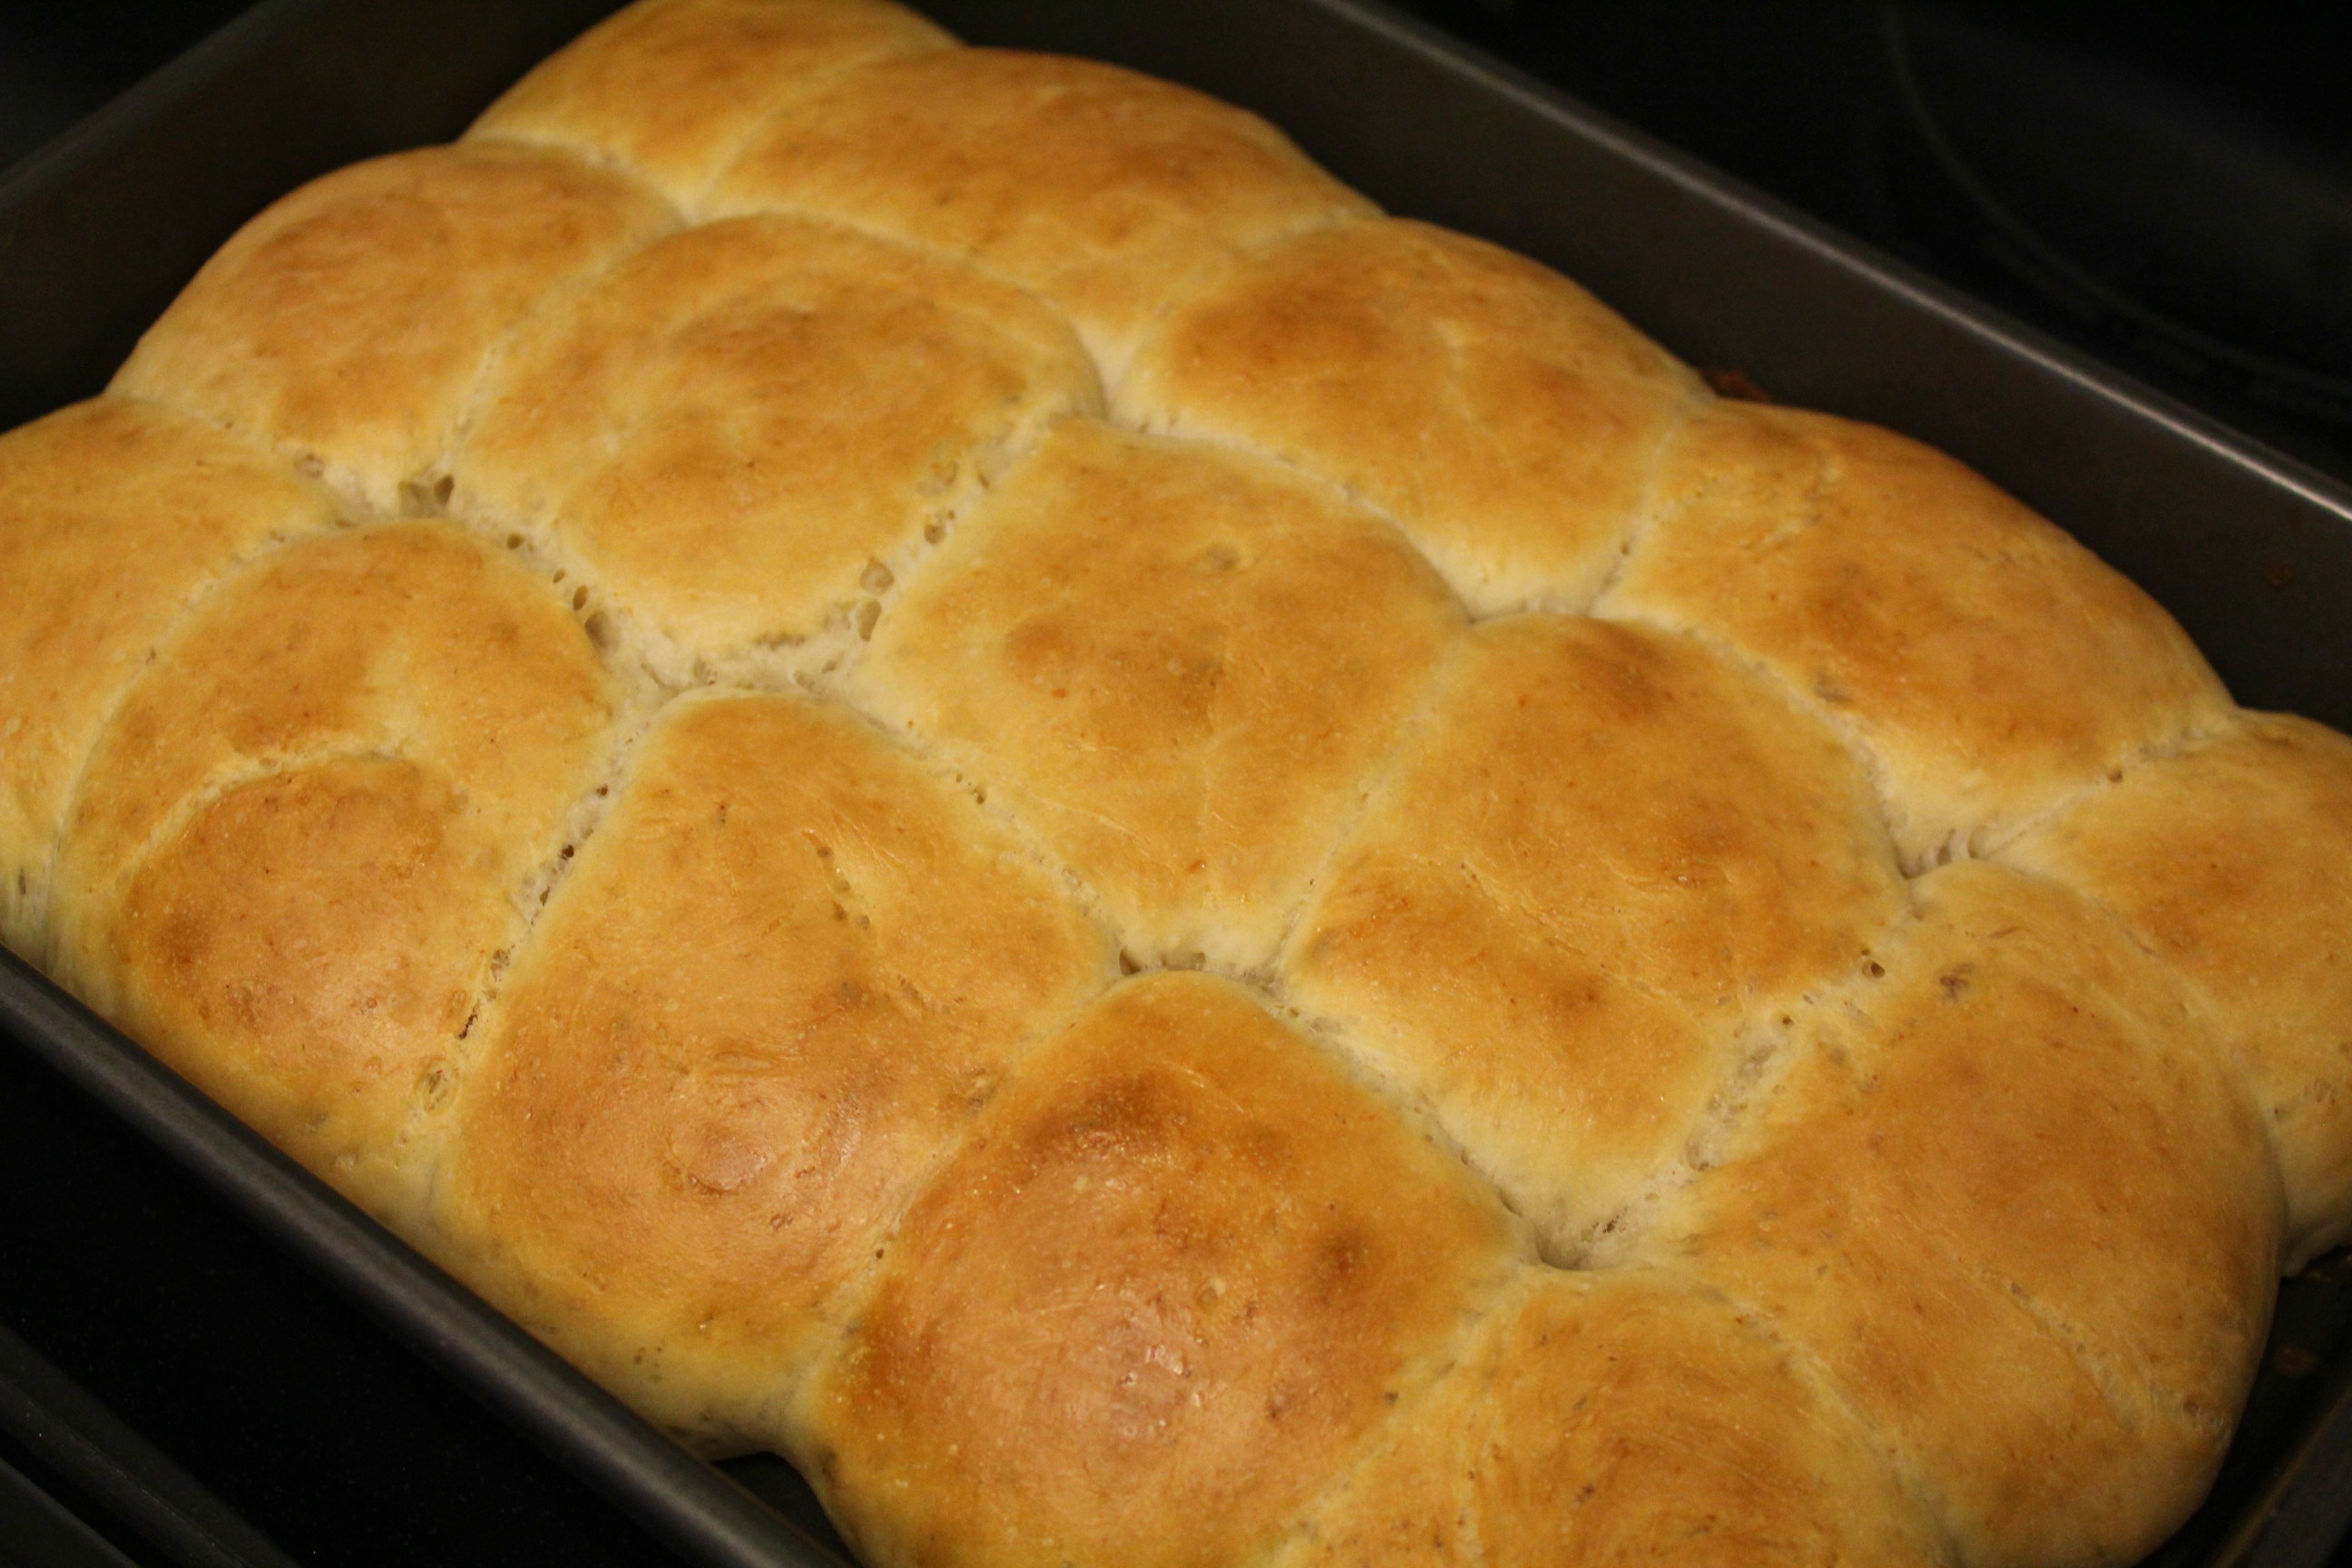
Lay the dough out on a lightly floured surface again and roll it into a tube shape. Cut the dough into equal-sized pieces (I cut the dough into 15 pieces but you could make them larger or smaller). Roll each piece into a ball and place on a greased cookie sheet. Cover the dough with the tea towel and let rise again for about an hour.

(Note: I'm wondering if this second rise time is necessary. They plumped up even more in the oven so it might not even matter.)

Easy Homemade Dinner Rolls

Preheat the oven to 350 degrees.

If you want to, brush the top of the rolls with a milk and sugar wash to add some sweetness, or an egg wash (egg and water mixture) to get a shiny crust. I went for the milk and sugar.

Bake the rolls for 18 to 20 minutes, until the tops are lightly browned. Let them cool for a minute and then pull them apart.

Easy Homemade Dinner Rolls

Easy Homemade Dinner Rolls

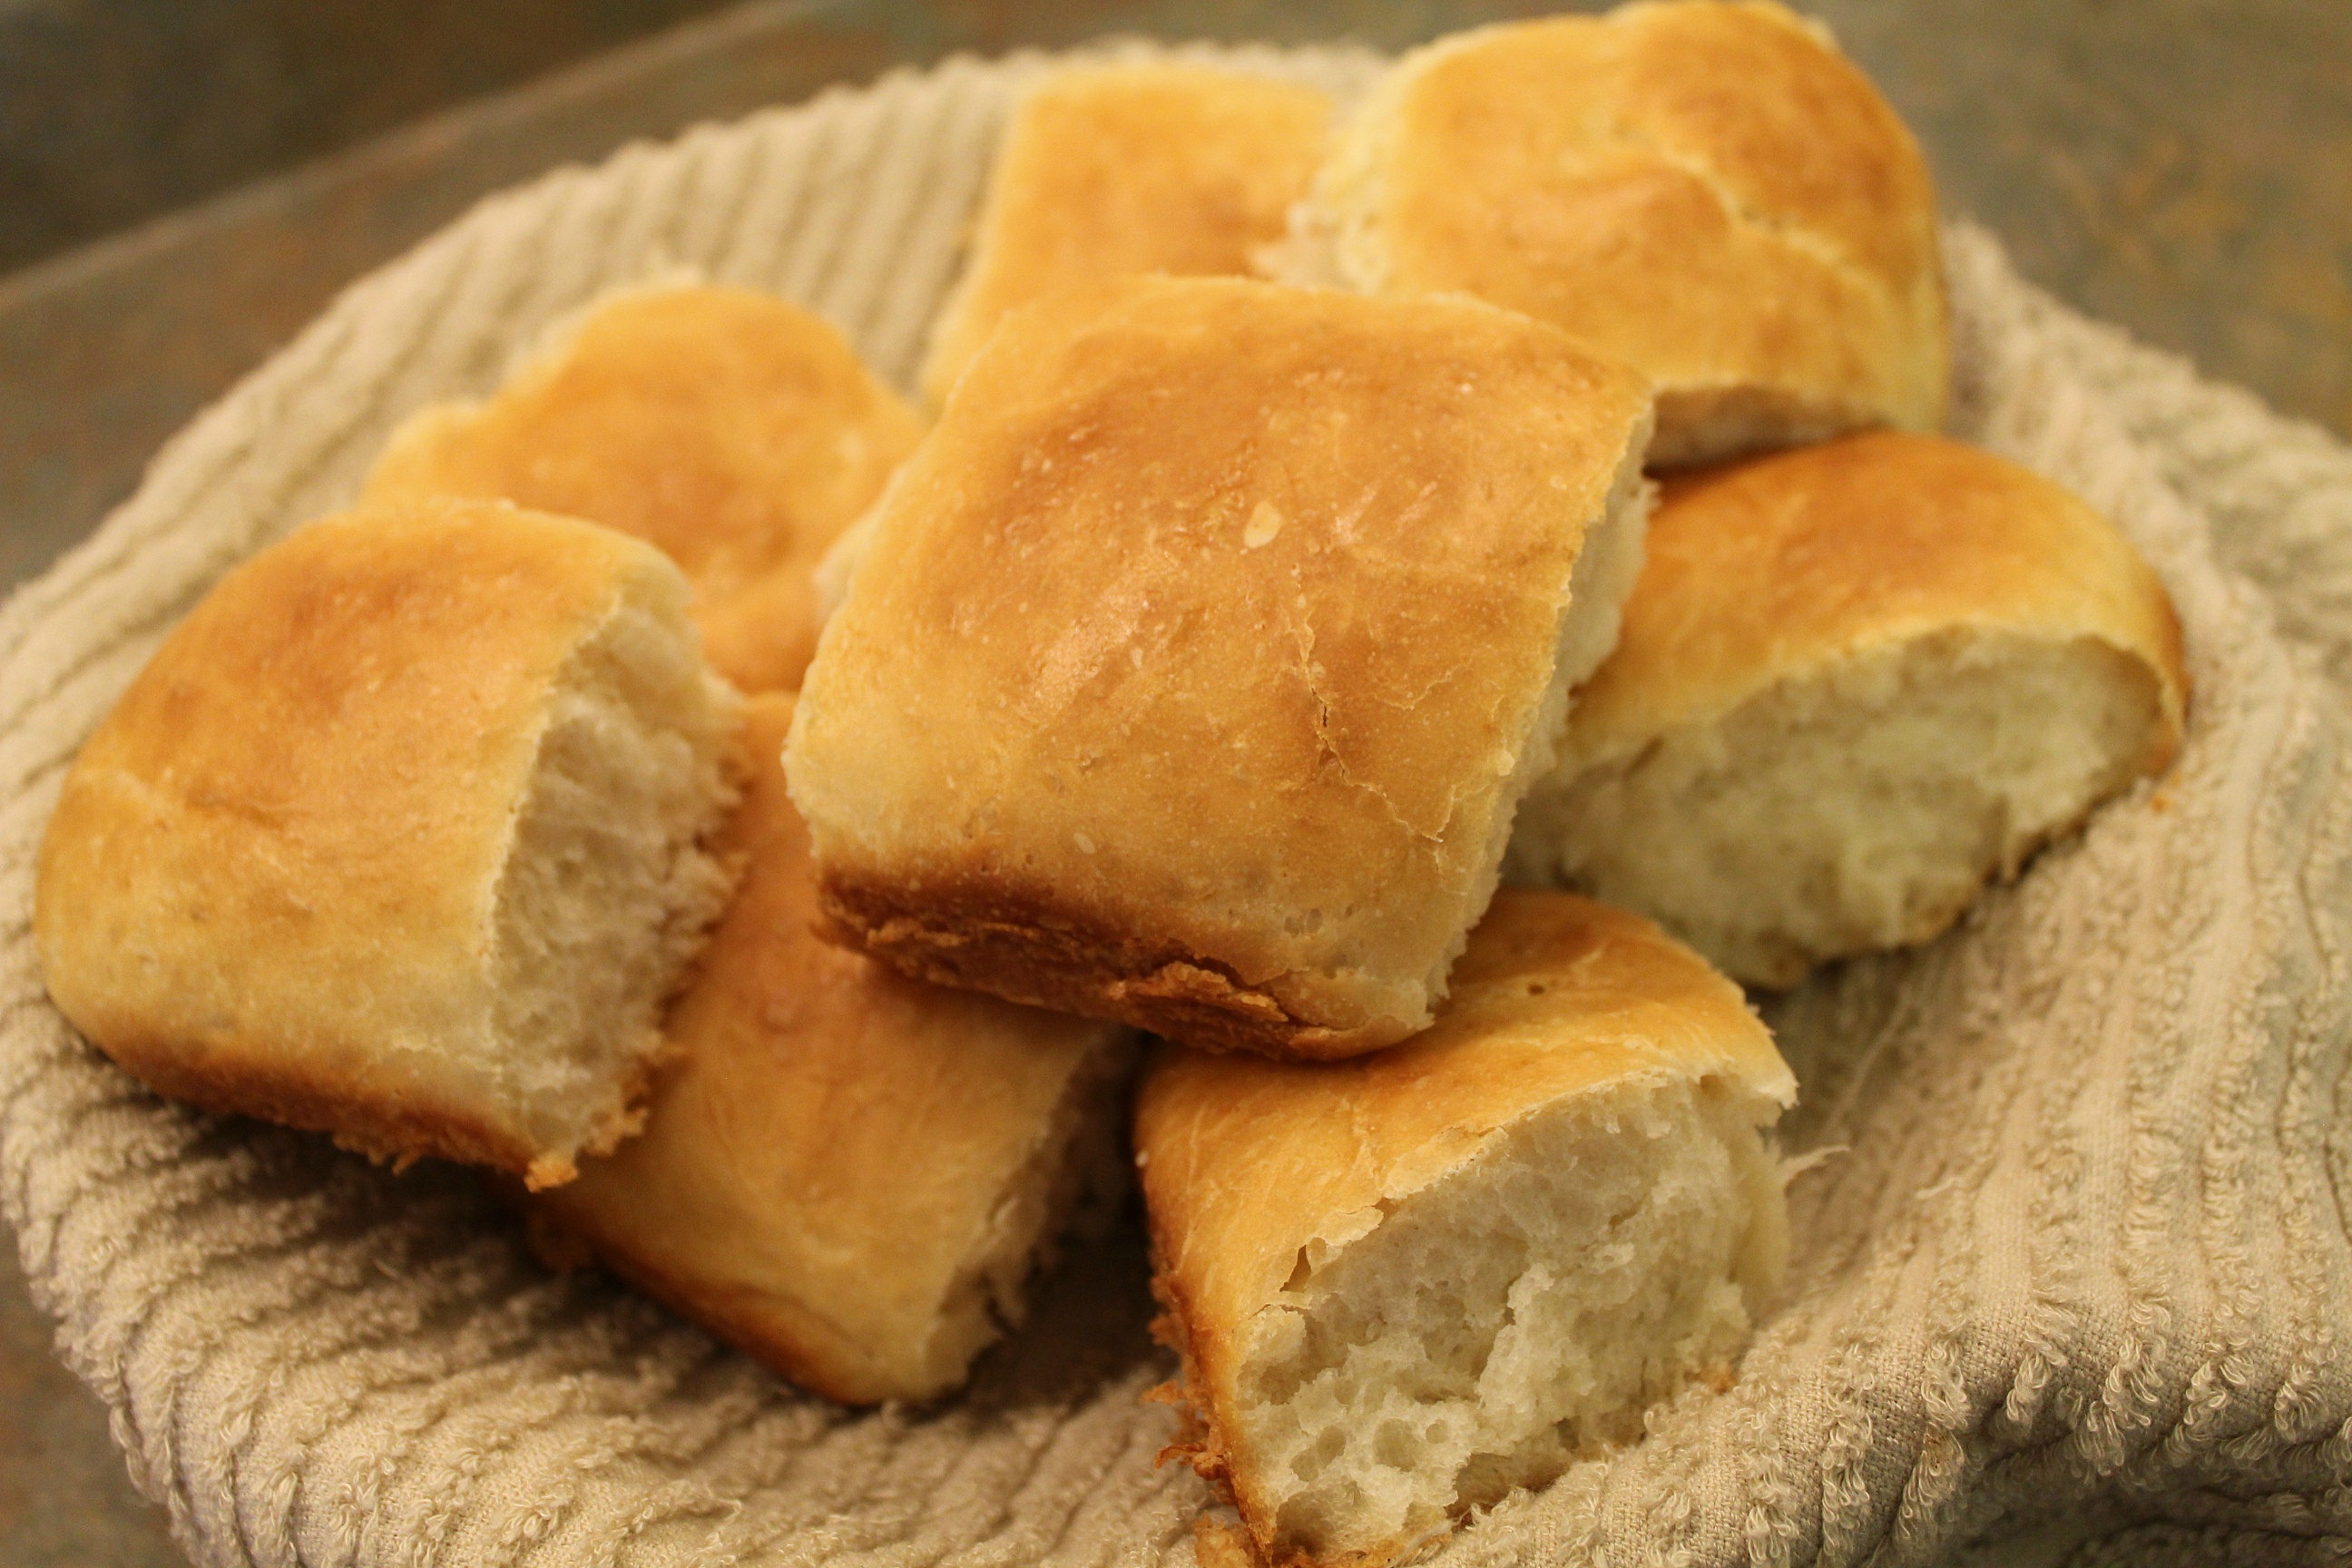
I don't think I can accurately describe just how good these are. Well, there were only about 6 left over after dinner, so that might say it right there. They were soft and just slightly sweet. Next time I think I'll use a bigger pan so that the rolls aren't as close to each other and there'll be more crust on each one.

Easy Homemade Dinner Rolls


Related Posts Plugin for WordPress, Blogger...