As a refresher, this is what the bathroom looked like before. While it is the master bath, it's a tiny little thing and difficult to take pictures of.
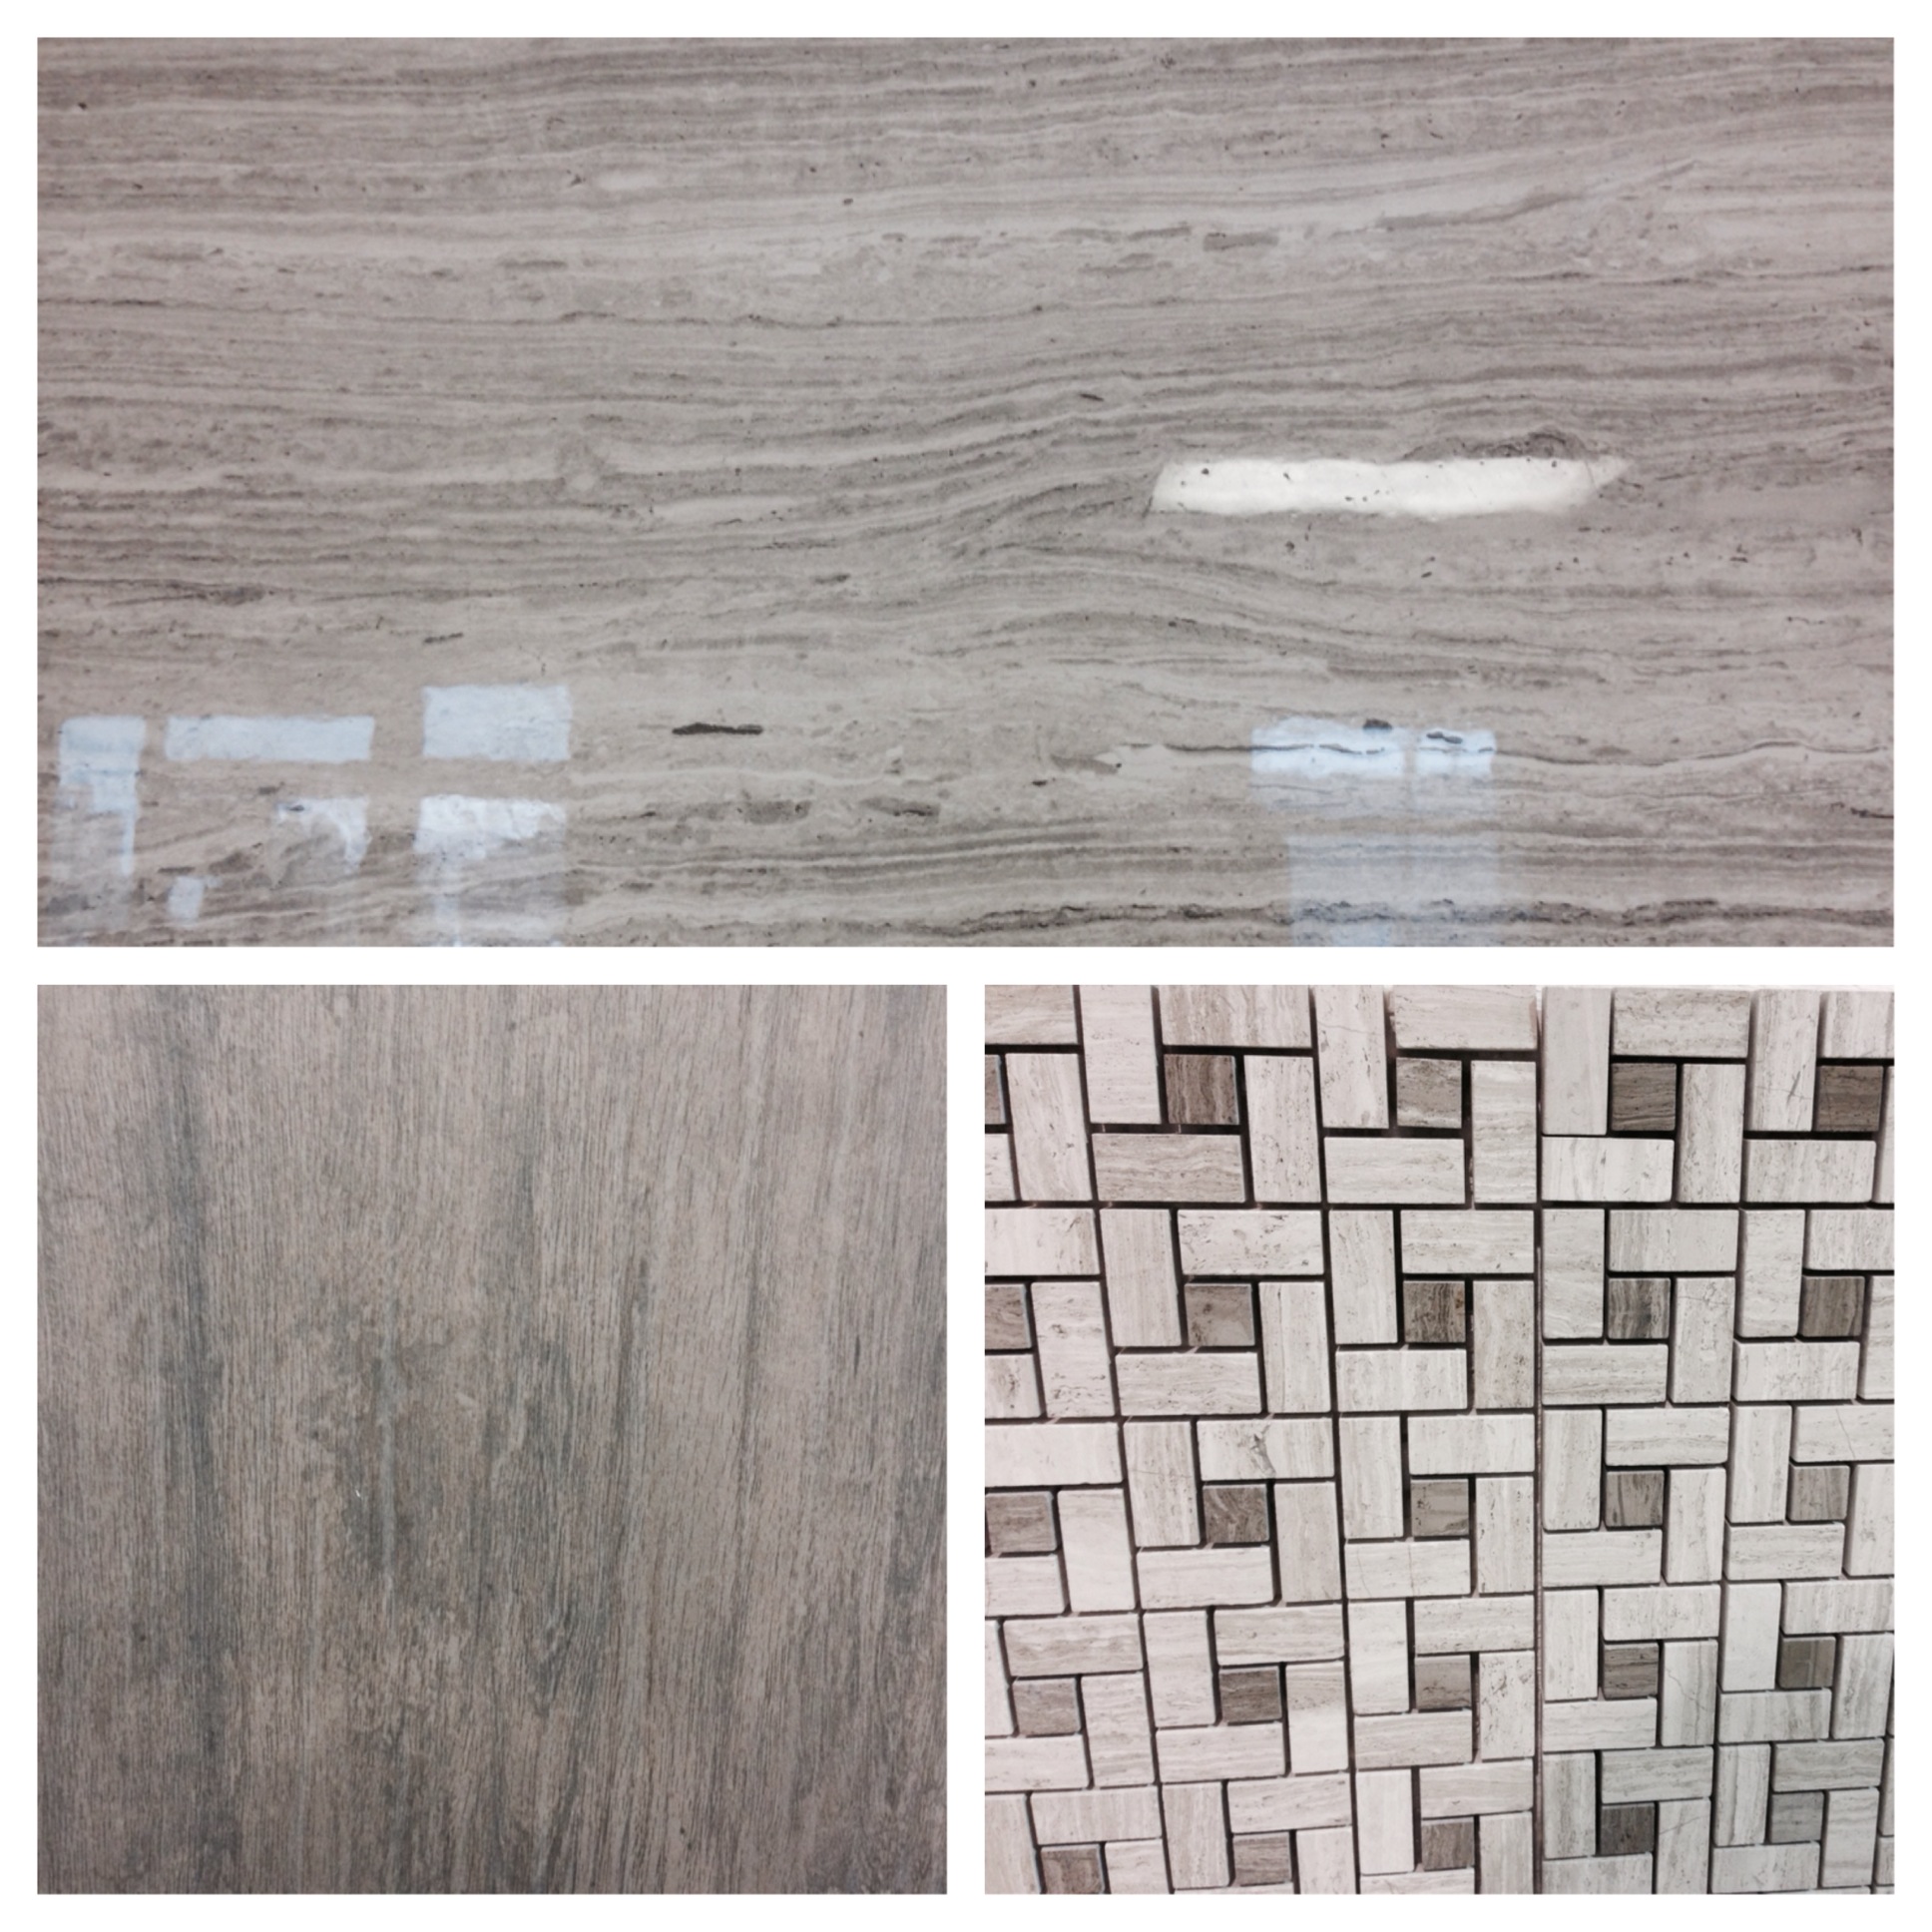
We haven't exactly been speedy on getting this project underway. In fact, I think it was 10 months ago when I first mentioned our plans for the room. We then thought about the tile for a few months more before actually buying it. We didn't buy the tile I showed you nearly a year ago, but something very similar. The pattern for the shower floor is going to be much more interesting, and the wall tiles are larger than the original ones.
The search for a contractor was a bigger chore than it should have been. What is with people not following up with an estimate, or not even returning your call in the first place? Does every job have to be in a mansion to make it worthwhile?
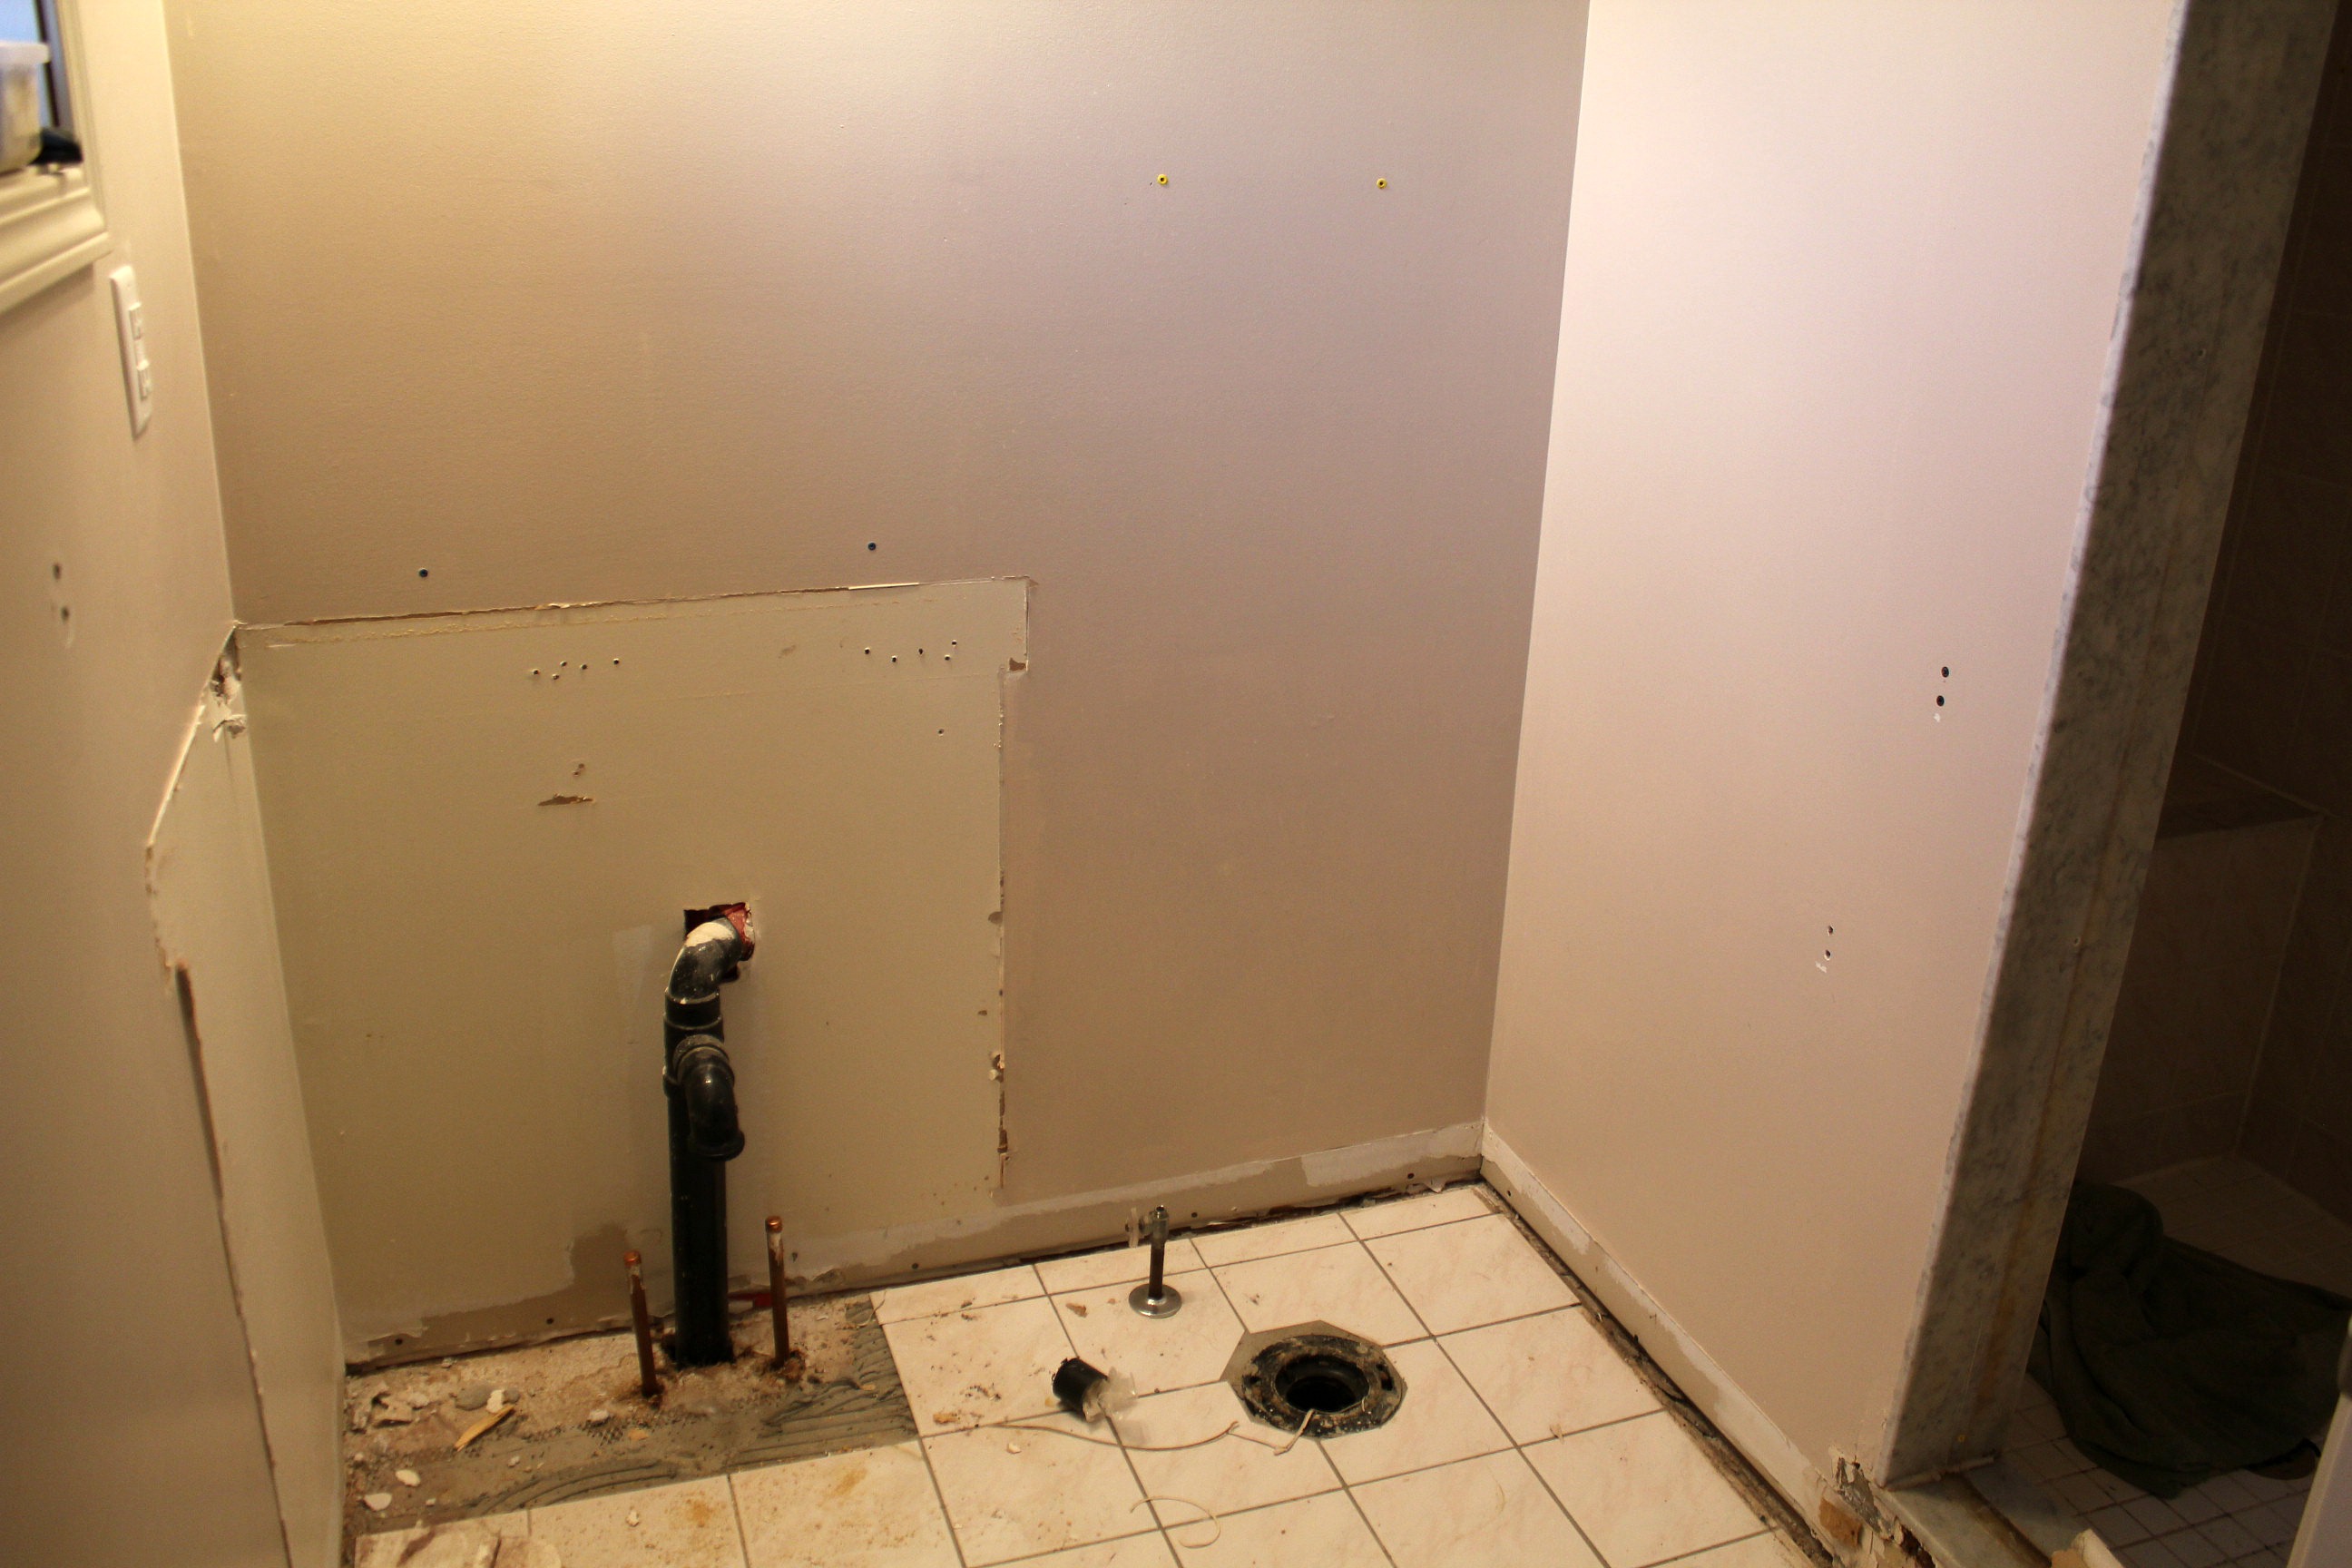
Well, we now have a highly-recommended contractor on board and a start date (about two weeks from now). We told him we would do the demo ourselves to save some money. And because that's the most fun part, isn't it? We're also going to have to reroute some plumbing to install the floating vanity, and we need to change out the shower fixtures a bit. You see how the pipes for the sink come out of the floor? We need to move them up onto the wall.
We had no idea what we were going to find once everything was taken back to the studs, so we wanted to give ourselves plenty of time. Plan for the worst, hope for the best.
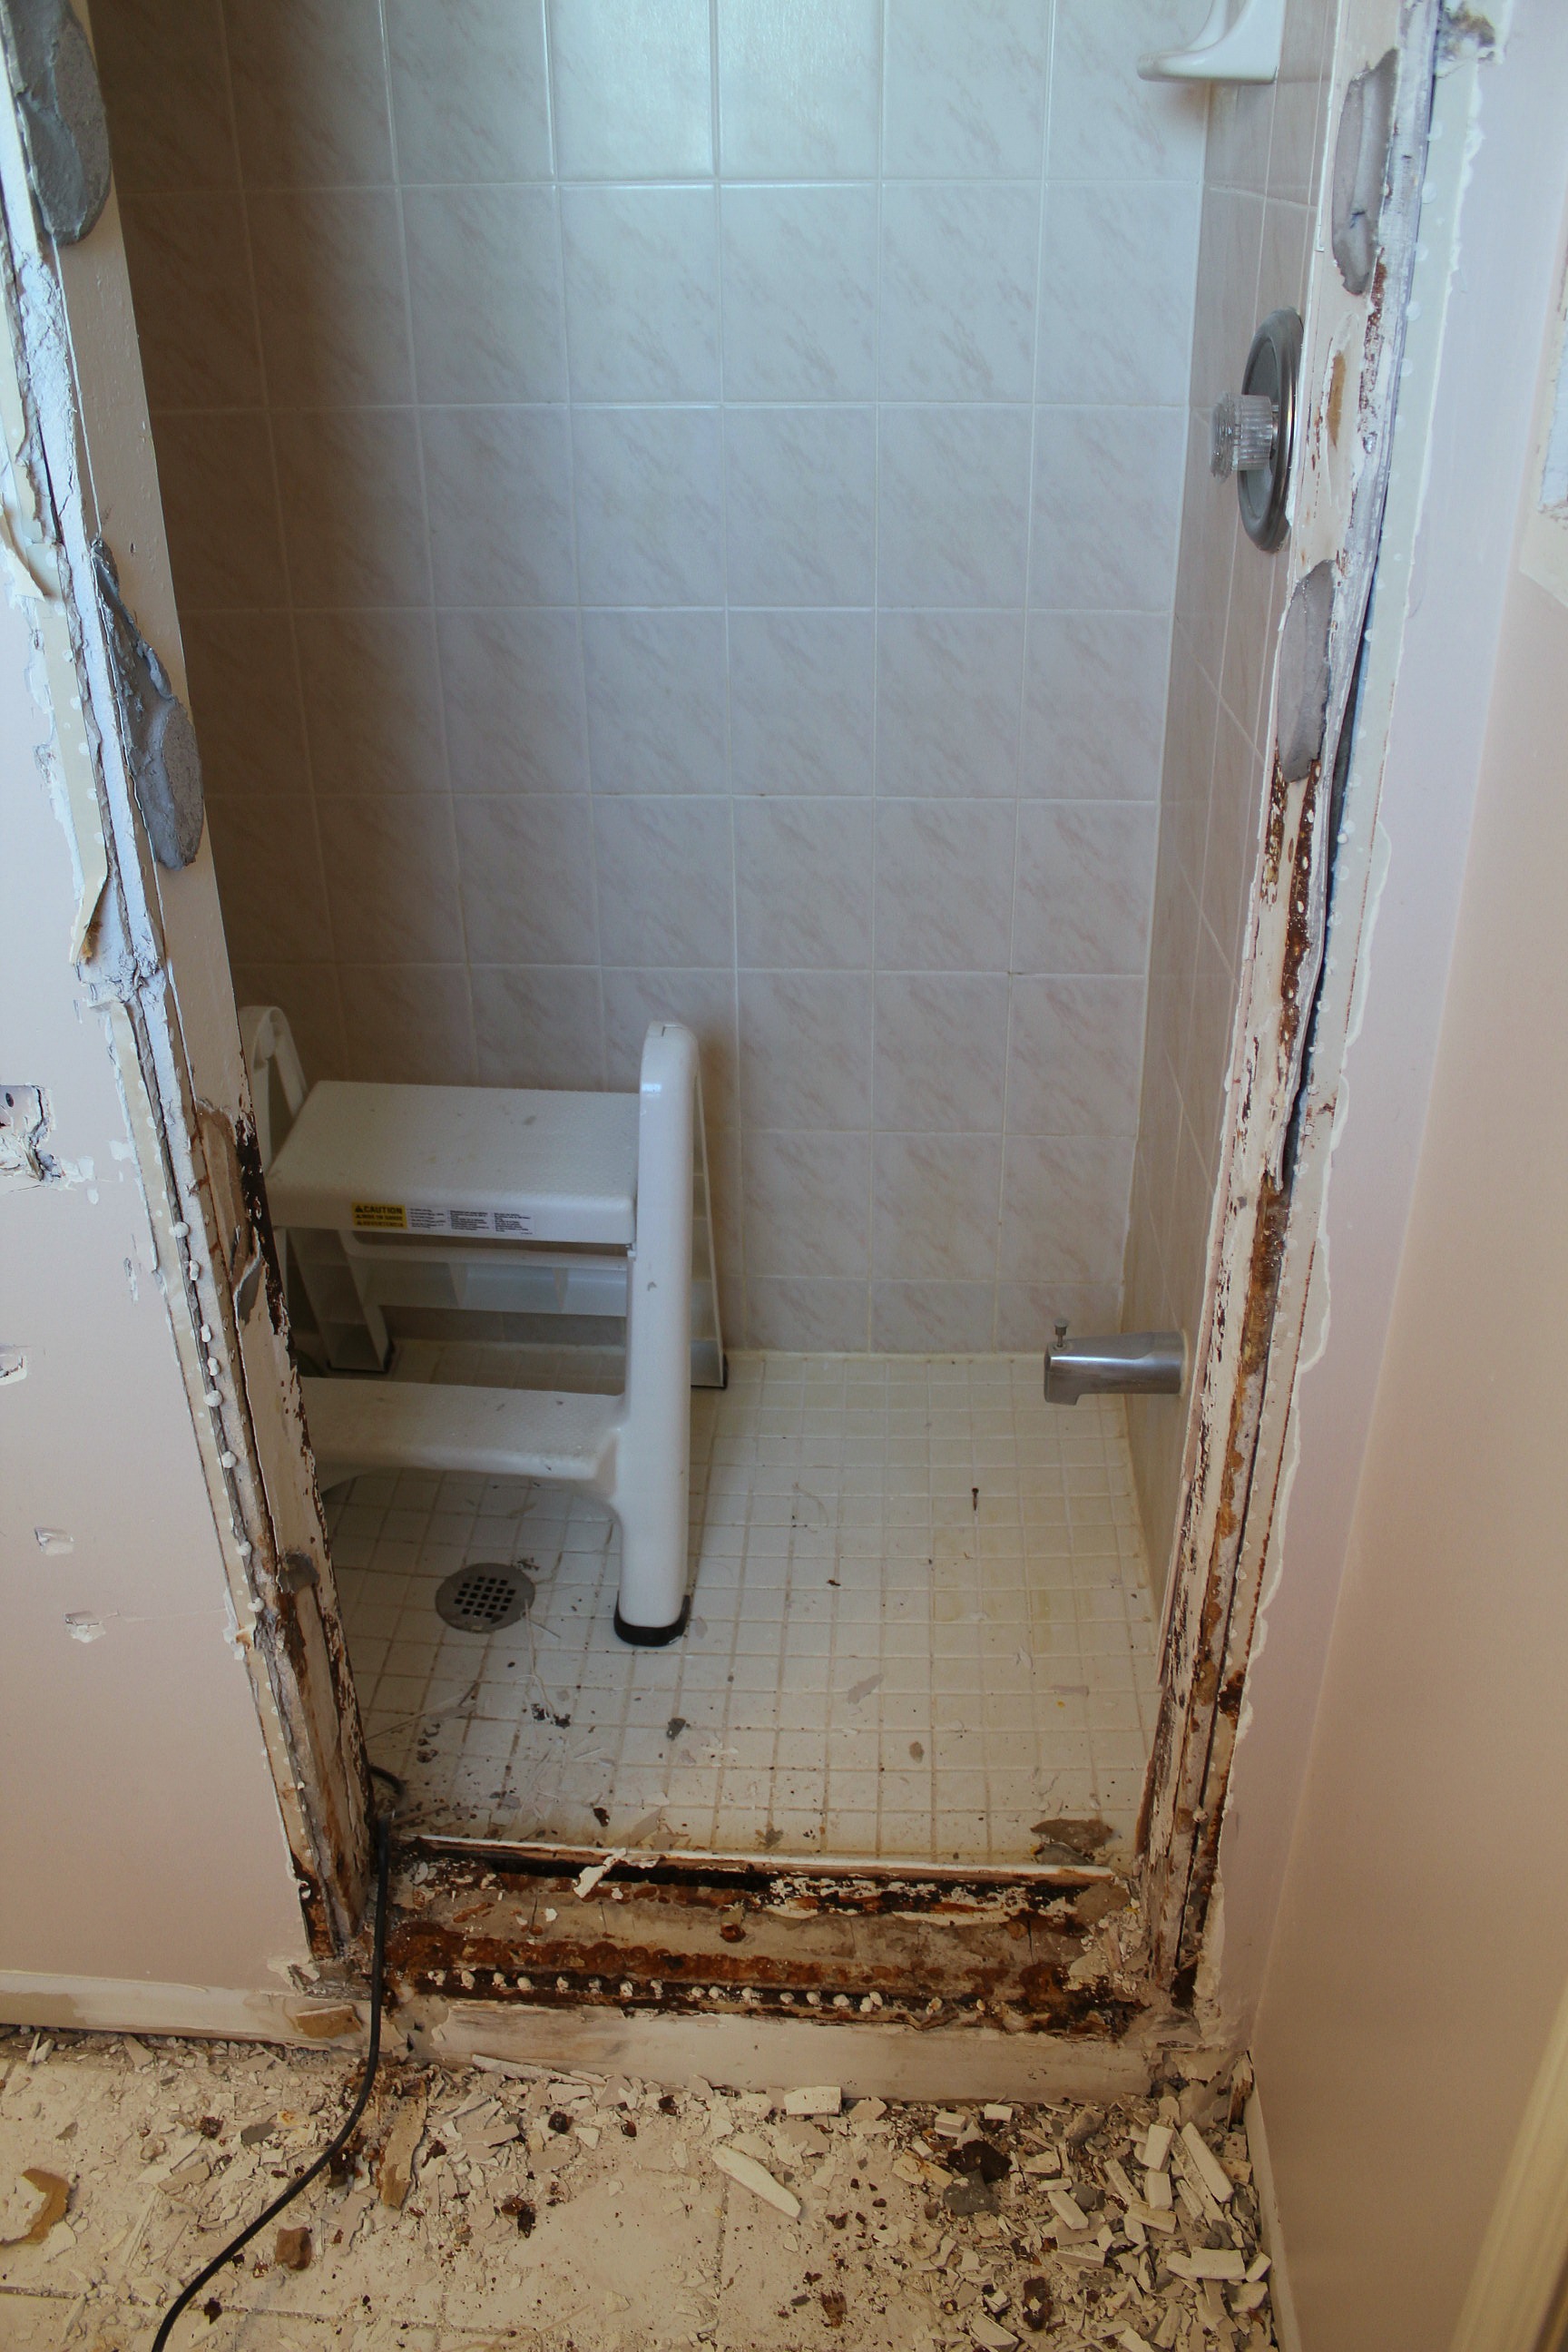
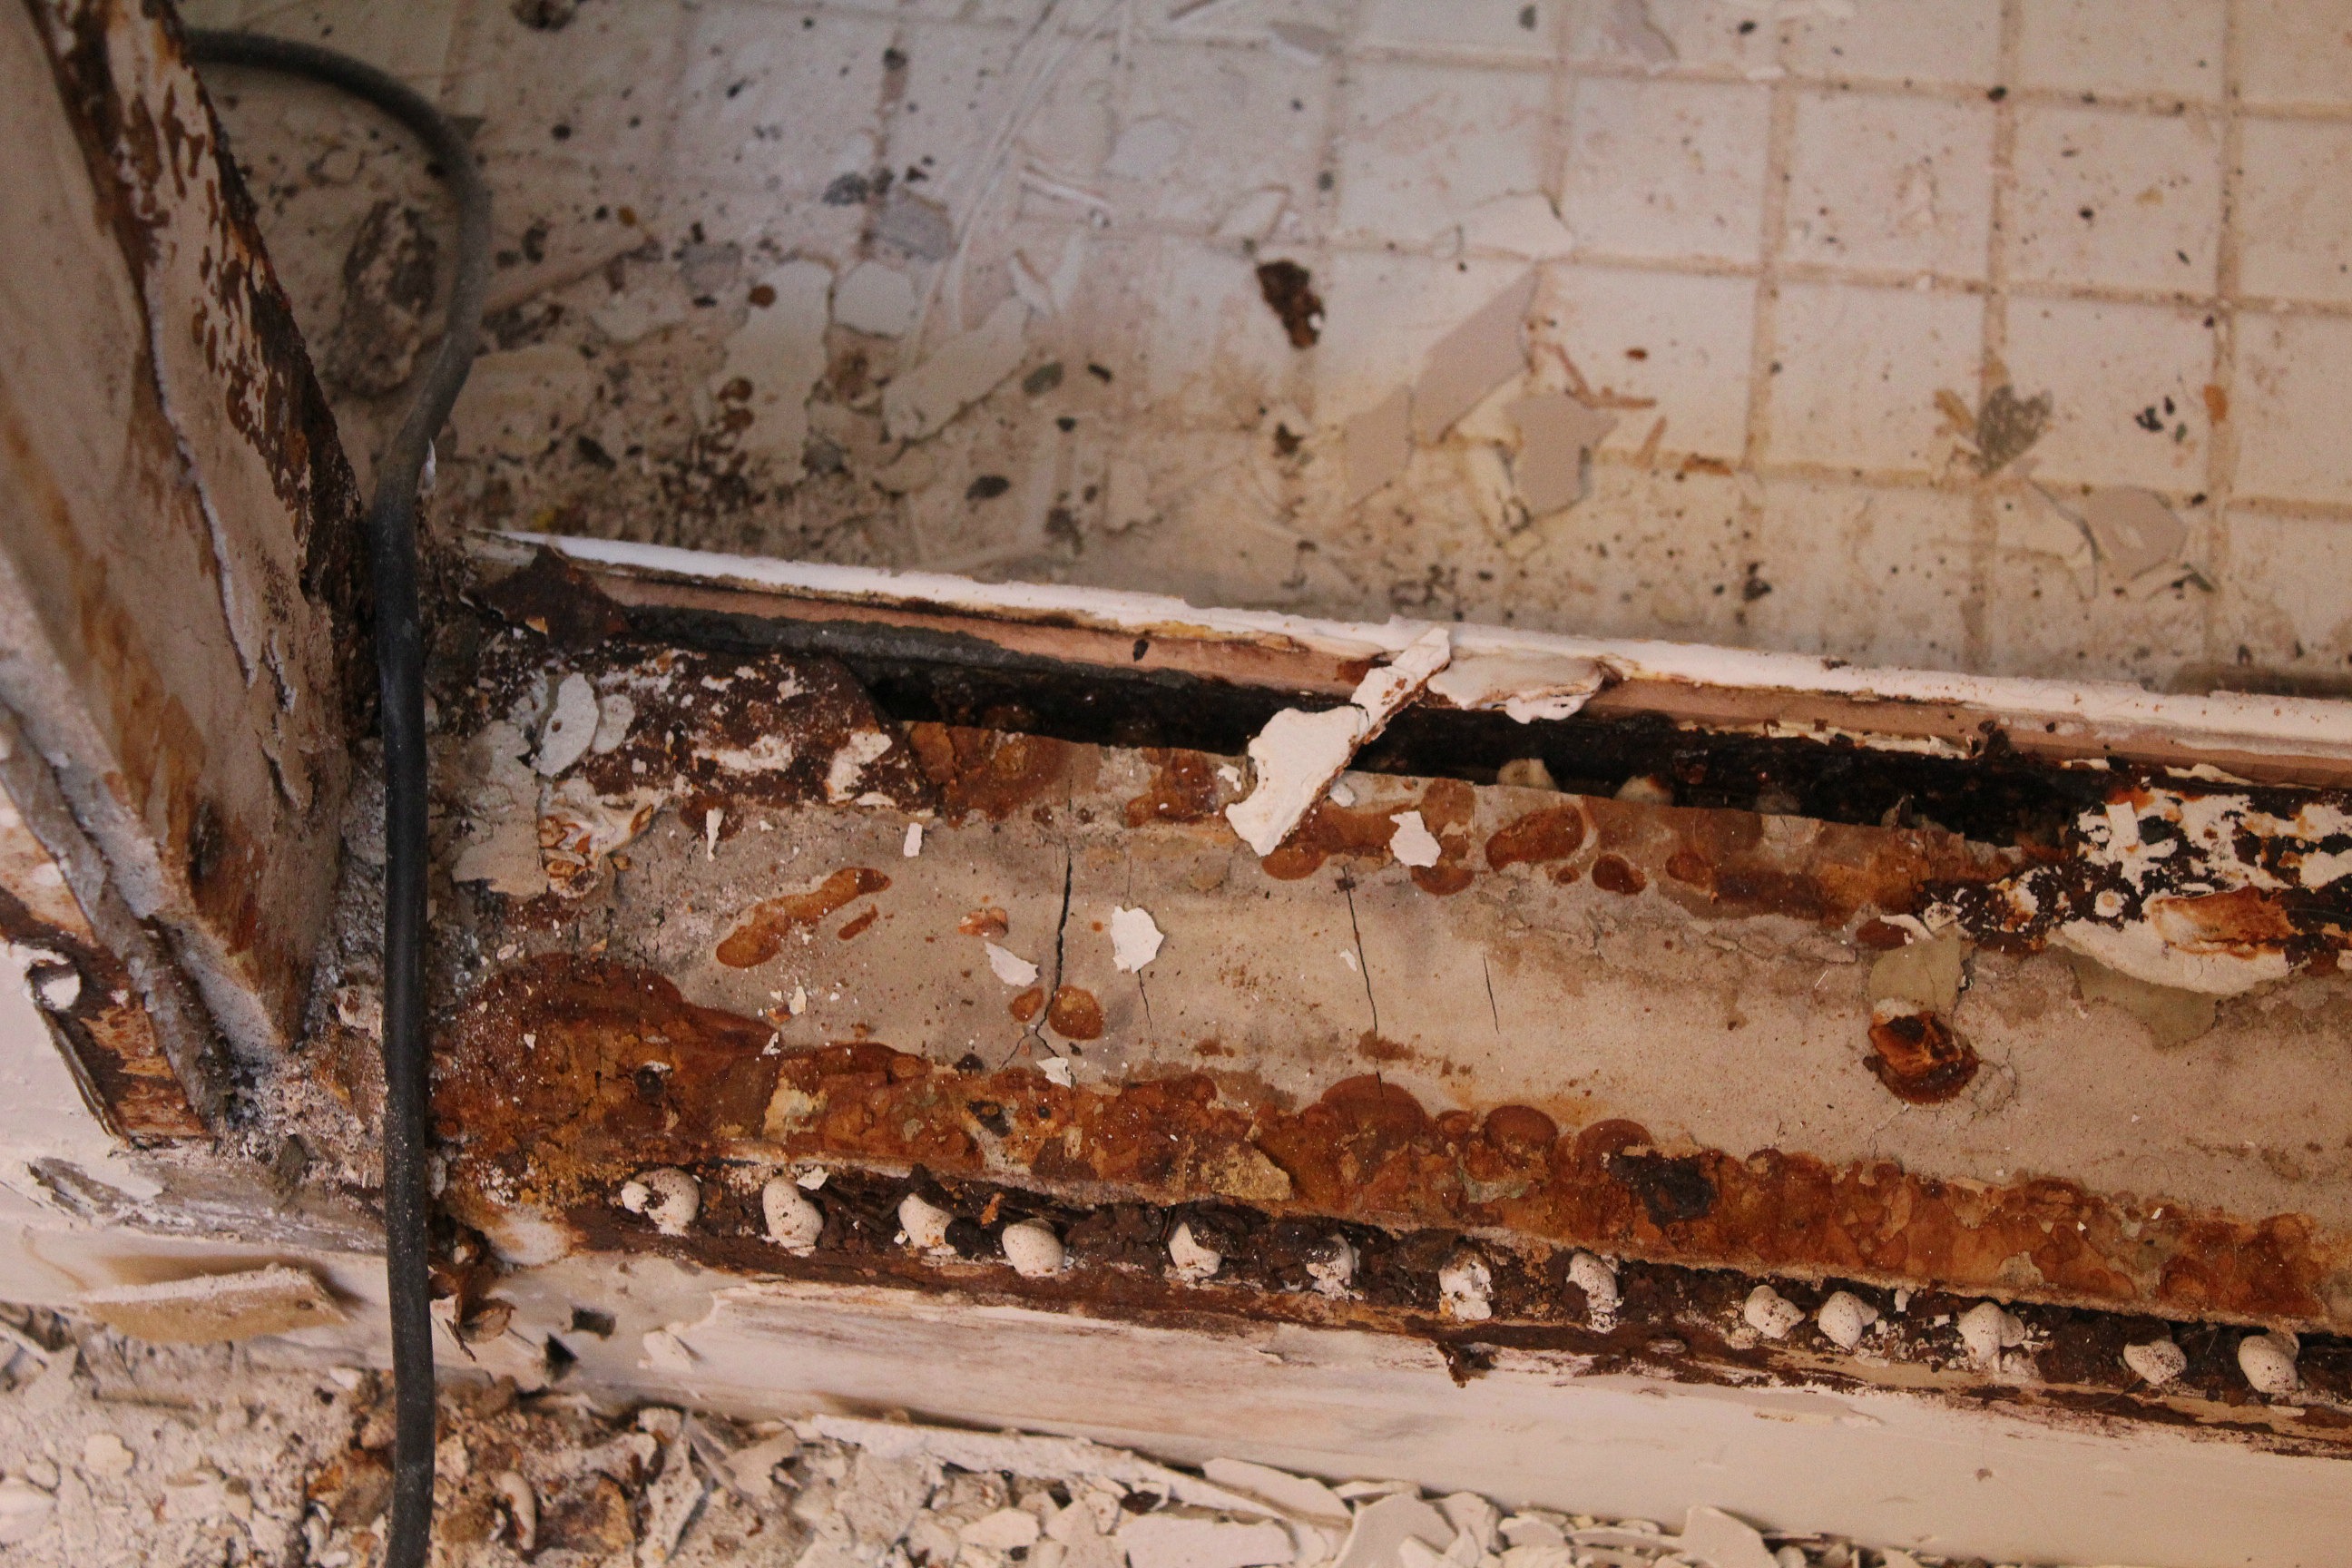
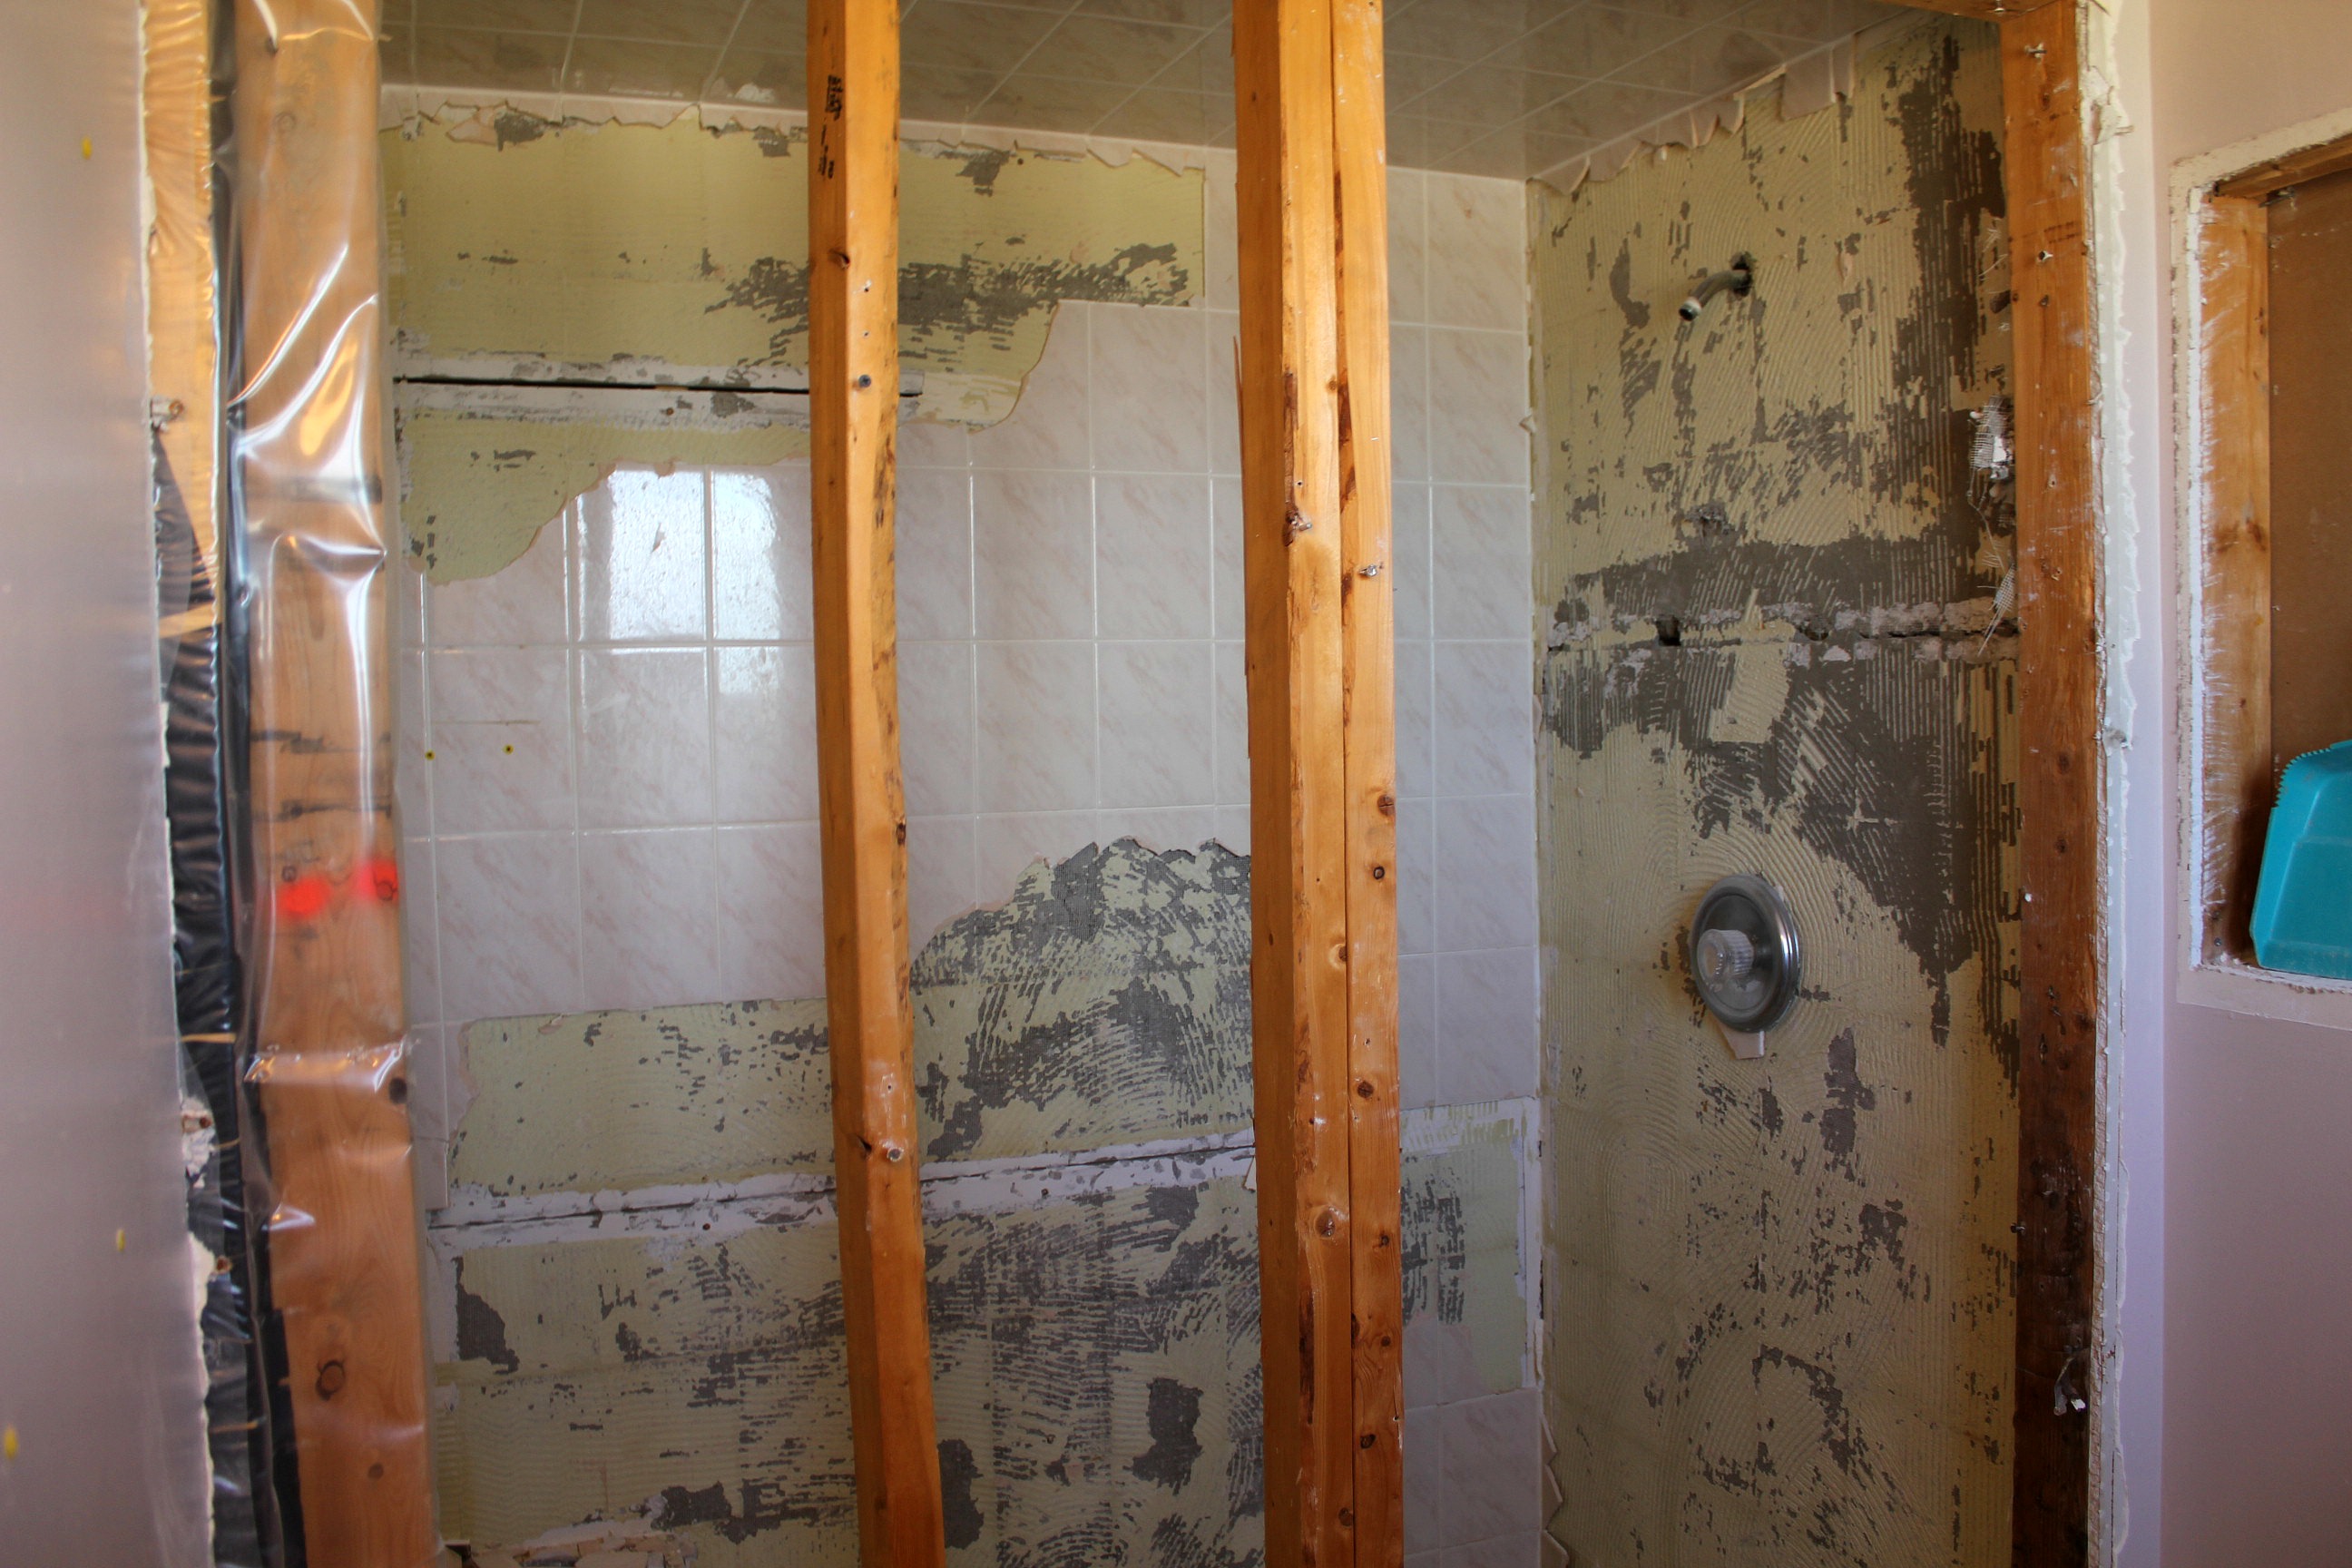
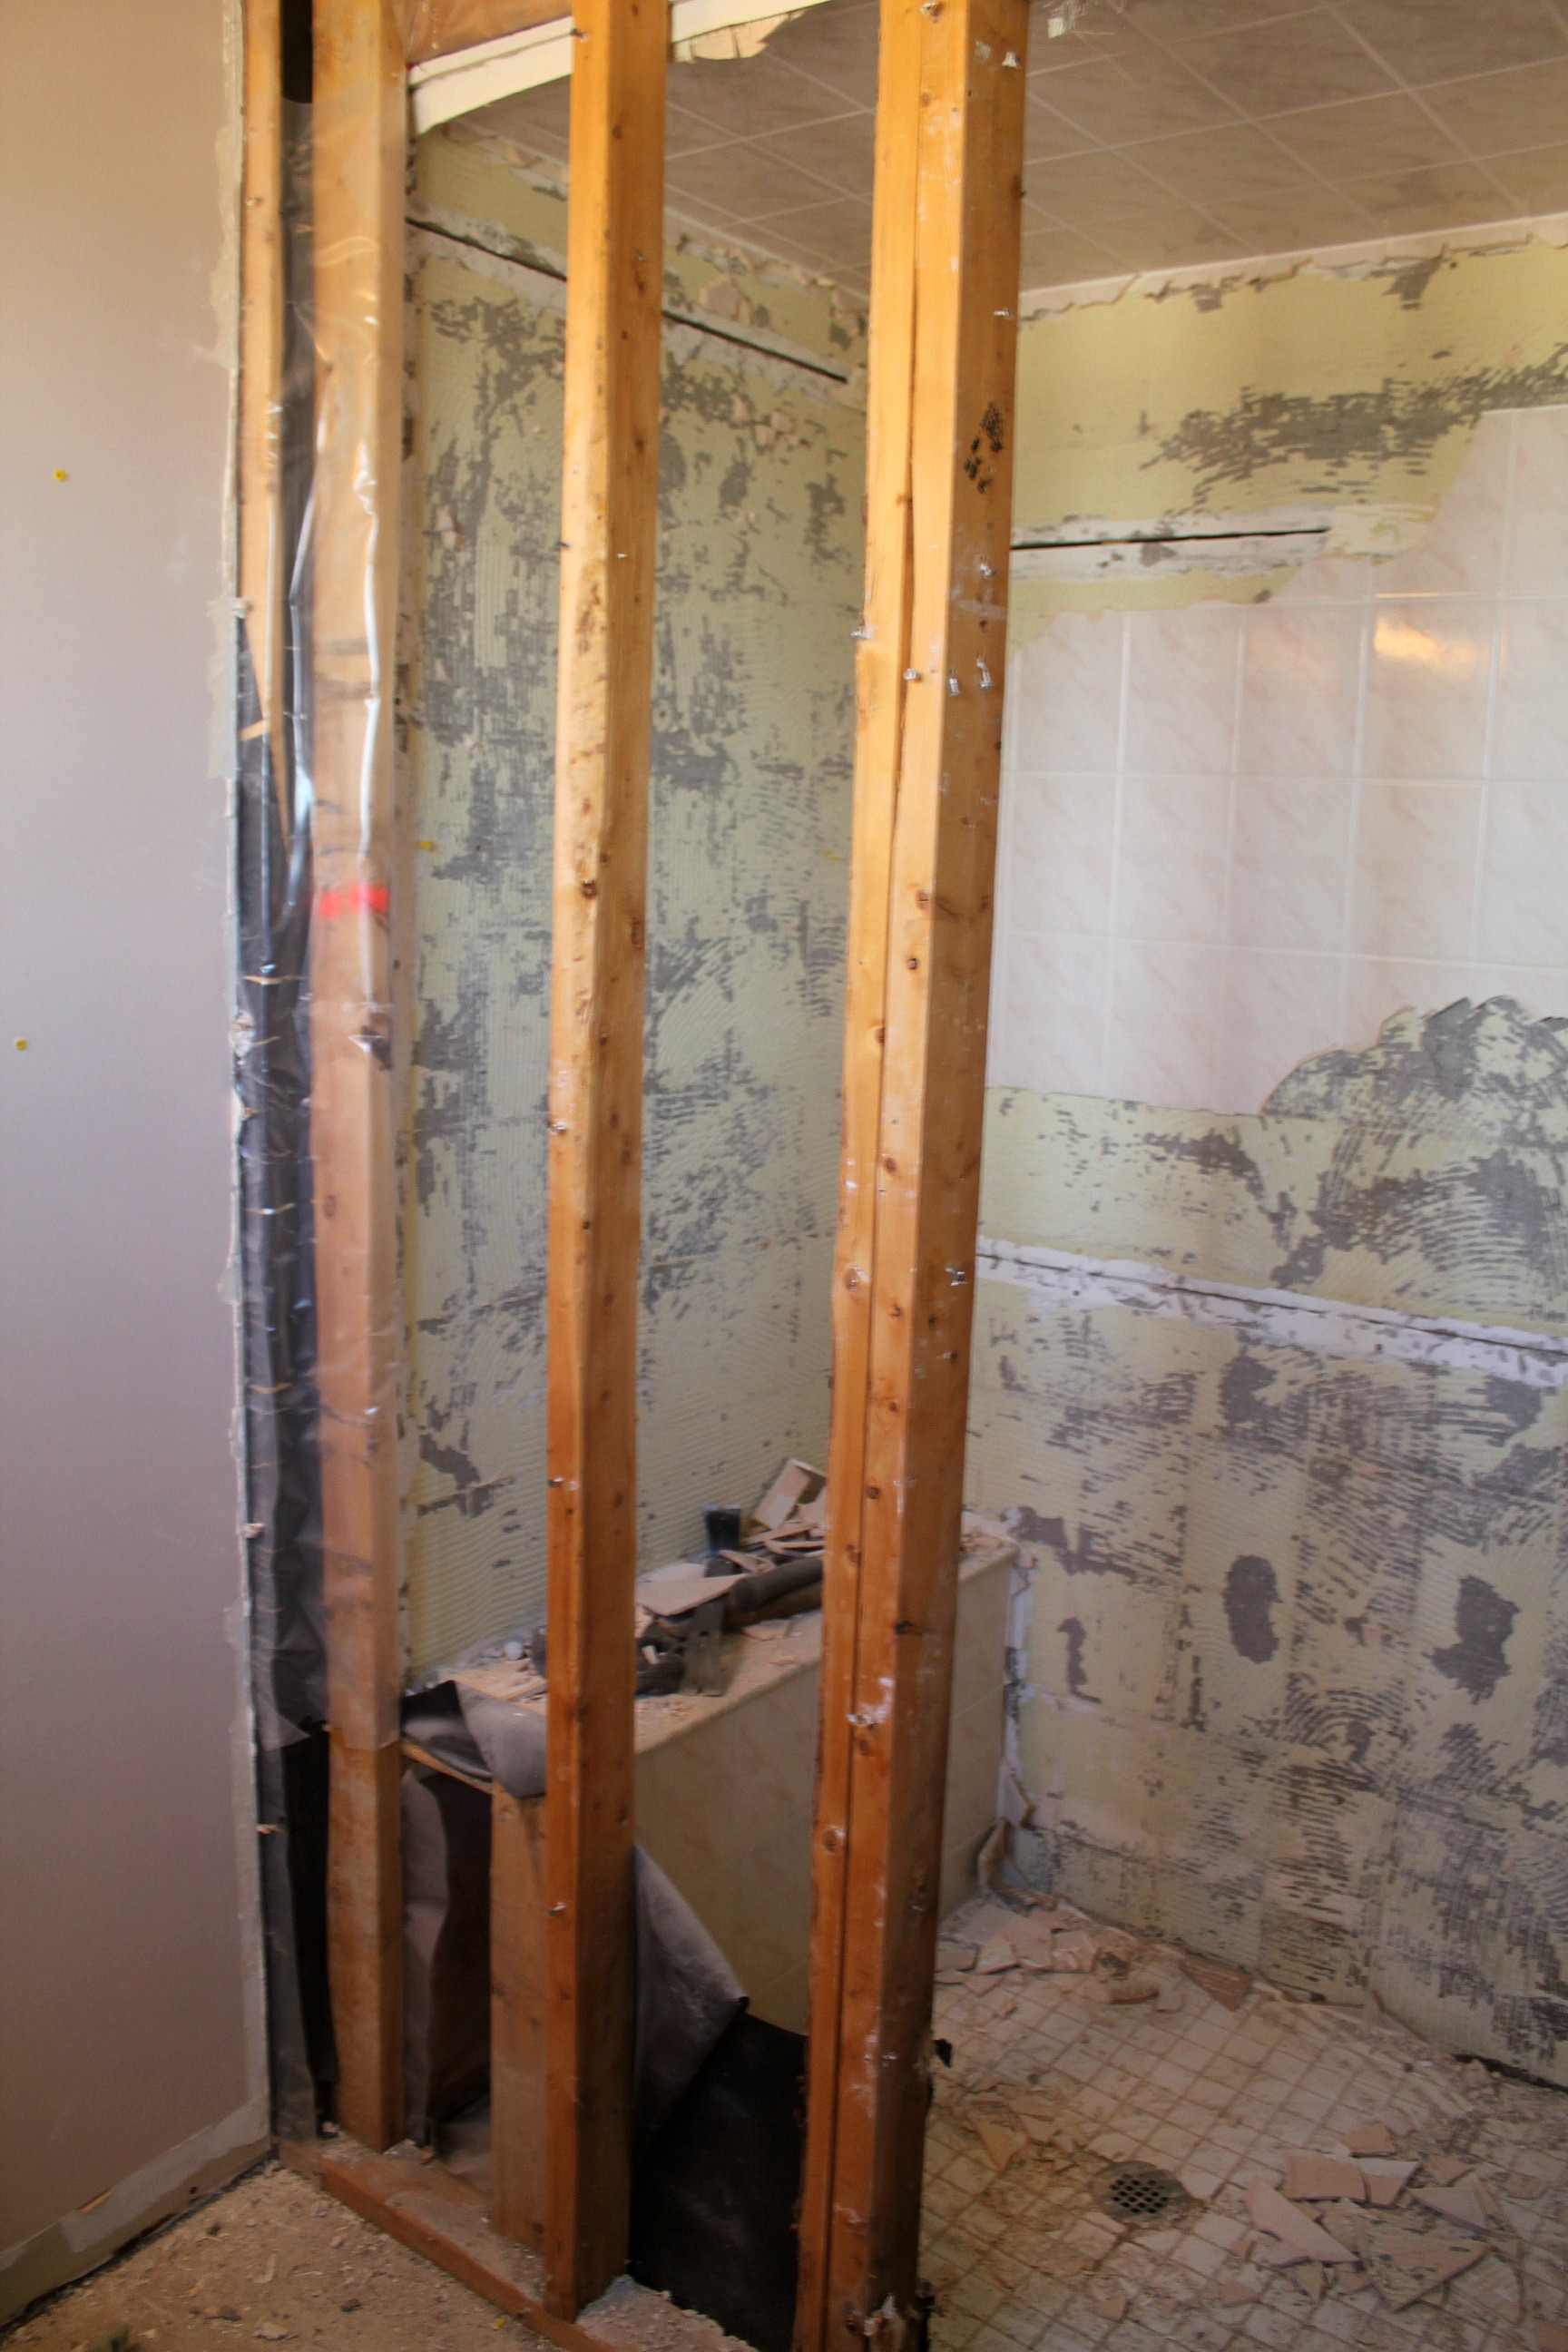
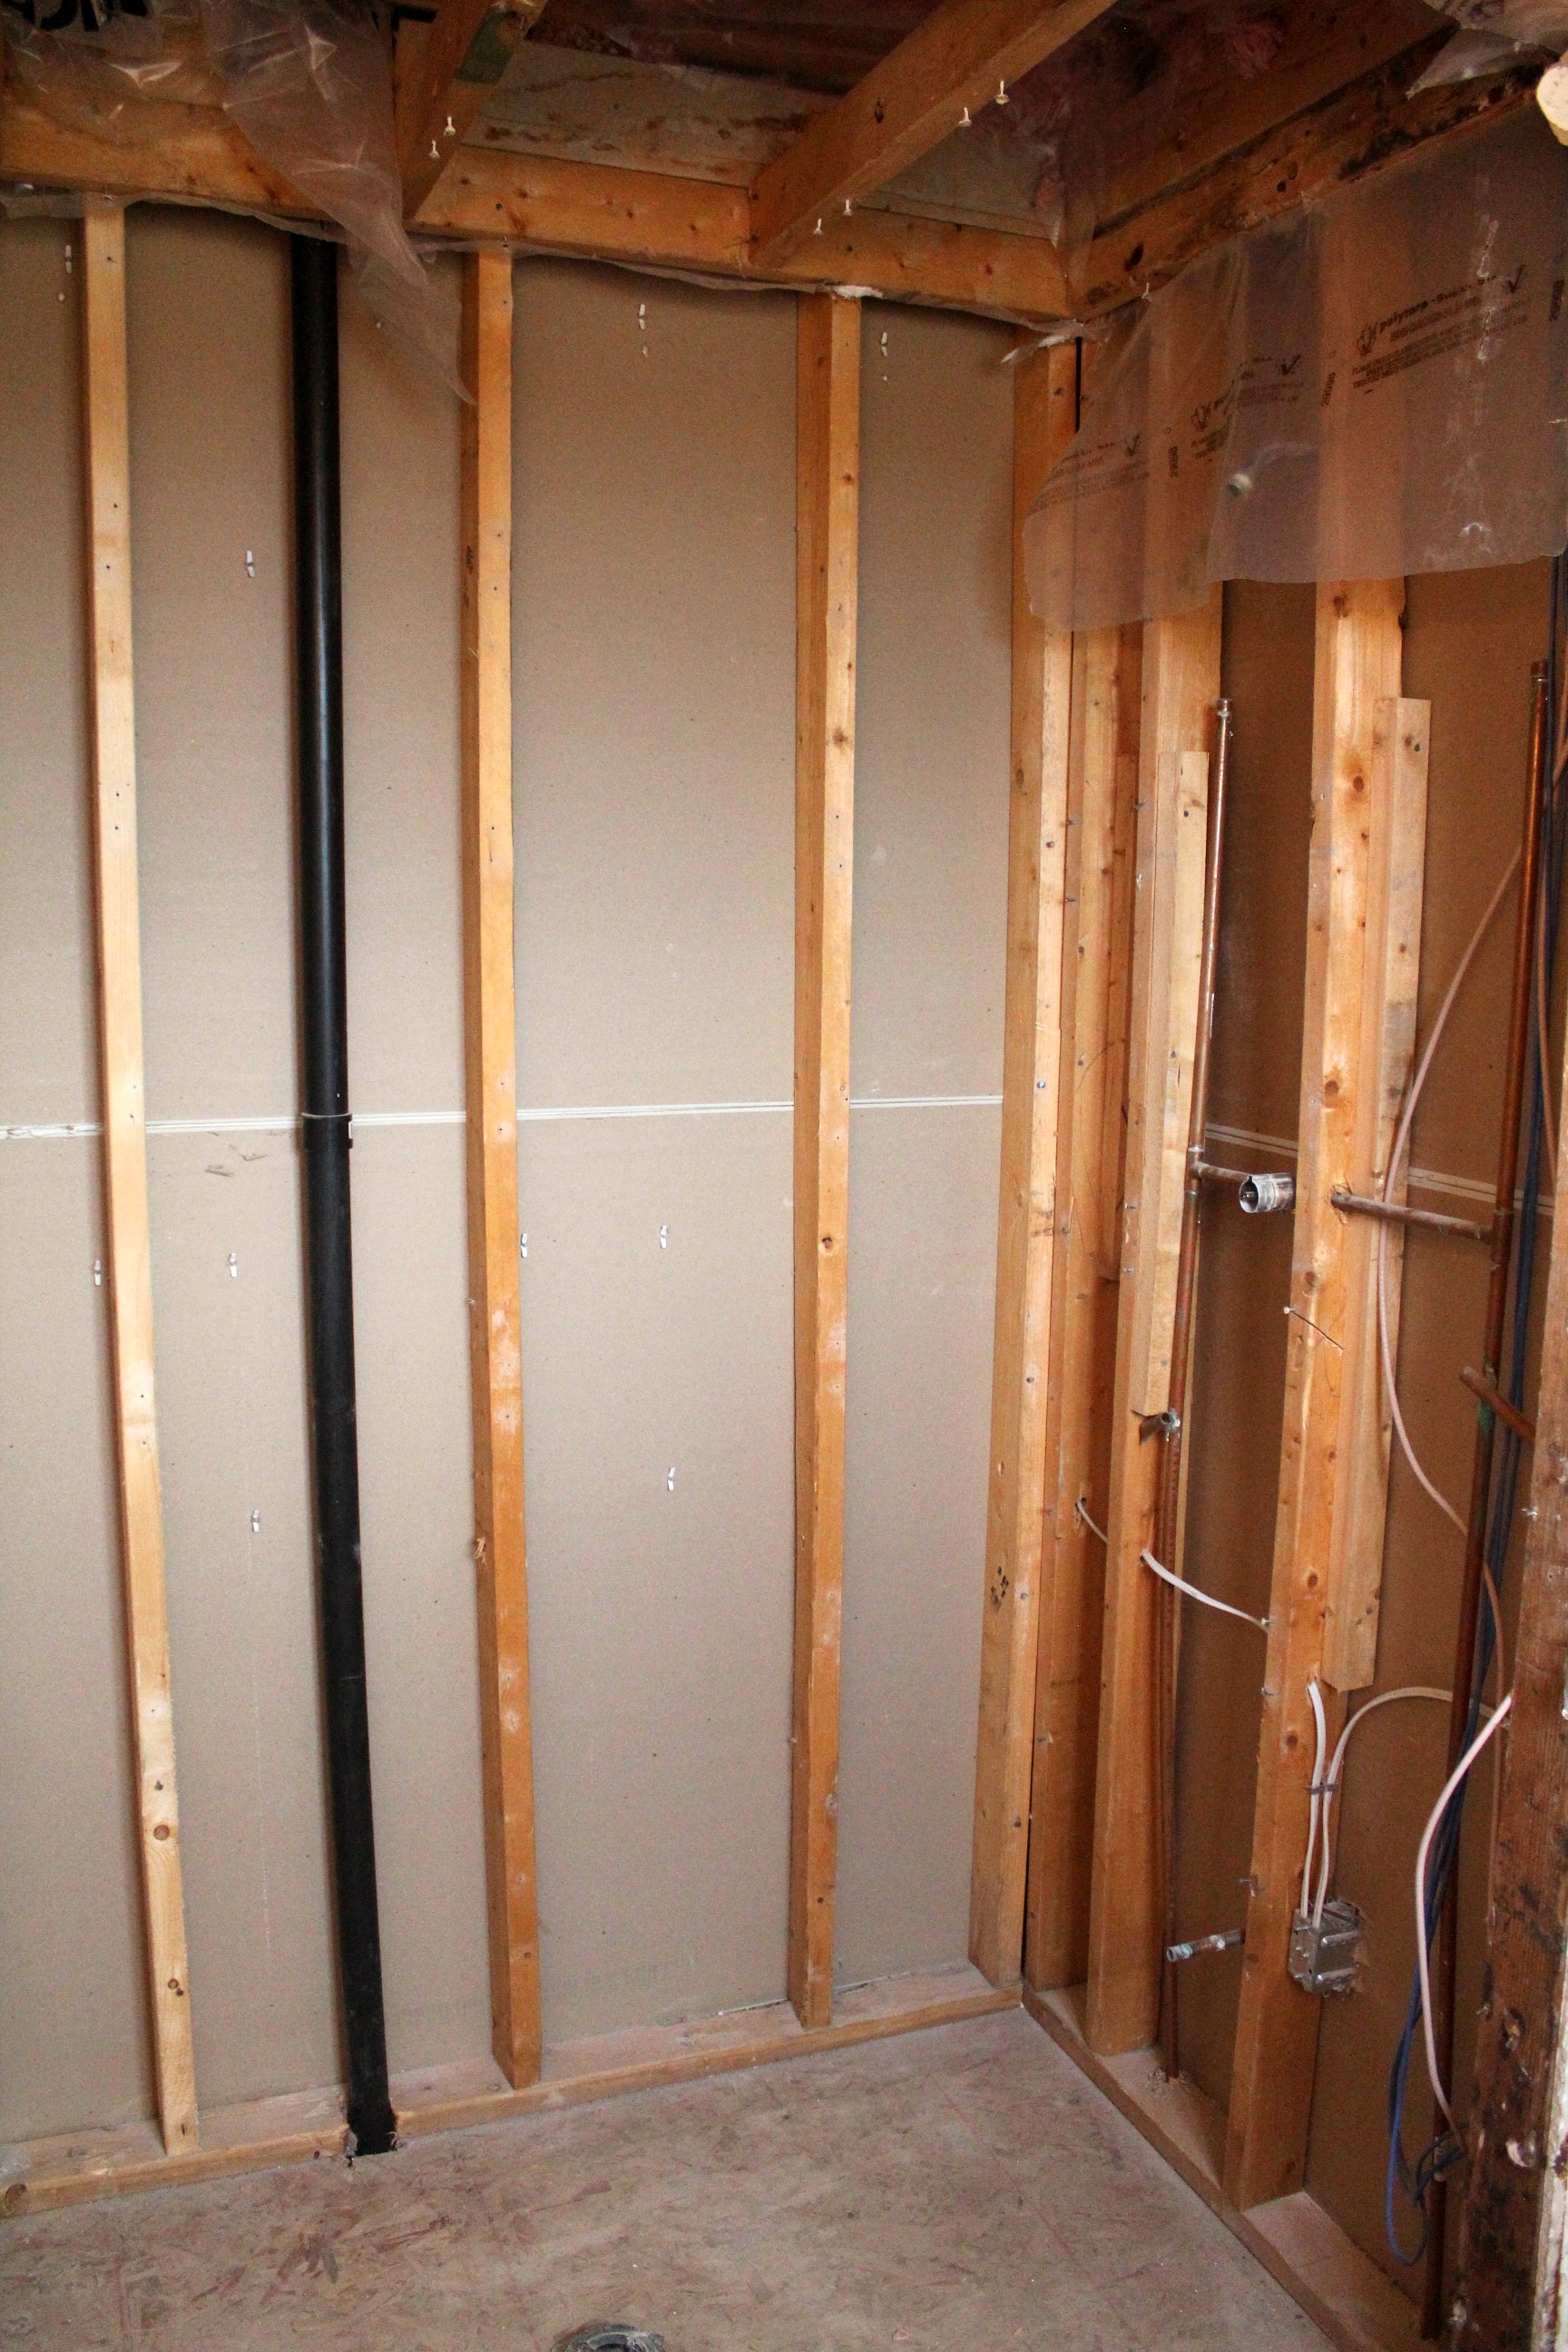
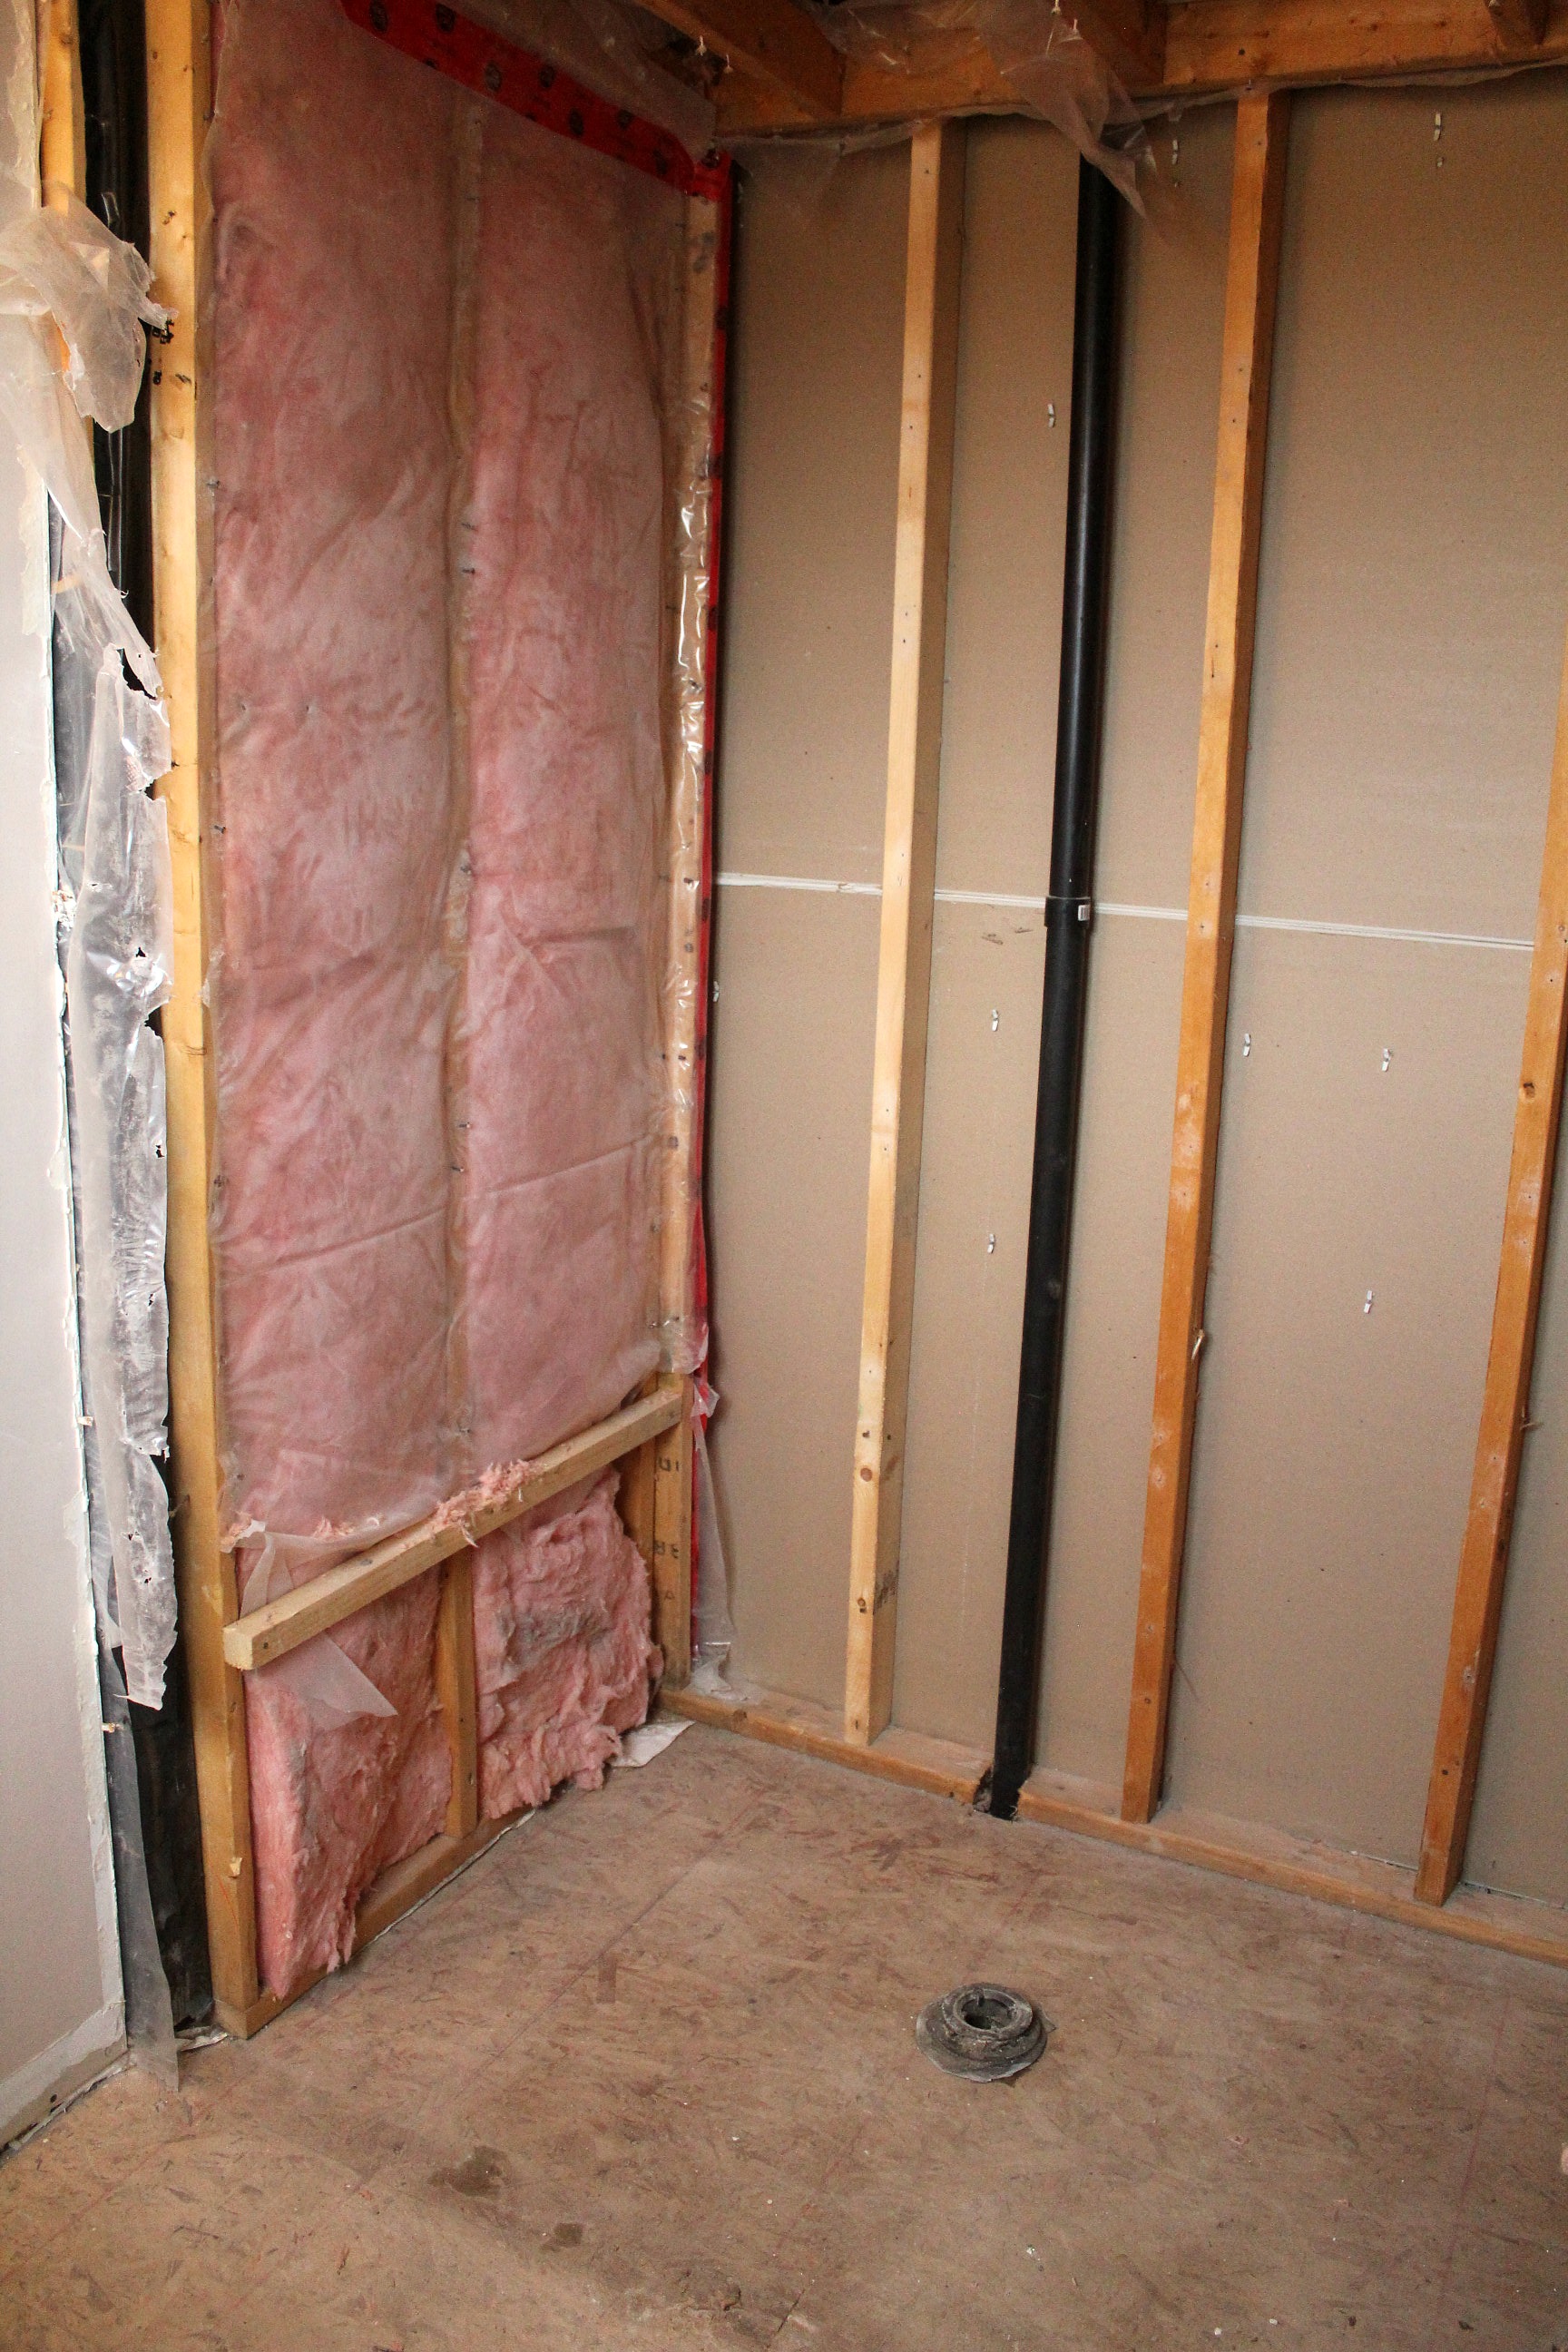
Once the vanity and toilet were removed we got down to tearing out the shower. Prepare for some nasty photos, it's going to get dirty in here.
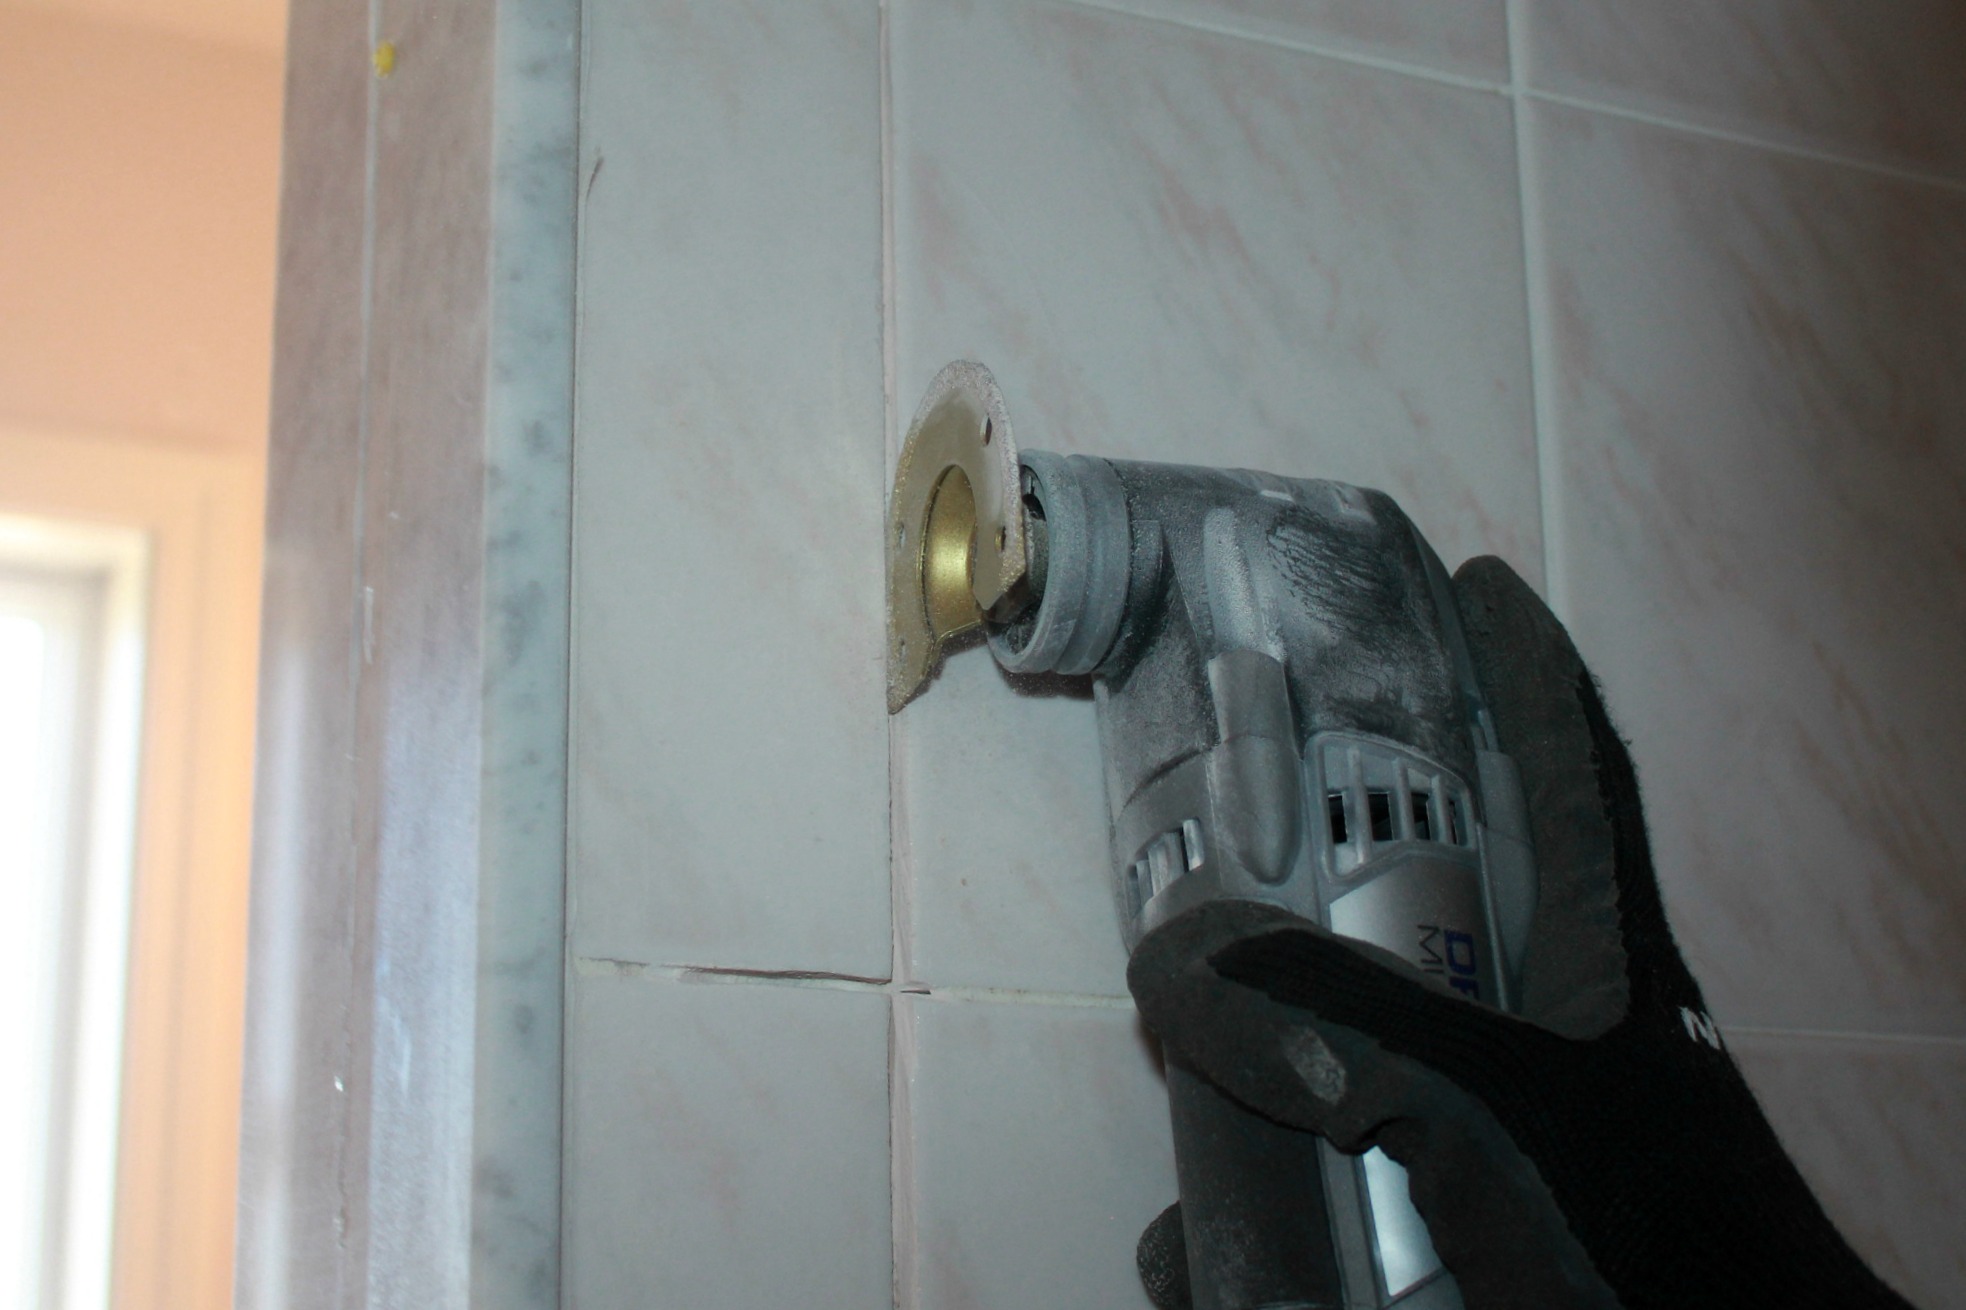
We removed the door and started taking apart the door frame. I finally got the chance to use my Dremel Multi-Max (yay!) with the grout blade. Tom said it sounded like an angry beaver when it was cutting. There's video, but it's all out of focus so I won't subject you to that. Judging by how easily the tiles around the door came off, I'm surprised the shower didn't fall in on us a long time ago. Everything underneath was completely rotted.
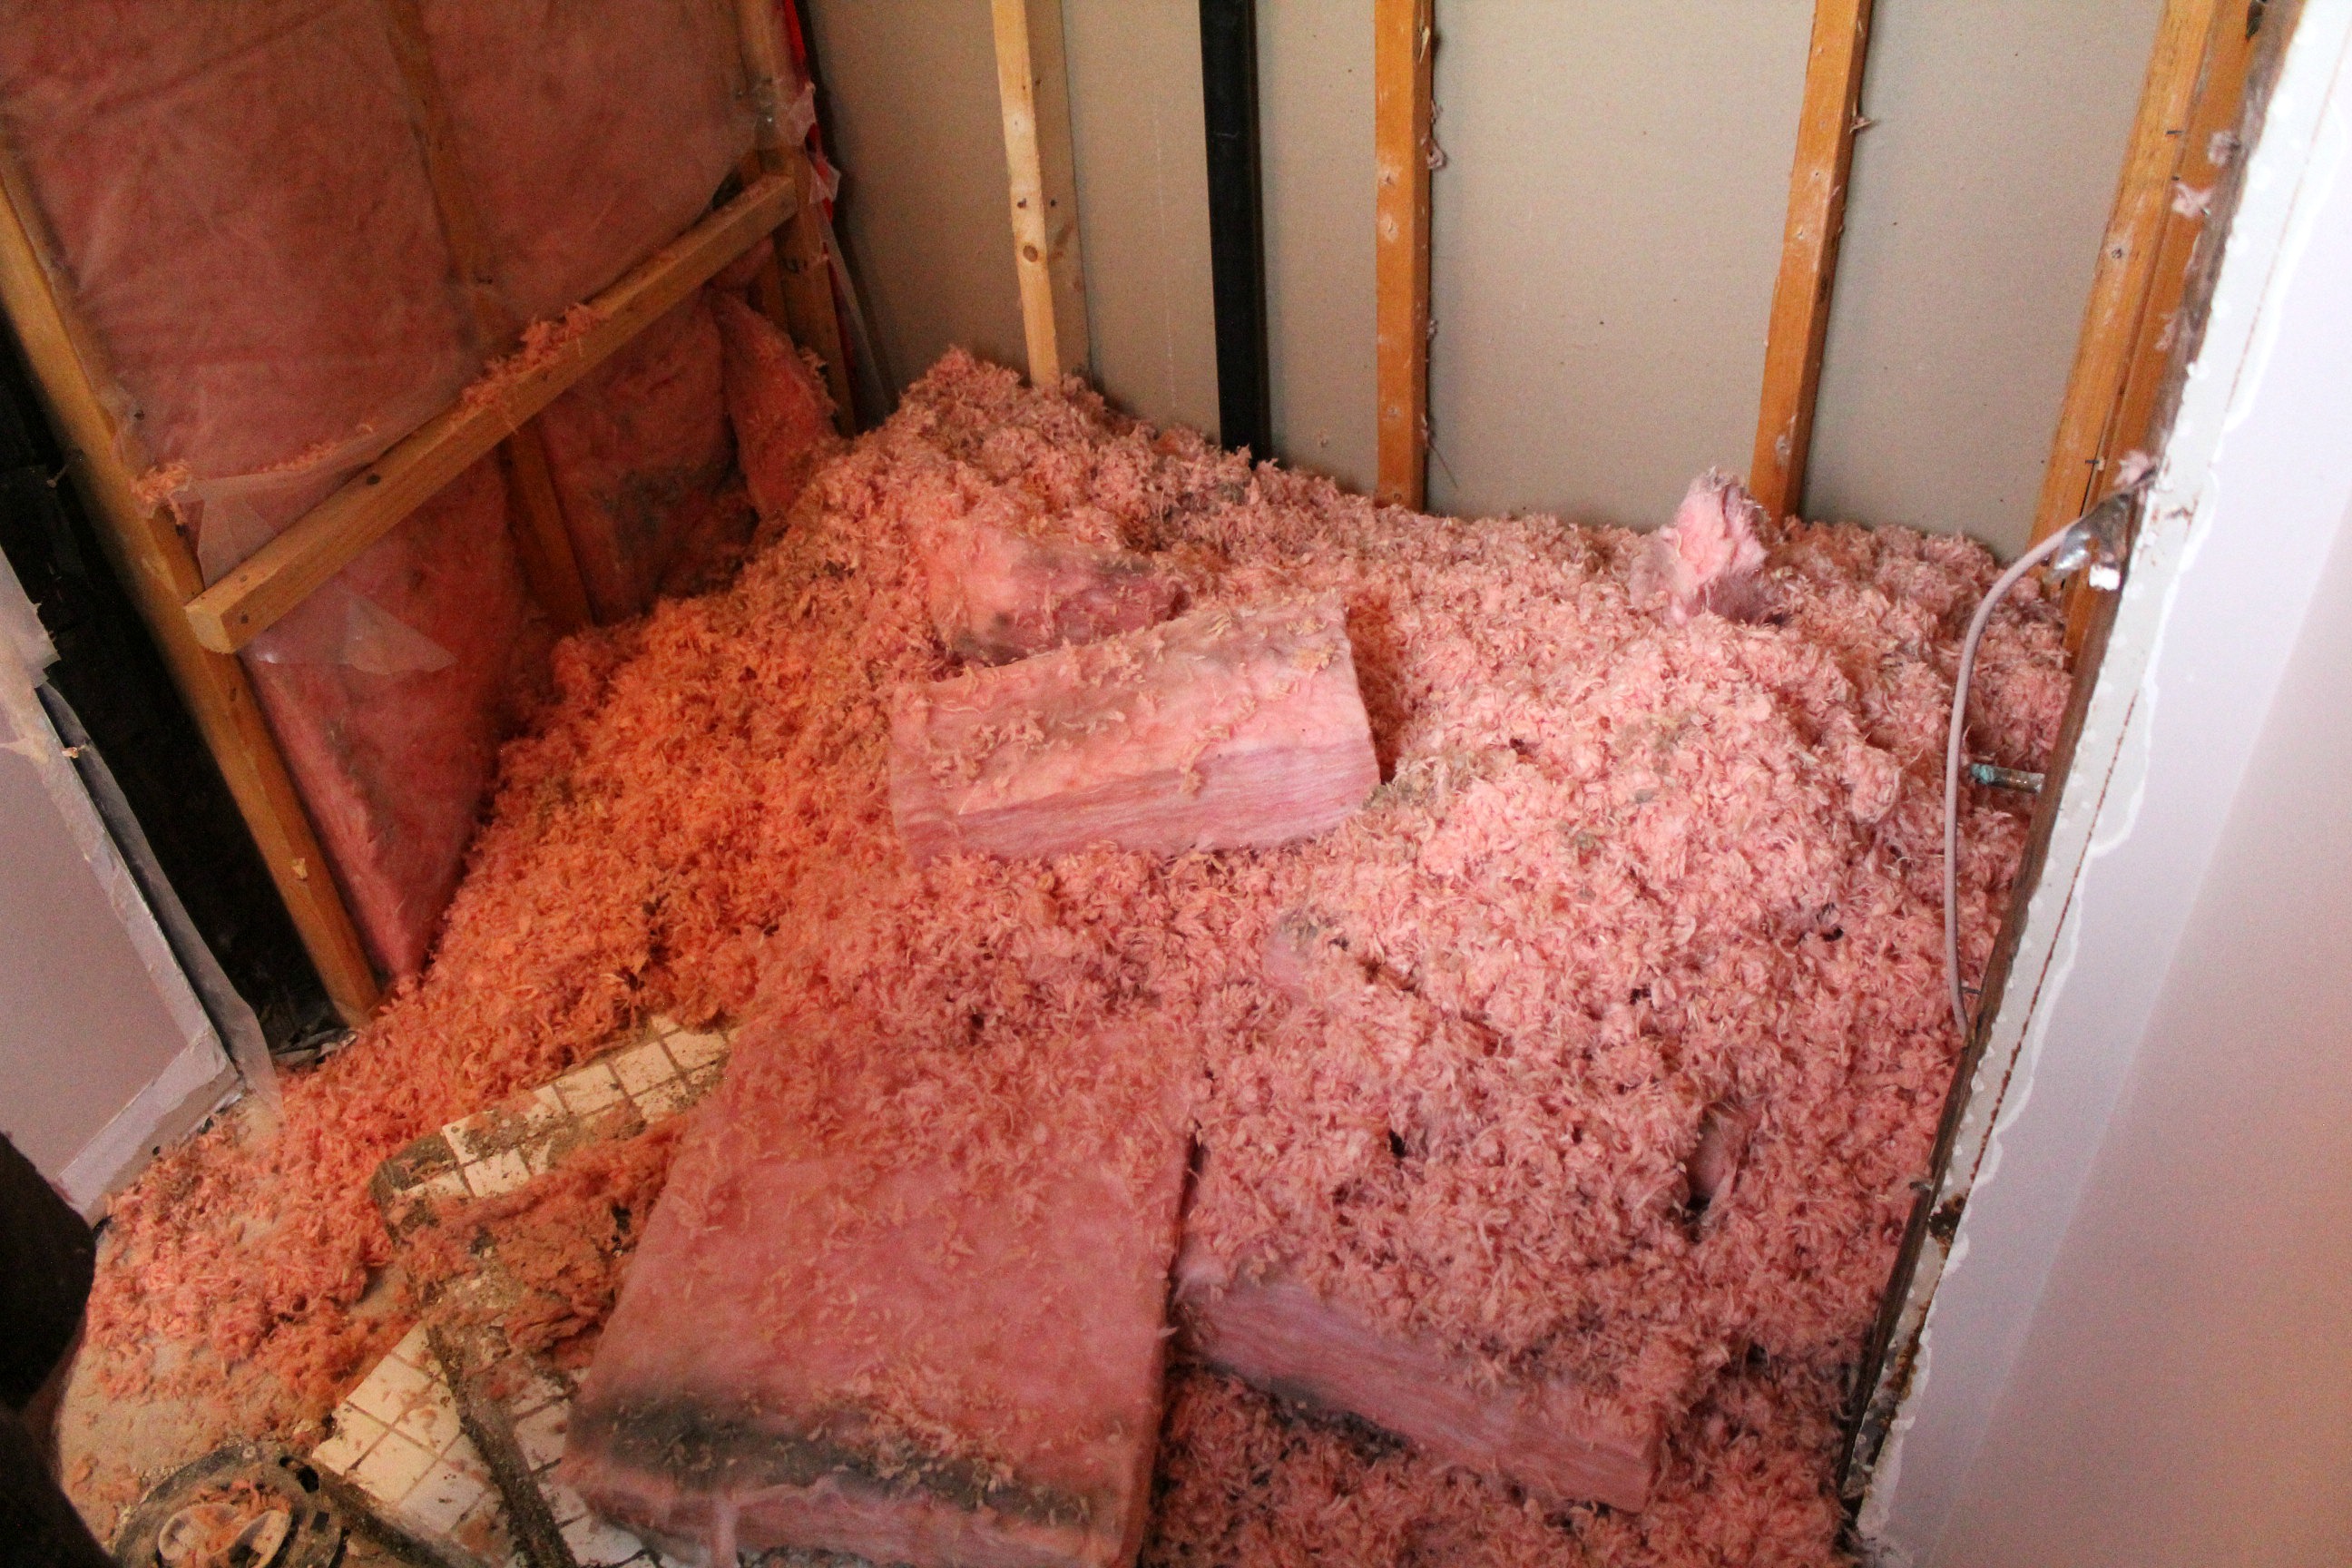
The ceiling above the shower was lower than in the rest of the room. We were hoping that it was just empty space up there and that we could raise it up to the same level as the main room. When we tore off the tile and drywall we were met with cross beams and insulation. But when we pulled the plastic back (and the insulation fell down) we saw that it was insulation all the way up. So we are going to be able to raise the beams up, put new insulation in, and have an even ceiling all the way across.
We're meeting with the contractor tomorrow night to go over all the details and then my part is done. Tom's the plumber, I just do the heavy lifting.
**************
Check out these links for the rest of the process -
Bathroom Reno - Plumbing and Insulation
Bathroom Reno - Shower Installation
Bathroom Reno - Tiling
Bathroom Reno - Reveal!




No comments:
Post a Comment