


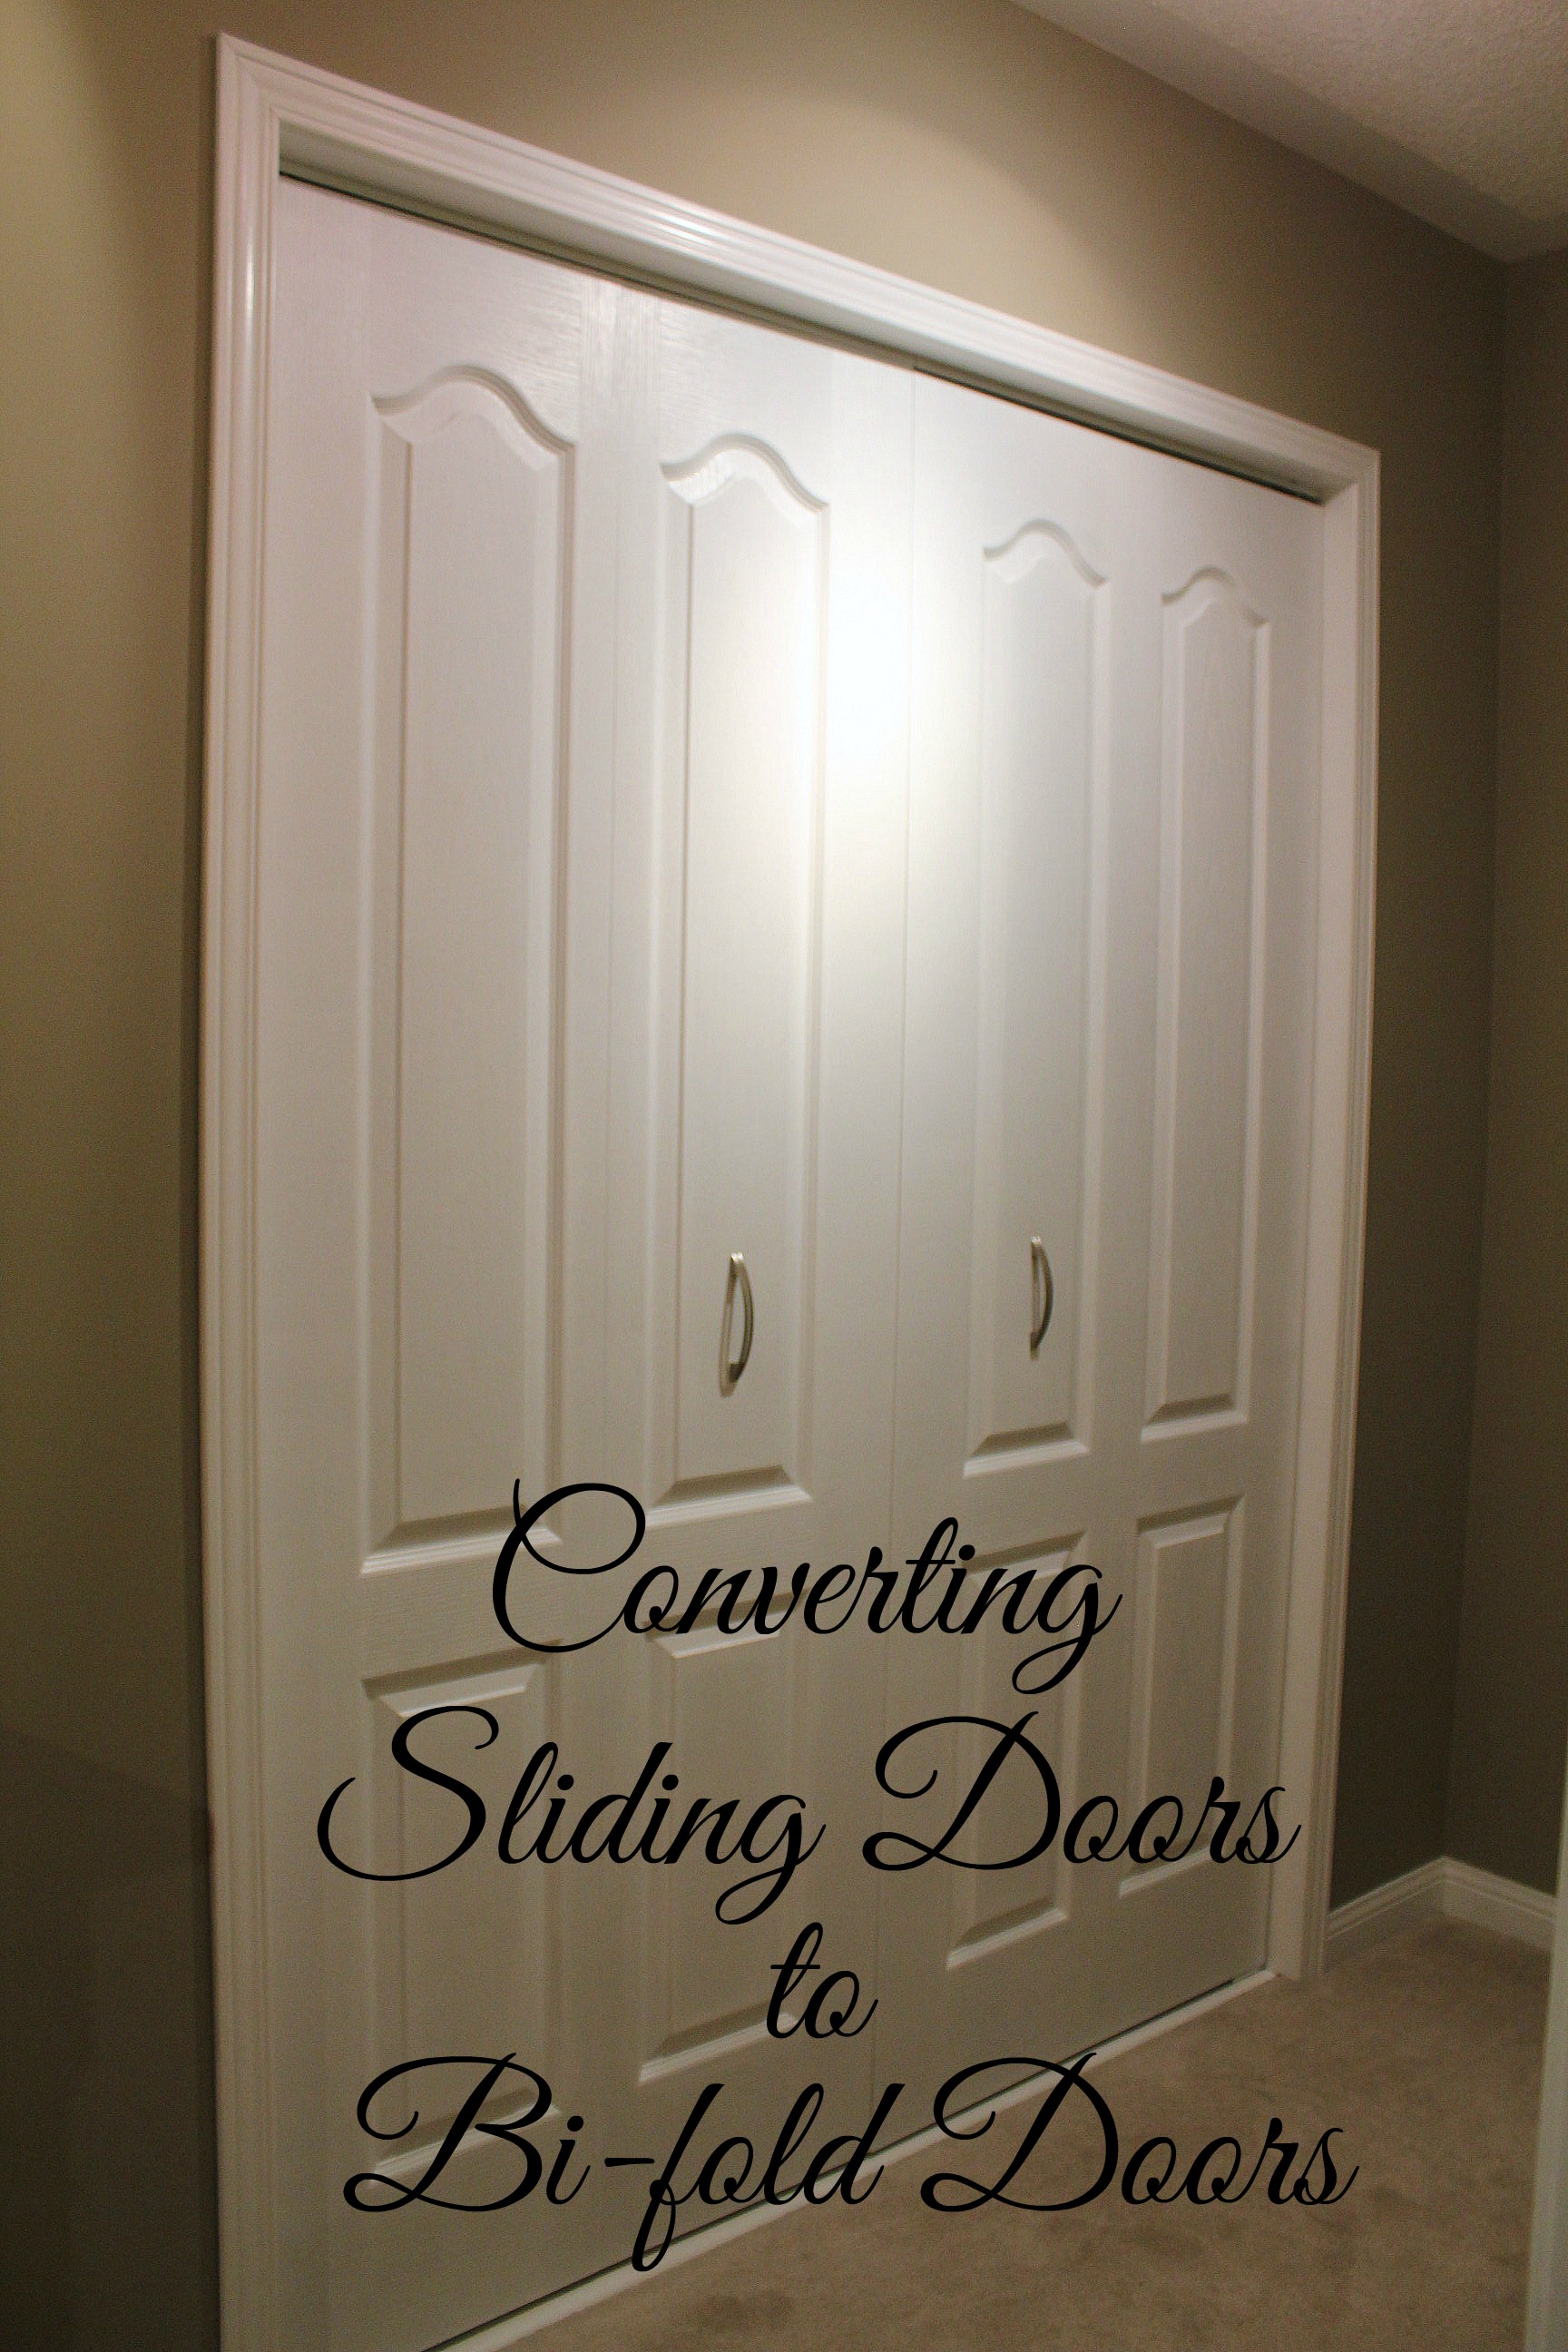
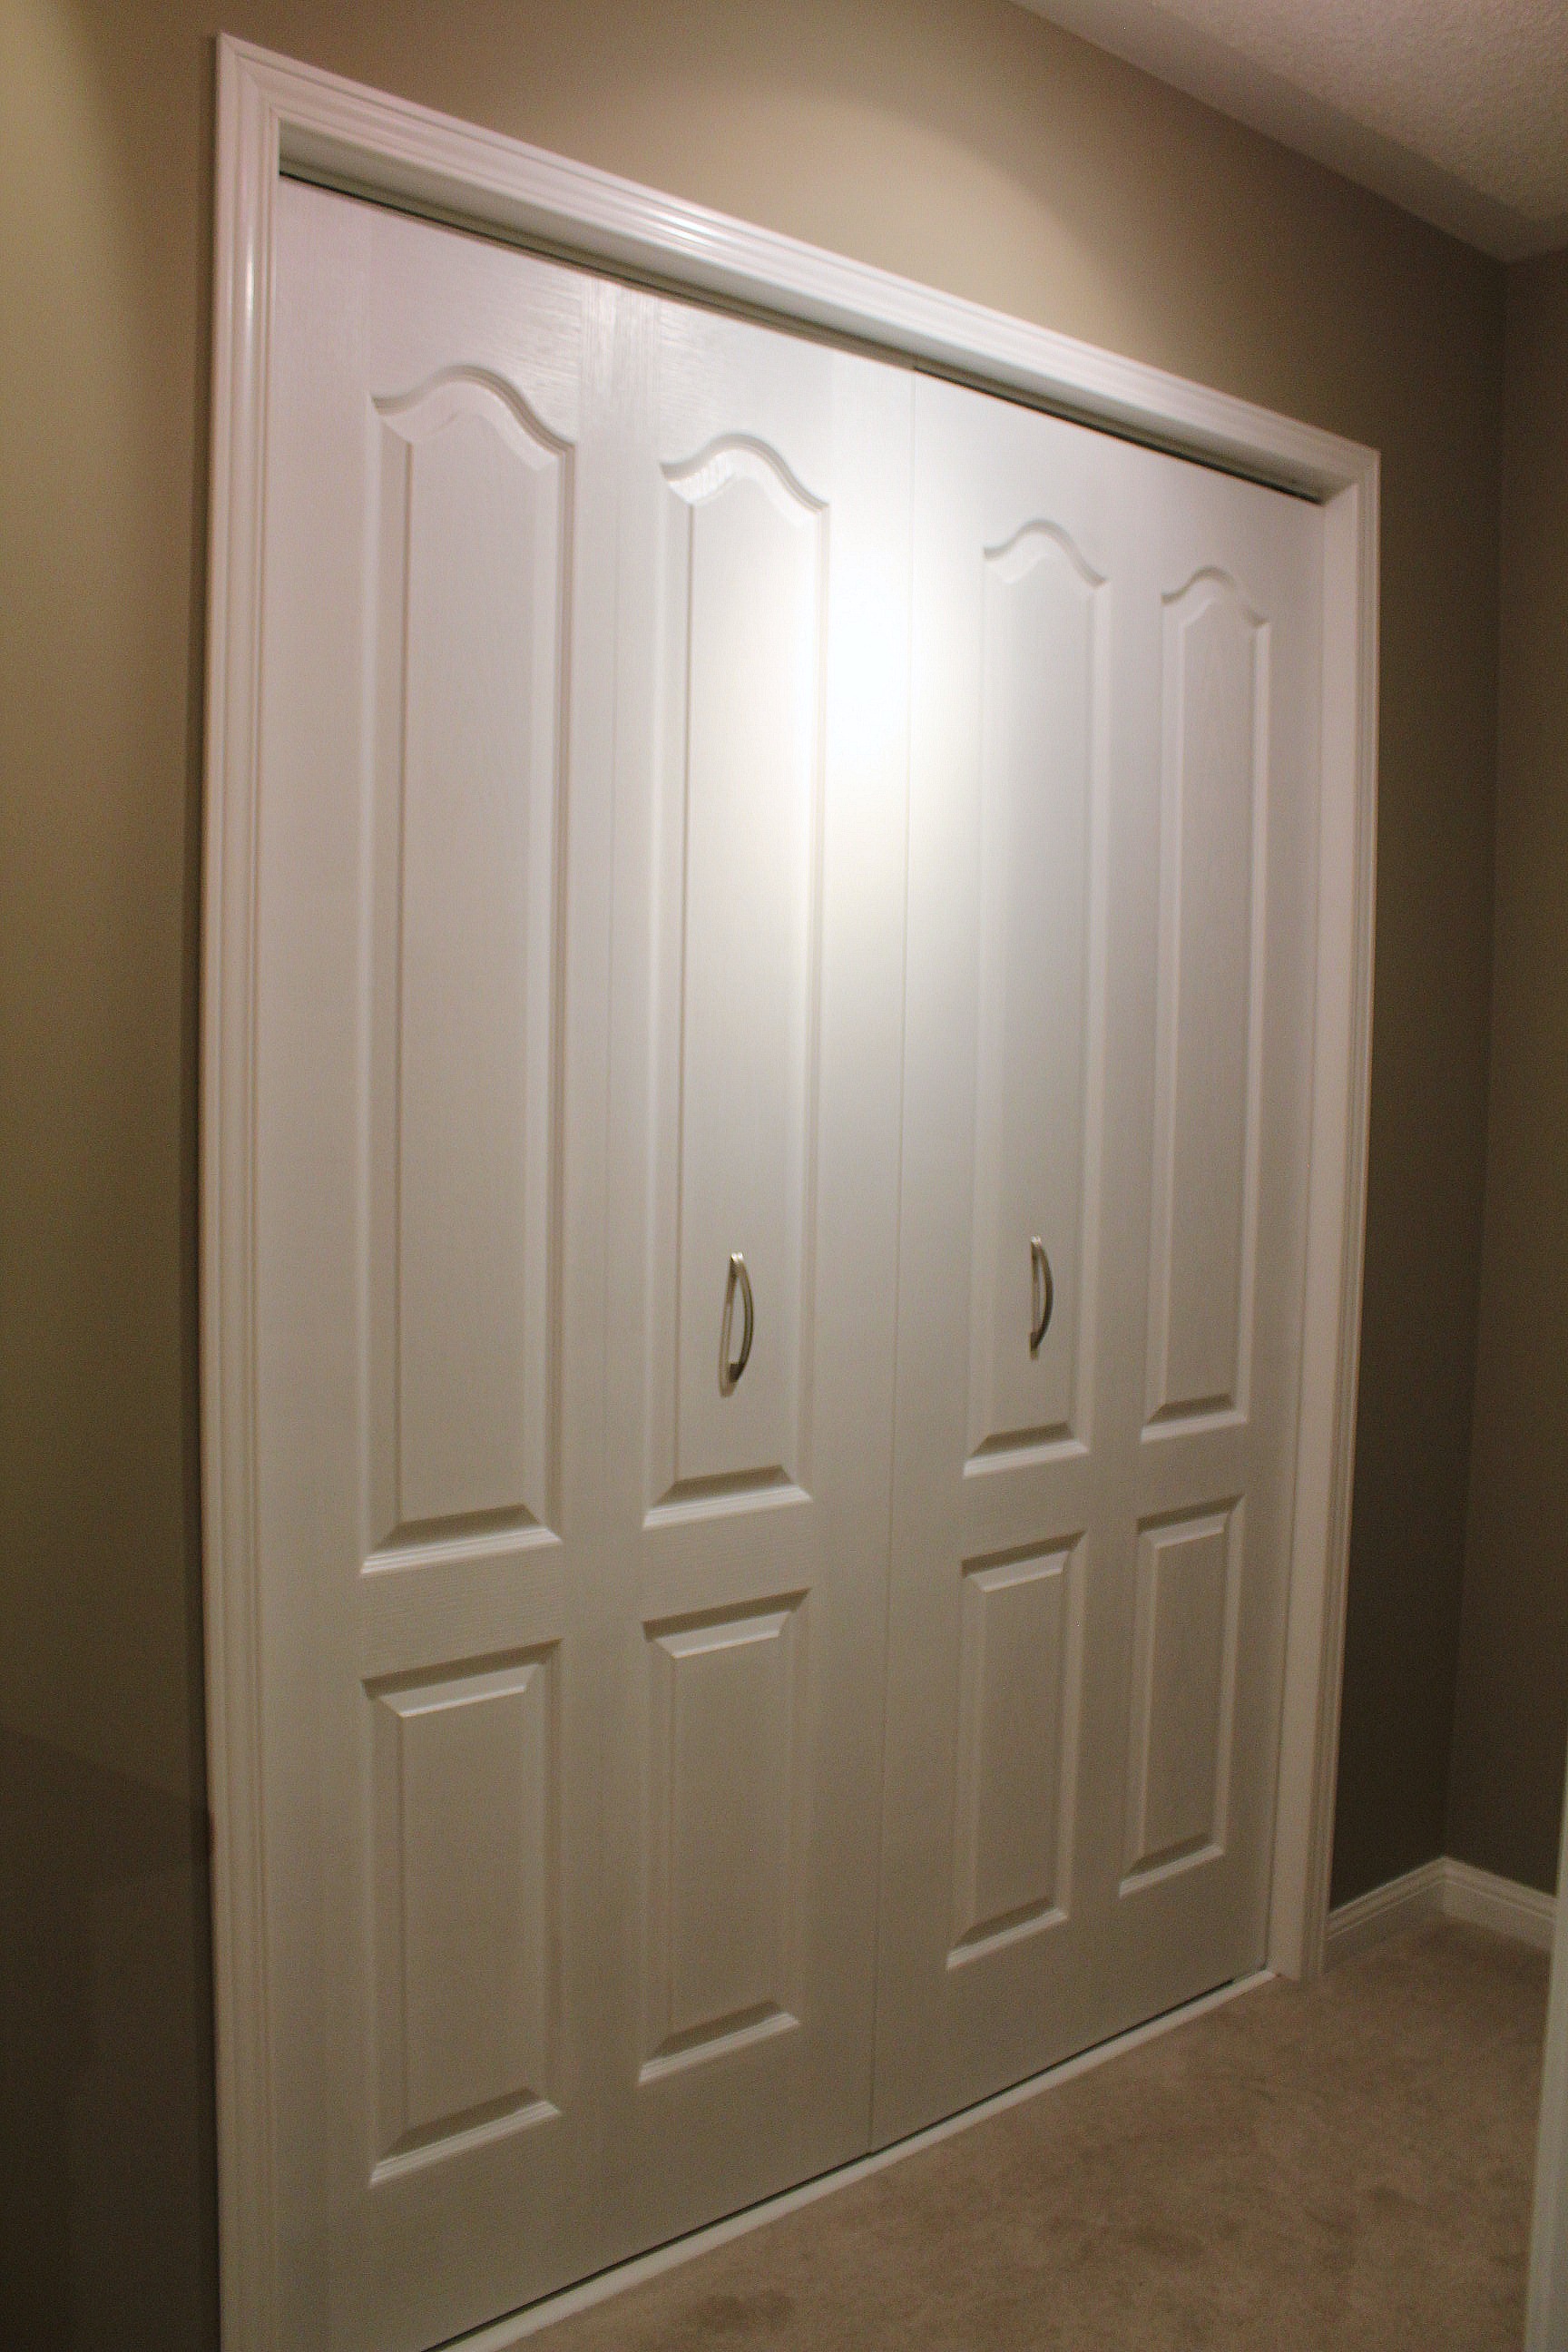
In our area most houses have closets with sliding doors. They're quick to install and they don't encroach on the room space. But they're not that pretty, are they? And ask anyone who has them how annoying it is to have to constantly slide them back and forth because you don't know which side something is on.
Tools/supplies you'll need:
- power drill, with drill and screwdriver bits
- a level
- wood screws
- finishing nails
- shims
- prybar/screwdriver
- mitre box or mitre saw
- nail gun
- paintable caulk
- wood putty
- sandpaper
- paint
Nice to have but not necessary:
- table saw
- planer
- oscillating cutter (like a Dremel Multi-Max)
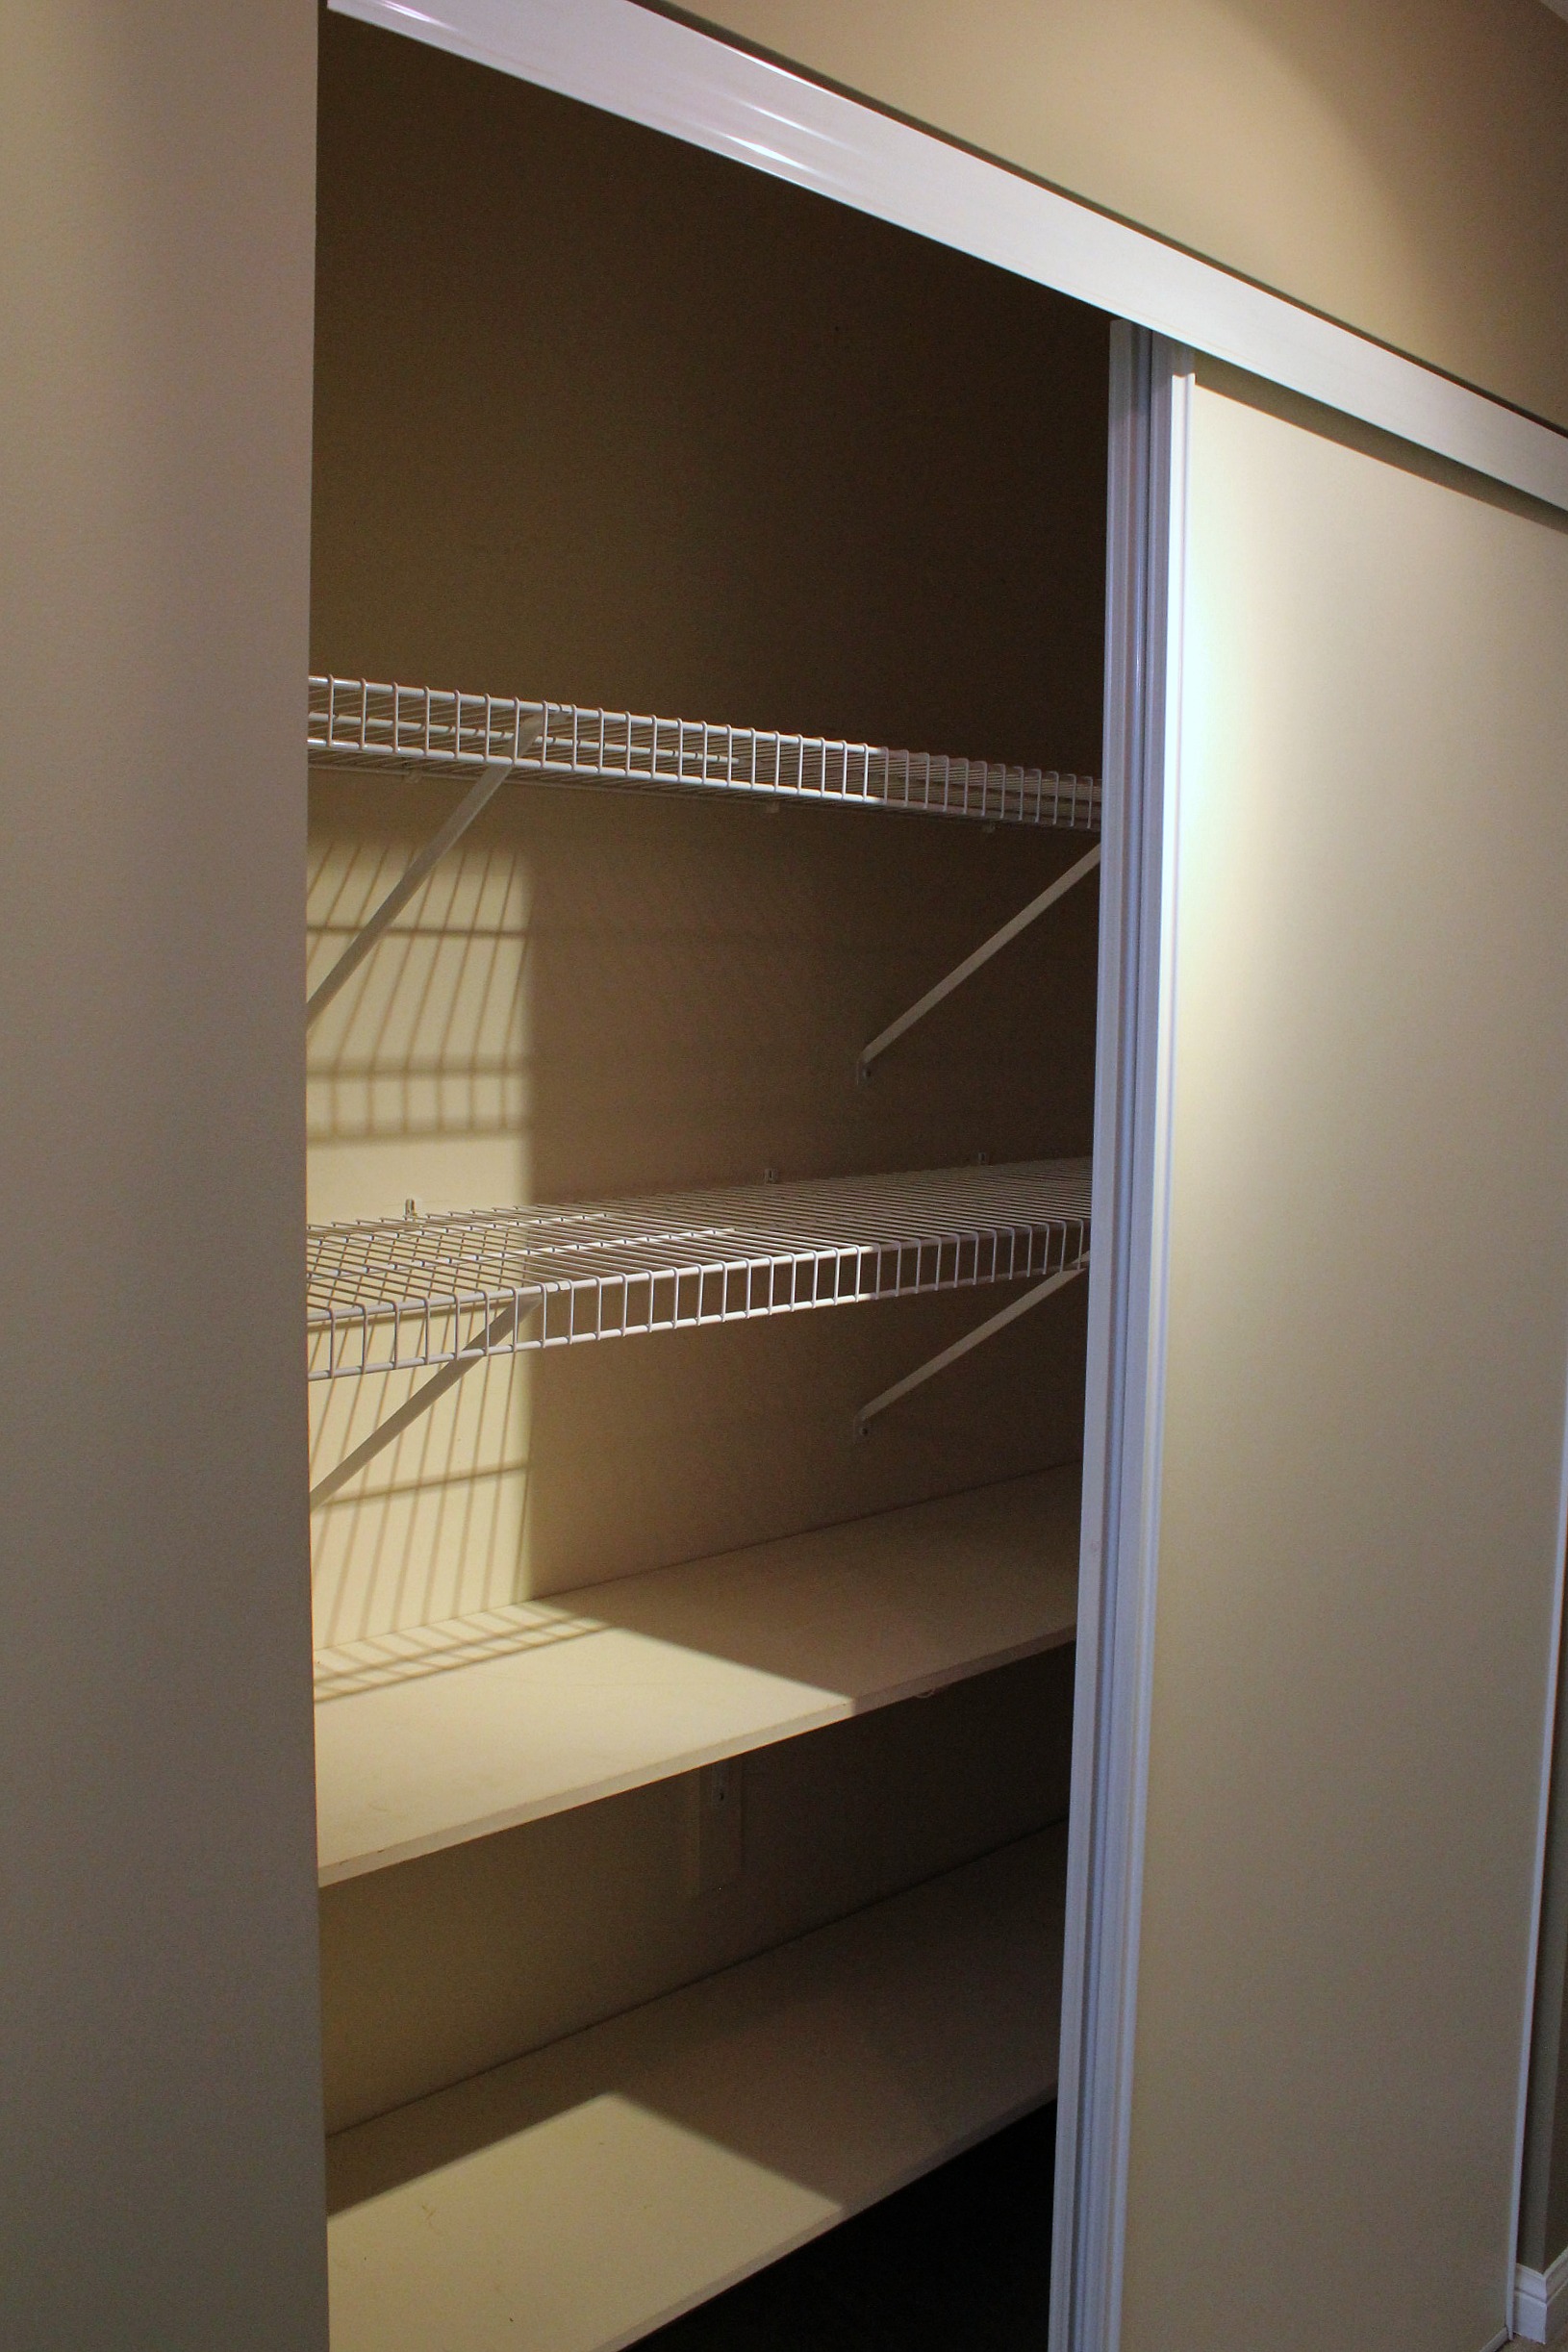
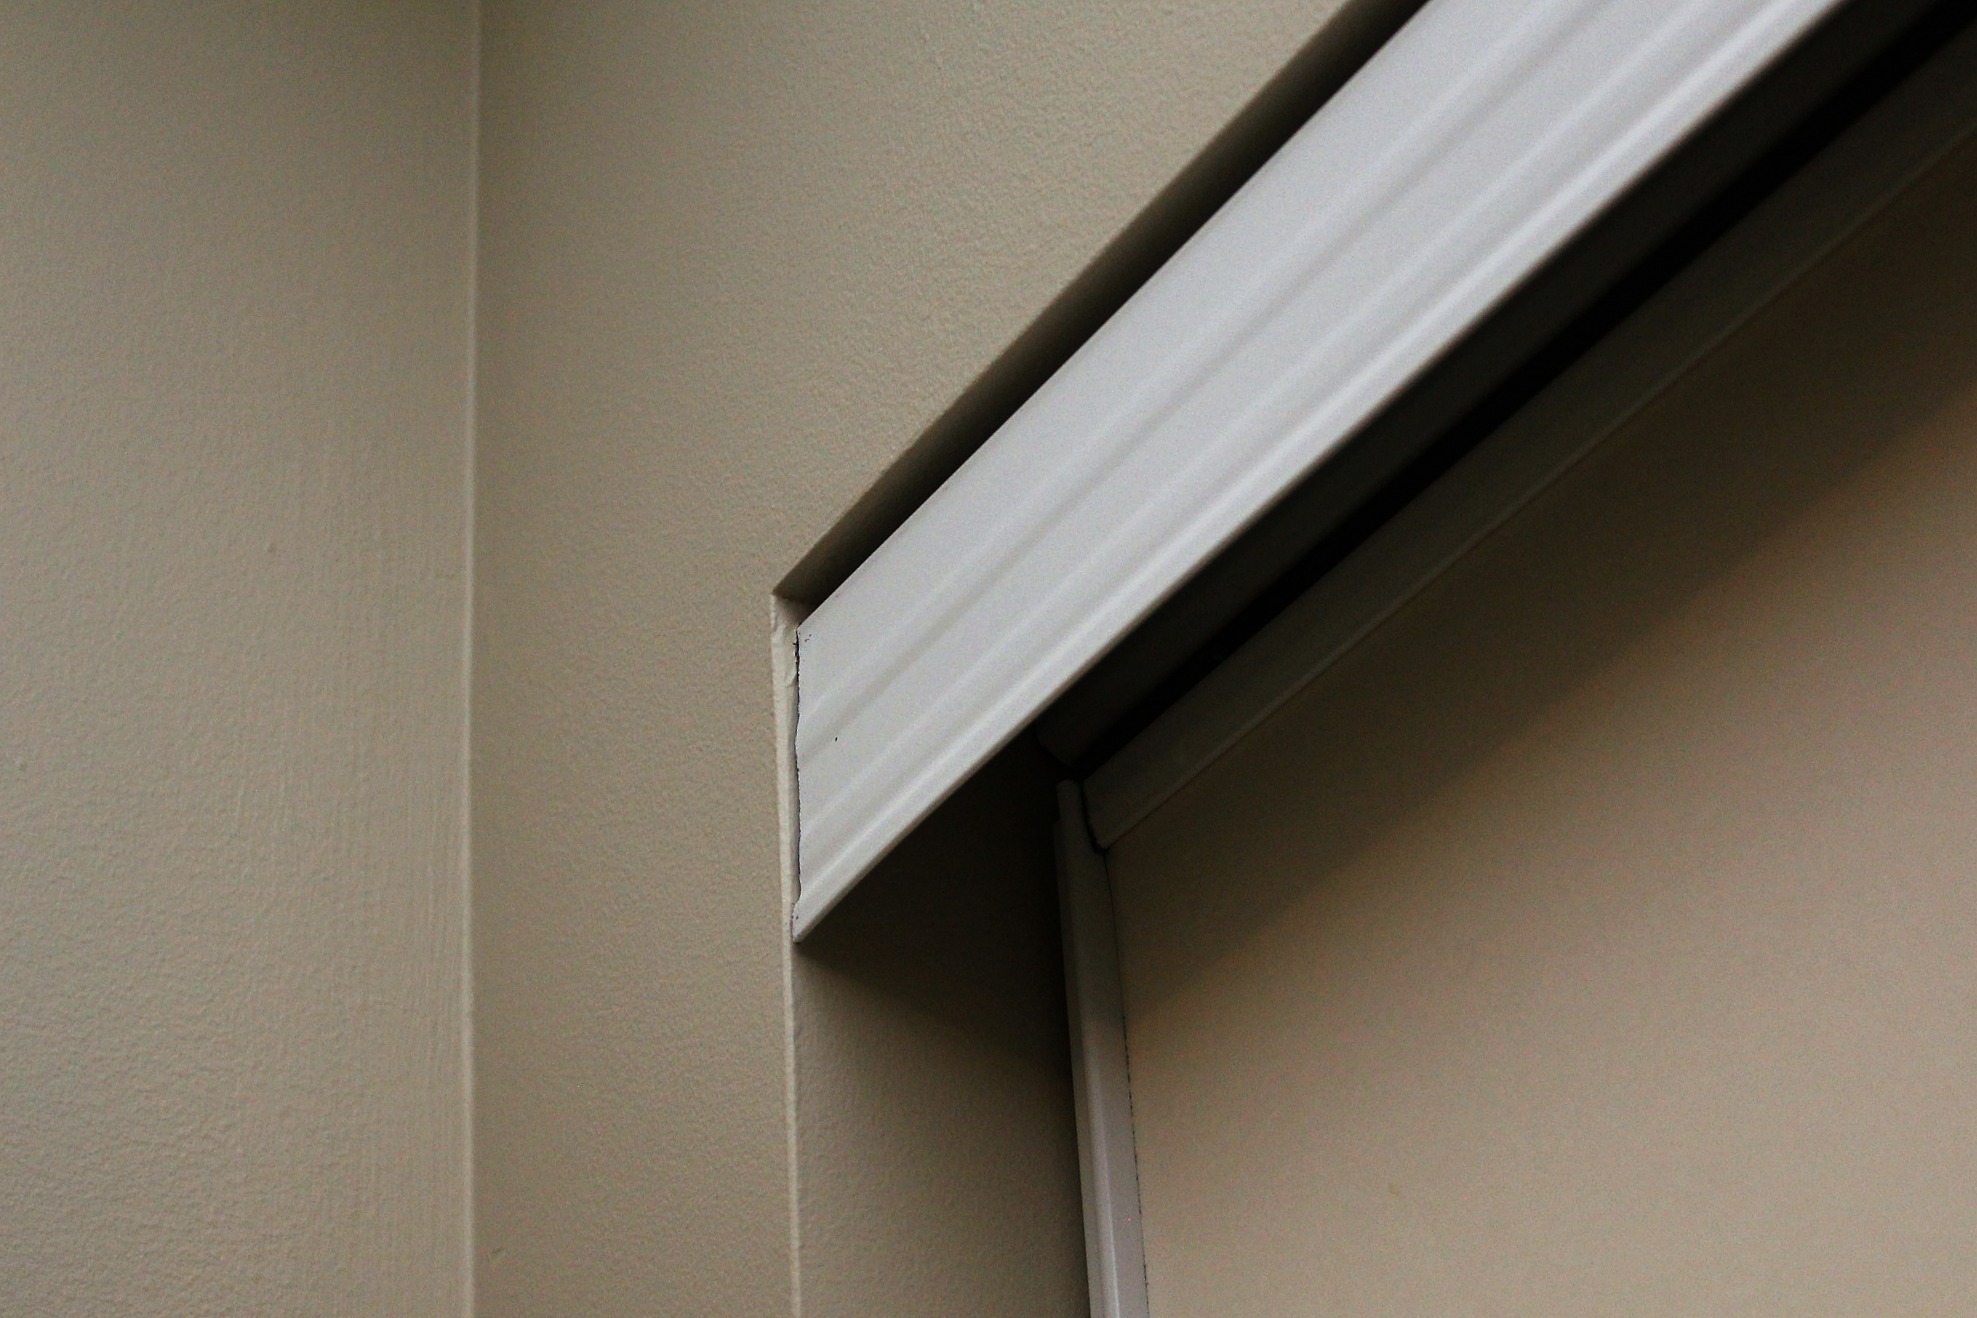
First you'll want to remove the sliding doors and the top and bottom tracks. The doors should just pop out of the tracks - you might have to use a screwdriver to push the bottom clips out of the way. The tracks are usually just screwed into the upper doorway and the floor with a few screws.
Assuming your doorway is like ours, you'll want to frame it in and add trim. Measure the width and the height of the opening. The bi-fold doors available at our local Home Depot were 24", 30", and 36" wide, by 80" high. Our closet opening was about 61"x 81", so we needed 2-30 inch doors and 1 inch boards to frame in the doorway. The doorway "wall" is 5 inches thick so we bought 3-1x6x8 ft pine select boards for the sides and top, and a 1x4x8 ft board for the floor (more on that later). We also bought pre-painted trim so that the closet would match the rest of the hall doorways. I took a picture of the existing bedroom doorway trim with my phone so that I could match it in the store. If you have a spare piece you can take with you, that's even better.
Framing the doorway
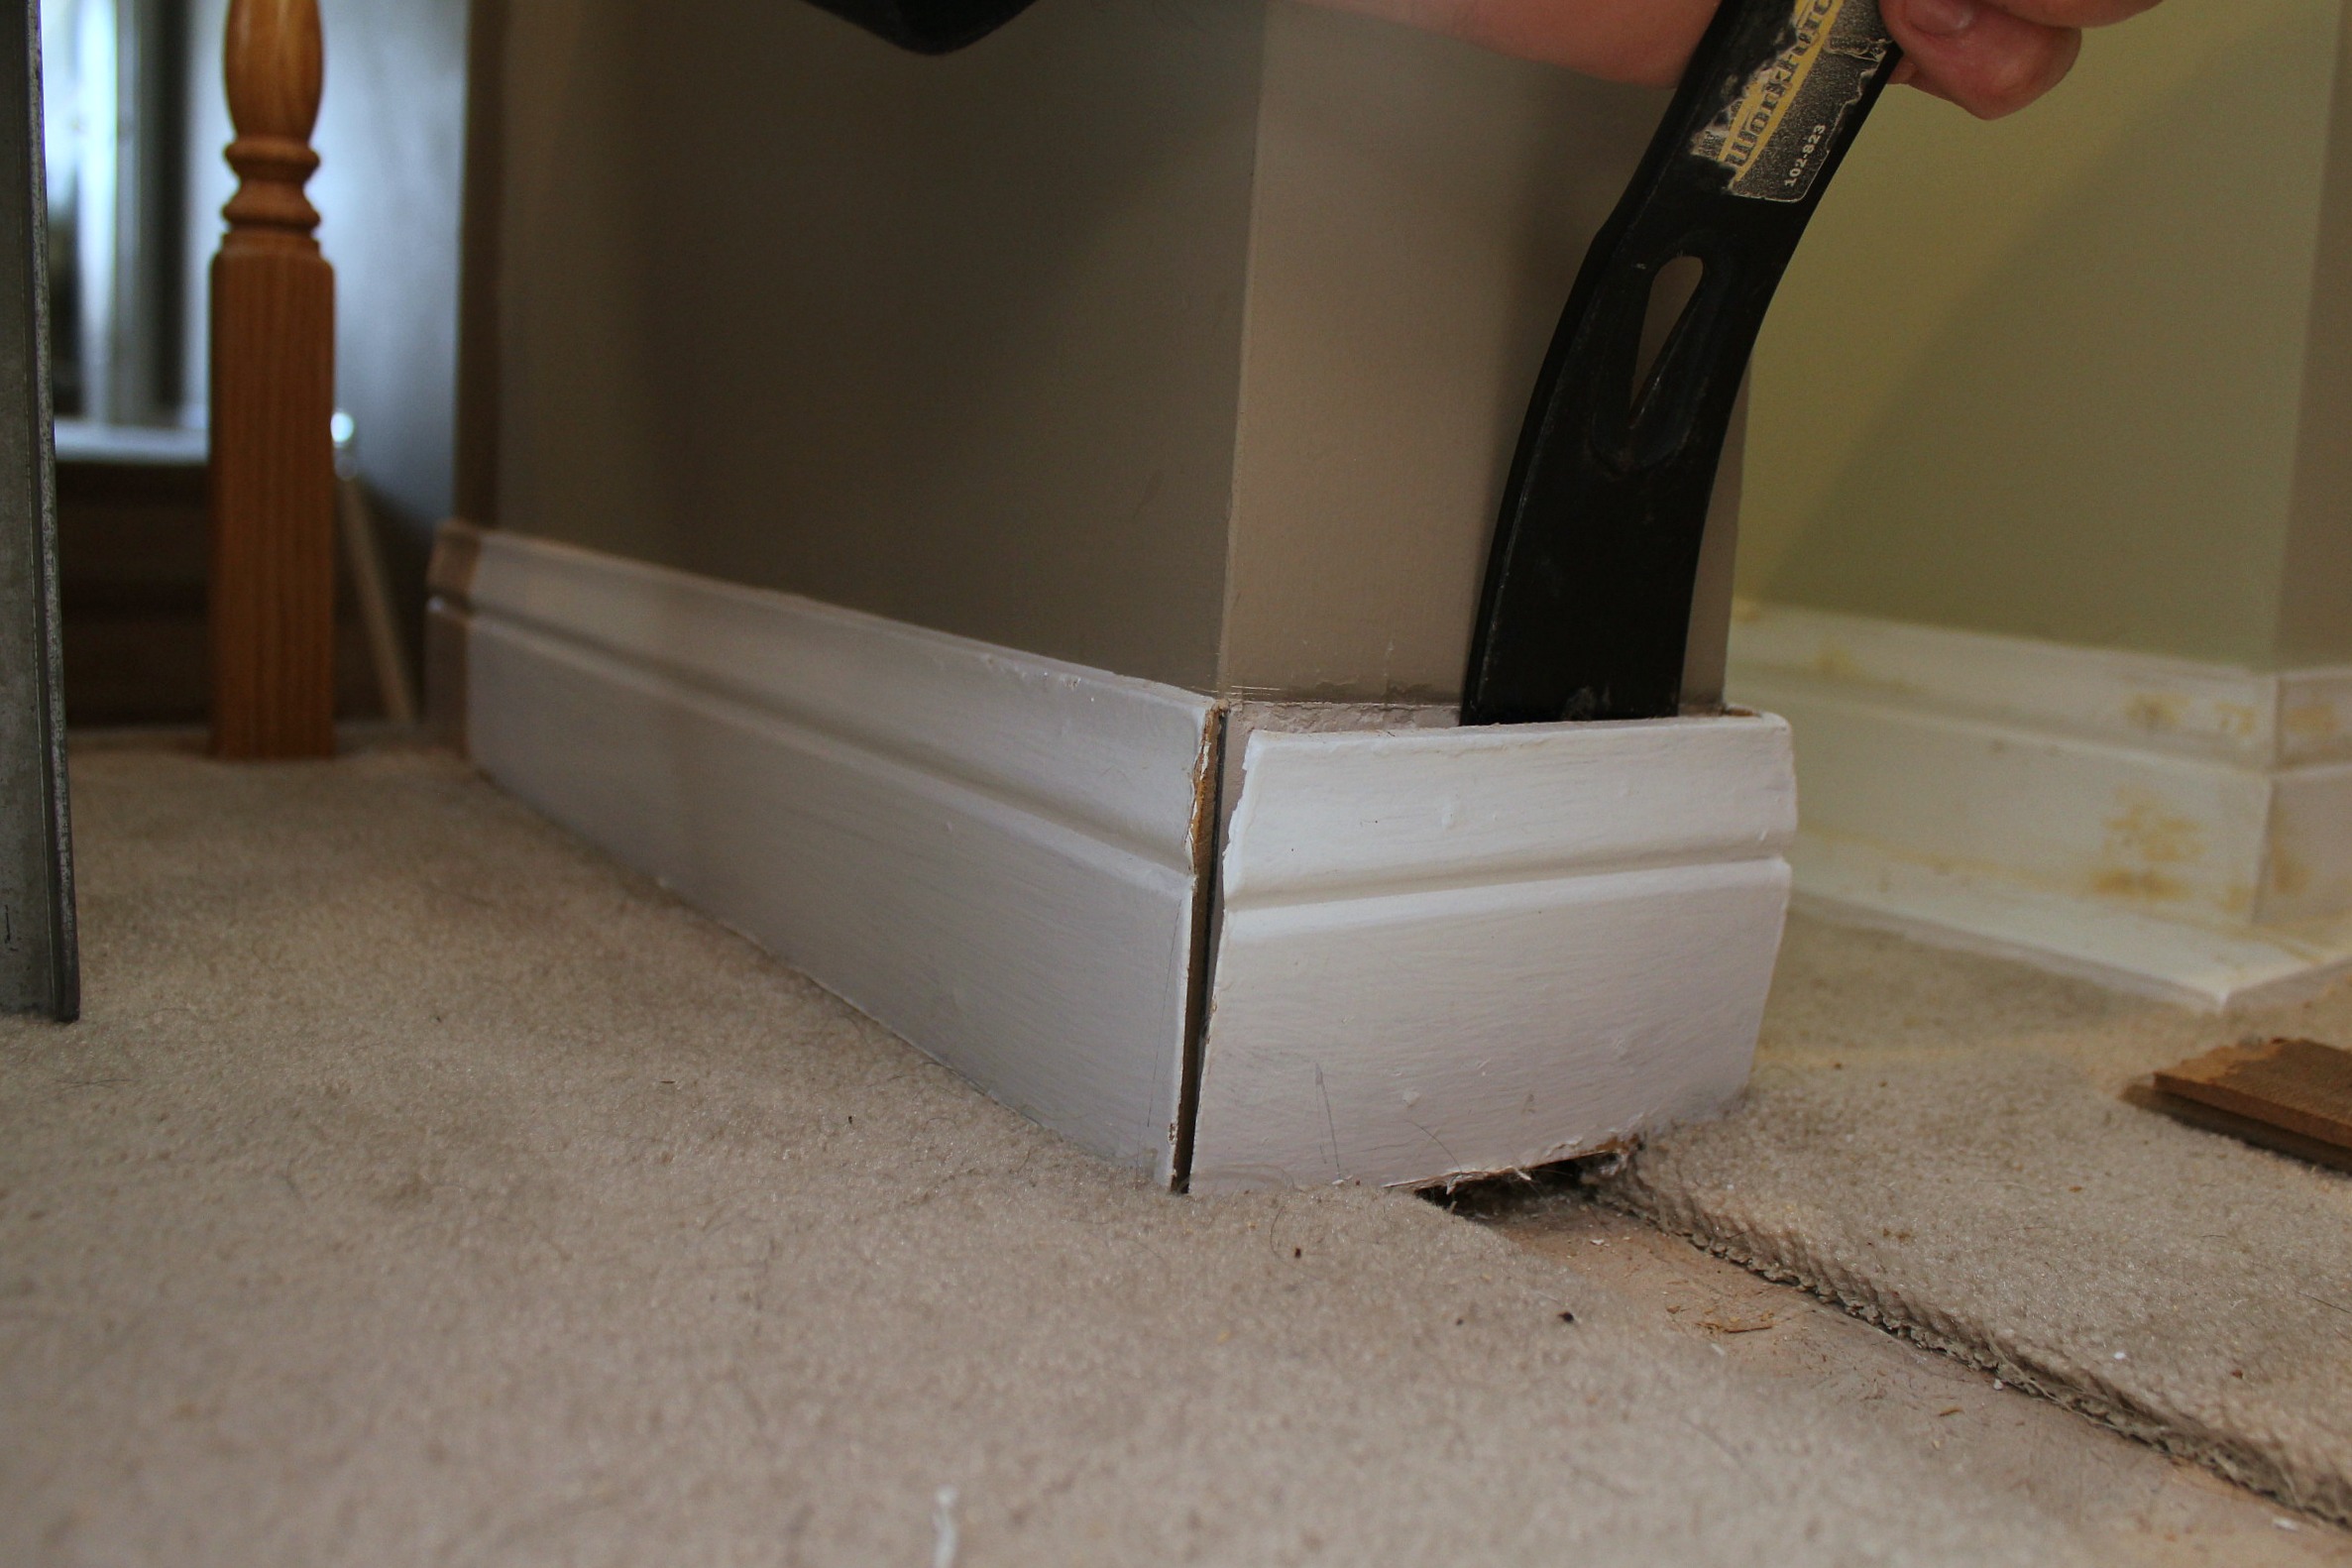
If your baseboards wrap around the doorway you'll need to remove the side pieces. Carefully run a utility knife along the corner seams of the baseboard trim to separate the side pieces from the hall/room pieces and along the top edge of the baseboard to separate it from the wall. If previous paint jobs have glued them to each other you can end up damaging the drywall if you just tear the baseboard off. Once the edges are scored, wedge a prybar or flathead screwdriver between the wall and the baseboard and pull the trim out a bit. Work the prybar back and forth along the piece of trim until you can pull it free from the wall.
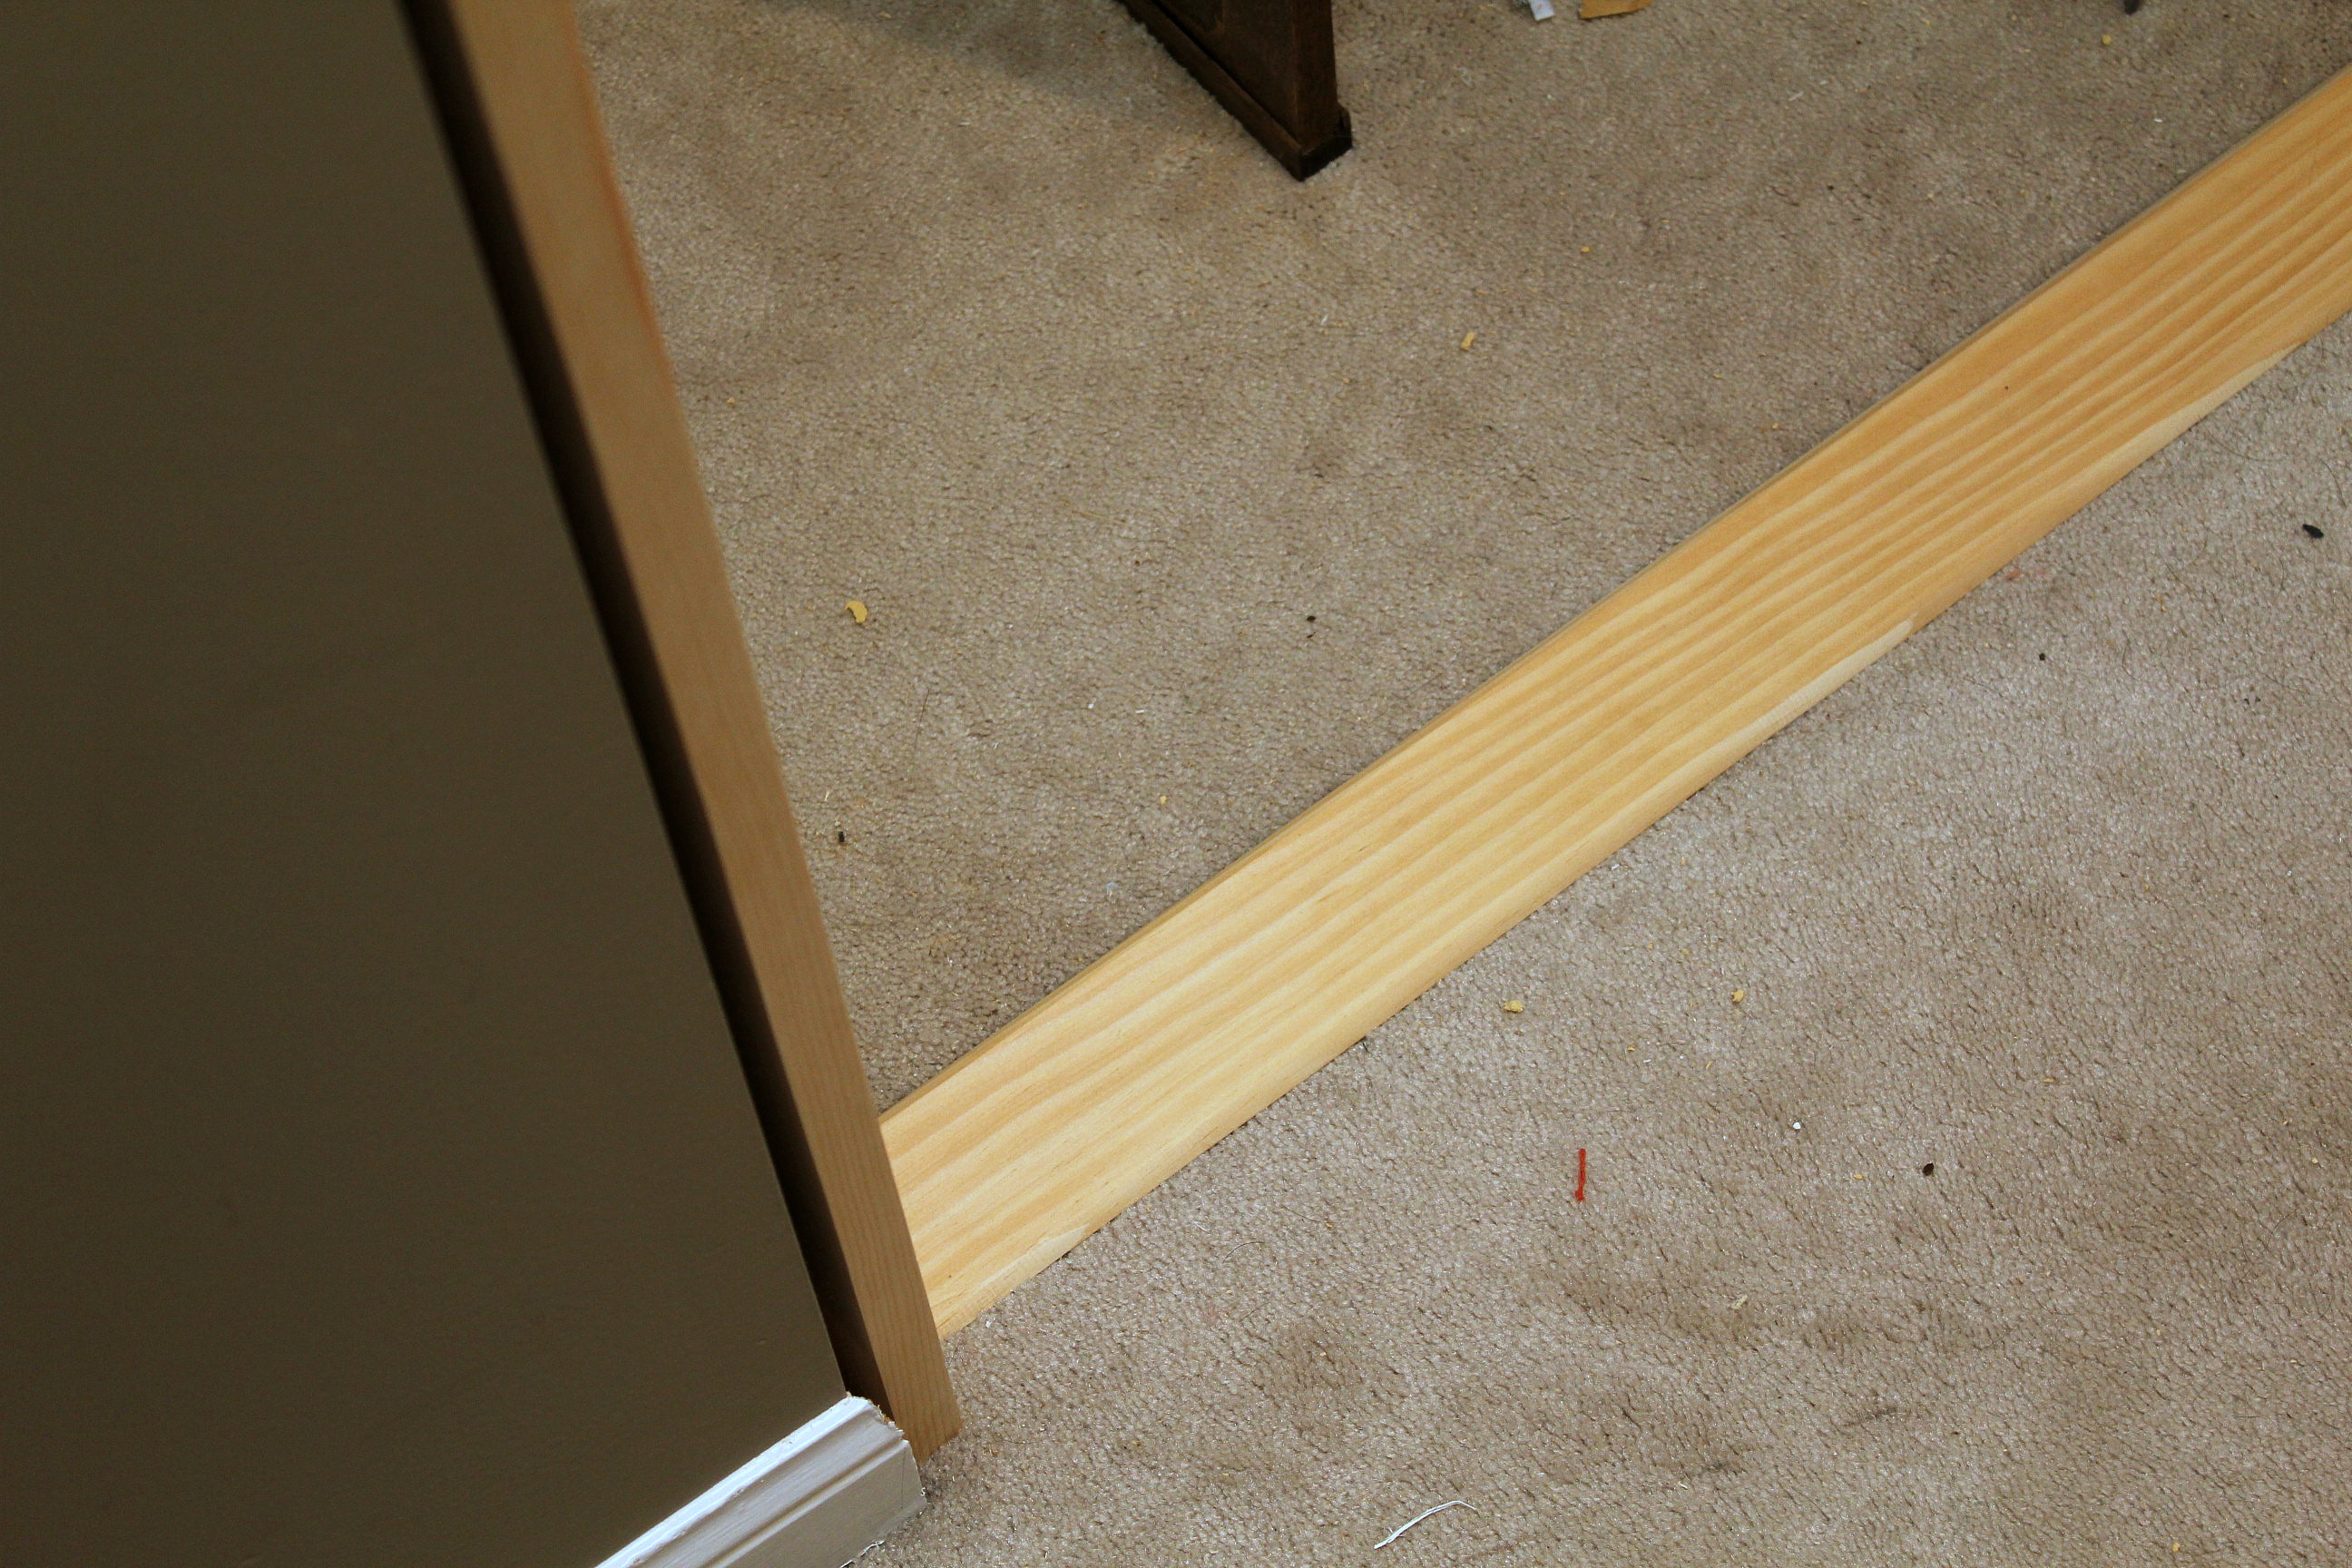
Our linen closet and upstairs hallway are carpeted - separately from each other - so we needed to hide the gap between carpet edges that was previously under the door track. This would also provide a hard surface for the bottom door brackets to attach to. This bottom piece needed to be as flush as possible with the floor while still overhanging the carpet on each side so that the carpet edges were hidden. Tom took a piece of 1x4 inch board and routered along each side to form a long T-shaped board. The bottom of the T sits in the gap between the carpet edges, flush to the subfloor, while the arms of the T sit on top of the carpet and hold the edges down. This trim piece was screwed right down into the subfloor.
Note that any time I mention attaching screws, you'll want to drill pilot holes first and counter-sink the screws so that you can putty over them later.
Now to frame in the doorway. As mentioned above, our doorway is 5 inches thick, so two of the 1x6 boards had to be trimmed down a bit with the table saw and cut to 81 inch lengths. To keep the opening wide enough for the doors, Tom had to plane the boards a little, finally getting to use the Dewalt planer I bought for him for his birthday - last August. You don't want the doors rubbing on the frame, but you don't want big gaps either. Don't worry about getting it perfect here - the hardware that comes with the doors is adjustable. Screw these upright boards into the wall loosely. Take your level and make sure the boards are square. If you need to, insert shims between the wall and the board to get it level and keep the board straight. Tighten down the screws, making sure they are flush with your board surface.
Once your two side boards are installed, you can install the top board. Repeat the previous steps by cutting the board to length, planing it if need be. You could also trim the wood with a table saw and then sand it smooth if you don't have a planer. That's what we've done in the past. Then you screw in the board and shim it out if necessary.
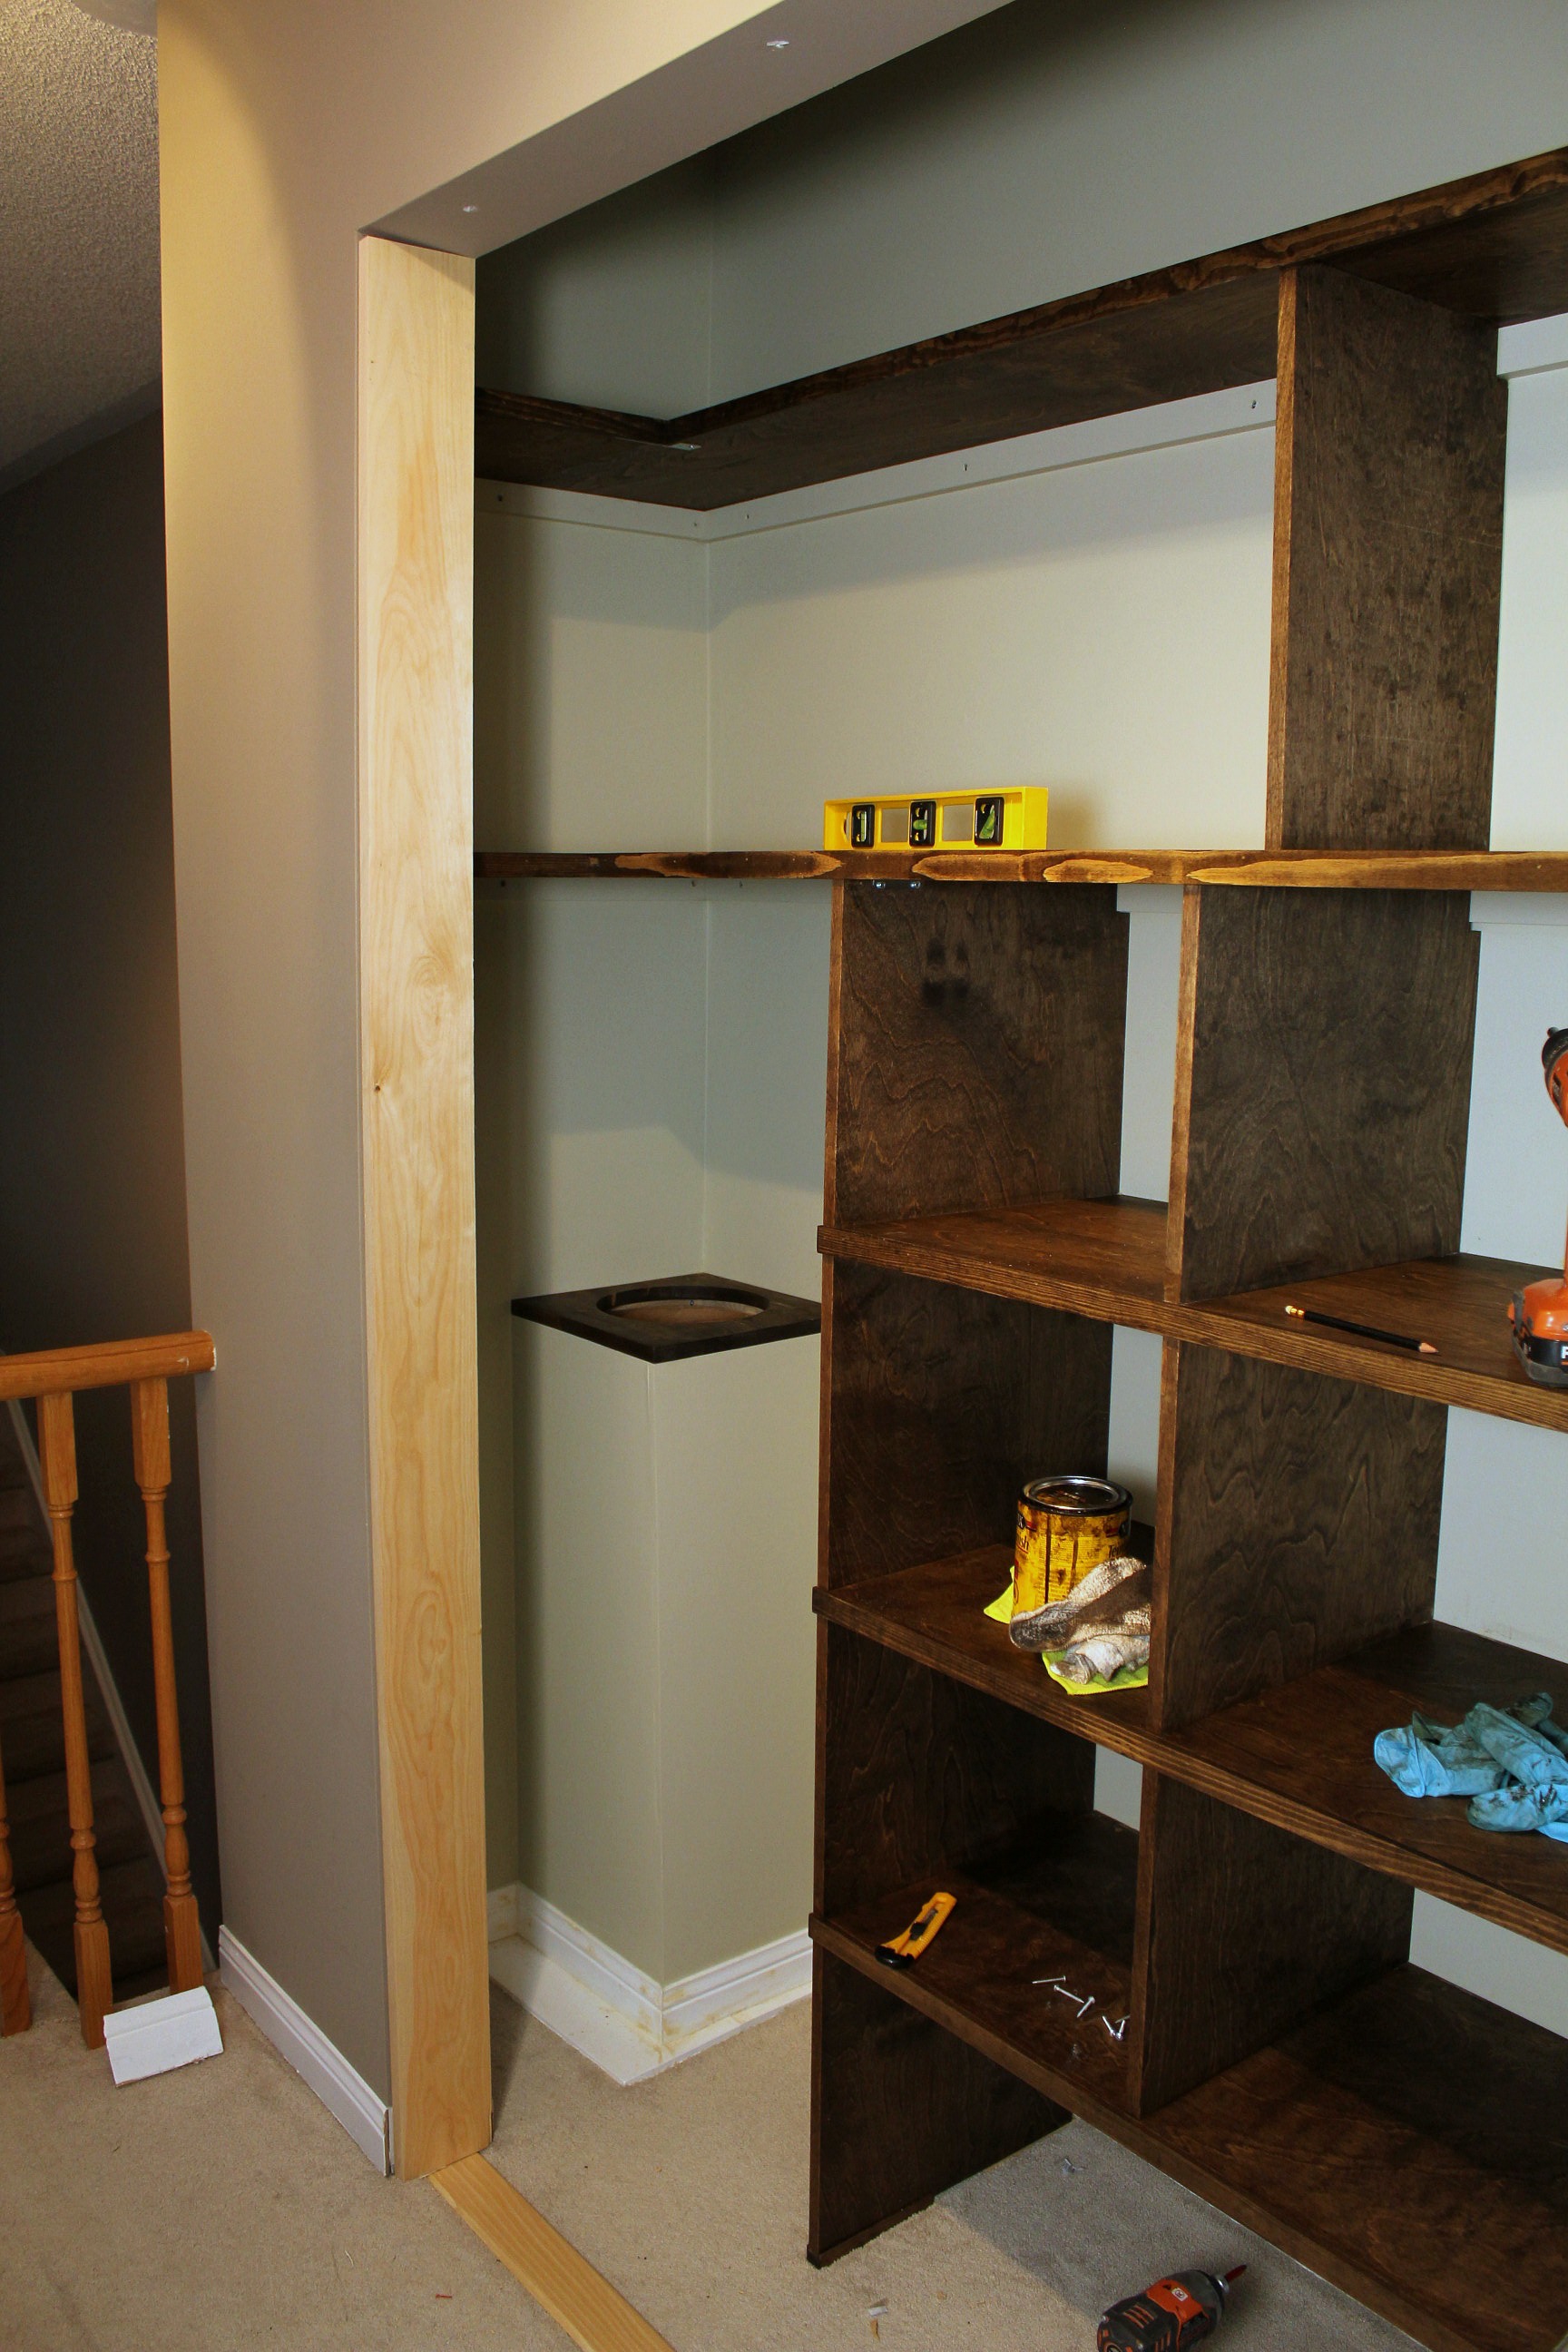
You're frame is built! At this point we took it all apart, gave the boards a couple of coats of paint, and then put it back together. It's much easier to paint when you don't have to worry about getting paint on surrounding areas.
Installing the trim
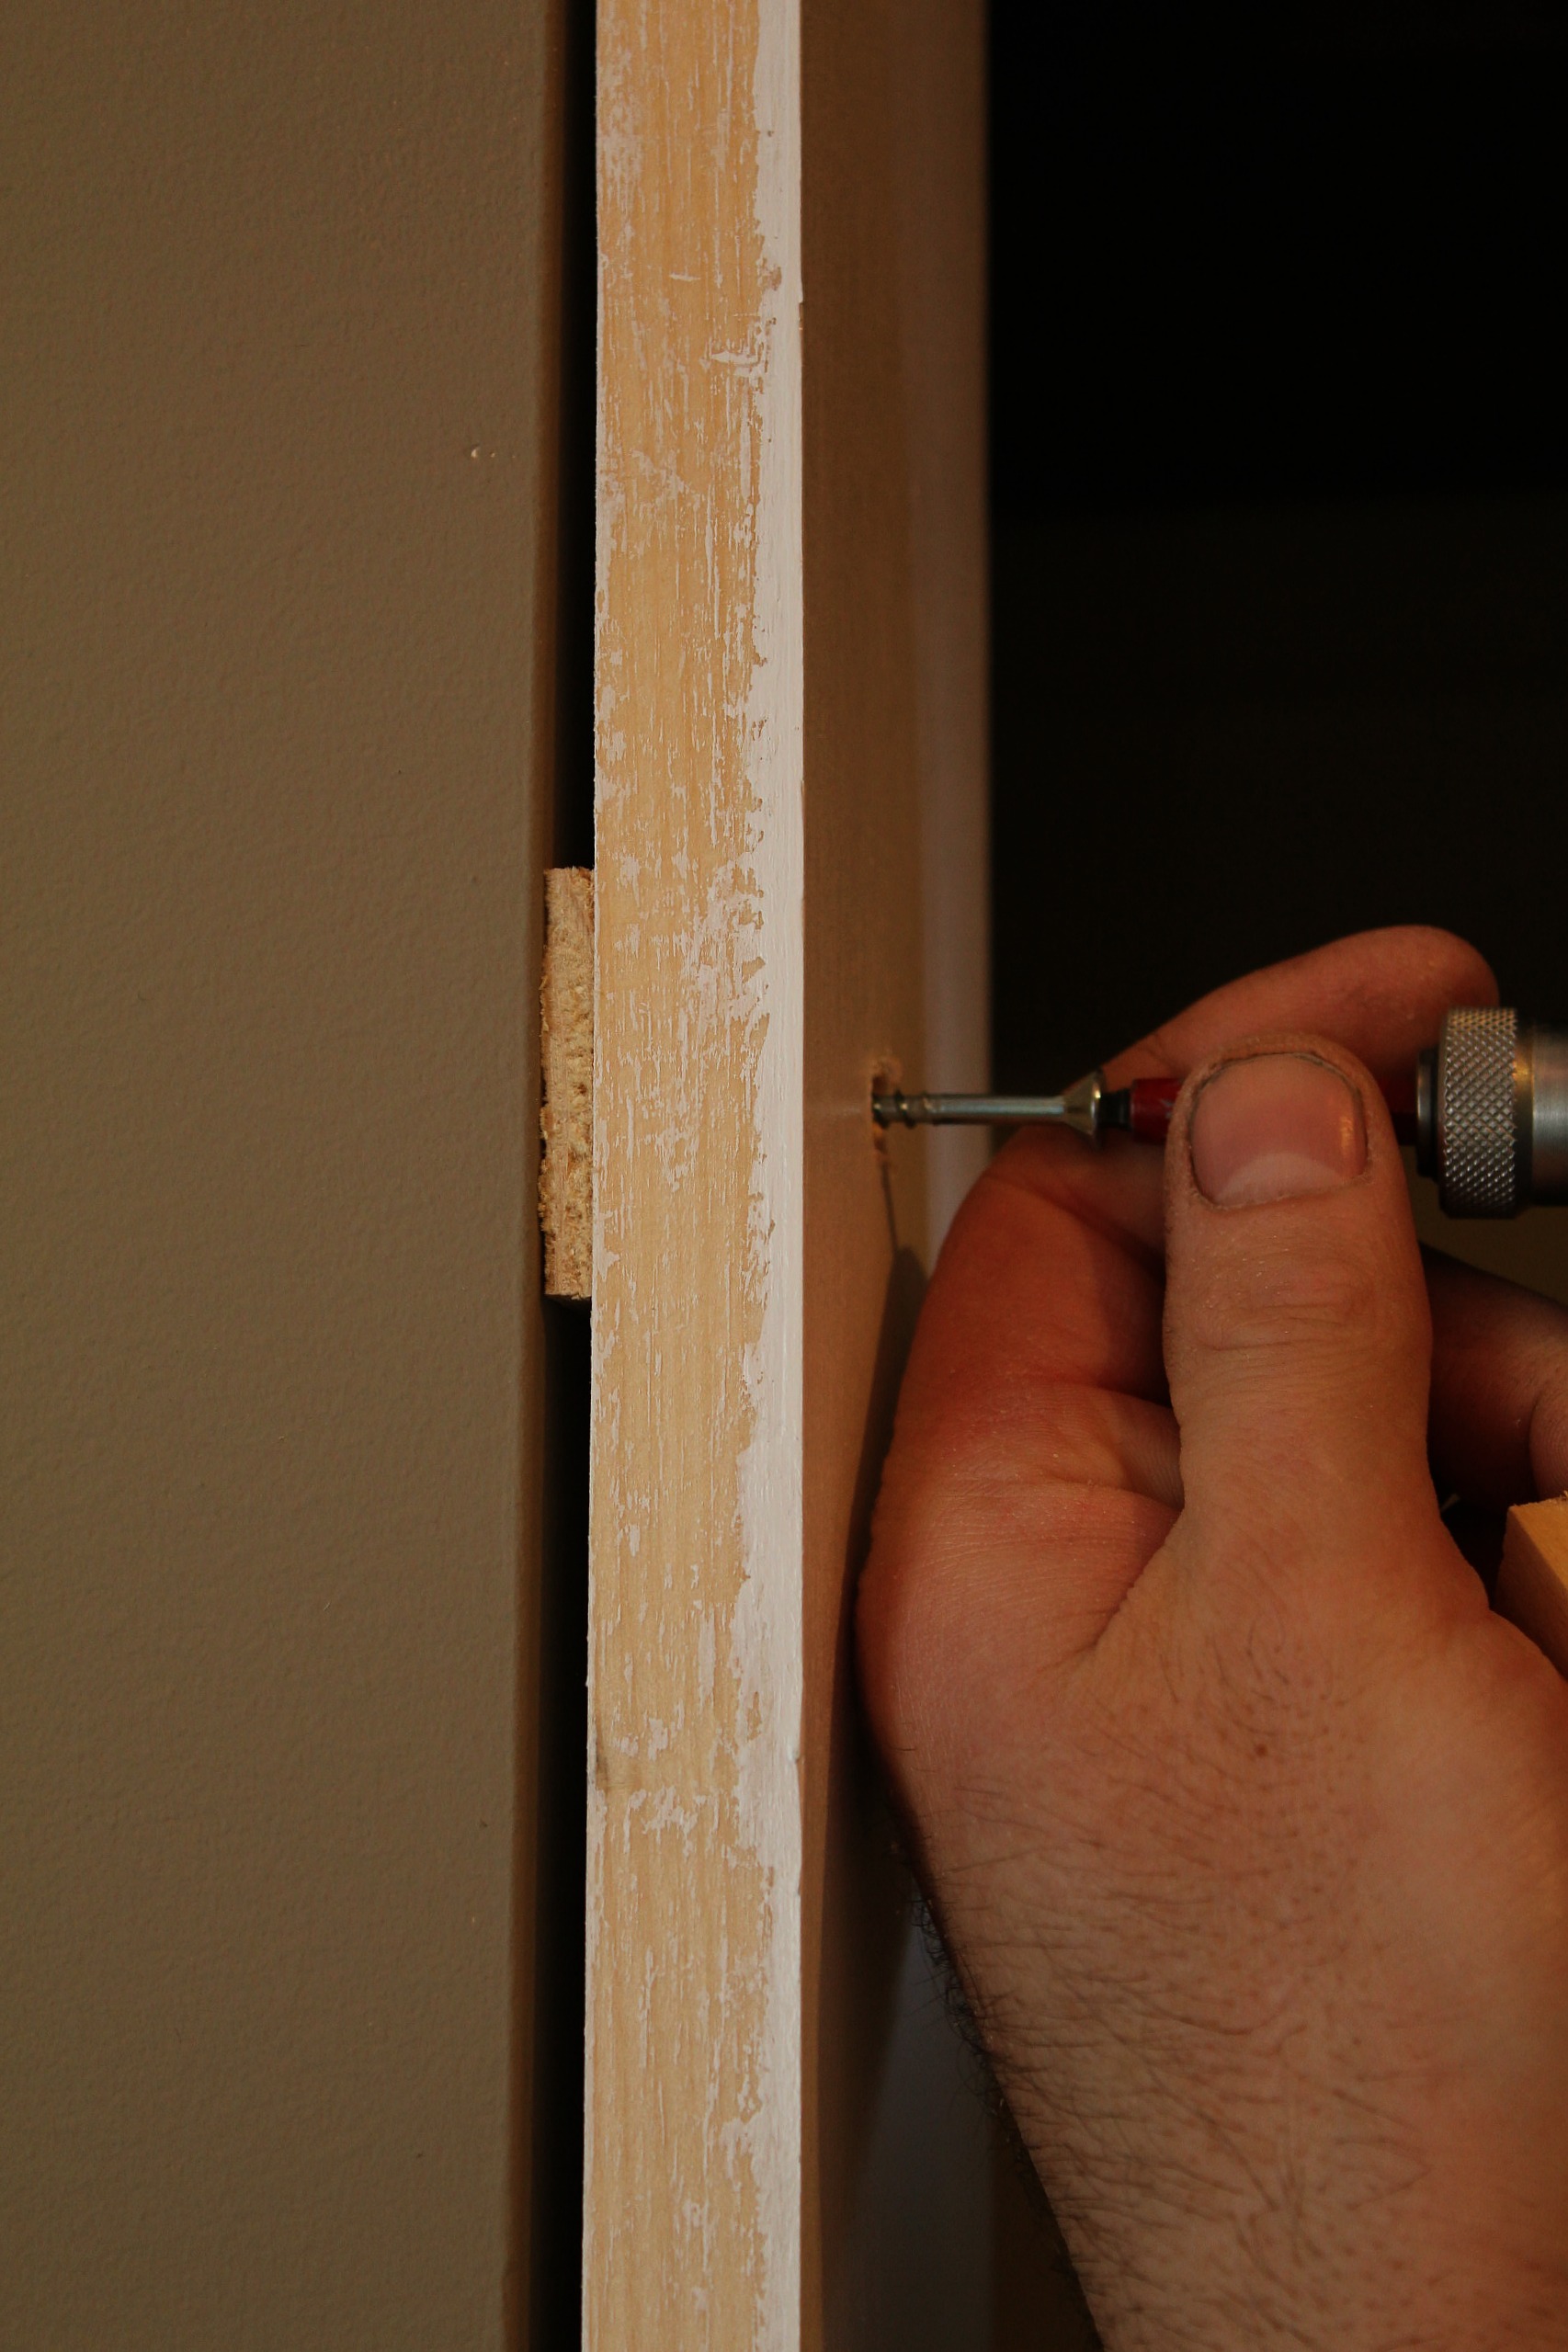
Now it's time to trim in the doorway. If you remember back to when you removed the baseboard, you'll see that the baseboard you left behind is probably sticking out at a 45 degree angle. You'll need to cut it back to leave room for the trim you're going to install around the doorway. If you have a trim tool like a Dremel Multi-Max, you can cut the baseboard right in place. Or you can remove the piece from the wall, cut it, and reinstall it. Measure the width of your new trim, then measure that same distance in from the outer edge of your framing board and mark that spot on the baseboard. That's where you'll want to make your cut. Repeat on the other side of the doorway.

The upper corners of the trim are mitred and then the joints are caulked. Your vertical trim pieces should be the height of your doorway + the width of the trim piece that will sit horizontally. Set your mitre saw at a 45 degree angle and cut the trim. Repeat for the other side of the doorway, making sure you reverse the angle. Secure the trim with just a single nail at the top of each piece for now, so that you're still able to make adjustments.
Measure the inside width between the vertical pieces, mark this length on your top trim piece and cut the trim at 45 degrees on each side, angling outwards like a V. Set your top piece in place. If you need to adjust the angle, you can now make small cuts to the top piece until you get the corners to line up. You might only have to wiggle the side pieces around a bit to get them to match. Once you have them where you want them, nail them in place. If any of your nails are slightly raised, use a hammer and nailset to countersink them.

Time to caulk and putty! Putty all of the screw and nail holes and leave to dry. Cut a tiny, angled hole in the tip of your caulk tube, and apply a thin line of caulk along the seams between your frame boards and your trim and along the mitred trim edges. Wet your finger and run it along the caulk line to remove the excess and get a smooth line. You can also caulk along the seam between the trim and the wall if there is a gap. Leave to dry.

Once the putty is dry, sand the surface smooth and apply a second coat. That second coat will make all the difference in having the holes disappear. Sand again once dry. Paint your frame and trim. I like to use Behr white semi-gloss paint and primer in one. Even though we bought painted trim, I still needed to give it a coat to hide the nail holes. The frame needed two coats. At this time I also gave the front of the doors two coats of white semi-gloss to match. When we did the front hall doors I painted the backs of them, but really, who's going to see them? Even when the doors are open the backs are completely hidden. But don't forget to do the sides!
When all of your paint is dry you can start installing the doors.
Installing the bi-fold doors
The doors should come with installation instructions, but I'll also show you what we did. Align the guide track along the top frame of your doorway. You can decide how far forward in the frame you want your doors to sit, but make sure the track is far enough back that your doors aren't sitting in front of the frame when they're closed. If you're installing where there's carpet you also need to make sure you have a hard surface for the bottom bracket to sit on. Since we were using the strip of wood we installed to join the carpet sections, our doors sit about halfway back.
(You can see that the track comes in two pieces and they don't fit together perfectly. You could caulk this seam or, if your track is closer to the front, you could drop the trim down to hid it.)

Once you have the track where you want it, screw it into the frame (there'll be pre-drilled holes in the track). Take the lower bracket (they are L-shaped and have a jagged opening in the center) and position them on the floor against the side frame, making sure they are aligned with the top track. Fasten the bracket to the floor and to the frame with screws.
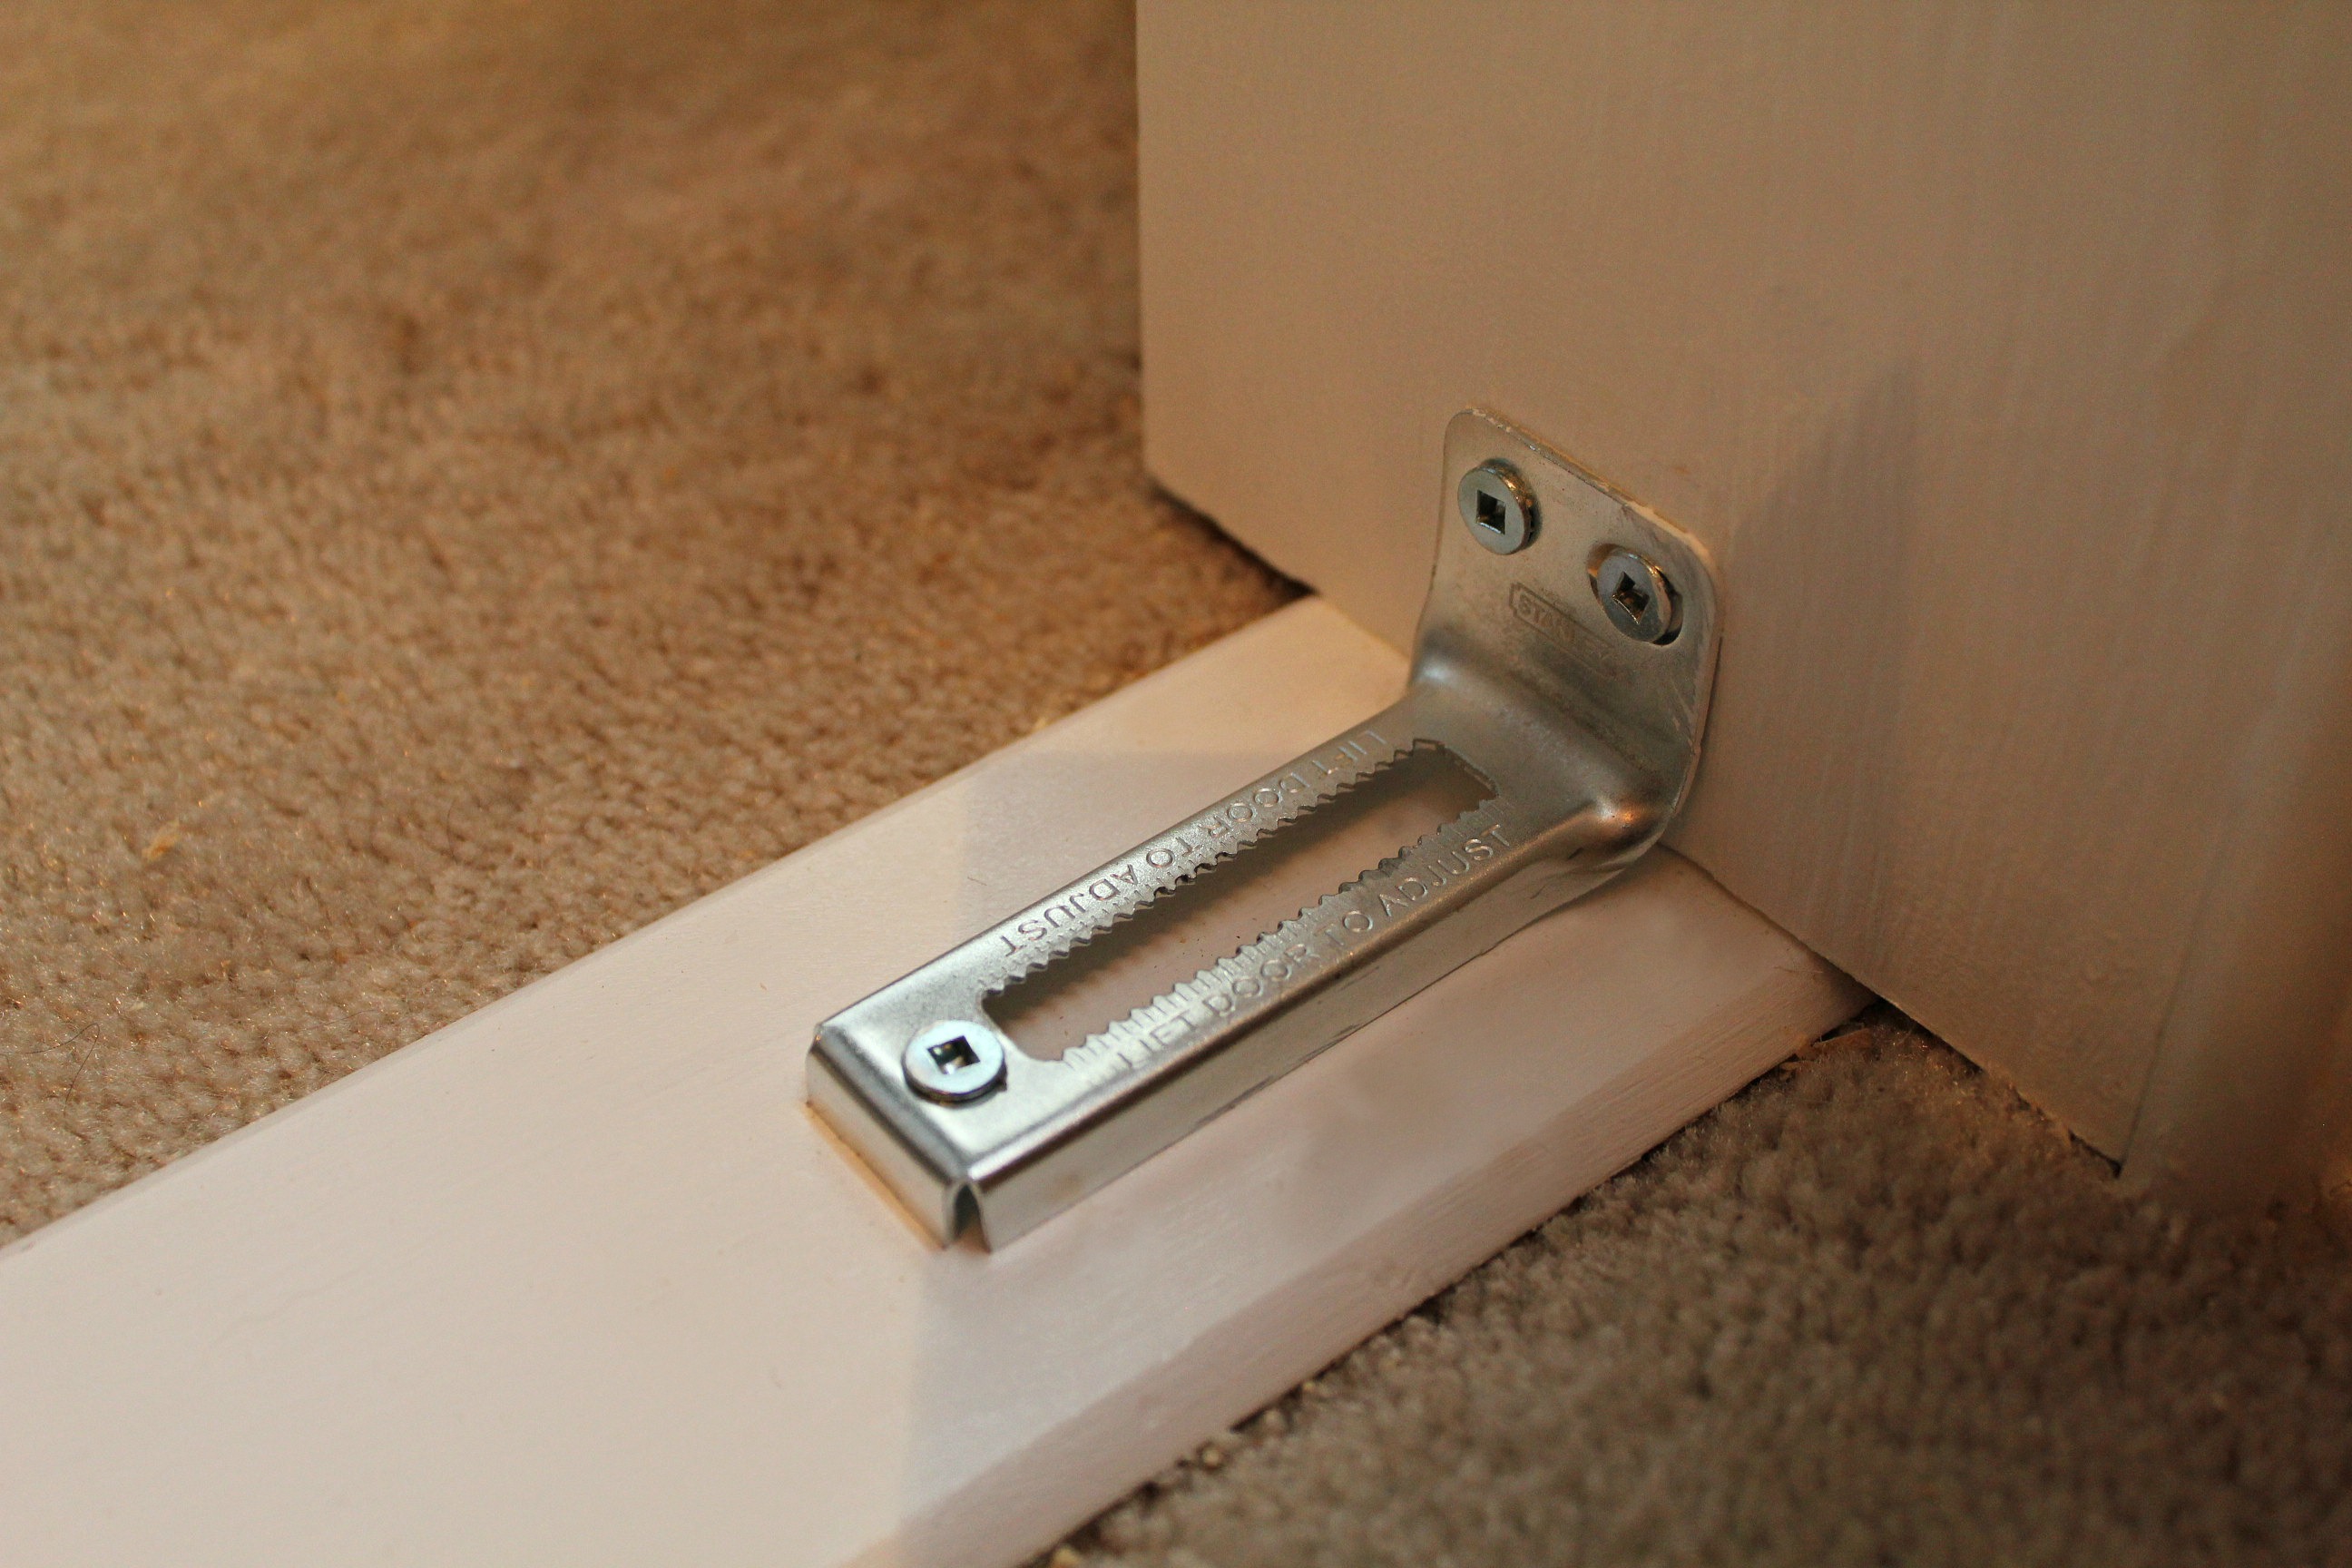

Lift your door and put the upper pivot pin into the bracket in the upper track, and then slide the guide pin into the track as well. You should be able to lift the door slightly and put the lower pin into the bottom bracket slot on the floor. The teeth in the slot hold the pin in place and keep it from sliding. Carefully open and close the door to test for clearance. If the door is too close to the wall, you may need to make adjustments at the top, bottom, or both. Remove the door and set it aside.
Loosen the screw in the top bracket of the track and slide the bracket out from the wall slightly to provide more clearance, then retighten the screw. Put the door back in place, but move the bottom pivot pin out further in the slot. Place the other door in position the same way. The pivot pins also act like screws in that they can be twisted to raise or lower the doors. It can take some fiddling around to get the doors even but it can be done!

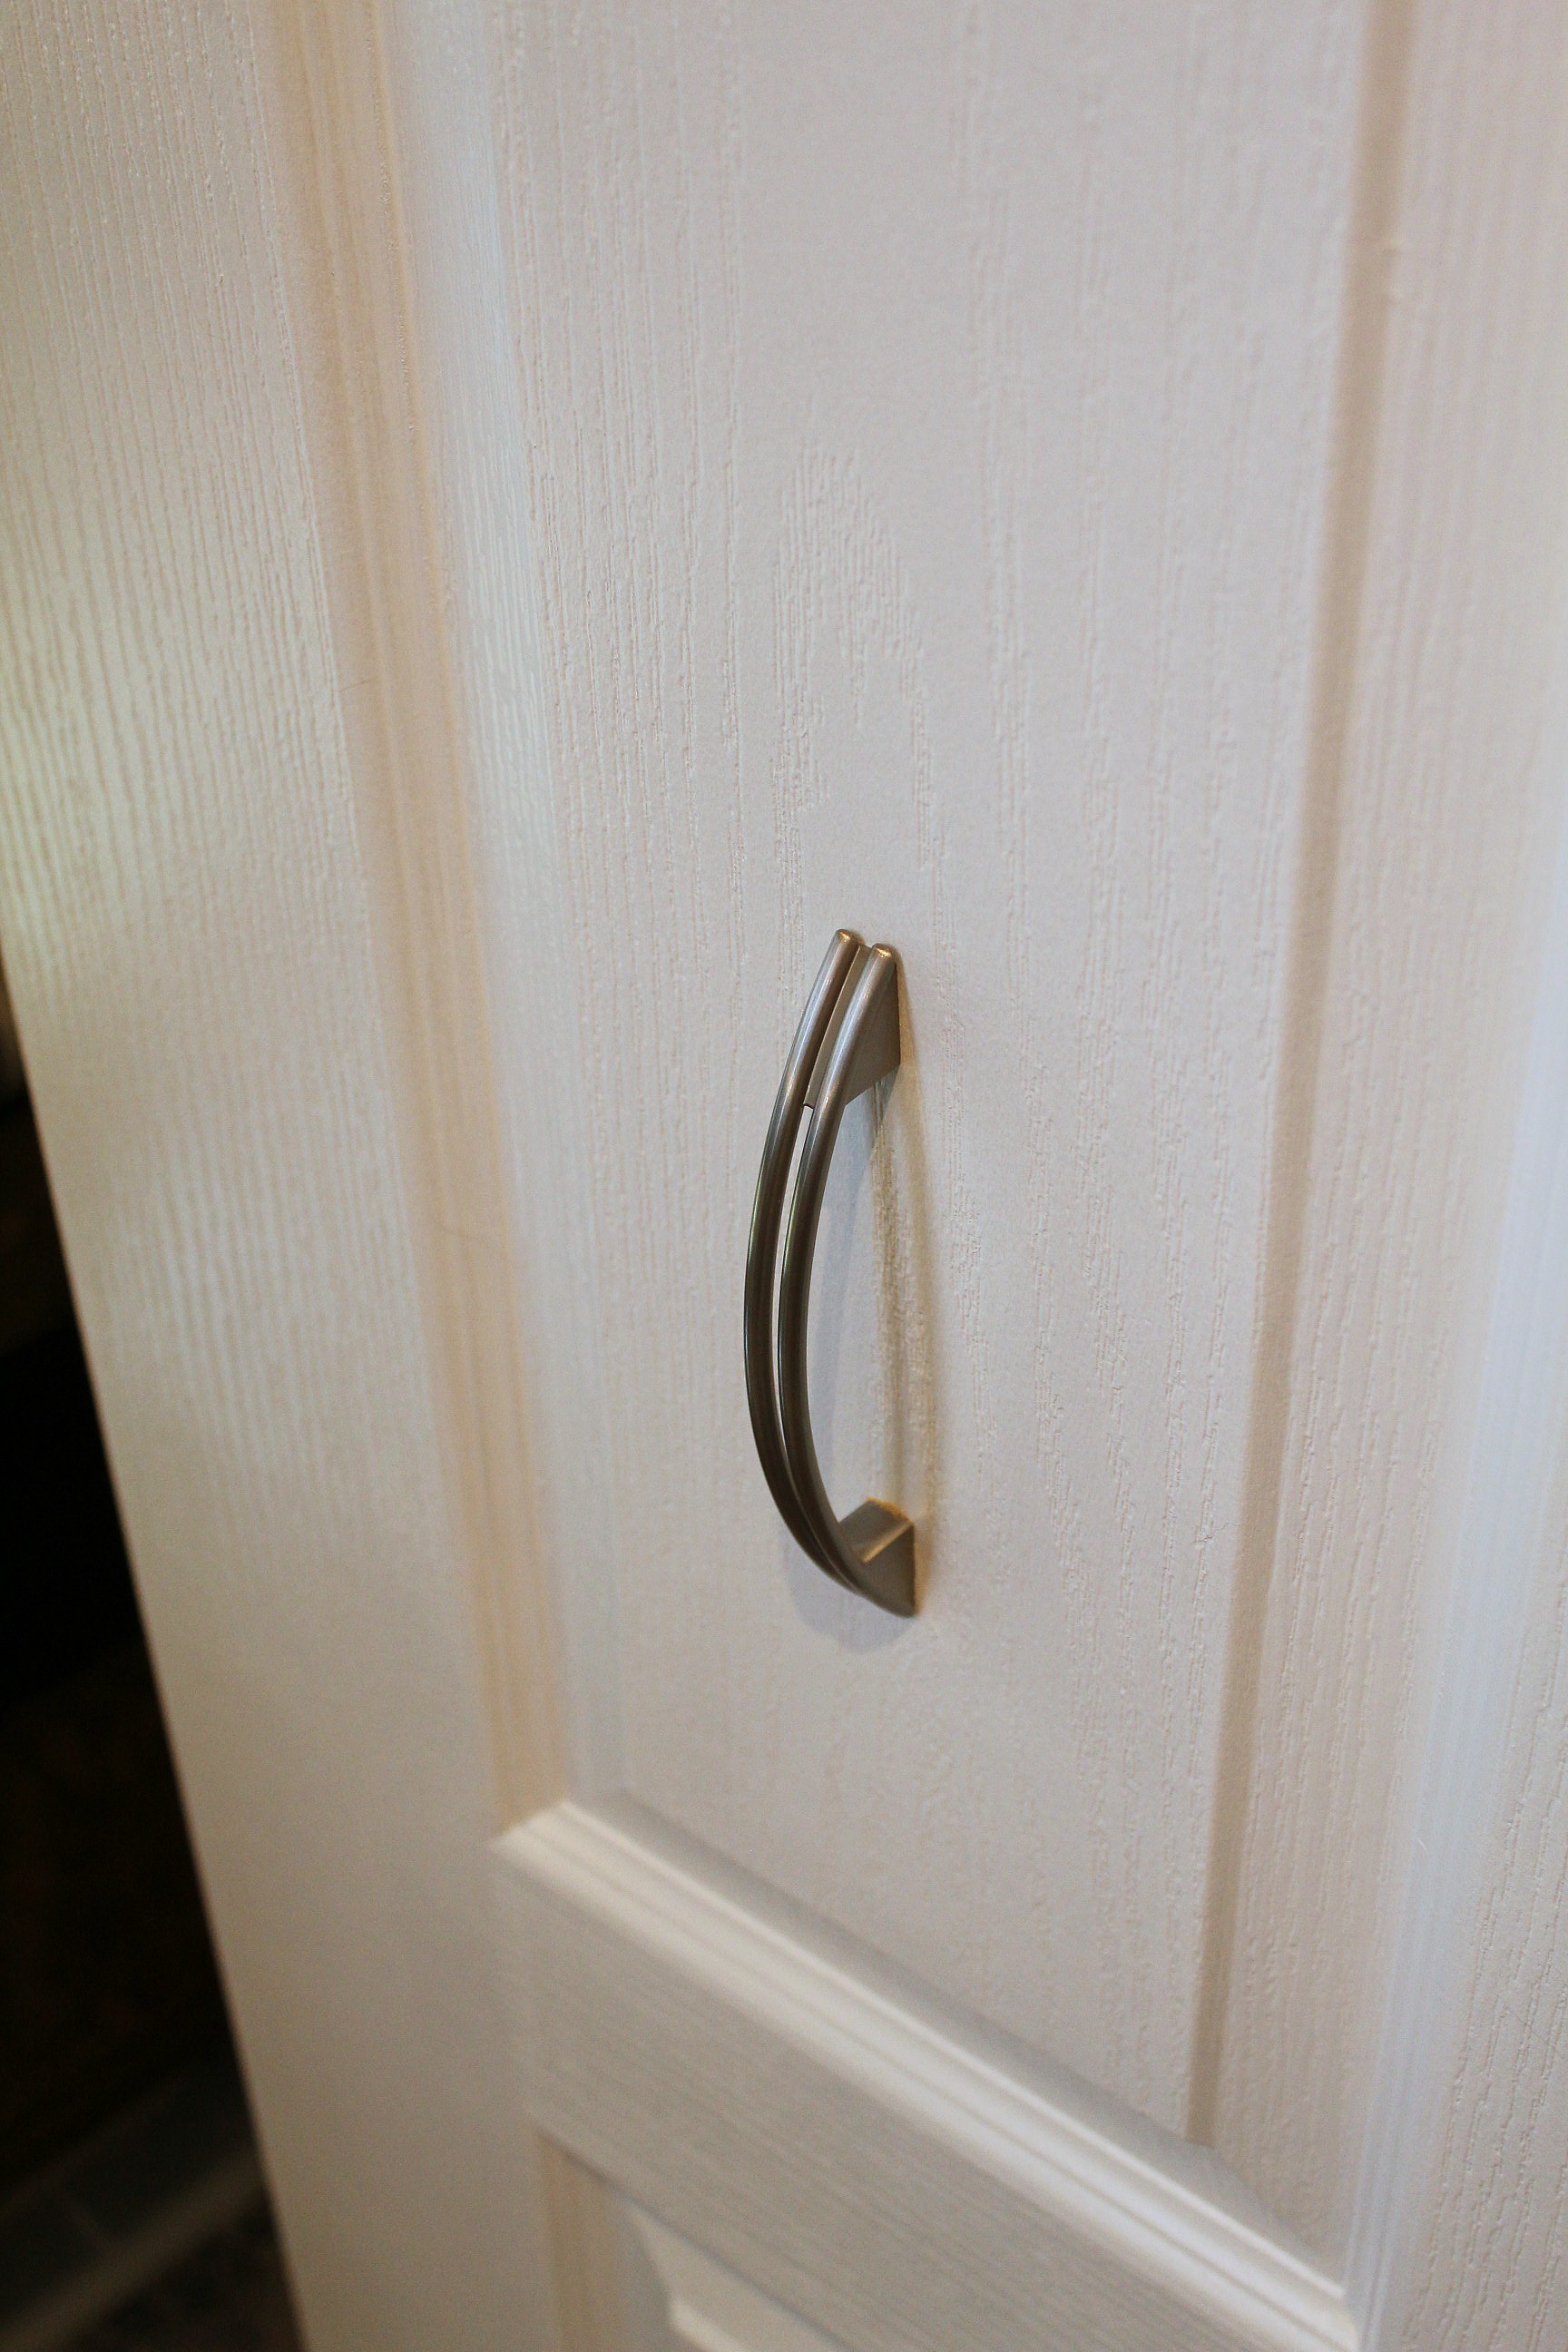
On to the door handles. We replaced the wooden knobs that came with the doors with brushed nickel handles. Decide where your handles would look best. Keep in mind that you want the doors to pivot and fold, so the handle needs to be closer to the centre of the door than a regular door handle would be. If you're using handles other than the ones that come with the door, you'll need to buy screws that are long enough to go all the way through the door and into the handle.
You did it - you installed bi-fold doors. Give yourself a pat on the back - you deserve it!

8 comments:
Hi Barb, thank you so much for sharing this project over at The DIY'ers last week. I'd like to let you know that this project is on my top three favorites! I've pinned it and talked about it on my fb page. Yay!
If you haven't link up your latest project, come by and join the fun! huggies,
rea
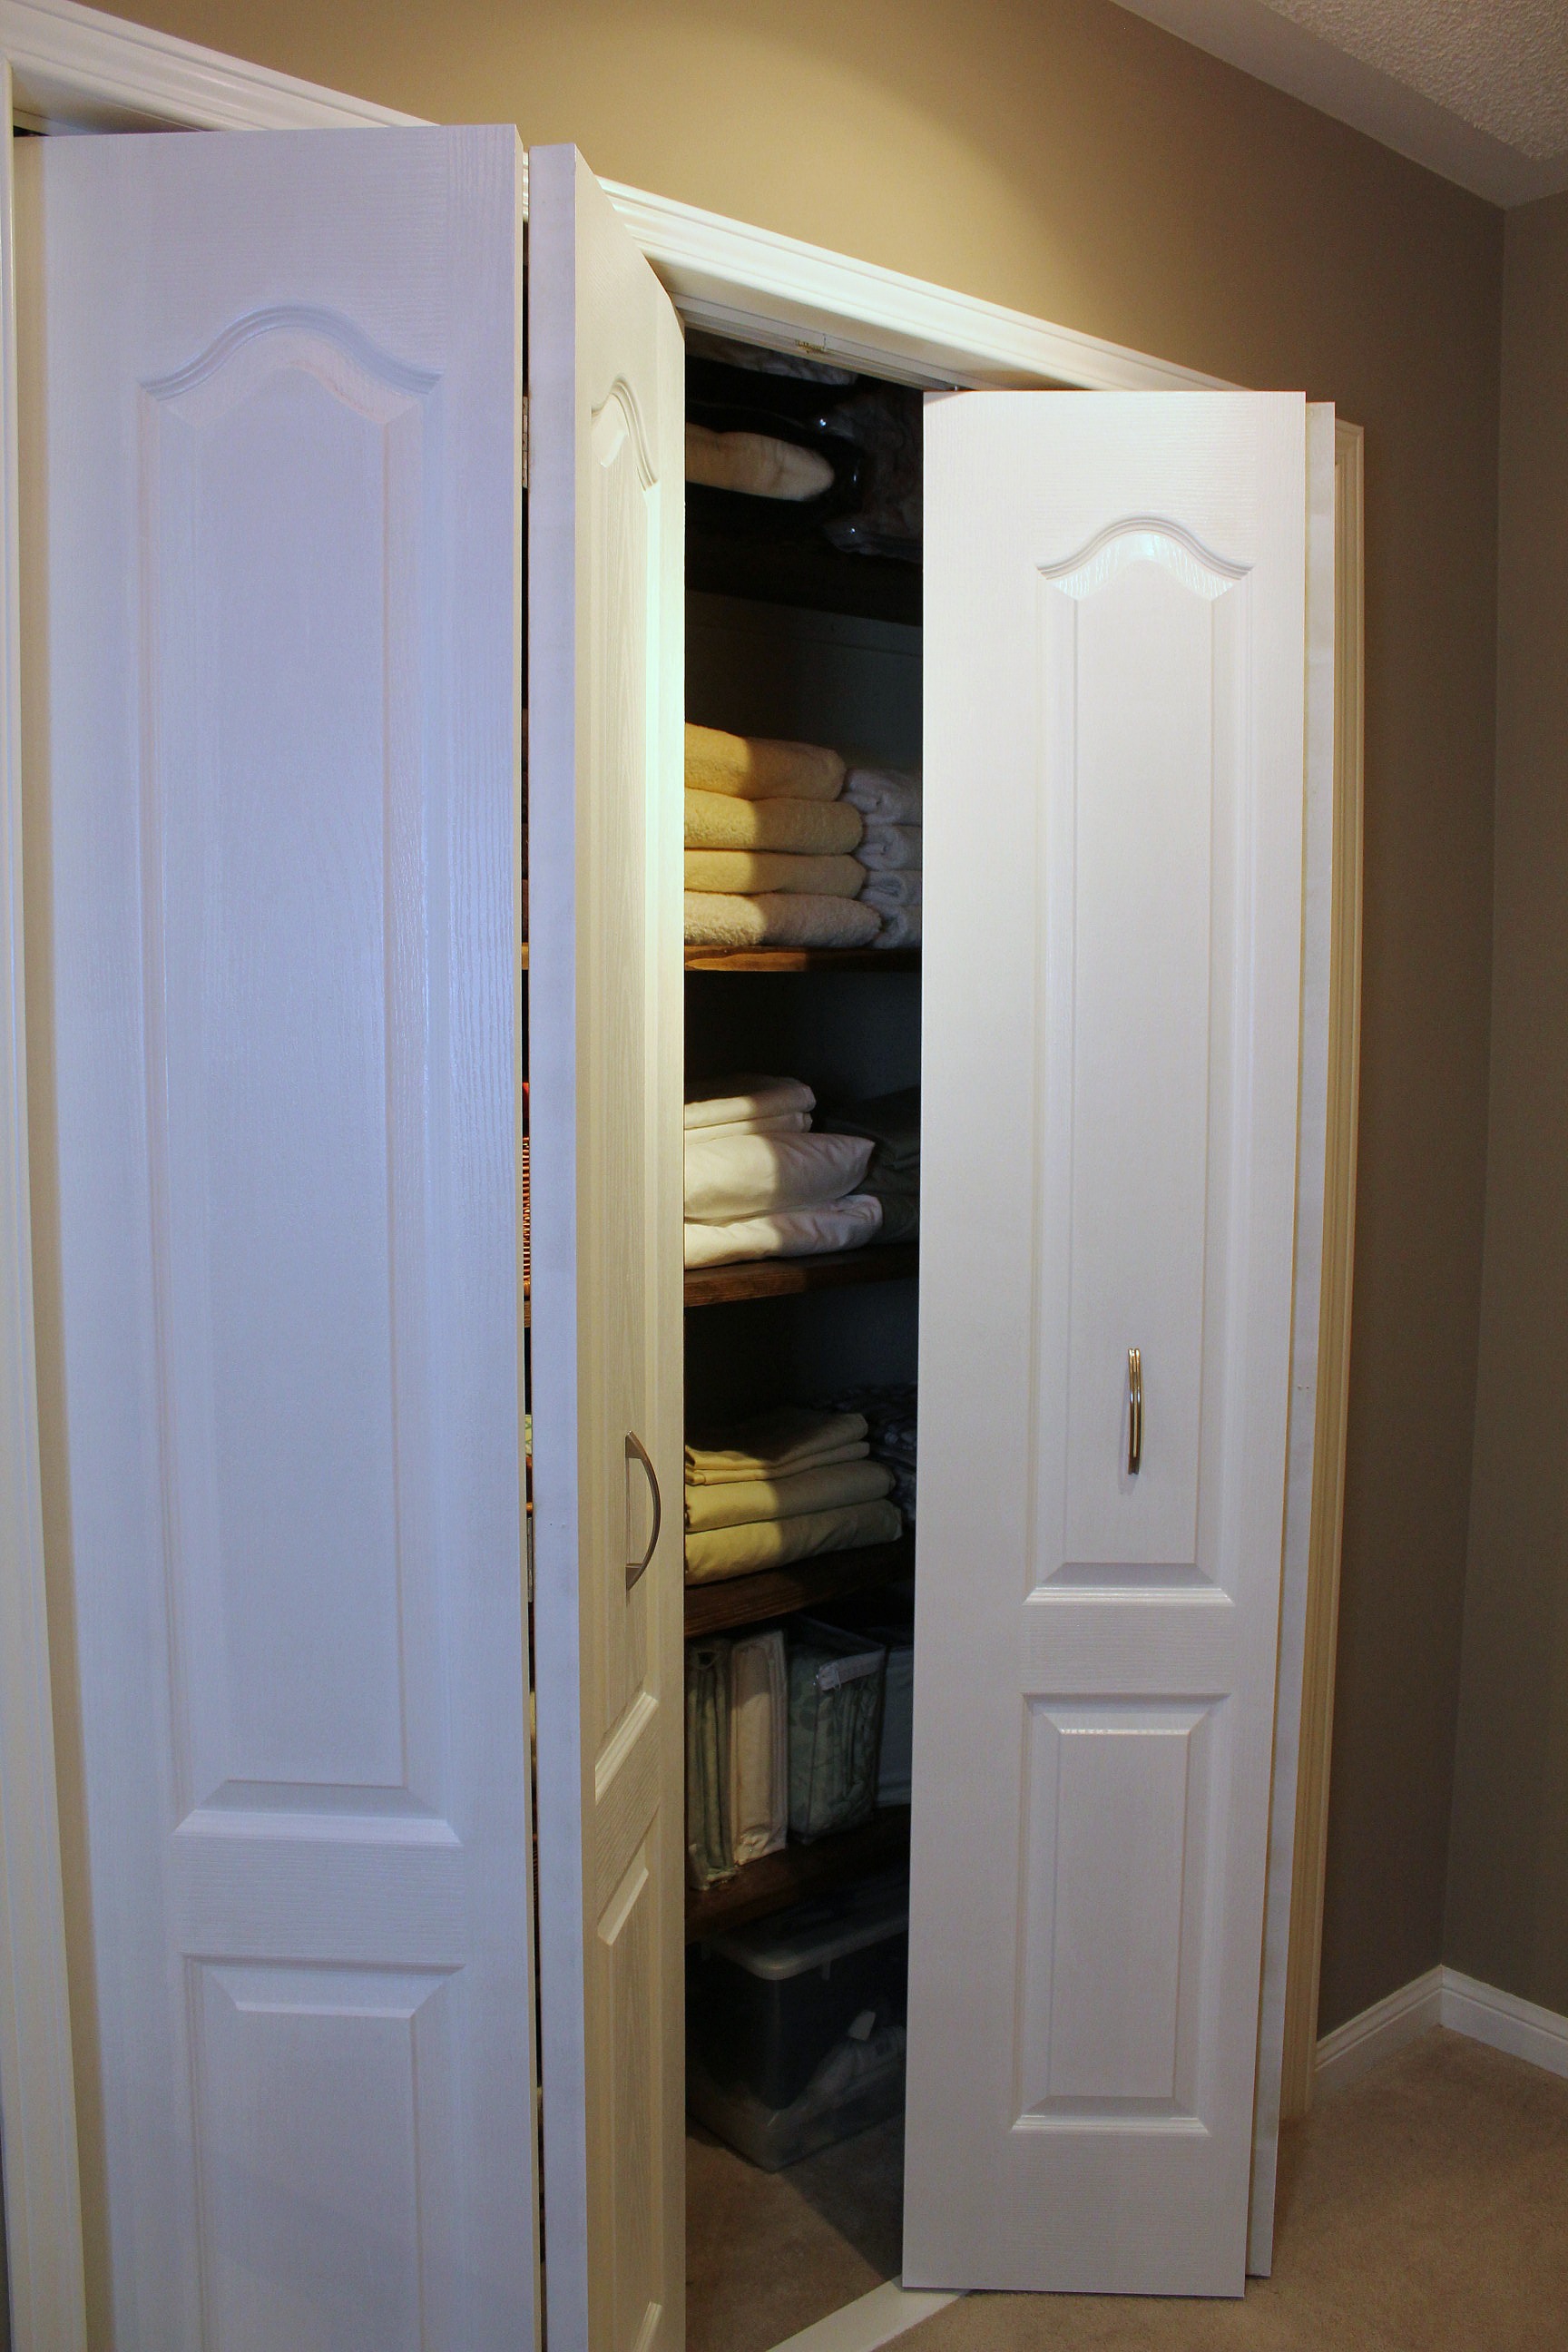
Wow, I've already pinned this so I can reference when we change ours out! Thank for a great tutorial, you helped make it very clear. I agree about the eternal sliding back and forth of the doors, with bifold you have a clear shot of everything! Thanks for sharing at Sunday's Best!
Thank you - glad I could help!
We have a contemporary range of sliding mirror doors and wardrobes
designed according to individual's needs. One stop solution for your
sliding mirror door needs.
sliding mirror wardrobe doors
I had no idea there was such a big process with changing the doors to bi-folding doors. The change is evident and it looks so good! There are so many reasons why someone would want to do this. It's so much easier to open and makes everything much more accessible! http://www.amjbifolds.com.au/bi-fold-doors
Thank you for sharing such an informative post. But I would suggest people to hire professionals for this work. And if you talk about my personnel experience then Loft Doors is the best company for the same.
Bi-fold doors needs regular maintenance.
Great post. I really got much knowledge about converting sliding doors to bi fold doors.
Thanks for sharing
Lift And Slide Doors
Post a Comment