


Last week I showed you the rebuilt laundry chute, and now I can show you the rest. Our closet started out with wire upper shelves, particle board lower shelves, and sliding doors. We lived with it for 5 years. And we could have probably lived with it for another 5 years. But I really liked what we did with the closet doors downstairs and wanted to do the same upstairs. And since there was going to be a big mess made anyway, I figured why not get it all done at once?
Do you remember the before? Flimsy shelves, bad workmanship, and doors that only let you see one side at a time.

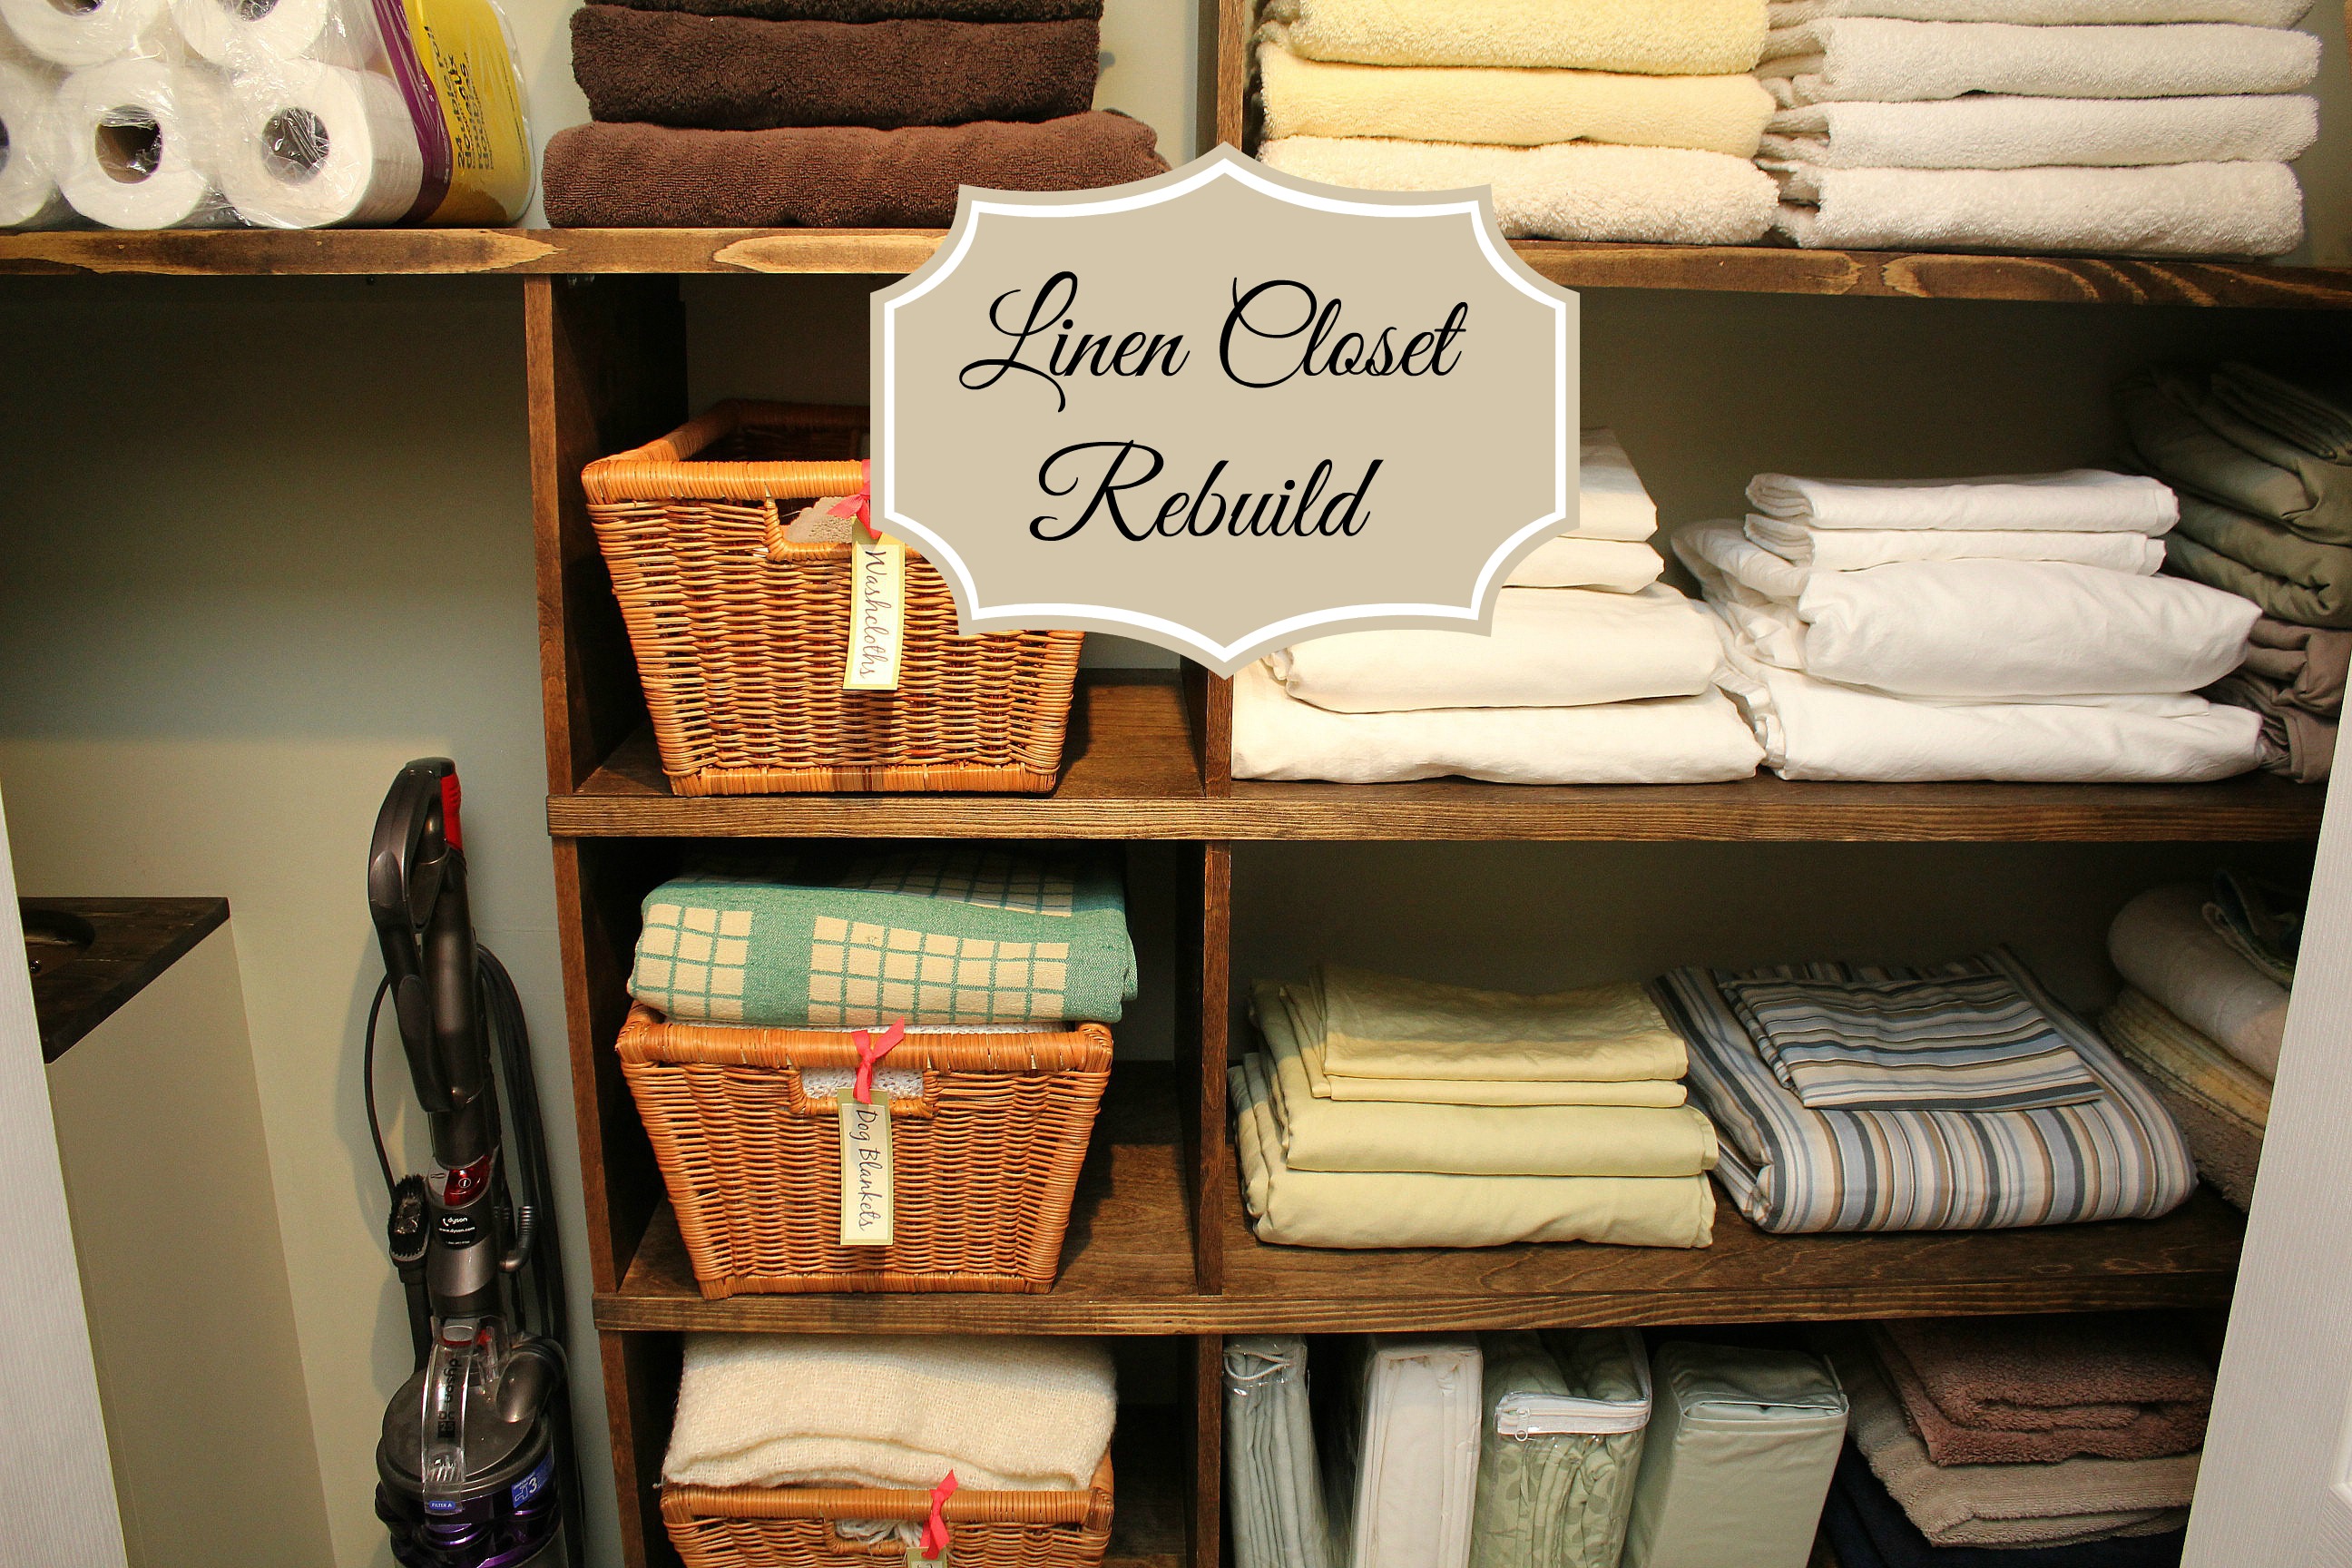
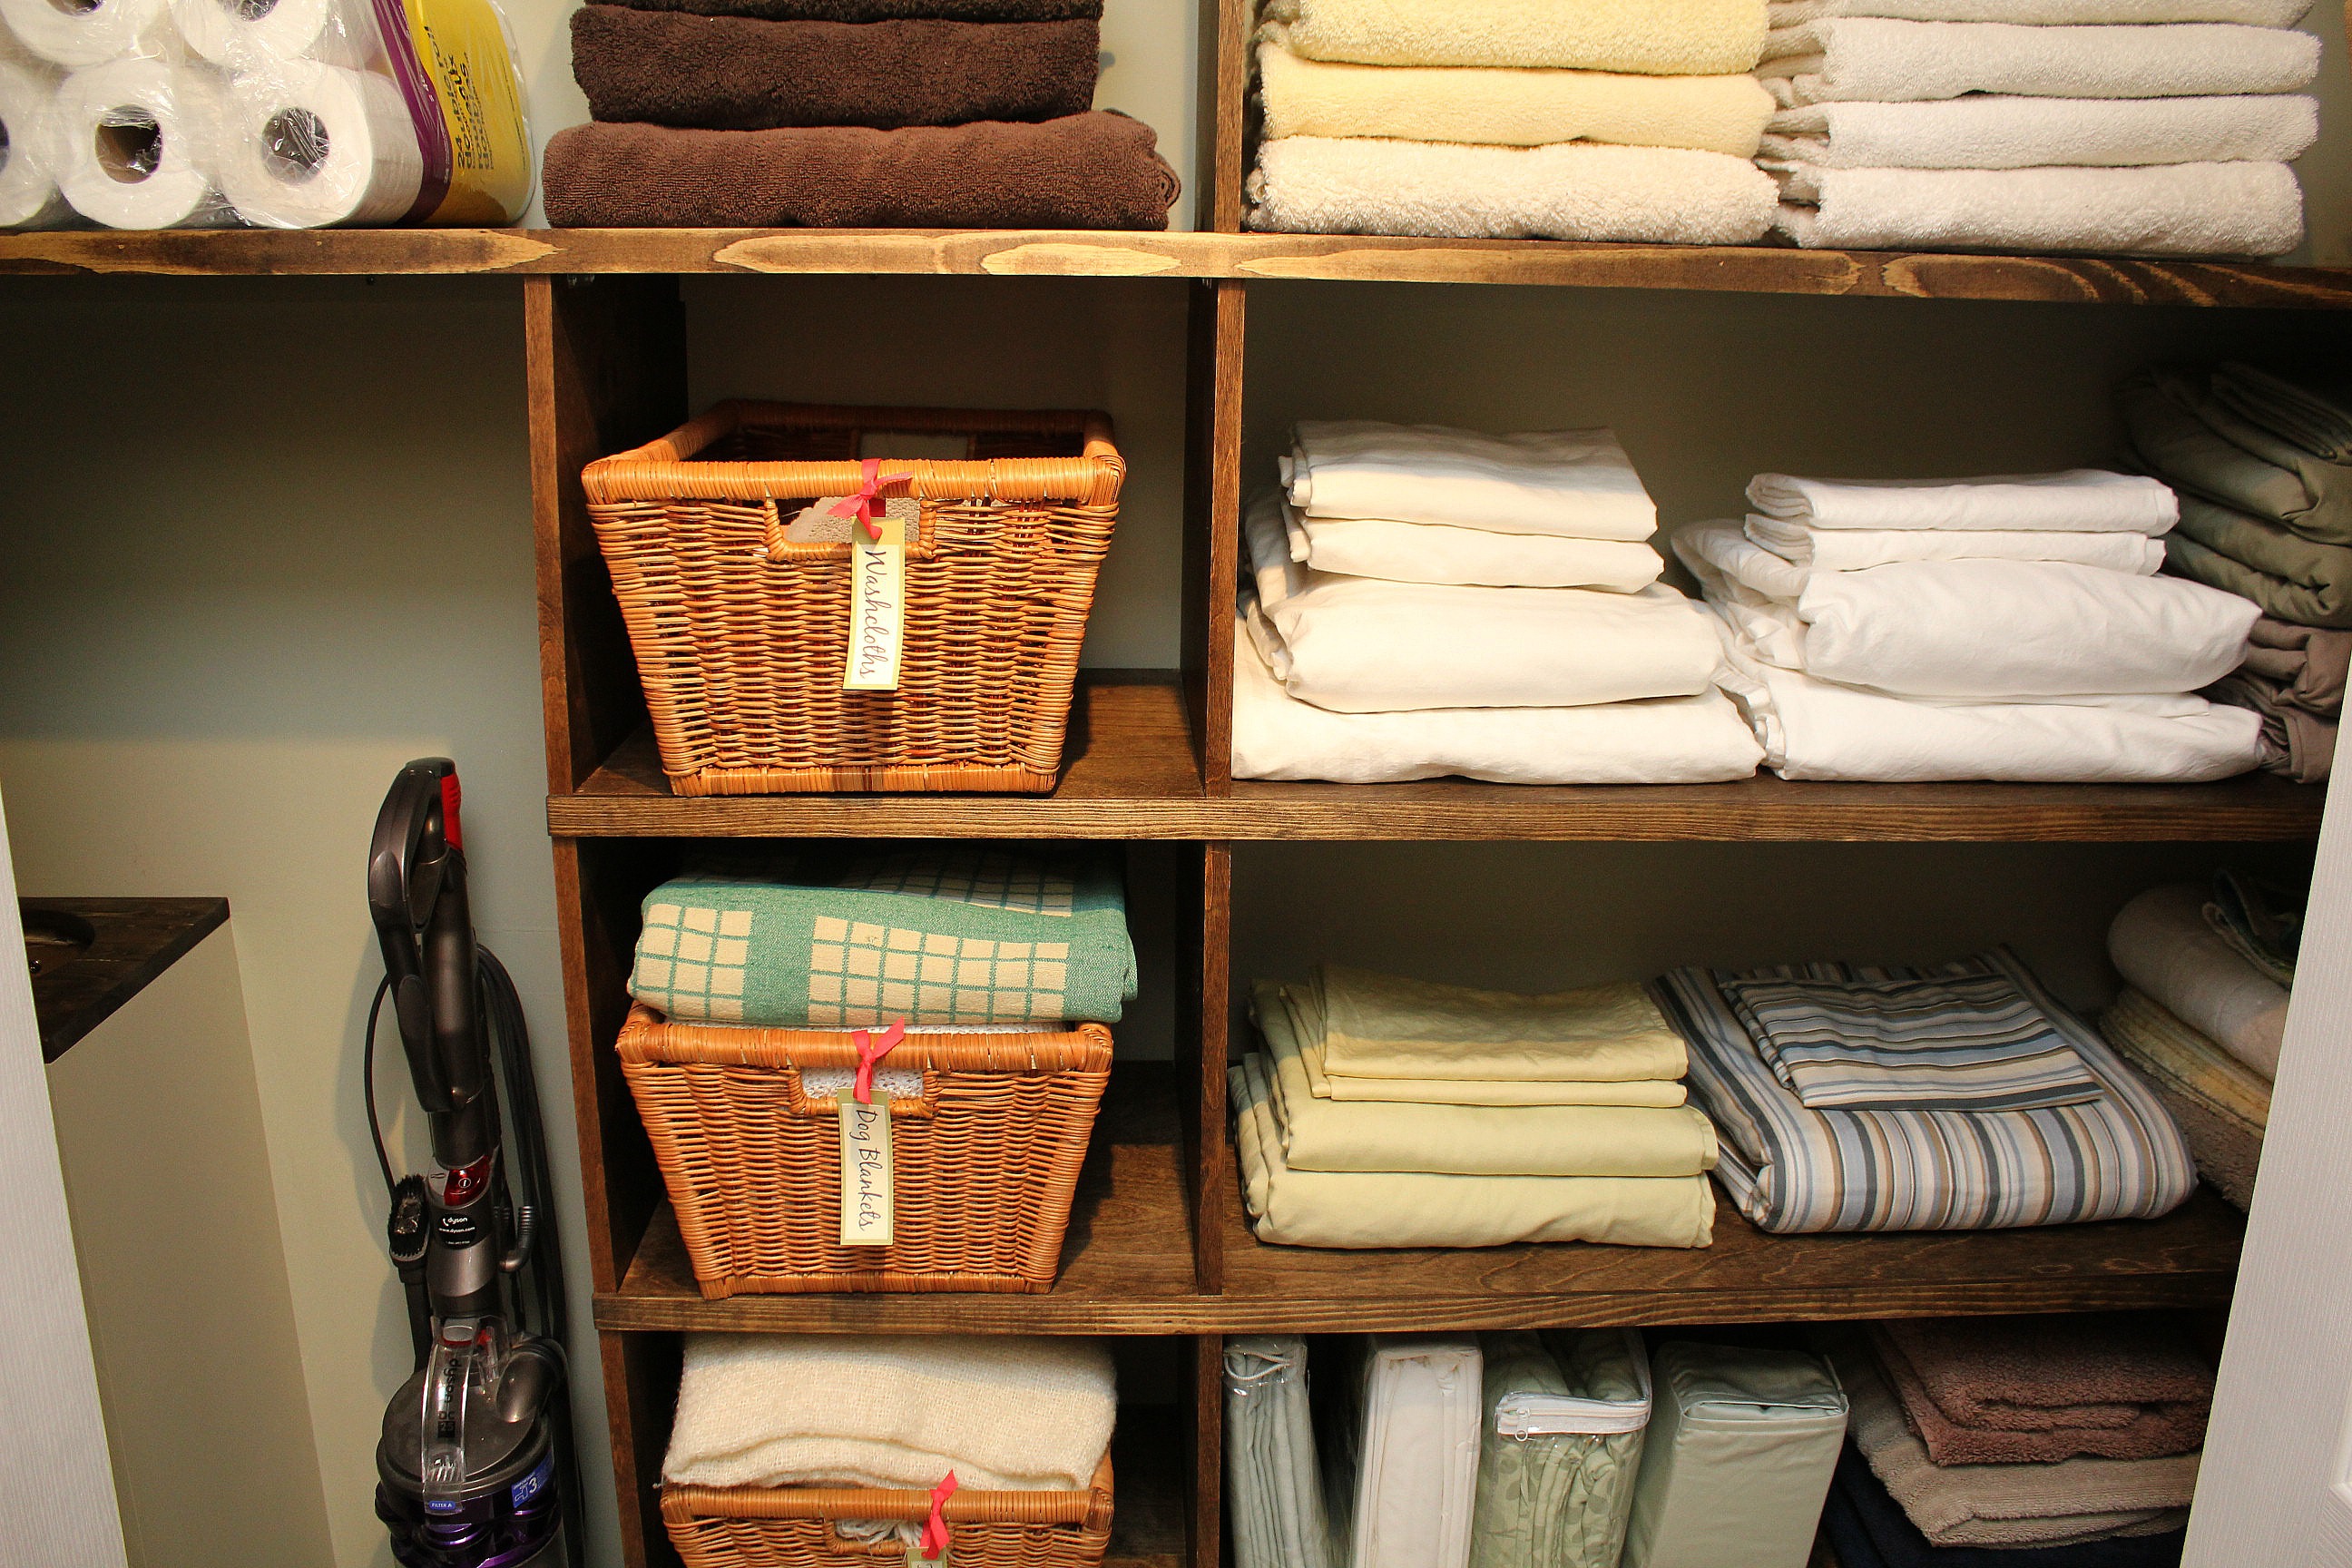
Once everything was torn out and the laundry chute was rebuilt, we went to work on the shelves. I scrolled around Google images, and sketched on a piece of paper until I found the configuration I wanted. Online there seemed to only be two choices - a wall of cubbies or a wall of long shelves. So I chose the middle ground. Some shelves with dividers at the bottom, and two long wall-to-wall shelves at the top.
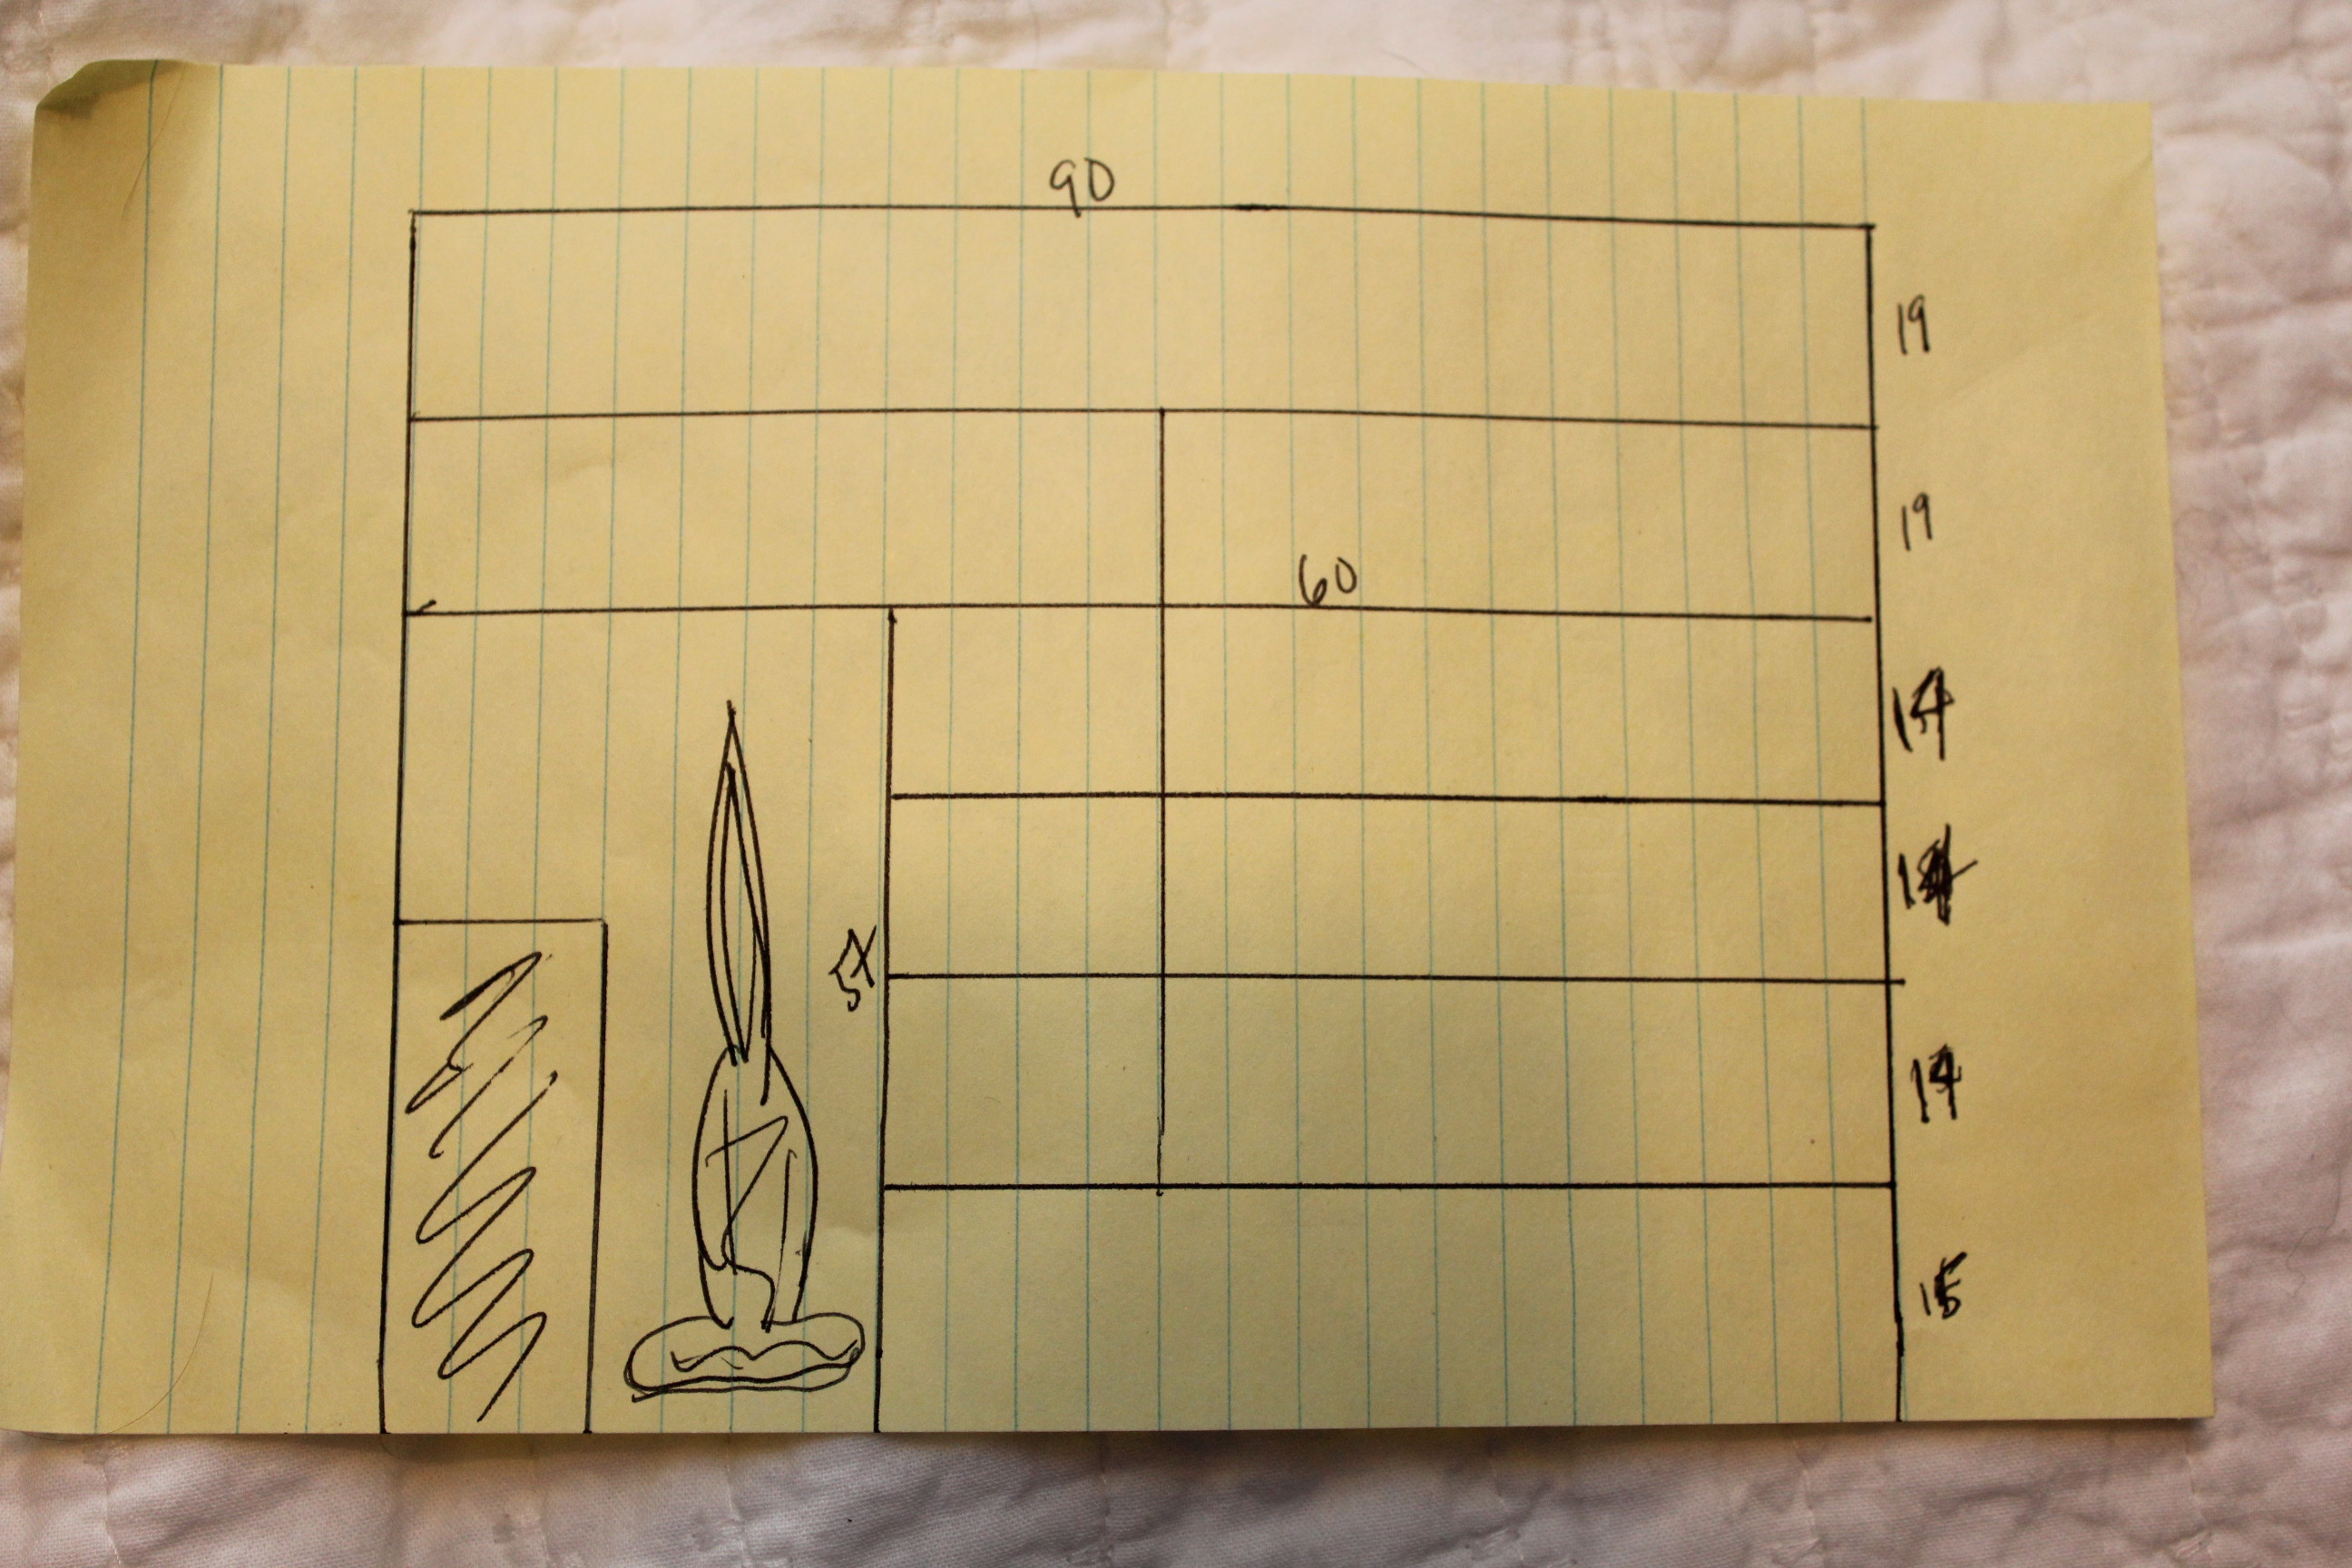
We have a Rubbermaid tub that stores all of our vacation items - reef shoes, travel-sized toiletries, snorkels, etc. It's kept on the floor of the closet, so the height of the tub plus a few inches clearance determined our bottom shelf height (15 inches). We then took a normal stack of towels and measured the height. Again allowing for some clearance, we decided on 14 inches for the next three shelves. That left 38 inches for the long shelves. We decided to split the space into two so that we could put larger, taller items up higher - like blankets or boxes of things we don't use very often.
As mentioned in the laundry chute post, we wanted to leave more room around the chute to make it easier to feed the clothes in. Up until now we've been keeping our vacuum cleaner in the downstairs closet, hidden behind the coats. It was always a bit of a pain in the butt to drag it out, but there was nowhere else to put it that it wasn't in the way. We decided to make a dedicated space in the linen closet for the vacuum, right beside the laundry chute. It fits right in there like a Tetris piece and is easy to access when you need it (which is all the time thanks to two big dogs who shed all year round).

The other design decision was making the shelves wrap around at the ends. There are about 8 inches of dead space in front of the shelves to each side of the doorway. Why have dead space when you can have usable space? By extending the shelves out we can put longer items on the ends (like bathmats and beach towels). One extension shelf is even great for holding the iron.
So once all of our measurements were done we headed off to Home Depot to buy the wood. Once there we found we had two choices if we wanted 16" boards - pine shelving or birch veneered plywood. The pine was about twice the price, but we've used it many times before and we knew how it handles stain. The veneer had me a little concerned - would the stain seep under the veneer and swell the core? Would the stain even stick? We debated it back and forth for a good 20 minutes before taking a chance on the birch veneer. Nothing ventured, nothing gained, right?
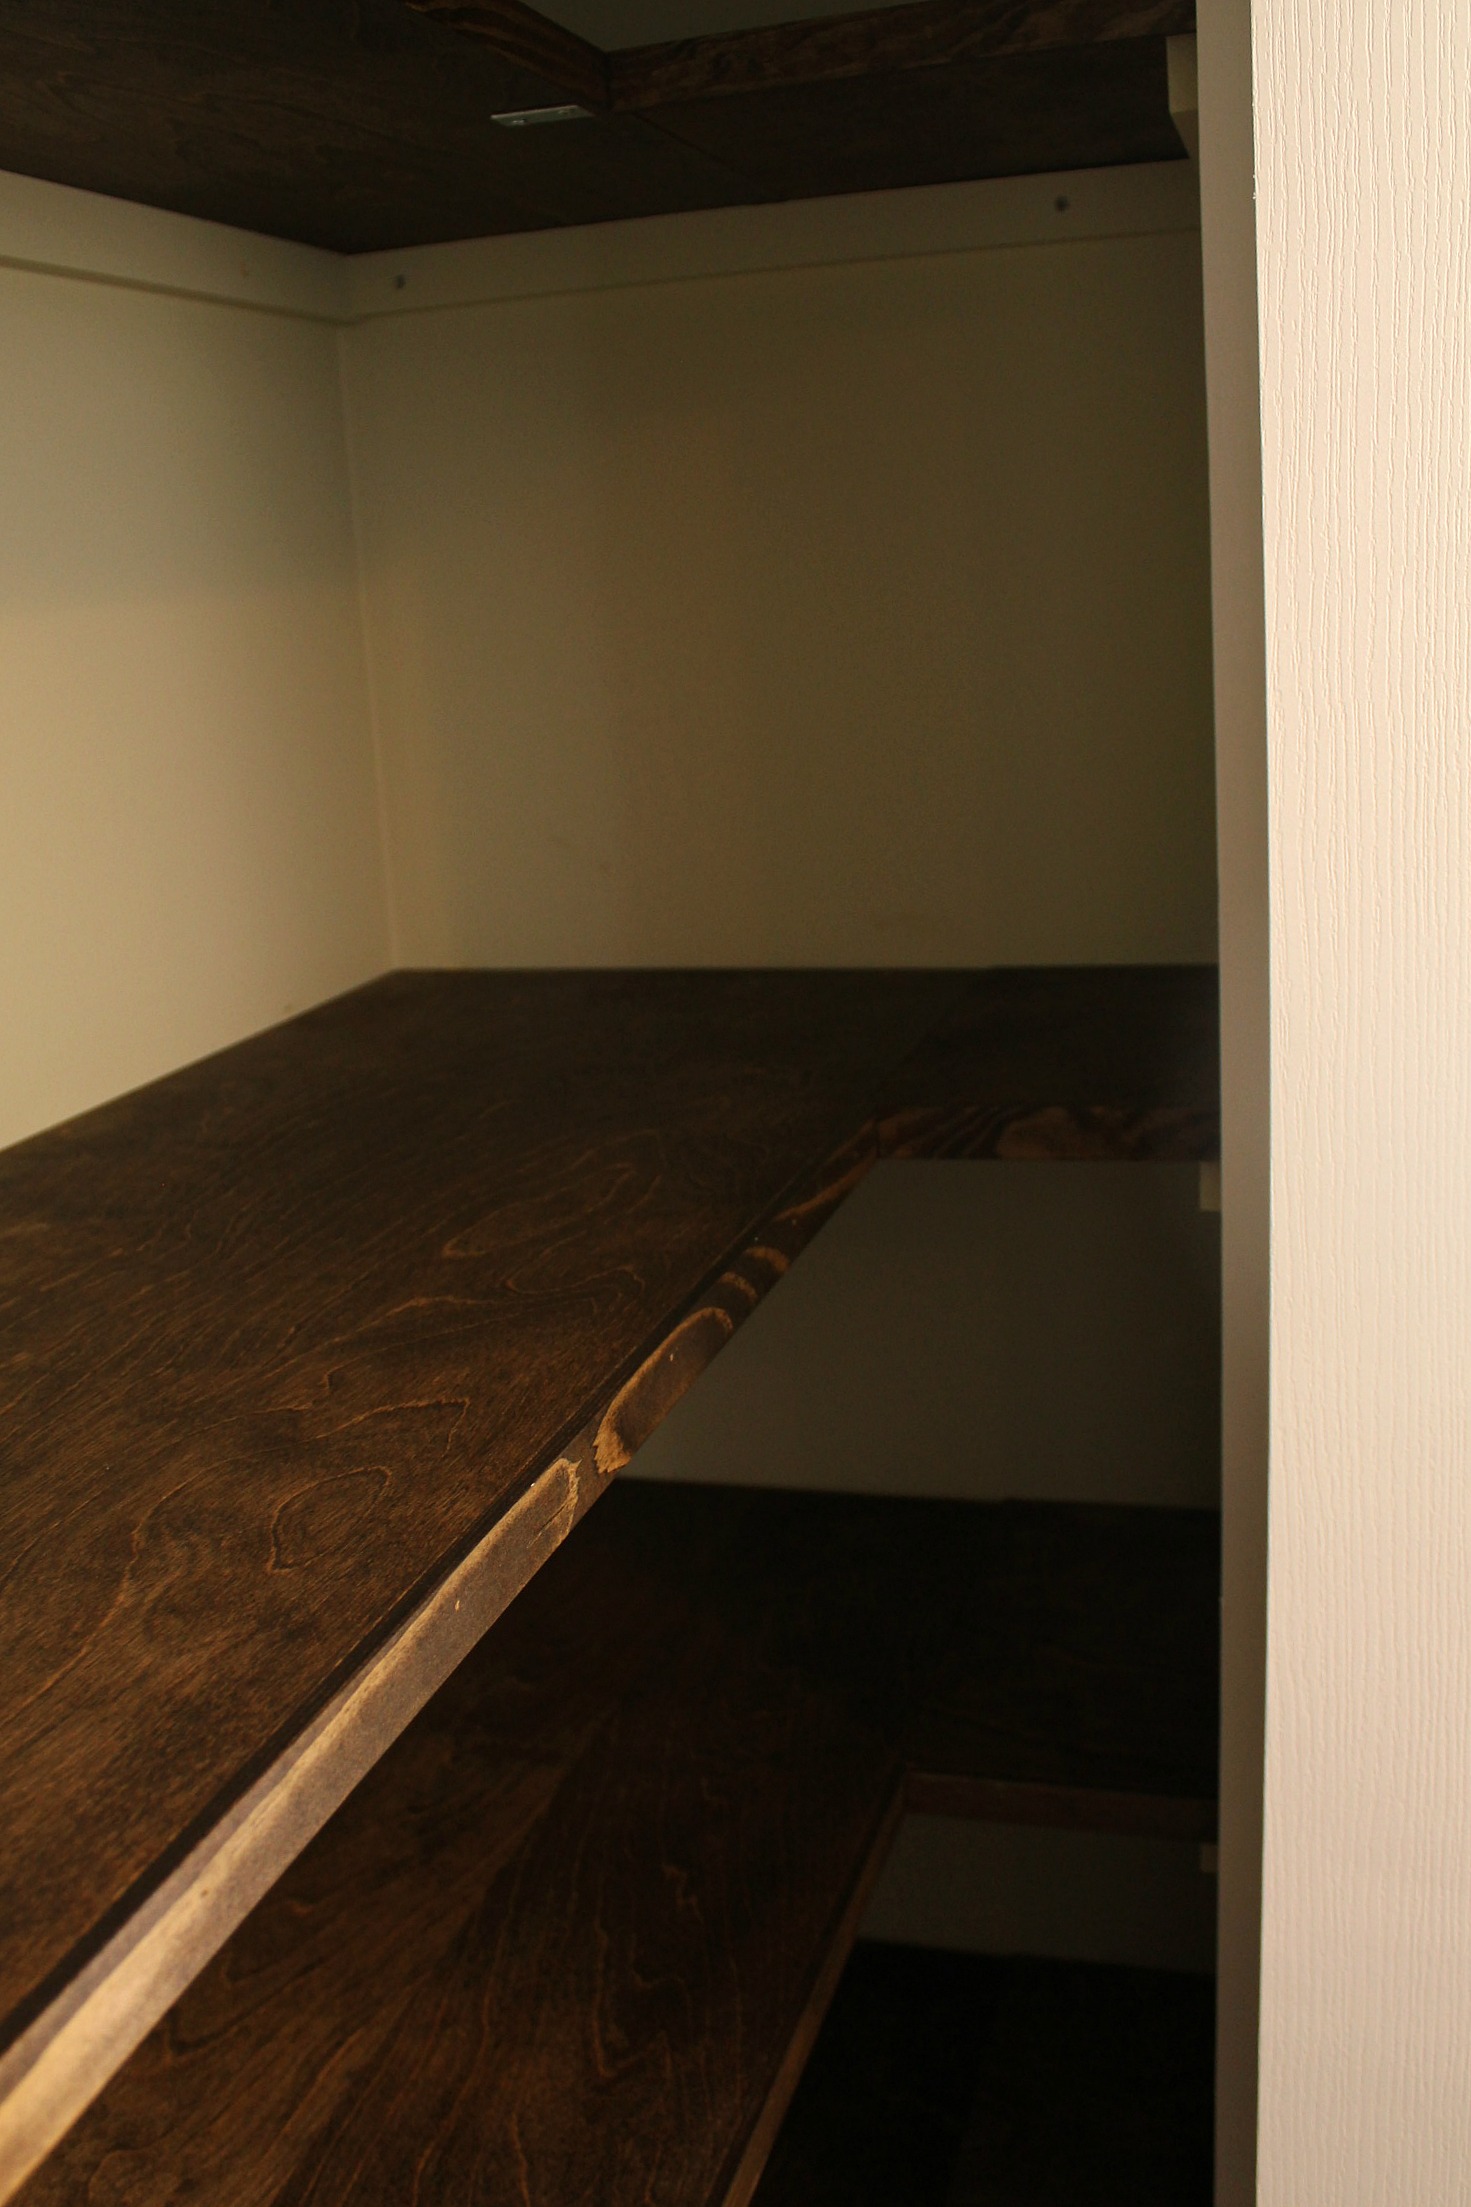
We started by installing braces along the back wall and around the sides at the heights we had decided before. The brace pieces were just made from 1x2 pieces of pine, screwed securely into the wall.

Once they were all installed, I painted the entire closet with some leftover paint. I had a choice between a greyish green or taupey brown. I chose green because the brown was too dark and not enough of a contrast with the shelves. I'll need to get the green colour-matched to have some touchup paint around though, as Tom threw out the can when I was finished because "it smelled funky".

Once the shelves were cut to length we put them in place to make sure the spacing was still good. When we were planning, we were pretty sure that the top shelf was going to be too deep to be able to put anything bulky up there - not enough clearance between the shelf and the upper part of the doorway - and we were right.

So we chose to shorten the shelf to a 12 inch depth. Tom also cut the end piece for the shorter shelves and the supporting pieces that stand vertically between the shelves and form the cubbies. The upright board on the long shelf is also cut back to 12 inches to match the top shelf. The end piece goes from the first longer shelf down to the floor and provides added support to that shelf.
Once all of the boards were cut it was time for staining. I applied two coats of Jacobean stain from Minwax with a cloth, and then once it was dry and wiped well, I applied a coat of furniture wax, buffing it to a shine. I will always choose wax over polyurethane if I have the option. I love how smooth it feels.
After the boards were completely dry we reinstalled them by screwing the horizontal boards directly into the wall braces, and using small angle brackets to attach the vertical boards to the shelves. The boards that formed the wraparound shelves were attached to the main shelves using flat plates.
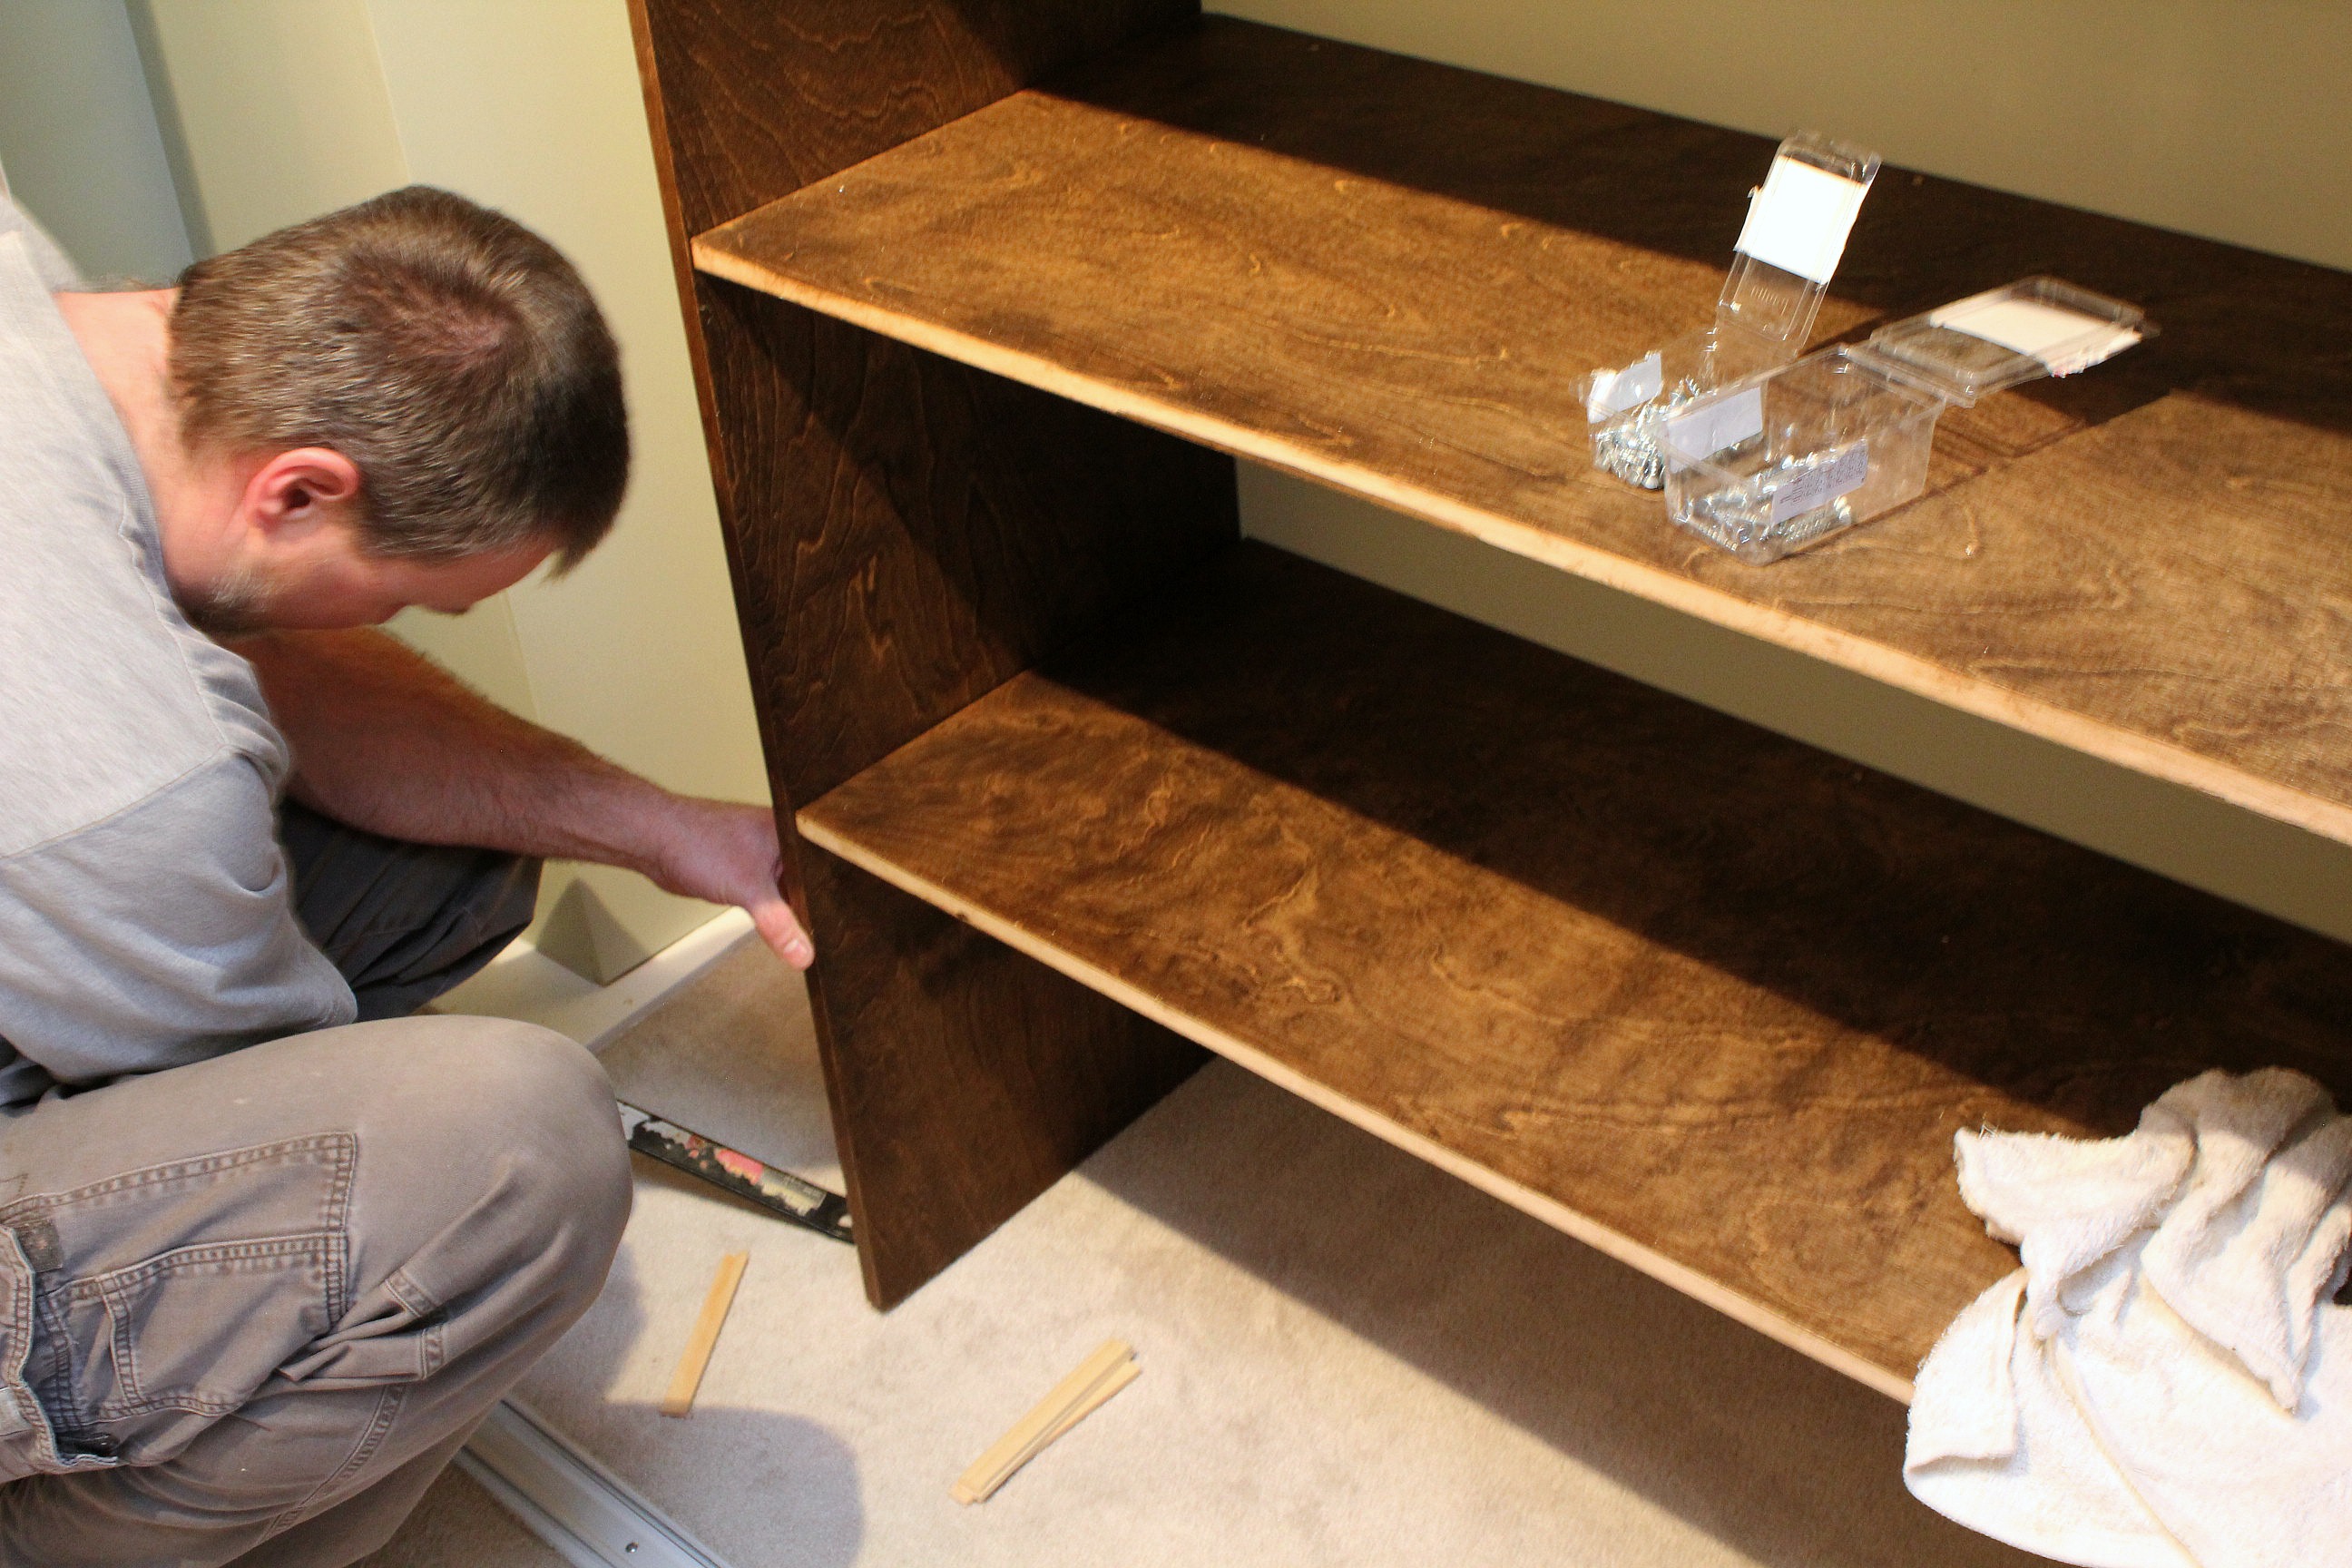

Tom installed trim pieces on the front of each shelf to give it a little more substance, visually at least. The last item on the list was to putty all of the screw holes around the back edge of each shelf and the nail holes on the trim and then give them a light coat of stain to help them blend.

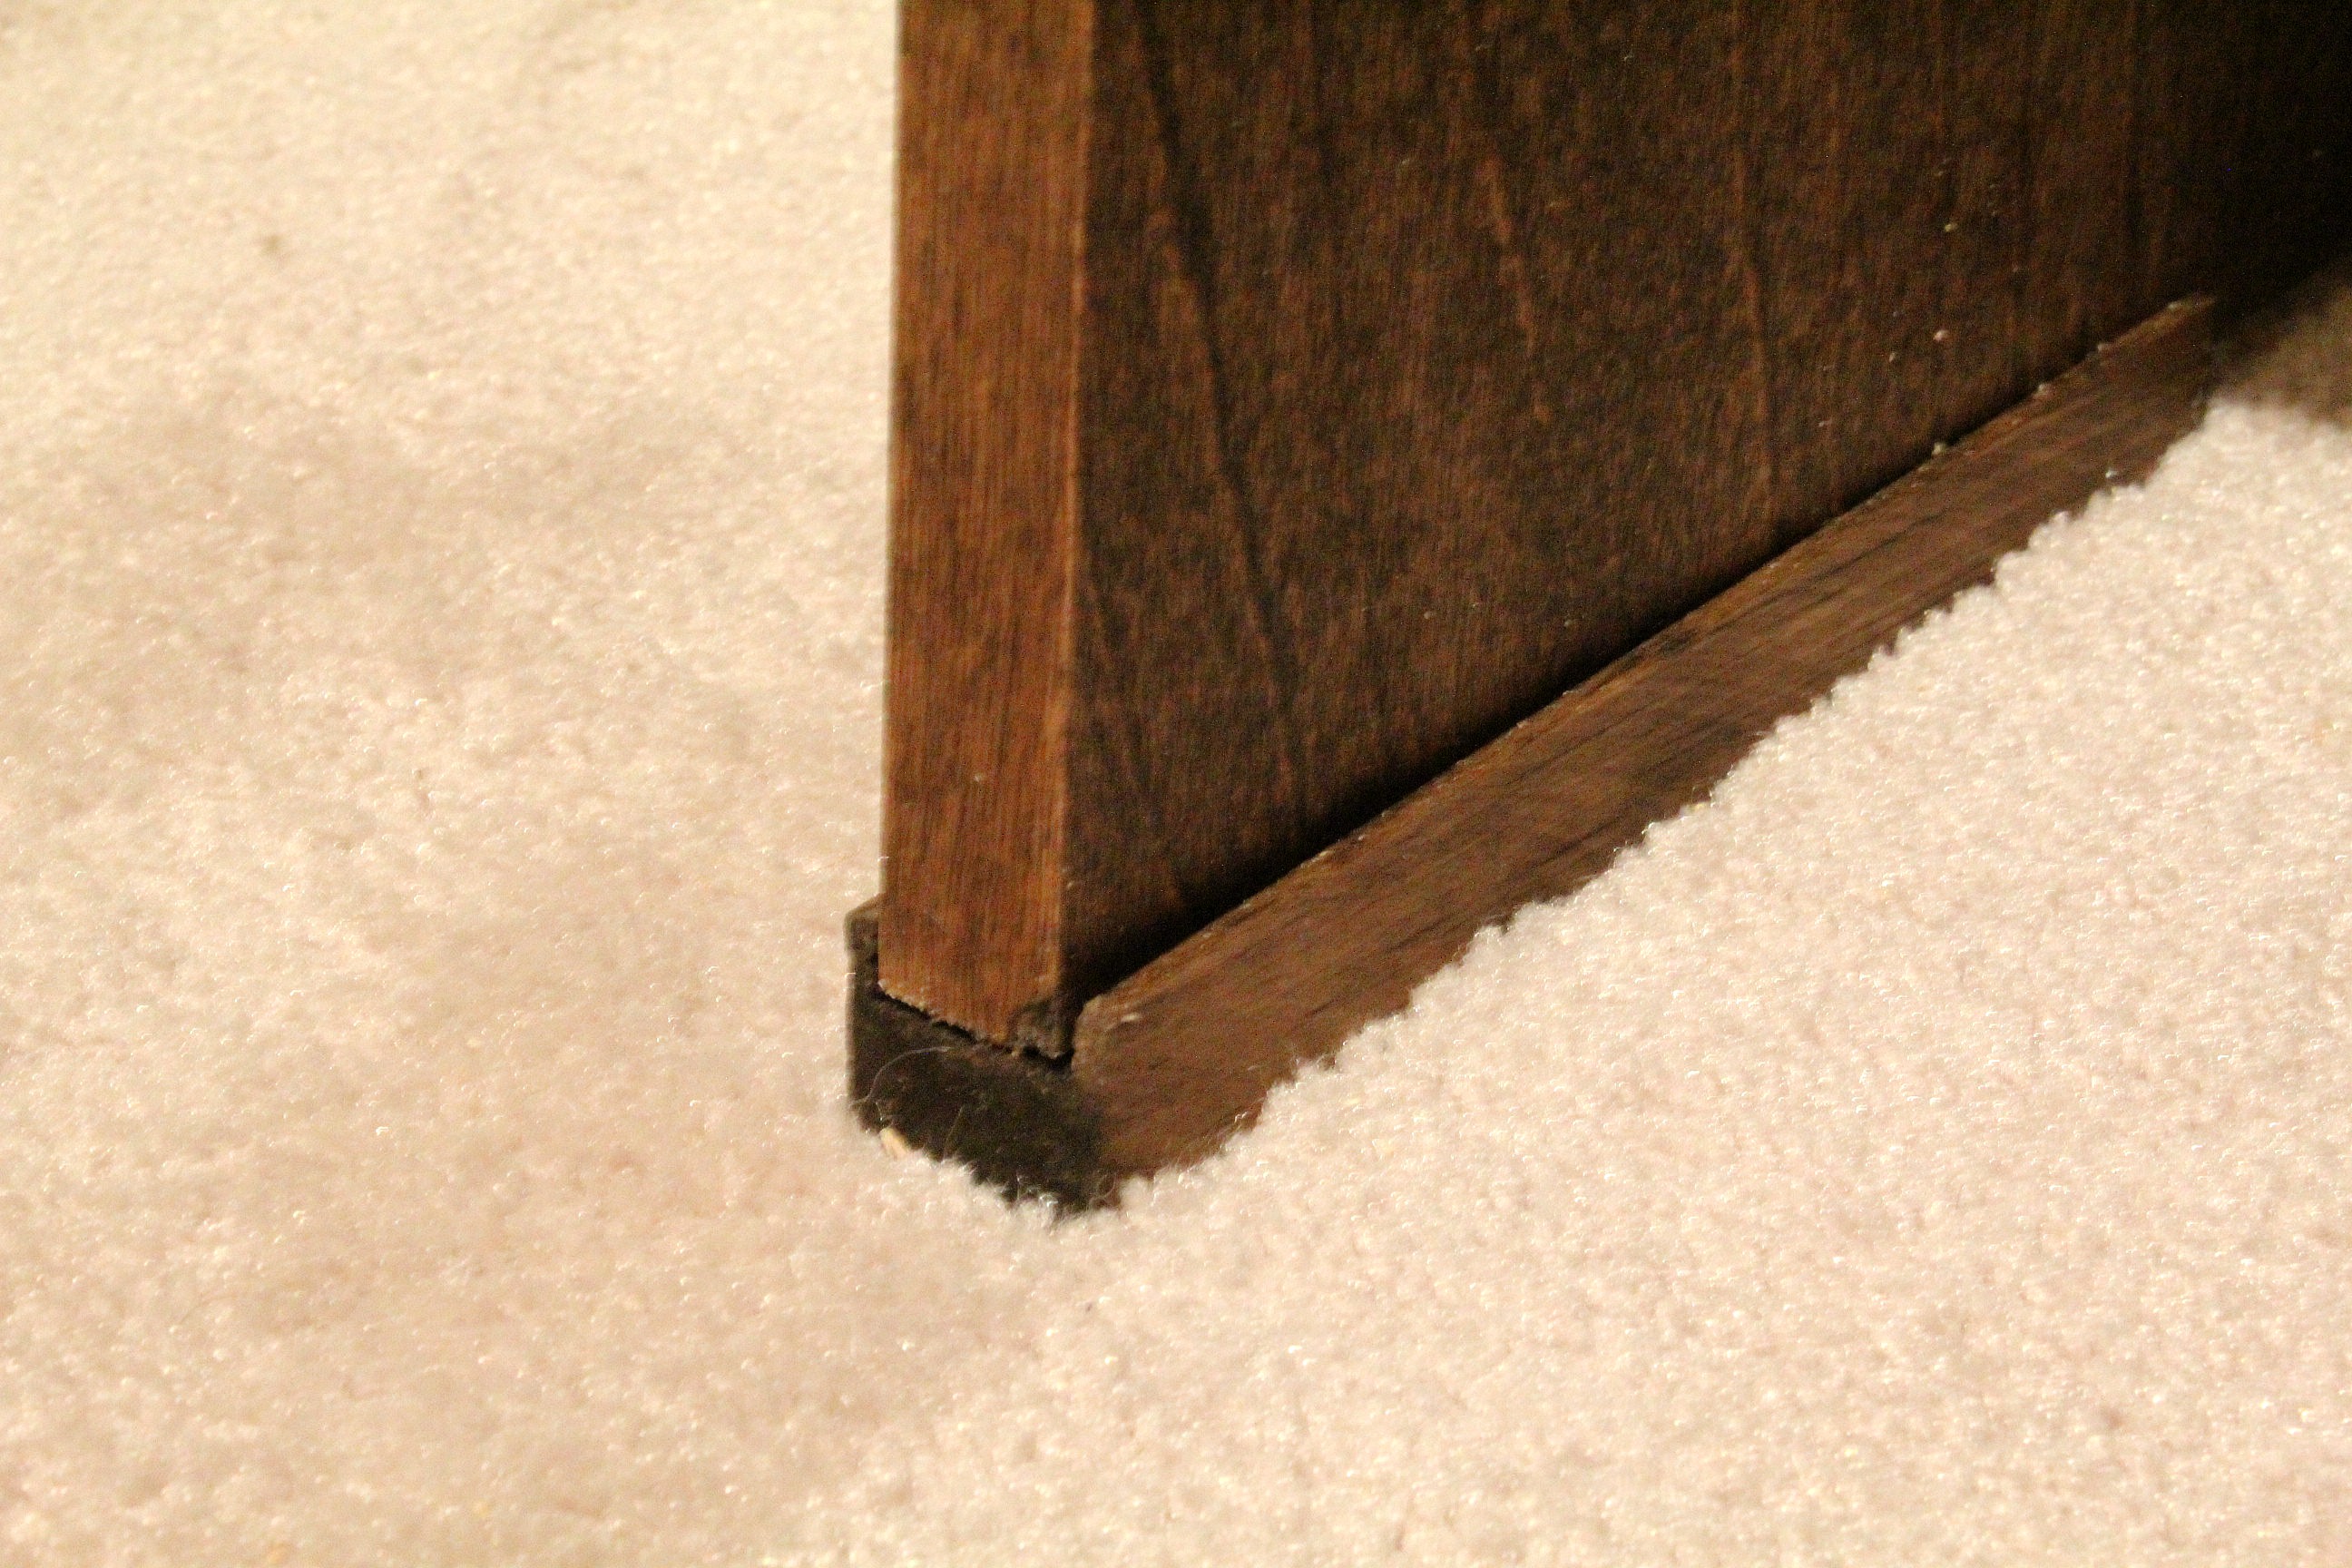
When Tom was putting in the vertical end board he wasn't able to get it level because of the carpet. He needed a shim but didn't think it would stay in place. So he carved out a little slotted piece of wood that curves up around the board to keep it in place and I stained it to match.
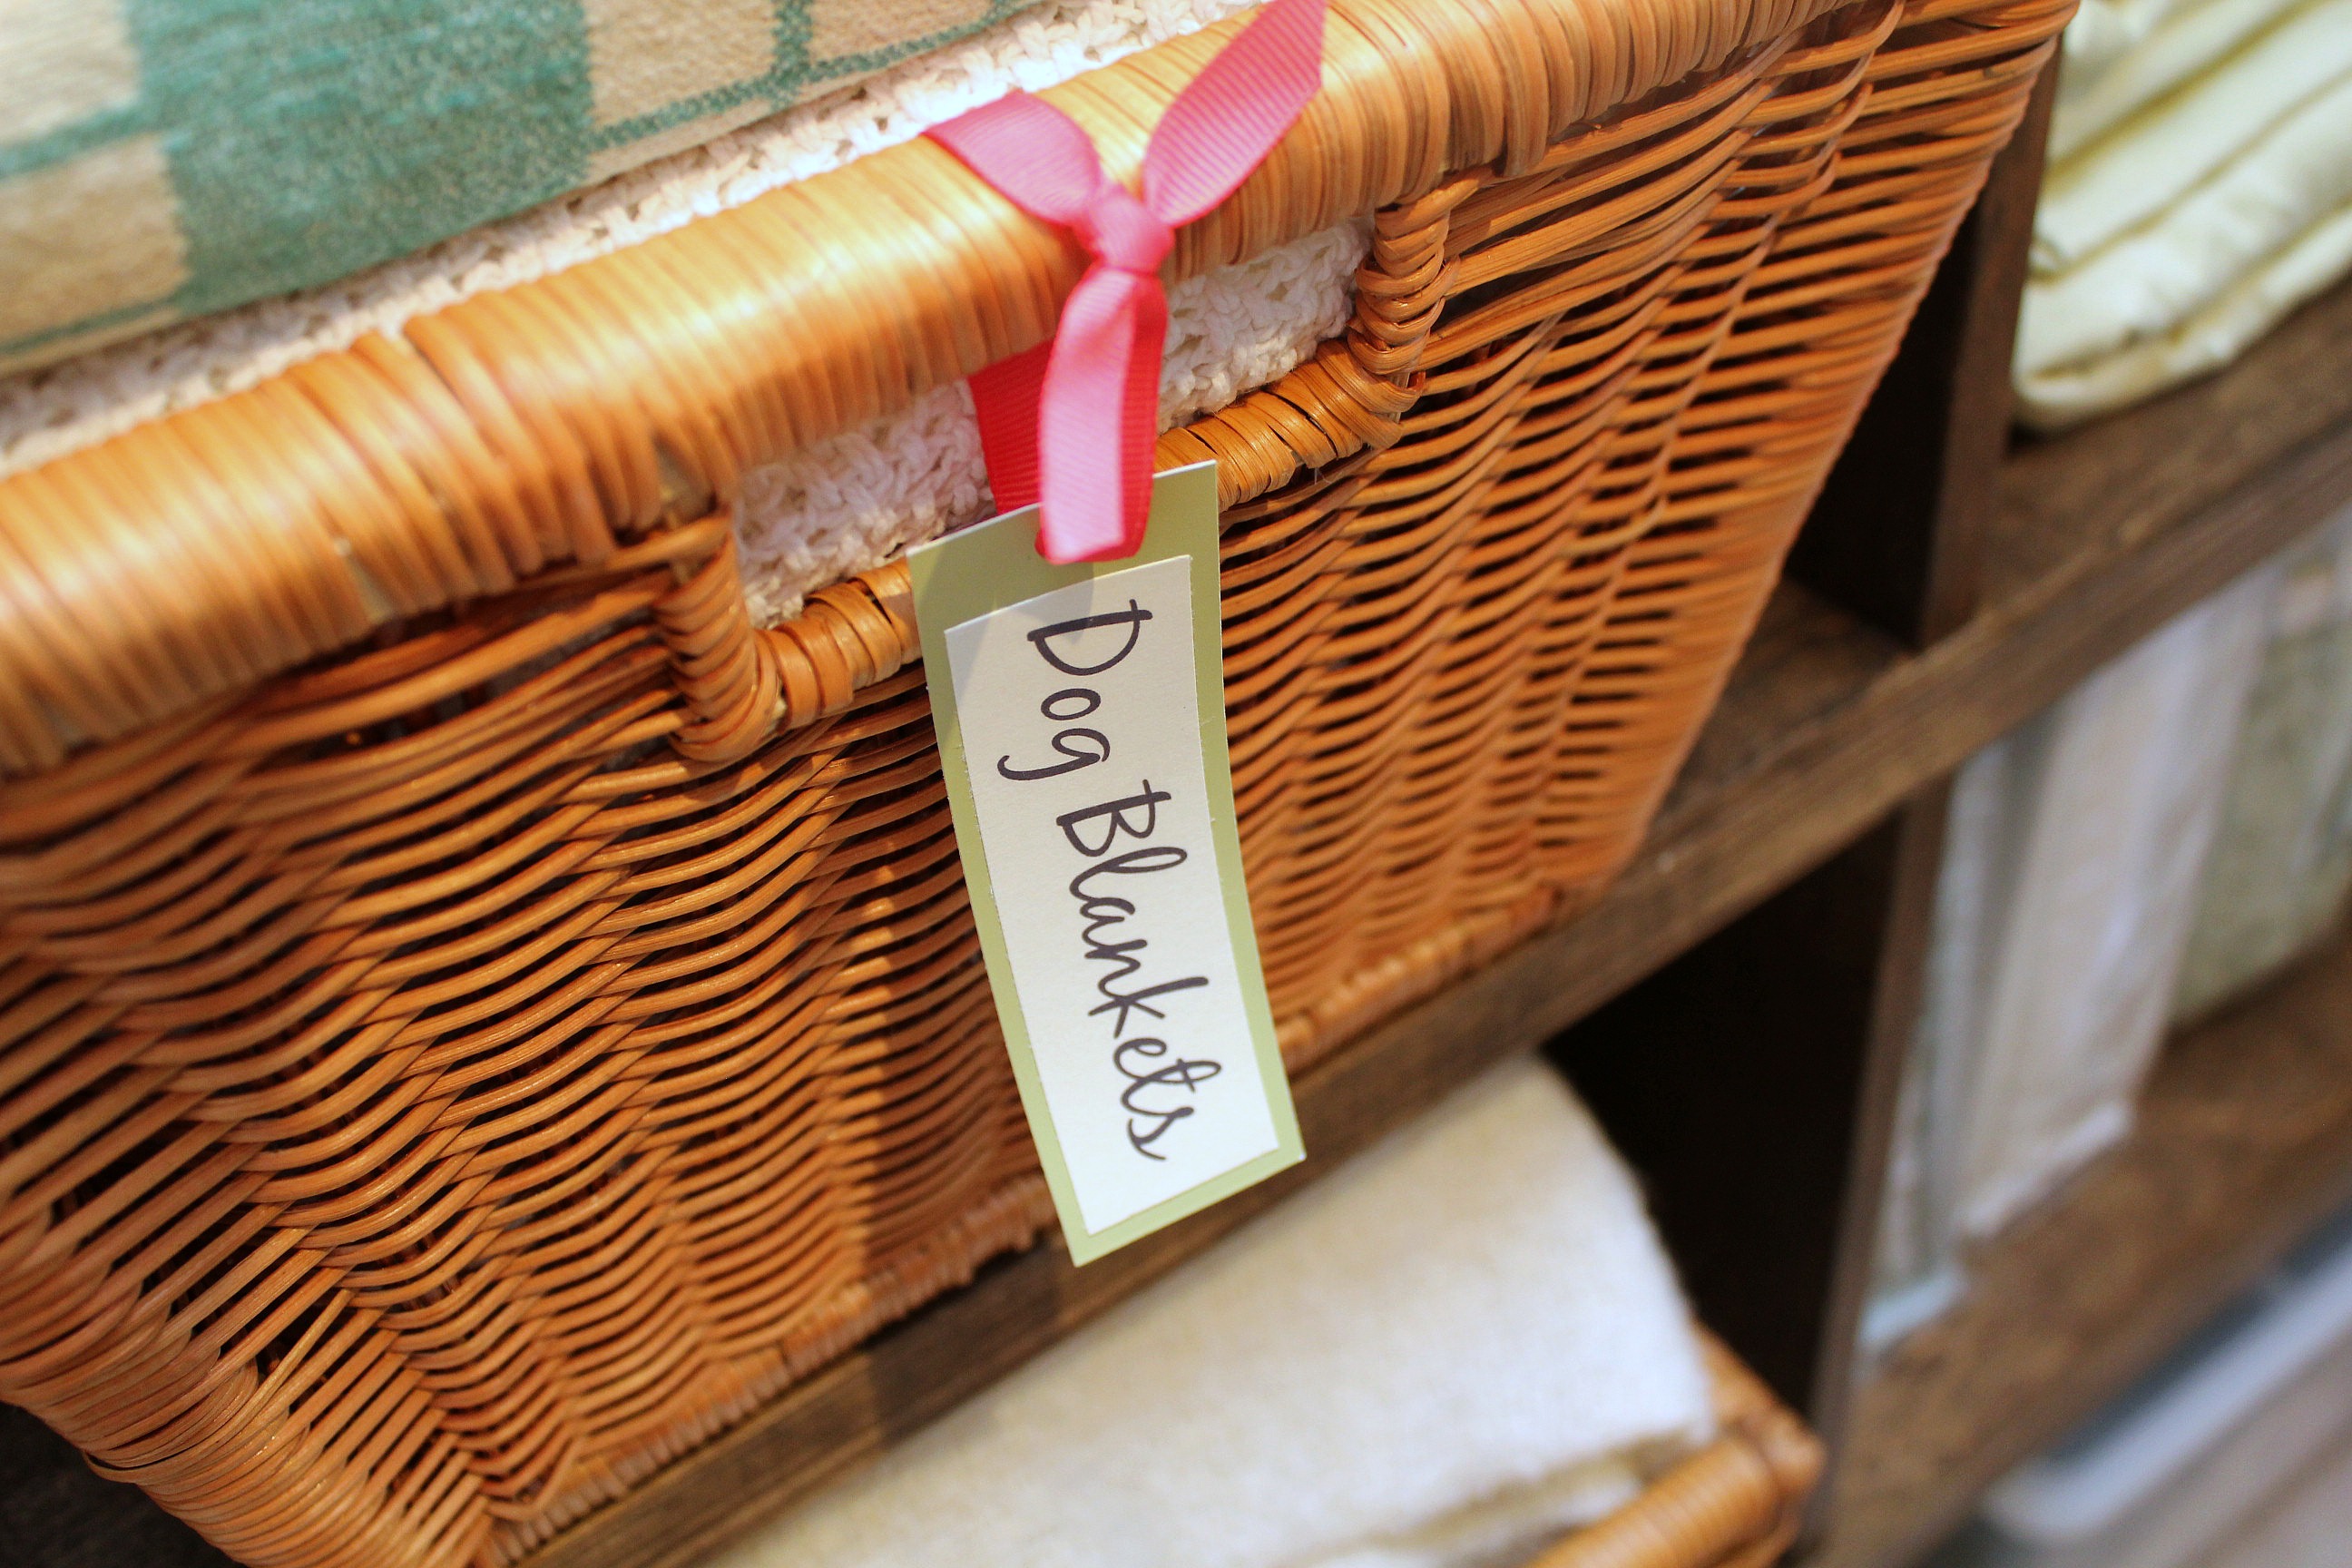
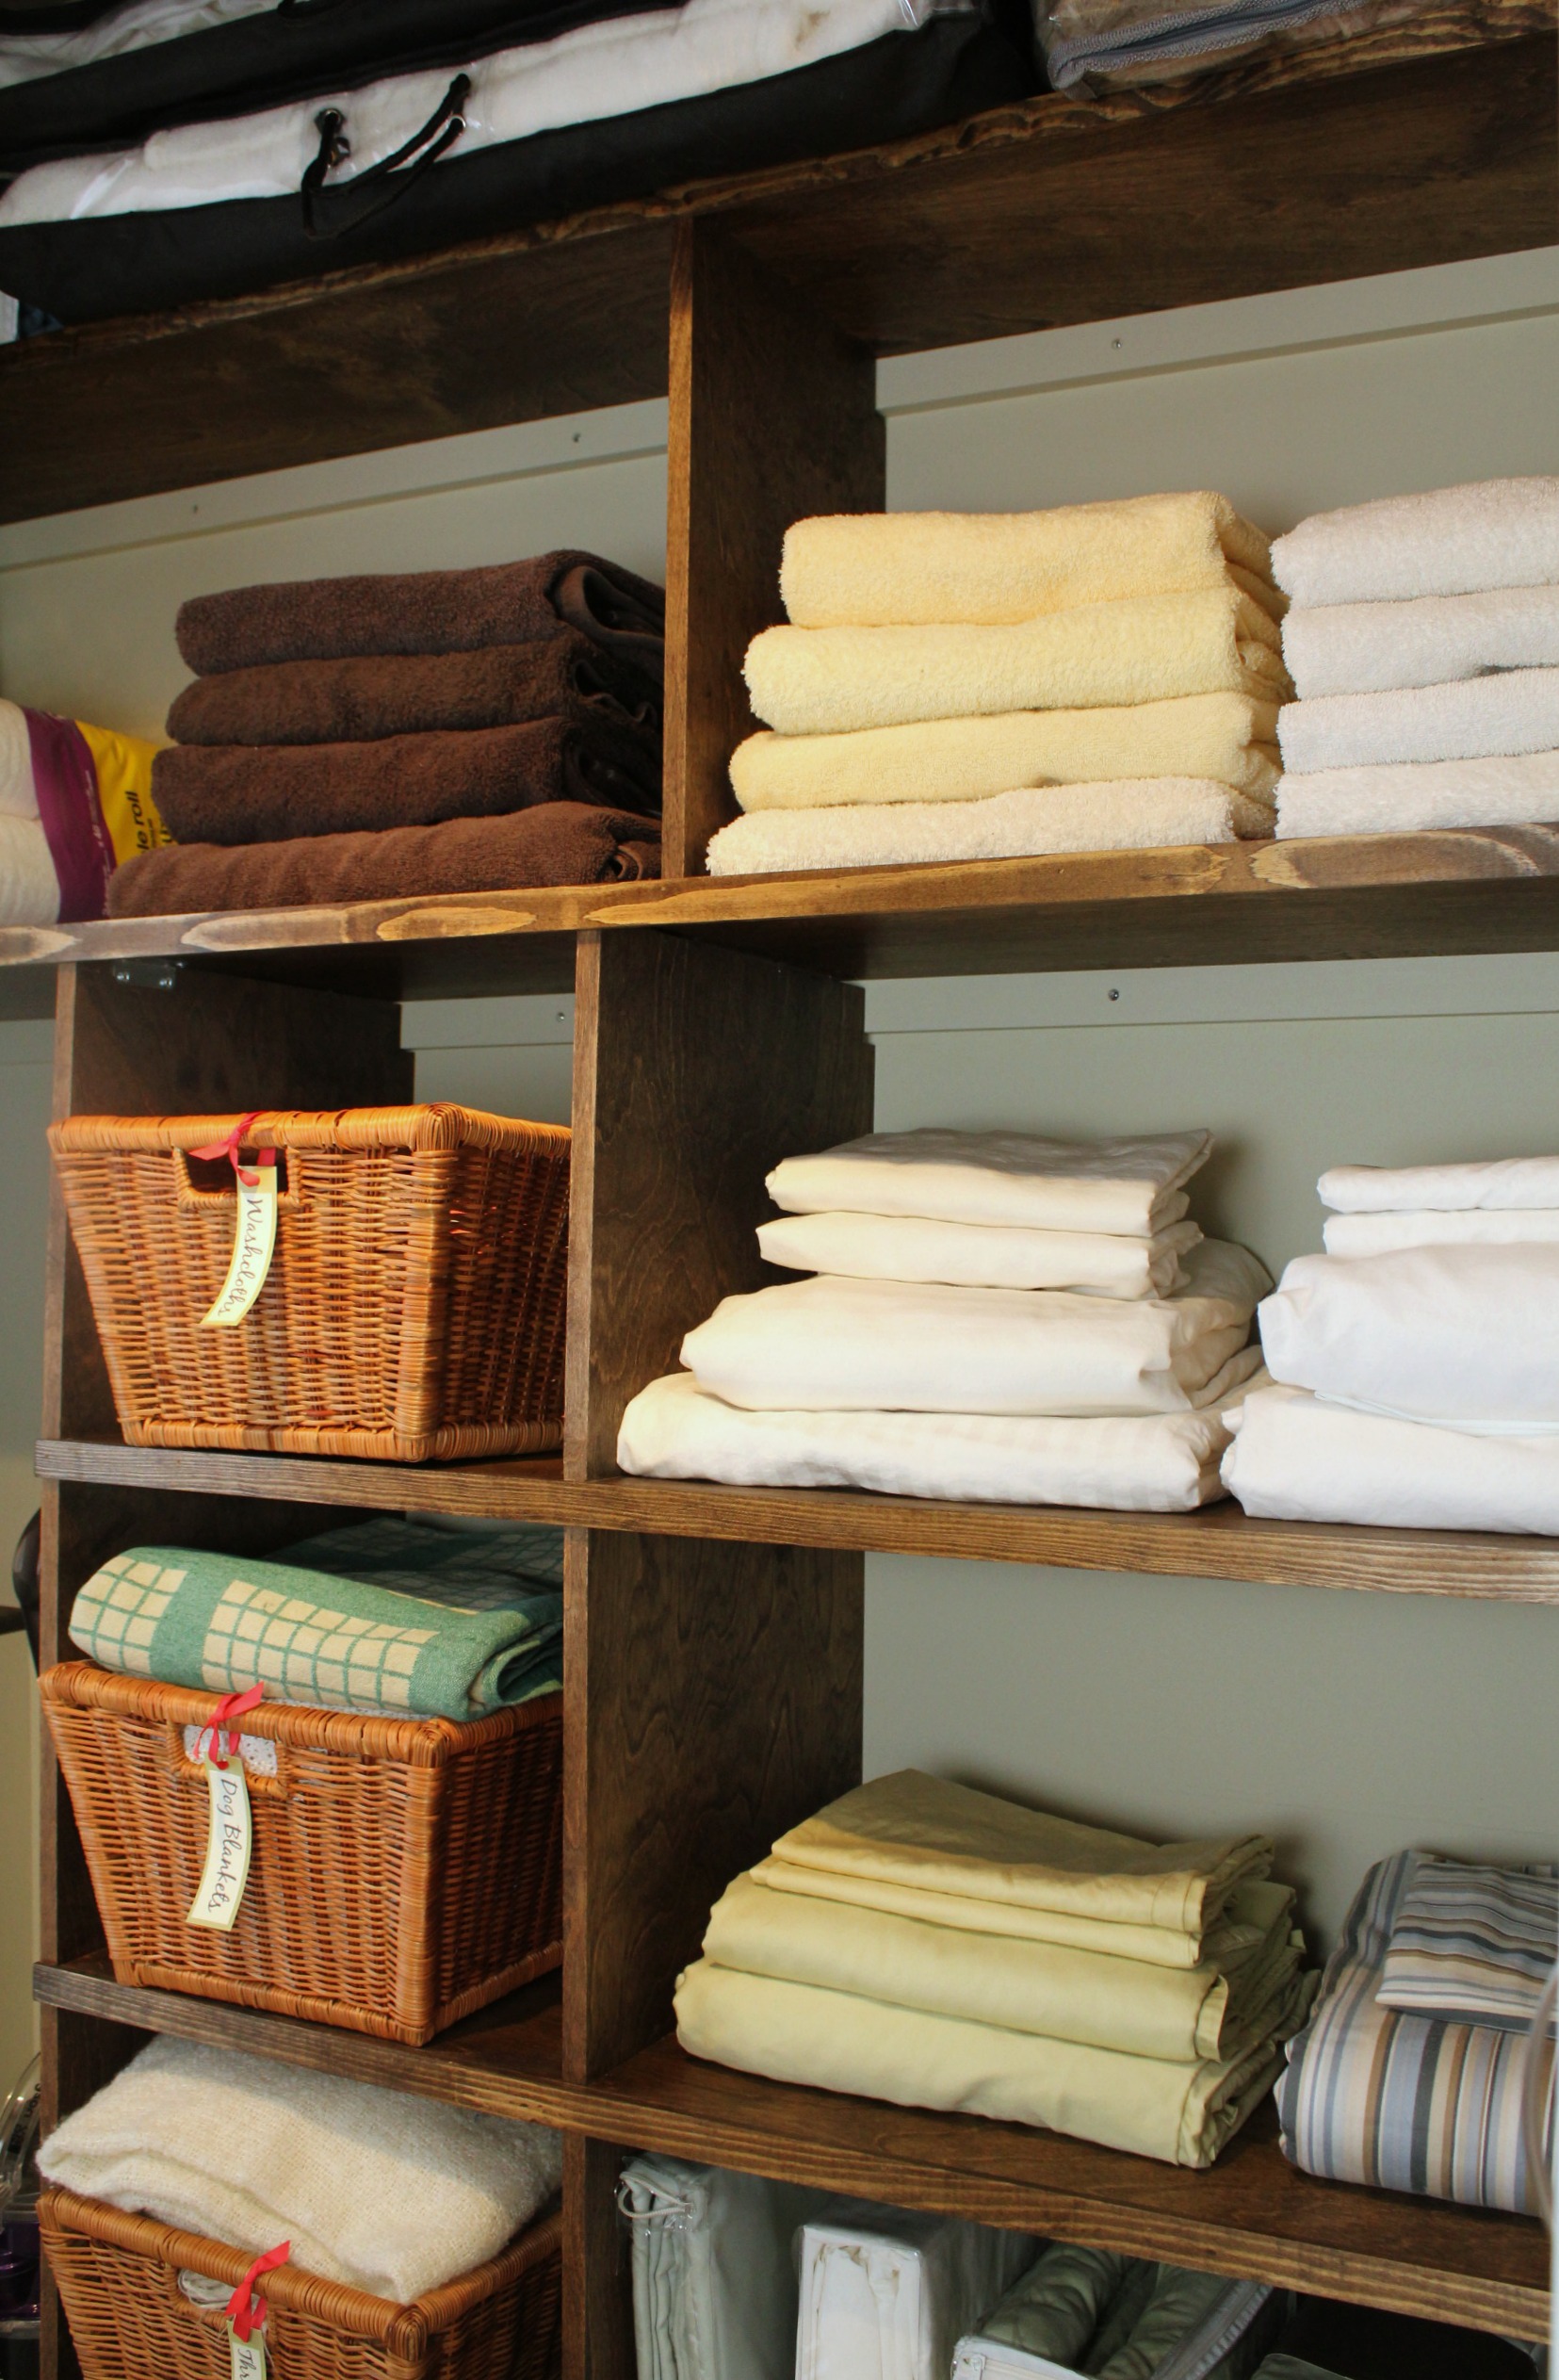
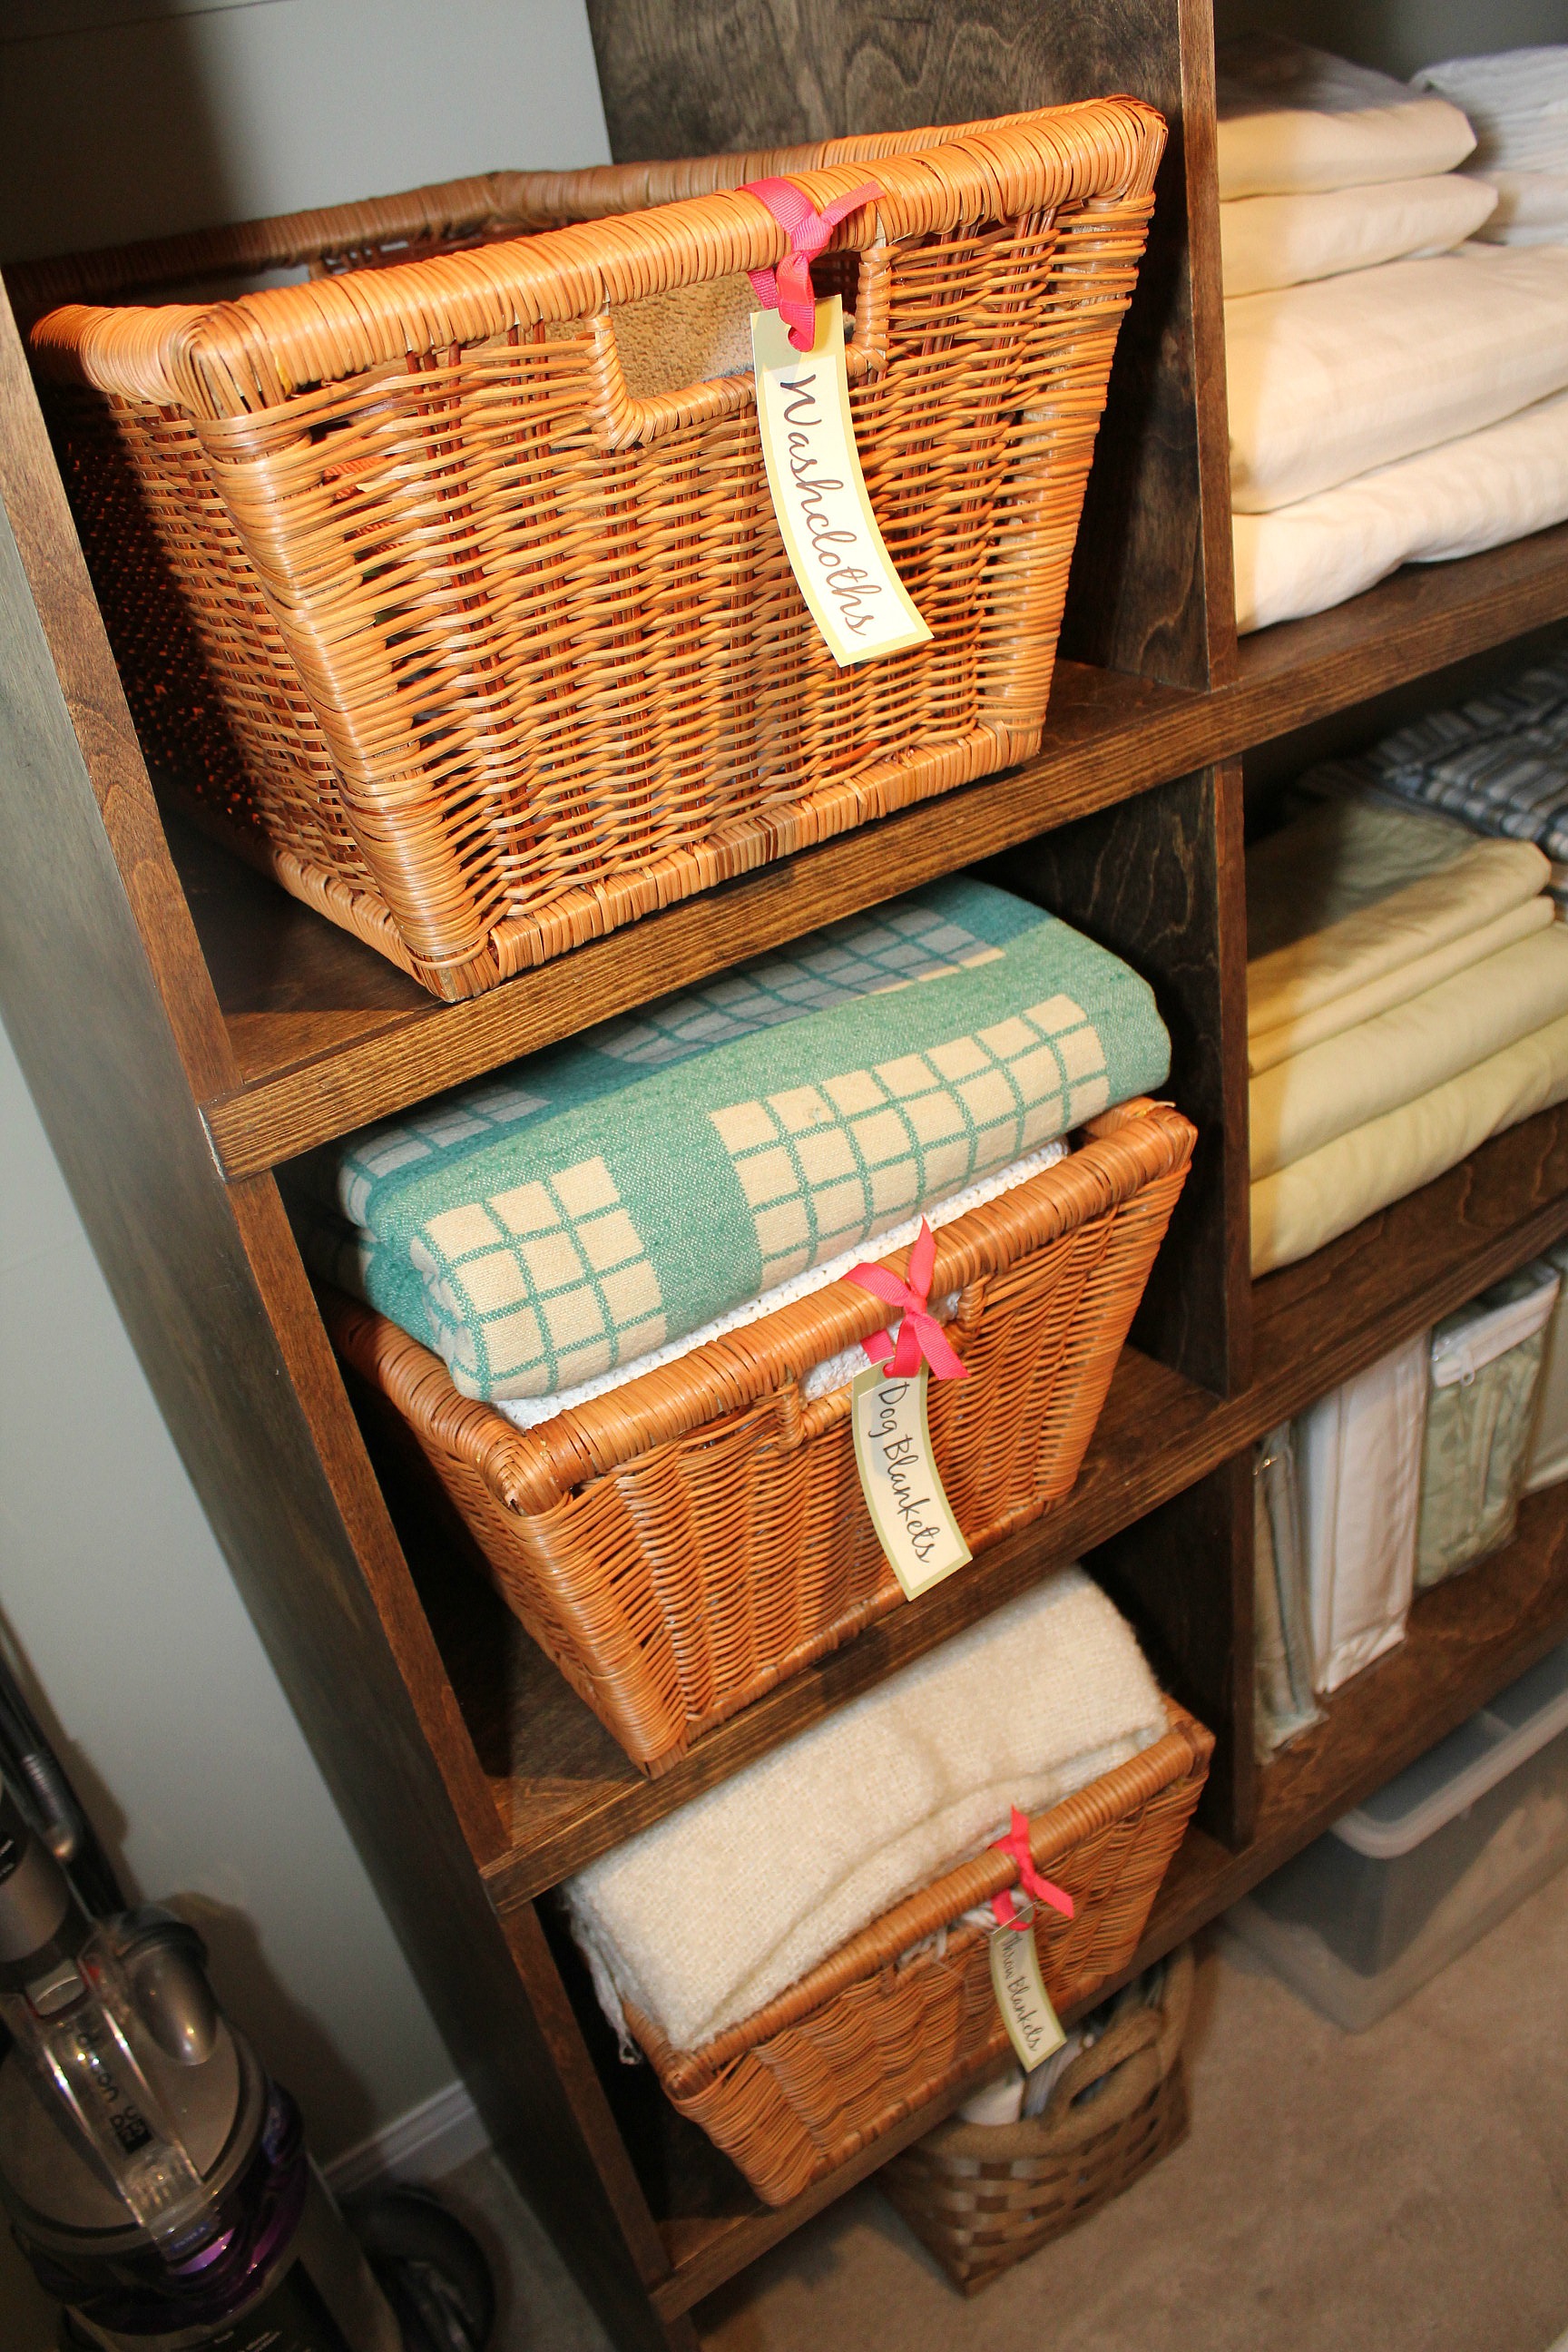
Then came the fun part for me - loading everything back in. I've tried to organize things in a logical way - queen-sized sheets on one shelf, king-sized on another. When we buy new comforters or sheets I always keep the zippered bags they come in to use later. I use them to store gift bags, fabric supplies, duvet covers; the ones that pillowcases come in are even good for keeping small items together when you're travelling. I put the blankets we don't use regularly into these zippered bags and store them standing upright at the top of the closet


3 comments:
I have this same closet configuration with the awkward sliding doors that limit accessing both sides at the same time. I love this redo and the great tutorial! It doesn't even need the doors because it looks so pretty and organized. Thanks for sharing.
Aww, thank you!
This is really very impressive guide of valve selection which can be very helpful for many industry people. Thanks for sharing this valve selection tips.
king size pillowcases
Post a Comment