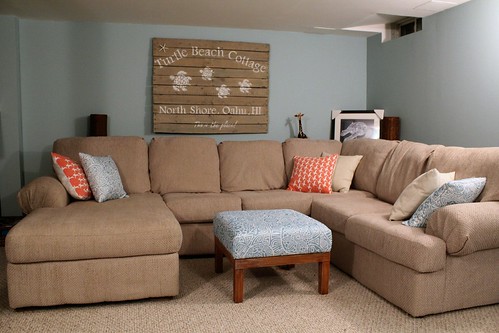
I'm still chipping away at the basement TV room. After getting the walls and ceiling painted, I'm focusing on layering in the details. We're going for a cottage feel - an easy, relaxed, put-your-feet-up kind of vibe. Big, slouchy couch, cushy pillows, and soft neutral colours.
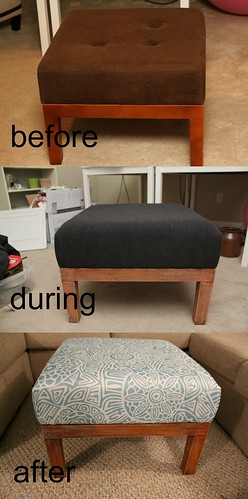
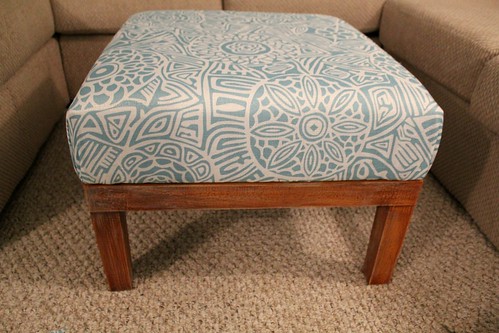
In a burst of energy late one night, I decided to recover the coffee table/foot stool to make it a bit brighter and more fun. I bought the stool a few years ago from HomeSense (the Canadian version of HomeGoods), and it came with a boring brown fabric (for some reason I was into brown at the time).
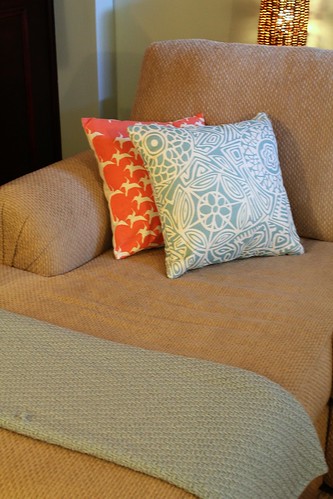
I had planned to accessorize this room in grey, and first recovered the stool in the same grey flannel as the bedroom bench and the storage bench. And that was fine for a while, but the colour was kind of a drag on a room that was otherwise bright and cheerful. I purchased some fabric in an aqua print to make pillows for the couch and still had a lot left over. The type of recovering I'm going to show you doesn't require any sewing whatsoever - all you need is a staplegun.
The legs and frame attach to the top with four long bolts underneath. They just needed to be removed and the two pieces came apart. I cut a piece of the new fabric in a square that was large enough to cover the top, sides, and then had about two extra inches all around so that I could fold the edge over and staple it. Having a clean edge looks nicer, and keeps the fabric from fraying later.
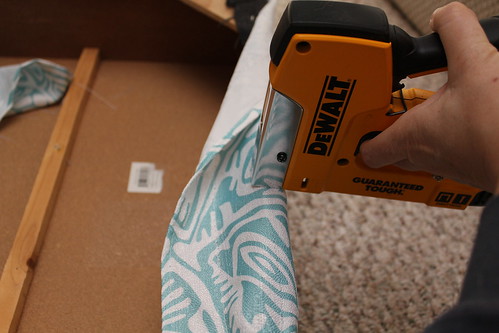
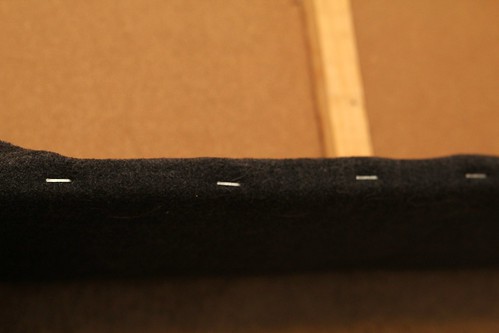
Lay out your fabric face down on the floor, place the piece you're recovering upside down on top of it, and bring your first side up and over the bottom of the base. You'll put one staple in the center of each side first to keep your fabric centered and in place. Fold the edge of the fabric over about half an inch or so and staple it securely to the base. Do the same on the opposite side, making sure that you pull the fabric taut and keep it smooth. Then do the other two sides.
(I only have a picture of the grey fabric edges.)
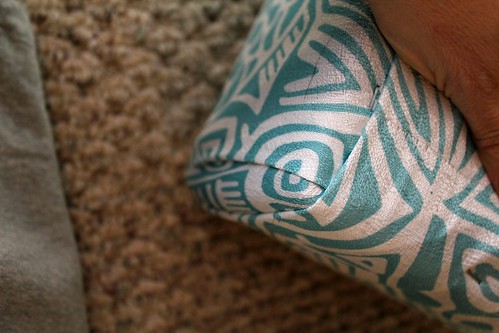
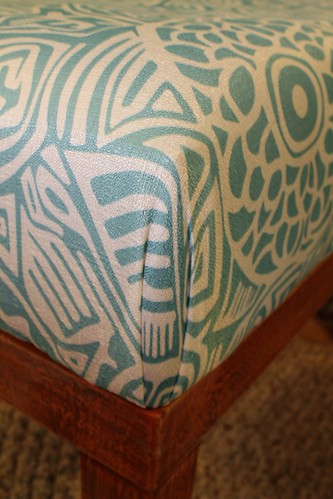
There are dozens of different ways you can finish the corners. The easiest is a simple angled fold like you'd do wrapping a present, but I like to do a kind of double fold that meets in the corner. I don't know if I'll be able to describe this accurately, but here goes.
Take a corner of the material and pull it straight up, stapling it down. Then take each of the "flaps" created and tuck the excess material under with a clean fold so that you have a straight line running parallel to the corner. Try and get each edge to be the same length and the same distance from the corner, pull them taut and staple them down.
Having a padded coffee table is great. It's large enough and sturdy enough to put plates on, but it's also nice to have something cushioned to put your feet up on when watching tv.
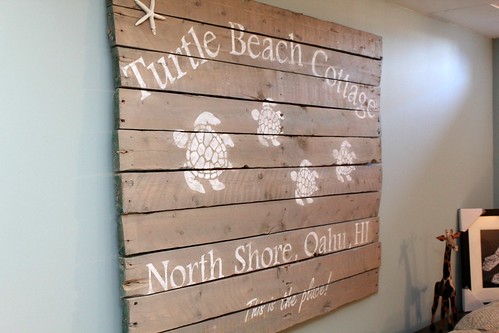
The room is starting to come together now. We have the throw pillows in coral and blue (with a couple recovered in off-white dropcloth fabric as well), our "Turtle Beach" sign made of pallet boards, and this awesome sea turtle chalk drawing that my aunt gave me for my birthday. The background is navy blue (my favourite colour). Apparently she had to practically wrestle it away from another lady in the store.









4 comments:
You did a great job on the ottoman. Love the new fabric. I will be featuring this tonight at my Swing into Spring party that opens at 8pm EST. Please stop by and pick up an I've Been Featured button. Thanks. http://diybydesign.blogspot.com
I love how it turned out! Such a transformation!
Thanks, Jennifer, it was one of those late-night spur of the moment ideas!
Thanks, Judy!
Post a Comment