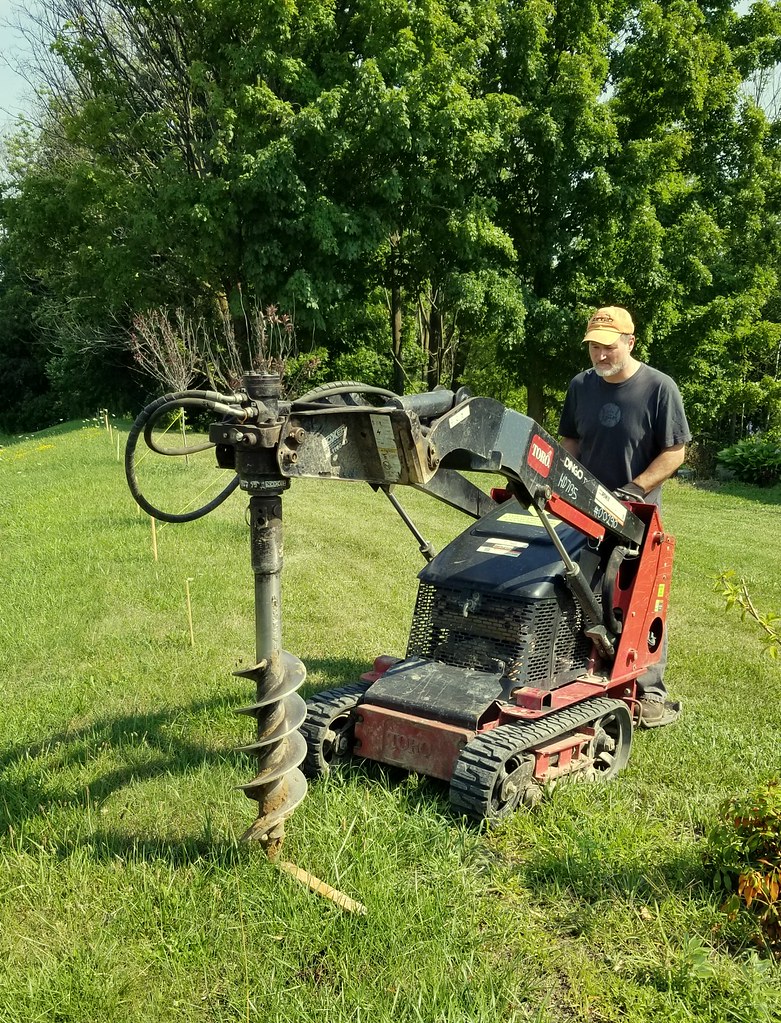
After mapping out the fence with stakes and string, we rented a mini skid-steer with an auger attachment and dug the post holes. The first few were easy, but we did hit rocks in most of them after that. It only took a couple of hours to do all fourteen holes. I can't imagine how long it would have taken if we'd had to dig them by hand.
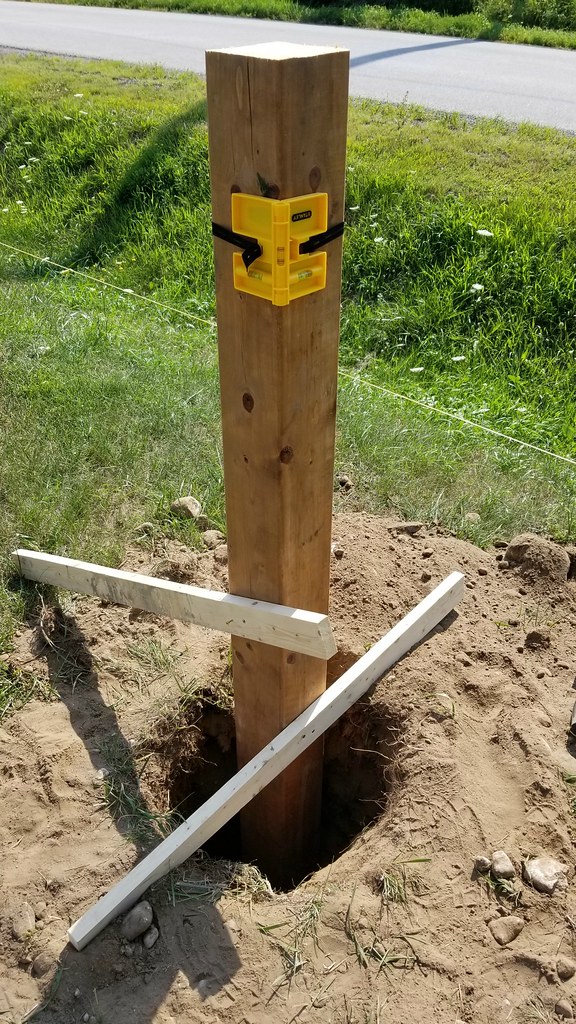
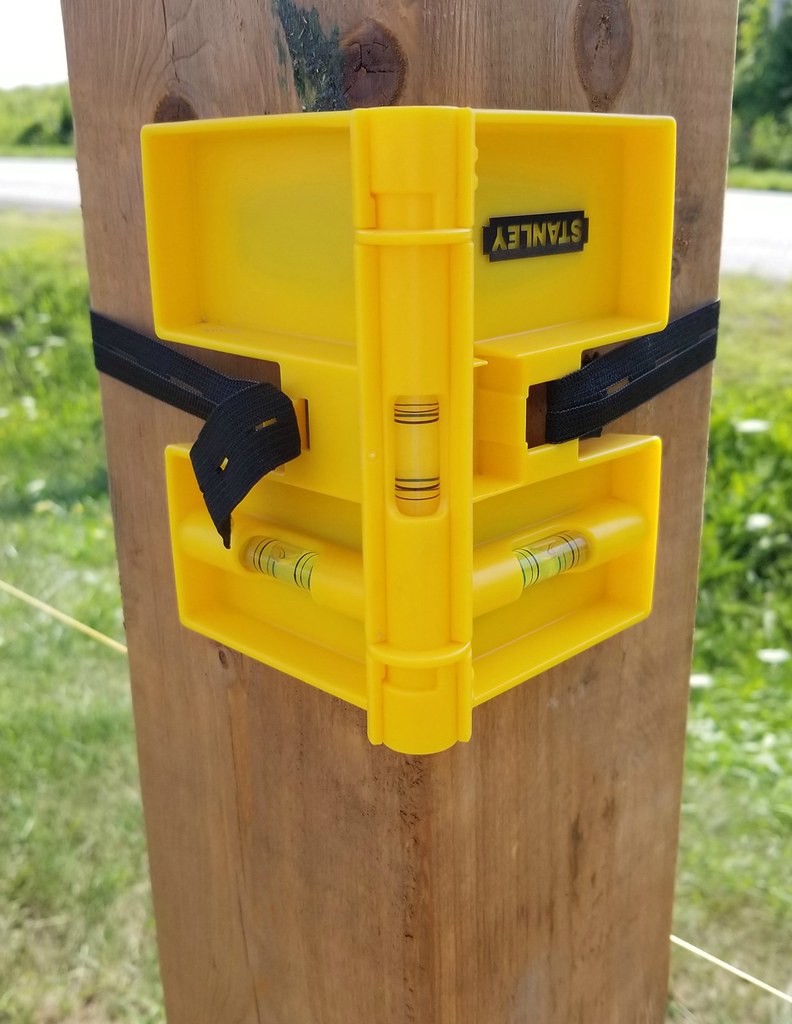
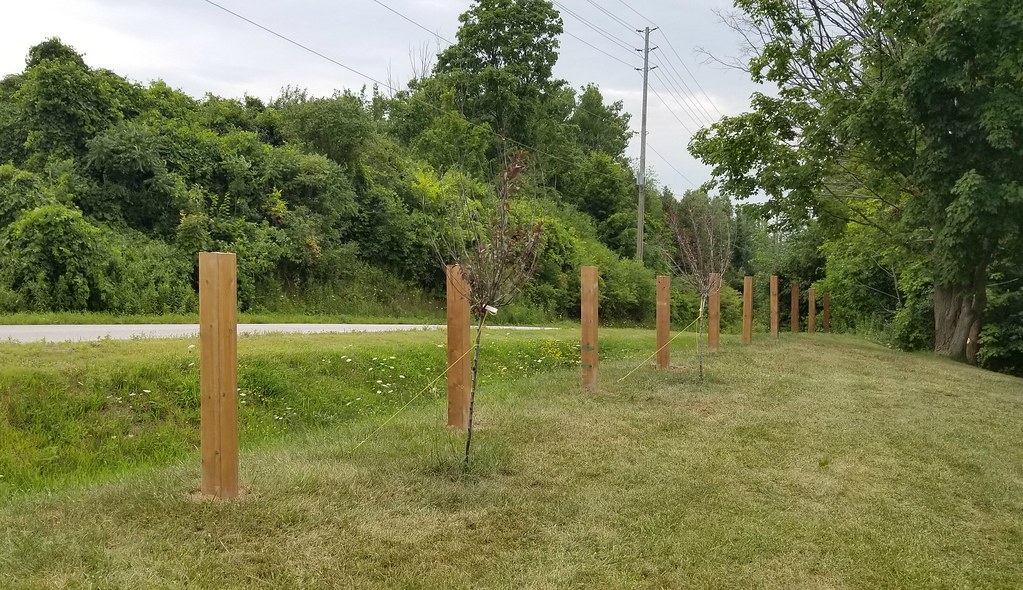
Once all of the holes were dug and the loose dirt cleaned out - that part was done by hand while lying on the ground, scooping, scooping, scooping - we positioned the 6x6 posts and filled the holes with rapid-set concrete. We started by putting some gravel down to provide drainage, then the post, which we leveled with two temporary crosspieces facing different directions. That corner post level was a God-send!
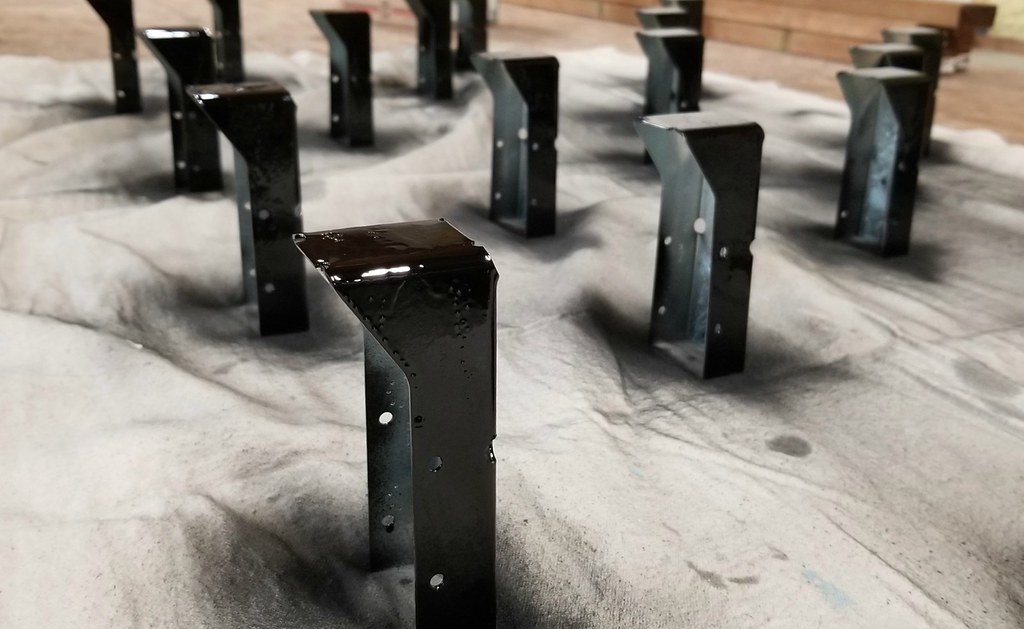
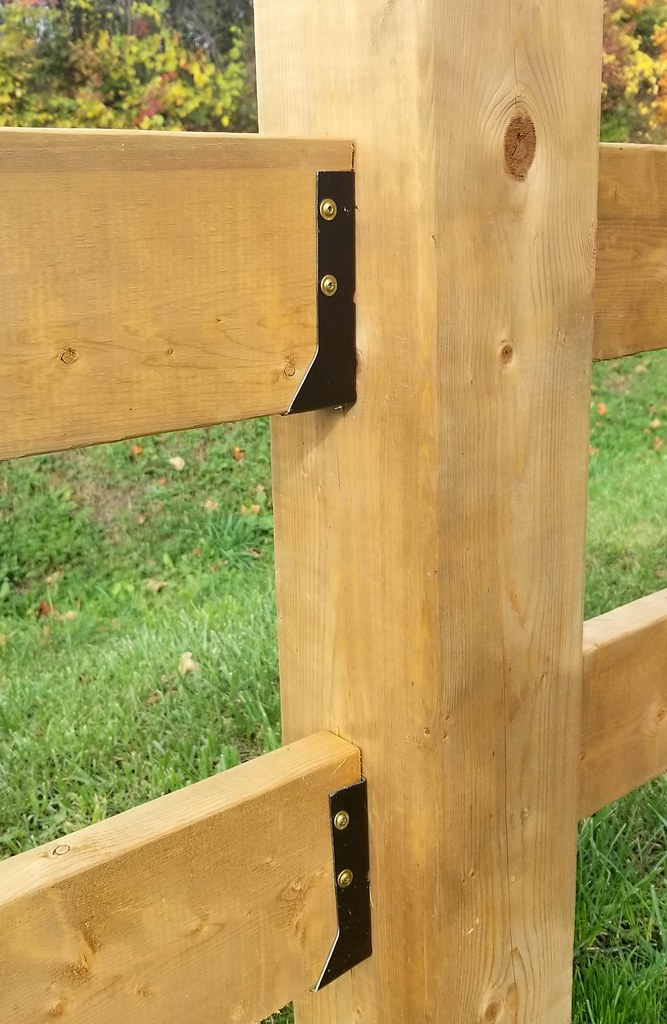
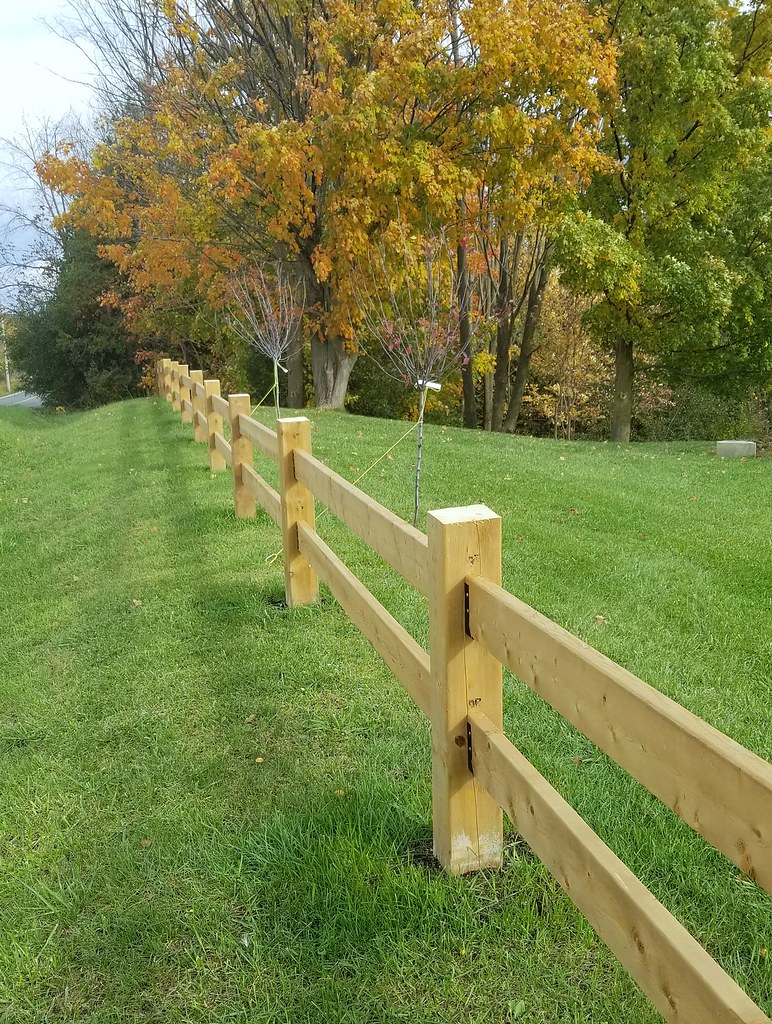
Once the posts were in, we hung the 2x6 horizontal rails with concealed-flange joist hangers that I spray painted a glossy black. These are joist hangers that you would use when building a house or deck. We wanted the rails to be centered on the posts, but didn't want to have to drill through every post to hang them. These were perfect, and the black colour makes them look like high-end hardware.
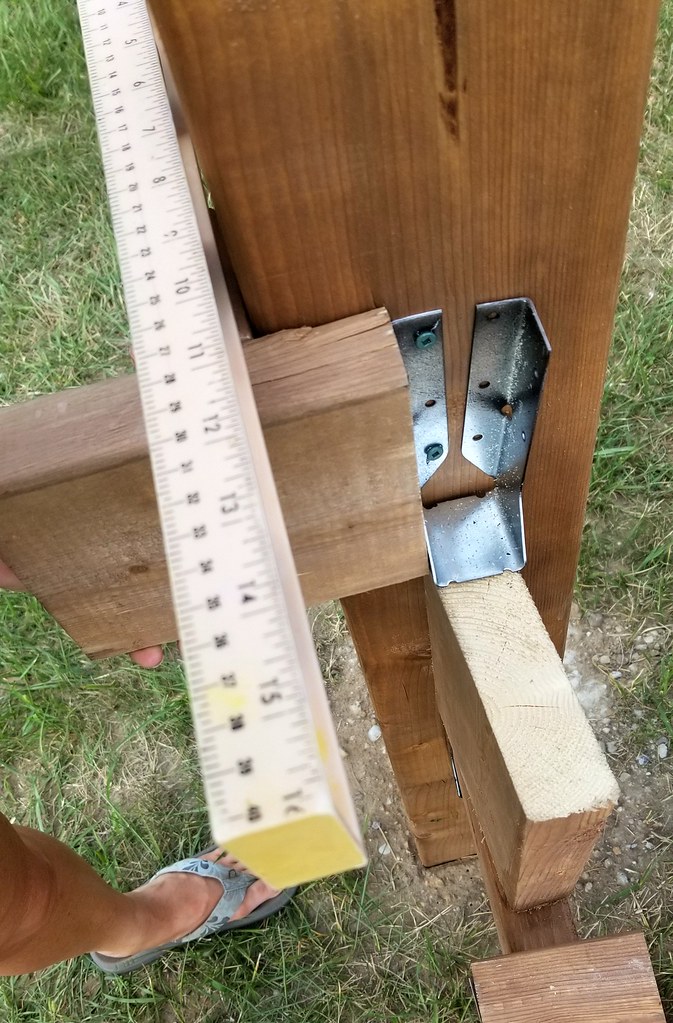
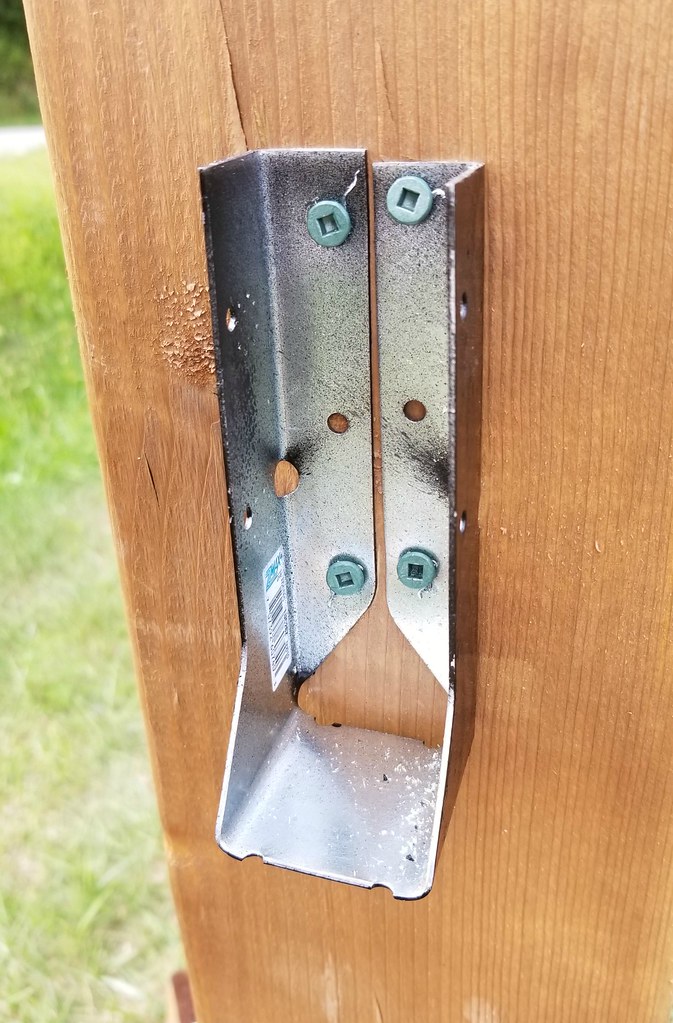
The screws attaching the joist hangers to the posts are hidden behind the rail ends, and then low-profile cabinet screws connect the hangers and rails. We built a simple jig from scrap wood to ensure that each hanger was centered on the post. The cabinet screws have a washer head that gives an upgraded look.
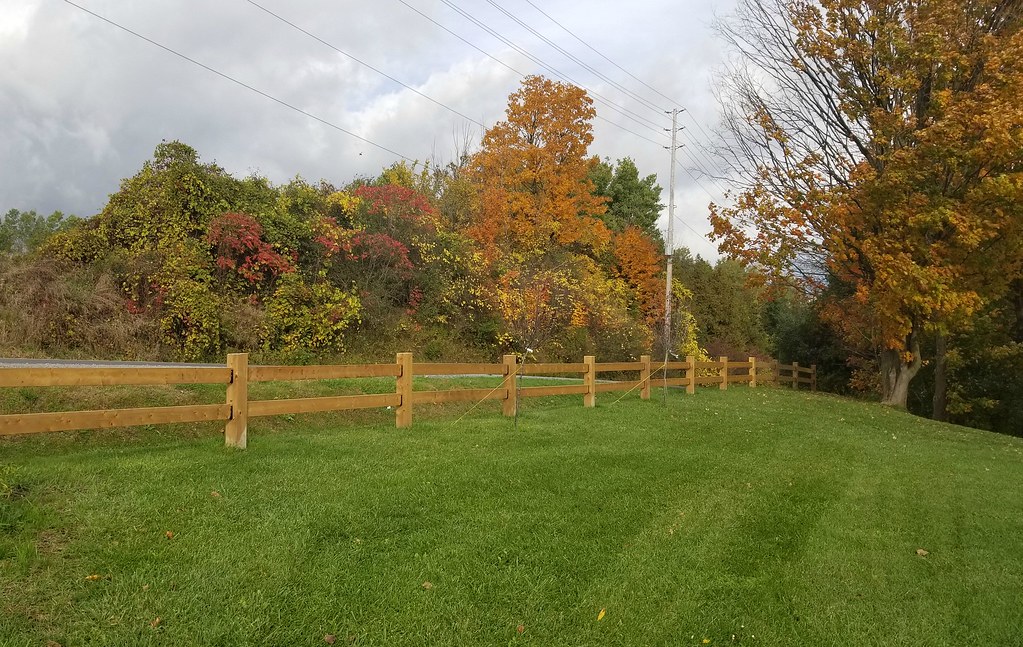
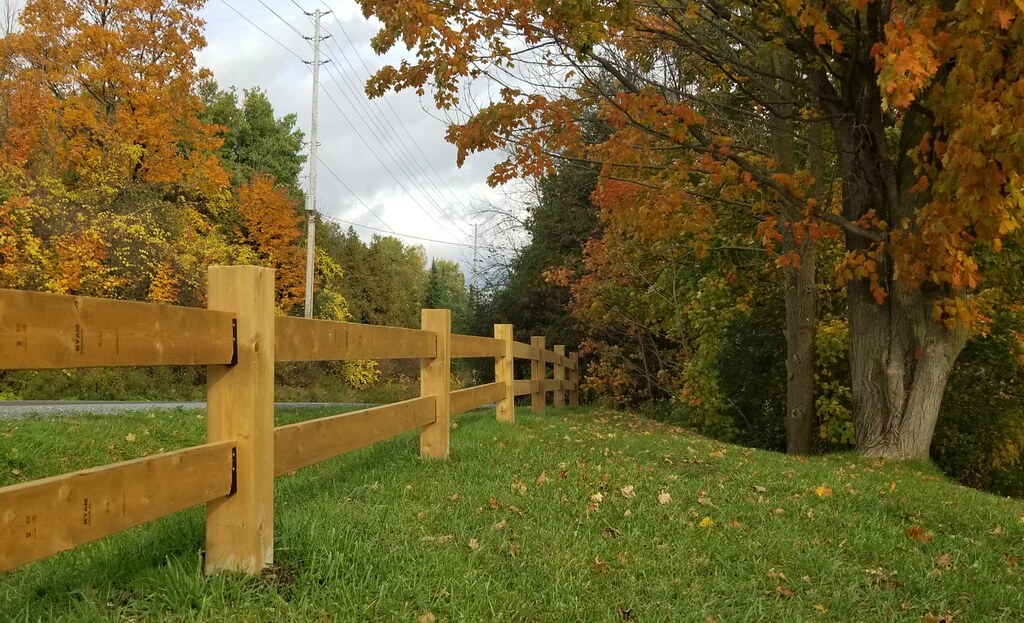
Our lot slopes to one side, so we had to eyeball the rail placement so that they look level, even though they aren't. I spent a lot of time standing out on the road, squinting and calling out for adjustments. However, we did use a spacer between rails so that they remain the same distance apart from section to section.
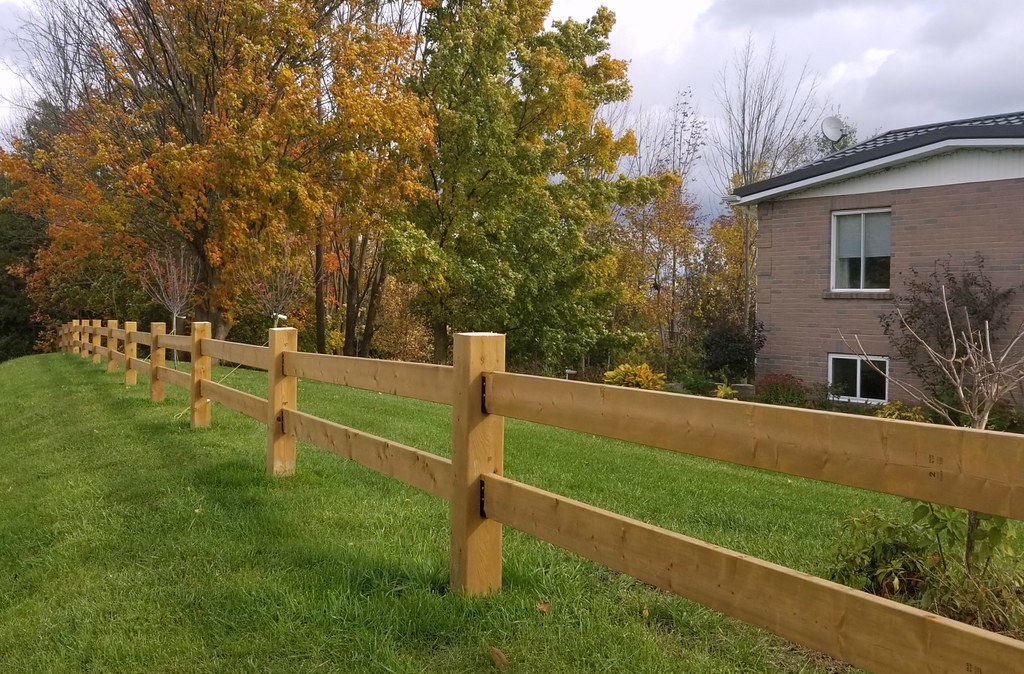
The final step was to cut off the tops of the posts. We cut them a little at a time so that they didn't end up too short. I think we're going to keep the look streamlined and leave the tops squared off, but I also think I'd like them to be about an inch shorter than they are right now.
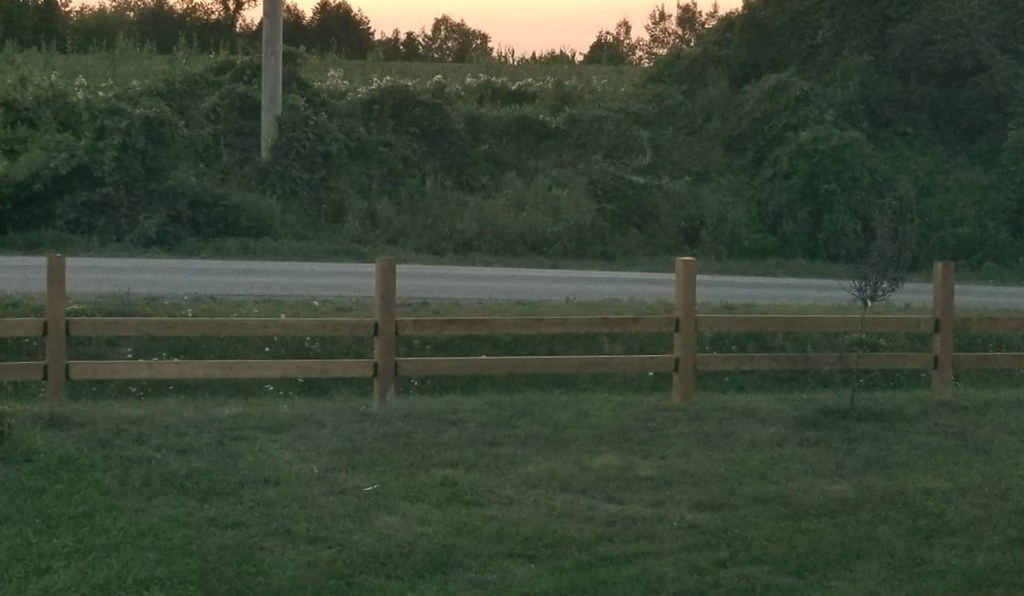
Before cutting:
After:
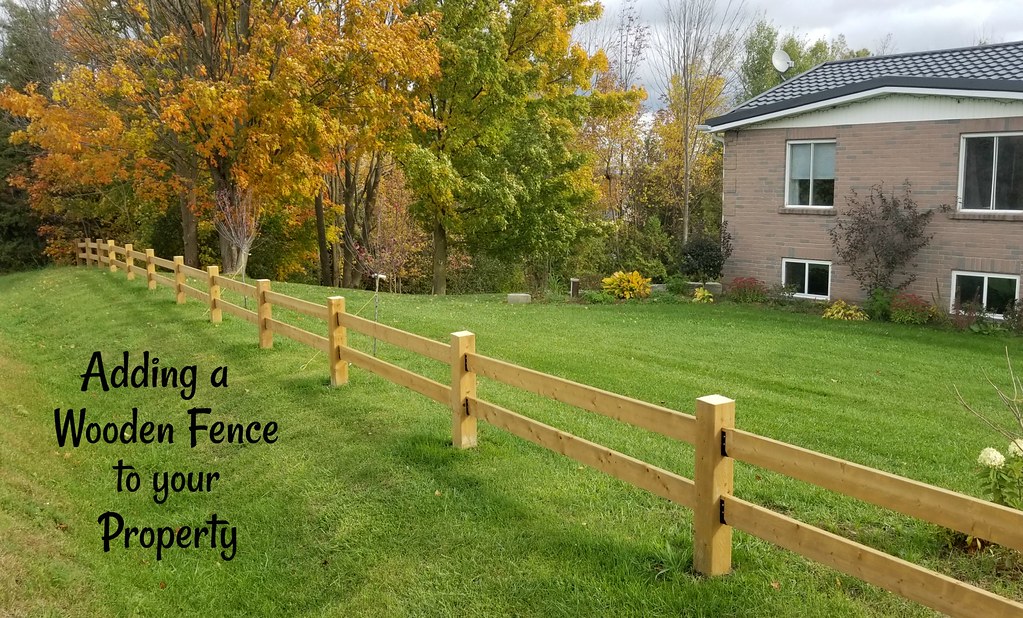
One thing I do know is that the fence looks fantastic with the trees behind, especially now that the leaves are changing colour. The natural wood fence warms up the look of the front yard and gives a solid framework to the whole property.



No comments:
Post a Comment