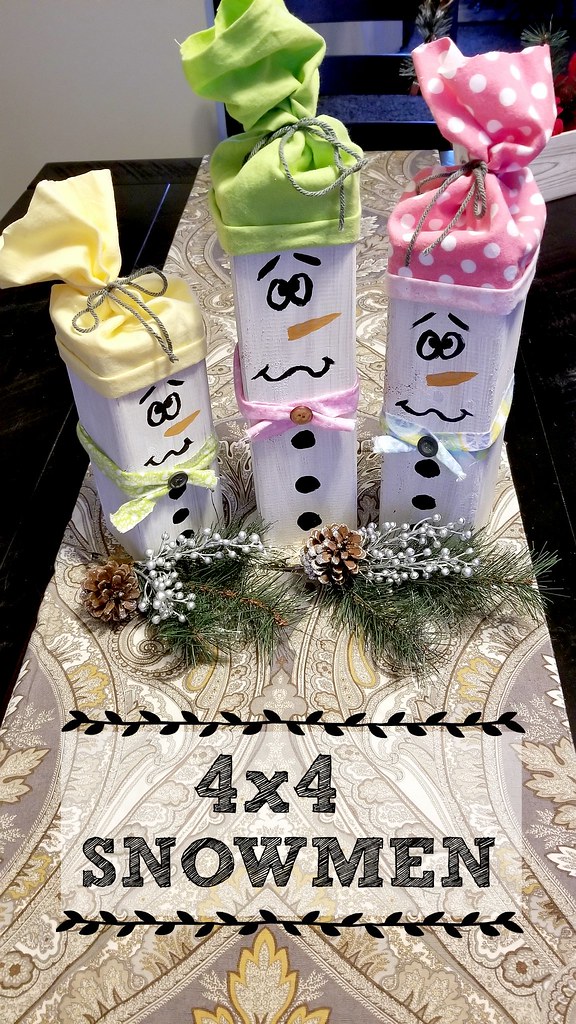
The town resurfaced our road this summer and that extra layer of asphalt they put on was enough such that our mailbox was now too low by postal standards. We had to replace the 4x4 post, so the old one went into the scrap wood bin until I could make these adorable 4x4 fence post snowmen.
To make one you will need:
3' of 4x4 fence post
white, black, & orange paint
scrap fabric
yarn
buttons
miter saw
hot glue gun
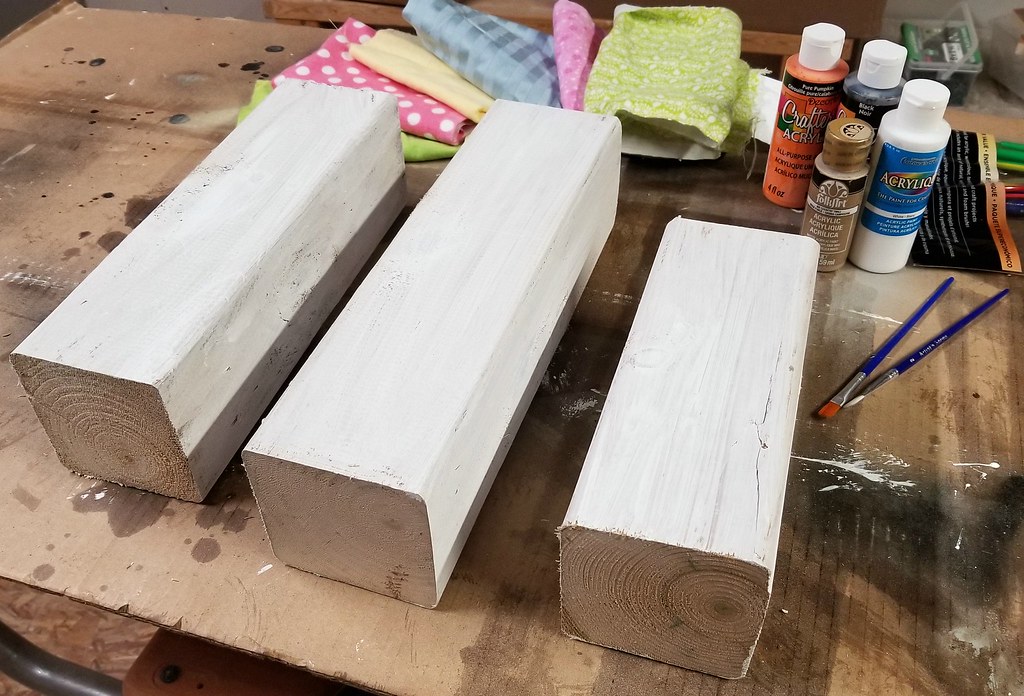
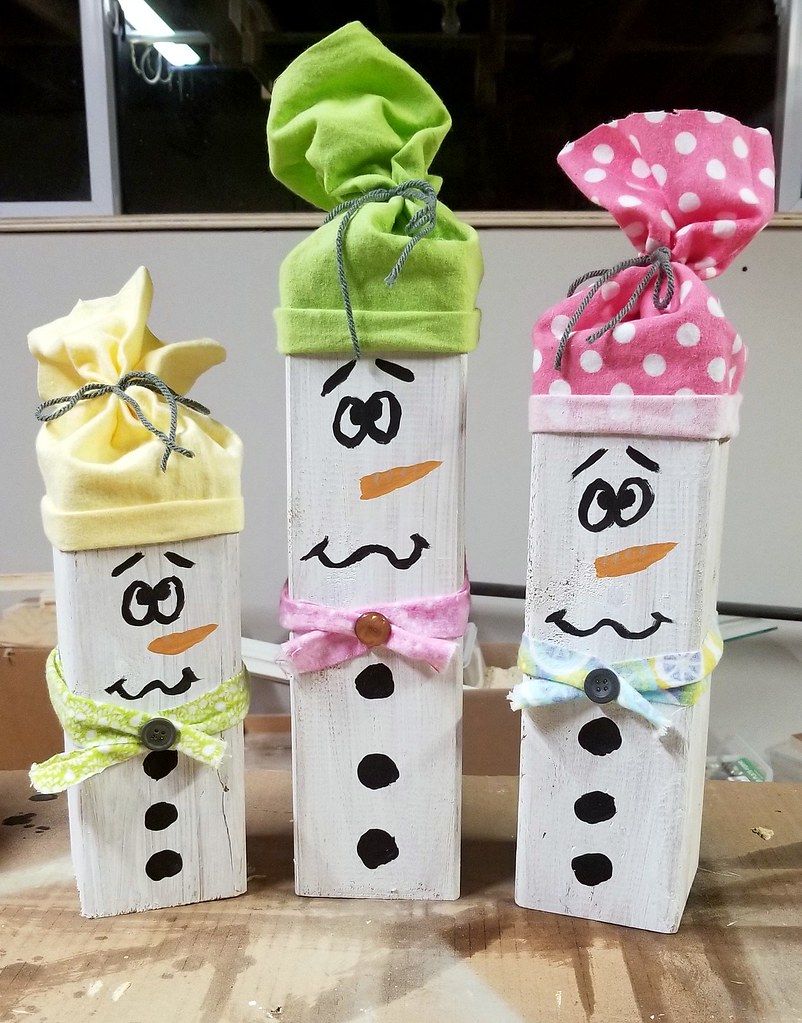
Cut your post into three pieces. It's up to you if you want your snowmen to be all the same or different heights. I randomly cut the post lengths without measuring, and ended up with pieces that were 9-1/2", 11-1/2", and 13-1/2" long.
I wanted a flat paint finish for the snowmen bodies, so I chose white ceiling paint, and rubbed it on with a cloth to give it just a light washed look.
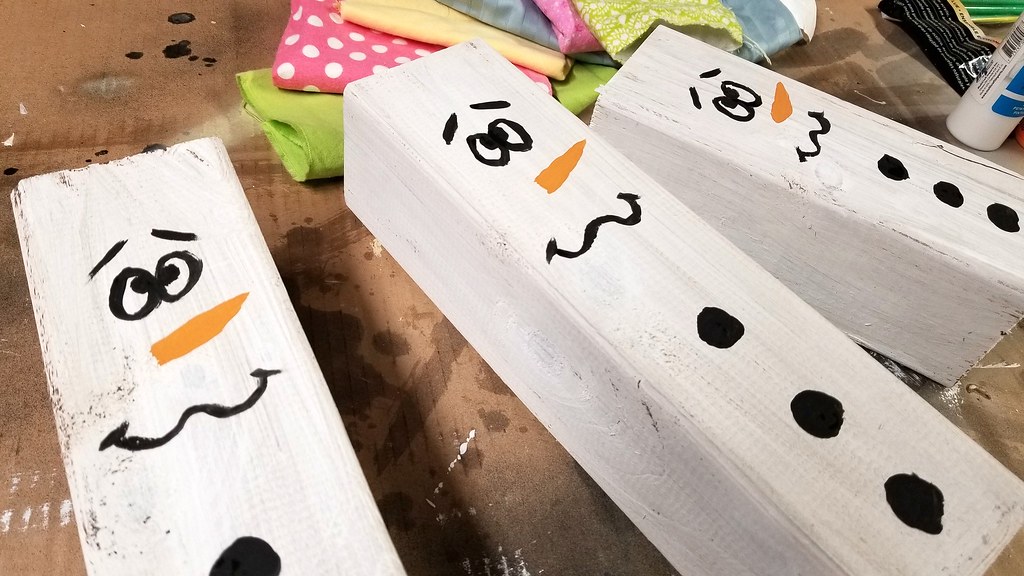
Once the white paint was dry, I used poster paint to add the eyes, nose, mouth, and buttons. I used a fairly wide artist's brush which gave the features a more rustic, cartoonish look instead of being sharply defined.
You can use any type of fabric you want for the hat and scarf. I used scraps of flannel left over from the receiving blankets and stuffed animal I made for my cousin's baby.
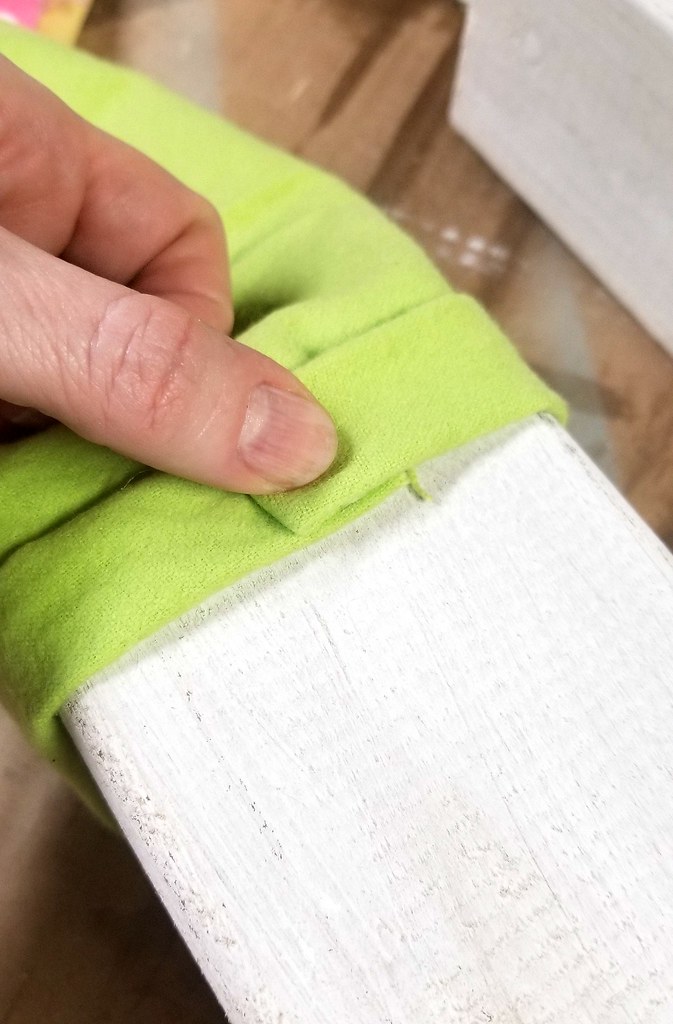
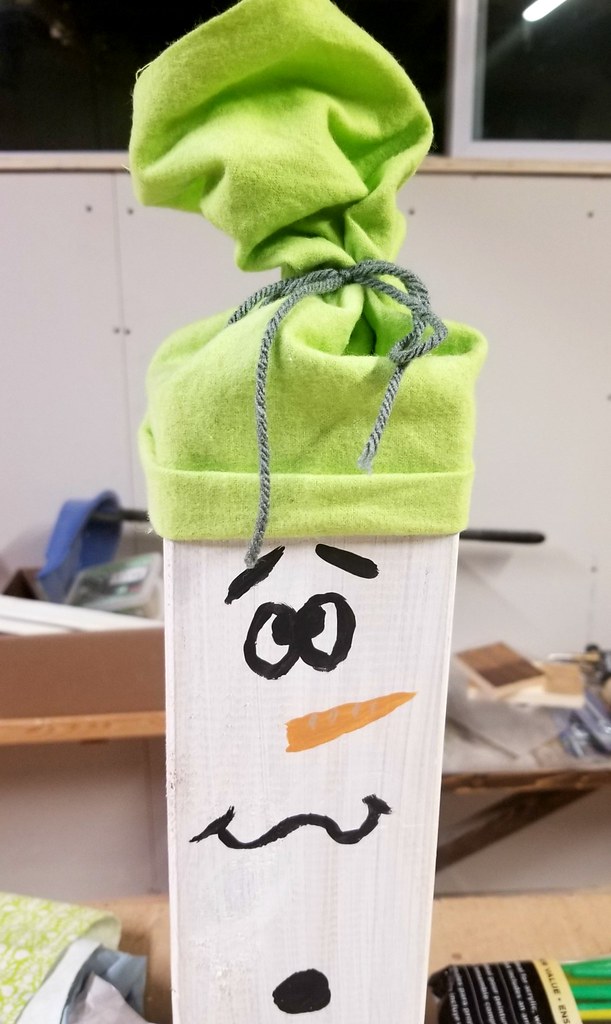
Cut a fabric rectangle measuring 10"x15". Fold the fabric over twice - about an inch - on the long side to create the brim of the hat, and wrap it around the top of the post, just above the eyes. Glue one end of the rolled edge of the hat to the post at the back, then fold over the other end and glue it to the first edge.
Gather the top of the hat together and tie it off with yarn. Floof the top of the hat like a pompom.
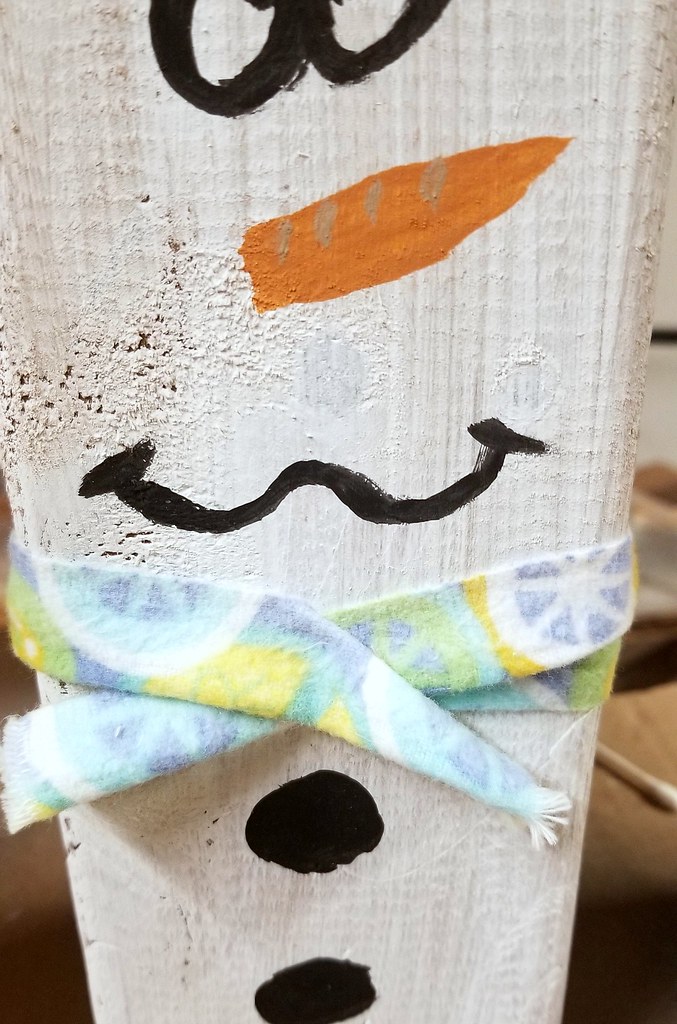
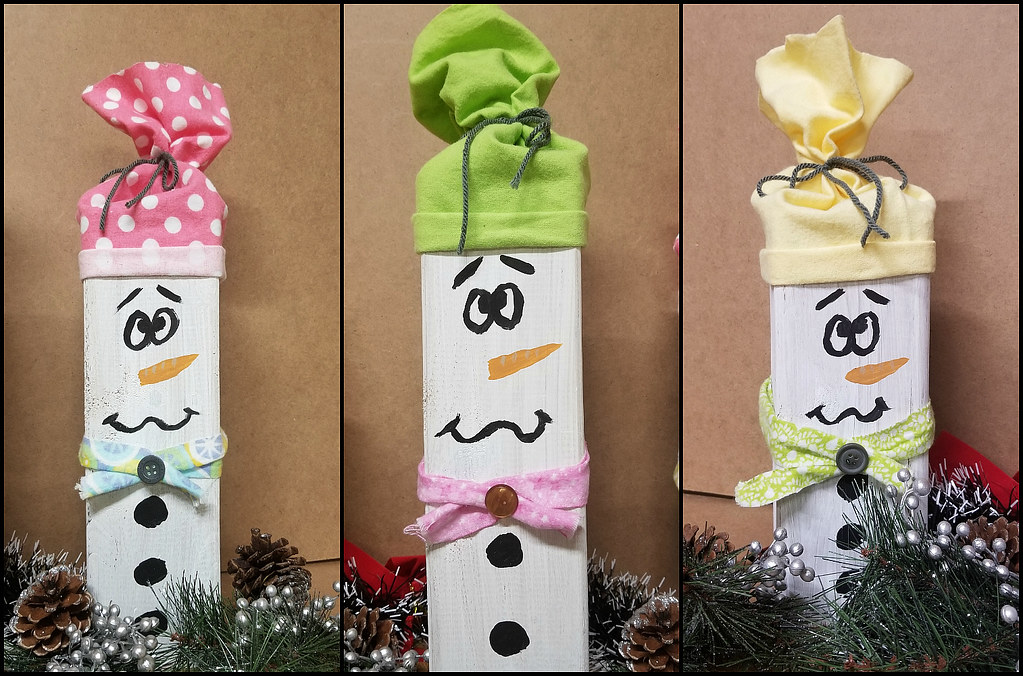
Take another scrap of fabric, 17" long and about 1" wide, and wrap it around the post at the neck. I picked fabric for the scarves that didn't quite match the hats because, when we go out to play in the snow we don't worry about matching, we just make sure we're warm. Crisscross the scarf fabric and secure in place with a dot of hot glue. Glue a button where the two ends cross.
And you're done!




No comments:
Post a Comment