SEARCH THE BLOG

Nov 9, 2018

DIY Wood and Metal Plant Stand

Have you ever seen an item in a store, fell in love, put it in your cart, and then realized you could make it yourself for a fraction of the price? That happened to me this week when I was at Walmart. I saw an adorable plant stand and had it halfway to my basket when it hit me - this is just a cookie tin with dowel legs. I can do that!

And so we have my latest creation:

DIY wood & metal plant stand

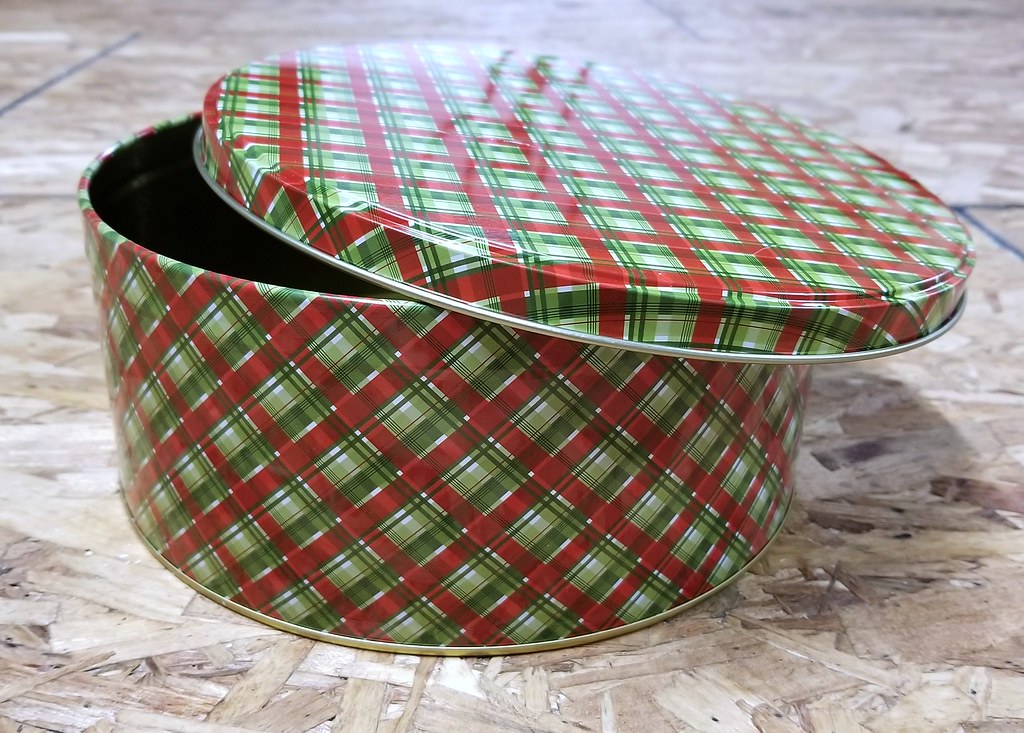
I bought the largest cookie tin I could find at the dollar store, and an 8-foot 1-1/4" dowel at the big box store. Total price - $10.50. And that's with 4 feet of dowel left over for another project. I used scrap wood for the cross pieces that go between the dowels - the same partially-rounded boards that I used on the ironing board holder.
DIY wood & metal plant stand


For this project you will need:

1 - 8.5" cookie tin
4 - 12" dowels (1-1/4" diameter) - cut them a little longer to account for the angle
1 - 1-1/4" x 3/4" crosspiece with angles at both ends (see drawing for lengths)
2 - 1-1/4" x 3/4" crosspieces with angles at one end (see drawing for lengths)
screws, brad nails
spray paint

Tools I used:
miter saw
drill with countersink bit
air nailer

DIY wood & metal plant stand

First I spray painted the cookie tin inside and out. It doesn't have the fancy scalloping pattern that the original has, but I can live with a plain stand. I could even stencil something on at a later date.

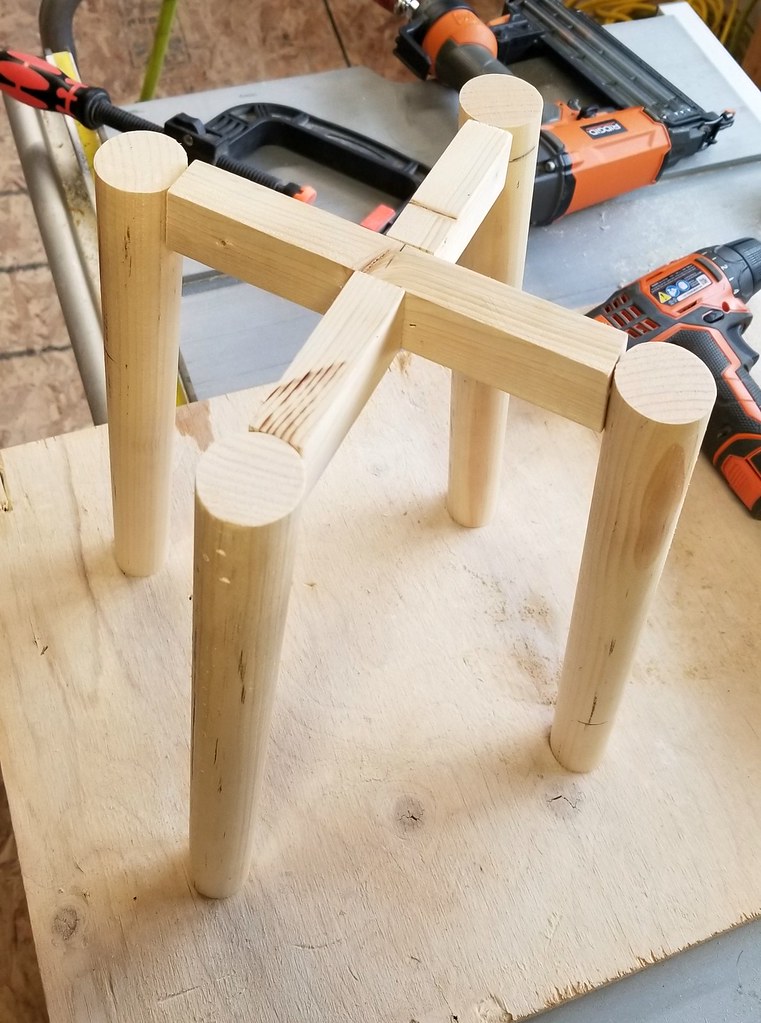
I wanted the legs to be about 12 inches long when finished, so I cut them to 13 inches, just to give myself some wiggle room for the angles. Through a little trial and error, I settled on a 7 degree angle. That gives the stand some stability without the legs sticking out too far to the sides. The cross pieces are also cut at a 7 degree angle so that they fit snugly against the legs.

DIY wood & metal plant stand

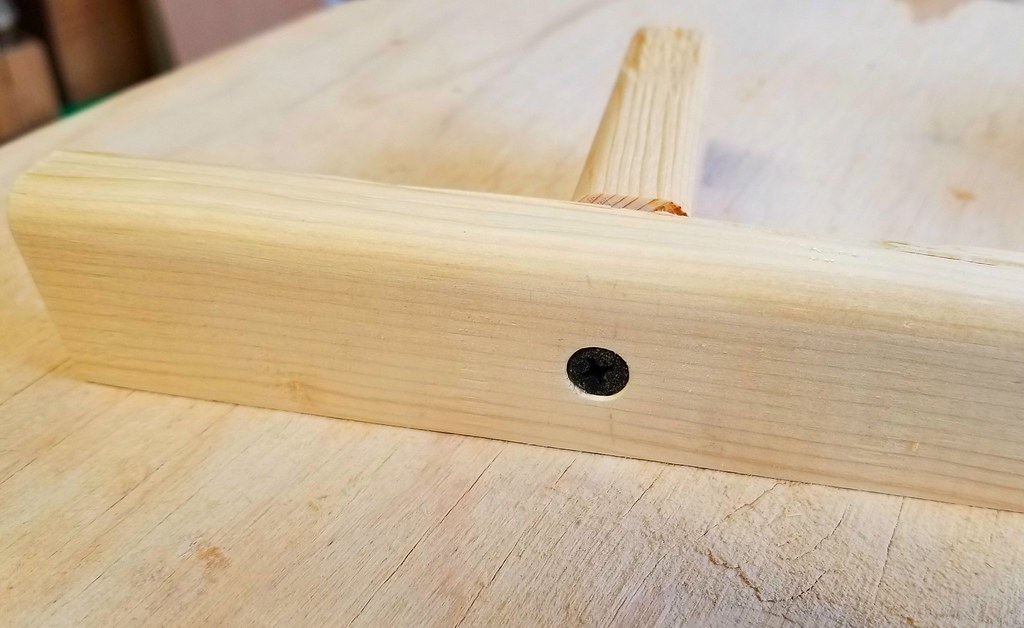
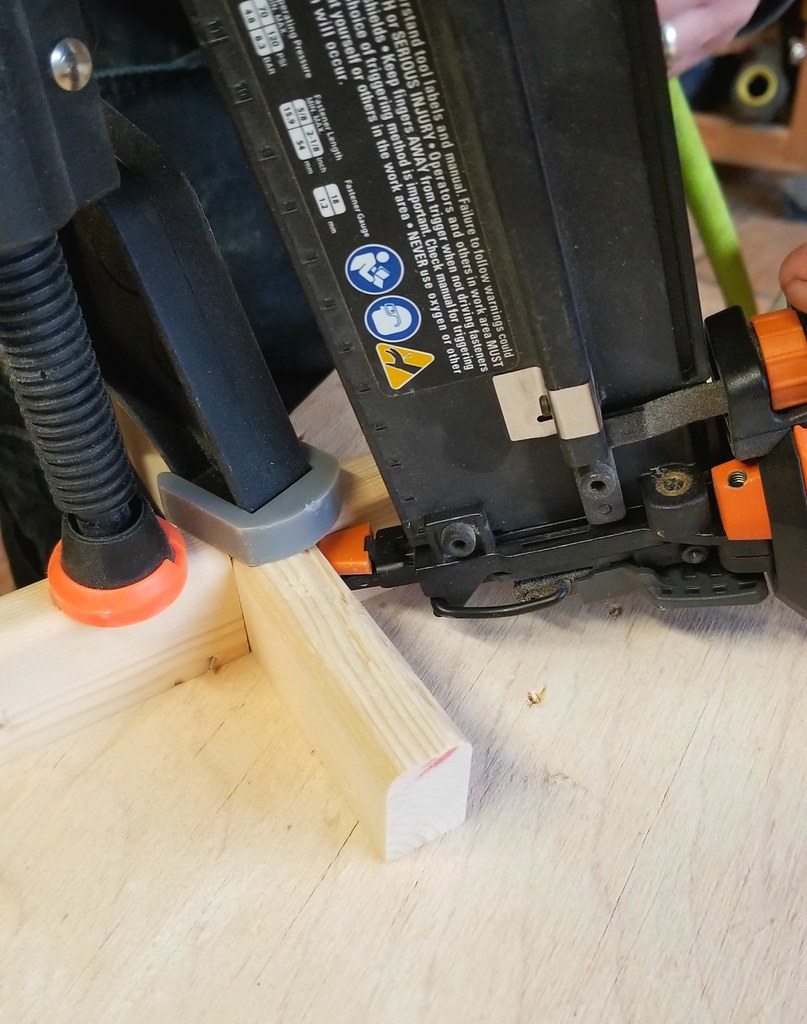
One of the shorter crosspieces was attached to the longer one with a countersunk screw. The other short crosspiece was then attached with two brad nails, one through each side. Clamping them together makes is easier to keep them lined up while nailing.
DIY wood & metal plant stand

Once the crosspieces were secured, the legs needed to be attached. I flipped the tin over, put the crosspiece in the center, and held two of the legs in place while Tom nailed them to the crosspiece with two brad nails each. Then I held the other two legs in place and he nailed them in place as well.

DIY wood & metal plant stand

The base can now stand on its own.

DIY wood & metal plant stand

The tin went back up on the legs and I marked the position of each leg on the inside bottom of the tin. Using a small drill bit, I drilled a pilot hole in each spot.

DIY wood & metal plant stand

The last step was to attach the tin to the base with 4 white pan head screws.

DIY wood & metal plant stand

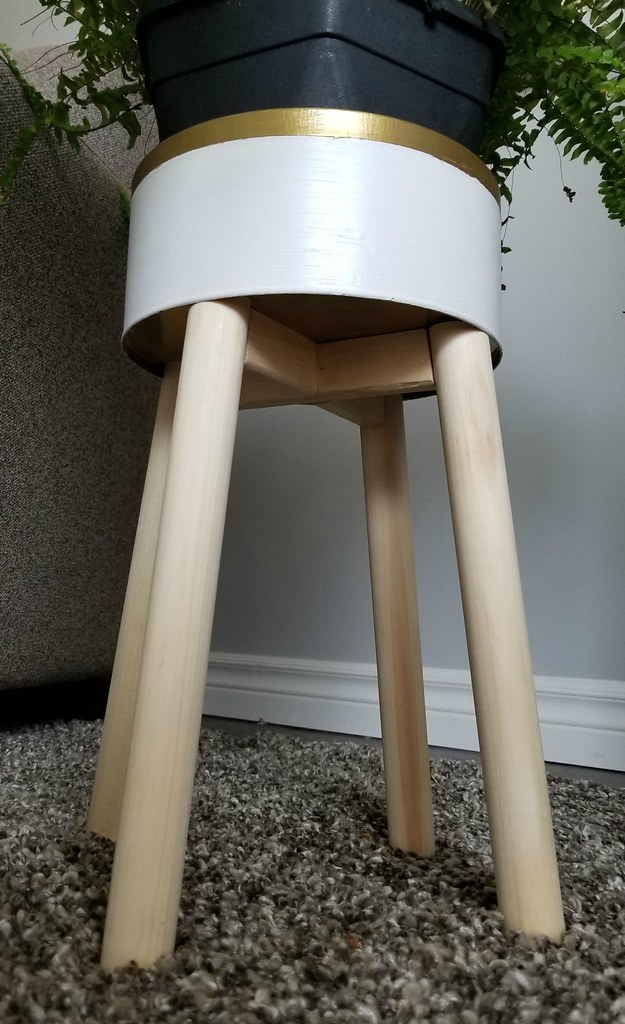
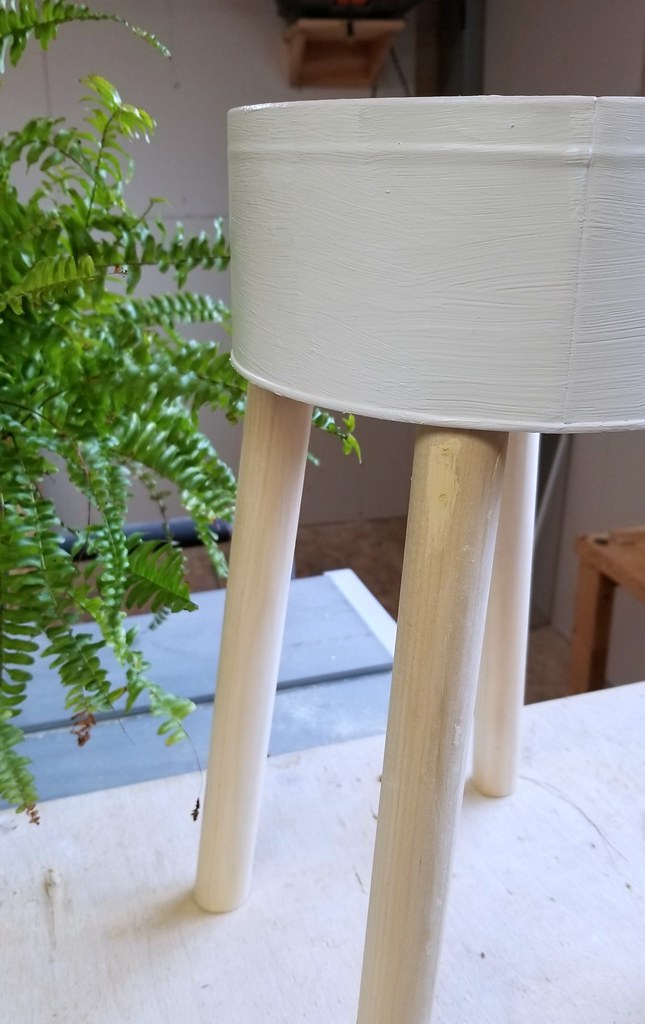
I puttied the nail holes on the legs, sanded all of the wood, and did a bit of paint touch-up around the screw heads. I also added felt feet to the bottom of the legs to keep them from scratching the floor.
DIY wood & metal plant stand

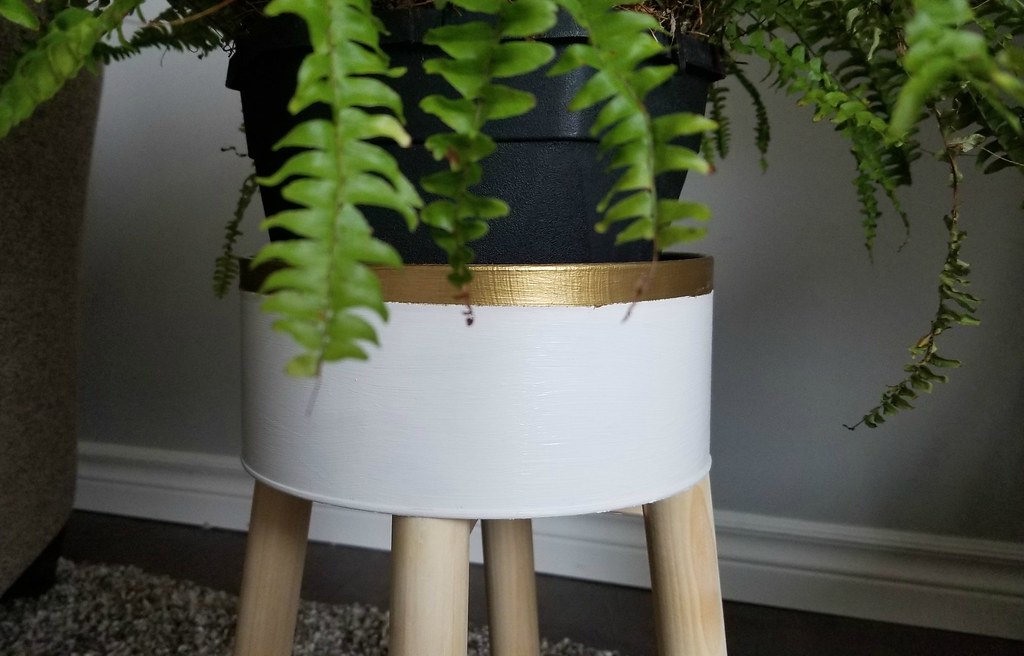
I decided to leave the wood unfinished instead of staining it. I like the Scandinavian feel of the pale poplar and white together. However I did add a gold painted band around the top.

DIY wood & metal plant stand

DIY wood & metal plant stand

DIY wood & metal plant stand

DIY wood & metal plant stand


Nov 6, 2018

Squash and Carrot Soup


I didn't get any projects done this weekend as I had some vegetables to get used up, so cooking was on the agenda. (I also went to a Christmas open house at a local greenhouse, but I know no one is ready to talk about the dreaded "C" word yet.)

Our neighbour had given us some acorn squash and butternut squash from his garden, while another neighbour had given us a huge box of carrots as a thank you for pulling his truck out of the ditch last winter. Day after day these vegetables were mocking me every time I walked into the kitchen, so I thought it was time to put them to good use.


I'm not a fan of squash soup, but Tom loves it so this one is for him.

Ingredients
1 medium acorn squash
1 small butternut squash
2 cups carrots
1 cup fresh or frozen kale
1 cup mixed vegetables (carrots, beans, peas, corn), optional
1 medium onion
2 tbs diced garlic
4 cups broth
2 cups milk or cream
2 tbs maple syrup
spices to taste
sour cream and kale for garnish

Preheat oven to 350 degrees.

Cut each squash in half lengthwise and discard the seeds and pulp. Brush the insides of each half with oil and sprinkle with salt and pepper.  Place on a baking sheet and bake until the flesh is soft enough to pierce easy with a fork (about 60-75 minutes, depending on your oven).

Once your squash has cooled enough to touch, scoop out the flesh and place it in your blender. Cook your carrots, mixed vegetables, and kale, then add them to the blender as well. Pour in a cup of broth or water and puree the mixture. Add more liquid as needed.

In a pot, sauté the onion and garlic until soft. Add the vegetable puree to the onion and garlic. Add the milk and remaining broth and stir. You may need to add more broth, milk, or water to reach the desired consistency. Simmer on medium for 15 minutes.

Add maple syrup and other spices to taste. I used a few dashes of hot sauce and Trader Joe's Everyday Seasoning.

Serve with some crusty bread for dipping, or these amazing cheese biscuits.


Nov 2, 2018

Homemade Vanilla Glazed Doughnuts

You might think that National Doughnut Day is in June but did you know there is also a second, less celebrated National Doughnut Day on November 5th? And I'm happy to celebrate with doughnuts pretty much any day of the year.

homemade glazed doughnuts

I've provided the recipe I use for plain cake doughnuts with a vanilla glaze, but see below the directions for some autumnal variations - pumpkin with a maple glaze or apple cider with a vanilla glaze. Dunked in hot chocolate - my preference - they make a terrific treat when snuggling up under a blanket, or when getting together with friends and family.

Ingredients

For Dough:
1-1/4 cup of milk, warmed
1/4 cup of sugar
2-1/4 teaspoons dry yeast
2 eggs, slightly beaten
1/2 cup of butter, melted
4 cups of flour
1/2 teaspoon of salt
Oil for frying


For Glaze:
1/4 cup of butter, melted
1 tsp vanilla
3 cups icing sugar
milk to thin glaze


To Make the Dough

Warm the milk, not to boiling, but so that you can still dip your finger in it. Put in a bowl and add the sugar. Once dissolved, sprinkle the dry yeast on top, stir gently, then leave it for 5 minutes. The yeast should begin to ferment. If it doesn't, it means that either your milk was too hot or the yeast is too old. Either way, you'll have to start again unfortunately.

Add the eggs and melted butter to the bowl and stir to combine. Slowly add the flour and salt and mix until it forms a dough. Continue to stir for 5 more minutes.

Lightly oil the dough to keep it from sticking to the sides, cover the bowl with plastic wrap, and refrigerate for at least 2 hours if not overnight. During this time the butter will firm up and will spread evenly throughout the dough while cooking.

Take your chilled dough and roll it out on a lightly floured surface to about a 1/2 inch thickness. Use two different sized glasses, or a doughnut cutter if you have one, to cut out the shapes. (I used a travel mug and a plastic bottle lid!)

Cover the doughnuts with a tea towel or paper towels and let them rise until they double in size - about an hour.

Frying

Pour several inches of oil into a cast iron skillet and heat at a medium temperature to about 370 degrees or until a drop of water sizzles when added to the pan (be careful, don't splash yourself!)

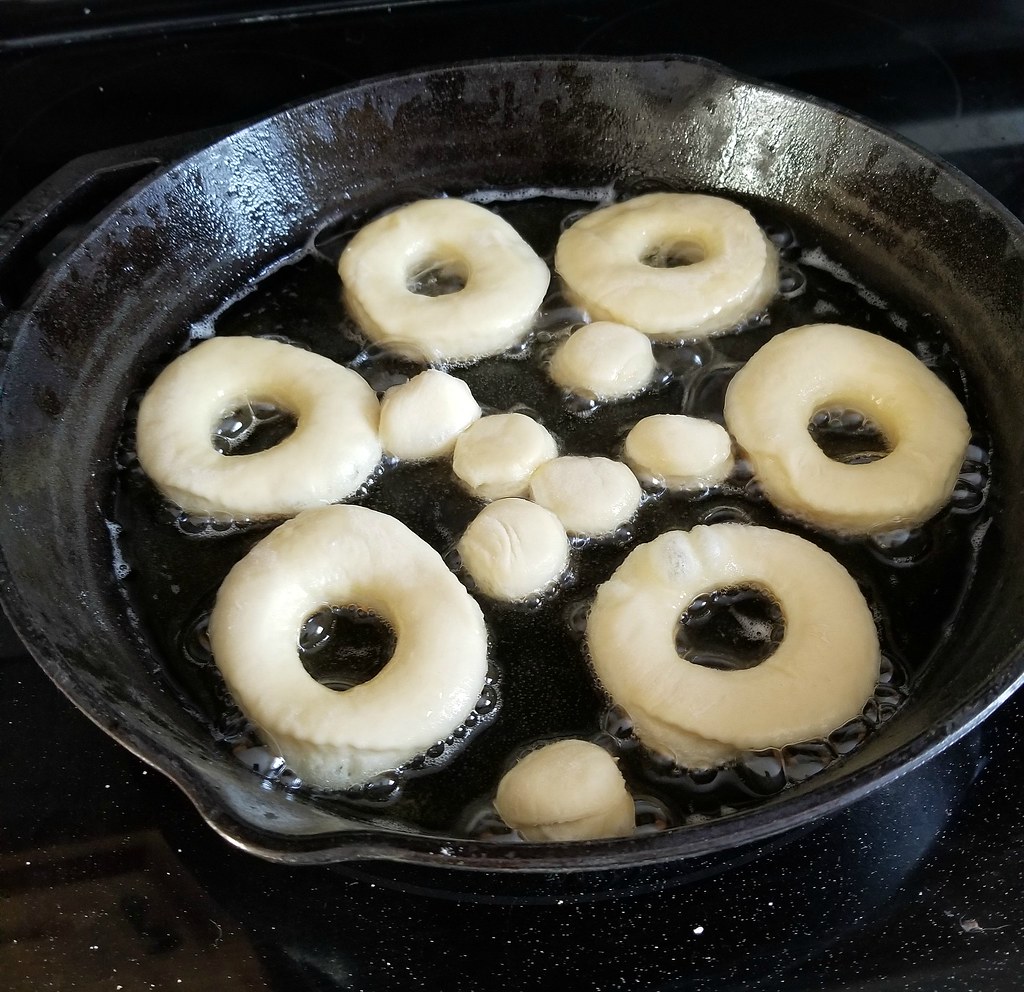
Carefully add the doughnuts and doughnut holes to the oil and fry to a golden brown, turning them over after about a minute or so. They will cook much faster than you expect!

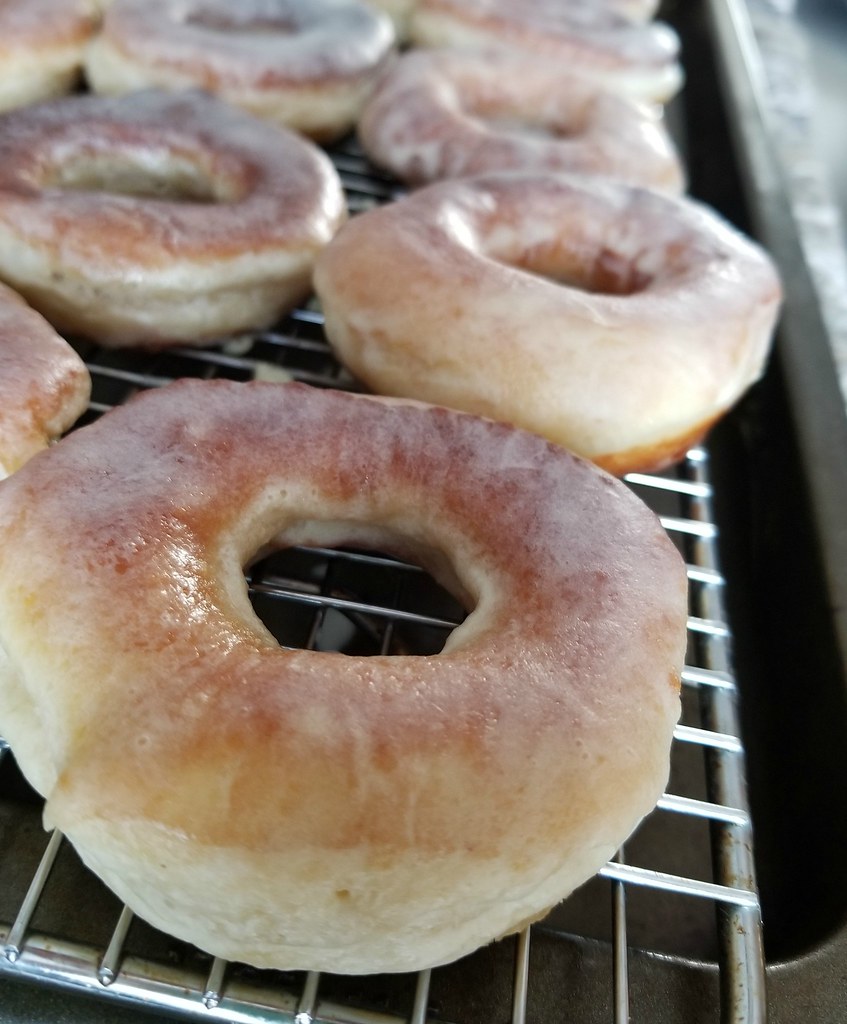
homemade glazed doughnuts

Remove the doughnuts from the oil with tongs or a slotted spoon and place on a paper towel to remove excess oil. Let them cool for a few minutes.

homemade glazed doughnuts

Glazing

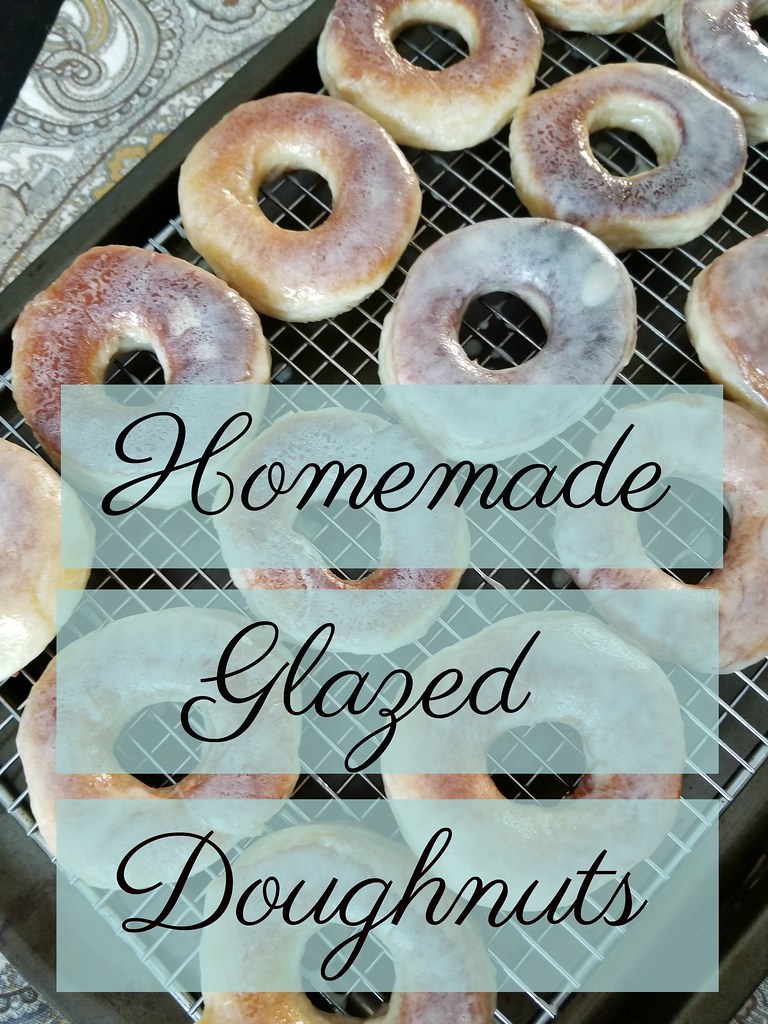
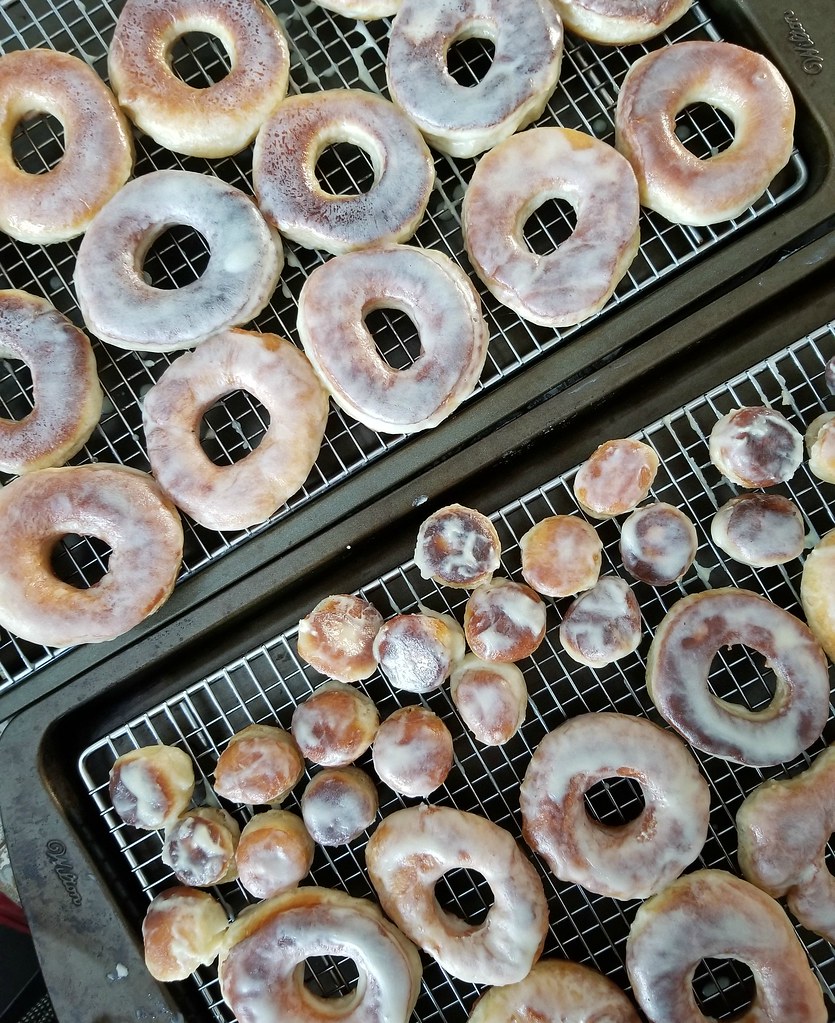
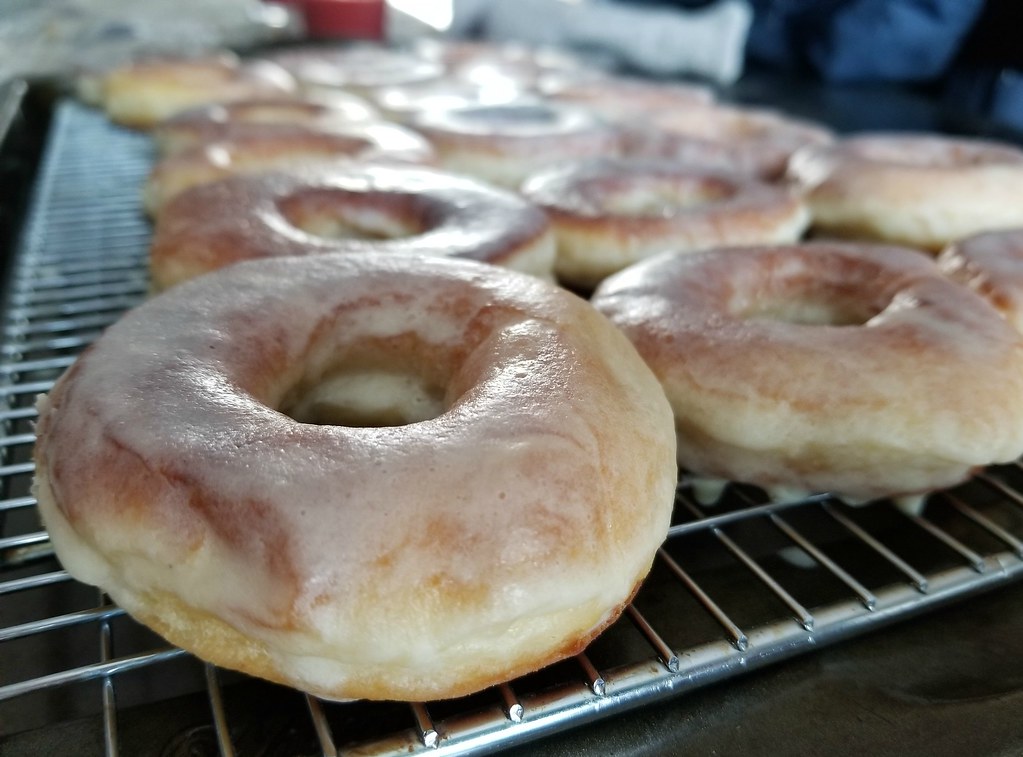
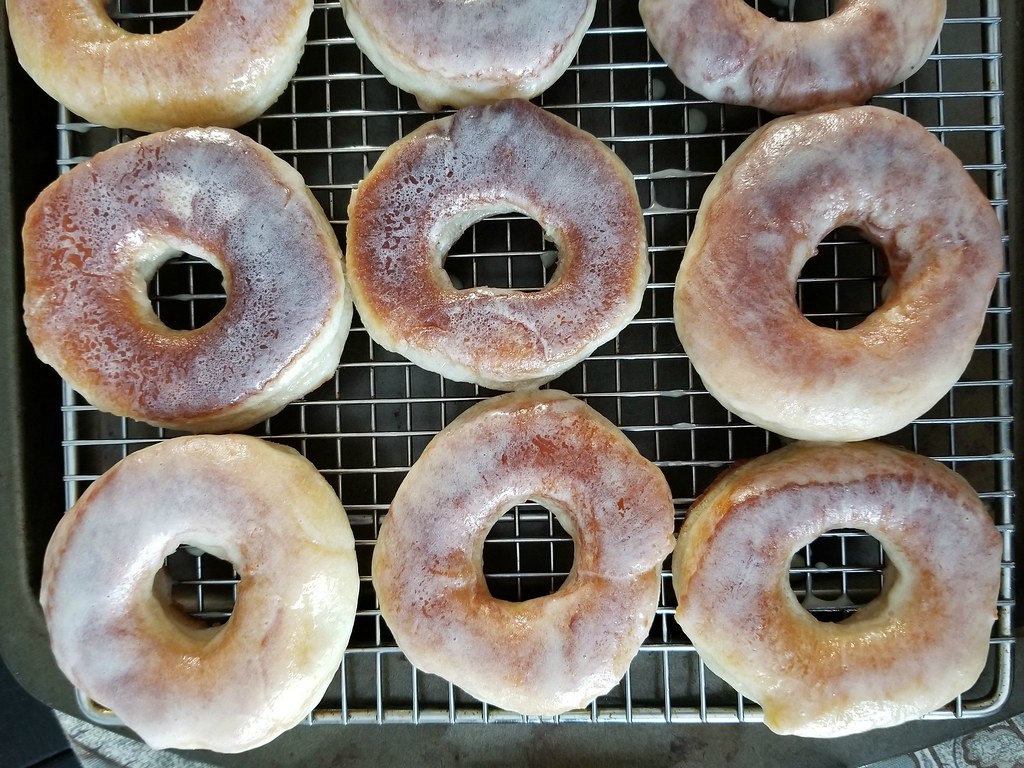
Melt the butter in a small bowl, add the rest of the ingredients, and mix until smooth. Thin the glaze with milk as needed. Dip each doughnut halfway into the glaze, then set it face-up on a rack or paper towel to allow the excess to drip off.

homemade glazed doughnuts


homemade glazed doughnuts

Alternate Flavours

Pumpkin Doughnuts with Maple Glaze

Add the following to your dough before chilling:

1/2 cup pumpkin puree
2-1/2 tsps ground cinnamon
1.2 tsp ground nutmeg
1/2 tsp all spice
1/8 tsp ground cloves

For glaze: add 1/2 cup of maple syrup, reduce sugar by 1 cup

Apple Cider Doughnuts

Add the following to your dough before chilling:

1/2 cup of apple cider
2 tsps ground cinnamon

homemade glazed doughnuts

homemade glazed doughnuts

Related Posts Plugin for WordPress, Blogger...