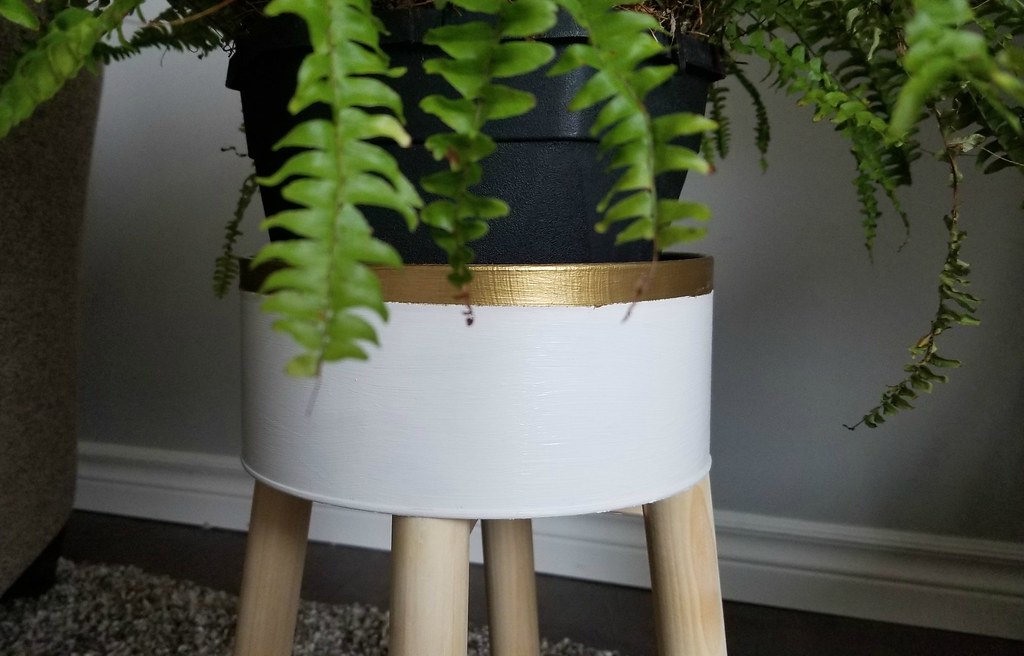
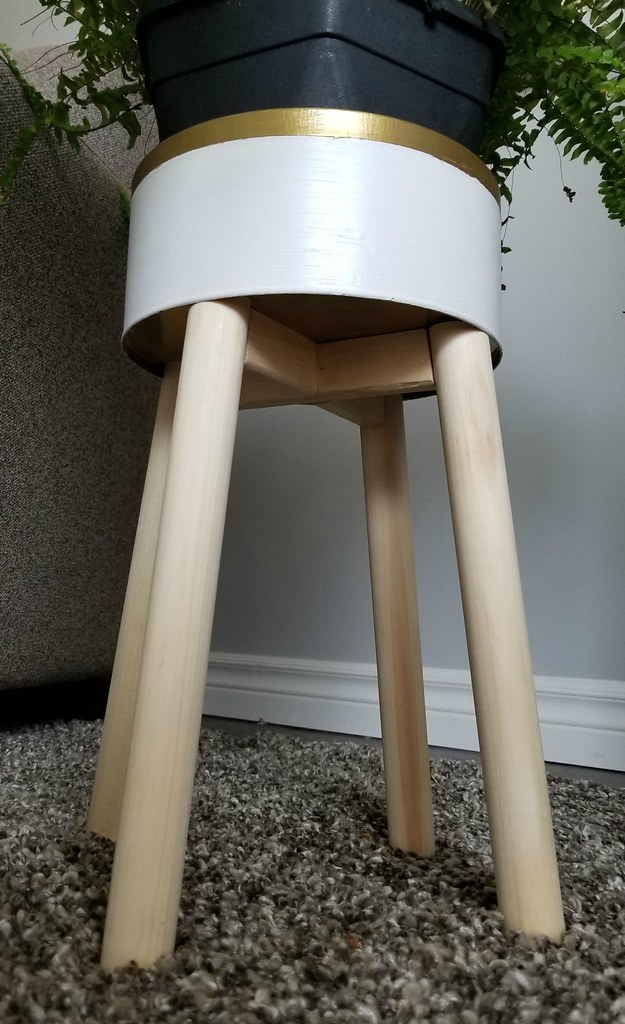
And so we have my latest creation:
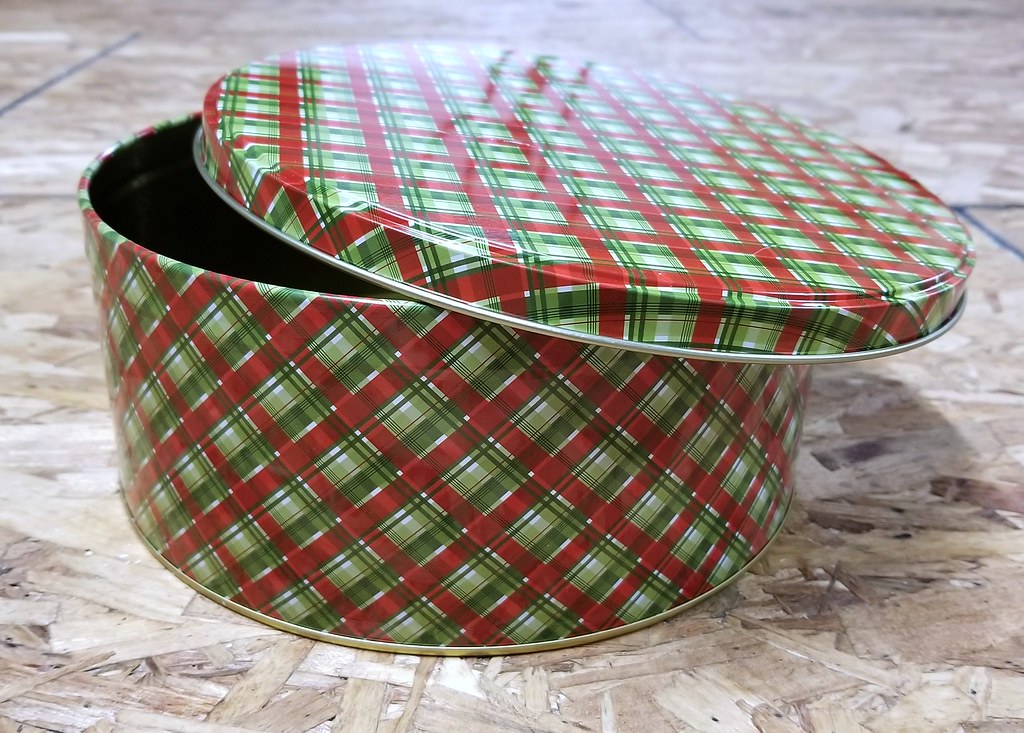
I bought the largest cookie tin I could find at the dollar store, and an 8-foot 1-1/4" dowel at the big box store. Total price - $10.50. And that's with 4 feet of dowel left over for another project. I used scrap wood for the cross pieces that go between the dowels - the same partially-rounded boards that I used on the ironing board holder.
For this project you will need:
1 - 8.5" cookie tin
4 - 12" dowels (1-1/4" diameter) - cut them a little longer to account for the angle
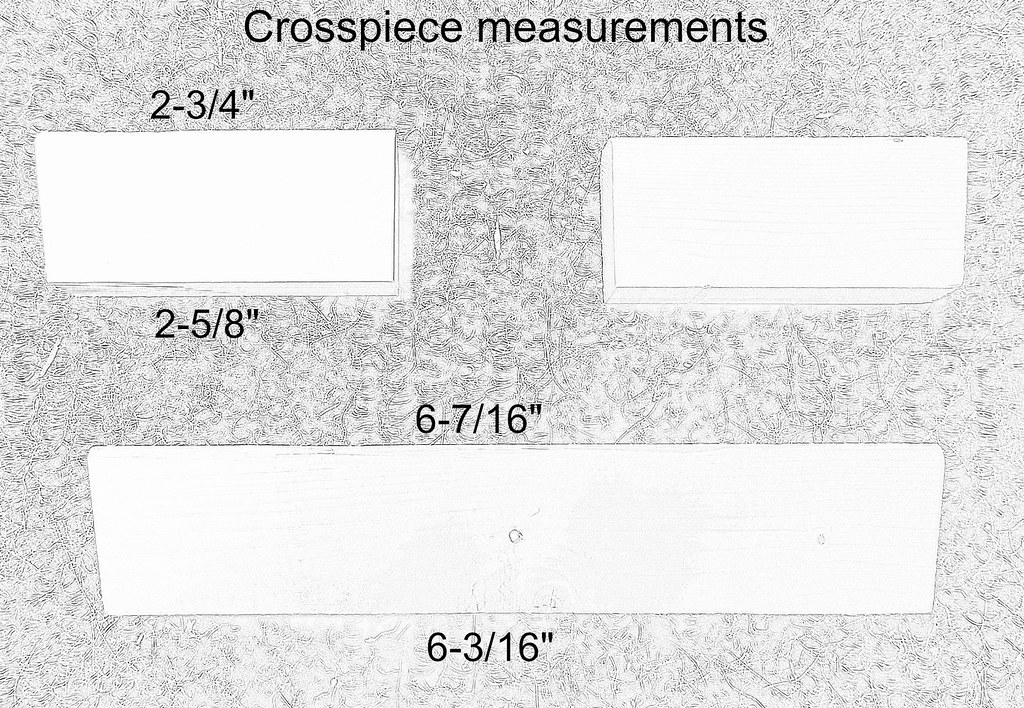
1 - 1-1/4" x 3/4" crosspiece with angles at both ends (see drawing for lengths)
2 - 1-1/4" x 3/4" crosspieces with angles at one end (see drawing for lengths)
screws, brad nails
spray paint
Tools I used:
miter saw
drill with countersink bit
air nailer
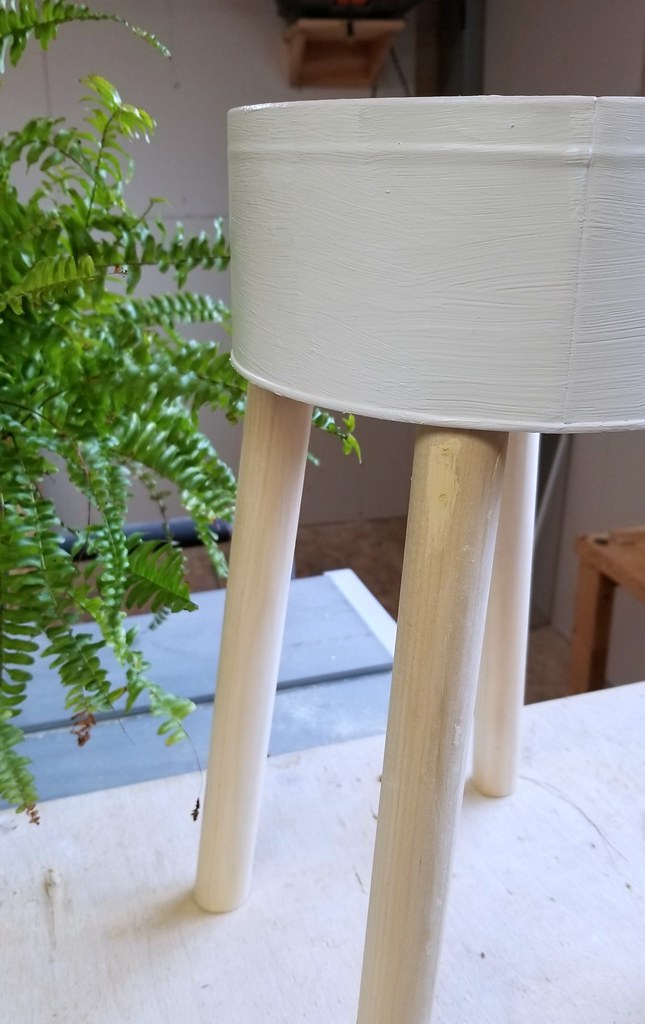
First I spray painted the cookie tin inside and out. It doesn't have the fancy scalloping pattern that the original has, but I can live with a plain stand. I could even stencil something on at a later date.
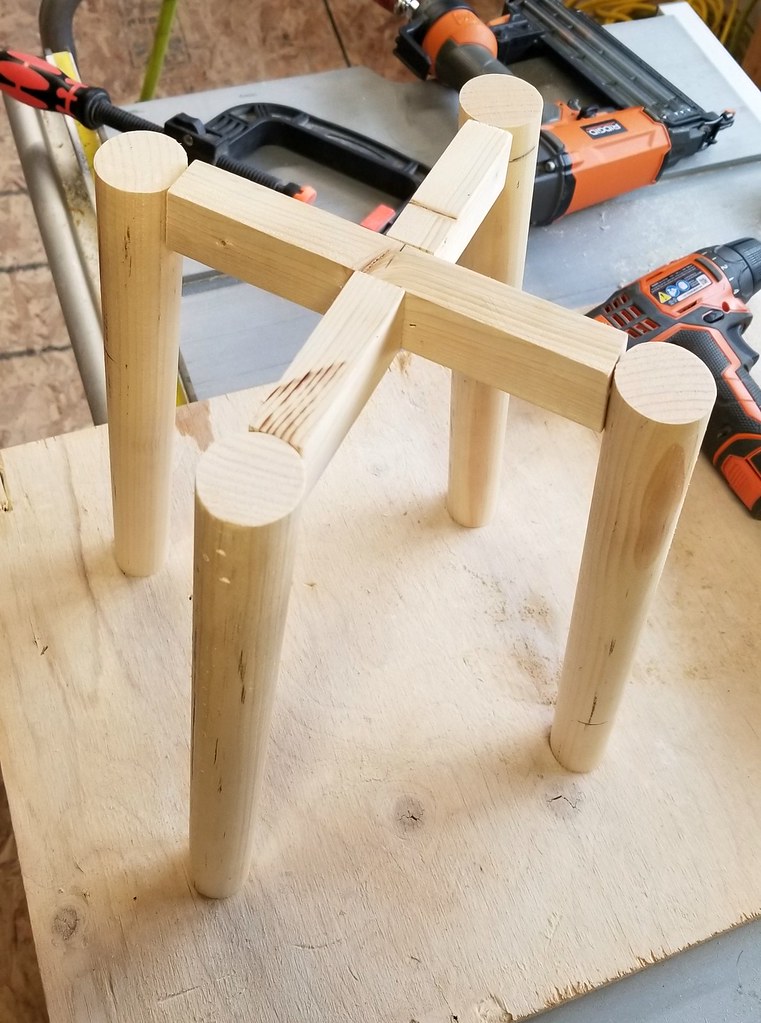
I wanted the legs to be about 12 inches long when finished, so I cut them to 13 inches, just to give myself some wiggle room for the angles. Through a little trial and error, I settled on a 7 degree angle. That gives the stand some stability without the legs sticking out too far to the sides. The cross pieces are also cut at a 7 degree angle so that they fit snugly against the legs.
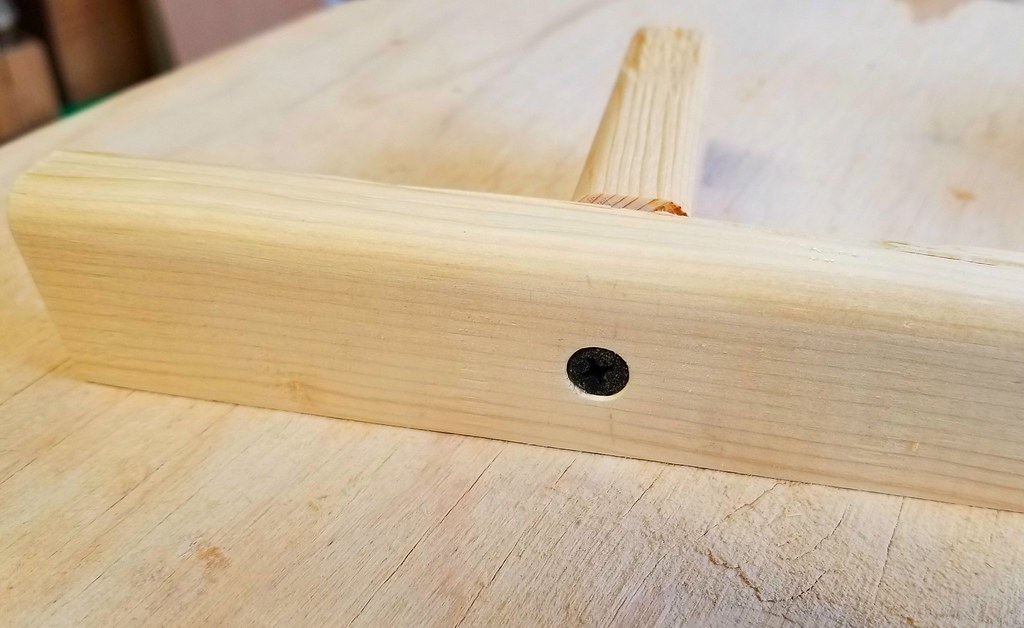
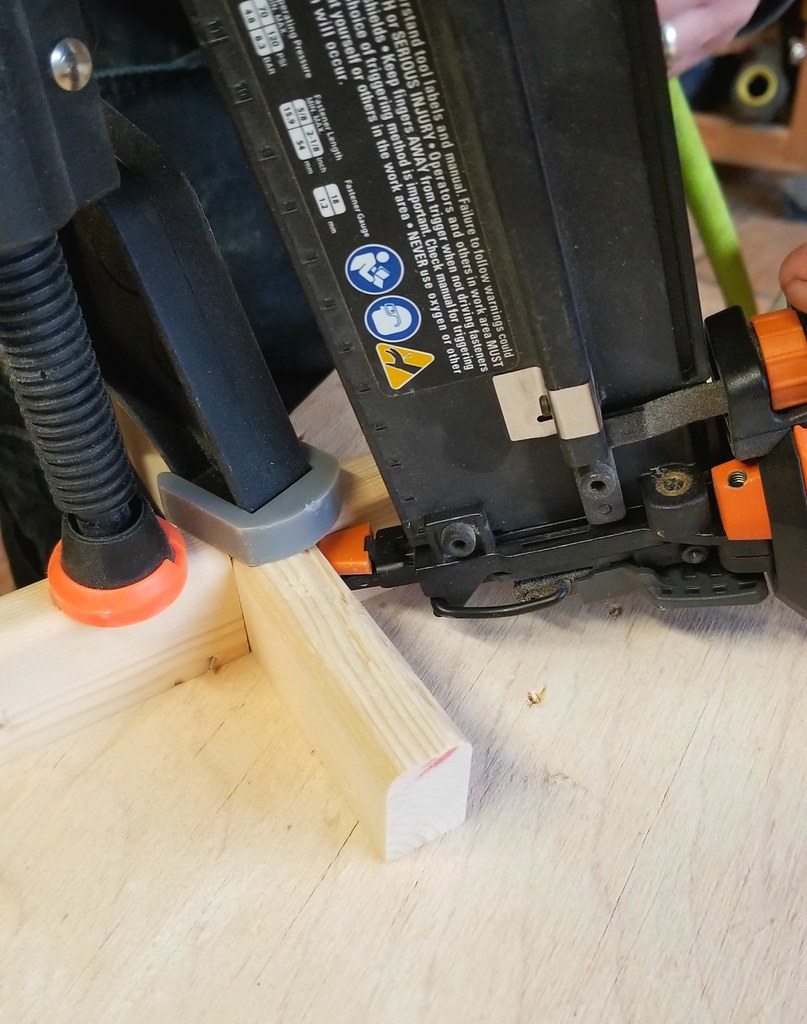
One of the shorter crosspieces was attached to the longer one with a countersunk screw. The other short crosspiece was then attached with two brad nails, one through each side. Clamping them together makes is easier to keep them lined up while nailing.
Once the crosspieces were secured, the legs needed to be attached. I flipped the tin over, put the crosspiece in the center, and held two of the legs in place while Tom nailed them to the crosspiece with two brad nails each. Then I held the other two legs in place and he nailed them in place as well.
The base can now stand on its own.
The tin went back up on the legs and I marked the position of each leg on the inside bottom of the tin. Using a small drill bit, I drilled a pilot hole in each spot.
The last step was to attach the tin to the base with 4 white pan head screws.
I puttied the nail holes on the legs, sanded all of the wood, and did a bit of paint touch-up around the screw heads. I also added felt feet to the bottom of the legs to keep them from scratching the floor.
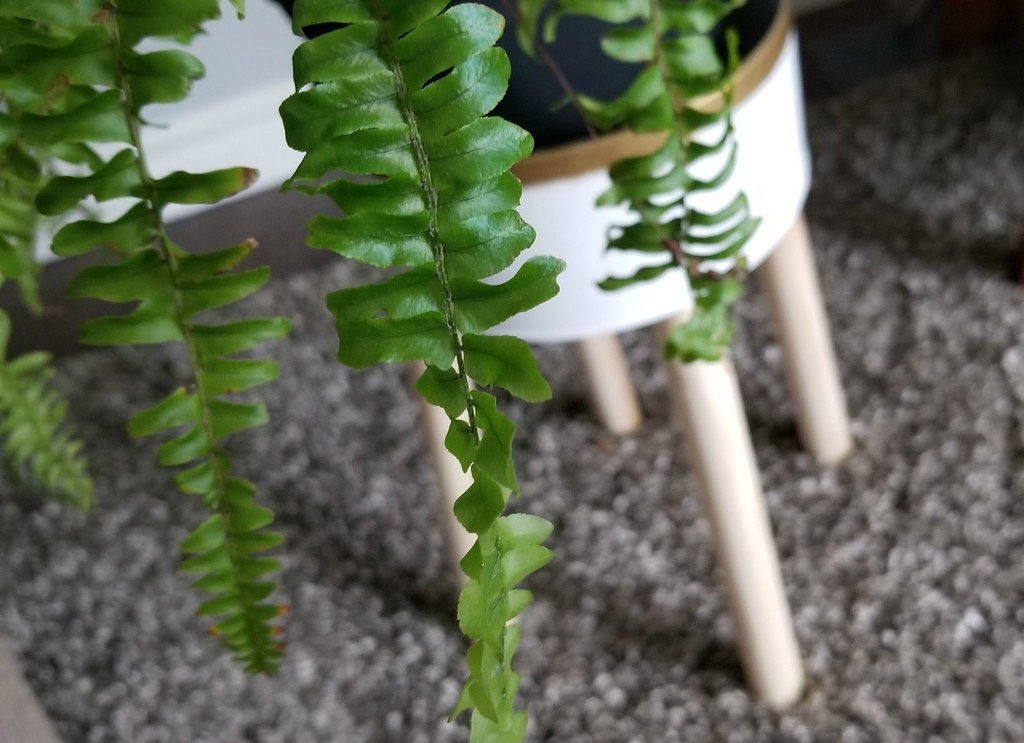
I decided to leave the wood unfinished instead of staining it. I like the Scandinavian feel of the pale poplar and white together. However I did add a gold painted band around the top.







No comments:
Post a Comment