SEARCH THE BLOG
Oct 23, 2018
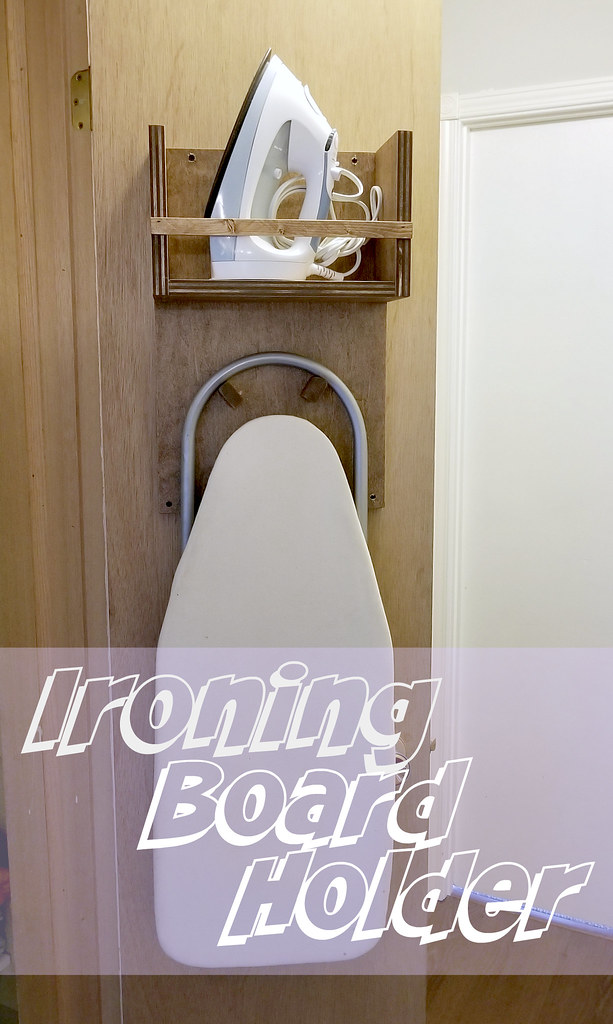
Ironing Board Holder (DIY)
I'm trying to be a little more organized around the house - using every possible nook and cranny for storage. A prime example: our linen closet is extremely small - I've had to pare our sheets and towels down to just the necessities - but the iron and ironing board still didn't have a dedicated space.
I took this design idea from Ana White and tailored it to our house. The great thing about it is that it cost me nothing - it was made entirely from scrap wood - but it wouldn't cost more than $20 if you had to buy the material.
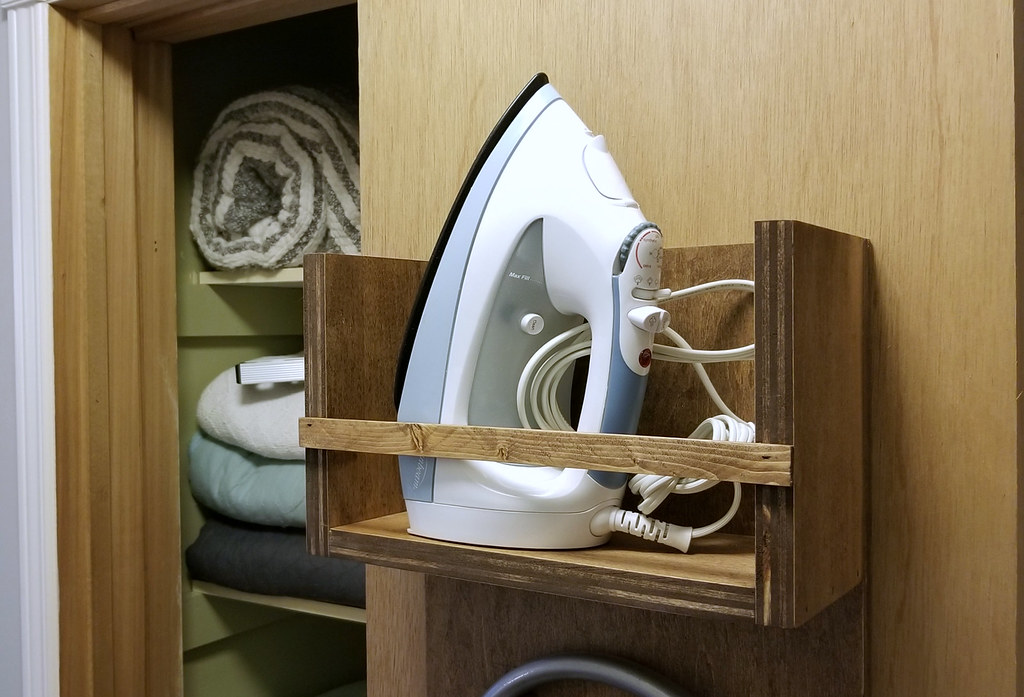
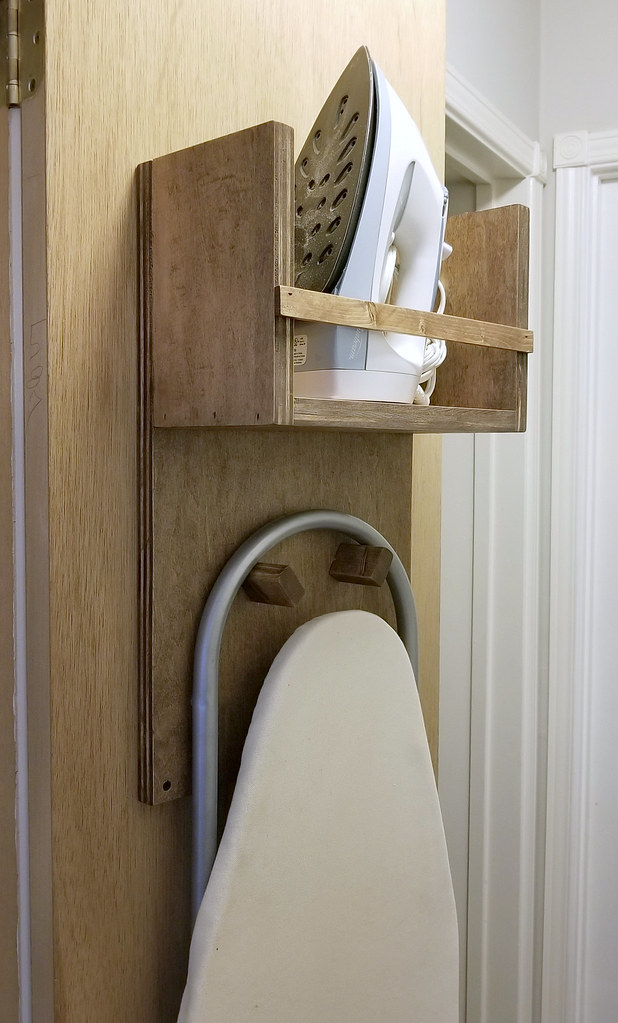
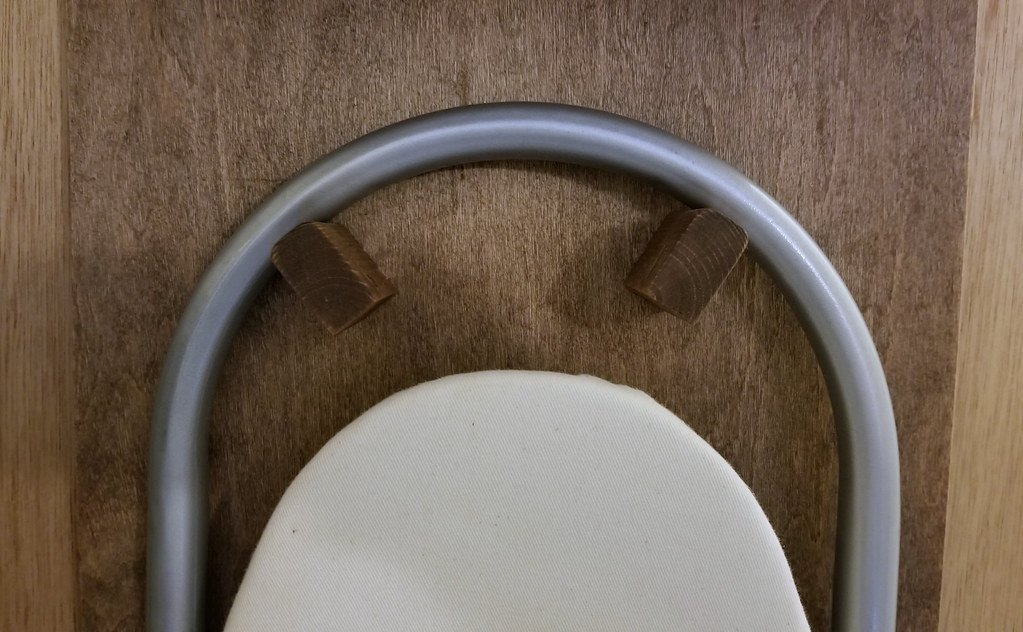
We have a compact tabletop ironing board so it fits perfectly on the inside of the linen closet door. I probably should have realized earlier that I could hang it there. And the door casing is deep enough that the shelf for the iron doesn't interfere with the shelves inside.
Materials needed:
3/4" plywood (mine has a birch veneer)
1" x 1.5" pine board (or dowels)
1" x 1/4" pine trim
1-1/4" brad nails and/or screws
Tools used:
Air nailer (with compressor)
Drill/Driver
Measuring tape
Ruler
Miter Saw
Table Saw
Cut List:
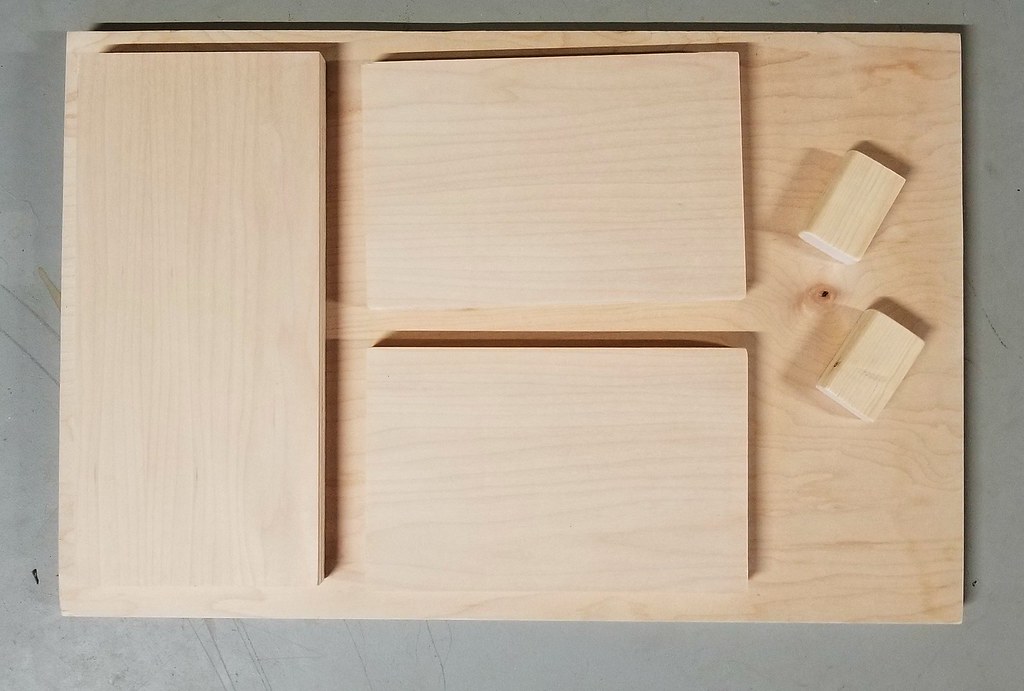
1 - 12"x 20" plywood (back)
1 - 10.5"x 5" plywood (shelf bottom)
2 - 7.5"x 5" plywood (shelf sides)
2 - 2" pine pegs or dowels
1 - 12" pine trim
To build:
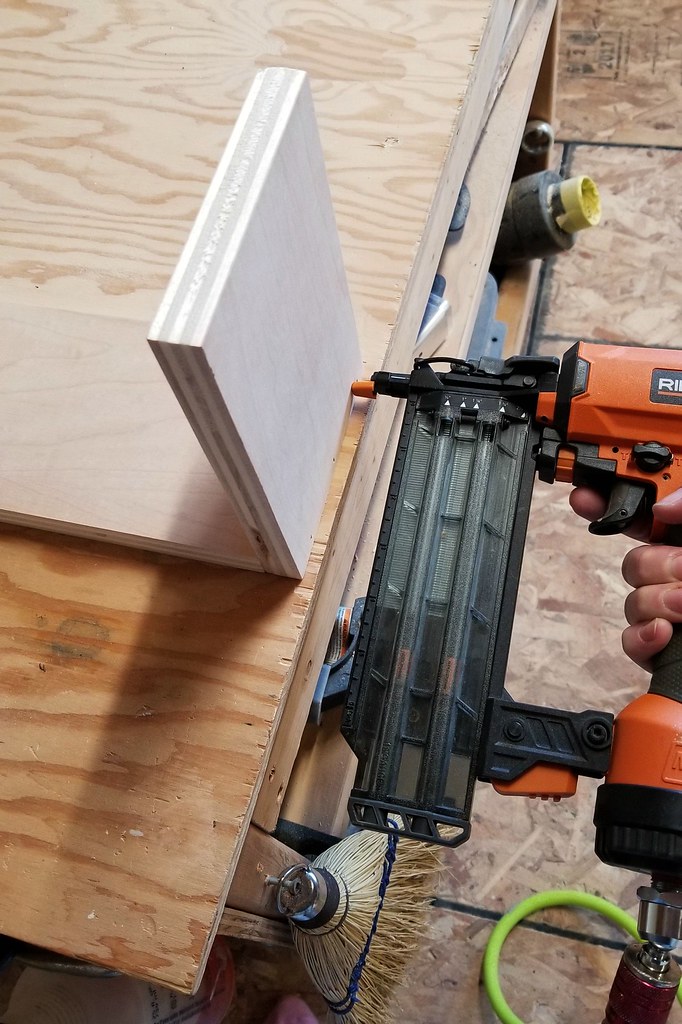
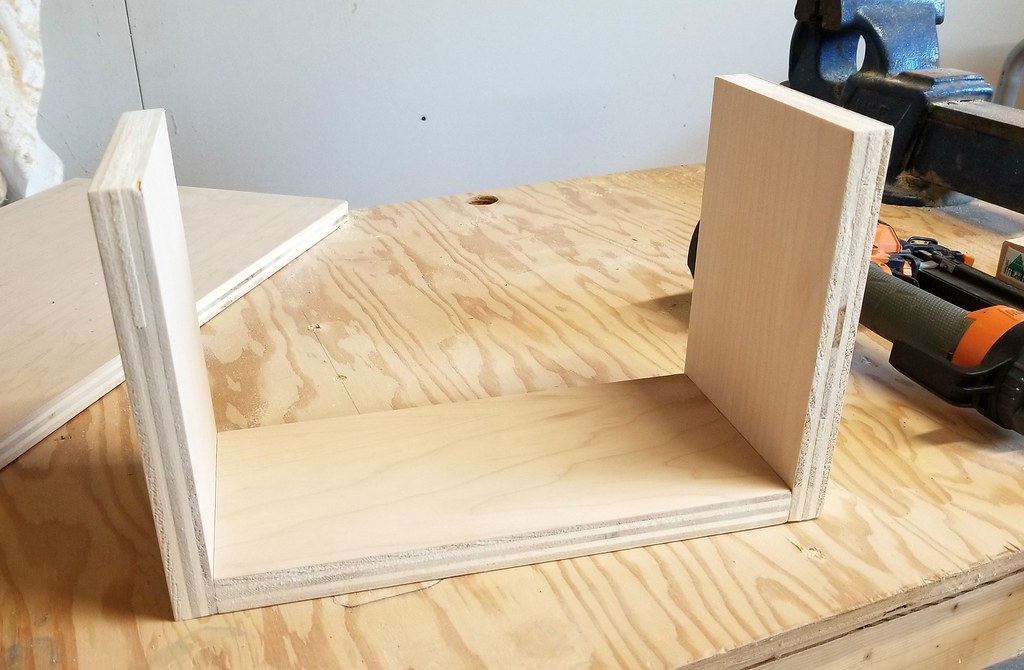
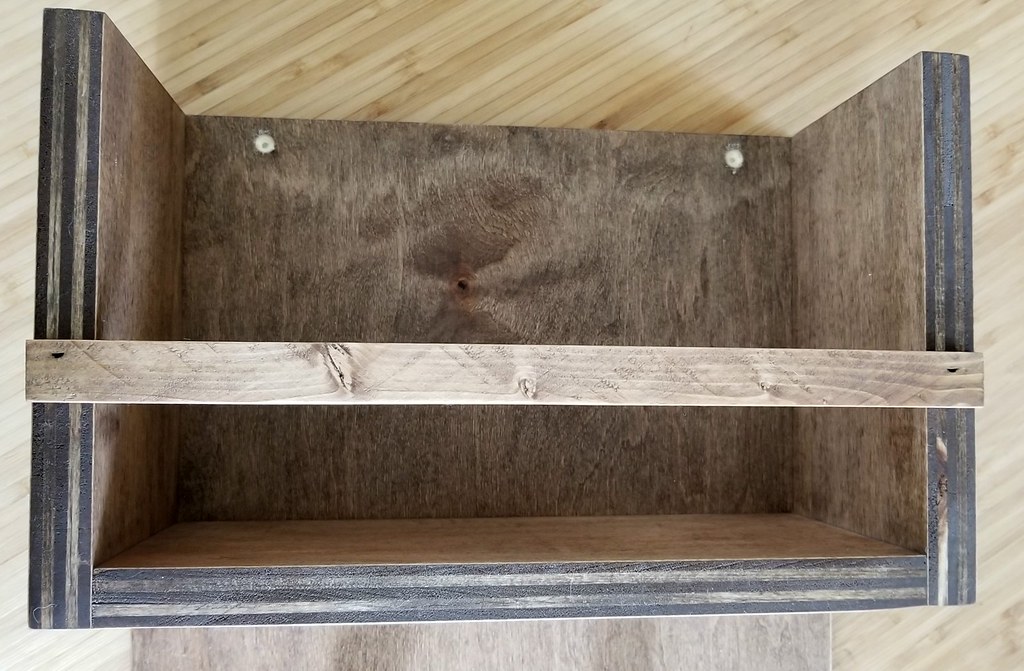
Attach the sides of the shelf to the bottom with either countersunk screws or brad nails. The bottom should be sandwiched between the sides and should be flush.
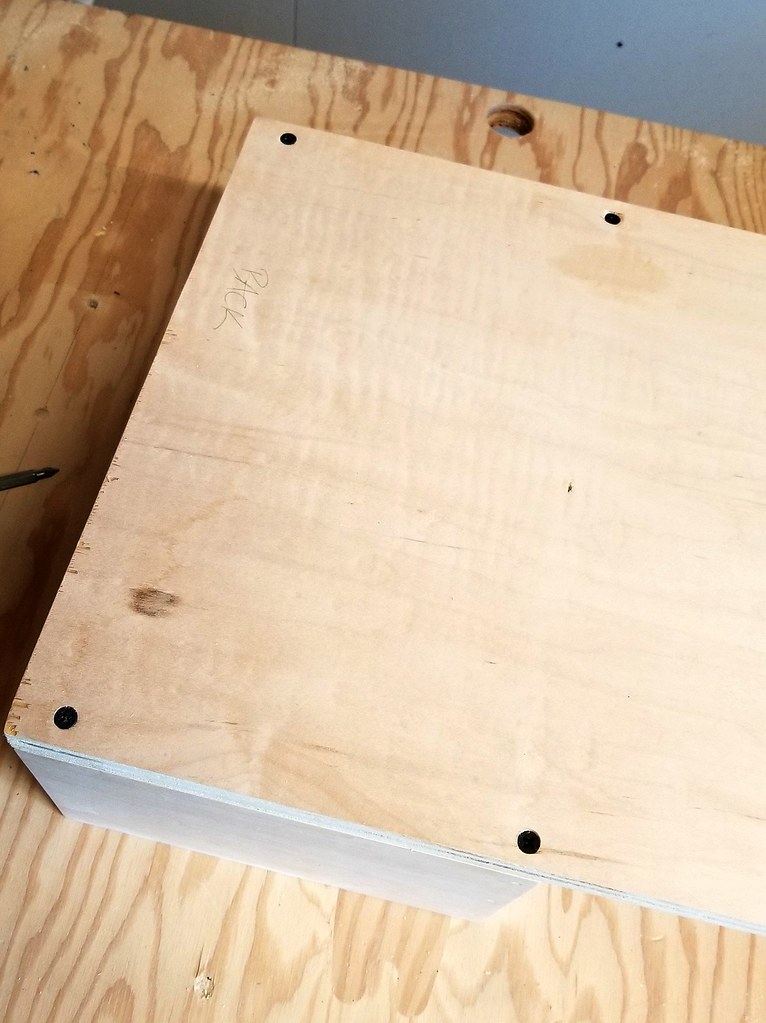
Attach the shelf pieces to the back with countersunk screws. All outside edges should be flush.
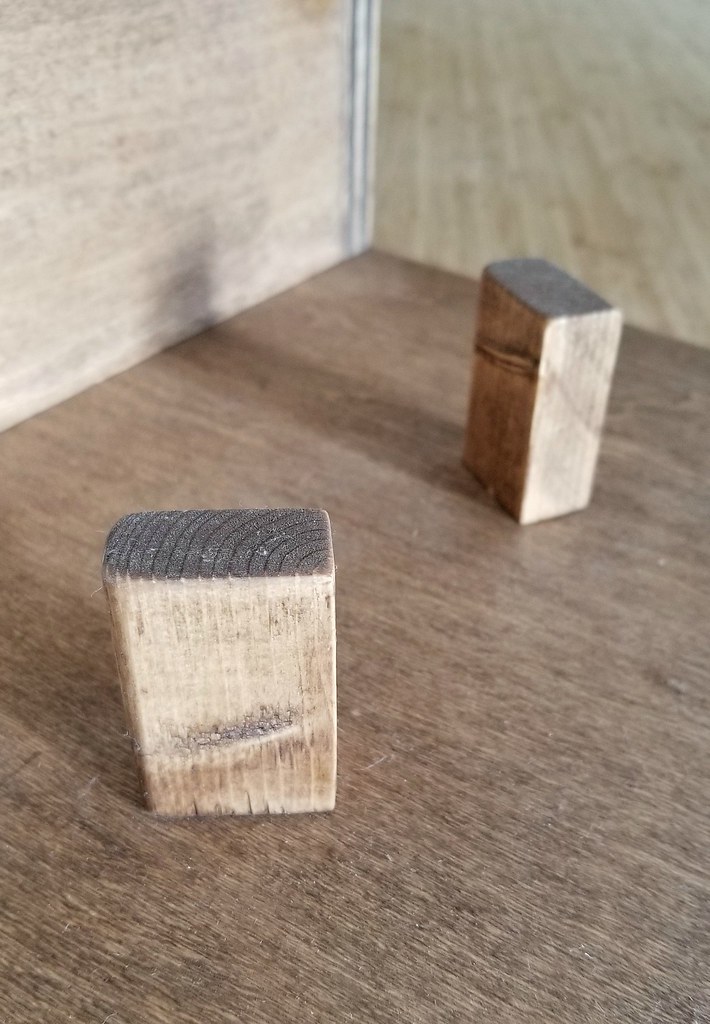
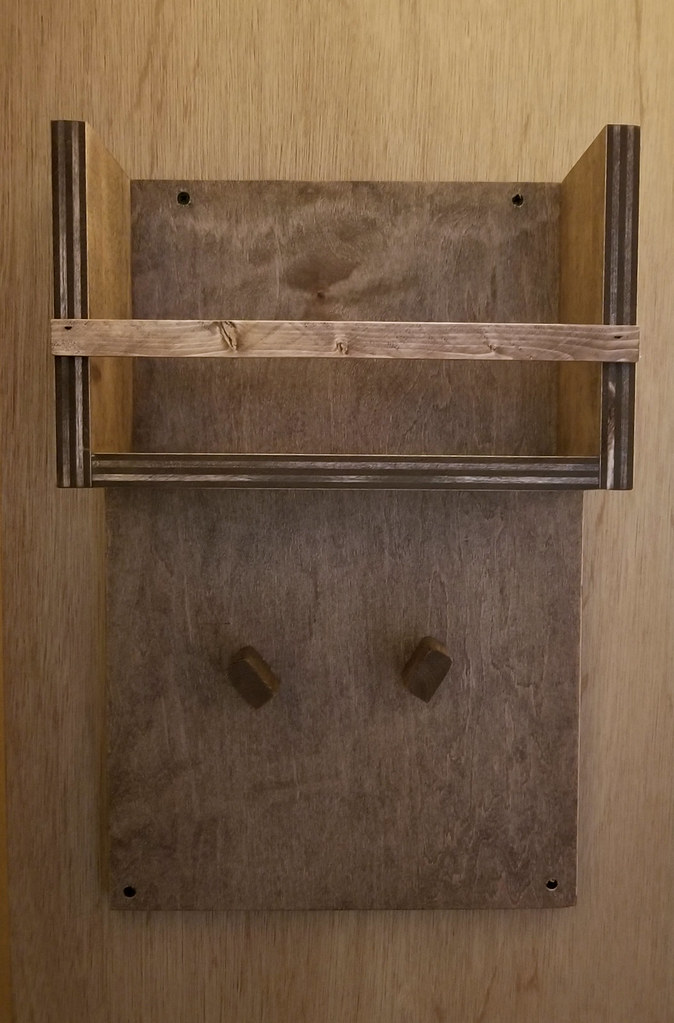
The board I found in the scrap pile for the pegs was flat on the bottom and rounded on the top. I have no idea where it came from or what it was used for, but it was ideal for this project. At first I was going to attach the pegs in a straight line like on the original plans, but due to the shape of the ironing board "leg", it made more sense to angle them. The curved edges of the tops of the pegs fit the curve of the leg perfectly.
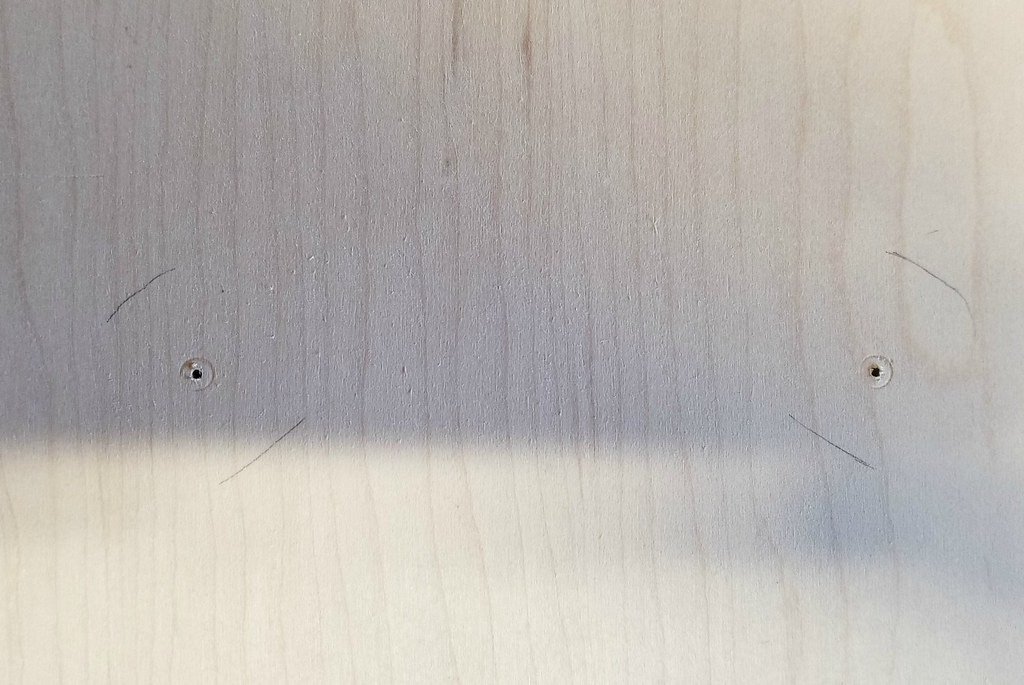
Place the pegs or dowels in position and trace around them. Taking a very small drill bit, drill a hole through the back board in the centre of each traced area. This gives you a reference point for the screws when you attach them from the back. Glue the pegs to the board to hold them in place while you're working on them. (I used a couple of drops of Krazy Glue).
Screw the pegs to the board from the back, using the drilled hole as reference, as mentioned above. Since my pegs were going to be at an angle, I needed two anchor points for each, to keep them from twisting around. My ironing board is very light and the pegs are small, so I used two brad nails in each peg instead of screws.
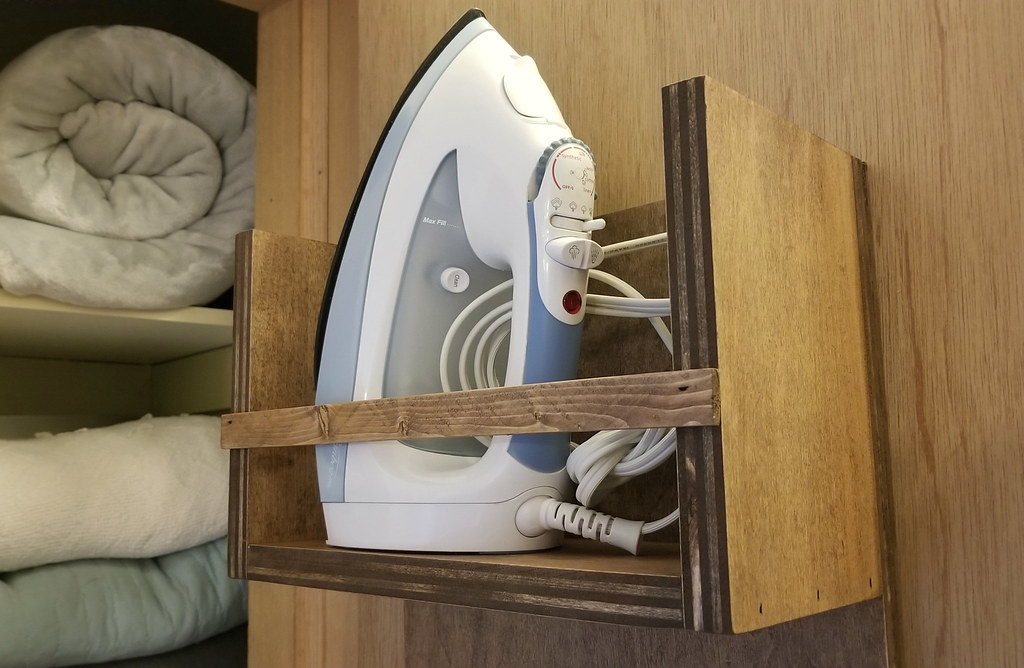
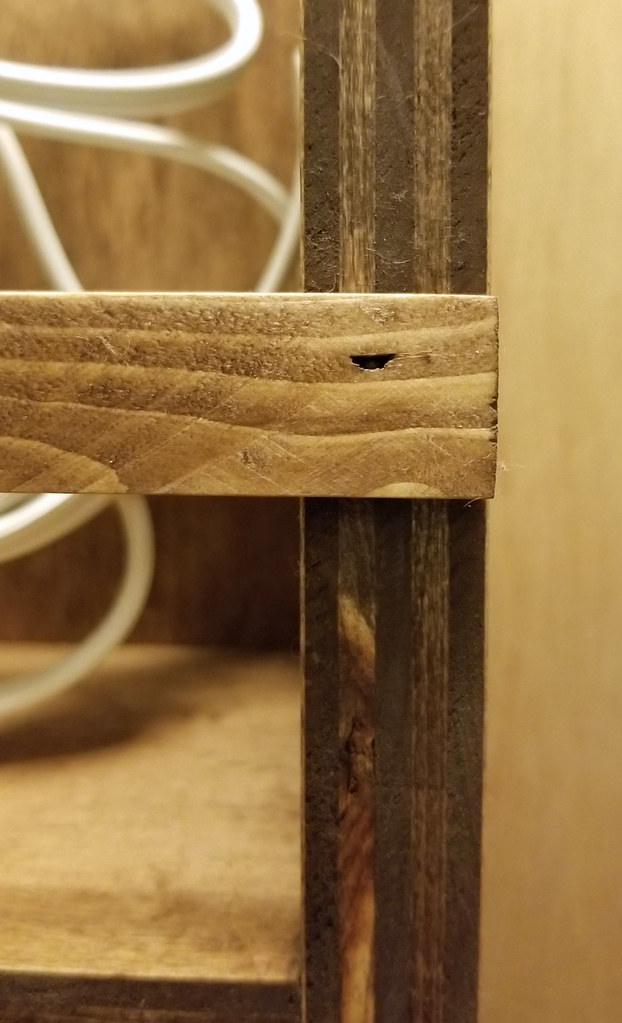
Attach the trim to the front of the shelf a few inches up from the bottom using brad nails or screws. This strip of wood keeps the iron from falling off the shelf when the door is opened and closed.
My shelf was stained with Minwax stain in Special Walnut. Two coats and then buffed with a soft cloth.
The final step is hanging the holder. I mounted it to the inside of the linen closet door with a screw at each corner of the back board. If your iron or ironing board are heavy, you may want to use anchors behind the screws.
Subscribe to:
Post Comments (Atom)


No comments:
Post a Comment