SEARCH THE BLOG

Nov 19, 2018

Holiday Wreaths

A cheery front door just sets the tone for the rest of the house. Today I'd like to share with you a roundup of holiday wreath ideas. Some are my own and some are beautiful creations I've found around the internet. Click on any photo to go to the original post.

This simple wreath is made entirely of items you can find at the dollar store. The cinnamon pine cones ensure that a lovely scent greets you right from the start. I made this wreath several years ago and still bring it out year after year.


This wreath has a deceptive simplicity. The more you look at it, the more details you discover. There are at least six different types of greenery, and the white stems and red berries tie it all together.
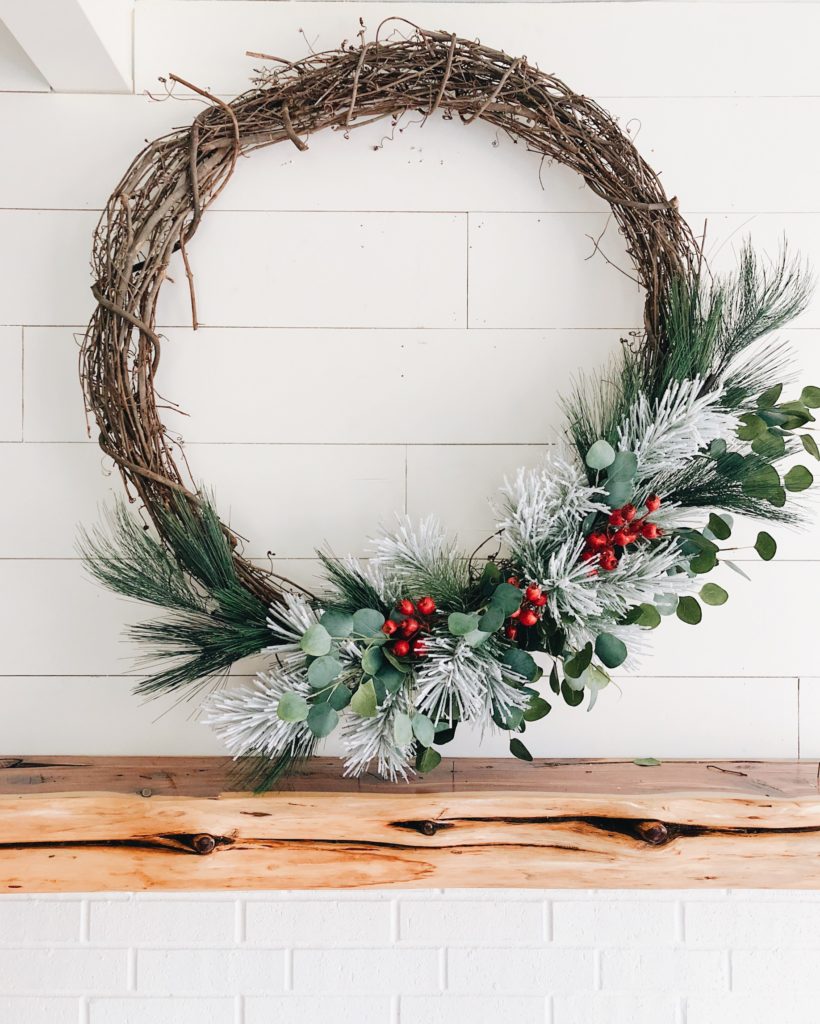


This wreath started out with just greenery and pinecones. I gave it a boost by weaving in strips of burlap and bunches of green berries.


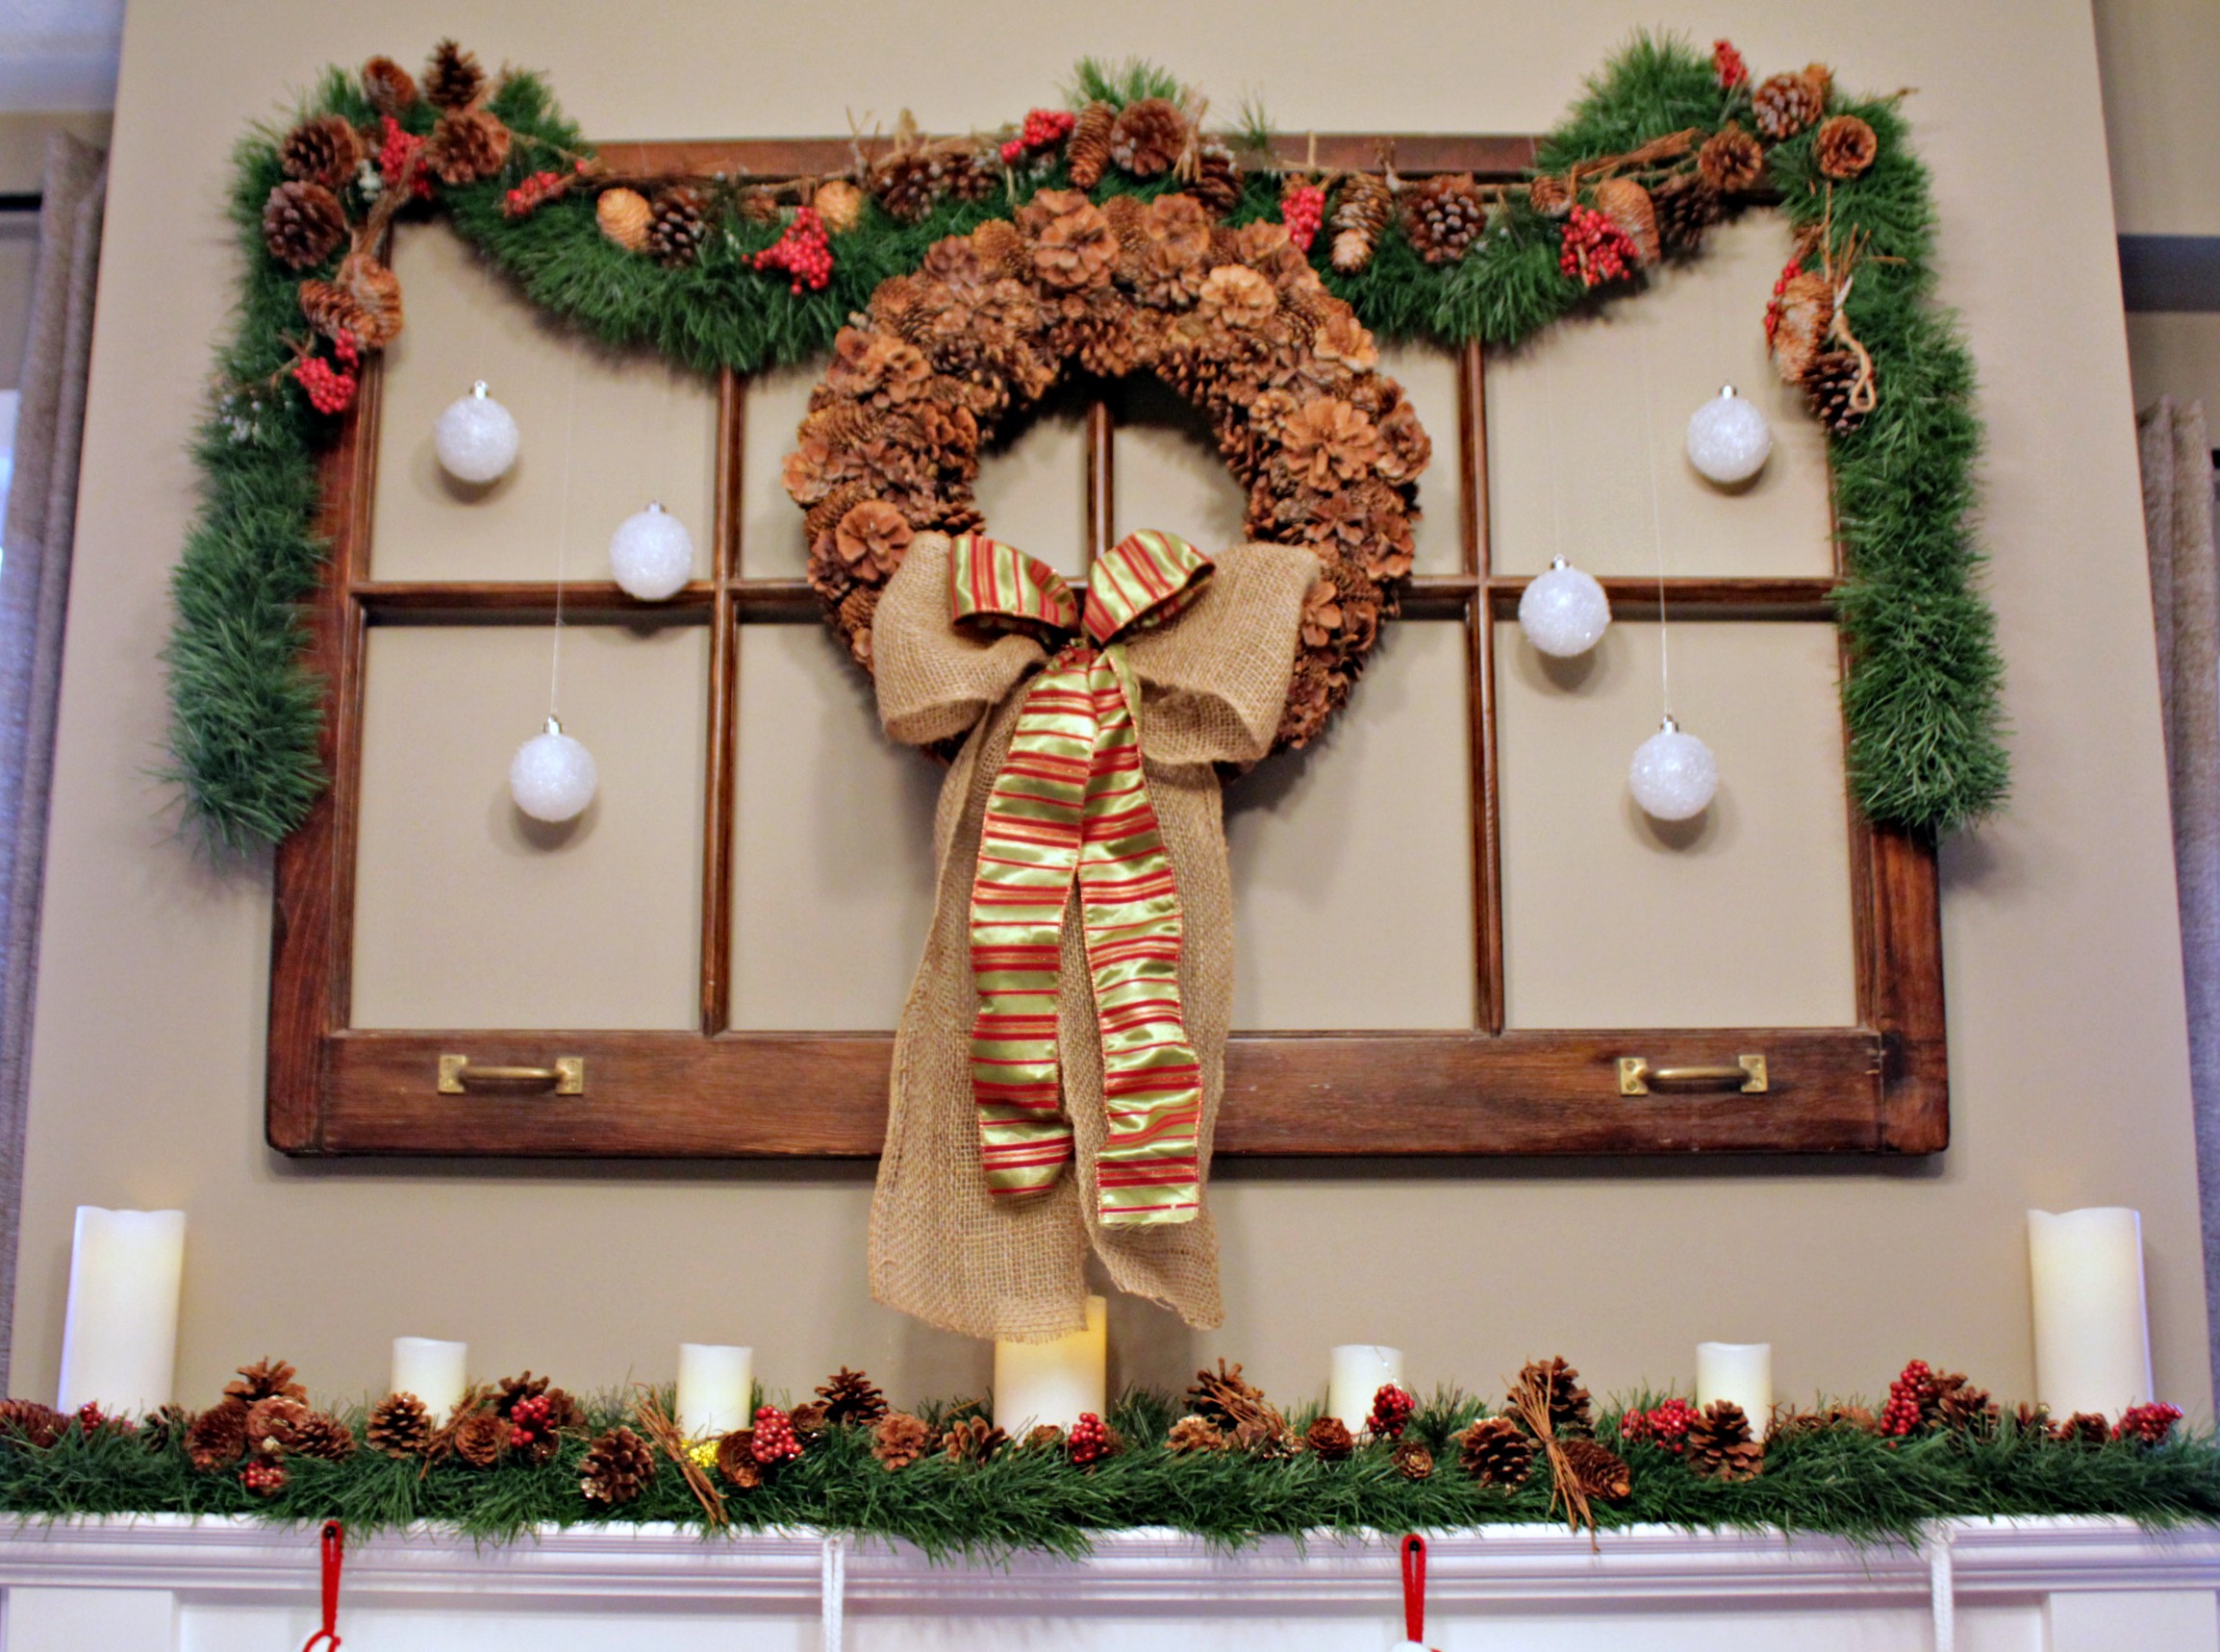
Your wreath doesn't always have to be on the front door. This pinecone-heavy wreath gets lightened up with the addition of snowball ornaments plus gold and burlap ribbons. The window frame turns it into a holiday vignette. This was my absolute favourite wreath display and I miss having a fireplace to decorate.


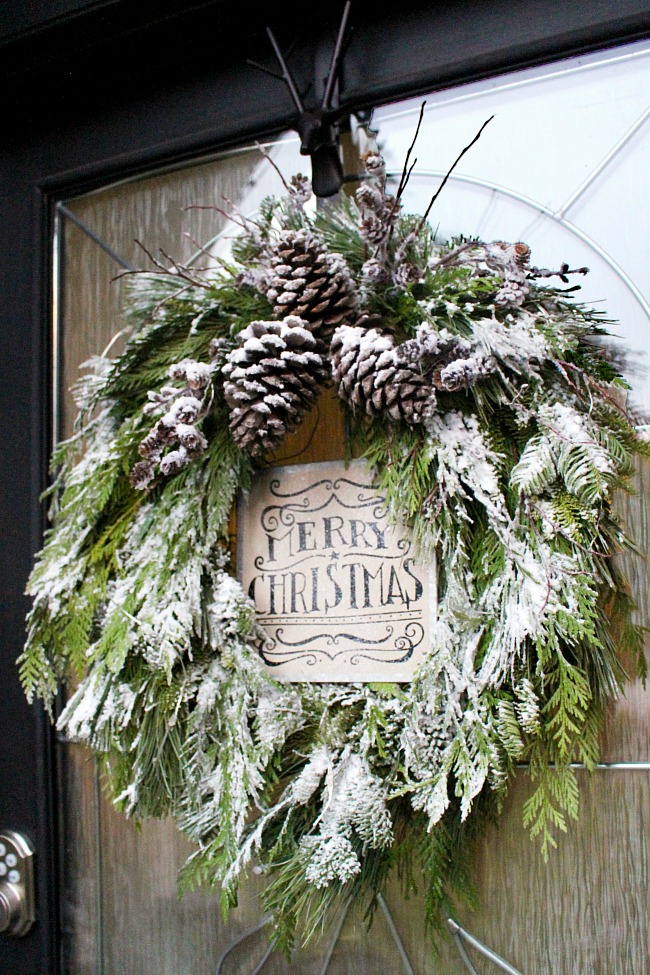
This wreath goes heavy on the greenery and has a lovely country farmhouse feel. If you're lucky enough to have a wooded area nearby, you can collect your own branches and pinecones.


Sometimes a wreath goes through many adjustments before its final incarnation. This one started out as a pool noodle. I loosely wrapped burlap around it like a sock and used it for an autumn wreath. For Christmas, I attached soft garland, pinecones, and ribbon. The final touch was a set of sleigh bells.


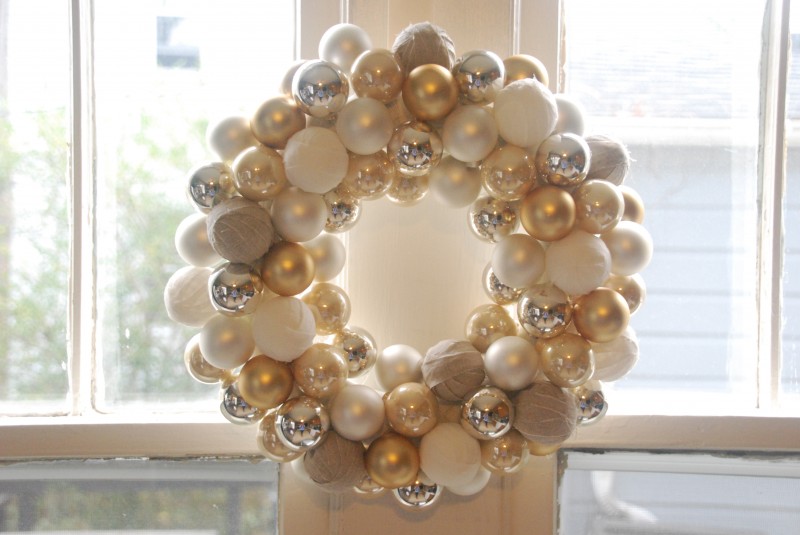
One last wreath. I adore this bright and shiny ornament wreath. Buy inexpensive plastic balls so that you don't have to worry about it getting bumped and breaking. Use ornaments with different sheens and textures to give a natural look.



Nov 16, 2018

DIY Holiday Tree Wall Shelf


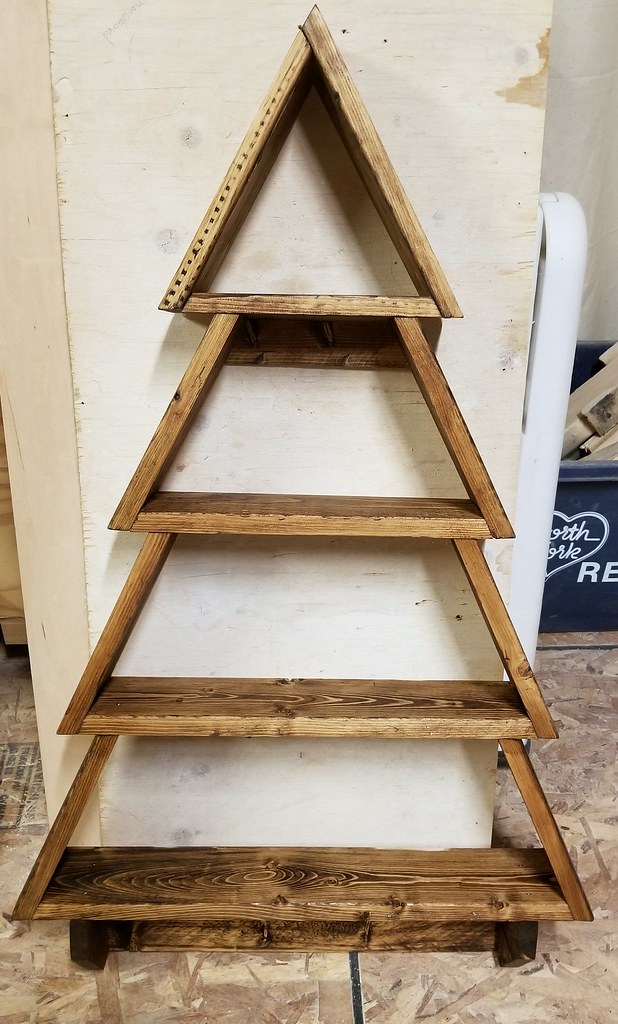
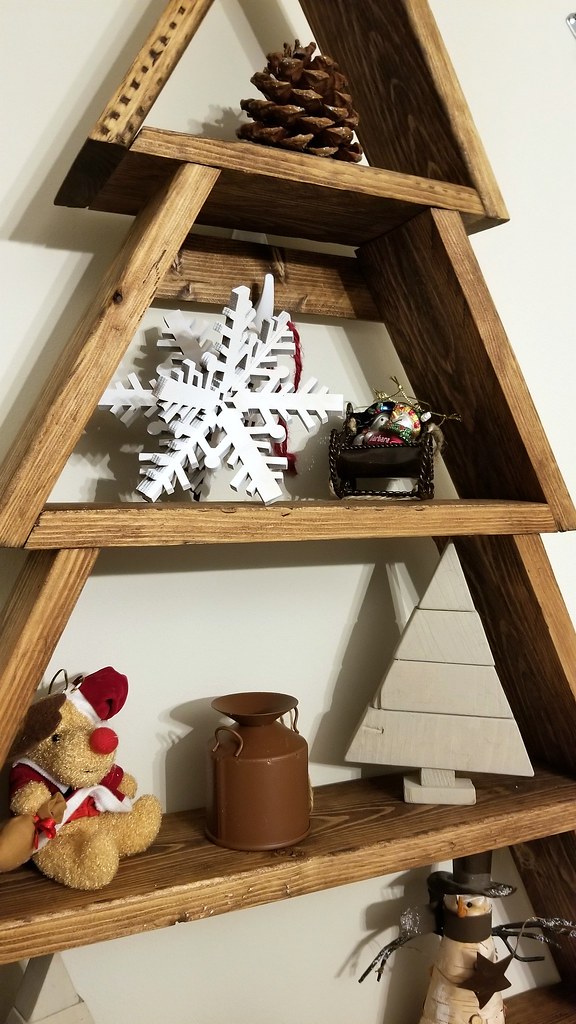
I want to share a Christmas woodworking project with you today - this adorable tree-shaped wall shelf!

DIY Holiday Tree Wall Shelf

My inspiration comes from Jaime Costiglio, and her inspiration came from Pottery Barn Kids - apparently you could buy something similar a few years ago for $79! Mine cost a whopping $7 for the hooks because I used discarded pallet wood plus stain that I already had in my stash.

The plans can be found on Ana White's site - she has excellent drawings that show more than my photos can.

Here is the cut list, directly from her site:
TRUNK
1 - 1x4 @ 16-1/4" 
2 - 1x4 @ 3-1/2" 
MAIN TREE
1 - 1x4 @ 18-3/4" longest point to longest point both ends cut at 25 degrees off square
6 - 1x4 @ 7-1/2" long point to short point, both ends cut at 25 degrees off square
1 - 1x4 @ 15-1/8" longest point to longest point both ends cut at 25 degrees off square
1 - 1x4 @ 11-3/8" longest point to longest point both ends cut at 25 degrees off square
TREETOP
1 - 1x4 @ 7-3/4" long point to long point, both ends cut at 30 degrees off square
1 - 1x4 @ 8-5/8" long point to long point, both ends cut at 30 degrees off square
1 - 1x4 @ 9-1/2" long point to long point, both ends cut at 30 degrees off square
Scrap 1/2" plywood for filling in second shelf approximately 6" x 15"

You will also need:

1-1/4" brad nails and nailer (air nailer), or screws and a drill/driver
3 hooks
wood stain or paint


I usually cut and assemble as I go, just to make sure it fits together. But this time I made all my cuts first, and these measurements were spot on.

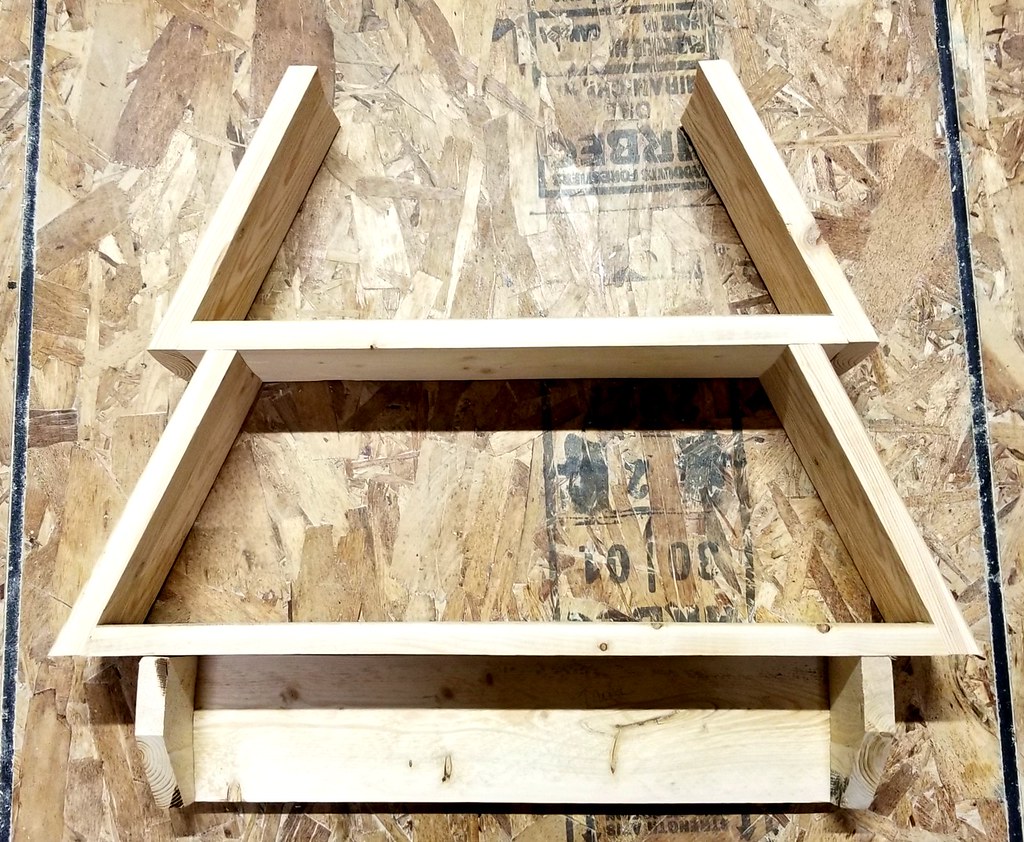
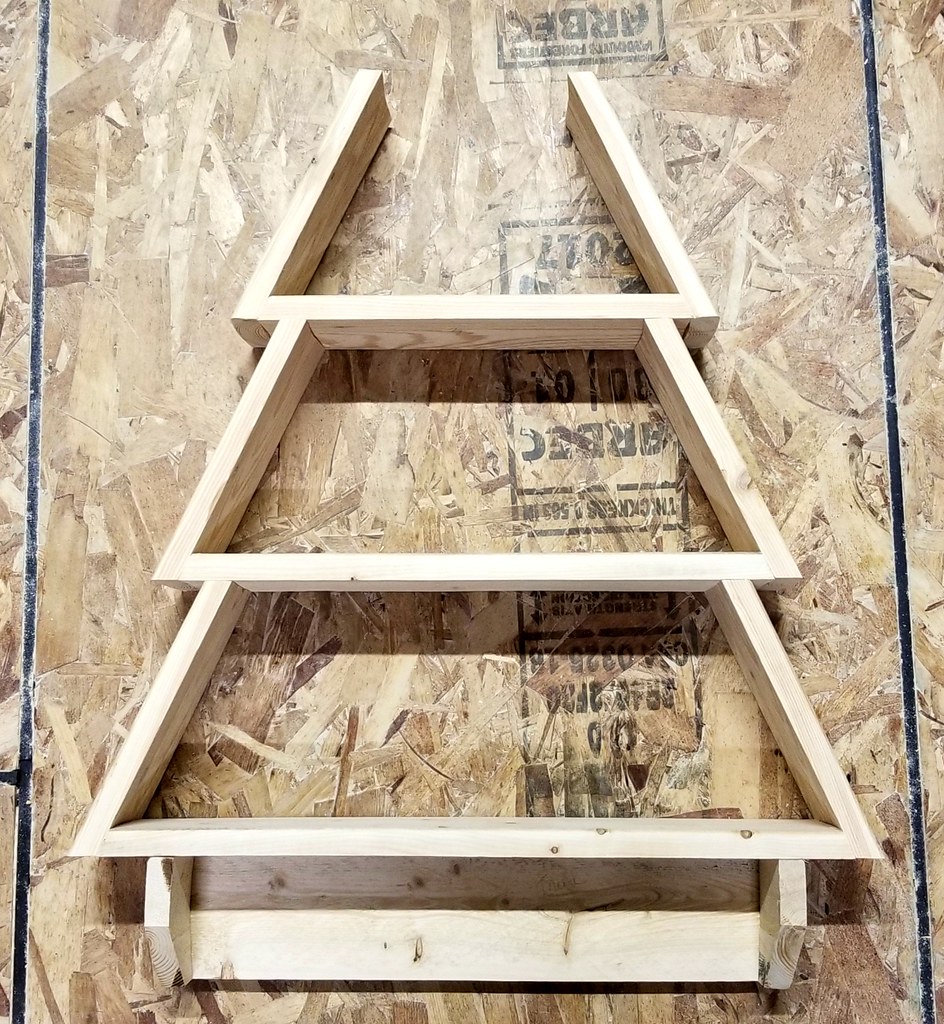
Start your assembly from the bottom, attaching the two side supports of the "trunk" to the back. The supports attach to the outside edges of the back piece, not to the front of it (A mistake I made the first time. Because of this I had to cut down the supports as they stuck out the front.)

You then build upwards, starting with the longest board for the main tree. Nail or screw it directly on top of the three-sided trunk you've built already. Follow this with two angled side boards, attached to the long board on the outer edges.

DIY Holiday Tree Wall Shelf

Then the middle board, two sides, the top board, and two more sides.

DIY Holiday Tree Wall Shelf

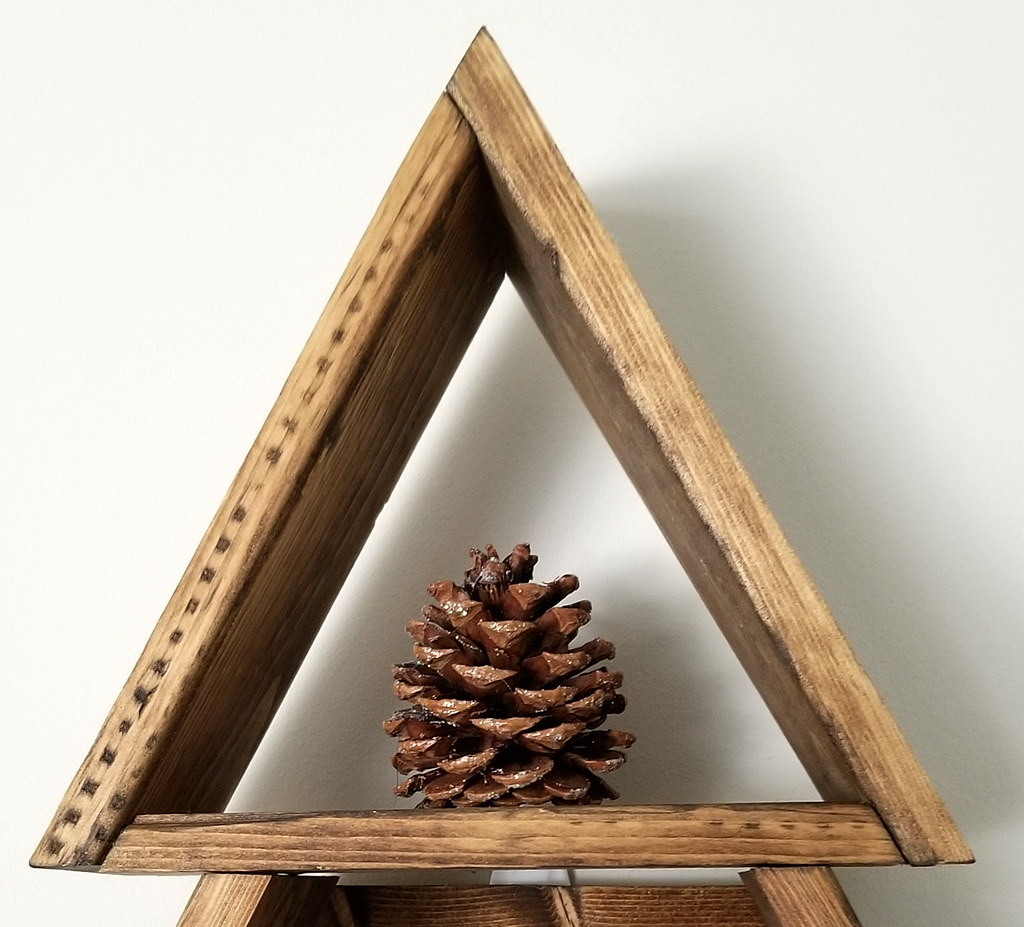
The treetop fits together kind of like a puzzle. I'm going to refer you to Ana's drawing again.


DIY Holiday Tree Wall Shelf

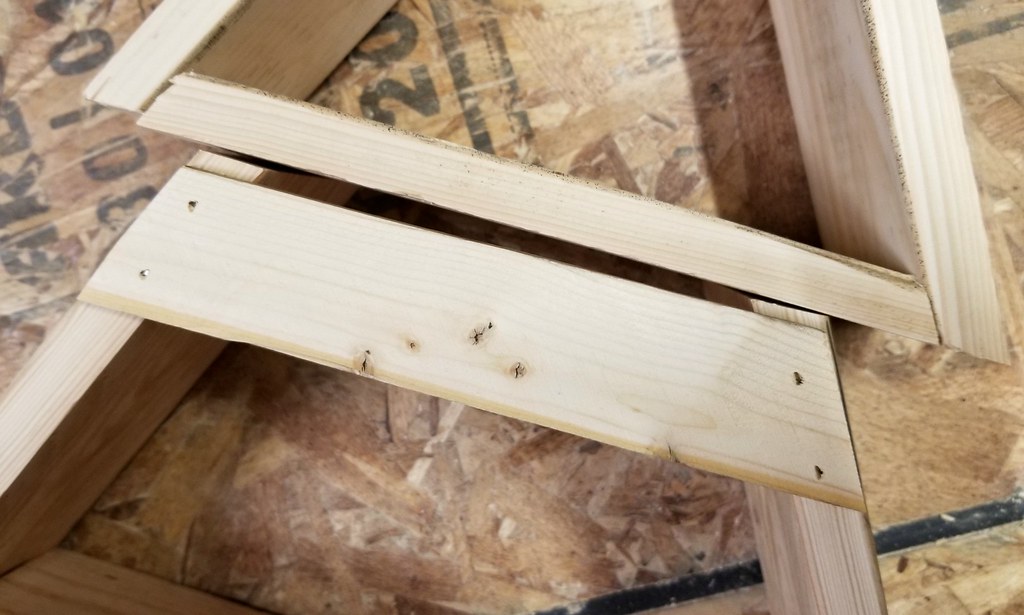
The final step before hanging is to attach a thinner piece of wood to the back to give you a place to mount it to the wall. I took a thin strip of scrap wood - about the size of a paint stirrer, put it across the back of the tree, traced the angles, and cut it to size. I then attached it to the tree with brad nails.

DIY Holiday Tree Wall Shelf

I stained the tree shelf with Minwax's Provincial stain and a soft cloth. I might also wax it but I haven't decided yet.

DIY Holiday Tree Wall Shelf

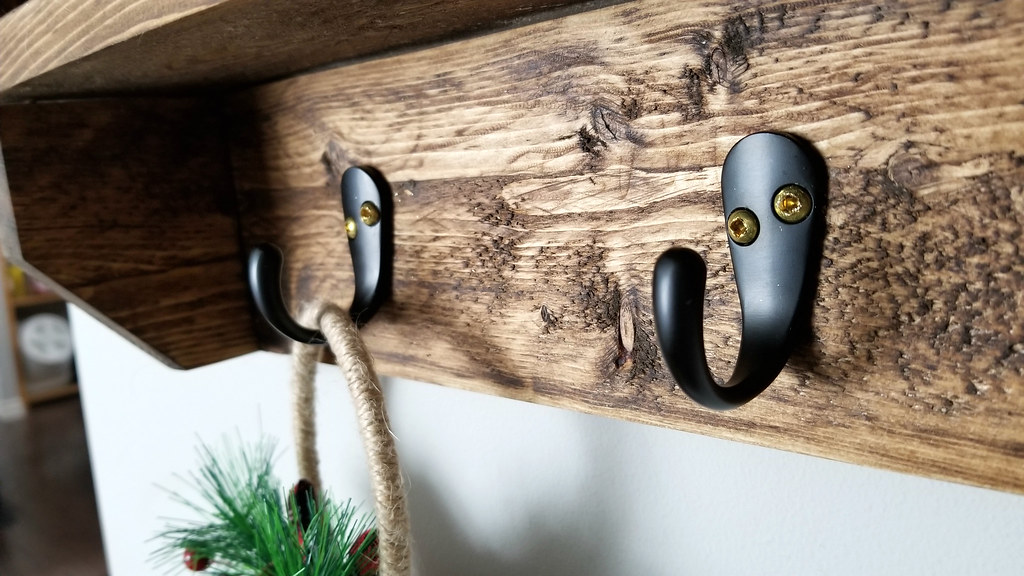
And there's your tree! Attach your hooks along the face of the trunk with 1/2" screws.

DIY Holiday Tree Wall Shelf

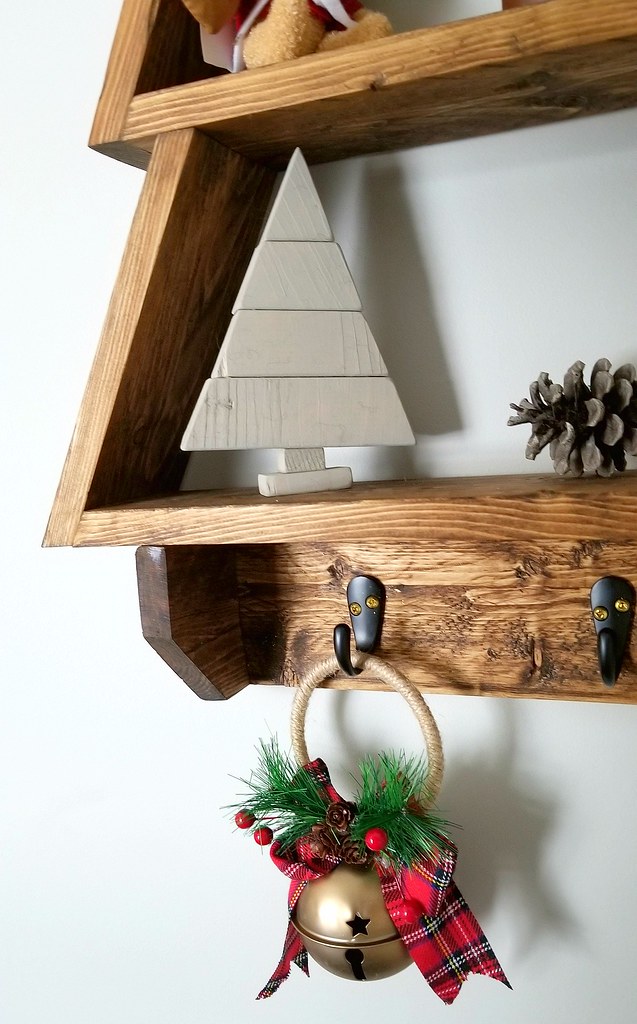
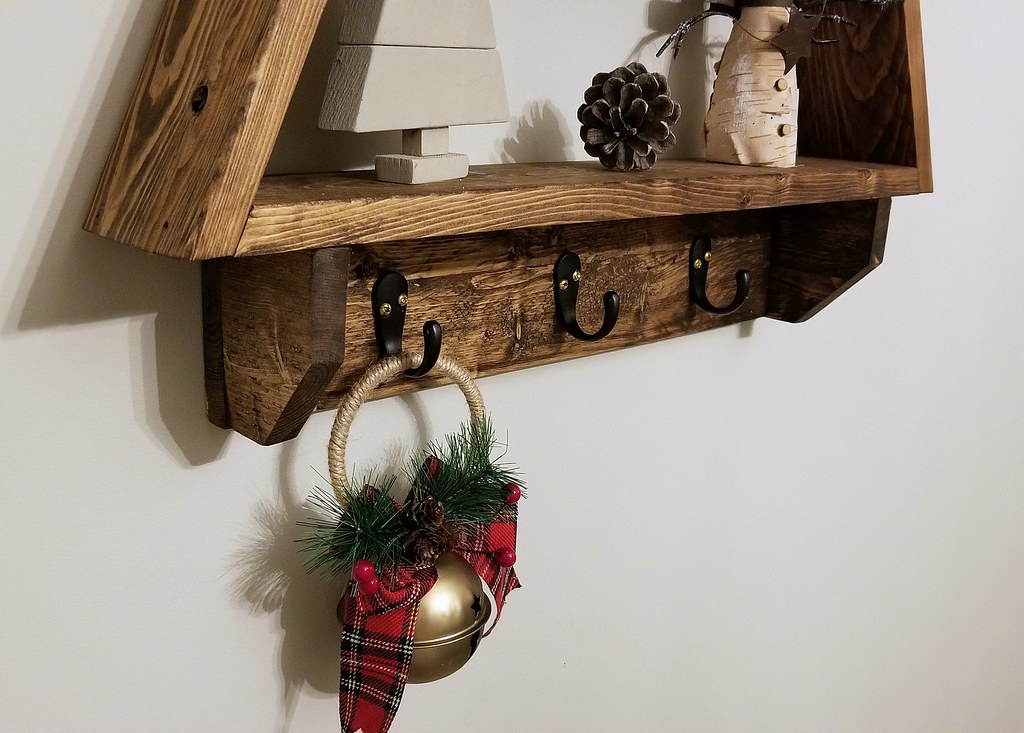
The decorations I used were scrounged from the ornament boxes. The two little trees were made from scraps from another project. I made them back when I was afraid of the power tools and just put them together with hot glue! The pine cones are from our property - the top one has glitter on it and is from this mantel project.

DIY Holiday Tree Wall Shelf

I can't decide if I'm going to hang our stockings from this shelf. But with six of us and only three hooks, there might have to be some sharing going on. Maybe I should build another shelf!

DIY Holiday Tree Wall Shelf


Nov 12, 2018

Holiday Gift Guide

As hard as we try to fight it, the holiday season is upon us. Here in Canada, since Thanksgiving is near the beginning of October, once Halloween is over it's full steam ahead to Christmas.

With that in mind I've put together some of my favourite gift ideas in the three categories I talk about most here on the blog - home décor, workshop tools, and pets. Some are items I already own and love, others are items that are on my wish list this year.


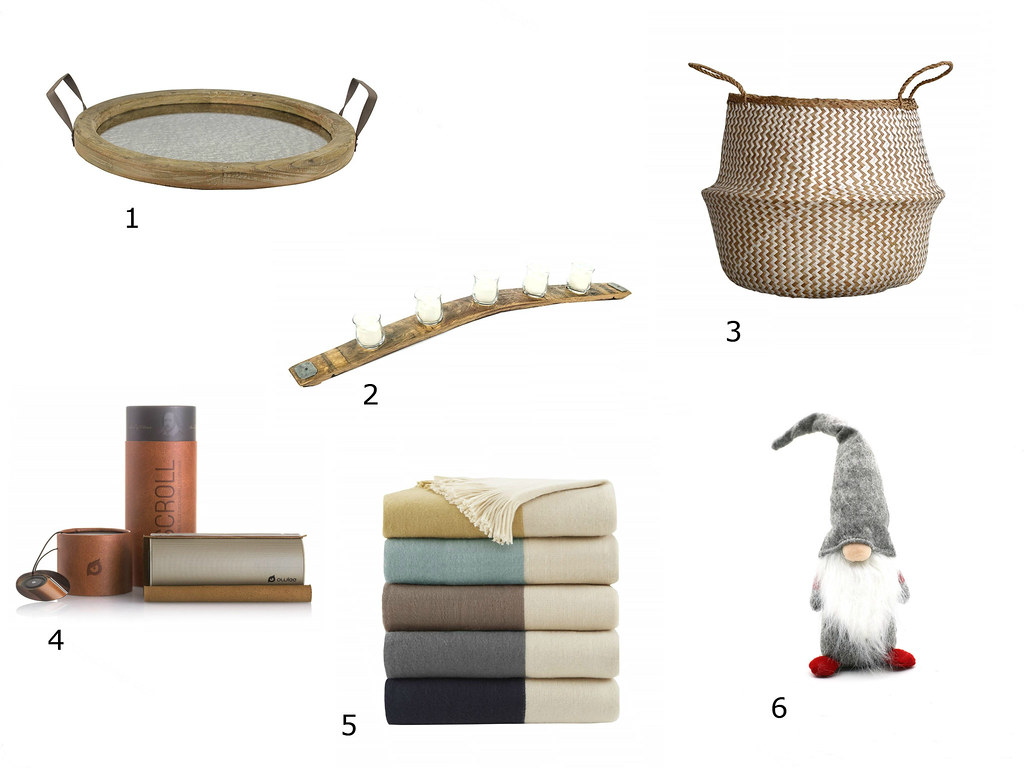
For the Decor Enthusiast


1. This rustic butler's serving tray is perfectly oversized and has a mirrored center.
2. Take your love of wine to the next level with a wine barrel stave candleholder.
3. Woven seagrass baskets of all sizes - to keep your belongings contained and beautiful.
4. For music indoors and out, this wireless bluetooth speaker is powerful and stylish.
5. Faux cashmere throws are just as cozy as the real thing. And getting dog hair on them won't make you cry.
6. Everyone needs a 16" felt gnome in their life, don't they? I know I do.


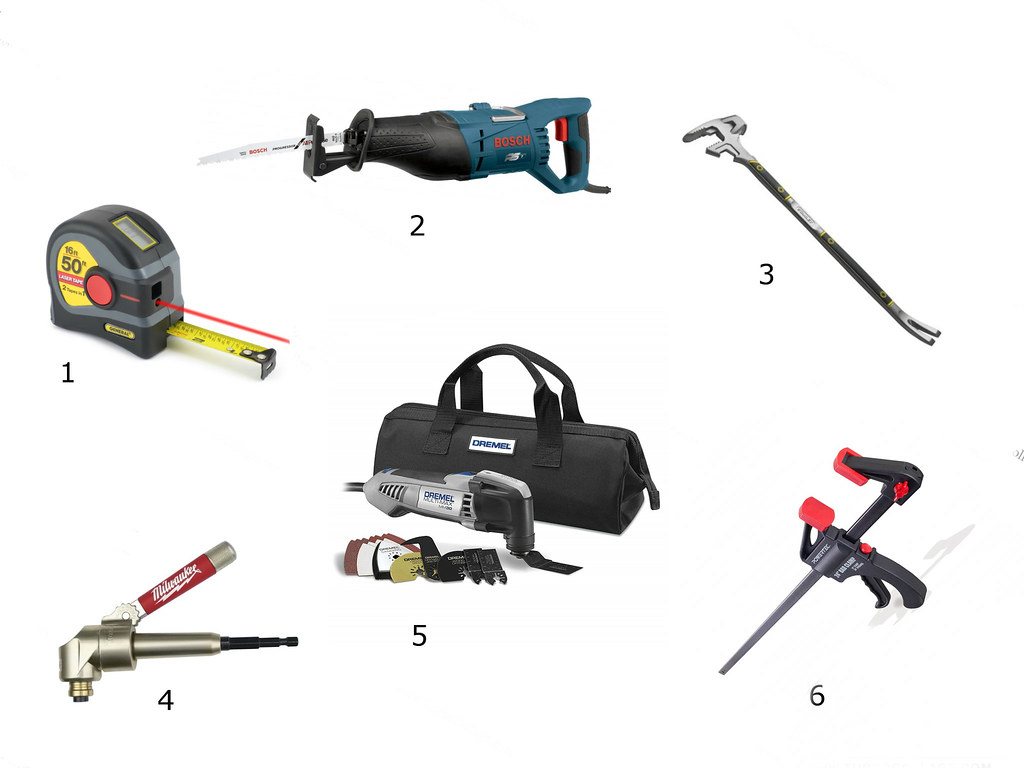
For the Handyperson


1. Know the precise measurement and keep your work level with this digital measuring tape with laser level.
2. A reciprocating saw makes cutting drywall, framework, or even metal pipe a breeze.
3. I just learned of this utility bar recently. It's a crowbar, board bender, wrench, and hammer all in one.
4. When I told Tom that I was adding this right angle drill attachment to the gift guide, his response? "I use mine all the time." 'Nuff said.
5. For fine cutting, grinding, and sanding, the Dremel MultiMax is the leader.
6. You can never have too many bar clamps. It's a fact. 


For the Dog Lover

1. Try this travel container that holds both water and treats on your next walk.
2. This leash comes with a high-high speed frog connector and an adjustable length for more control.
3. For the extreme dog lover who's never met a dog they didn't want to pet - this t-shirt says it all.
4. Your dog deserves to be cozy too. This boyfriend sweater is stylin'.
5. I will praise the Jive Ball all.day.long. They last for years and the company guarantees them.
6. A bolster bed gives your dog a place to rest their chin as they watch the world crazy humans around them. 


Hopefully I've given you some ideas to start (or finish) your shopping.

Happy Holidays!


Related Posts Plugin for WordPress, Blogger...