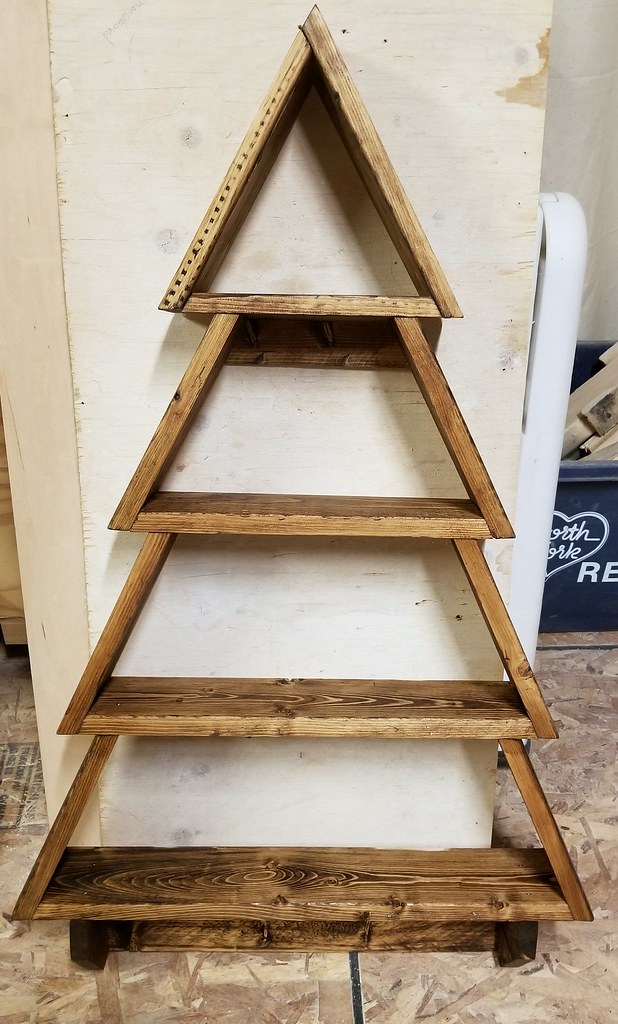
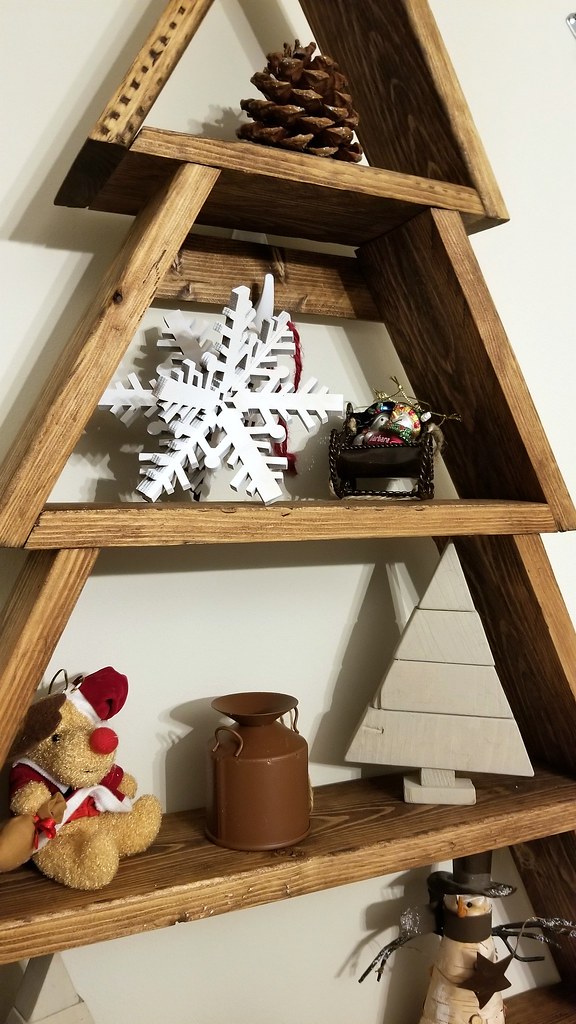
I want to share a Christmas woodworking project with you today - this adorable tree-shaped wall shelf!
My inspiration comes from Jaime Costiglio, and her inspiration came from Pottery Barn Kids - apparently you could buy something similar a few years ago for $79! Mine cost a whopping $7 for the hooks because I used discarded pallet wood plus stain that I already had in my stash.
The plans can be found on Ana White's site - she has excellent drawings that show more than my photos can.
Here is the cut list, directly from her site:
TRUNK
1 - 1x4 @ 16-1/4"2 - 1x4 @ 3-1/2"MAIN TREE1 - 1x4 @ 18-3/4" longest point to longest point both ends cut at 25 degrees off square6 - 1x4 @ 7-1/2" long point to short point, both ends cut at 25 degrees off square1 - 1x4 @ 15-1/8" longest point to longest point both ends cut at 25 degrees off square1 - 1x4 @ 11-3/8" longest point to longest point both ends cut at 25 degrees off squareTREETOP1 - 1x4 @ 7-3/4" long point to long point, both ends cut at 30 degrees off square1 - 1x4 @ 8-5/8" long point to long point, both ends cut at 30 degrees off square1 - 1x4 @ 9-1/2" long point to long point, both ends cut at 30 degrees off squareScrap 1/2" plywood for filling in second shelf approximately 6" x 15"
1-1/4" brad nails and nailer (air nailer), or screws and a drill/driver
3 hooks
wood stain or paint
I usually cut and assemble as I go, just to make sure it fits together. But this time I made all my cuts first, and these measurements were spot on.
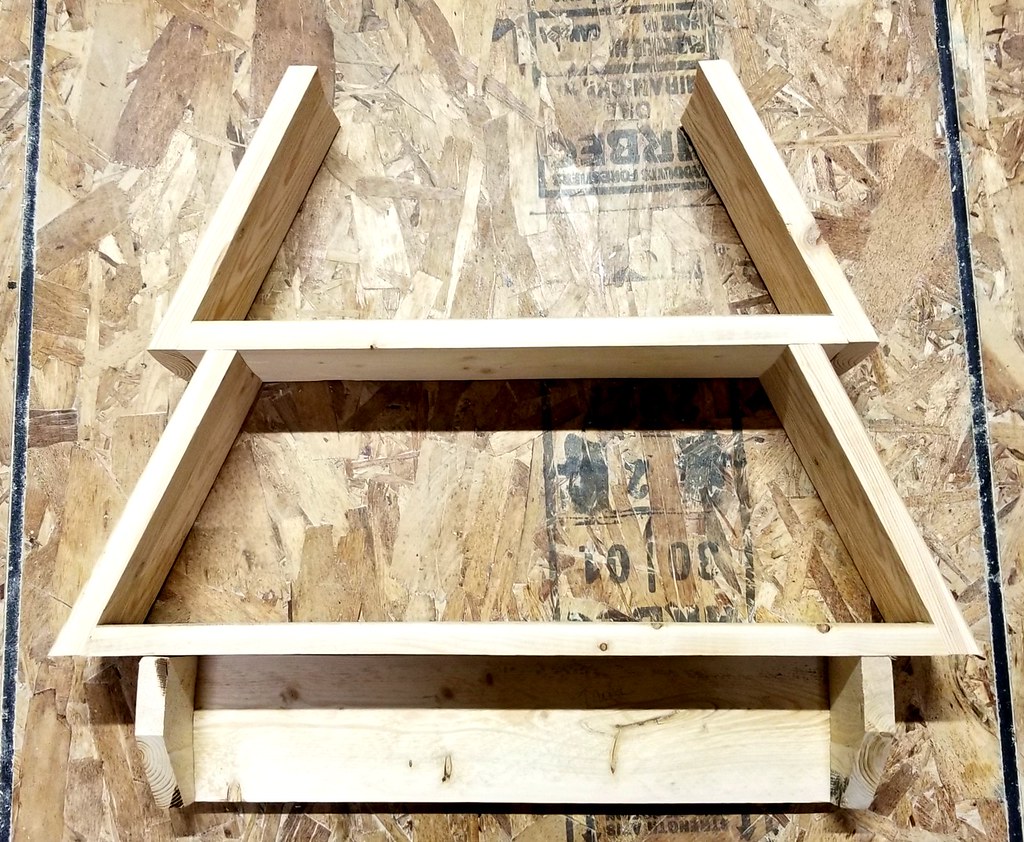
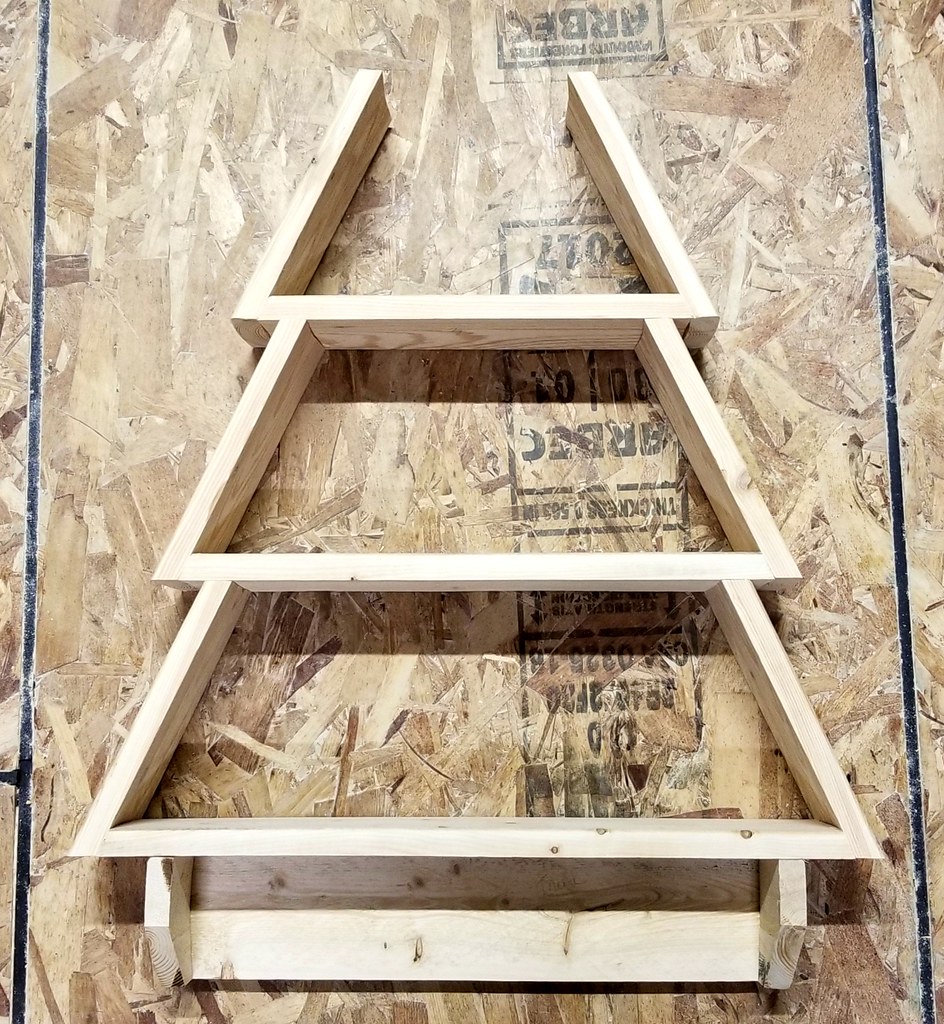
Start your assembly from the bottom, attaching the two side supports of the "trunk" to the back. The supports attach to the outside edges of the back piece, not to the front of it (A mistake I made the first time. Because of this I had to cut down the supports as they stuck out the front.)
You then build upwards, starting with the longest board for the main tree. Nail or screw it directly on top of the three-sided trunk you've built already. Follow this with two angled side boards, attached to the long board on the outer edges.
Then the middle board, two sides, the top board, and two more sides.
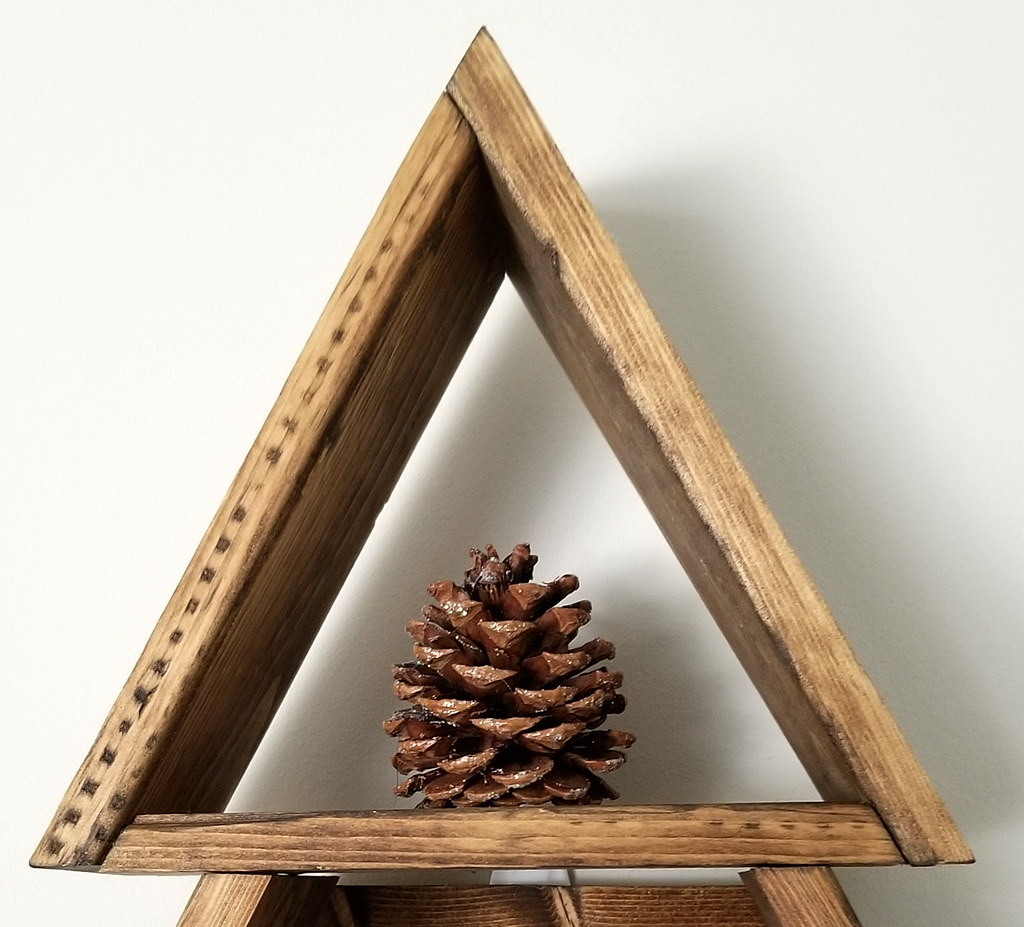
The treetop fits together kind of like a puzzle. I'm going to refer you to Ana's drawing again.
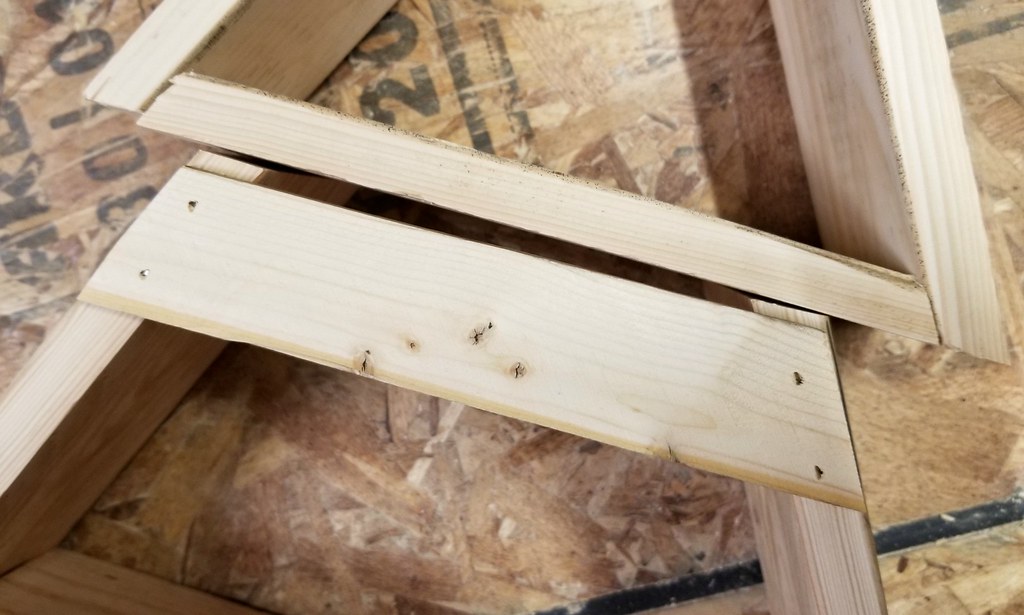
The final step before hanging is to attach a thinner piece of wood to the back to give you a place to mount it to the wall. I took a thin strip of scrap wood - about the size of a paint stirrer, put it across the back of the tree, traced the angles, and cut it to size. I then attached it to the tree with brad nails.
I stained the tree shelf with Minwax's Provincial stain and a soft cloth. I might also wax it but I haven't decided yet.
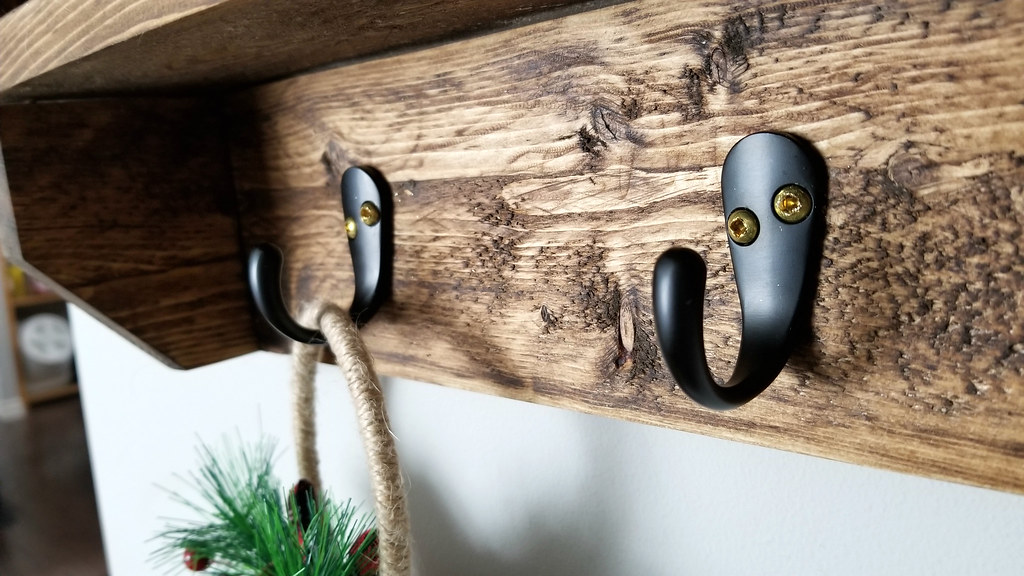
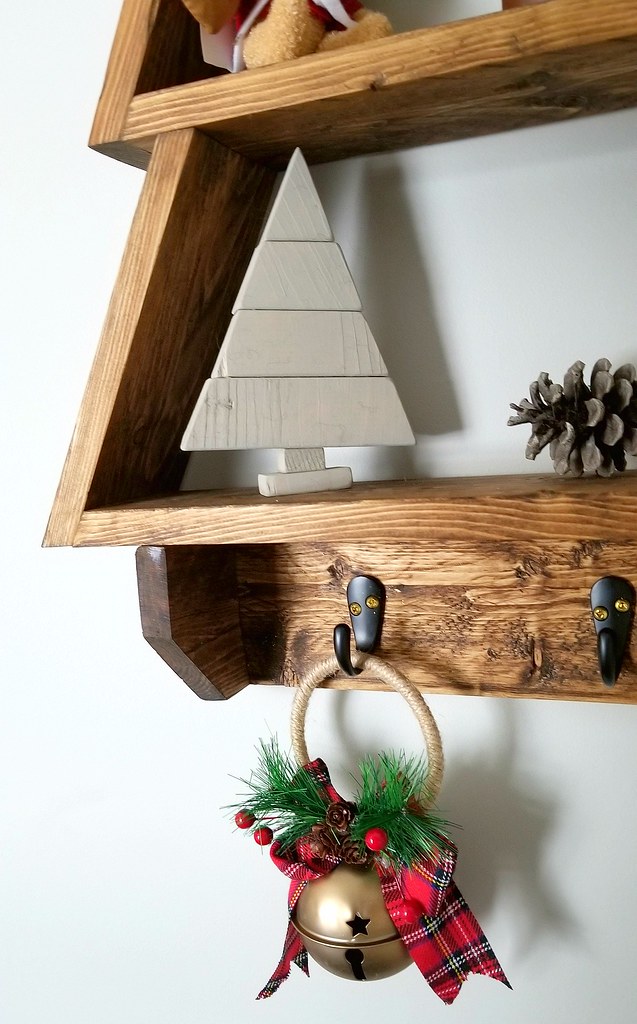
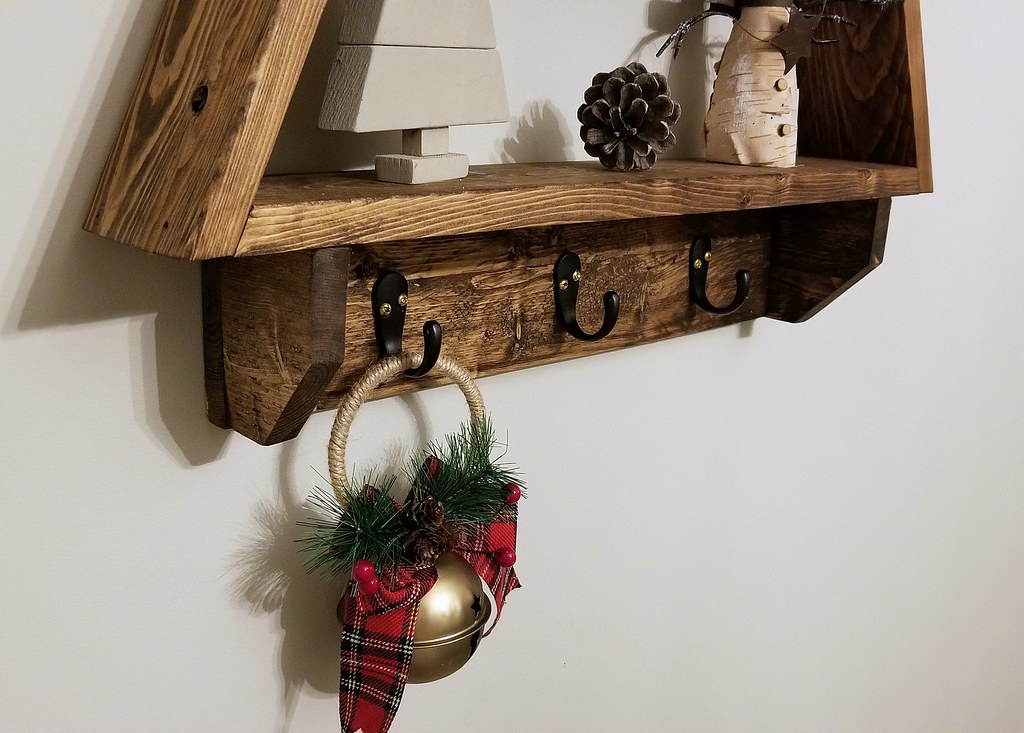
And there's your tree! Attach your hooks along the face of the trunk with 1/2" screws.
The decorations I used were scrounged from the ornament boxes. The two little trees were made from scraps from another project. I made them back when I was afraid of the power tools and just put them together with hot glue! The pine cones are from our property - the top one has glitter on it and is from this mantel project.





No comments:
Post a Comment