I'm guessing that you'll be putting up your Christmas tree soon, if you haven't already. I'm about 90% there - I'm hoping to finish it this weekend. My favourite ornaments are the ones that I've made over the years. They give me a glimpse of what was going on at that time in my life. Here are a few that I hang year after year. Click on a picture to go to the original post.
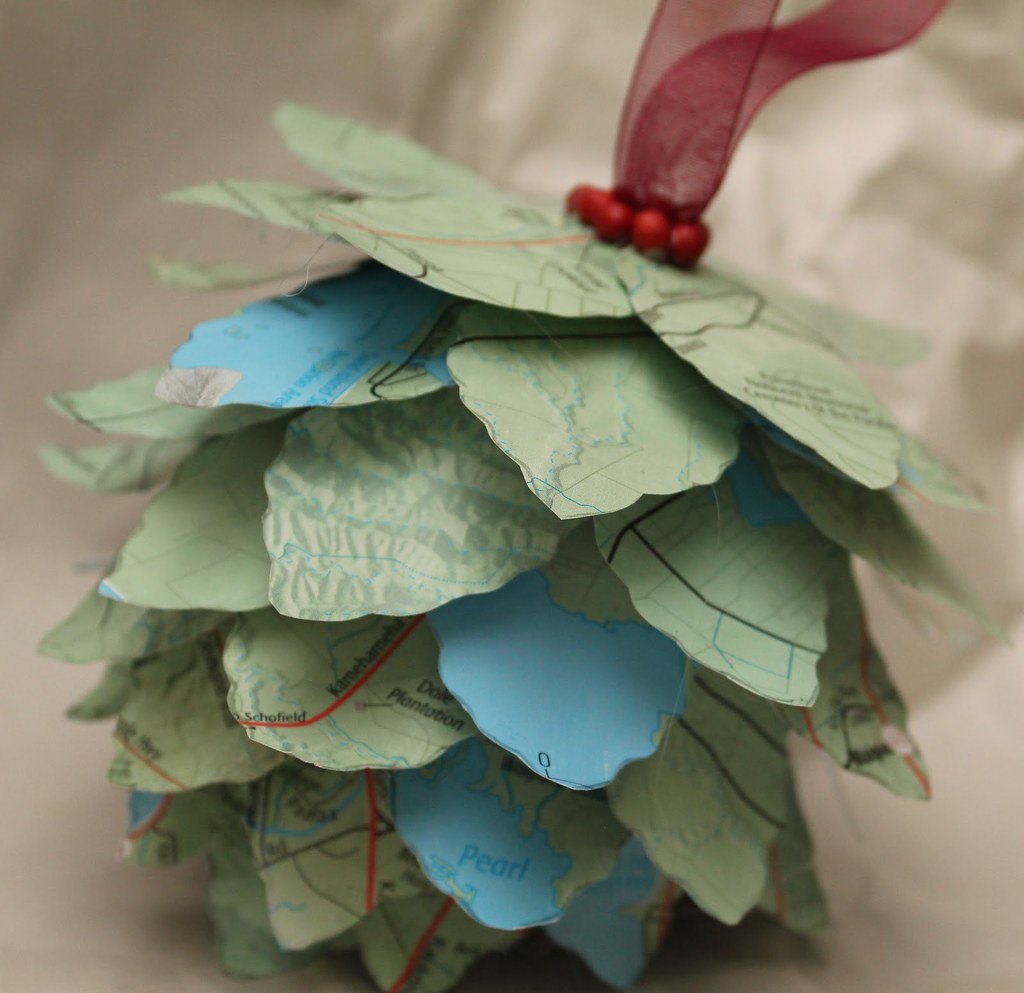
Pinecone Map Ornament
This ornament is made from paper leaves cut from a map of Honolulu. We went to Hawaii for our honeymoon and fell in love with the islands. I wanted an ornament to remember it by, just in case we didn't get a chance to see it again. (Spoiler: we've been back twice!)
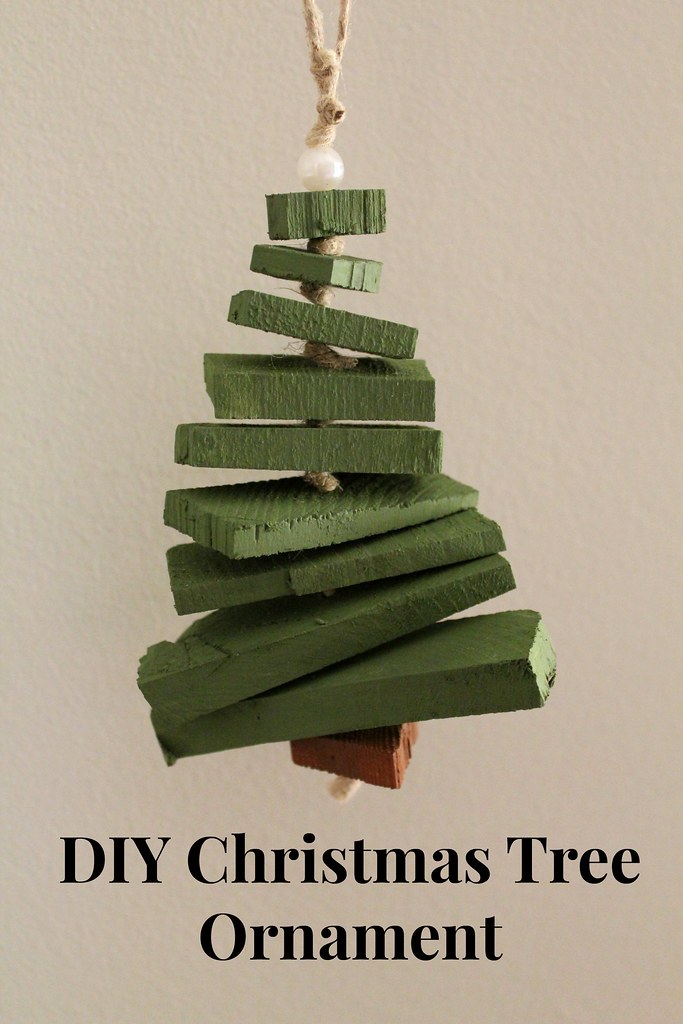
Scrap Wood Tree Ornament
This one was made from scraps left over from the porch that Tom built for his parents. He always laughs at me when I scurry around collecting the end cuts before he can throw them out.
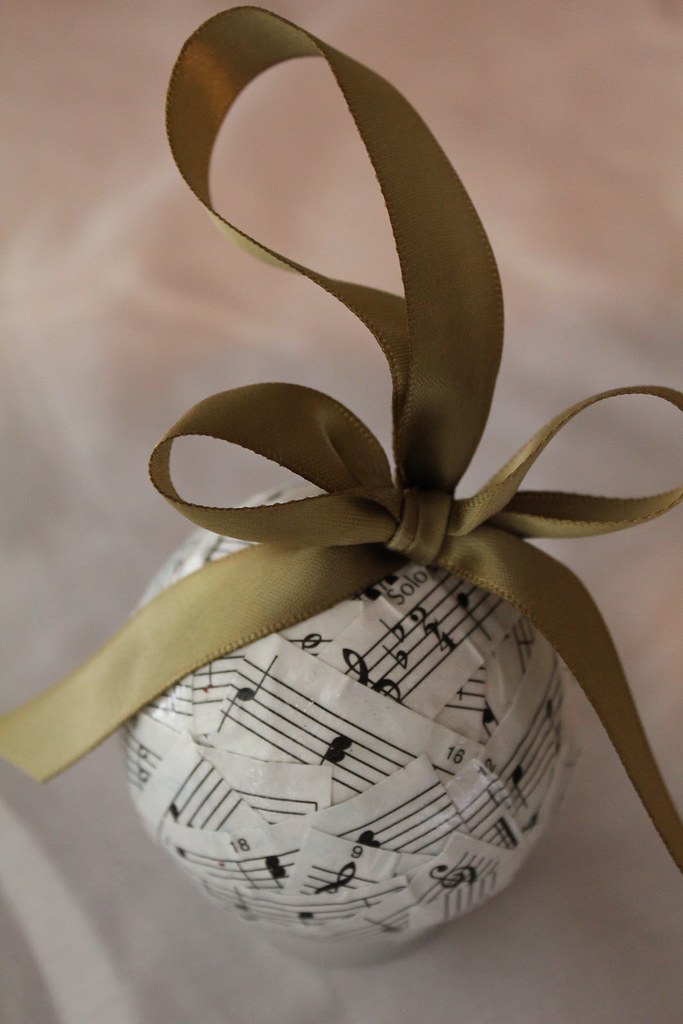
Musical Ornament
I call this the "Jingle Bell" Ornament. It's made of strips of sheet music mod podged onto a Styrofoam ball. I bought a book of sheet music from a used book store so that I would have plenty to work with (and the paper is thicker than printer paper).
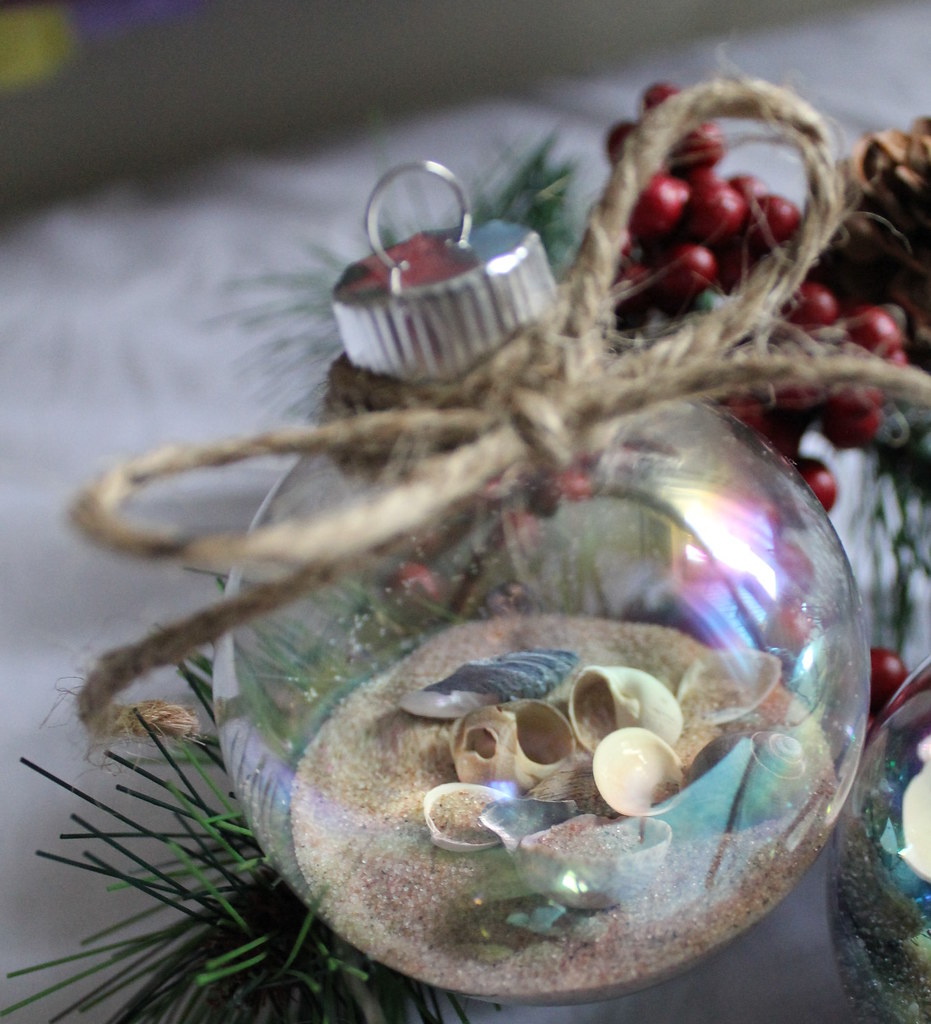
Vacation Memory Ornament
Because there were more trips to Hawaii, I needed another way to commemorate them. I bought clear bulb ornaments, filled them with sand from a favourite beach (each ornament is different), plus a few shells, and a scrap of paper with the trip details. These ones are fun, but a bit heavy!
SEARCH THE BLOG
Nov 30, 2018
Nov 26, 2018
Under-bed Shoe Storage Drawers
I have a lot of running shoes. Maybe too many. I should probably throw some of them out, but it's so hard, you know?
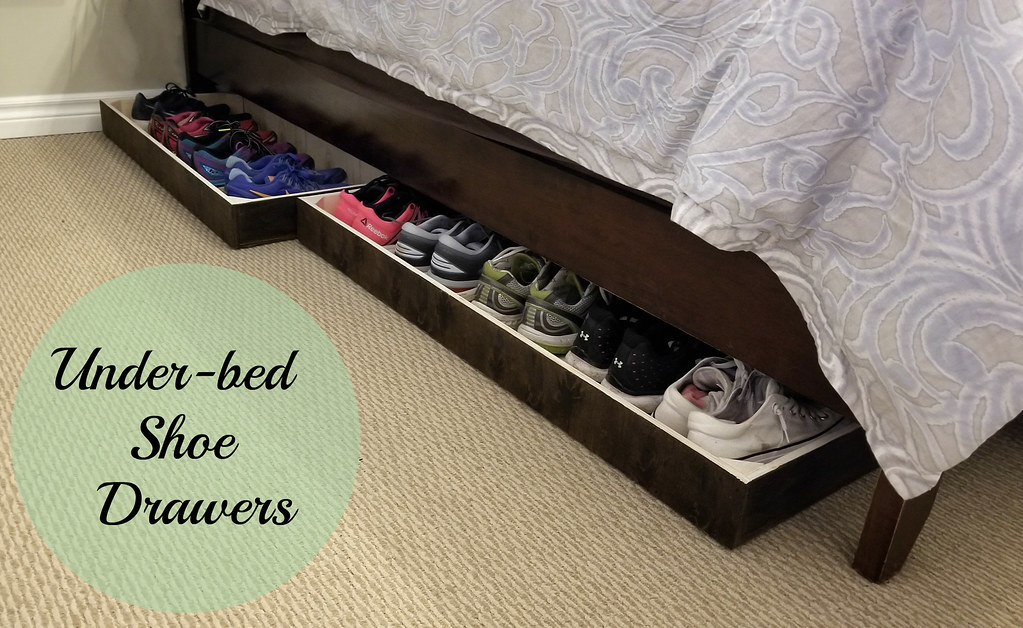
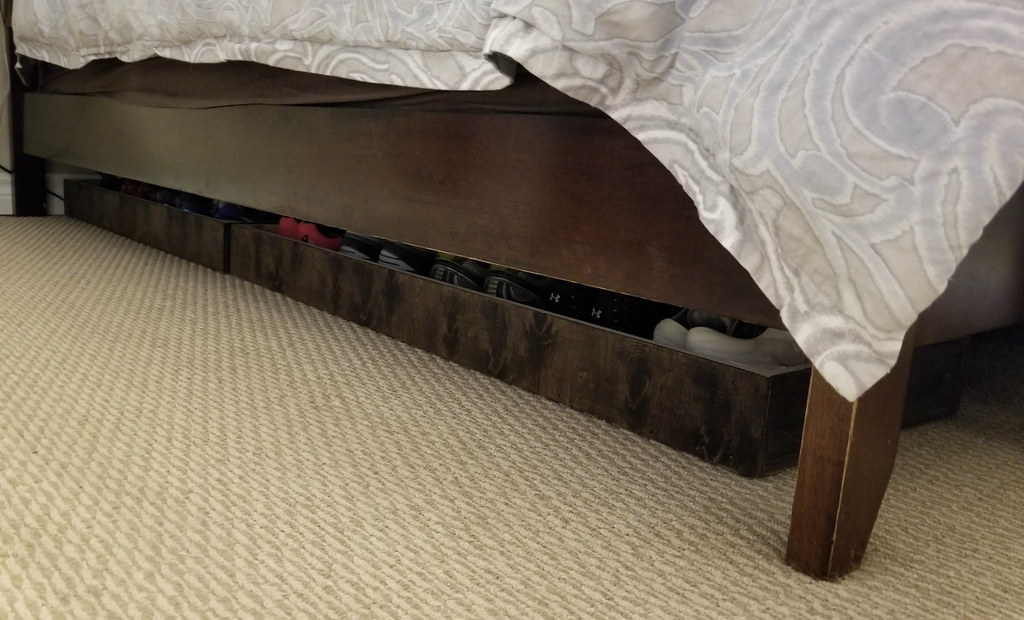
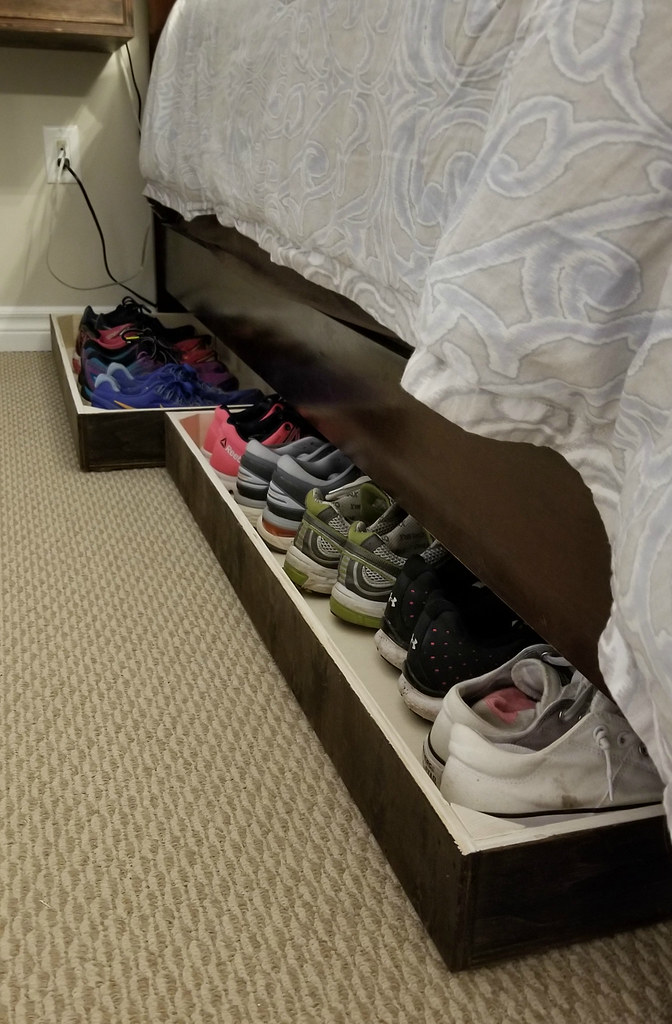
I was tired of looking at them piled up on a shelf in our closet, so I had Tom whip up some under-bed sliding drawers for me, to get them out of sight.
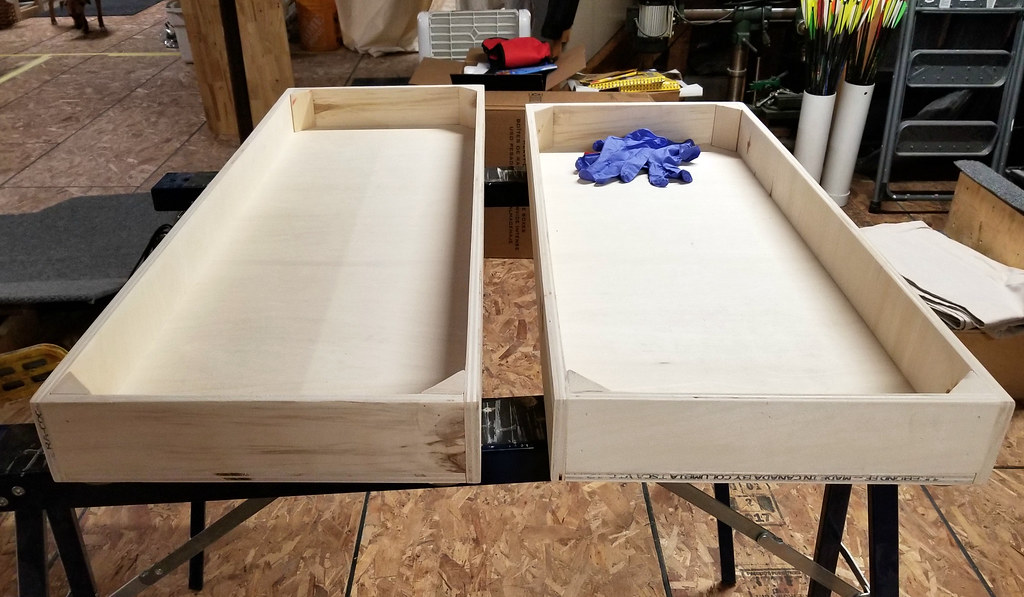
I wanted to use as much of the space as possible, but I didn't want the drawer to be too big to move, so we went with two drawers, one 3 feet wide and the other 3-1/2 feet wide. They're both 15 inches deep and made of 1/2" veneered plywood.
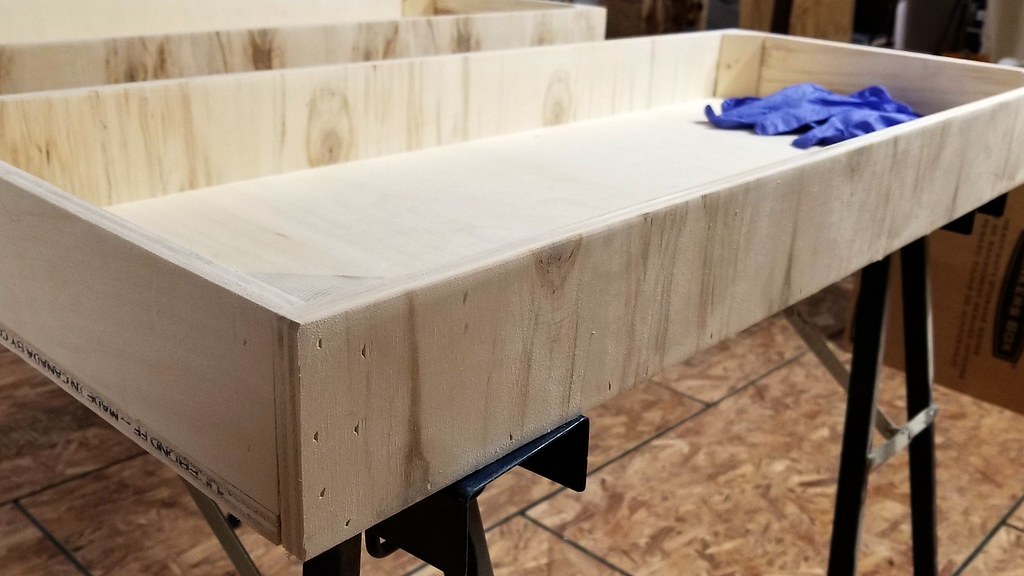
The edges are 3-1/2 inches high - high enough to hide the shoes from sight, but still low enough to give your fingers clearance to pull the drawers out.
The inside corners are reinforced with 2x2s cut on a diagonal. Since the front edge is what gets pulled on all the time, you don't want the board pulling right off.
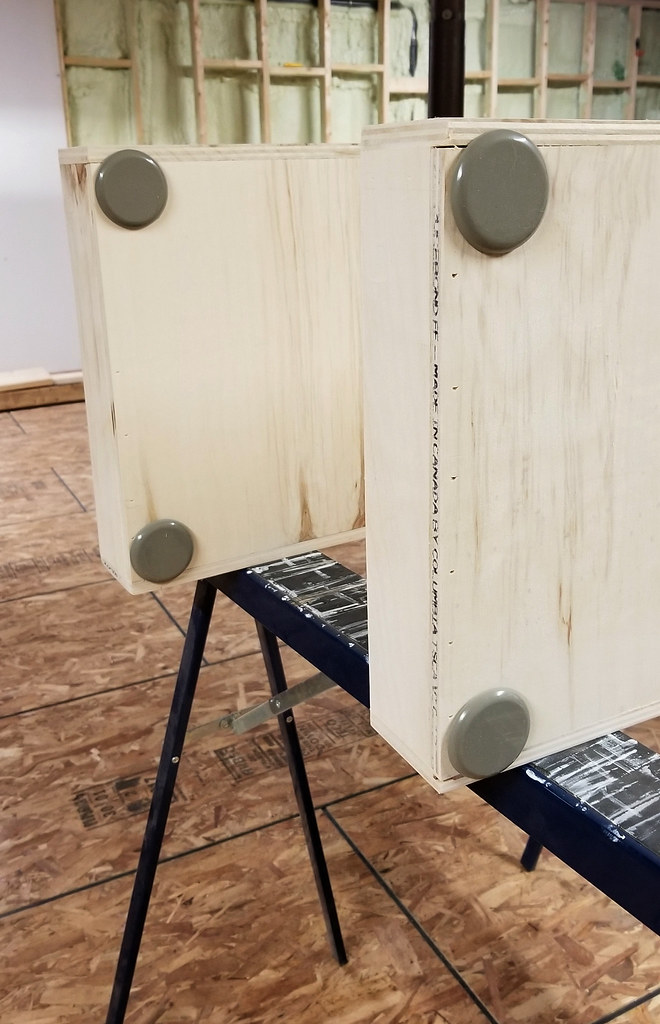
I stained the visible sides (front of drawers and side edge at the foot of the bed) a dark Jacobean brown to blend with the bed frame and then added 2" furniture sliders to the bottom corners so that the drawers don't get caught on the carpet.
Tom liked them so much that he built some for his side of the bed too. I think he's hoping I forget about them and he won't ever have to wear dress shoes. I'm just glad I don't have to look at his big ol' sweaty sandals anymore. :-)
I was tired of looking at them piled up on a shelf in our closet, so I had Tom whip up some under-bed sliding drawers for me, to get them out of sight.
I wanted to use as much of the space as possible, but I didn't want the drawer to be too big to move, so we went with two drawers, one 3 feet wide and the other 3-1/2 feet wide. They're both 15 inches deep and made of 1/2" veneered plywood.
The edges are 3-1/2 inches high - high enough to hide the shoes from sight, but still low enough to give your fingers clearance to pull the drawers out.
The inside corners are reinforced with 2x2s cut on a diagonal. Since the front edge is what gets pulled on all the time, you don't want the board pulling right off.
I stained the visible sides (front of drawers and side edge at the foot of the bed) a dark Jacobean brown to blend with the bed frame and then added 2" furniture sliders to the bottom corners so that the drawers don't get caught on the carpet.
Tom liked them so much that he built some for his side of the bed too. I think he's hoping I forget about them and he won't ever have to wear dress shoes. I'm just glad I don't have to look at his big ol' sweaty sandals anymore. :-)
Labels:
carpentry,
storage,
under bed,
weekend project
Nov 23, 2018
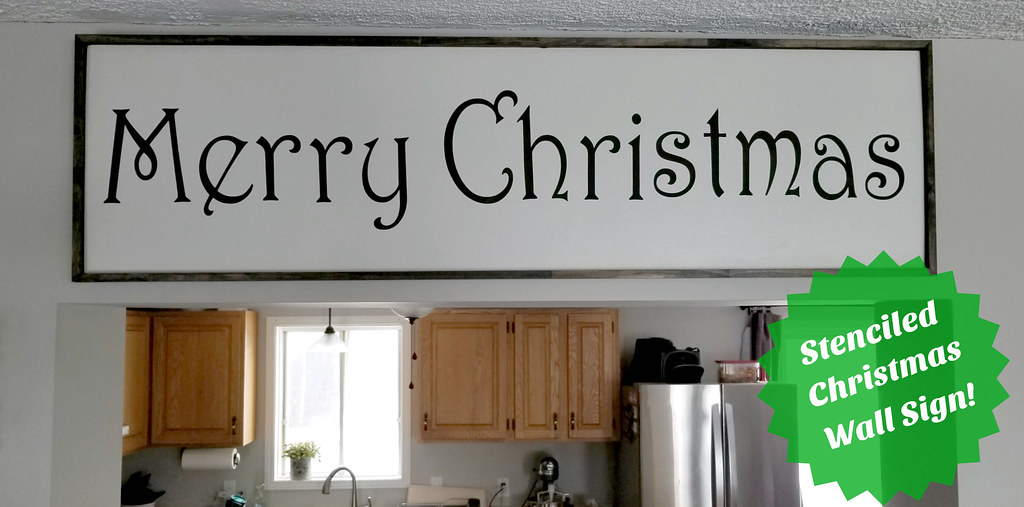
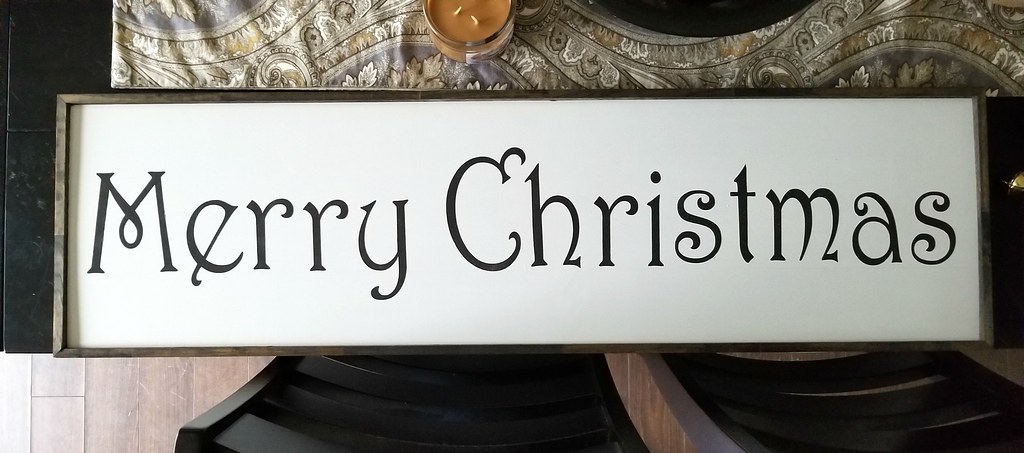
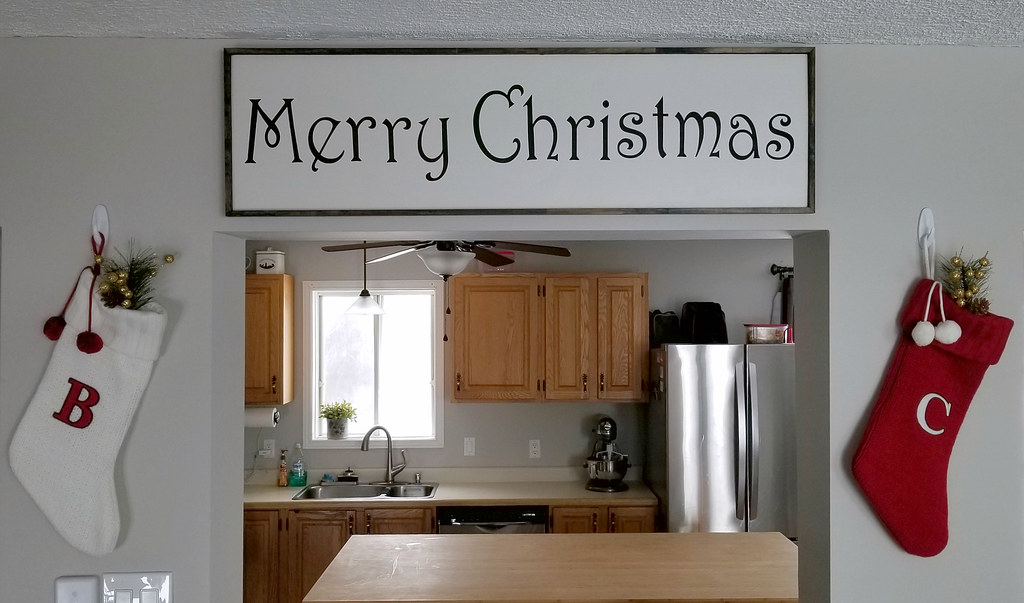
Merry Christmas Stenciled Wall Sign (Silhouette/Cricut)
More holiday decorations today. After slacking off the last couple of years, I vowed that this year I would complete all of the crafty projects I have saved up.
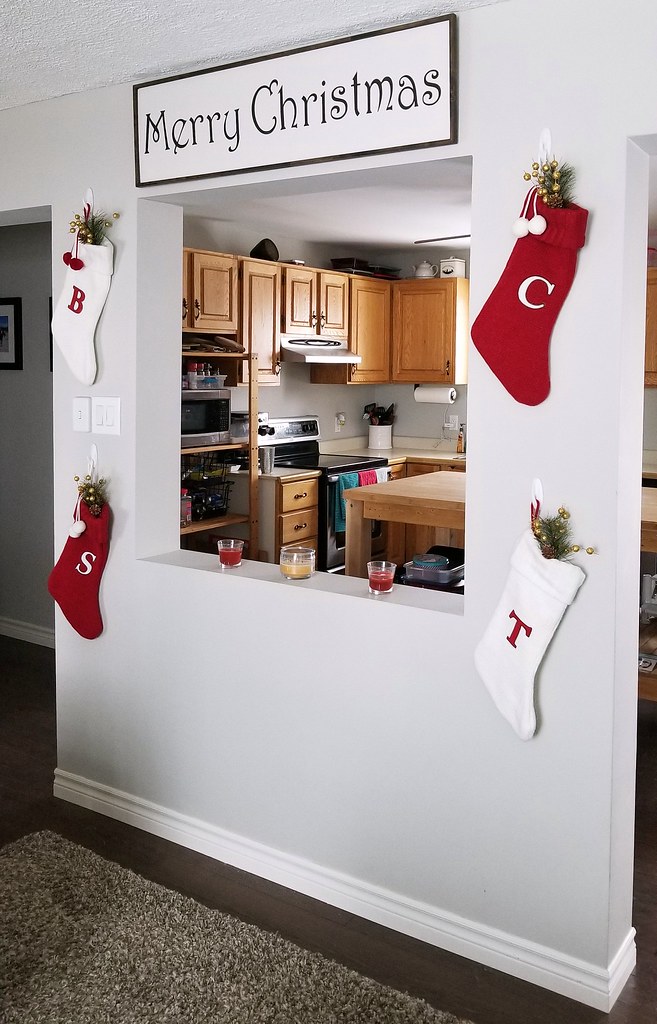
I made this sign for my house back in October and I've been waiting so impatiently to share it with you! The build is pretty easy - the most time-intensive part is placing the stencil.
You will need:
1 - 1x12 board - 42" long
2 - 1-1/4 x 3/8 trim pieces - cut at 45 degrees - 42.75" longest point to longest point
2 - 1-1/4 x 3/8 trim pieces - cut at 45 degrees - 12.75" longest point to longest point
Also:
Merry Christmas stencil (cut with Silhouette/Cricut/by hand)
Paint/stain
Brad nailer and brad nails or driver and screws
Miter saw
French cleat for hanging (optional)
Cut your sign board and sand it smooth on the face and edges. Cut your trim strips for the border at a 45 degree angle.
Paint one side of the board in your chosen colour. I mixed BM Edgecomb Gray with plain white paint to lighten it up. Stain your trim pieces in a contrasting colour. I chose Minwax Jacobean.
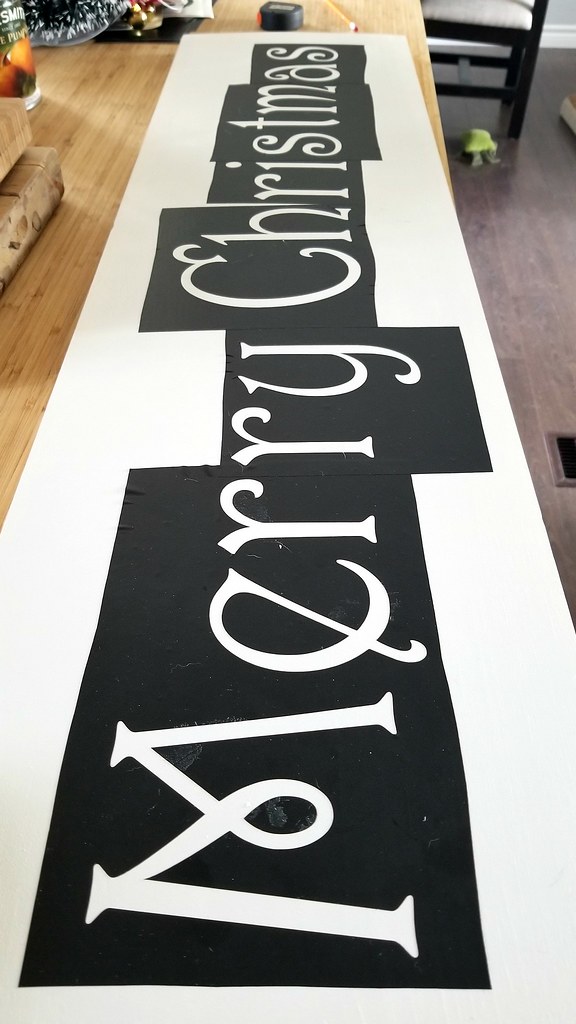
I used my Silhouette Cameo cutter to cut the words from vinyl. The font type is called Harrington. My vinyl is only 12" wide so I had to cut the words out in pieces, a few letters at a time.
Once you have your stencil cut, arrange it on your sign board so that the spacing is even. My vinyl is peel and stick, so the letters stay securely in place.
A trick to keep your letters sharp is to paint along the inside edges of the letters in your background colour first. This forms a seal to keep your top colour from bleeding around the edges.
I painted the letters with dark brown poster paint - several thin coats, letting it dry completely between coats.
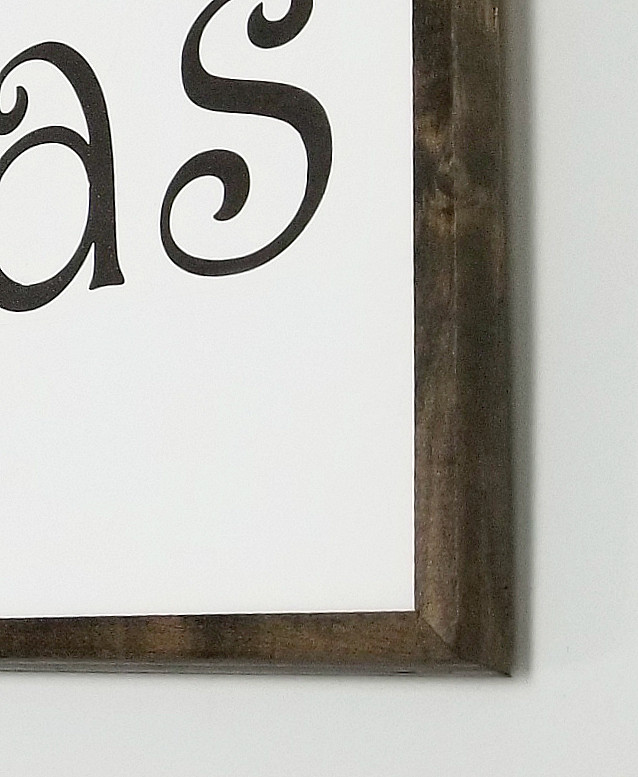
Once your letters are completely dry, peel off your stencil and do any touchups necessary. Nail your trim pieces onto the edges of the board, keeping them flush with the back and with a slight overhang at the front. Squeeze or clamp them tightly together when you nail the corners.
Subscribe to:
Posts (Atom)