


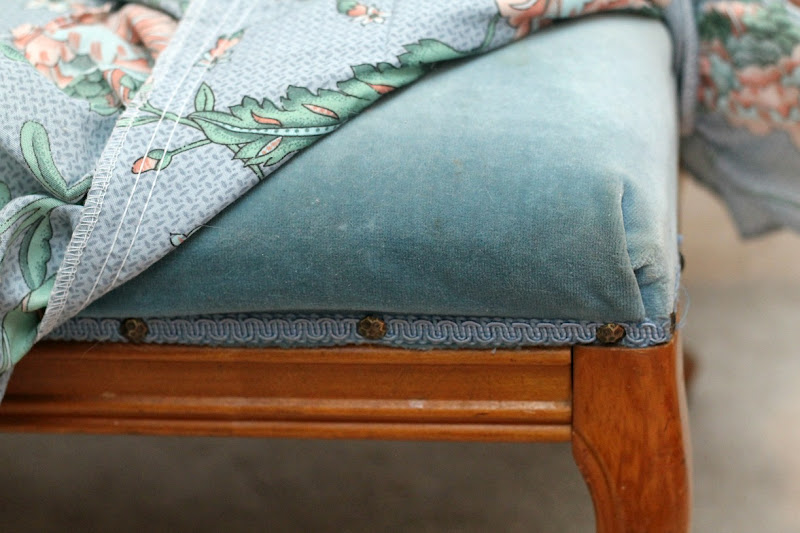
Here is what I was given. She had stapled a pillow sham to the tops to cover up the ugly material underneath, but then gave up partway through. This poor stool looks like it's hiding in shame.

I started to peel back the layers and it didn't get any prettier the lower I went. I did like the nail head detail though and wanted to replicate that.

I eventually made it to the wood, and the base on one of the stools was a re-used wood board, which I thought was pretty cool. An old packing crate maybe?

The rest of the stool was really well made, with reinforced corners. The feet had some nice carved detail as well.


I stripped lacquer and stain right down to the bare wood. Is that some gorgeous wood or what? Here you can see the detail on the leg much clearer. If it was mine I might have just waxed it as is. But not everyone likes the unfinished look!


I stained the wood with Rustoleum's Jacobean brown, and then once it was dry, painted over the stain with an off-white, beige paint.

Once that was dry, I used some 100 grit sandpaper and hit the high spots along the base and down the legs, making it look worn and shabby. I also wiped some more stain over the paint and then wiped most of it off. This dirtied up the white paint a bit. Once I had the colour I wanted, I applied two coats of wax and buffed it until the wood was smooth.

The padding that had come with the stools was not very thick and was starting to fall apart, so I threw it away and bought 4 inch rectangular foam. The foam was longer than the stool so I cut it down with a bread knife. Definitely the easiest way to do it. I wanted the edges to be softer though so I wrapped the foam in batting and stapled it down onto the sides of the stool.


I used a thick corduroy-like fabric for the cover. It had stripes of green, orange, and beige that I think is just neutral enough to go with a lot of different decors (can you pluralize decor?) I laid the material on the stool upside down and pinned the corners down to fit tightly.

I then sewed along the pinned lines and fitted the material back onto the stool to make sure it was tight enough. I cut off the excess material on each corner, flipped the material right-side out, and pulled it back down onto the stool. I used upholstery tacks to attach the material to the stool rather than stapling it. I'll admit I needed Tom's help for this part. I pulled the material down firmly, tucked the edge under, and then Tom hammered the tack through the material into the wood. It's important when you're using striped material to keep the lines straight.

I really like the extra little touch the tacks give the stool. And my sister's coffee table has the same detail so it's a nice way to tie the furniture together.


Is reupholstery going to be my new calling? I'm not so sure. It is a lot of fun though. Maybe I can tackle a chair next! Ha! Gotta dream big, right?


~~~~~
I'm linking up here this week!

10 comments:
Great transformation! I'd like to invite you to share this at my party, Twirl & Take a Bow, at www.houseontheway.com. I hope you can stop by!
Leslie
Beautiful job! Your sister is very lucky to have you, thanks for the tutorial, I have a stool that really needs help, found your post at Meet Me Monday.
They look amazing Barb!
You did a great job updating these! Beautiful!
Great job Barbara! I enjoy upholstery myself. Stopping by from Show Me What Ya Got.
Thank you!
Thanks Jo!
Thanks!
LOVE! I have two seats/footstools that Victoria Secret were getting rid of. I need to recover them and paint them both. ;)
I am featuring your blog button too this week.
Thanks for linking up at Trendy Treehouse.
They are fantastic. When I saw the photo of them finished I thought oh wow they are gorgeous then I saw the photo of Butterpants and he/she is gorgeous too, I love natural wood but the finish you did it great too. Definitely think you could be making some money doing some more restoration if you enjoy it enough. Maybe you and your sis could go into business she finds them, you fix them!
Post a Comment