~~~~~~~~~~~~~~~
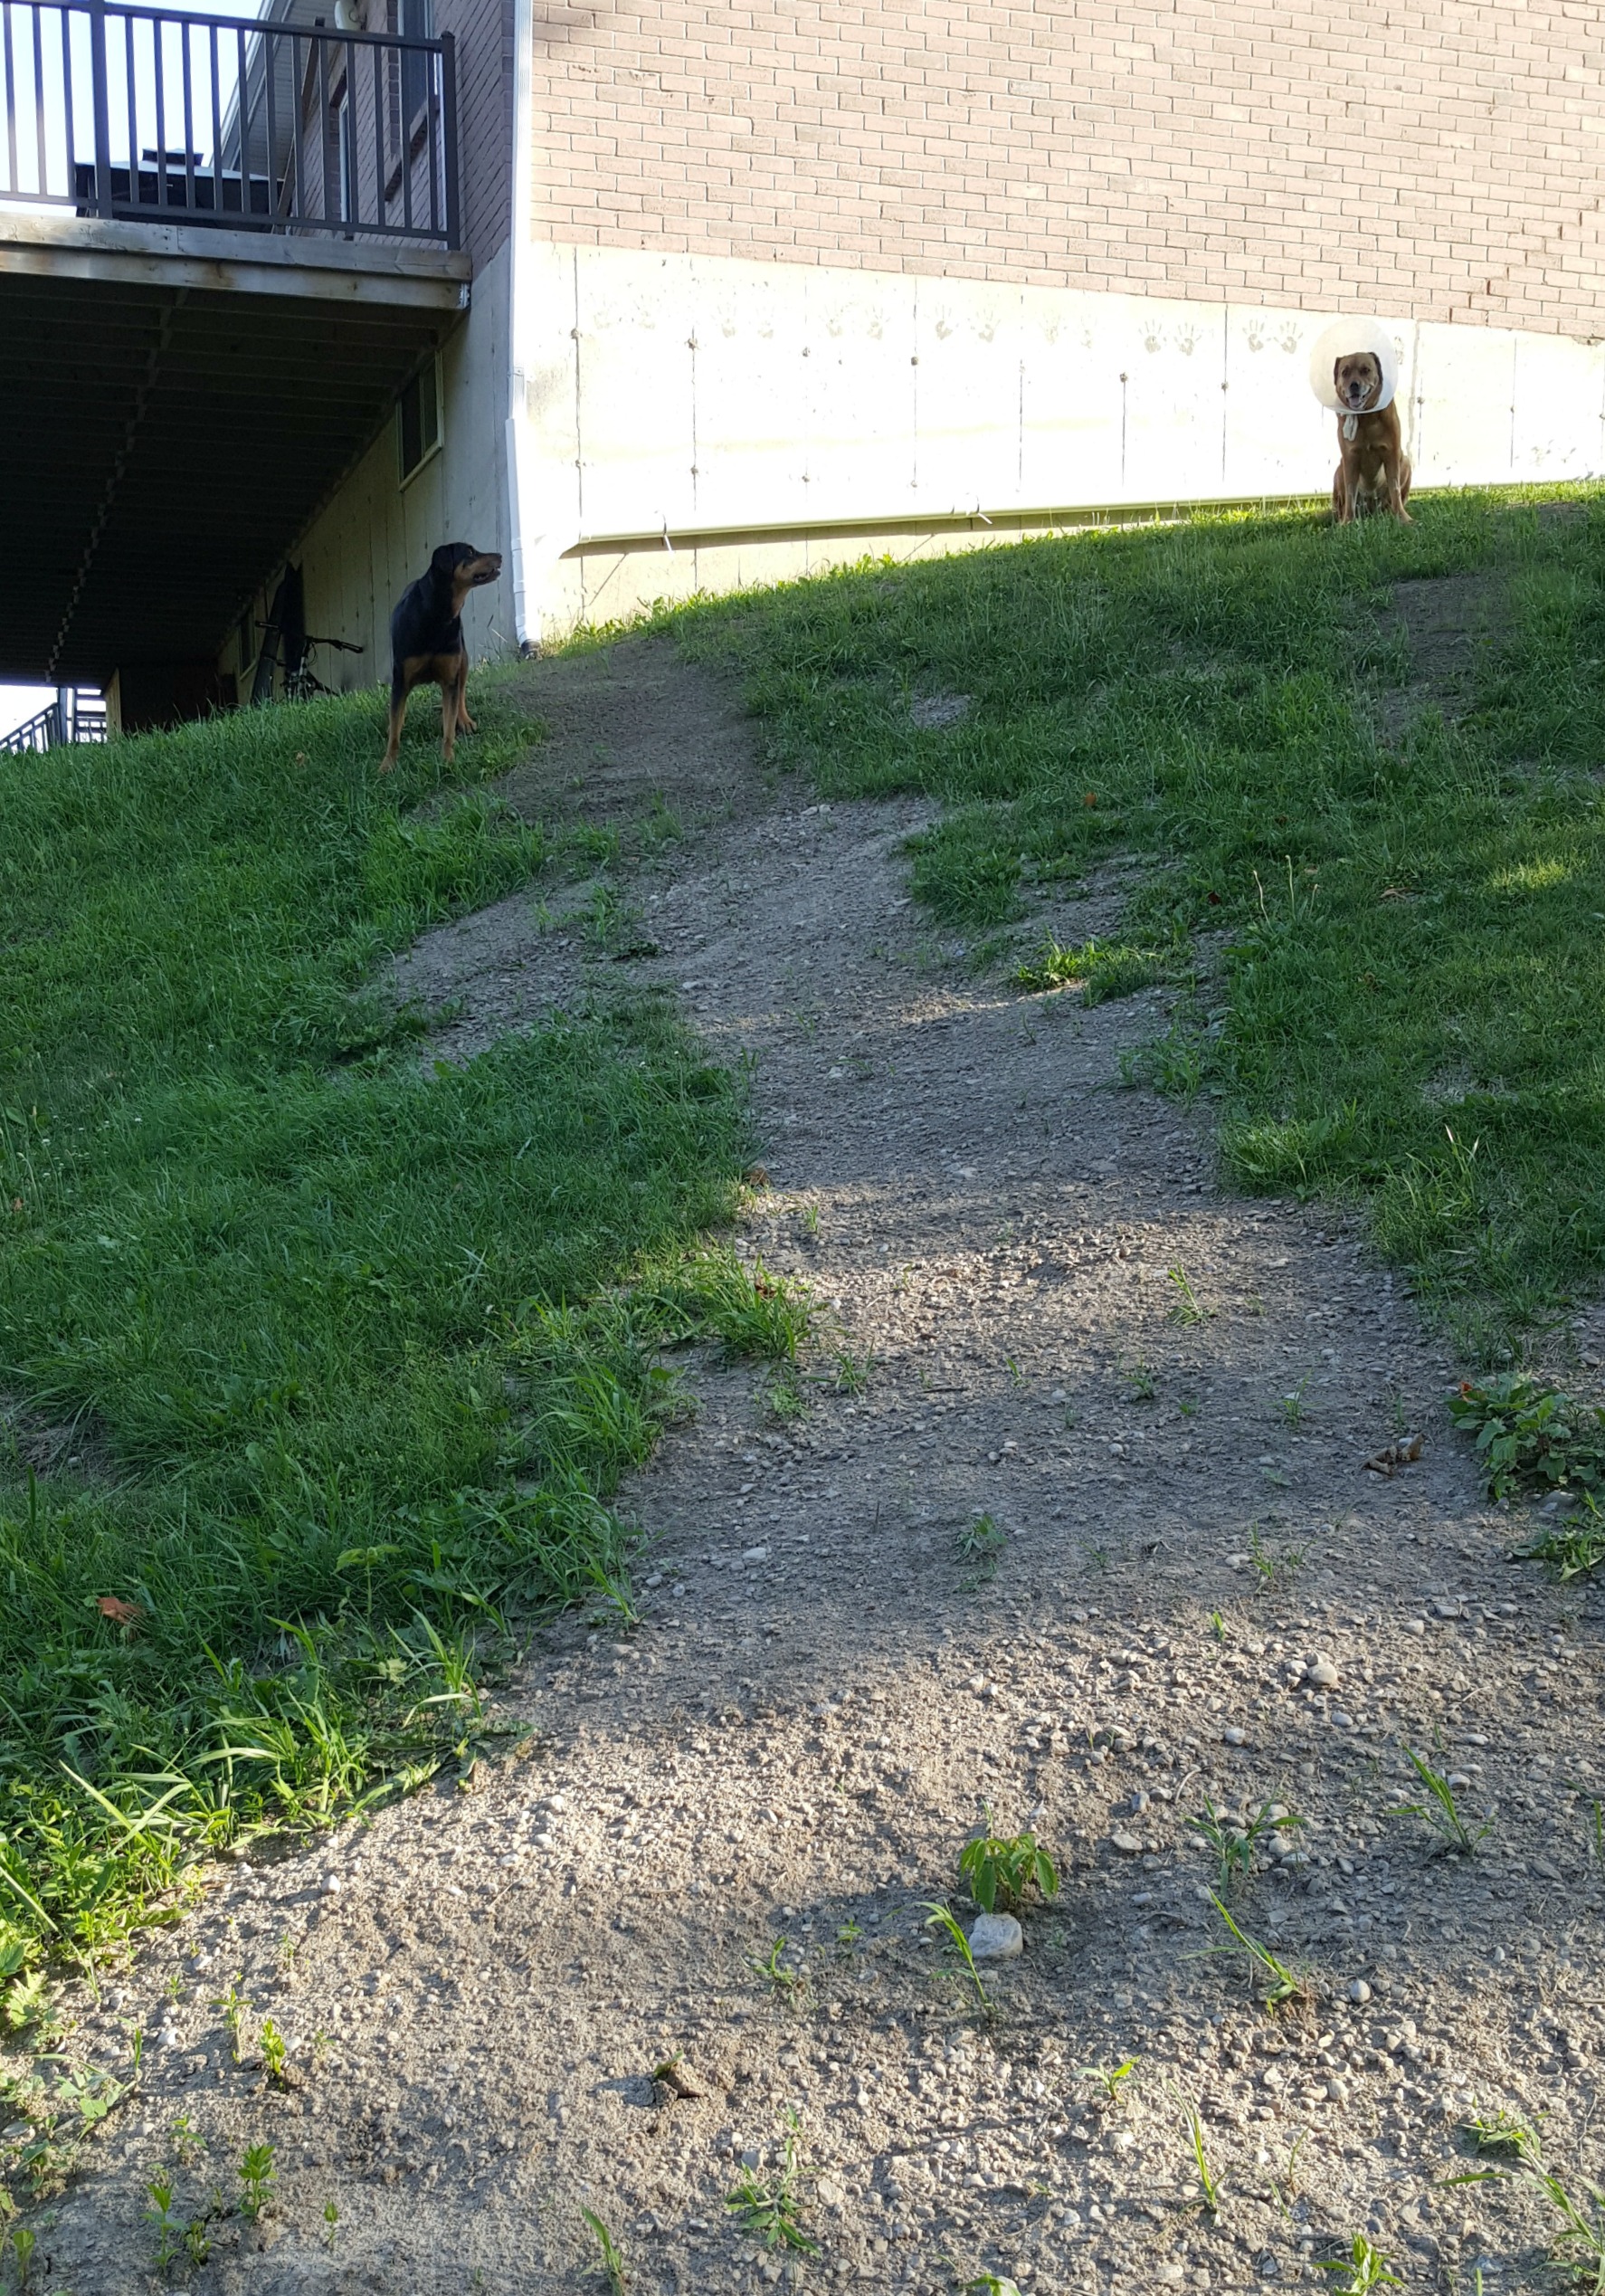
Hey there, it's Tom. Normally I’m just the guy behind the scenes - hammering things together or figuring out a way to “improve” something - for a whole lot of extra cost and effort. Barb probably thinks I'm just trying to avoid housework by always having a project on the go. Barb might be right.Today though, I'm going to share a little story about eavestroughs. Our house is built on a steep hill - which might have drainage advantages, but sucks for lawn cutting. The 4WD tractor can climb the hill as I cut, but I can't really turn and slalom around obstacles on said hill - without tipping over, that is. And we have a wide variety of obstacles to maneuver around - tree stumps and rocks and downspouts (oh, my). Tree stumps and rocks can be removed, but I kind of need to get rainwater away from the foundation, so I’m going to have to keep the downspouts.
Right now it takes about three passes with the tractor to cut around them properly. I could use a push mower, but that adds a good hour to the job each week, and it’s not my favourite job as it is. After a couple of months of battling the pipes, I felt it was worth the effort to bury them. There is a lot of work involved to do this, so you'll want to make sure the benefits outweigh the costs, e.g. if you’re on a flat lot you don’t have gravity pulling the water away and will have to dig up a large area to make a drainage bed, plus you have to worry about water sitting in the pipes and freezing.
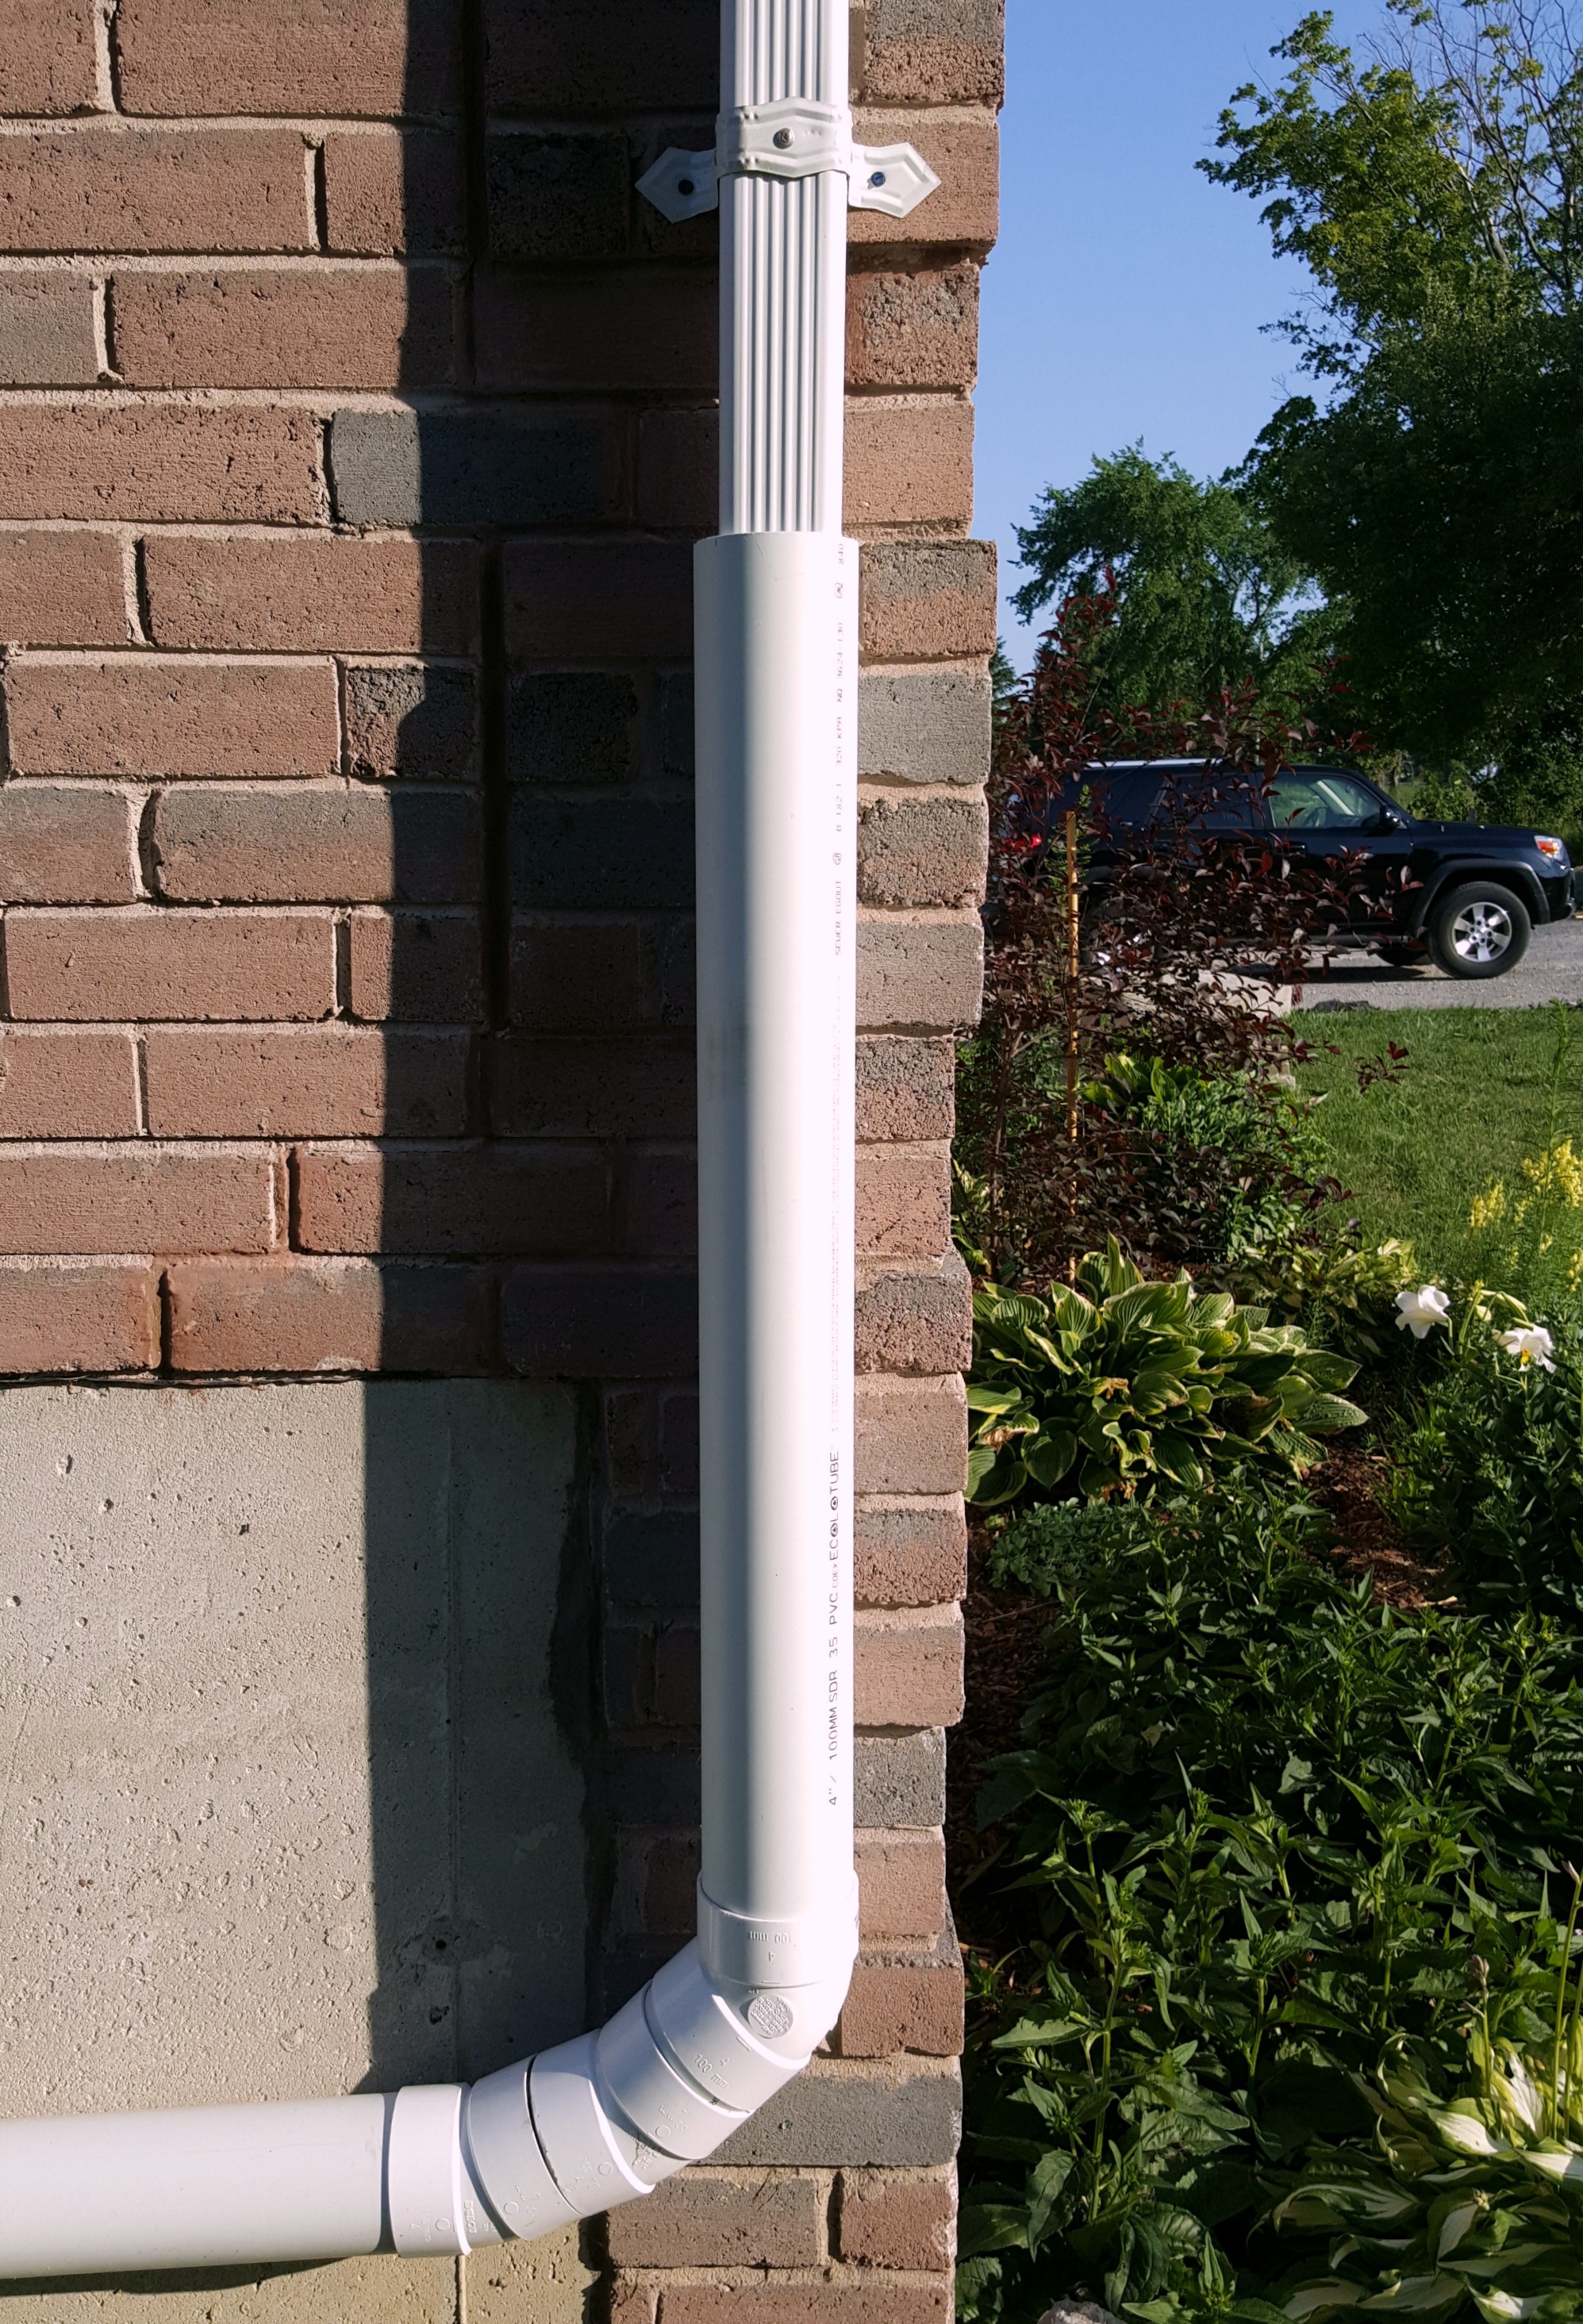
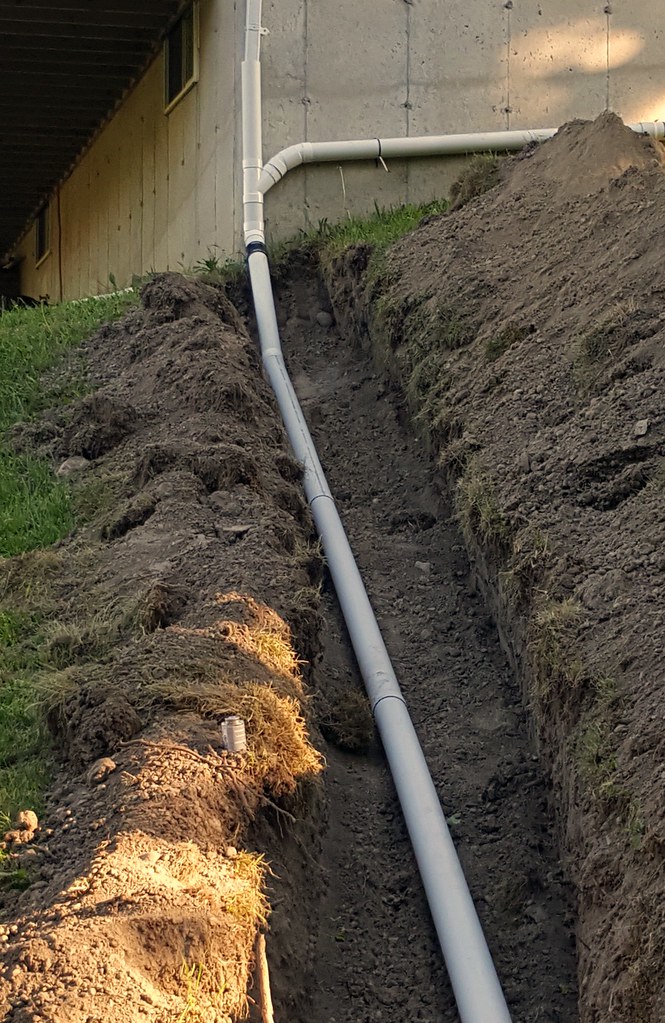
So now that we’ve decided it’s worth doing, what to do? It’s really pretty simple. There are two downspouts on the north side of our house, one at each corner. I started by cutting off about 4-5 feet from the bottom of each. The bottom portion is then replaced with 4" PVC sewer pipe.
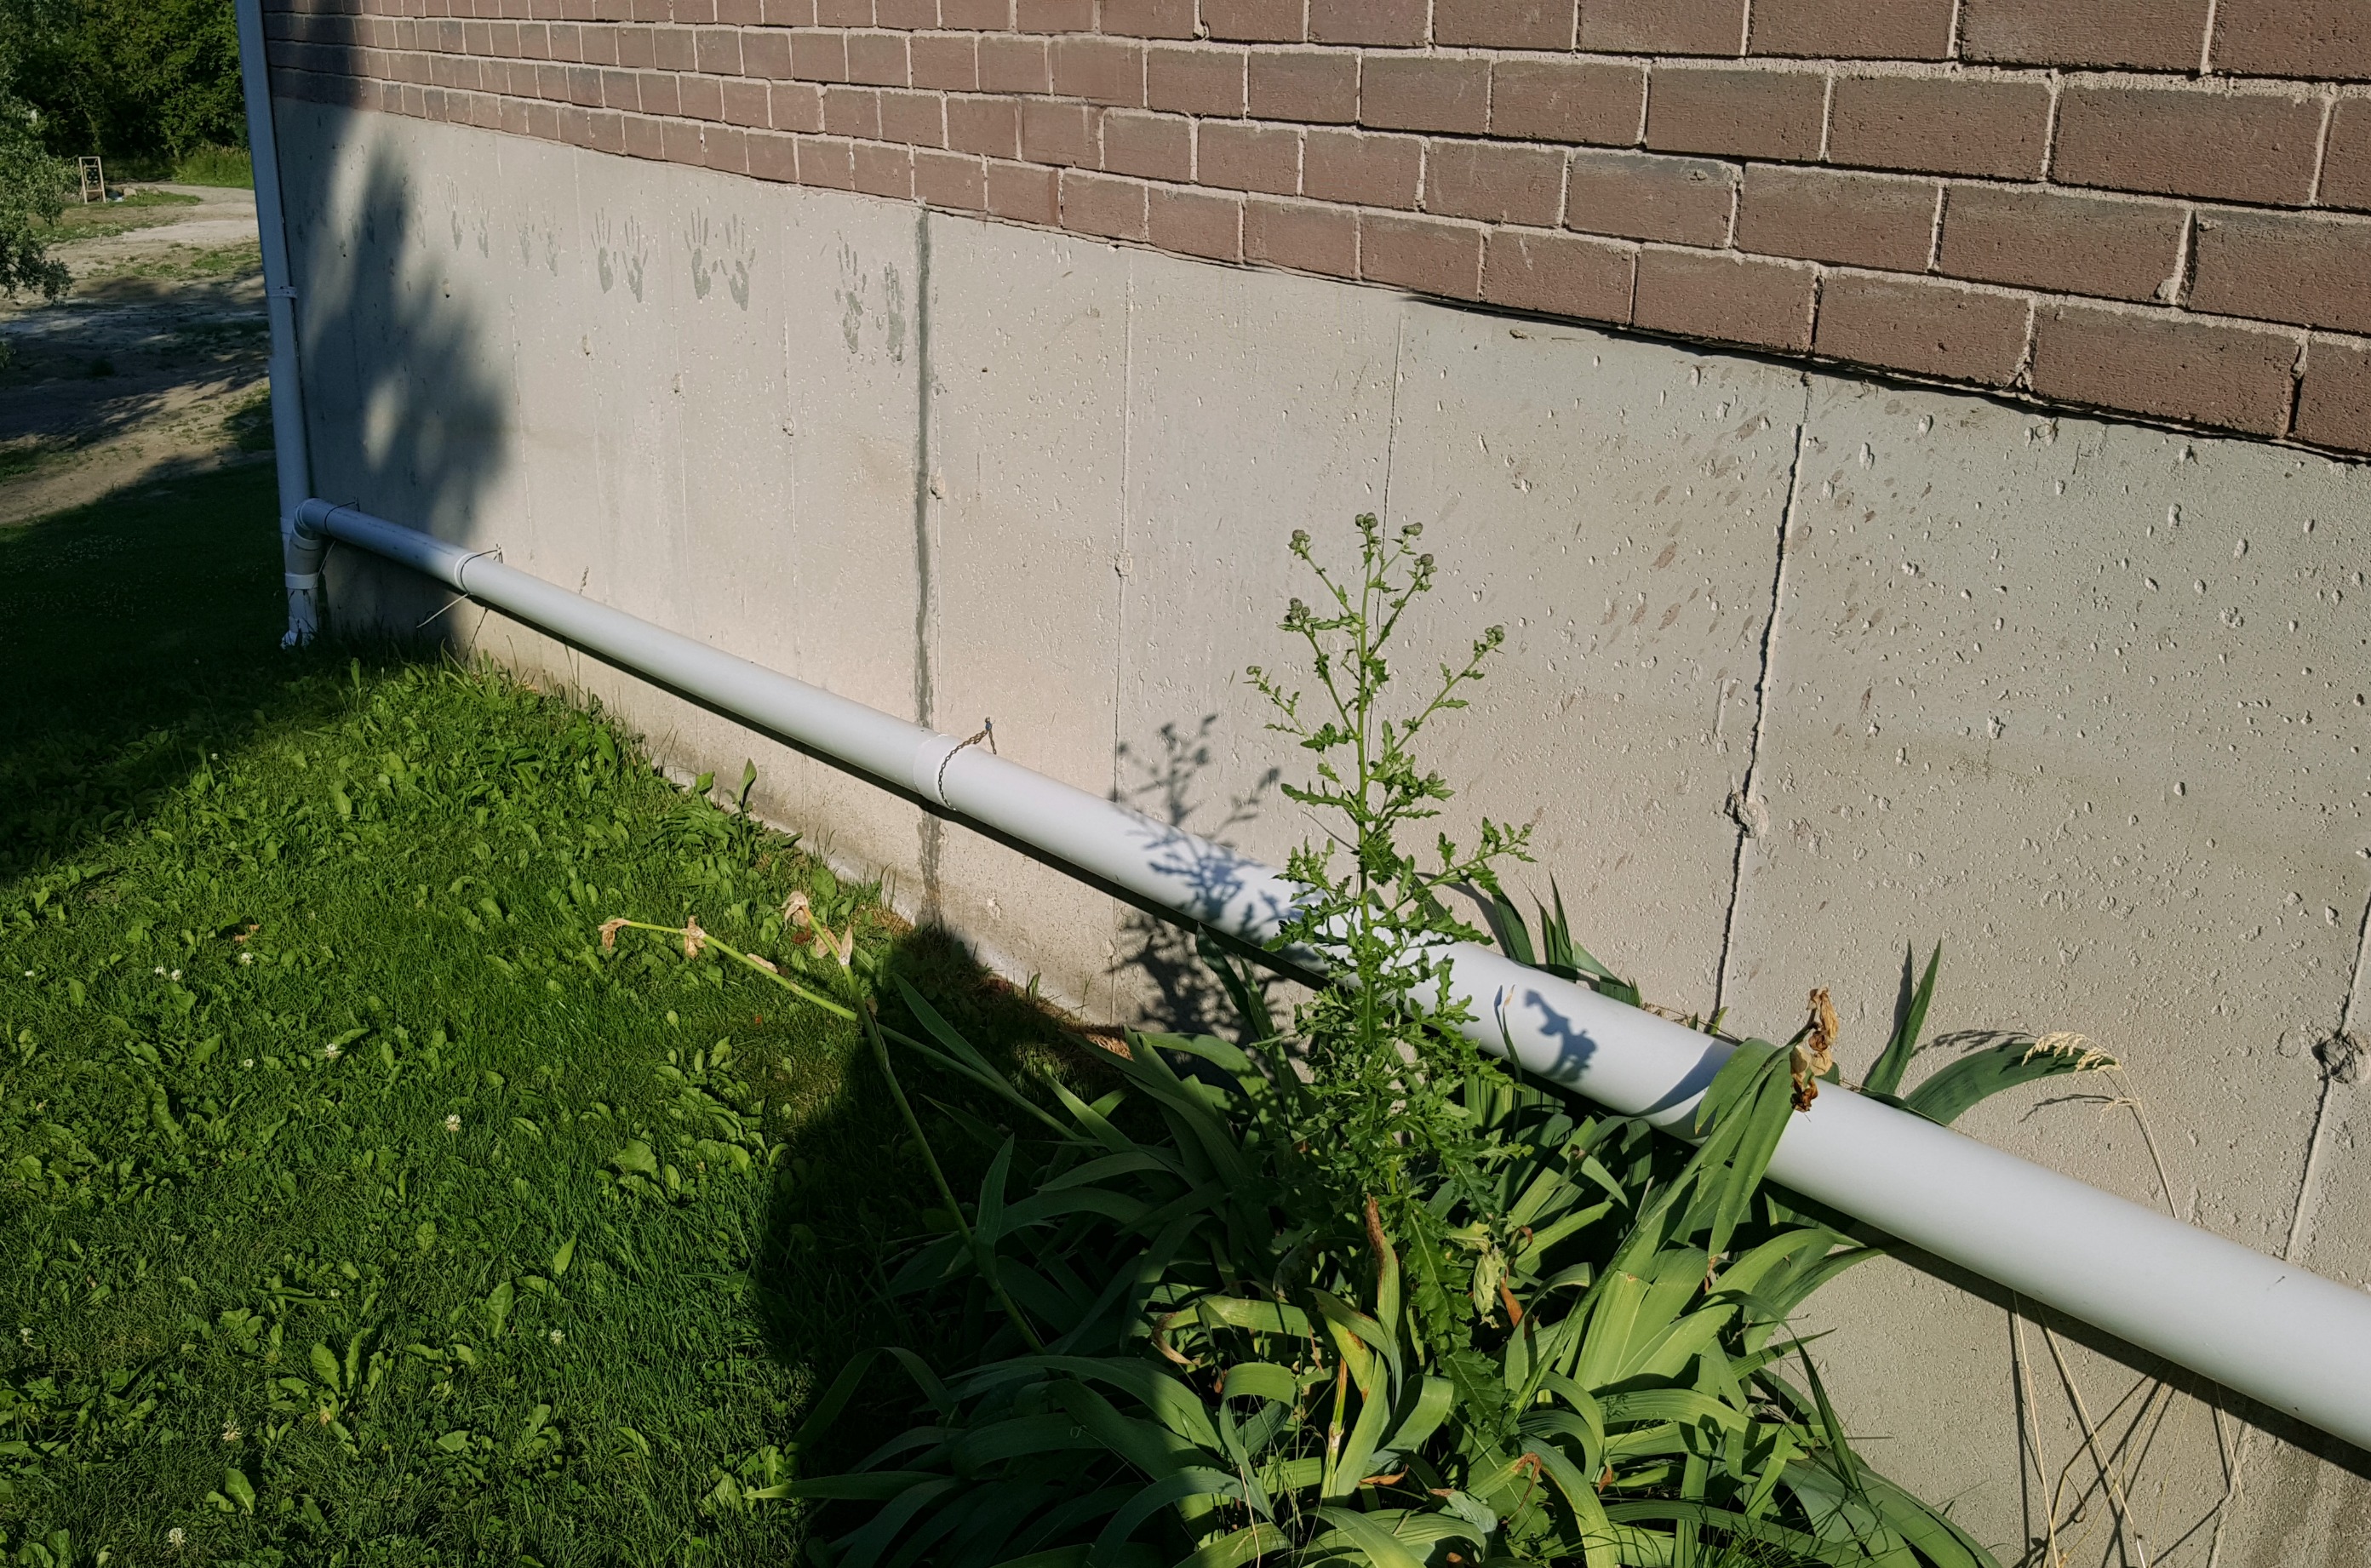
I next ran a pipe from the front downspout, nearly horizontally along the side of the house - keeping the bottom end a little lower than the top ensures that the water will keep flowing - and joined it up with the back one.
Before permanently attaching your pipes together you’ll want to lay out everything, cutting and dry-fitting all of your pieces together, making sure they run where you want them to. Keep extra pipe and pipe joints on hand because you never know what will
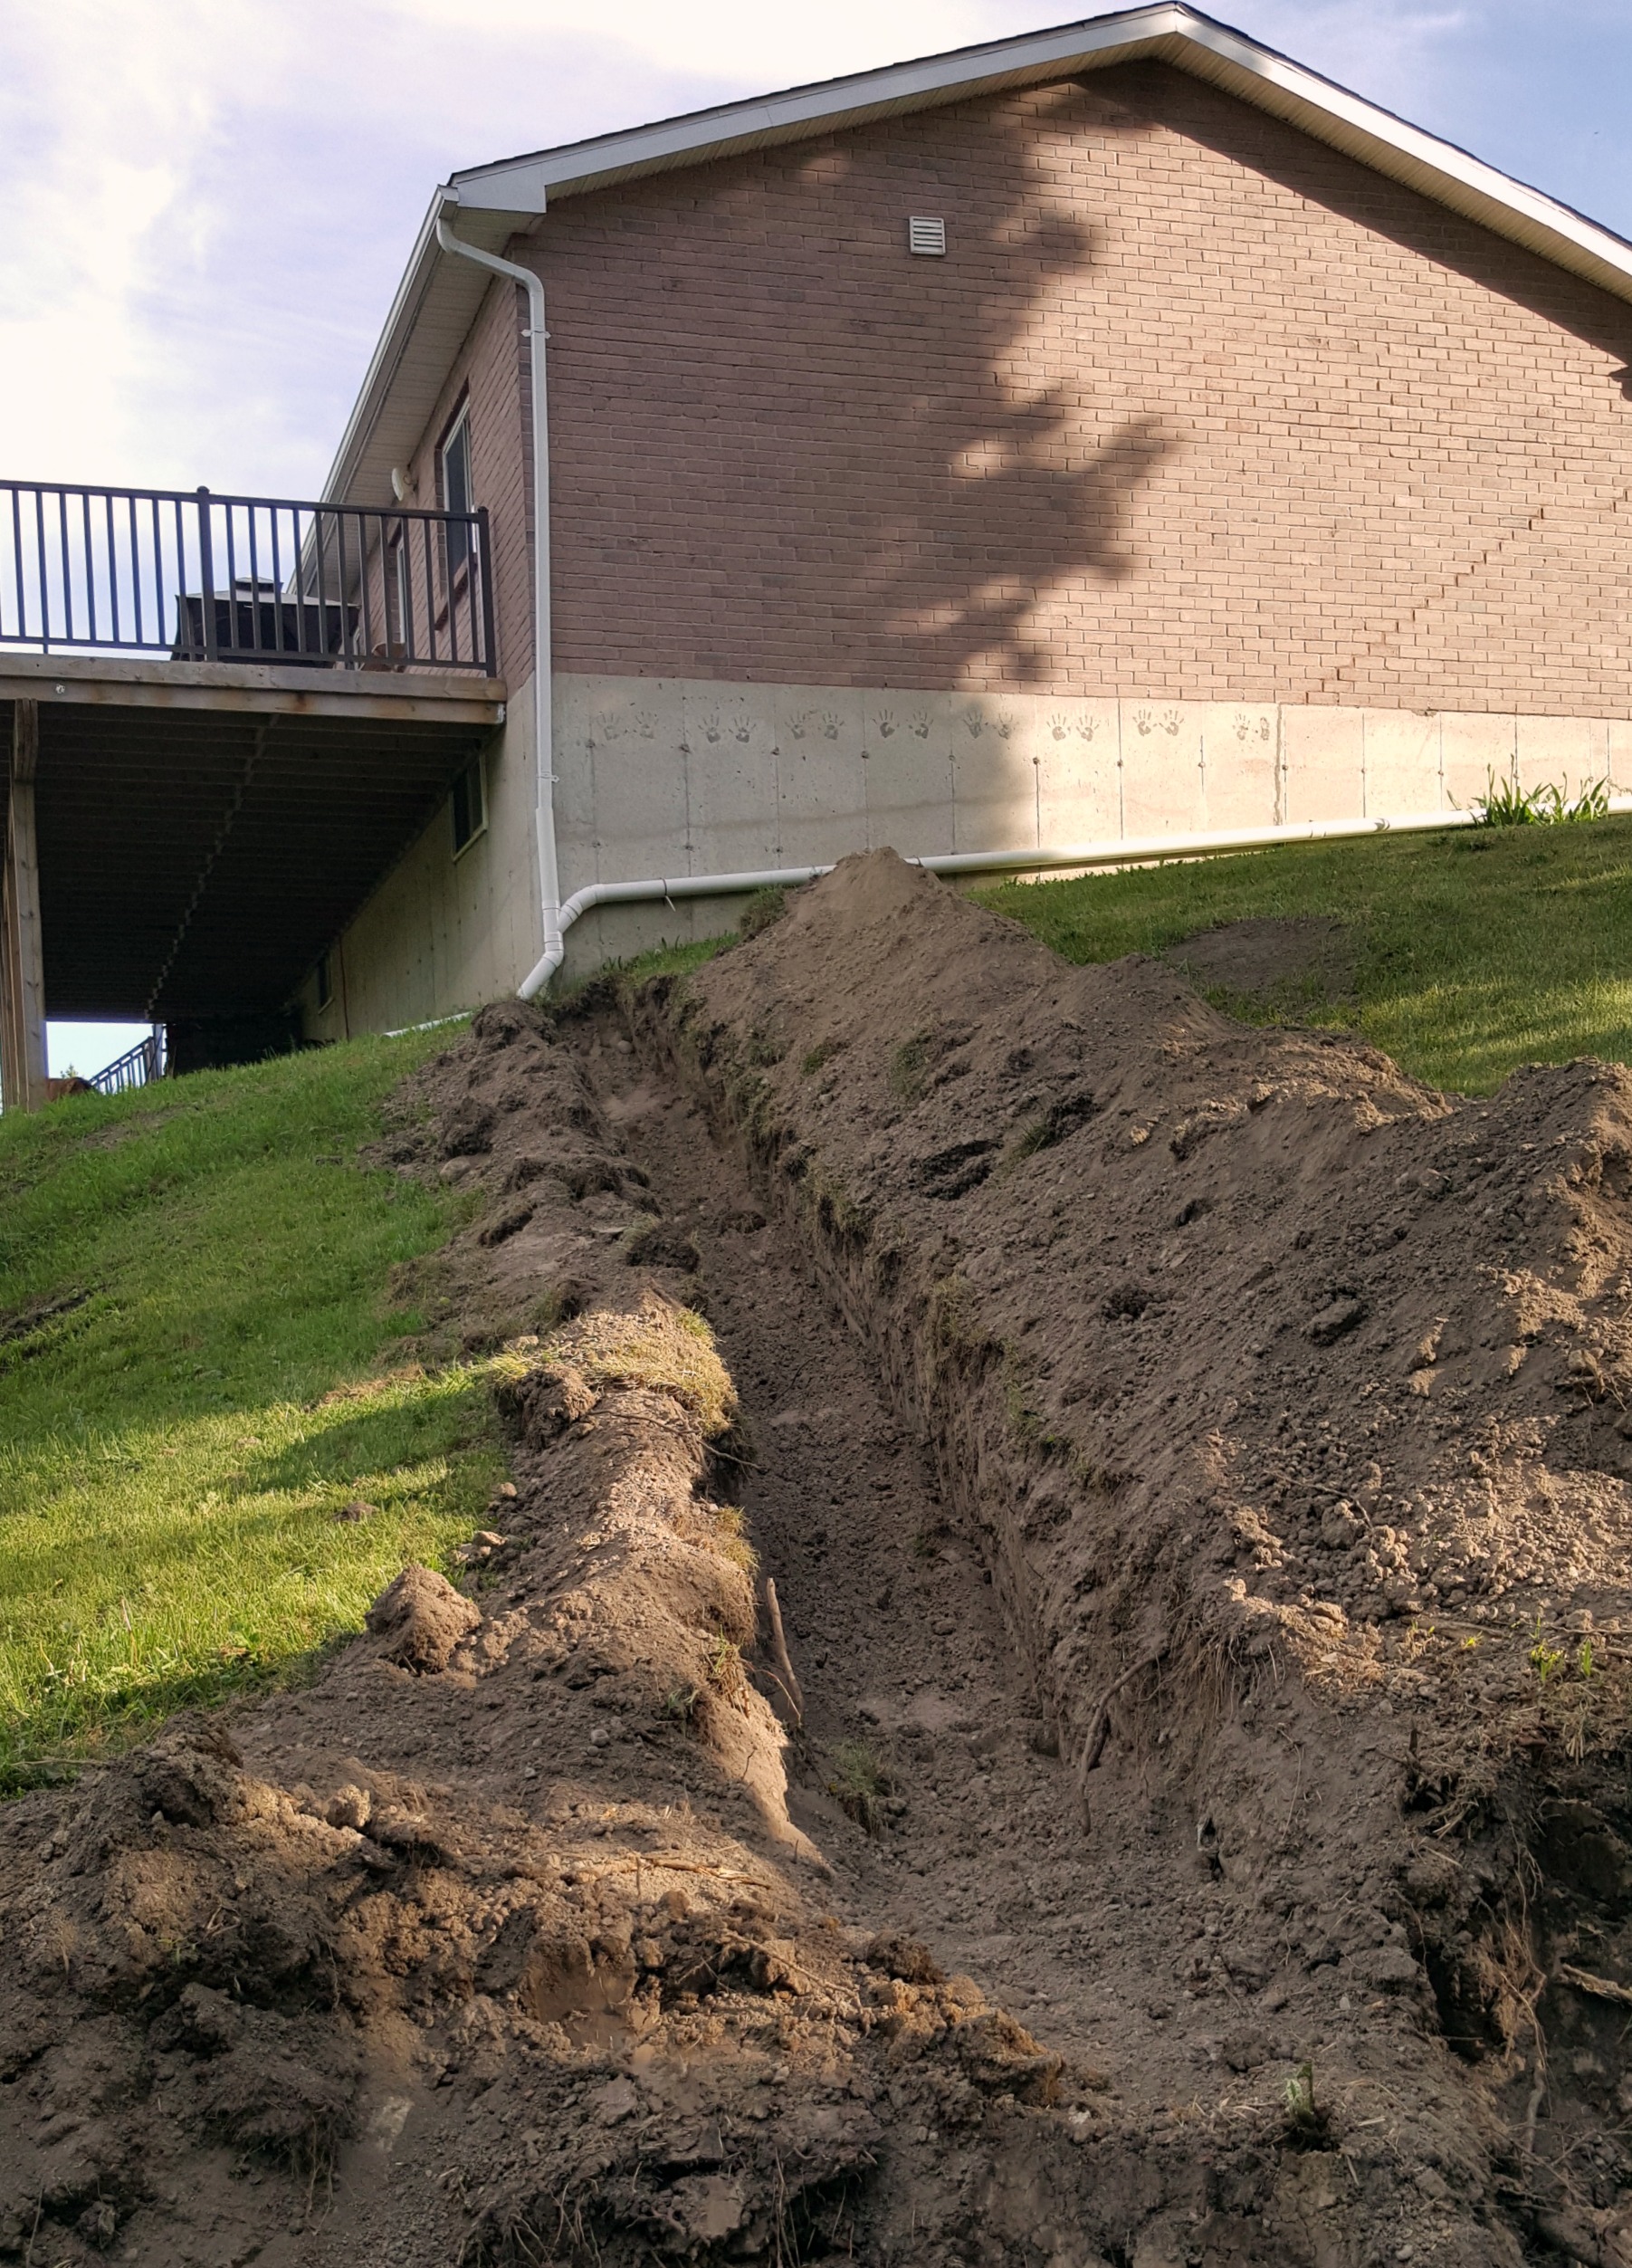
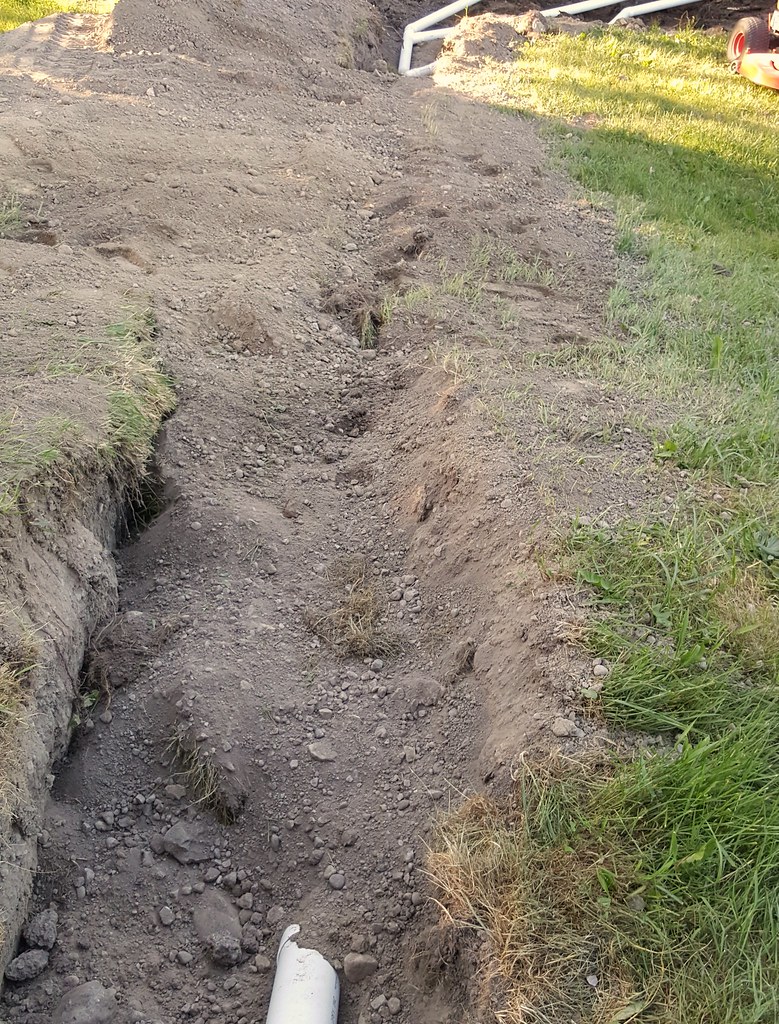
With the two downspouts joined together we can move on to running the pipe downhill. Since it's underground, that means digging a trench to bury the pipe. This trench will lead from the downspouts, down the hill to where the pipes split (more on that below), and then to a ditch that our neighbour dug specifically for water runoff in the bush that separates our properties. Be careful where you go with your runoff as you don't want to flood the house next door and have your neighbours mad at you.
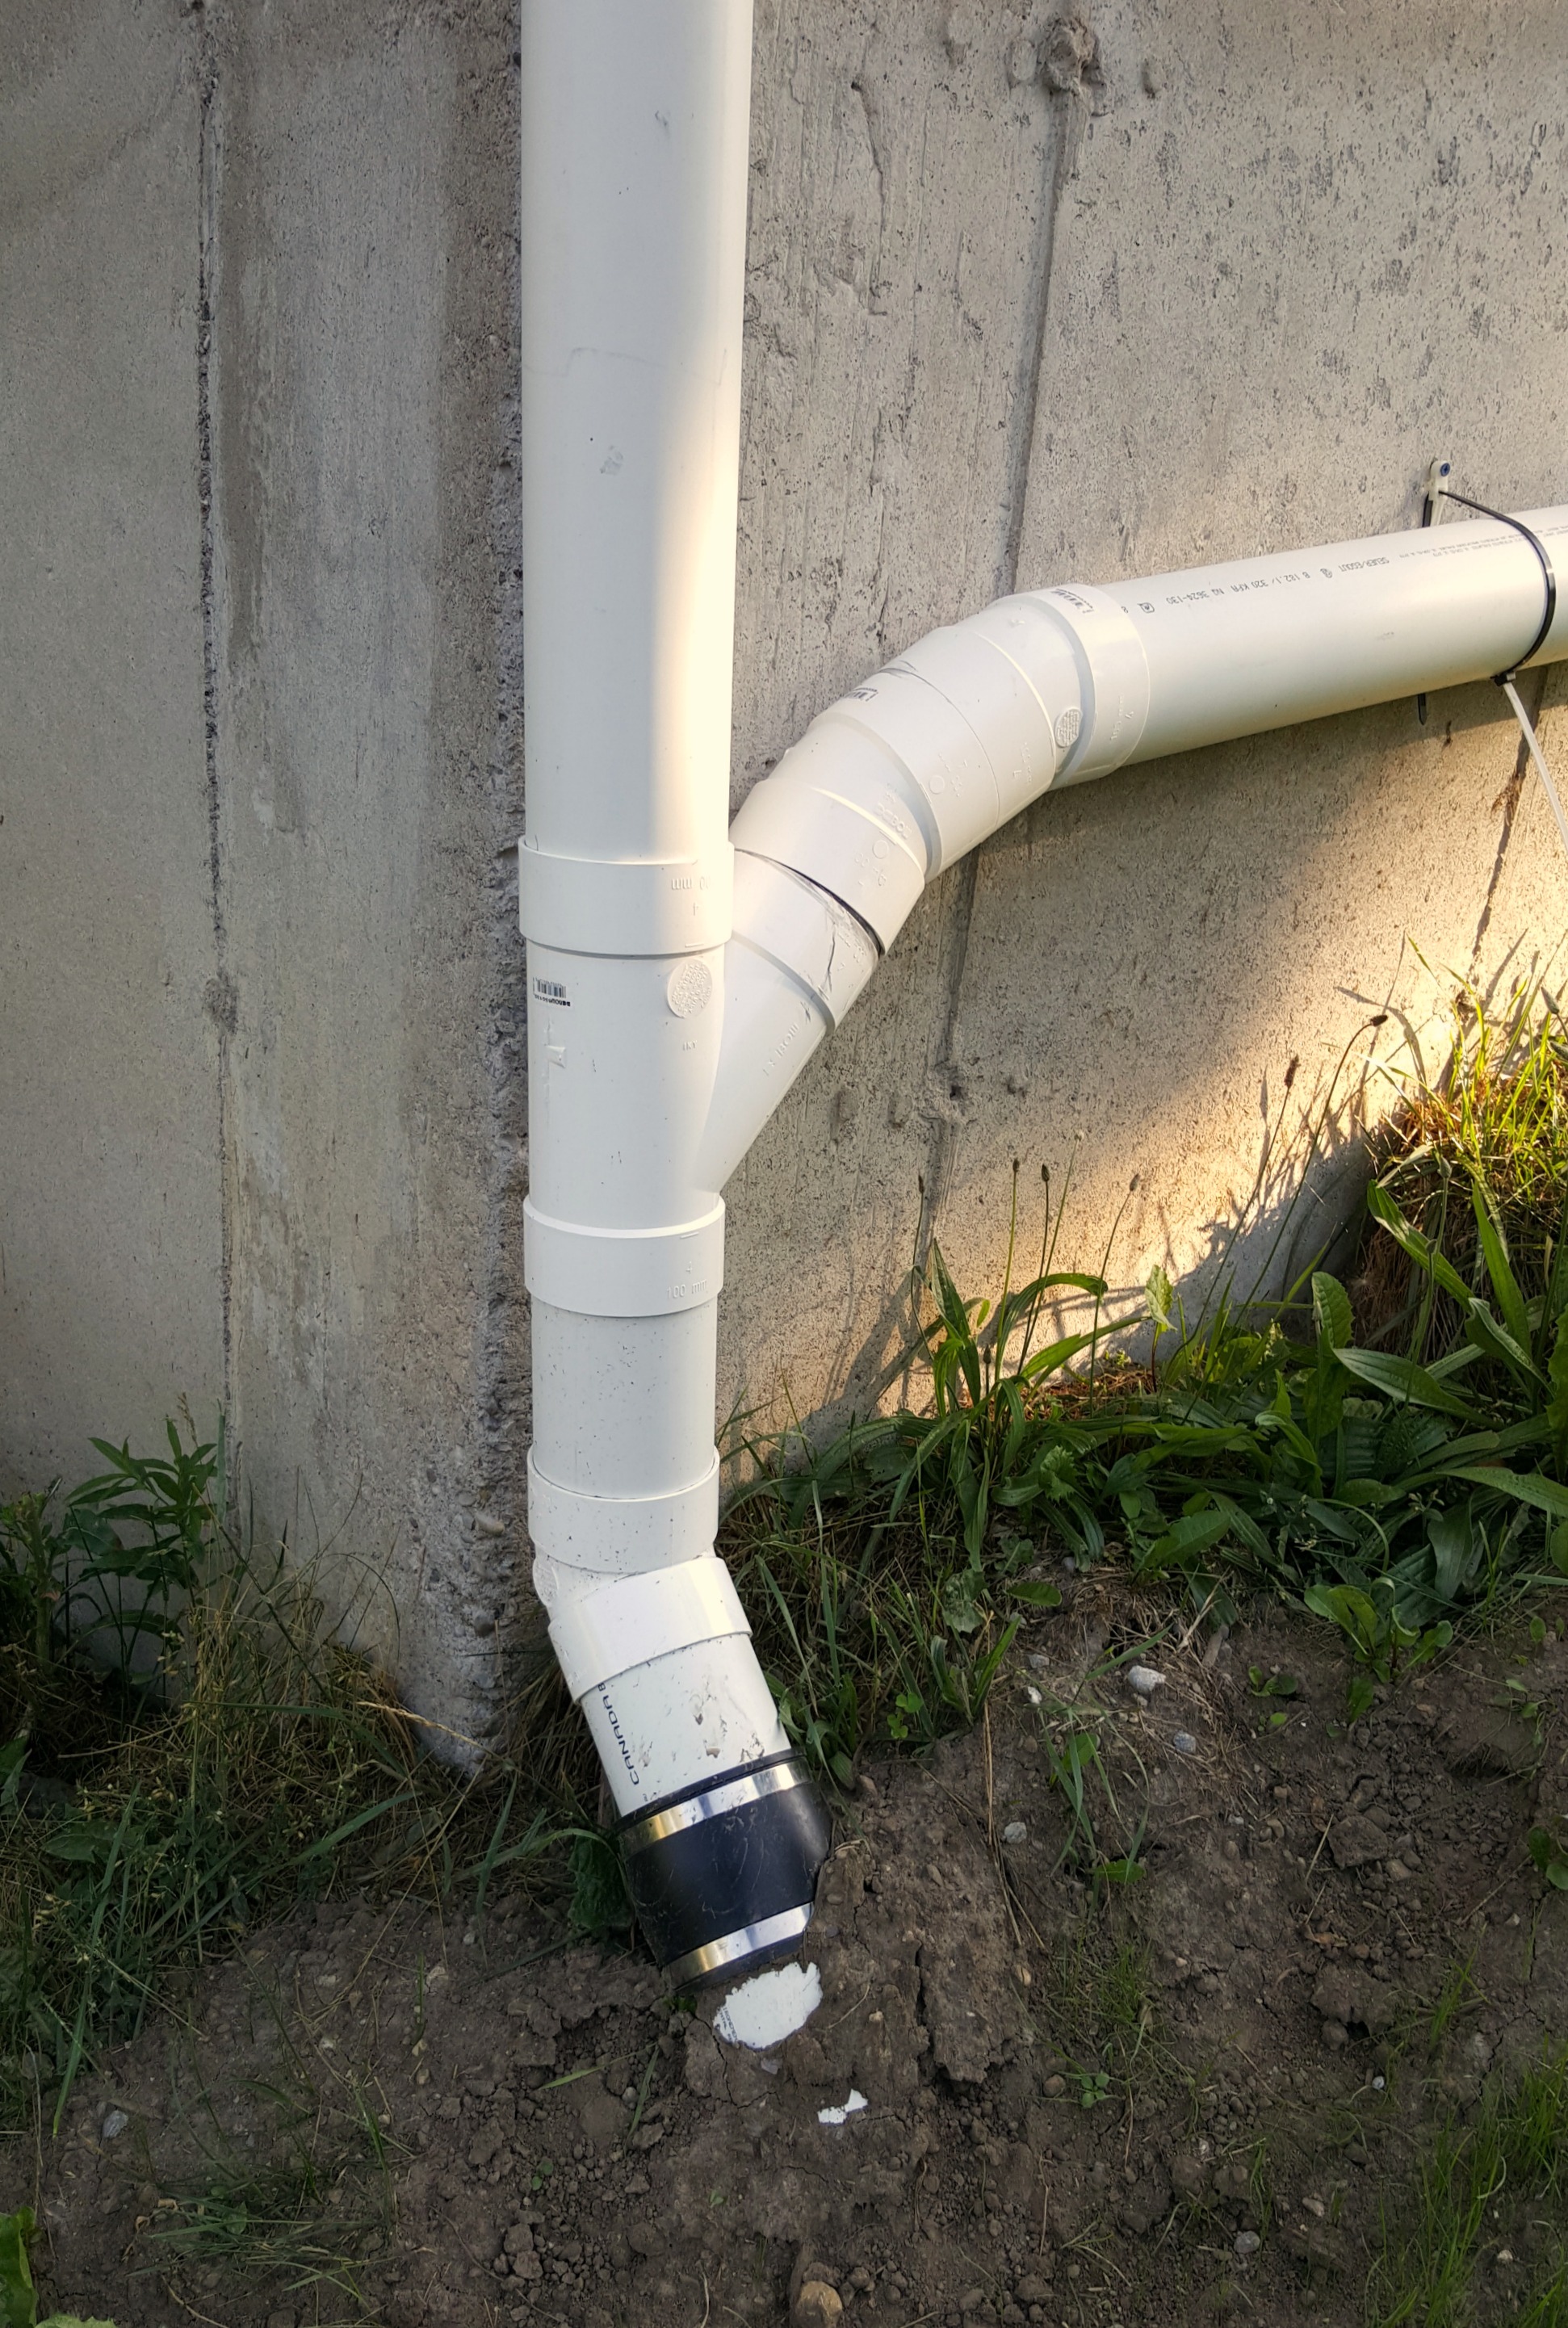
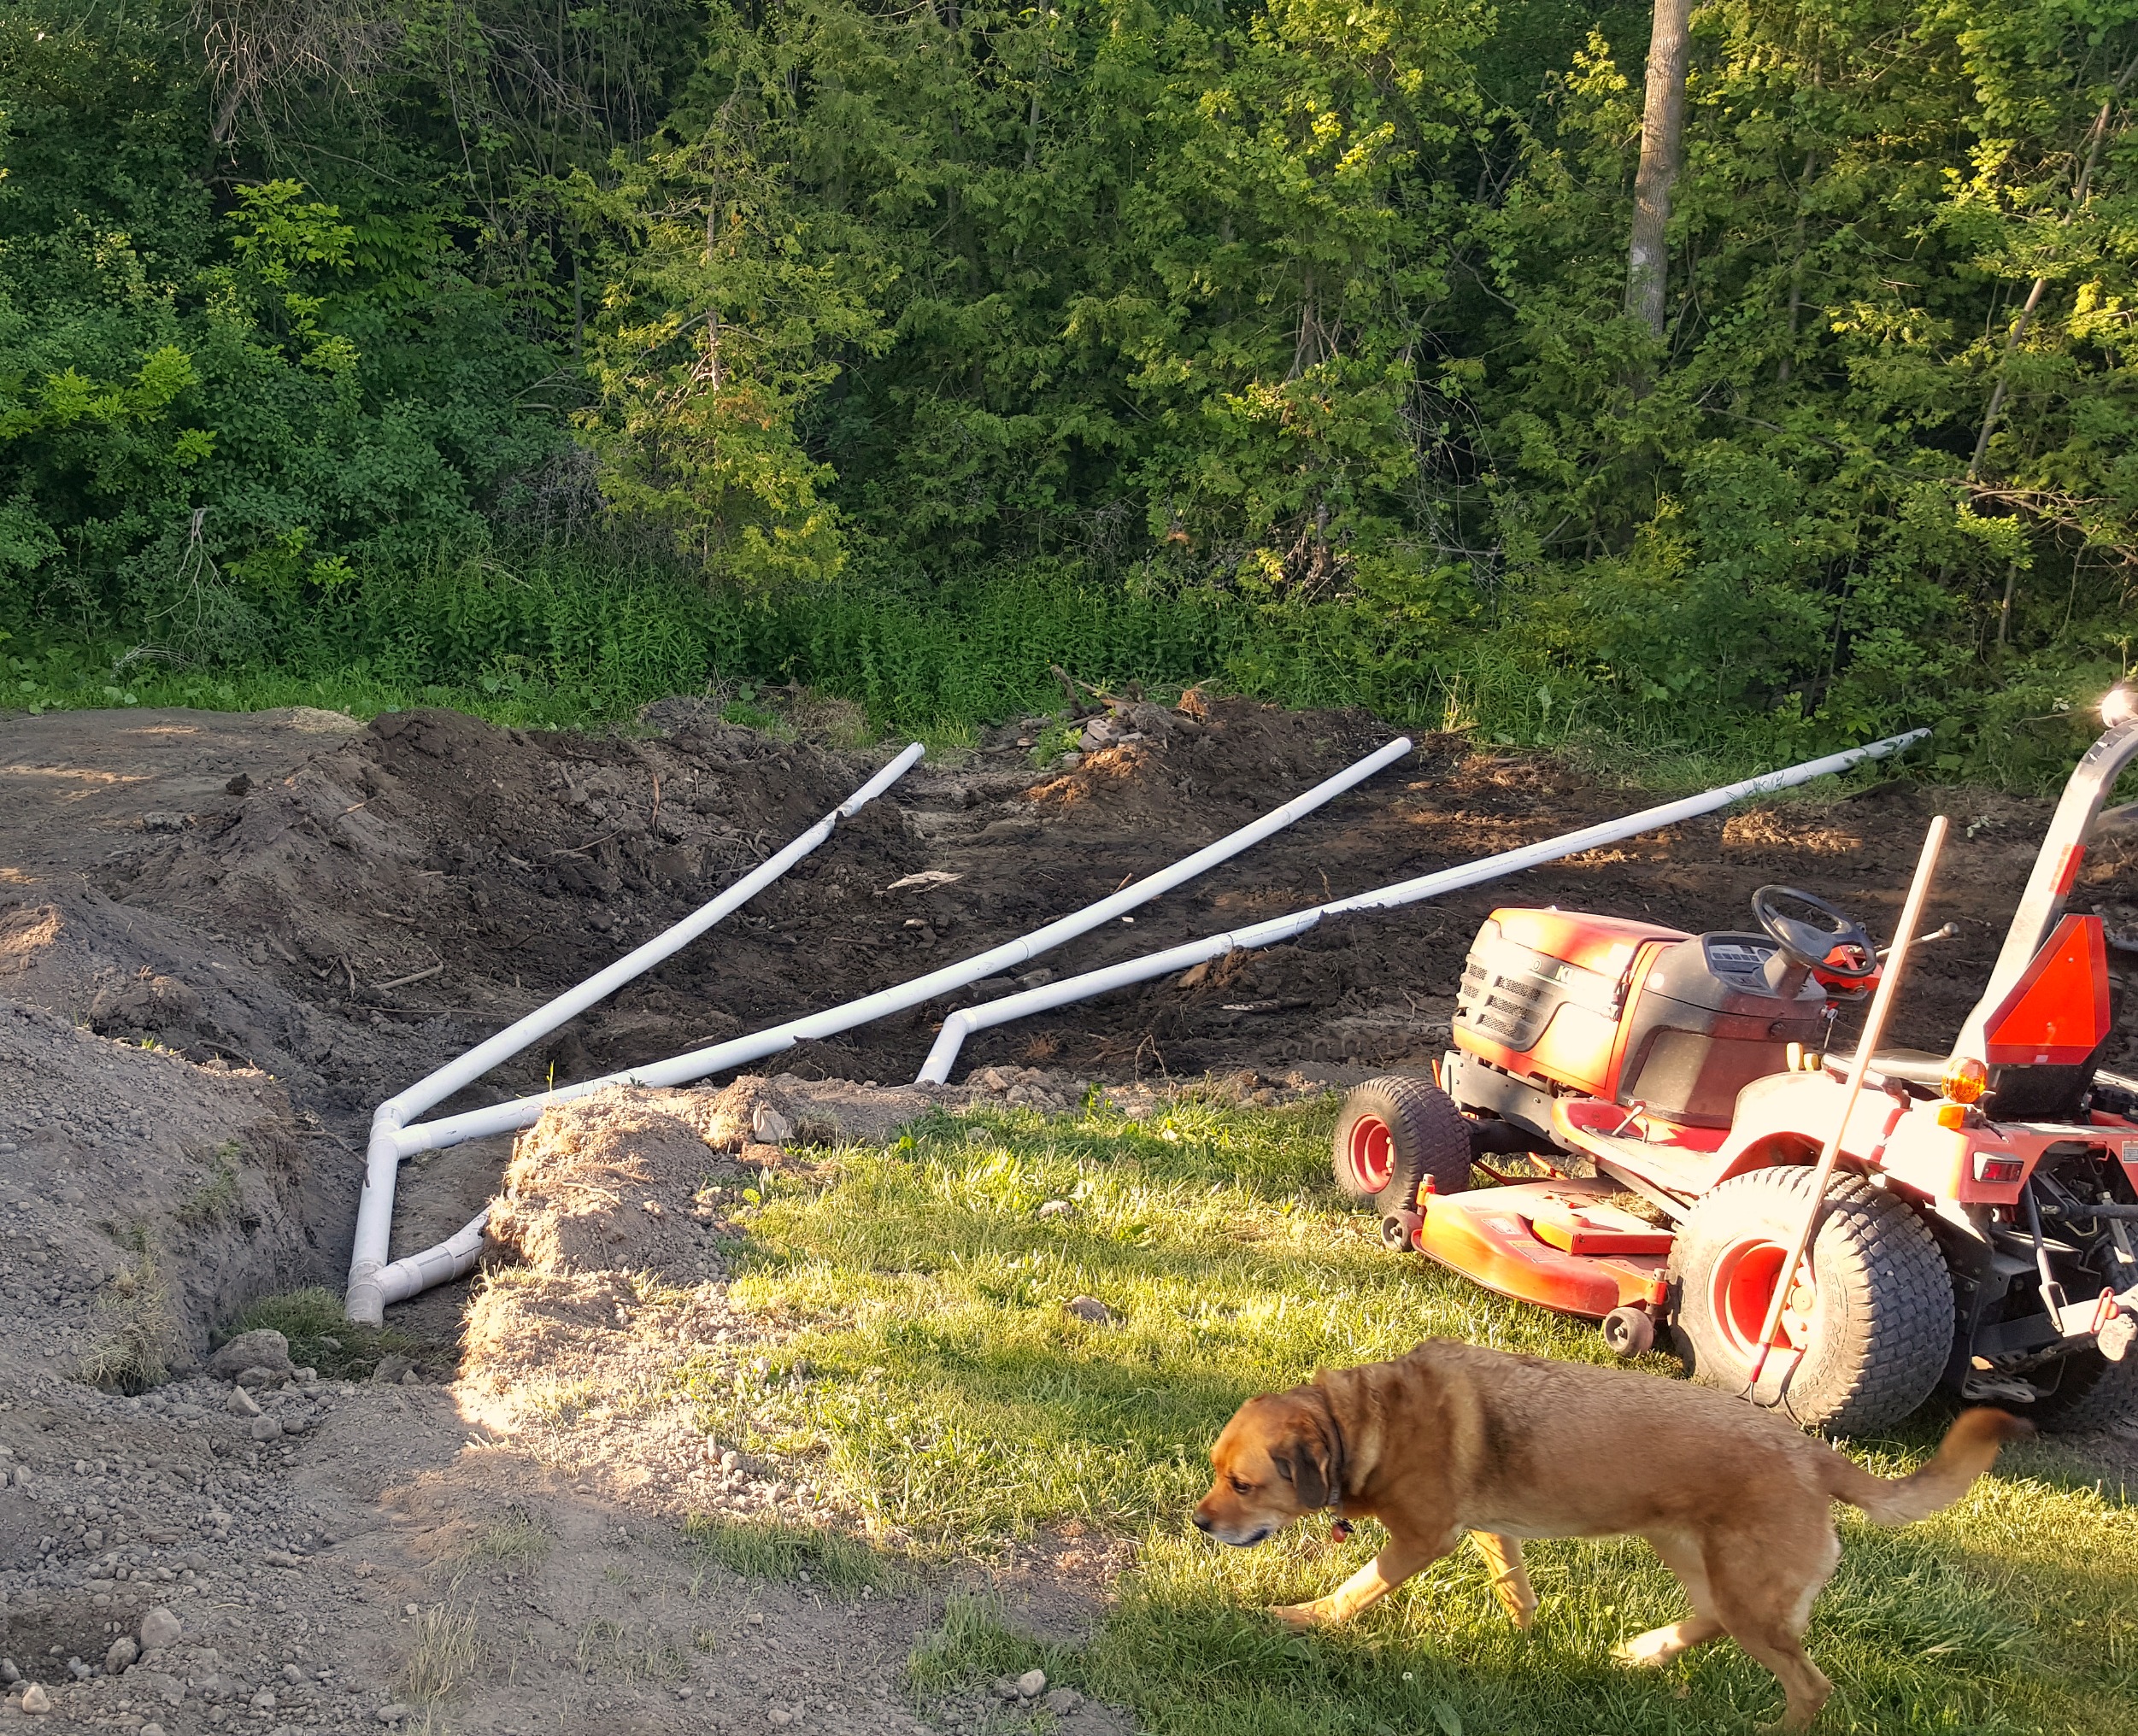
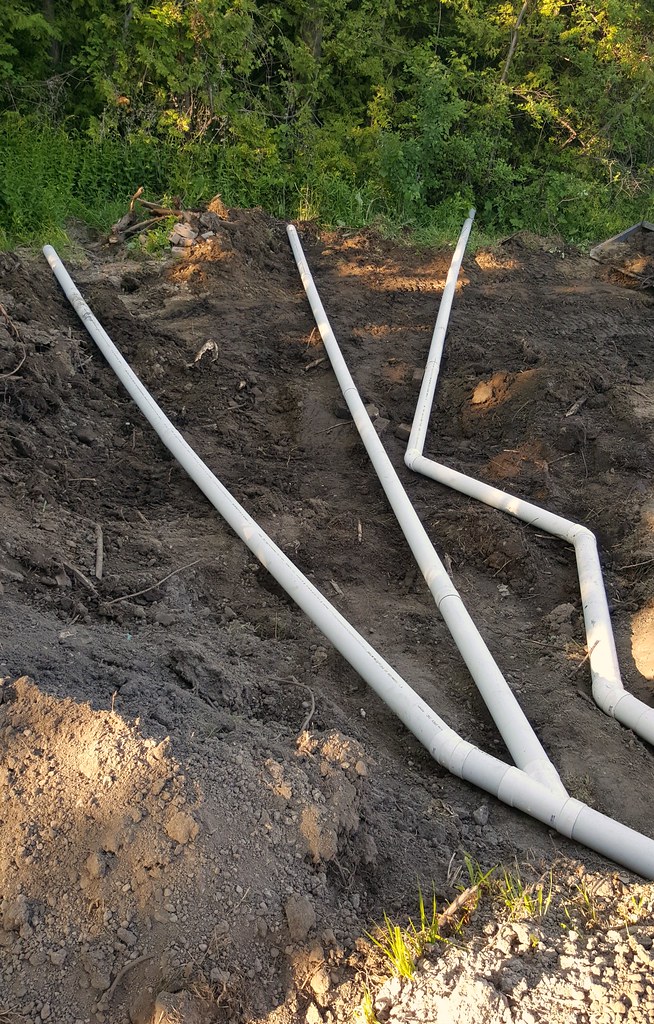
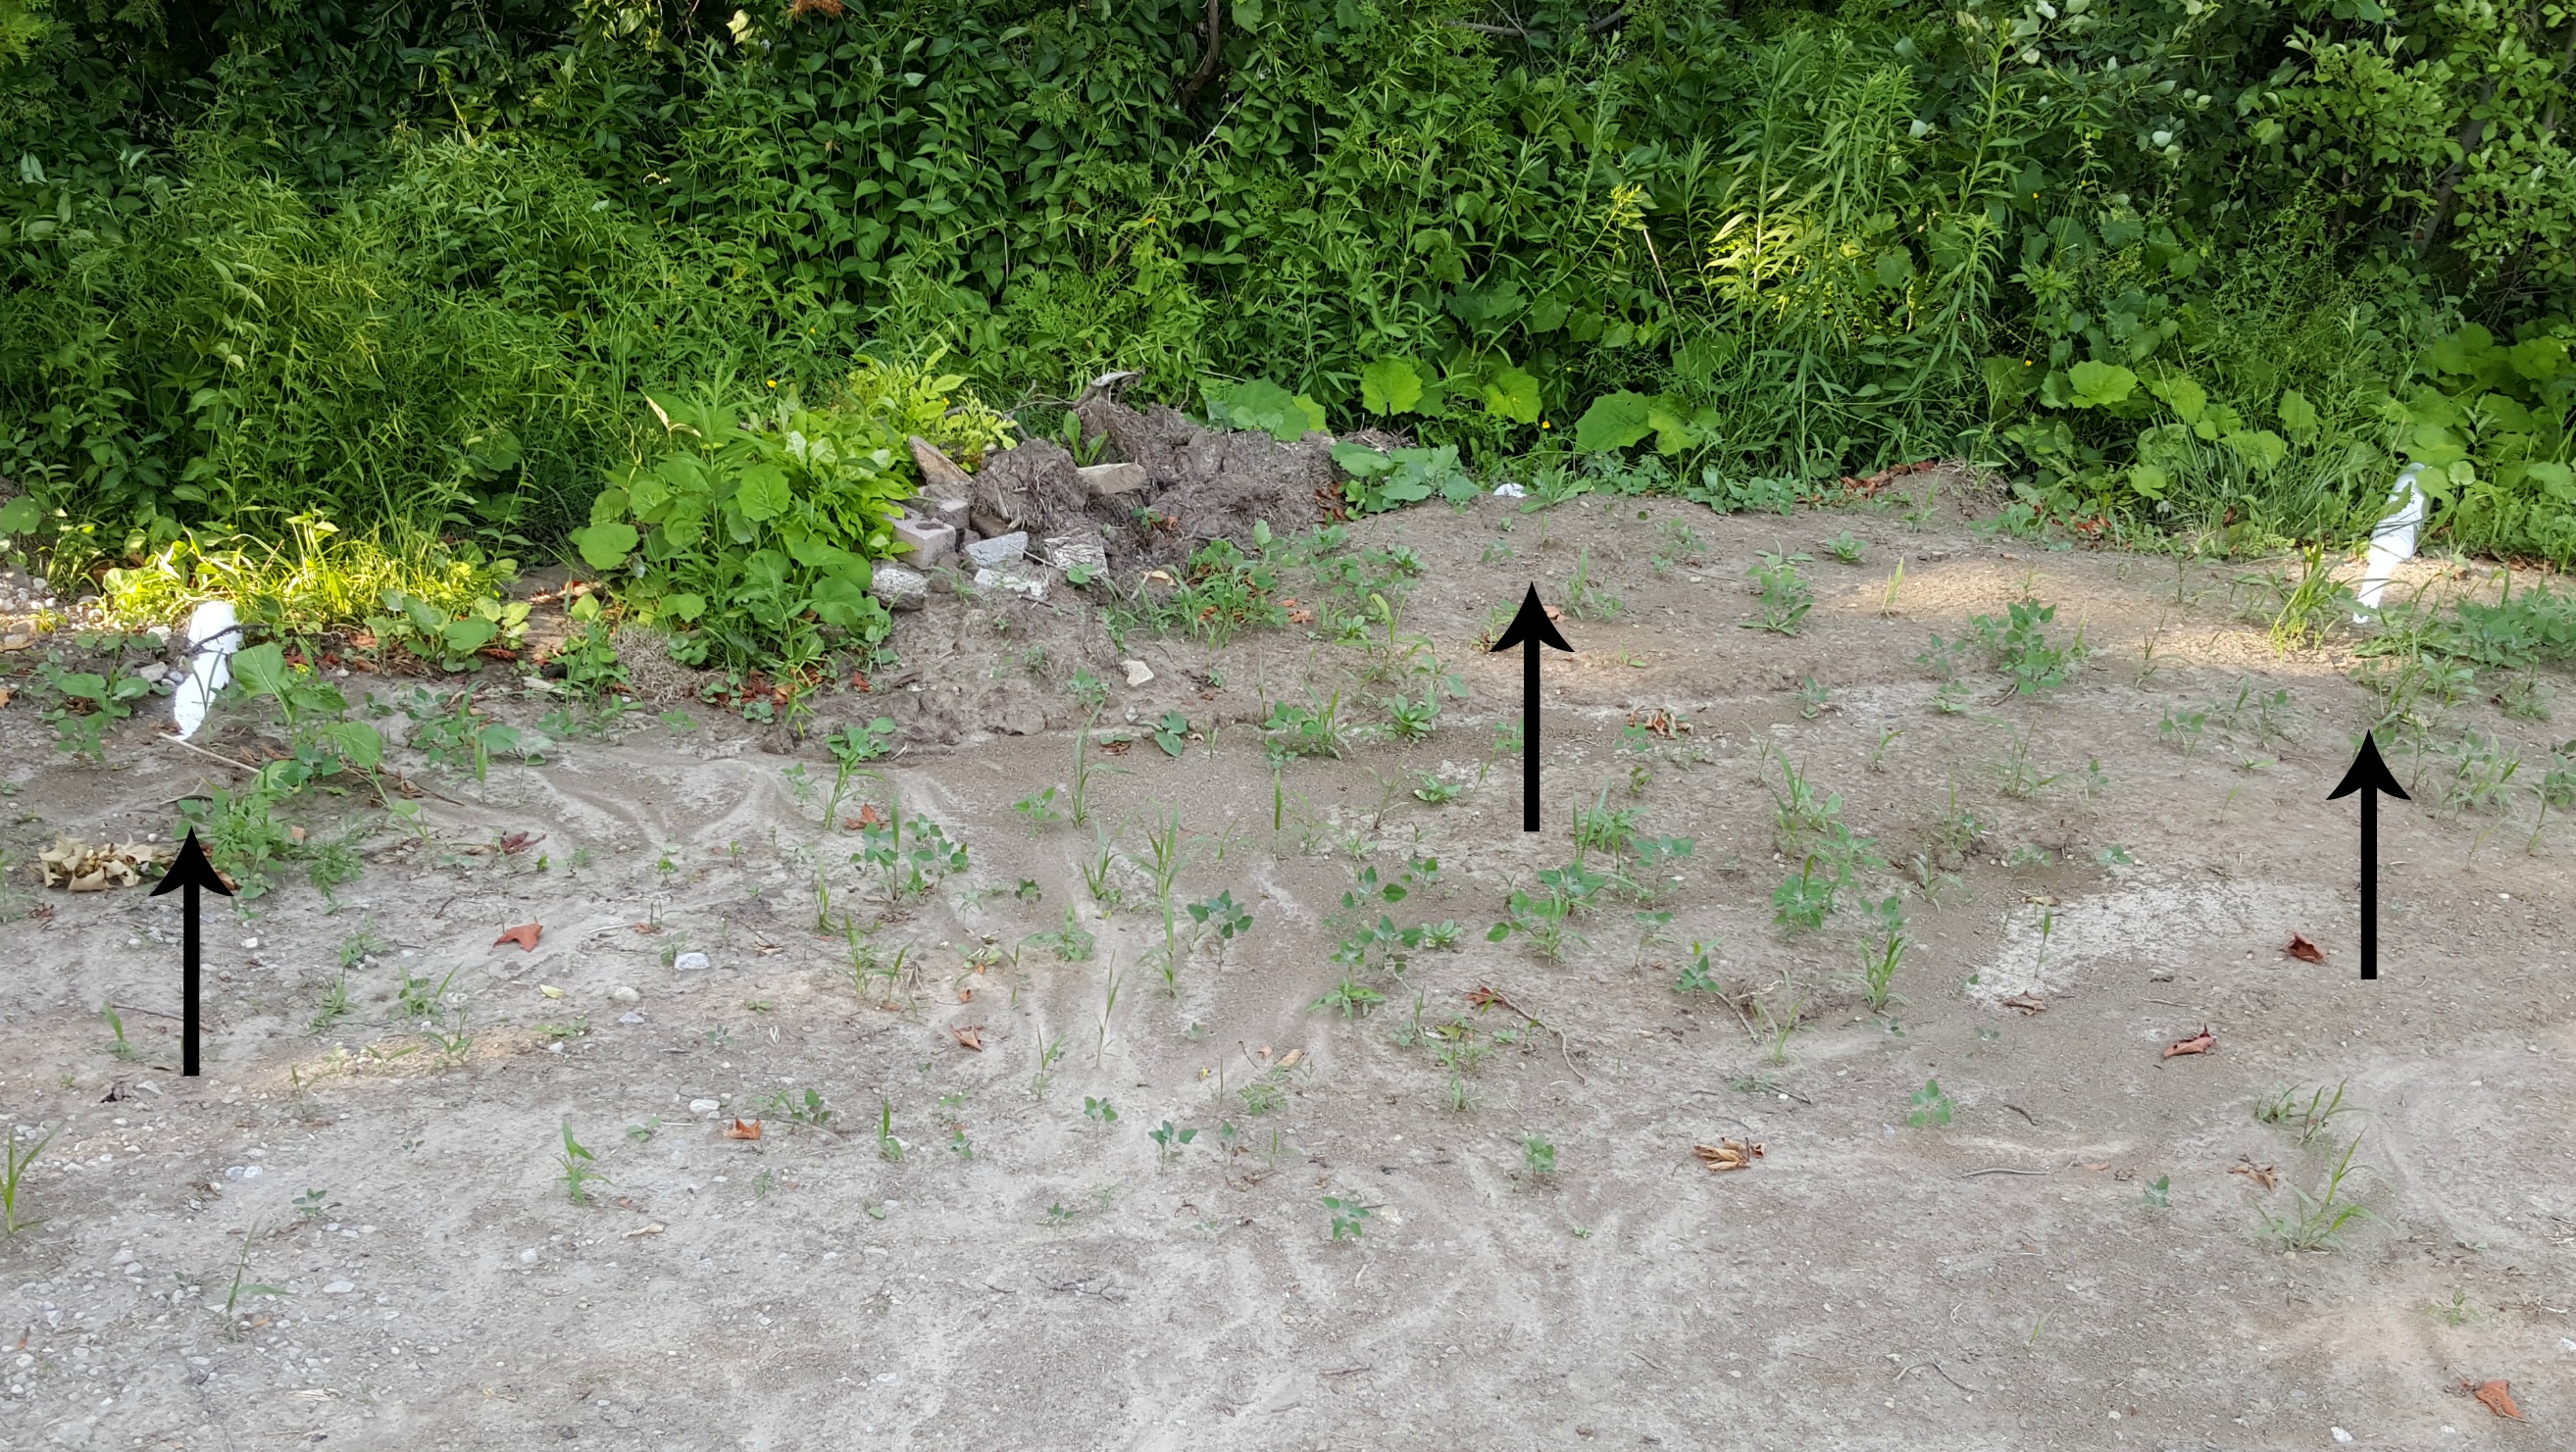
Although I only have one pipe coming down the hill I put in Y fittings at the bottom to allow several branches for outlets (with one zigzagging around a stump and a rock).
There are a few reasons for this:
1) Critters. If it doesn't rain for a bit, animals may decide to build a home at the end of a pipe and block it.
2) Frozen pipes. If there is a mild thaw and there is runoff from the roof, it can dam up at the outlet mouth when it hits the colder ground. Each of the outlet pipes leaves the main pipe at a slightly different angle. Water will flow to the lowest one first. Then if it does refreeze at the mouth the other two pipes will still remain open.
3) Vegetation. The outlet runs into the bush and vegetation has this crazy habit of growing wherever it wants to, possibly over the mouth of a pipe.
4) The “duh” factor. I might forget the pipe is there and throw dirt over an outlet during my next project.
Any way you look at it, having extra outlets is cheap insurance to keep the water flowing.
If you don’t have a convenient forest next to your property and are bringing the outlets to an end in the middle of your yard, don’t fear, a quick Google search will lead you to a wide selection of grates or pop up valves to give a finished look to the pipe. Be careful when using the pop up valves - if you live in the south they are wonderful, but if you contend with winter they can freeze in place. You may want to buy the type you can remove in the fall then put them back in place for spring and summer.
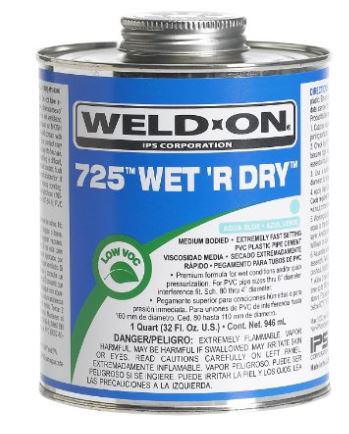
Once all the pieces are in place they are glued together with PVC cement. This is where your previous dry-fitting comes in as the cement dries very quickly and you don’t have a lot of time to play around. Apply the cement to both surfaces of the join to ensure a good seal.
The only thing left to do now is bury the pipe. At the bottom of the hill I was able to use the skid steer to move the dirt back into place, but on the hill it was just easier to do it by hand.


