SEARCH THE BLOG

Showing posts with label house. Show all posts

Nov 9, 2018

DIY Wood and Metal Plant Stand

Have you ever seen an item in a store, fell in love, put it in your cart, and then realized you could make it yourself for a fraction of the price? That happened to me this week when I was at Walmart. I saw an adorable plant stand and had it halfway to my basket when it hit me - this is just a cookie tin with dowel legs. I can do that!

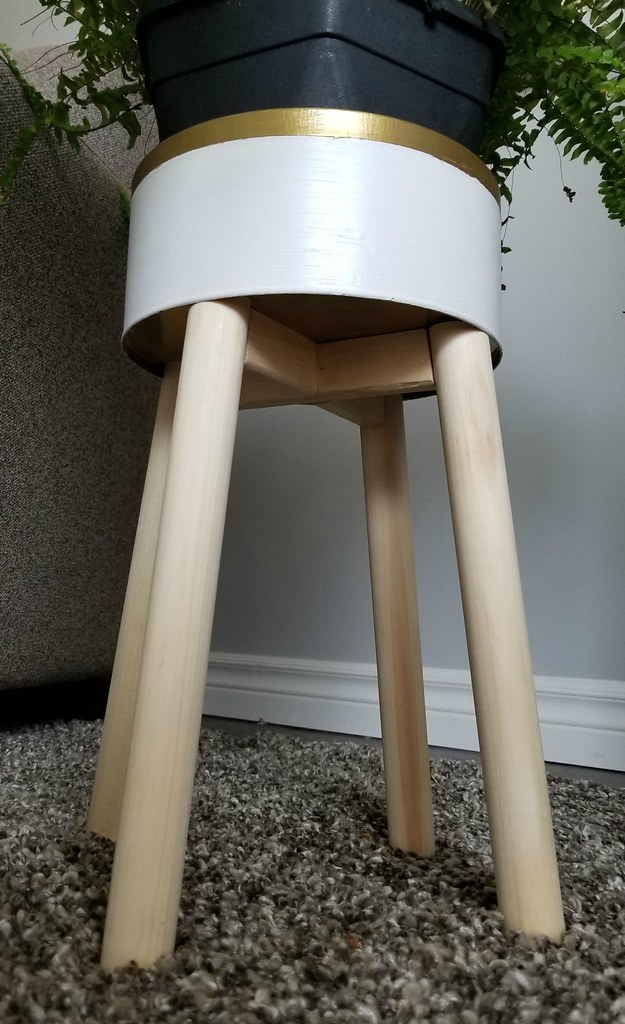
And so we have my latest creation:

DIY wood & metal plant stand

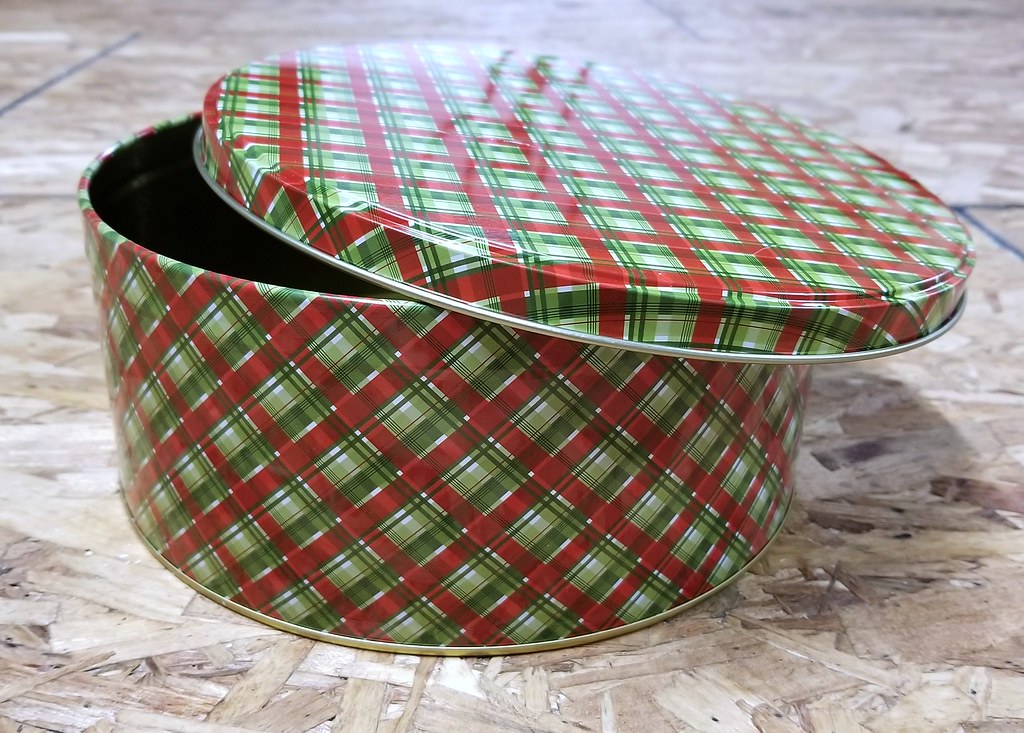
I bought the largest cookie tin I could find at the dollar store, and an 8-foot 1-1/4" dowel at the big box store. Total price - $10.50. And that's with 4 feet of dowel left over for another project. I used scrap wood for the cross pieces that go between the dowels - the same partially-rounded boards that I used on the ironing board holder.
DIY wood & metal plant stand


For this project you will need:

1 - 8.5" cookie tin
4 - 12" dowels (1-1/4" diameter) - cut them a little longer to account for the angle
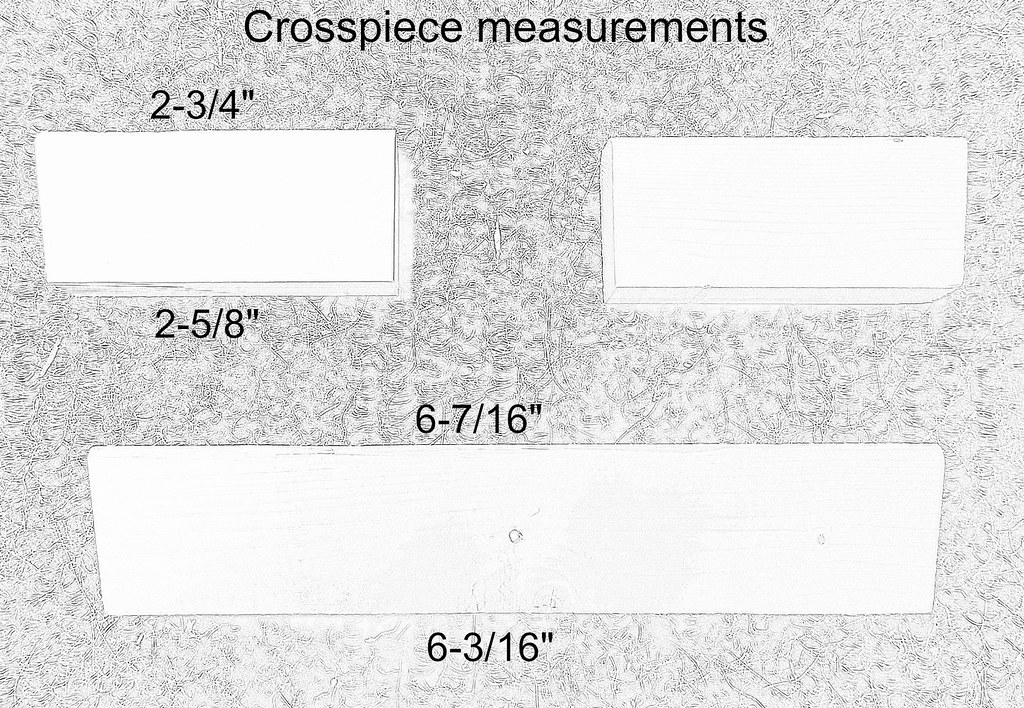
1 - 1-1/4" x 3/4" crosspiece with angles at both ends (see drawing for lengths)
2 - 1-1/4" x 3/4" crosspieces with angles at one end (see drawing for lengths)
screws, brad nails
spray paint

Tools I used:
miter saw
drill with countersink bit
air nailer
DIY wood & metal plant stand

First I spray painted the cookie tin inside and out. It doesn't have the fancy scalloping pattern that the original has, but I can live with a plain stand. I could even stencil something on at a later date.

I wanted the legs to be about 12 inches long when finished, so I cut them to 13 inches, just to give myself some wiggle room for the angles. Through a little trial and error, I settled on a 7 degree angle. That gives the stand some stability without the legs sticking out too far to the sides. The cross pieces are also cut at a 7 degree angle so that they fit snugly against the legs.

DIY wood & metal plant stand

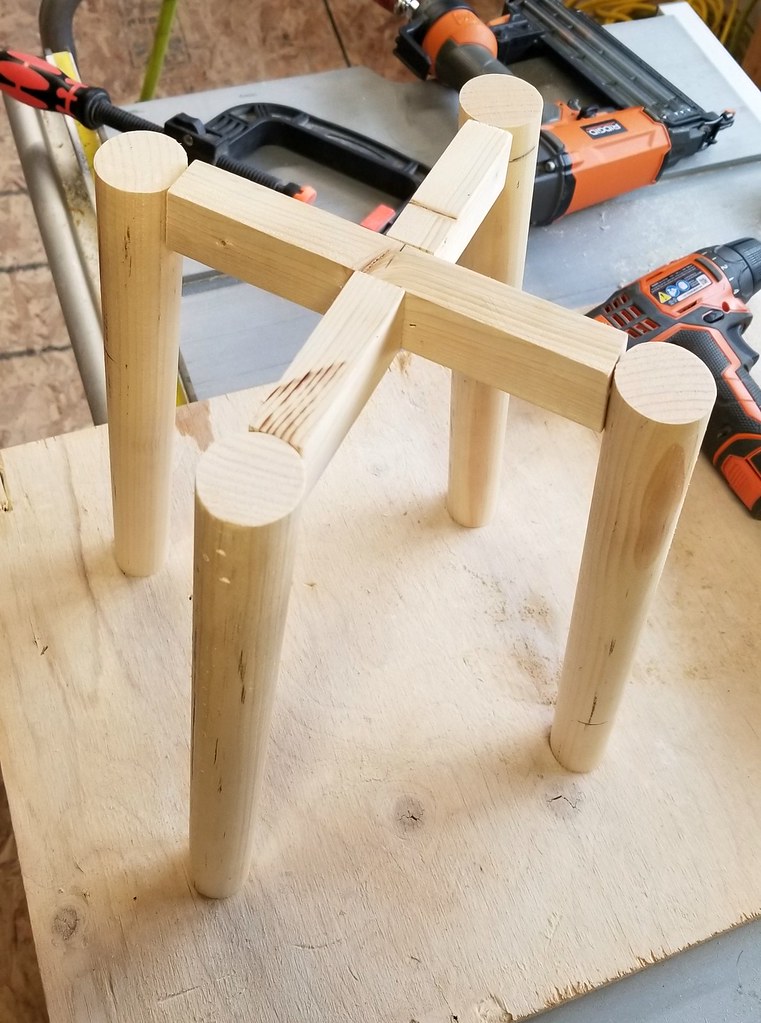
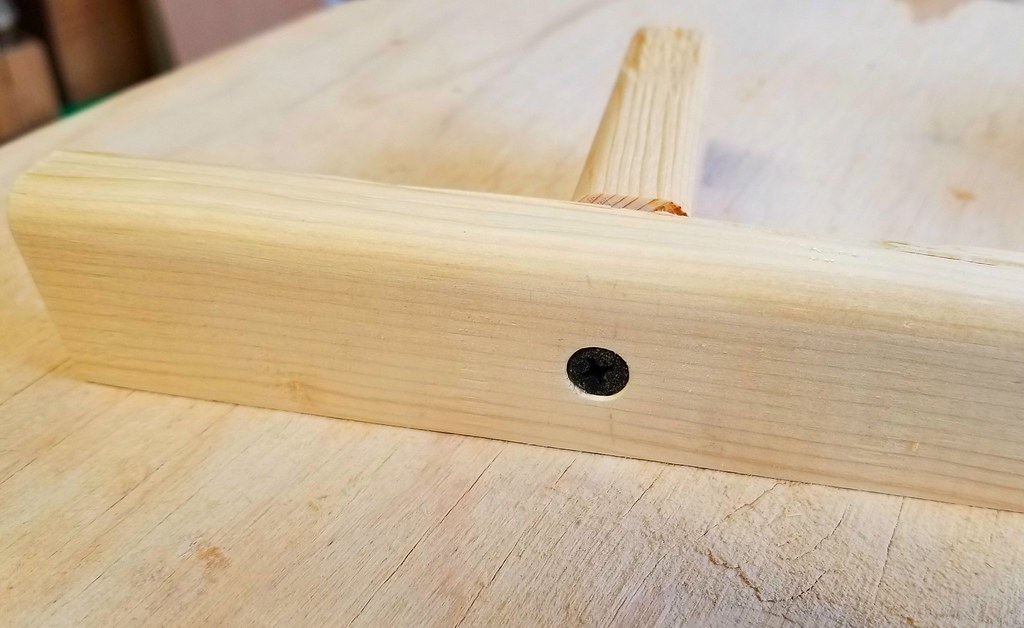
One of the shorter crosspieces was attached to the longer one with a countersunk screw. The other short crosspiece was then attached with two brad nails, one through each side. Clamping them together makes is easier to keep them lined up while nailing.
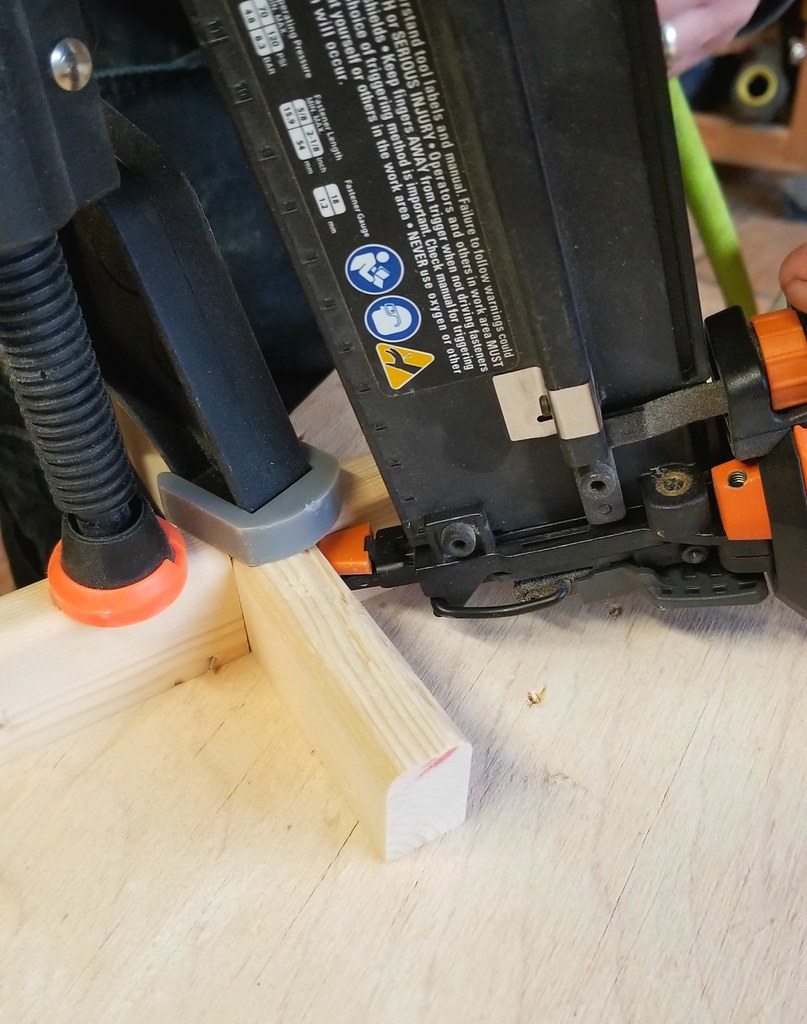
DIY wood & metal plant stand

Once the crosspieces were secured, the legs needed to be attached. I flipped the tin over, put the crosspiece in the center, and held two of the legs in place while Tom nailed them to the crosspiece with two brad nails each. Then I held the other two legs in place and he nailed them in place as well.

DIY wood & metal plant stand

The base can now stand on its own.

DIY wood & metal plant stand

The tin went back up on the legs and I marked the position of each leg on the inside bottom of the tin. Using a small drill bit, I drilled a pilot hole in each spot.

DIY wood & metal plant stand

The last step was to attach the tin to the base with 4 white pan head screws.

DIY wood & metal plant stand

I puttied the nail holes on the legs, sanded all of the wood, and did a bit of paint touch-up around the screw heads. I also added felt feet to the bottom of the legs to keep them from scratching the floor.
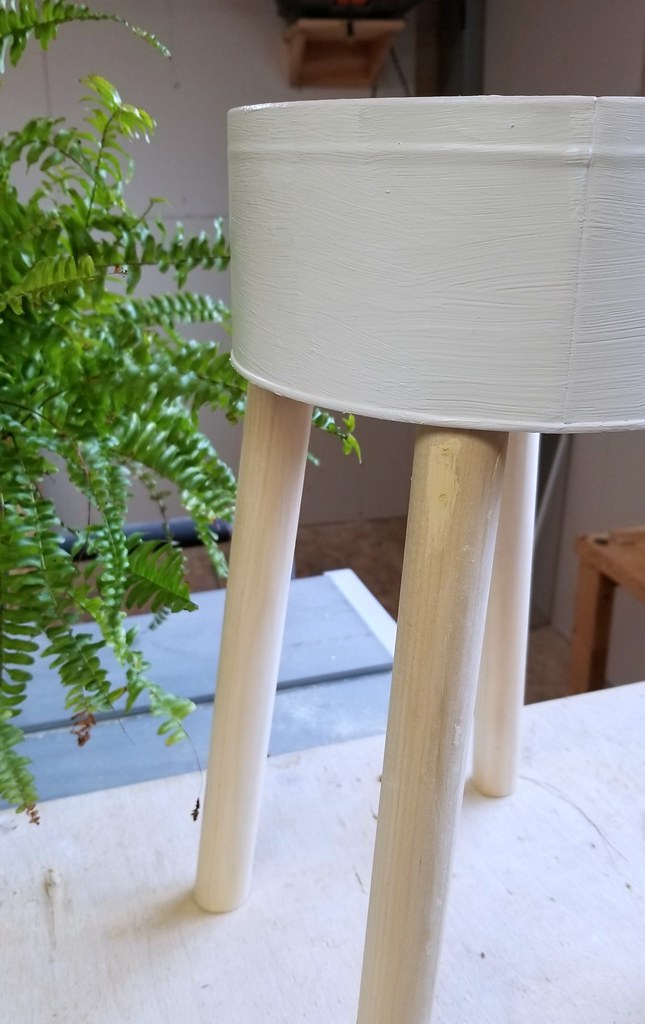
DIY wood & metal plant stand

I decided to leave the wood unfinished instead of staining it. I like the Scandinavian feel of the pale poplar and white together. However I did add a gold painted band around the top.

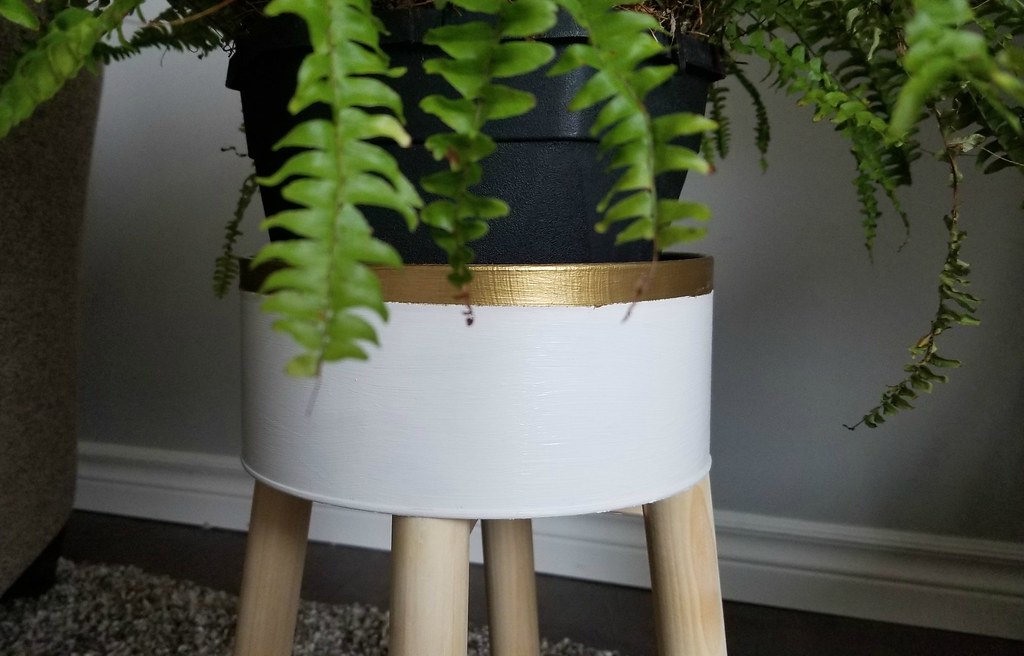
DIY wood & metal plant stand

DIY wood & metal plant stand

DIY wood & metal plant stand

DIY wood & metal plant stand


Oct 29, 2018

Big Ol' Storage Shed (Progress Report)

For the last few years we've been storing our patio furniture and the tractor/snowplow in an old metal garden shed plus a small shelter. Both were starting to fall apart - truthfully, the shed was barely standing anymore.

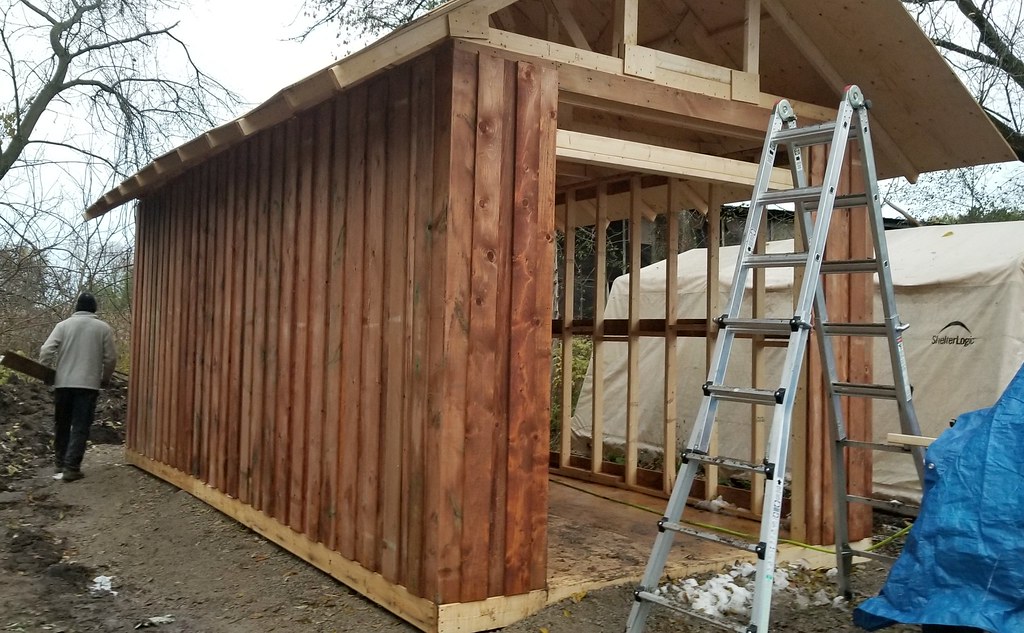
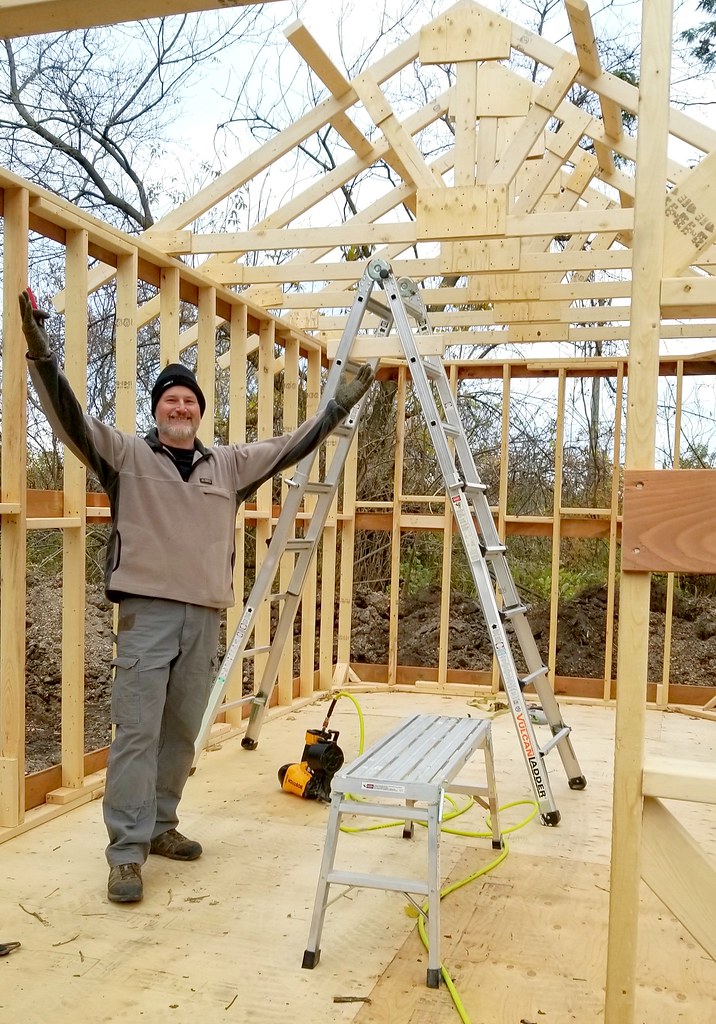
So, for the last few weekends we've been working on a new oversized storage shed. It's about 60% finished right now and looking pretty good.

wooden storage shed

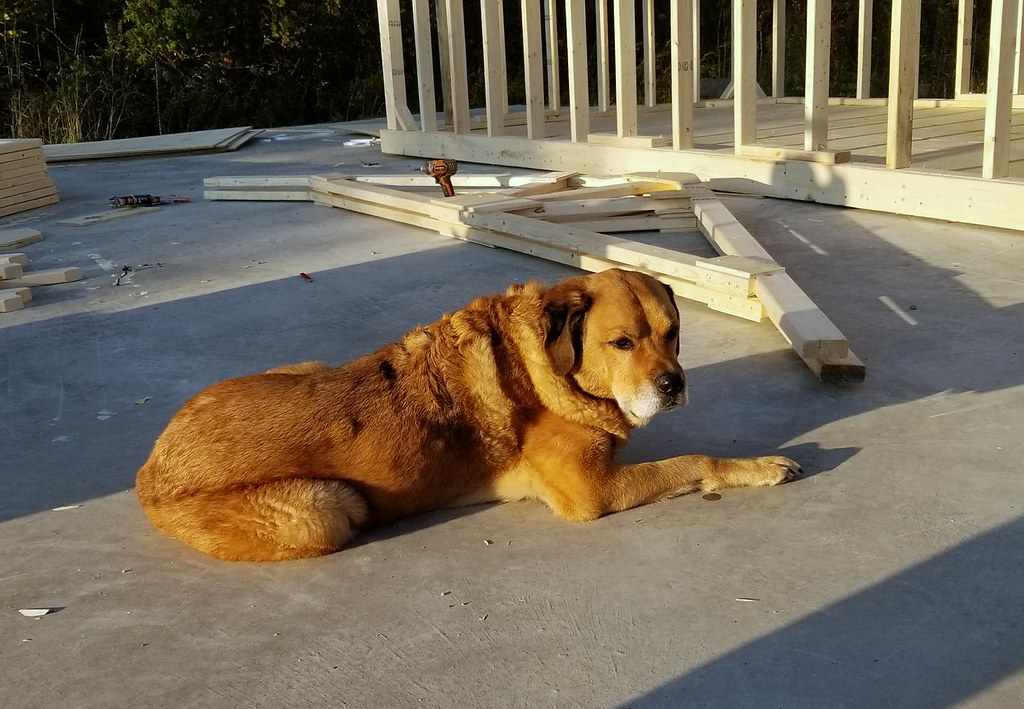
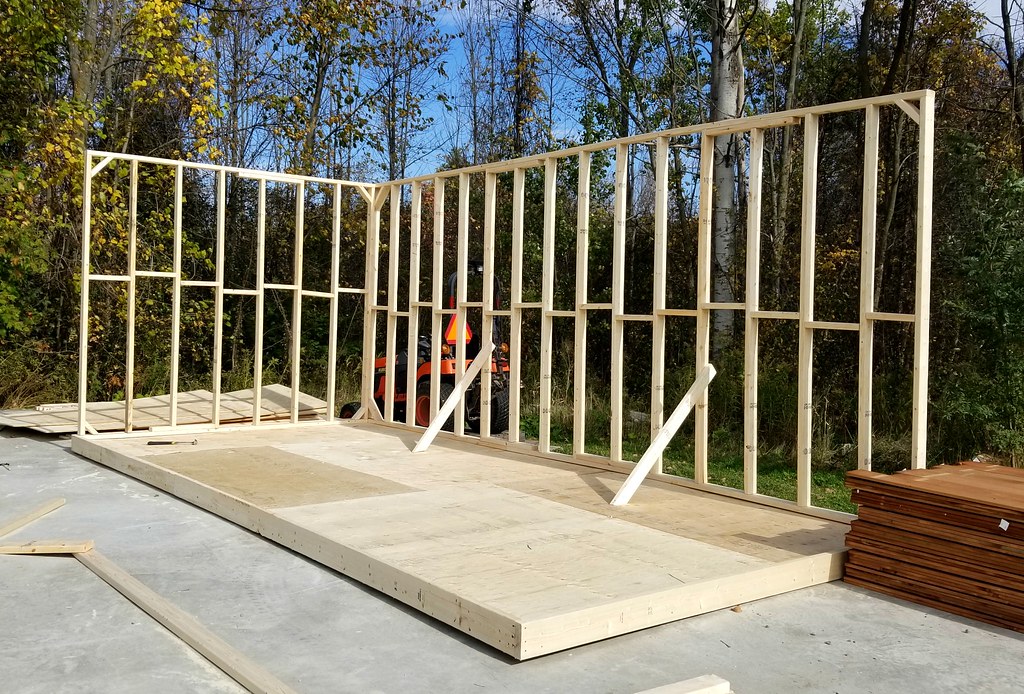
We started by building a platform of 2x6s topped with plywood. Chloe stayed close by while the guys put up the 2x4 walls.

wooden storage shed

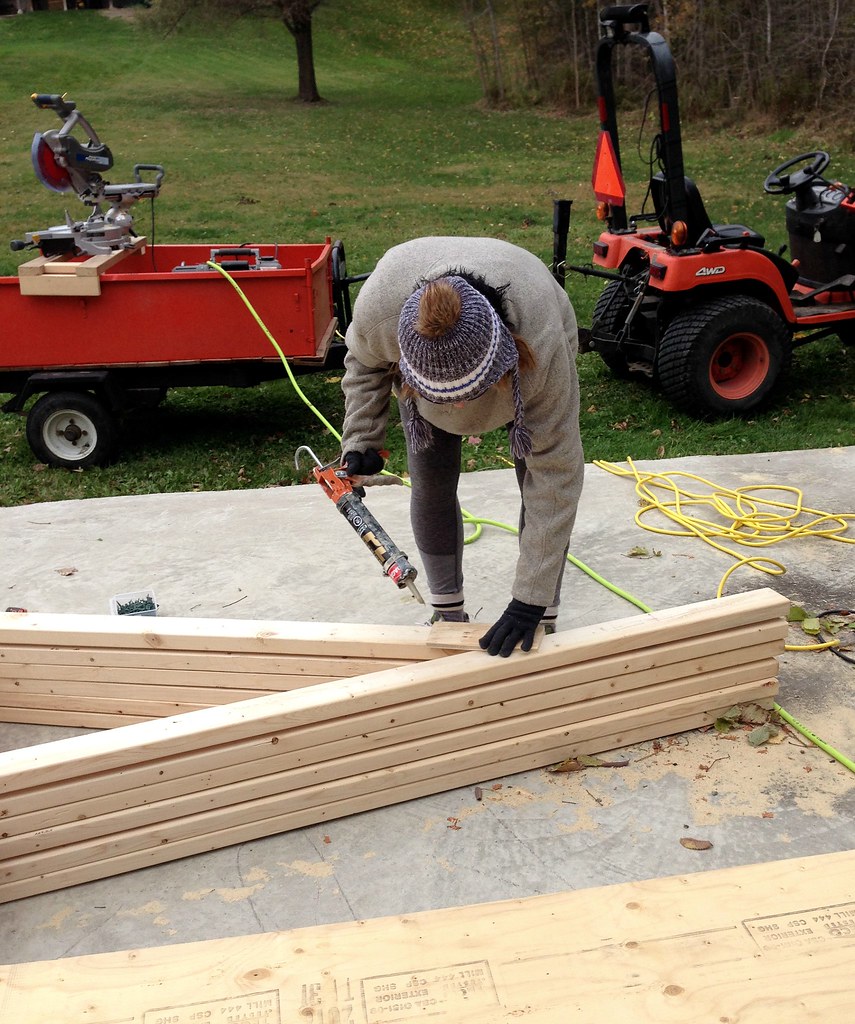
I spent a Sunday afternoon building roof trusses. By the end I was cold and my back was killing me, but I'm pretty proud of them.


The trusses at the front and the rear of the shed are different as each will have a window in the center.

wooden storage shed

Once the roof was ready to be added, Tom and a neighbor moved the shed into place at the back of our property. If only I had pictures of that. They wrangled it up onto a 30 foot trailer and then backed the trailer into the clearing and set the shed down in a spot that Tom had cleared and leveled with gravel.

wooden storage shed

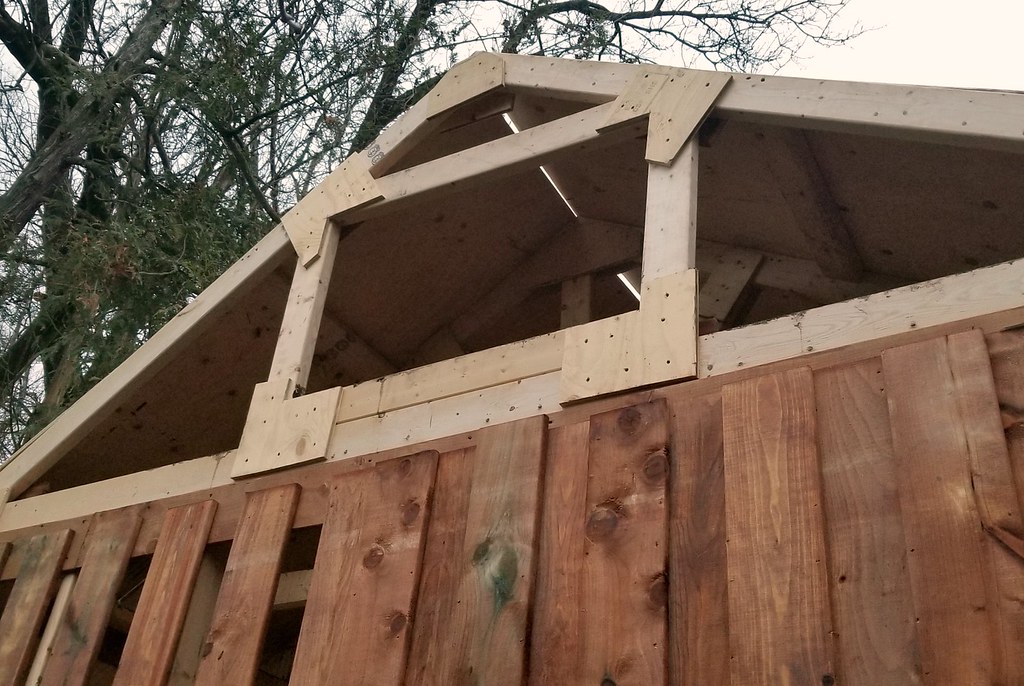
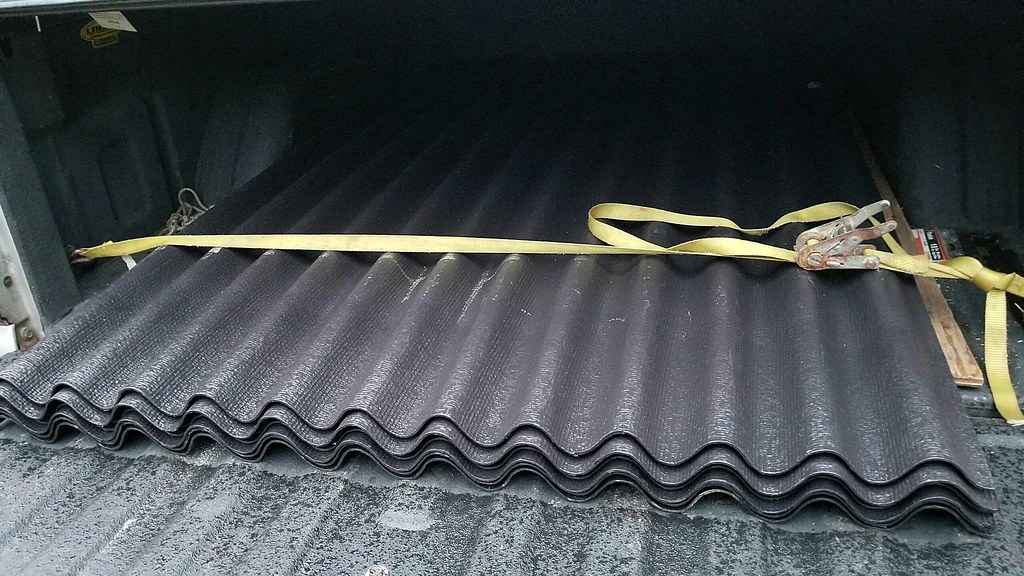
Tom attached the trusses and covered them in plywood. He'll be adding corrugated roofing panels on top next weekend.


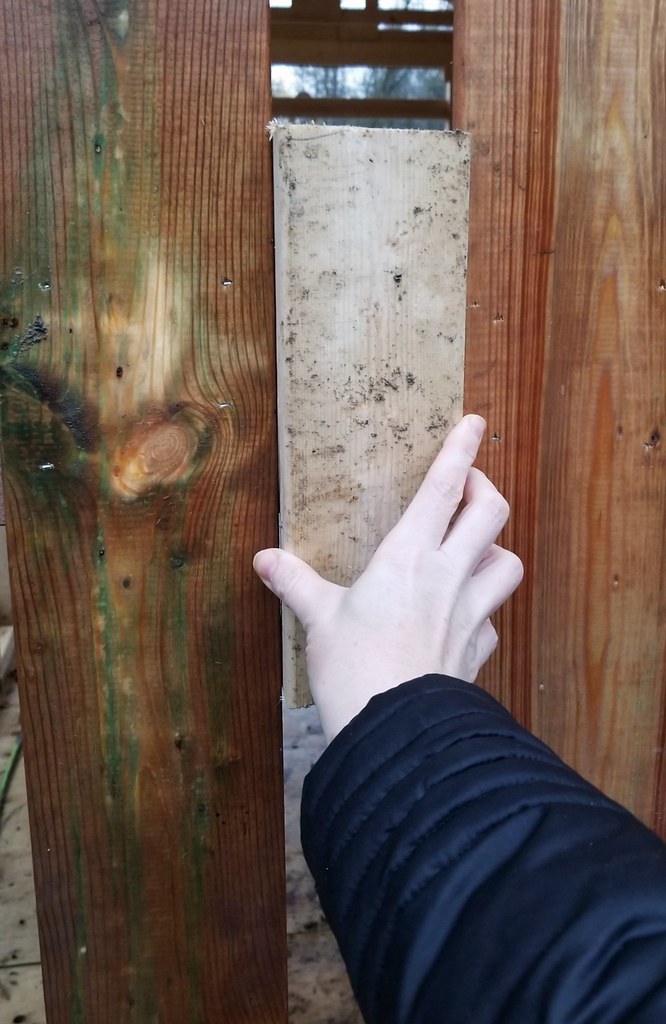
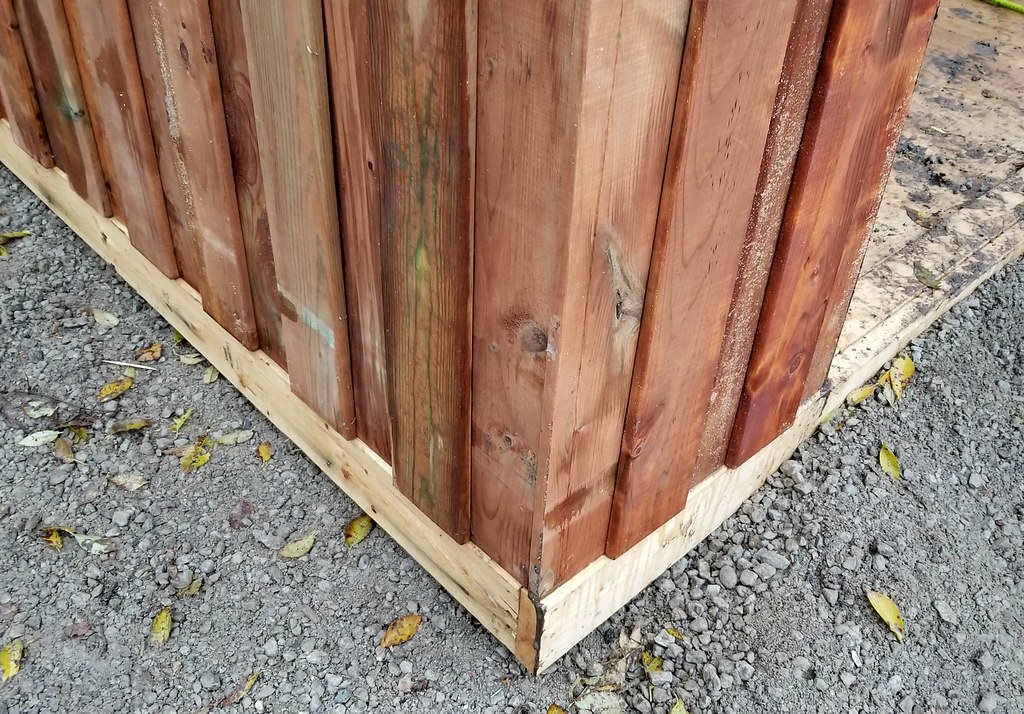
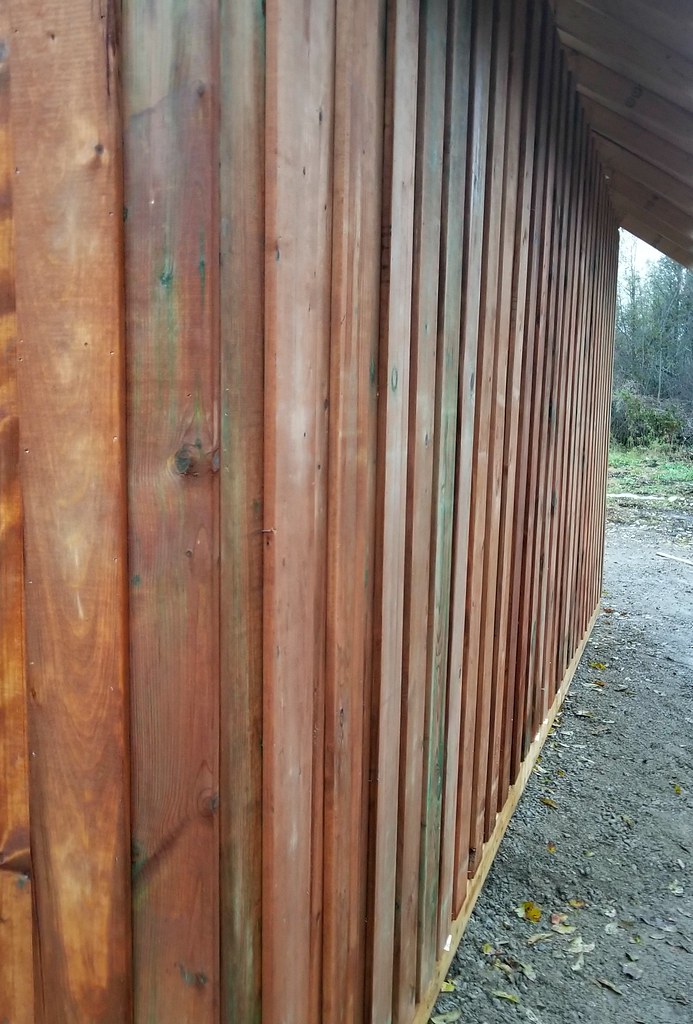
The siding for the shed is pressure treated spruce. It's hung in an overlapping pattern. First a row of boards was attached to the walls using a 2x4 for a spacer.

wooden storage shed

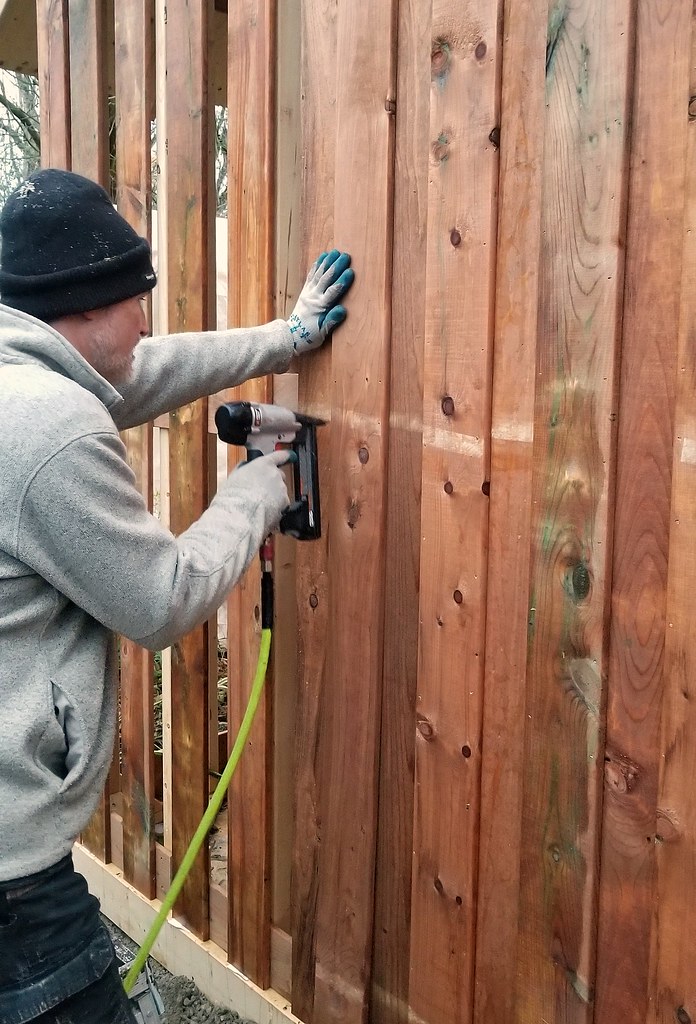
Then a second row of boards was added to fill the spaces. The boards are air nailed to the framework and to each other so that it stays tight.

wooden storage shed
wooden storage shed
wooden storage shed

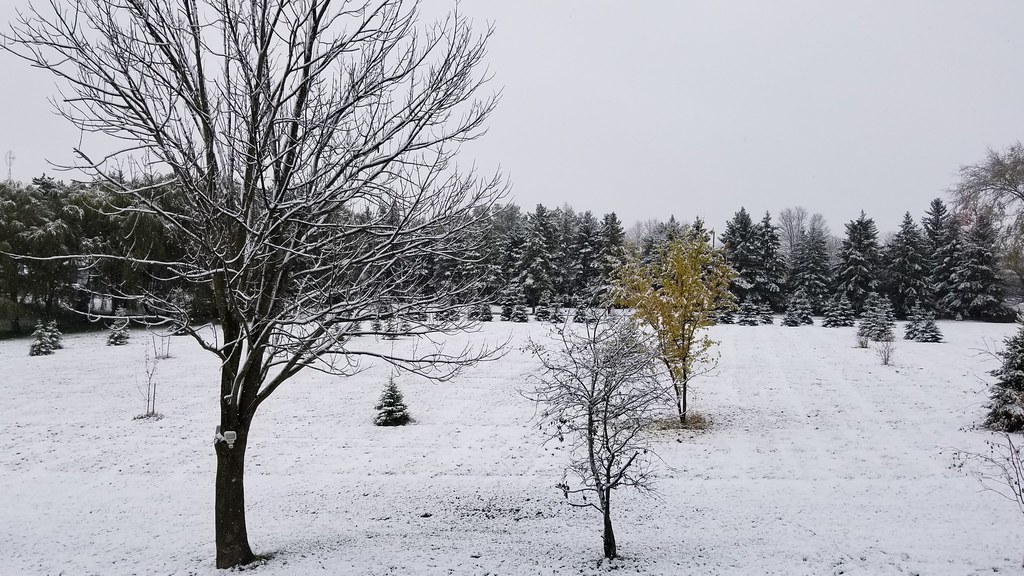
Hopefully it will only take another weekend or two to finish it. Thank goodness, as we've already had our first big snowstorm!

October snow Ontario


Oct 23, 2018

Ironing Board Holder (DIY)


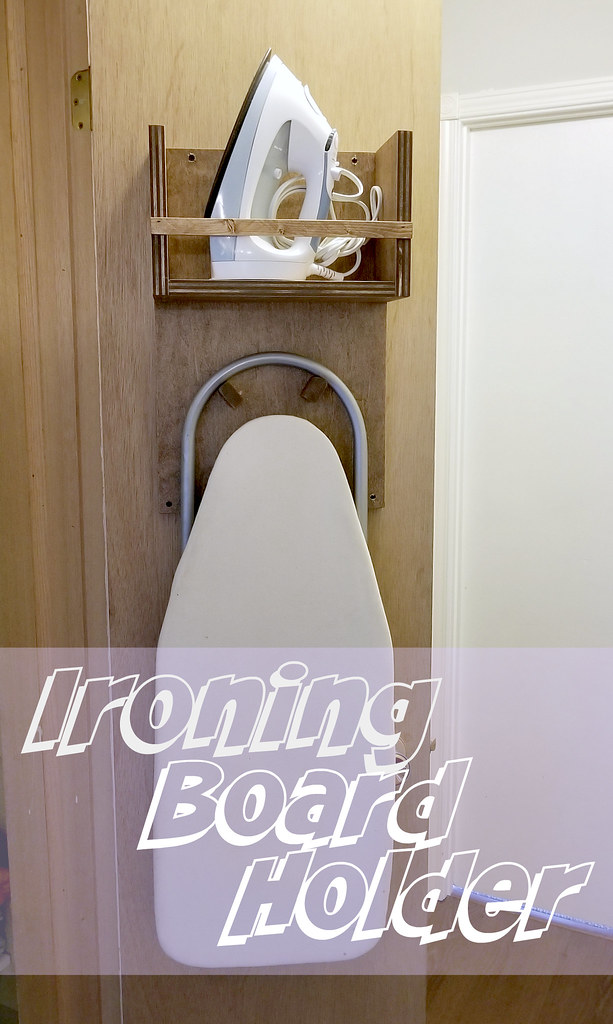
I'm trying to be a little more organized around the house - using every possible nook and cranny for storage. A prime example: our linen closet is extremely small - I've had to pare our sheets and towels down to just the necessities - but the iron and ironing board still didn't have a dedicated space.

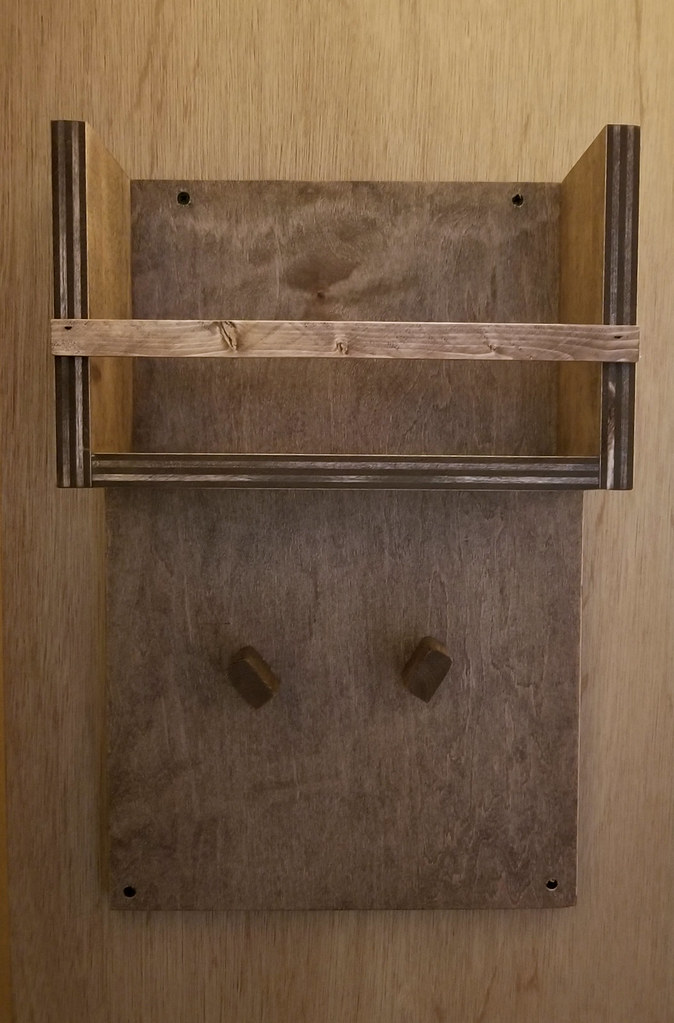
Ironing Board Holder (DIY)

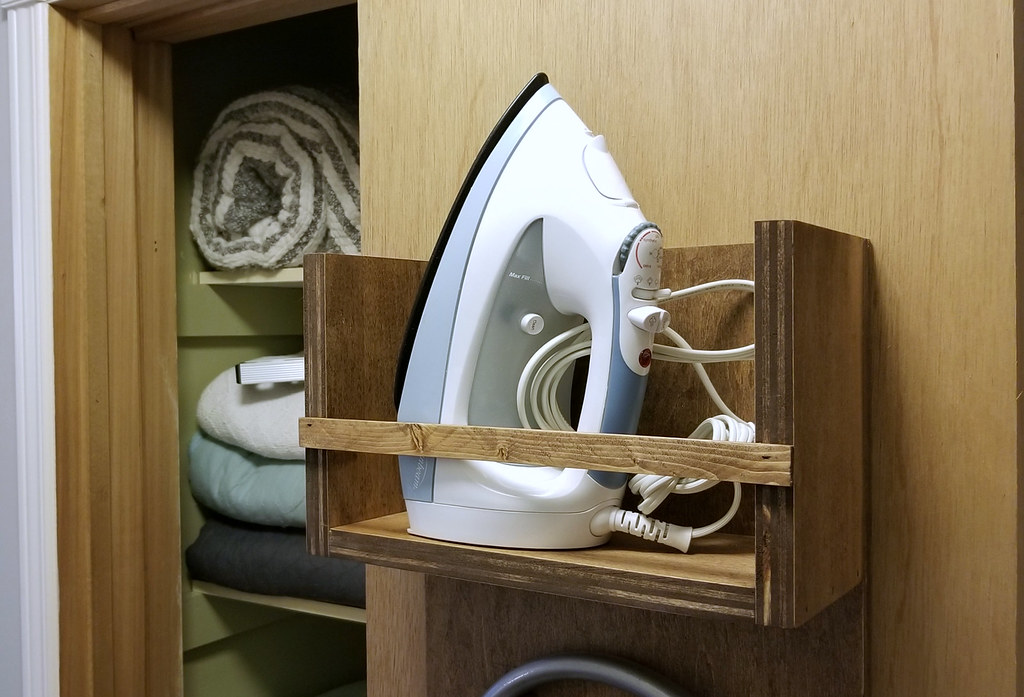
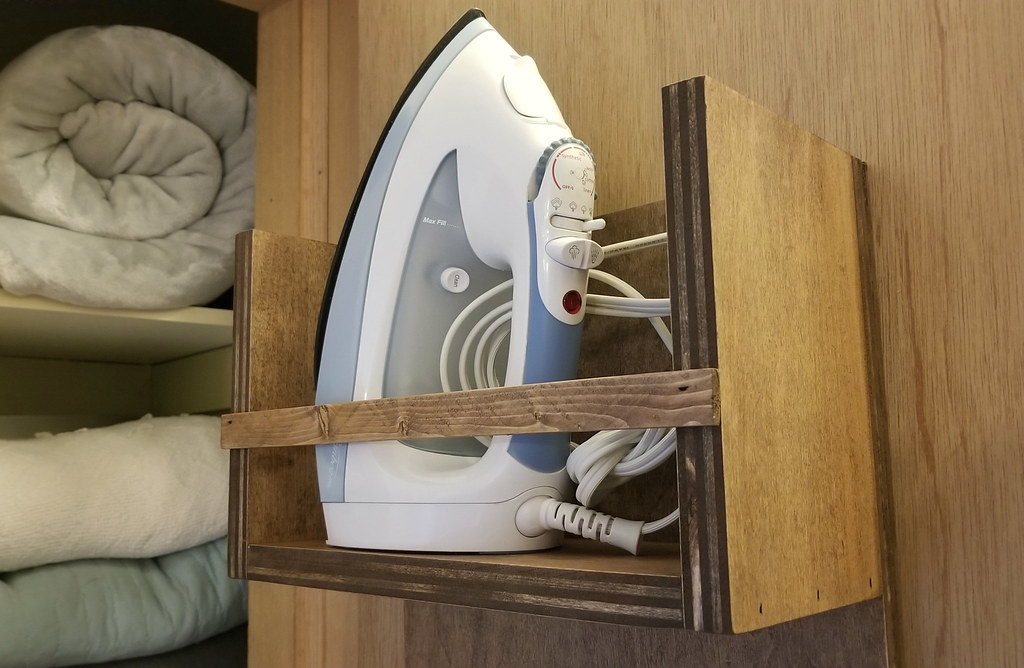
I took this design idea from Ana White and tailored it to our house. The great thing about it is that it cost me nothing - it was made entirely from scrap wood - but it wouldn't cost more than $20 if you had to buy the material.

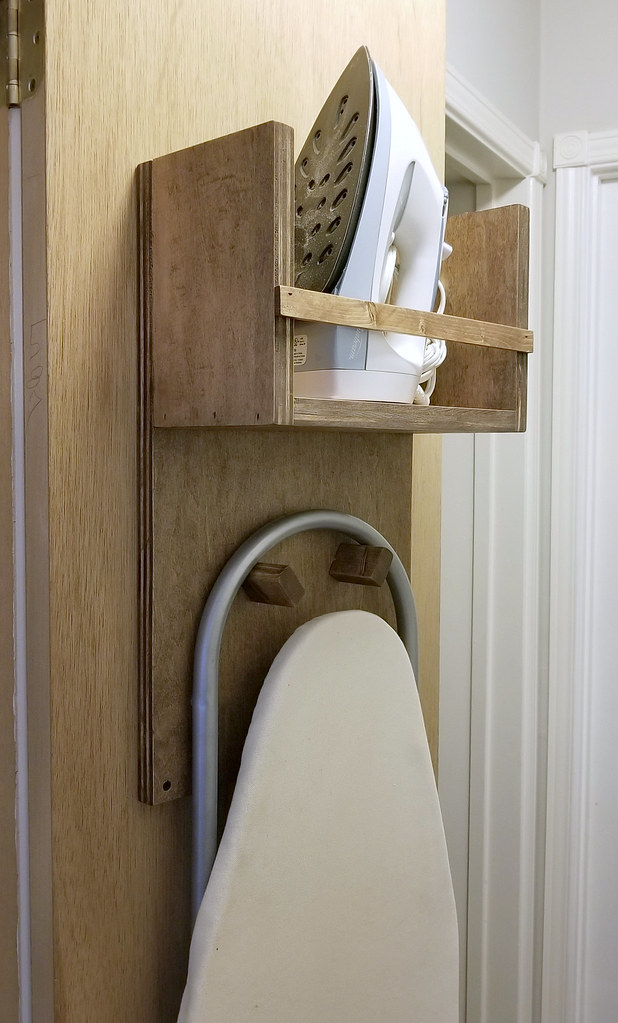
We have a compact tabletop ironing board so it fits perfectly on the inside of the linen closet door. I probably should have realized earlier that I could hang it there. And the door casing is deep enough that the shelf for the iron doesn't interfere with the shelves inside.

Ironing Board Holder (DIY)

Materials needed:
3/4" plywood (mine has a birch veneer)
1" x 1.5" pine board (or dowels)
1" x 1/4" pine trim
1-1/4" brad nails and/or screws

Tools used:
Air nailer (with compressor)
Drill/Driver
Measuring tape
Ruler
Miter Saw
Table Saw

Cut List:
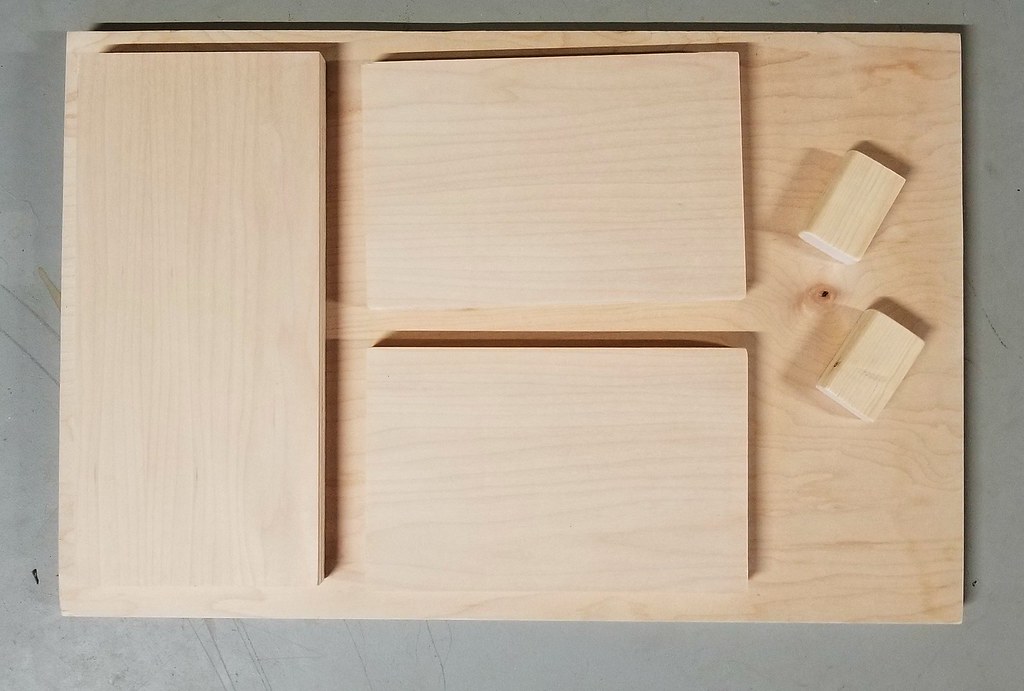
1 - 12"x 20" plywood (back)
1 - 10.5"x 5" plywood (shelf bottom)
2 - 7.5"x 5" plywood (shelf sides)
2 - 2" pine pegs or dowels
1 - 12" pine trim

Ironing Board Holder (DIY)

To build:

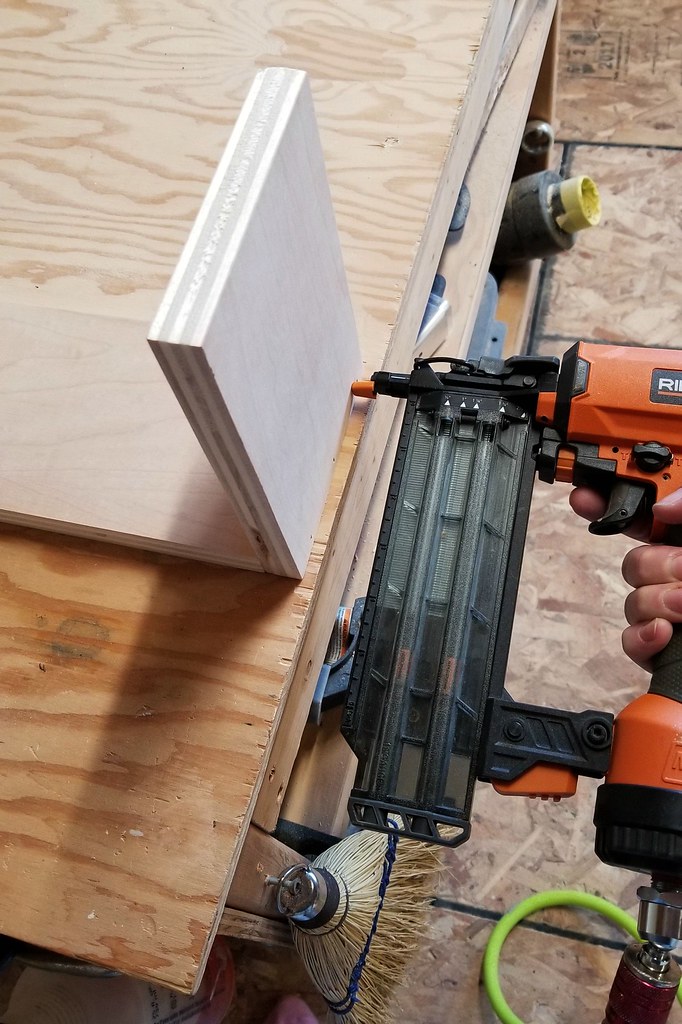
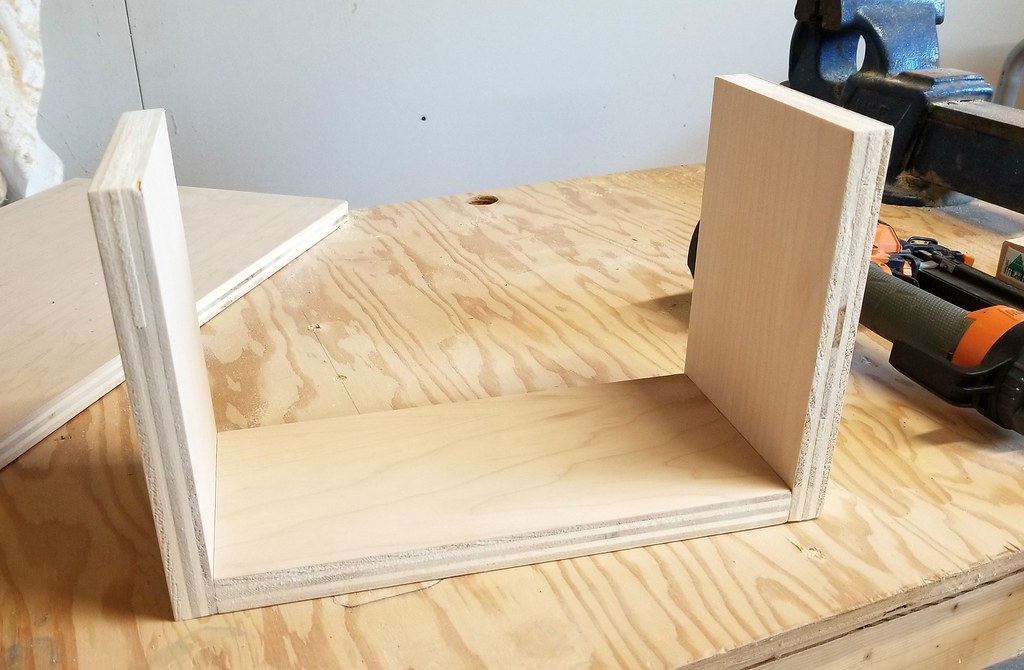
Attach the sides of the shelf to the bottom with either countersunk screws or brad nails. The bottom should be sandwiched between the sides and should be flush.

Ironing Board Holder (DIY)

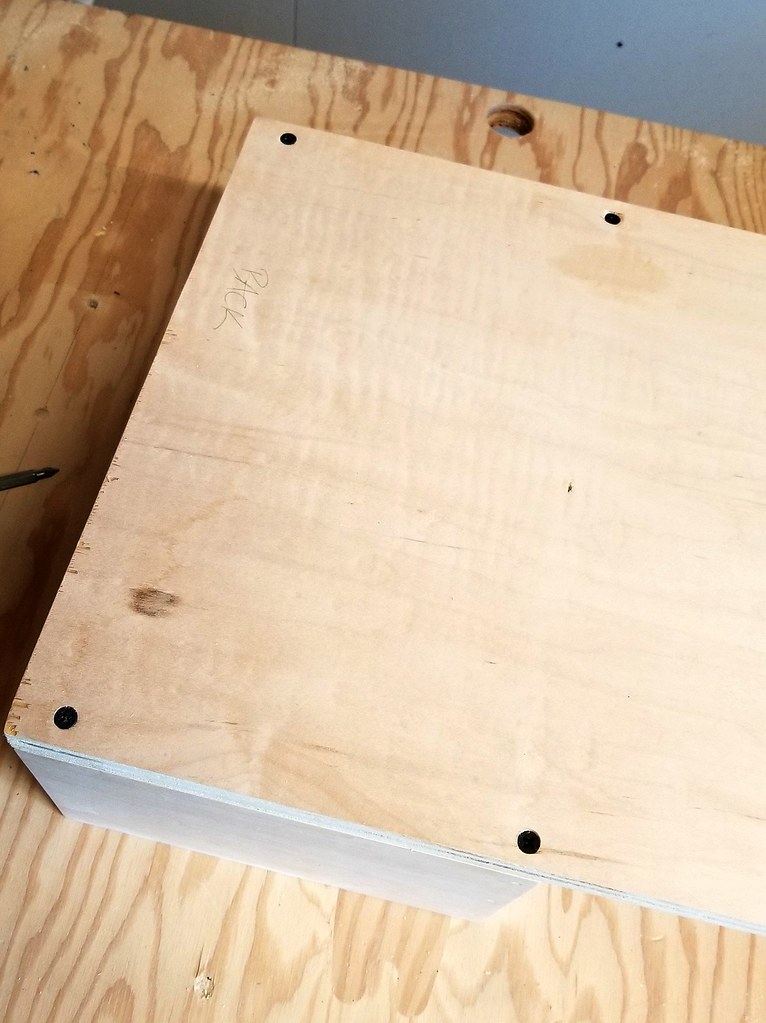
Attach the shelf pieces to the back with countersunk screws. All outside edges should be flush.

Ironing Board Holder (DIY)

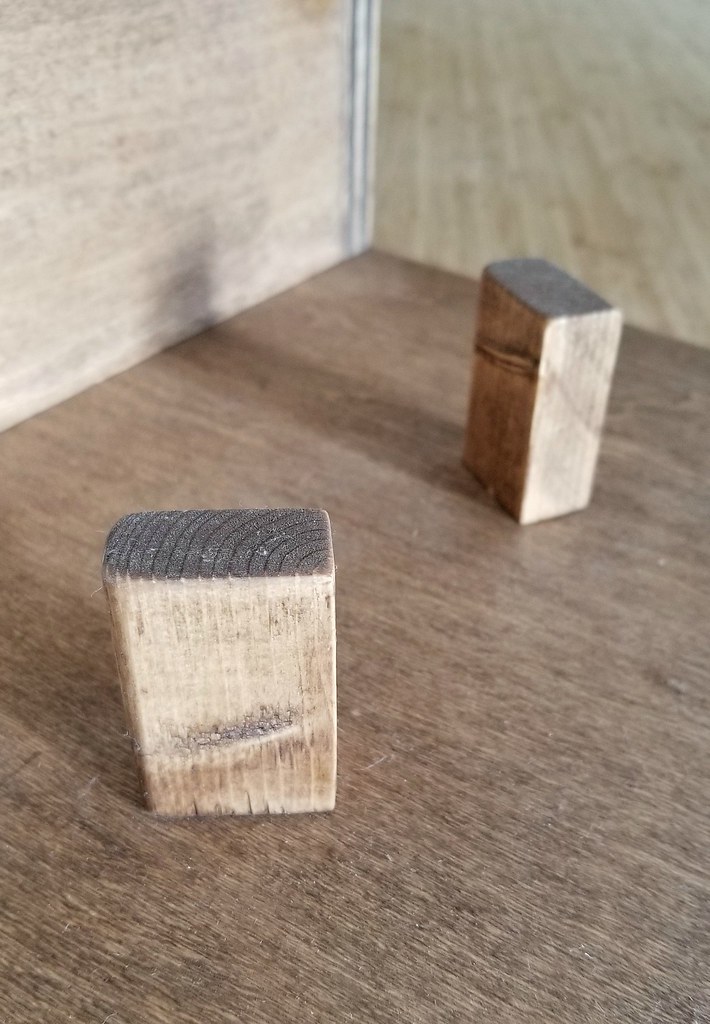
The board I found in the scrap pile for the pegs was flat on the bottom and rounded on the top. I have no idea where it came from or what it was used for, but it was ideal for this project. At first I was going to attach the pegs in a straight line like on the original plans, but due to the shape of the ironing board "leg", it made more sense to angle them. The curved edges of the tops of the pegs fit the curve of the leg perfectly.
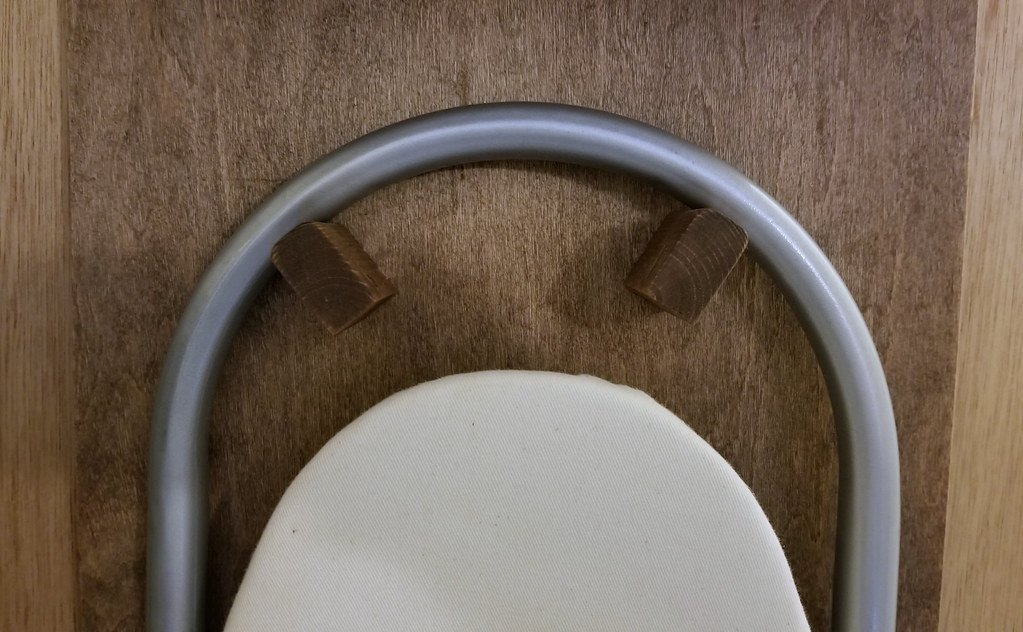
Ironing Board Holder (DIY)

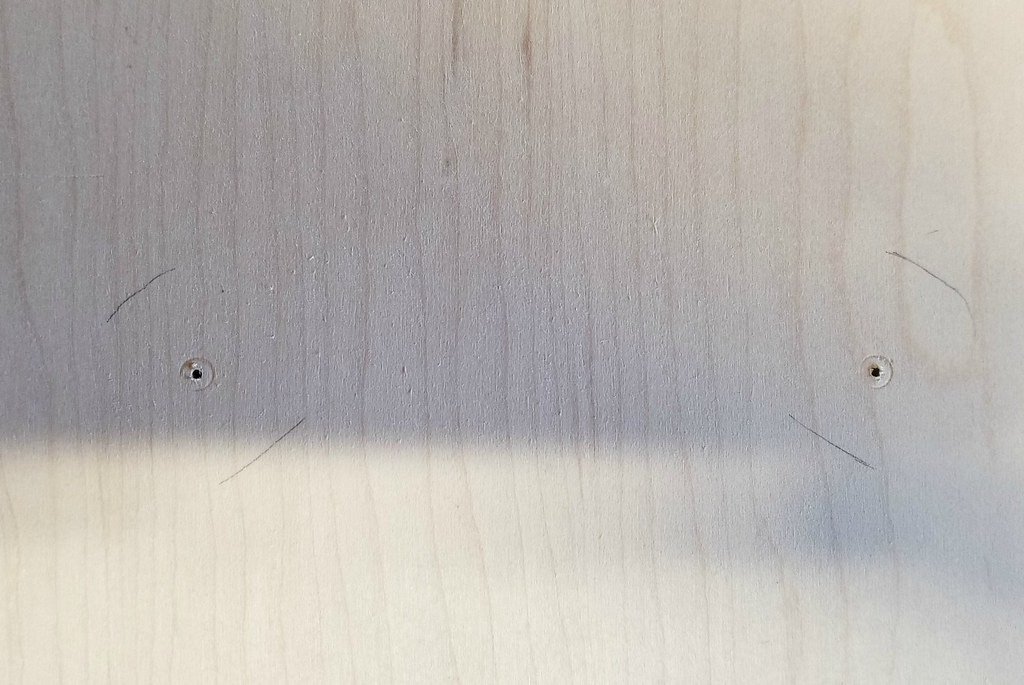
Place the pegs or dowels in position and trace around them. Taking a very small drill bit, drill a hole through the back board in the centre of each traced area. This gives you a reference point for the screws when you attach them from the back. Glue the pegs to the board to hold them in place while you're working on them. (I used a couple of drops of Krazy Glue).

Ironing Board Holder (DIY)

Screw the pegs to the board from the back, using the drilled hole as reference, as mentioned above. Since my pegs were going to be at an angle, I needed two anchor points for each, to keep them from twisting around. My ironing board is very light and the pegs are small, so I used two brad nails in each peg instead of screws.

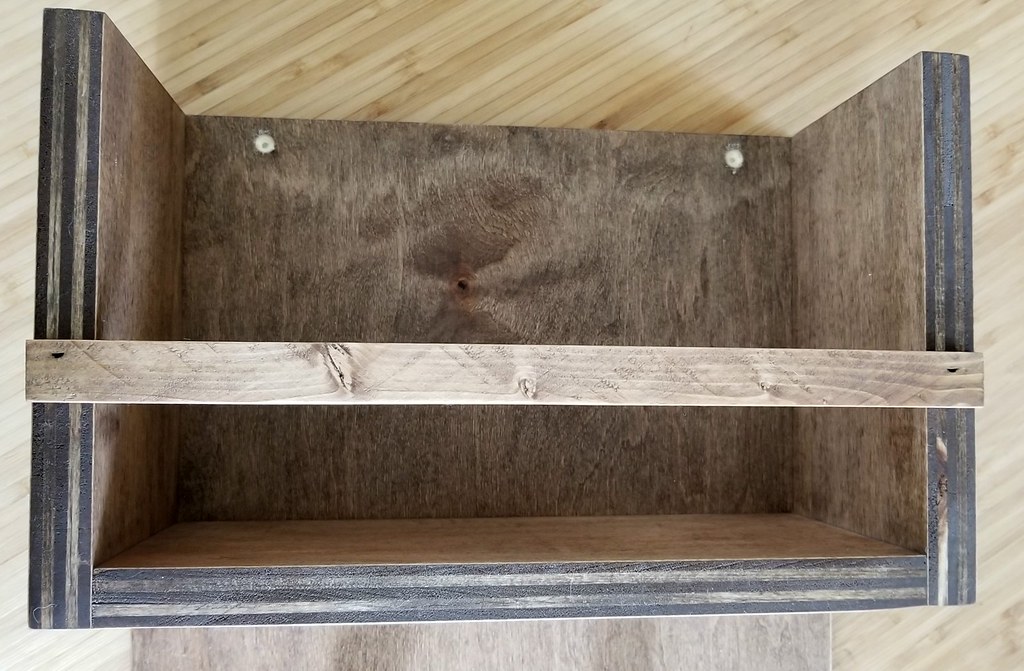
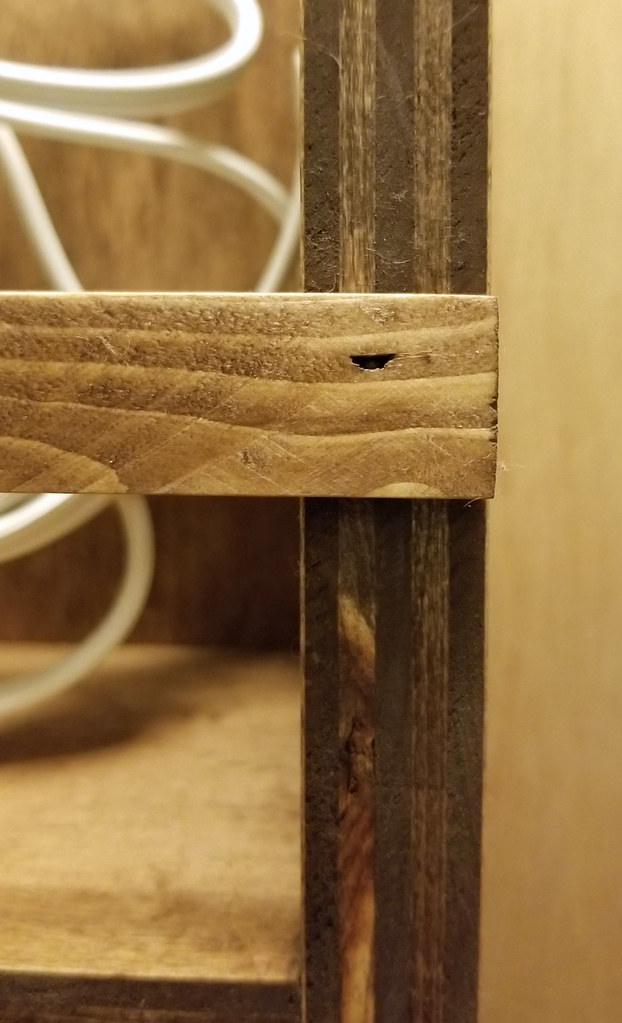
Attach the trim to the front of the shelf a few inches up from the bottom using brad nails or screws. This strip of wood keeps the iron from falling off the shelf when the door is opened and closed.

Ironing Board Holder (DIY)

My shelf was stained with Minwax stain in Special Walnut. Two coats and then buffed with a soft cloth.

The final step is hanging the holder. I mounted it to the inside of the linen closet door with a screw at each corner of the back board. If your iron or ironing board are heavy, you may want to use anchors behind the screws.

Ironing Board Holder (DIY)


Ironing Board Holder (DIY)

Ironing Board Holder (DIY)

Ironing Board Holder (DIY)

Ironing Board Holder (DIY)


Oct 15, 2018

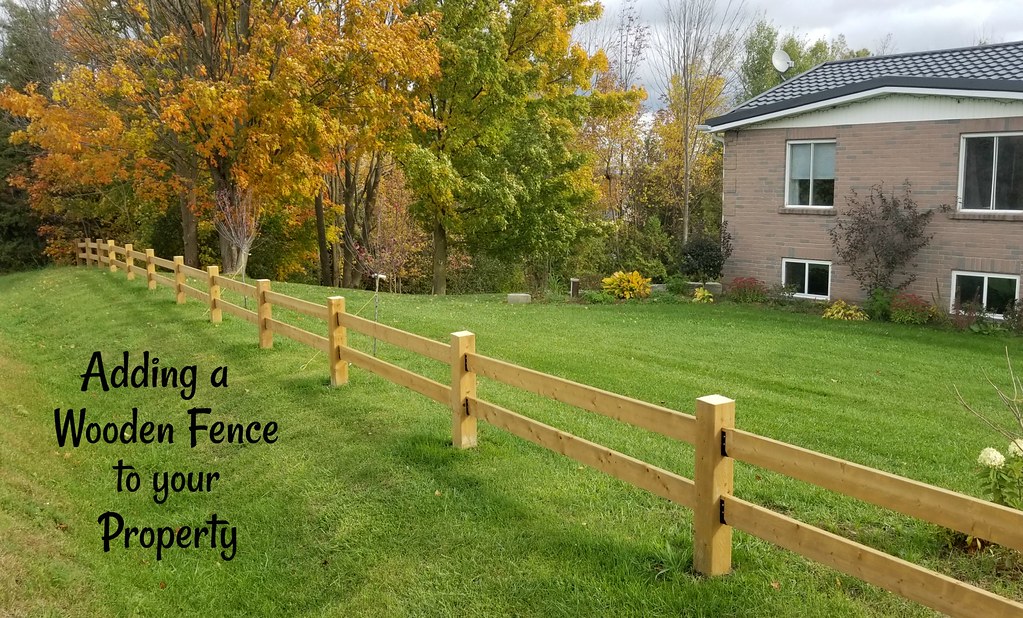
Adding a Wooden Fence to your Property

So, the journey continues to add more curb appeal to our property. I've always felt that the front of our house, including the yard, was too plain. The plans I carry around in my head include more trees, shutters on the windows, and possibly a stone façade. And the house itself is fairly close to the road so it really needed something to provide a visual break.

Adding a wooden fence to your property

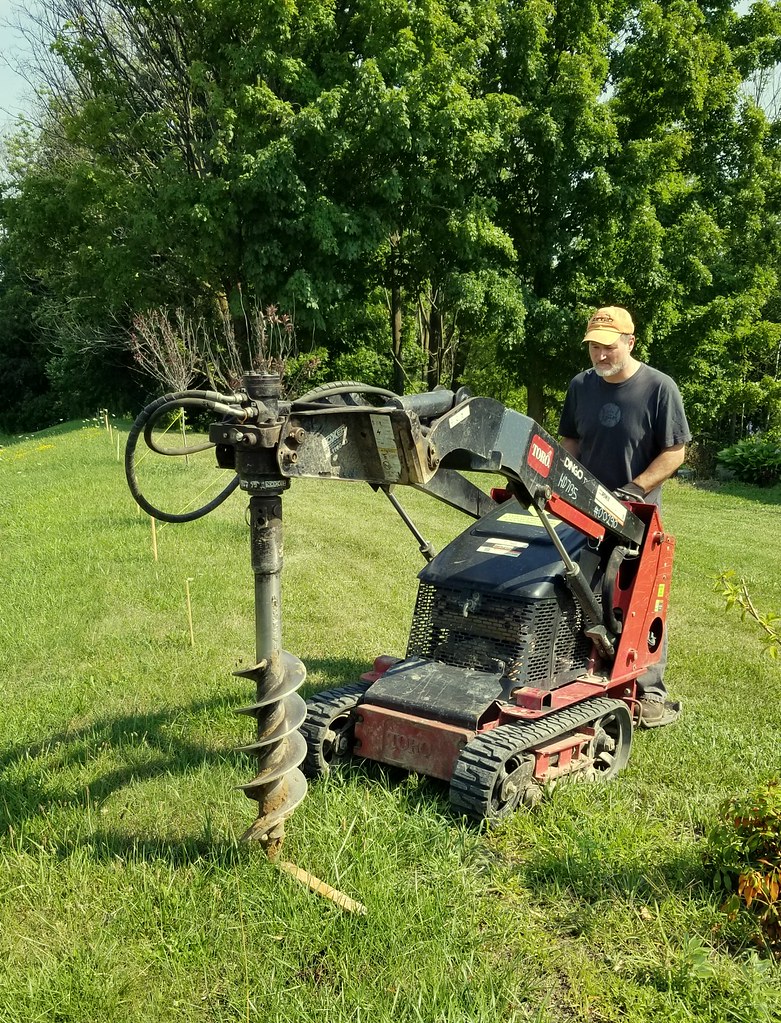
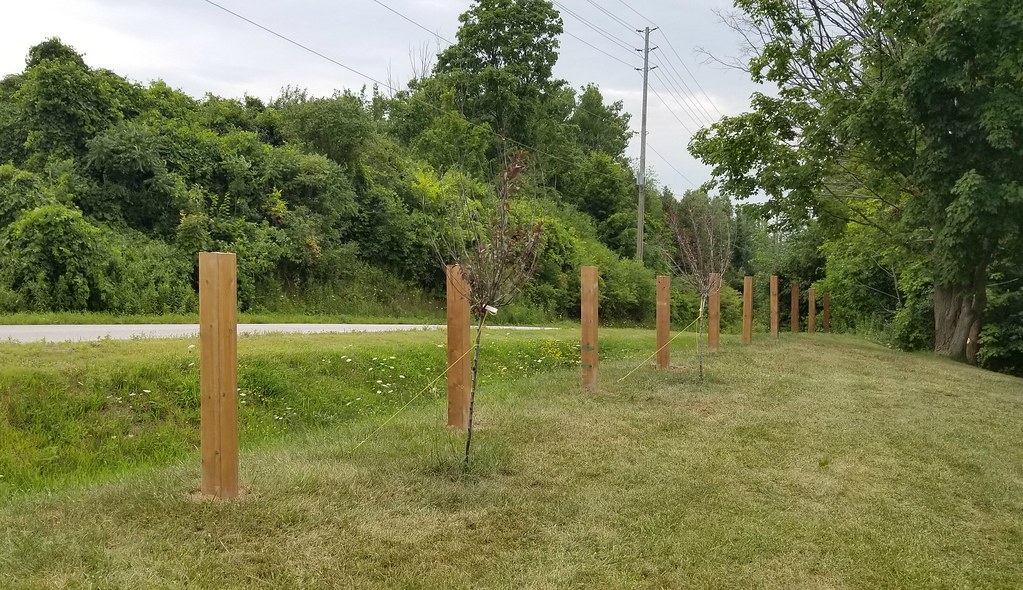
After mapping out the fence with stakes and string, we rented a mini skid-steer with an auger attachment and dug the post holes. The first few were easy, but we did hit rocks in most of them after that. It only took a couple of hours to do all fourteen holes. I can't imagine how long it would have taken if we'd had to dig them by hand.

mini skid-steer with auger

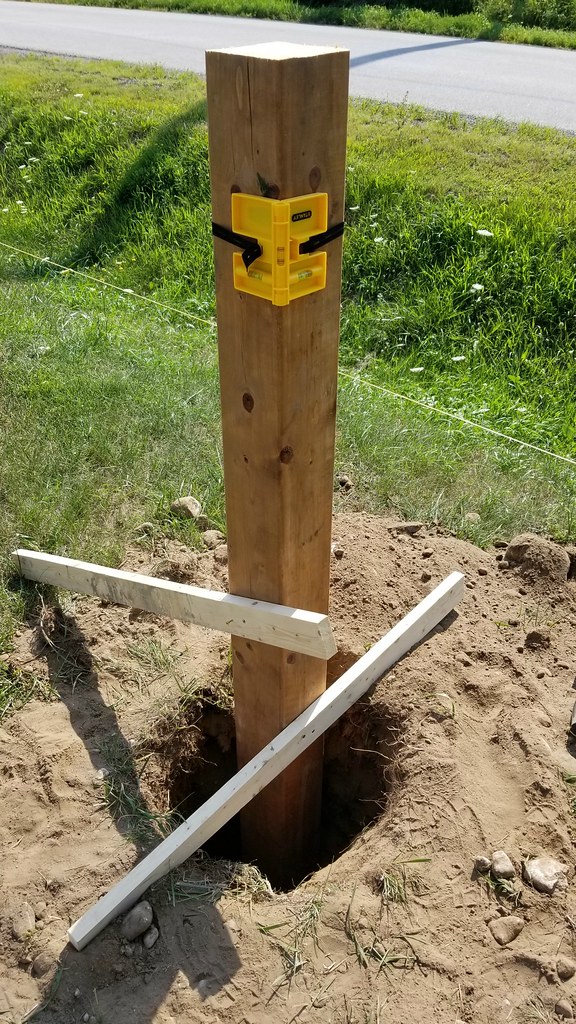
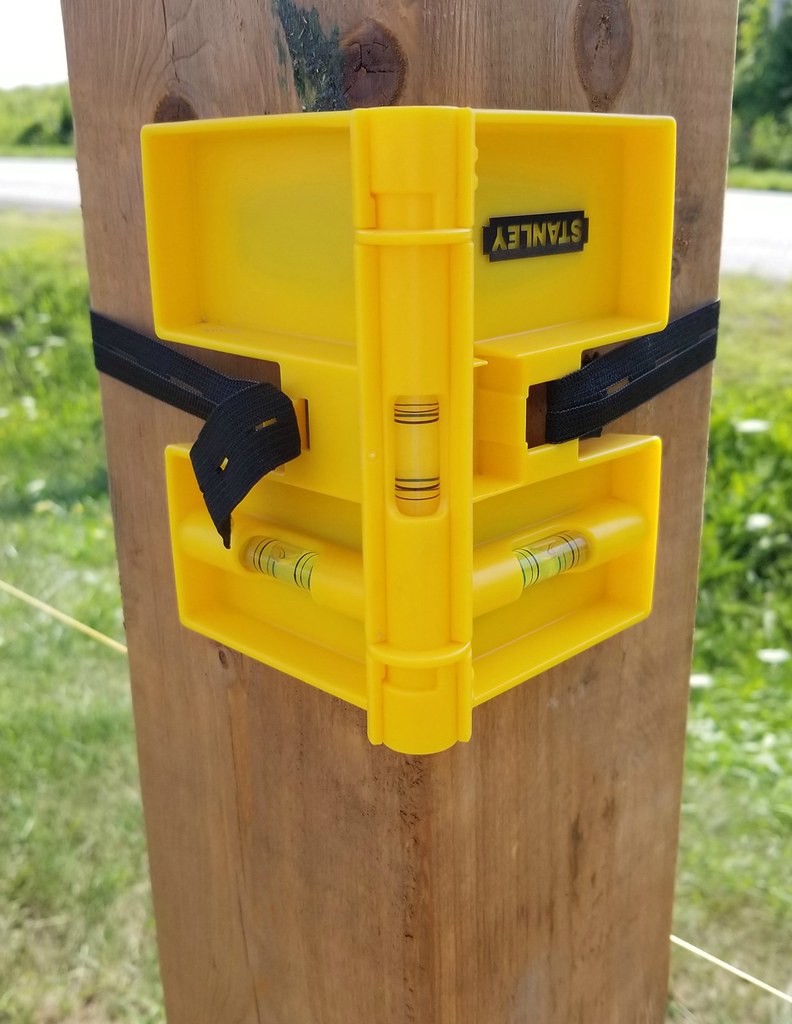
Once all of the holes were dug and the loose dirt cleaned out - that part was done by hand while lying on the ground, scooping, scooping, scooping - we positioned the 6x6 posts and filled the holes with rapid-set concrete. We started by putting some gravel down to provide drainage, then the post, which we leveled with two temporary crosspieces facing different directions. That corner post level was a God-send!

installing fence posts

installing fence posts

We then alternated adding concrete, gravel, and water until the hole was slightly overfilled (to allow for settling). The concrete hardened fast enough that in 20 minutes we could remove the crosspieces, to be used on the next post.

Adding a wooden fence to your property

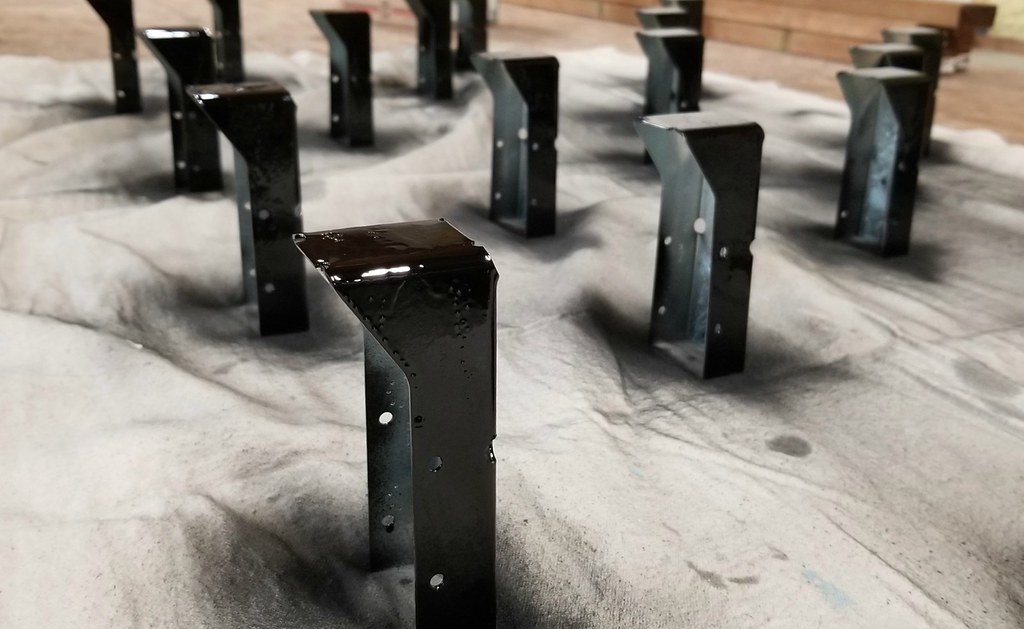
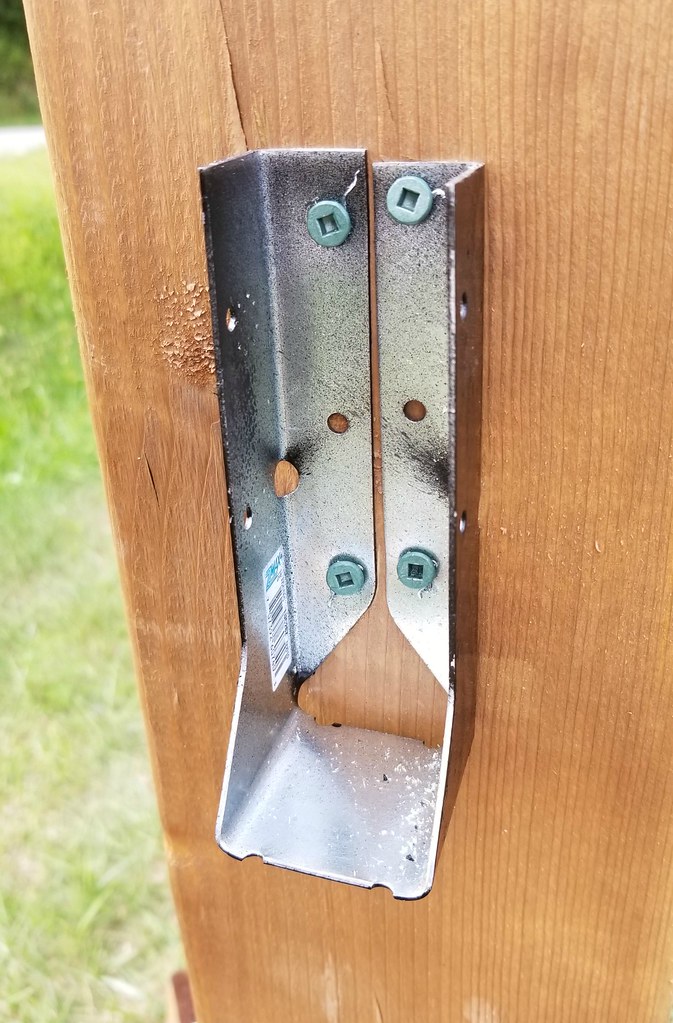
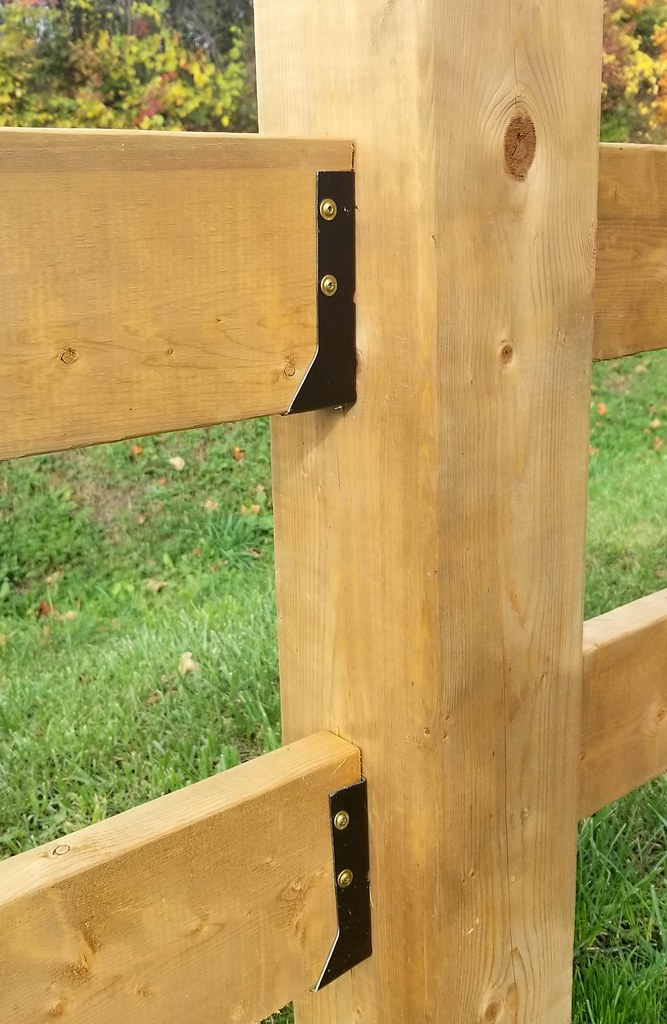
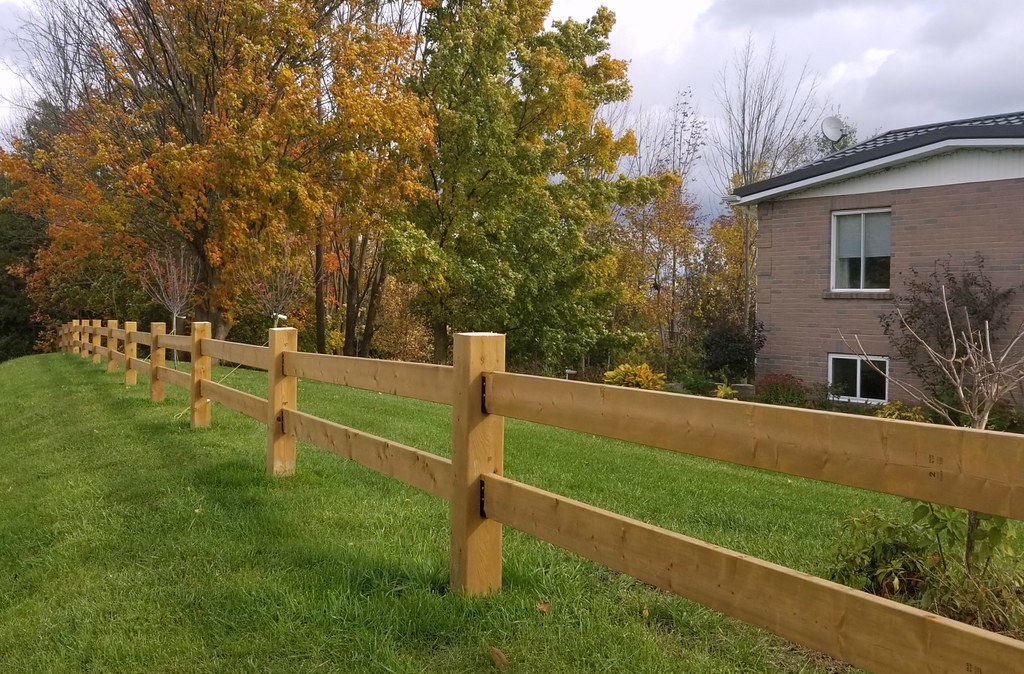
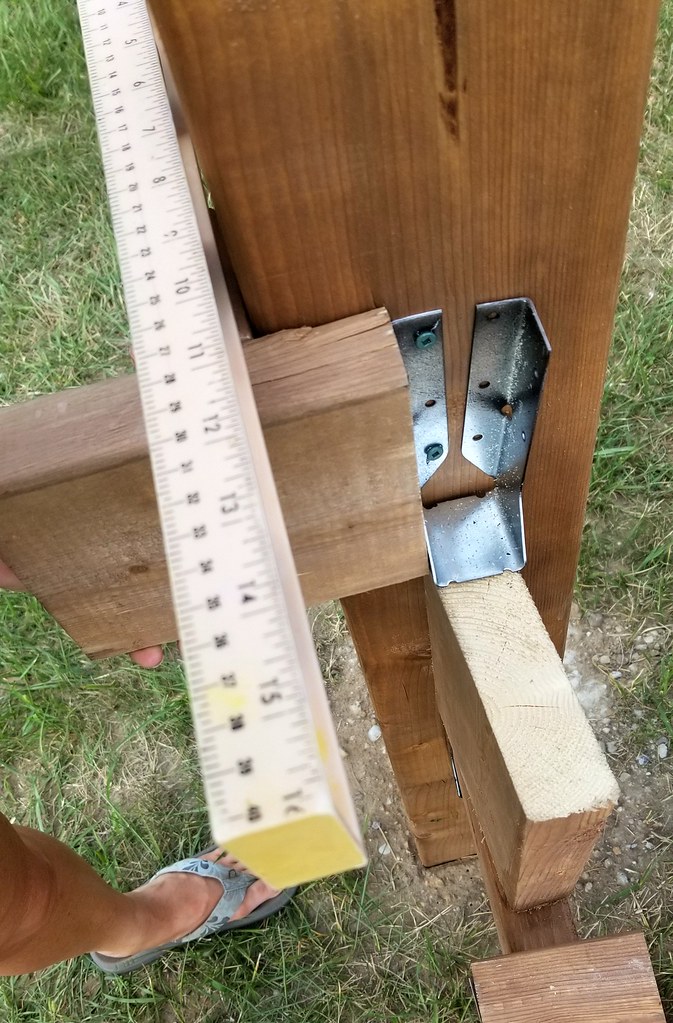
Once the posts were in, we hung the 2x6 horizontal rails with concealed-flange joist hangers that I spray painted a glossy black. These are joist hangers that you would use when building a house or deck. We wanted the rails to be centered on the posts, but didn't want to have to drill through every post to hang them. These were perfect, and the black colour makes them look like high-end hardware.

concealed flange joist hangers

The screws attaching the joist hangers to the posts are hidden behind the rail ends, and then low-profile cabinet screws connect the hangers and rails. We built a simple jig from scrap wood to ensure that each hanger was centered on the post. The cabinet screws have a washer head that gives an upgraded look.

Adding a wooden fence to your property

Our lot slopes to one side, so we had to eyeball the rail placement so that they look level, even though they aren't. I spent a lot of time standing out on the road, squinting and calling out for adjustments. However, we did use a spacer between rails so that they remain the same distance apart from section to section.


Adding a wooden fence to your property

The final step was to cut off the tops of the posts. We cut them a little at a time so that they didn't end up too short. I think we're going to keep the look streamlined and leave the tops squared off, but I also think I'd like them to be about an inch shorter than they are right now.

Before cutting:
Adding a wooden fence to your property

After:
Adding a wooden fence to your property

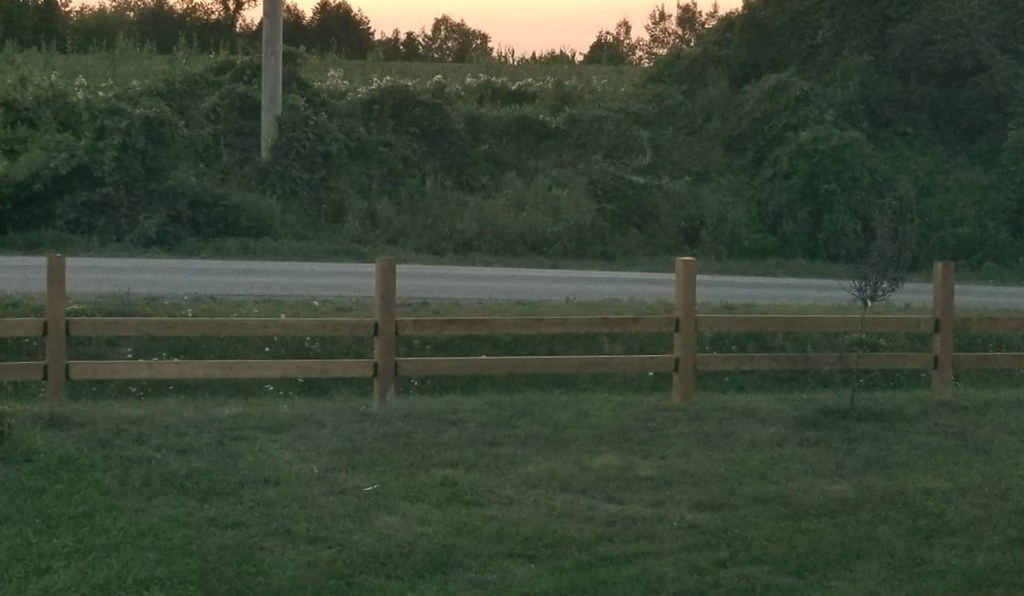
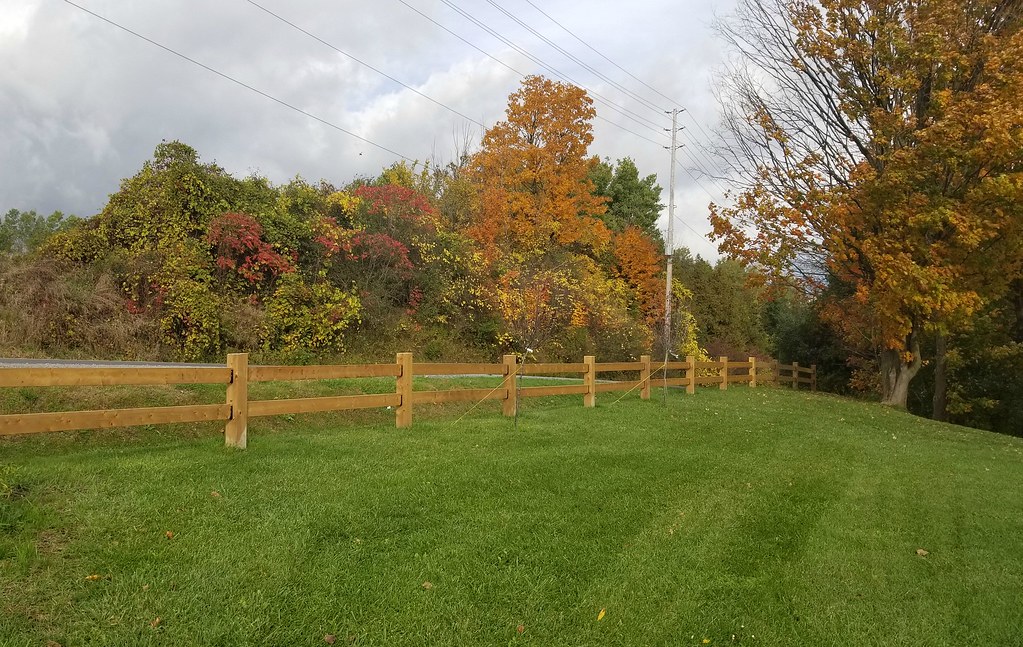
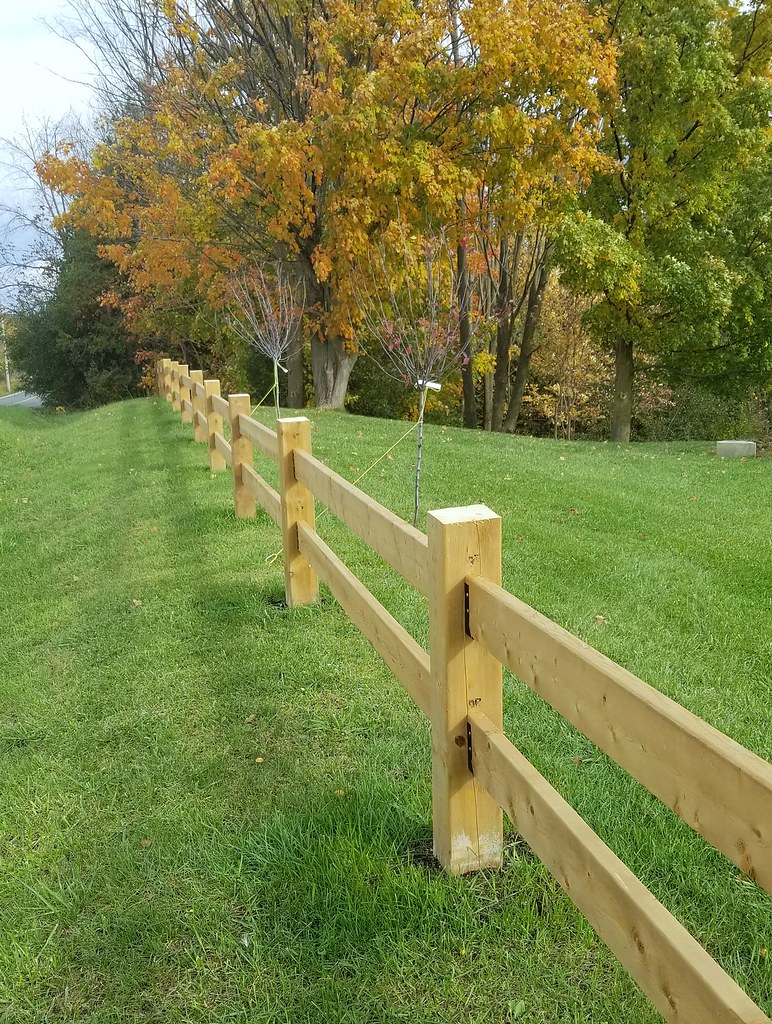
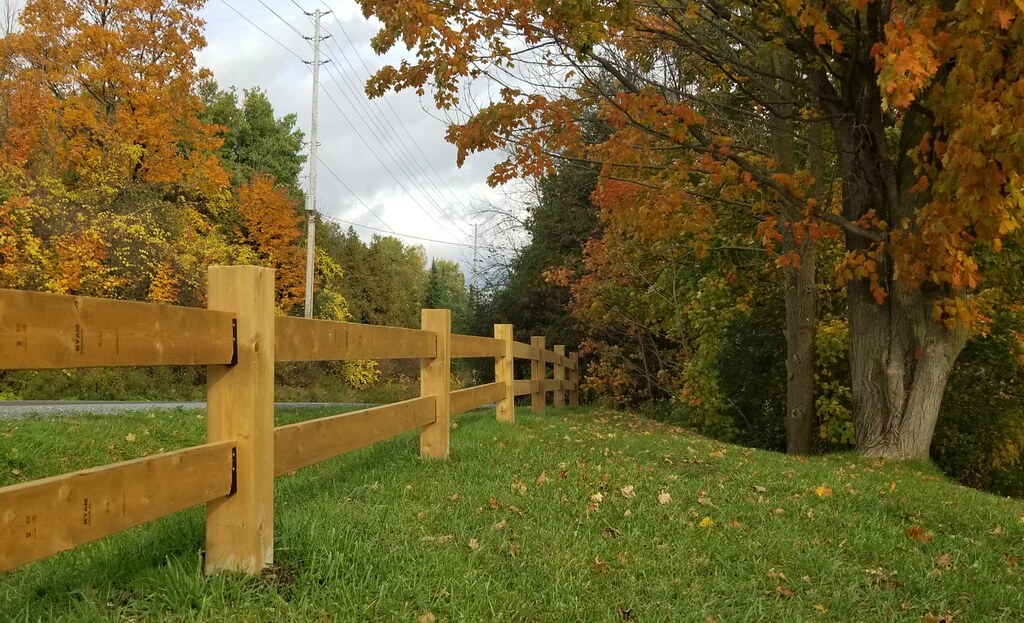
One thing I do know is that the fence looks fantastic with the trees behind, especially now that the leaves are changing colour. The natural wood fence warms up the look of the front yard and gives a solid framework to the whole property.

Adding a wooden fence to your property

Related Posts Plugin for WordPress, Blogger...