SEARCH THE BLOG

Dec 19, 2016

Last Minute Gifts for the DIYer


DIY gift guide last minute

So, we're counting down the final days to Christmas and it dawns on you that you don't have a gift for that handy, crafty, do-it-yourselfer in the family. Or maybe your loved one is just getting started and you want to help them kit out their workshop. What to buy?

Let me help you out with some ideas at all price ranges - from under $40, to bigger ticket items, to stocking stuffers. I've based it on the tools that we use the most and a few that we wouldn't mind having ourselves.


Gifts Under $40

DIY Gift Guide


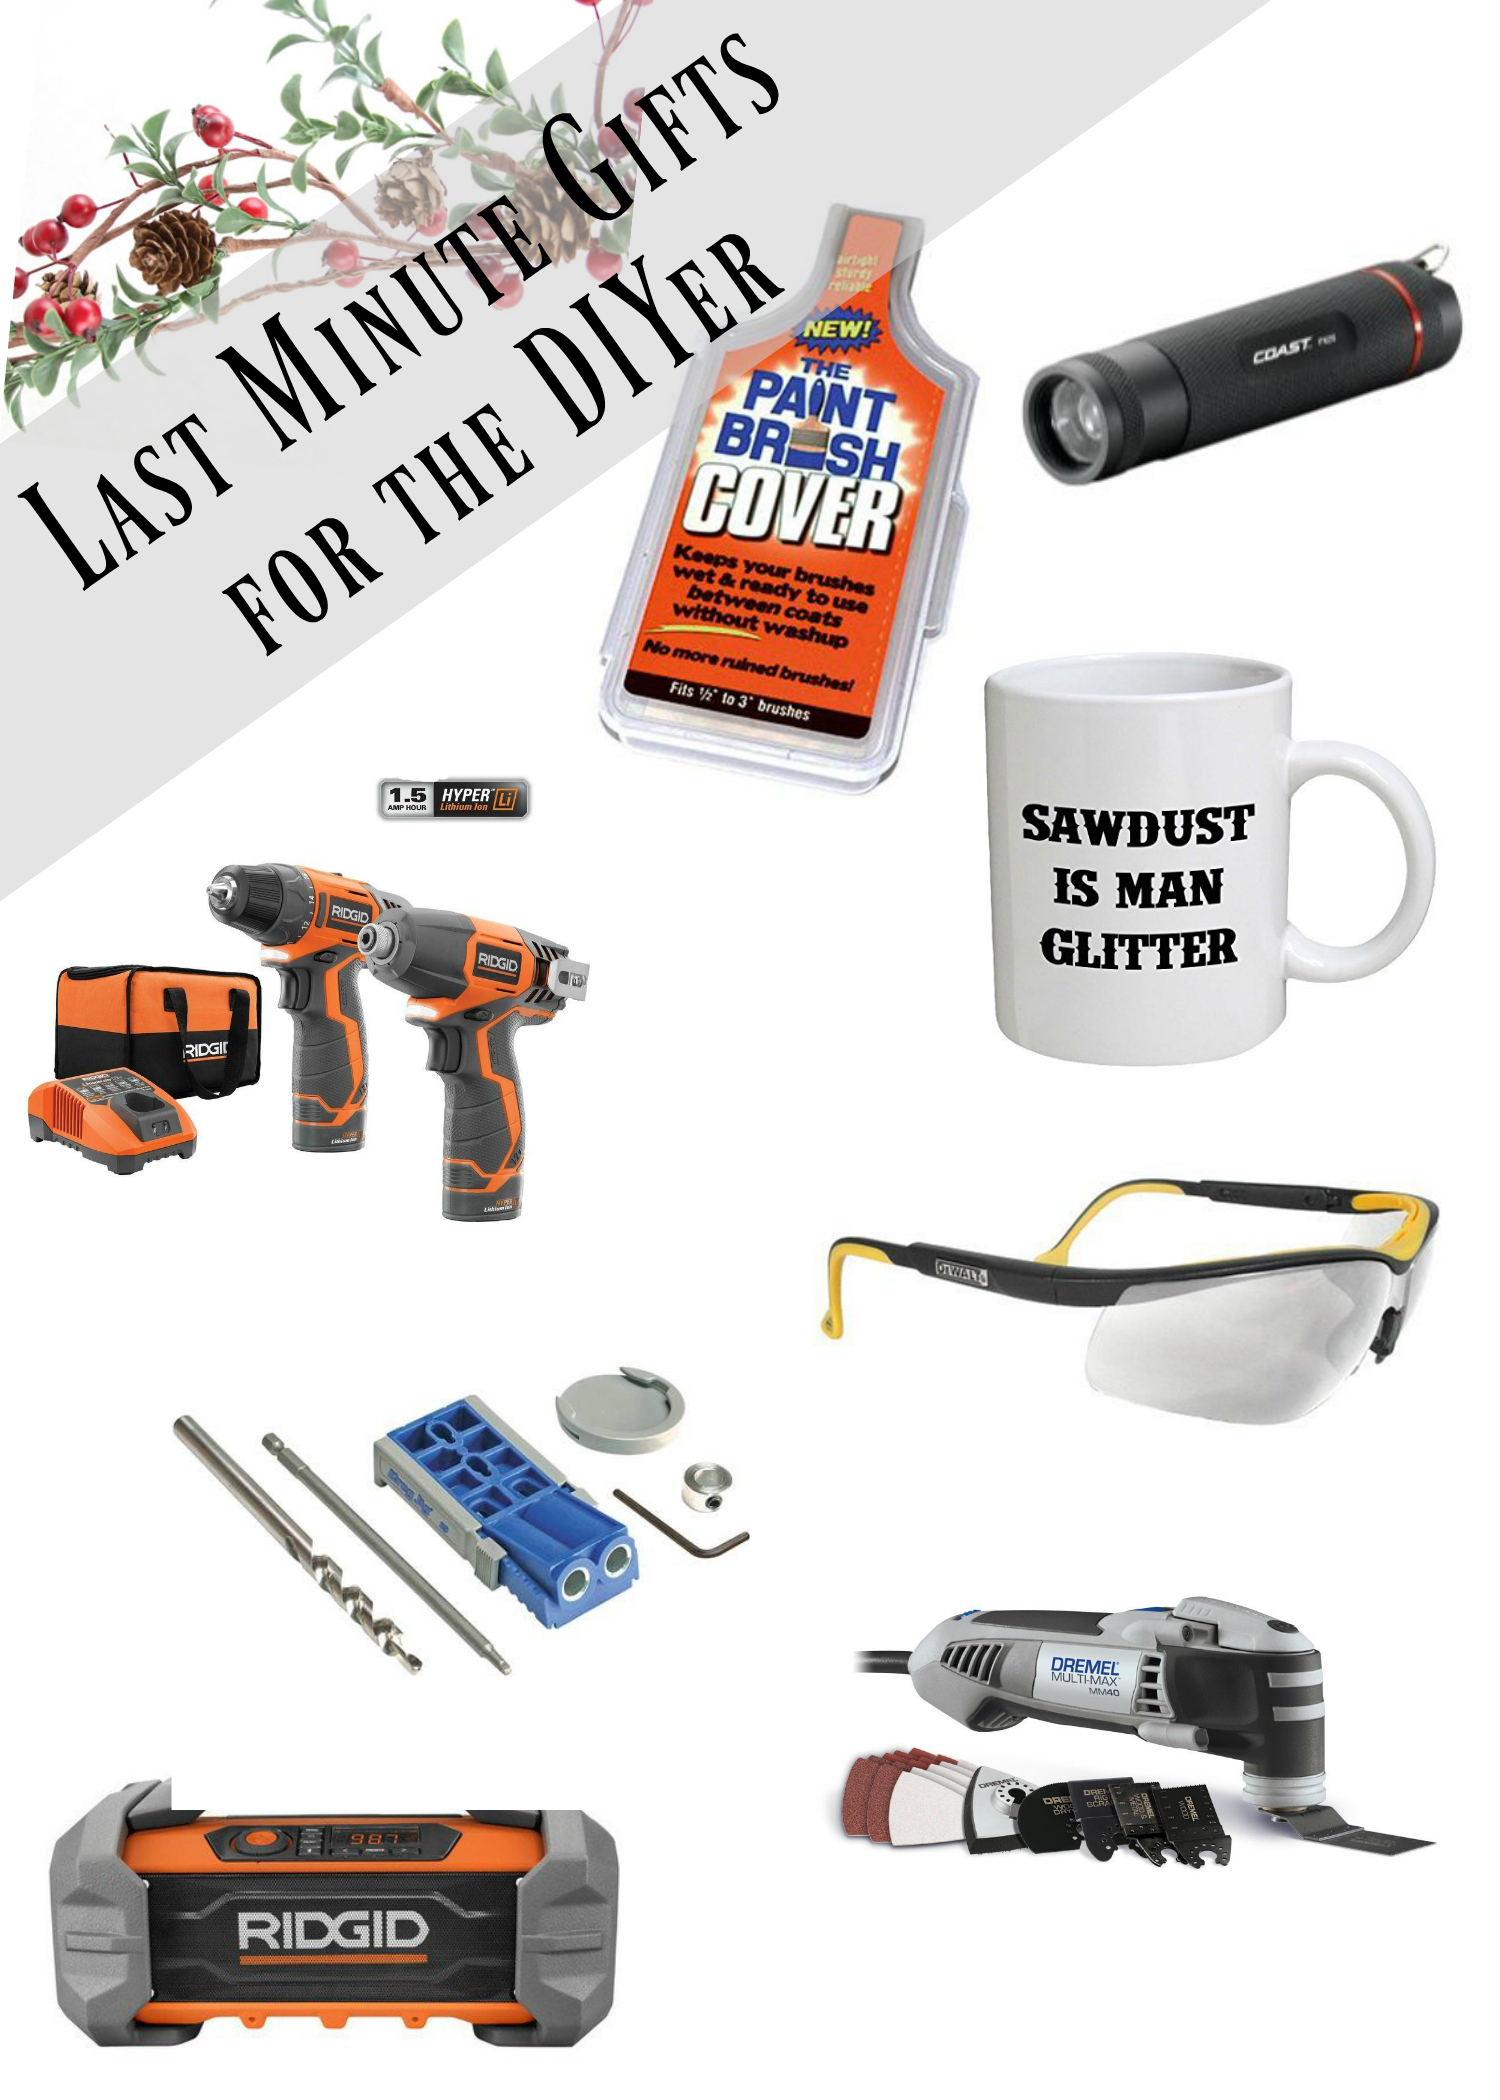
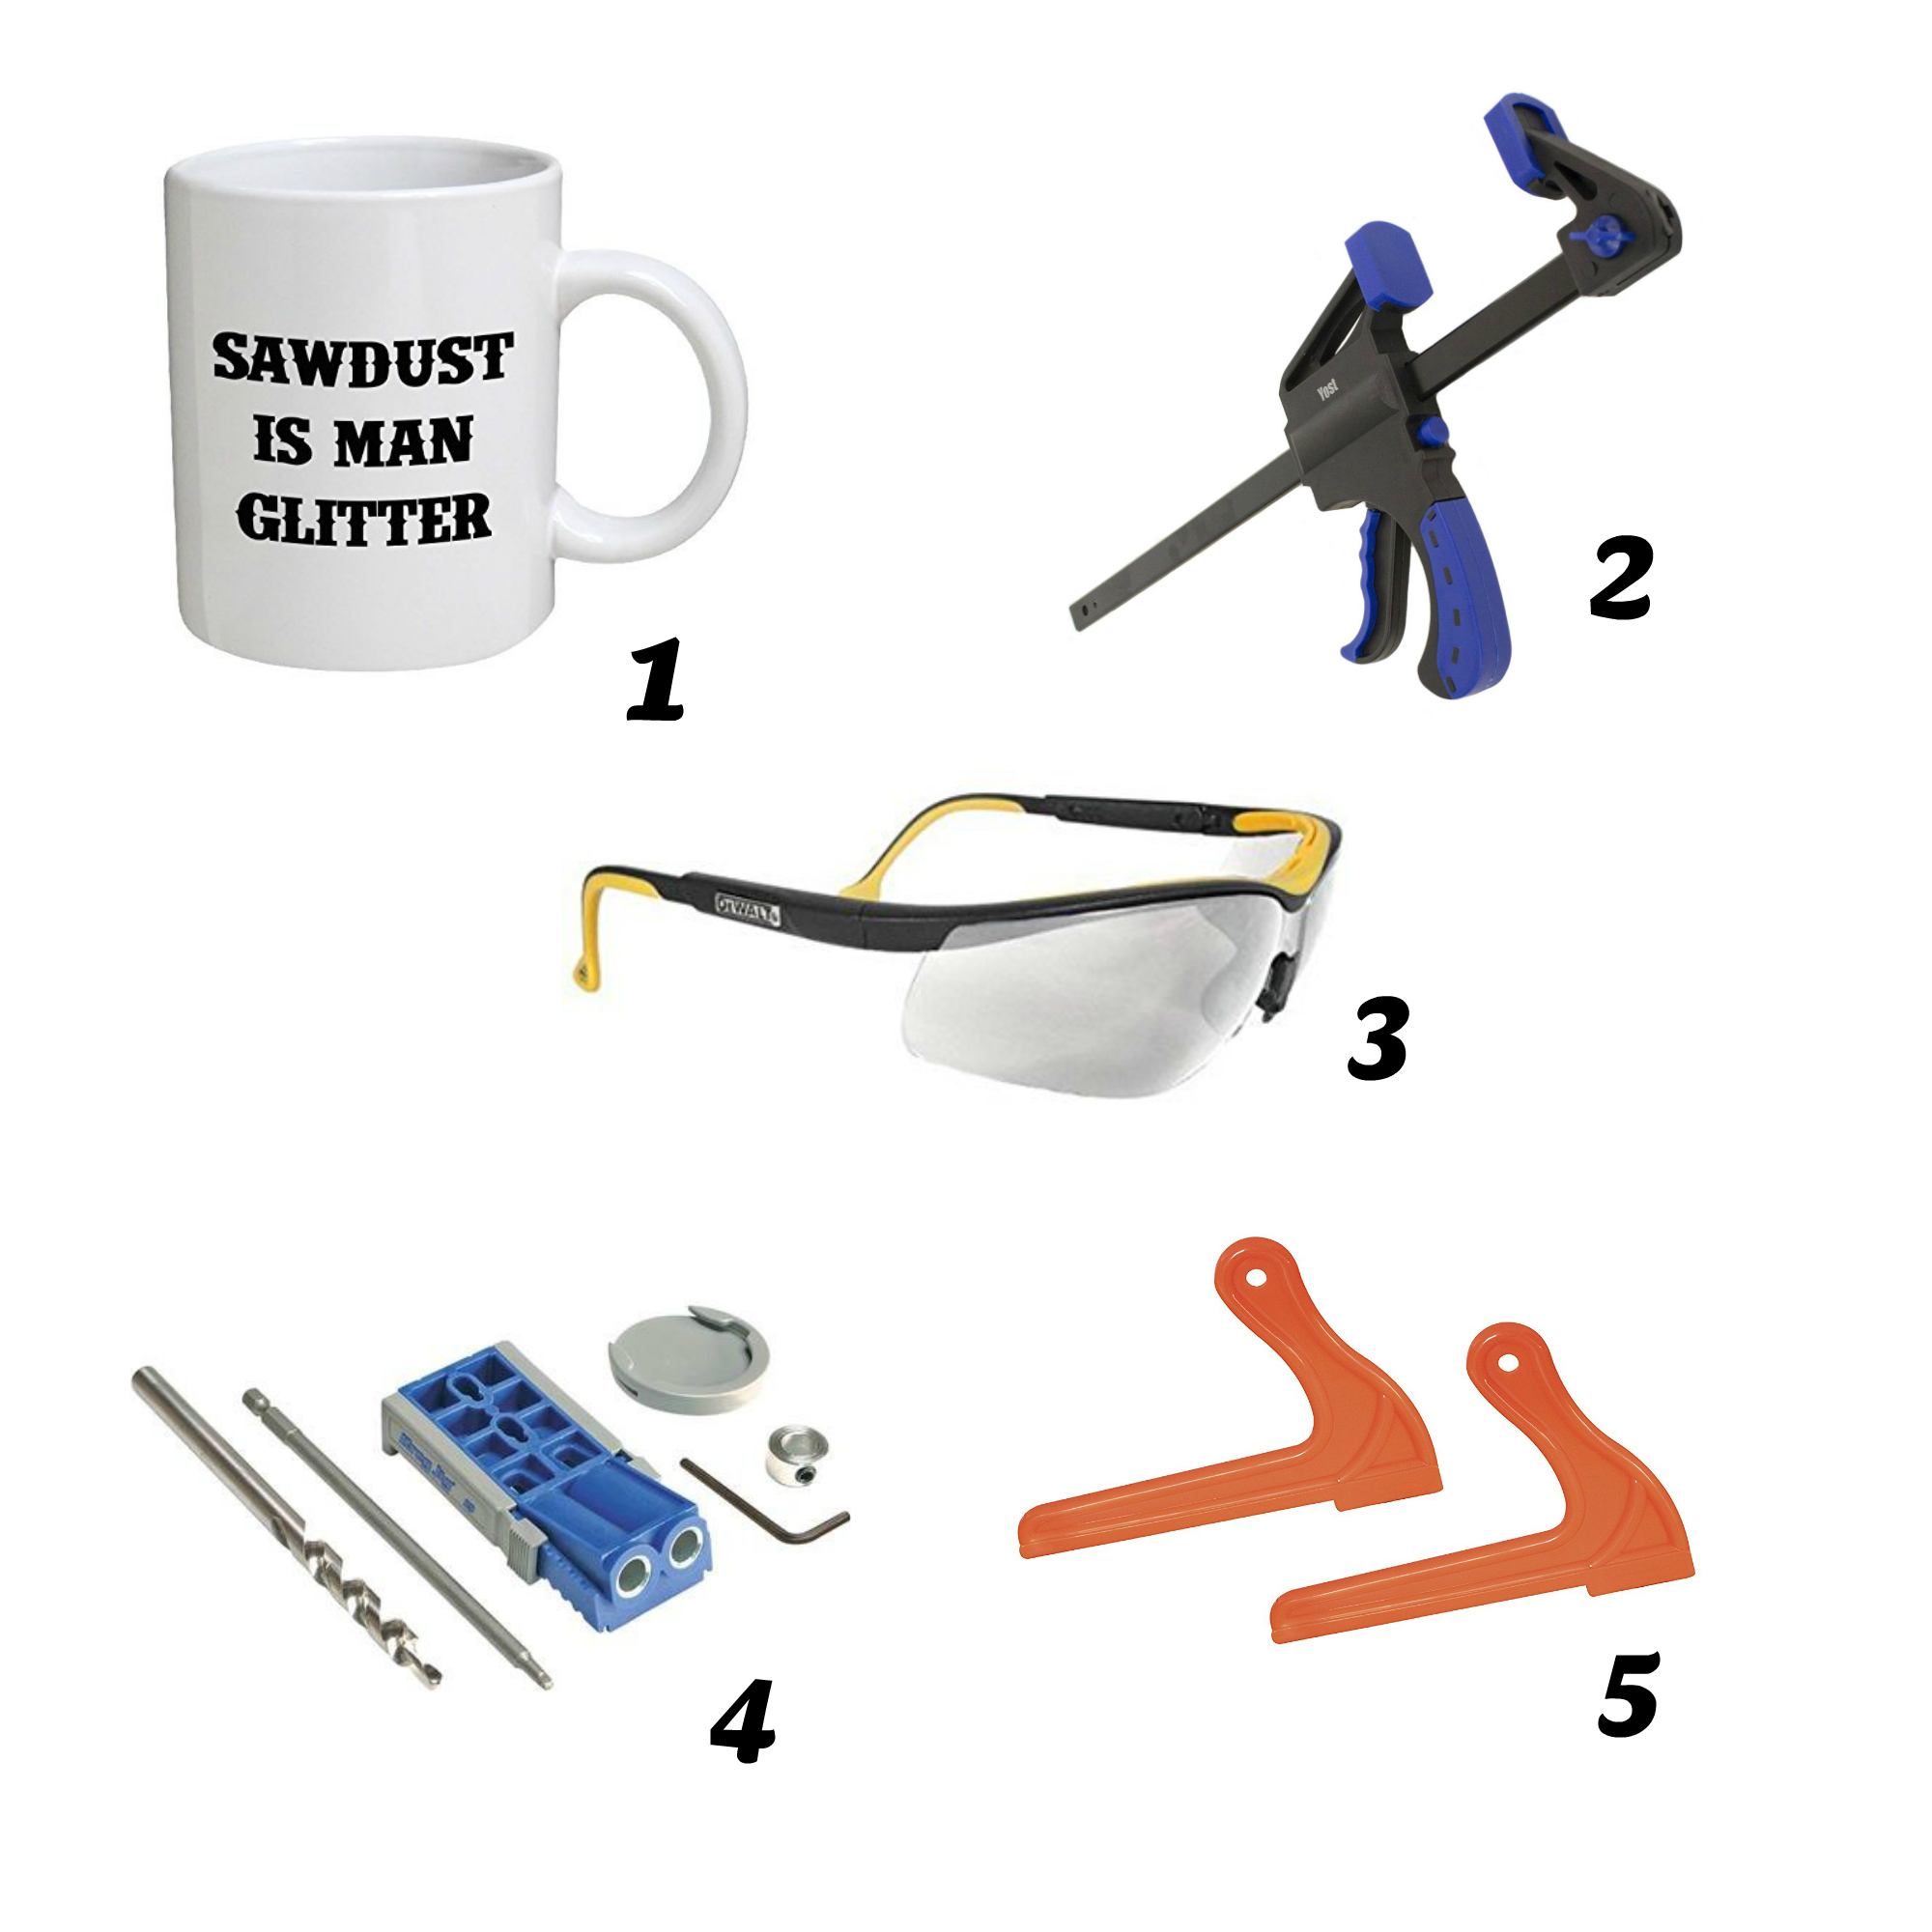
1. "Sawdust is man glitter" coffee mug. Tom laughs every time he hears this phrase. It also looks great on a t-shirt.
2. 24-inch bar clamps with trigger tightening. I've talked about these clamps before. I call them my "extra pair of hands." The 2-foot length makes them perfect for any-sized project.

3. Look how flashy these Dewalt safety glasses are. If you don't have safety glasses in your workshop then you should. You really should. You should probably have a few pairs as they're always getting misplaced. These bright yellow ones will easily stand out in a field of off-cuts and wood shavings.

4. My sweetheart, the Kreg R3 pocket-hole jig. For when you want to join boards at angles or along edges. That's pretty much all the time. The list of projects we've used this on is enormous. Pocket-hole screws provide an extremely strong joint and this jig guides you in drilling the holes at the correct angle and depth every time.

5. Do you have a table saw? (If not, see below.) Do you worry about your hands getting too close to the blade while the board is fed through? These table saw push sticks lock onto the board and allow you to keep it in place throughout the entire cut without having to guide it with your bare hands.


Gifts over $100 
DIY Gift Guide


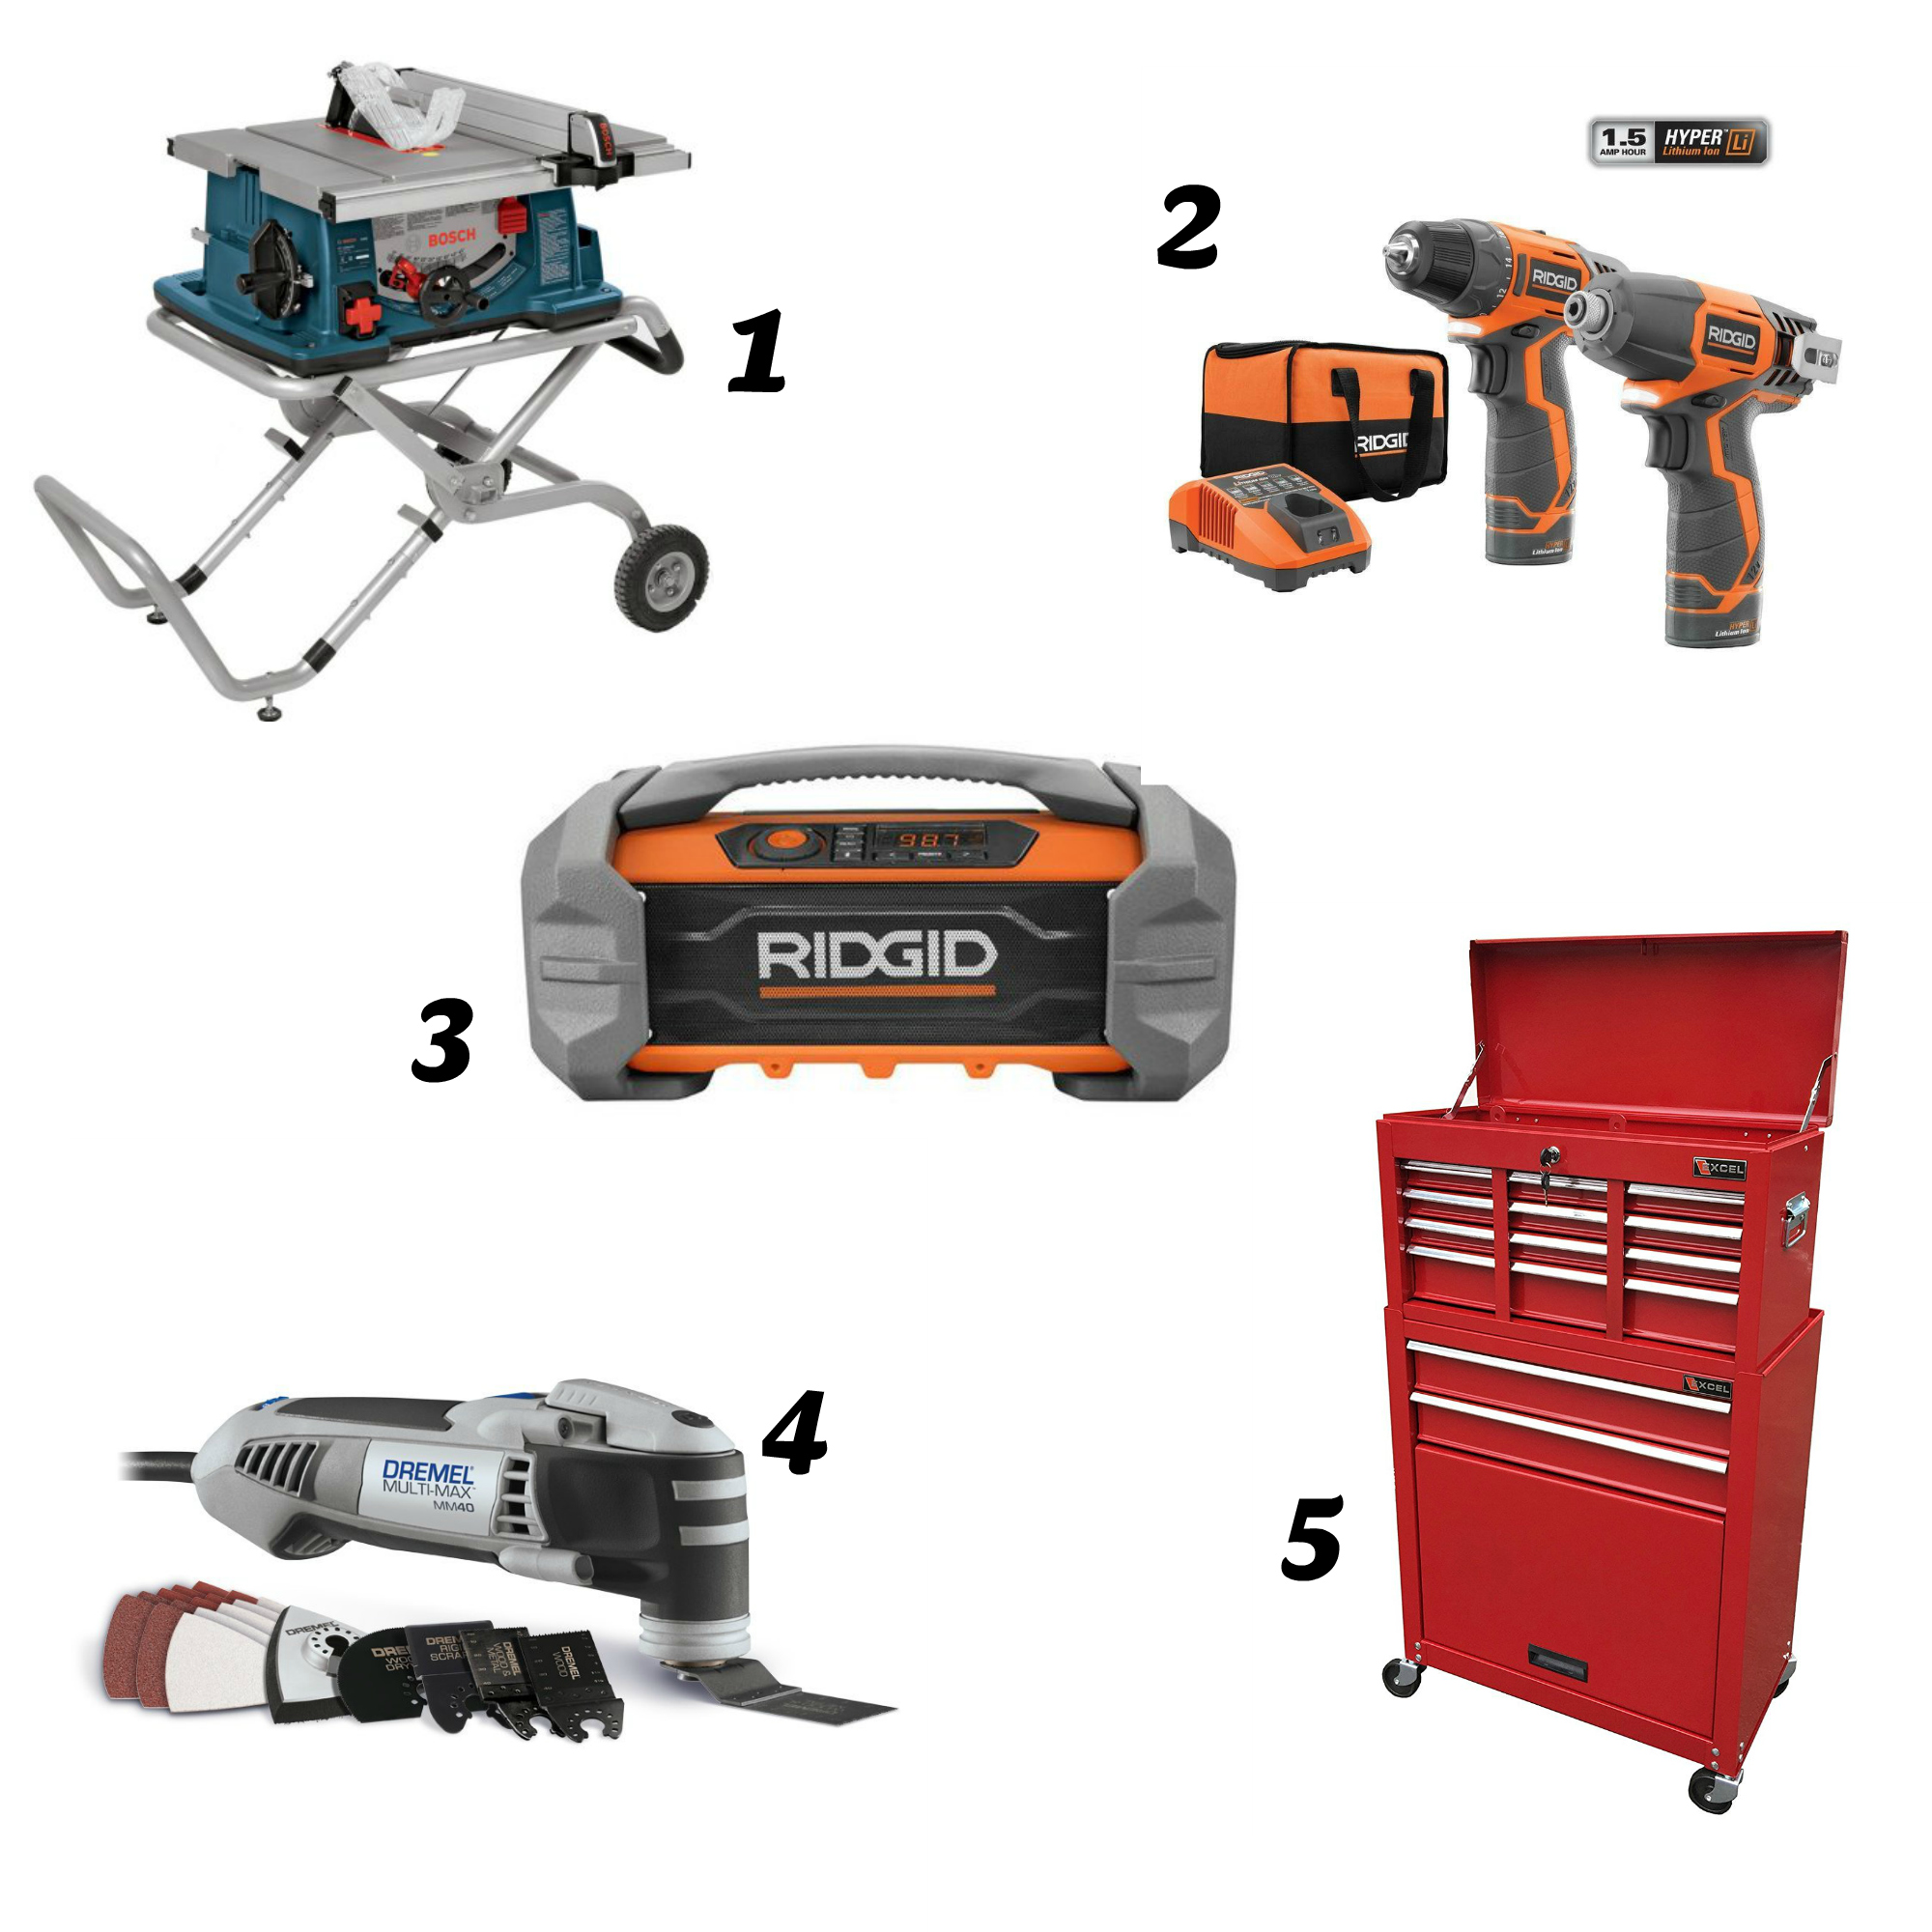
1. The lowly table saw. One of the building blocks of a well-equipped shop. This Bosch model comes with a stand that folds up - a bit like a stroller - for easy storage out of the way when you're not using it. But you'll be using it - A LOT.

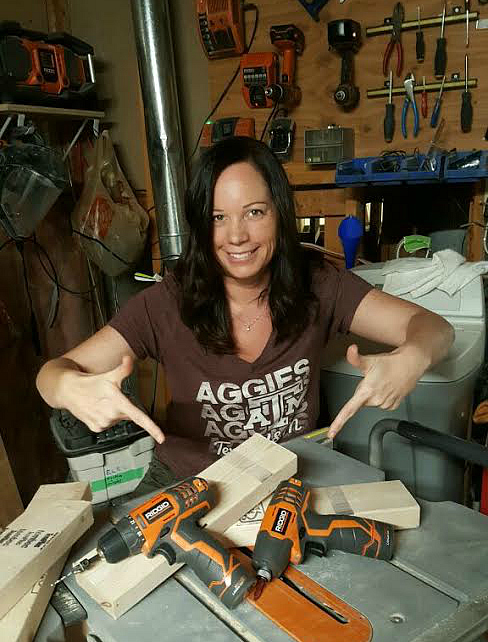
2. It only takes a couple of times attaching a screw by hand to realize you need a power driver. And your drill is your go-to hand tool. Ridgid now has this set of 12V drill/drivers that are lighter than the usual 18V workhorses, thanks to the smaller battery. I got them myself a couple of months ago. And once in a while I get to use them because Tom is always borrowing them.

My dorky face the day I got them:


3. It can get pretty boring just listening to the hum of the saw and the sound of your own thoughts. This Ridgid jobsite radio runs on any Ridgid 18V battery or can be plugged in. It has bluetooth capabilities and can be paired with your smartphone. It also has charging ports for your other devices. We have this model - you can see it in the top left of the photo above.

4. Everyone has heard of Dremel. Yes, you have. The Dremel Multi-Max oscillating tool does so many things. It can cut (in place!) It can sand. It can scrape. It's one of the tools that you'll grab for just about anything. Especially for smaller jobs - it's so much easier than dragging out your other saws.

5. Perhaps this should be #1 on the list. Keeping your work area neat, tidy, and organized is a priority. And being able to find that hammer or measuring tape or drill makes working on a project so much more fun. This 8-drawer Excel tool chest has space for everything, and it's mounted on rollers for easy maneuvering.


Stocking Stuffers
DIY Gift Guide

Your shopping is finally done but you realize that you still need a few stocking stuffers. The following are some "can't live without" tools that will fill up the stockings and fill out the toolbox too.


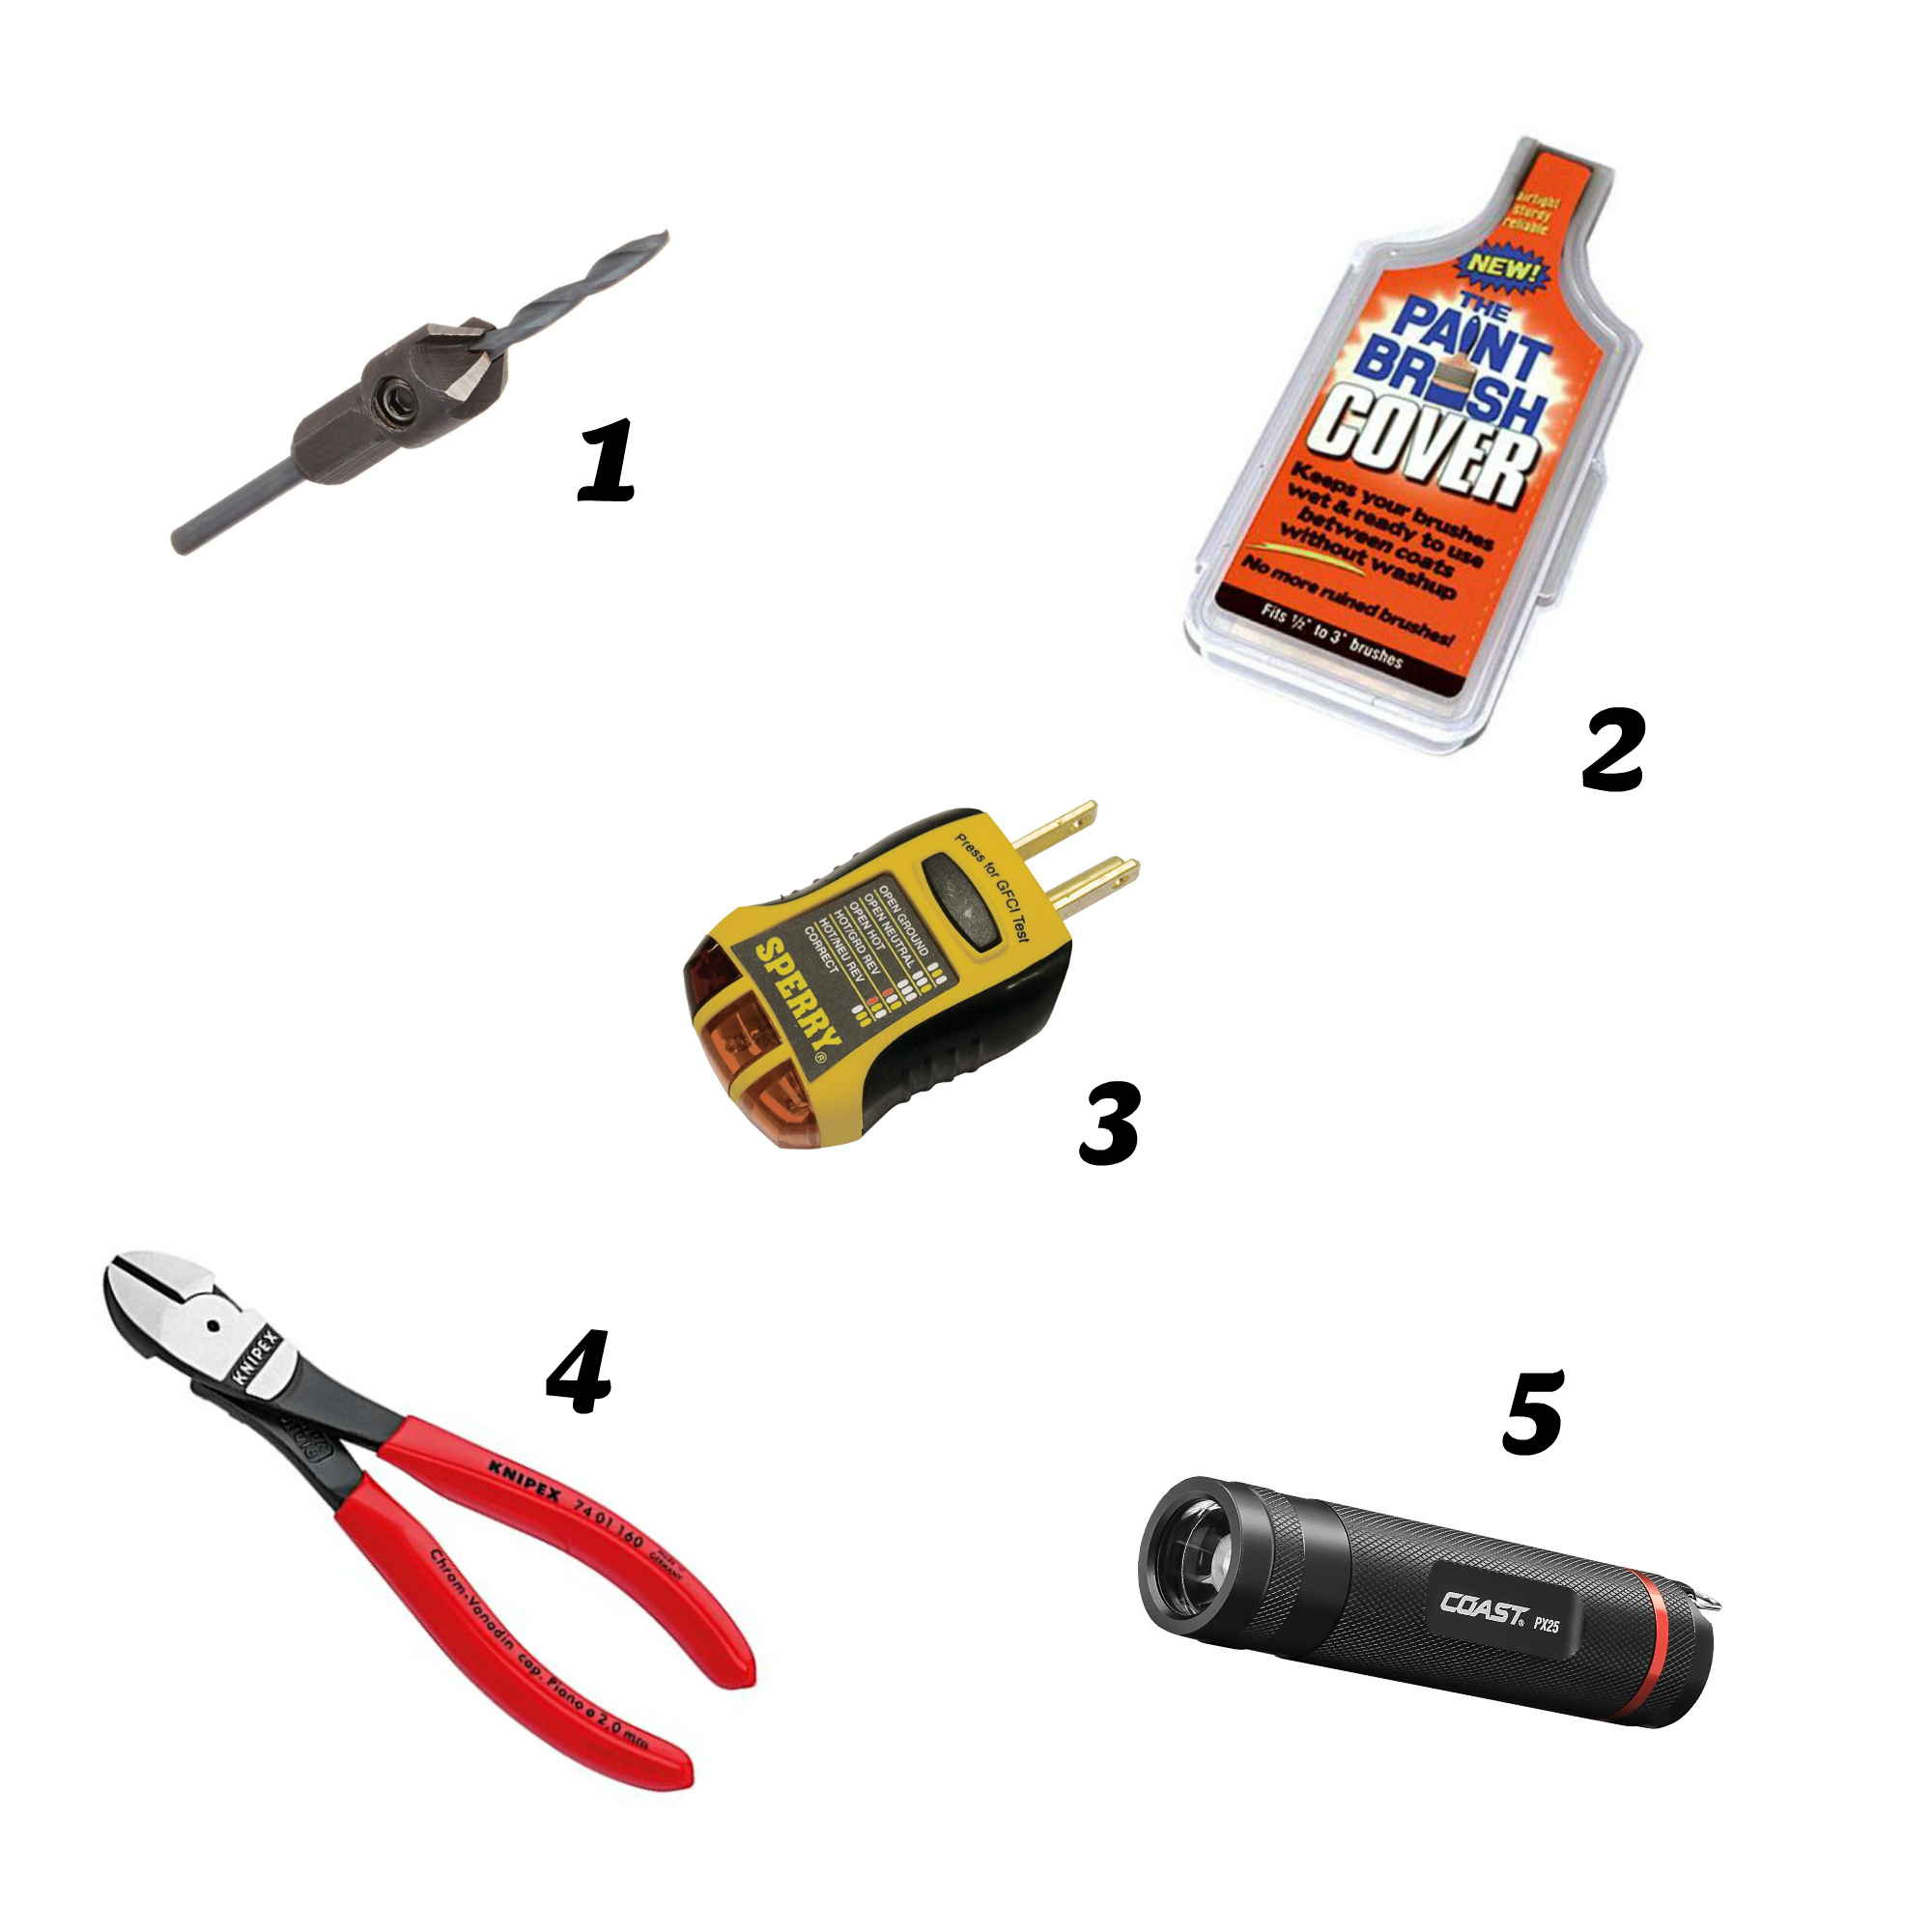
1. Nearly every project we do involves countersinking screws. 'Cause who wants to see screw heads sticking up? This combination countersink bit allows you to drill a pilot hole for your screw and bore a hole to countersink it at the same time.

2. I don't like cleaning paint brushes. But I do like taking breaks while I paint. Enter The Paint Brush Cover. It protects your brush from drying out between coats or between sessions. (There's also one for rollers.) The cover keeps the brush usable for up to a week. And it's easy to clean. I love this thing and grabbed a few the last time we were in the US (I haven't seen them in Canada yet).

3. Anyone can change an electrical outlet, right? So why isn't it working? This GFCI outlet tester plugs into the outlet and tells you what the error is through a combination of different light indicators. No more messing around and getting frustrated.

4. Diagonal-cutting pliers (aka sidecutters) are necessary for any toolbox. And you'll want good ones. These ones have a beveled edge for close cutting. Plus the handles are long enough to always be comfortable.

5. Tom recommended this LED flashlight. He uses his every.single.day. Whether it's looking in an engine, doing close electrical work, or figuring out what the dog has in her mouth, again. You'll reach for this every time. You might even want to carry it on your belt like a true professional.


Hopefully these gift suggestions help you out. Because no one wants socks again. Unless they're these ones.


Dec 7, 2016

DIY Scrap Wood Entry Bench

We've spent a lot of time working out exactly how we want to renovate the basement and what the layout will look like. A lot of time. Tom laughs because I can't talk about it for more than 15-20 minutes before my eyes start to glaze over and the ability to make decisions is too much. So we have short "discussion-bursts".

Tom has decided that he wants spray foam insulation in the basement walls - meaning we had to remove all of the previous framing as it was too close to the wall. There needs to be a gap between the concrete exterior and the framing so that the foam can act as a vapor barrier to moisture.

So we spent a weekend tearing it all down and hauling old lumber out to the burn pile. But plenty of the wood was still in good shape so I asked Tom to keep some of the better pieces for me. I ended up with about eight 2x4s with 3 to 4 feet of usable wood on each board.

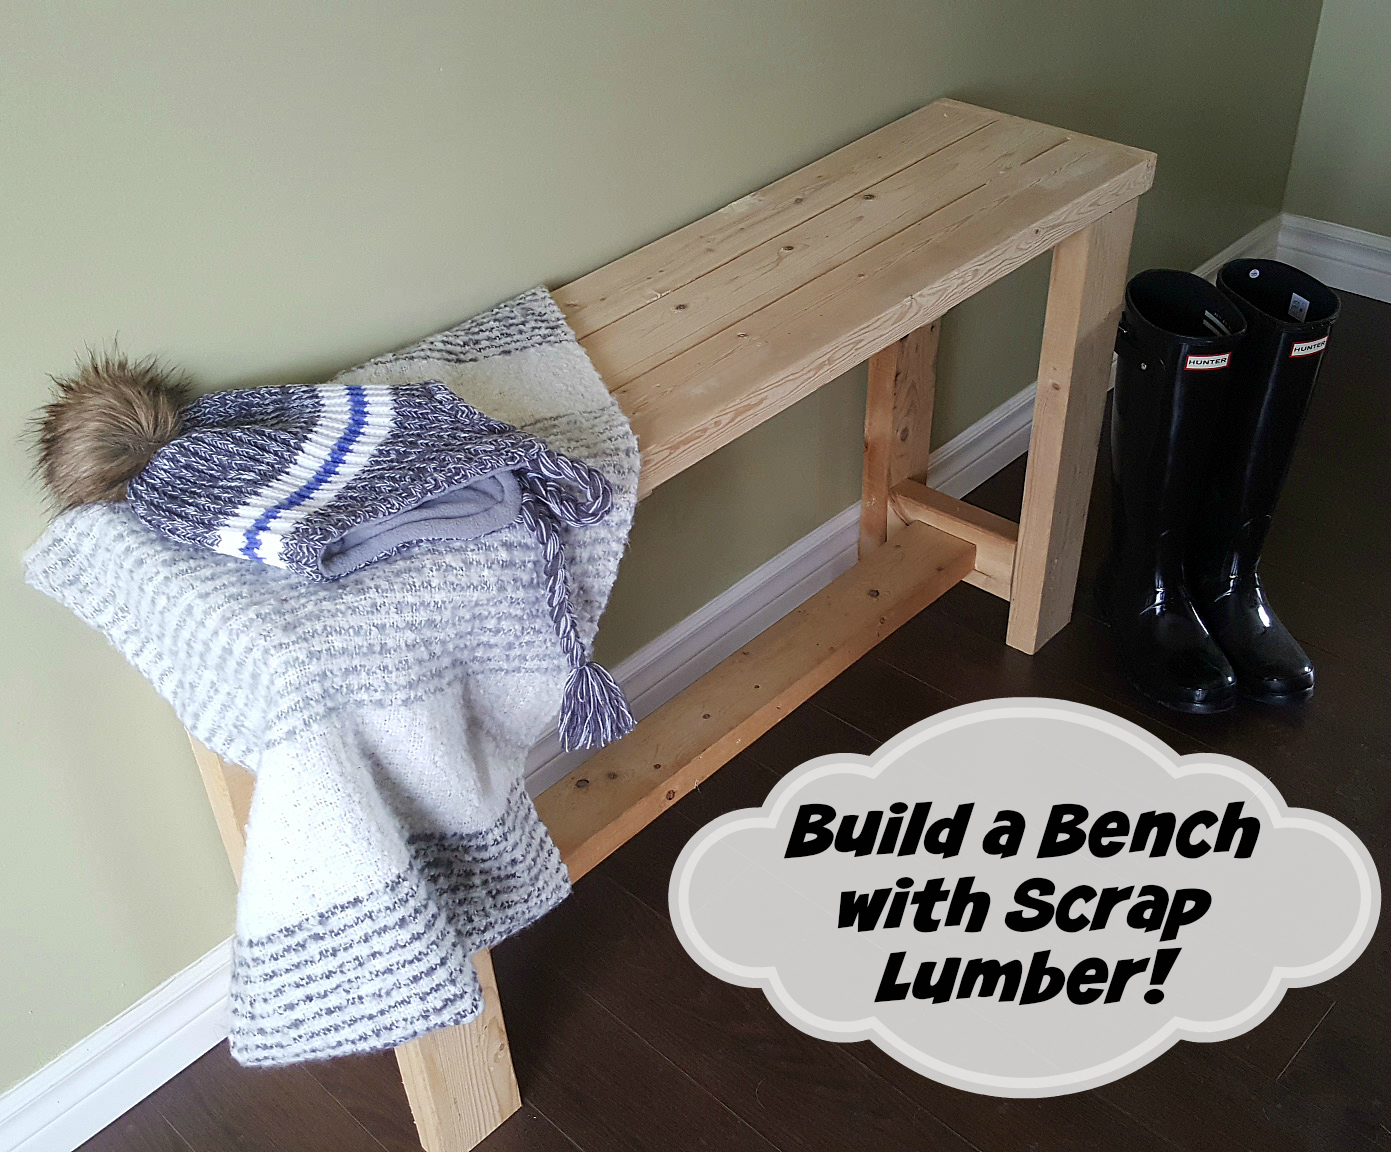
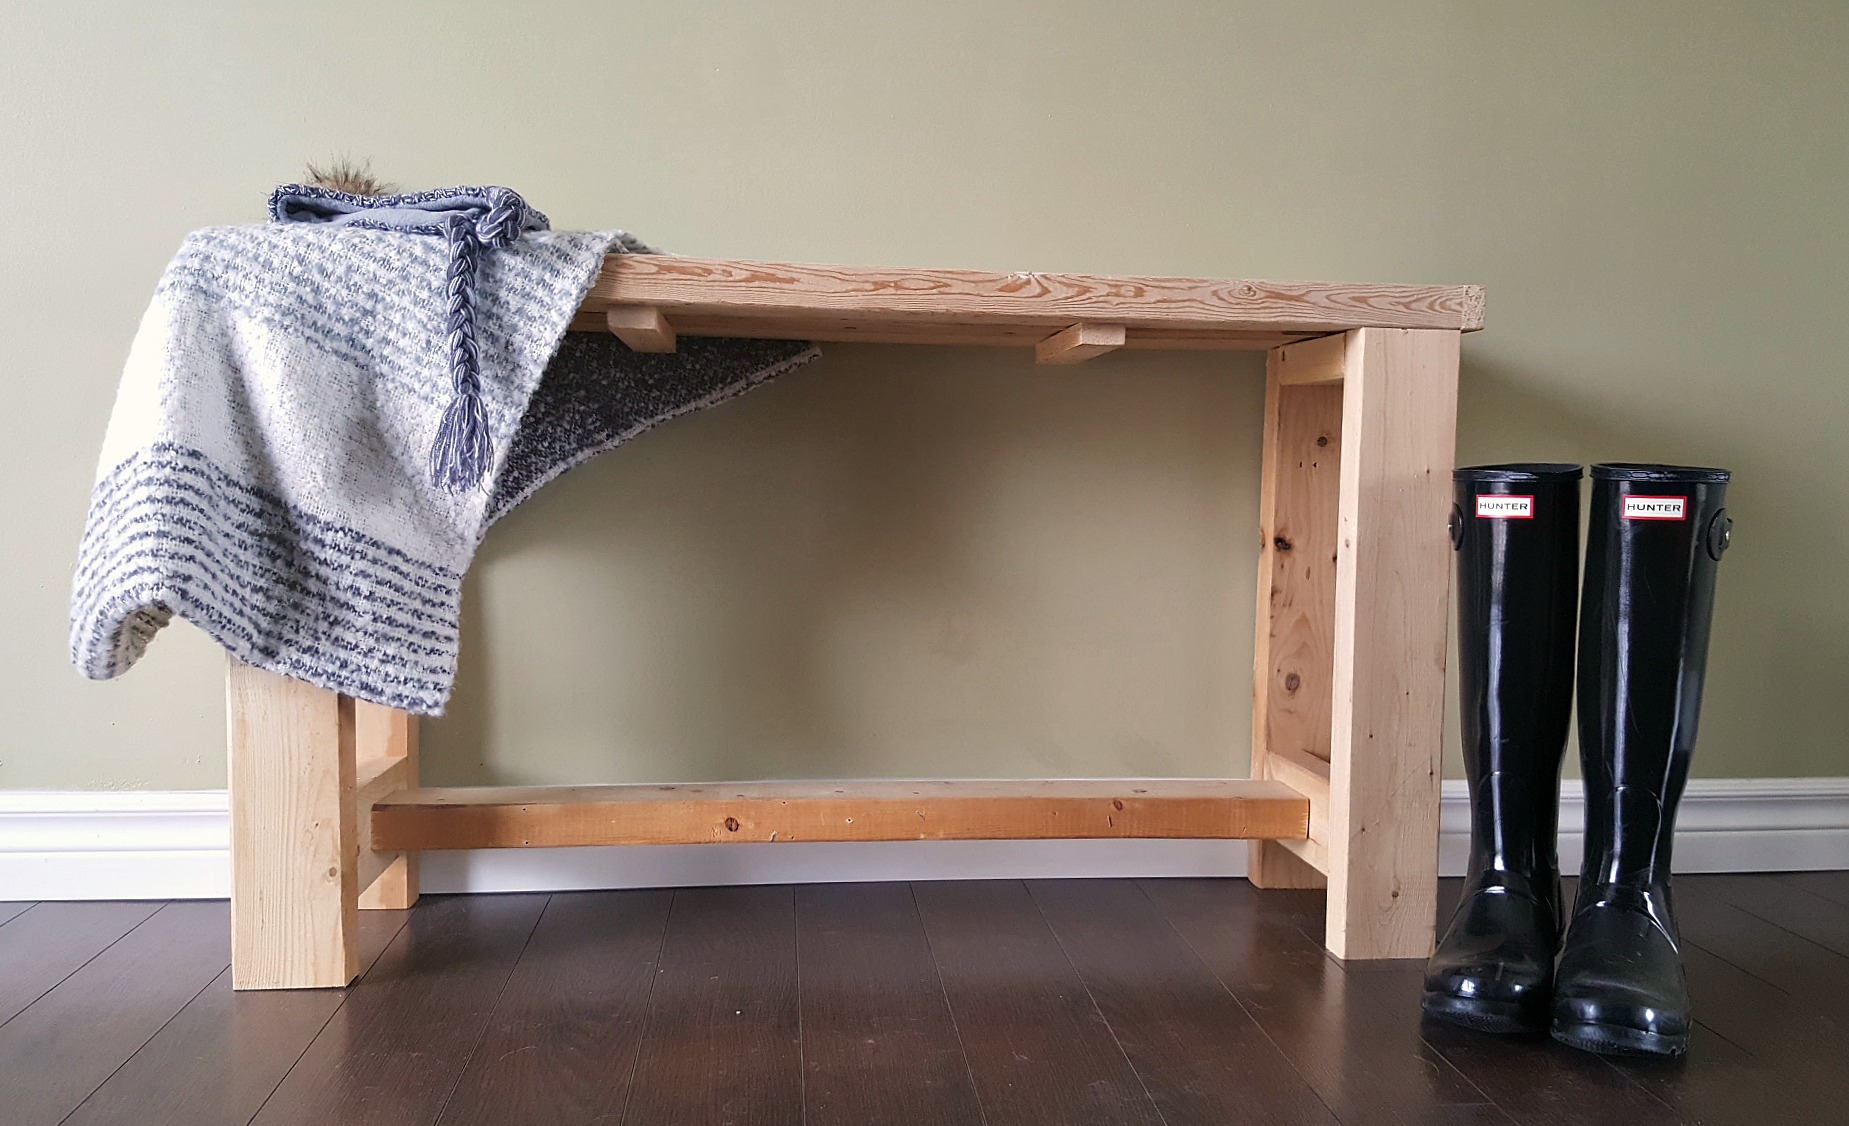
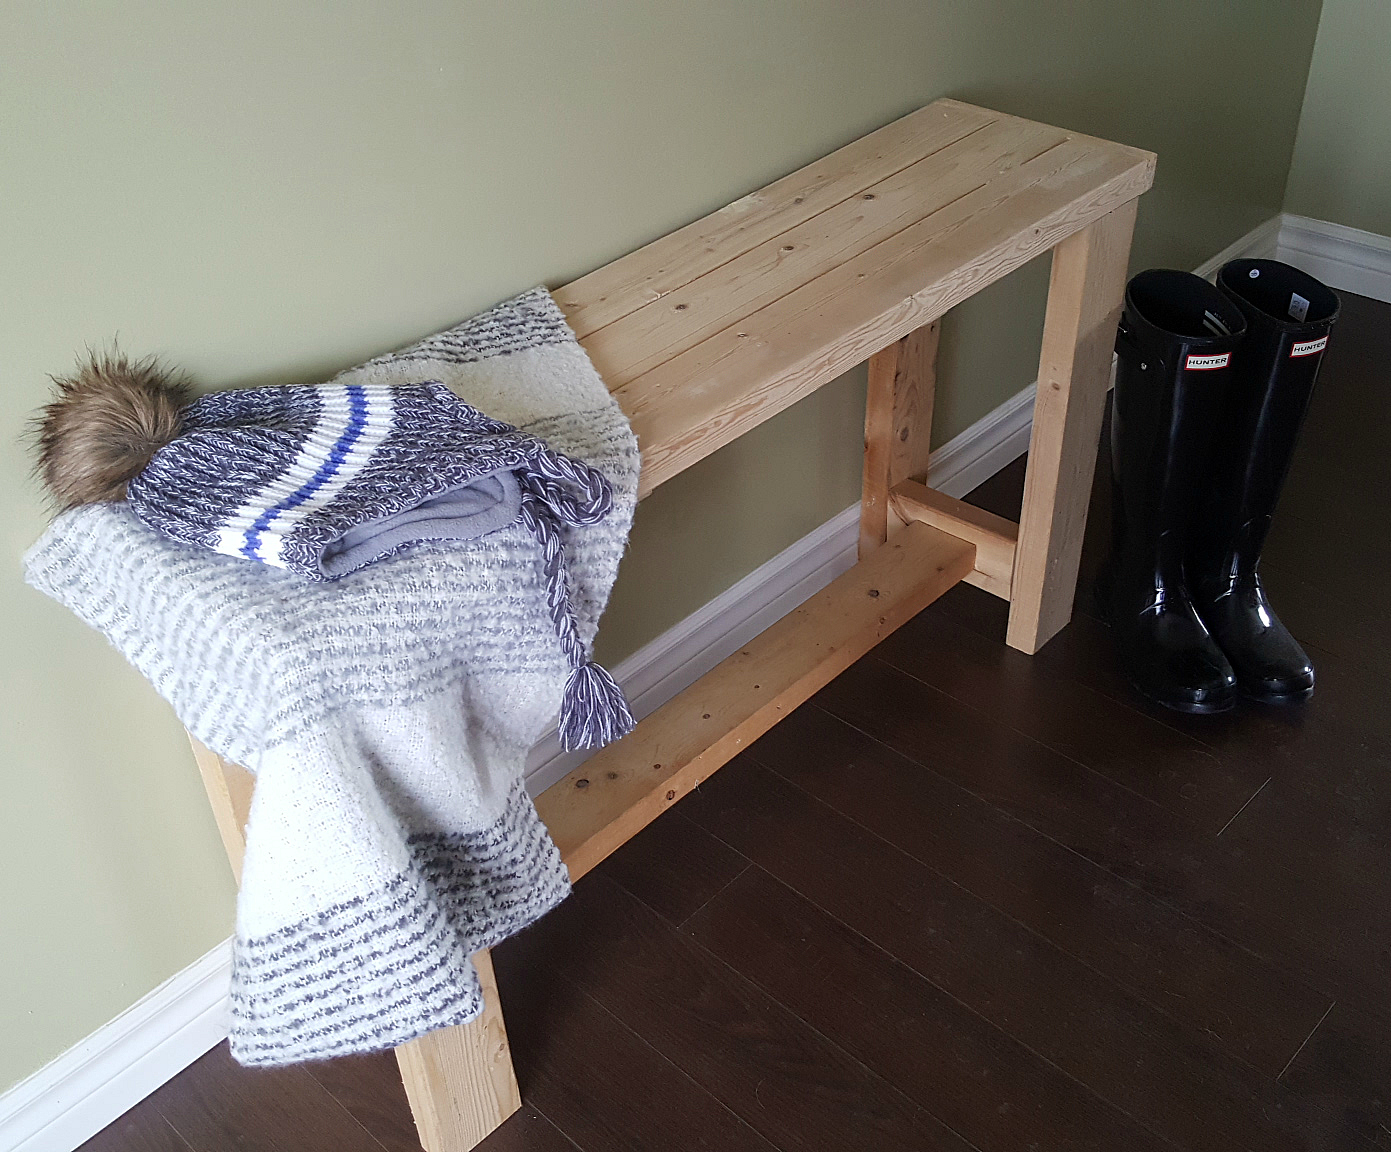
I decided to build a bench for the front entryway. There isn't a lot of space there so it had to be small - just a place to rest your butt while putting on your shoes.

Scrap wood entry bench 2x4

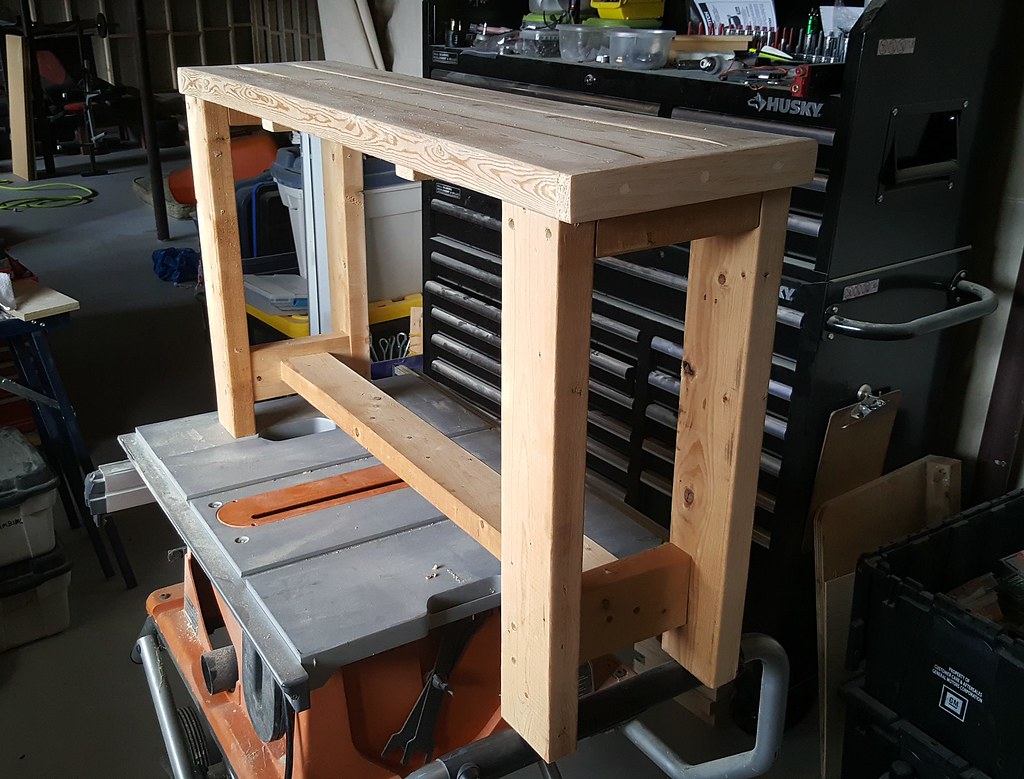
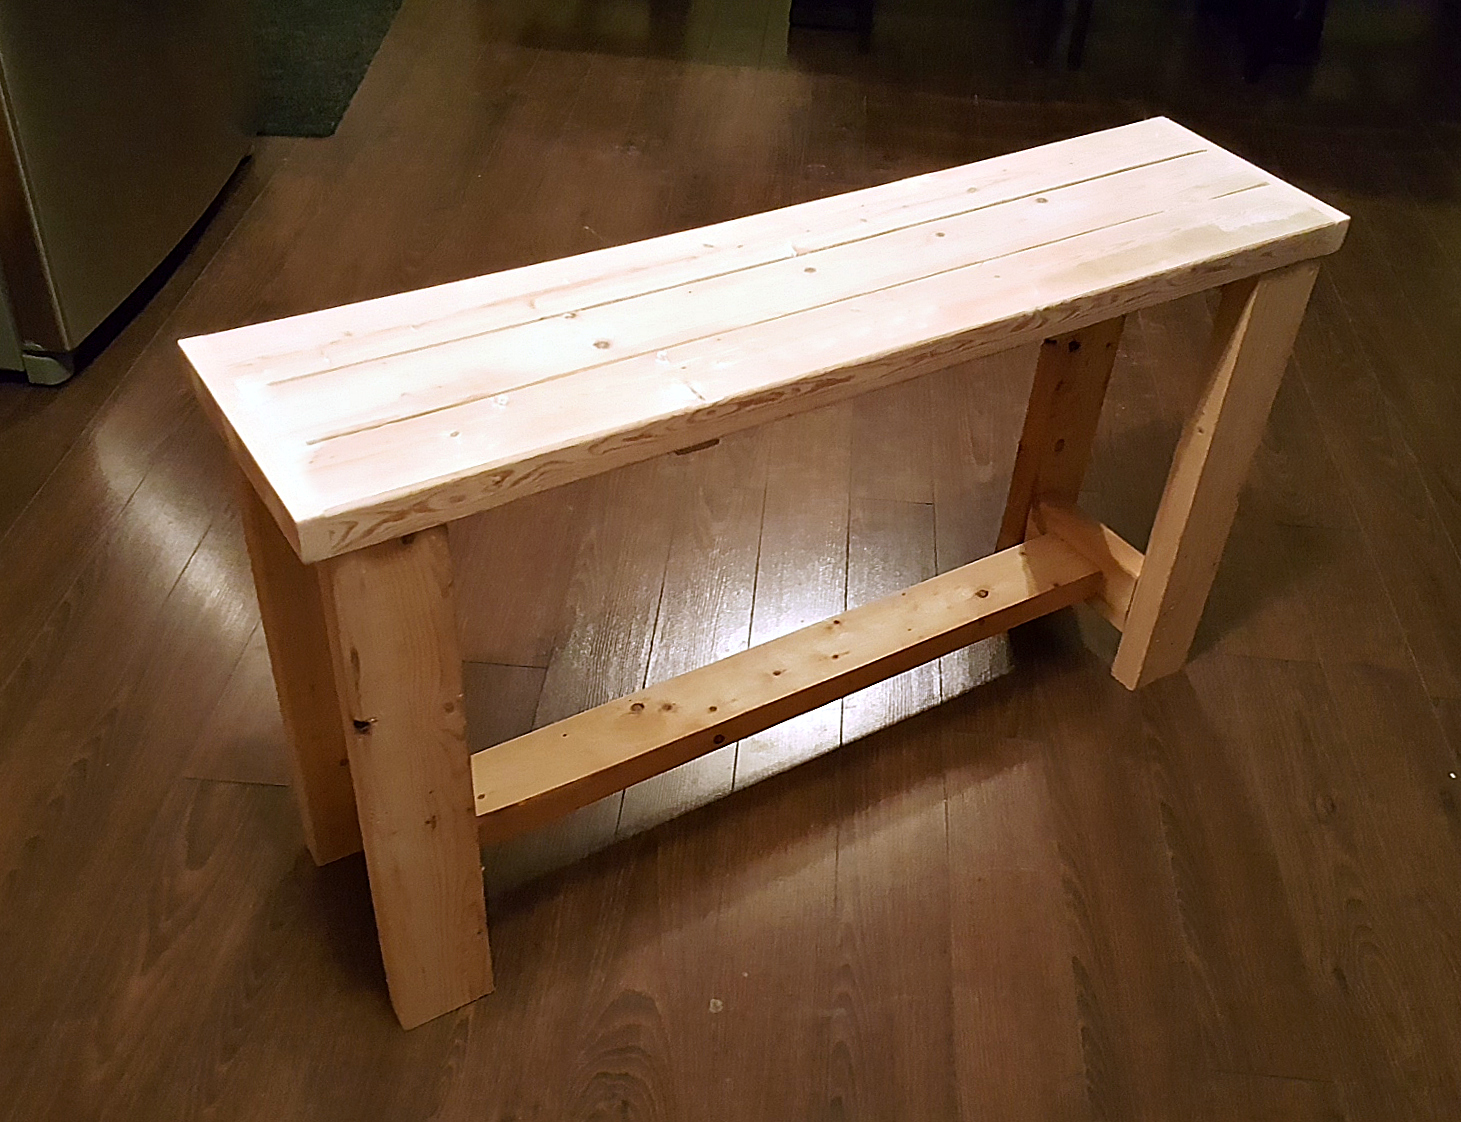
The dimensions of my bench ended up being 40" x 10½" and 19½" high.

Cut list:
2x4s:
3 @ 38 inches (seat boards)
4 @ 7 inches (spacers)
4 @ 18 inches (legs)
1 @ 31 inches (stringer - match to exact distance between legs)

1x2s:
2 @ 8½ inches (braces)
2 @ 10½ inches (end caps - match to exact depth of your bench)

Other Supplies:
12 - 1½ inch screws
28 - 2¼ inch screws
Wood putty
Sandpaper
Clamps
Paint or stain

To build:
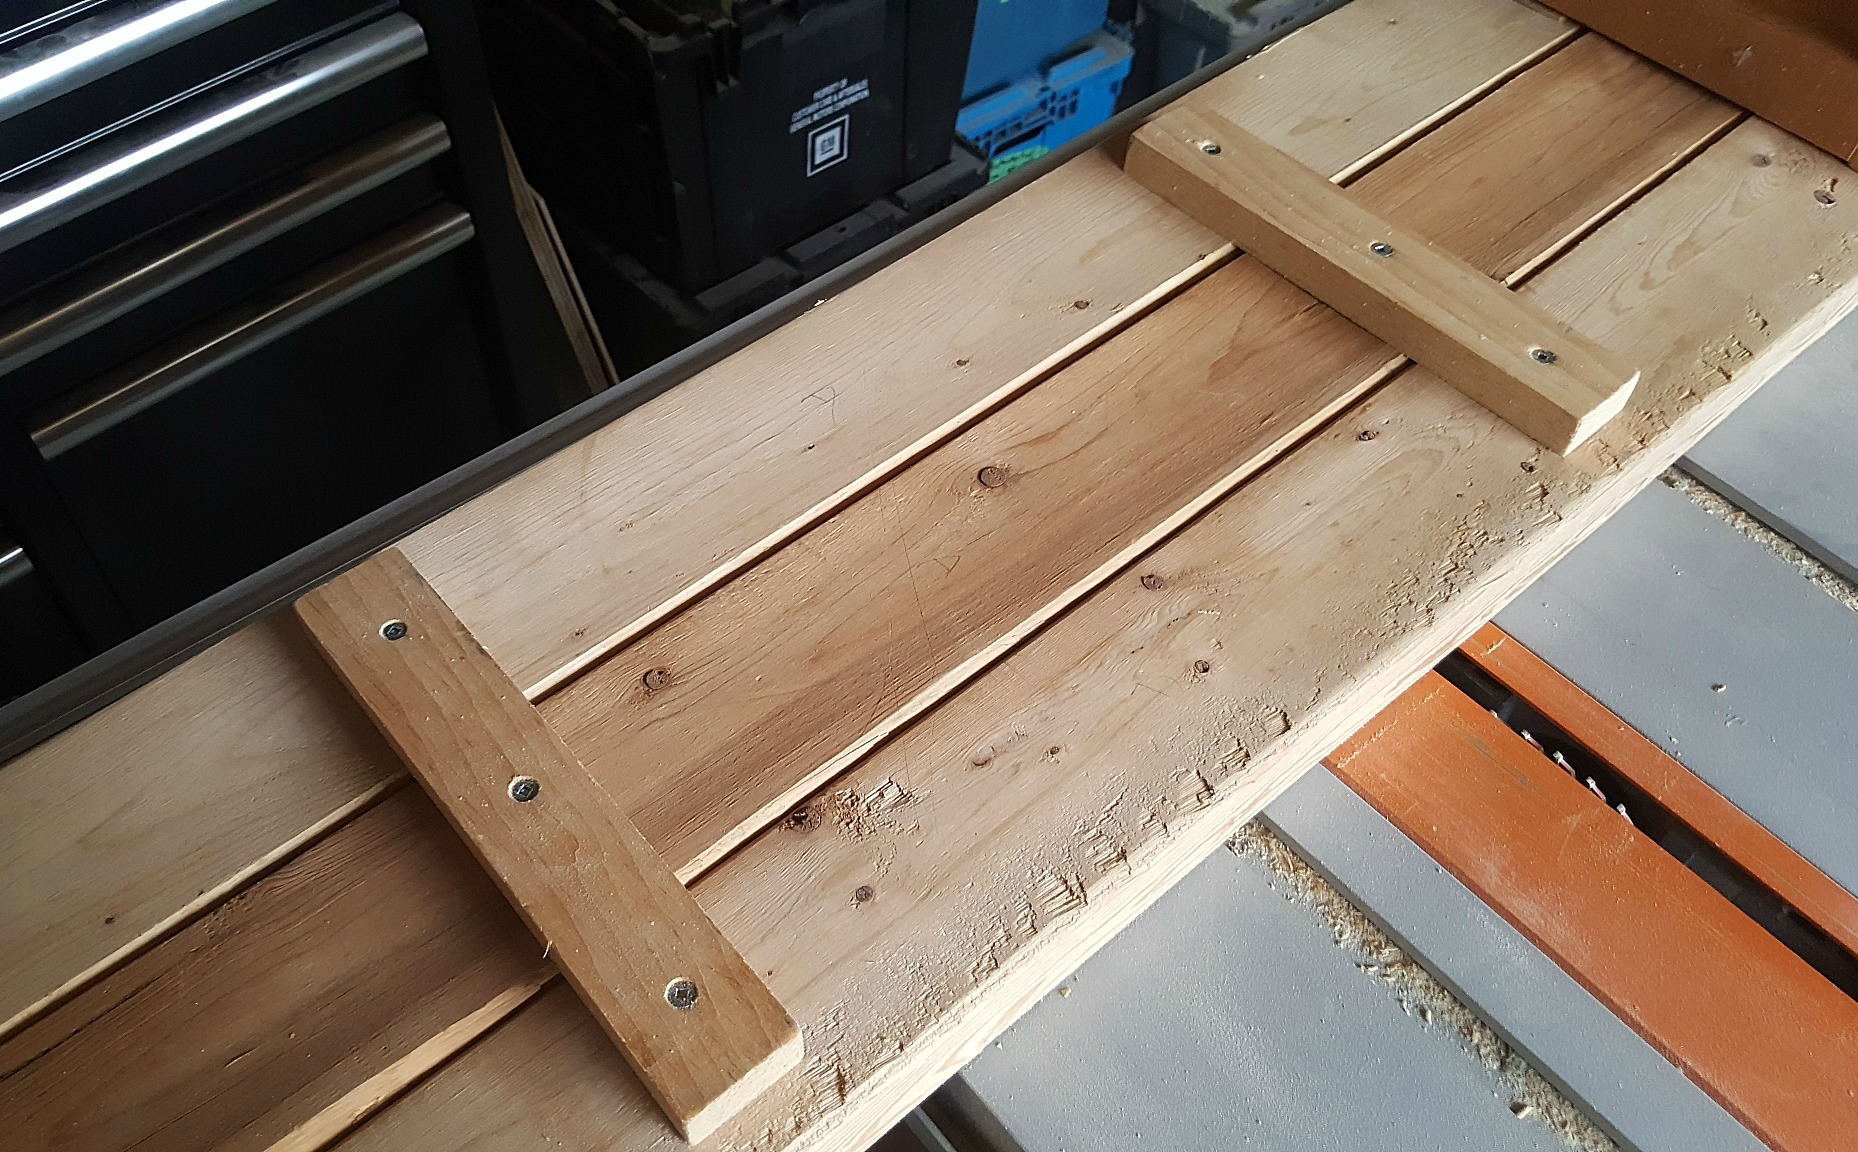
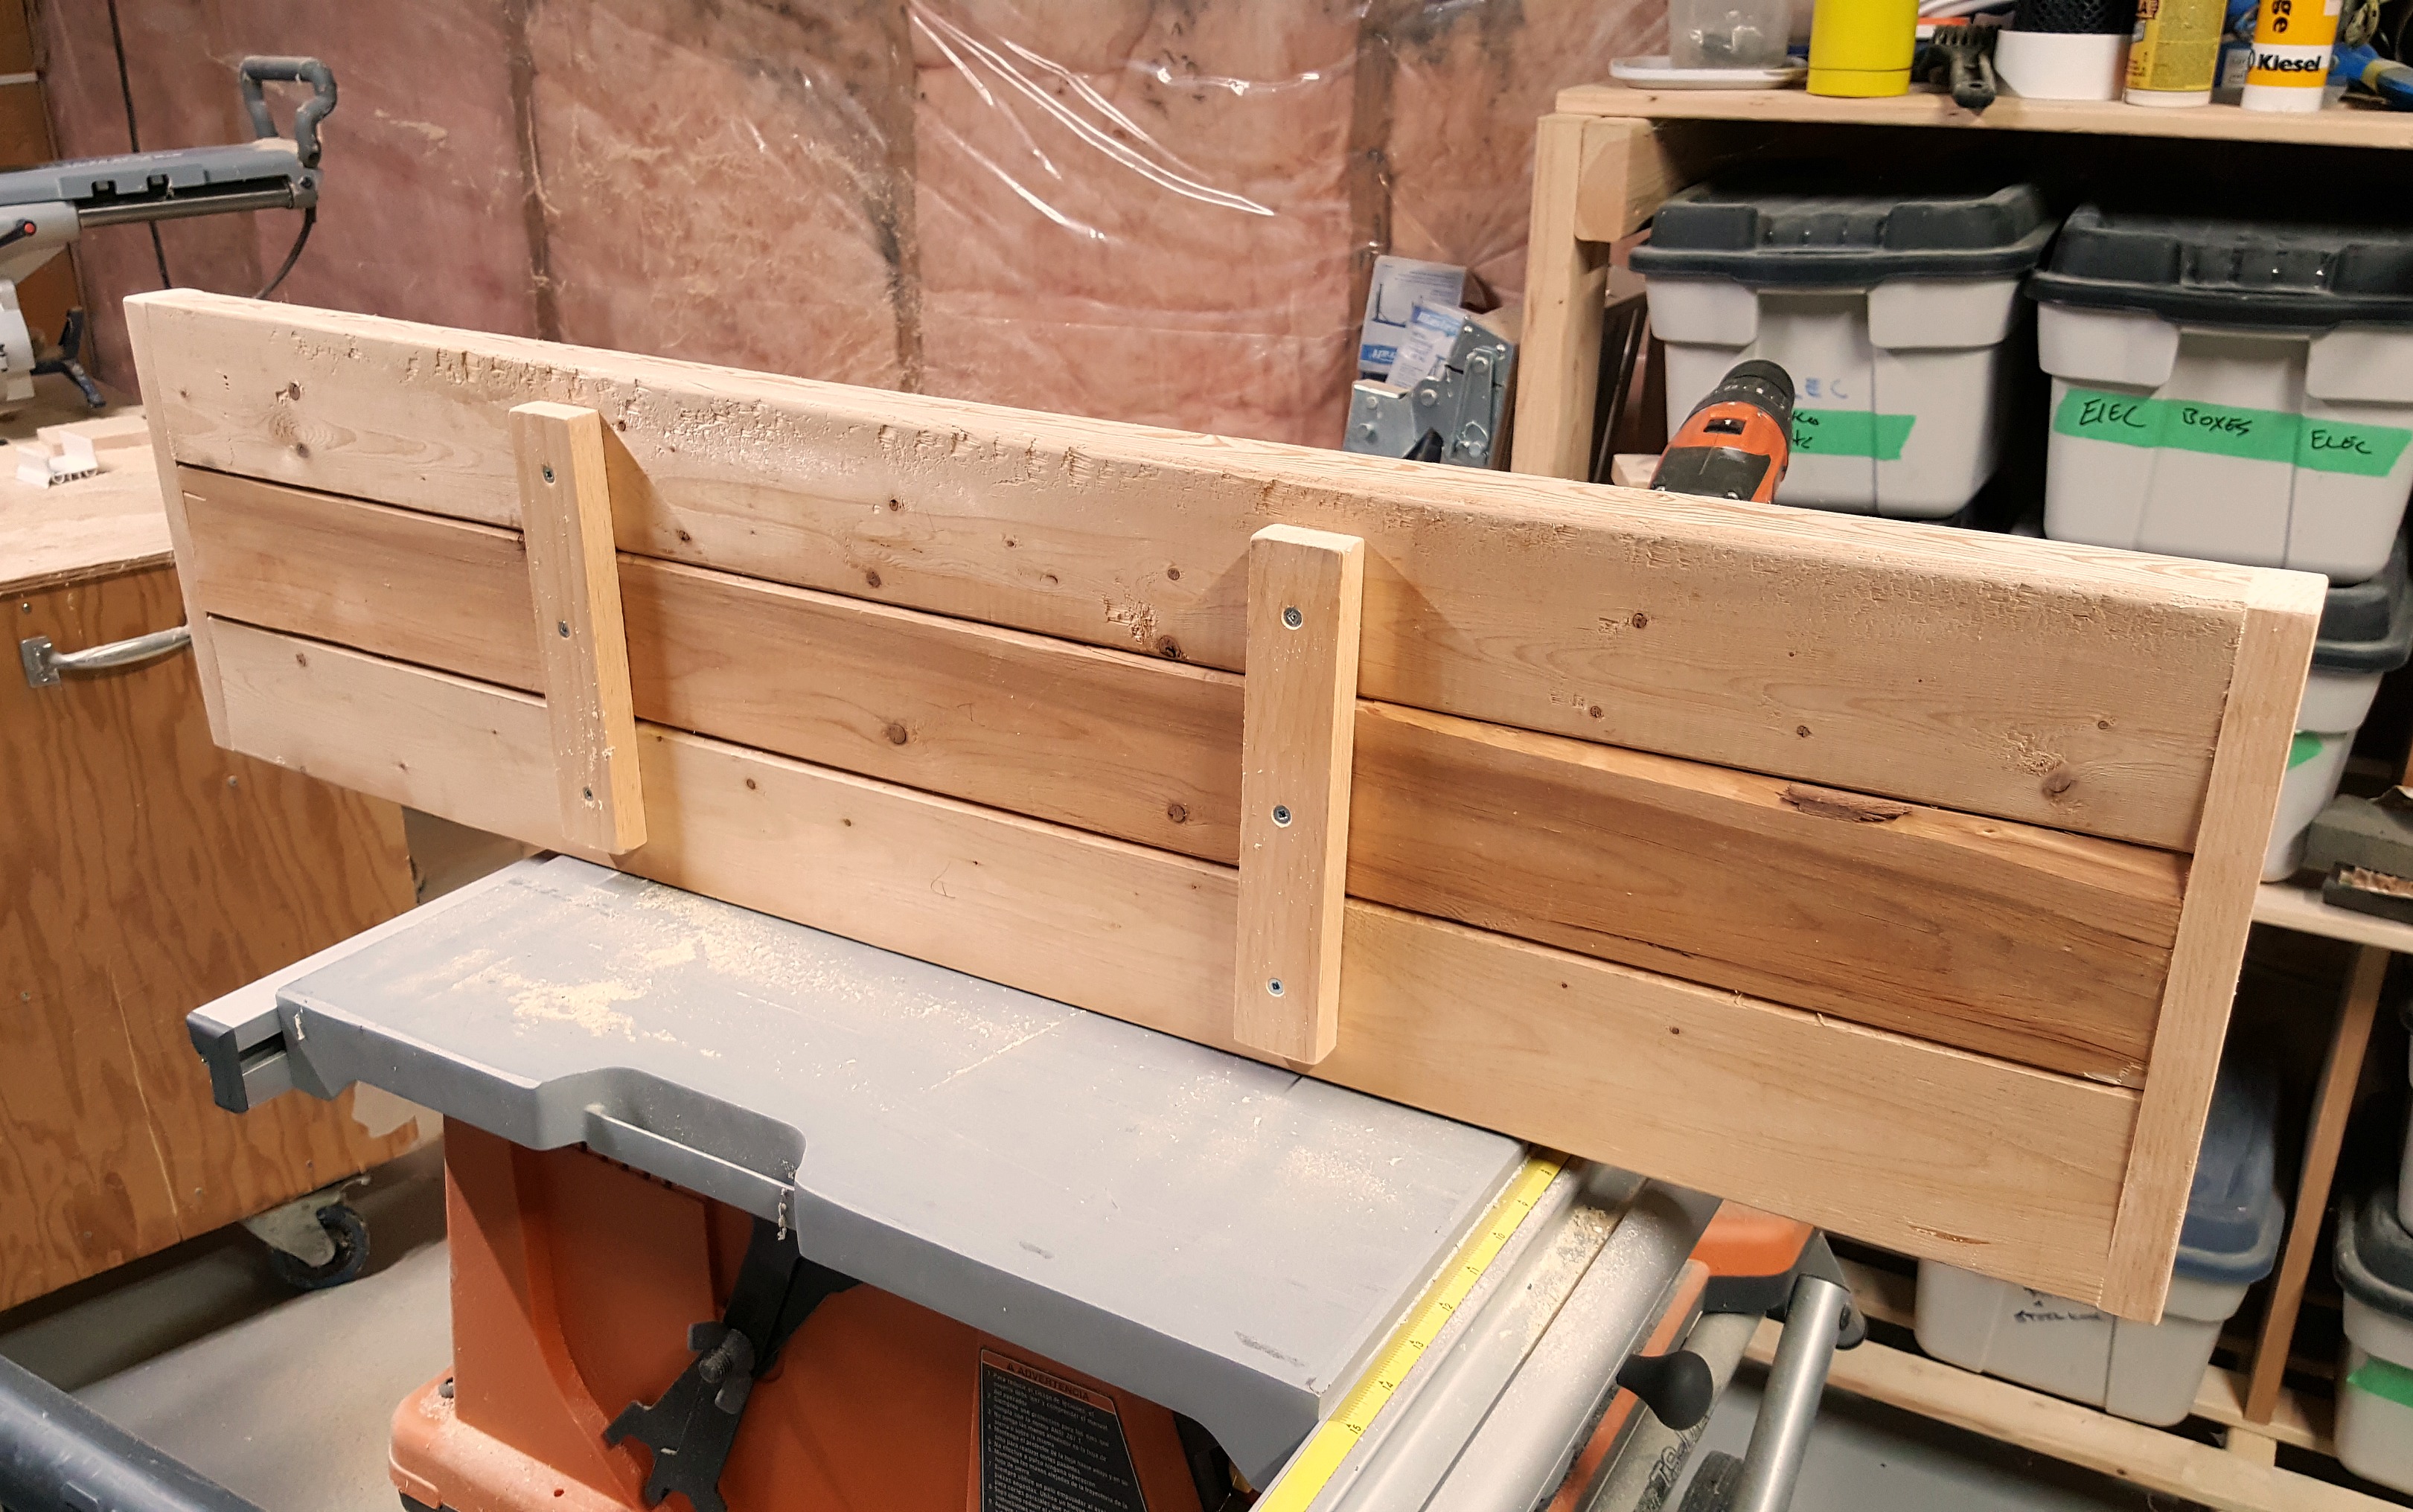
Cut three 2x4 boards to 38 inches each. Lay them flat in position, upside down, and clamp them together. We use these 2-foot long trigger clamps and they are awesome. They're long enough for just about any project and they tighten with a trigger instead of a screw. There is also a simple let-off lever for when you need to loosen/remove them.

Cut your two cross braces to 8½ inches each. Pre-drill three countersunk holes into each brace, lining them up with the centers of your three seat boards. Attach your braces about a quarter of the way in from each end of the bench using 1½ inch screws. Once your braces are in place you can remove the clamps.

Scrap wood entry bench 2x4

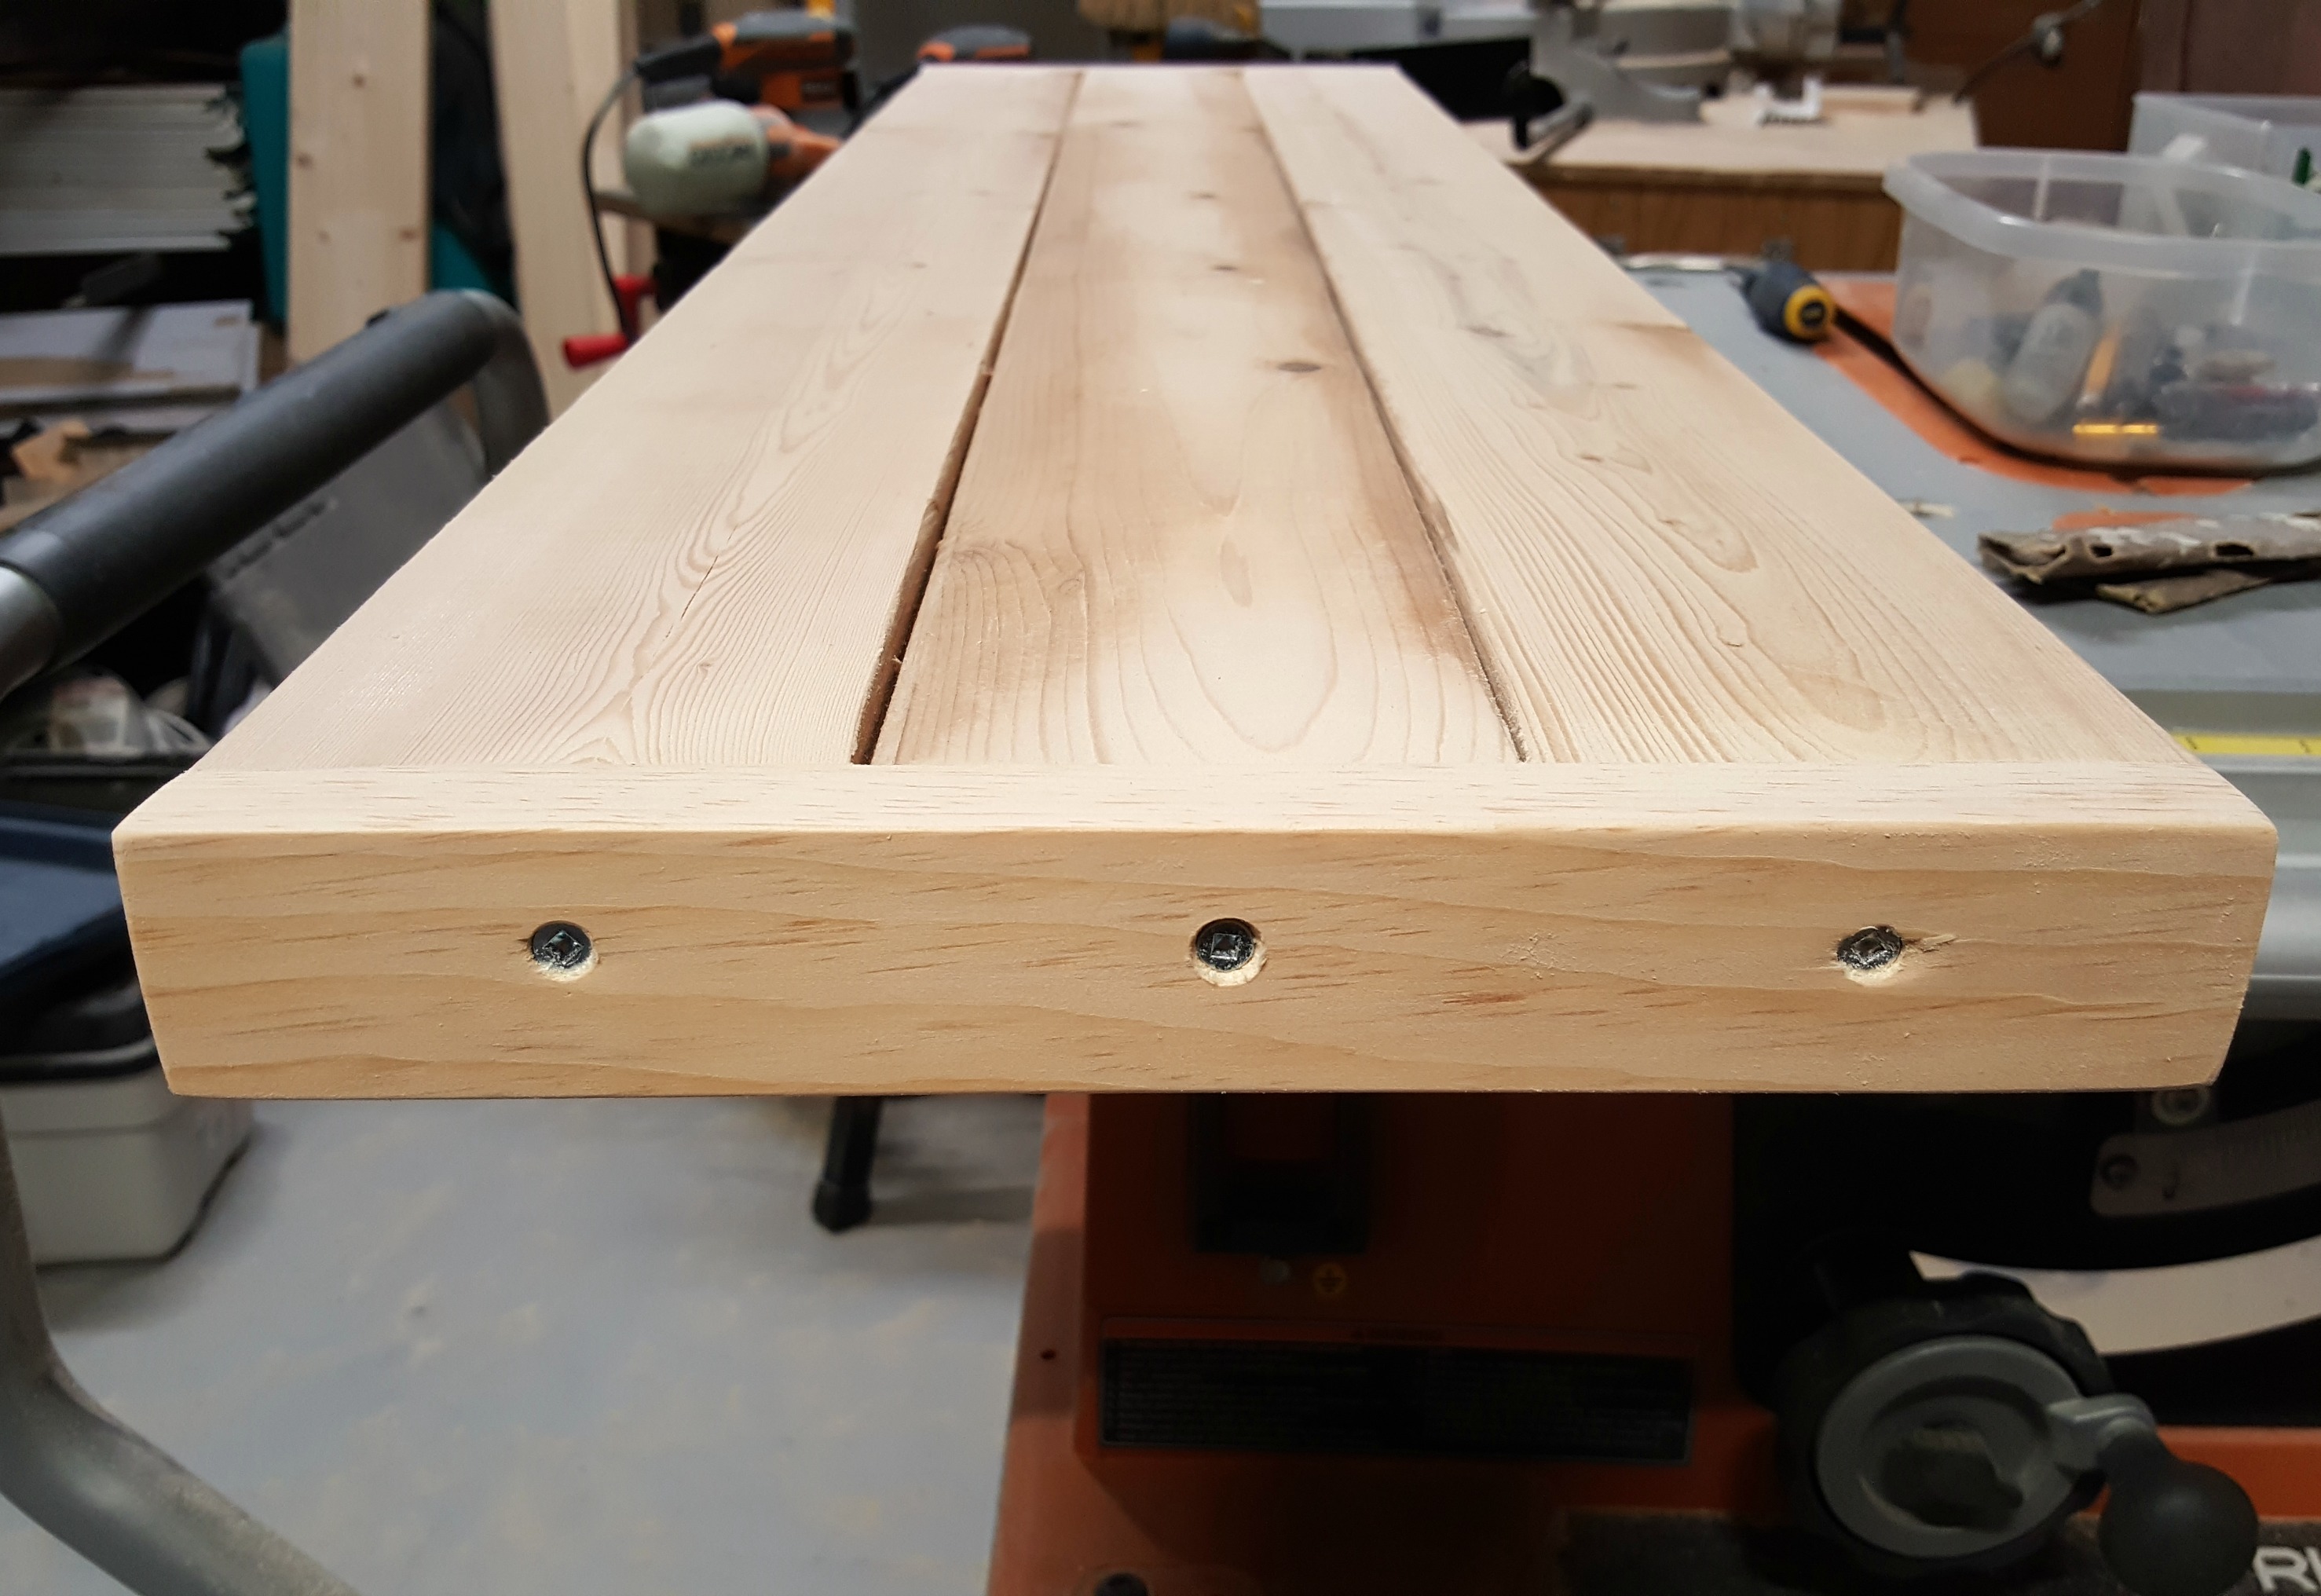
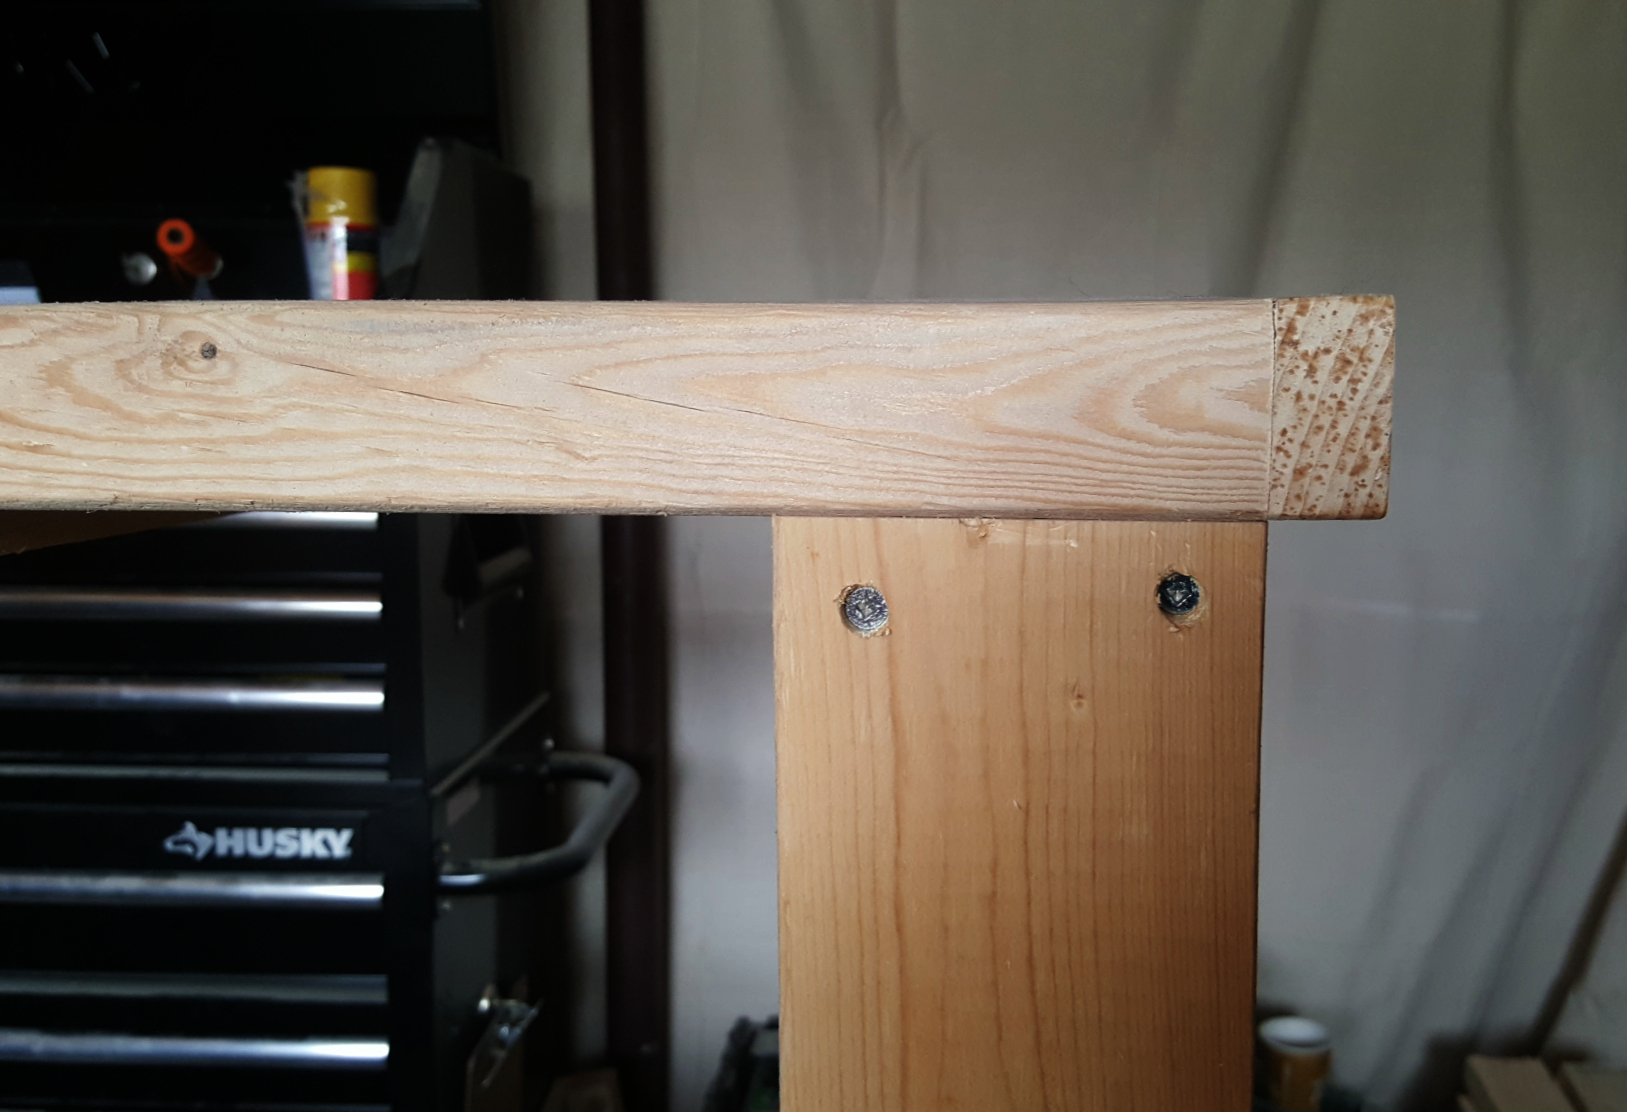
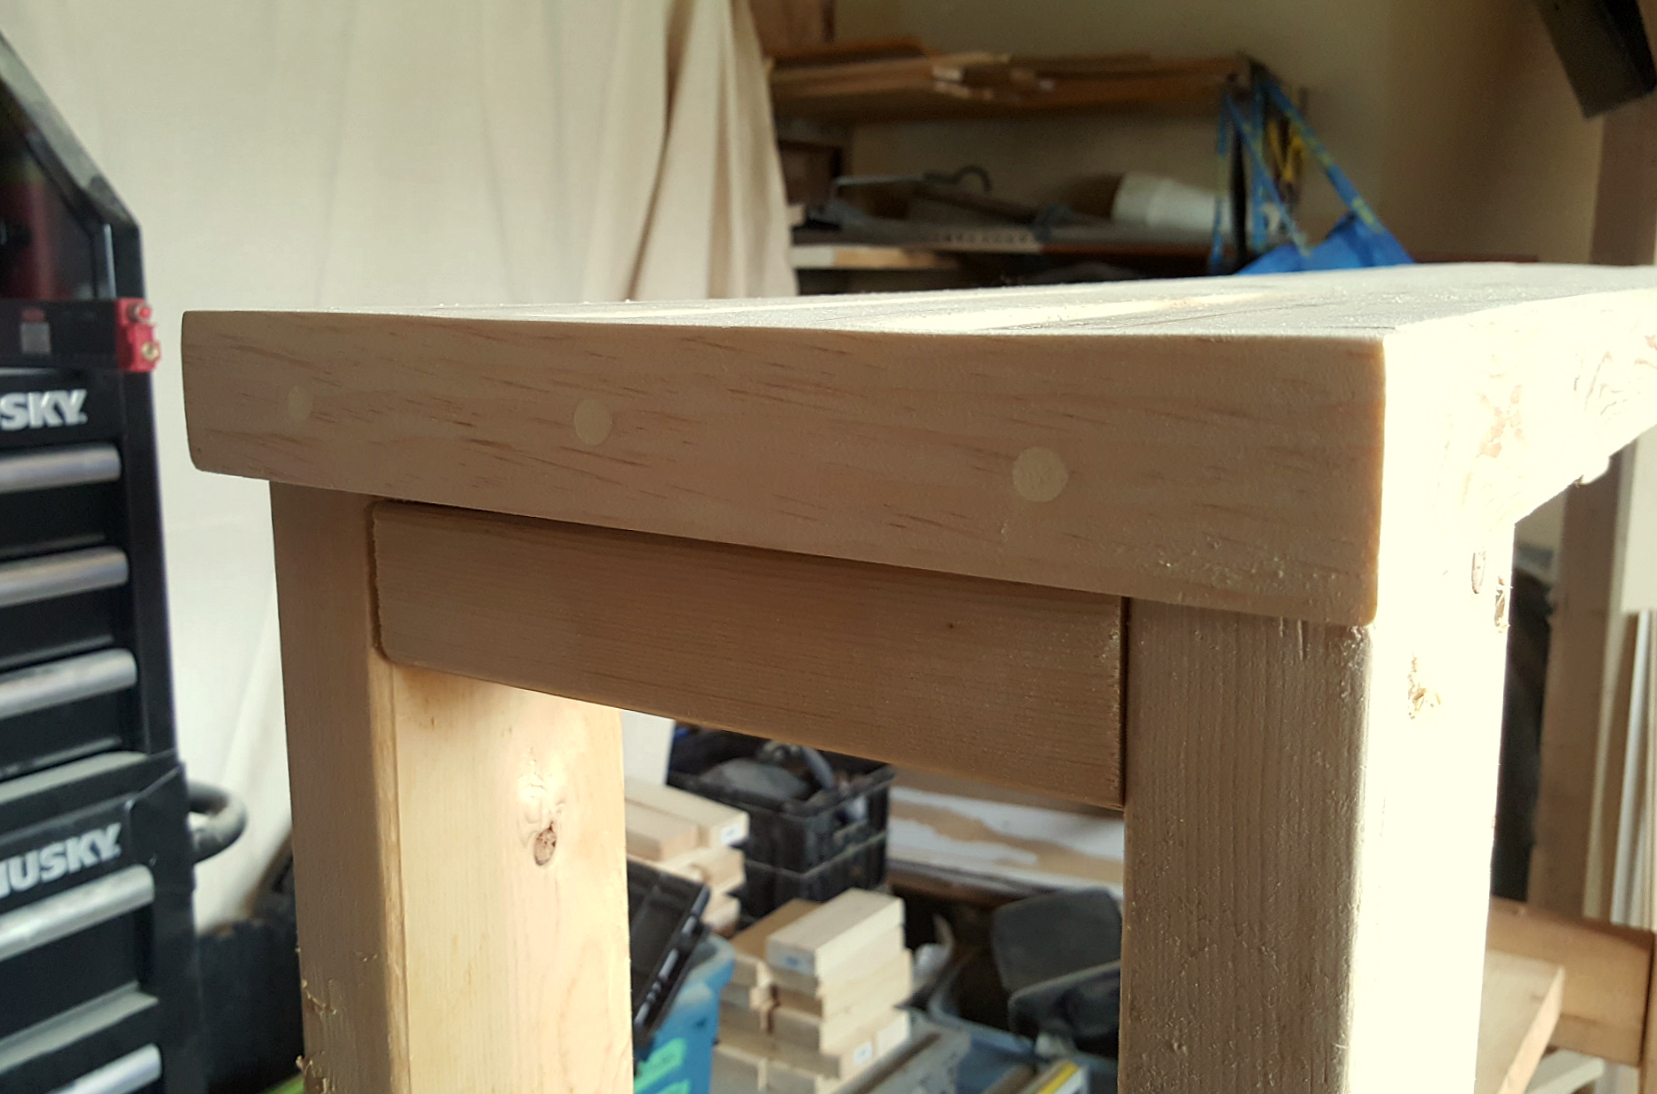
If need be, trim the ends of your boards so that they're flush with each other. Measure and cut your end caps (about 10½ inches each). Pre-drill three countersunk holes into each board, lining them up with the ends of the three seat boards. Attach the end pieces with 1½ inch screws. Sand down any rough or uneven edges.

Scrap wood entry bench 2x4
 Scrap wood entry bench 2x4

Decide the height you'd like your bench to be. I wanted ours to hit just below the knees, which worked out to about 20 inches - so 18 inch legs. Cut four 2x4 boards to 18 inches each. The legs will be connected to each other at the top and the bottom with 2x4 spacers. Cut four 2x4 spacers, 7 inches long each.

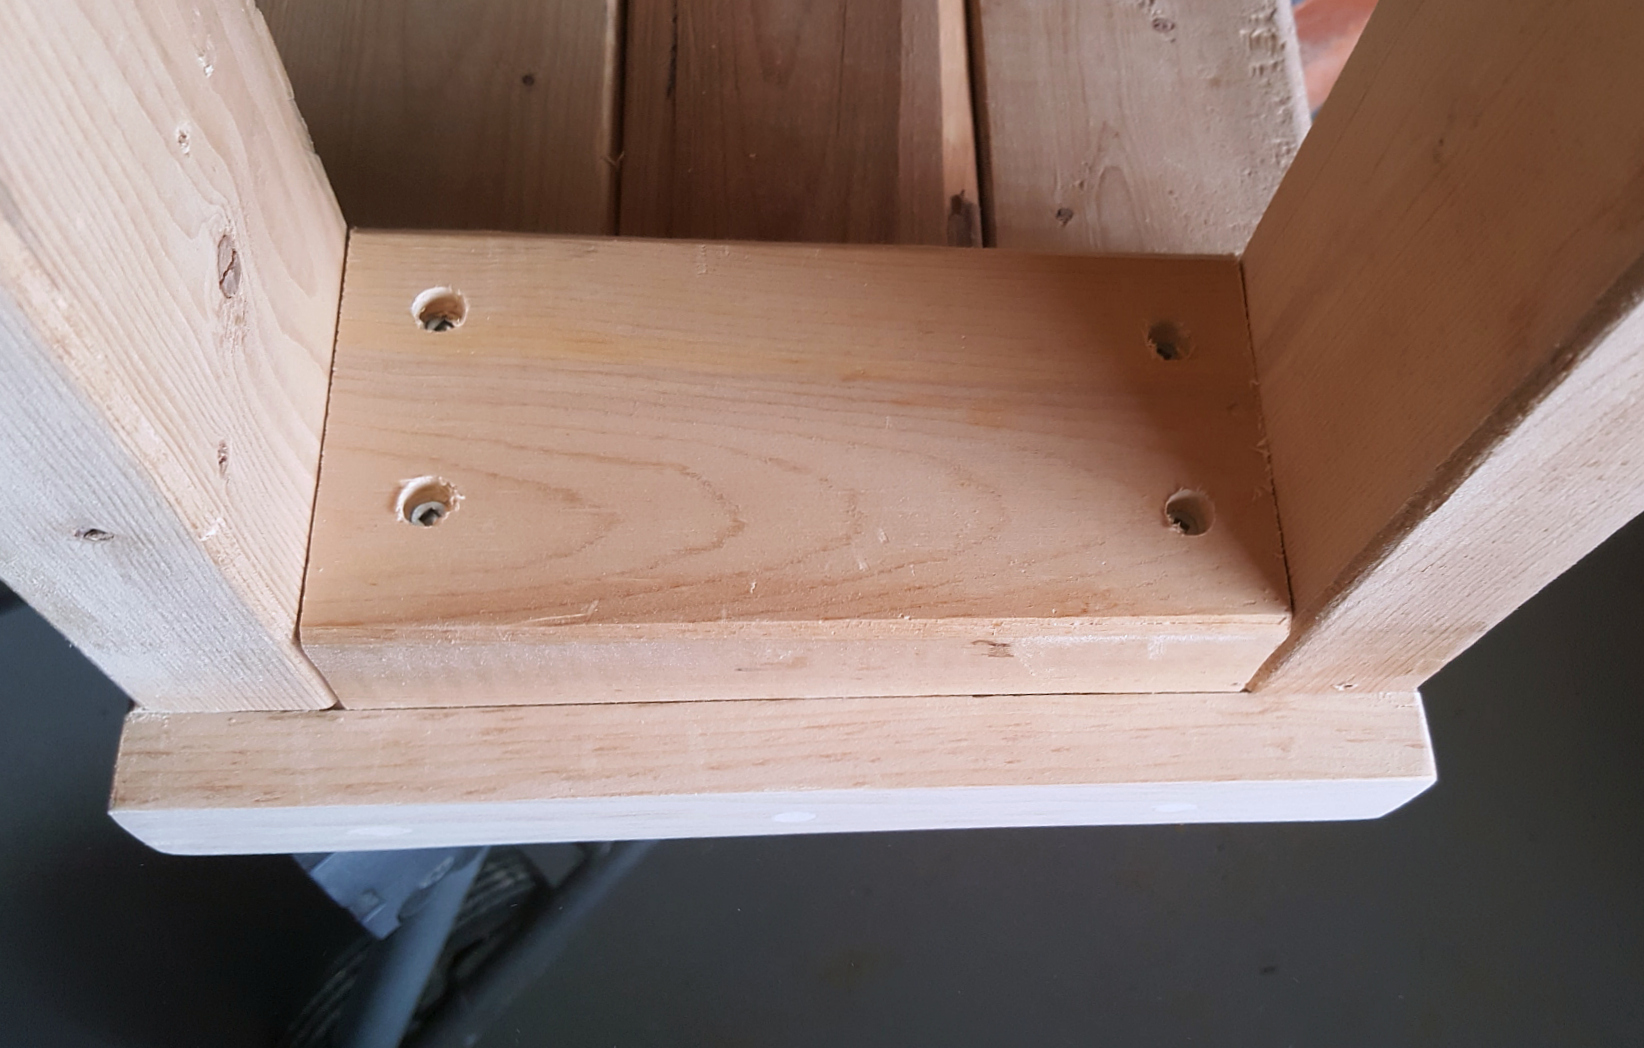
With your bench top still face down, center one of your spacers cross-ways, about an inch in from the end of the bench - just far enough in that it clears the end cap. Attach it to the underside of the bench with four 2¼  inch countersunk screws (two near each end). Be sure not to countersink these too much as you don't want the screws to come through on the other side.
 
Scrap wood entry bench 2x4

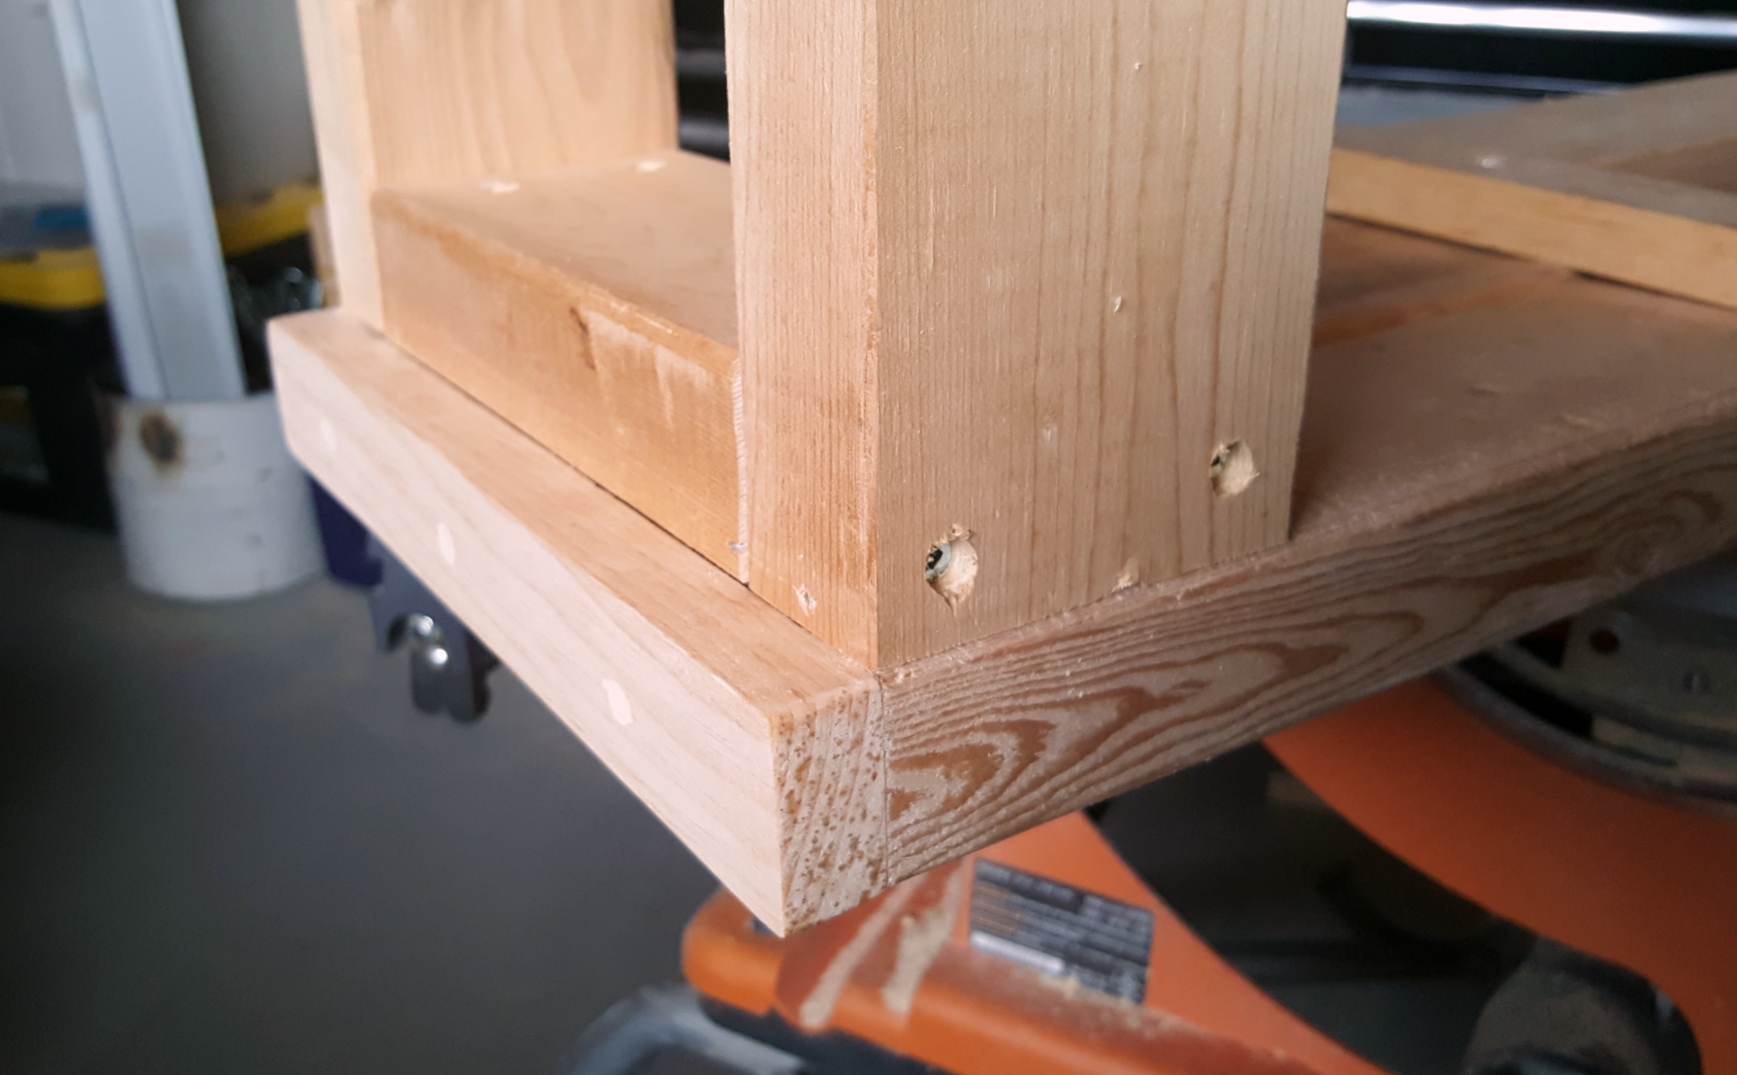
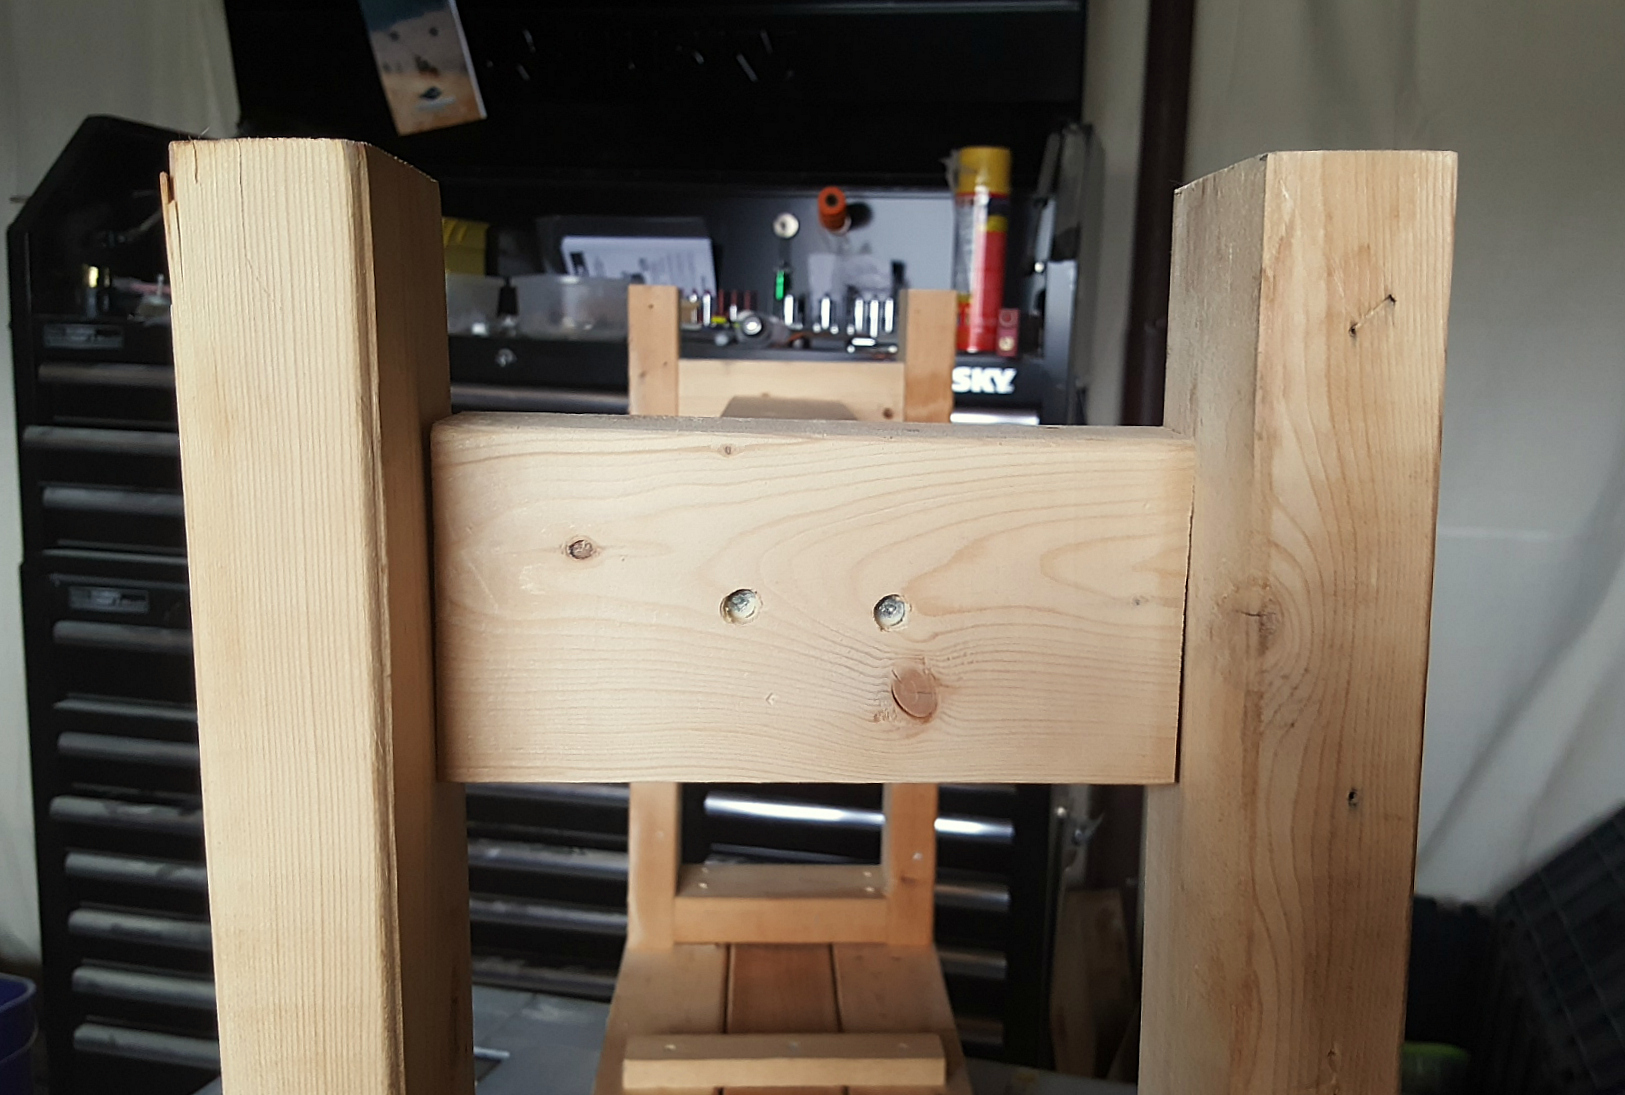
Position one of the legs so that the flat side is against the cut end of the spacer and the leg and spacer are flush with each other along the sides. Attach the leg with two 2¼ inch countersunk screws. If you need stability while using the drill/driver, clamp the leg and spacer together while you work. It's like having a spare pair of hands. Repeat with the other three legs.

Scrap wood entry bench 2x4

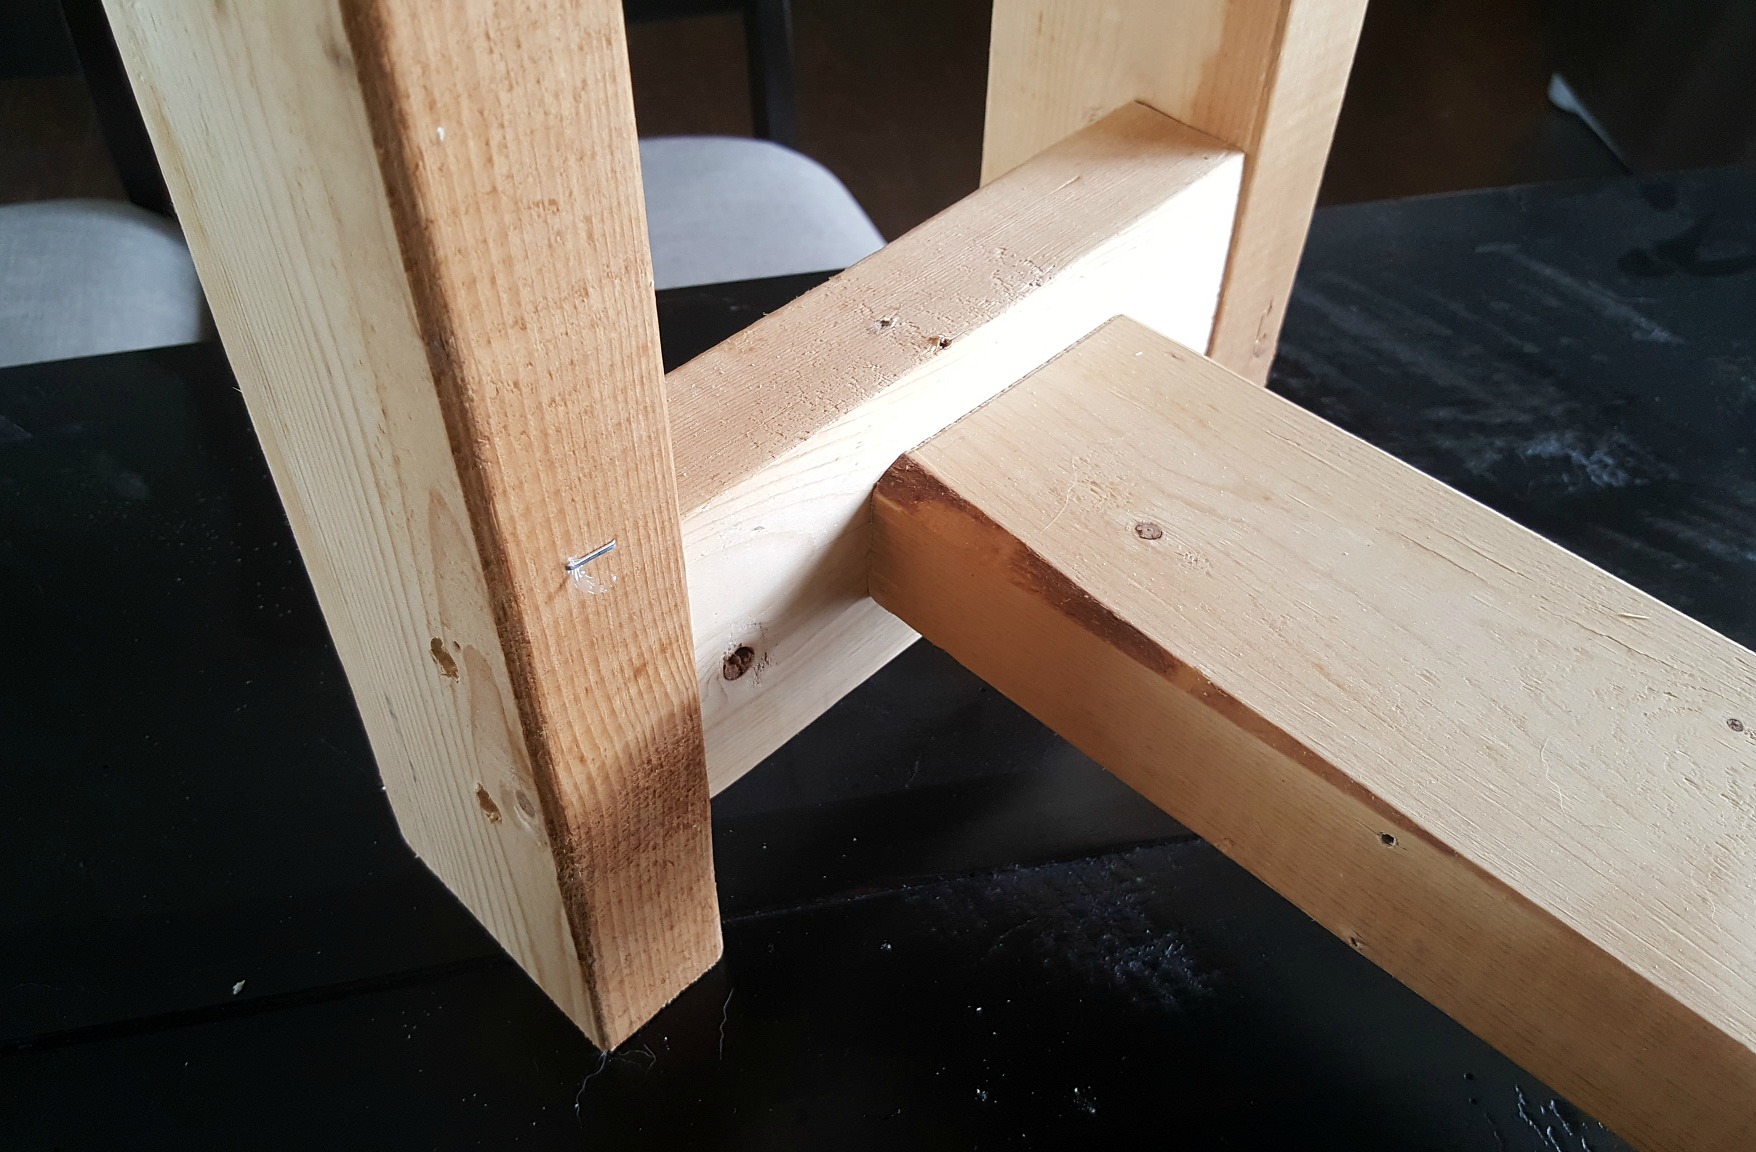
The two bottom spacers are flipped up on their edges and attached along the inside edge of each leg rather than centered between the legs like the top ones. Measure up from the bottom (or down from the top) the same distance on each  set of legs and attach the spacers with two 2¼ inch countersunk screws through the outside of the leg.

Scrap wood entry bench 2x4
 Scrap wood entry bench 2x4

The final piece is the stringer between the two sets of legs that keeps them from swaying side to side. Measure the distance between your two bottom spacers (about 31 inches on mine) and cut a 2x4 board to length. Center the cut end of the stringer on the inside of one of the bottom spacers and attach them to each other with 2¼ inch countersunk screws. Repeat on the other end.

Putty each of your screw holes, sand all over, and paint or stain the bench as desired.

Scrap wood entry bench 2x4

I haven't decided yet how I want to finish the bench. I kind of like how rough it looks now and have to keep talking myself out of puttying every imperfection.

Here you can see just how small the front entry area really is. One of our future projects (pending an architect's - and the town's - approval) is to add a bigger entry onto the front of the house and extend this area outwards. 

Scrap wood entry bench 2x4


This was the first project I've ever done completely by myself. I made a few mistakes (like trying to force a screw through another screw!), and a couple of times I wanted to ask Tom for help just because it would have been easier, but I pushed through. I'm proud of this little guy. And now I feel confident enough with the power tools to try my hand at something more complicated.

Scrap wood entry bench 2x4

Related Posts Plugin for WordPress, Blogger...