SEARCH THE BLOG

Oct 30, 2014

Build Your Own Entryway Bench and Shelf


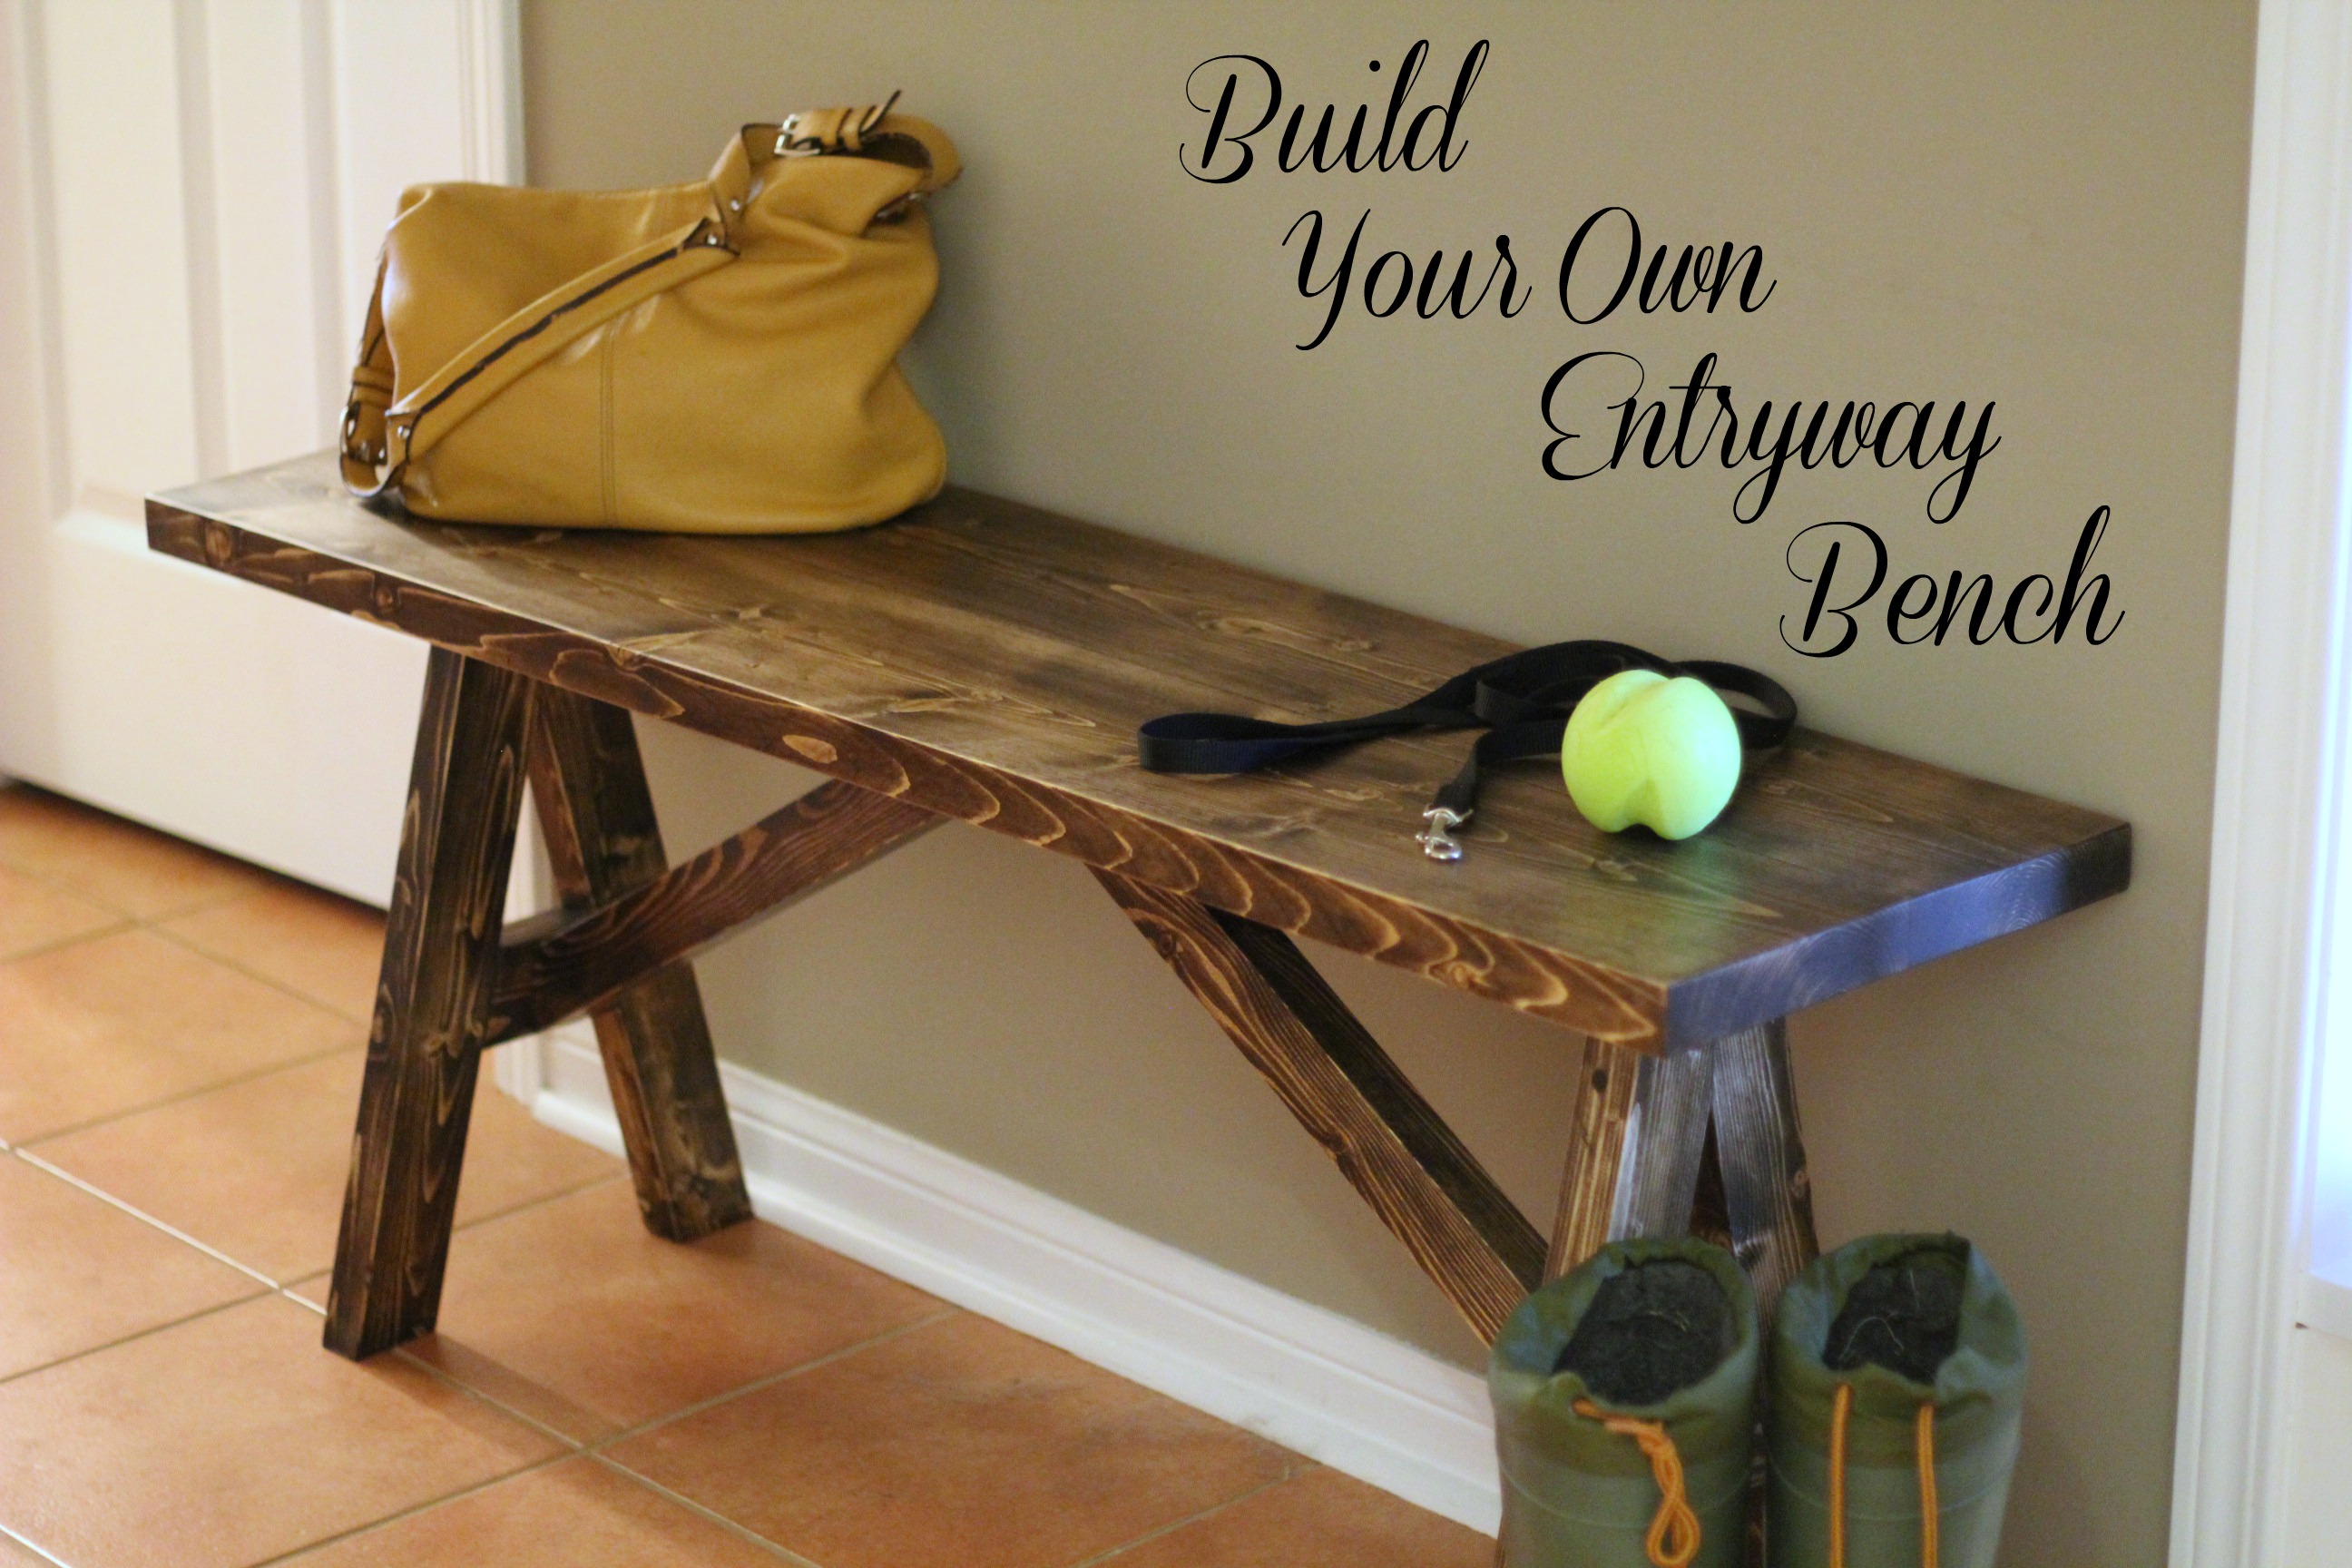
The front foyer is a part of the house that is often overlooked. You might pass by it a dozen times a day, but most of the time you don't really notice it. That happened to us. After painting the walls and hanging a new light, we updated the closet doors to bi-folds and then left it. What more does an entry need, really? How about a place to sit and put on/take off your shoes?

Build your own entryway bench

We had an antique table by the door - just to set down your bag or drop your keys - but, as so often happens, it turned into a place to dump everything. My solution for the dumping problem was to remove the table and hang a smaller shelf - but that still didn't give us or our guests a place to sit down.

We scoured the internet looking for ideas and finally came up with a hybrid of several styles, but it most closely resembles this bench by Ana White.

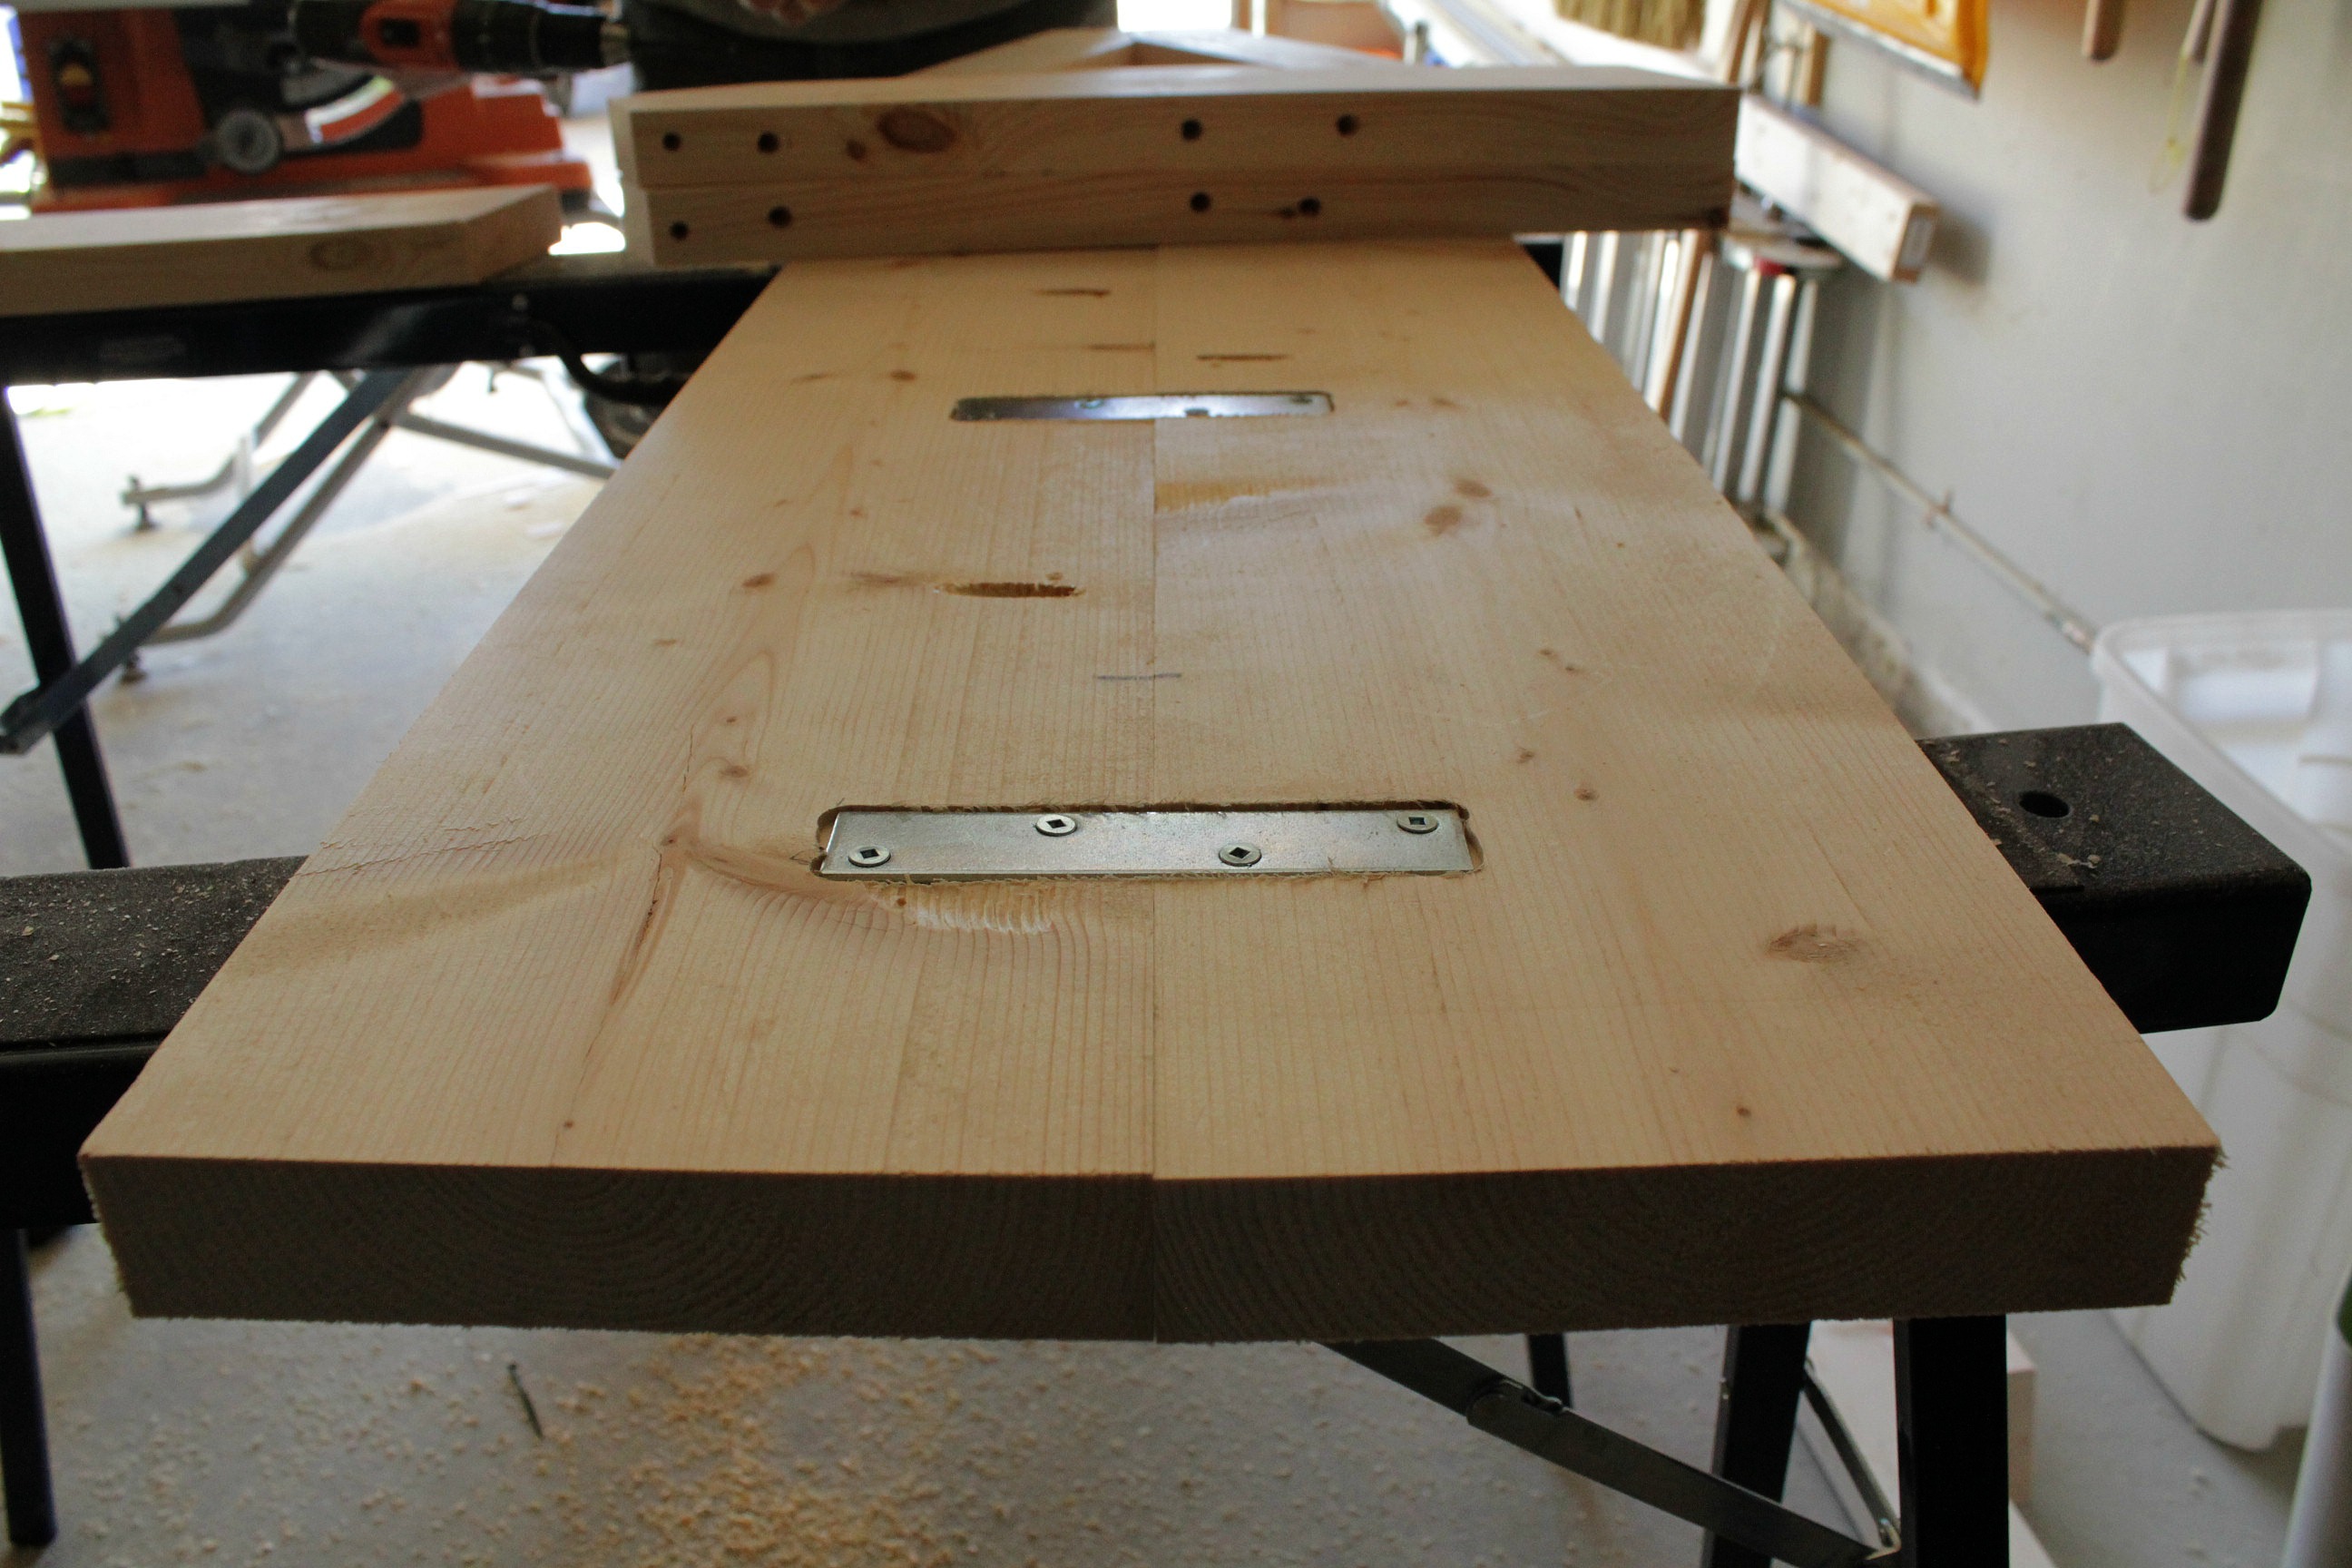
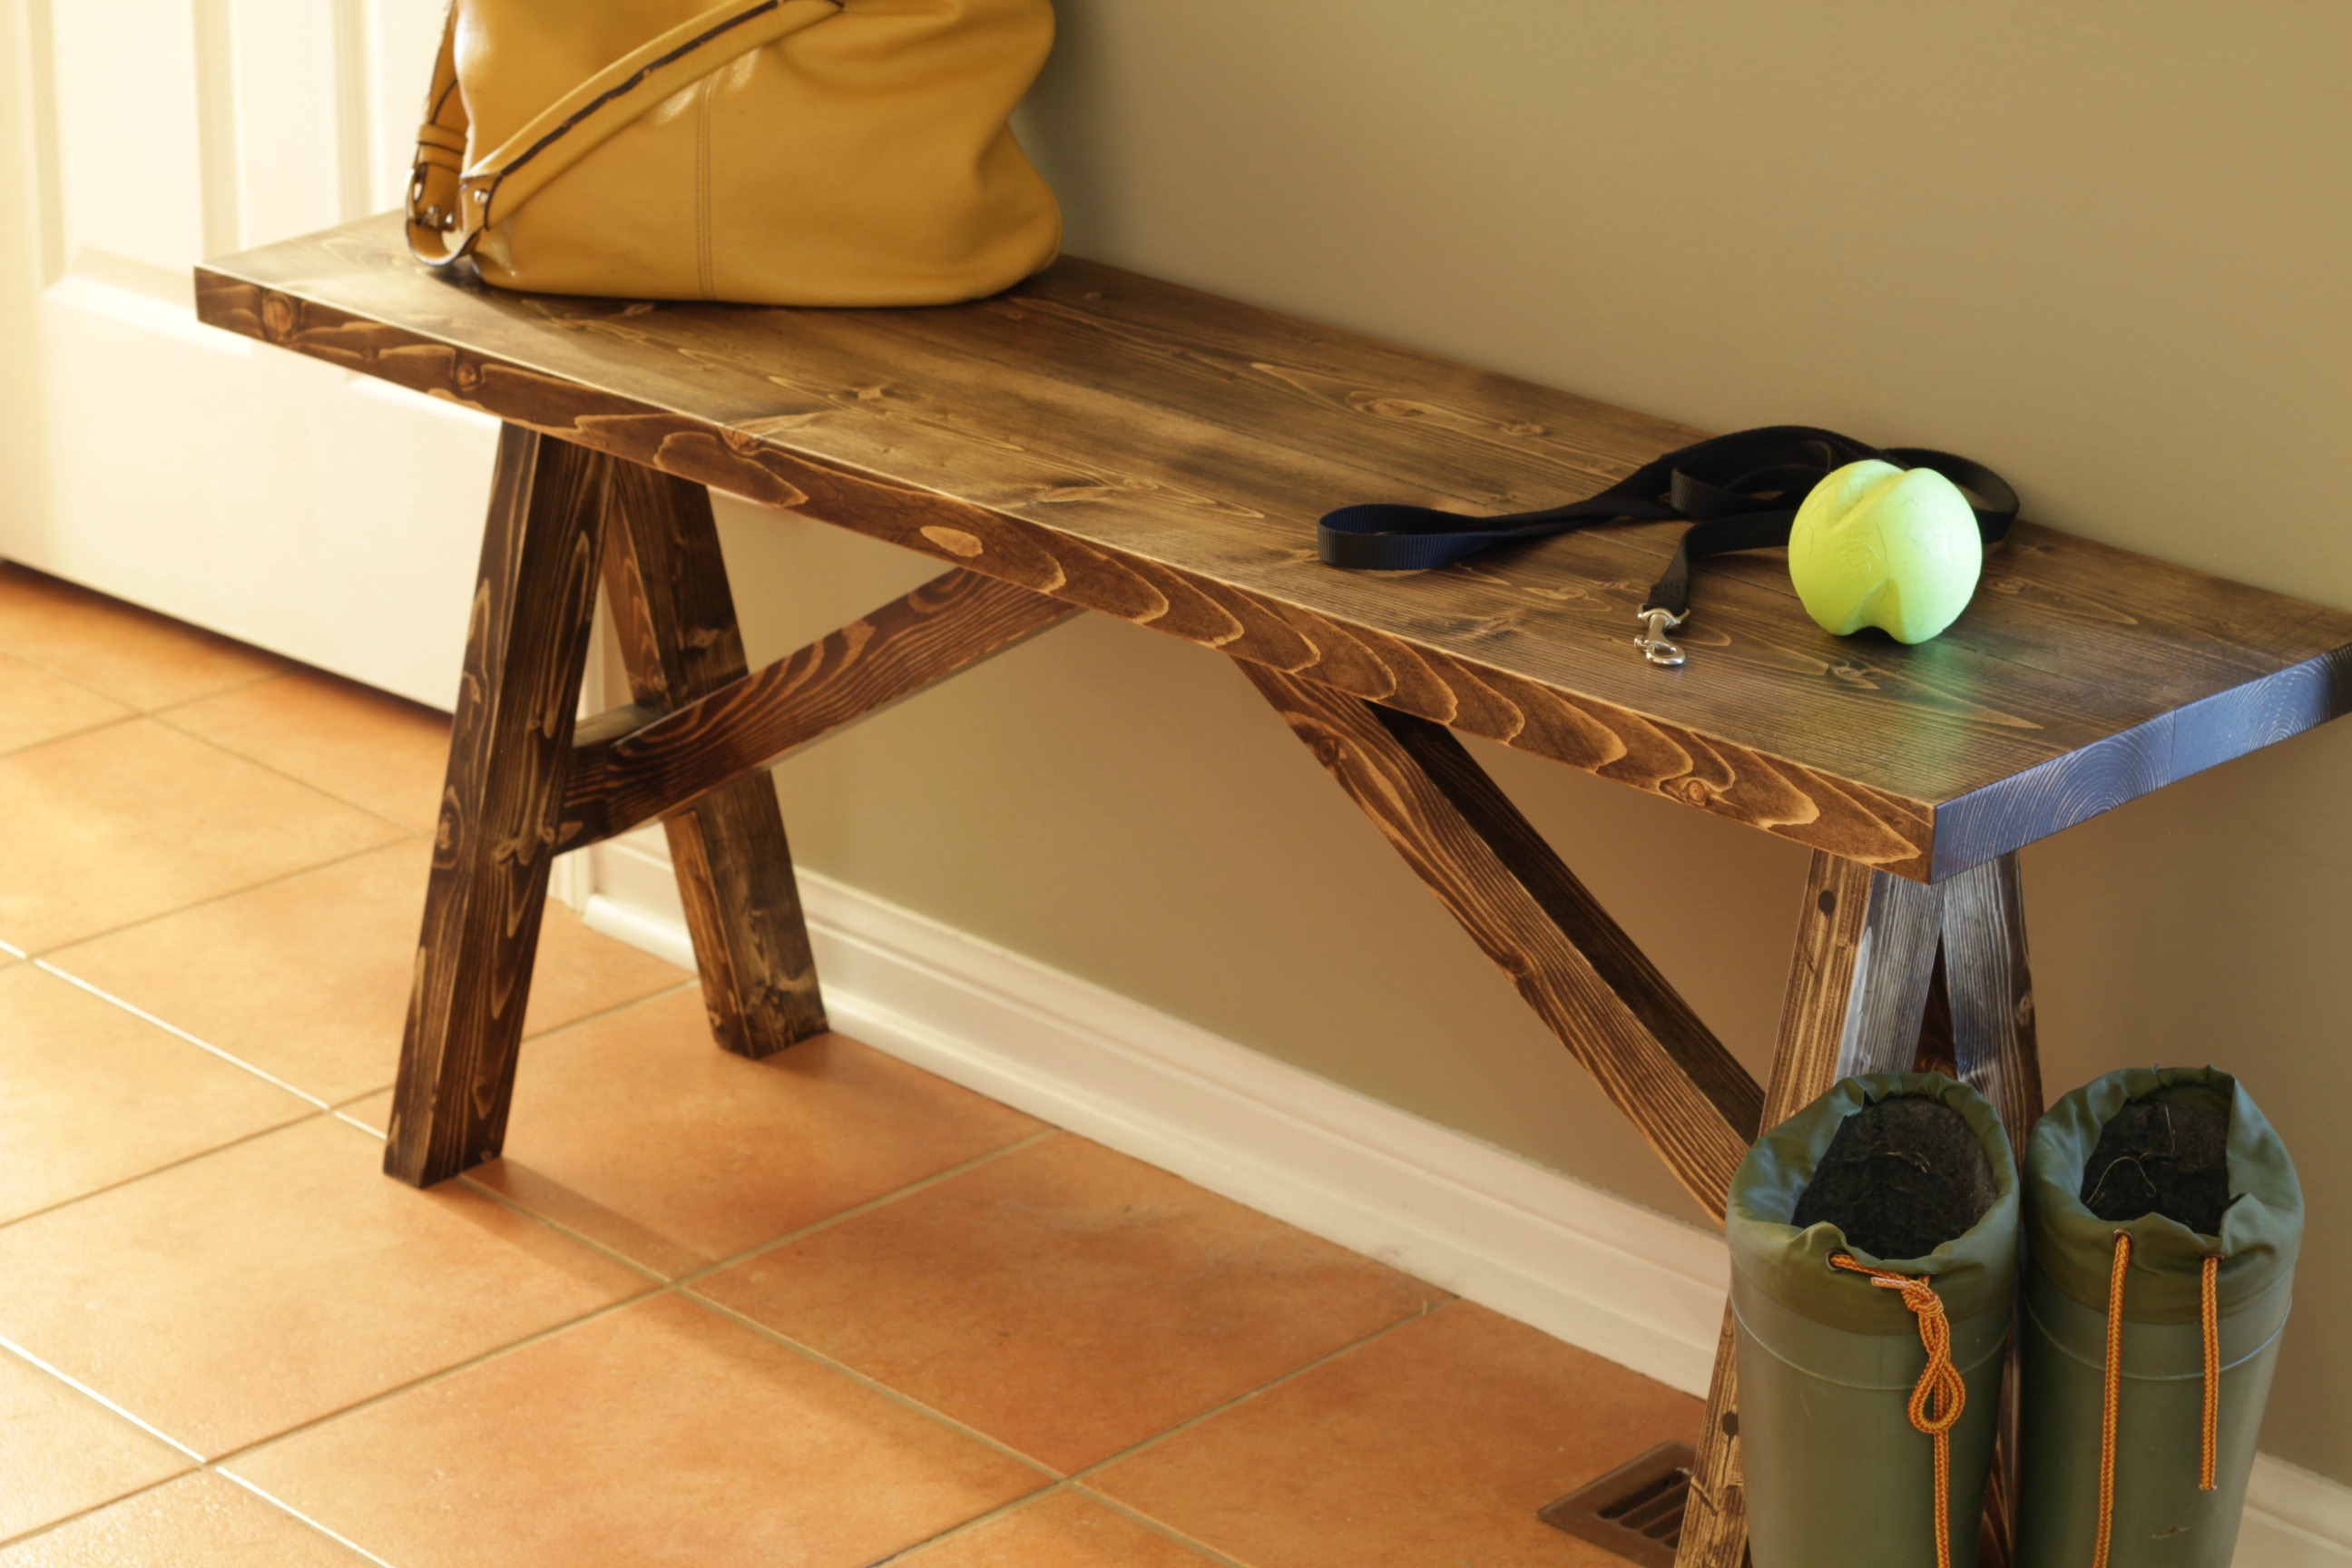
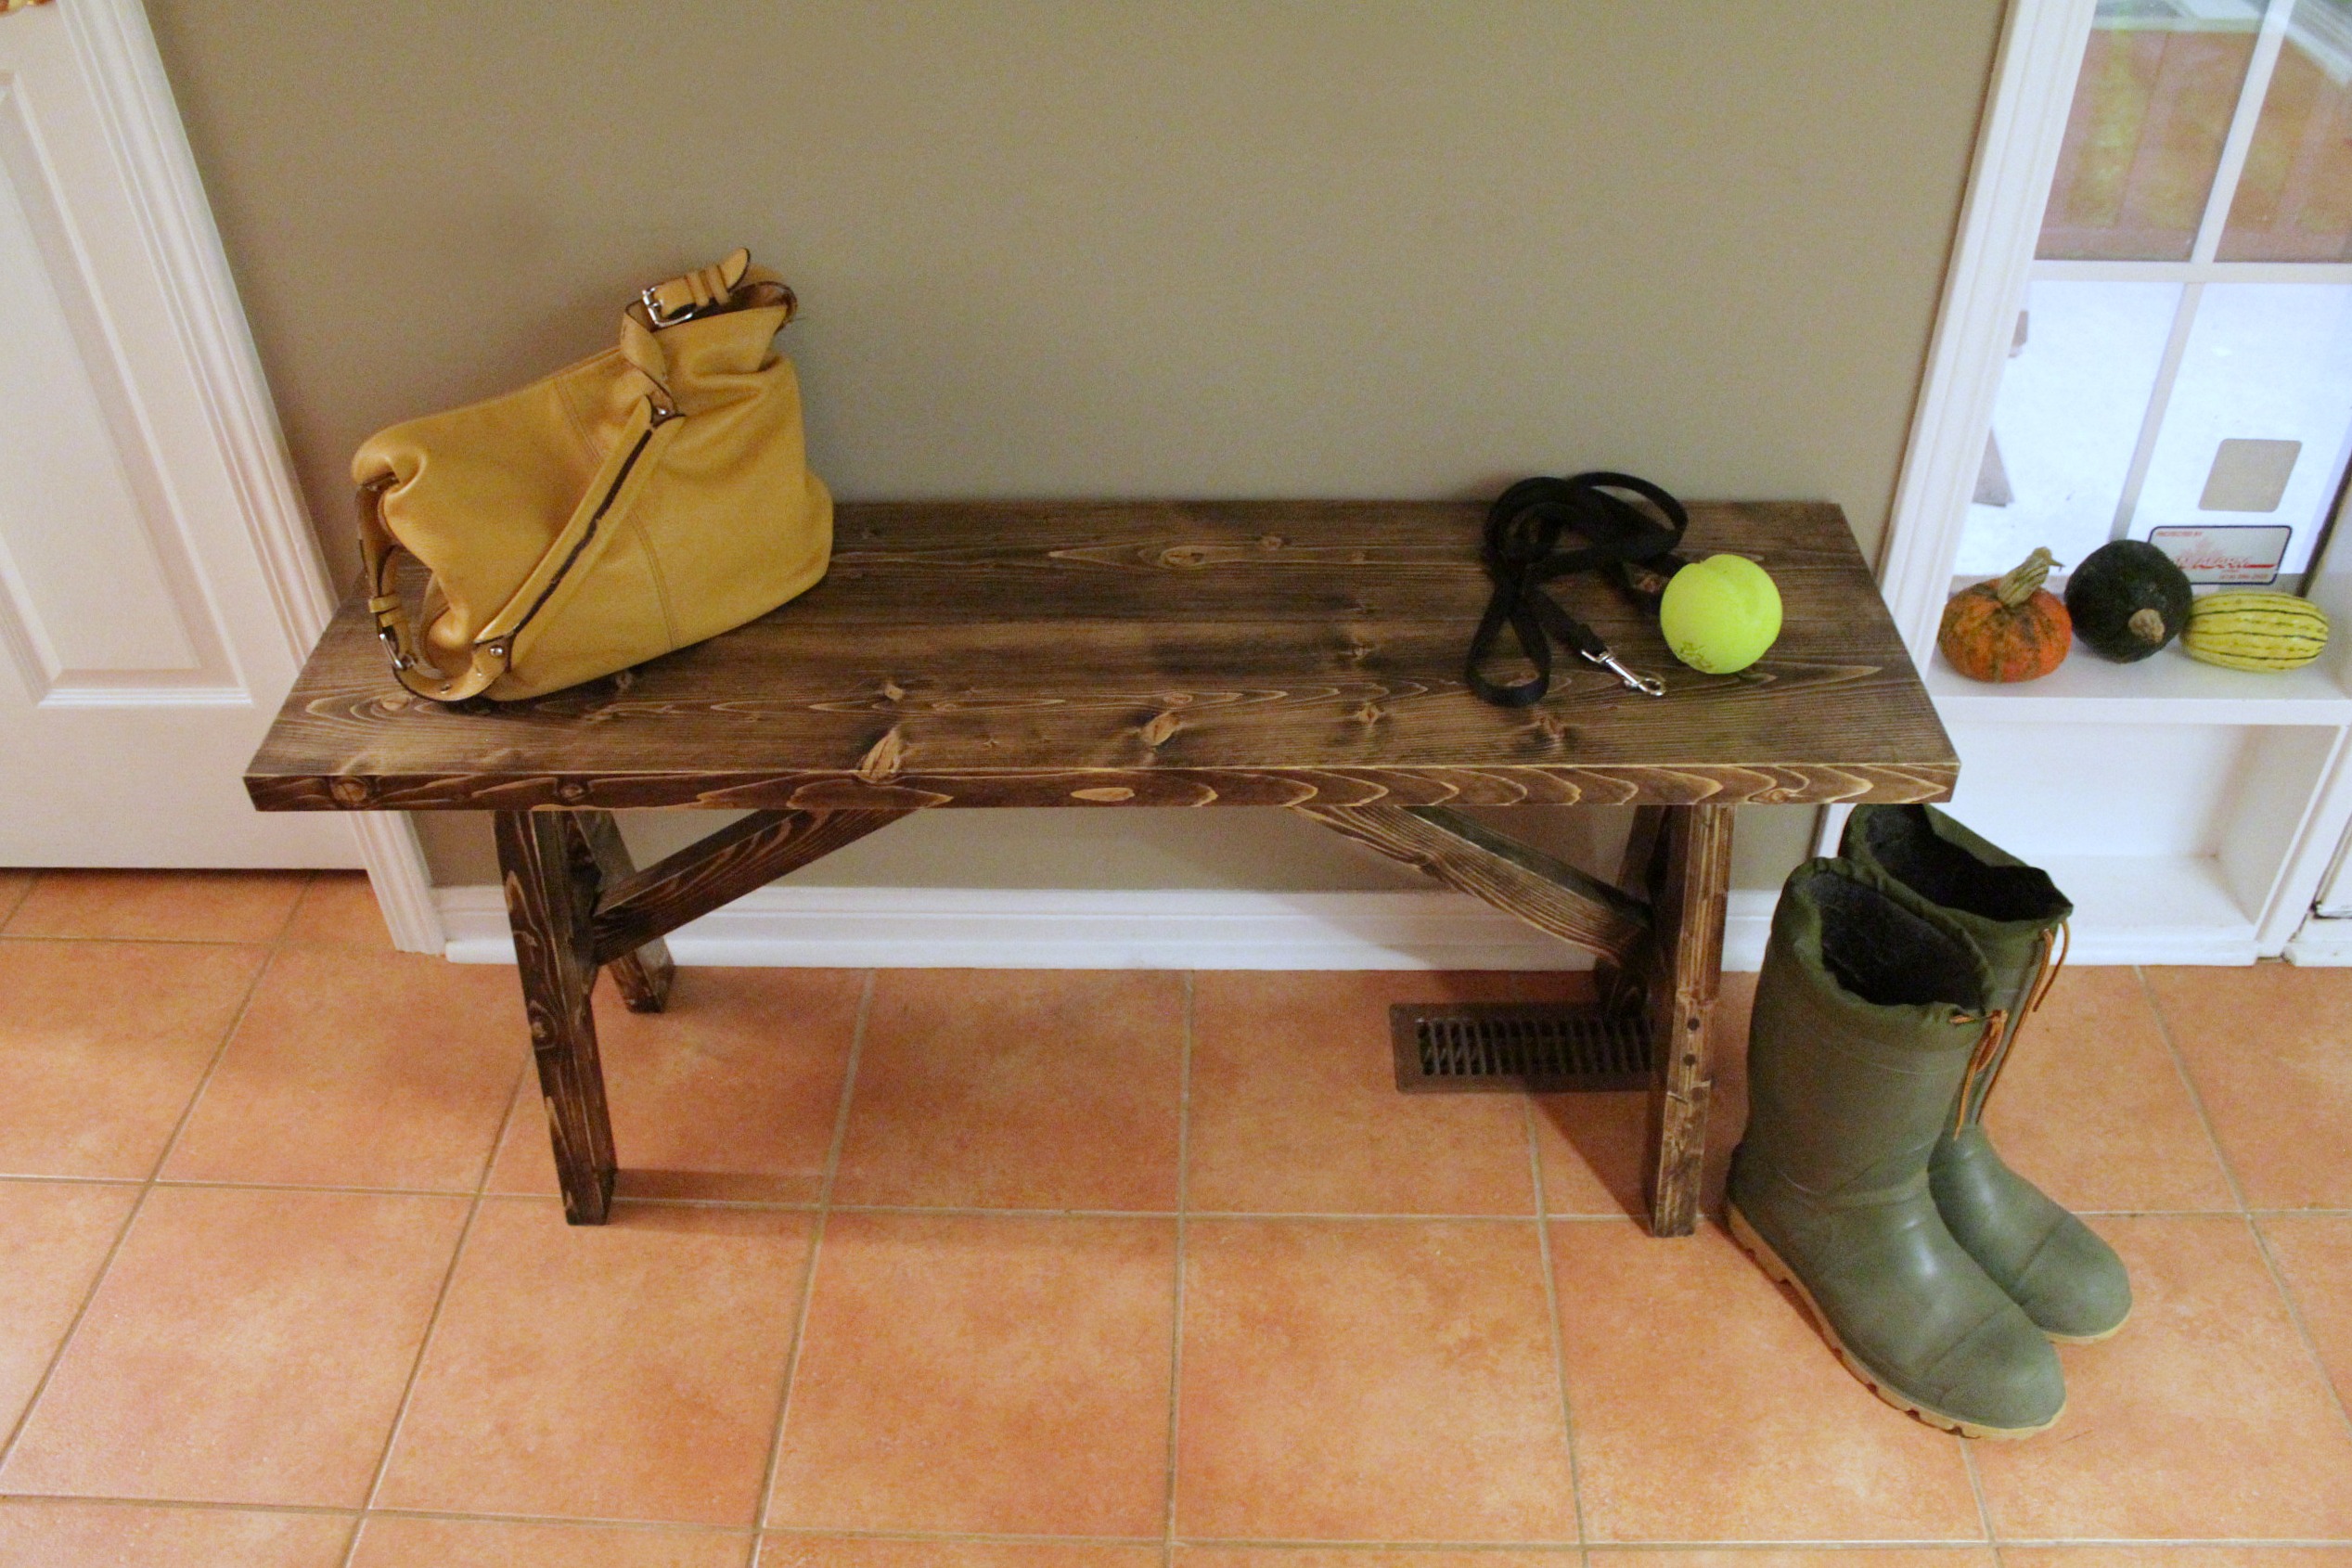
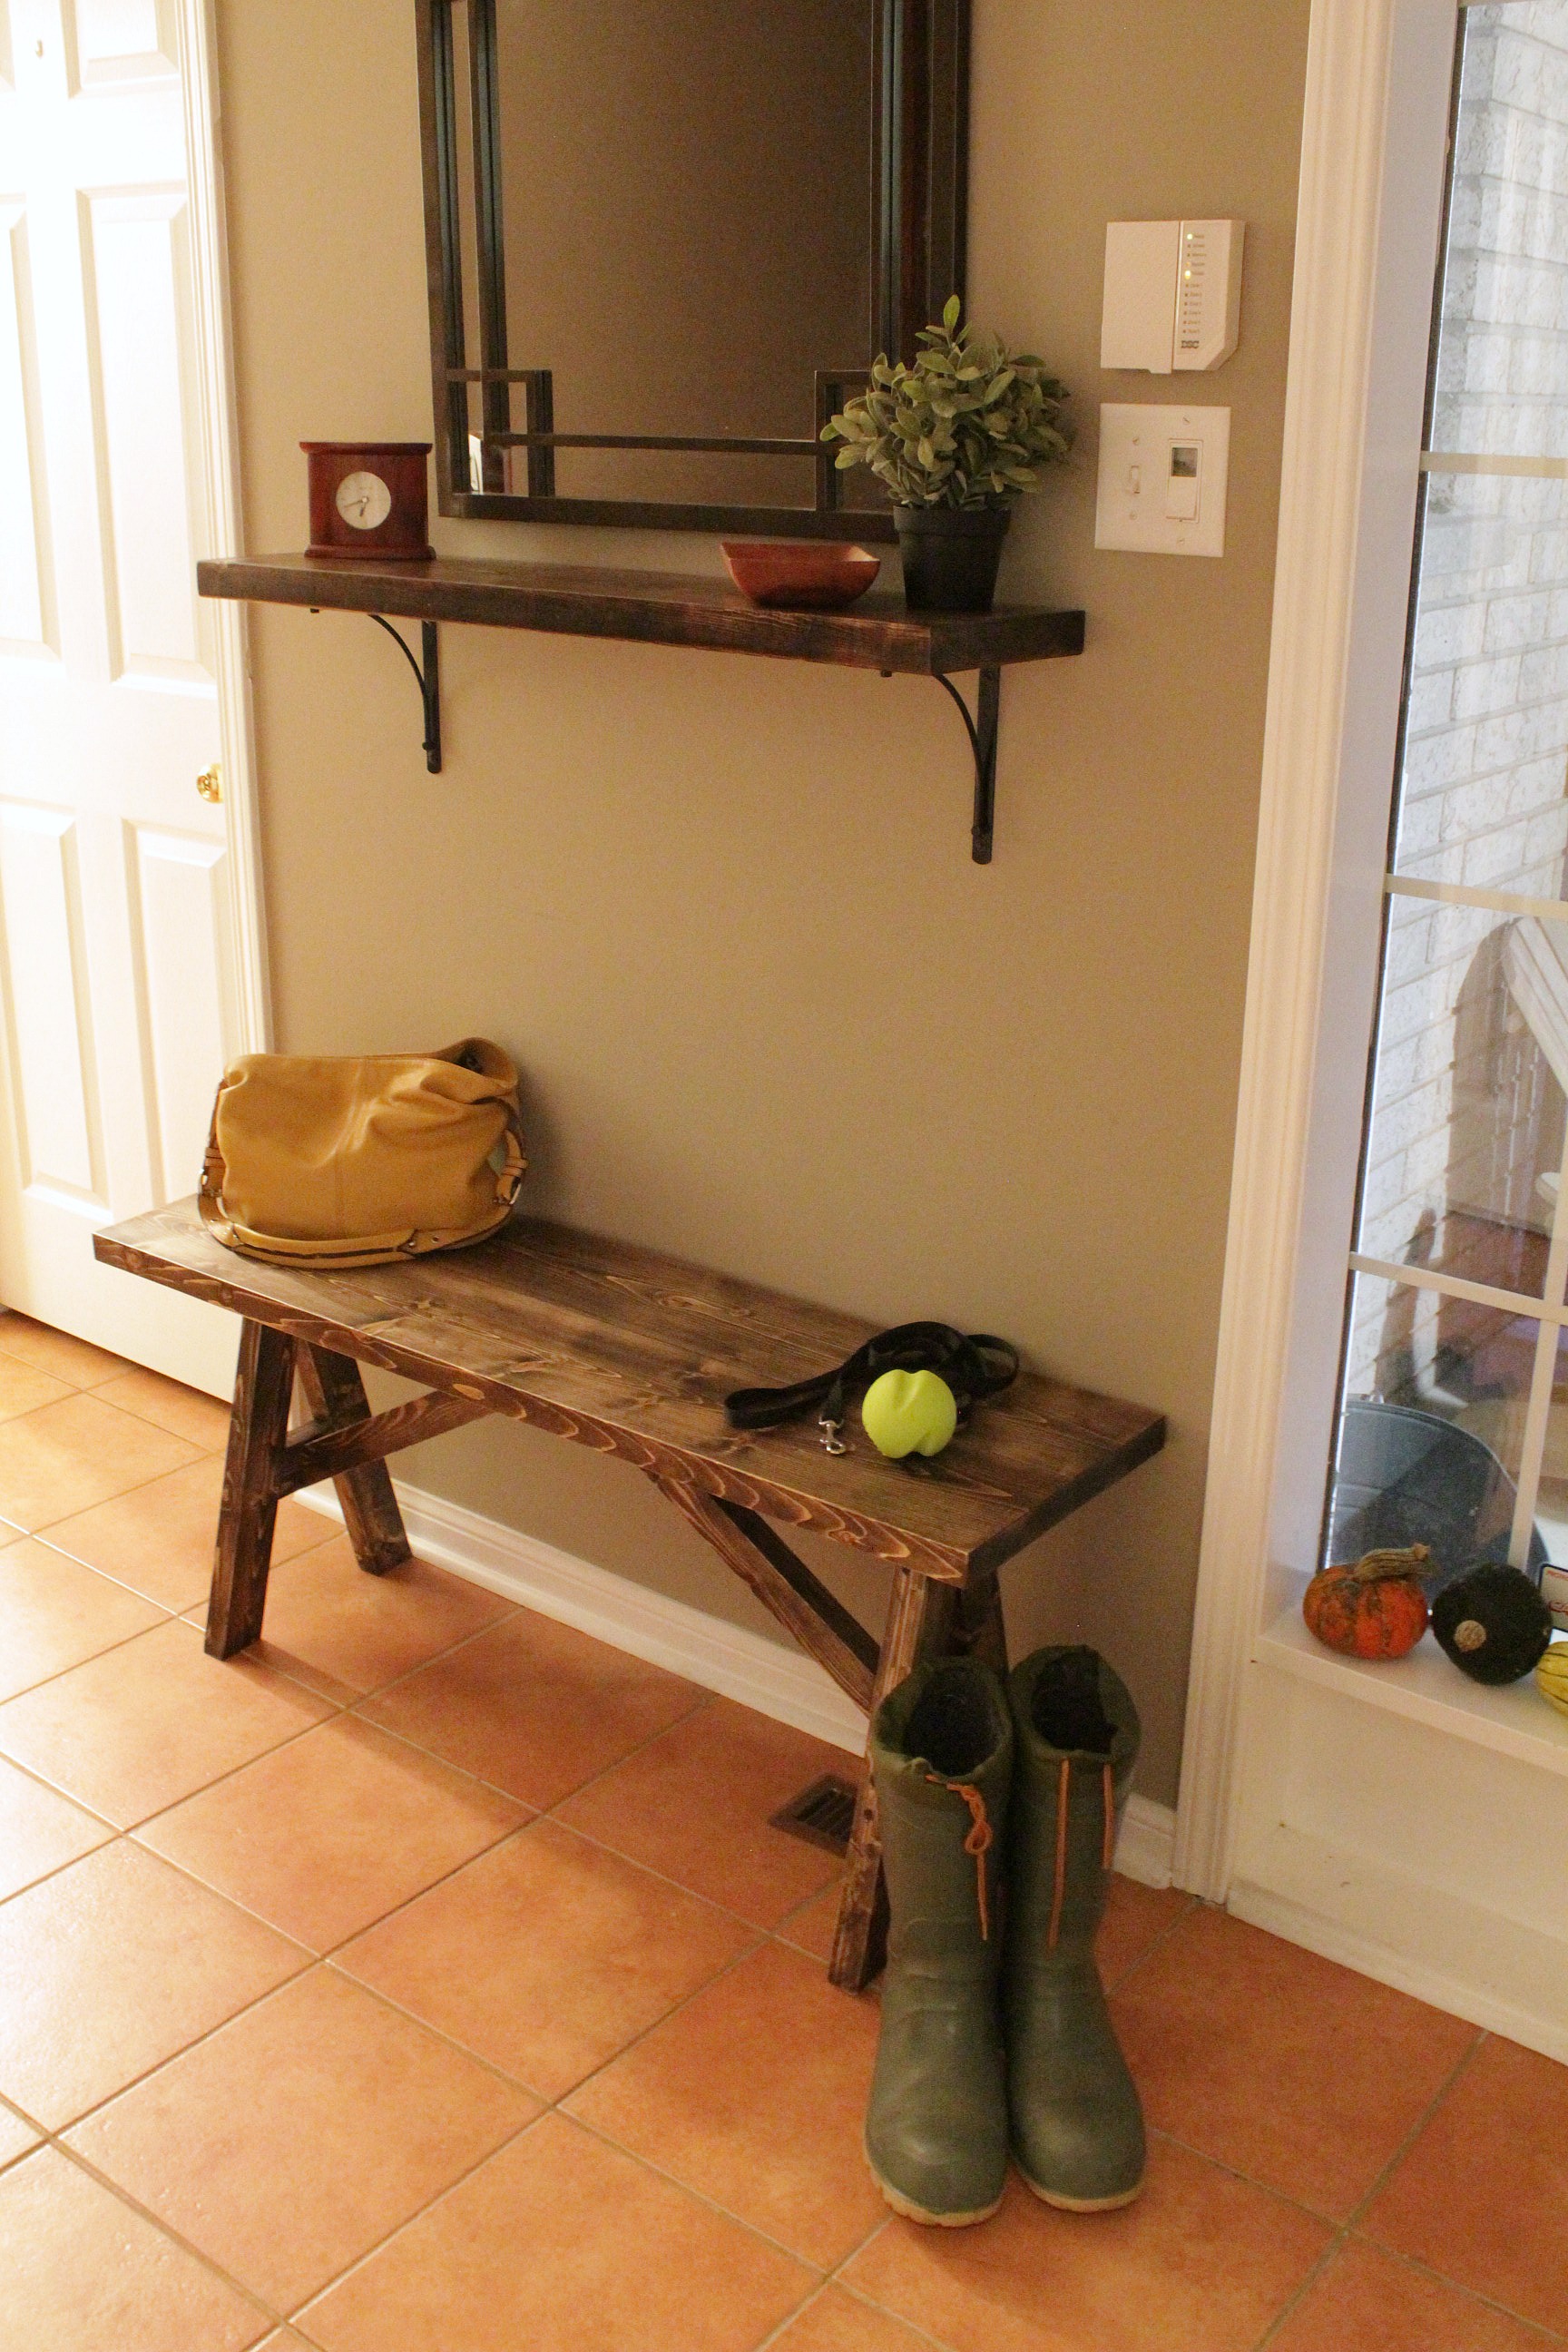
We used 2 2x8 boards for the seat, cut down to 4-foot lengths, planed to get a nice tight join, and then joined together with pocket screws and 4 metal plates on the underside.

Build your own entryway bench

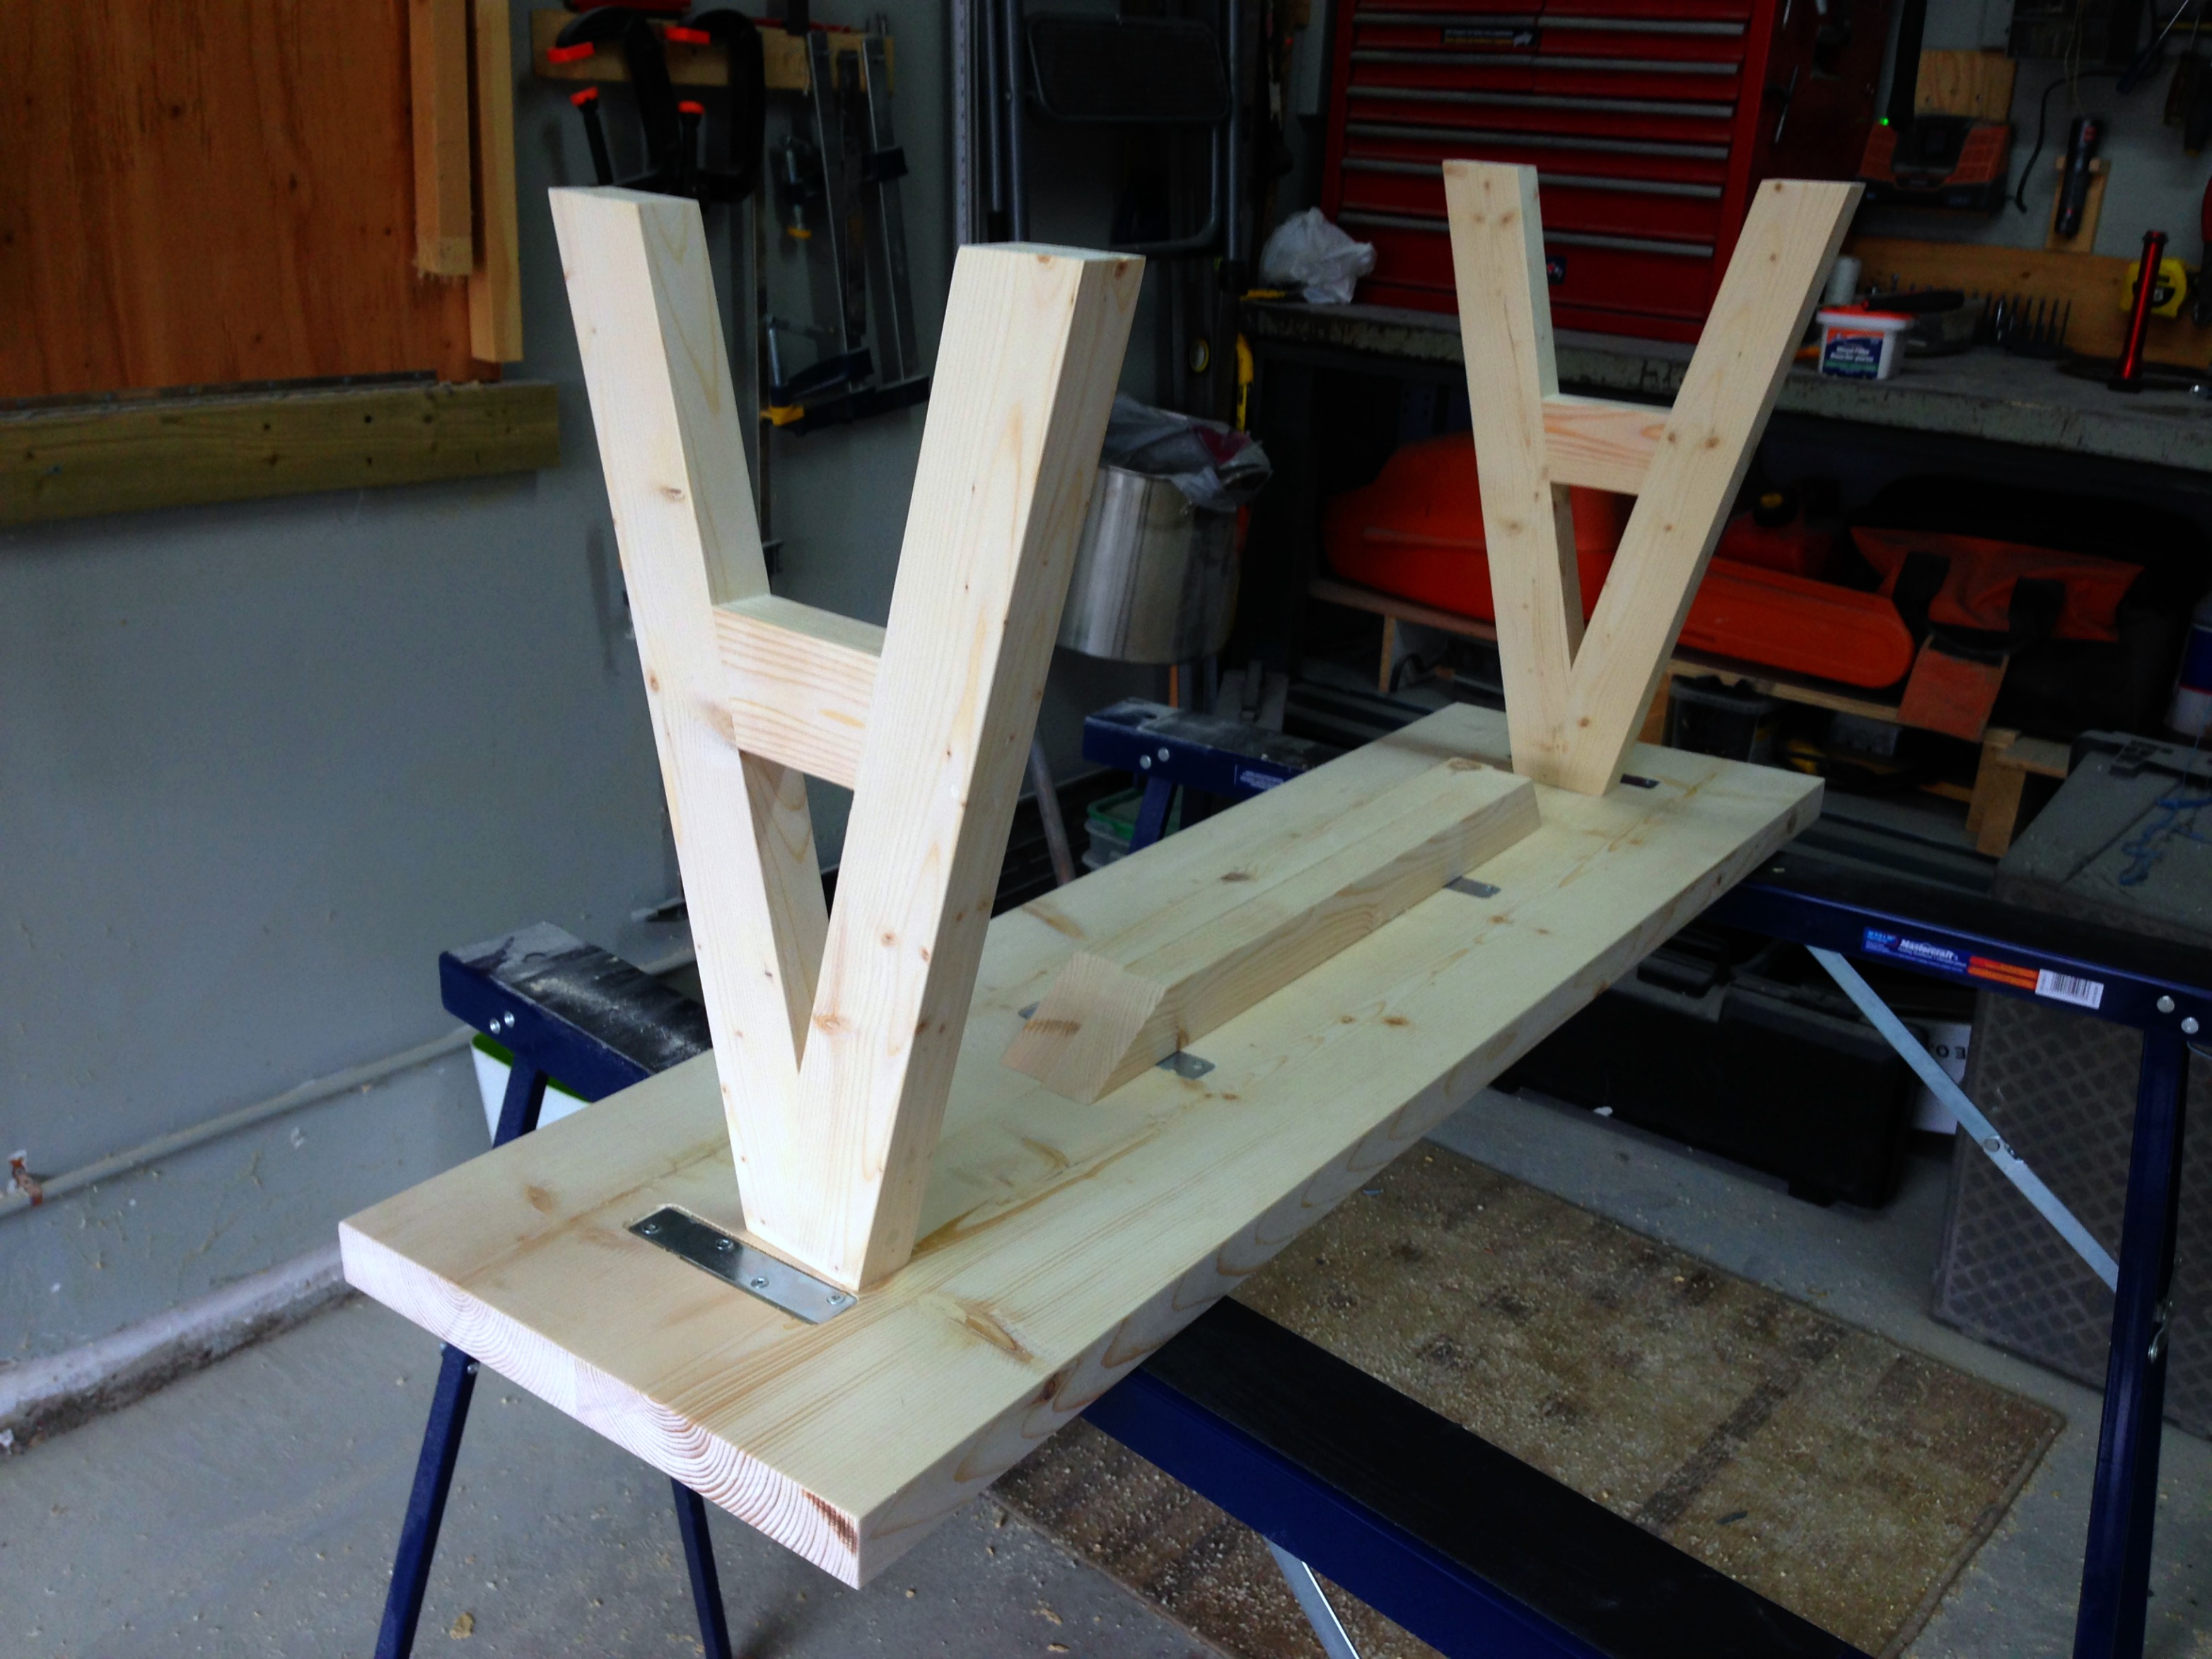
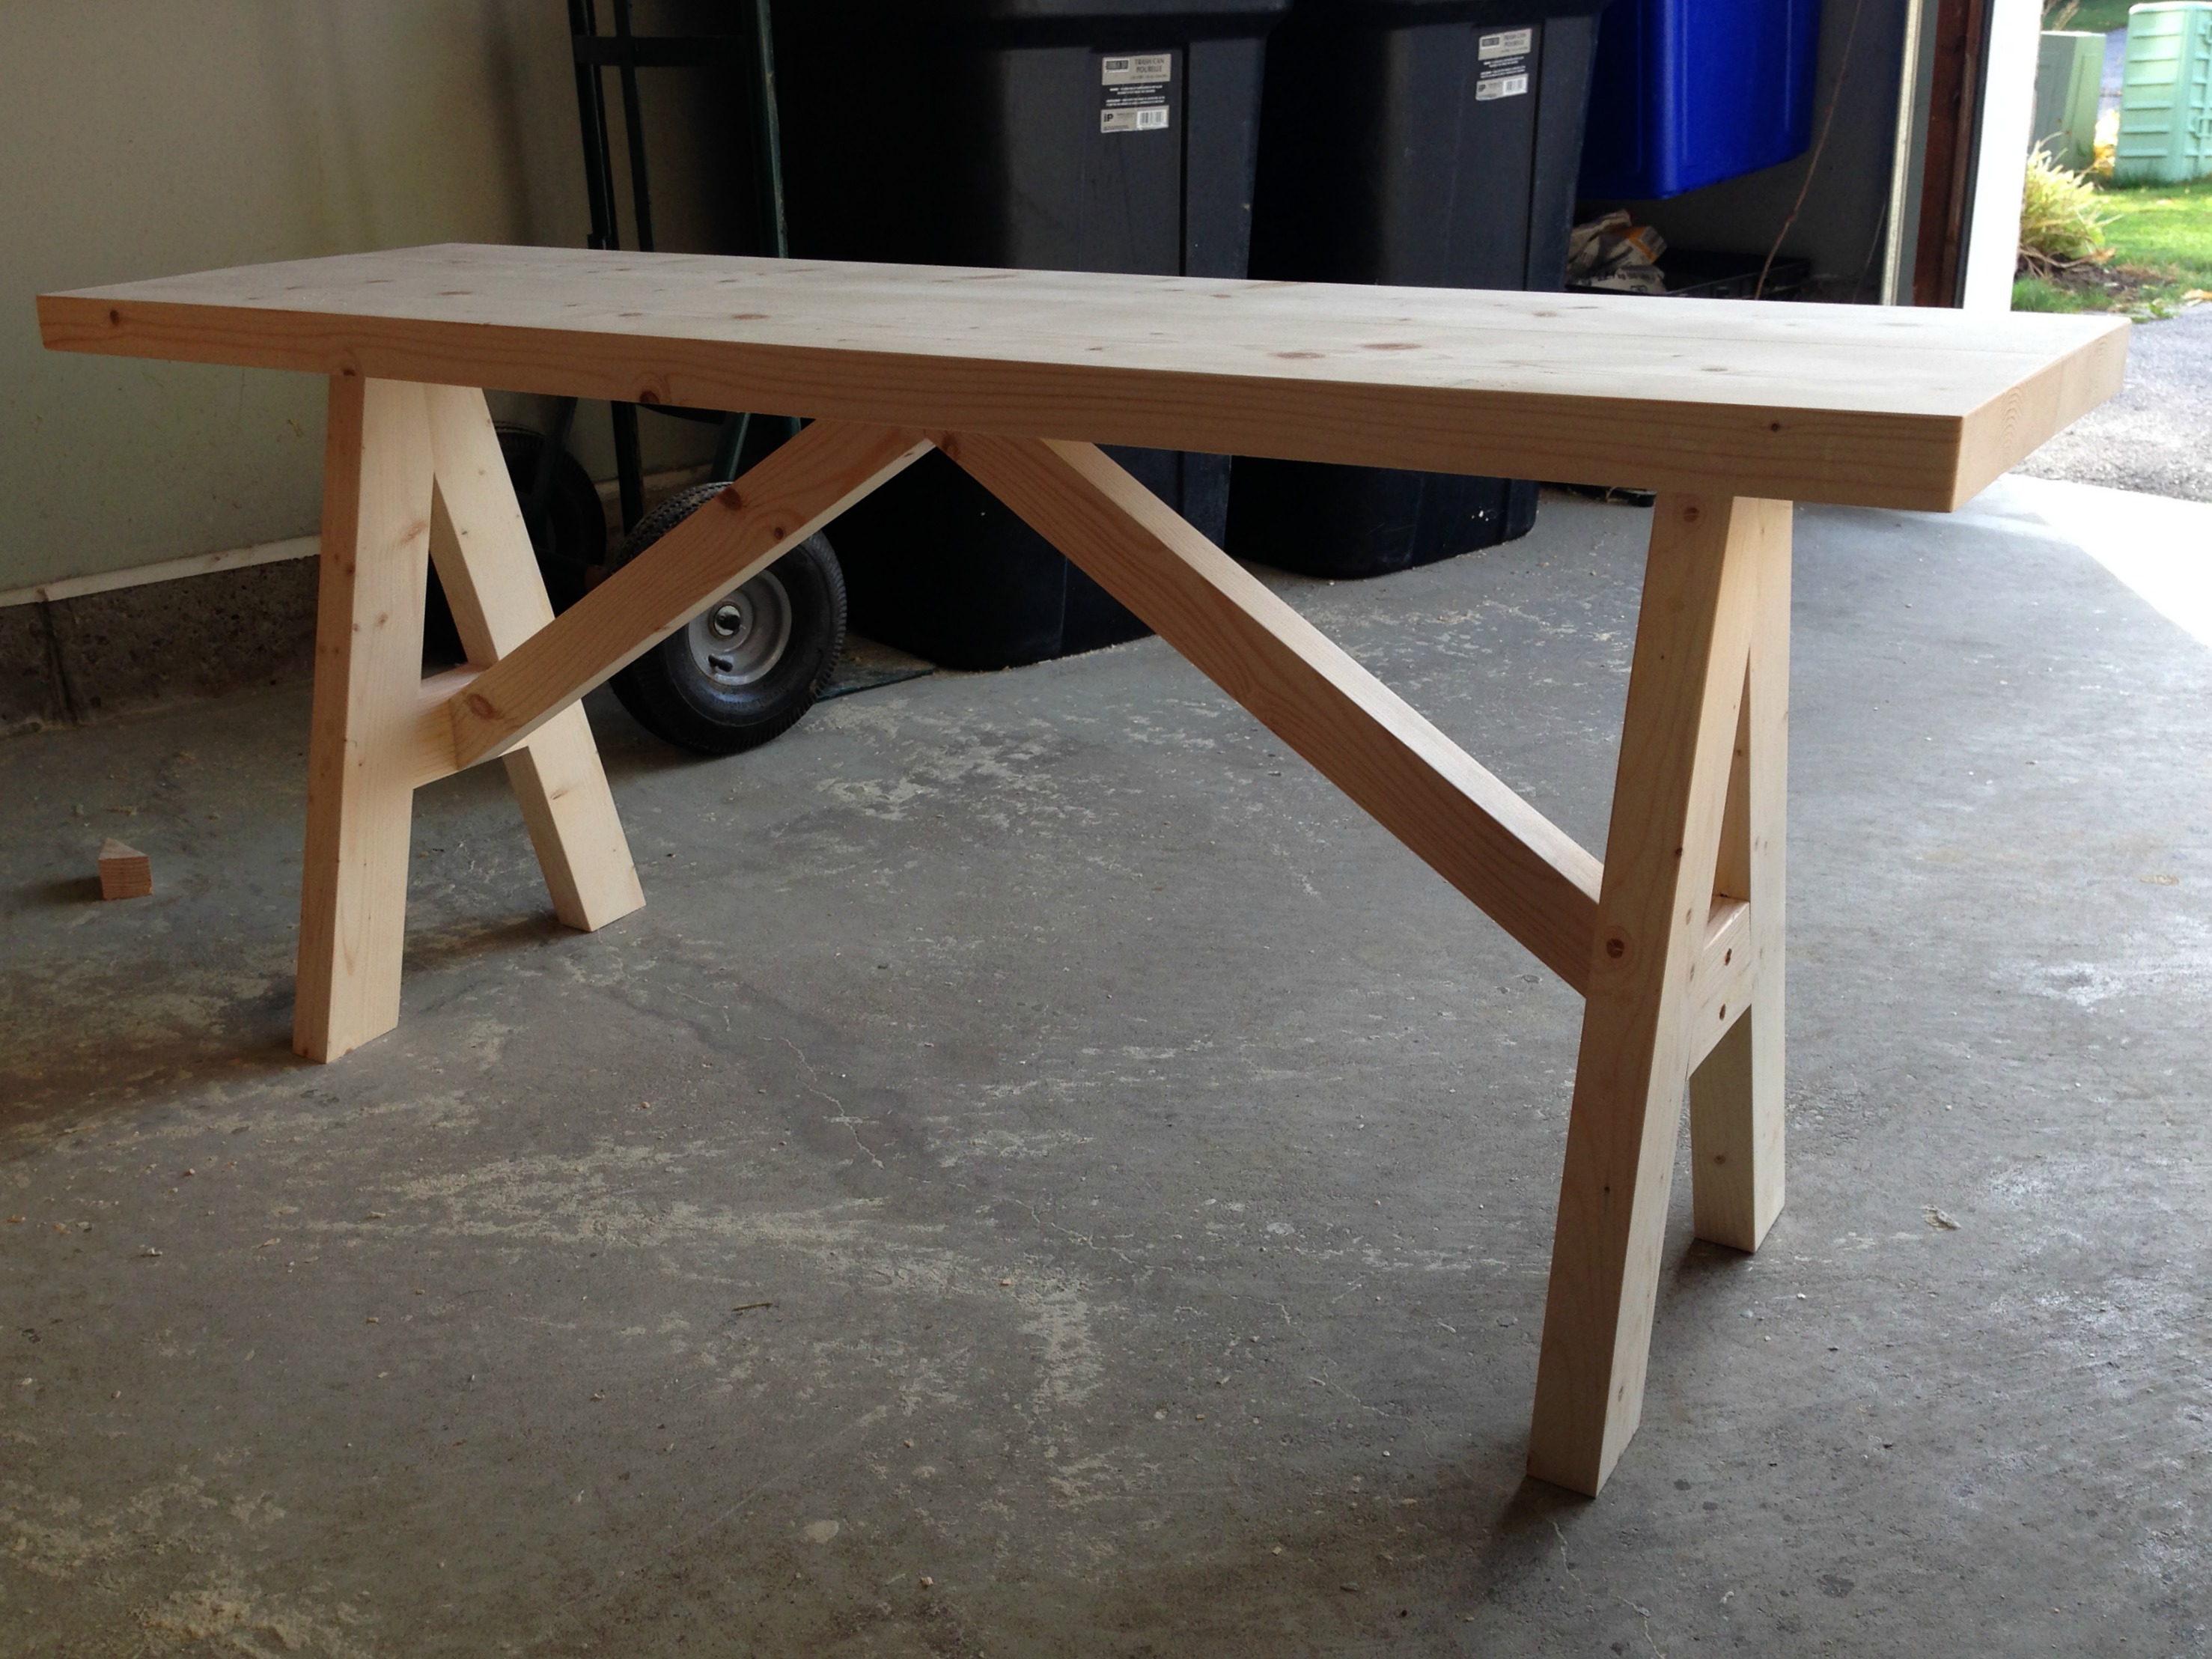
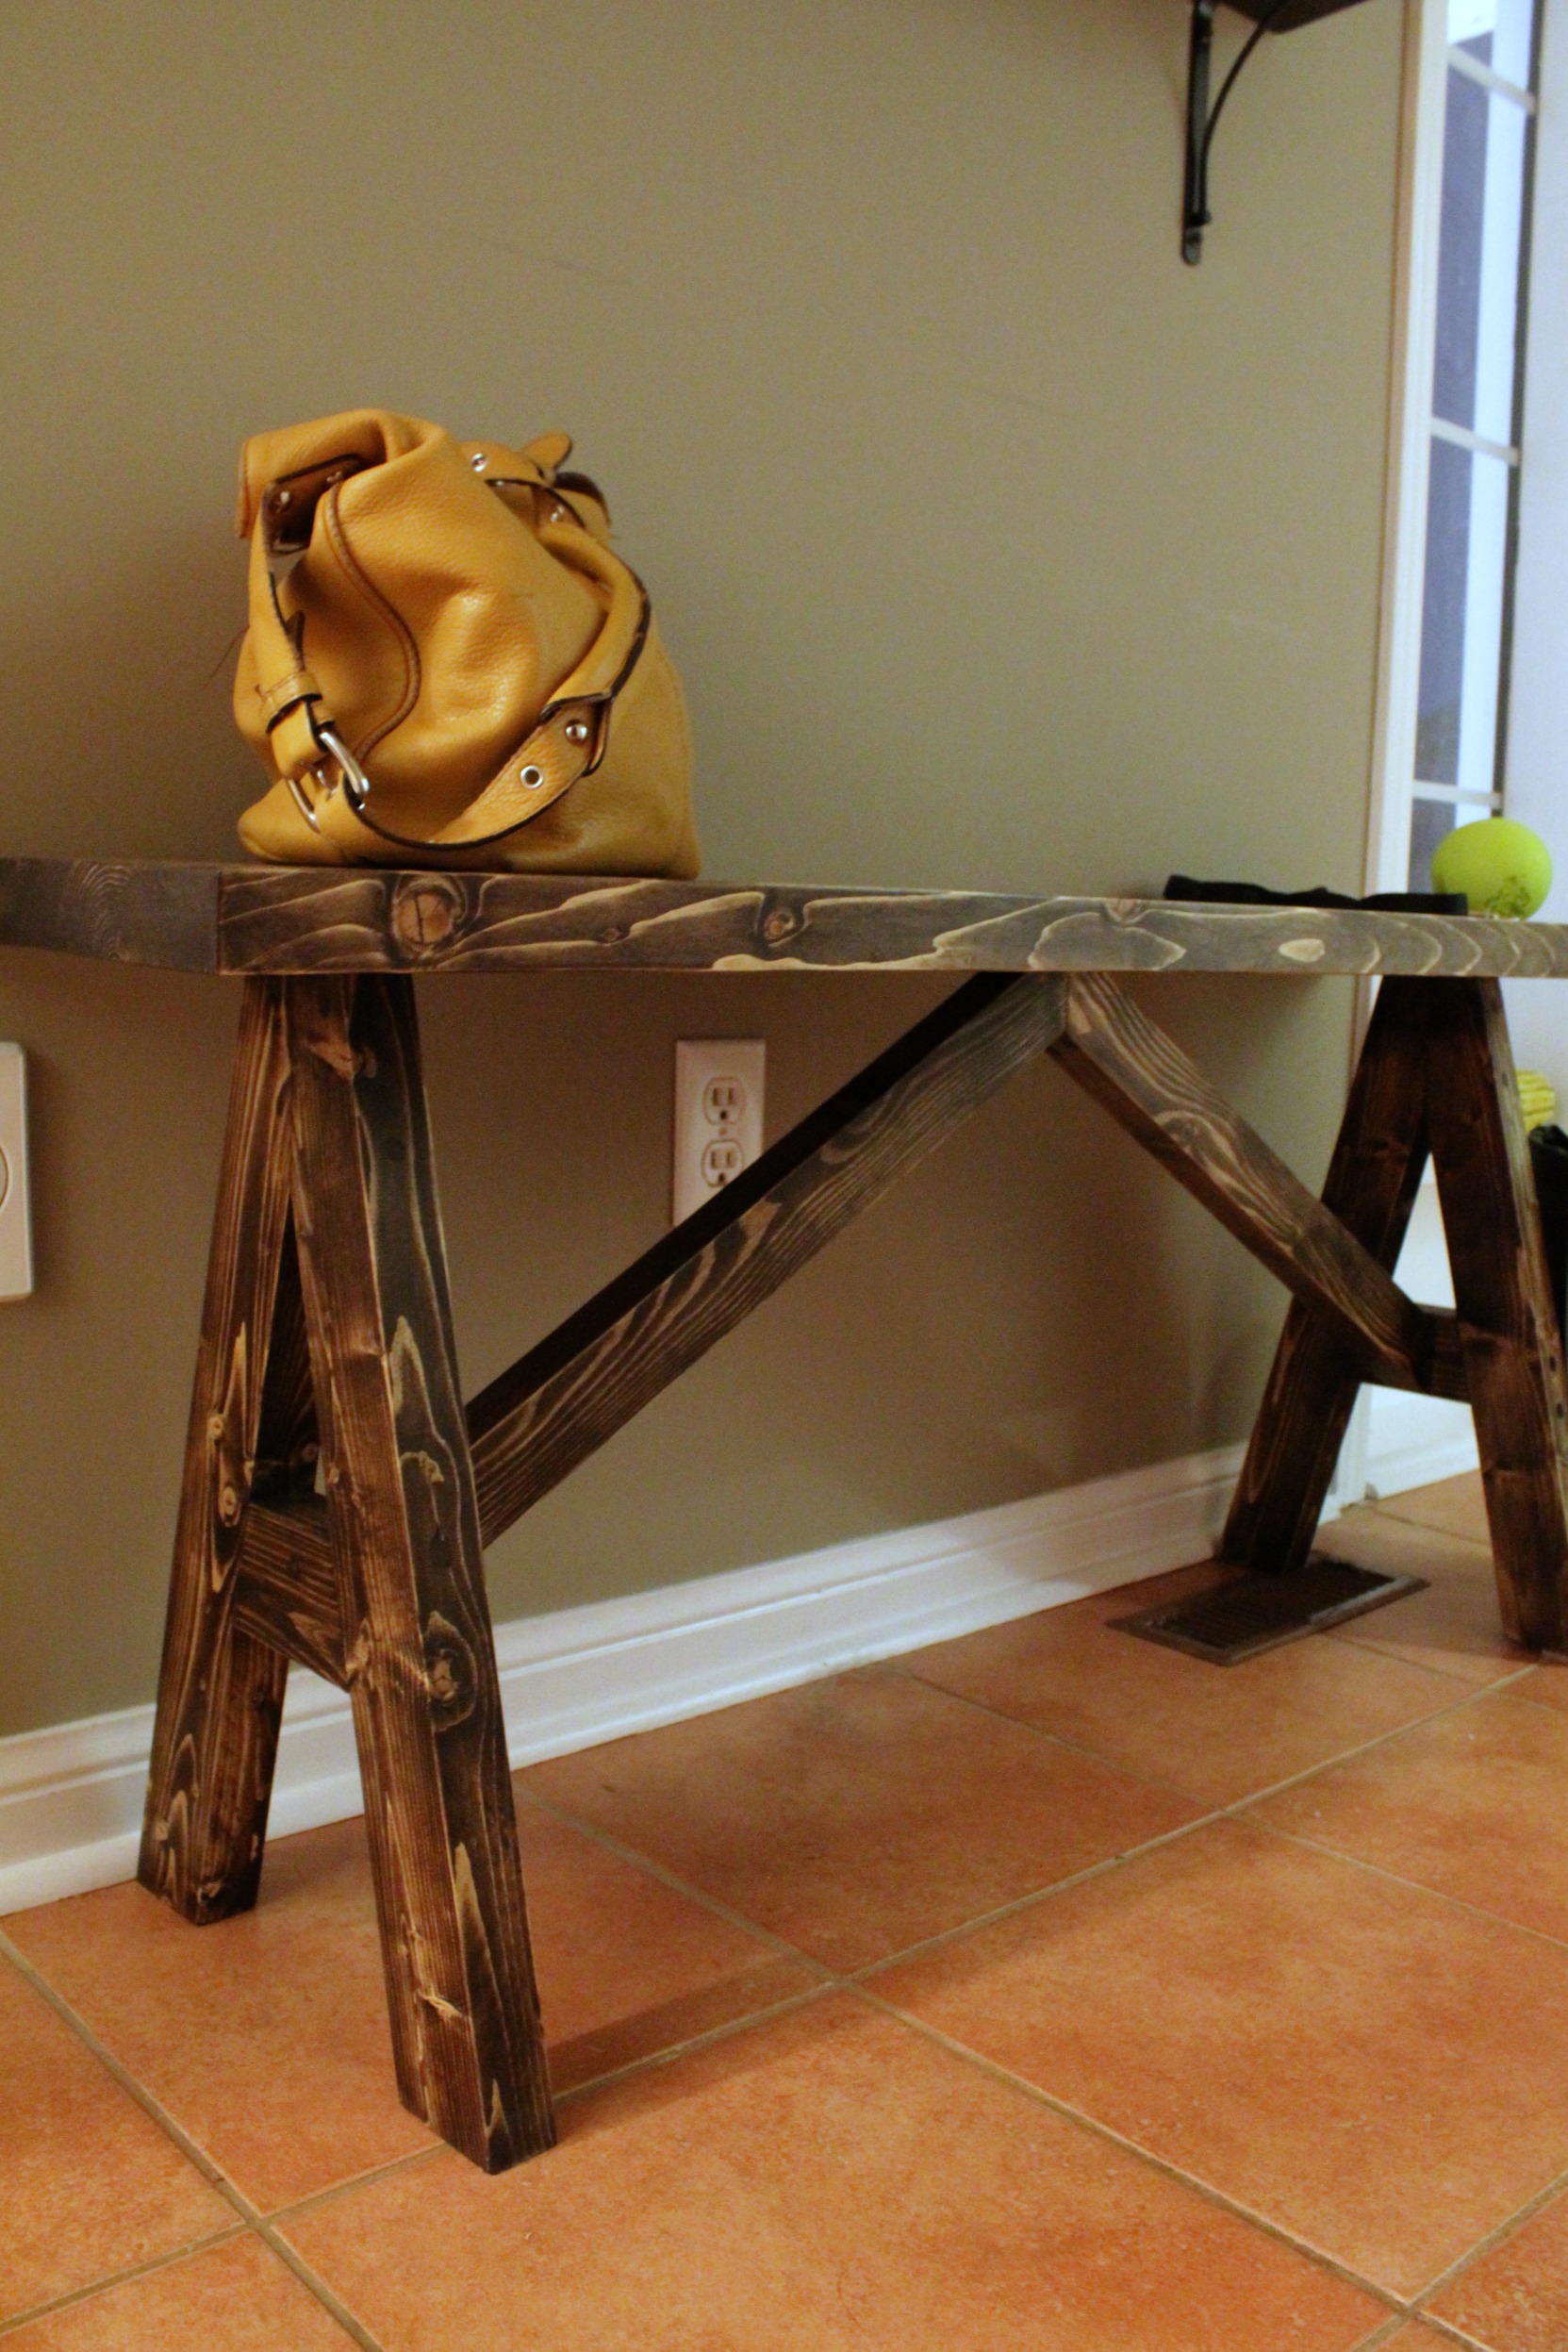
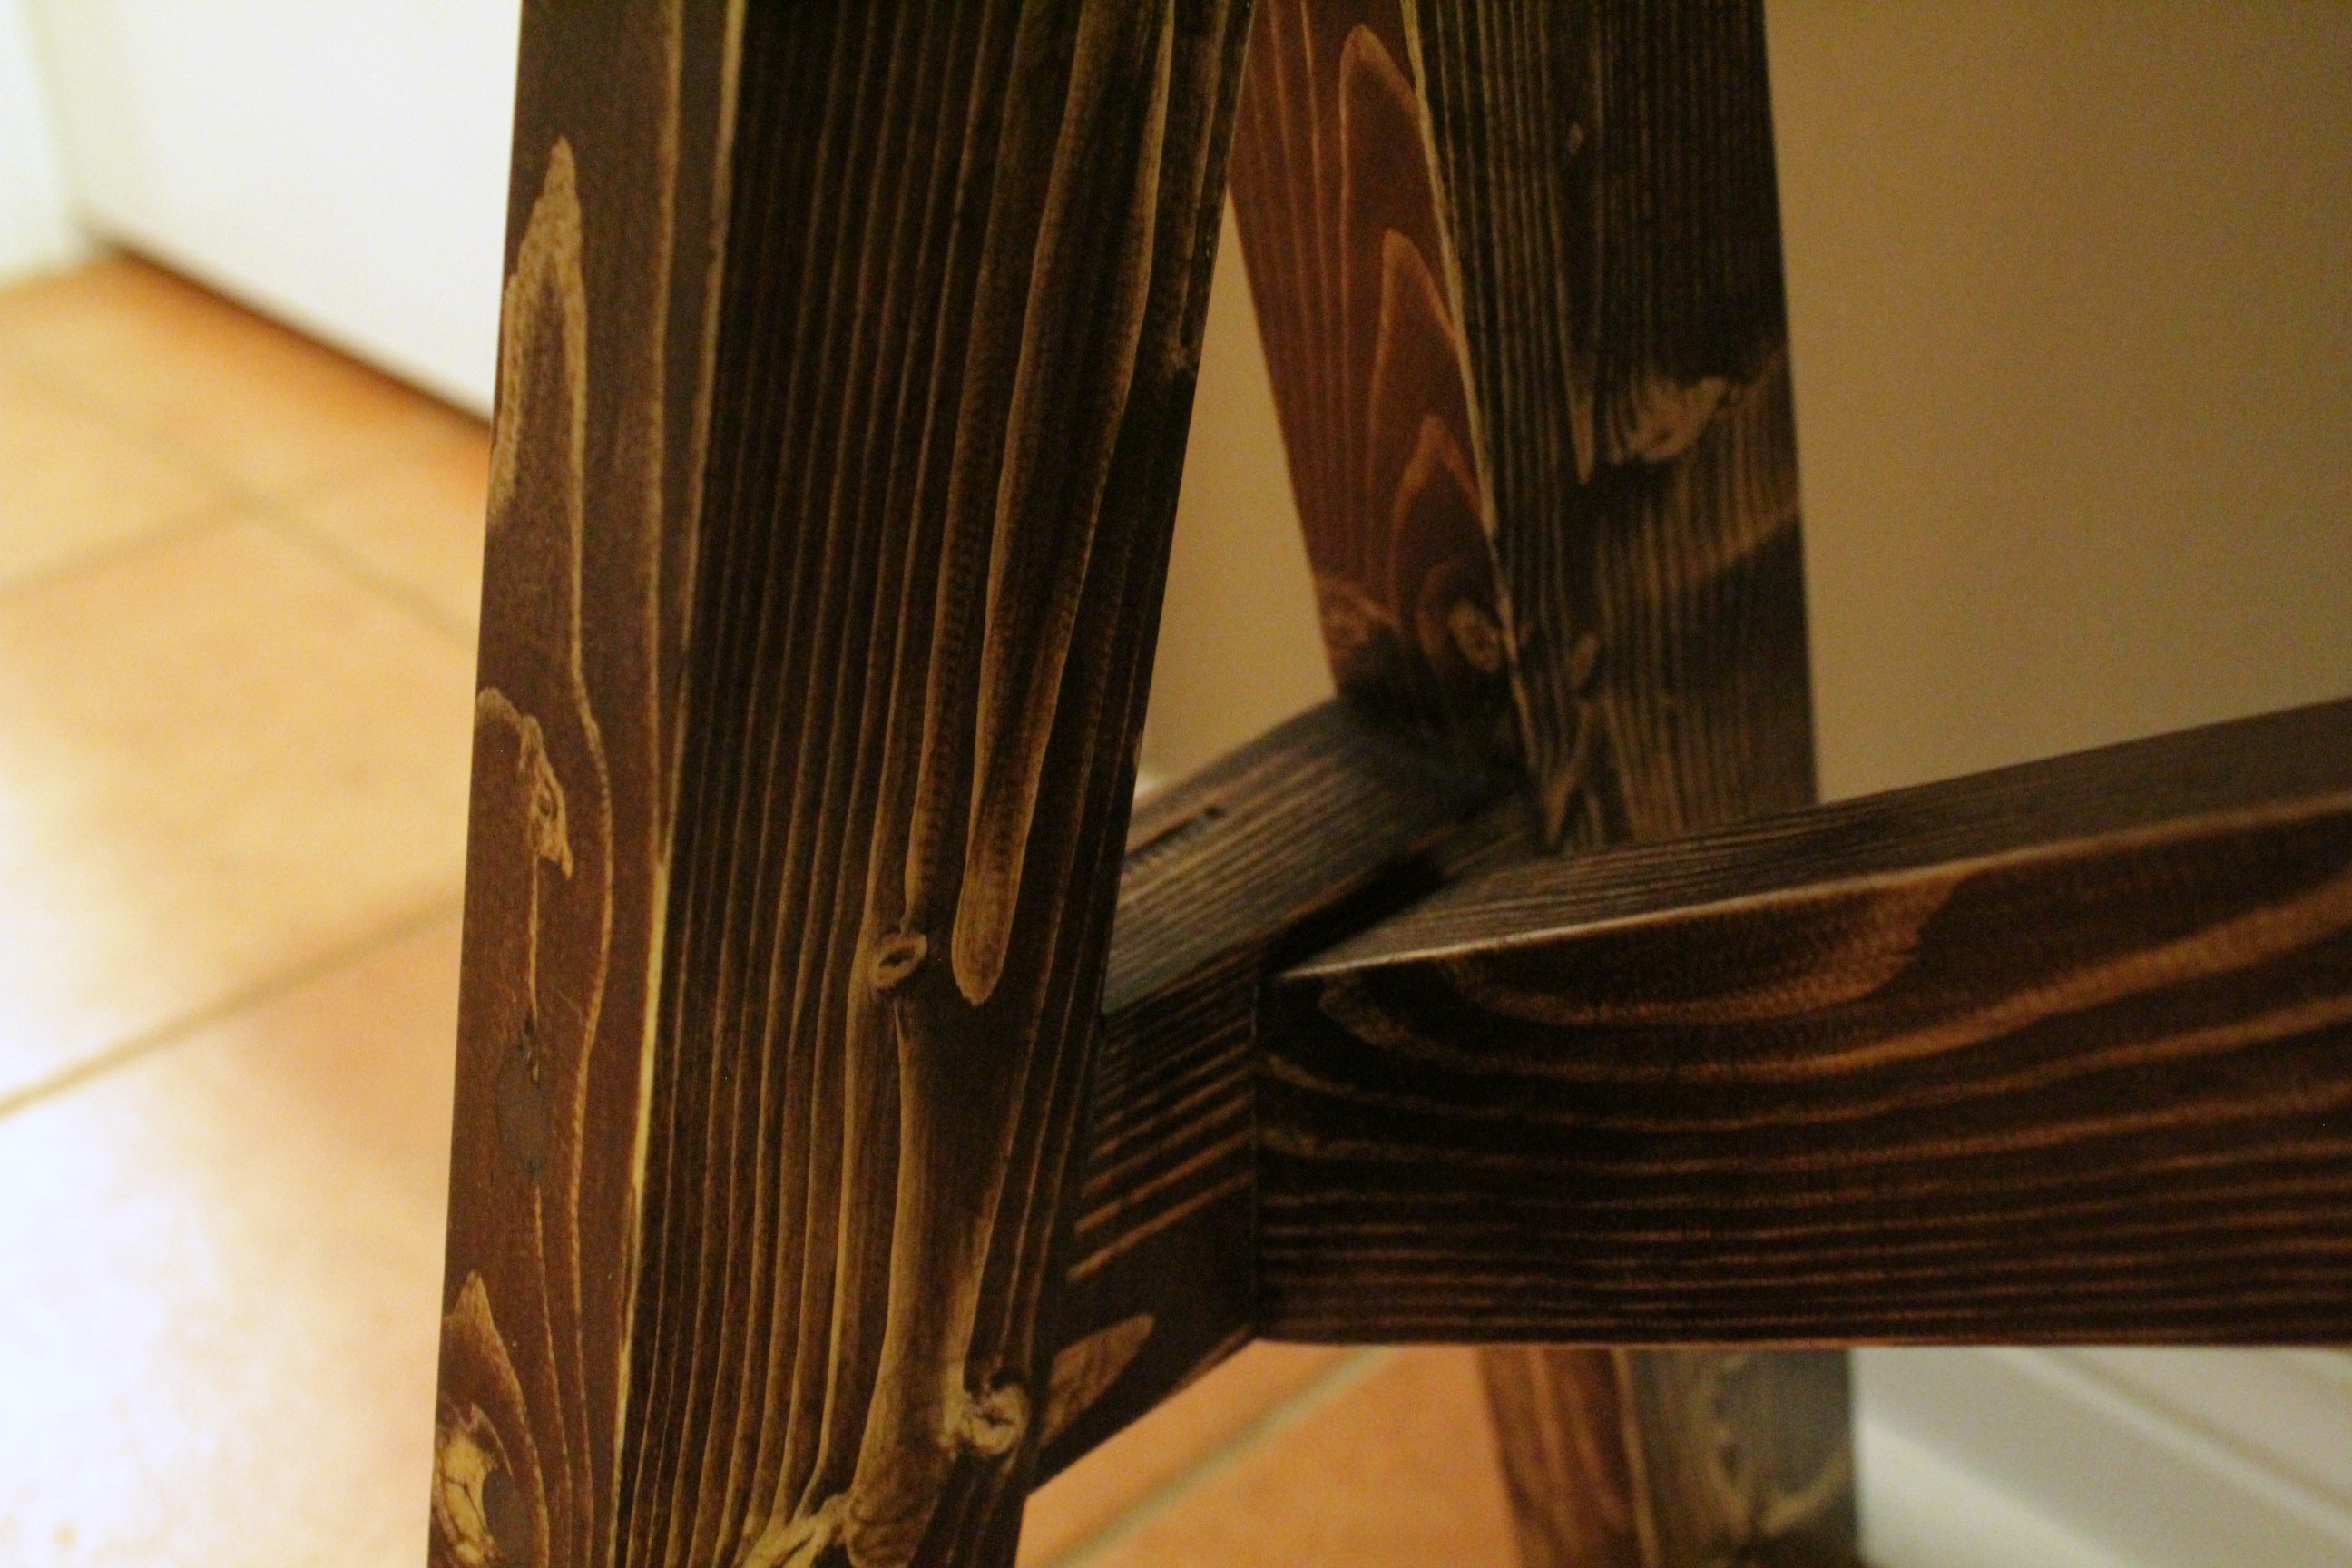
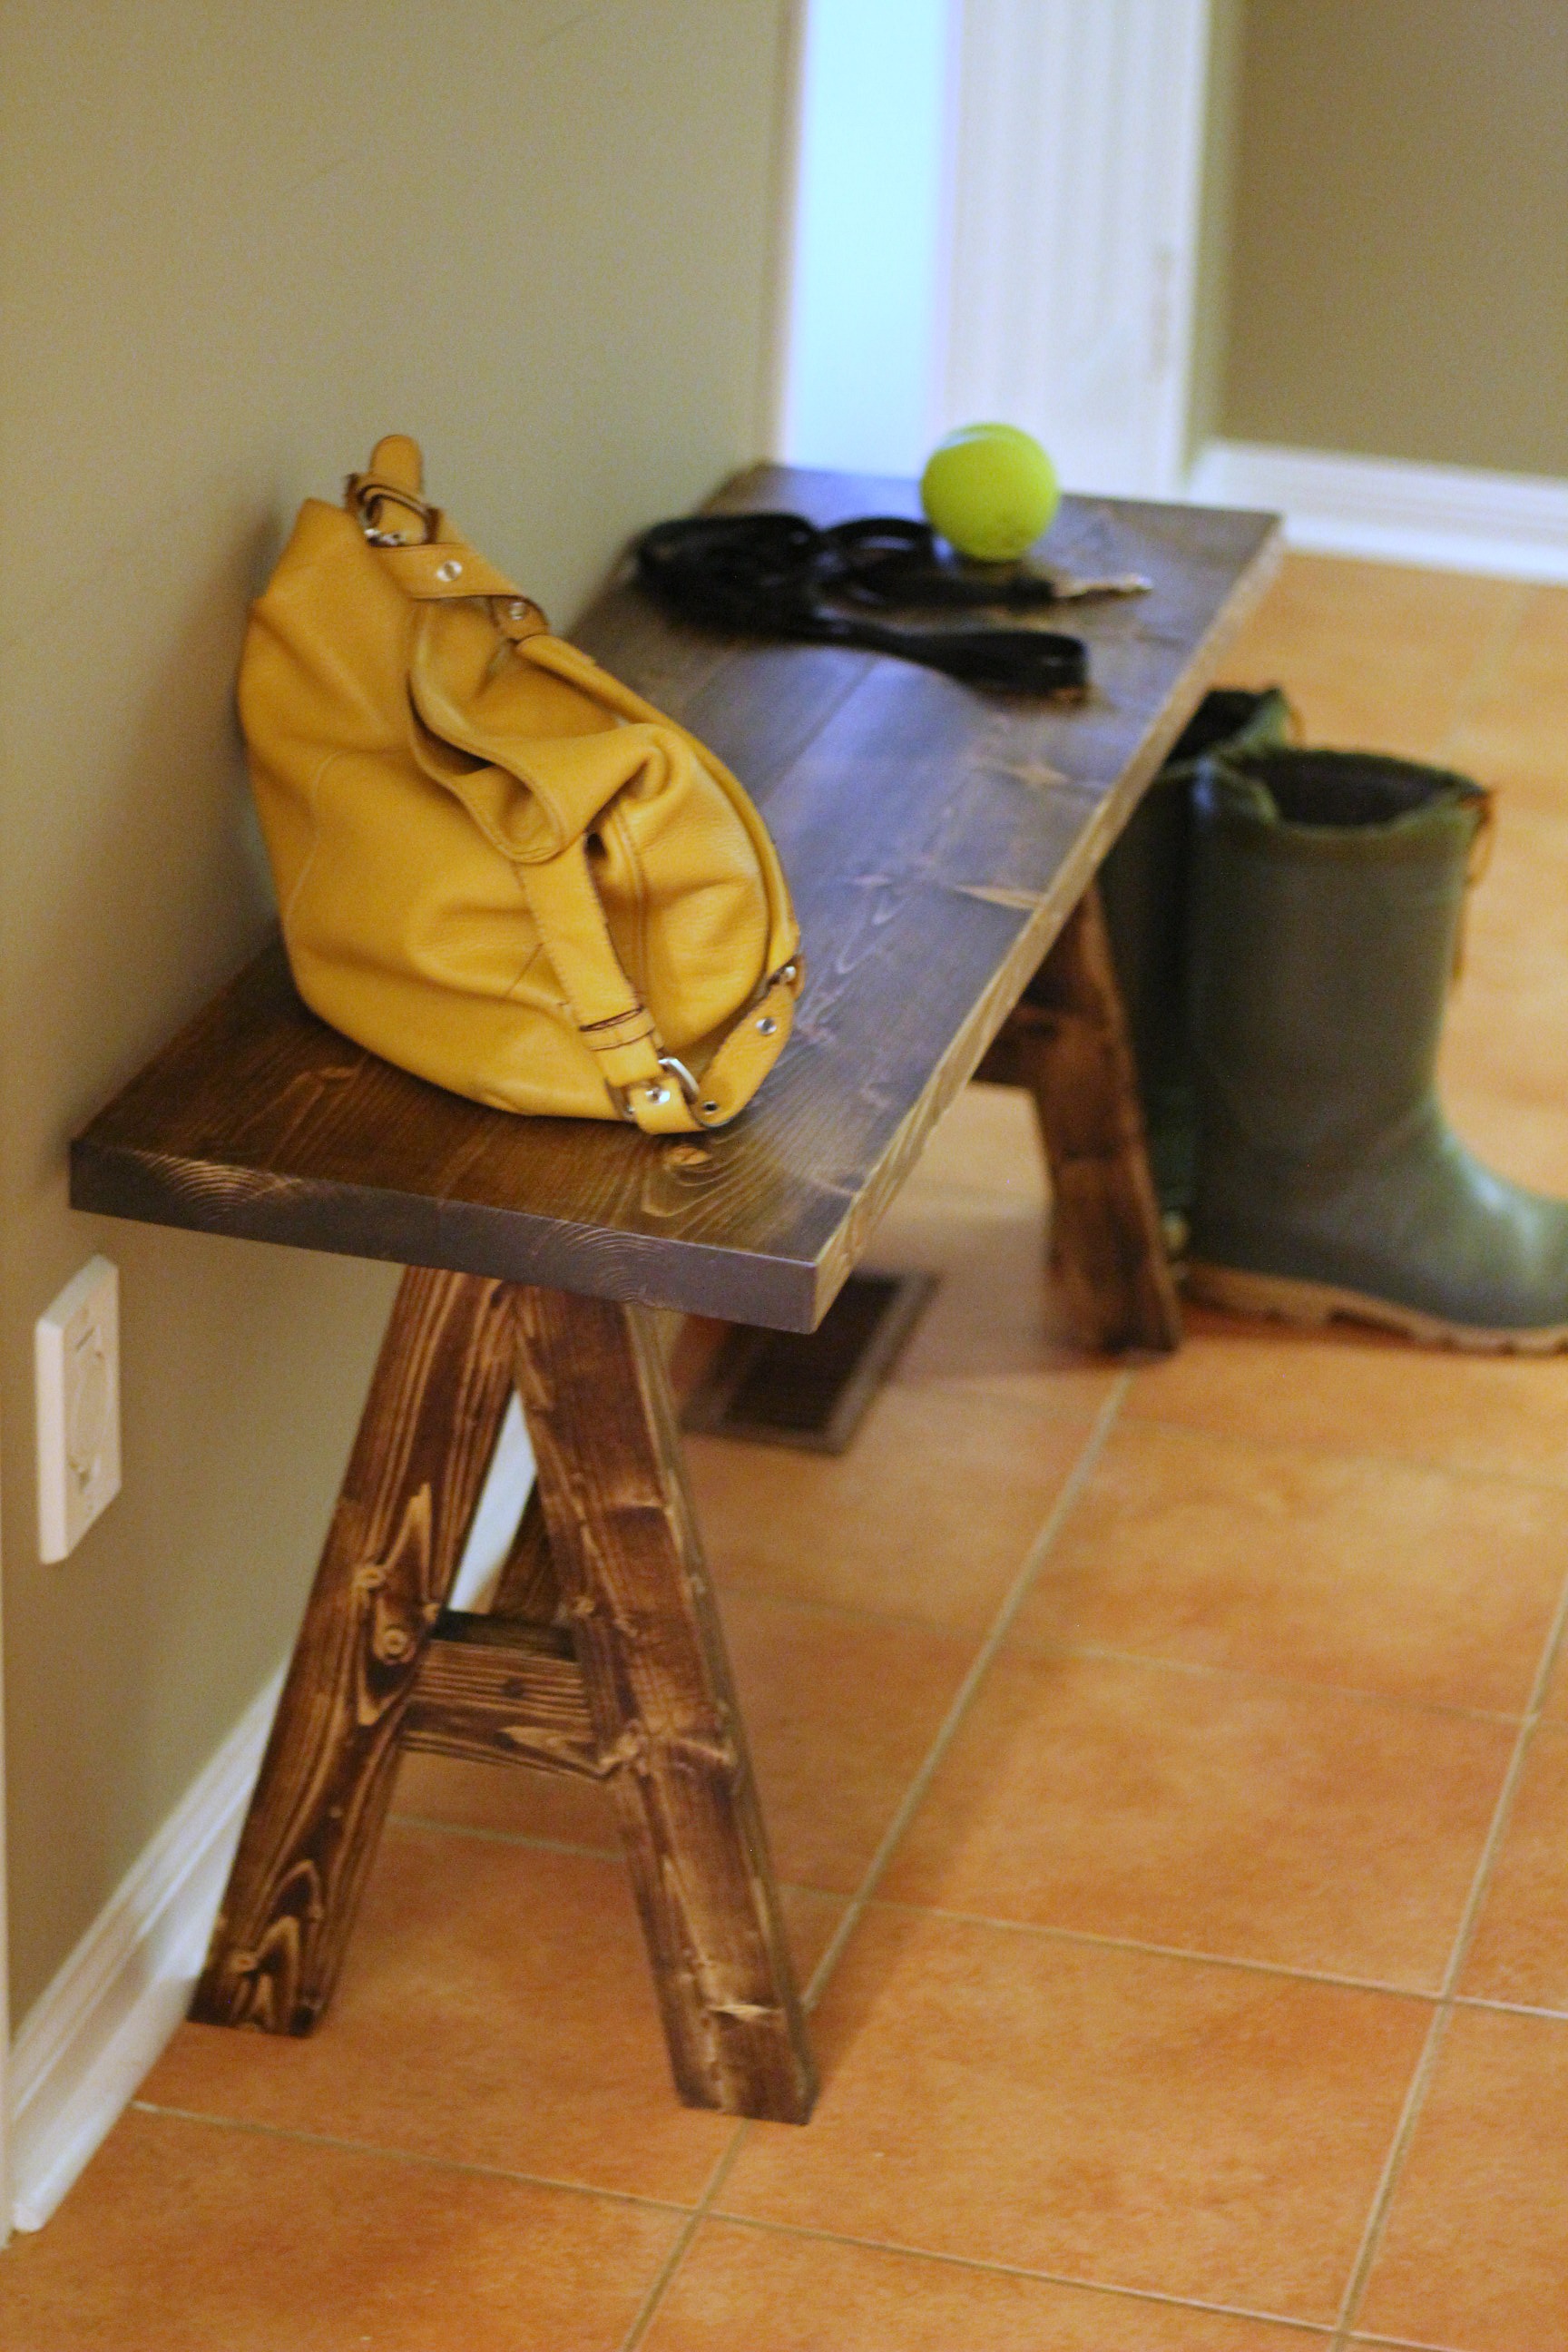
The legs are 3 2x3 boards attached with pocket screws, forming the letter A. If you're making a bench, watch that your bench legs don't stick out farther than the edge of the seat - that's a tripping hazard. We had to monkey around with the angles until the legs were tucked in enough.

Build your own entryway bench

The two braces under the seat keep the legs from bending outwards. They are attached to the legs at the cross piece of the "A" and then screwed into the underside of the seat.

Build your own entryway bench

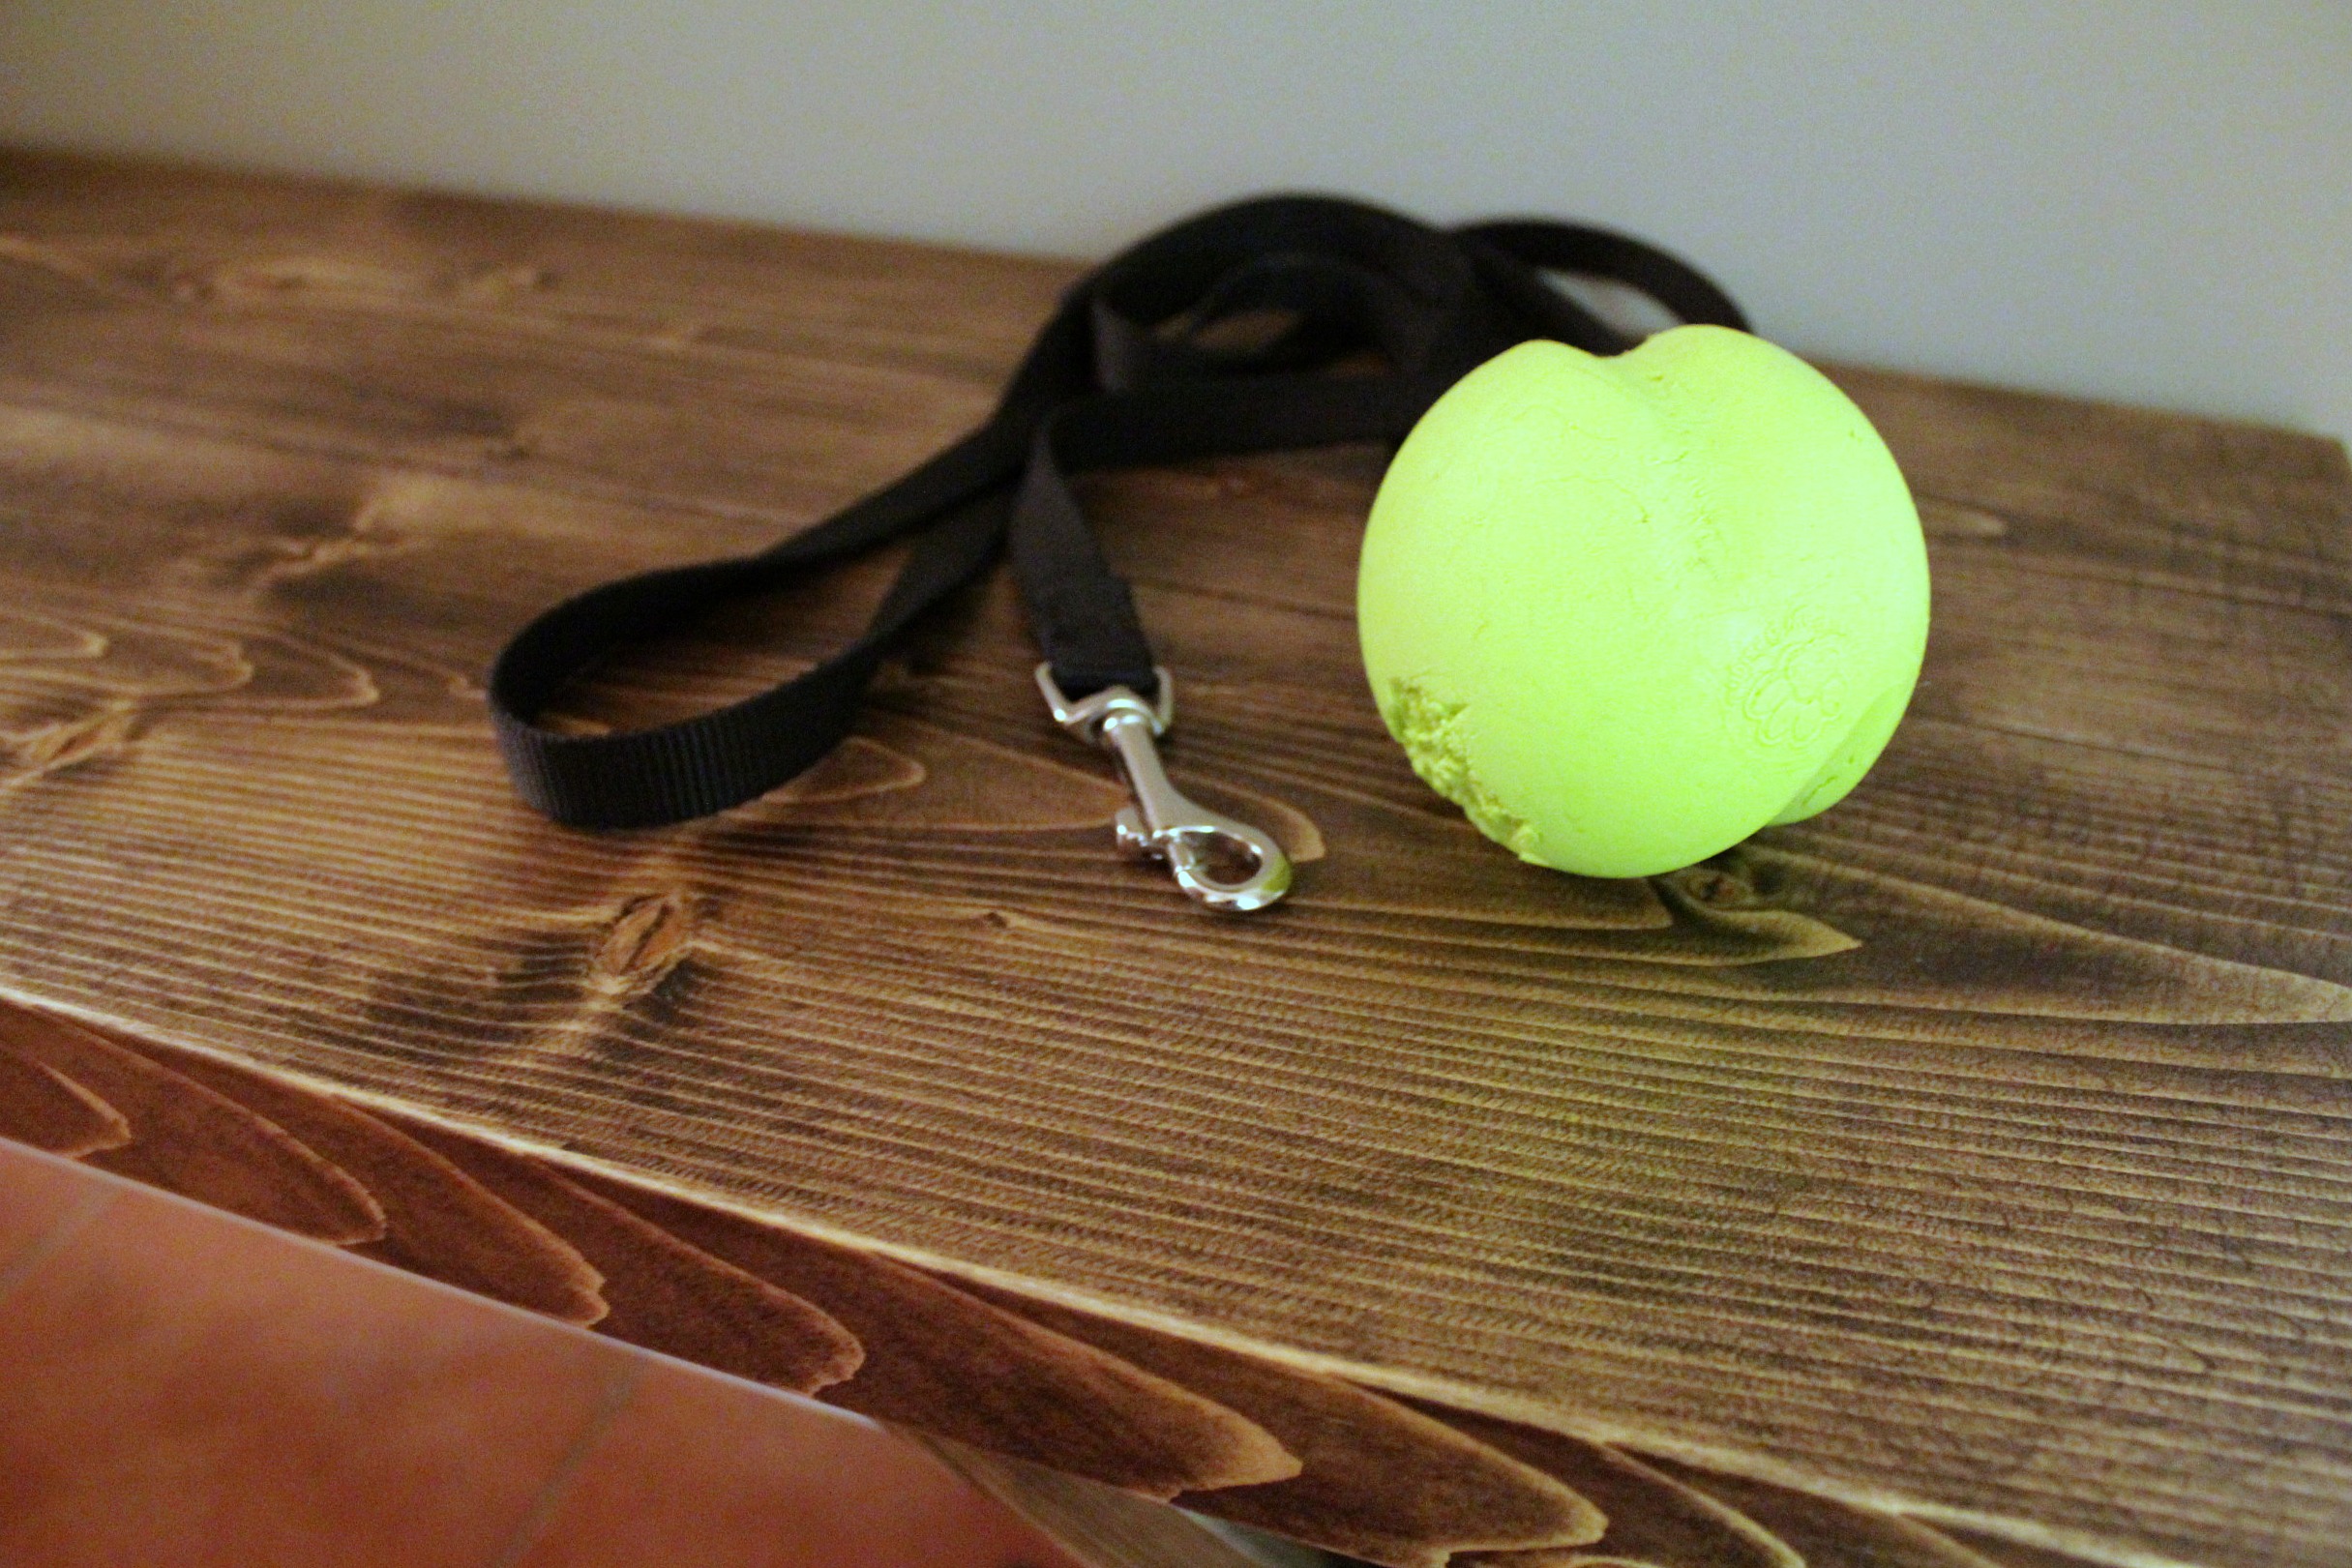
I stained the bench in Jacobean by Minwax (shocking, right?) and then gave it two coats of wax and buffed with steel wool. I love how smooth the wood feels after the steel wool treatment. I've tried it many times - on a toybox, nightstands, and a table.

Build your own entryway bench

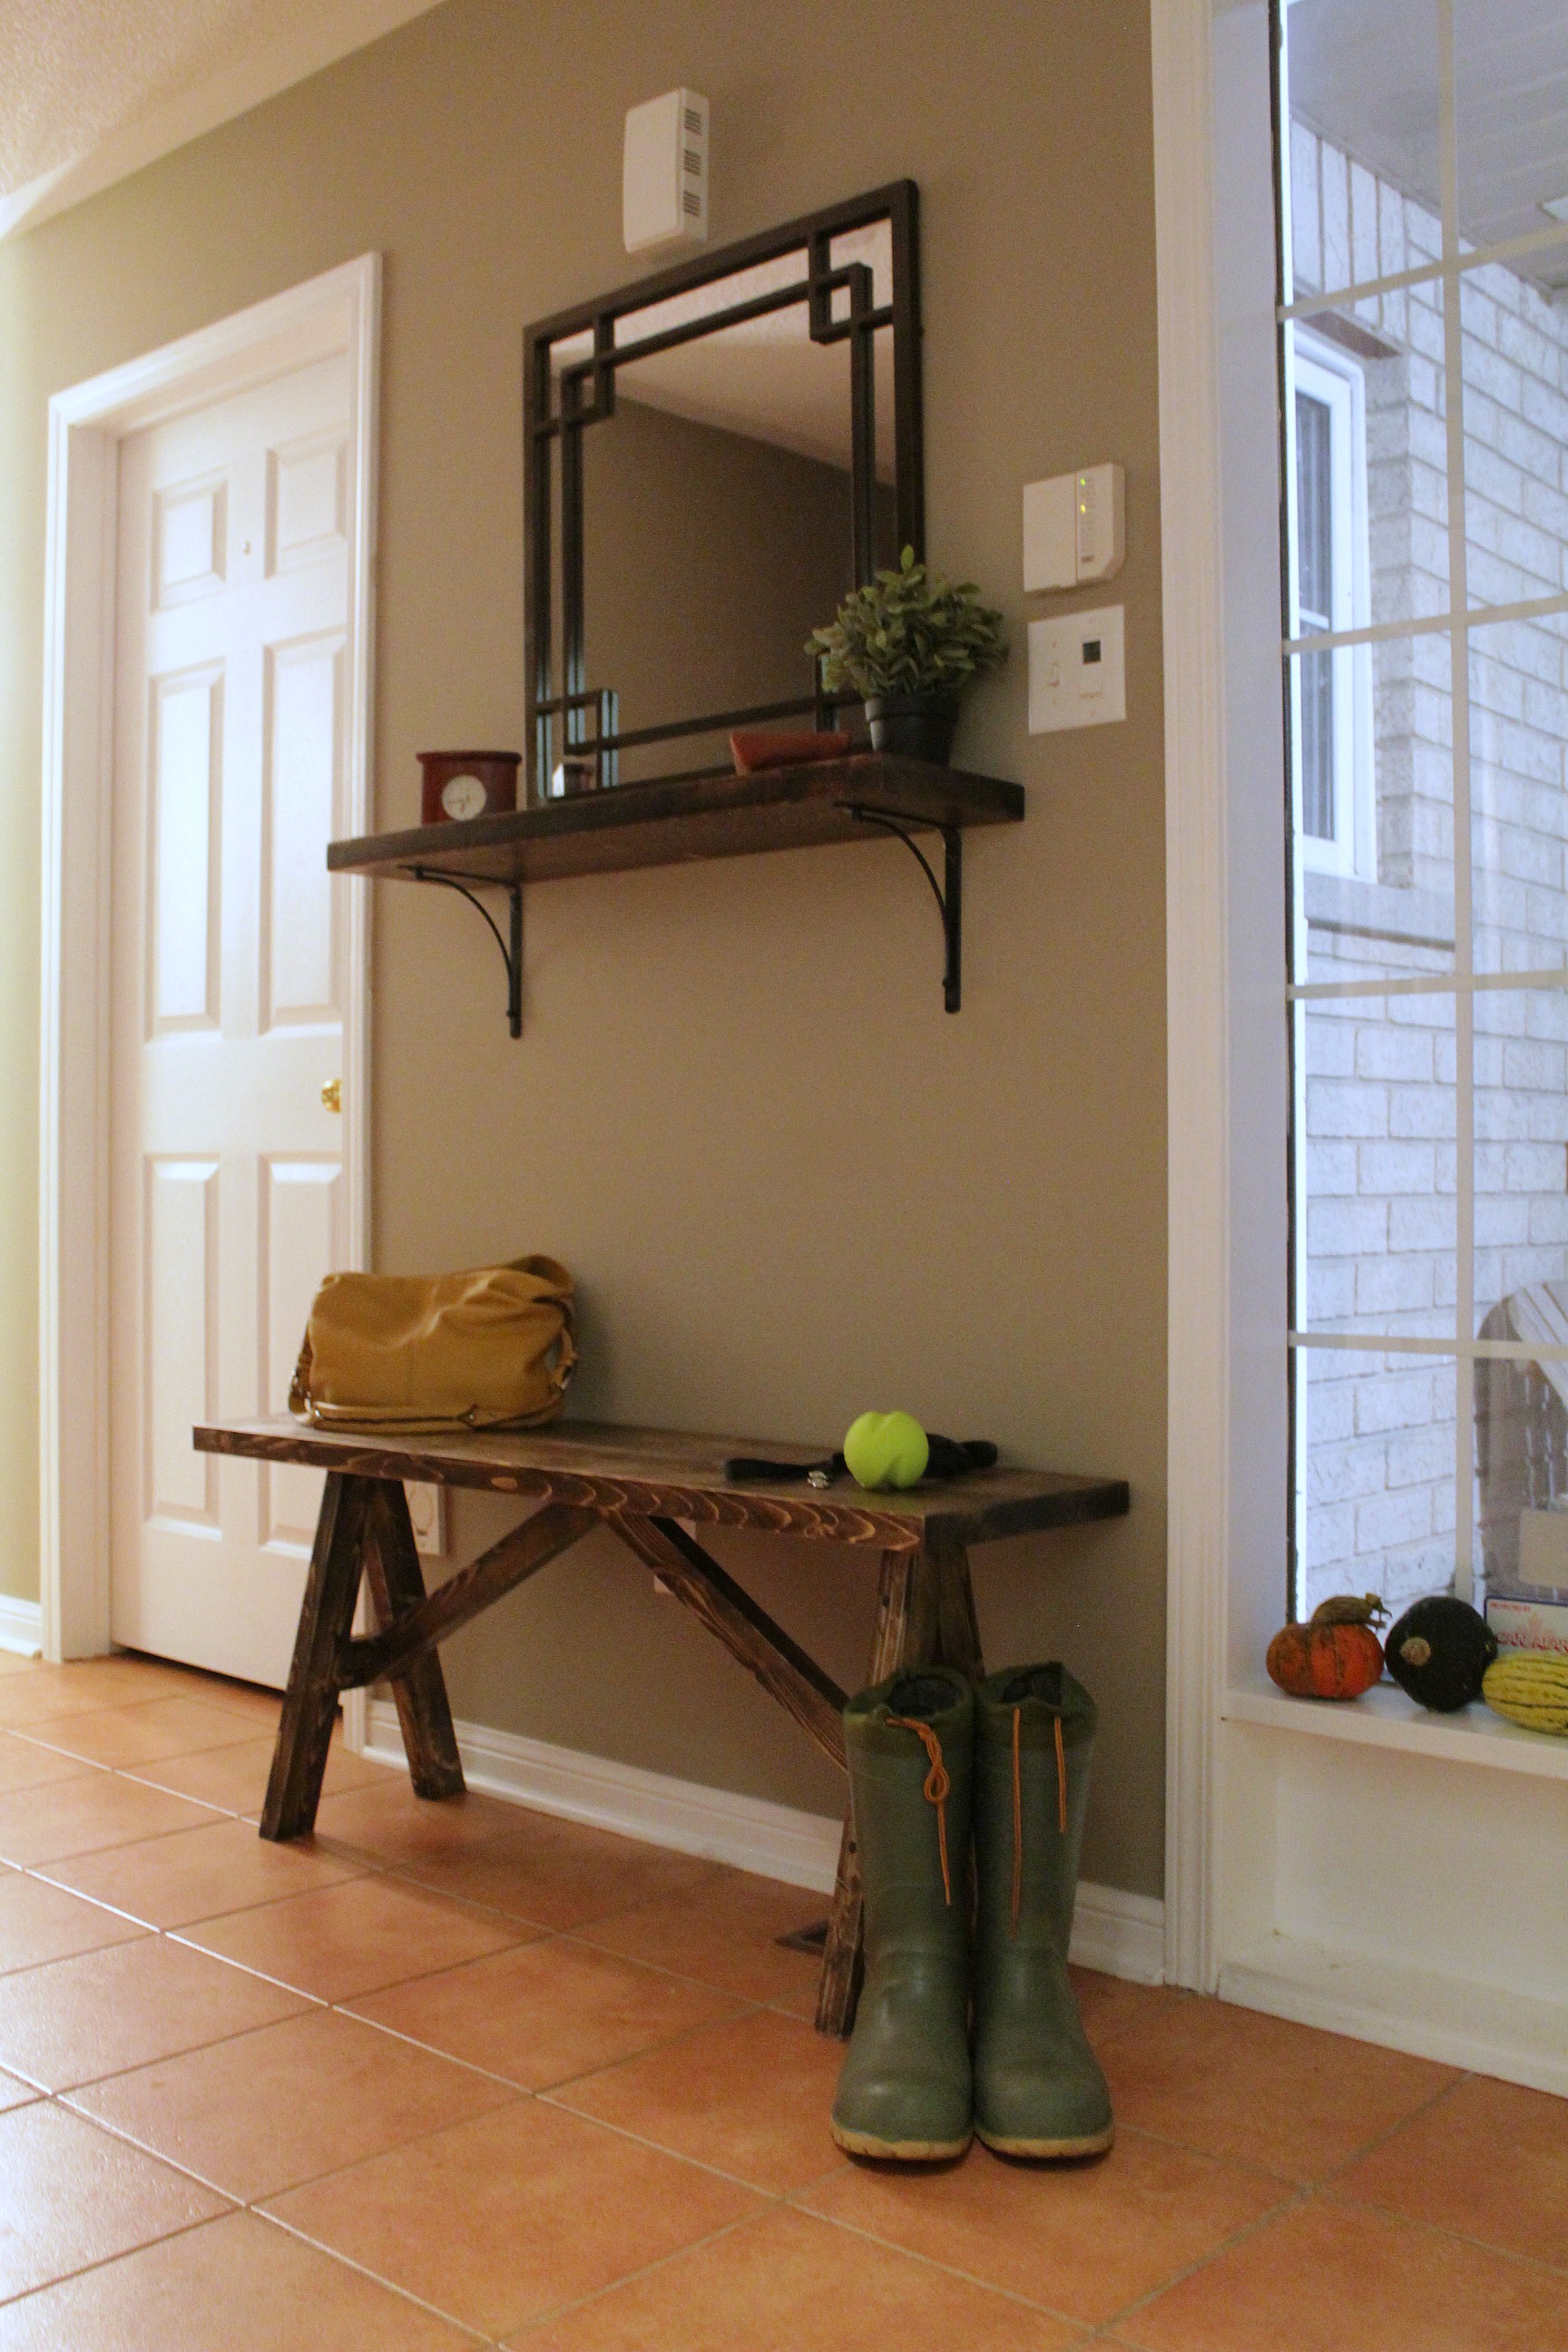
The shelf that we mounted on the wall above the bench is also DIY. We used a 2x10 plank which I sanded smooth - after banging it around a bit with a hammer to give it a worn look. Again with the Jacobean stain, wax, and steel wool. While I liked the idea of a floating shelf, this plank is just too darn heavy. So we found some simple braces at Home Depot that give it enough support without drawing too much attention - we wanted the wood to be the focal point.

DIY Entryway Shelf

The same mirror went back above the shelf. This is the one that I accidentally gave an oil rubbed bronze look. I think I'd like to replace it though - maybe with something in a different shape - there are too many squares and rectangles in that hallway for my liking.

Build your own entryway bench

The hardest part was taking pictures of it afterwards. First because that area gets very little light so keeping the photos from looking dreary is a task. And then there was the problem of my furry assistant stealing the ball every time I turned my back. Doesn't she understand the importance of a good shot? J

Build your own entryway bench

Build your own entryway bench

Build your own entryway bench

Build your own entryway bench

Build your own entryway bench

Build your own entryway bench


Oct 16, 2014

A Little This, A Little That...


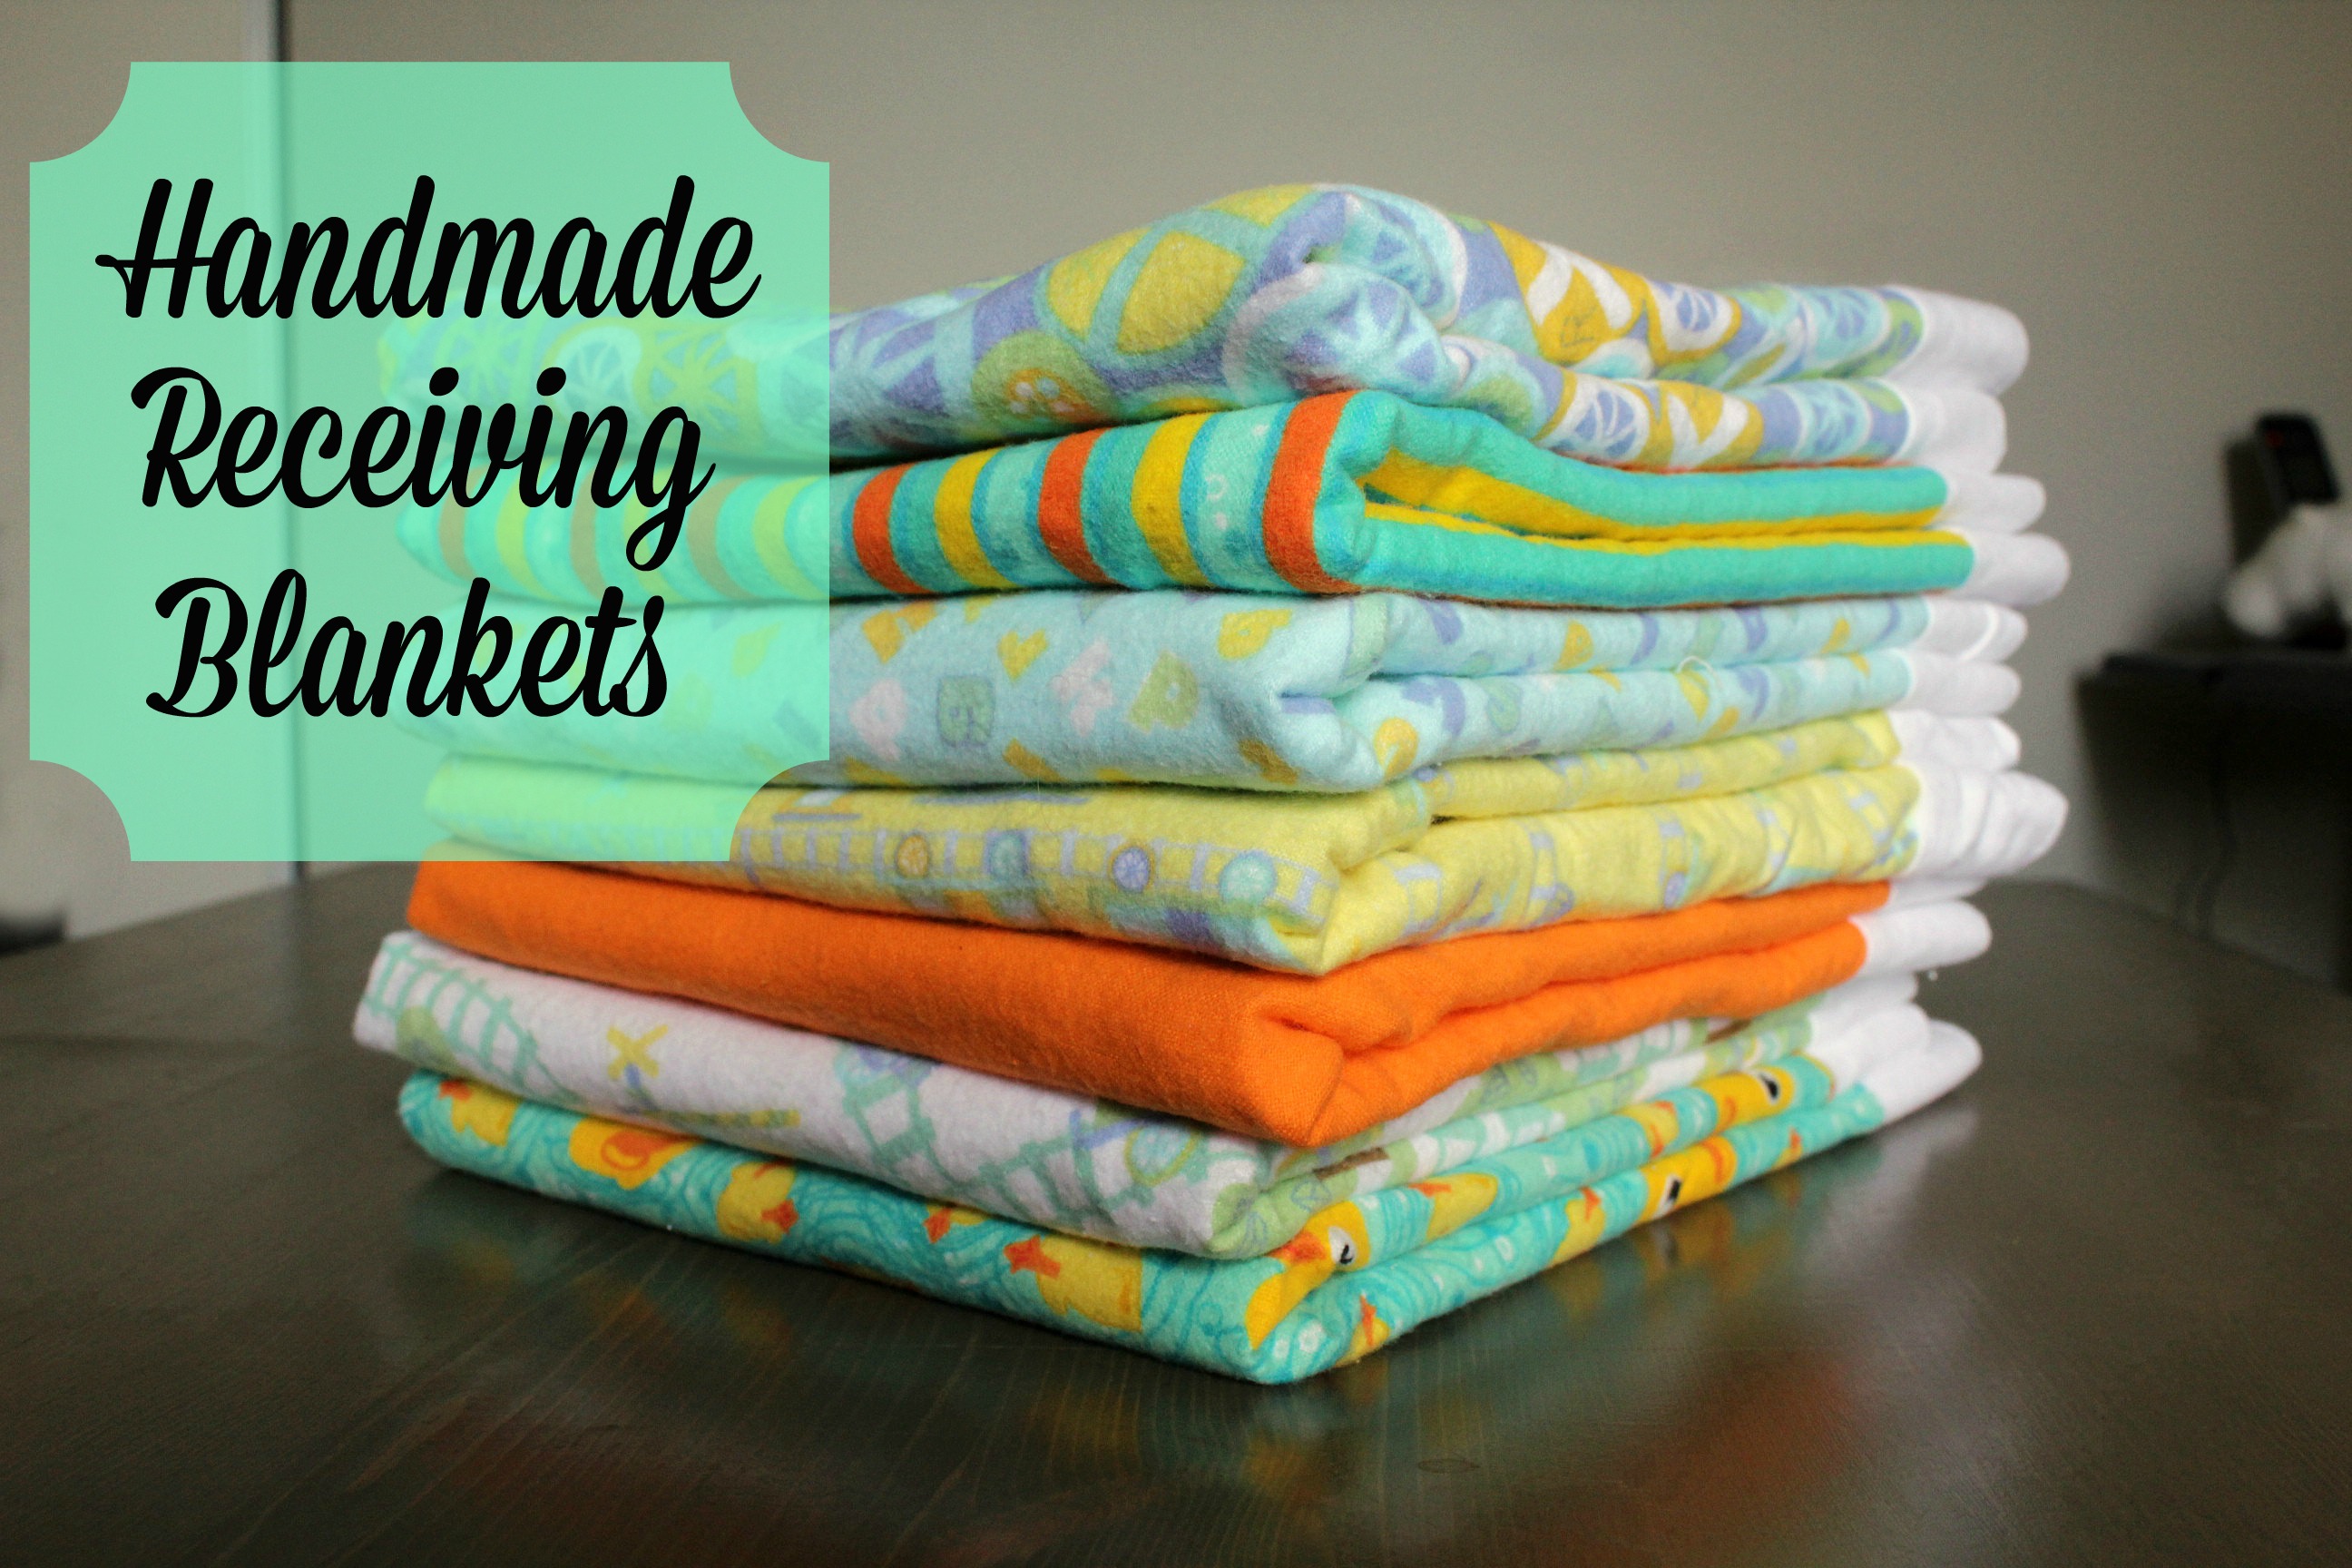
It's been a quiet week here at the Turtles and Tails homestead. We delivered the receiving blankets that I made for our neighbours' baby, and I got some quality baby-holding time.

Tom decided to get the garage ready for winter while I rearranged furniture inside the house, and made more of a mess, I think. Over the weekend we worked on a project that shouldn't have taken a weekend - one that I'm planning on sharing as soon as I take some daylight photos. If you follow me on Instagram (and you definitely should) you'll see a sneak peek.

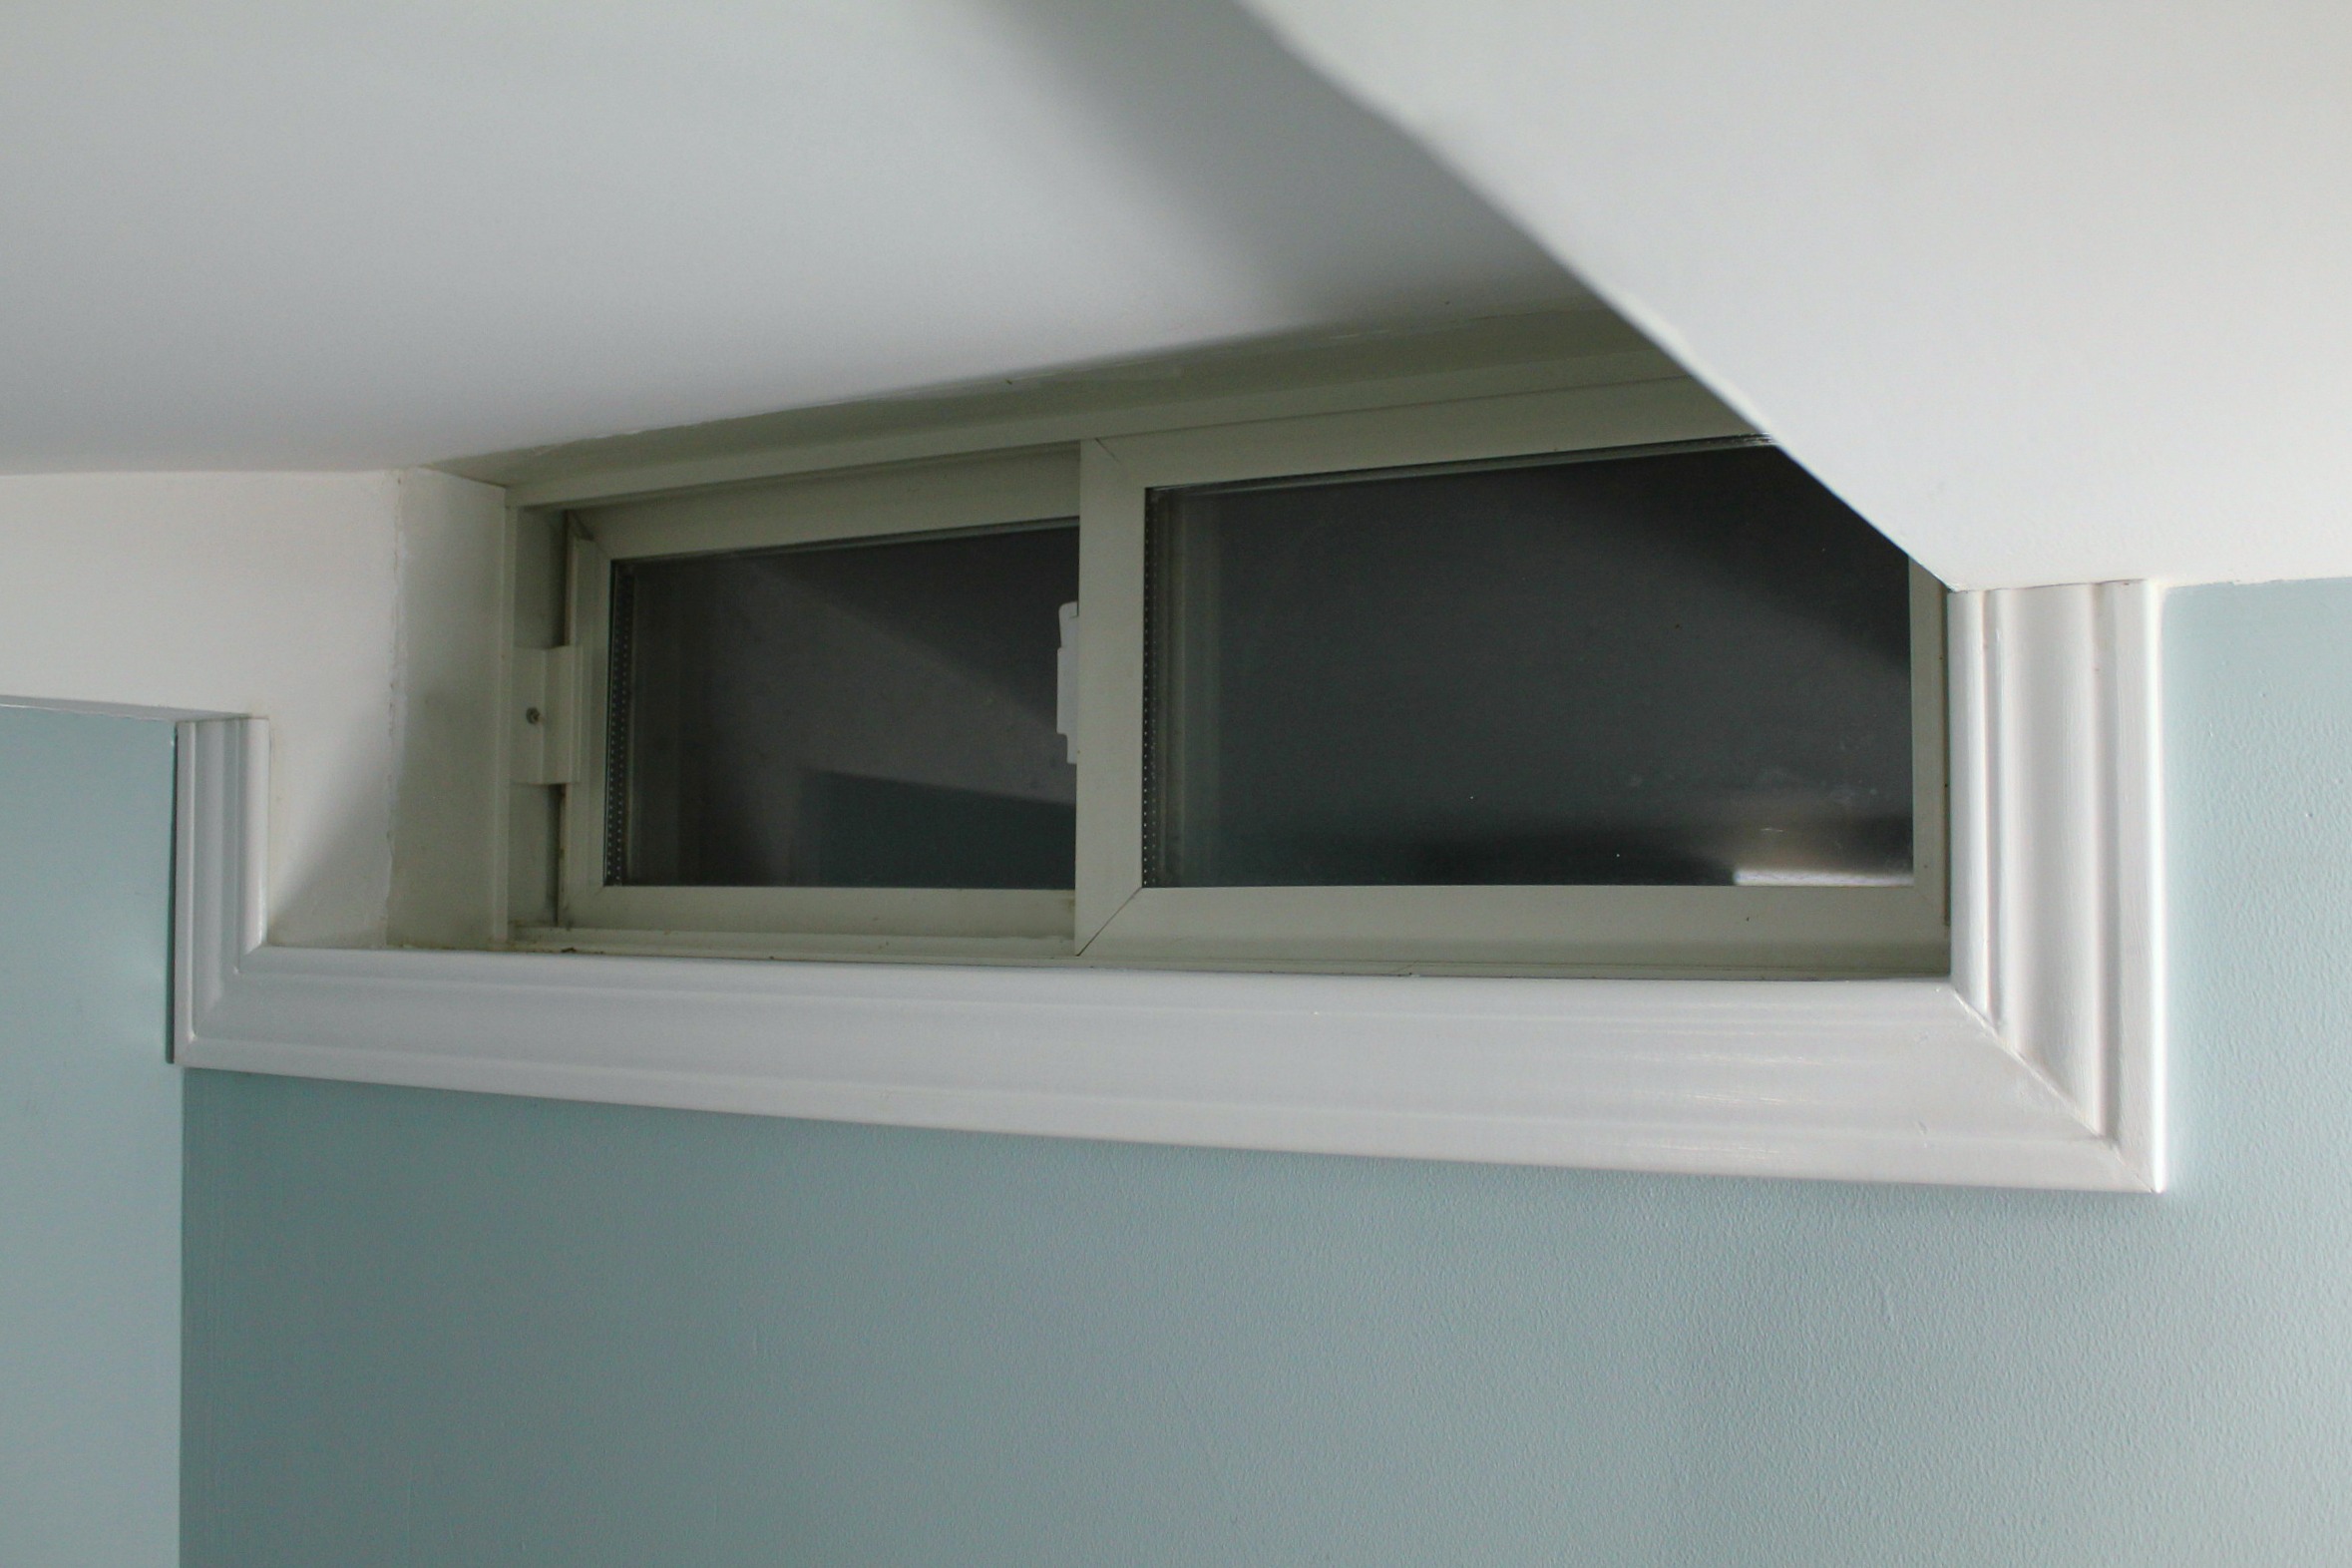
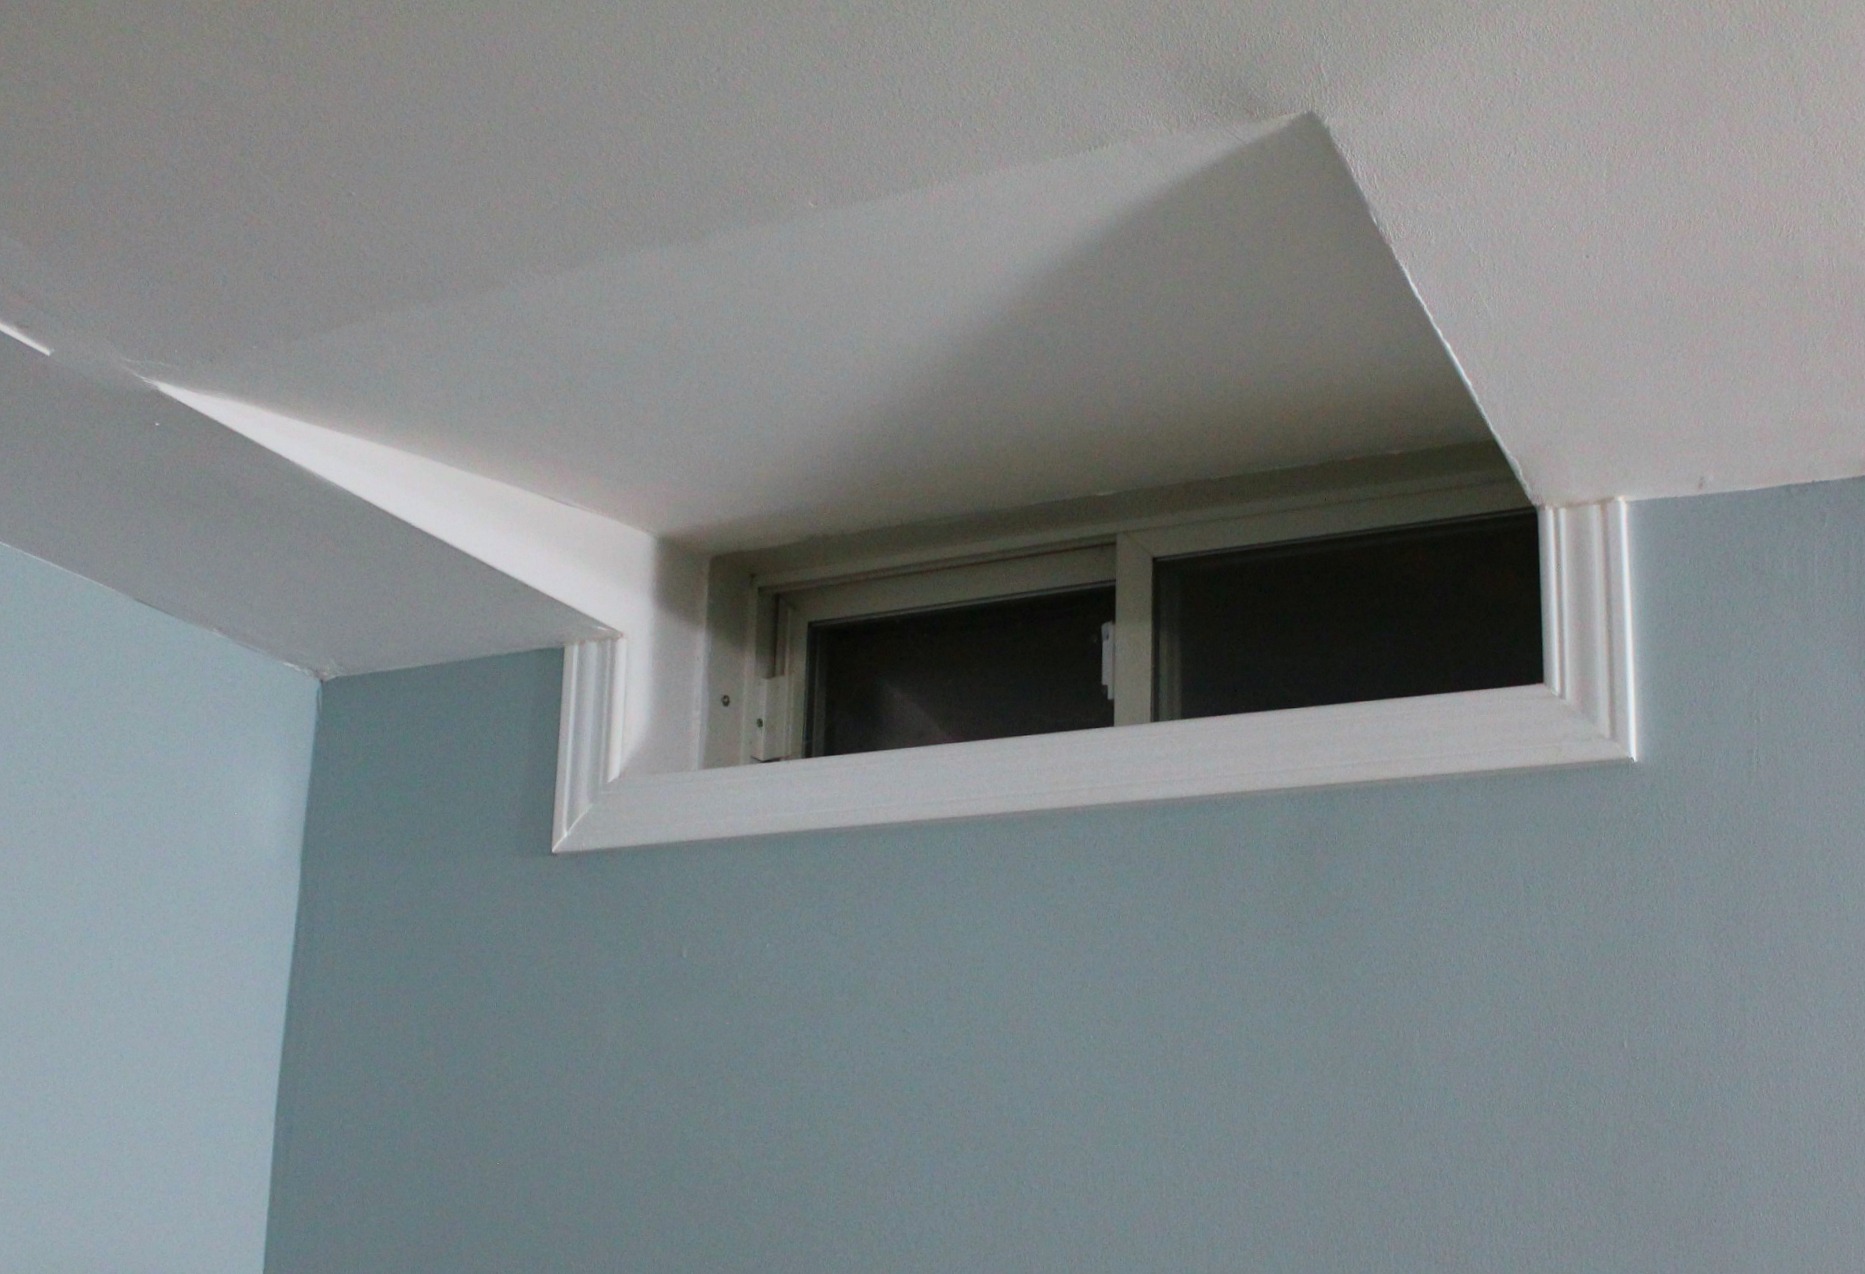
I got my DIY on and installed trim around the windows in the basement. The windows are pretty small and plain, and I thought they needed something to beef them up a bit.


I used pre-primed trim and it just took a few simple cuts. I used the air nailer to attach the pieces, caulked the edges, puttied and sanded the holes, and gave it a coat of semi-gloss paint. Tom was away for the day and I managed to get it all done and cleaned up before he got back.


It's been two days and he still hasn't noticed the change. I'm not surprised though - I painted the spare room one weekend when he was out of town and after a month I finally had to point it out to him because he hadn't noticed.

The one thing that has kept us endlessly entertained is the enormous flock of geese in the field behind our house.


There are a couple of large puddles back there and, like clockwork, the geese arrive every morning just before 8 to hang out and make noise. The grasses near the fence are long, and occasionally the birds will wander over to grab whatever grains they can find. These birds are huge. It's kind of alarming when you see them all close by, just staring at the house. What are they plotting?


But I know they won't be around much longer - the call to head south will come soon enough - so we have to enjoy them while it lasts.


It's the weekend again and we don't have any big plans. It's going to be cool, but dry, so maybe we'll drag the dogs to the regional forest to wander the trails and enjoy the leaves.


And just to end on a goofy note, this is what I came upon while getting ready for work this morning:


All I can ask is: Why, Chloe, why?


Oct 10, 2014

One-of-a-Kind Gift - Handmade Receiving Blankets


We have a new baby in the neighbourhood. Our next-door neighbours just had a sweet baby boy two weeks ago. These are the people that we share a "party wall" with, and it's a testament to the builders that we haven't heard a peep. (That also makes me feel better about all the noise our dogs make when they're crashing into things.)

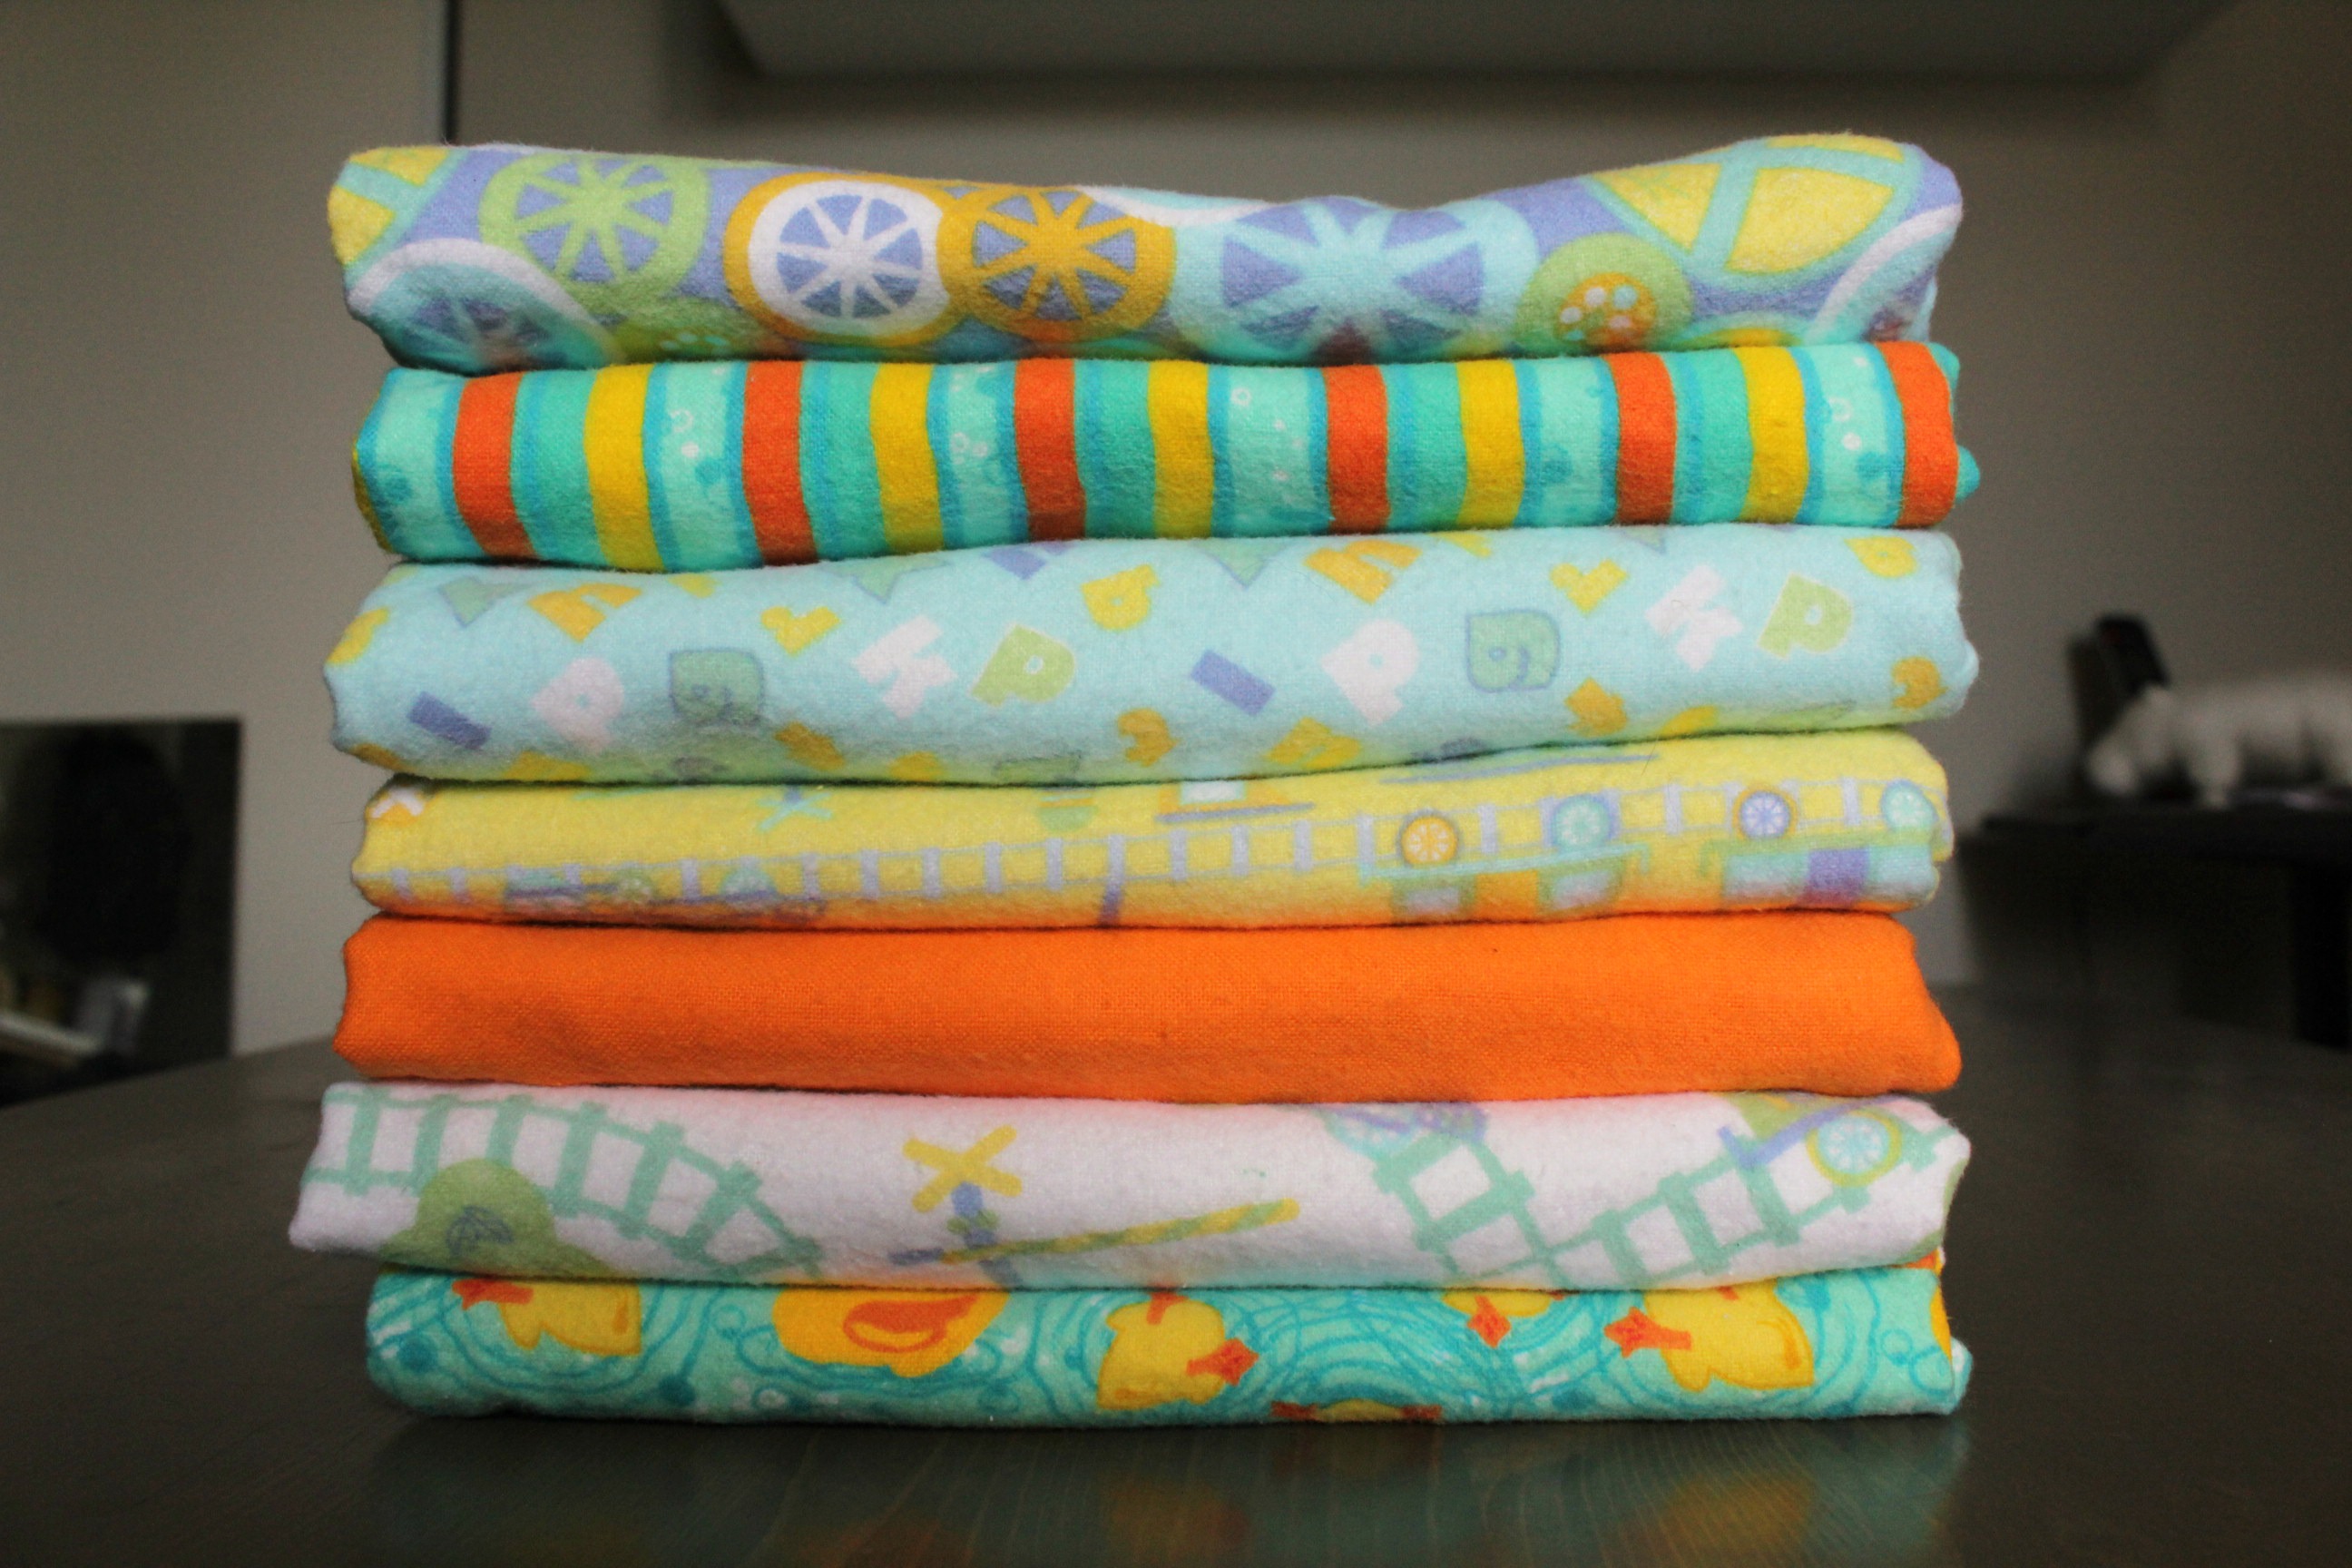
So what kind of gift to get them? I'd mentioned in the Blue Mountain post that we'd planned on buying them a rocking horse, but the woodworker at the farmers market didn't have any in stock. I couldn't think of anything that they probably didn't already have - they both have large families. Tom pushed hard for me to make more receiving blankets like the ones I made for my cousin's baby.

handmade receiving blankets

Off I went to the fabric store for supplies.  So many patterns to choose from. But since I only needed a little piece of each (22" x 36") I went with a package of mixed patterns instead.

handmade receiving blankets


My original post on making receiving blankets has all the detailed instructions if you're looking for them - I'll just show some photos here. I went with a group of patterns in soft shades of blue and yellow, and a group of louder prints with bright orange and turquoise.

handmade receiving blankets

I had forgotten how much I like making these - except when my discount bobbin kept messing up the tension and I had to pick out the seams THREE times. Sometimes it'd not worth it to try and save money. Those 12 new bobbins went right into the trash - but at least I'm only out $3.

handmade receiving blankets

Which one is your favourite? I like the train wheels - they look like peace signs. Tom likes the bright stripes. Hopefully the baby likes them all. J

handmade receiving blankets


Oct 3, 2014

Ensuite Bathroom Reno Reveal

I'm so happy to finally show you the ensuite bathroom! It has been 4 long months since it all started - and though it's been finished for a few weeks now, I wanted to have everything in place before I showed it off. Getting shelves on the wall was the final hold up. First the brackets were too big, then we had to search all over town (and all the way to Toronto) for enough small ones, then our evenings and weekends were full with other activities.  But enough with the excuses, let's get to the good stuff.

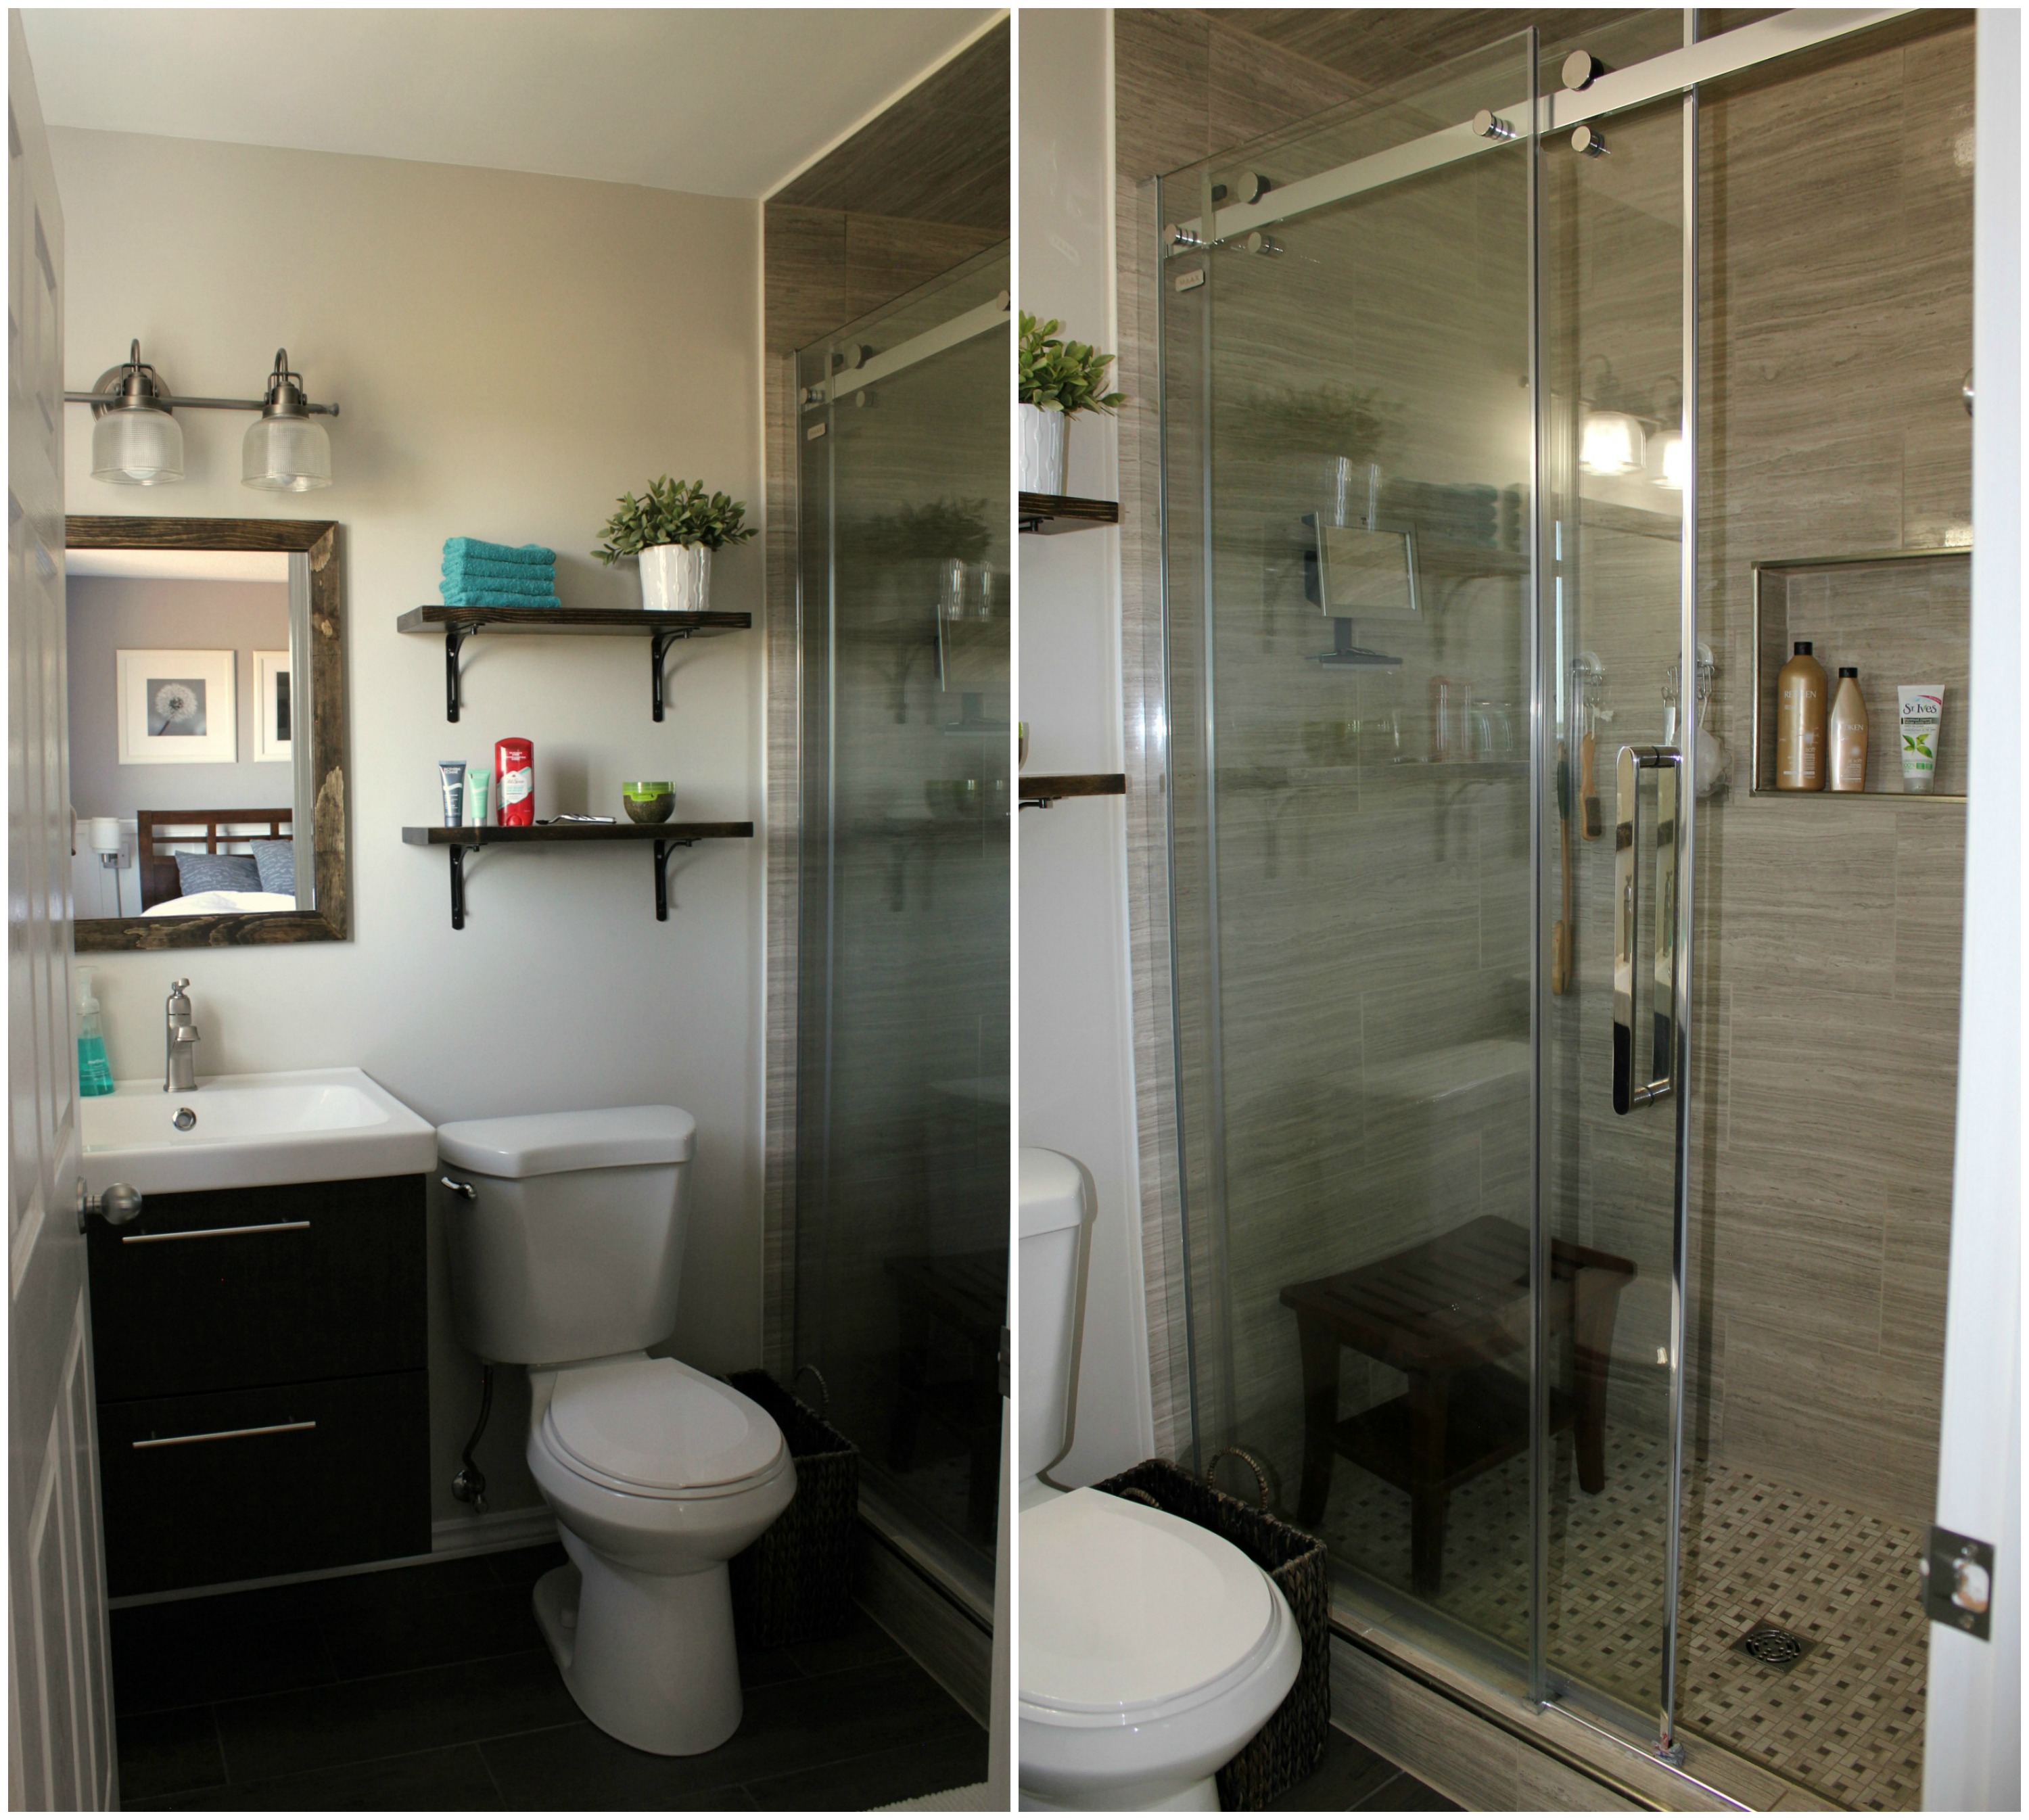
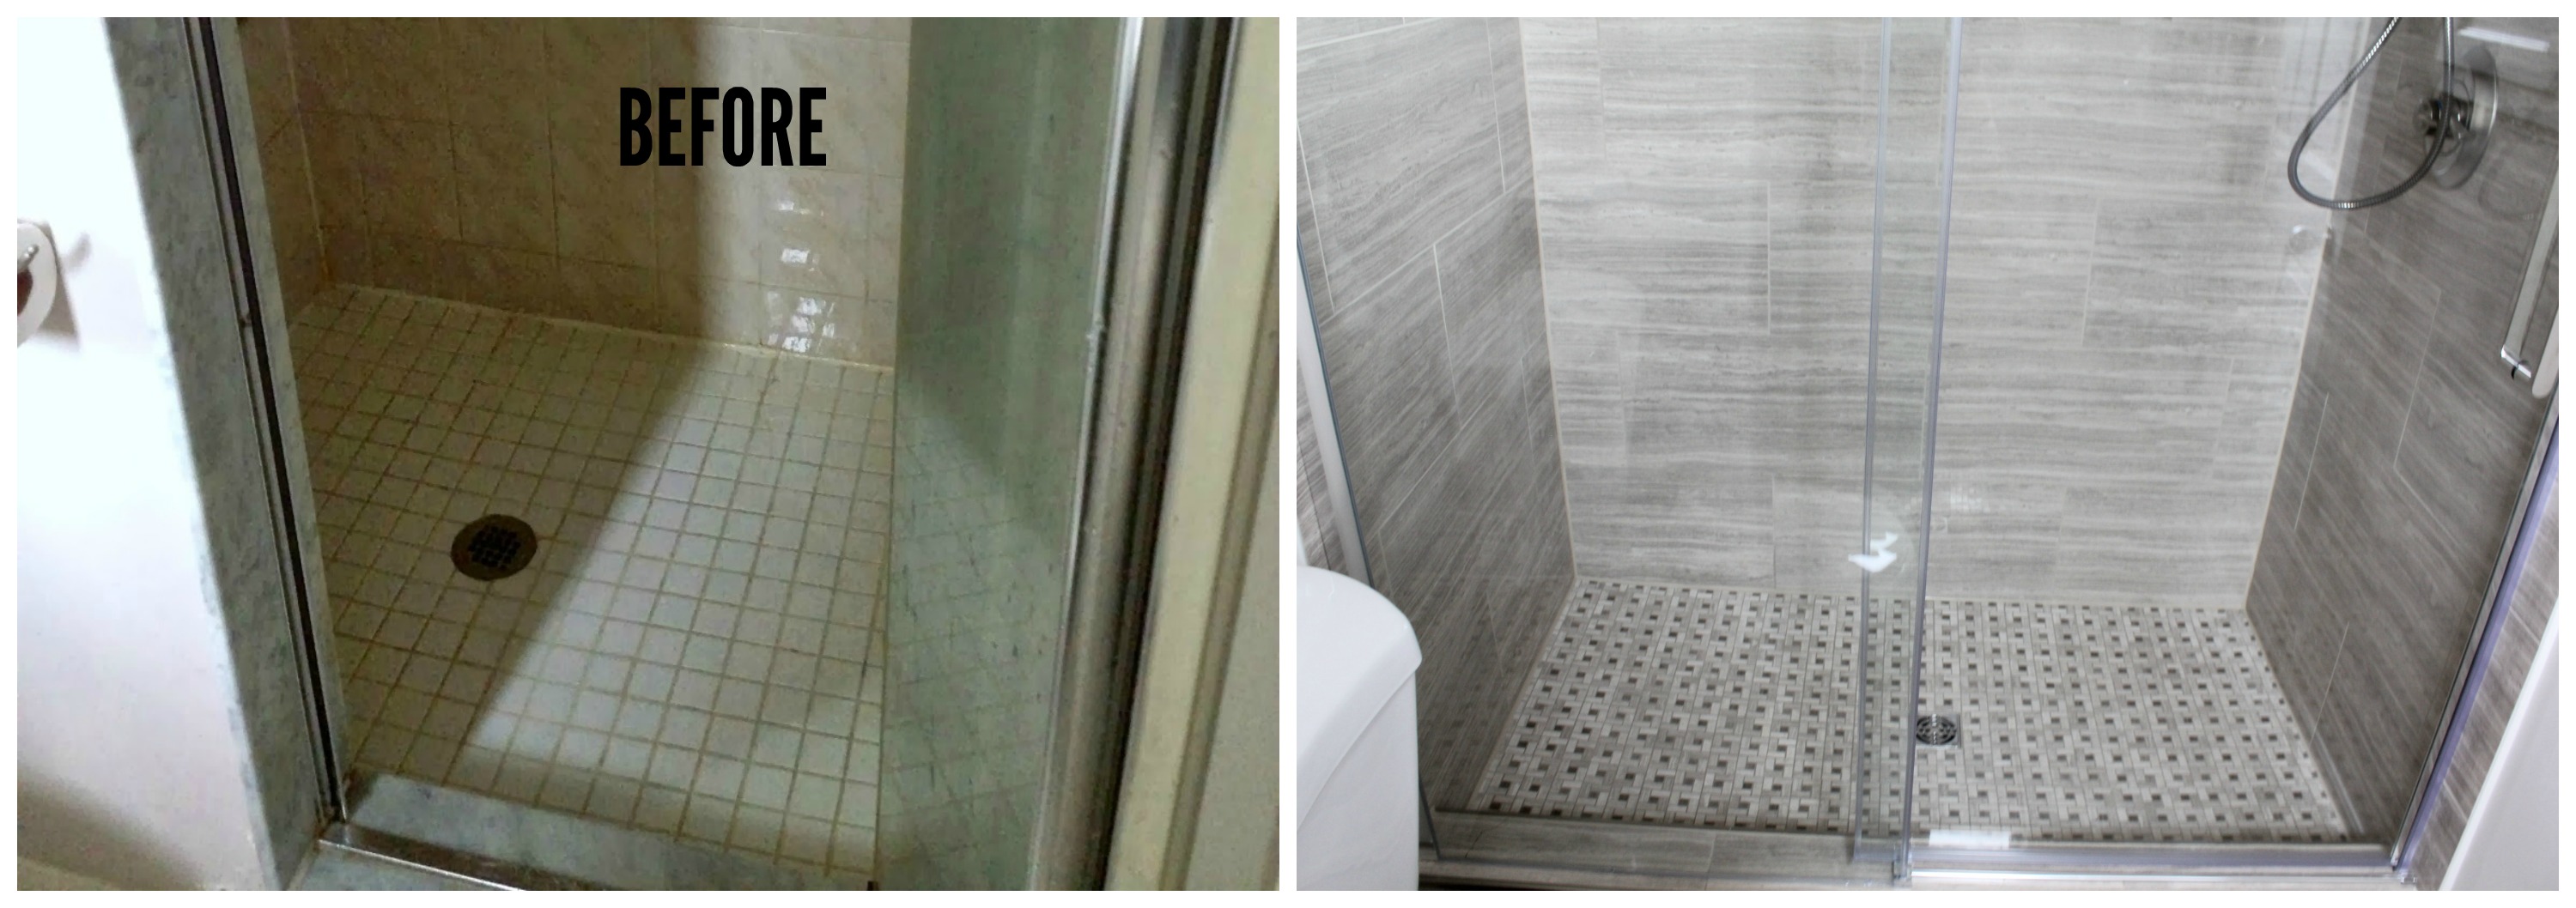
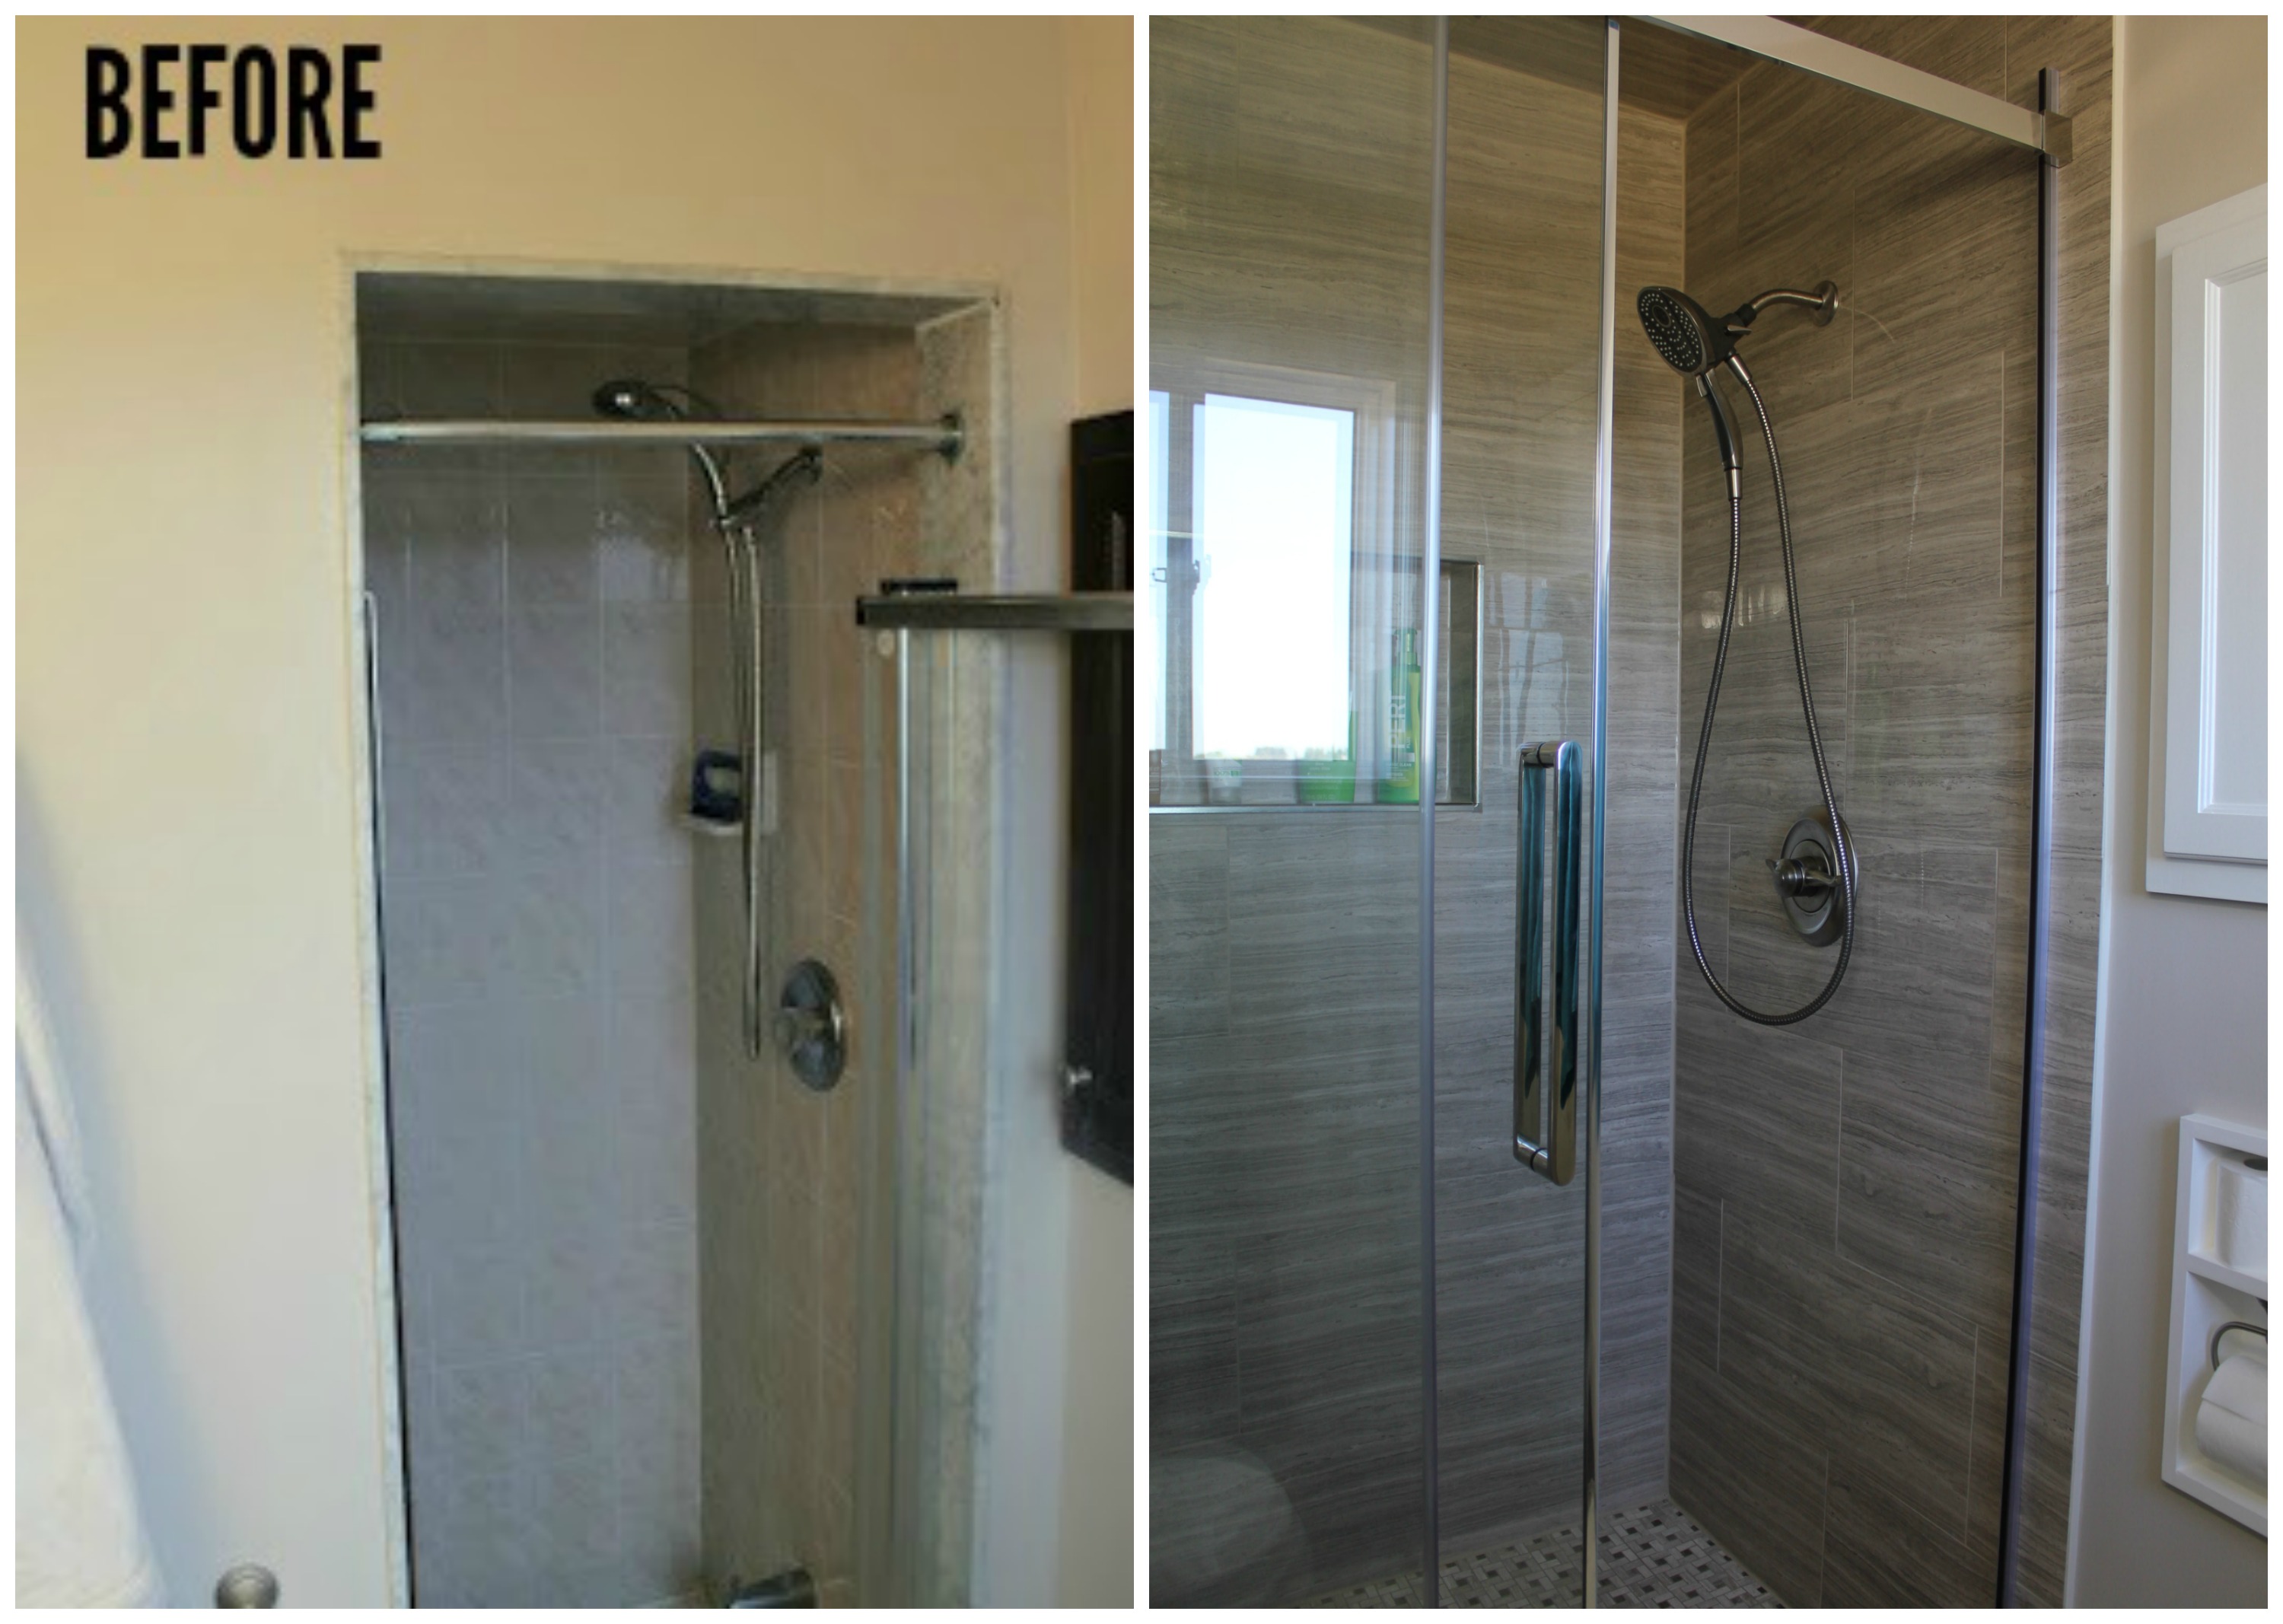
Do you remember what it looked like before? Take a look back here from when we gutted it and prepared for the tilers to make it pretty again. It was a sad, little box - a box that was falling apart. The water damage around the shower door was so bad that the drywall was flaking off, and the shower itself felt like a cave.

But not anymore! Instead of shielding your eyes from all the ugly and hurrying out, now it's a place you want to spend time in.

ensuite bathroom renovation tile frameless shower

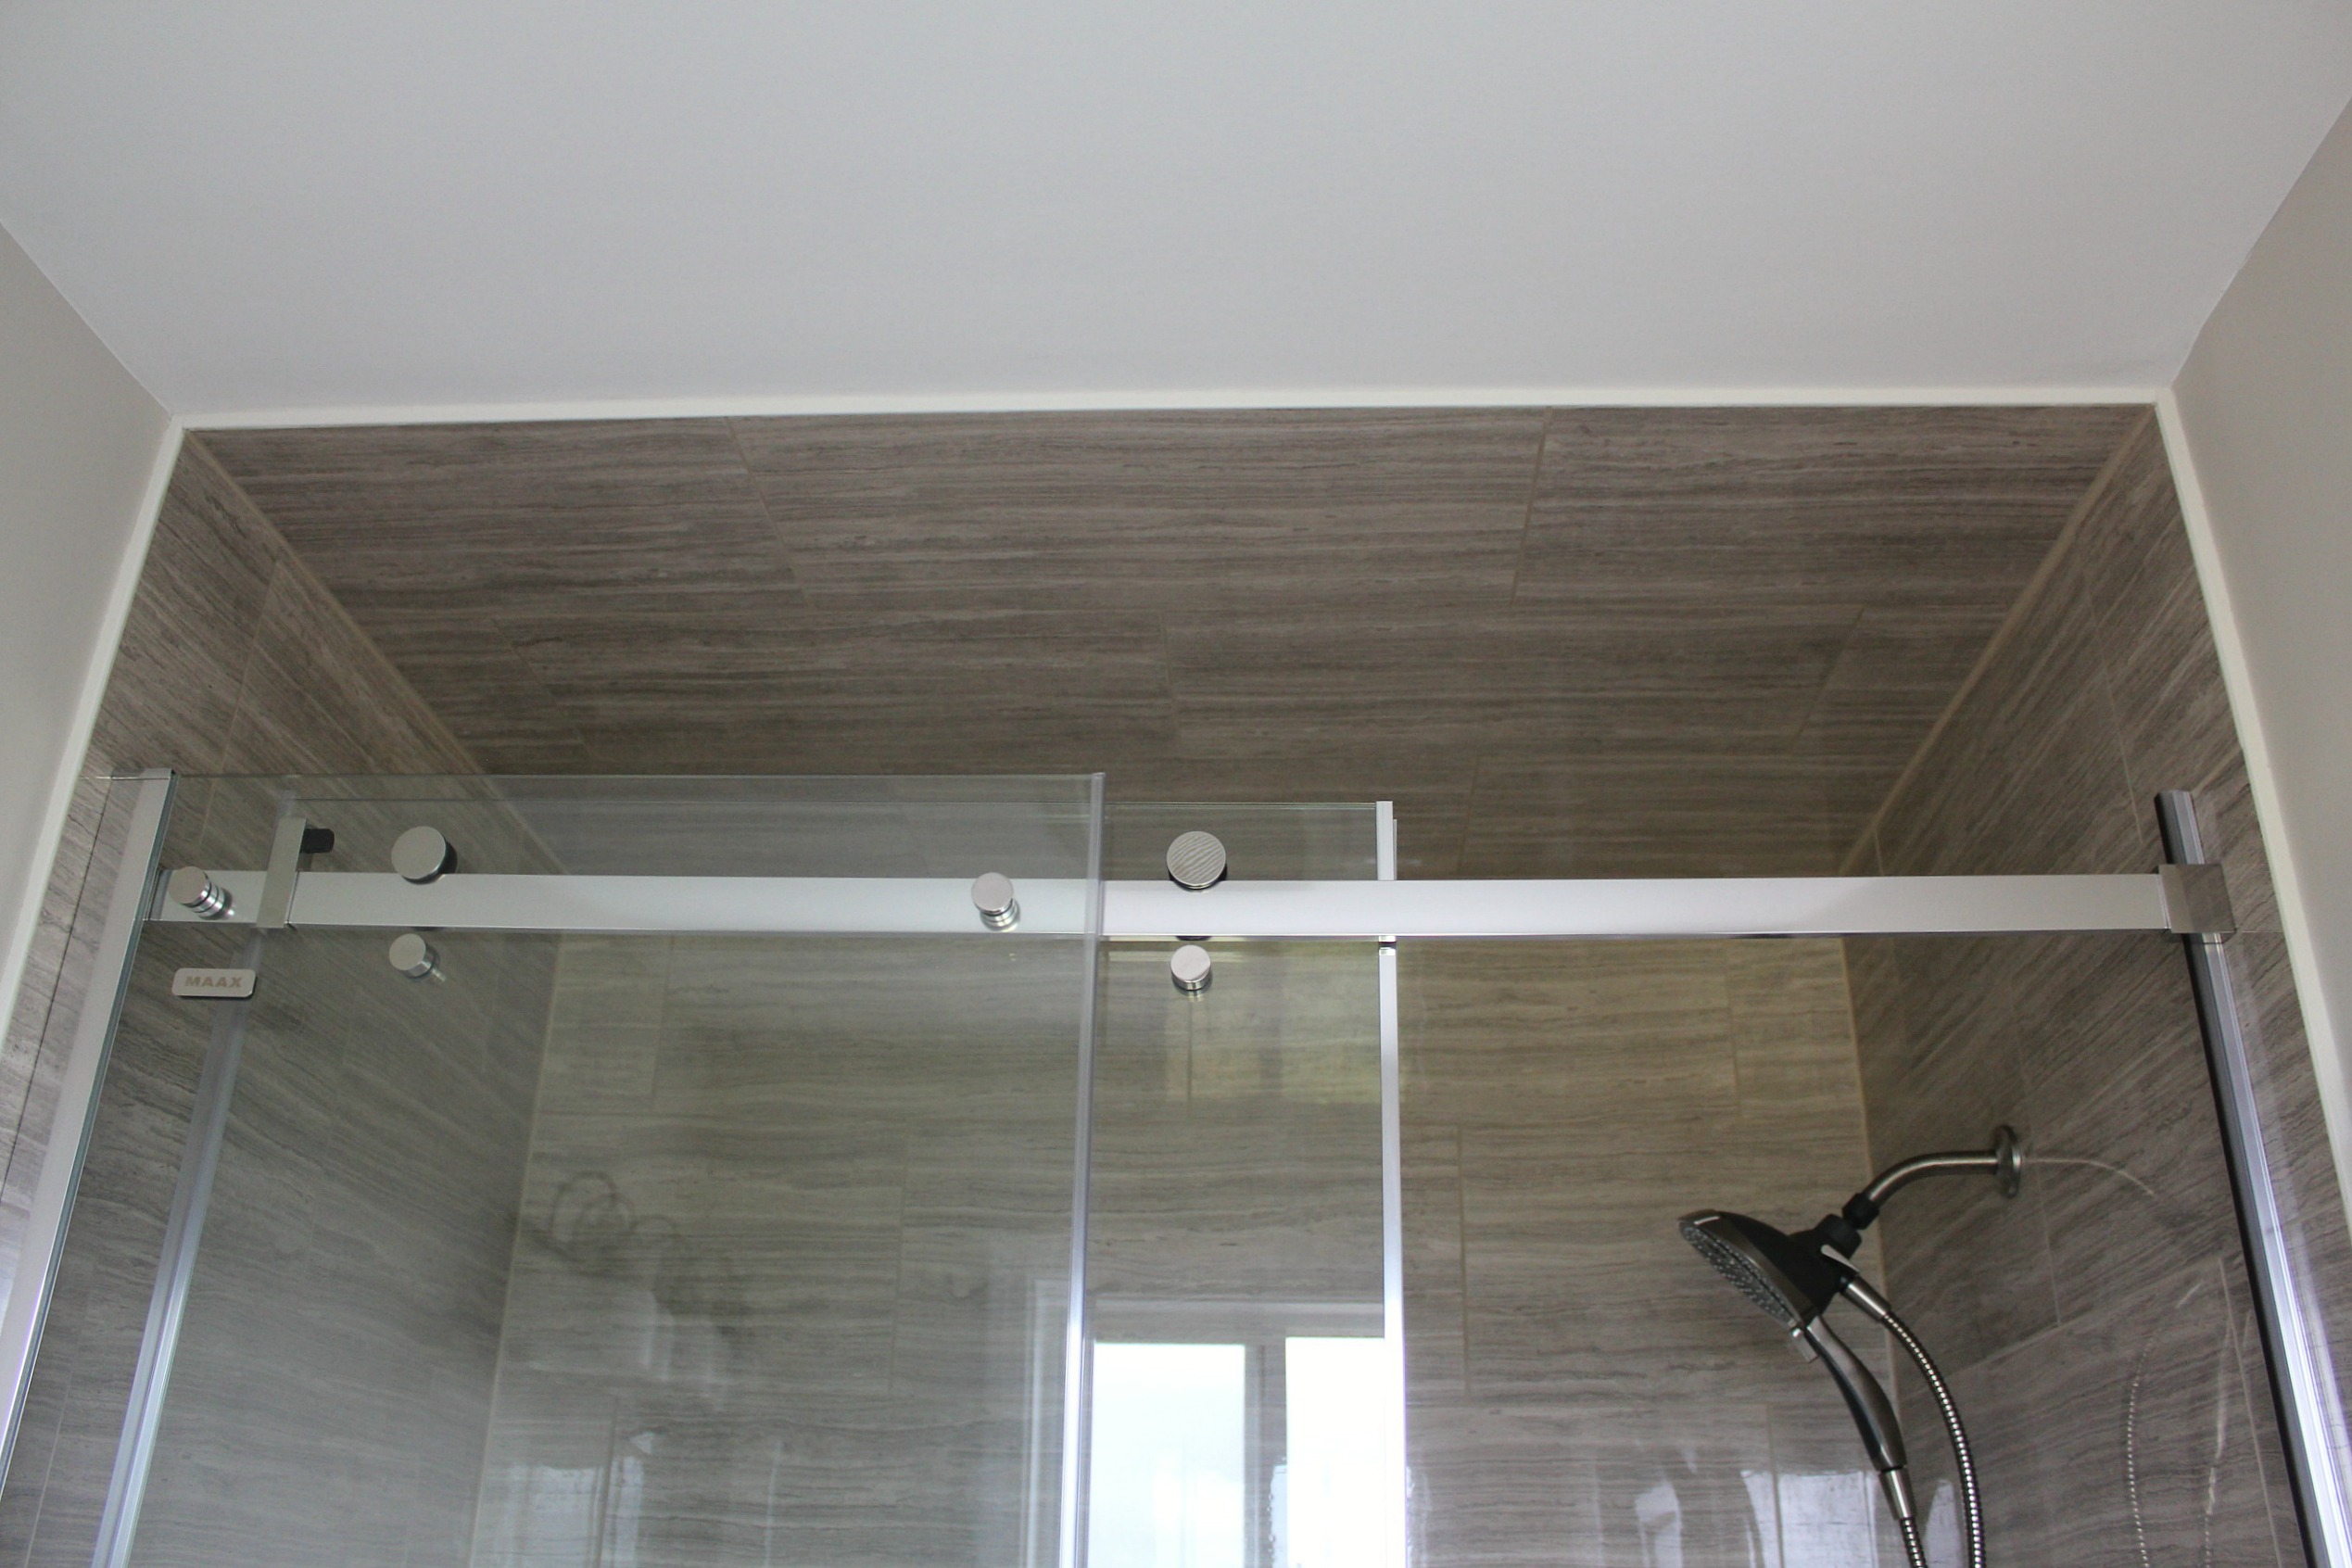
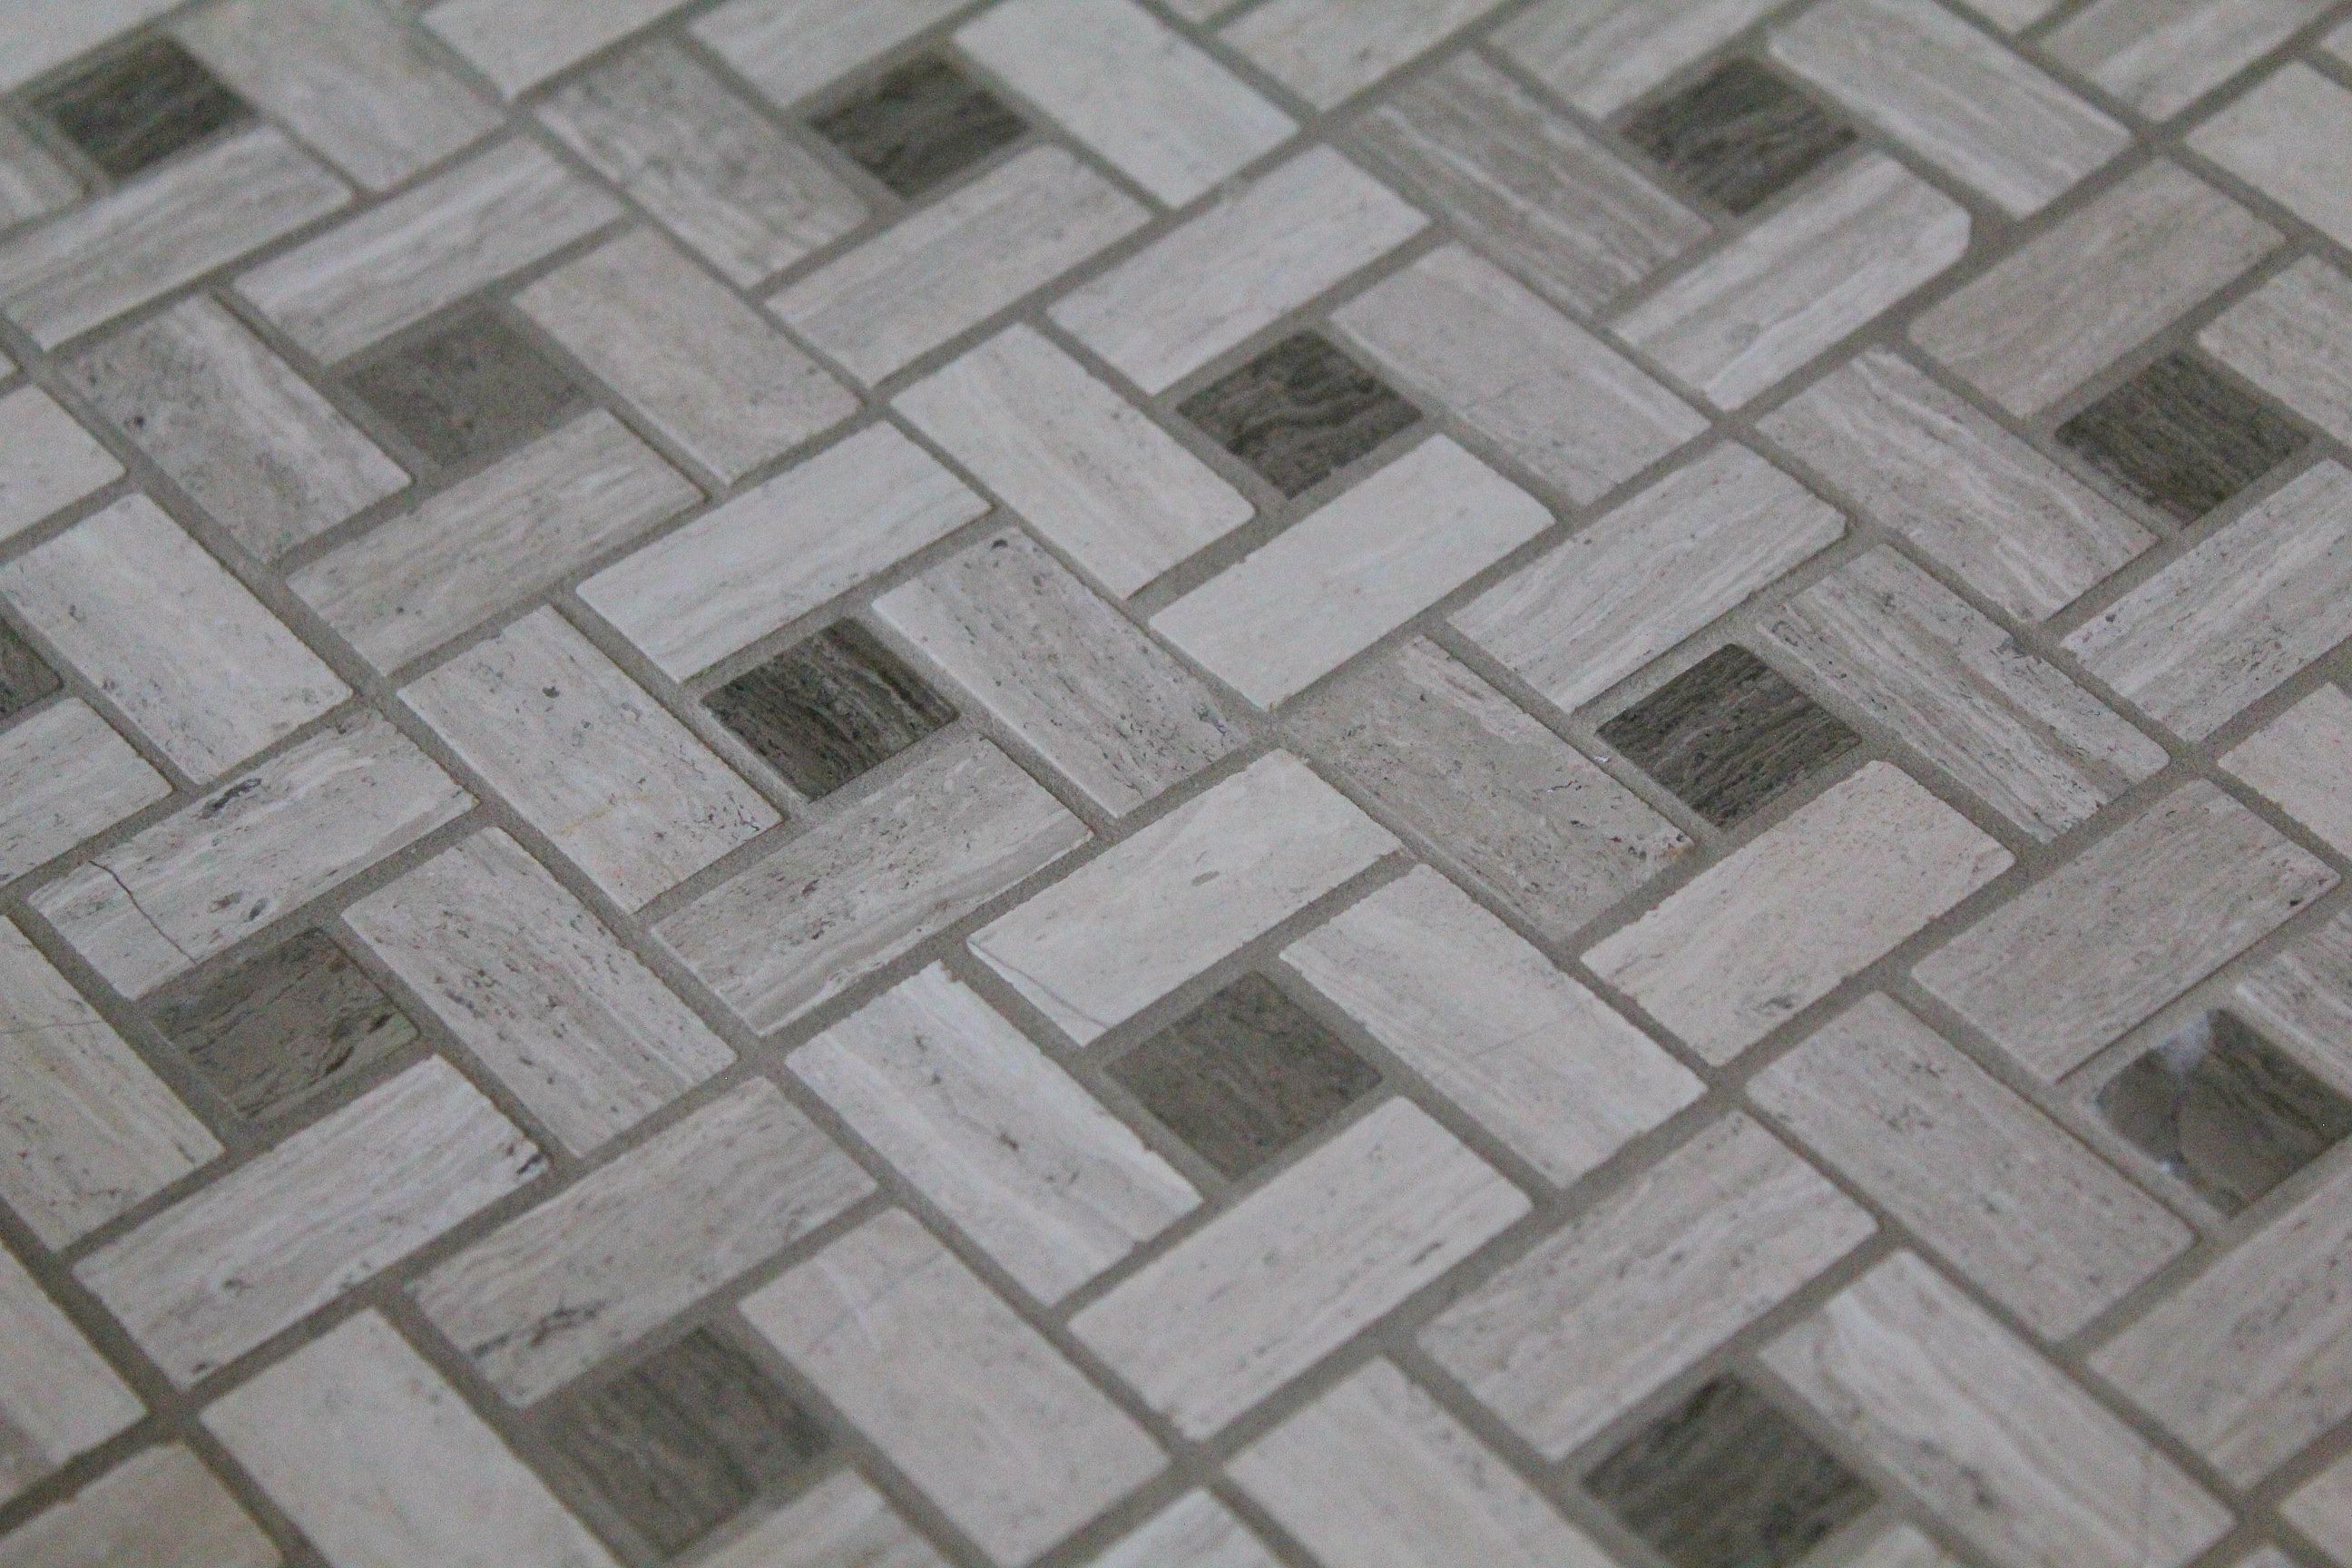
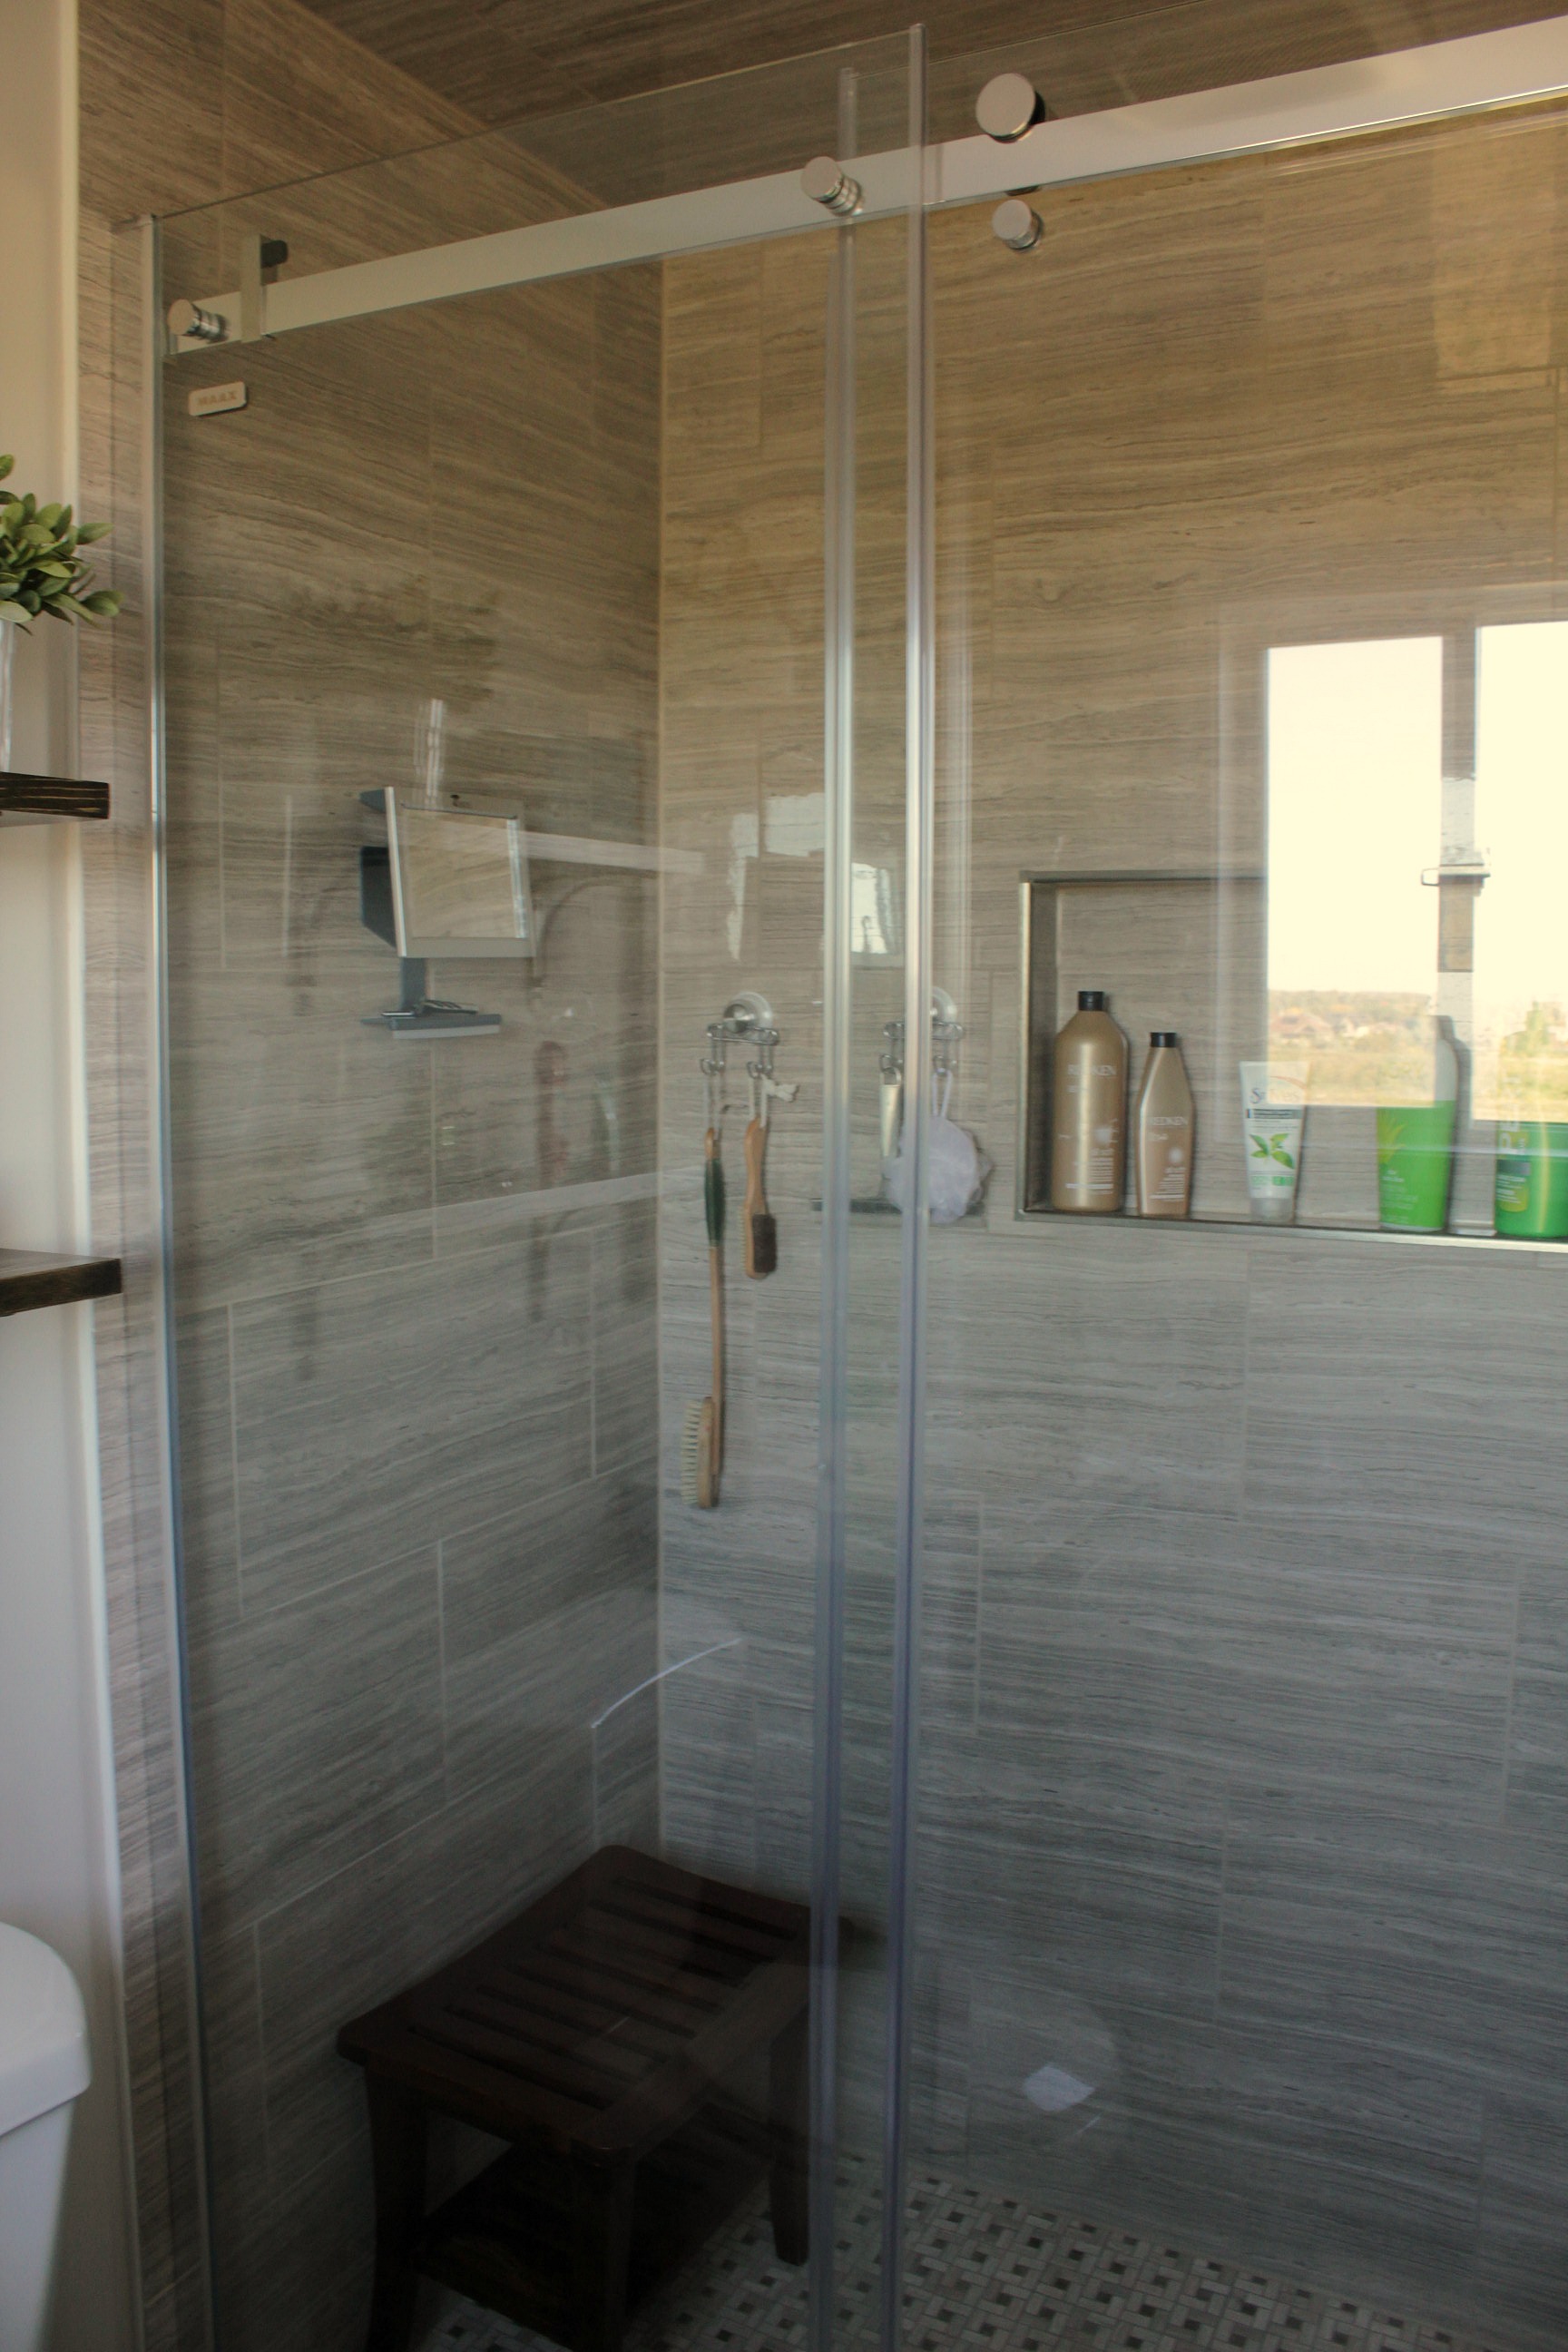
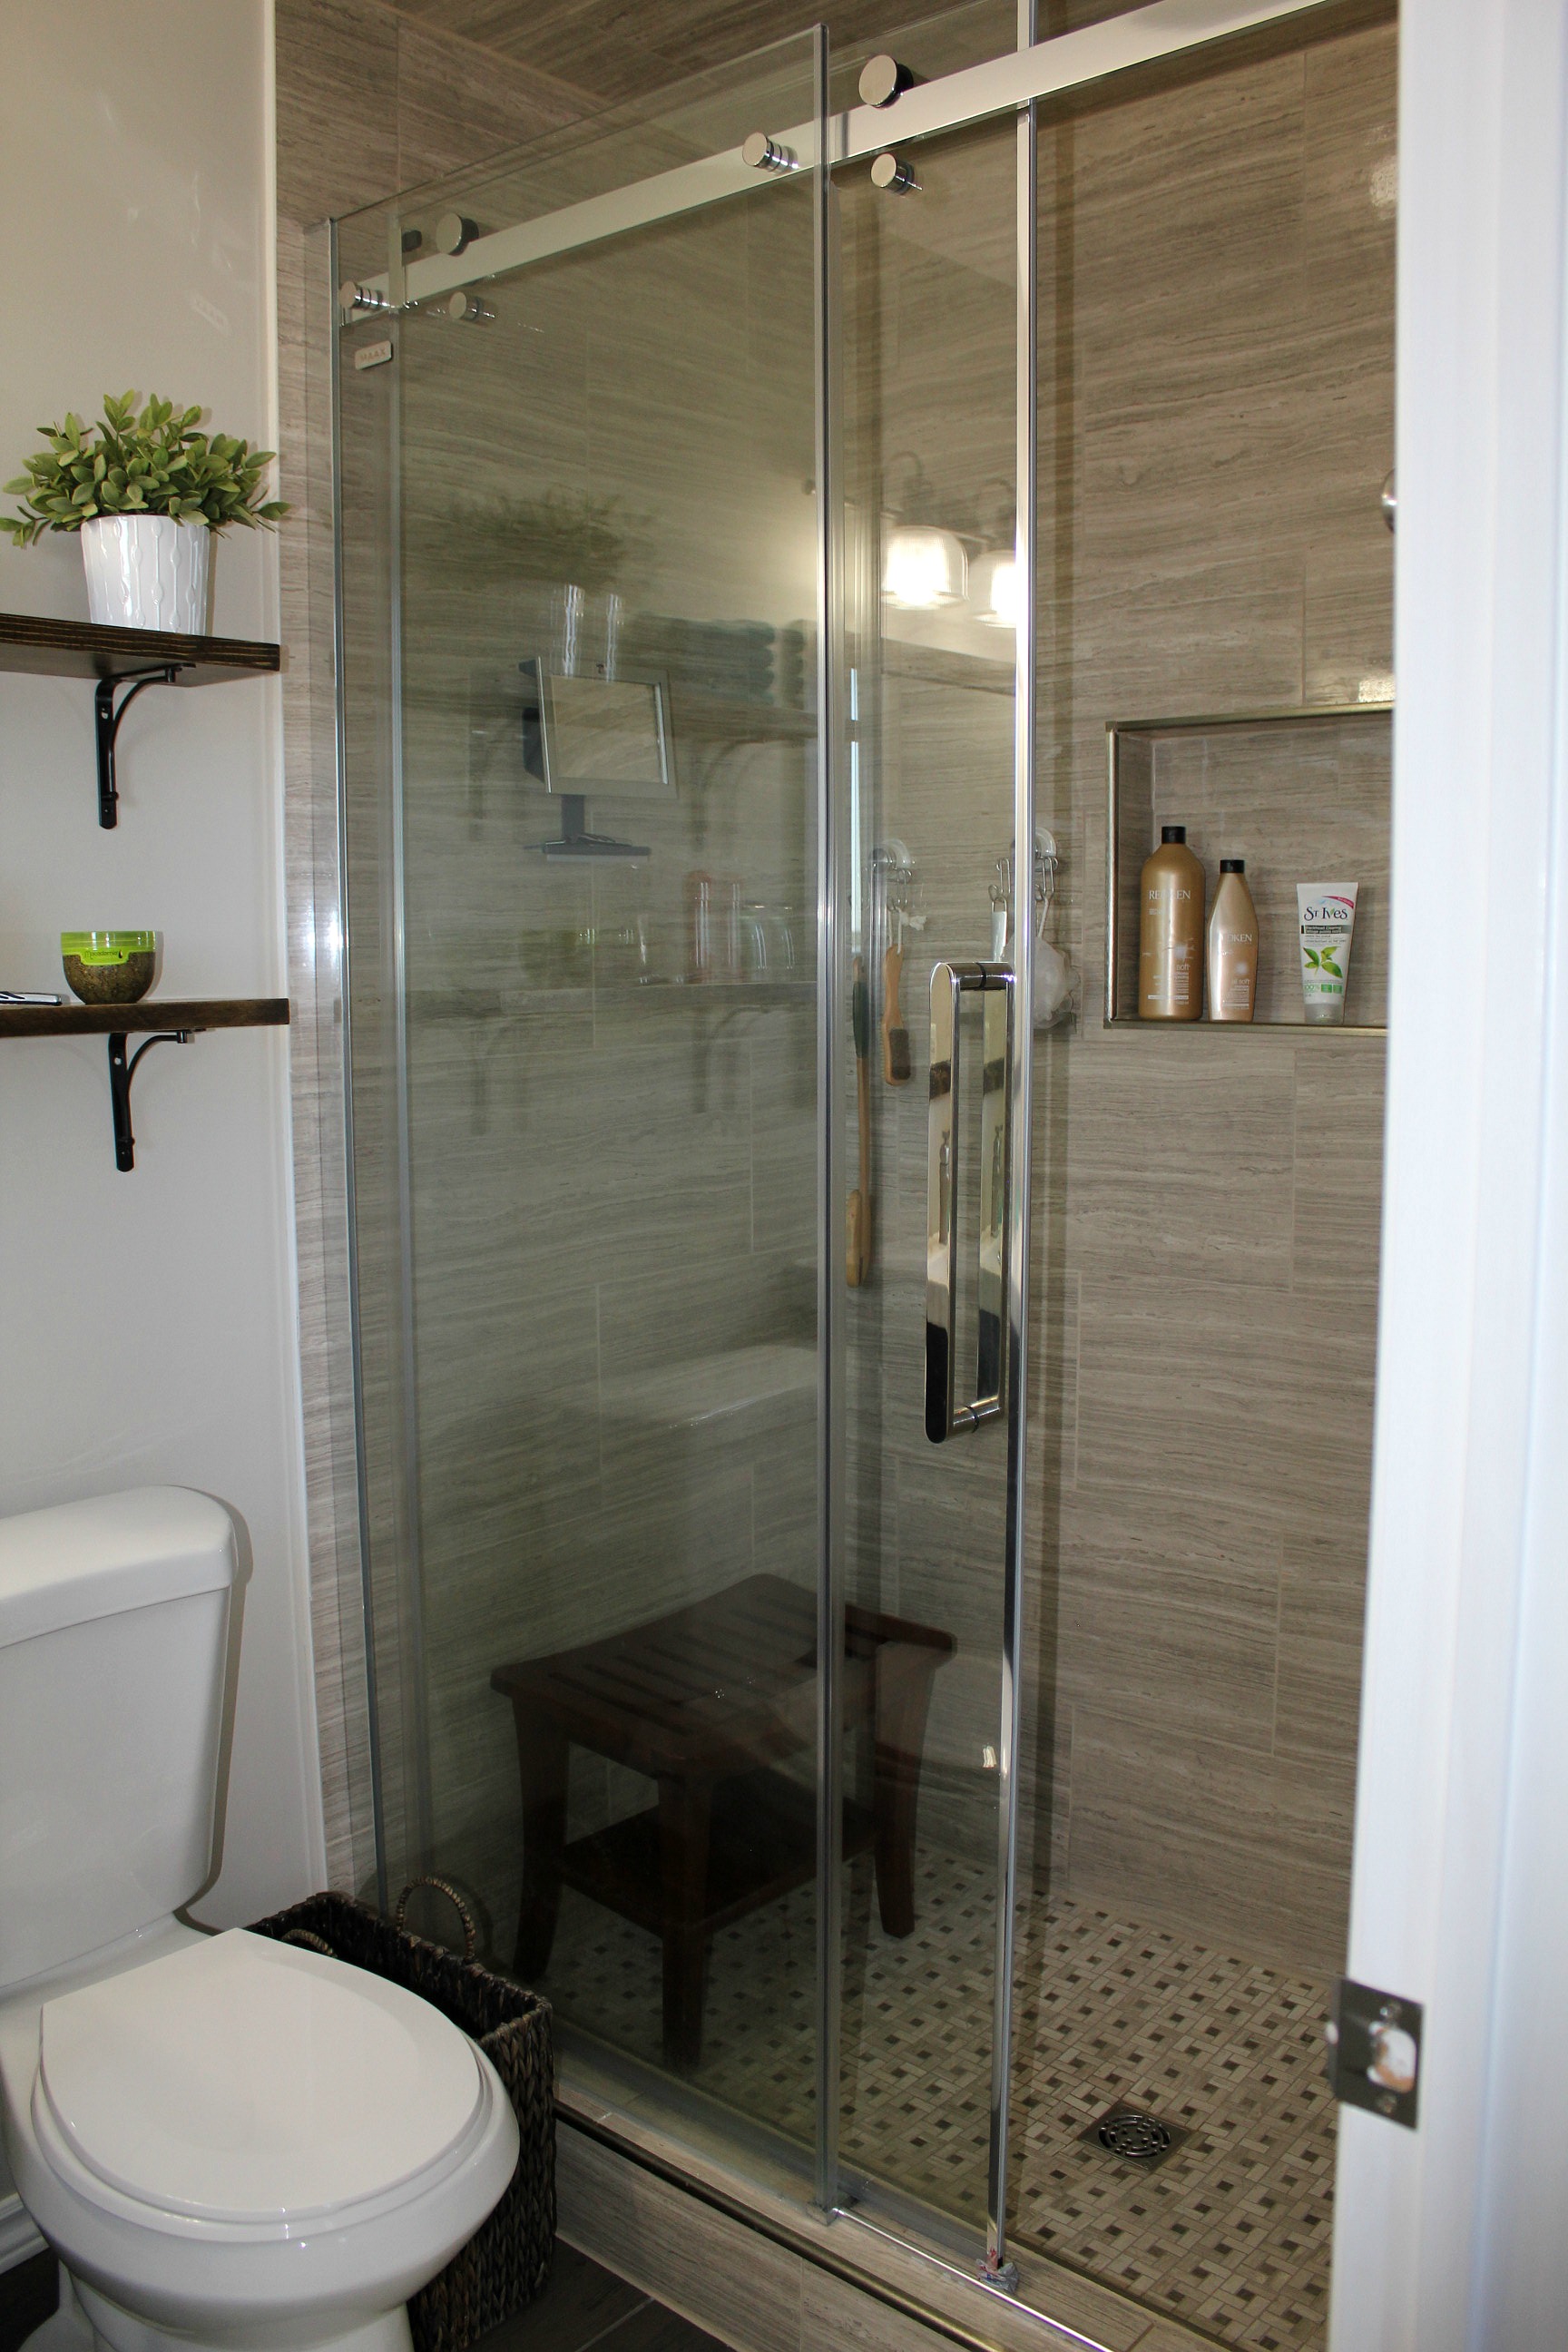
We raised the ceiling of the shower and then had it and the walls tiled in 12"x24" "Wooden Grey" porcelain tiles. The floor tiles are a mini wooden grey & white mosaic.  We knocked out the wall between the shower and the toilet and installed a frameless glass wall with sliding door. With the higher ceiling and glass walls, the shower is so much brighter now.

ensuite bathroom renovation tile frameless shower

ensuite bathroom renovation tile wooden grey

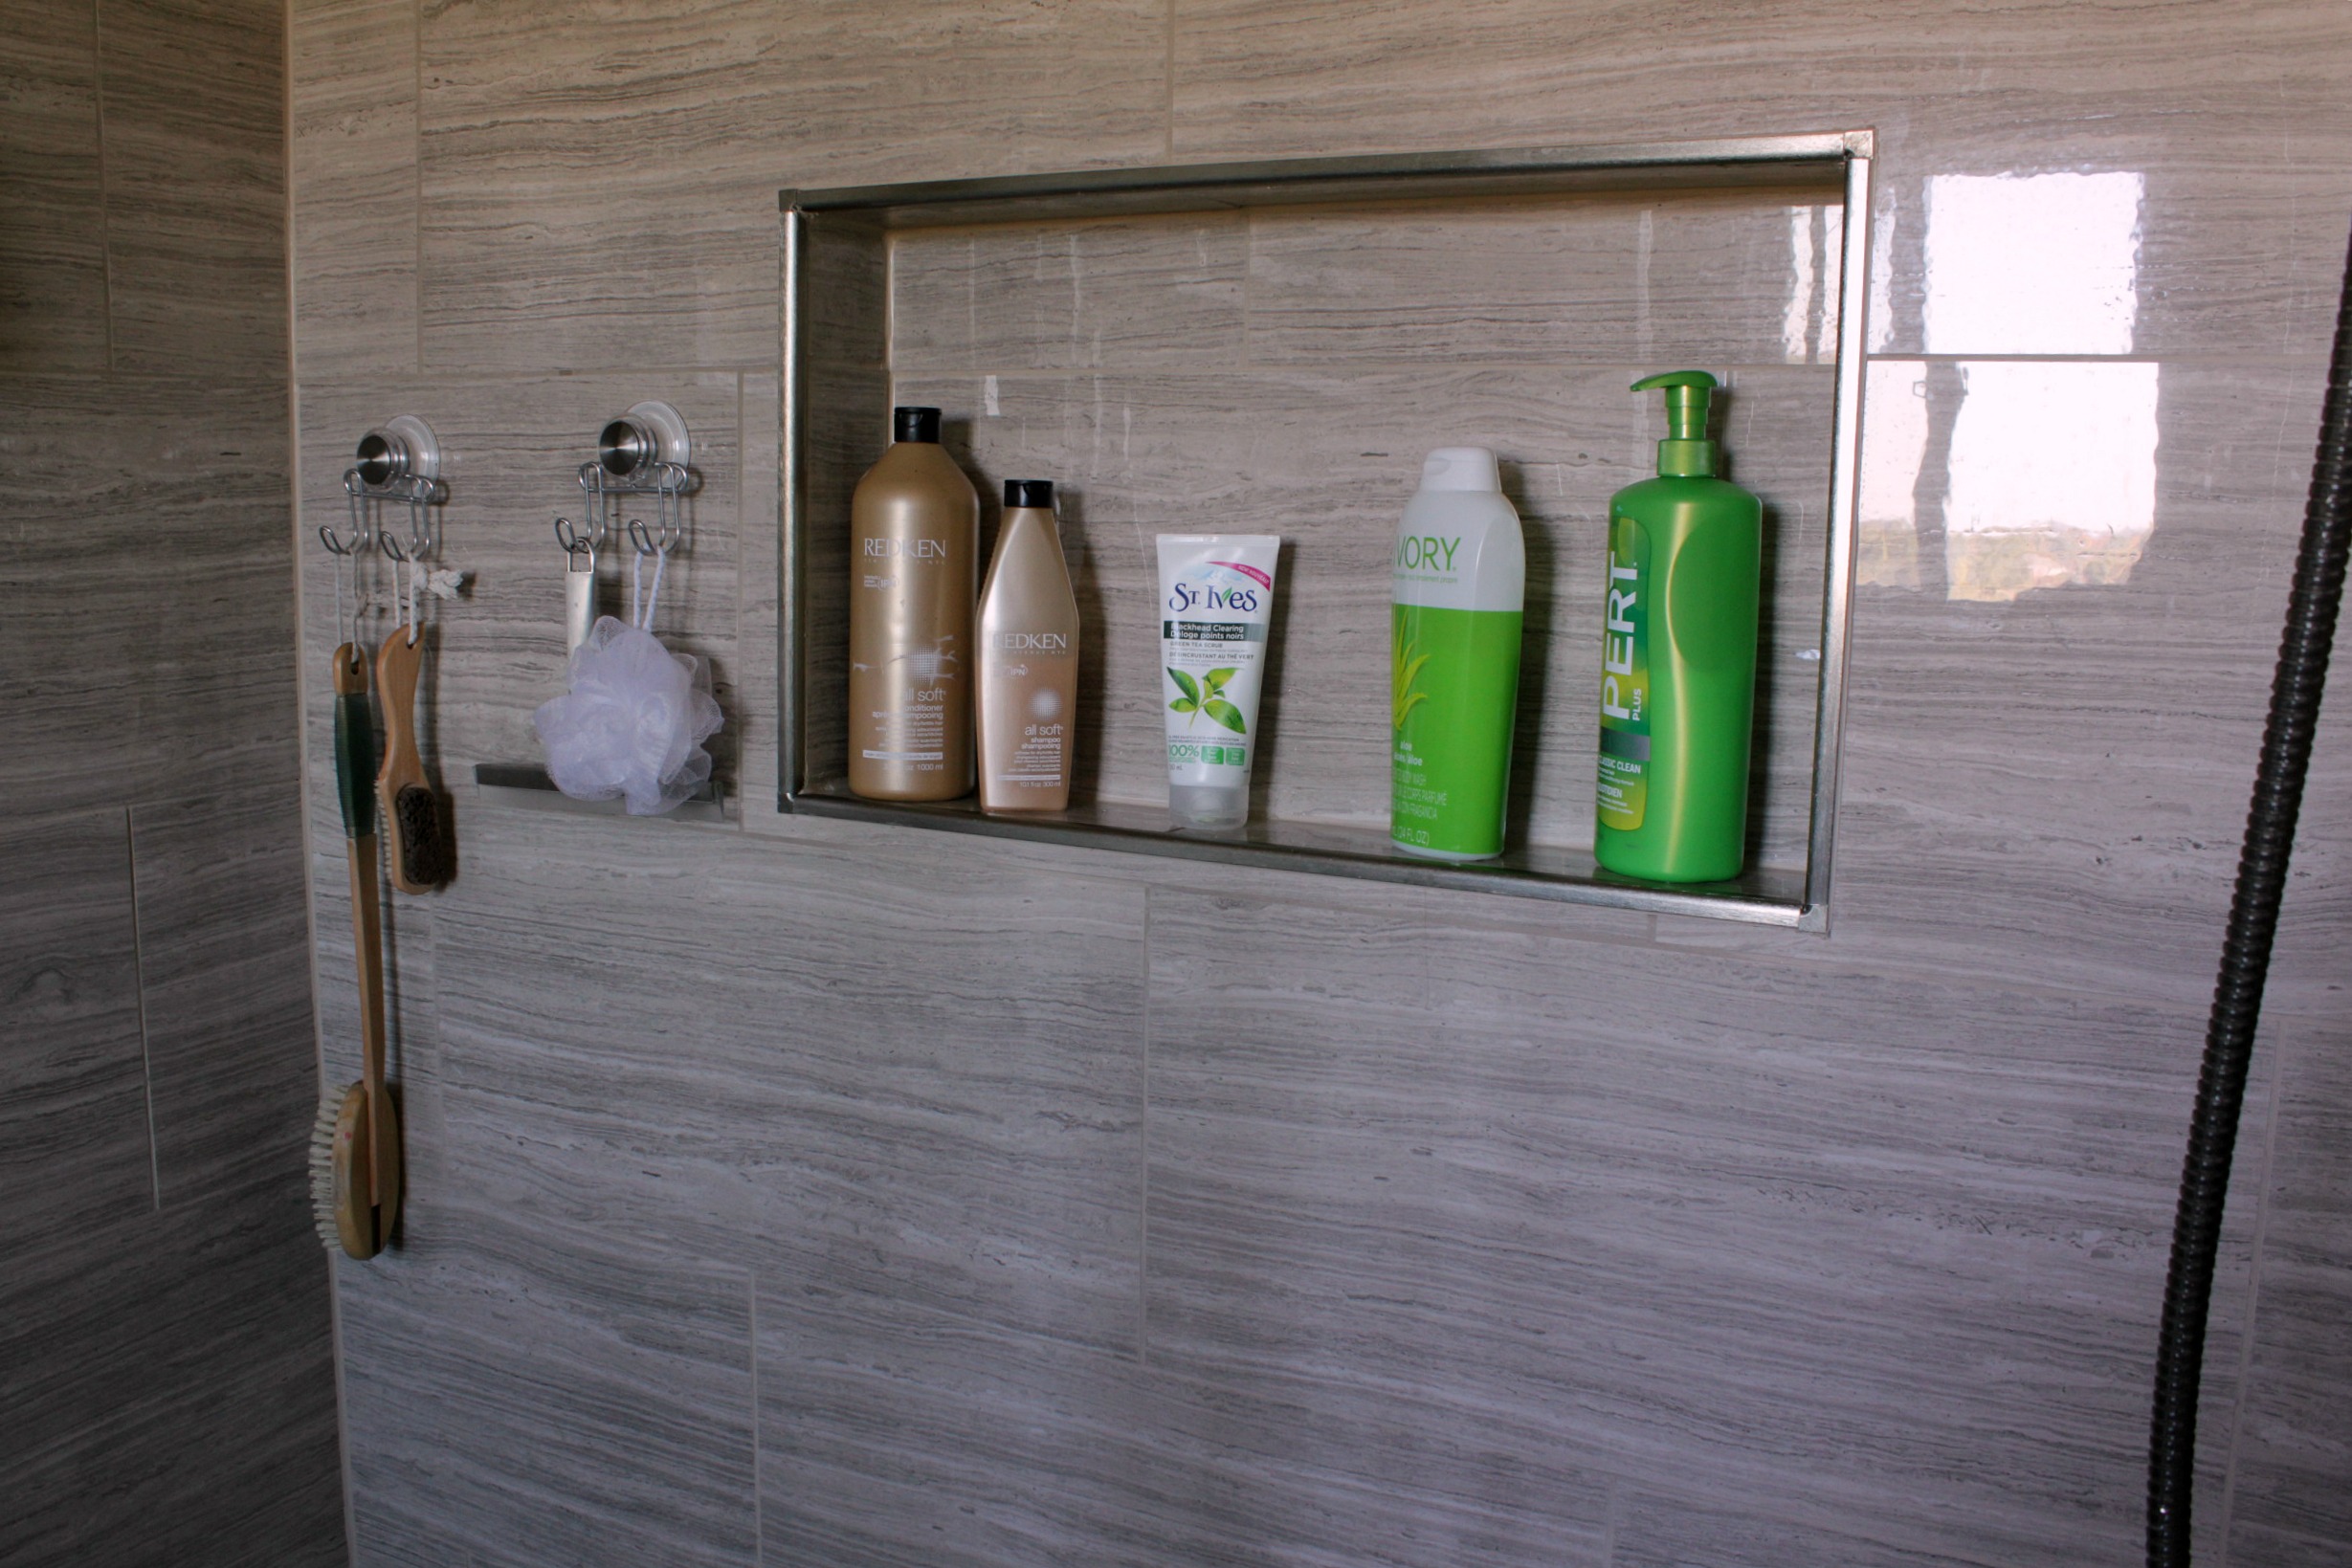
The old shower had a built-in bench which was convenient, but it took up a lot of space. We decided against replacing it and added a small teak bench instead - for those important leg-shaving moments. We also built a niche in the back wall to hold shampoo/body wash bottles. I love the streamlined look of the whole space. I'm not sure it's any bigger, but it feels twice the size.

ensuite bathroom renovation tile frameless shower

ensuite bathroom renovation tile shower wooden grey niche

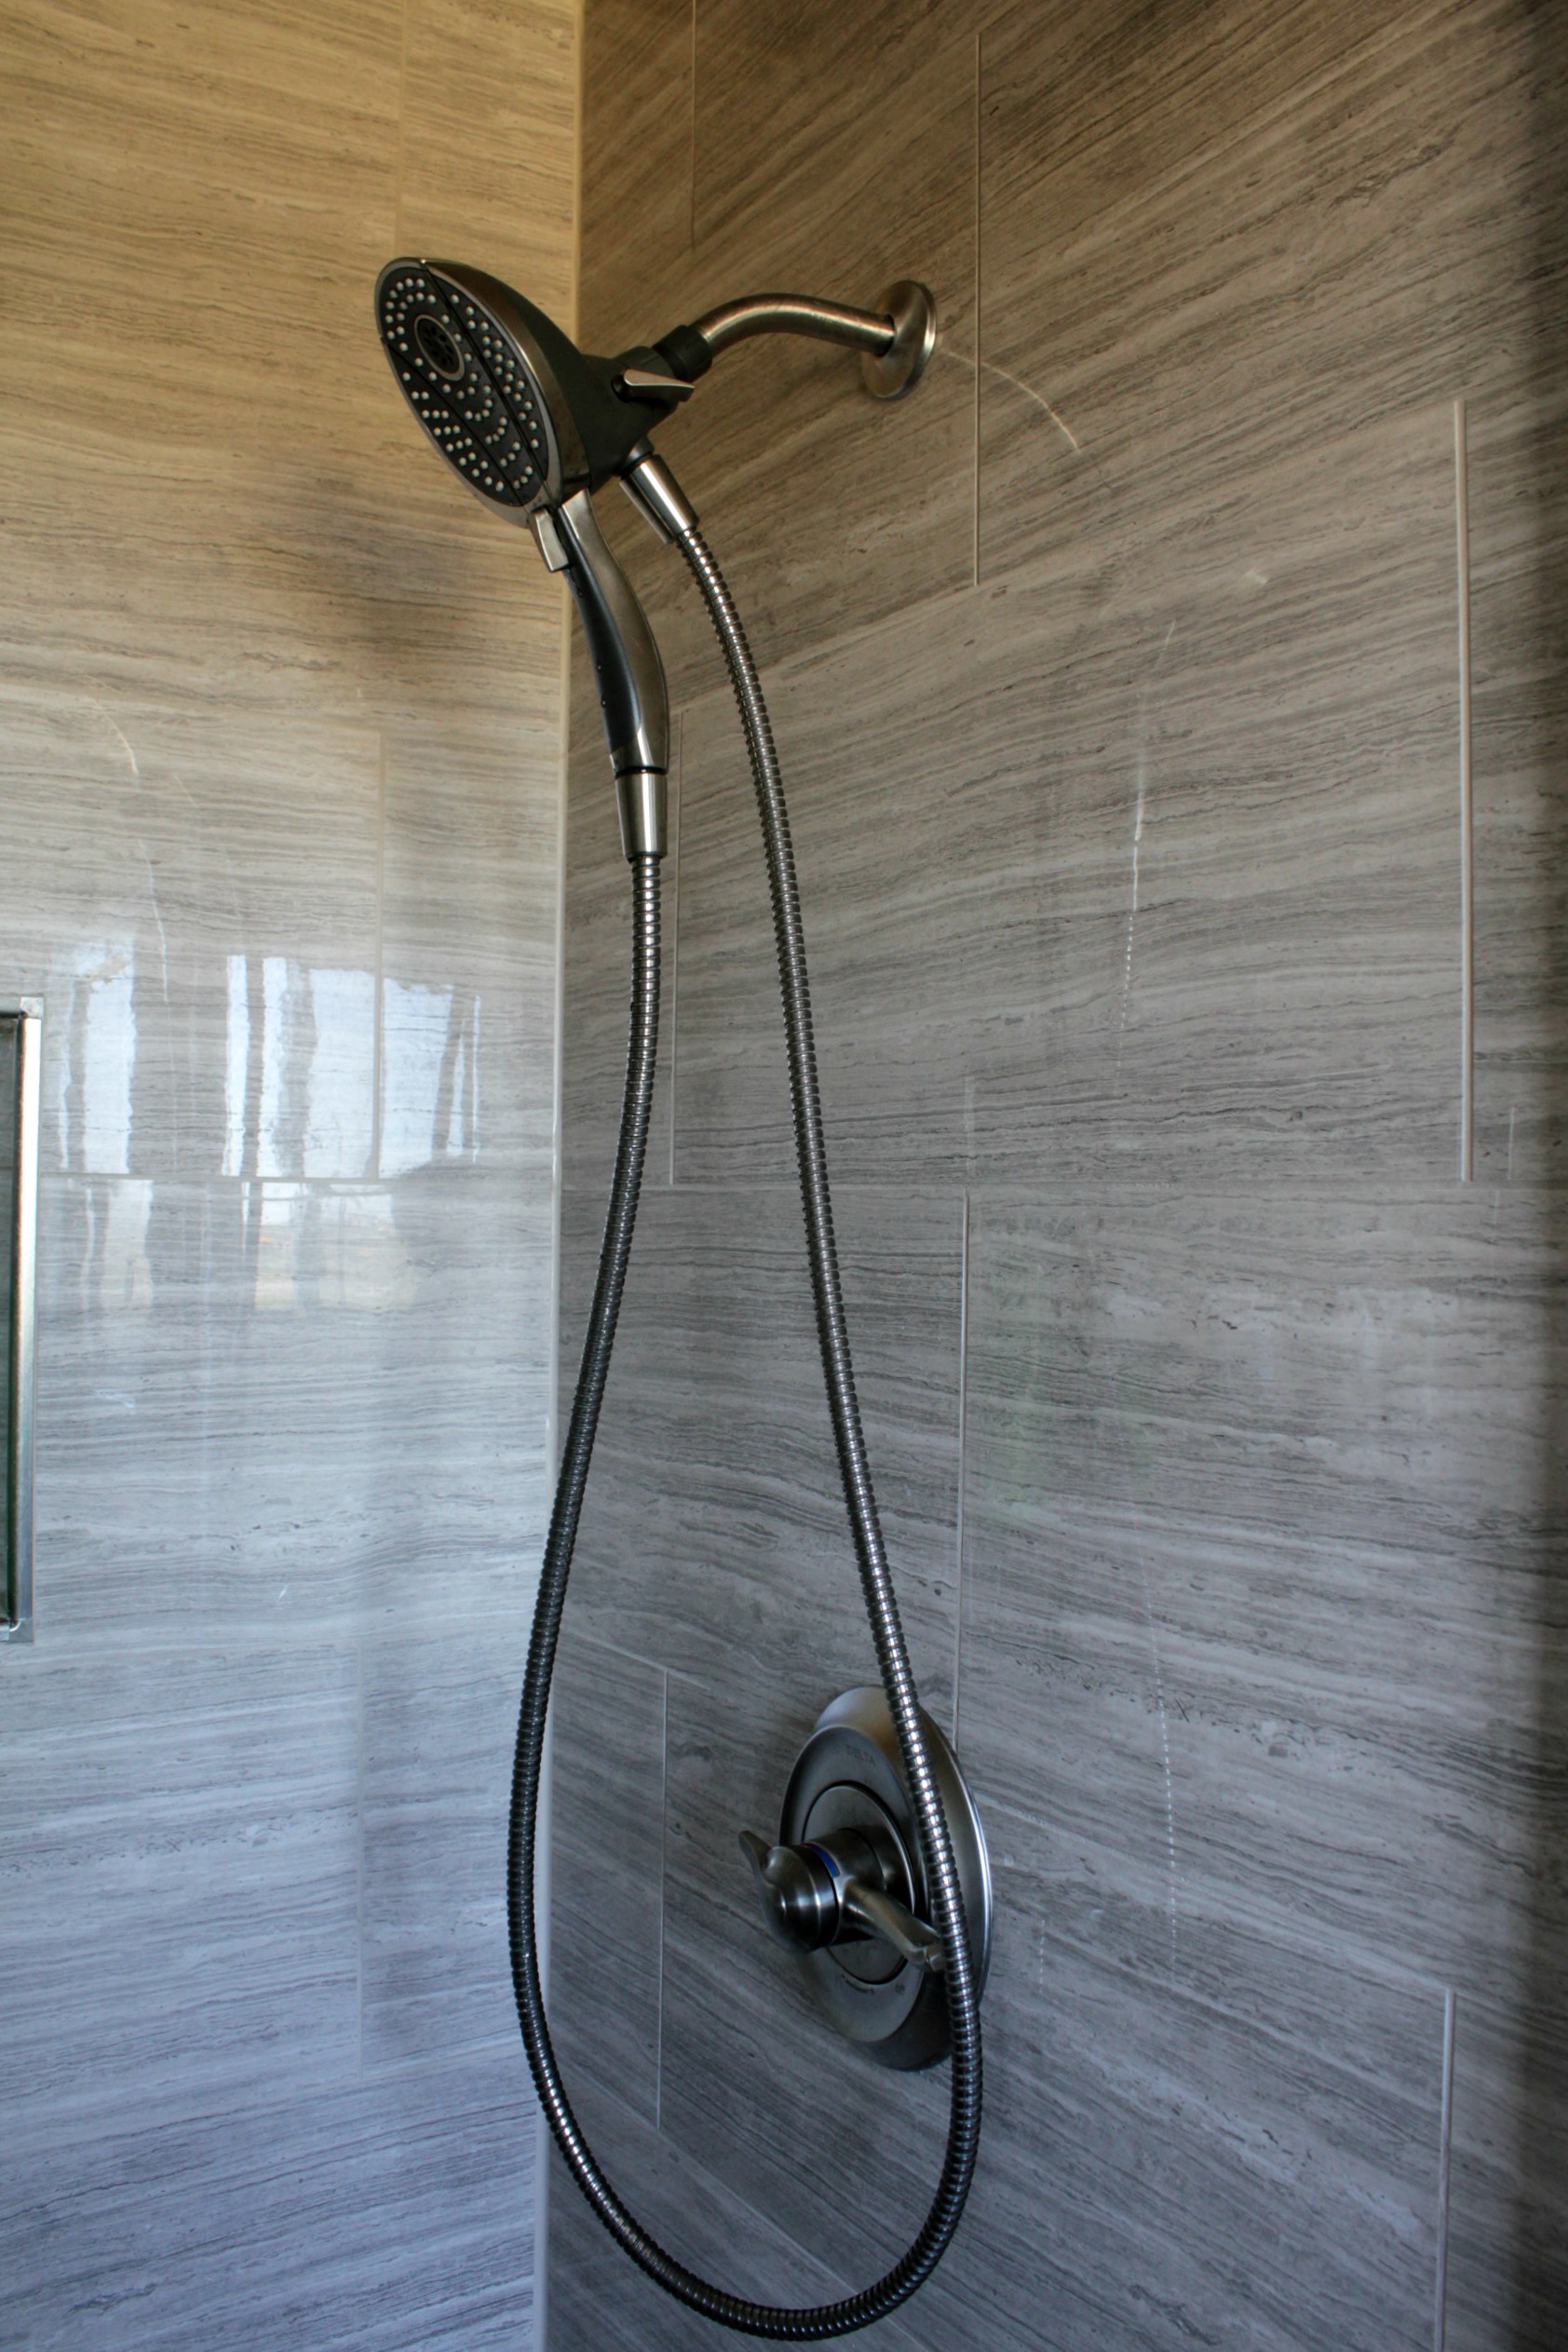
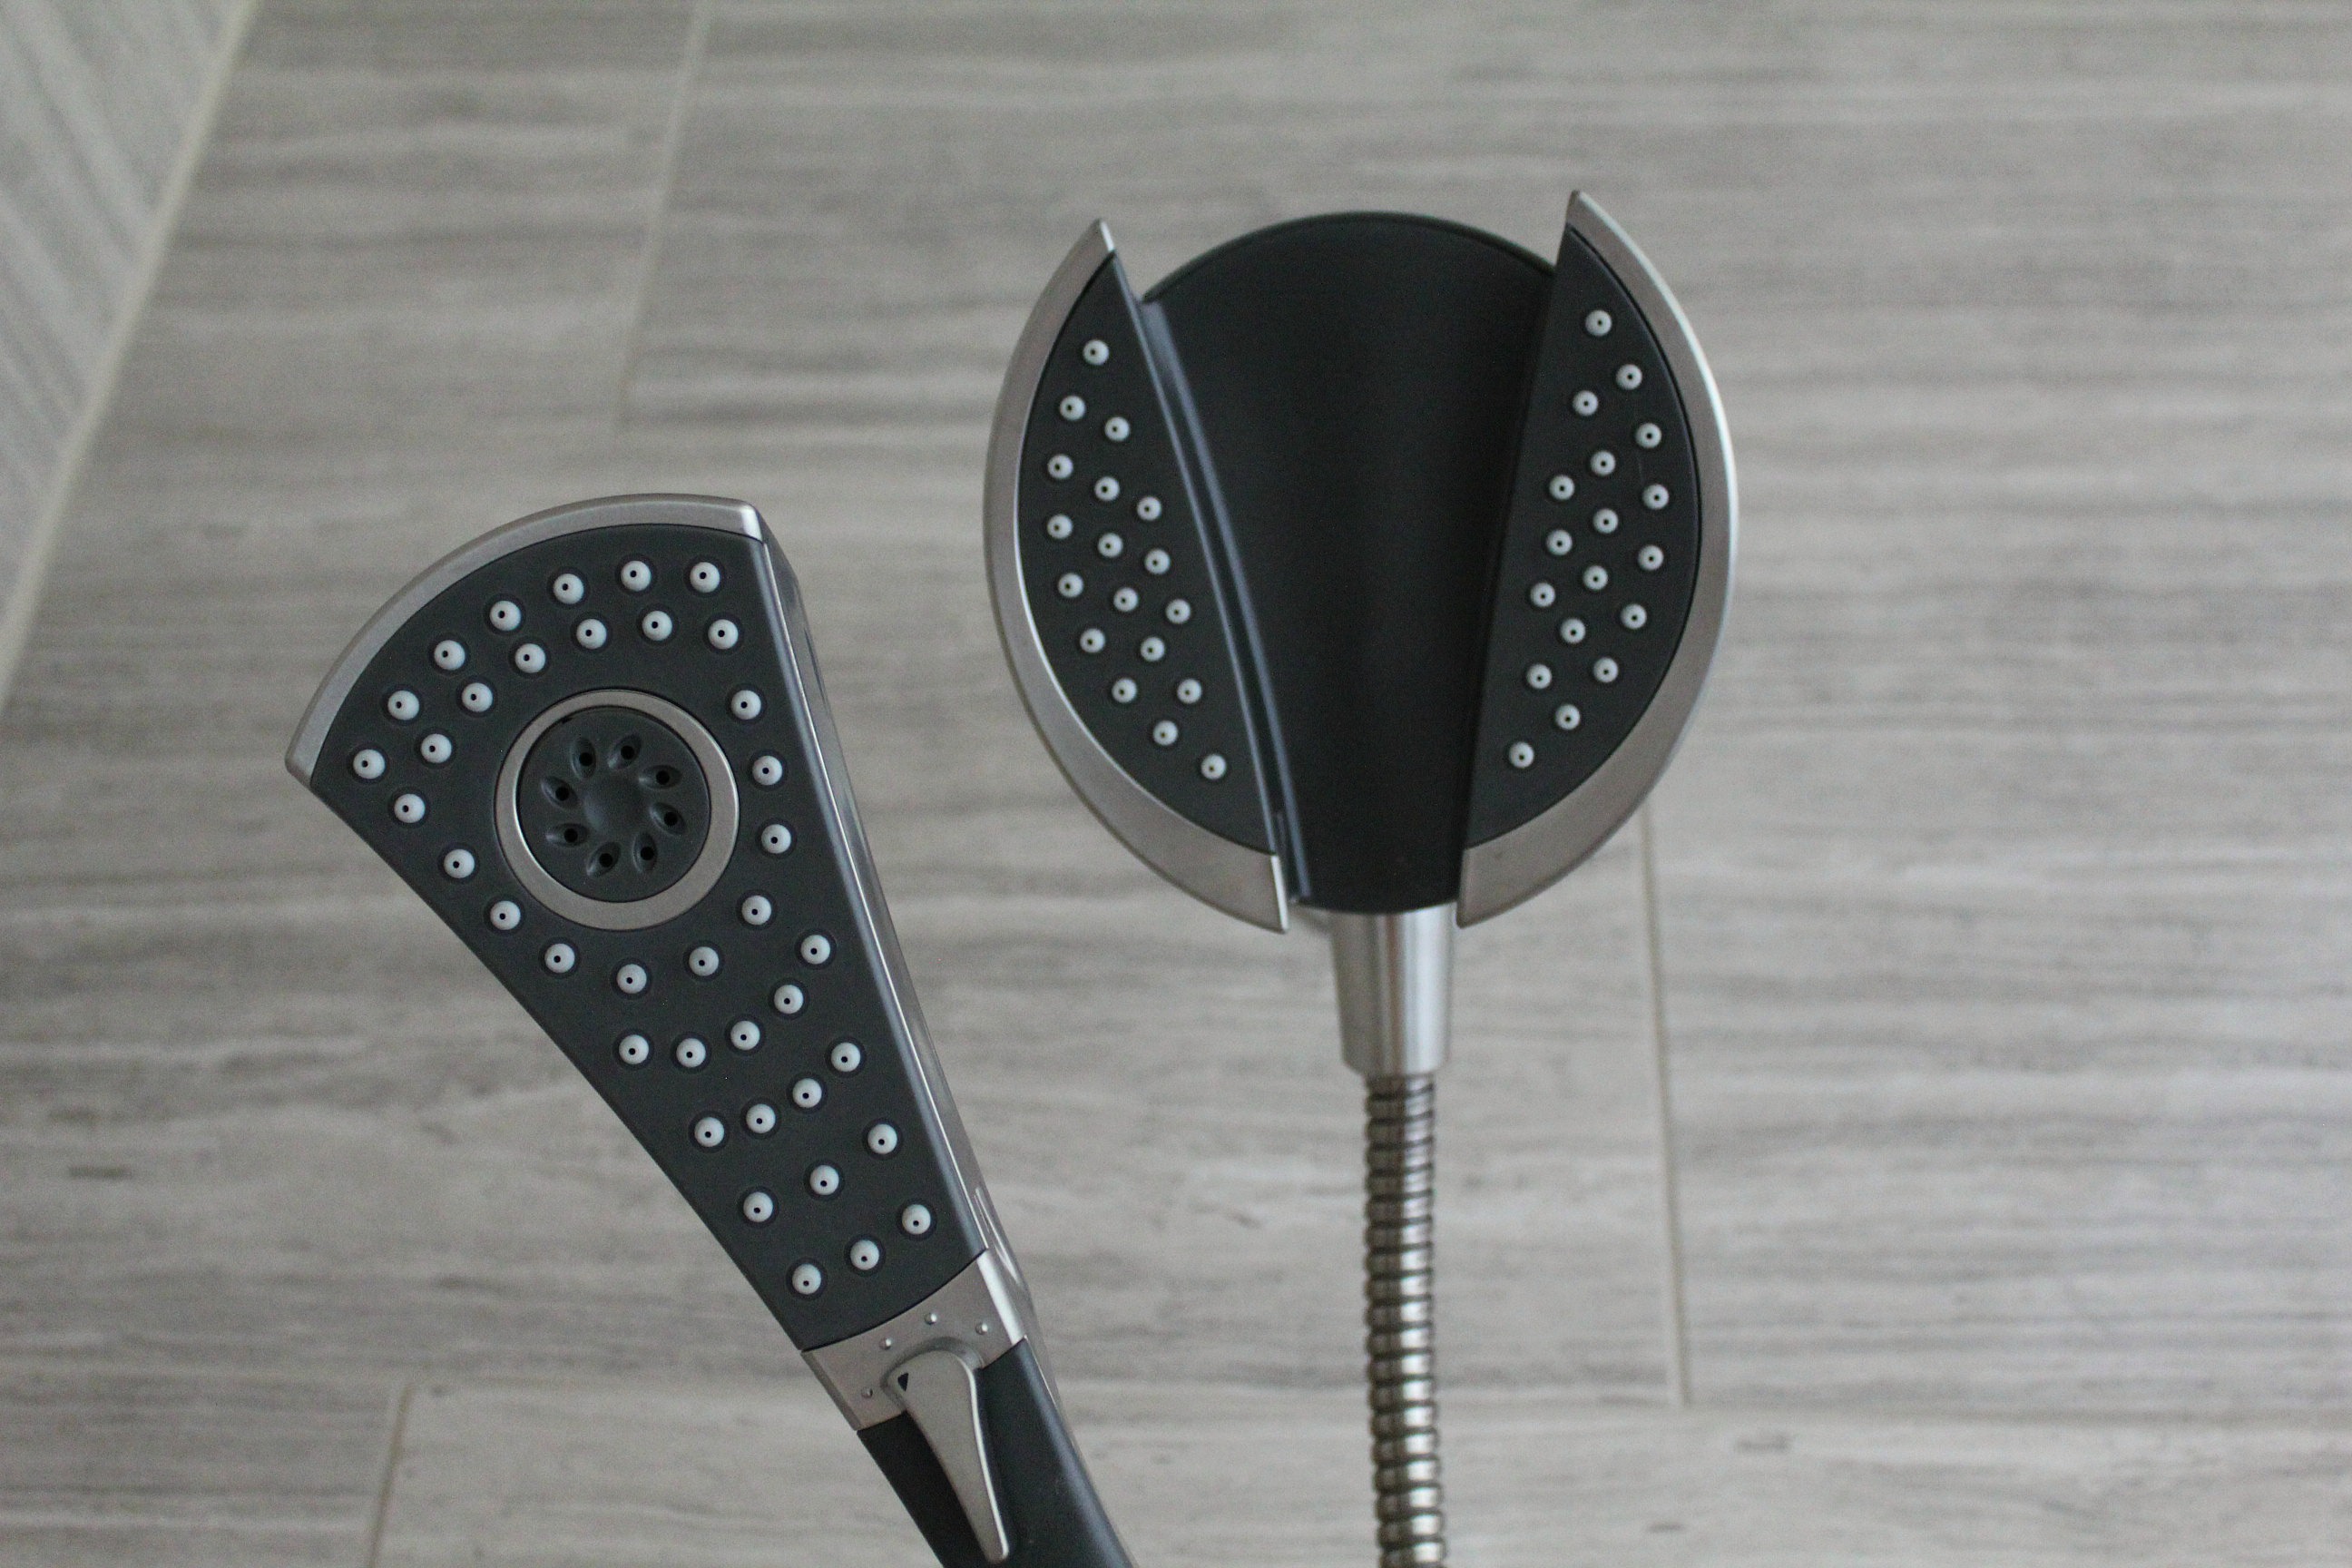
The showerhead is the In2ition from Delta with the Carlisle shower controls. It is flat-out amazing. We wanted a large showerhead, but also something that could be detached, as this is where we bath the dogs as well. The center of the showerhead slides out to become a handheld wand with a 6 foot hose.

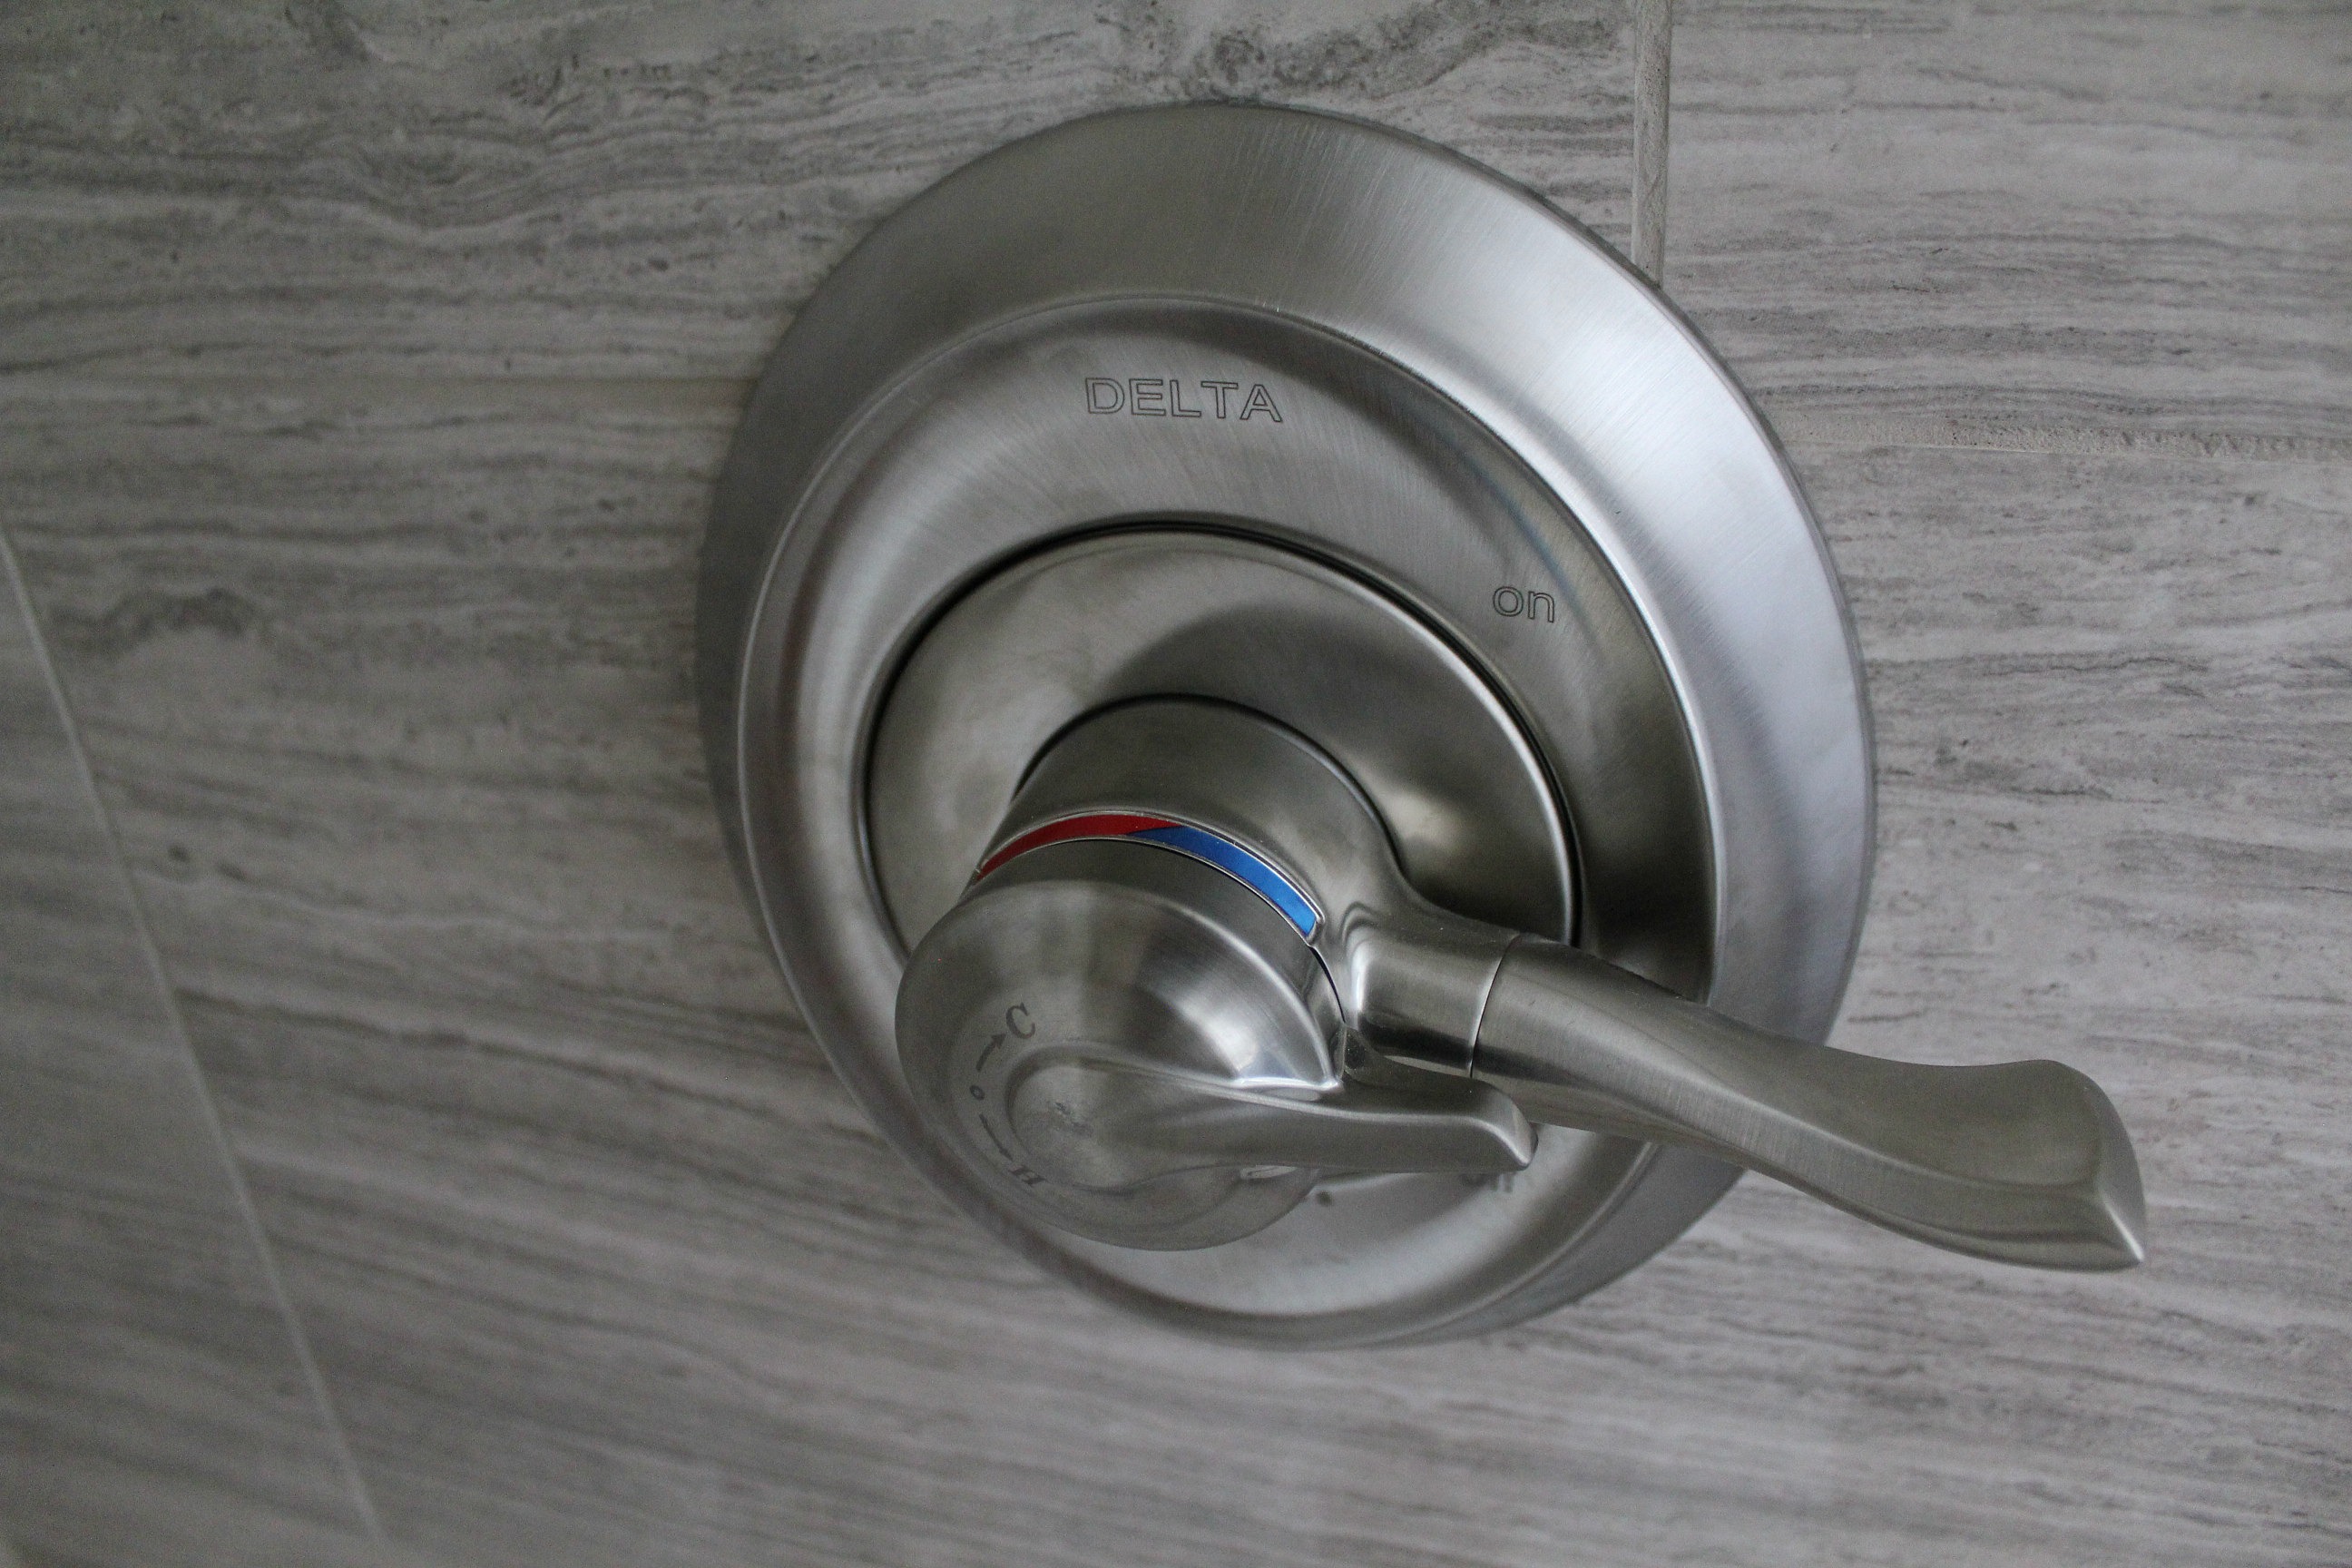
Now comes the really cool part. The water controls have two levers - you set your temperature with the smaller inside lever and then just turn the larger lever each day and you have the perfect temperature every time. Nice when you're stumbling in first thing in the morning with your eyes only half open!

ensuite bathroom renovation delta in2ition carlisle showerhead

ensuite bathroom renovation delta in2ition showerhead

ensuite bathroom renovation delta carlisle shower control

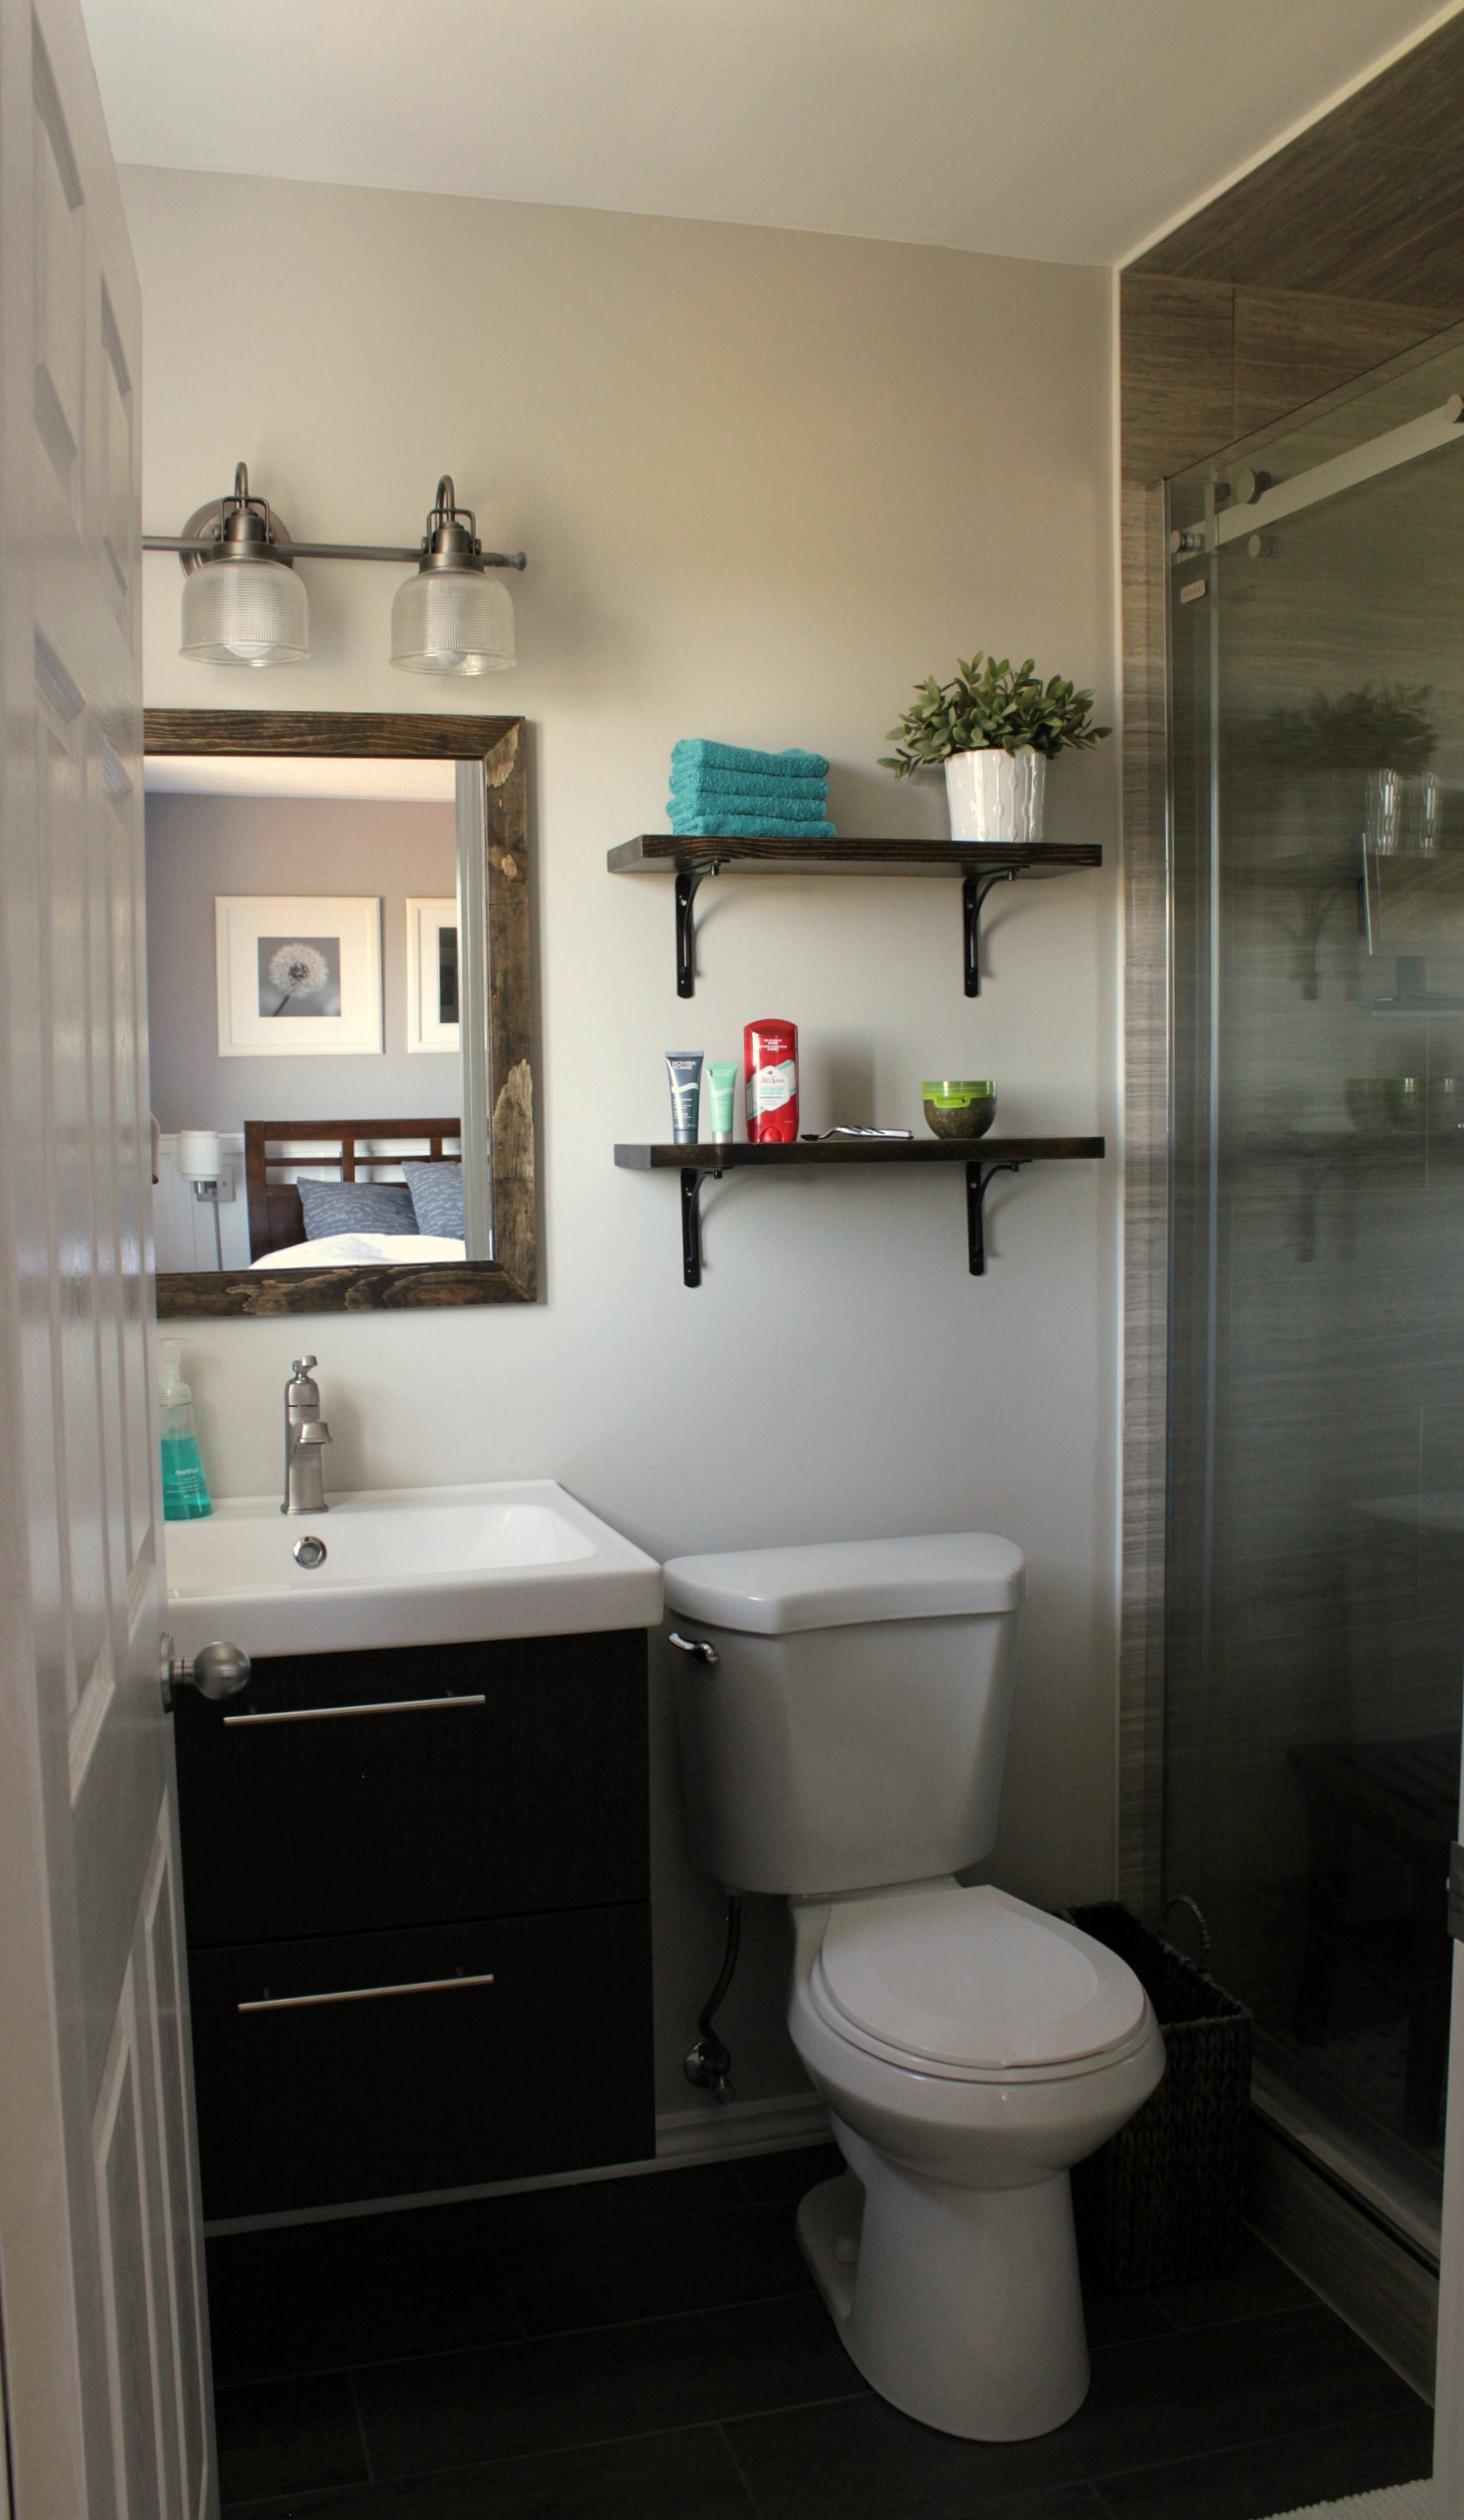
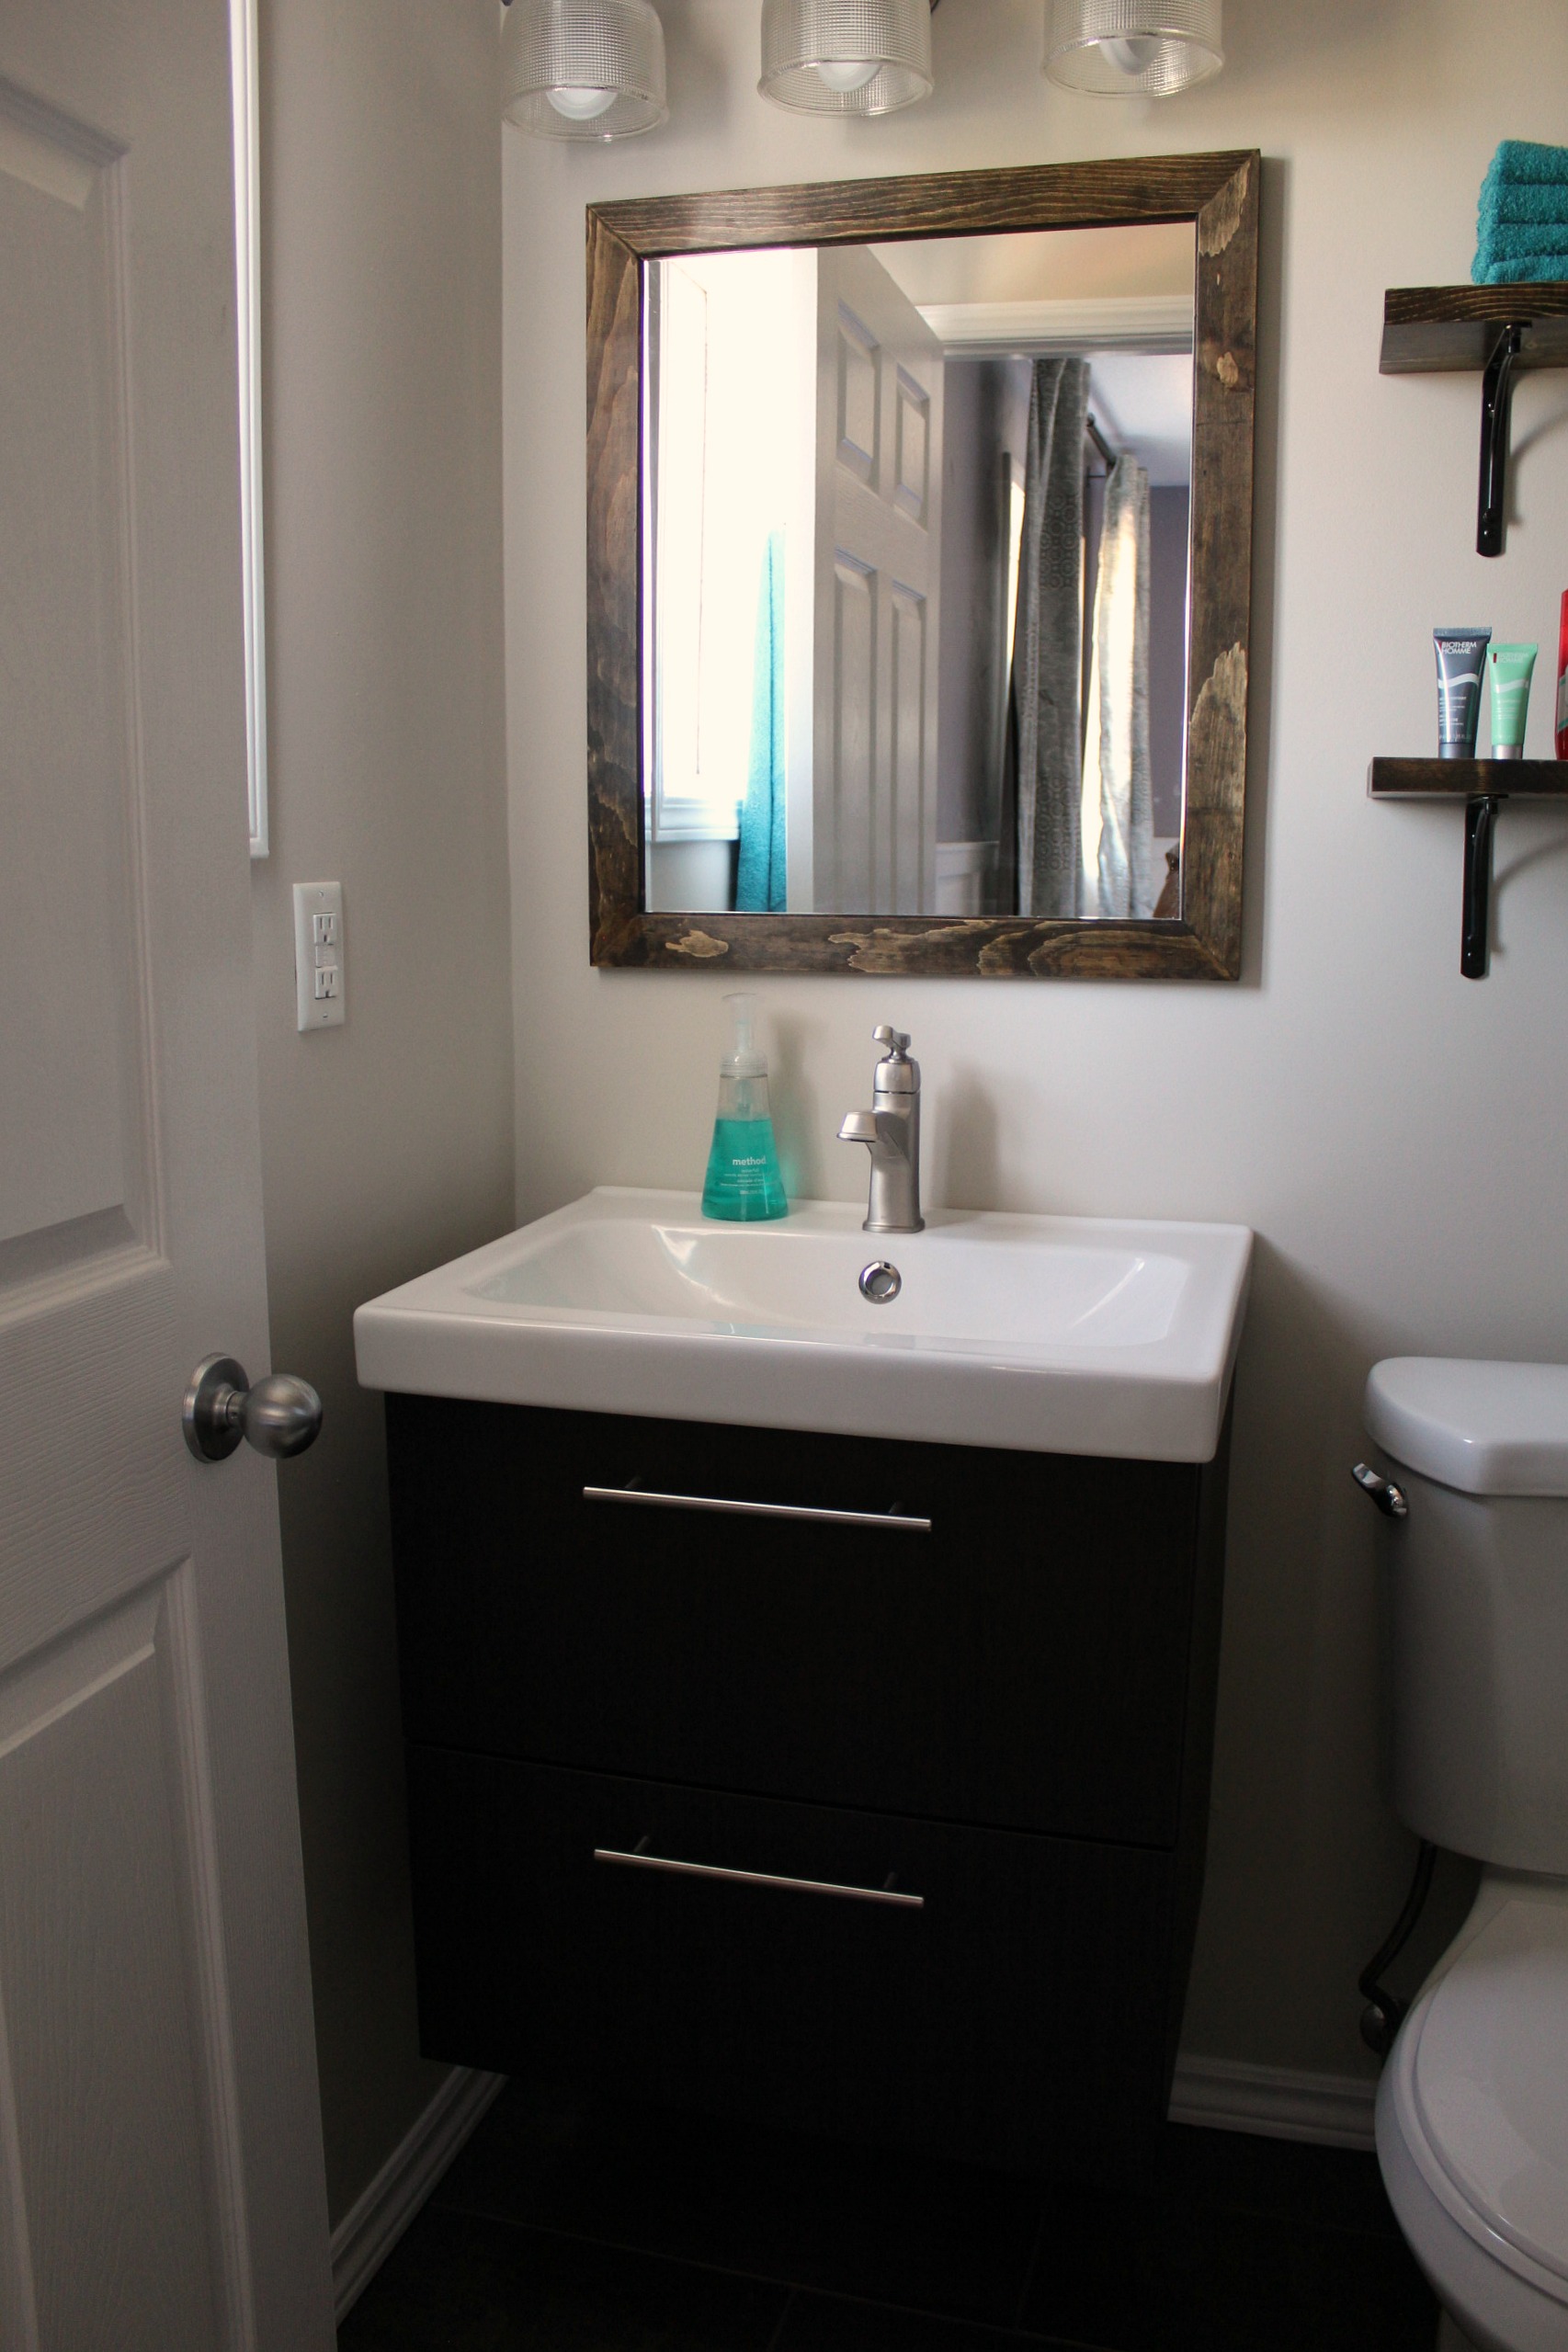
The vanity is from Ikea - the Godmorgon/Odensvik combination. We chose a wall-hung vanity to increase the floor space and make the room look larger. Every little bit helps. We bought the same vanity nearly a year ago, but then had to go back and buy a second, smaller vanity because the first one was just a little too big. So much for measuring. The edge of the sink would have been right up against the handle of the toilet. Besides being awkward, it just looked bad.

The smaller one fits the space better and there is still plenty of room in the drawers for everything. But now we have this extra vanity. We're either going to sell the bigger one or we might keep it for when we renovate the main bathroom - whenever that happens. We replaced the handles that came with the vanity with brushed nickel rod-type handles from Home Depot.

ensuite bathroom renovation tile ikea godmorgon odensvik

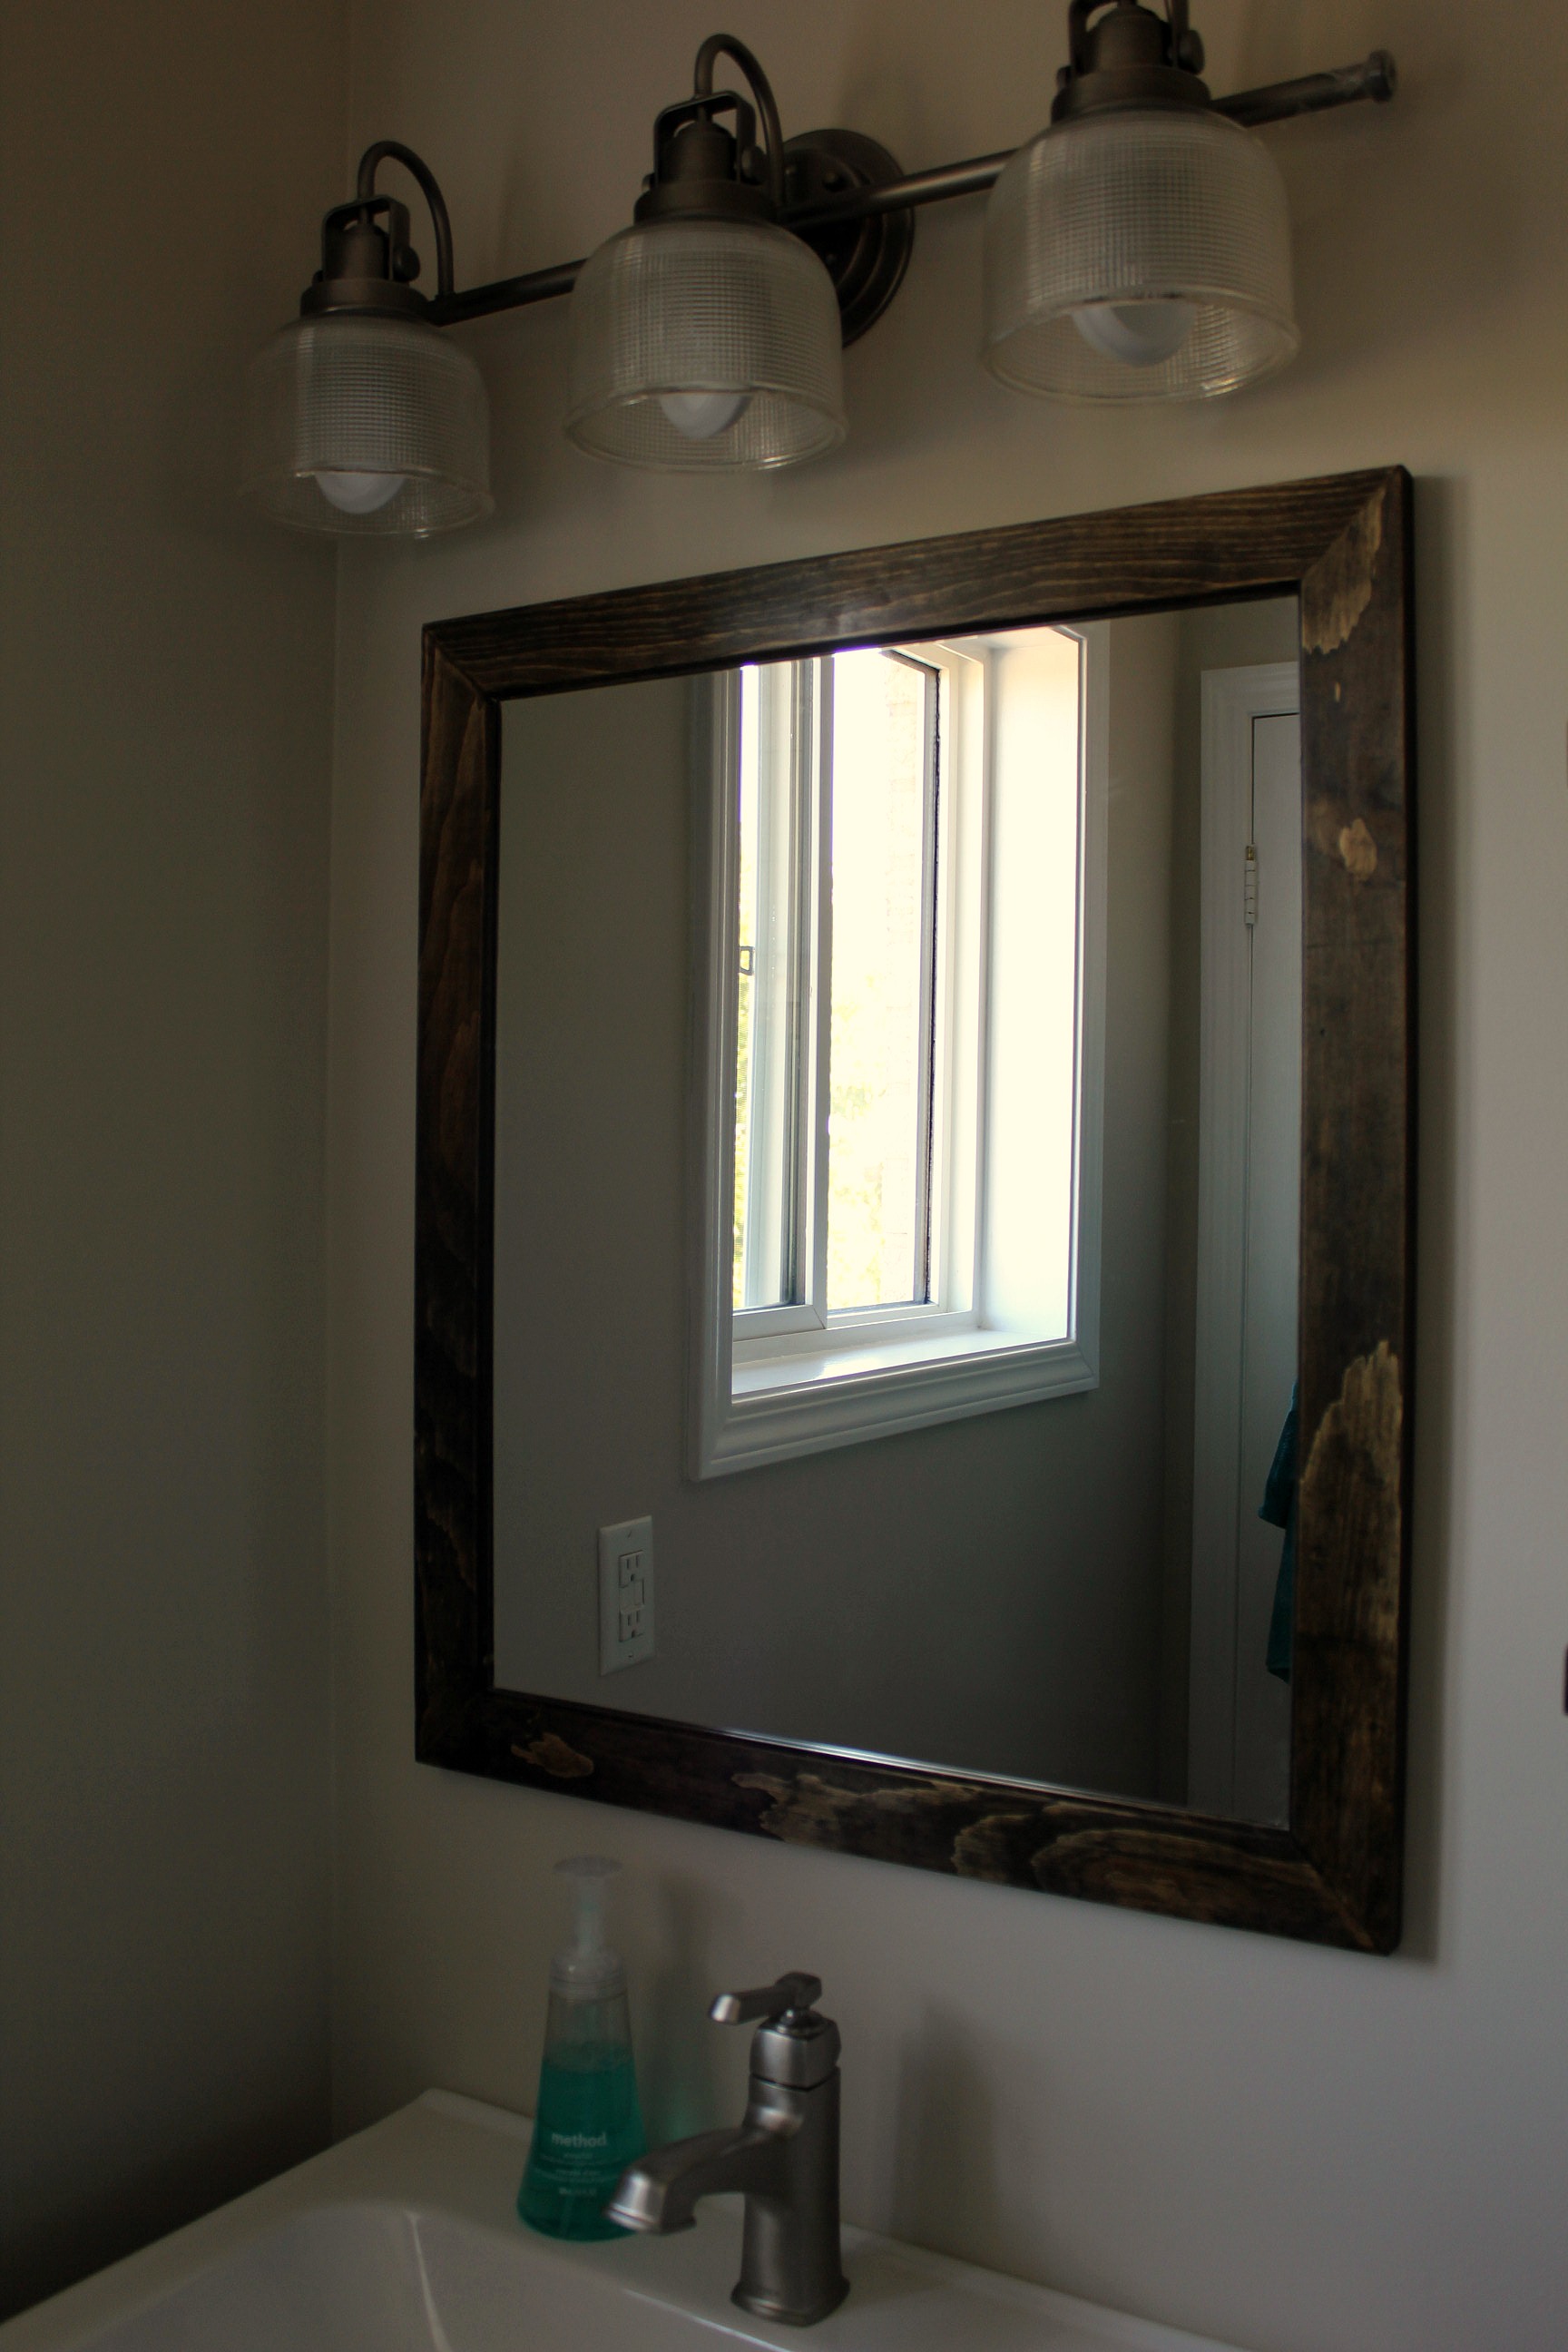
The mirror above the vanity is custom-made. Tom wanted the vanity hung a little higher than normal, which meant the old mirror was too big to fit between the lights and the sink. We looked all around but couldn't find a mirror the right size, with a real wood frame, that was a price we were willing to pay. So we bought an unframed 20"x24" mirror and built the frame ourselves! The inside edges of the frame are routed with a groove so the mirror slides right into place and won't fall out. I stained the frame with Minwax stain in Jacobean brown and gave it two coats of wax, buffed with steel wool.

ensuite bathroom renovation custom mirror

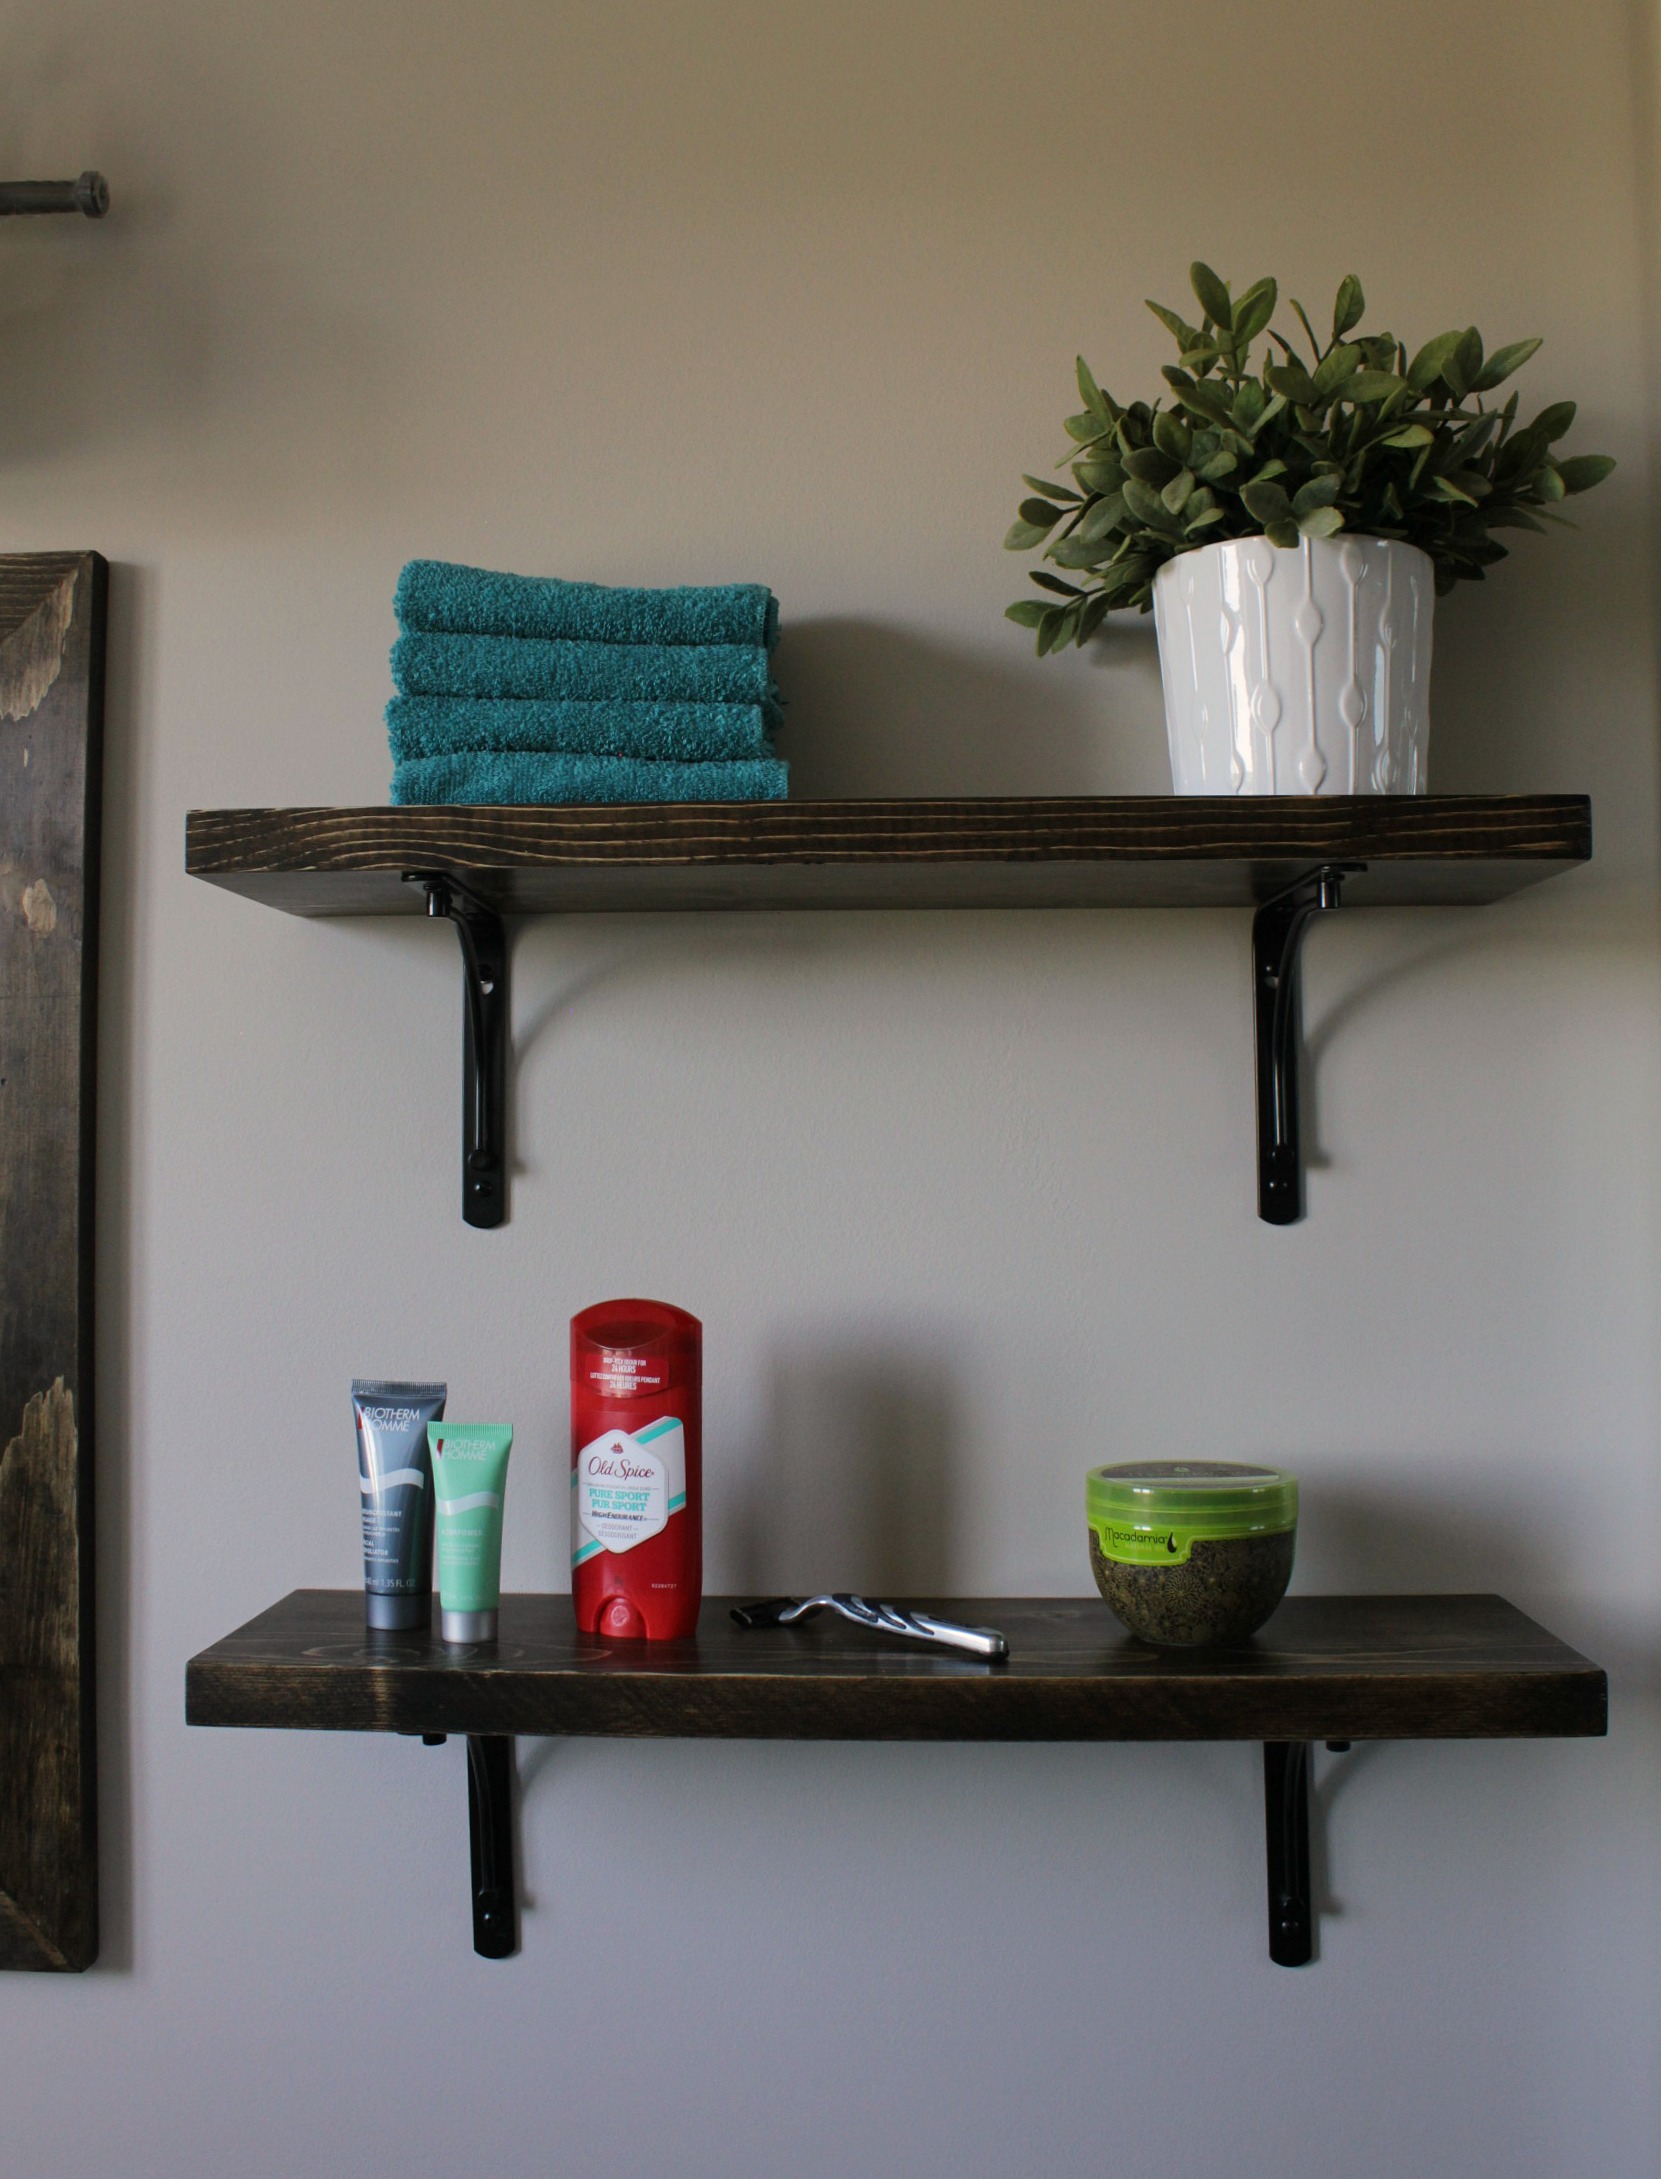
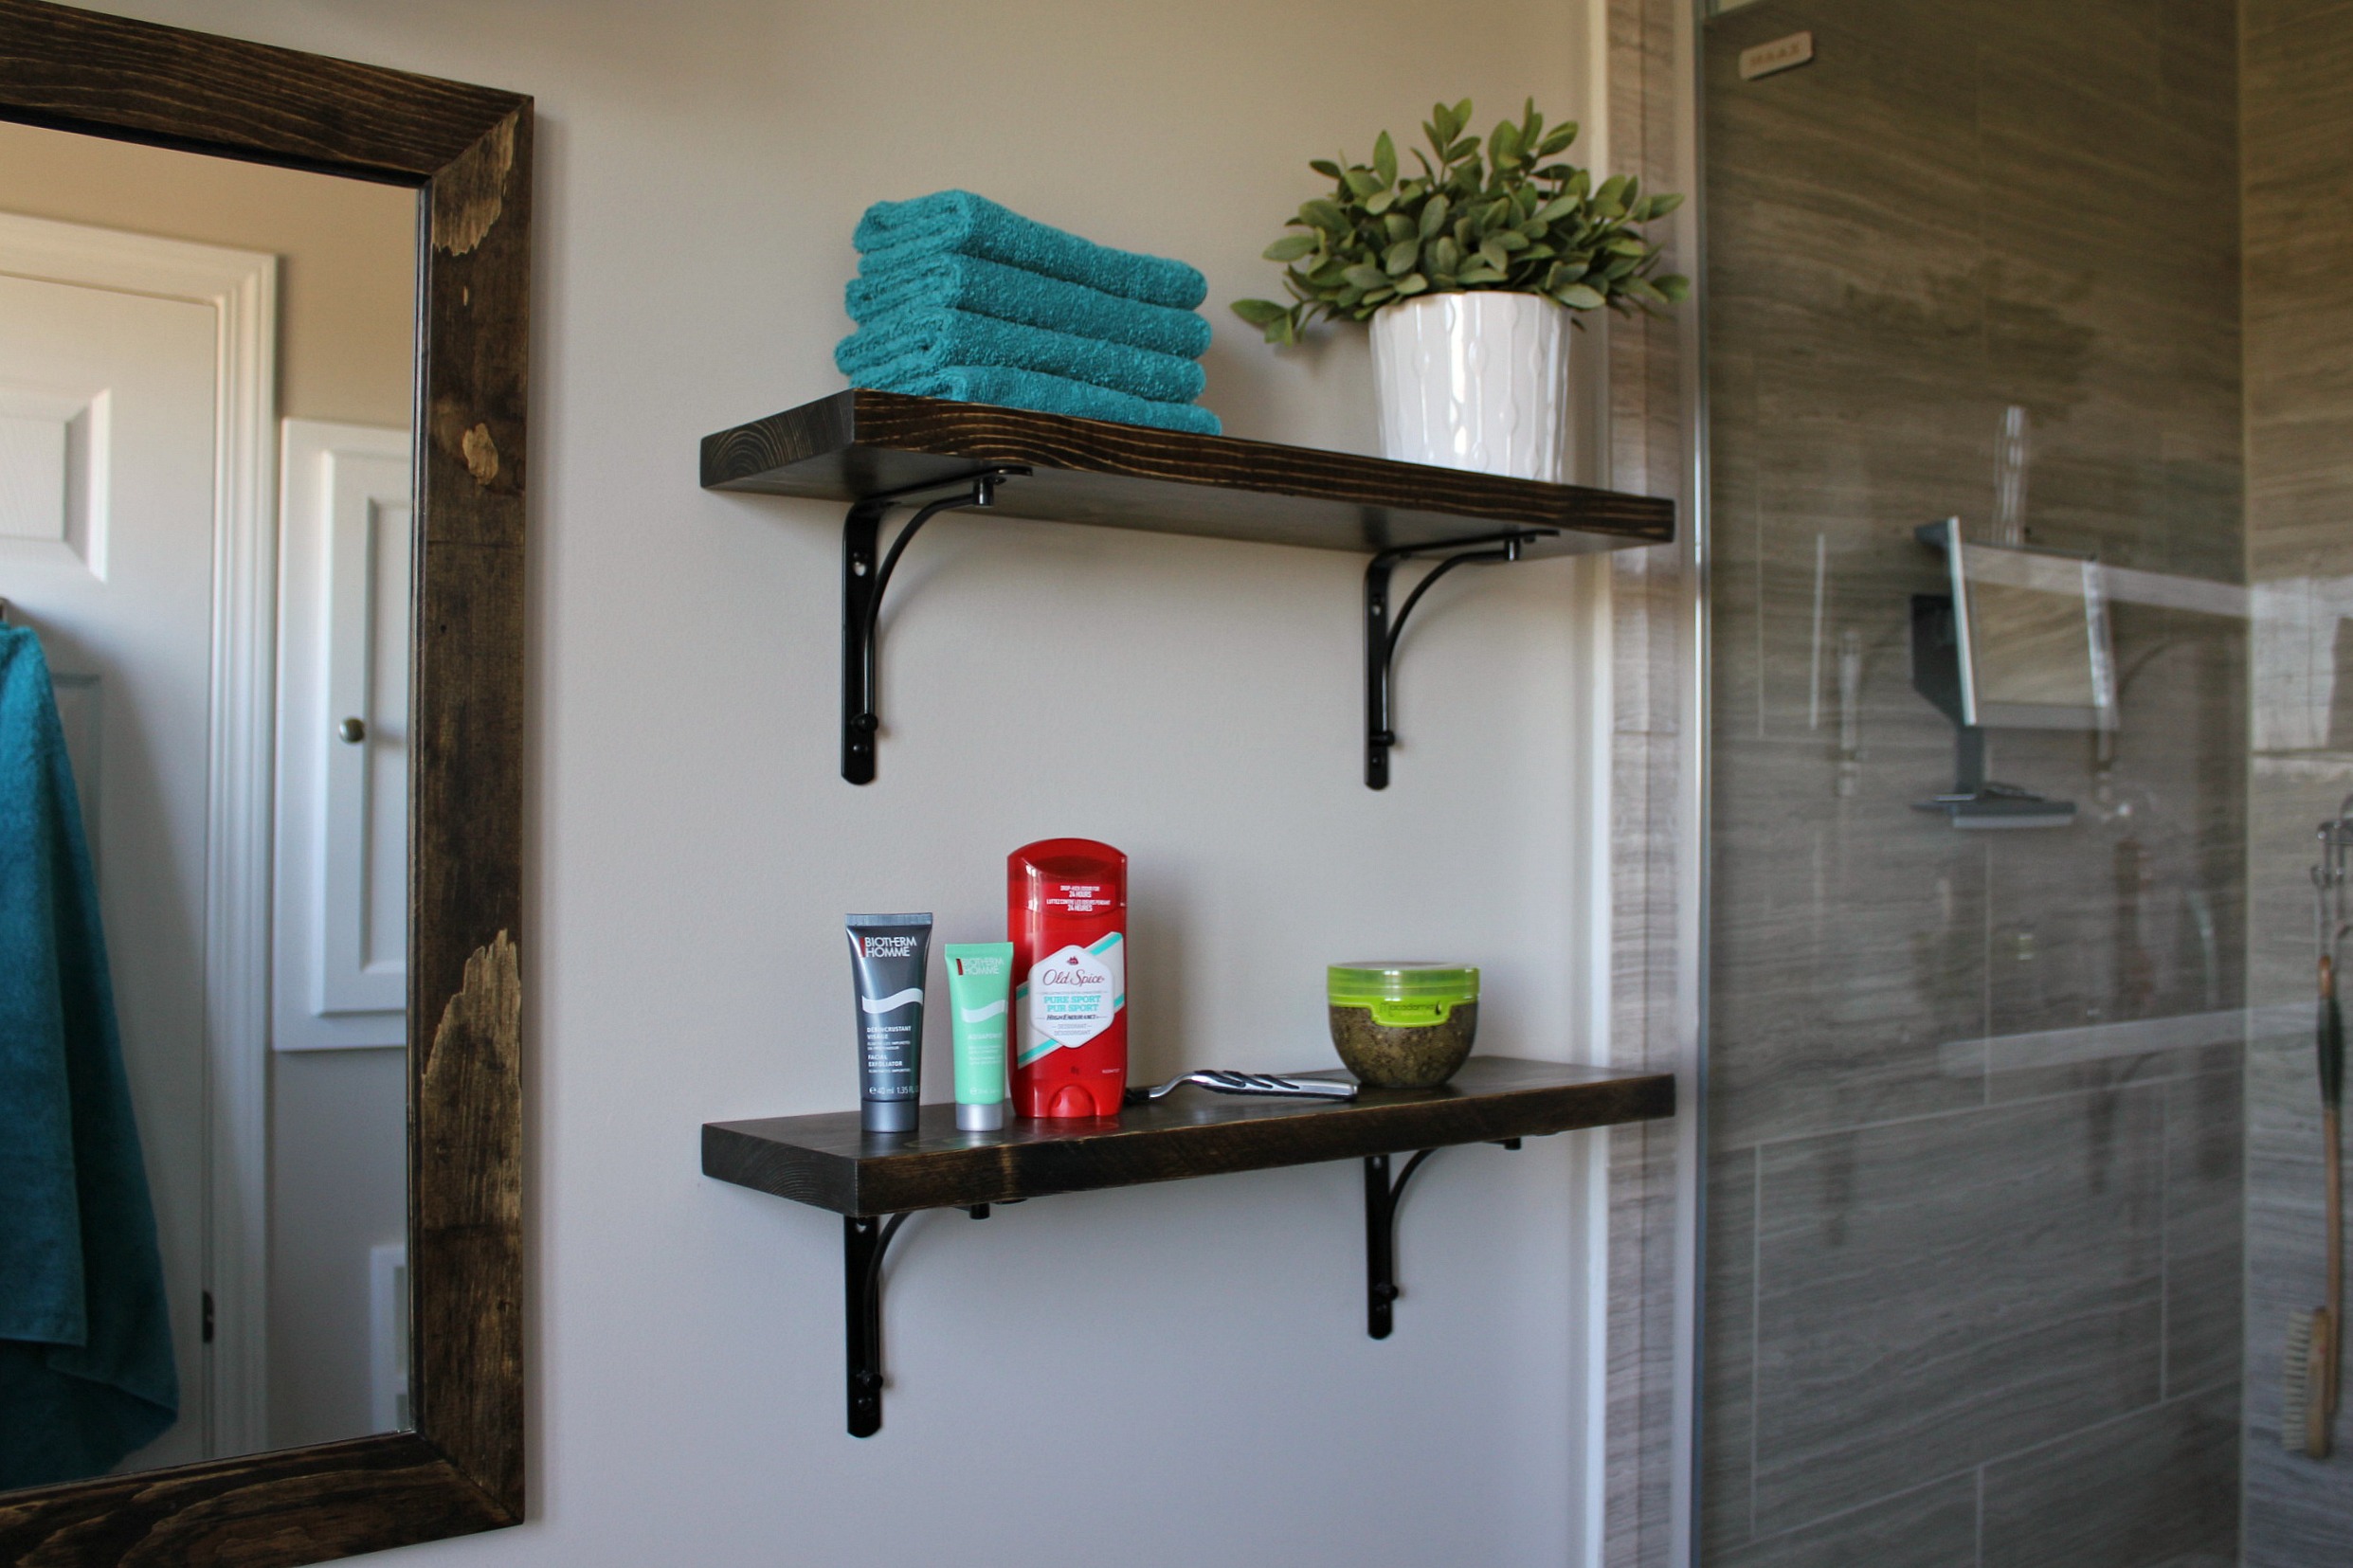
The shelves beside the mirror are made from 2"x10" boards planed down. I gave them the same stain/wax/buff treatment as the mirror frame. So smooth. We decided on shelving rather than a cabinet to continue with the light and open feeling of the room.

ensuite bathroom renovation custom shelves jacobean

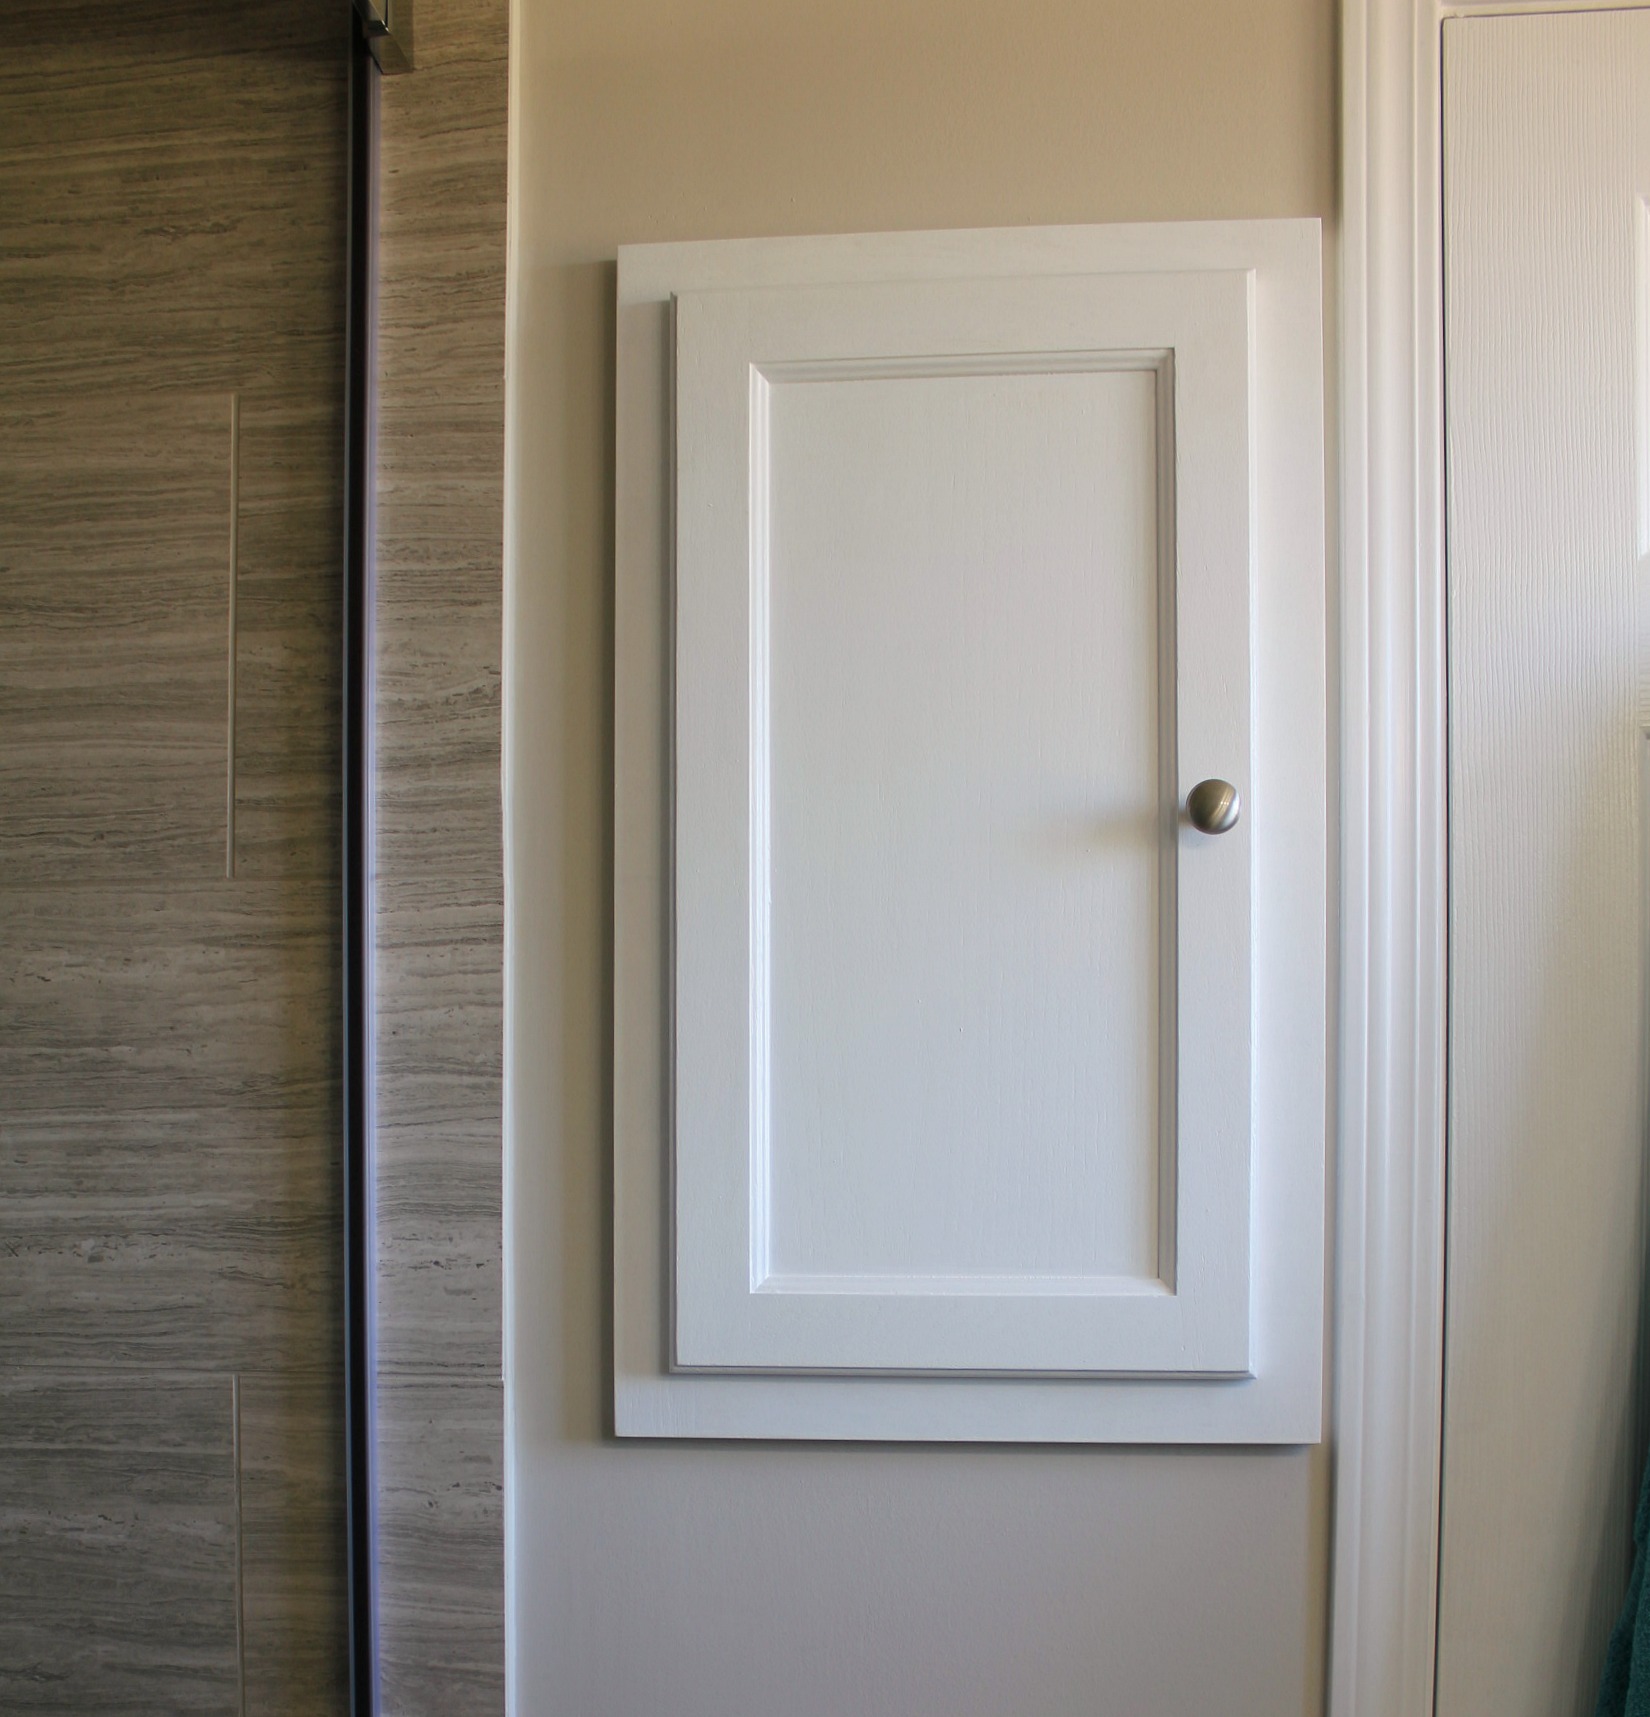
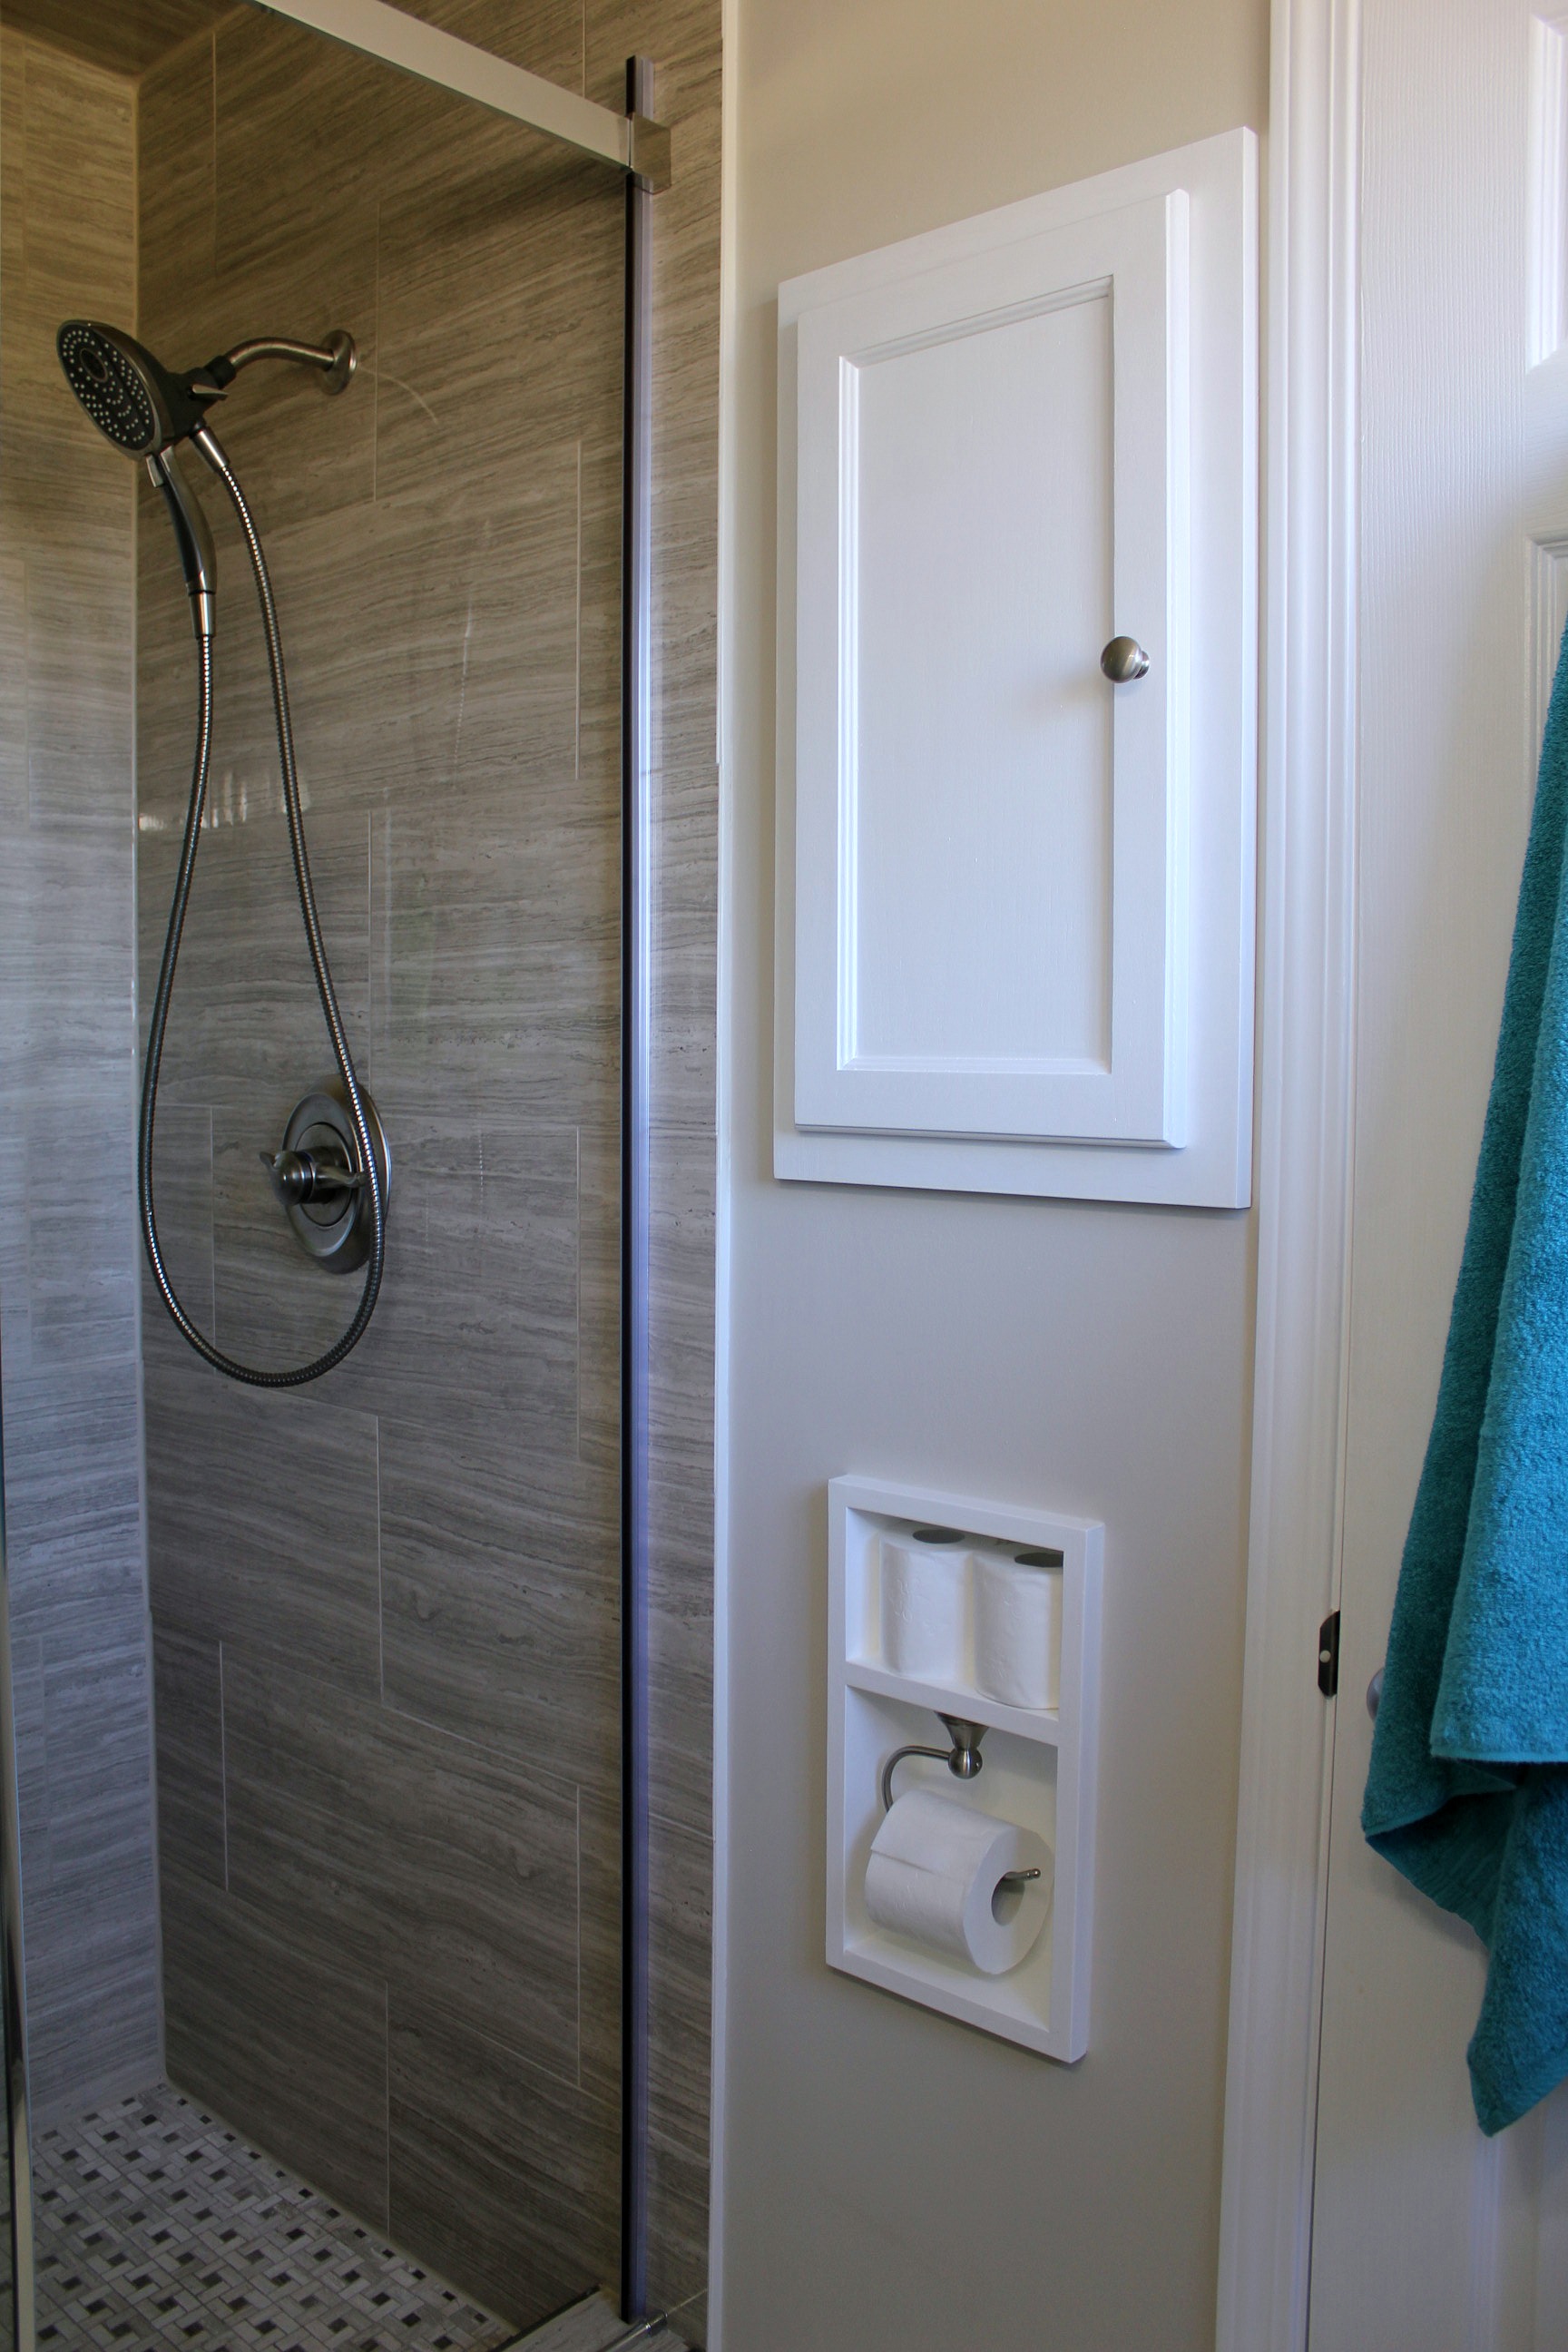
On the other side of the room is a built-in medicine cabinet. It was stained dark brown before, but I thought that the room needed more white to balance out the dark floors, vanity, and shelves. The only other thing we did to change it was to move the doorknob from the bottom corner of the door to the middle. Makes more sense, don't you think?

ensuite bathroom renovation tile medicine cabinet

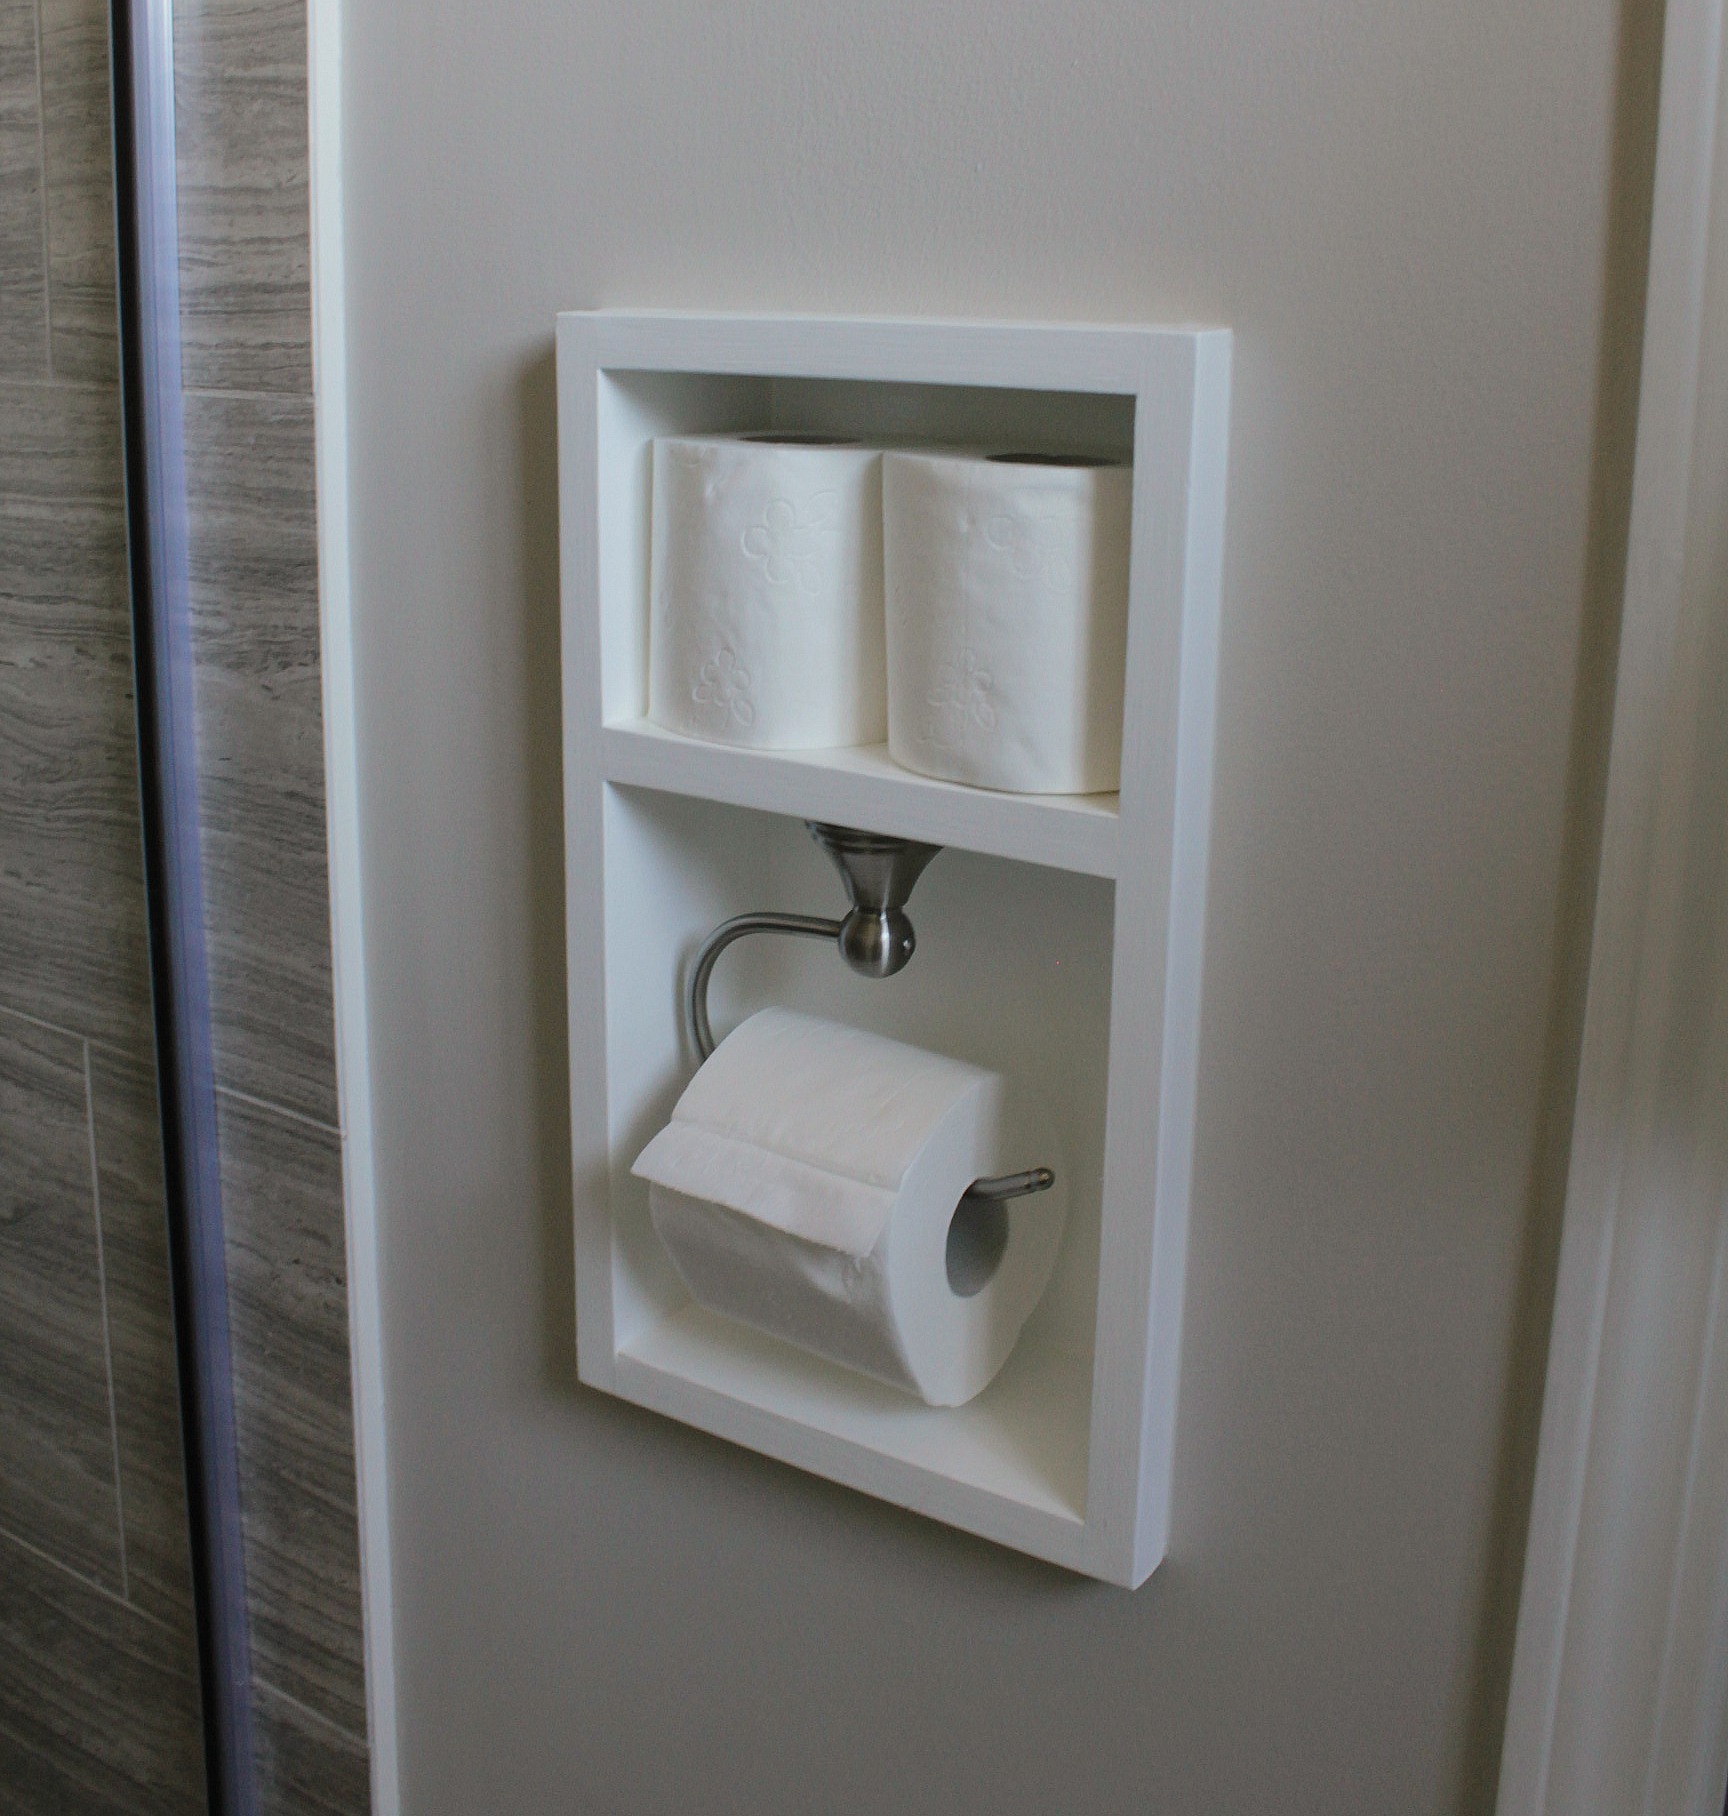
Below the medicine cabinet is the recessed, built-in toilet paper holder. Tom designed this. I think it's his favourite thing in the room. There are only a few places we could put a holder - on the side of the vanity  (too close), on a floor stand (Tom was very much opposed to this), or on the wall across from the toilet.

This last one was the best option, but he was still concerned that we would bump into it if it stuck out from the wall. So he built an inset box from 1"x6" boards. He planed down the boards but left a  lip all around the front to frame it. There's a shelf that runs across the middle to store spare rolls of toilet paper, and the roll holder mounts to the underside of the shelf. A couple of coats of primer and white semi-gloss paint finished it off. (Moen Preston toilet roll holder in brushed nickel.)

Go here for a complete how-to.

ensuite bathroom renovation custom toilet paper holder


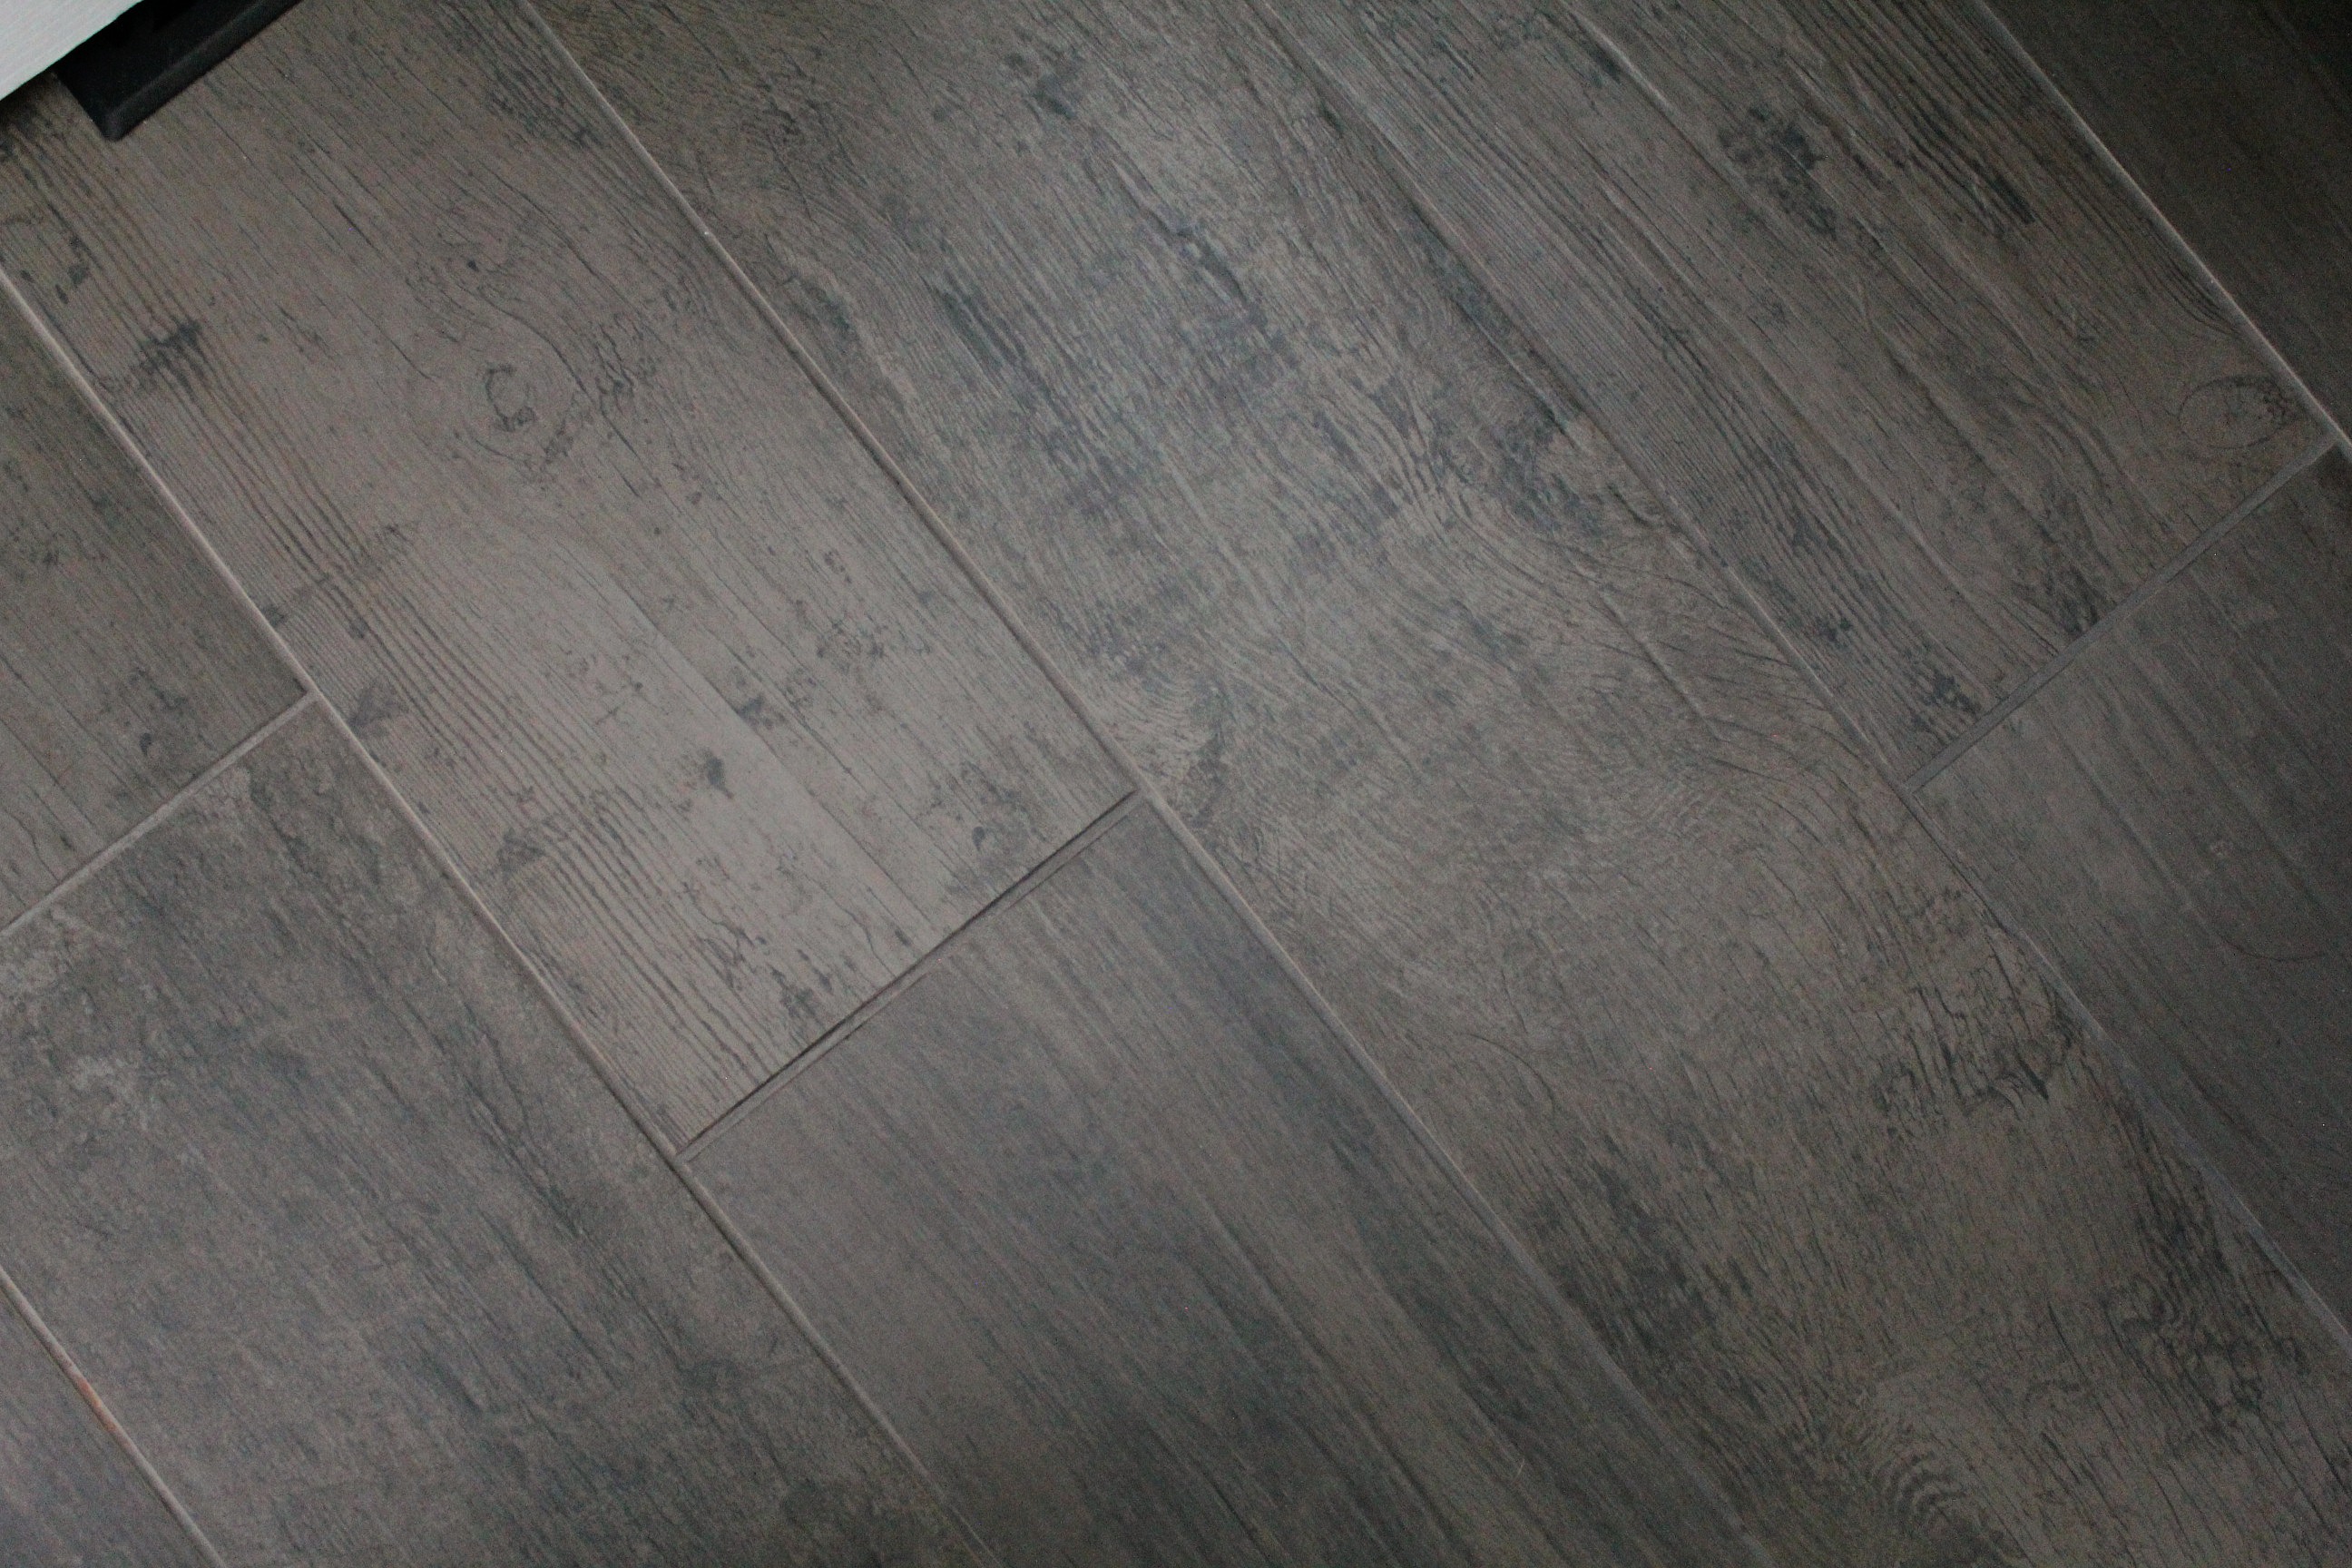
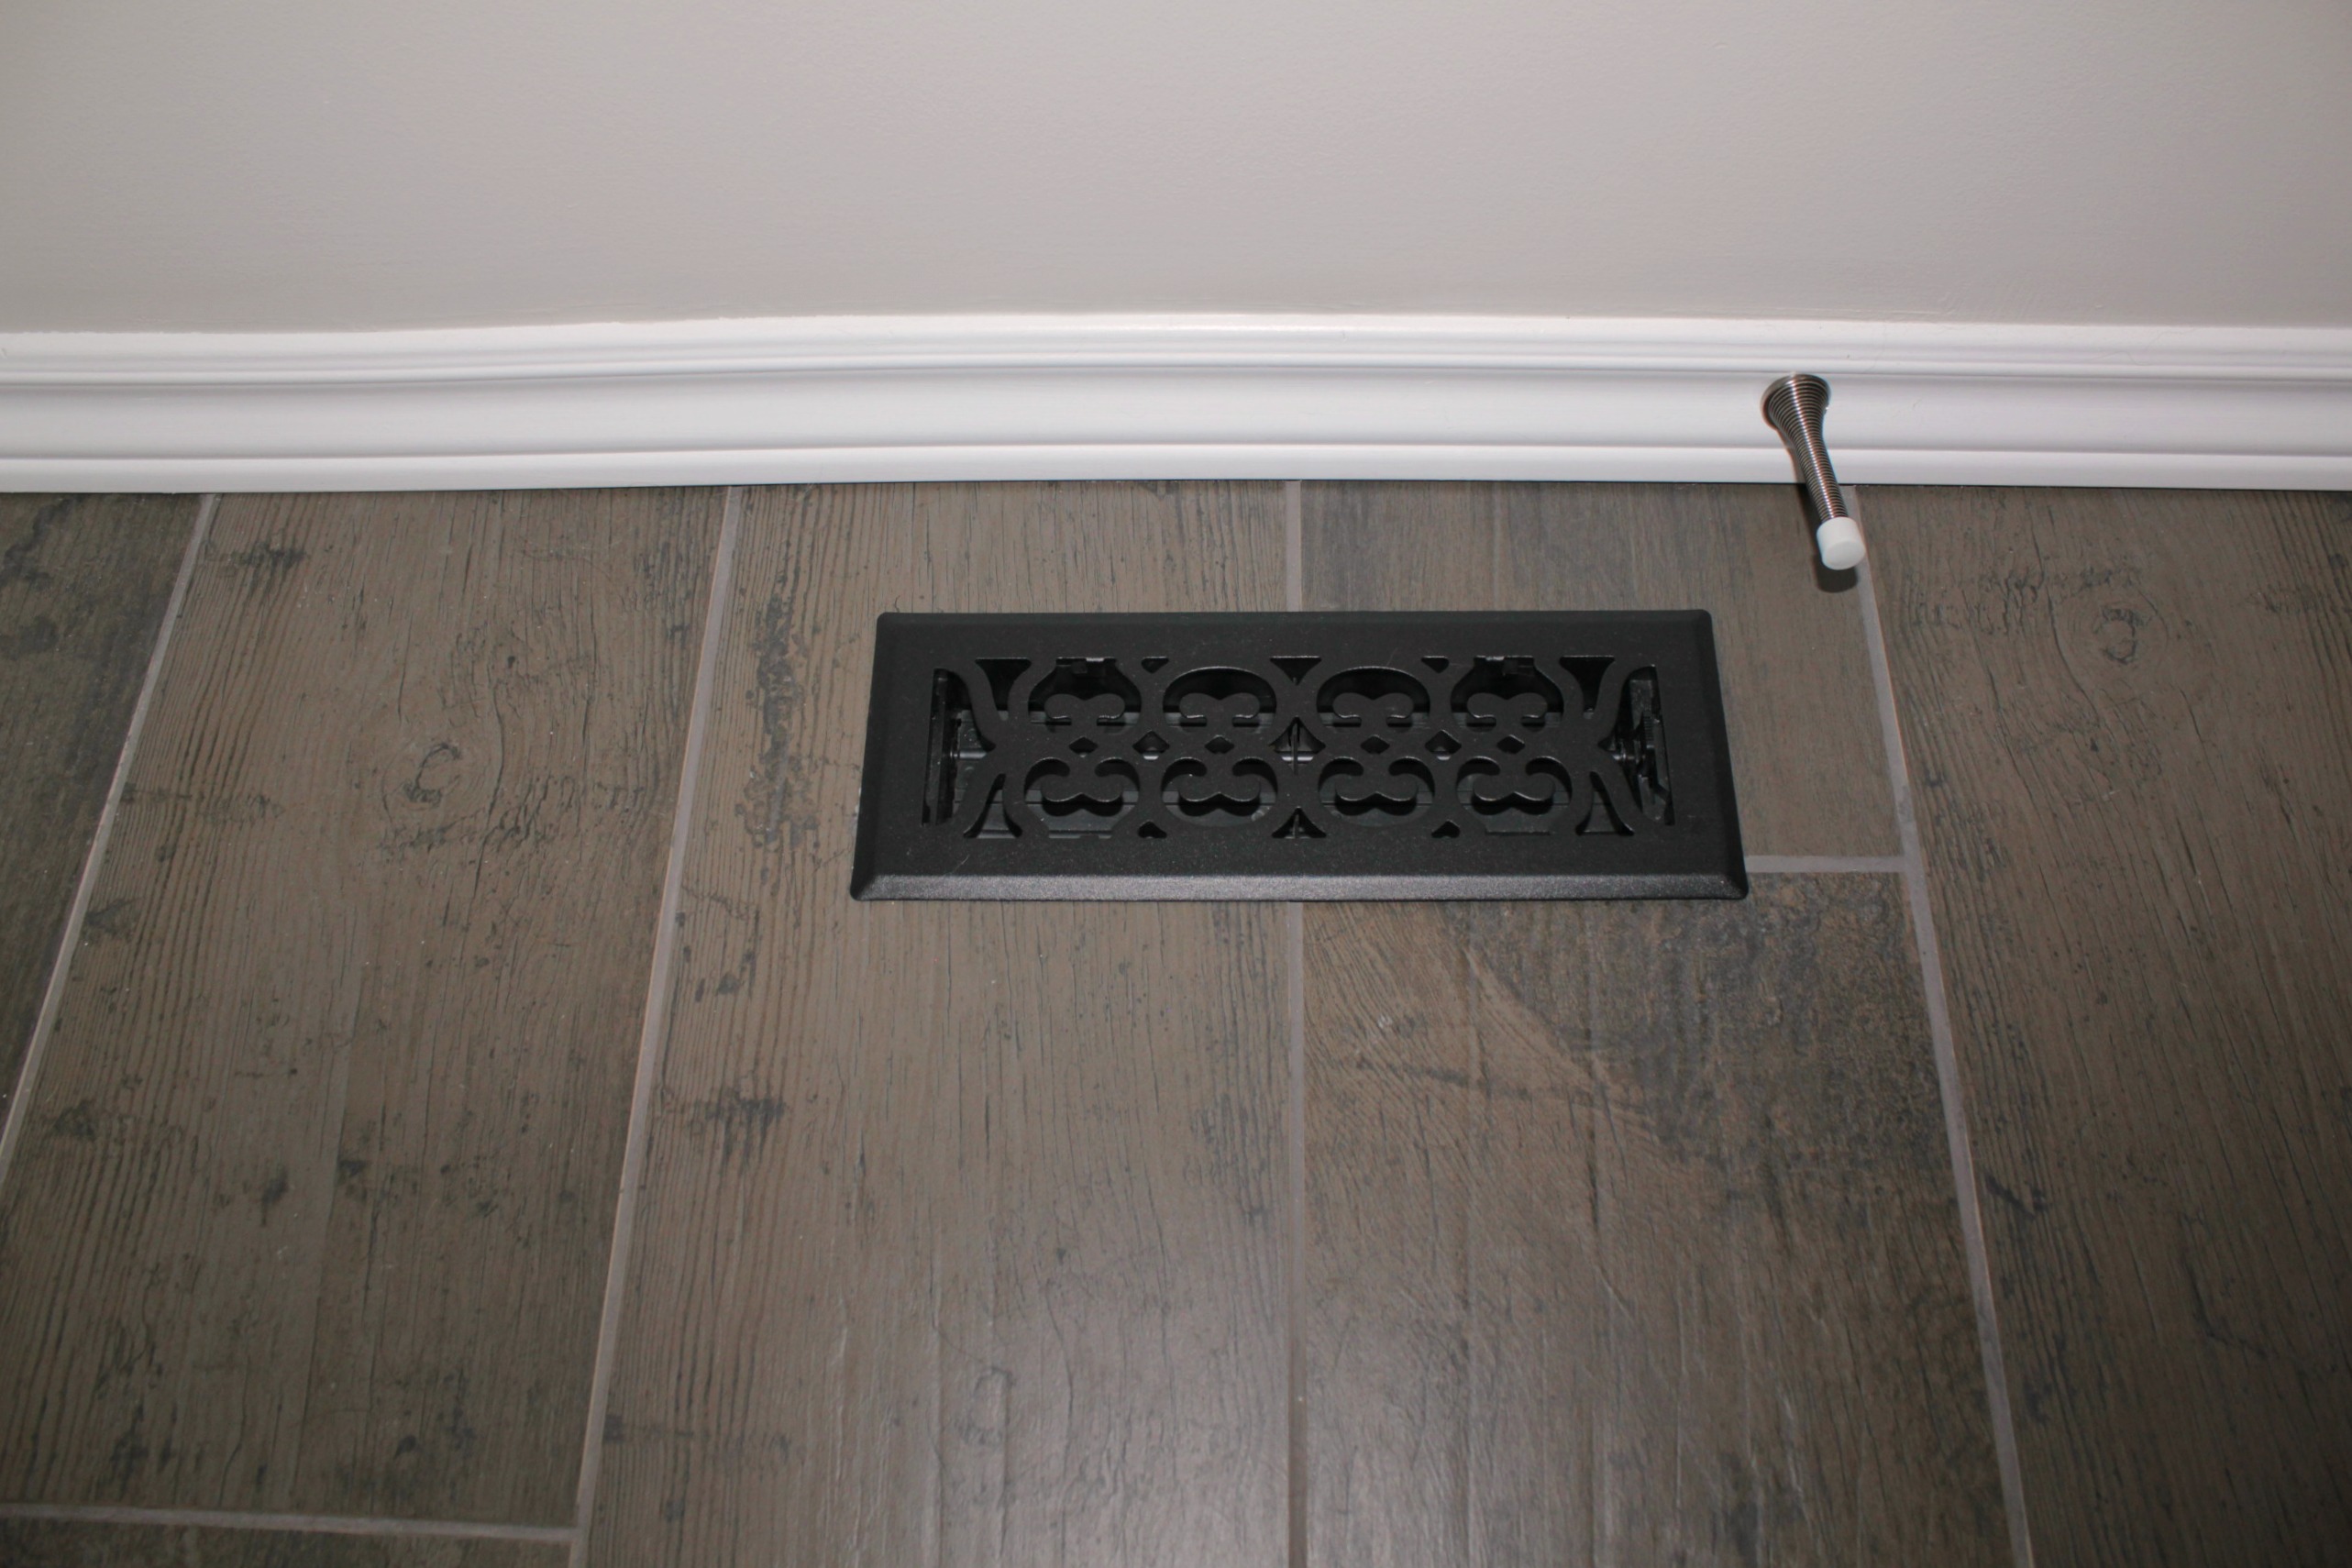
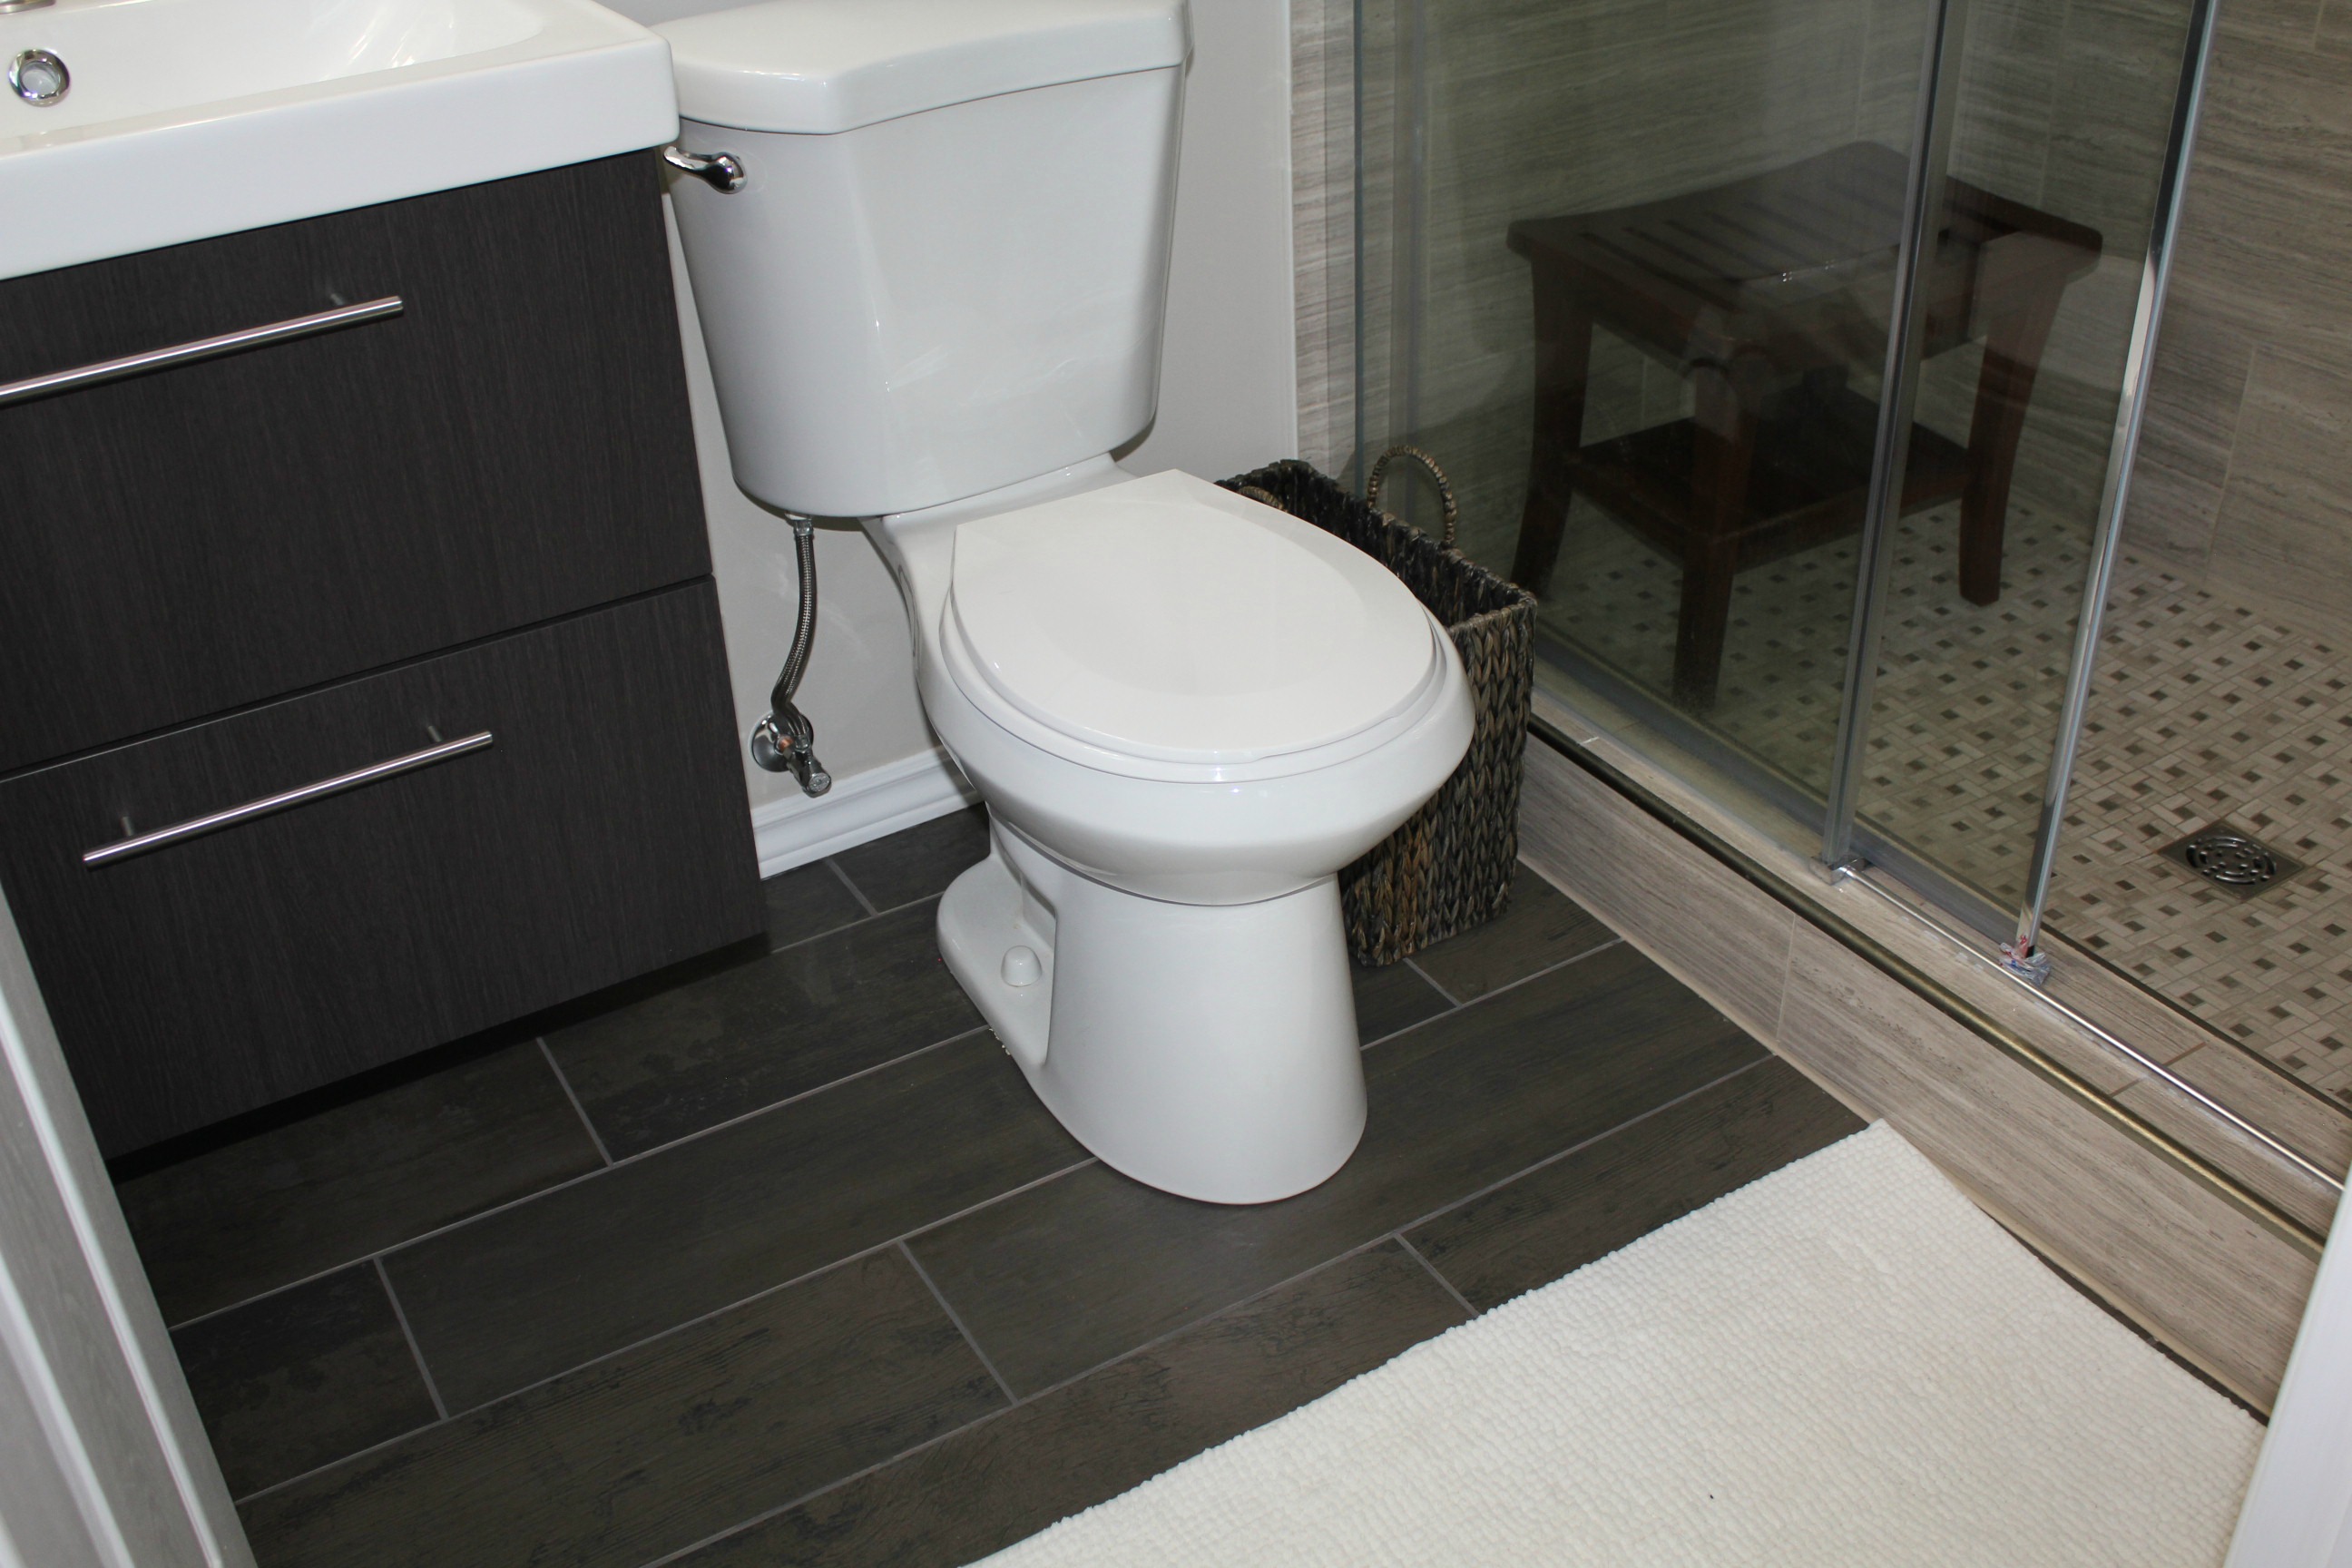
I can't forget to mention the flooring in the main area. We chose dark brown 8"x36" plank tiles that look like hardwood. I love this floor so much! The tiles have a slight texture like hand-scrapped boards and there are slight colour variations to add to the natural wood look. We even replaced the floor vent. Upgrades for everyone!

ensuite bathroom renovation tile wood plank

ensuite bathroom renovation tile wood plank

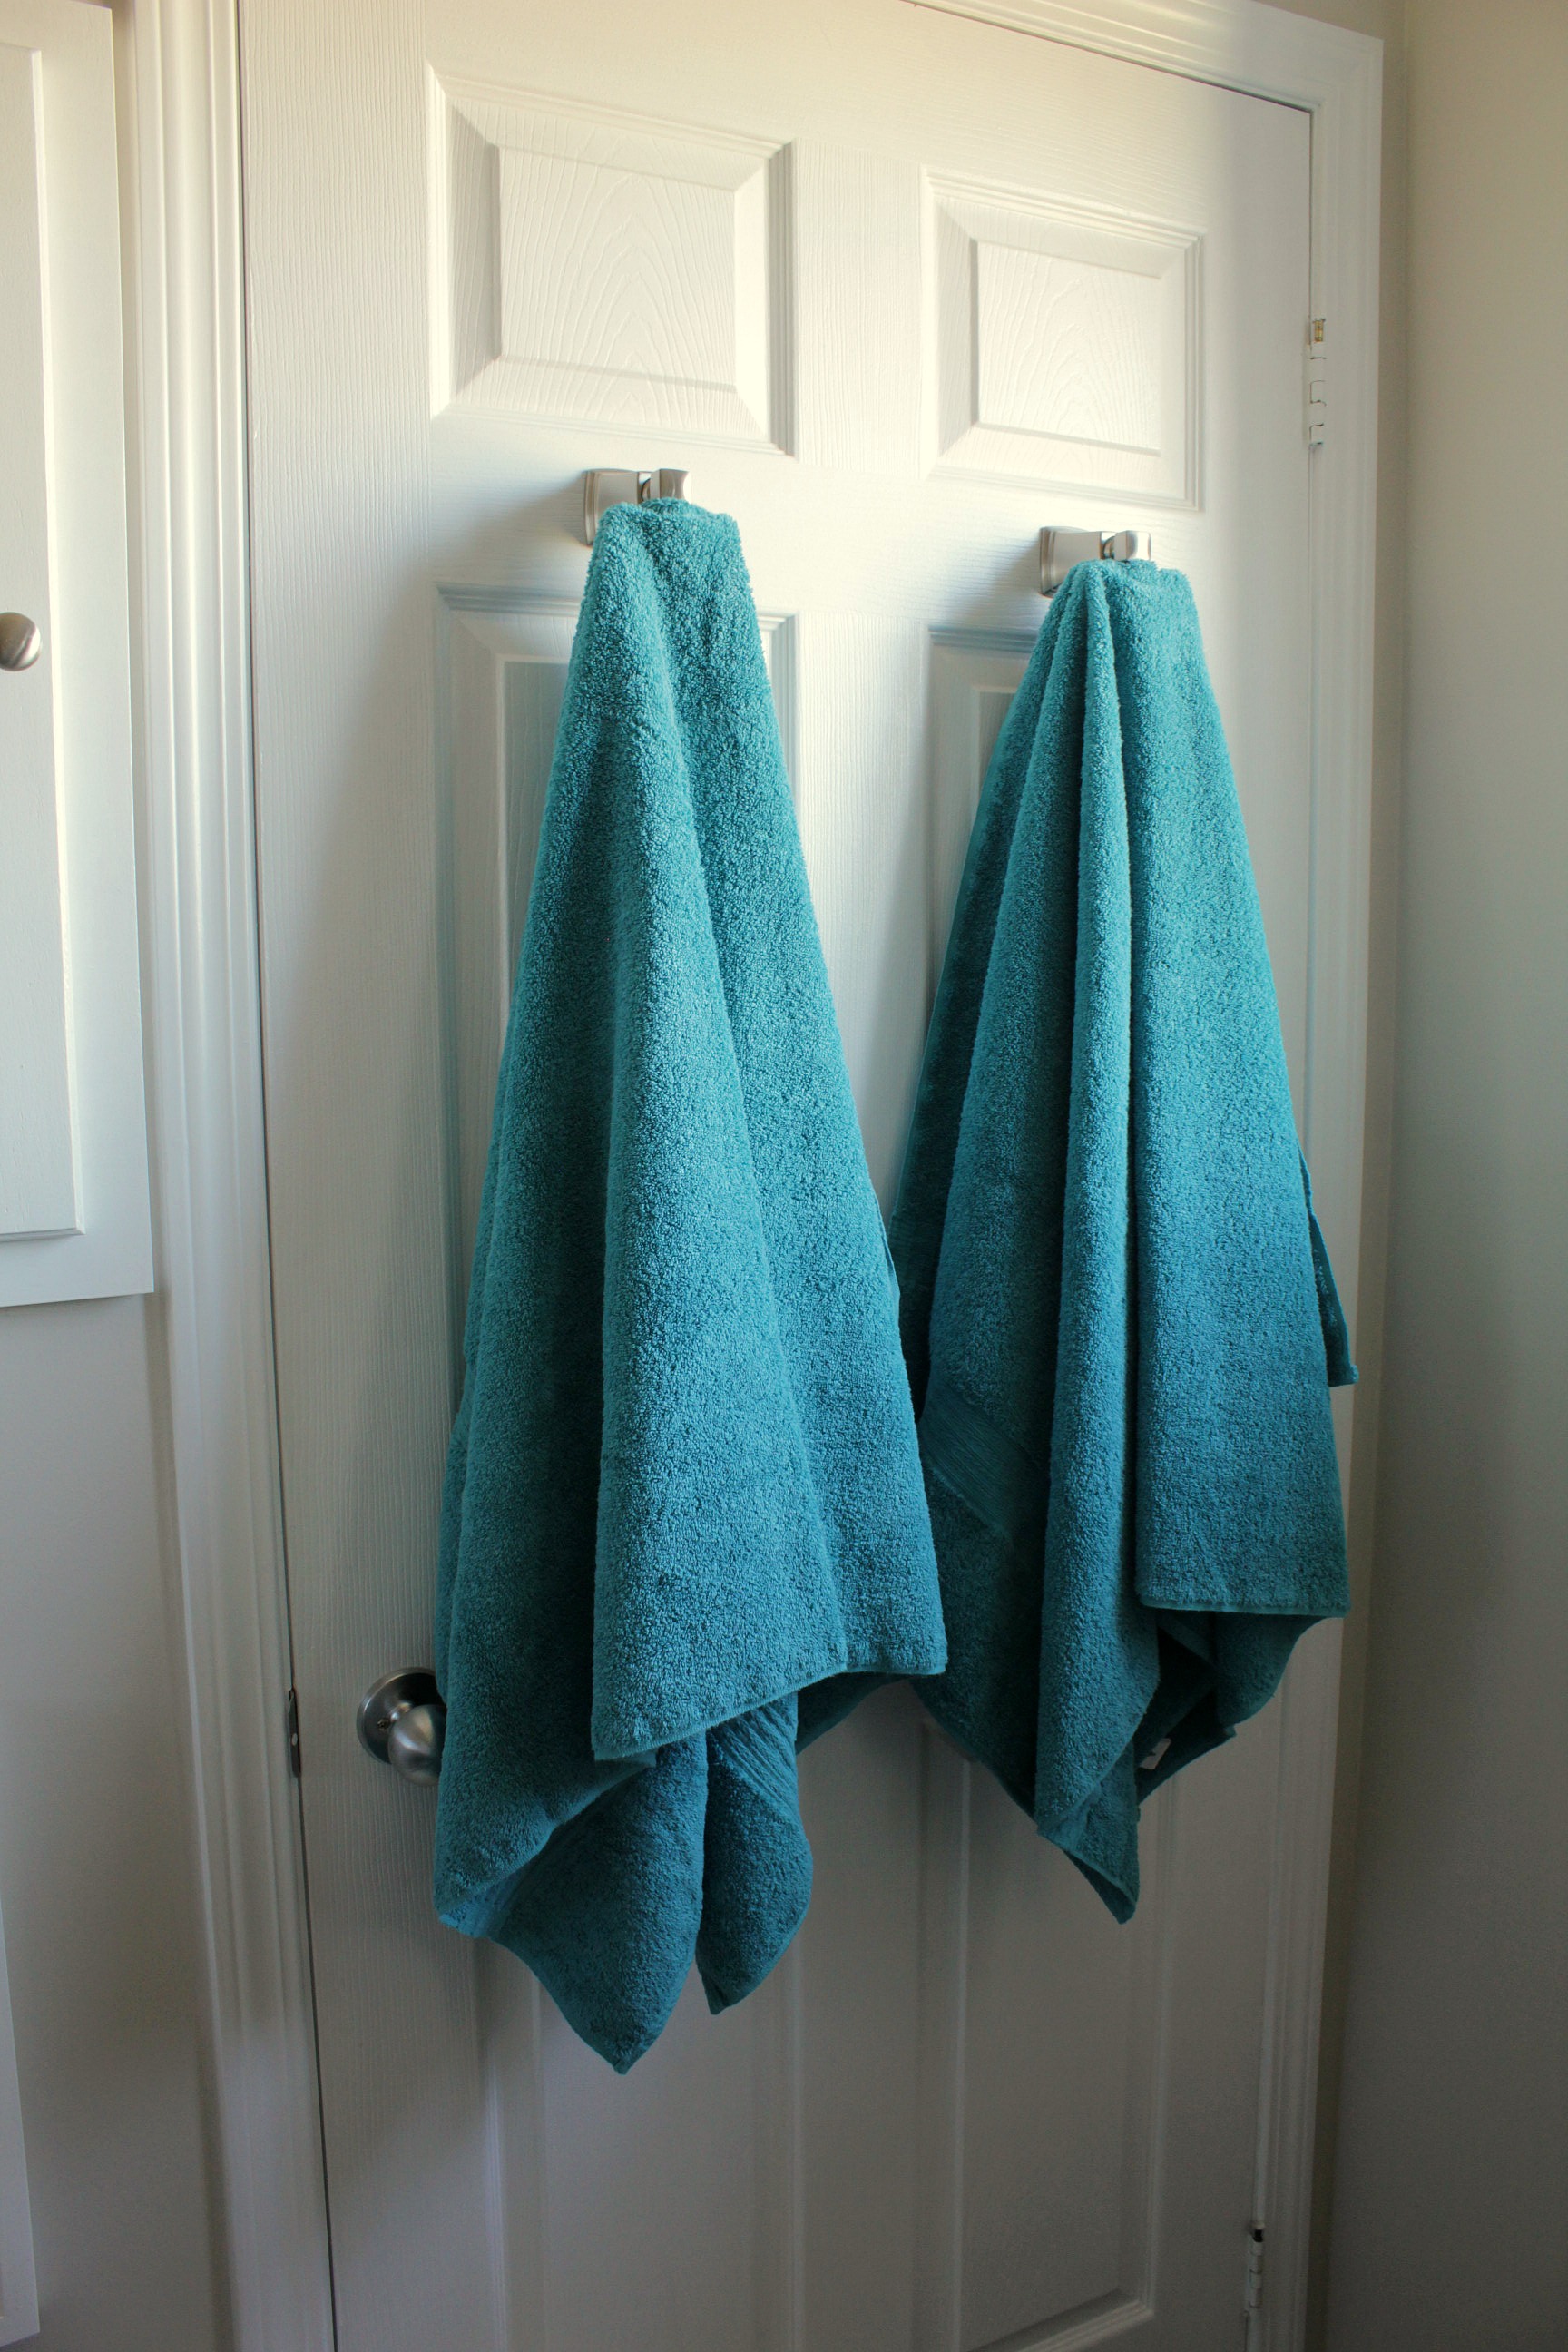
I chose teal and white as accent colours for the room. We bought new fluffy towels and facecloths to offset the white accessories. Even the hand soap coordinates - and that one was purely accidental. Since the bathroom is never used by guests, we decided to forgo a towel bar and just hang our bath towels on the back of the door. A cozy bathmat from Ikea finishes it off.

ensuite bathroom renovation teal towels brushed nickel towel hooks

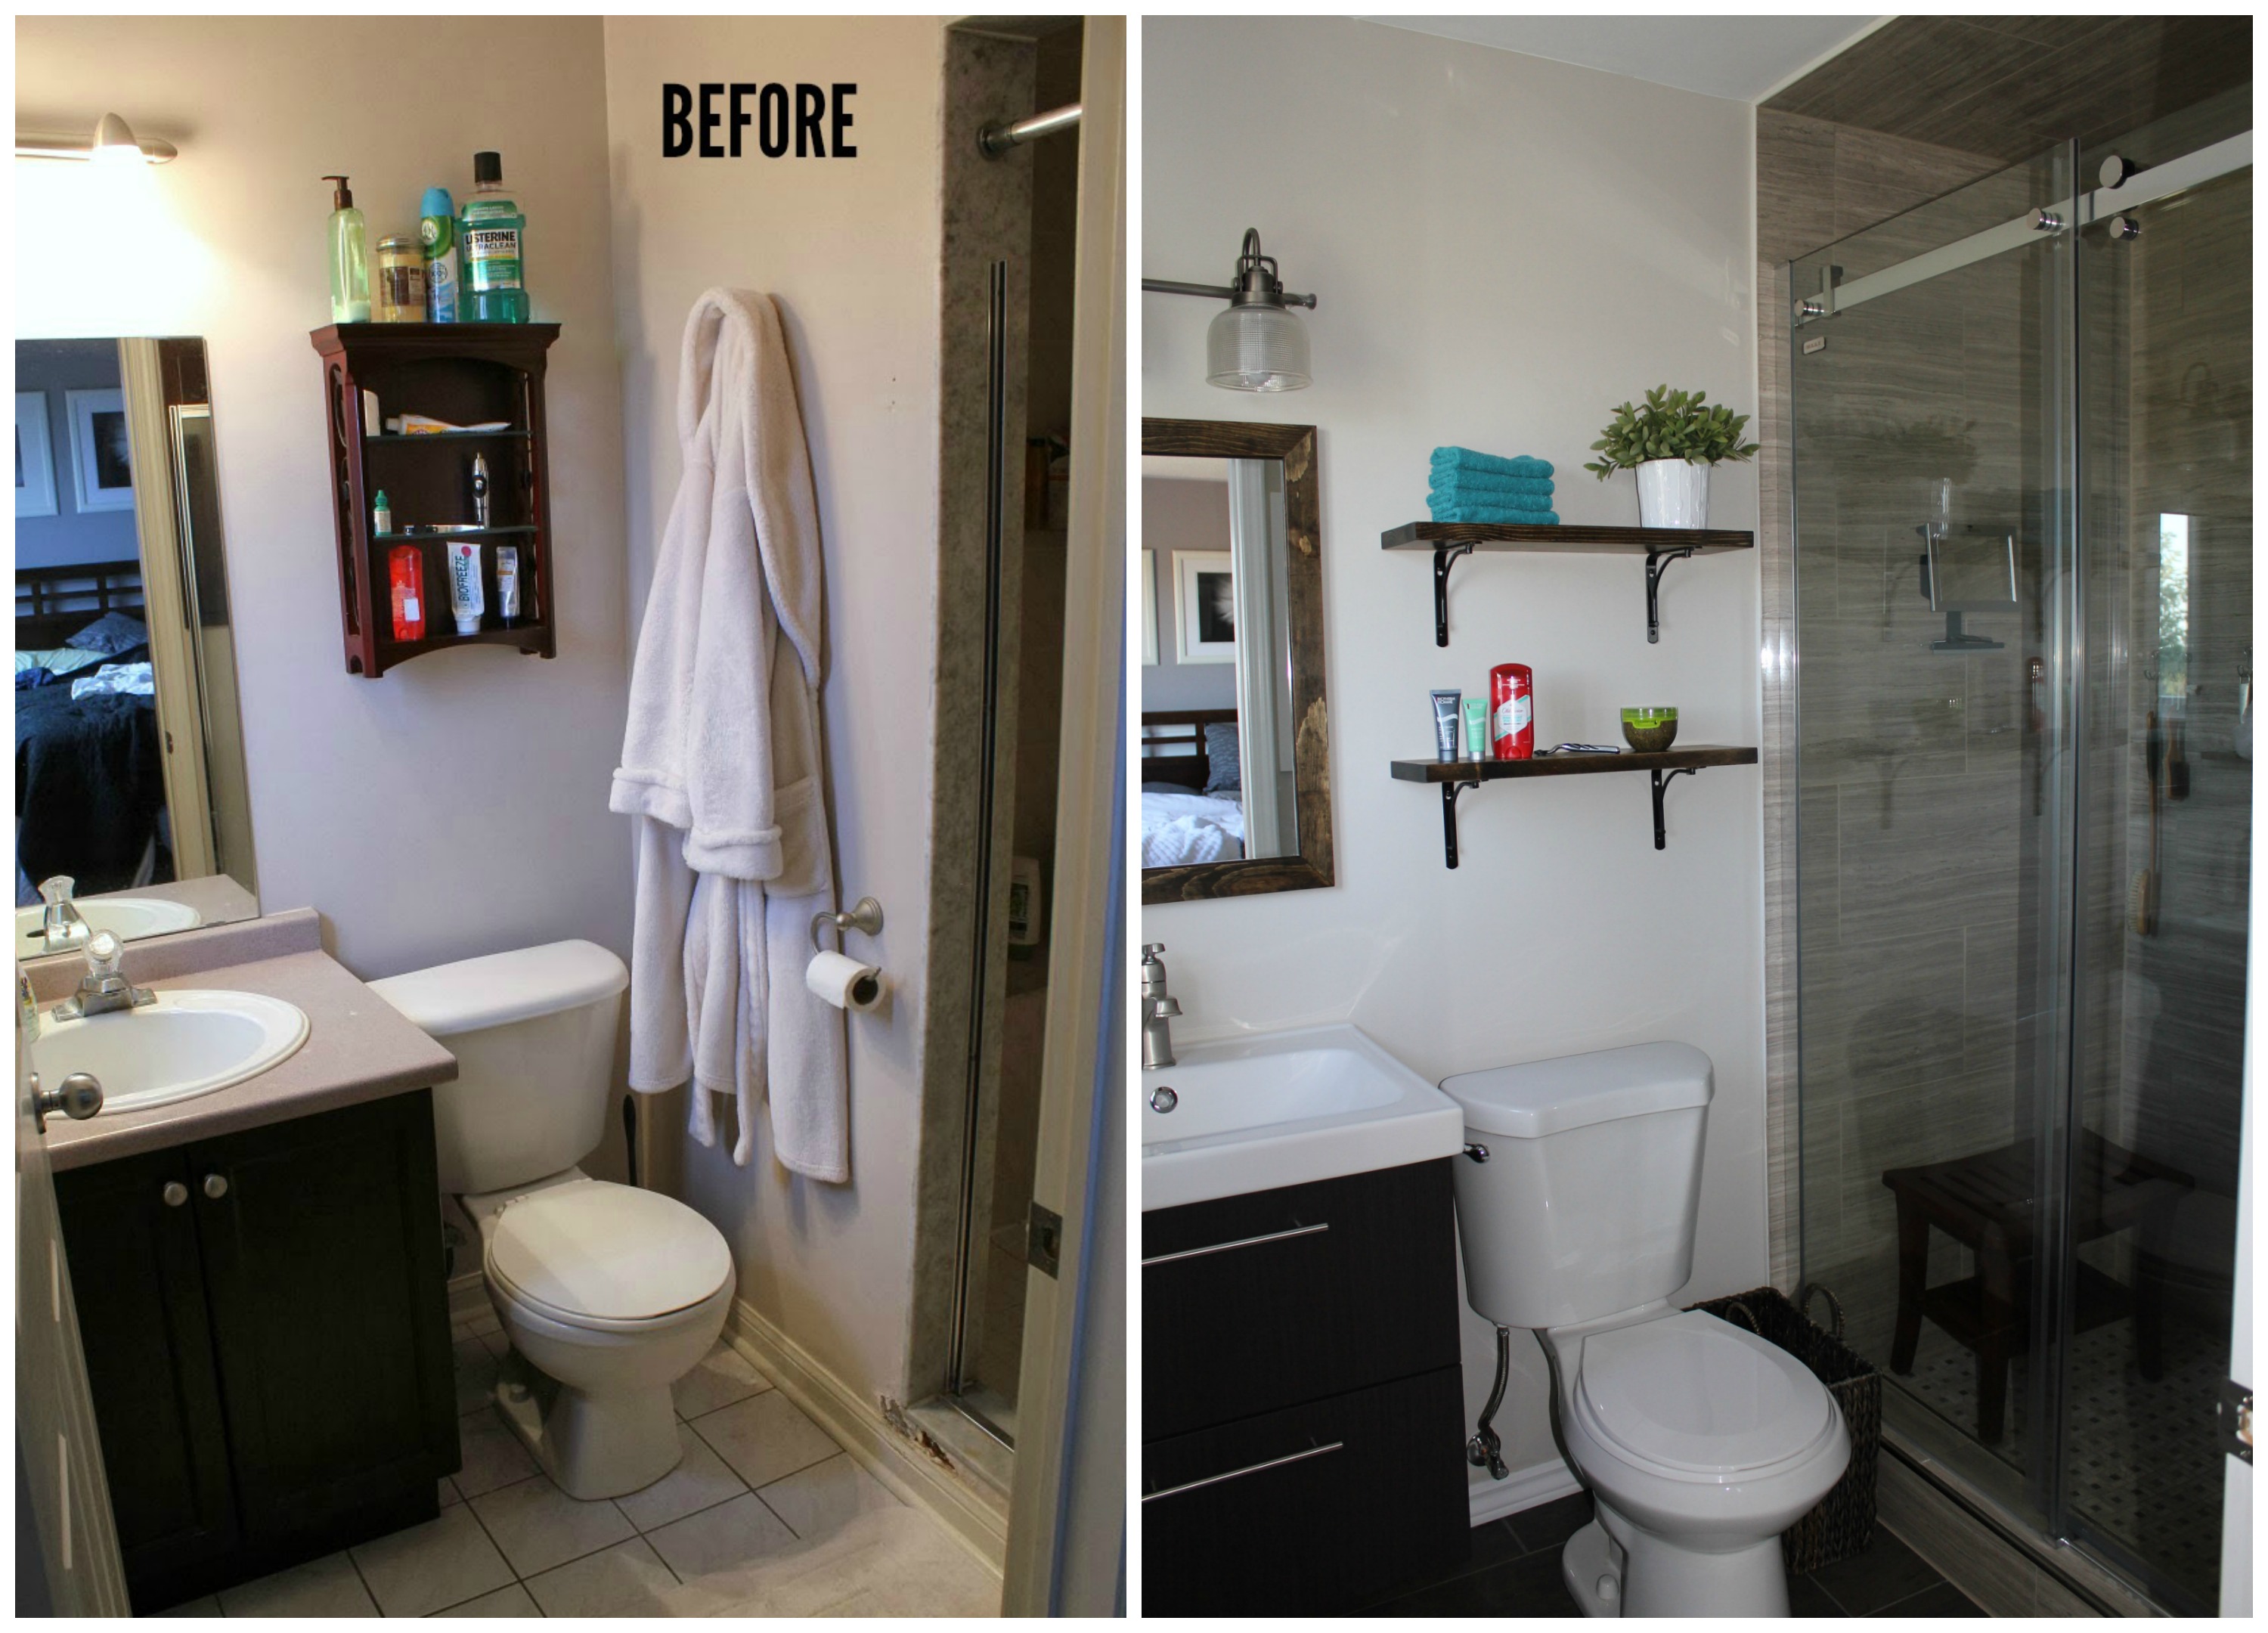
How about a few before and after shots?

ensuite bathroom renovation tile frameless shower

ensuite bathroom renovation tile frameless shower

ensuite bathroom renovation tile frameless shower

I love to look at how far this room has come. It's open and spacious and BRIGHT. No more builder basic pieces - this bathroom is really us.

ensuite bathroom renovation tile frameless shower

ensuite bathroom renovation tile frameless shower custom shelves

ensuite bathroom renovation tile ikea godmorgon odensvik

ensuite bathroom renovation tile frameless shower

ensuite bathroom renovation tile frameless shower

ensuite bathroom renovation custom shelves

ensuite bathroom renovation tile frameless shower


********

Travel back in time to see the whole process -

Bathroom Reno - Demolition

Bathroom Reno - Plumbing and Insulation

Bathroom Reno - Shower Installation

Bathroom Reno - Tiling


Related Posts Plugin for WordPress, Blogger...