For the last few years we've been storing our patio furniture and the tractor/snowplow in an old metal garden shed plus a small shelter. Both were starting to fall apart - truthfully, the shed was barely standing anymore.
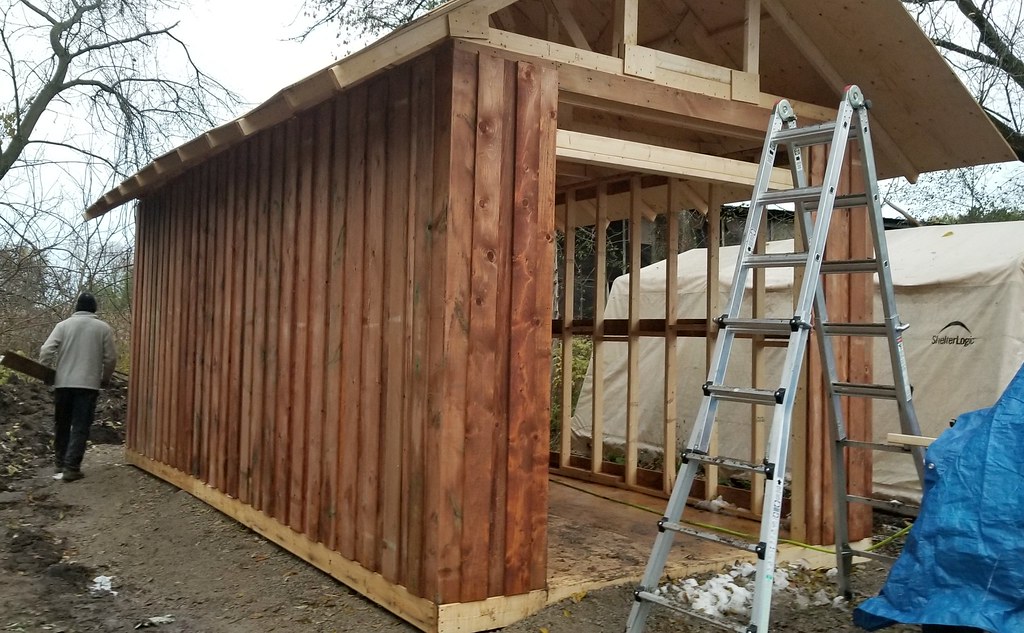
So, for the last few weekends we've been working on a new oversized storage shed. It's about 60% finished right now and looking pretty good.
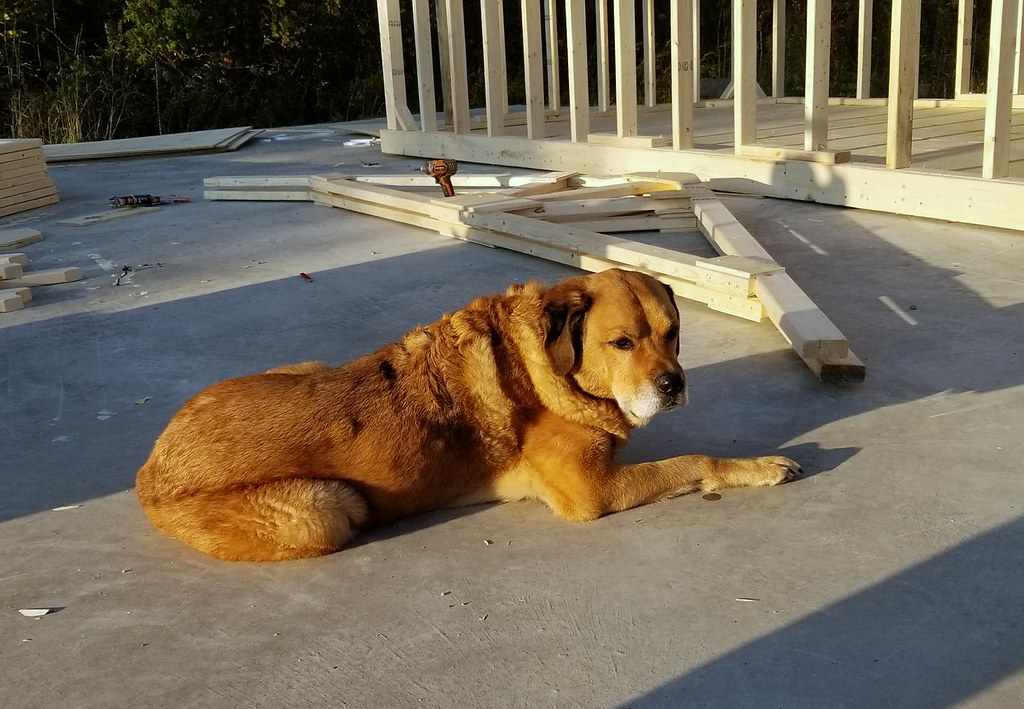
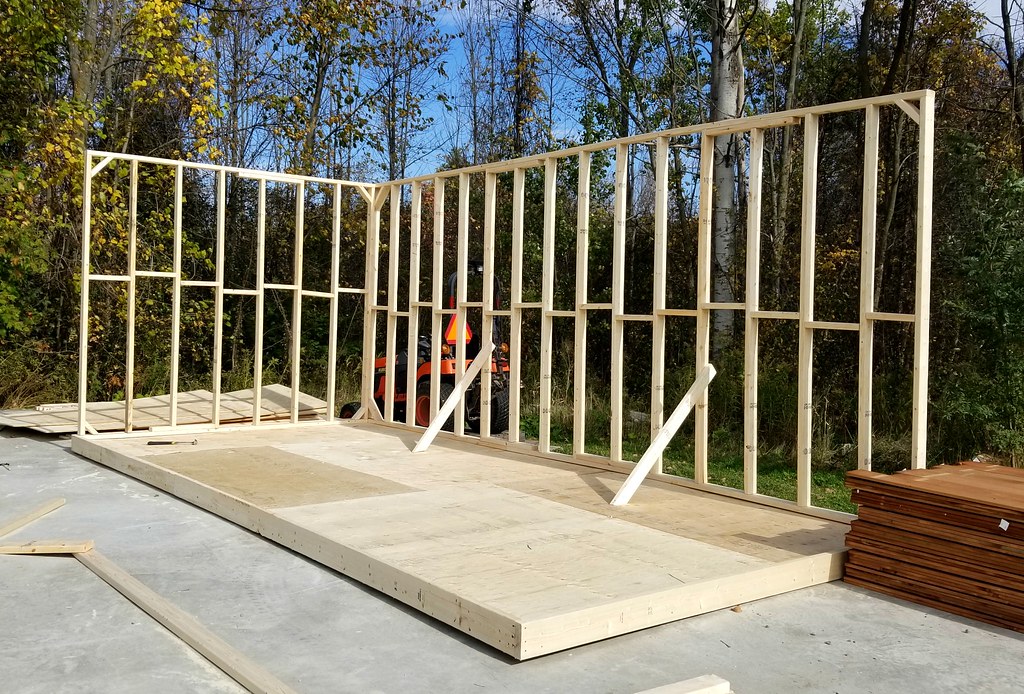
We started by building a platform of 2x6s topped with plywood. Chloe stayed close by while the guys put up the 2x4 walls.
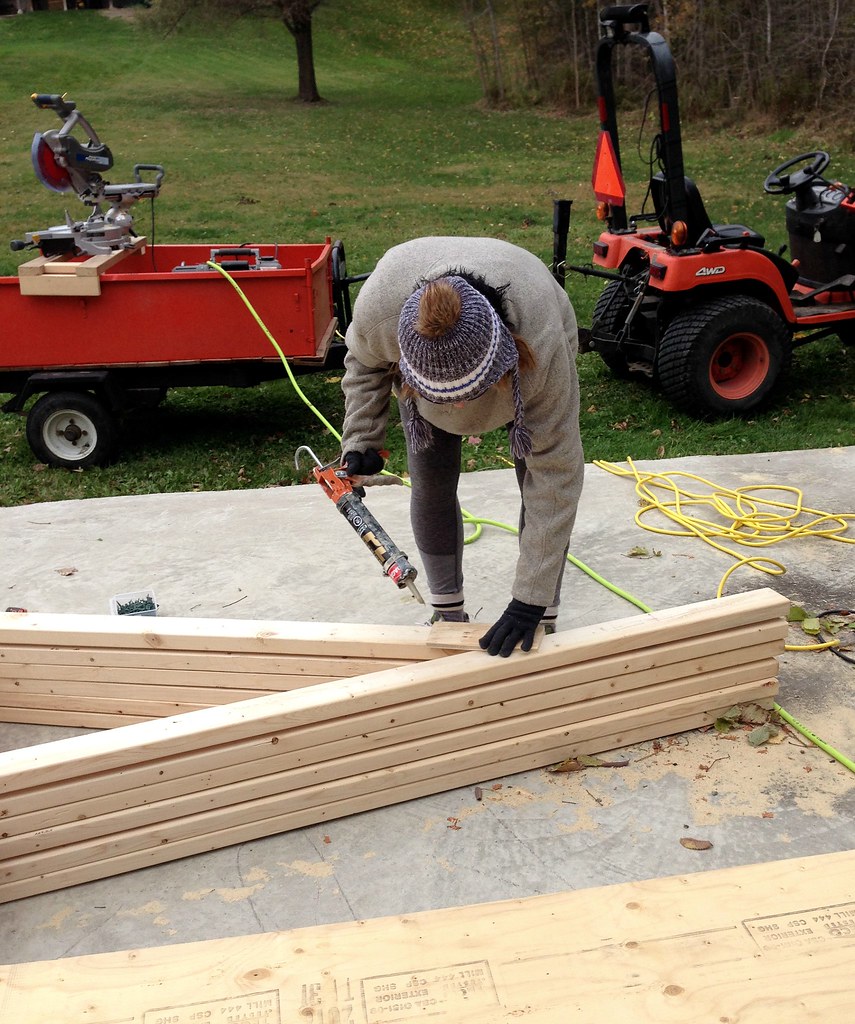
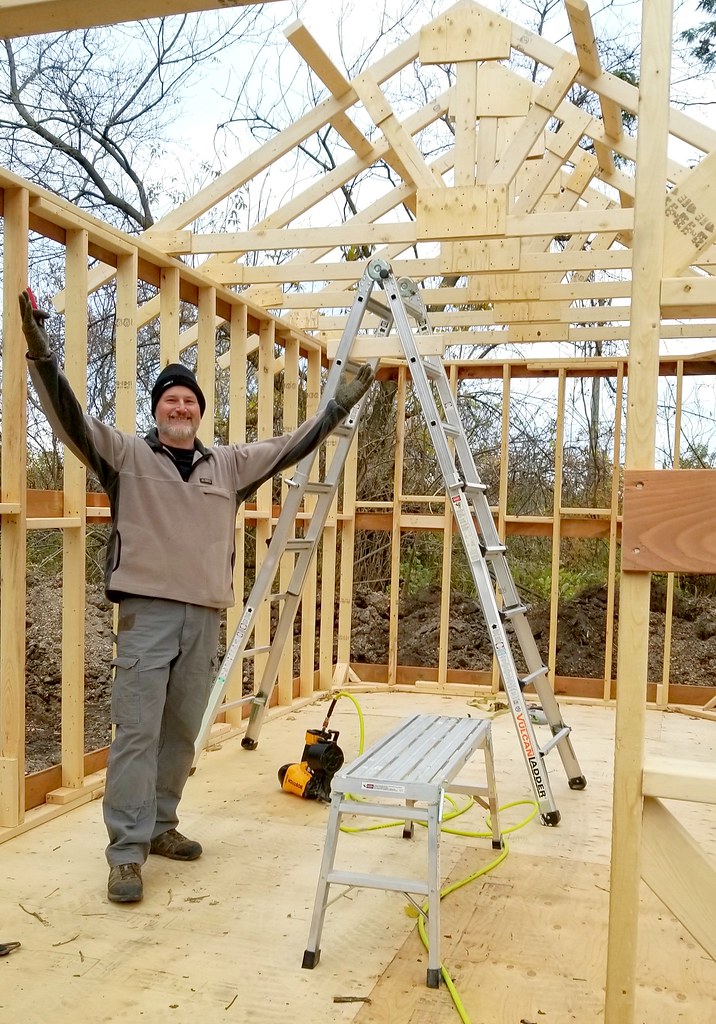
I spent a Sunday afternoon building roof trusses. By the end I was cold and my back was killing me, but I'm pretty proud of them.
The trusses at the front and the rear of the shed are different as each will have a window in the center.
Once the roof was ready to be added, Tom and a neighbor moved the shed into place at the back of our property. If only I had pictures of that. They wrangled it up onto a 30 foot trailer and then backed the trailer into the clearing and set the shed down in a spot that Tom had cleared and leveled with gravel.
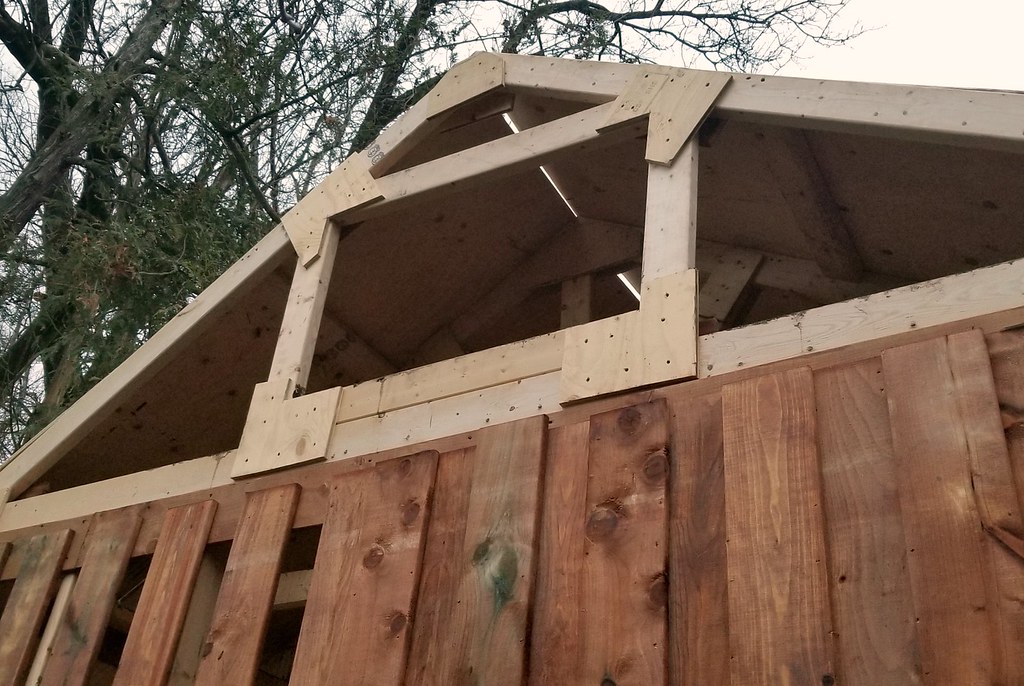
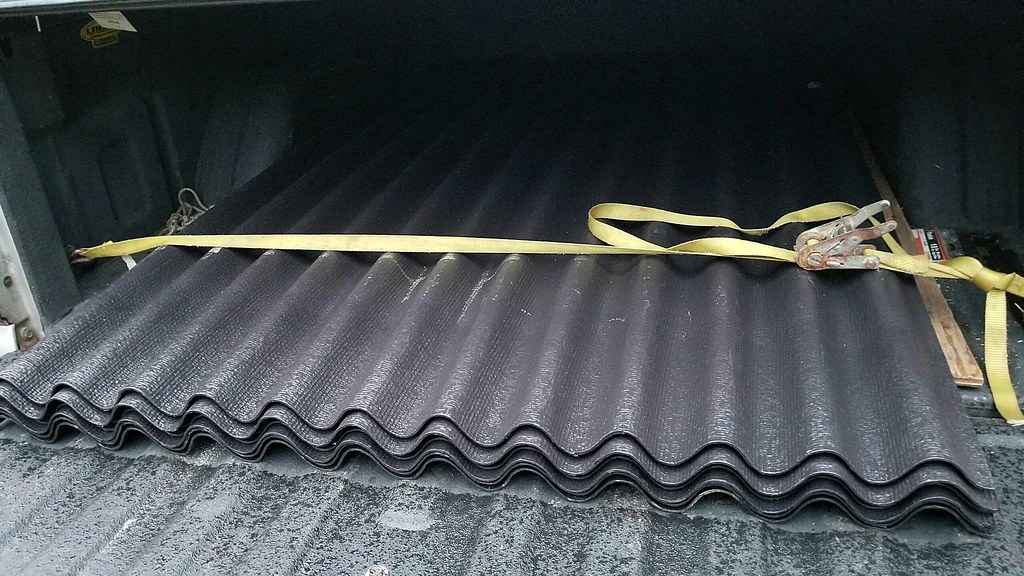
Tom attached the trusses and covered them in plywood. He'll be adding corrugated roofing panels on top next weekend.
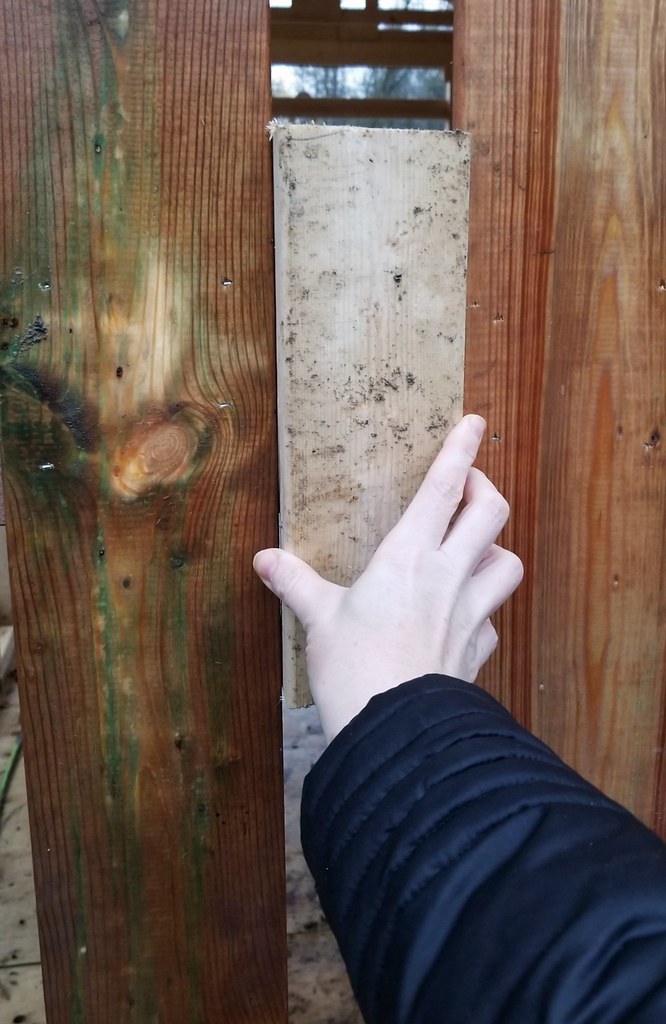
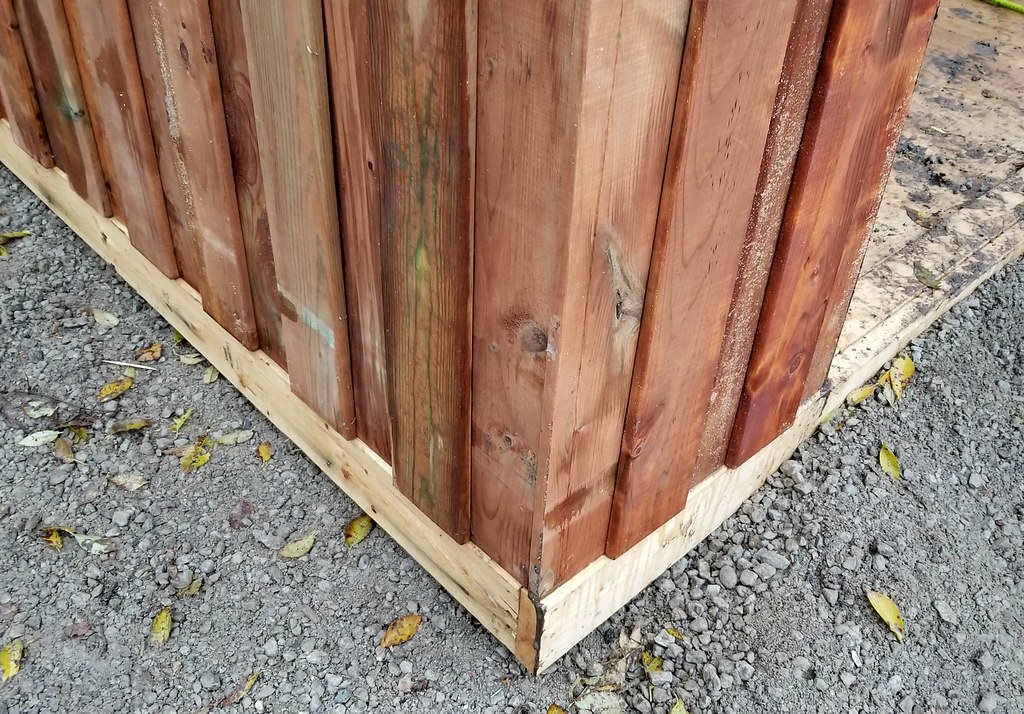
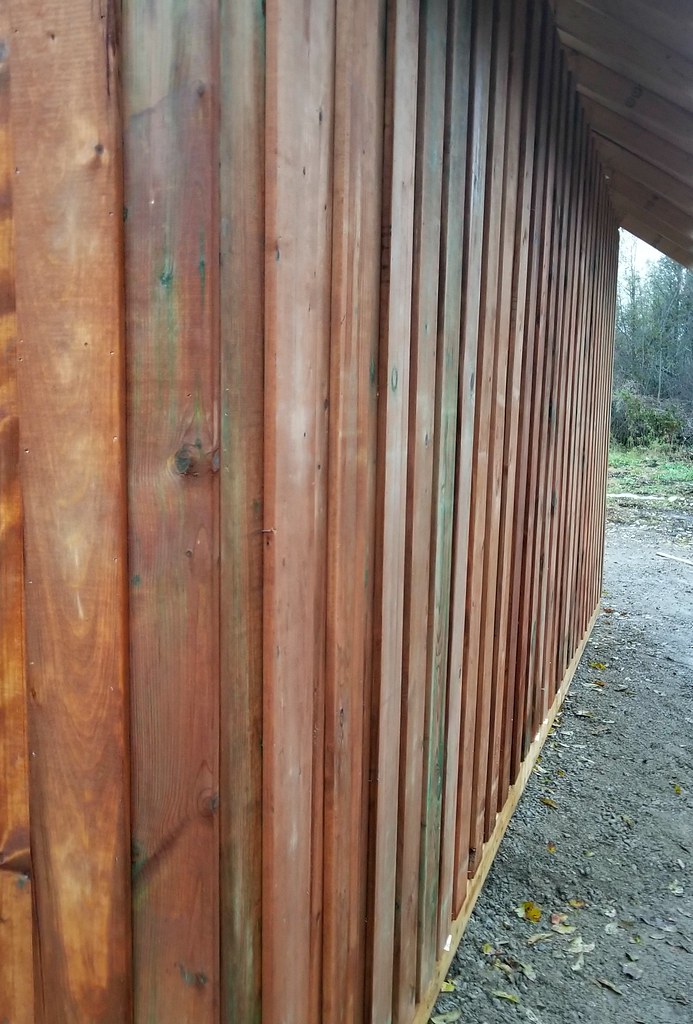
The siding for the shed is pressure treated spruce. It's hung in an overlapping pattern. First a row of boards was attached to the walls using a 2x4 for a spacer.
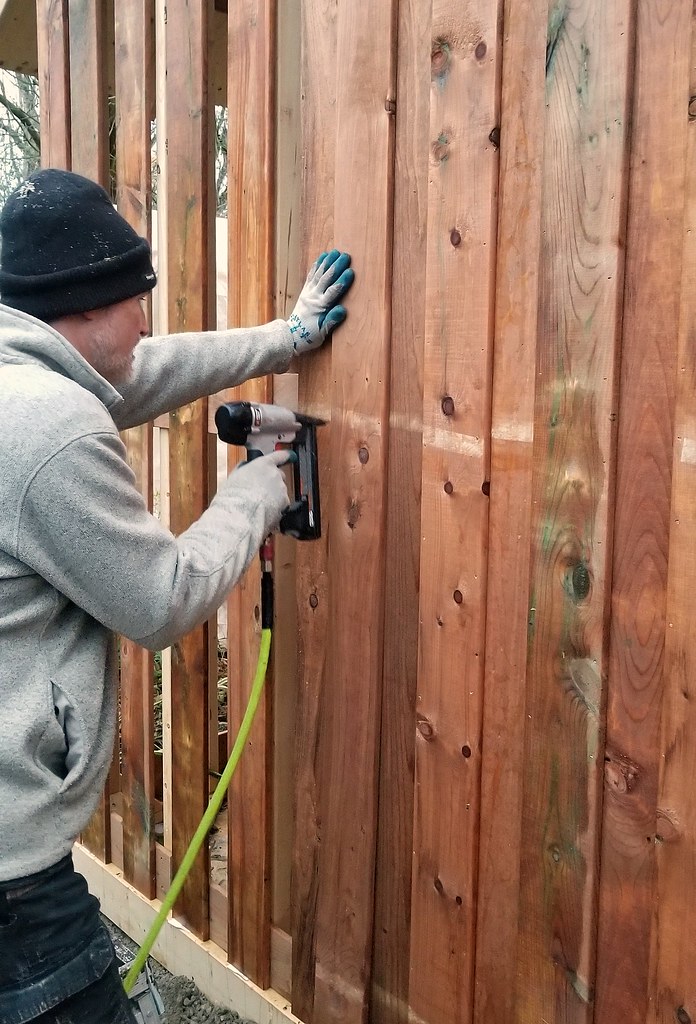
Then a second row of boards was added to fill the spaces. The boards are air nailed to the framework and to each other so that it stays tight.
Hopefully it will only take another weekend or two to finish it. Thank goodness, as we've already had our first big snowstorm!
SEARCH THE BLOG
Showing posts with label renovations. Show all posts
Oct 29, 2018
Oct 15, 2018
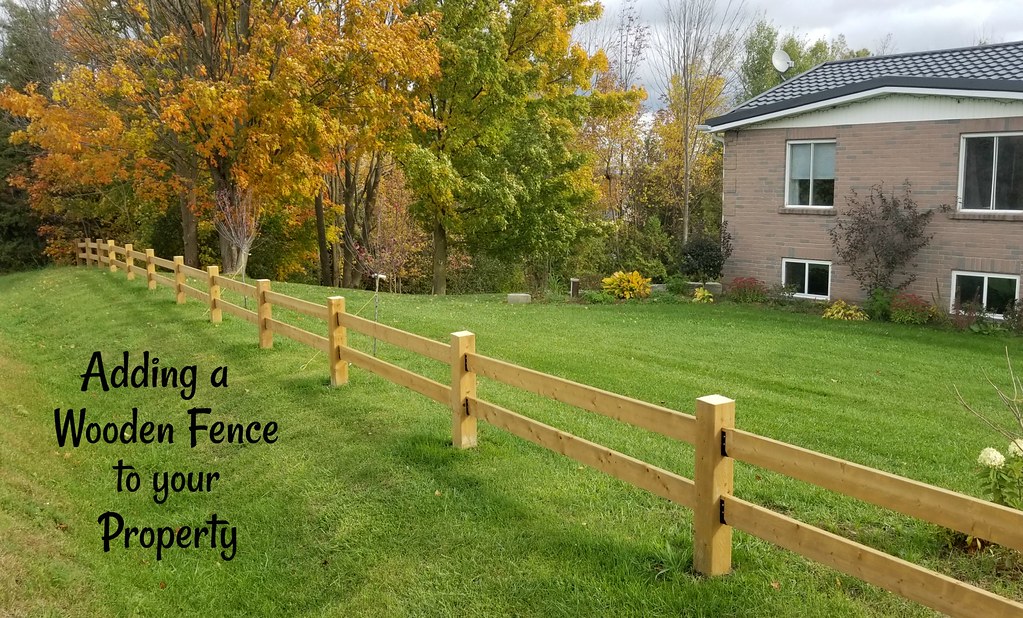
Adding a Wooden Fence to your Property
So, the journey continues to add more curb appeal to our property. I've always felt that the front of our house, including the yard, was too plain. The plans I carry around in my head include more trees, shutters on the windows, and possibly a stone façade. And the house itself is fairly close to the road so it really needed something to provide a visual break.
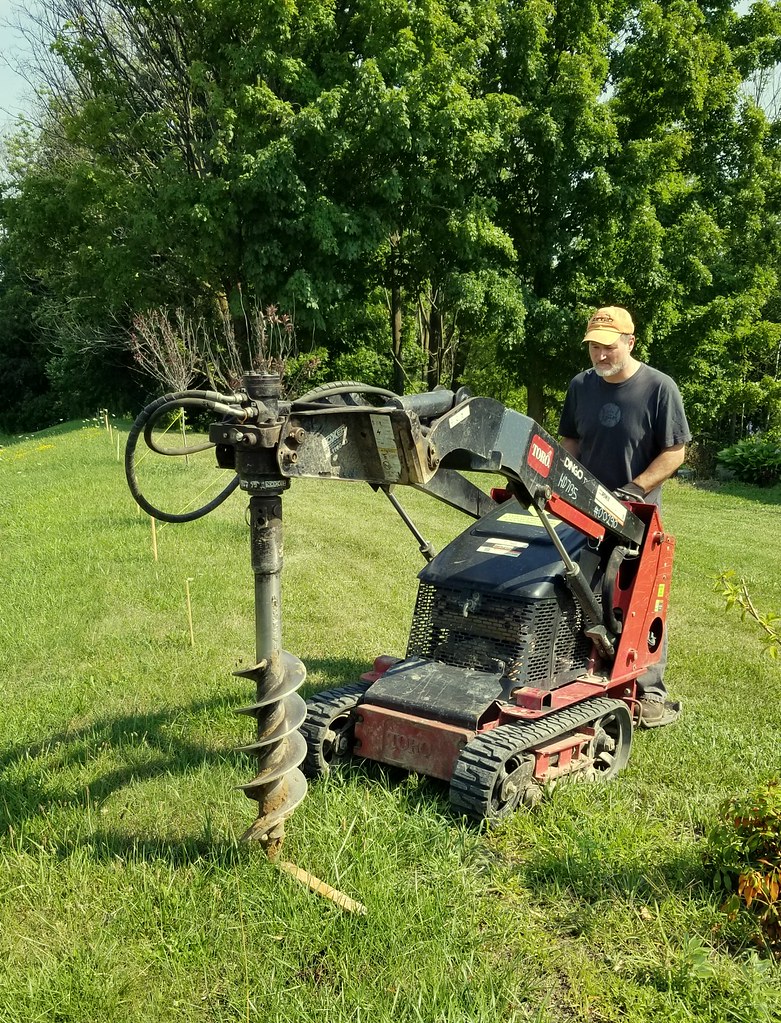
After mapping out the fence with stakes and string, we rented a mini skid-steer with an auger attachment and dug the post holes. The first few were easy, but we did hit rocks in most of them after that. It only took a couple of hours to do all fourteen holes. I can't imagine how long it would have taken if we'd had to dig them by hand.
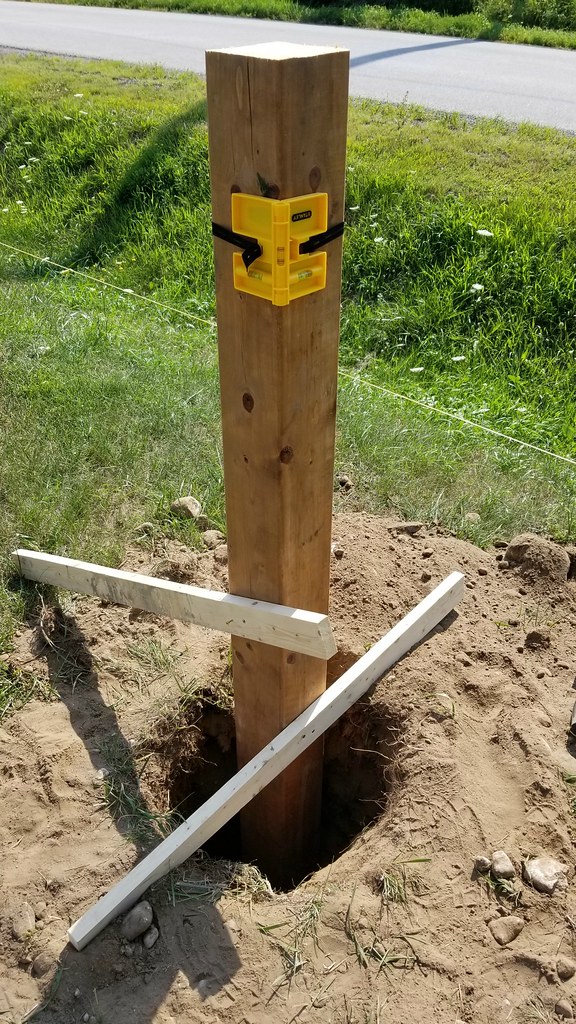
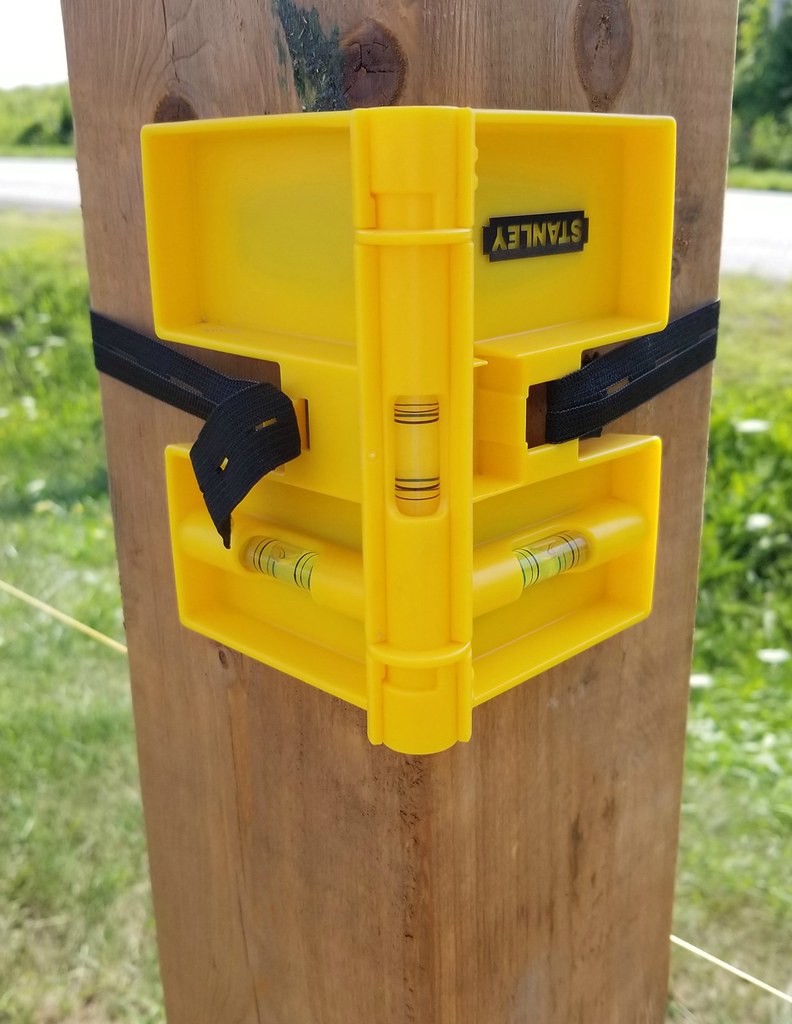
Once all of the holes were dug and the loose dirt cleaned out - that part was done by hand while lying on the ground, scooping, scooping, scooping - we positioned the 6x6 posts and filled the holes with rapid-set concrete. We started by putting some gravel down to provide drainage, then the post, which we leveled with two temporary crosspieces facing different directions. That corner post level was a God-send!
We then alternated adding concrete, gravel, and water until the hole was slightly overfilled (to allow for settling). The concrete hardened fast enough that in 20 minutes we could remove the crosspieces, to be used on the next post.
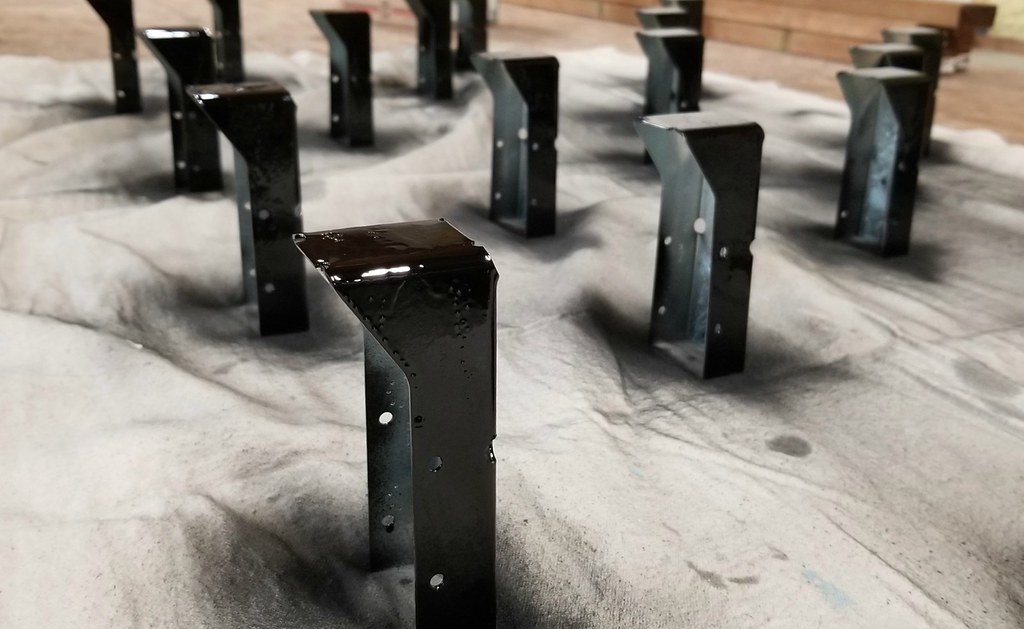
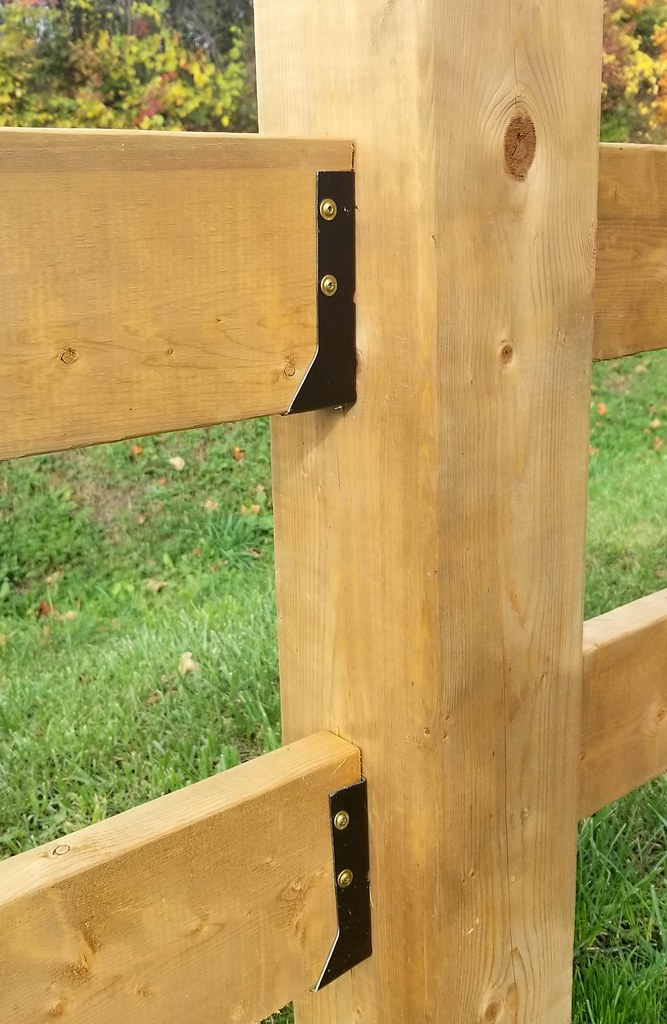
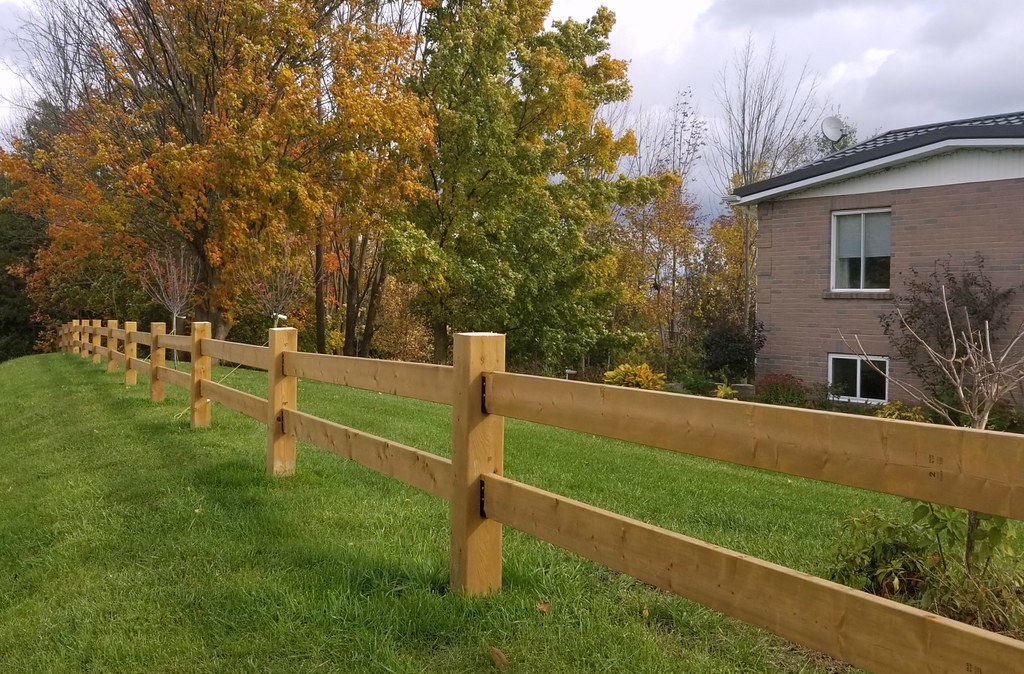
Once the posts were in, we hung the 2x6 horizontal rails with concealed-flange joist hangers that I spray painted a glossy black. These are joist hangers that you would use when building a house or deck. We wanted the rails to be centered on the posts, but didn't want to have to drill through every post to hang them. These were perfect, and the black colour makes them look like high-end hardware.
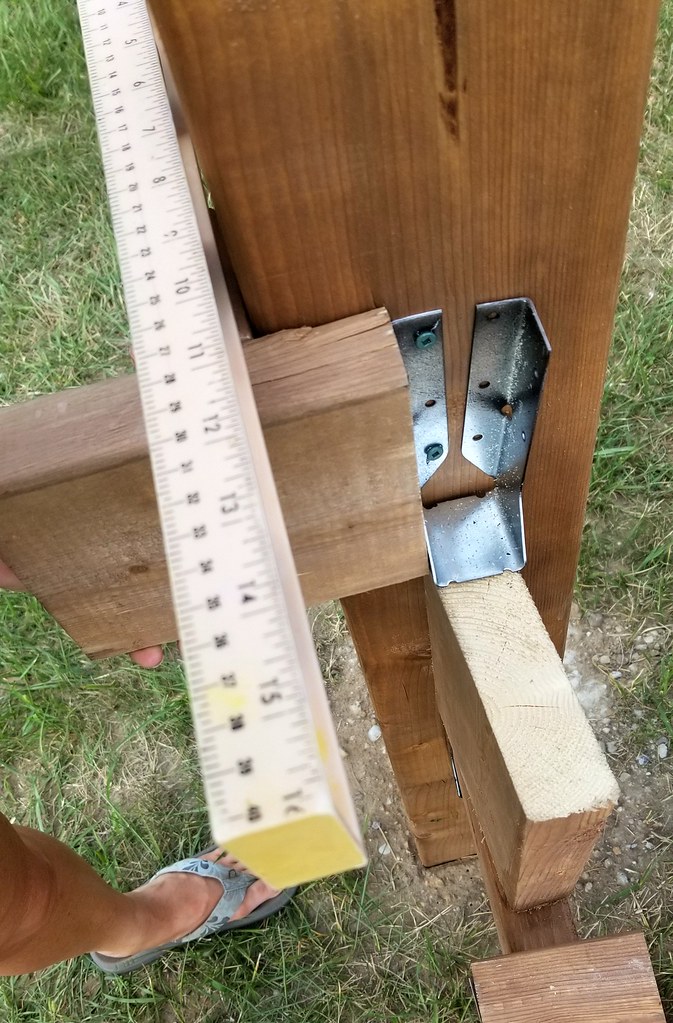
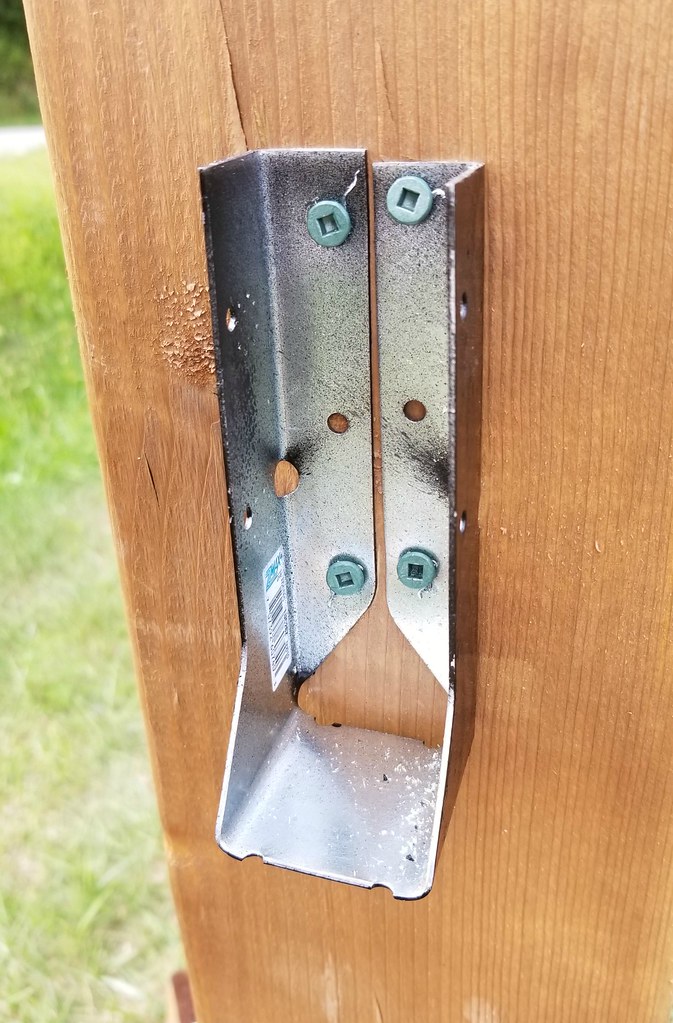
The screws attaching the joist hangers to the posts are hidden behind the rail ends, and then low-profile cabinet screws connect the hangers and rails. We built a simple jig from scrap wood to ensure that each hanger was centered on the post. The cabinet screws have a washer head that gives an upgraded look.
Our lot slopes to one side, so we had to eyeball the rail placement so that they look level, even though they aren't. I spent a lot of time standing out on the road, squinting and calling out for adjustments. However, we did use a spacer between rails so that they remain the same distance apart from section to section.
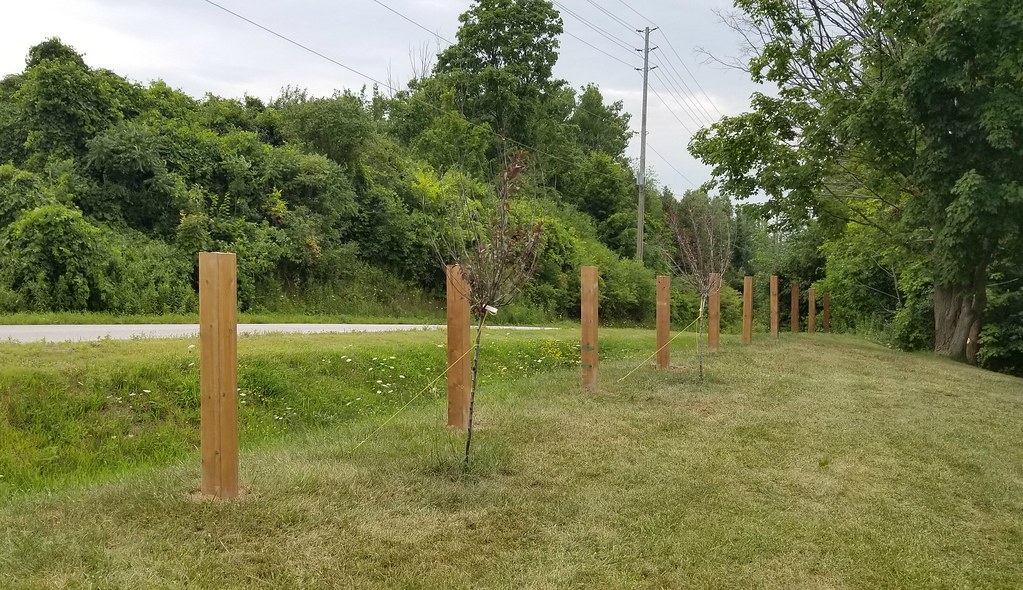
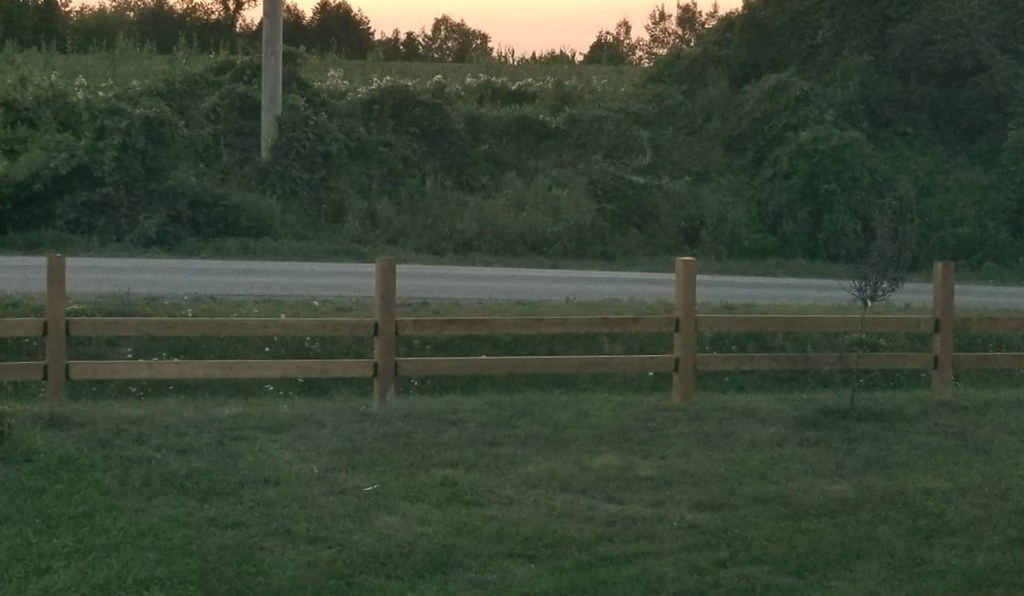
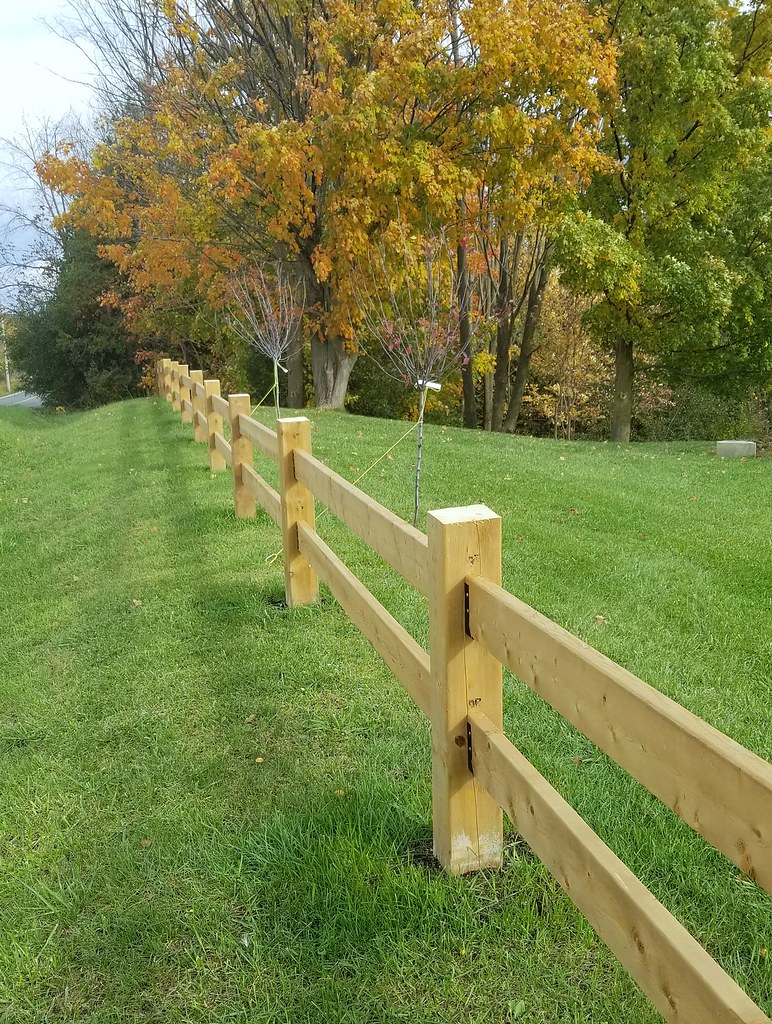
The final step was to cut off the tops of the posts. We cut them a little at a time so that they didn't end up too short. I think we're going to keep the look streamlined and leave the tops squared off, but I also think I'd like them to be about an inch shorter than they are right now.
Before cutting:
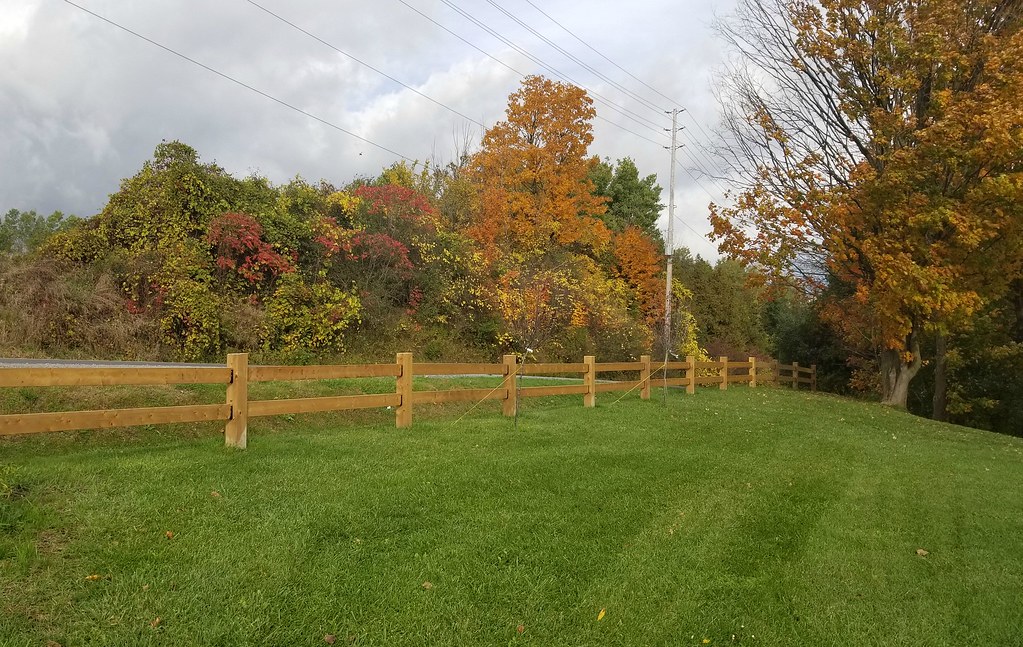
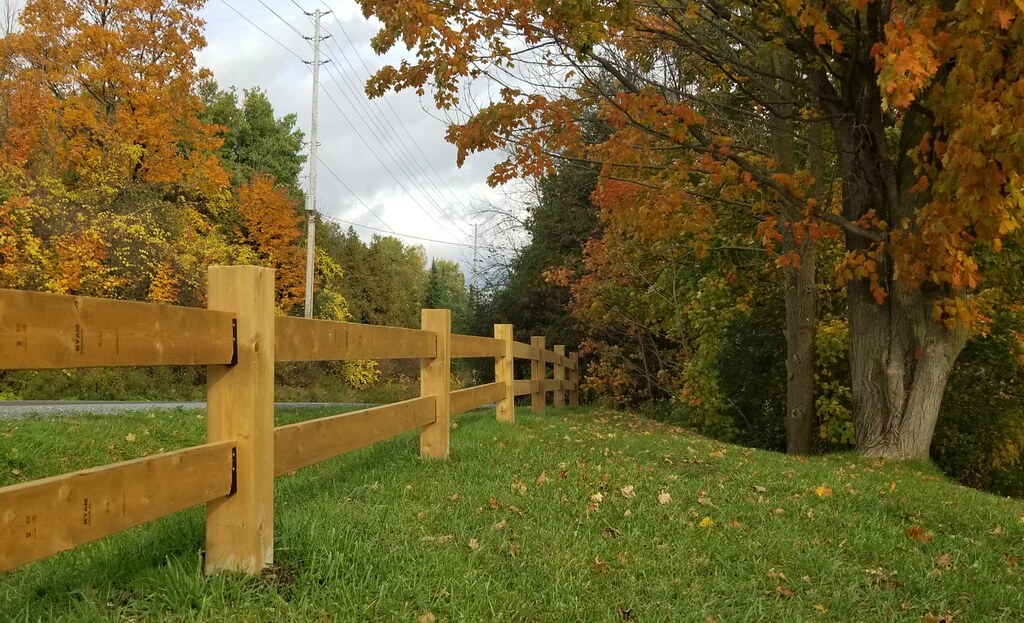
One thing I do know is that the fence looks fantastic with the trees behind, especially now that the leaves are changing colour. The natural wood fence warms up the look of the front yard and gives a solid framework to the whole property.
After mapping out the fence with stakes and string, we rented a mini skid-steer with an auger attachment and dug the post holes. The first few were easy, but we did hit rocks in most of them after that. It only took a couple of hours to do all fourteen holes. I can't imagine how long it would have taken if we'd had to dig them by hand.
Once all of the holes were dug and the loose dirt cleaned out - that part was done by hand while lying on the ground, scooping, scooping, scooping - we positioned the 6x6 posts and filled the holes with rapid-set concrete. We started by putting some gravel down to provide drainage, then the post, which we leveled with two temporary crosspieces facing different directions. That corner post level was a God-send!
Once the posts were in, we hung the 2x6 horizontal rails with concealed-flange joist hangers that I spray painted a glossy black. These are joist hangers that you would use when building a house or deck. We wanted the rails to be centered on the posts, but didn't want to have to drill through every post to hang them. These were perfect, and the black colour makes them look like high-end hardware.
The screws attaching the joist hangers to the posts are hidden behind the rail ends, and then low-profile cabinet screws connect the hangers and rails. We built a simple jig from scrap wood to ensure that each hanger was centered on the post. The cabinet screws have a washer head that gives an upgraded look.
Our lot slopes to one side, so we had to eyeball the rail placement so that they look level, even though they aren't. I spent a lot of time standing out on the road, squinting and calling out for adjustments. However, we did use a spacer between rails so that they remain the same distance apart from section to section.
The final step was to cut off the tops of the posts. We cut them a little at a time so that they didn't end up too short. I think we're going to keep the look streamlined and leave the tops squared off, but I also think I'd like them to be about an inch shorter than they are right now.
Before cutting:
After:
One thing I do know is that the fence looks fantastic with the trees behind, especially now that the leaves are changing colour. The natural wood fence warms up the look of the front yard and gives a solid framework to the whole property.
Aug 25, 2017
Spanish Tile-Style Steel Roof
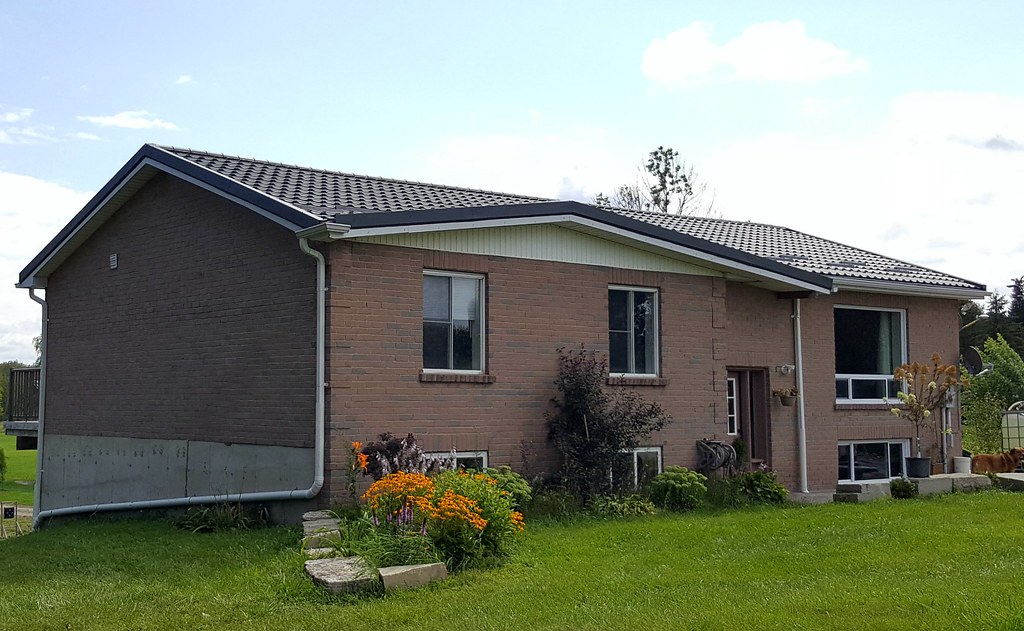
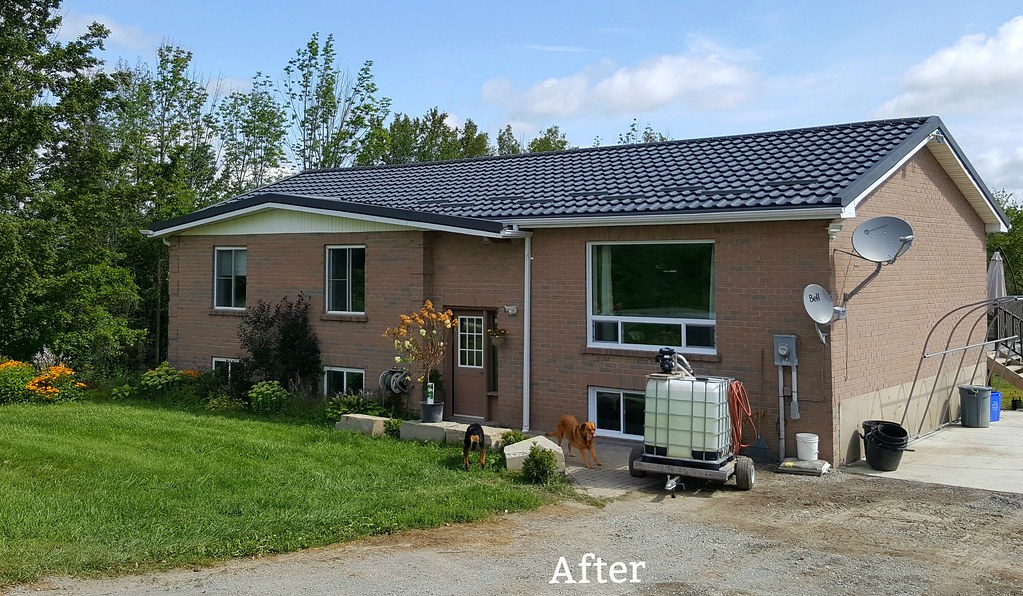
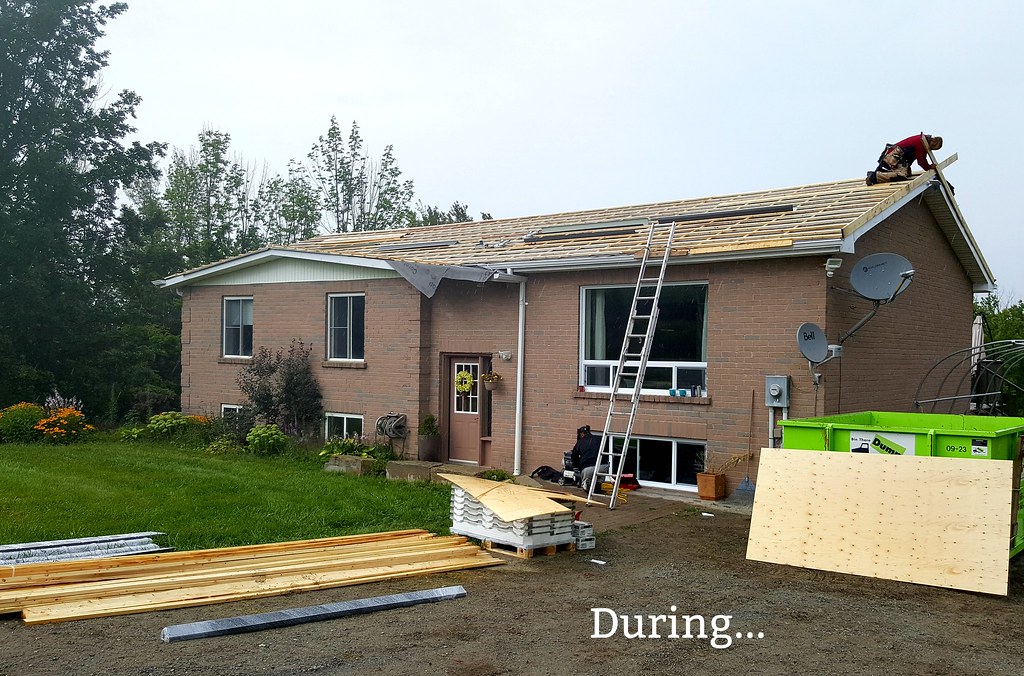
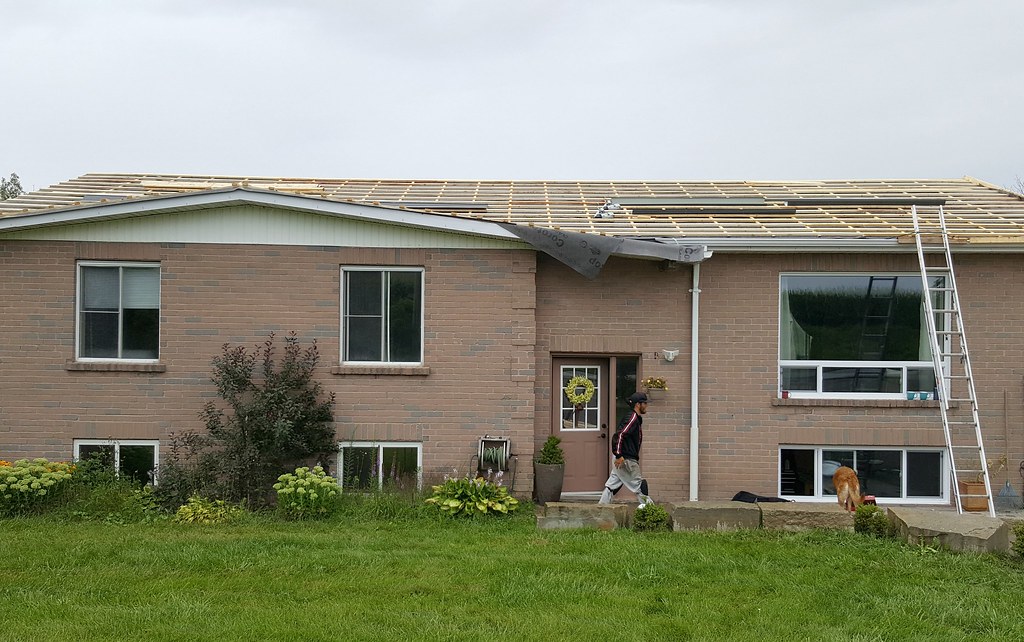
This post probably doesn't need a whole lot of explanation. Our roof was in REALLY bad shape - we've had quite a few wind storms this last year and we were starting to lose shingles every time the wind blew. Tom was pushing pretty hard for a steel roof. I was against it, until I saw the different styles available. It's not all flat barn roofs anymore (thank goodness).
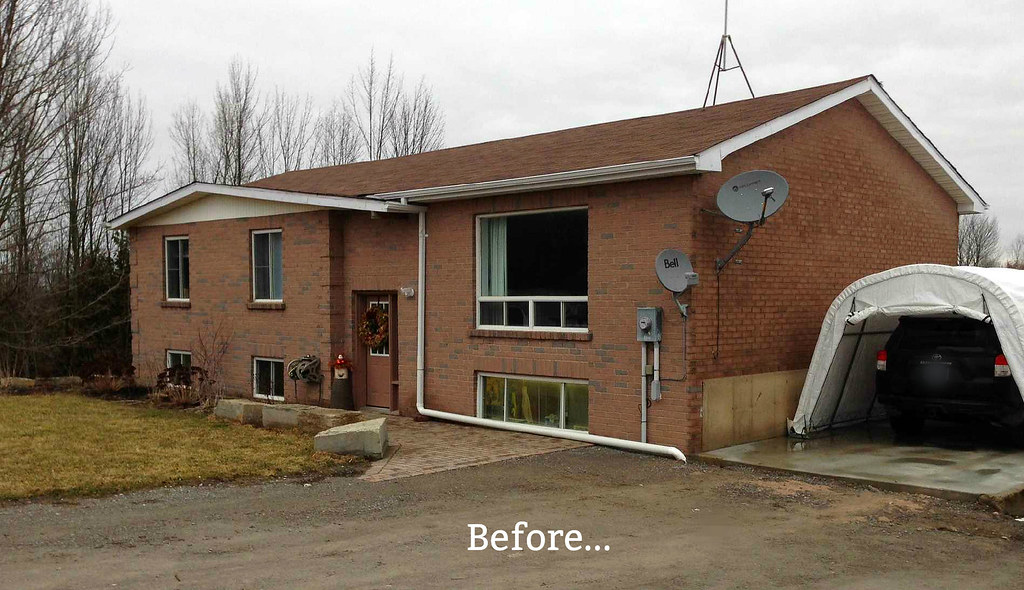
This picture is from about a year ago - it had gotten much worse recently:
The roofing company we hired was Green Metal Roofing. I can't say enough good things about this company. The sales rep we met with is one of the owners - and a former roofer - so he knew a lot about the product and the process, and there was no hard push to sign. He sent us so many links to roofs they had done, as well as roofs that were done badly by other companies that they had been called in to fix.
The installers were really great, too - they stayed late the first day, working in the rain, so that they could get it all done in two days. And they loved our dogs (always a plus with us!)
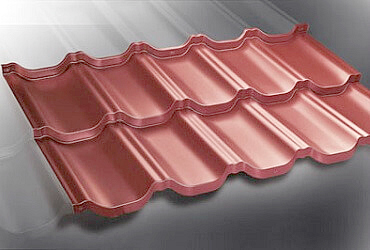
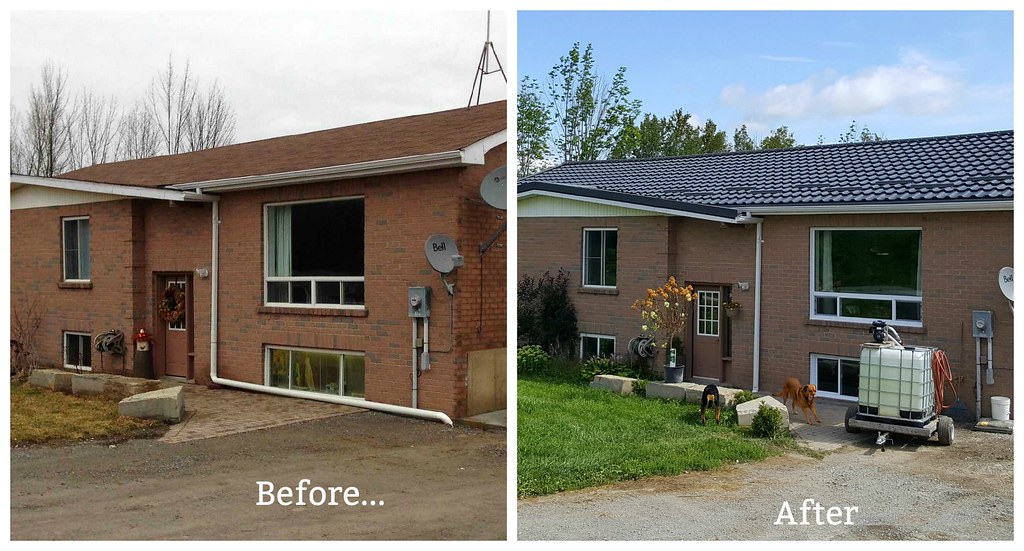
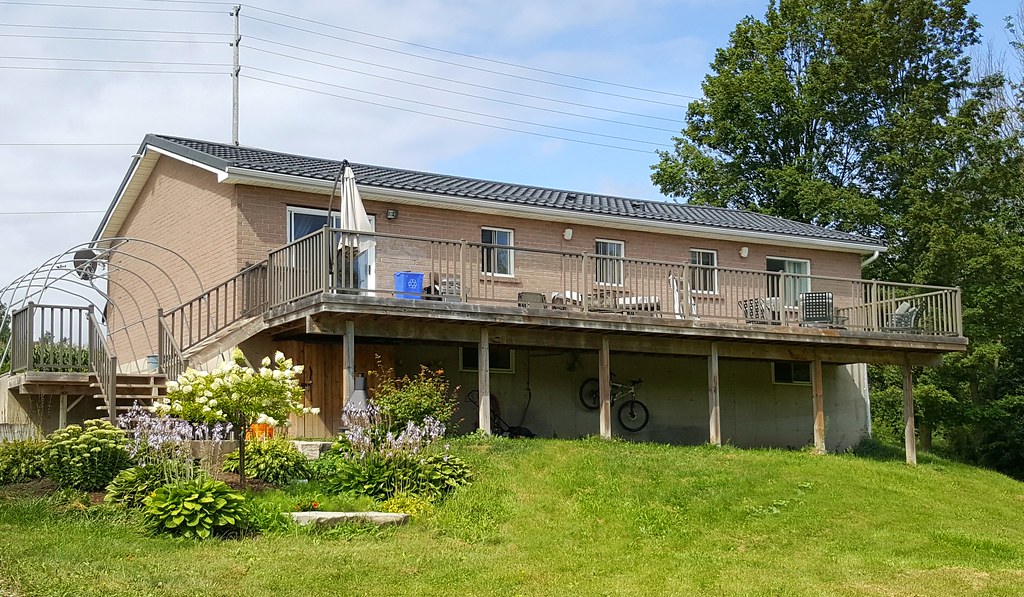
The style we went with is called "Venice" and it's made to look like rows of Spanish tile instead of just one big sheet of steel. The colour we chose was charcoal.
They started by removing all of the old shingles, replacing any damaged plywood, and then building a framework for the steel tiles to lay on. This allows airflow between the steel and the house, to prevent ice forming in winter and to help cool the roof in the summer. It also gives a flat, straight surface for them to "build on". We drove around to see some roofs in person, and the companies that don't use a framework had obvious "ripples" in the roof.
Even though a steel roof is very expensive, and we probably won't get full use of the "lifetime warranty" (a silly selling point since people rarely stay in the same house for 50 years), it's comforting to know that we don't have to worry about it ever again, and that it will add to the overall value of the house if/when we do decide to sell.
This picture is from about a year ago - it had gotten much worse recently:
The installers were really great, too - they stayed late the first day, working in the rain, so that they could get it all done in two days. And they loved our dogs (always a plus with us!)
The style we went with is called "Venice" and it's made to look like rows of Spanish tile instead of just one big sheet of steel. The colour we chose was charcoal.
Even though a steel roof is very expensive, and we probably won't get full use of the "lifetime warranty" (a silly selling point since people rarely stay in the same house for 50 years), it's comforting to know that we don't have to worry about it ever again, and that it will add to the overall value of the house if/when we do decide to sell.
Jul 19, 2017
Installing New Windows
There are more renovation goings-on at the Turtles and Tails compound this week. This time we're all about windows.
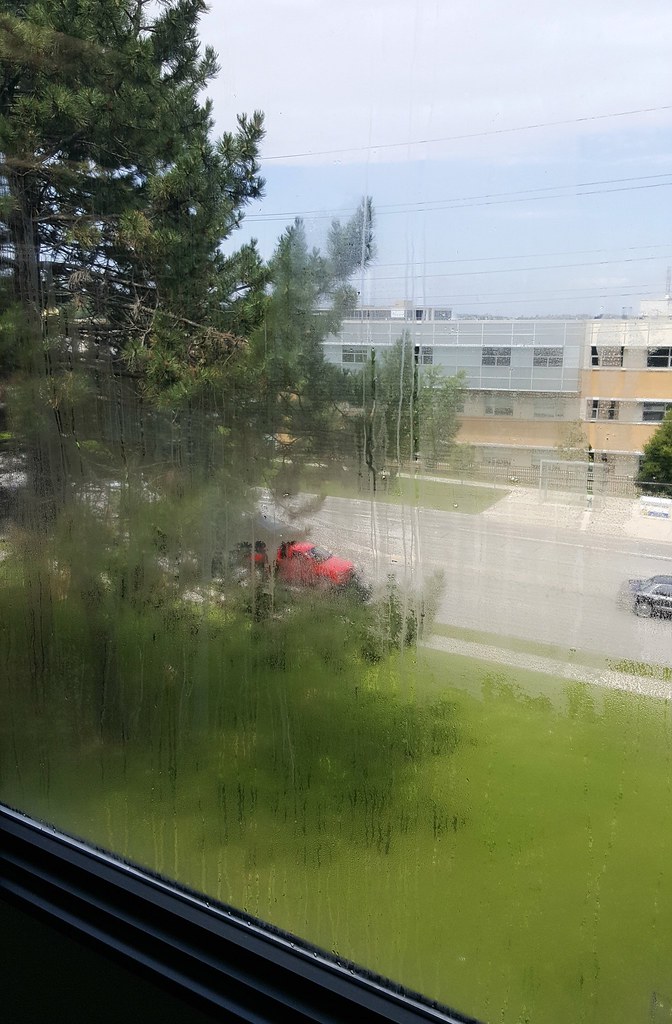
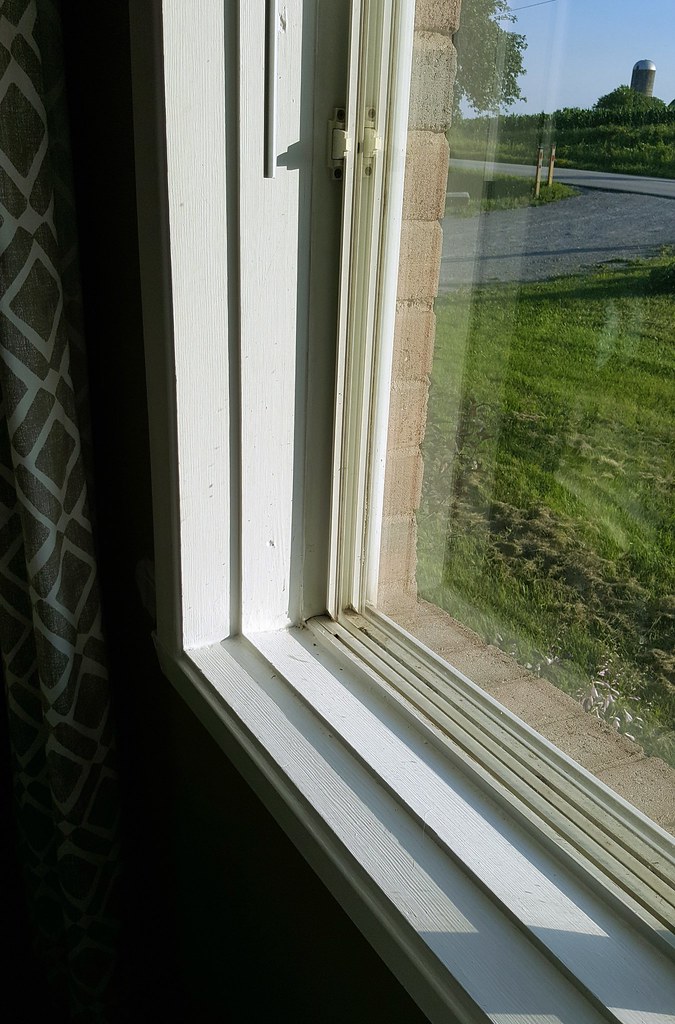
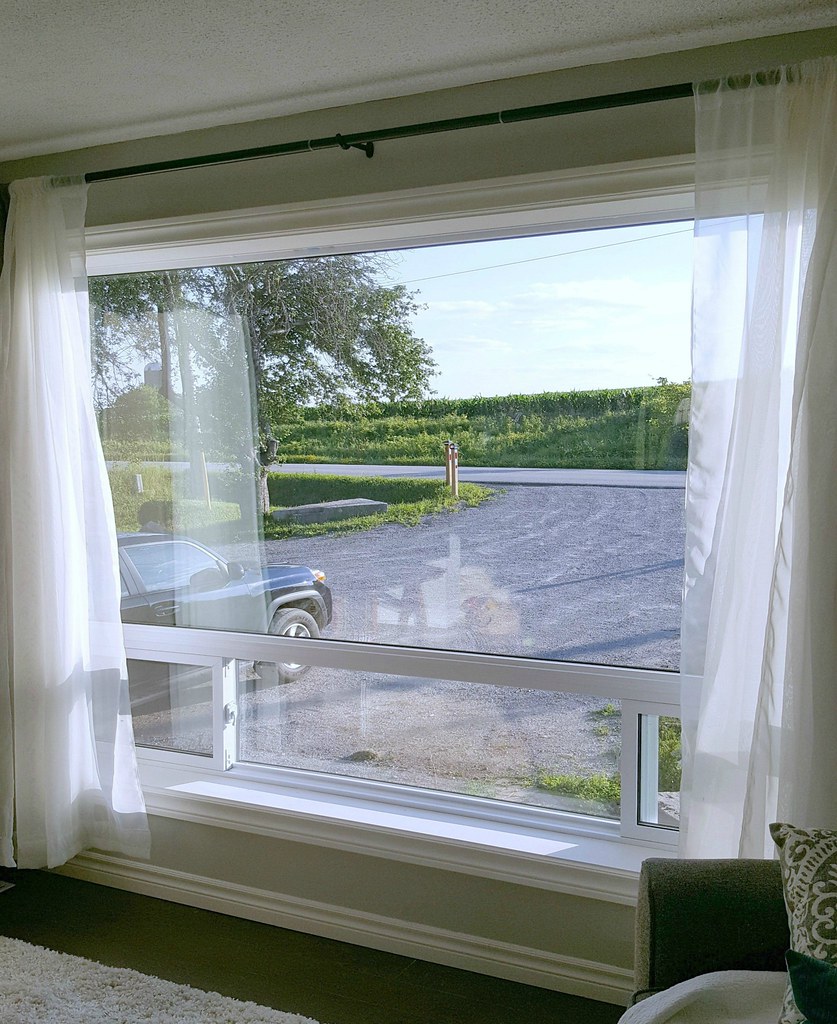
Most of our windows are original to the house (1988-ish) and are in bad need of replacement. The main picture window in the living room is a double-paned thermal, but over time the seal has deteriorated and there were always condensation or streaks visible. No matter how much you cleaned it, it still looked dirty. I don't have a closeup photo of the before, but our windows at my office have the same problem:
When we were at the Newmarket Home Show this spring we spoke with a local company - Lifestyle Oasis - that had some window styles we liked. We requested a quote and it was only slightly more expensive than having the window replaced by the big box store, and we were able to customize it a bit.
Because our picture window opening is so large, having a single pane with no sliders at the bottom would have been considered a commercial window and would have cost much, much more. One pane had been our original choice, but we wisely went the economical route and chose the same style as before. The only difference is that there are only three panes at the bottom instead of four, with no (unnecessary) split in the middle.
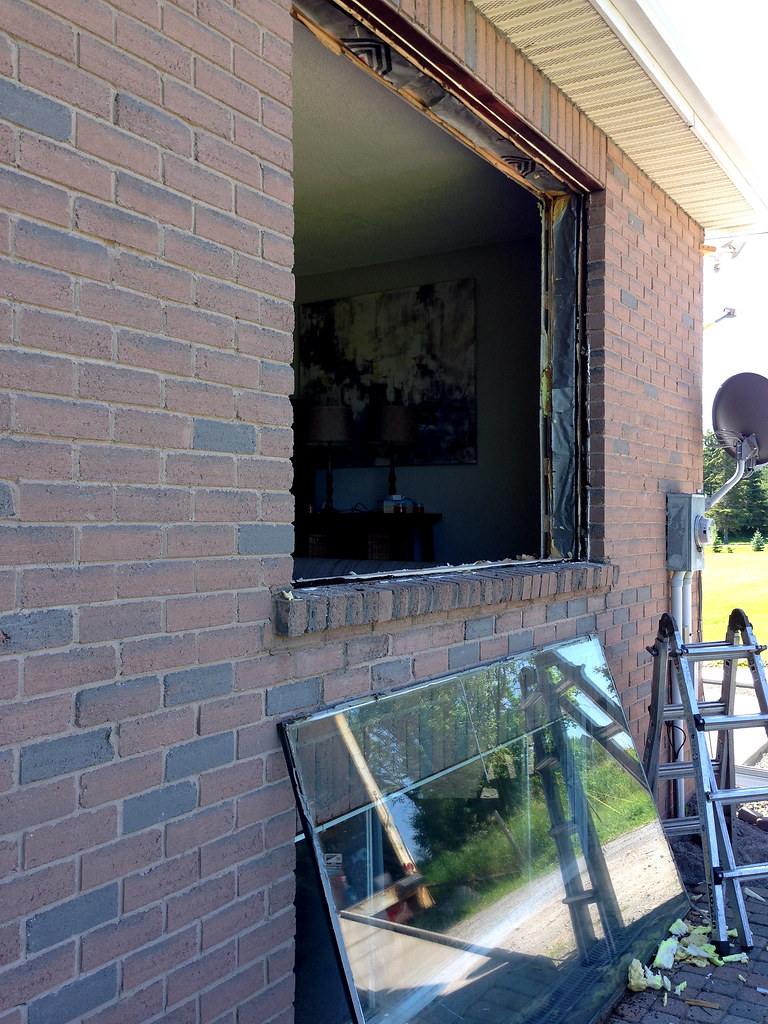
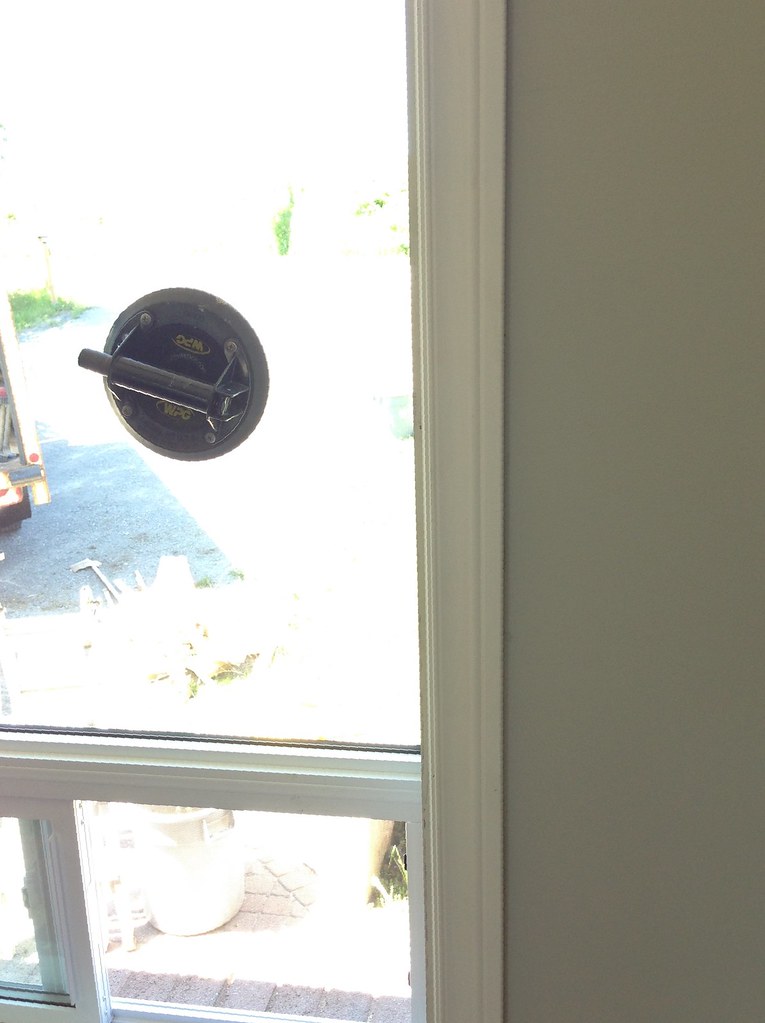
I was at work when the windows were installed so Tom documented the installation for me, like the good blogger husband that he is.
The work went really quickly - I think they were finished both windows by mid-afternoon. The picture window included full framing - you may remember my complaints about the window framing and trim work when we reframed the master bedroom window. All of the upstairs windows have the same style stool - angled, uneven, and badly painted.
The picture window stool is now flat, all one level, and factory finished.
They even installed new casing on the inside and caulked all of the seams. (Love these guys!)
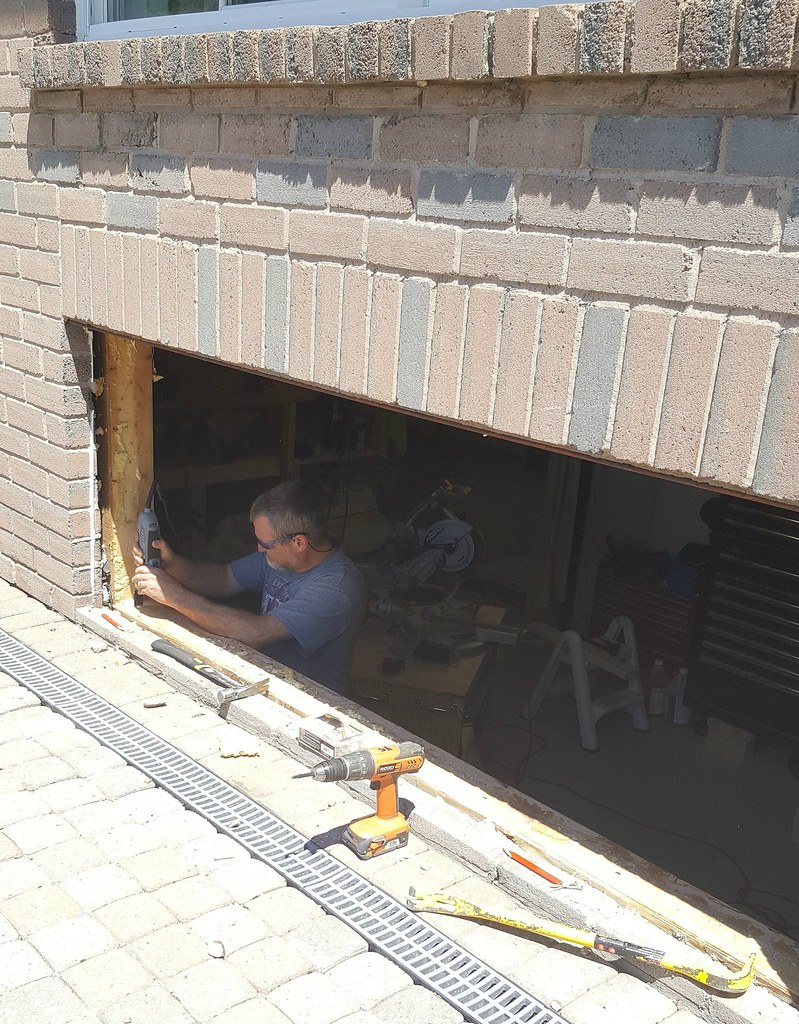
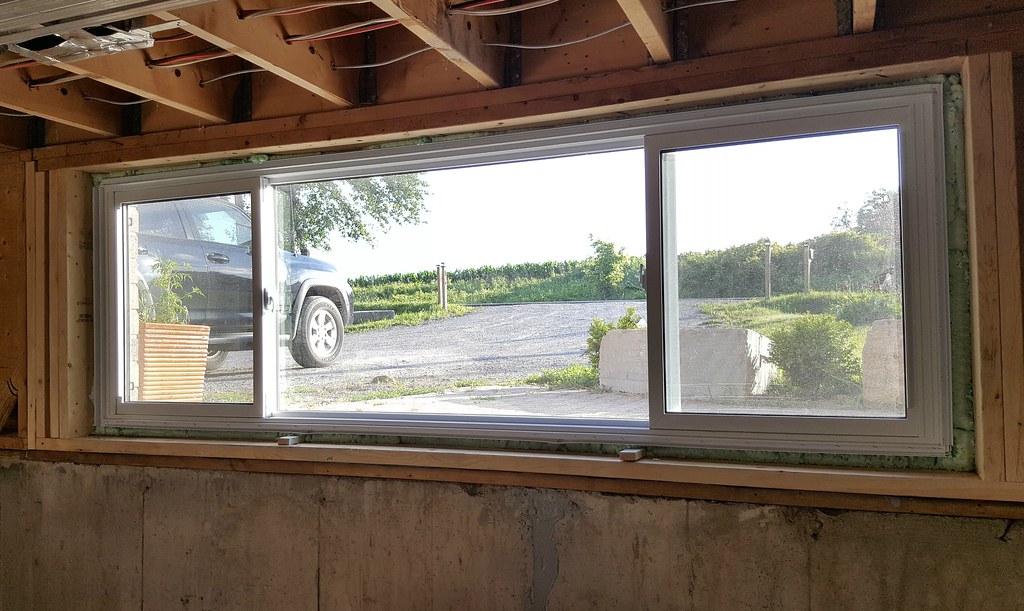
We also had them install the basement window that is directly below the main one. Tom was going to do it himself, but after installing the rain grate and re-doing the brickwork on the front walkway, he determined that he probably didn't have the time or energy and to just leave it to the professionals. He did rebuild the frame though.
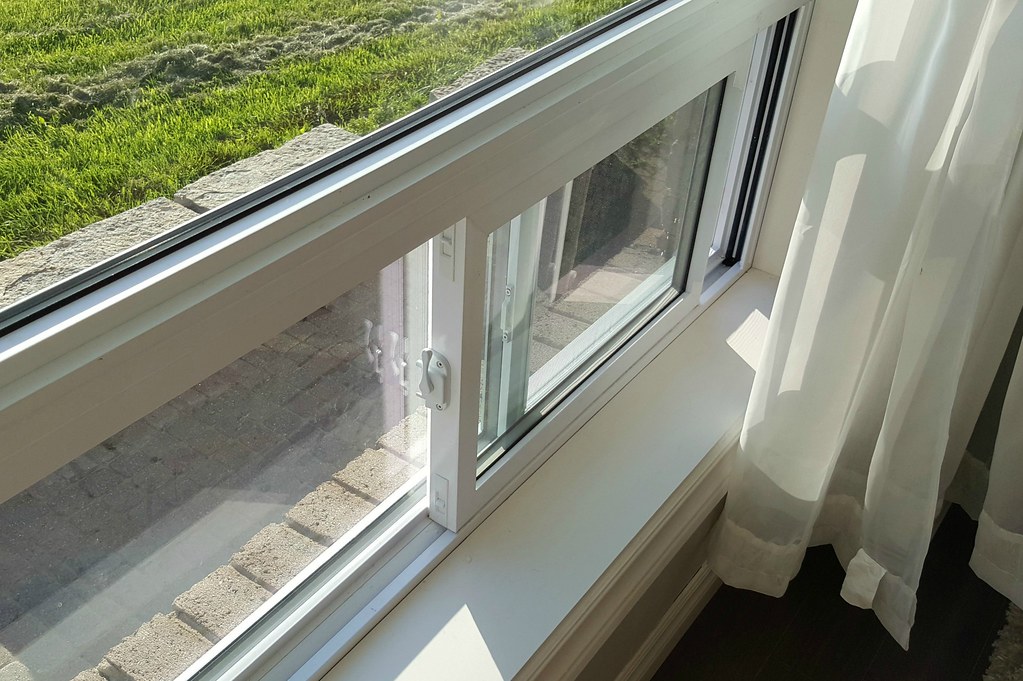
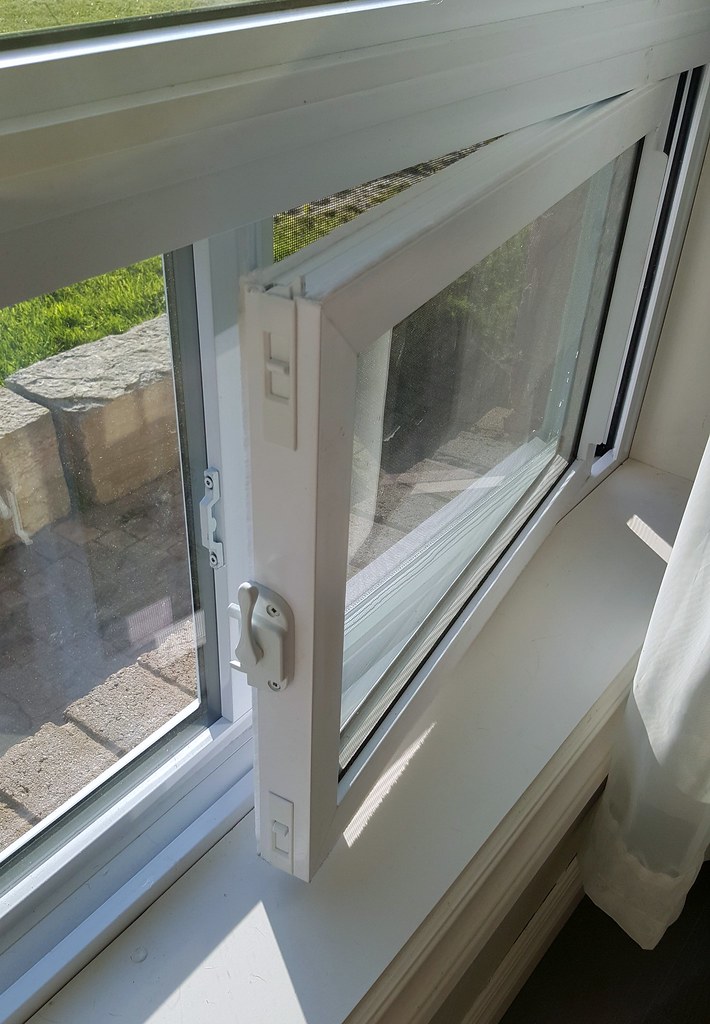
The basement window jamb/stool is unfinished on the inside as we are still framing the walls at that end, but it is now completely sealed - no more leaks when it rains! The window has three panes with two sliders - that lift and pivot inwards when you need to clean them (the upstairs sliders pivot as well).
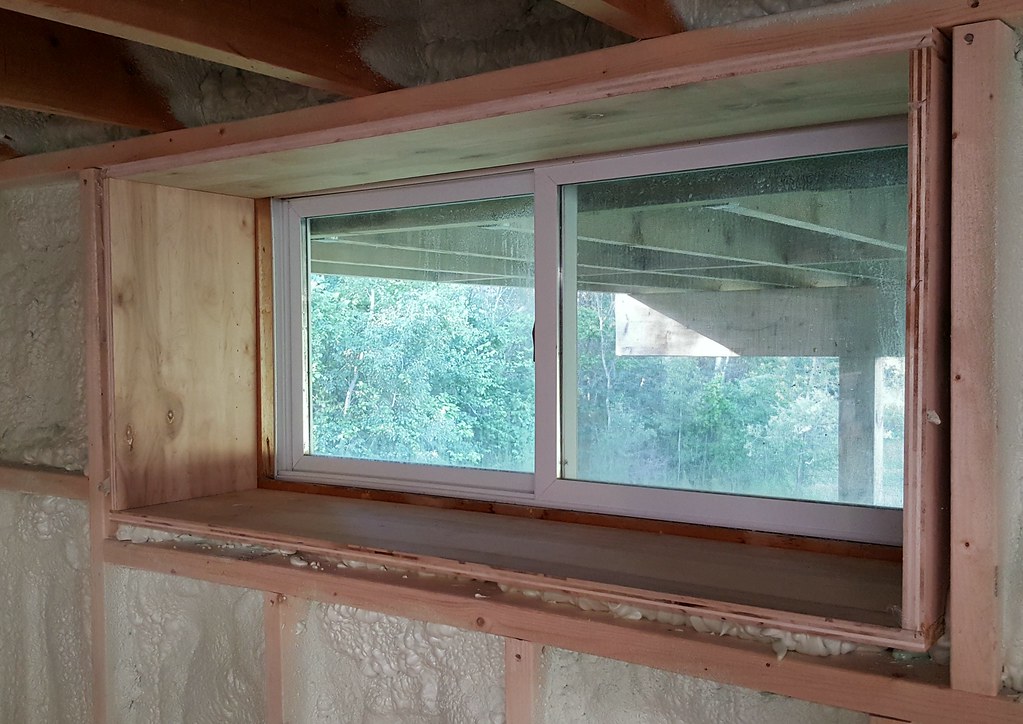
Last summer Tom installed the other two front basement windows as they were smaller and an easy fix. These ones also hadn't been insulated/sealed properly (you could see through to the outside between the frame and the wall!) so again we had leaks when it rained.
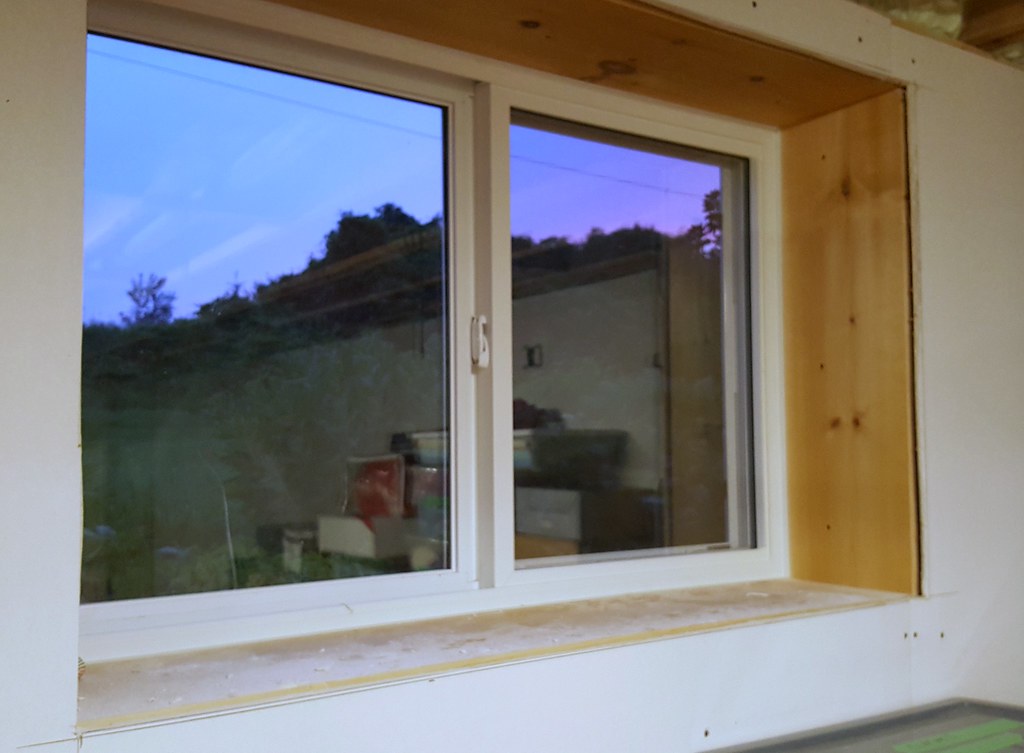
Before installing the new windows he built plywood "boxes" around them that are equal in depth to the thickness of the wall plus the framing. That way, once the room is drywalled and painted, the window openings will be all ready to trim out.
Having these beautiful new windows has really made a difference in our attitude towards the house. When we bought it we were excited about tackling a fixer-upper, but after a while you start to get bogged down mentally with the amount of work that still needs to be done. Especially when it's something (like the foggy windows) that you feel like everyone notices. It's uplifting to take a big step forward in having a house you are proud to show off.
Most of our windows are original to the house (1988-ish) and are in bad need of replacement. The main picture window in the living room is a double-paned thermal, but over time the seal has deteriorated and there were always condensation or streaks visible. No matter how much you cleaned it, it still looked dirty. I don't have a closeup photo of the before, but our windows at my office have the same problem:
When we were at the Newmarket Home Show this spring we spoke with a local company - Lifestyle Oasis - that had some window styles we liked. We requested a quote and it was only slightly more expensive than having the window replaced by the big box store, and we were able to customize it a bit.
Because our picture window opening is so large, having a single pane with no sliders at the bottom would have been considered a commercial window and would have cost much, much more. One pane had been our original choice, but we wisely went the economical route and chose the same style as before. The only difference is that there are only three panes at the bottom instead of four, with no (unnecessary) split in the middle.
I was at work when the windows were installed so Tom documented the installation for me, like the good blogger husband that he is.
The picture window stool is now flat, all one level, and factory finished.
They even installed new casing on the inside and caulked all of the seams. (Love these guys!)
We also had them install the basement window that is directly below the main one. Tom was going to do it himself, but after installing the rain grate and re-doing the brickwork on the front walkway, he determined that he probably didn't have the time or energy and to just leave it to the professionals. He did rebuild the frame though.
The basement window jamb/stool is unfinished on the inside as we are still framing the walls at that end, but it is now completely sealed - no more leaks when it rains! The window has three panes with two sliders - that lift and pivot inwards when you need to clean them (the upstairs sliders pivot as well).
Last summer Tom installed the other two front basement windows as they were smaller and an easy fix. These ones also hadn't been insulated/sealed properly (you could see through to the outside between the frame and the wall!) so again we had leaks when it rained.
Before installing the new windows he built plywood "boxes" around them that are equal in depth to the thickness of the wall plus the framing. That way, once the room is drywalled and painted, the window openings will be all ready to trim out.
Having these beautiful new windows has really made a difference in our attitude towards the house. When we bought it we were excited about tackling a fixer-upper, but after a while you start to get bogged down mentally with the amount of work that still needs to be done. Especially when it's something (like the foggy windows) that you feel like everyone notices. It's uplifting to take a big step forward in having a house you are proud to show off.
Jun 30, 2017
June Progress Report
I hang my head in shame that June is now gone and we don't have any new projects completed. We have friends getting married this summer, and we've been busy with wedding events 3 out of 4 weekends this month.That isn't to say we haven't been working on things, there just isn't much to show. It's definitely not looking pretty around here.
How about a progress report instead?
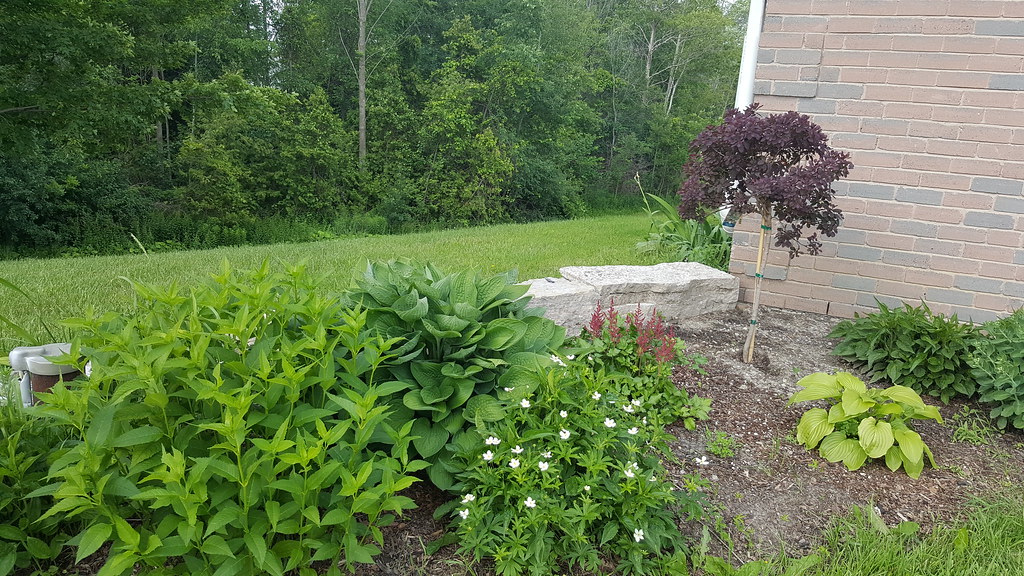
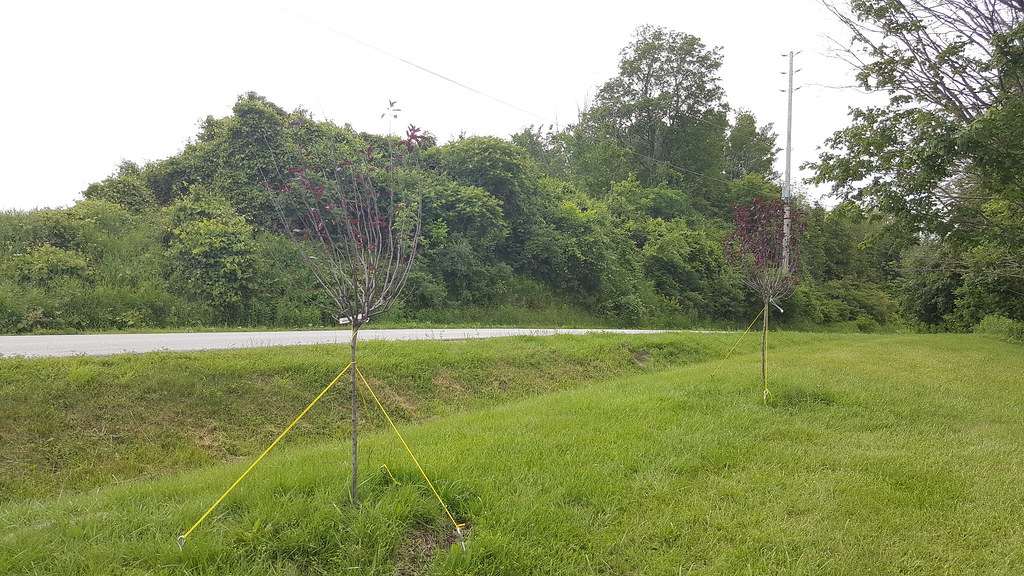
The front yard and the front of our house is pretty bare - I liken it to a face without eyebrows. So we took a trip to our local garden center to see what we could see. We decided on two cherry trees, a dark purple lilac, and a smoke bush.
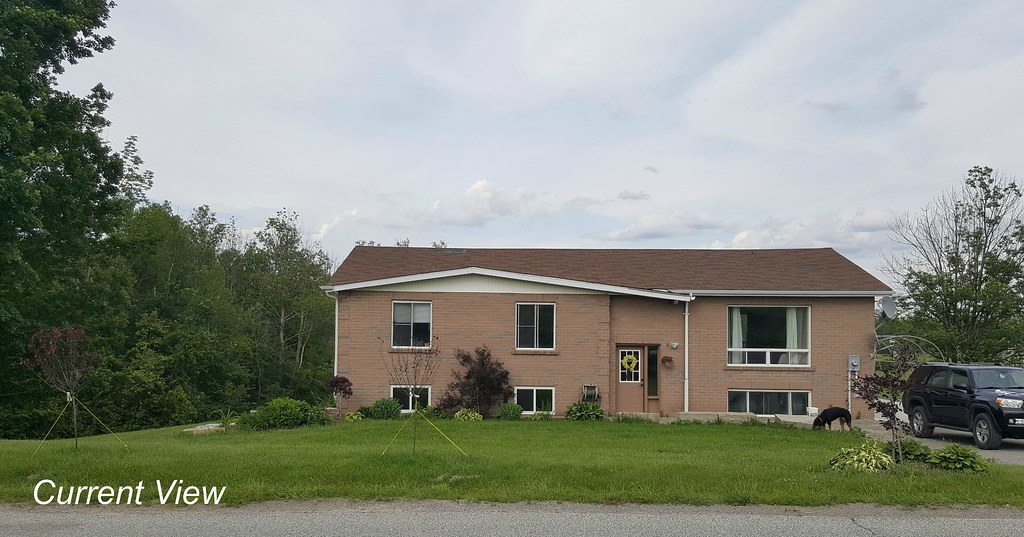
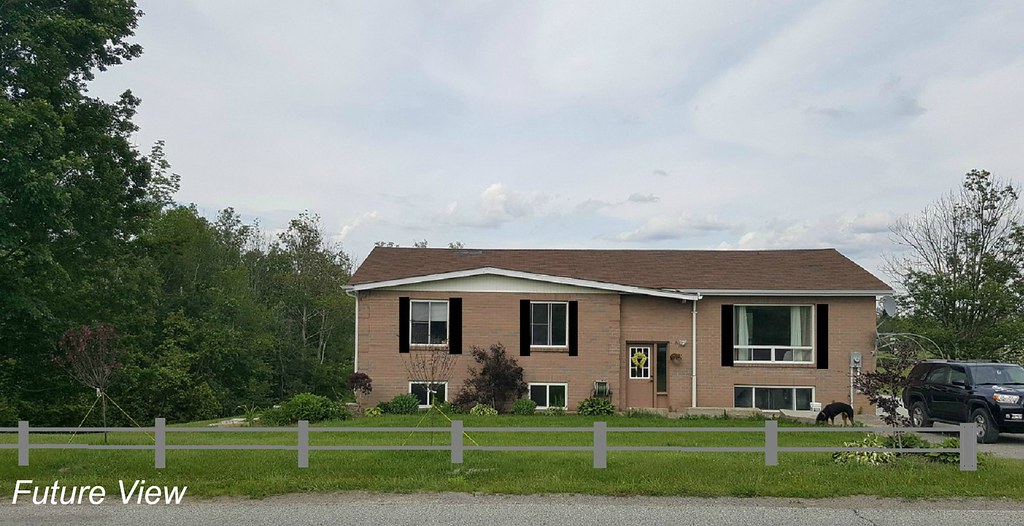
We planted the cherry trees along the front edge of the property where we will also eventually have a low fence. Here is a rough drawing of our plans:
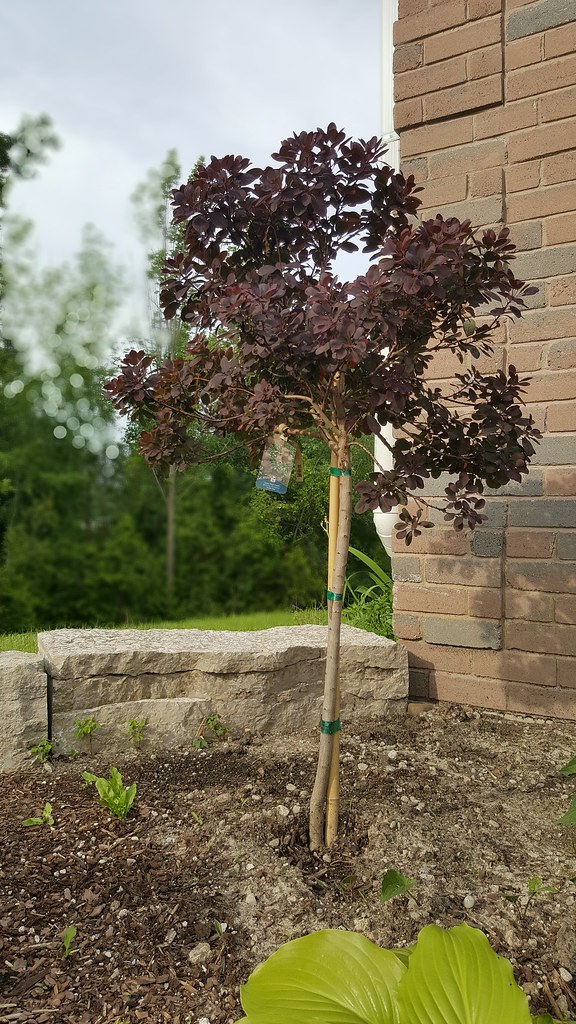
The lilac went over on the property line at the edge of the driveway, and the smoke bush was planted in the garden by the corner of the house. It will eventually disguise the downspout that's in that corner.
I adore smoke bushes. We had a huge one at our first house - planted by the previous owners - and it would grow to over 10 feet tall each year. You cut it down each winter and it all just comes right back the following year. Then in the fall all of the flowers go to seed and turn into soft purple cotton candy-like fluff. That's the only way to describe it - fluff.
We now have an abundance of purple trees (these, along with another cherry tree and a beech tree), so we're thinking about adding in some white to break it up. Sounds like another trip to the garden center is in the cards - though that's not a hardship at all.
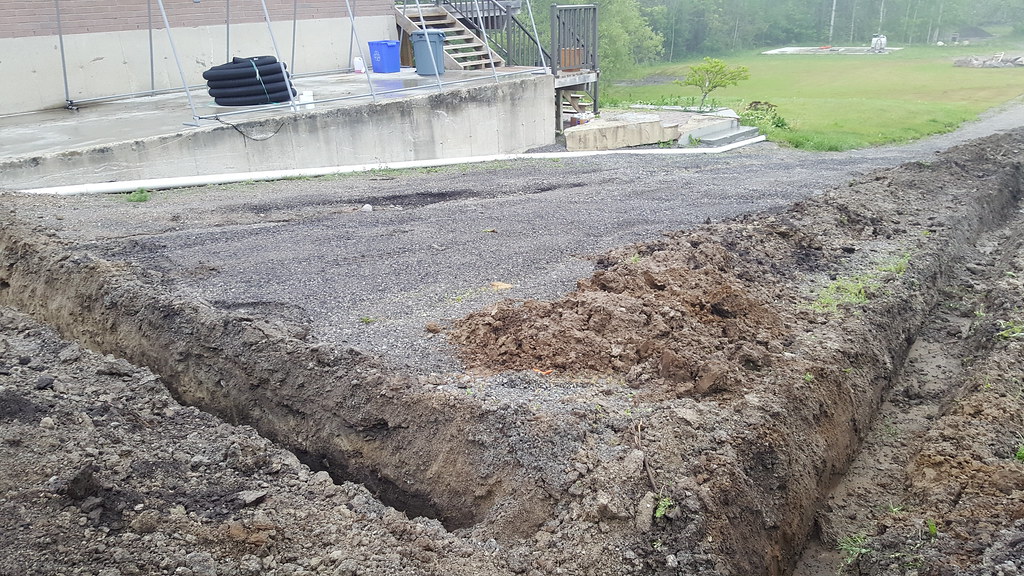
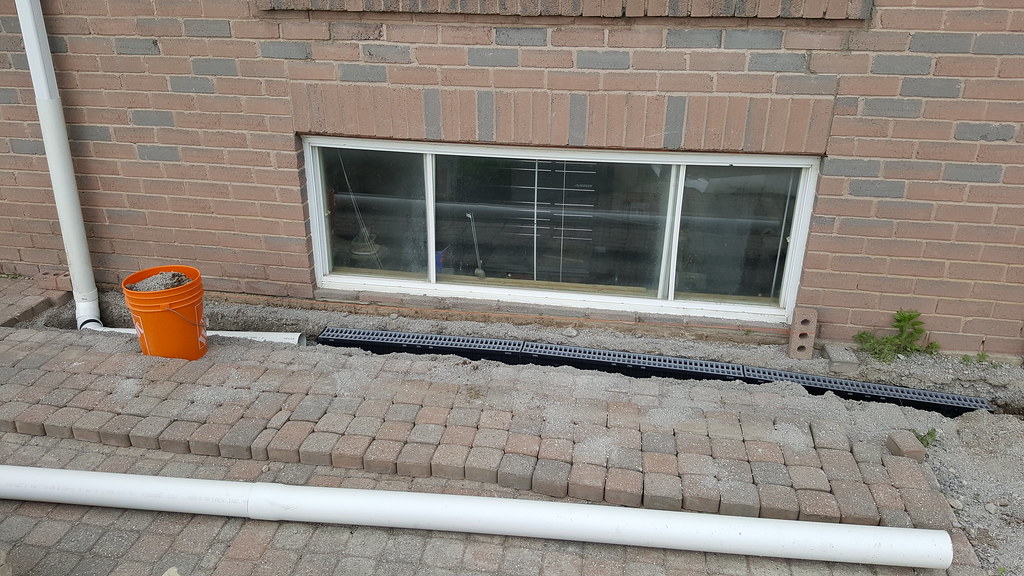
The front yard slopes down towards the house and the basement windows. We're always worried when it rains that water is going to leak into the house. A couple of weekends ago, Tom rented a mini excavator and dug a trench across the front of the house and down the far side of the driveway.
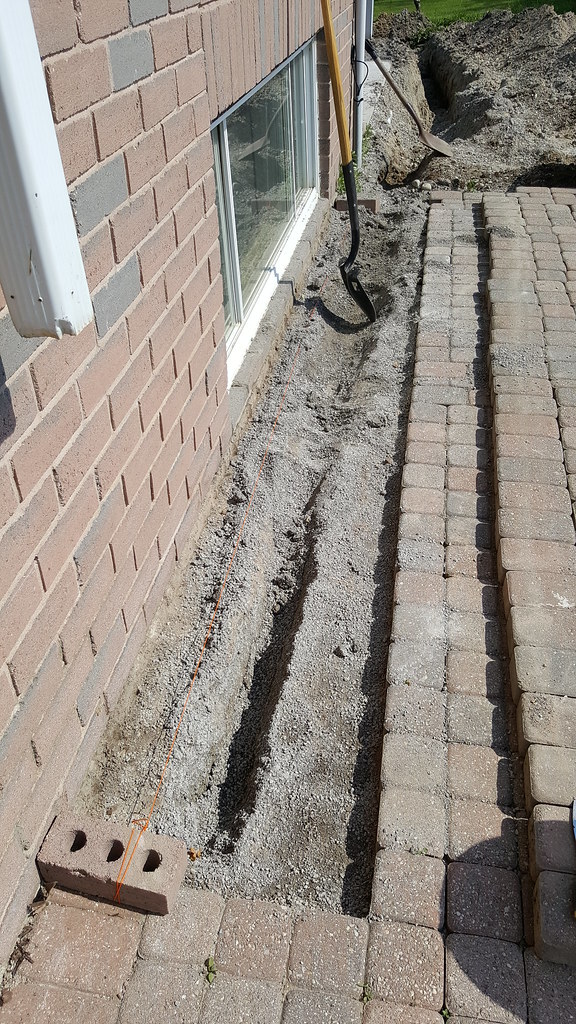
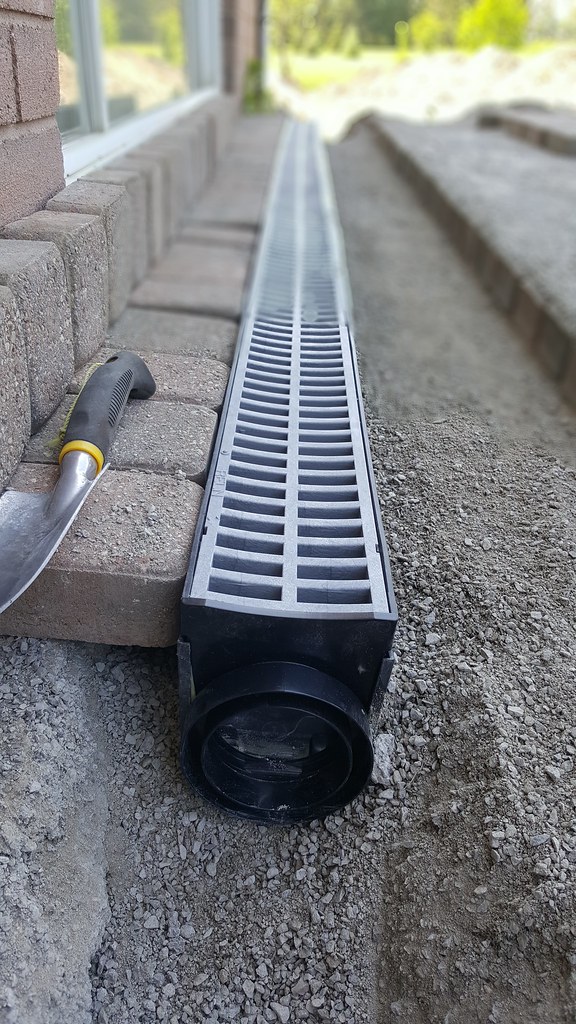
He ran corrugated perforated pipe along the driveway and in front of the parking pad, and connected it to a 12 foot "rain drain" that runs along the front of the house in front of the basement window.
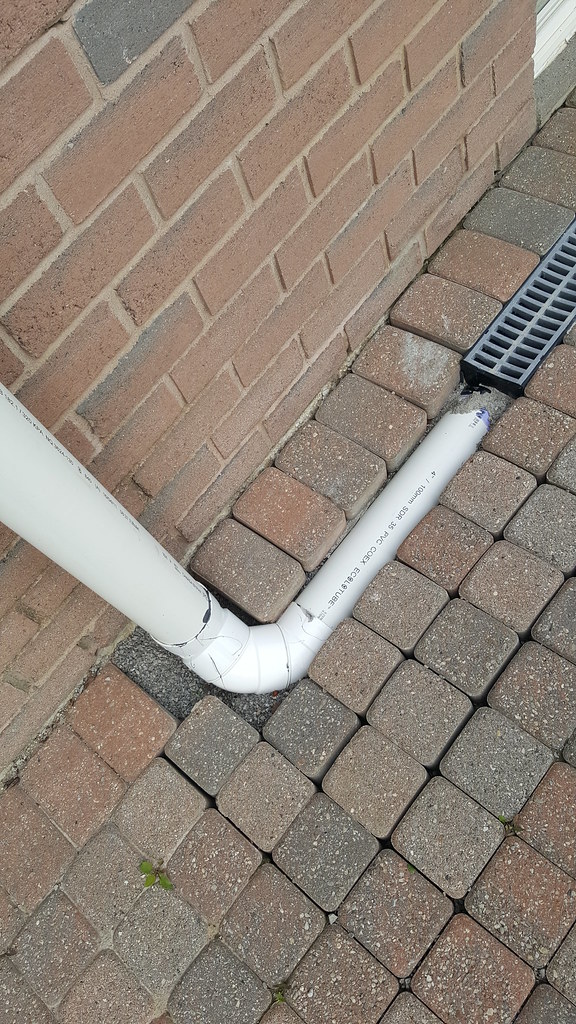
The front downspout connects to the drain at one end so that the water from the roof runs through the drain and out the pipe. As well, any water that lands on the sidewalk and runs towards the house runs directly into the grate, through the drain, and to the runoff pipe. All of the bricks are back in place, we just need to cut some odd-shaped ones to fit around the downspout.
We're also doing some more work in the basement getting the drywall up. Tom's helper had to cancel a couple of times, but they did manage to get two of the outer walls done in one night.
And that's where we are right now. Hopping around here and there, hopefully moving forward all the time.
How about a progress report instead?
The front yard and the front of our house is pretty bare - I liken it to a face without eyebrows. So we took a trip to our local garden center to see what we could see. We decided on two cherry trees, a dark purple lilac, and a smoke bush.
We planted the cherry trees along the front edge of the property where we will also eventually have a low fence. Here is a rough drawing of our plans:
The lilac went over on the property line at the edge of the driveway, and the smoke bush was planted in the garden by the corner of the house. It will eventually disguise the downspout that's in that corner.
The front yard slopes down towards the house and the basement windows. We're always worried when it rains that water is going to leak into the house. A couple of weekends ago, Tom rented a mini excavator and dug a trench across the front of the house and down the far side of the driveway.
He ran corrugated perforated pipe along the driveway and in front of the parking pad, and connected it to a 12 foot "rain drain" that runs along the front of the house in front of the basement window.
The front downspout connects to the drain at one end so that the water from the roof runs through the drain and out the pipe. As well, any water that lands on the sidewalk and runs towards the house runs directly into the grate, through the drain, and to the runoff pipe. All of the bricks are back in place, we just need to cut some odd-shaped ones to fit around the downspout.
We're also doing some more work in the basement getting the drywall up. Tom's helper had to cancel a couple of times, but they did manage to get two of the outer walls done in one night.
And that's where we are right now. Hopping around here and there, hopefully moving forward all the time.
Subscribe to:
Posts (Atom)