SEARCH THE BLOG

Showing posts with label livingroom. Show all posts

Jan 11, 2016

One Final Tour of Our Old House (with Before & Afters)

We've been in our new house for a month now. With the combination of Christmas and snowstorms and all those daily, little chores that steal away your time, we haven't done more than a few superficial repairs and changes so far - things like installing some temporary strip lighting in the closet (instead of using a flashlight to find matching clothes in the morning) and putting up a shelter to keep the snow off my precious car.

It's difficult not to compare this new house with our last one - we had spent seven years making changes and improvements, making it ours. Just like a fitness journey, "You can't compare your beginning to someone else's middle", I have to keep reminding myself that the new house will be beautiful some day and the joy is in getting it there.

With that in mind, I thought it would be fun to take one last look at our old house, the before & after, and highlight some of our favourite projects.

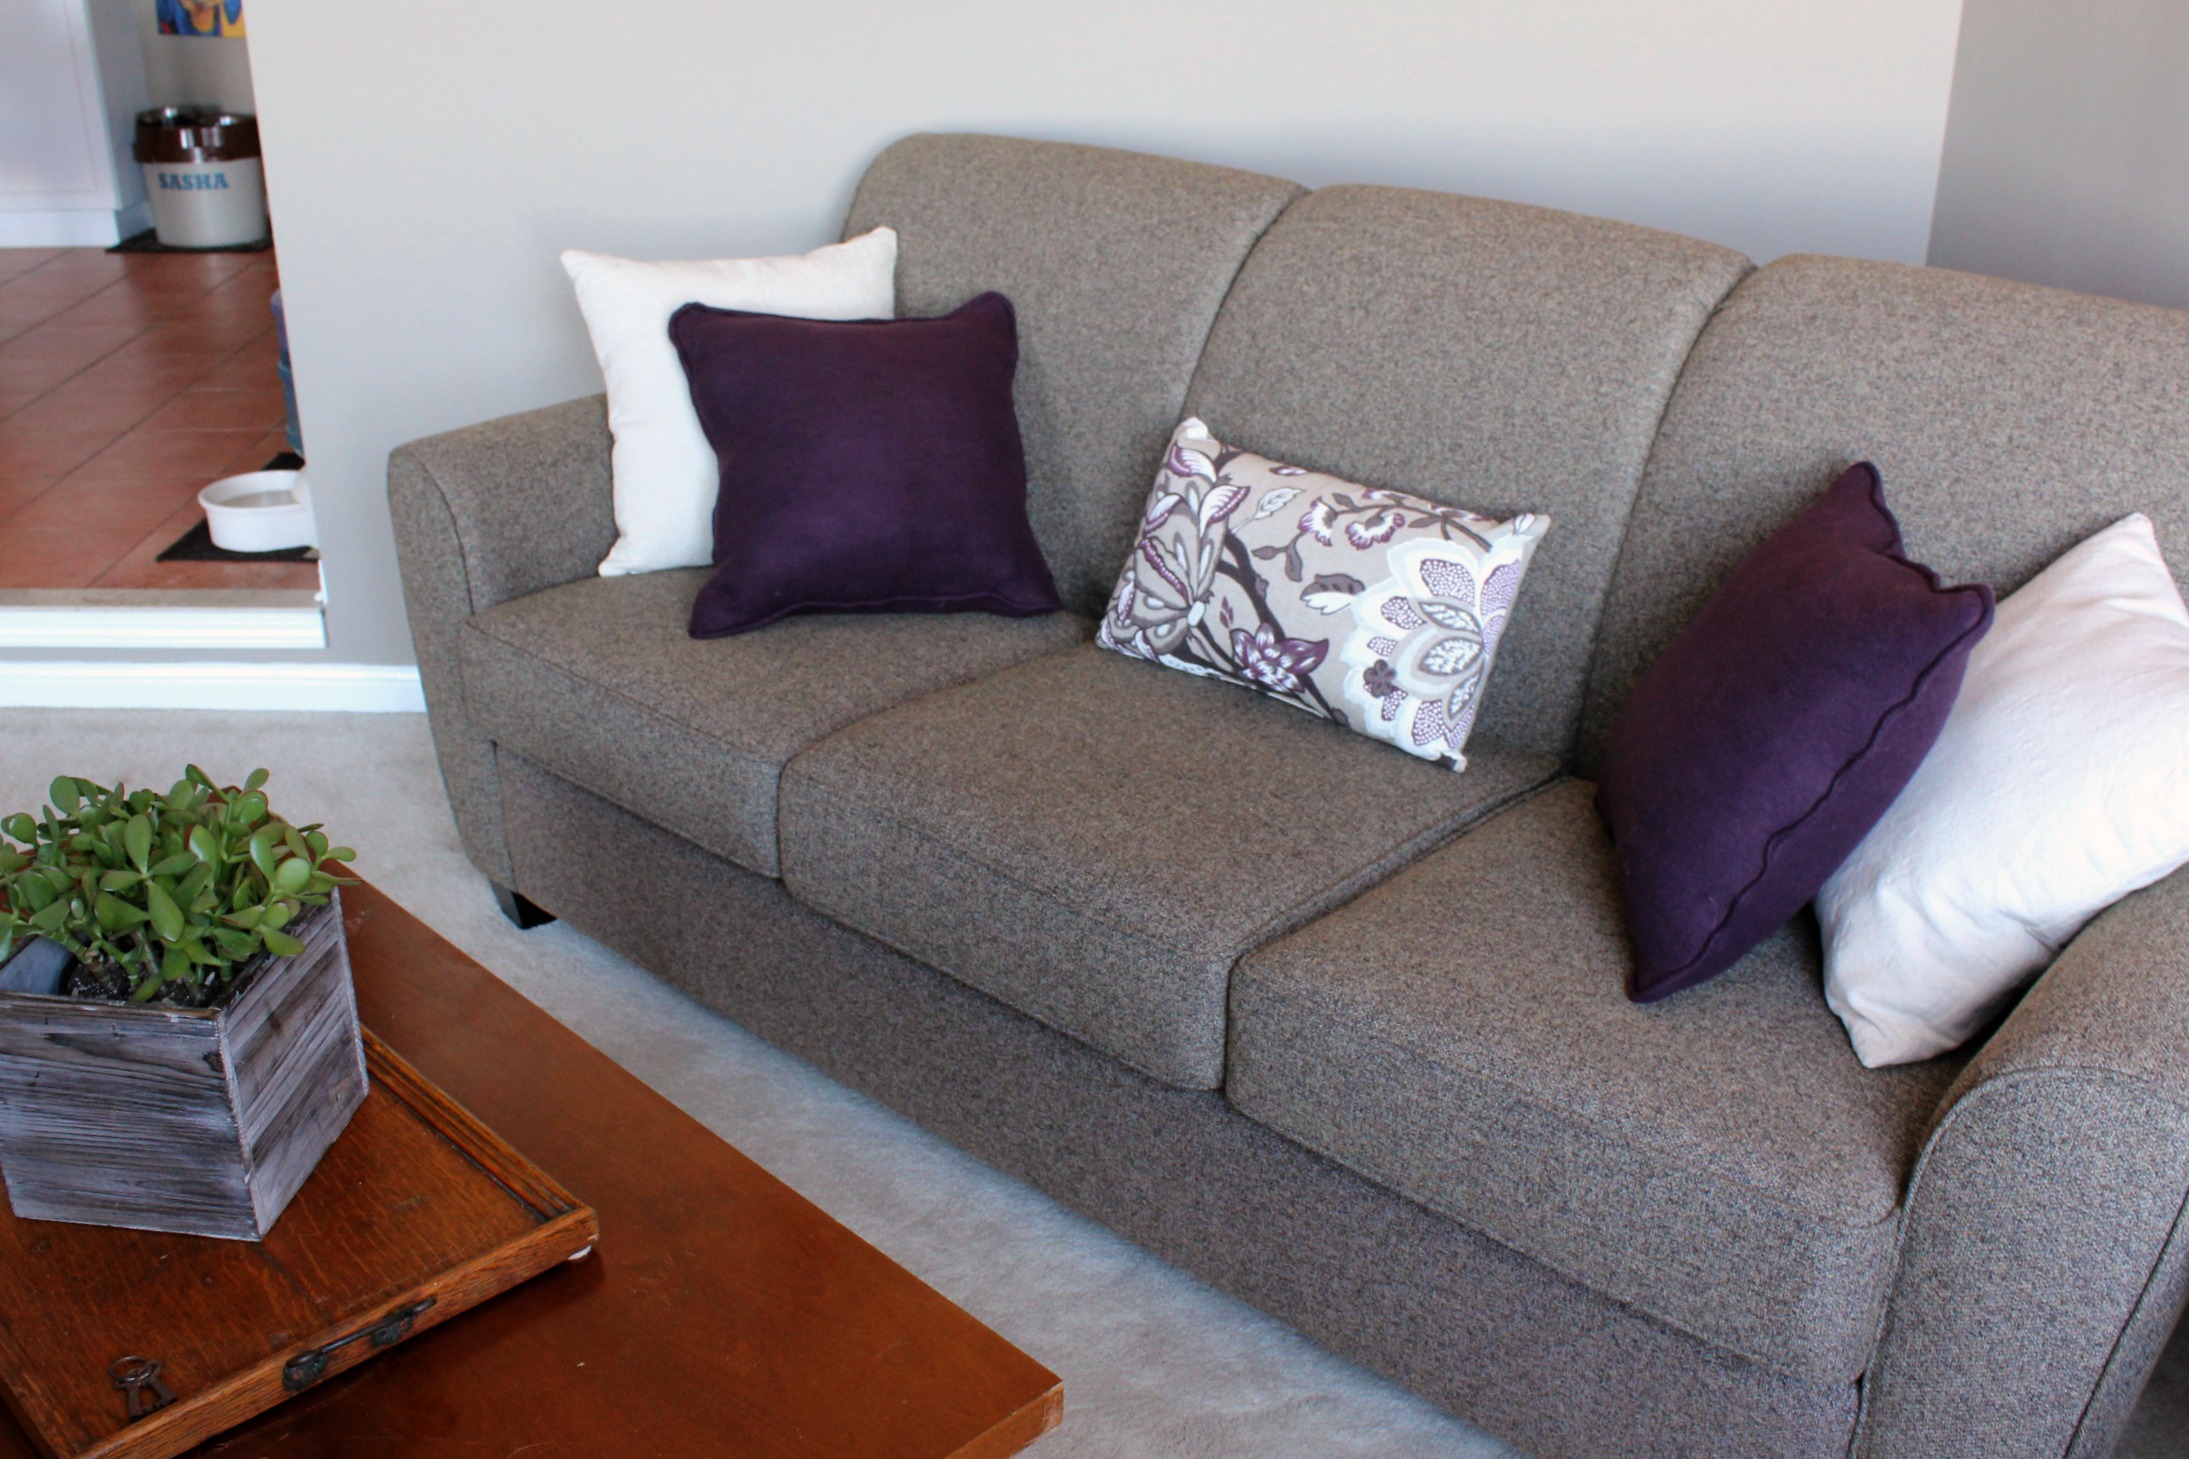
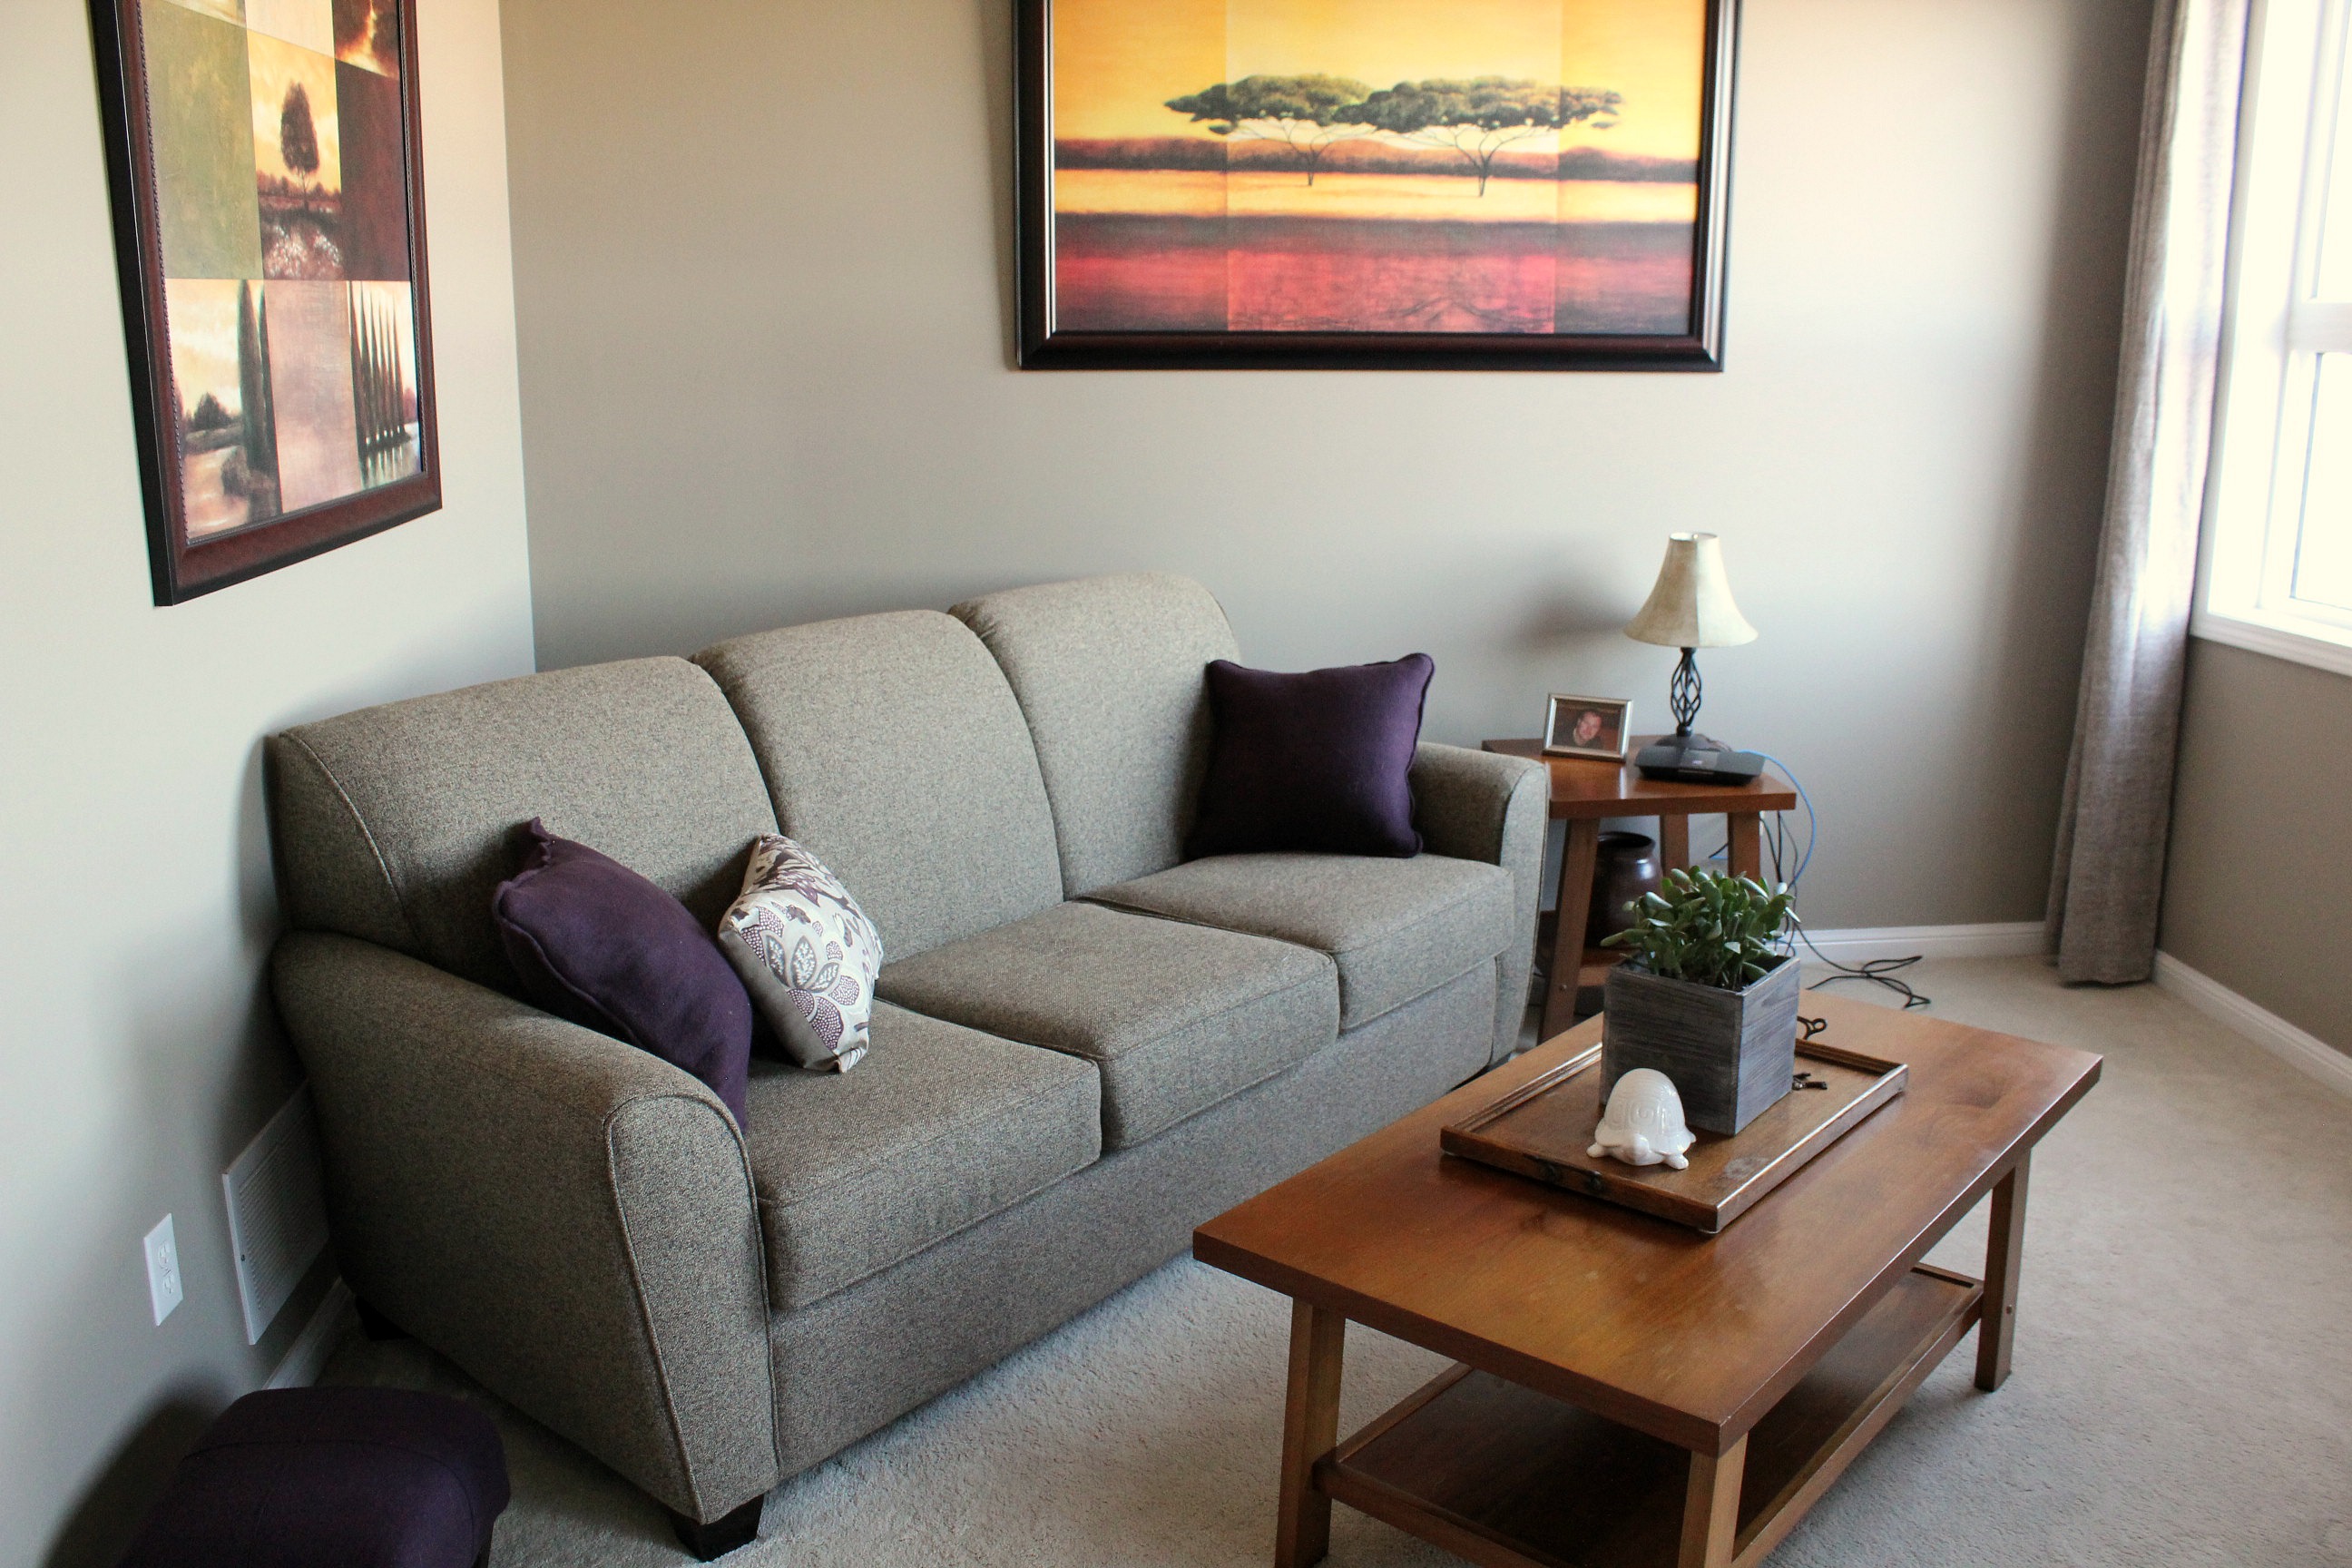
When we moved in, the house was mostly decorated in green, yellow, and orange. We thought it was perfect and didn't change a thing. It took about two years before it started feeling a little too Southwestern for our tastes. We slowly brought in some neutrals, starting with the living room and foyer.

Before:
Terracotta living room
foyer

After (BM Ranchwood):
Photo courtesy of West Blue Studio Services

Once you change the walls though, suddenly your kitchen cabinets no longer match. I'd originally planned to strip the green and stain them a dark brown, but in the end went with a clean white. It instantly lightened up the whole room, especially since there was no window to bring in extra light.

We also added undercounter lighting (touchless!), and changed out all of the appliances. We kept the terracotta-coloured tiles and I think they go just as well with taupe and white as they did with yellow and green.

Before:
kitchen green cabinets

After:
white kitchen makeover

Upstairs, the front room was our "computer room", aka the office. It had a huge bay window and received the most sunshine of the whole house. It was the dogs' favourite hangout for sure. We changed it from a deep cranberry to a light blue, and accented with white picture frames and a grey loveseat.

Before:
computer room office

After (BM Nimbus Grey):
Photo courtesy of West Blue Studio Services

The custom-made glass front bookcases have been with me for over 15 years - from my apartment in Toronto to three houses now - I'll never let them go.

Photo courtesy of West Blue Studio Services

We turned one of the bedrooms into a craft room. It really became an everything room - gift wrapping, sewing, photography studio, and crafting of course. It started out midnight blue with little stars stickers all over the walls. Big change!

Before:
guest room

After:
craft room guest room

My favourite (I say that a lot) project in here is the wrapping paper and ribbon station. Tom and I designed it together using ideas we saw online and then tweaking it along the way until we had what worked for us. It was wonderful having all of my wrapping supplies right on hand whenever I needed them.

wrapping paper storage station

The guest room was the first room I painted here. It started out as a bright, bright yellow. I painted it one weekend while Tom was away. He didn't even notice it had changed until I told him about a month later. I just went to the paint store and grabbed a colour that I liked. I didn't like it for long but never got around to changing it either. So this room ended up being a mishmash of leftover decorating items. We even stored all of our extra artwork under the bed! It does contain my first piece of refinished furniture though - the  stained & waxed dresser from Goodwill. This is when I fell in love with finishing a piece with furniture wax instead of polyurethane.

Photo courtesy of West Blue Studio Services

Smaller projects were the main bathroom, the powder room, and the linen closet in the upstairs hallway. In the main bathroom, beyond paint, we replaced the medicine cabinet and mirror with custom-made pieces we did ourselves. Tom has become an old hand at building mirror frames. The ones in the powder room and ensuite were built by him as well.

Photo courtesy of West Blue Studio Services

Photo courtesy of West Blue Studio Services

The linen closet received all new shelving, a more streamlined laundry chute (I miss that so much!), and framed bi-fold doors. We also framed out and added bi-fold doors to the front foyer coat closet.

Before:
linen closet sliding doors

After:
linen closet bi-fold doors
linen closet laundry chute

The two biggest changes upstairs were the master bedroom and the ensuite bathroom. The top half of the bedroom walls were done in a textured plaster with a brown glaze over yellow paint. I wasn't a fan, but I thought it would be too much work to scrape it all down and repair the walls. So I just painted it all one colour - first a dark grey (BM Arctic Seal) that was way too dark (think prison cell) - and then a lighter grey that was much more soothing.

Before:
master bedroom before

1st Change (BM Stormy Monday):
master bedroom Stormy Monday

I got a hankering for more though, so I installed faux board and batten wainscoting all around the bottom half of the room. This project was all mine. I learned so much about using different power tools that week. And my body paid the price for all that crawling around on the floor. There's something I adore about grey and white together. The room felt like a suite at a fancy hotel. One covered in dog hair of course.

After (BM Stormy Monday):
Photo courtesy of West Blue Studio Services

The ensuite bathroom was our pride and joy. It was a complete gut, right down to the studs. We even had to replace some studs because they were warped and weren't even connected to the drywall! We painstakingly chose all of the finishes, even driving to another town to get more tile when our local store ran out just as it was almost finished. We had the tile installed by a contractor as we knew it would take us months of evening and weekend work to get it done.

Before:
ensuite bathroom before

After:
Photo courtesy of West Blue Studio Services

Tom rerouted all of the plumbing himself so that we could have a wall-hung vanity. He also framed out the shower niche, built the mirror frame and shelves, and of course designed and built the inset toilet paper holder that he is so proud of.

built in toilet paper holder

The ensuite in our new house is a bit of a blank slate. We'll probably incorporate some of the same ideas - wood grain floor tile, inset toilet paper holder (as if that was in question!), wall-hung vanity - and we're going to have a go at doing it all ourselves. Cross your fingers for us!

The basement was fully finished when we moved in so there wasn't a lot to do. We rearranged some things like the washer/dryer and water heater, and installed a water softener, but most of the changes were cosmetic. We painted the entire basement a warm blue as we were going for a cottage/beachy feel. We changed out all of the lighting, hung some "beachy" artwork, and I painted a huge pallet sign. It's an homage to our favourite beach rental in Hawaii.

Before:
basement wet bar

After:
Photo courtesy of West Blue Studio Services
pallet sign North Shore Hawaii

We turned the cold storage into a regular storage area (it was still pretty cold) with wood paneled walls and strong wooden shelves. I always loved the smell of that room - I think I'm a carpenter at heart.
cold storage room

The backyard also got an overhaul. The house came with a tiny, tiny deck, actually two tiny decks attached to each other, but not on the same level. We raised up the second deck, enlarged it, and then added another lower deck off to the side where we hung our hammock. The plain wooden rail pickets were replaced with metal balusters.

The final project was to enclose the bottom of the deck, something we did just a month or so before we listed the house. It's too bad we didn't do it sooner as it really added to the appeal.

Before:
backyard deck

After:
backyard deck wooden deck furniture

Photo courtesy of West Blue Studio Services

Whew! That was a lot of change. We loved renovating this house. We made a few changes to our previous house (beyond paint), but this one was where we really got our groove on. I'm really going to miss it.

Here are a few more photos from the real estate listing that show it off like a model home.

Photo courtesy of West Blue Studio Services


(All real estate photos courtesy of West Blue Studio Services)

Apr 21, 2014

From Navy to Eggplant - Easy Living Room Update


Is it spring where you are? Going by the calendar it's supposed to be spring here, but the inch of snow we just received contradicts that notion. But regardless of what's going on outside my window, I decided to start on a living room spring makeover. Not a complete overhaul - that's already been done - but just some colour changes to liven it up some.


If you remember, our walls are painted Ranchwood by Benjamin Moore. I love this colour so much. What I'm starting to not love is that it looks green in the living room. No matter the time of day - it's always green. I don't dislike green per se, it's just that I was aiming for a more taupe-y room when I picked it. I accessorized the room with navy and white, but it never felt cohesive to me. I think it's because the artwork on the walls is full of dark reds and yellows (and greens). The paintings were purchased for our last house (where we first had burgundy, then green walls) and we haven't found anything suitable to replace them.

So while I was grocery shopping one day, I wandered into the housewares section and saw these pillows and knew that was the direction to go.


There were also solid-coloured pillows in, what would you say, plum? Eggplant? But what really caught my eye were the fleece throw blankets in the same shade, for $5 each. They were large enough to make two pillow covers each with a little left over.


The couch and loveseat (p.s. we bought new ones and I didn't mention it) each came with two pillows, so I just needed to sew new covers the same size as the current ones. Adding in the four zippers I'd need to buy, that still works out to less than $5 per pillow. I made my own piping using the leftover material and twine - super easy.


Just like that, I had four new pillows. Four cozy, snuggly pillows. I've dragged the dropcloth-covered pillows up from the basement to lighten up the look a bit since then. The pillows now bring out the purplish shades in the paintings above. The one on the right is still a little too red, but I'm working on what to do with that.


I even had enough fabric left over to recover that little footstool I have. This is the one that has already been recovered with dropcloth (see how to do the image transfer here), and then with a dark yellow fabric. I added a piping-like detail across the top - like I did with the storage bench - to keep it from being too plain.


A purple vase and a white ceramic turtle - isn't he cute? - complete the colour switch. I think the room still needs something else - maybe teal, or gold? Or maybe just a lot more white. The windows face north so the room isn't ever really awash in light.


It is awash in dog hair, however, as Chloe is in love with the new pillows. Do you get that too?


Jul 22, 2013

Floating Photo Shelves

Our gallery wall in the living room hasn't been coming along the way that I'd like. I don't know if it's that the frames are too different from each other, or there aren't enough, or the fact that half of them don't have pictures in them (!), but it just wasn't appealing to my eye.

I decided that I'd rather have photo shelves instead. There would still be the randomness of the different sized frames, but they'd be more orderly and cohesive. Not to mention that you can take them down or rearrange them without having to patch the wall and make new holes.

I was going to wait until I had all of the frames filled before I posted about them, but who am I kidding? It's been two weeks already and I'm no closer to being done. So you'll just have to look at some empty frames. (And my gorgeous cousins. And a seagull eating snack mix.)

floating photo shelves

We started by taking down all of the frames, pulling out the picture hangers, and patching and repainting the wall. We always keep our leftover paint for touch-ups so it was a pretty quick fix.

Before:
photo frame gallery wall

After:
floating photo shelves

We decided to center the shelves between the soffit by the sliding doors and the step up to the dining room/kitchen. The living room/dining room is sort of open-concept with a shared wall, but we decided to treat them as two different rooms. The expanse of wall stretches from the sliding doors to the window in the dining room, but centering the shelves between the soffit and the window would have looked a little goofy.

floating photo shelves

I wanted the lowest-profile shelving we could get, while not having to worry about the weight of the frames pulling them out of the wall. I liked the style of the postcard ledges that Young House Love installed in their last house, though ours needed to be deeper because of the thickness of the frames.

While Tom found a practice board, I laid the picture frames I wanted to use out on floor and arranged them to get a rough idea of how long each shelf should be and how many we would need (6 feet long and three shelves).

It was going to be a plain floating shelf, but we also wanted a groove routered in to keep the frames from sliding forward and off the shelf. We used a scrap piece of board to figure out how deep the shelf needed to be, and where the groove should go to have the frames rest on it correctly. We just rested the thickest frame on the scrap board and tilted the frame until we got the angle we wanted. Tom would then router the scrap piece and we'd try it again.

floating photo shelves

Each shelf had to be at least 4 inches deep, so once we had decided exactly what we wanted, Tom bought 2x4s and planed them down to just over an inch thick, and then routered an angled groove down the length of each shelf. Why plane them? Well, 2x4s are too chunky, and 1x4s are actually less than 1 inch thick. Sometimes it has to be DIY start to finish.

We were having trouble finding the wall studs - the stud finder was going crazy, beeping all over the place - so we came up with another plan. There is an electrical outlet in the center of the wall and we knew it had to be attached to a stud, so we just followed it up the wall (using a laser level) and marked that spot. We then held a shelf in place on the wall and marked on the shelf where the stud would hit. Tom then drilled counter-sunk pilot holes at 16" intervals to match the studs. Yes, we were working on blind faith that they were 16" apart (spoiler alert: they were).

Once the shelves were cut and holes were drilled, I sanded them, primed them, and gave them two coats of semi-gloss white - the same paint we used for the trim.

The distance between the top of the upper picture frame and the bottom of the lowest shelf was about 50", so we added an extra 4 inches of clearance and mounted the bottom shelf 54" from the ceiling. Before drilling any holes, we tested out this height with Tom sitting in various chairs beside the wall. There probably won't be a chair or sofa under the shelves, but we wanted to make sure no one would bang their head, just in case.

floating photo shelves

Then it was just a matter of attaching the shelves to the wall starting with the first stud we found and working outwards. I held the level against the shelf and Tom drilled 4 inch screws through the boards and into the wall. Since we were on studs each time, there was no need to use anchors. The screws were sunk at least an inch into the board so there was enough sticking out the back to go into the wall, and the screw heads weren't visible at the front.

Once all three shelves were mounted, I puttied the holes, sanded, and painted over the putty so that the fronts looked seamless.

floating photo shelves


The frames aren't in their final place, I just put them up there and tried to vary the heights. The top row is still a little too even for my liking. The two large frames are going to hold photos of the dogs or vacation shots, once we narrow it down to two favourites. (As if there aren't enough pictures of the dogs up there already, right?)

floating photo shelves

The shelves fill the space so much better than the frames did by themselves, and as I mentioned before, I love that I can change the photos or just change the arrangement whenever I want to. The area is a bit empty right now - I'd like to find a sideboard or old desk to put under the shelves to fill it in. And maybe one of those 5 foot wooden giraffes we saw at the farmers' market this weekend.

What do you think, Tom?

floating photo shelves

floating photo shelves

floating photo shelves


~~~~~

I'm linking up here this week!

Related Posts Plugin for WordPress, Blogger...